Guides

Kingdom Hearts III – Olympus Lucky Emblems Guide

by Chappie in

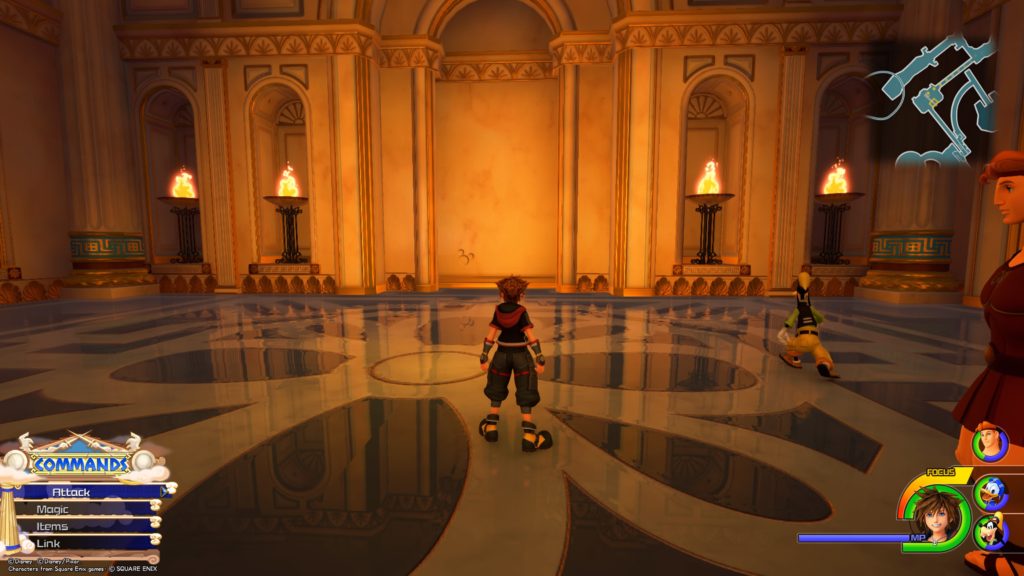
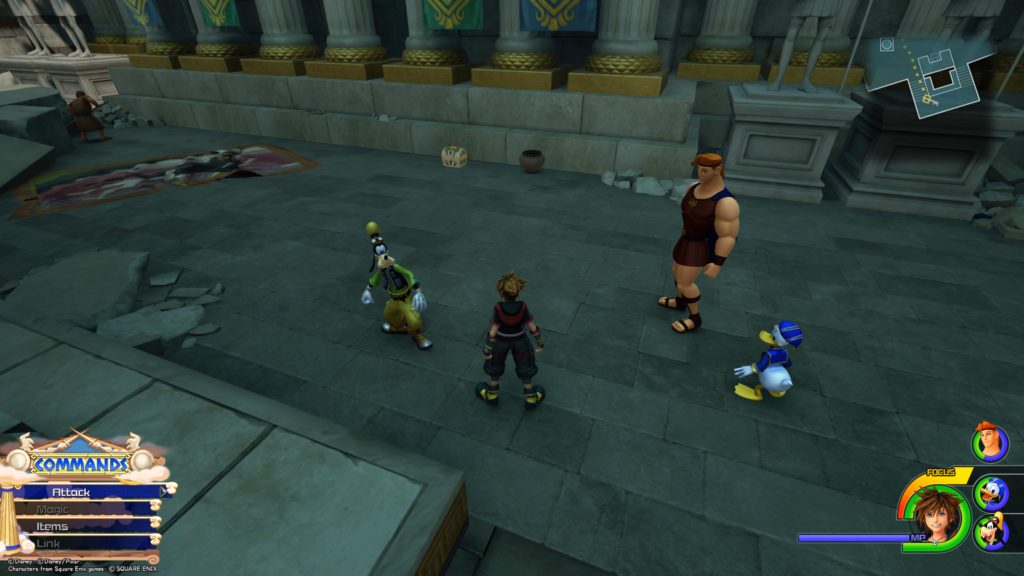
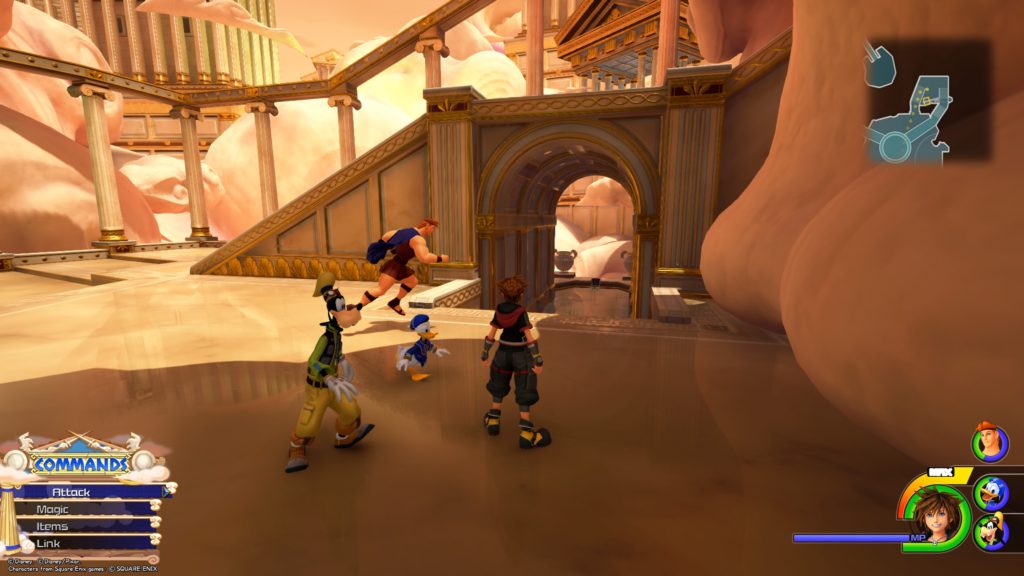
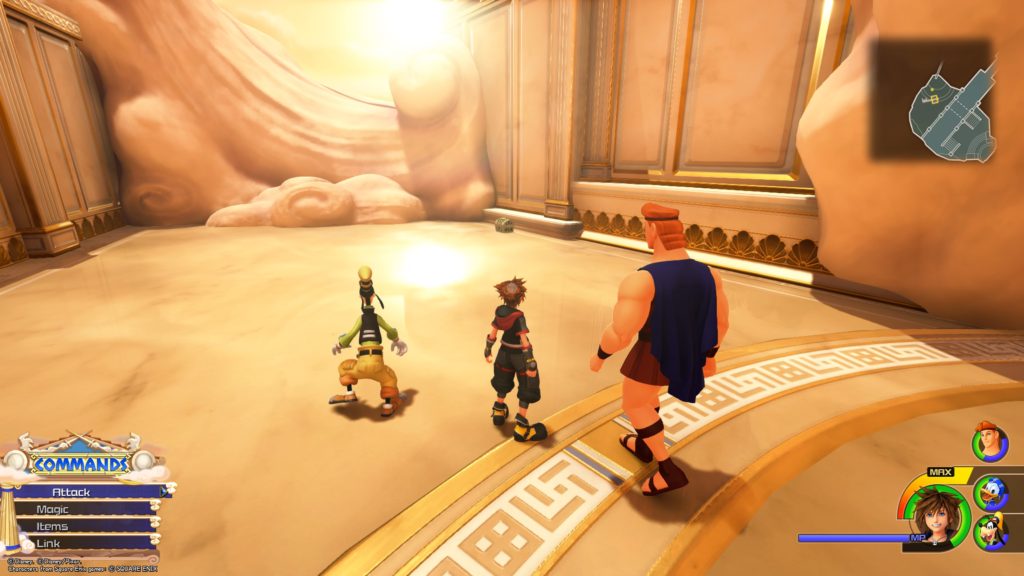
Thebes / Agora

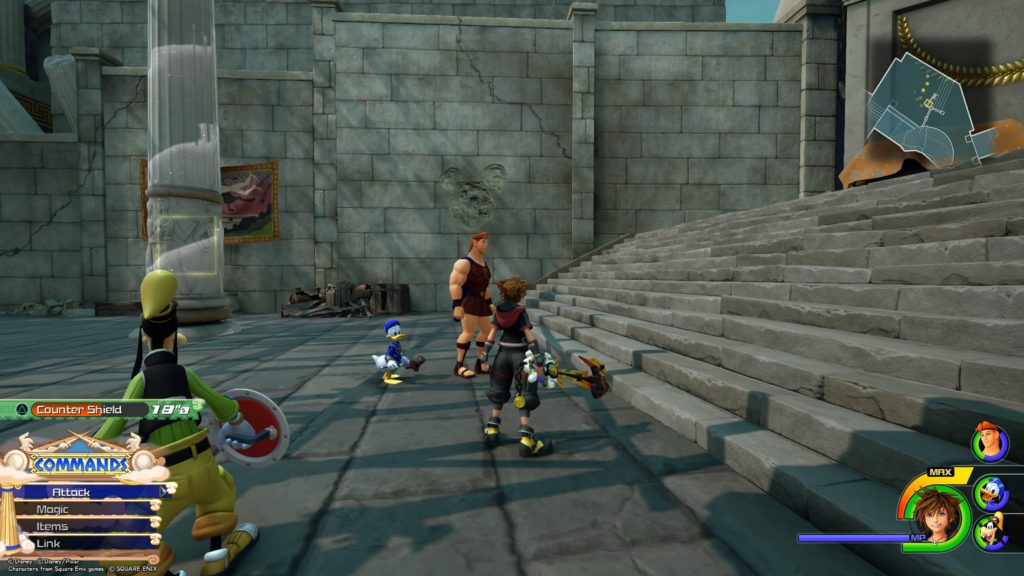
Lucky Emblem 3

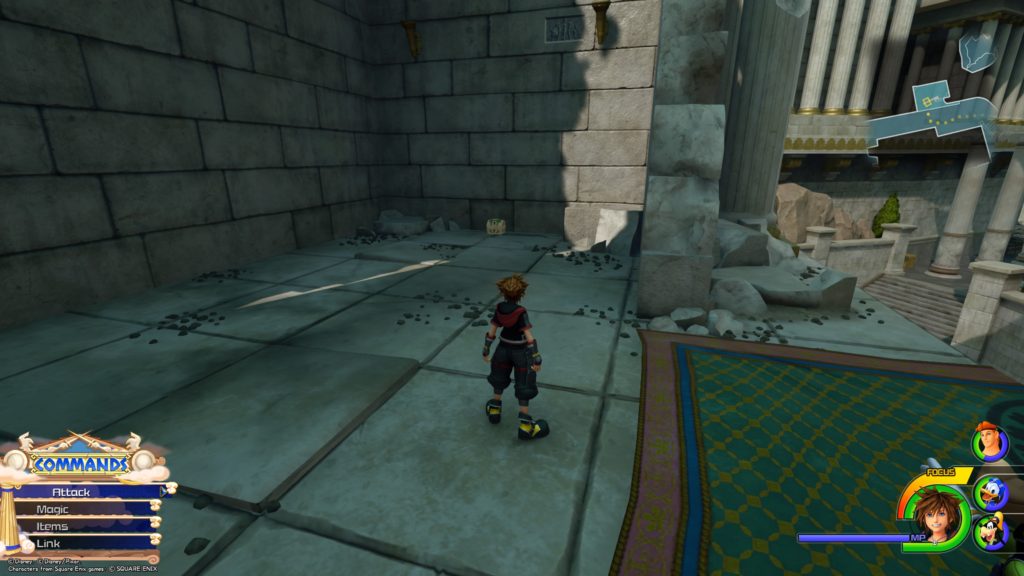
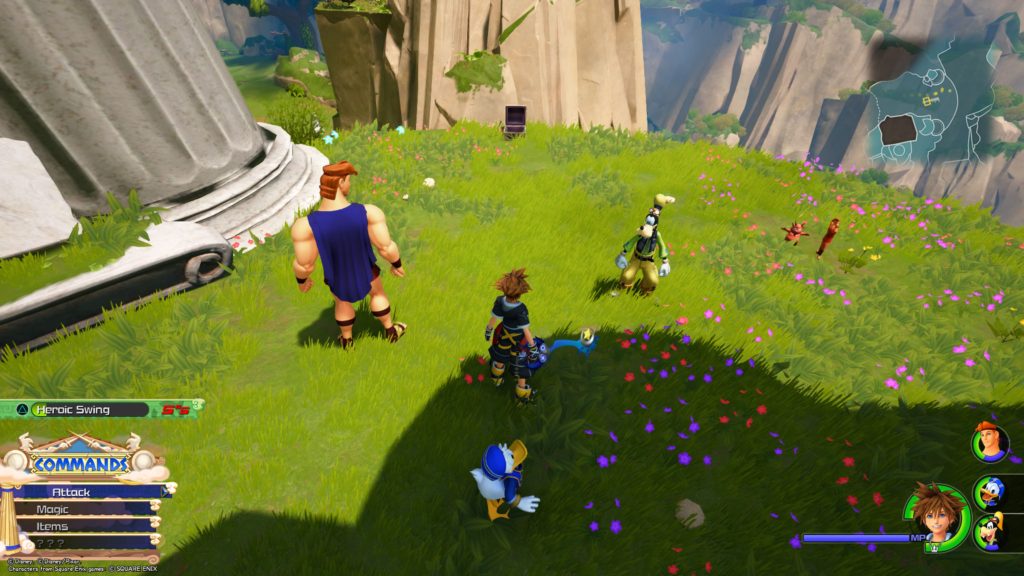
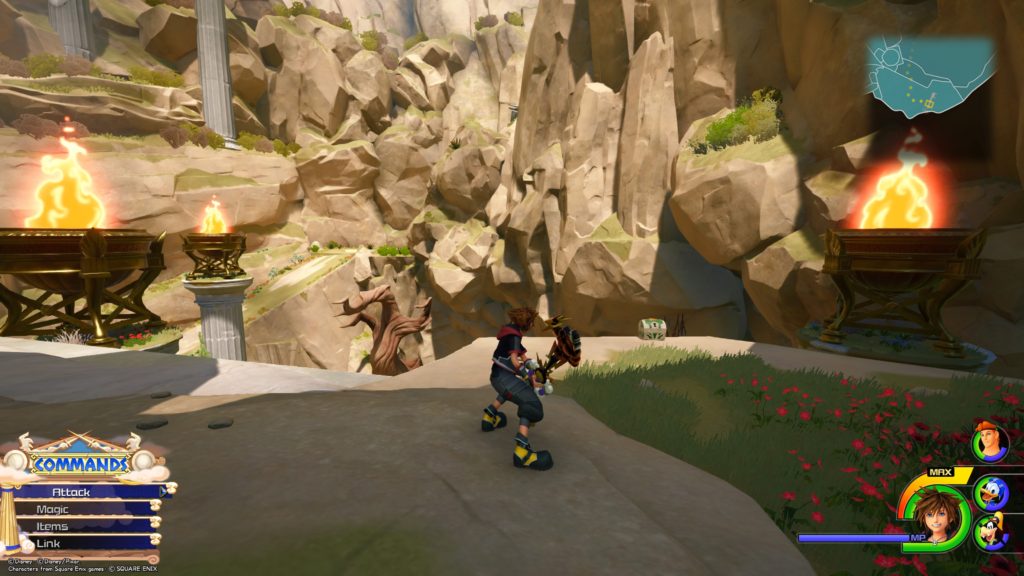
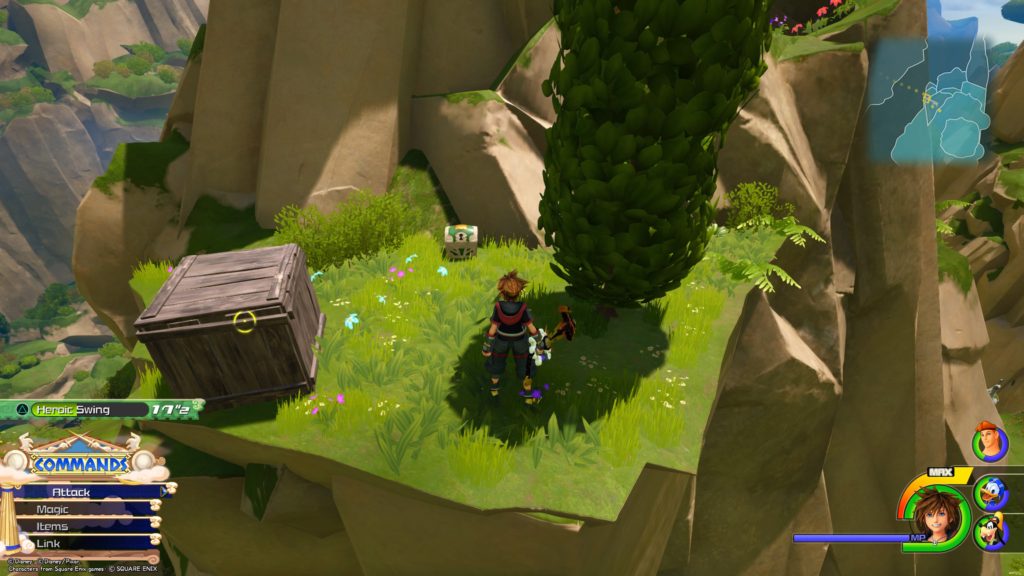
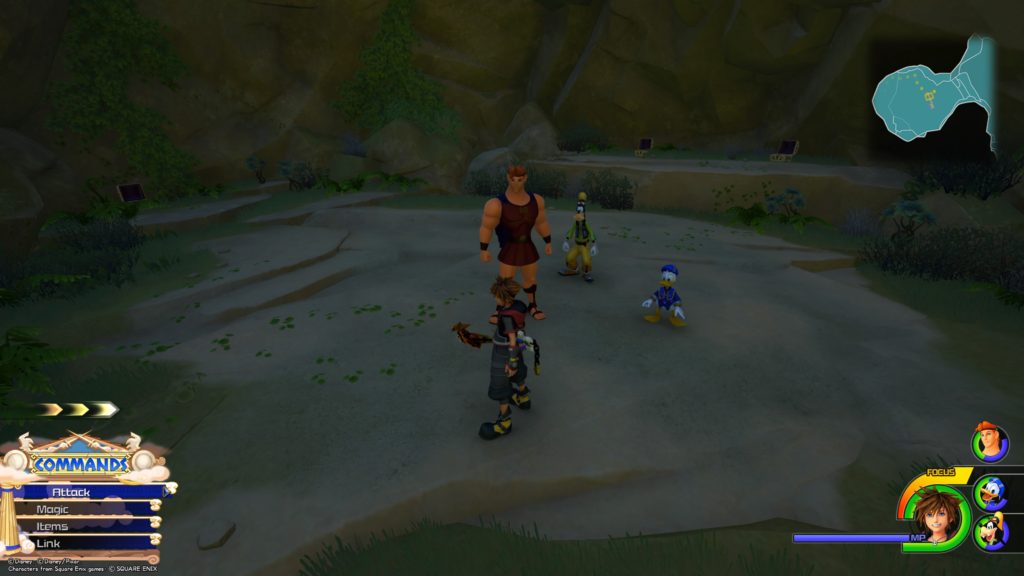
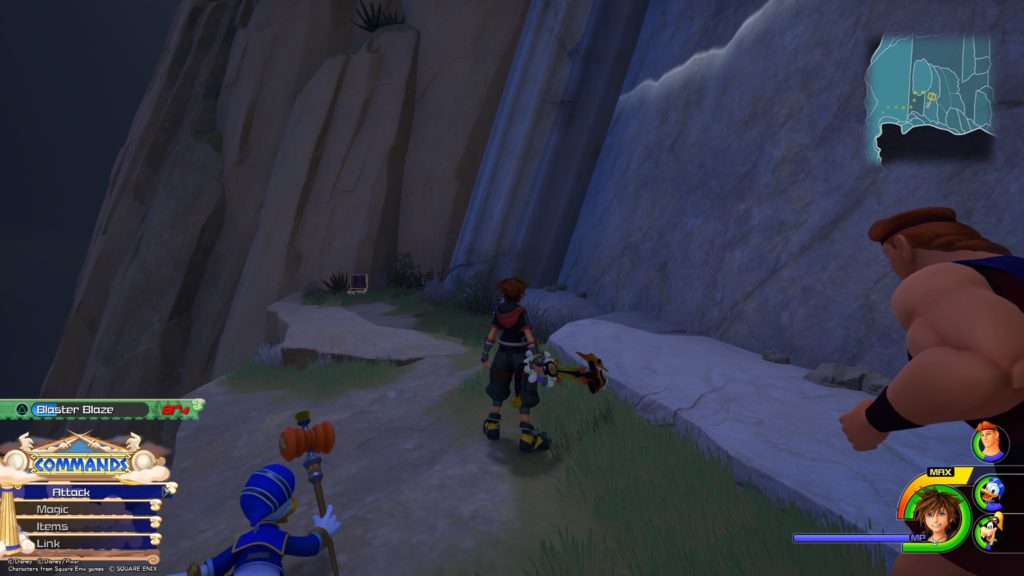
Steps to the right of the building behind the giant Hercules statue


Thebes / Overlook

Lucky Emblem 1

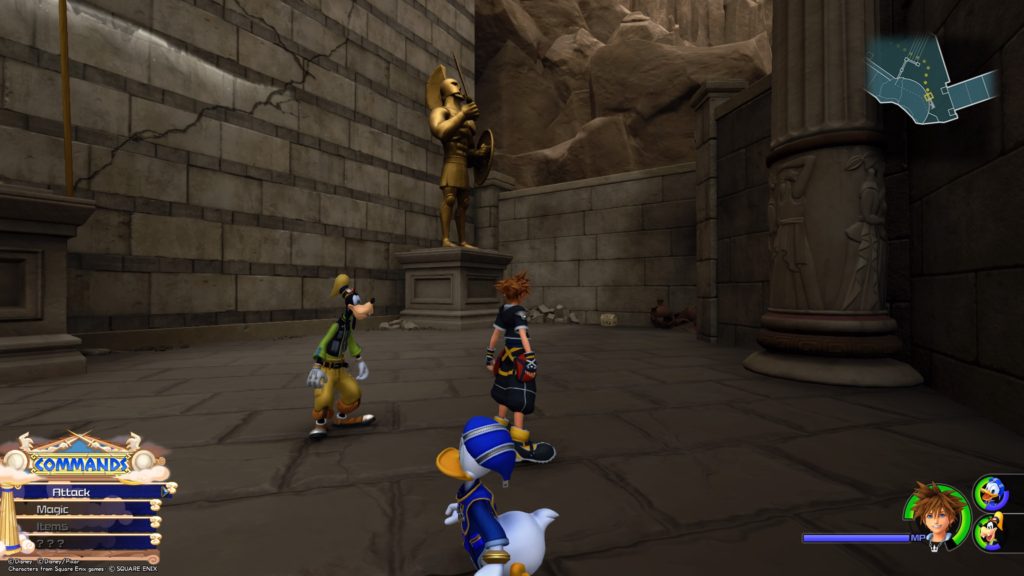
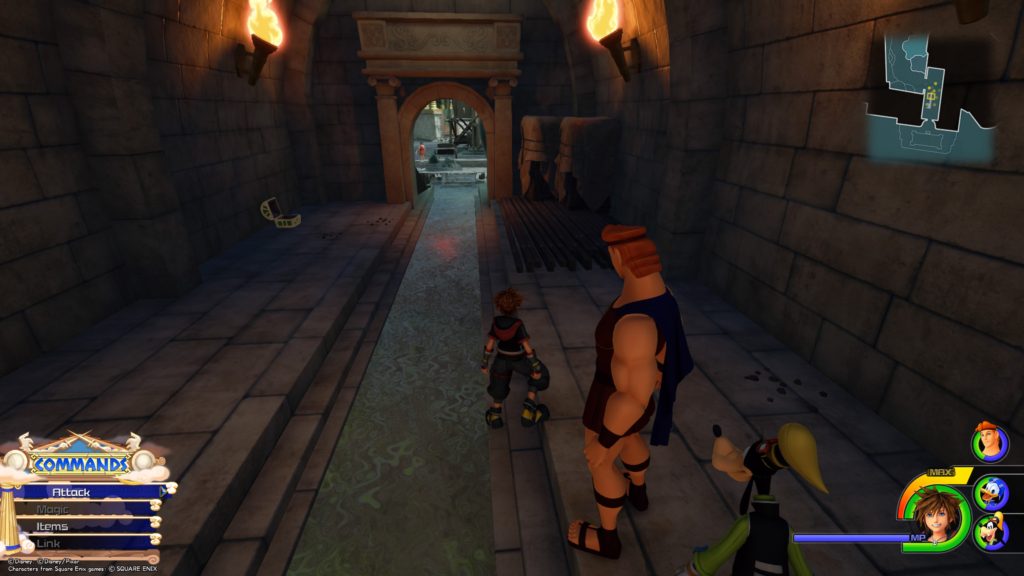
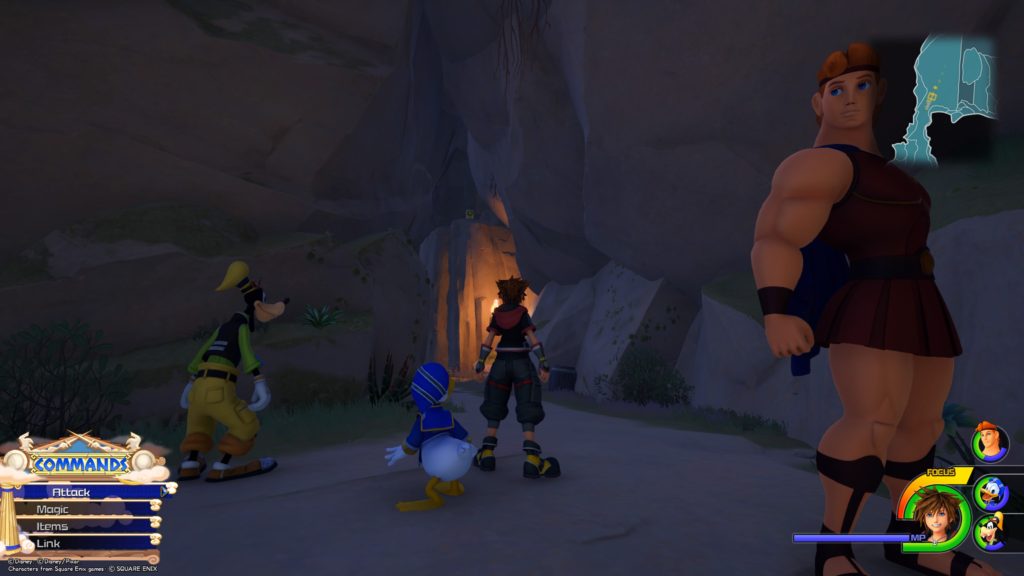
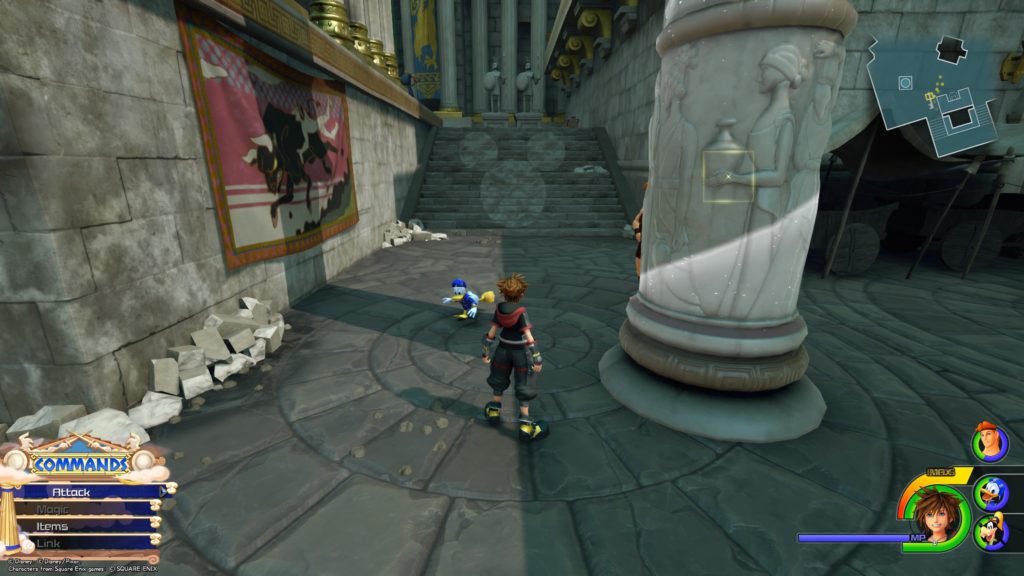
From the Overlook savepoint, take the stairs on the left down and keep following that path until you reach the rooftops. Jump down below and head for the open courtyard with 3 giant stone pillars in front of the giant statue of the warrior with a shield and spear. The emblem will be on the wall to the right of a banner with a bull on it.


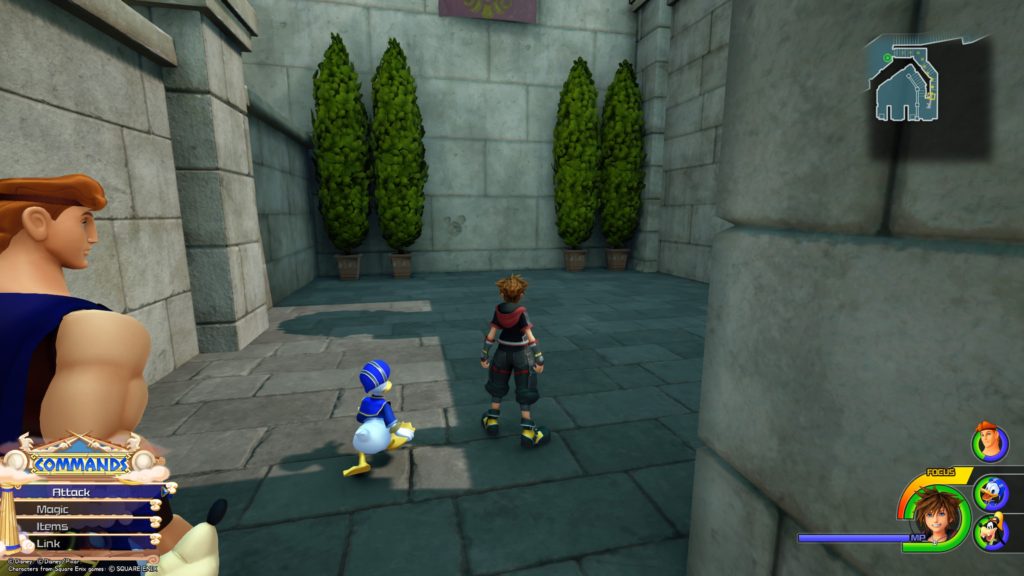
Lucky Emblem 4

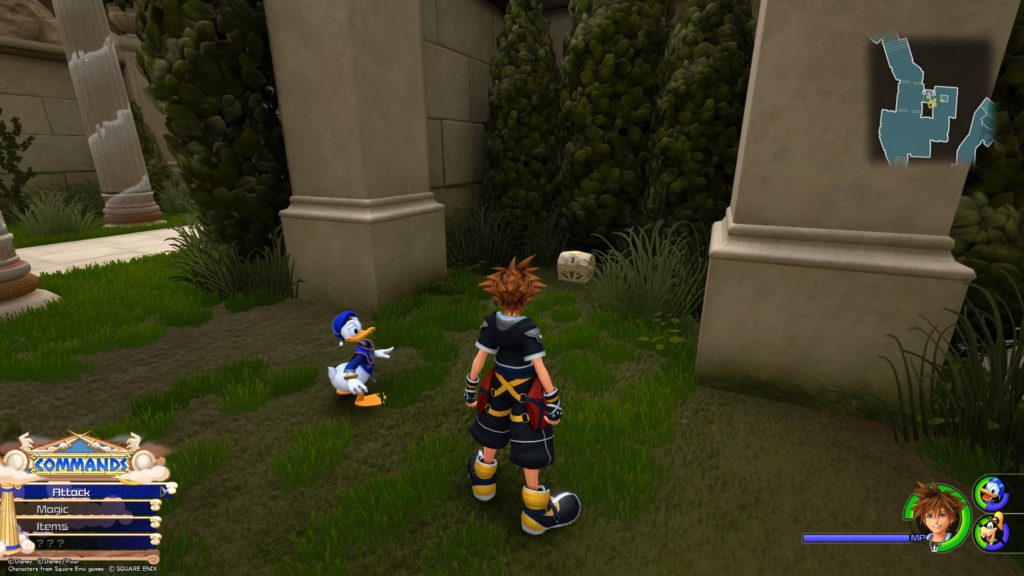
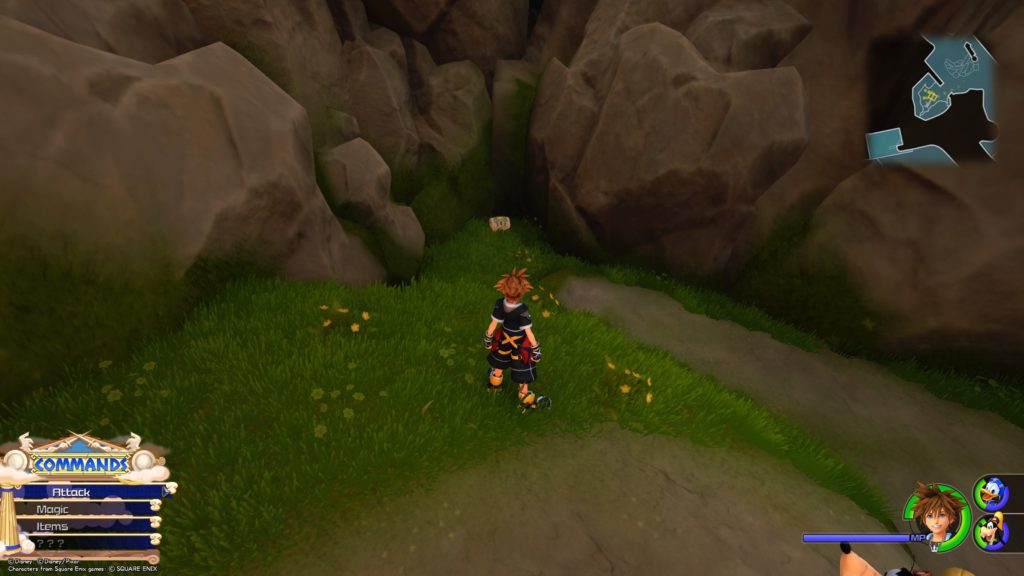
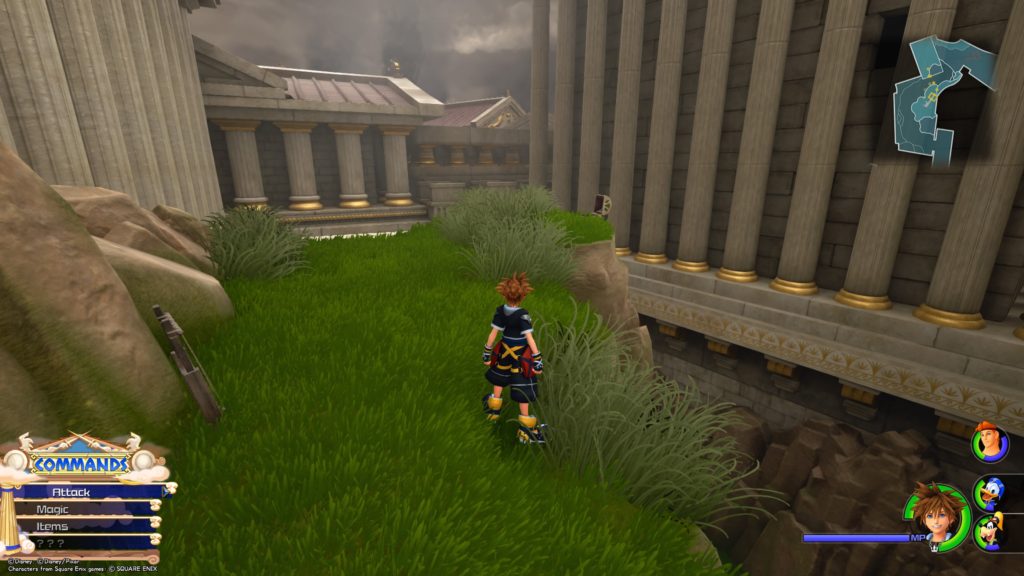
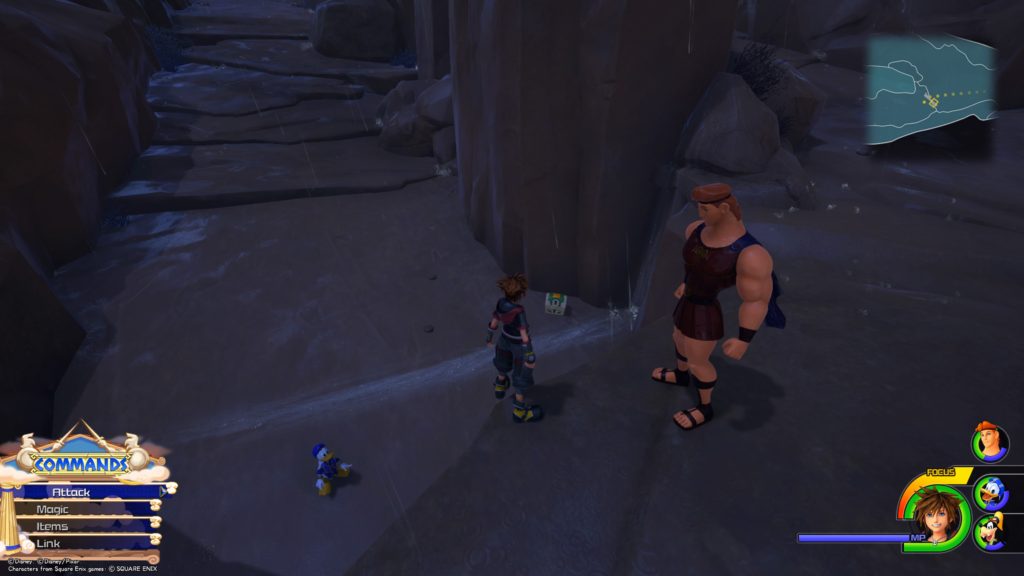
From the Overlook savepoint, take the stairs on the right all the way to the top to find the emblem on a wall between a couple of trees


Thebes / The Big Olive

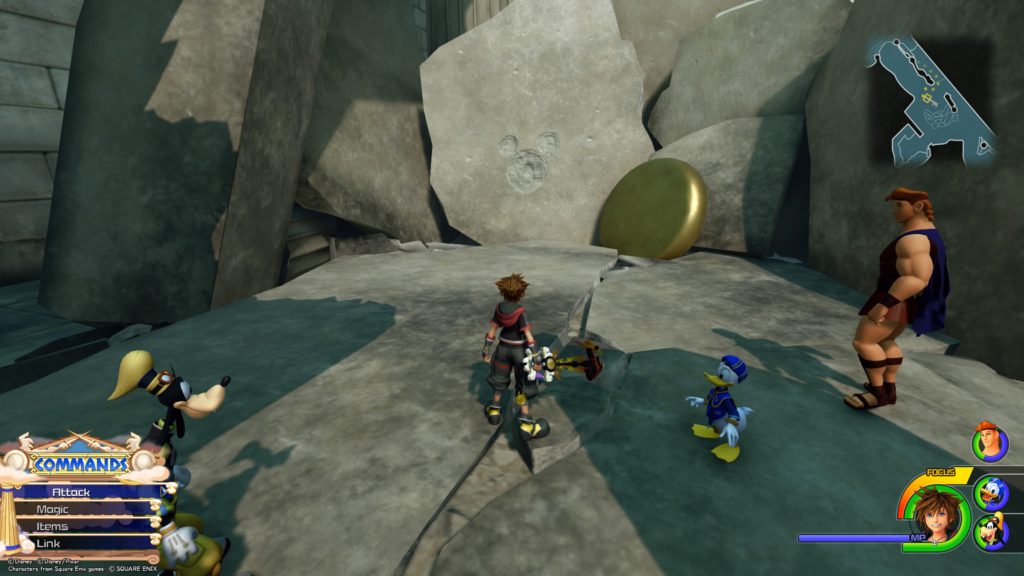
Lucky Emblem 2

Middle of shield surfing area in the Big Olive on a piece of fallen rubble


Mount Olympus / Cliff Ascent

Lucky Emblem 5

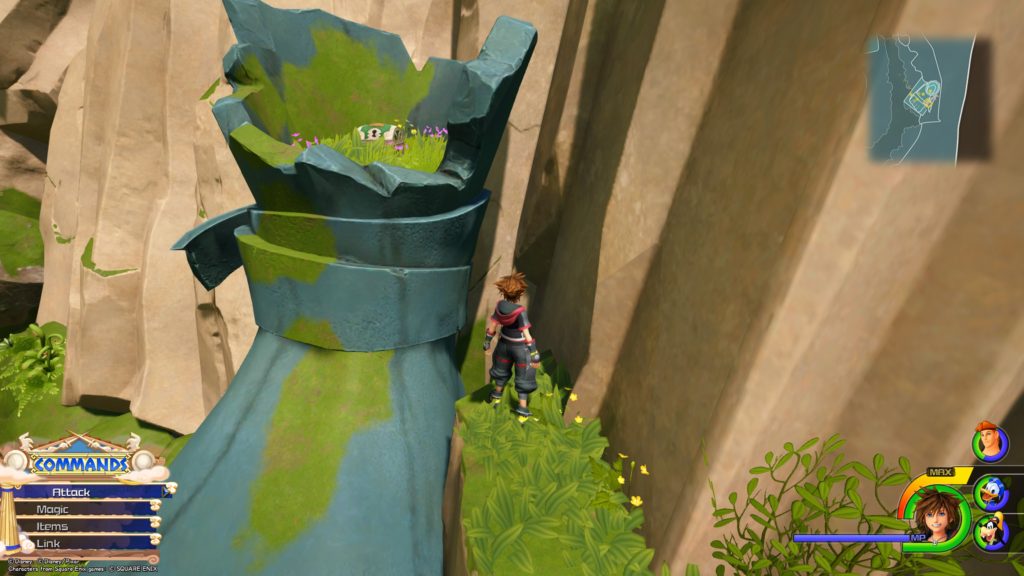
The emblem is on one of the columns holding up the blue roof, just before reaching the temple where the giant Zeus statue is.


Lucky Emblem 6

Follow the path past the giant statue of Zeus sitting down until you reach the statue of Perseus (the guy holding the head). Enter the cavern behind him, and if you haven’t already, hit the column furthest to the left to cause them all to fall, breaking a hole in the ground. Jump off the side of the cliff there and keep heading down until you reach a waterfall. Defeat the water cores here to make the water recede. This will reveal the emblem on the climbable rock wall.

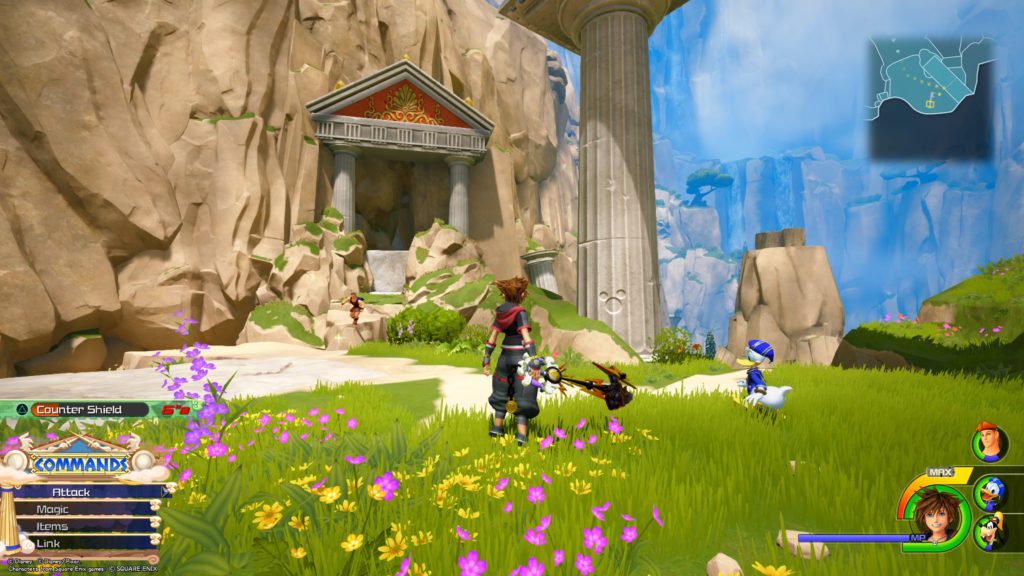
Lucky Emblem 7

This emblem is a little ways past the giant statue of Zeus sitting down. When you reach the statue of Perseus (guy holding the head), look east off the cliff face to see the emblem on top of a rock pillar.


Mount Olympus / Summit

Lucky Emblem 8

From the Mount Olympus Summit save point, head back towards the mountain into the storming area. Backtrack until you reach the cliff where you fought the Rock Titan, and jump down to the bottom. Keep backtracking a little bit more until you reach a cavern with a pit in the middle of the ground. The emblem will be in the vines on a tree near the eastern part of the cavern.


Realm of the Gods / Corridors

Lucky Emblem 9

Take the stairs across up from the save point and head right to find the emblem on a wall near a second set of stairs.


Lucky Emblem 10

Take the stairs across from the save point up and ride the water stream up to the room at the top. The emblem will be on the wall straight ahead.


Realm of the Gods / Secluded Forge

Lucky Emblem 11

From the Corridors save point, take the stairs across the way up, then take the second set of stairs shortly to the right. Follow that hallway or ride the water stream to reach some flowing water. Follow that water off the ledge to reach the forge where the emblem will be in the middle of the room.


Realm of the Gods / Secluded Forge

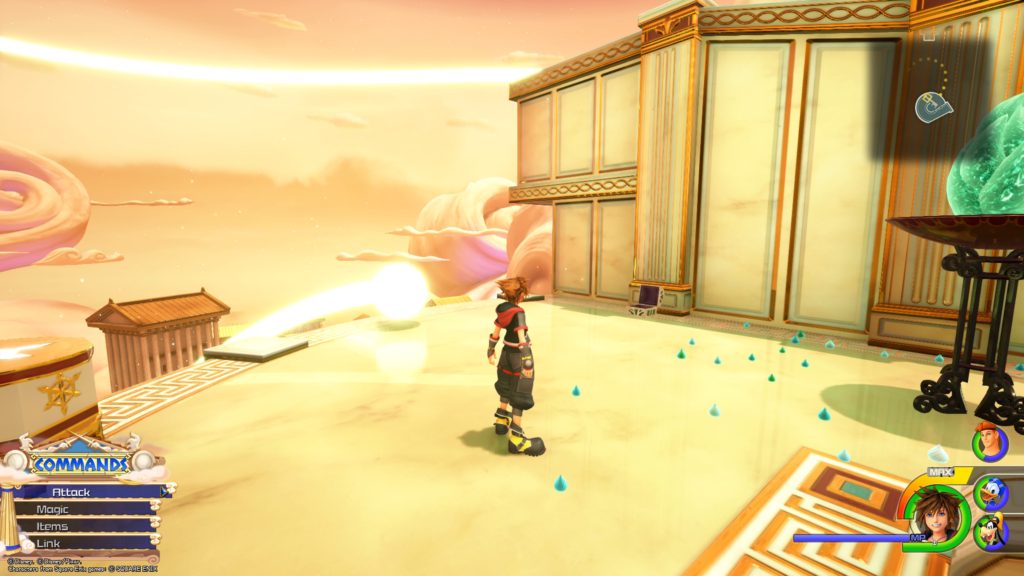
Lucky Emblem 12

Take the Rail Gauntlet in the Corridors to the Cloud Ridge. Once there, take a left and follow the stairs up. The emblem will be straight ahead on a cloud island off in the distance.


Guides

Kingdom Hearts III – Olympus Treasure Chests Guide

by Chappie in


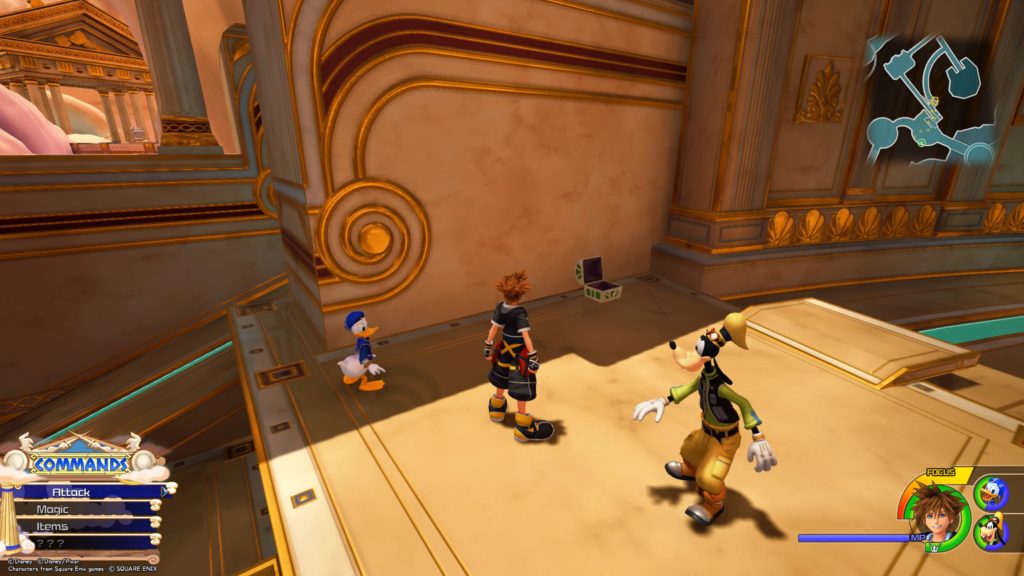
Thebes / Agora

Fluorite

South side of the map behind the building that is behind Hercules’ statue


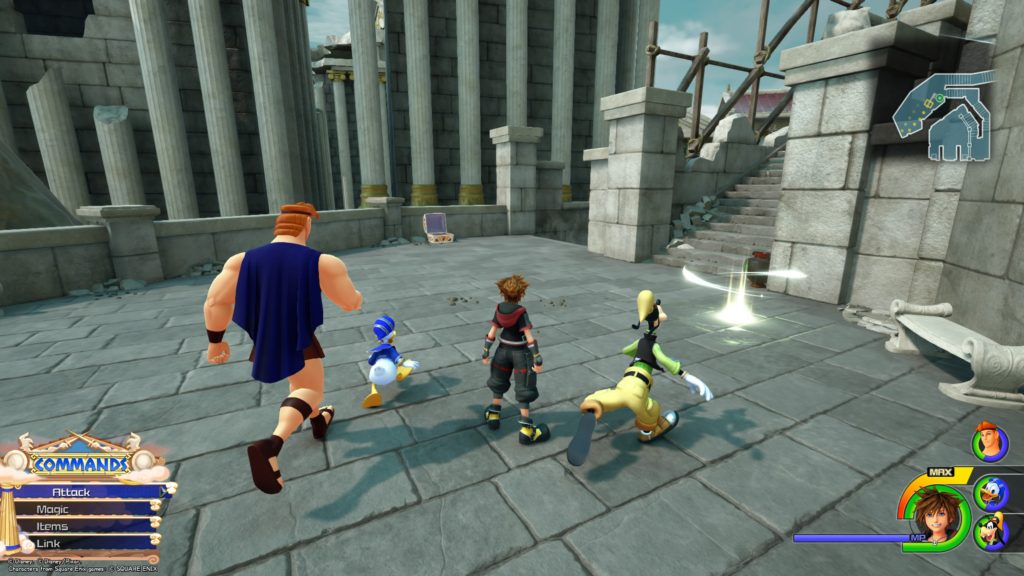
Thebes / Overlook

Thebes Map

Near the Overlook save point


Potion

From the Overlook savepoint, take the left path down the stairs and keep moving forward until you reach the rooftops. The chest will be just to the right of them.


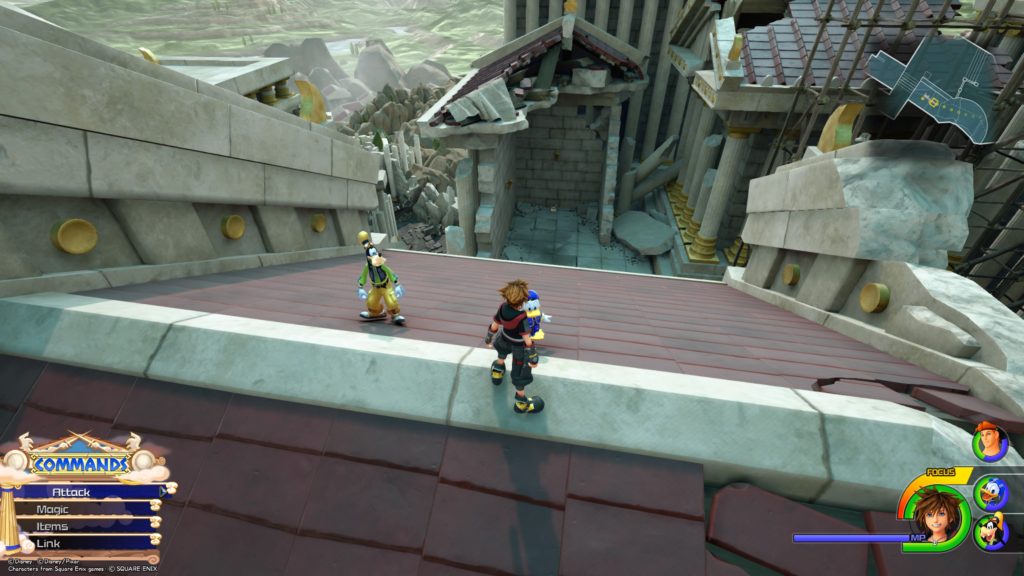
AP Boost

From the previous chest, run across the rooftops and jump onto the shield of the giant stone statue just across the way. From there, walk across the connected rooftop and jump into the building across from that to reach this chest.


Ether

From the previous chest, jump down to the street and backtrack a little bit to the base of the giant stone statue near the smaller golden statues to find this chest.


Shield Belt

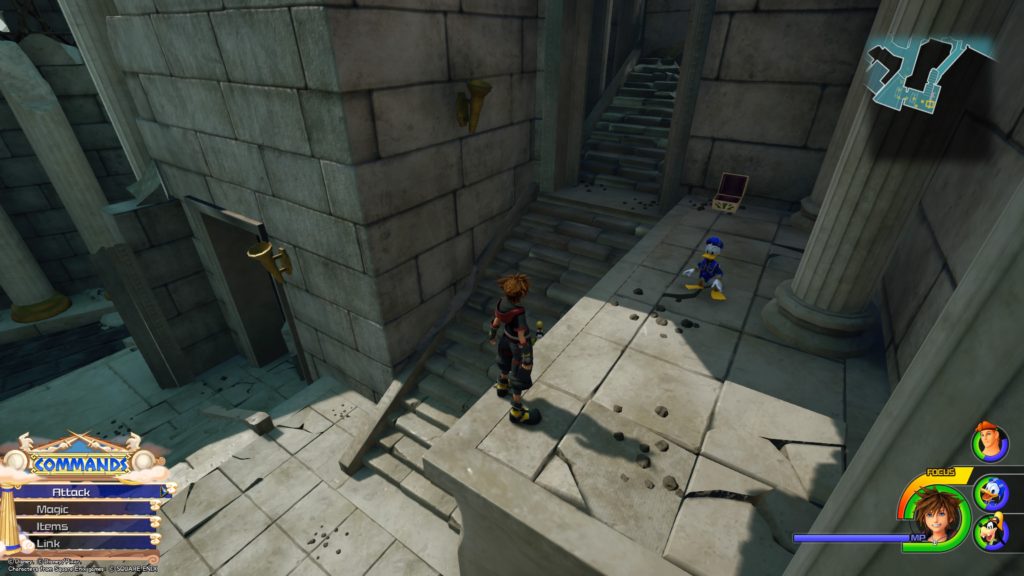
From the previous chest, go back the way you just came from and follow the steps down to the bottom. This will bring you to a shield surfing area. Head through the debris and take the left path between the two broken column posts. Drop down and take the stairs to the left up 3 flights to reach this chest.


Thebes / Gardens

Potion

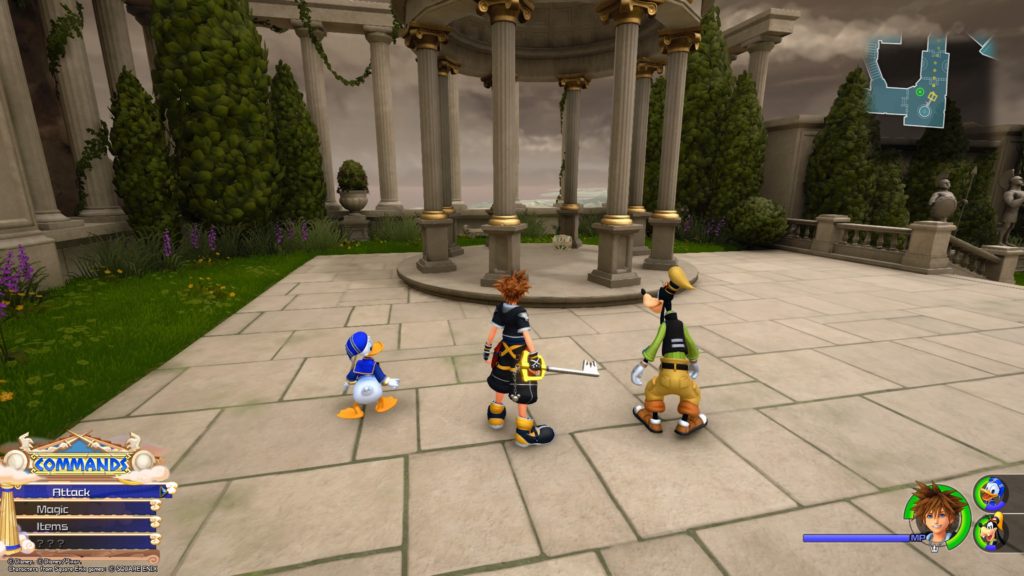
Under the pillar gazebo, near the save point


Magic Ring

Facing the Gardens savepoint, go left past the fountain and down the stairs. Once at the bottom, take the right path to arrive at the Achilles statue. Attack its heel a couple time to knock that statue down. This will break apart a chunk of the wall revealing the chest.


Thebes / The Big Olive

Ether

Head to the shield surfing section of the Big Olive and take the left path (southwest) through a hole in the wall


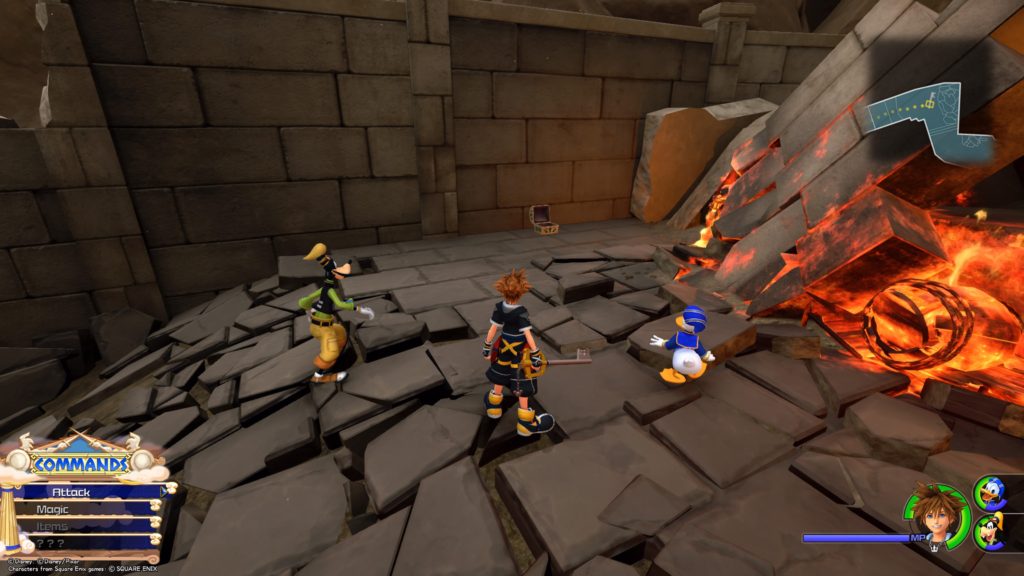
Mega-Potion

Climb the right side of the wall where the giant pit of fire was during the story


Thebes / Alleyway

AP Boost

Cliffside overlooking some buildings


Potion

In the aqueduct connected the Alleyway to Agora


Mount Olympus / Ravine

Power Ring

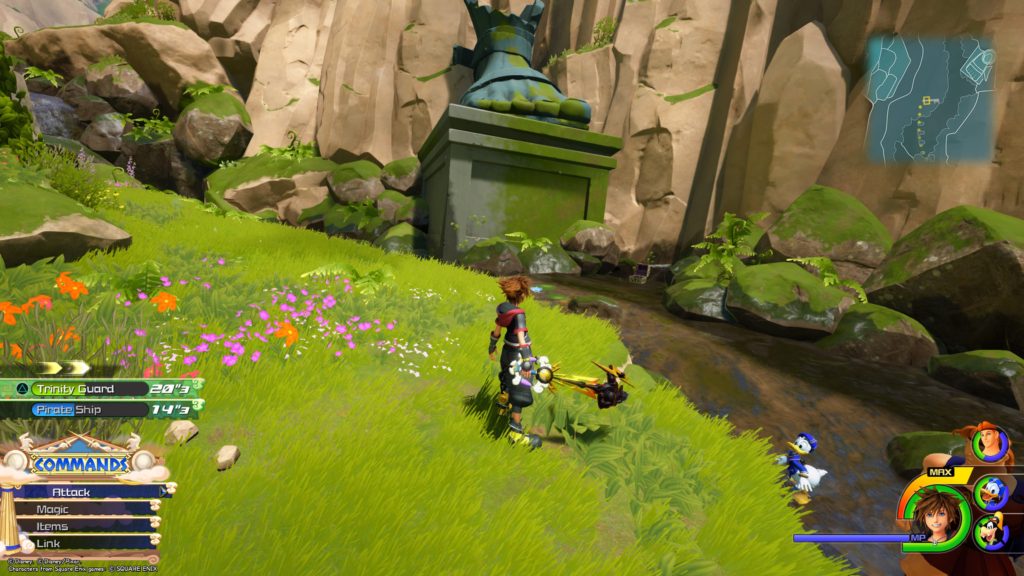
This chest is in the top part of the green foot statue halfway up the Ravine


Water Cufflink

This chest it about halfway up the Ravine next to the statue of a green foot. As part of the story, you will need to defeat the Water Cores here to lower the water level revealing the chest.


Mount Olympus / Cliff Ascent

Mount Olympus Map

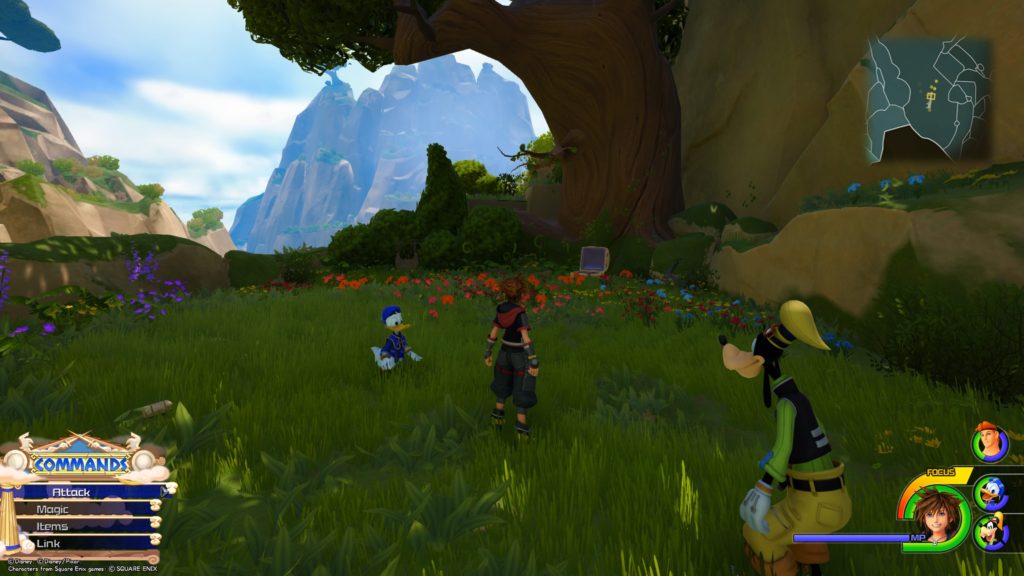
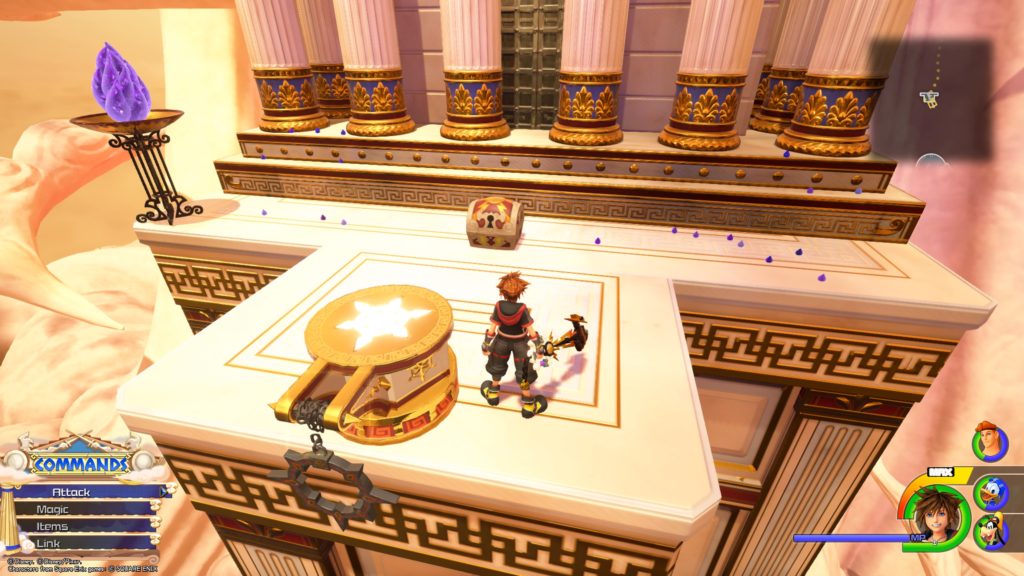
This chest is found under an apple tree just after running up the wall from the Ravine to enter the Cliff Ascent


Potion

When you reach the two pillars holding up the blue roof, jump off the east side and follow the path through a little cavern to reach a cliffside containing the chest


AP Boost

Climb up the wall to the left of the giant statue of Zeus sitting down to find this chest at the top


Bronze Necklace

To reach this chest, head past the giant statue of Zeus sitting down and keep moving forward until you reach the Perseus statue (the guy holding a head) just before the cavern. Jump off the cliff near Perseus aiming for the rock pillar with the Lucky Emblem on the top. The chest will be on a piece of land sticking out of the bottom of that pillar.


Panacea, Ability Ring and Potion

Head past the giant statue of Zeus sitting down and keep moving forward until you reach the Perseus statue (the guy holding a head) just before the cavern. Enter the cavern to find either a giant hole or a giant rock with three stone pillars next to it. Hit the pillar that is the furthest to the left to cause it to knock down the other 2 landing on the rock. This will break the rock and the ground revealing an area containing these chests.


Mount Olympus / Mountainside

AP Boost

On one of the ledges while running up the side of the cliff (before the cavern with the pit)


Hi-Ether

Cavern after running up part of the mountain just before the room with the pit


Mount Olympus / Summit

Fluorite

After reaching the summit from the mountainside, take the left path at the fork to find the chest


Realm of the Gods/Courtyard

Potion

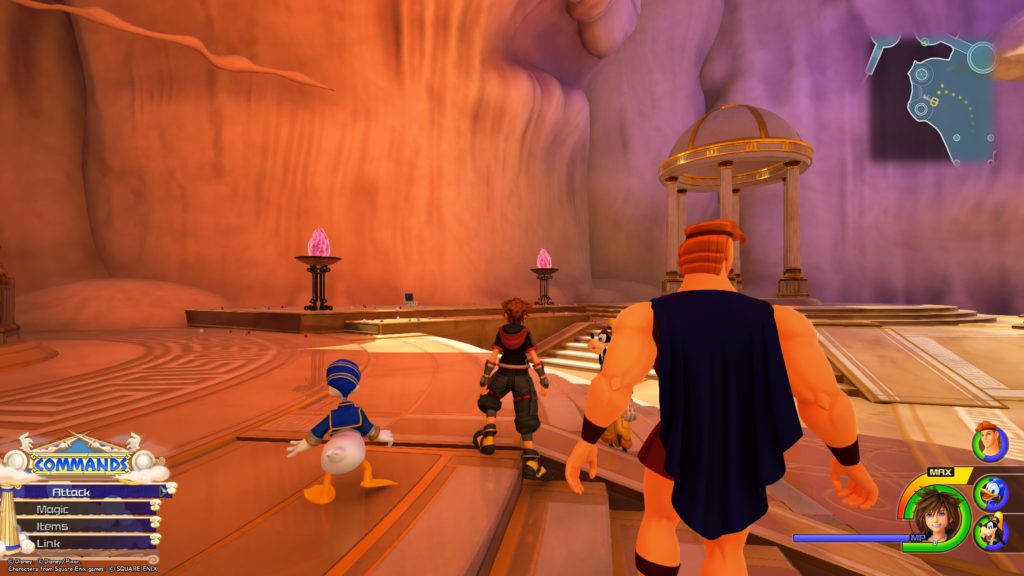
In the courtyard next to the orange and purple clouds


Refocuser

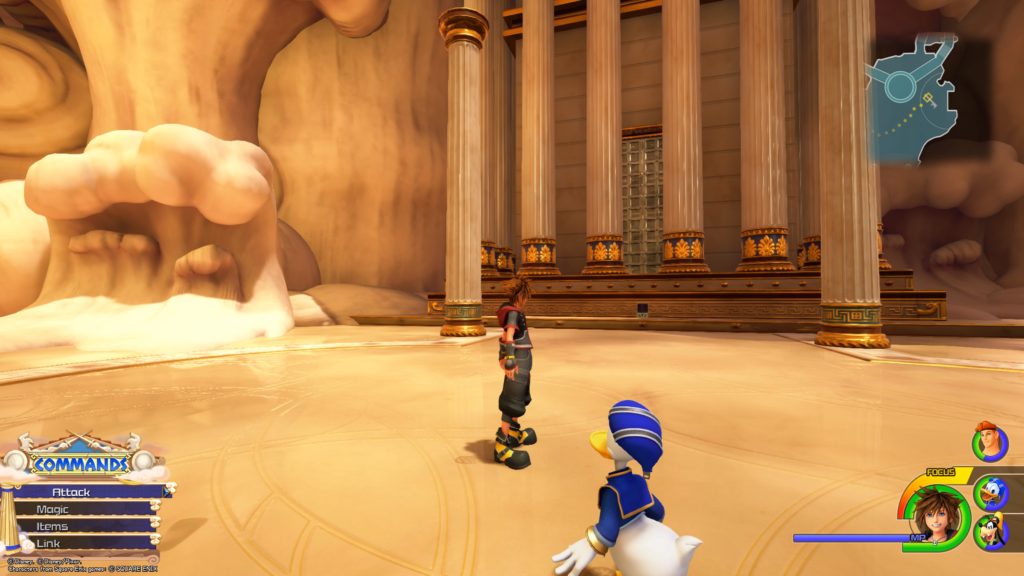
In the courtyard next to the building with all the columns in front of it


Fluorite

Archway under the second set of stairs on the path to the corridors


Realm of the Gods / Corridors

Realm of the Gods Map

Near the Corridors save point


Mythril Shard

Take the steps across from the save point up, then hang a right to reach a second set of steps. The chest will be at the top of the second set.


Realm of the Gods / Cloud Ridge

Refocuser

Take the Rail Gauntlet from the Corridors to Cloud Ridge to find the chest straight ahead


Realm of the Gods / Apex

Potion

Use the golden rail in the Corridors to reach the middle floating platform in the Apex to find this chest


Elixir

This chest is in the present like box on a platform between Corridors and the Apex. You can reach it by using the golden rails. To open the box, you will first need to travel to the Toy Box. When exiting Andy’s house for the first time, you will learn how to break the present via a tutorial where you will smash open a toolbox.


Guides

Kingdom Hearts III – Twilight Town Lucky Emblems Guide

by Chappie in


The Neighborhood / Tram Common

Lucky Emblem 1

On the left wall of the Gummi Shop above the potted tree


Lucky Emblem 2

On the top of the tram moving around the area


Lucky Emblem 3

On one of the chimneys on top of the Moogle Shop


Lucky Emblem 4

On the screen at the movie theater in the northeast part of the area


Lucky Emblem 5

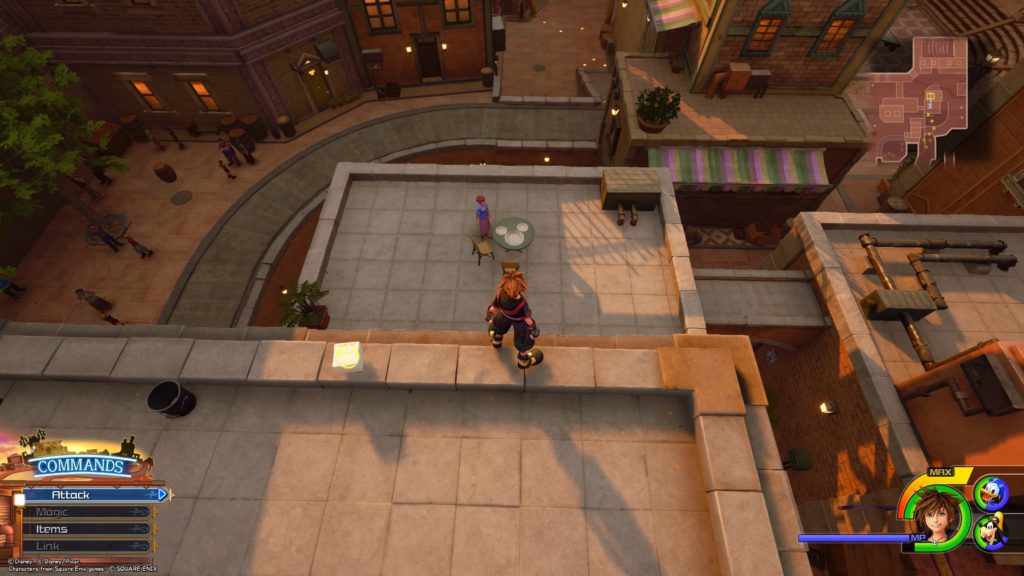
White plates arranged on a green table on the second story of a building on the east side of town (building across from the entrance to the movie theater)


The Neighborhood / Underground Conduit

Lucky Emblem 6

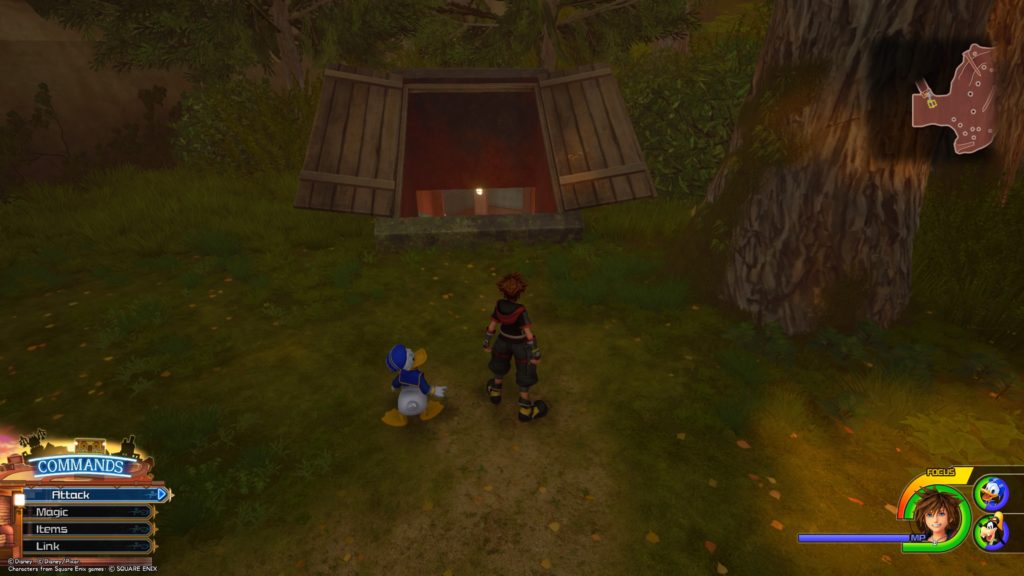
On the wood shutter door leading into the Underground Conduit


Lucky Emblem 7

After exiting the Underground Conduit to the woods, turn right and run up the wall to find the emblem at the top.


Lucky Emblem 8

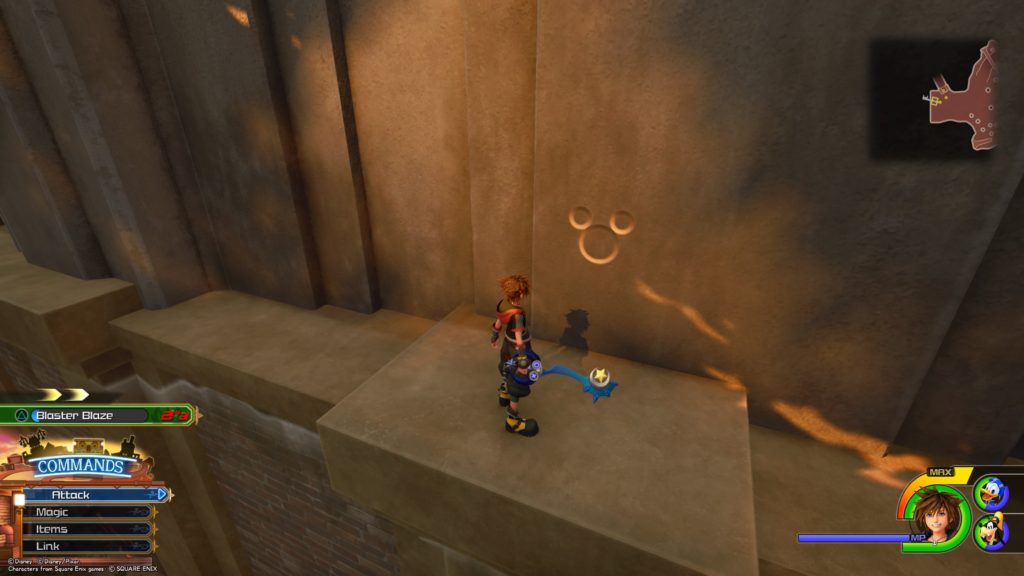
On the side of a mound near the southeastern side of the area


The Neighborhood / The Old Mansion

Lucky Emblem 9

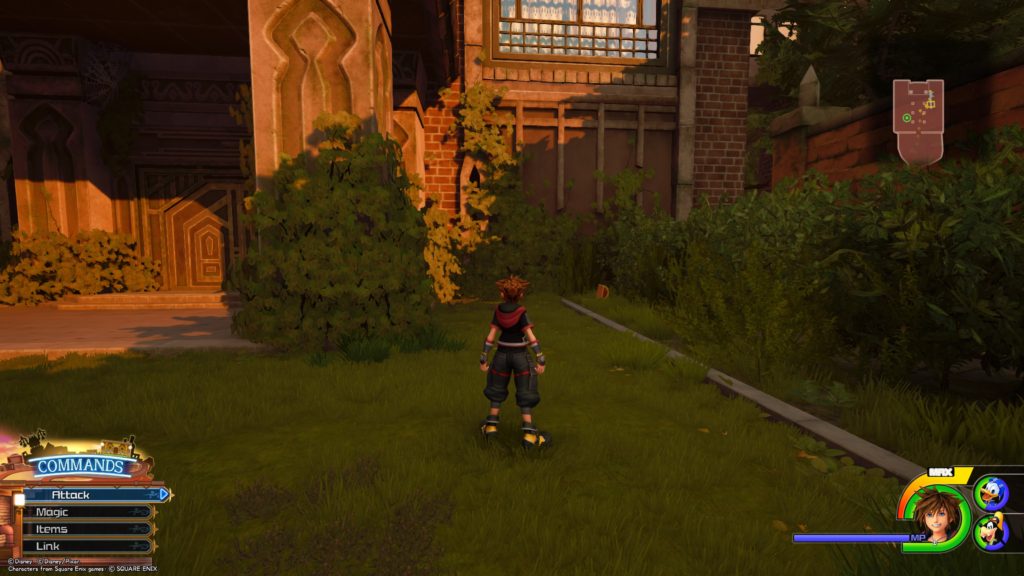
On the left side of the gate leading to the Old Mansion courtyard


Guides

Kingdom Hearts III – Twilight Town Treasure Chests Guide

by Chappie in

The Neighborhood / Tram Common

The Neighborhood Map

Across from the Gummi Shop next to a Now Showing sign


Fluorite

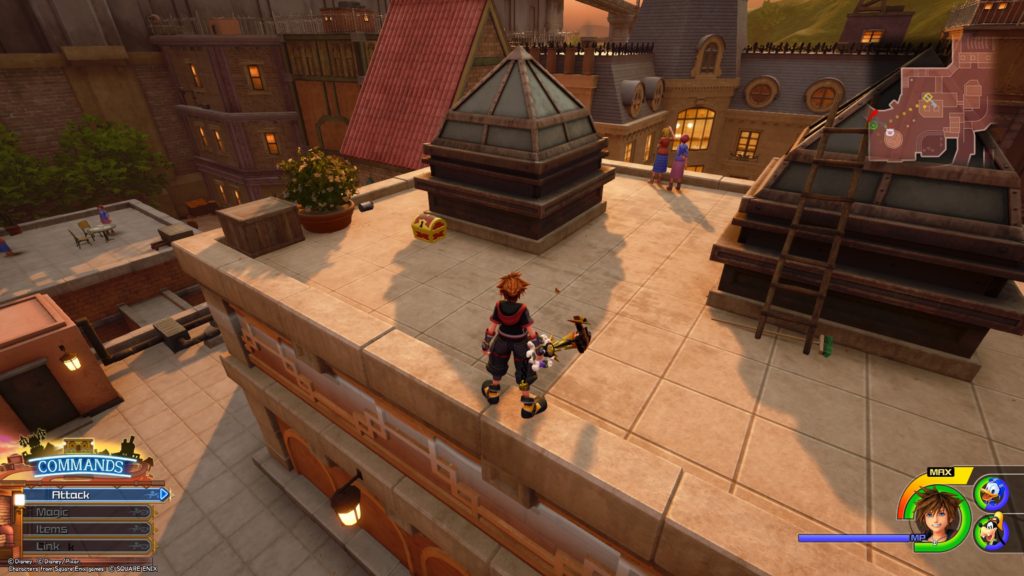
On the roof of the building next to the Neighborhood Map chest


Mythril Shard

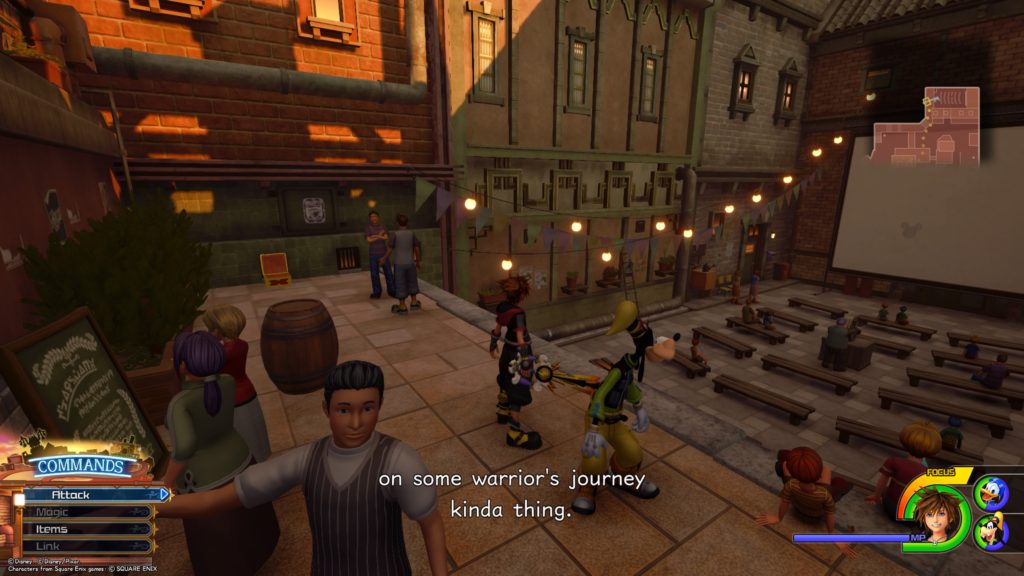
Raised area across from the movie theater screen in the northeast part of the area


High Potion

Balcony to the left of the Bistro


Fluorite

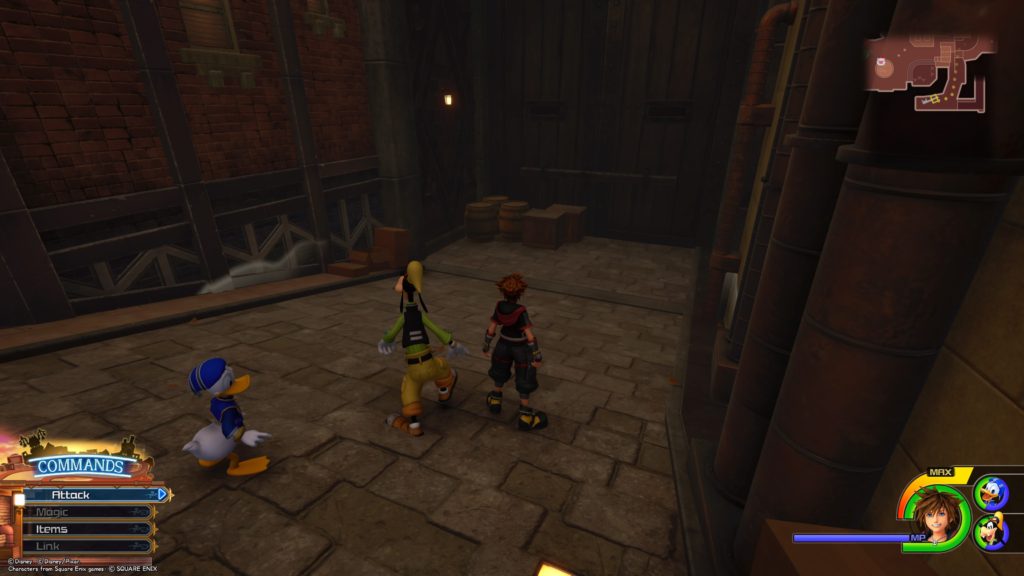
South part of the area. When heading to the Underground Conduit, turn right towards the giant wooden doors. Break the barrels and boxes in front of them to find the chest.


The Neighborhood / Underground Conduit

Refocuser

Next to a gate near the exit to the woods


The Neighborhood / The Woods

 Ether

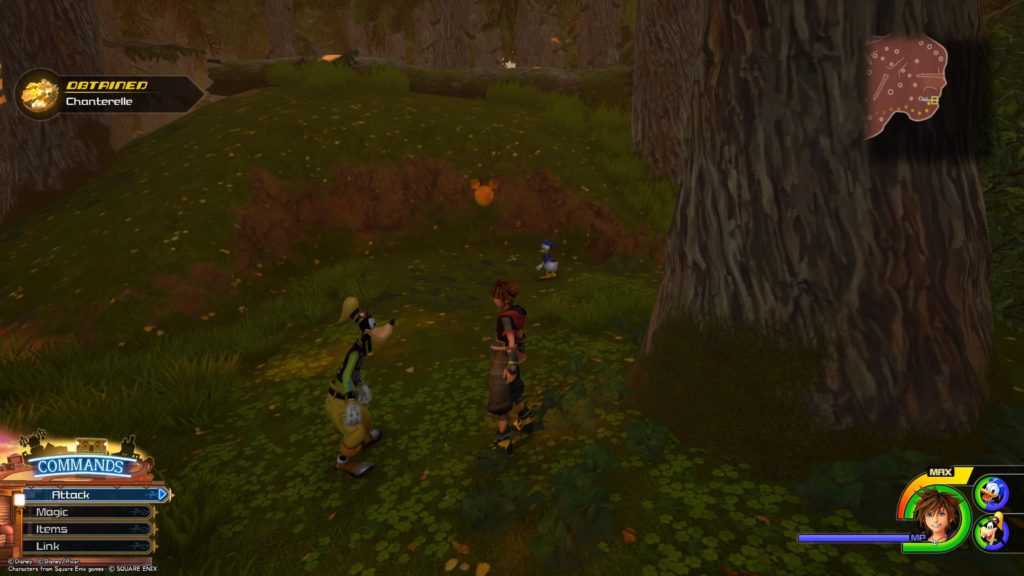
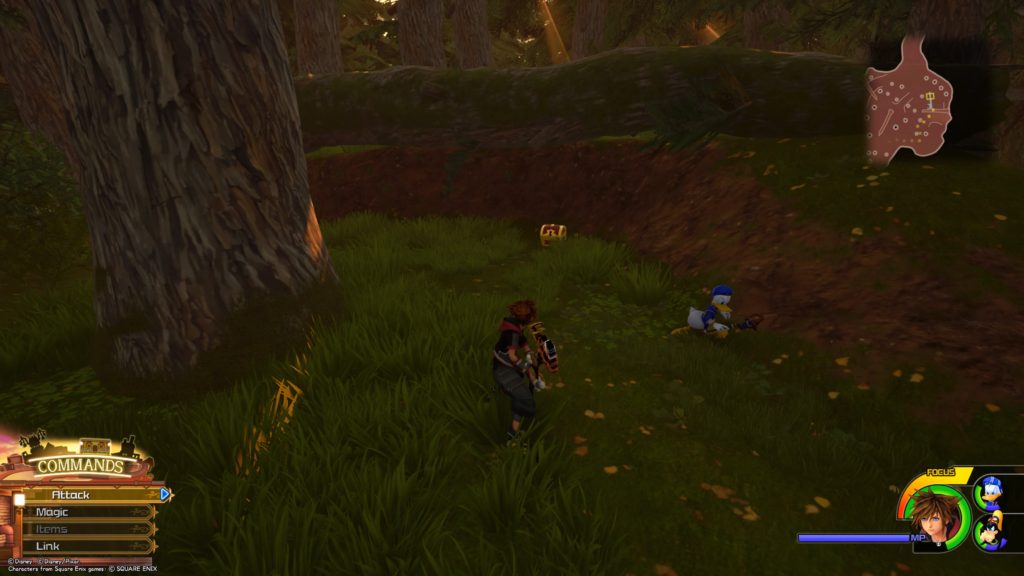
In a hollow log on the south part of the area


Fluorite

Under a fallen tree on the northeast side of the area


AP Boost

On top of a fallen tree on the east side of the map


The Neighborhood / The Old Mansion

Defense Boost

To the right of the Old Mansion’s front doors in the grass


Game Guides

Kingdom Come Deliverance Guides and Walkthroughs

by Chappie in

Welcome to our Kingdom Come Deliverance guides and walkthroughs page! Here you’ll be able to find a list of the main story quests along with how to complete various side quests and activities.

Kingdom Come Deliverance Review

Kingdom Come Deliverance Review

Main Story Quests

  1. Unexpected Visit
  2. Run
  3. Homecoming
  4. Awakening
  5. Train Hard, Fight Easy
  6. Keeping the Peace
  7. The Prey
  8. The Hunt Begins
  9. Ginger in a Pickle
  10. Mysterious Ways
  11. On the Scent
  12. My Friend Timmy
  13. Nest of Vipers
  14. Baptism of Fire
  15. Questions and Answers
  16. All that Glisters
  17. If you can’t beat’em
  18. Poverty, Chastity, and Obedience
  19. A Needle in a Haystack
  20. The Die is Cast
  21. Payback
  22. Out of the Frying Pan
  23. Night Raid
  24. Seige
  25. Rocketeer
  26. Cold Steel, Hot Blood
  27. Family Values
  28. An Oath is an Oath
  29. Vengeance
  30. Epilogue

Side Quests

Activities

  • A Woman Scorned (Old Whore – Glade Inn)
  • Beggars’ Feast (Alex – Rattay)
  • Delicacies (Innkeeper Andrew – Glade Inn)
  • Do me a favor – punch me (Steven? – Rattay)
  • Green-eyed Monster (Farmhand – Sasua)
  • Pickpocketing (Peshek – Rattay Mill)
  • Rob the Rich, Give to the Poor (Vagabond – Rattay)
  • Ruin (Captain Bernard – Rattay)
  • Skin (Tanner Brada – Talmberg)
  • The Queen of Sheba’s Sword (Swordsmith – Sasau)
  • Thick as Thieves  (Peshek – Rattay Mill)
  • Thick as Thieves (Simon)
  • Thick as Thieves (Woyzeck)
Dragon Quest XI
Game Guides

Dragon Quest XI Echoes of an Elusive Age Guides

by Chappie in


Guides and walkthroughs for Dragon Quest XI Echoes of an Elusive Age.


Side Quests

Angri-La


Arboria


Cobblestone


Cobblestone Tor – Summit


Gallopolis


Gondolia


Havens Above


Heliodor


Heliodor Foothills – Church


Hotto


L’Academie de Notre Maitre des Medailles


Lonalulu


Nautica


Octagonia


Phnom Nonh


Puerto Valor


The Snaerfelt


Sniflheim


Zwaardsrust Region


Guides

Pokemon Let’s Go – Master Trainer Locations

by Chappie in


*Note: To challenge the Master Trainer, you must put the correct Pokemon in the top left position (first) in the party.


  • Abra Master (Viridian City)
  • Aerodactyl Master (Pewter Museum of Science – Must pay to get in)
  • Alakazam Master (Route 10 near Lavender Town)
  • Arbok Master (Celadon City Game Rocket Corner – B1 (after puzzle on B2, head up the stairs))
  • Arcanine Master (Celadon City – Inside house in bottom left of the city)
  • Articuno Master (Seafoam Islands – B4)
  • Beedrill Master (Route 8)
  • Bellsprout Master (Viridian City – Inside Trainers’ School)
  • Blastoise Master (Route 20 east of Seafoam Islands)
  • Bulbasaur Master (Route 4)
  • Butterfree Master (Guard Station between Pewter City and Viridian Forest)
  • Caterpie Master (Route 18)
  • Chansey Master (Fuchsia City – Inside Pokemon Center)
  • Charmander Master (Celadon City Condominium – Access building from behind, head up to the roof and go through the roof door to the classroom)
  • Charmeleon Master (Route 10 near Lavender Town)
  • Clefable Master (Mt. Moon – B1)
  • Clefairy Master (Saffron City)
  • Cloyster Master (Route 20 east of Seafoam Islands)
  • Cubone Master (Guard Station between Saffron City and Route 8)
  • Dewgong Master (Seafoam Islands – B1)
  • Diglett Master (Diglett’s Cave)
  • Ditto Master (Cinnabar Island Pokemon Mansion – 3F)
  • Dodrio Master (Route 15)
  • Doduo Master (Cerulean City Bike Maniac)
  • Dragonair Master (Seafoam Islands – B3)
  • Dragonite Master (Cerulean City – Inside house northwest of the city)
  • Dratini Master (Route 23 – Before Victory Road)
  • Drowzee Master (Viridian City – Inside Pokemon Center)
  • Dugtrio Master (Diglett’s Cave)
  • Eevee Master (Route 17)
  • Ekans Master (Route 4)
  • Electabuzz Master (Route 10 near Power Plant)
  • Electrode Master (Route 17)
  • Exeggcute Master (Route 24)
  • Exeggutor Master (Cinnabar Island)
  • Farfetch’d Master (Vermilion City)
  • Fearow Master (Route 18)
  • Flareon Master (Celadon City Department Store – 4F)
  • Gengar Master (Lavender Town)
  • Geodude Master (Rock Tunnel – 1F)
  • Ghastly Master (Lavender Town)
  • Gloom Master (Pewter City)
  • Golbat Master (Victory Road – 3F)
  • Goldeen Master (Route 12)
  • Golduck Master (Route 4 using Sea Skim)
  • Golem Master (Pewter Museum of Science – Must pay to get in)
  • Graveler Master (Victory Road – 1F)
  • Grimer Master (Celadon City)
  • Growlithe Master (Route 7)
  • Gyarados Master (Celadon City – House in bottom left corner of the city)
  • Haunter Master (Lavender Town)
  • Hitmonchan Master (Saffron City Fighting Dojo)
  • Hitmonlee Master (Saffron City Fighting Dojo)
  • Horsea Master (Route 19)
  • Hypno Master (Lavender Town Pokemon Tower – 5F)
  • Ivysaur Master (Route 14)
  • Jigglypuff Master (Pewter City – Inside Pokemon Center)
  • Jolteon Master (Celadon City Department Store – 3F)
  • Jynx Master (Cerulean City using Sea Skim)
  • Kabuto Master (Mt. Moon – B2)
  • Kabutops Master (Pewter City – Inside house in northeast corner of the city)
  • Kadabra Master (Saffron City – House in bottom left corner of the city)
  • Kakuna Master (Route 13)
  • Kangaskhan Master (Fuchsia City – Safari Zone)
  • Kingler Master (Saffron City Silph Co – 1F)
  • Koffing Master (Route 17)
  • Krabby Master (Vermilion City Pokemon Fan Club)
  • Lapras Master (Lavender Town Pokemon Center – 4F)
  • Lickitung Master (Route 16 – Inside Guard Station)  
  • Machamp Master (Vermilion City)
  • Machoke Master (Fuchsia City – Inside house on bottom right of the city)
  • Machop Master (Saffron City Silph Co – 4F)
  • Magikarp Master (Route 4 in Pokemon Center)
  • Magmar Master (Cinnabar Island Pokemon Mansion – 1F)
  • Magnemite Master (Underground Path between Cerulean City and Vermilion City)
  • Magneton Master (Underground Path between Cerulean City and Vermilion City)
  • Mankey Master (Route 5)
  • Marowak Master (Lavender Town Pokemon House)
  • Melmetal Master (Cinnabar Island Pokemon Mansion – B1)
  • Meltan Master (Cinnabar Island Pokemon Mansion – B1)
  • Meowth Master (Viridian City – Inside Poke Mart)
  • Metapod Master (Route 11)
  • Mew Master (Cinnabar Island Pokemon Mansion – B1)
  • Mewtwo Master (Cinnabar Island Pokemon Mansion – B1)
  • Moltres Master (Victory Road – 2F)
  • Mr. Mime Master (Celadon City Condominiums – 2F)
  • Muk Master (Cinnabar Island Pokemon Mansion – 2F)
  • Nidoran (female) Master (Route 3)
  • Nidoran (male) Master (Route 4)
  • Nidorina Master (Underground Path between Celadon City and Lavender Town)
  • Nidorino Master (Underground Path between Celadon City and Lavender Town)
  • Nidoking Master (Route 23 – Before Victory Road)
  • Nidoqueen Master (Route 23 – Before Victory Road)
  • Ninetales Master (Route 9)
  • Oddish Master (Viridian City)
  • Omanyte Master (Mt. Moon – B2)
  • Omastar Master (Cinnabar Island – Inside Cinnabar Lab)
  • Onix Master (Underground Path between Celadon City and Lavender Town)
  • Paras Master (Mt. Moon – 1F)
  • Parasect Master (Route 2)
  • Persian Master (Celadon City Rocket Game Corner – B4)
  • Pidgey Master (Route 2)
  • Pidgeotto Master (Route 16)
  • Pikachu Master (Viridian Forest)
  • Pinsir Master (Guard Station on Route 18 near Fuchsia City)
  • Poliwag Master (Route 12)
  • Poliwhirl Master (Cerulean City – Inside house left of Pokemon Center)
  • Poliwrath Master (Cerulean City – Go through house in north left of the city to the backyard next to the water)
  • Ponyta Master (Saffron City)
  • Porygon Master (Celadon City Rocket Game Corner – 1F)
  • Primeape Master (Guard Station between Route 11 and 12)
  • Psyduck Master (Route 21)
  • Raichu Master (Lavender Town Pokemon Tower – 6F)
  • Rapidash Master (Saffron City)
  • Raticate Master (Cerulean City – Inside house that was ransacked)
  • Rattata Master (Route 10 north of Rock Tunnel)
  • Rhydon Master (Celadon City Rocket Game Corner – B2)
  • Rhyhorn Master (Route 17)
  • Sandshrew Master (Route 11)
  • Sandslash Master (Guard Station between Route 7 and Saffron City)
  • Scyther (Guard Station between Route 15 and Fuchsia City)
  • Seaking Master (Route 13)
  • Seel Master (Seafoam Islands – 1F)
  • Shellder Master (Route 19)
  • Slowbro Master (Route 21)
  • Slowpoke Master (Route 21)
  • Snorlax Master (Route 16)
  • Spearow Master (Pewter City)
  • Starmie Master (Route 25)
  • Staryu Master (Route 19)
  • Tangela Master (Route 15)
  • Tauros Master (Fuchsia City – Safari Zone)
  • Tentacool Master (Route 20 east of Seafoam Islands)
  • Tentacruel Master (Route 20 west of Seafoam Islands)
  • Vaporeon Master (Celadon City Department Store – 2F)
  • Venomoth Master (Route 15)
  • Venonat Master (Route 24)
  • Venusaur Master (Route 23 – After Victory Road)
  • Victreebel Master (Celadon City – bottom of the city near gym)
  • Vileplume Master (Route 14)
  • Voltorb Master (Power Plant)
  • Vulpix Master (Route 6)
  • Wartortle Master (Route 20 west of Seafoam Islands)
  • Weedle Master (Viridian Forest)
  • Weepinbell Master (Lavender Town Pokemon Tower – 7F)
  • Weezing Master (Celadon City Rocket Game Corner – B3)
  • Wigglytuff Master (Saffron City Silph Co – 11F (take portal on 3F in left office then head on the second portal to get to 11F))
  • Zapdos Master (Power Plant)
  • Zubat Master (Rock Tunnel – B1)


Kingdom Come Deliverance Logo
Guides

Kingdom Come Deliverance – The Hunt Begins Walkthrough

by NightlyGamingBinge in

Welcome to NGB and our Kingdom Come Deliverance walkthrough for The Hunt Begins quest! Here you’ll find everything you’ll need to easily breeze through this quest.

The Hunt Begins Overview

Objective(s):

Go and Report to Captain Bernard in the Courtyard

Speak to Captain Bernard in the courtyard near the combat arena in Rattay when you are ready to leave. Keep in mind that this is a timed objective and will fail if you do not get to it within a few minutes.

Mount Your New Horse

Mount the grey horse called Pebbles.

Follow the Men to Neuhof

Exit Rattay to the east and follow the men until you reach Neuhof where a cutscene will trigger.

(Optional) Question the Survivors

Start by talking to Zora near the corpse of her husband and exhaust all dialog options.  Talk to Jakub, who is diagonally southwest of Zora in the same stable area, and exhaust all of his dialog options.  Then head north past Zora outside the stables. Once outside, head northeast past the pond to the main stables.  Talk to Mark who is sitting on a stump near a covered wagon and exhaust all of his dialog options. Finally, talk to Ginger who is standing by the barn door on the far left side of the barn and exhaust all of his dialog options.

(Optional) Scout the Area

Inspect the broken gate with cloth on it to the northwest, which is on the left side of the barn.  To fulfill this objective, we talked to all the survivors and found the area with the broken gate.

Explore the Area to the North of the Farm

From the broken gate, follow the trail in the woods northwest (there will be a trail of blood on this path) until you reach another road.  Inspect the bloody puddle in the middle of that road to complete the objective.

Find Out Where the Raiders Went / Explore the Clearing in the Woods

From the bloody puddle head east on the road past the three stumps on the left then turn left and head north over the small bank on the side of the road.  Keep heading north until you come across a path in the woods. Along a path, you will come across two of the raiders. You will need to fight one and talk to the other bandit that is sitting on the ground.

Search the Bandit

Search the bandit and grab the bloody hoofpick.

Find the Owner of the Hoofpick From Neuhof

Head back to Neuhof and talk to Zora.  Exhaust all dialog options to get the next objective.

Find Out From Jakub Where Ginger Could Have Fled

Talk to Jakub exhausting all dialog options while also promising no harm will come to Ginger. This will complete The Hunt Begins quest.

Kingdom Come Deliverance Guides and Walkthroughs

For more Kingdom Come Deliverance guides and walkthroughs, click here!
Kingdom Come Deliverance Logo
Guides

Kingdom Come Deliverance – The Prey Walkthrough

by NightlyGamingBinge in

Welcome to NGB and our Kingdom Come Deliverance walkthrough for The Prey quest! Here you’ll find everything you’ll need to easily breeze through this quest.
The Prey Overview

Acquired: Automatically after finishing Keeping the Peace

Objective(s):

Meet Lord Capon at Dawn in the Courtyard of the Upper Castle

Head back to the Rattay Mill and sleep until dawn.  Follow the objective to the east side of Rattay to meet Hans Capon. You can fail this if you don’t meet with Hans on time.

Follow Hans Capon

Talk to Hans Capon and choose either option as Henry will have to follow behind Hans on foot either way. After a while, the game will fast travel you to your destination.  Continue to follow Hans Capon to a campsite.

Bring Capon Wine and Bacon from his Saddlebag

Head over to Hans’ horse and grab the wine and bacon from Hans Capon’s horse.

Wait Until Dawn

Sleep until 7 am.

Compete with Sir Hans at Hunting Hares

Search the woods for rabbits and bag as many as you can.  I’d pick up as many arrows as you can scavenge from around your kill, because let’s be honest, you’re (most likely) not going to bring the animal down in one shot. At noon the quest will automatically update.

Go Back to the Camp

Follow the objective back to camp.

Wait for Sir Hans

After some time passes, the objective will automatically update.

Talk to Sir Hans

Talk to Hans to trigger a cutscene. If you managed to beat him at the hunting challenge, he’ll give Henry 100 Groschen.

Follow Hans Capon

Follow Hans northwest.  Eventually, he will get off his horse and a cutscene will trigger.

Run Down the Boar

This objective will automatically fail if you don’t have a horse to chase it on. Otherwise, follow the boar until the objective updates.

Find Hans Capon

Follow the objective to find Hans around the northwest corner of the search area.

Rescue Hans Capon

There will be two captors you will need to defeat. One is an archer and the other has a sword and shield. It is possible to free Hans without alerting them to your presence. It’s best to create a new save in case you do get spotted.

Untie Sir Hans

Find the tree that Sir Hans is tied to and untie him. This will trigger a quick cutscene.

Talk to Sir Hans

Talk to Hans Capon to trigger another cutscene that will complete The Prey quest.

Kingdom Come Deliverance Guides and Walkthroughs

For more Kingdom Come Deliverance guides and walkthroughs, click here!