Gotham Knights Walkthroughs
Guides

Gotham Knights – Case File 01: Batman’s Last Case Walkthrough

by Chappie in


Below is a walkthrough for Case File 01: Batman’s Last Case in Gotham Knights!


1.1 – Kirk Langstrom

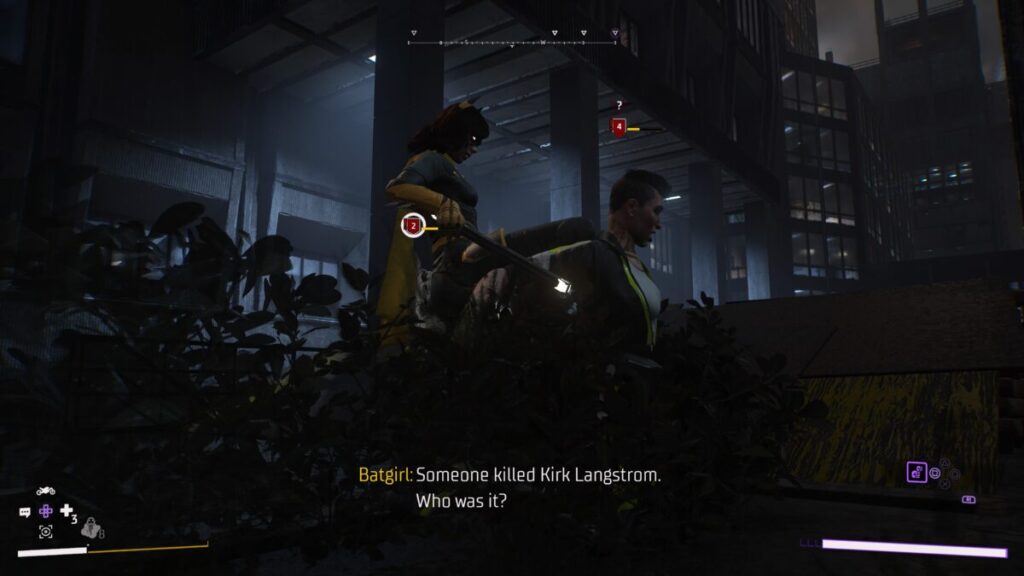
Reach University Plaza / Search for Langstrom’s Office

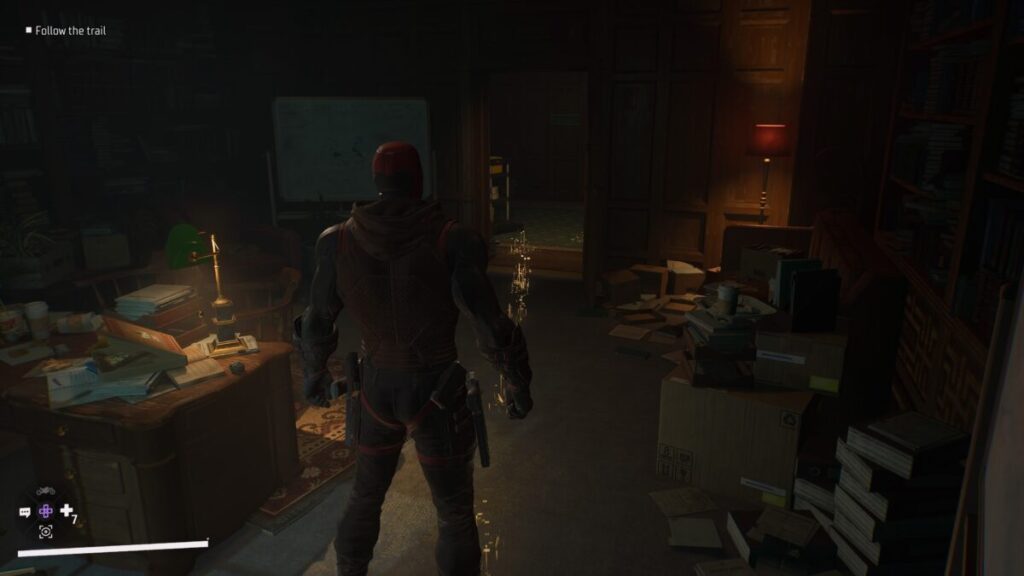
When you gain control of your character, follow the path until the cutscene triggers. You’ll then need to use your grapple a couple of times to reach the third floor balcony. Head through the doorway and enter the only open room on the left side of the hallway to reach Langstrom’s Office.


Use AR to Find Clues / Follow the Trail

 Activate your AR then scan the scratches on the floor next to the side of Langstrom’s desk. The trail will now be visible to the naked eye. Follow it to the chemistry classroom then vault through the broken window to arrive at the crime scene.


Investigate the Crime Scene

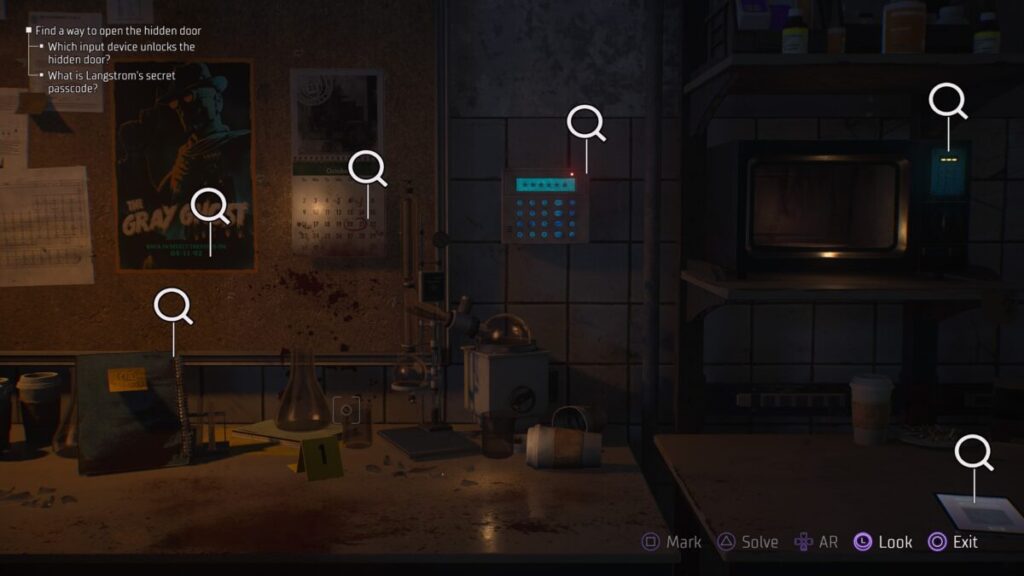
 Approach the back of the room to trigger an event then use your AR on the cabinets next to the blood-smeared wall. Scan the hidden mechanism that appears under them. Head over to the desk and interact with it to investigate the crime scene. You’ll be able to inspect the Sticky Note, Old Movie Poster, Calendar, Thermostat, Microwave, and Langstrom’s Tablet. To open the hidden door, interact with Sticky Note then use that Code on the Microwave.


Explore the Hidden Space

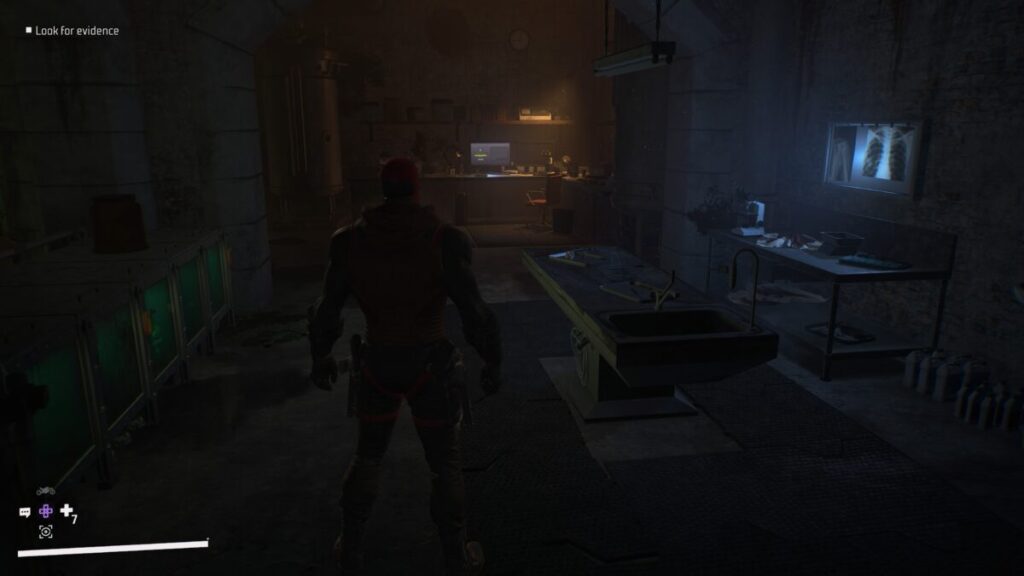
 Head through the secret door and down the elevator shaft then follow the hallway to reach a room at the end. Head to the back part of the room and interact with the tissue samples on the operating table. Next, approach the computer and grab the hard drive sitting on the desk. Backtrack to the crime scene and use the doors to exit the campus.


Defeat the Freaks / Clear Out All Freaks in Hummel Hall

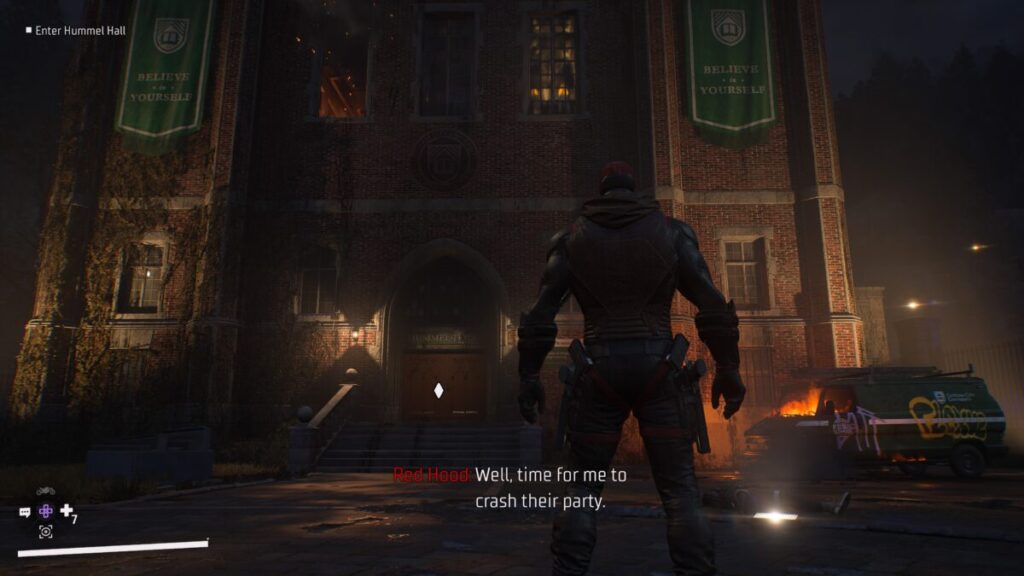
 A cutscene triggers as you head outside leading to a fight with a Freak. Defeat him then follow the others into Hummel Hall. Defeat the four enemies inside then leave the building through the second level window by grappling to the statue in the middle of the courtyard. There will be three enemies here for you to deal with. You’ll get extra points if you defeat them all while remaining undetected.


Enter Woolfolk Hall / Clear Out All Freaks in the Library

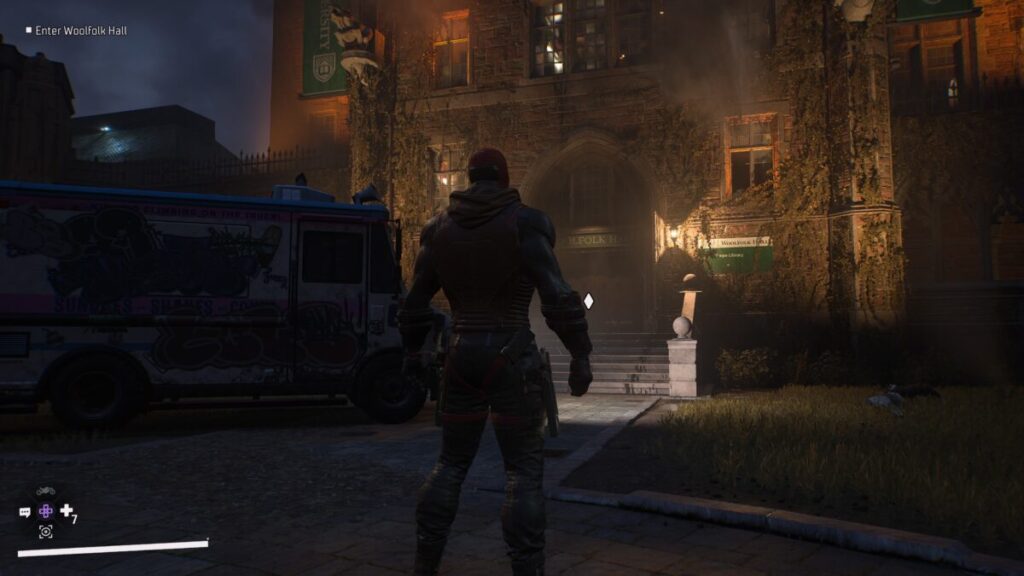
 With the enemies in the courtyard dealt with, enter Woolfolk Hall near the graffiti covered ice cream truck for another event. Take out the enemy on the ground floor then head up the stairs for another event. Drop down over the railing to the first level and deal with the 5 Freaks then free the hostages. Approach the hostages to trigger yet another event leading to a fight against the Bulldozer mini boss. Use heavy attacks to break through his defenses.


Reach the Belfry’s East Plaza

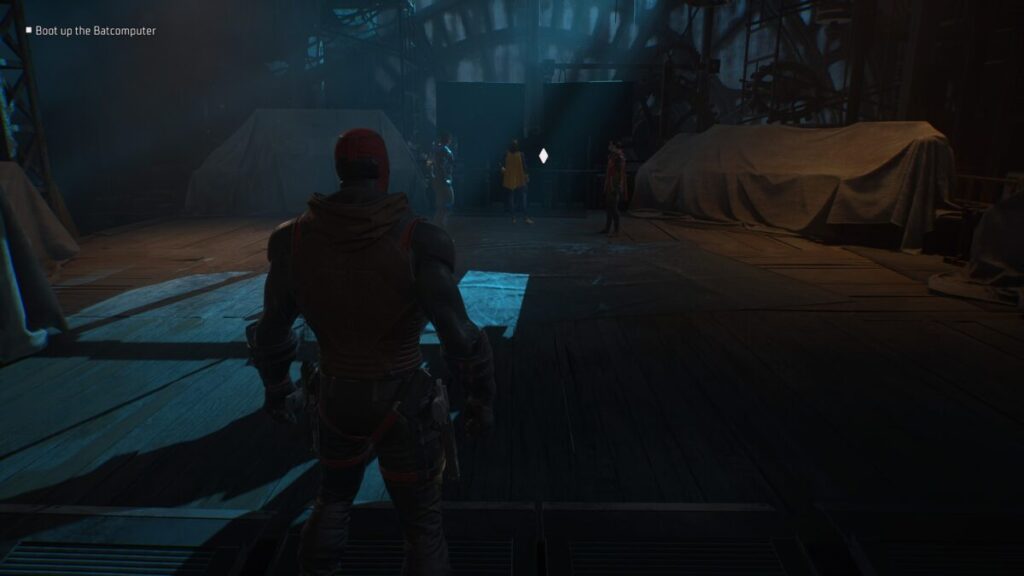
 Drop down from the balcony and leave the university. Call the Batcycle then drive it to the Belfry. This will trigger a loading screen then you’ll be inside the building. Approach the computer near the group for a cutscene.


1.2 – The Langstrom Drive

Patrol Gotham

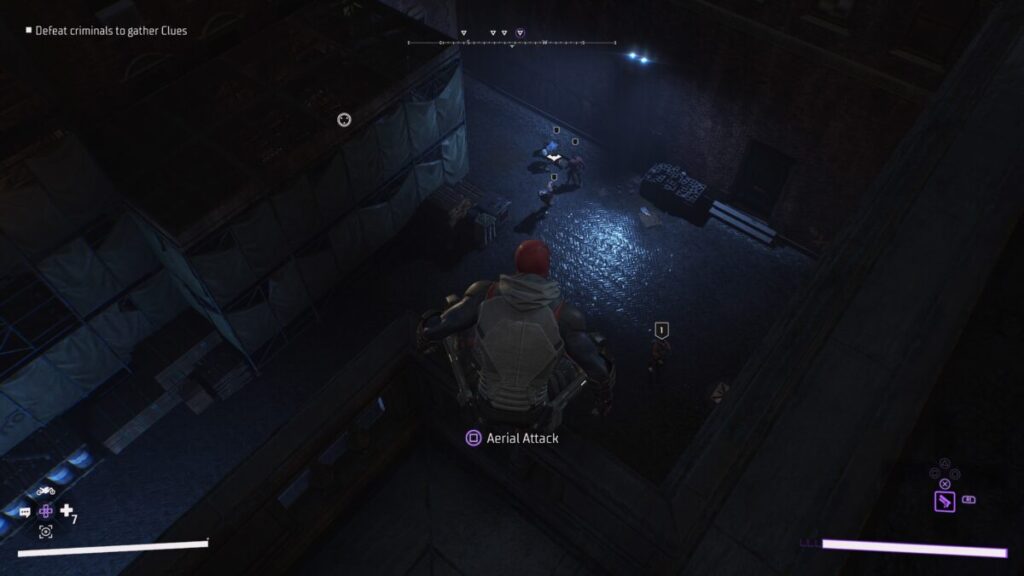
 Before leaving the Belfry, you may want to spend some time at the training dummy doing the available training challenges (doing all of them is required for a trophy). When you’re ready, exit the Belfry to begin the night patrol. Doing this will pop up a quick tutorial on Opportunistic Crimes. Use your AR to locate the Opportunistic Crime on your map then go deal with them. By defeating enemies, you’ll gain clues. When you’ve defeated enough enemies, Alfred will call to give you the next objective.


Reach GCPD Rendezvous Point

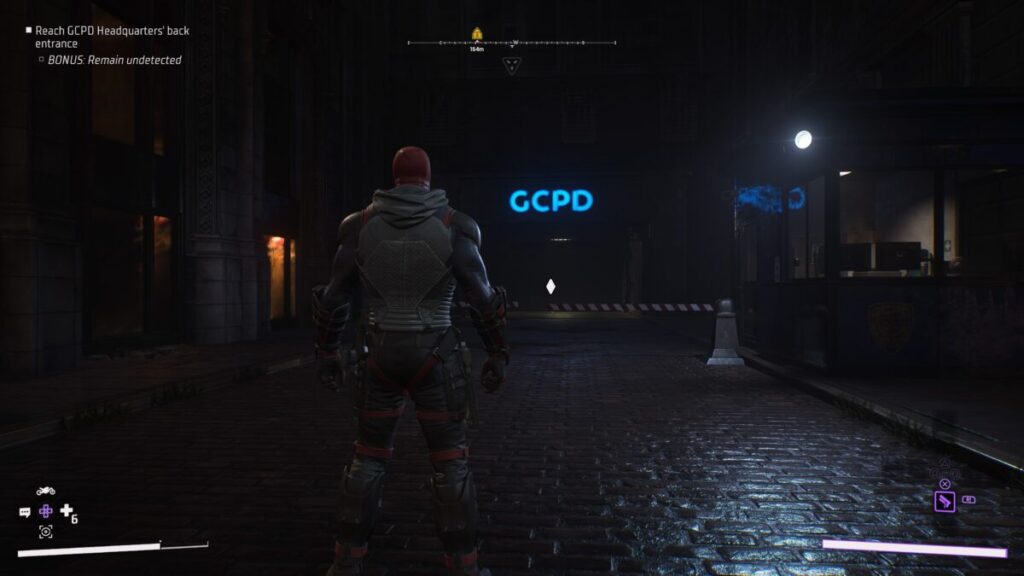
 Head to the yellow objective on the map to trigger a quick event. You’ll want to head around to the back of the GCPD and enter the station through the parking garage. Also note that you’ll receive bonus exp if you remain undetected. Almost immediately after entering the garage, you’ll get a prompt about being enemy detection and two cops will be messing with a malfunctioning door. Hide behind the two cop cars then proceed to the doors to the station once they move.


Find a Way Past the Security Station

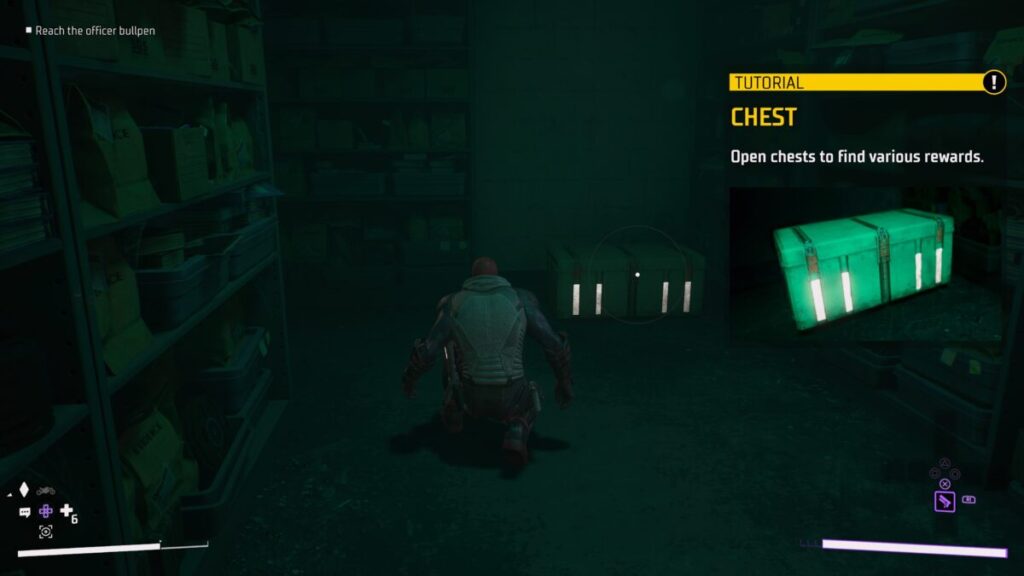
 Now that you’re inside, follow that path until you reach the exercise room. To the right of the pullup bars, there will be a vent in the wall you can grapple to. Head along the vent shaft until you reach the interrogation room. Head to the other room then enter the hallway. Look for the doors to the holding cells and head through them. In the holding cells, stick to the left side of the room and wait for the officer to move from the desk area. This will allow you to grapple to the window above the desks to proceed to the evidence room. If you head to the left side of the area, you’ll see some cool easter eggs from Batman villains. Make your way to the right side past the bat-signal to get back to the mission. Make sure to grab the chest before in the area before leaving the evidence room.


Reach the Other Side of the Bullpen

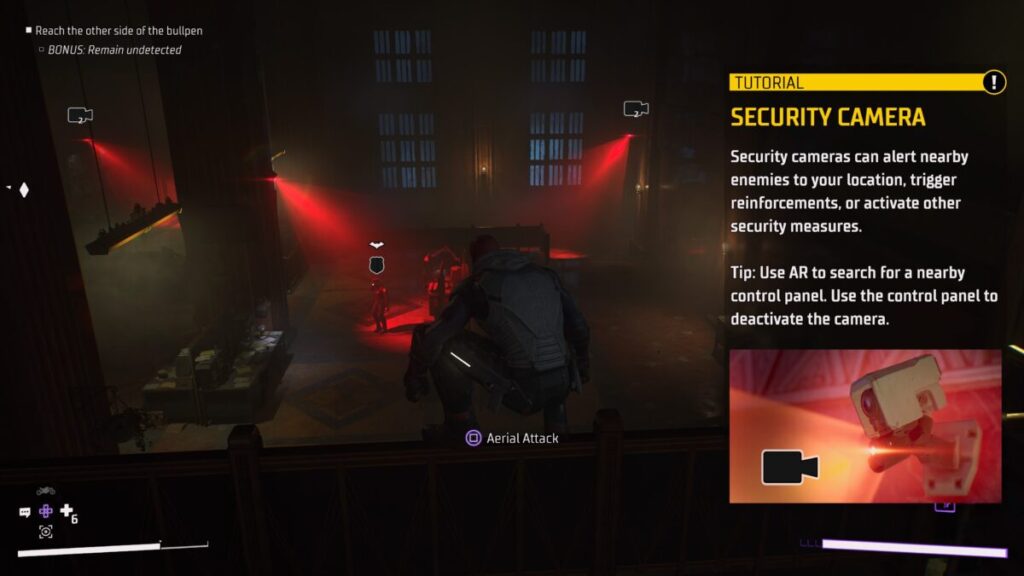
 As soon as you exit the evidence room, you’ll be greeted with a tutorial on security cameras which also happen to be canvassing the area. Head left and follow the top of the room. This will get you close enough to use the grapple point on the ledge with the door you need to reach. Approach it to trigger an event where the door locks. If you drop down from the ledge you’re on and head left, there will be a wall panel your VR can pick up that will disable the cameras in the area allowing you to easily knock out the officers to reach the key. There are also some files in this room on the batfamily that you may be interested in checking out. When you’re ready, head back to the locked door and use the key to open it. This will give you a straight shot to the morgue. Entering it will cause a cutscene to trigger.


Locate Langstrom’s Body

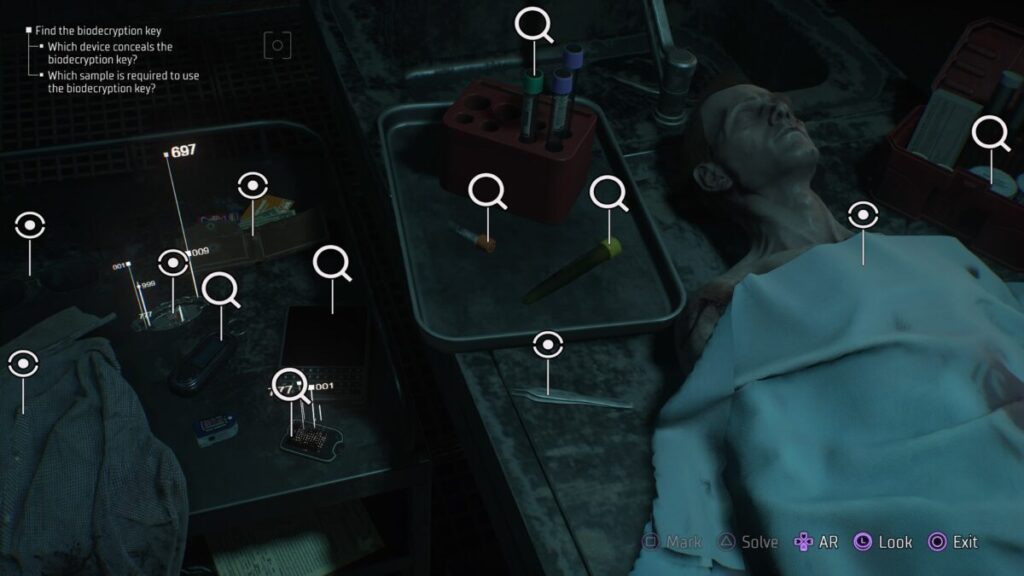
 After the cutscene, head into the next room to find Langstrom on the slab. Before inspecting him, head to the back right part of the room to find a note about the vigilantes in Gotham. Return to Langstrom and begin the investigation. You’ll want to select the Blood Glucometer and the Blood Vial to solve the investigation.


Escape GCPD

Head to the exit down the hallway past Landstrom’s body to reach the room from before where you had to find the door key. If you follow the top of the room along the right side, you can use your grapple to shoot over to the ledge above the door you need to use to escape the room. From there, it’s a straight shot out of the station. You’ll then need to return to Belfry for a cutscene to end the case.


1.3 – Weird Science

Check the Evidence Board

Interact with the evidence board in the Belfry then check out the previous and priority intel sections along with the leads section. If you’re feeling so inclined, you can approach the suits in the corner of the room to try out a different member of the bat family. The next step is to head over to the workbench and interact with it for a brief cutscene then interact with it again to craft a new melee weapon. Finally, head over to the training area and complete the basic interrogation training. With all of the preparation tasks out of the way, exit the Belfry.


Patrol Gotham City

 You’ll need to head around Gotham looking for a Freak and Mob goon to interrogate. The best way to do this is to travel from case to case until you get the info you need.


Talk to Talia al Ghul

After interrogating a Freak and Mob goon, you’ll be able to meet with Talia. Follow the objective to the Stagg building in the Cauldron and climb to the roof to trigger a cutscene. When it concludes, return to the Belfry another cutscene.


 1.4 – Blackgate Blues

Reach Blackgate Penitentiary / Find a Way into the Prison

Leave the Belfry and head for Blackgate Island west of the Financial District. Follow the marker under the bridge and around the left side of the island to reach a sewage pipe then head inside. Work your way deeper into the area squeezing through a narrow opening between two rocks. Walk around the path then use your grapple to reach the other side of the gap. From there it’s a straight shot to the prison.


Reach Cell Block 3

harley-quinn-cell

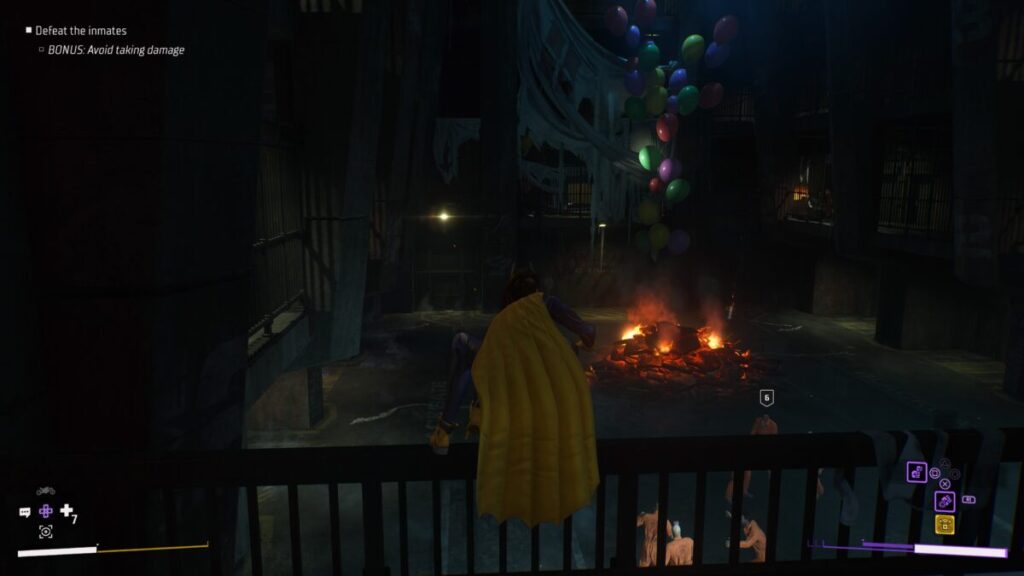
Below you should be an open room with a couple of guards. If you drop down and head through the first opening on the left side, there will be a chest that way. There is another behind where you dropped down. To progress the case, head through the doorway at the back left part of the room and open the door at the end to reach Cell Block 3. You’ll then need to take care of a few inmates. Head straight down the hall to reach Harley’s cell. Take out the large group of enemies here (without taking damage for a bonus) then head up the stairs in the back. You can now speak to Harley to trigger a cutscene.


Locate the Record Room

basement on the way to the record room

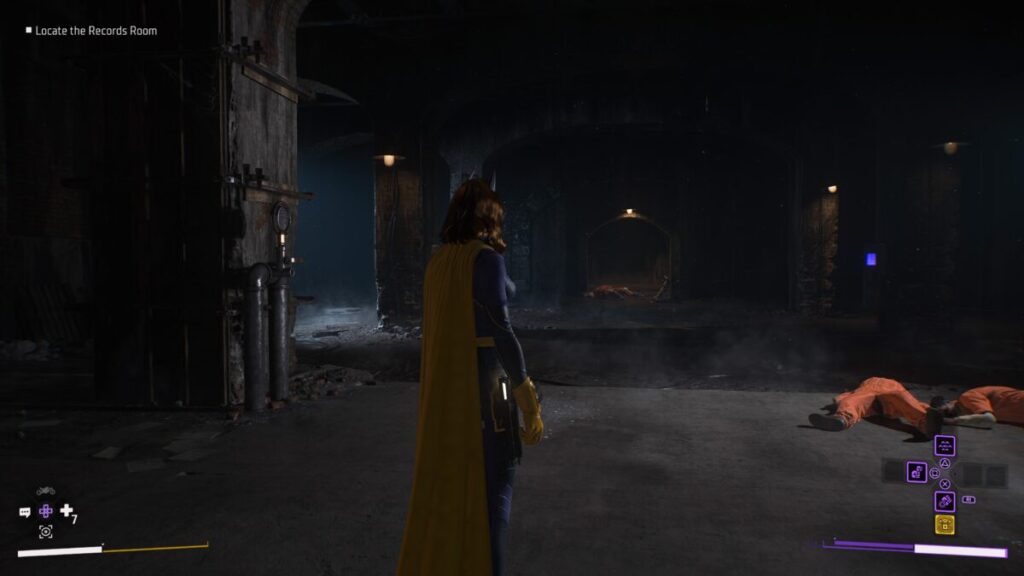
Head through the door Harley opened for you and follow the hallway to reach the yard. Cross the yard heading to the door in the back left side past the guards. This will bring you to another hallway. At the end, you’ll have to face a Godmother mini-boss then two guards. After dealing with the, return to the elevator shaft you arrived from and drop down to the bottom. Crouch through the duct there and follow it to reach the basement. Deal with the enemies here then follow the linear path to reach the record room.


Scan the Card Catalog

record room

Before scanning the card catalog, locate the 4 items below for a bonus.

  • Old Newspaper – File cabinet behind the main desk
  • Note From Warden / Business Card – Facing the card catalog, head right up the stairs then take the next right. Will be in that room.
  • Prisoner File – Facing the card catalog, head left up the stairs then take the next left.

Scan the card catalog then grab the card from it. Head up the stairs to the right of the catalog and enter the first cell on the right. Scan the file cabinet in the room to find the file then grab it. Return to Harley fighting the enemies along the way. Speak with her at her cell for another cutscene.


Chase the Balloon

unicorn balloon

Run after the balloon to end up in the yard. Join in on the fun to trigger a cutscene.


Return to the Belfry

Return to the Belfry and speak with Alfred then open the book you got from Harley near the evidence board to trigger a cutscene leading to the completion of the case.


Gotham Knights Walkthroughs
Game Guides

Gotham Knights Guides and Walkthroughs

by Chappie in

Below are our guides and walkthroughs for Gotham Knights. You’ll find walkthroughs on the main and villain case files along with guides on where to find each collectible.

Main Case Files

Side Activities

Villain Case Files

Collectibles

Xenoblade Chronicles 3 Walkthroughs Guides
Guides

Xenoblade Chronicles 3 – HD Ether Cylinder+ Upgrades

by Chappie in


This is our guide on what materials you’ll need to upgrade the HD Ether Cylinder+ and where to find them in Xenoblade Chronicles 3. The HD Ether Cylinder+ is a DLC item tied to the hero Ino and is part of the Vol. 2 DLC.


HD Ether Cylinder+ Ver. 2.0

  • Sunny’s Sampler Set
    • This is obtained during the Going Full HD standard quest.


HD Ether Cylinder+ Ver. 3.0

  • Helix Tube (+25%)
    • Aetia Region – Everblight Plain, Alfeto Valley
  • Warning Lamp (+15 %)
    • Fornis Region – Rae-Bel Tableland – Seilas Terrace, Elaice Highway – Distant Fingertip
  • Every-Revolfin (+5%)
  • Blue Chain (+8%)
    • Aetia Region – Yzana Plains
  • Warrior Screw (+10%)
    • Fornis Region – Rae-Bel Tableland
  • Stinger Pile (+3%)
    • Fornis Region – Ribbi Flats – Laprel Knoll
  • Trippleg Joint (+5%)
    • Fornis Region – Ribbi Flats – Grun Slope, Rae-Bel Tableland


HD Ether Cylinder+ Ver. 4.0

  • Giant’s Limb (+16%)
    • Pentelas Region – Old Cliffside Way, Low Maktha Wildwood
  • Green Diode (+27%)
    • Keves Castle Region – Keves Castle
  • Android Gear (+4%)
    • Pentelas Region – High Maktha Wildwood, Urayan Trail
  • Thermal Parts (+3%)
    • Cadensia Region – Great Sword’s Base, Erythia Sea – Daedal Isle – Tengate Ruins, Agnus Castle Barbican
  • Shield Emitter (+5%)
    • Keves Castle Region – Keves Castle
  • Ocular Sensor (+2%)
    • Keves Castle Region – Keves Castle
  • Fluid Cranker (+10%)
    • Cadensia Region – Great Sword’s Base – Great Sword Passage, Pedesto Valley Floor, Erythia Sea – Daedal Isle – Tengate Ruins, Erythia Relay Base, Agnus Castle Barbican


HD Ether Cylinder+ Ver. 5.0

  • Gastrates Ether Furnance (+32%)
    • Cadensia Region – Erythia Sea – Lavi Sandbar – Dropped by Gastrates
  • Auxilia Cylinder (+37%)
    • Keves Castle Region – Syra Hovering Reefs – Hovering Reef 1 – Dropped by Auxilia
  • Equites Loading Core (+11%)
  • Sagittarius Flame (+5%)
  • Testudo Shoulder Gun (+3%)
    • Pentelas Region – Urayan Trail – Dropped by Testudo
  • Avis Sphere (+8%)
  • Variable Centuris Claw (+9%)
    • Keves Castle Region – Keves Castle


Xenoblade Chronicles 3 Walkthroughs Guides
Guides

Xenoblade Chronicles 3 – The City Pep Talk

by Chappie in


This is a guide for The City Pep Talk standard quest in Xenoblade Chronicles 3. It is received automatically after starting the From Atop Her Throne ascension quest and it requires Melia to be in your party.


Travel to the War Room landmark in the City for to trigger an event. Afterwards, head to the Serene Square landmark then go east for another event. When that one ends, travel to the Mitia Lookout in the upper northern part of the city to trigger the third event. The quest completes when it ends.


Rewards:

  • 9001 EXP
  • 4170 G
  • 3 SP
  • Belemnite Bangle x1


Xenoblade Chronicles 3 Walkthroughs Guides
Guides

Xenoblade Chronicles 3 – Friction With Agnus

by Chappie in


This is a guide for the Friction With Agnus standard quest in Xenoblade Chronicles 3. It is received automatically after starting the From Atop Her Throne ascension quest and it requires Melia to be in your party.


Travel to Ascension Grounds at the Agnus Castle Region then head towards the podium to trigger an event. When it ends, head for the Penshia Portal landmark at the Syra Hovering Reefs in the Keves Castle Region then head south and take the zipline. Keep following along the reefs until you reach the objective for another event. Approach and defeat the three nearby Armadillos then follow the path west along the reef and enter the cave on the other end for an event leading to a fight against the level 79/80 Annihilationist Squad. Defeating them leads to another event and the completion of the quest.


Rewards:

  • 9110 EXP
  • 8340 G
  • 3 SP


Xenoblade Chronicles 3 Walkthroughs Guides
Guides

Xenoblade Chronicles 3 – Grasping My Future

by Chappie in


This is a walkthrough for the Grasping My Future ascension quest in Xenoblade Chronicles 3. This quest becomes available at the Ascension Grounds in the Agnus Castle Region after leveling the Lifesage class to level 10 with Mio. Once there, approach the ? on the map near the stage to trigger an event with Ghondor where you’ll receive the first info for Nia’s Memories.  Next travel to the Memorial Hall landmark in the city and stand near the entrance to start another event for the second Nia’s Memory. For the third Nia Memory, travel to the Saffronia Tree in the Fornis Region. The final memory can be found at Tower Camp in the Pentelas Region. With all four of Nia’s Memories, head to the nearest camp and discuss the topic to receive her ascension quest.


Travel to Dolgan Cliff landmark at the Great Sword, Upper in Swordmarch then head west taking the ramp near the cliffside up. Follow the path to the end to reach the Cavity. Make your way to the objective in the northwestern part of the area for another event. The quest will complete when it ends.


Rewards:

  • 6560 EXP
  • 5470 G
  • 10 SP


Xenoblade Chronicles 3 Walkthroughs Guides
Guides

Xenoblade Chronicles 3 – From Atop Her Throne

by Chappie in


This is a walkthrough for the From Atop Her Throne ascension quest in Xenoblade Chronicles 3. This quest becomes available at the Castle, 4th Floor in the Keves Castle Region after leveling the Royal Summoner class to level 10 with Noah.


Travel to Castle, 4th Floor in the Keves Castle Region and approach the throne with Melia in the party to trigger an event. When it ends, you’ll receive 3 new standard quests that each require Melia as a party member to complete. Once that is done, return to the castle for an event leading to the end of the quest. You can find links to the standard quests below.


Rewards:

  • 11380 EXP
  • 8340 G
  • 10 SP


Xenoblade Chronicles 3 Walkthroughs Guides
Guides

Xenoblade Chronicles 3 – Colony 9’s Backup

by Chappie in


This is a guide for the Colony 9’s Backup standard quest in Xenoblade Chronicles 3. It is received automatically after starting the From Atop Her Throne ascension quest and it requires Melia to be in your party.


Travel to Colony 9 in the Aetia Region then head to the barracks near the Canteen to trigger an event. When you regain control of the party travel to the Alfeto Valley Monuth landmark then head southeast towards the objective for a quick event. You’ll then need to interact with Anita and two Colony 9 Soldiers. Once you’re done, return to the barracks in Colony 9 to trigger an event and complete the quest.


Rewards:

  • 14230 EXP
  • 4170 G
  • 3 SP


Xenoblade Chronicles 3 Walkthroughs Guides
Guides

Xenoblade Chronicles 3 – Going Full HD

by Chappie in


This is a guide for the Going Full DG DLC standard quest in Xenoblade Chronicles 3. You start it automatically after completing the Champion of the Nopon DLC hero quest.


Travel to the Namba Mound Camp in the central-eastern part of the Fornis Region to trigger a dialog event then speak with Totoma. Use Sunny’s Samper Set as the upgrade material for the HD Ether Cylinder+. This will complete the quest.


Rewards:

  • 530 EXP
  • 230 G
  • 3 SP
  • Nopon Coin (Silver) x2


Trails from Zero Walkthroughs
Guides

Trails from Zero – Chapter 1 Walkthrough – Part 1

by Chappie in


Below is Part 1 of a walkthrough for the collectibles found during Chapter 1: Afternoon of the Wolves of The Legend of Heroes: Trails from Zero.


Crossbell


Return to the SSS and interact with the terminal to pick up the following support requests:

You’ll only be able to do Assistant with New Service and Overdue Book Retrieval right now. Complete those then explore the town to find the below!

  • Books
    • Crossbell Times – Issue 2 – West Street – Tallys’ General Store – Purchase for 100 mira
  • Recipes
    • Juicy Steak – West Street – Bellheim Apartments – Speak with Leyte
    • Fresh Fruit Juice – Administrative District – Speak with Croma at her juice stall
  • Event Items
    • Elegant Vase – Central Square – Department Times – Southwark General Store (Increases Elie’s bond)
    • Darts Set – Entertainment District – Barca Casino – Purchase for 1000 medals (Increases Randy’s bond)
    • Lemonade – East Street – House to the right of the Fisherman’s Guild next to the map transition to East Crossbell Highway


Make sure to stop in at the CPD in the Administrative District and show Receptionist Rebecca your Combat Notebook. If you’ve scanned every enemy you’ve come across so far, you’ll receive the following:

  • 500 mira
  • U-Material


East Crossbell Highway

After you’re done exploring Crossbell, set out for East Crossbell Highway! When you first arrive, a cutscene will trigger. Explore the area to find the below!

Area 1

  • Treasure Chests
    • Teara Balm
    • Leather Jacket
  • Enemies
    • Berga Bug
    • Grass Drome


Area 2

  • Treasure Chests
    • Silver Brooch
      • Each Sepith x20
  • Enemies
    • Egg Snake
    • Berga Bug
    • Grass Drome
    • Metal Saucer
    • Teara Balm


Area 3

  • Treasure Chests
    • Steel Wrist
    • EP Charge
  • Enemies
    • Berga Bug
    • Metal Saucer
    • Grass Drome
    • Egg Snake
    • Acerbic Tomartian


Old Armorica Road

Area 1

  • Treasure Chests
    • Reviving Balm
    • Grasshoppers
  • Enemies
    • Golden Axe
    • Helmet Hunter
    • Bad Frogger
    • Deadly Dandelion
    • Magma Drome
    • Grass Drome


Area 2

  • Treasure Chests
    • Cool Necklace
    • U-Material
    • Mute
  • Enemies
    • Death Corolla
    • Deadly Dandelion
    • Magma Drome
    • Helmet Hunter


Area 3

  • Treasure Chests
    • Reviving Balm
    • Each Seriph x20
    • Opening the chest in the northern part of this area will lead to a fight against 6 Helmet Hunters. After you defeat them, you’ll receive Attack 2.
    • EP Charge
  • Enemies
    • Deadly Dandelion
    • Golden Axe
    • Magma Drome
    • Helmet Hunter
    • Death Corolla


Armorica Village

Once you finally arrive in Armorica Village, explore the town to find the below!

  • Recipes
    • Rustic Omelet Rice – Ash Tree Inn – Interact with the wooden plaque hanging on the wall on the right side of the room

  • Event Items
    • Model Orbal Car – Reoir General Store – Purchase for 1,000 mira
  • Treasure Chests
    • EP Cut 1 – In house on northeastern side of town

After you’re done exploring, enter the large building on the northern side of town to trigger a cutscene. Afterwards, exit the building and speak with Kopan on the bridge.

You’ll receive the Novice Rod, Earthworm x10, Dumplings x10 and Fishing Notebook. Head to the dock across from the bridge and fish to find the below.

  • Fish
    • Raineater (Novice Rod, Earthworm)
    • Tiger Rockfish (Novice Rod, Earthworm)
    • Armorican Carp (Novice Rod, Earthworm or Dumplings)
    • Rockeater (Novice Rod, Earthworm)

Next, enter the Ash Tree Inn. Speak with Gofan behind the counter then head upstairs and enter the room on the northwestern side. Speak with the Kind-Looking Man. Afterwards, speak with everyone in the village. After you’ve spoken to everyone, enter the house near the entrance of the town then leave. A cutscene will trigger. When it concludes, speak with Old Man Reoir in the Reoir General Store to receive the below book.

  • Book
    • Back Alley Doctor Glenn – Ch. 2


When you’re ready to leave, attempt to exit the town then interact with the nearby bus stop.


Click here for Part 2 of the Chapter 1 walkthrough in The Legend of Heroes: Trails from Zero.