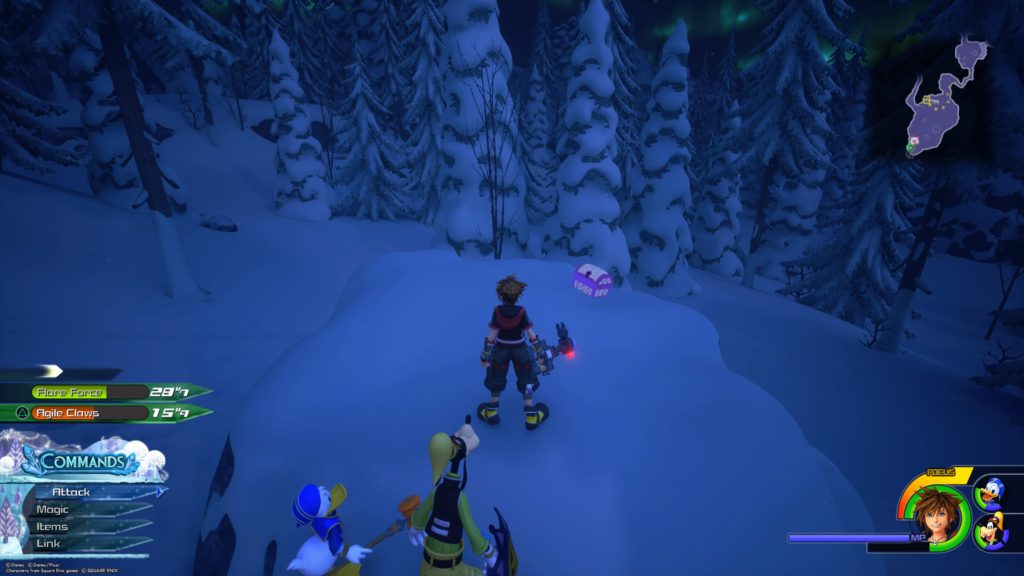
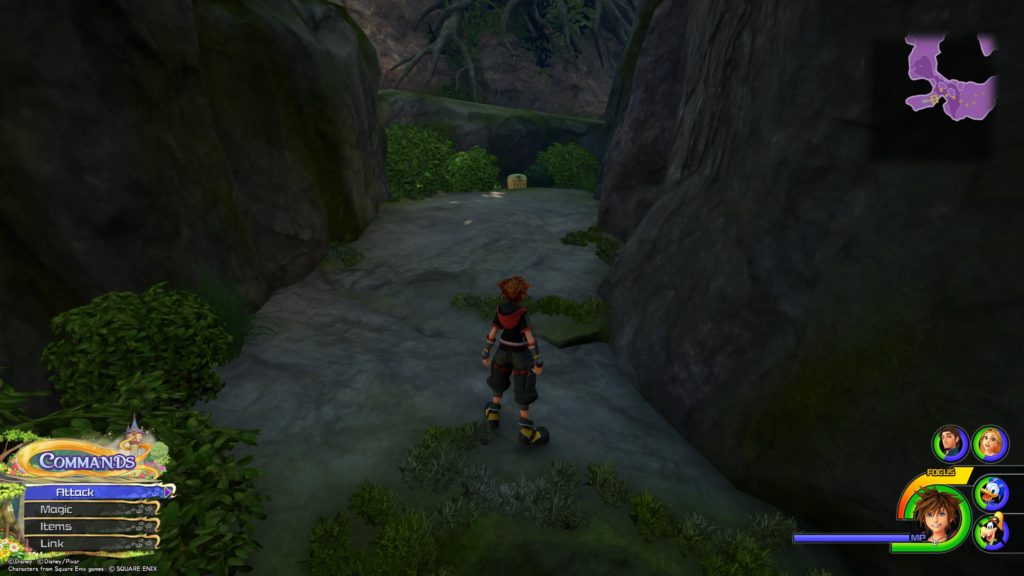
This chest is located next to the Moogle shop in the Treescape.
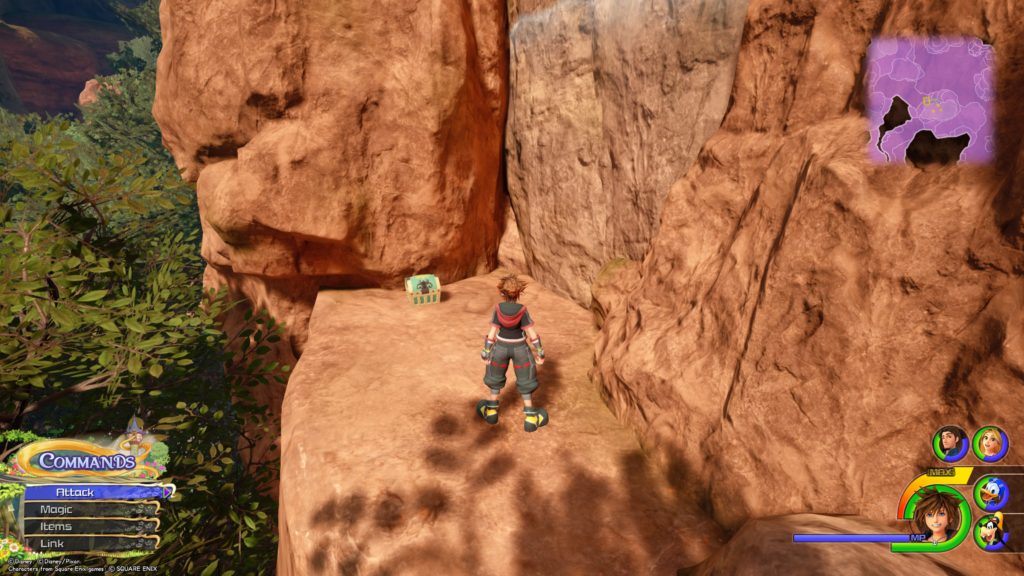
Blizzard Choker
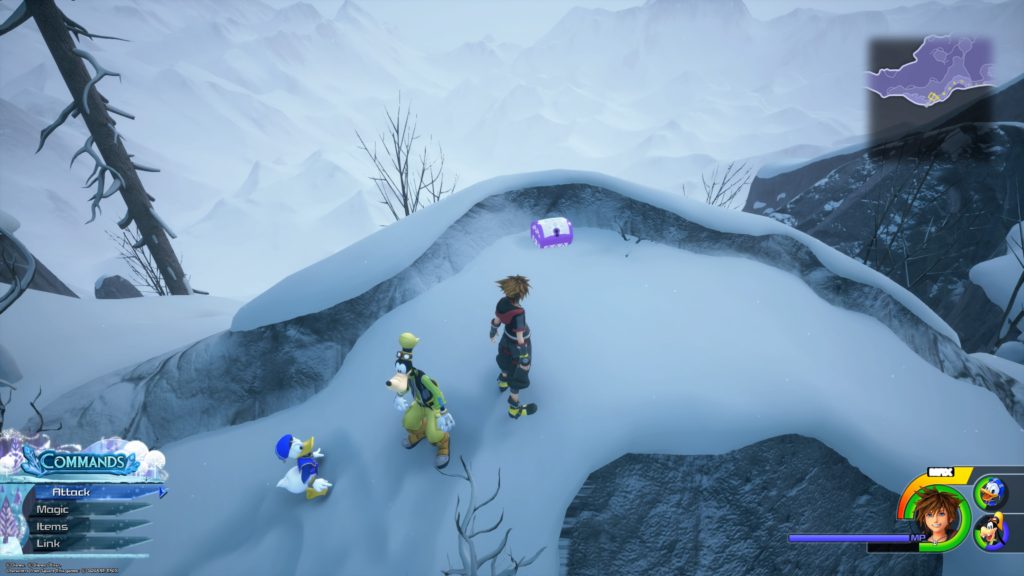
From the Treescape save point, head north until you reach the entrance of the mountain pass. Before entering, turn left and the chest will be atop a large boulder.
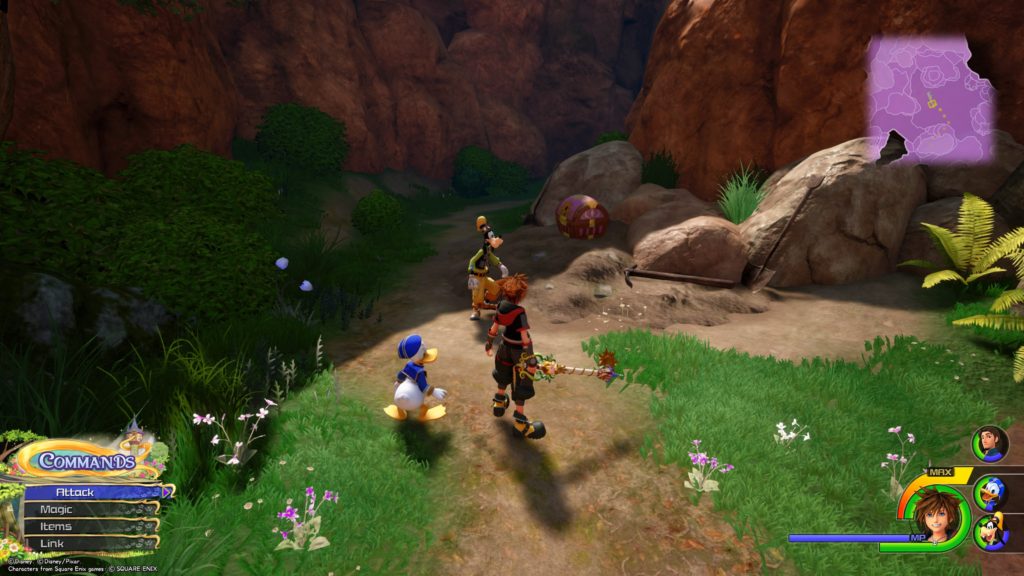
Damascus
From the Treescape save point, head north through the mountain pass until you see a cluster of four bushes on the right where the path widens. Attack the bushes to reveal the chest.
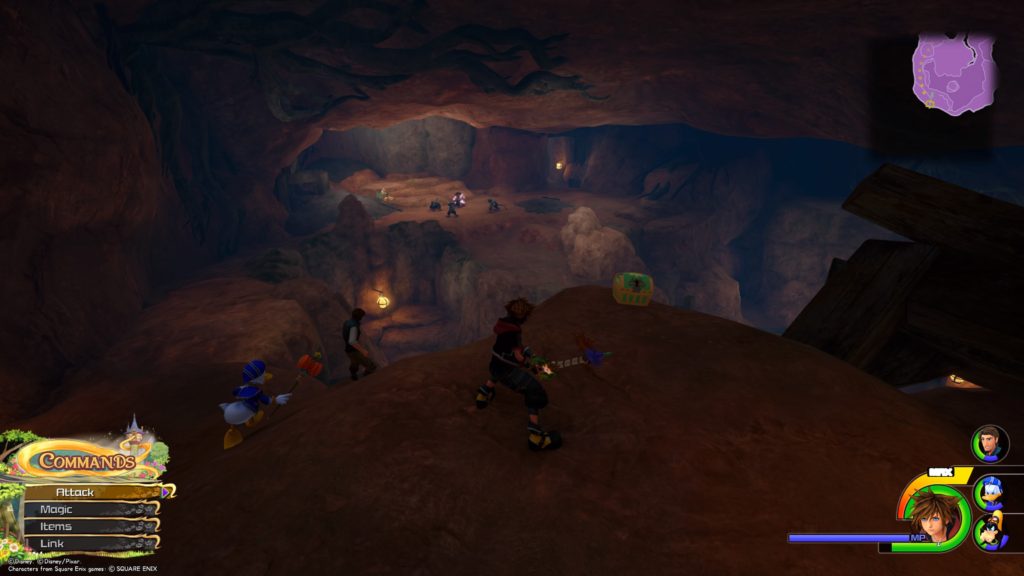
The Klondike Kid
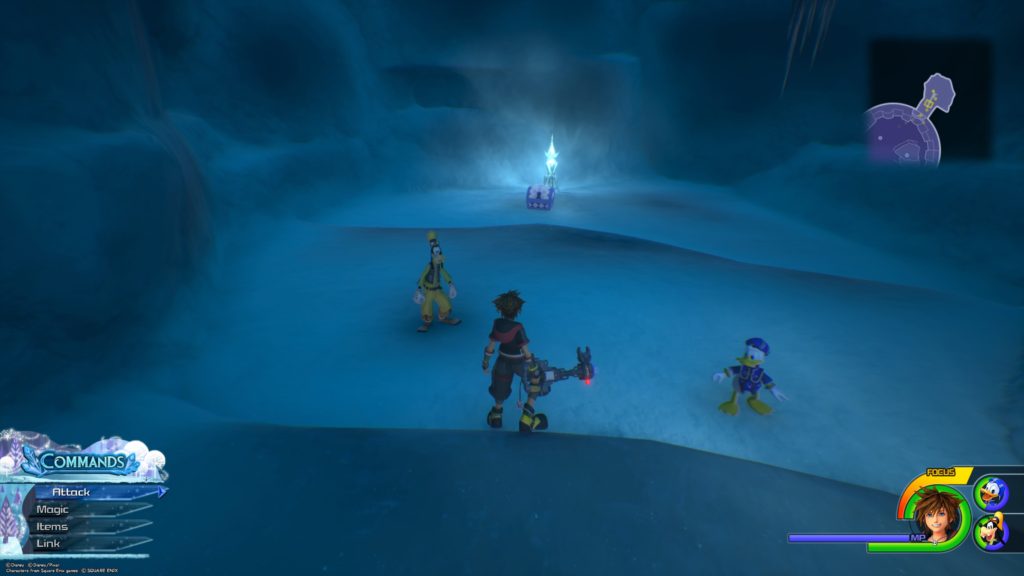
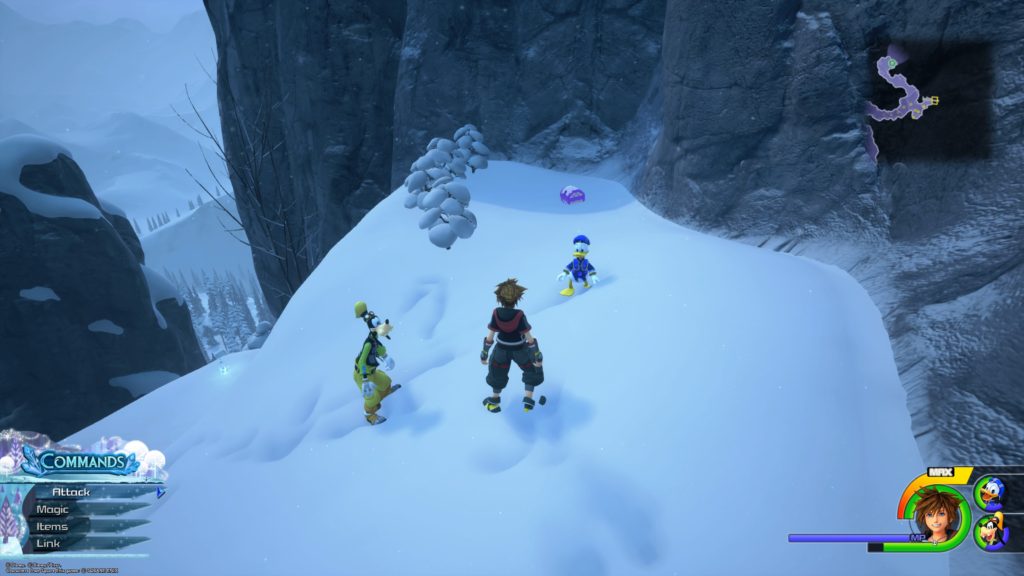
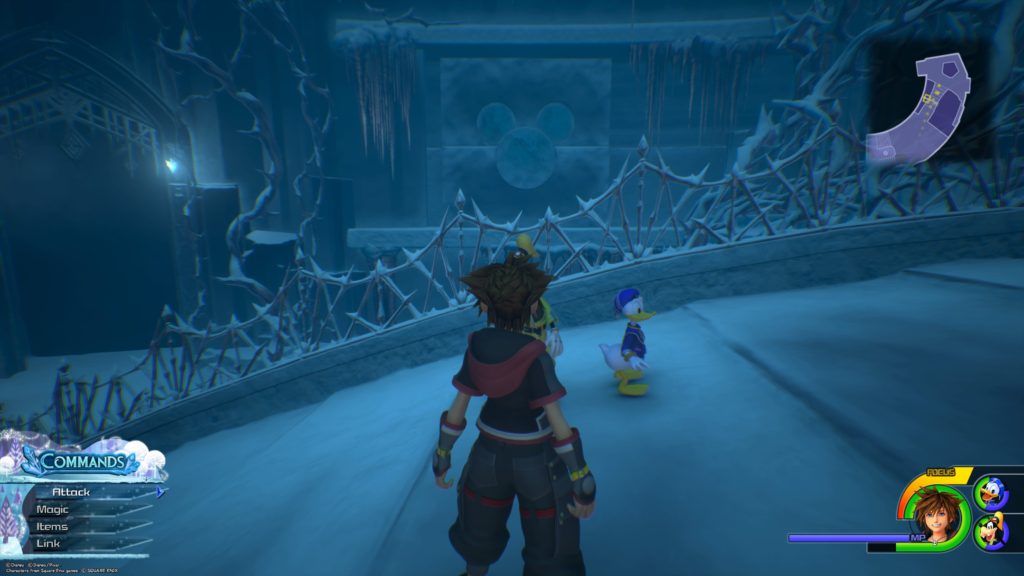
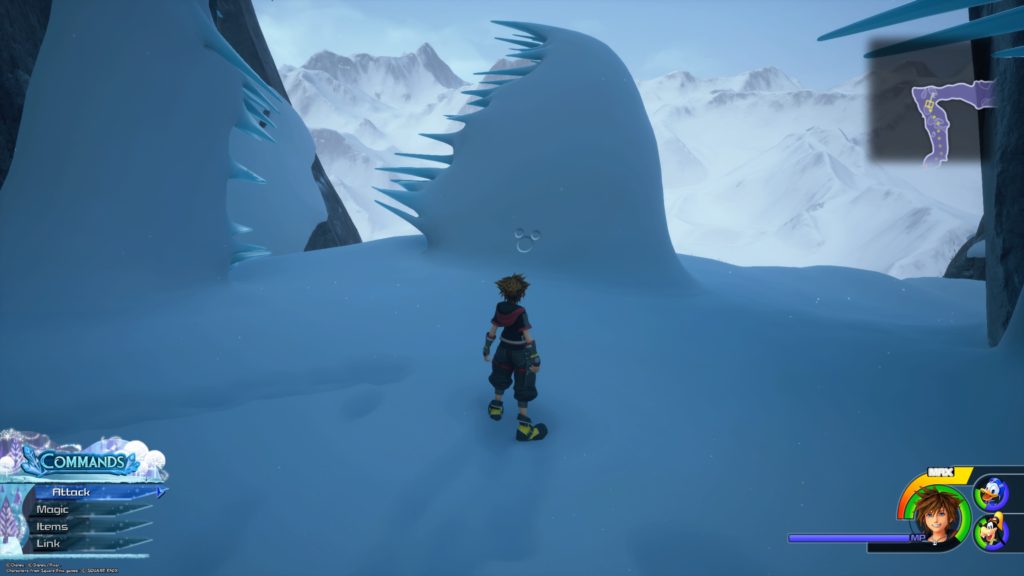
From the Treescape save point, head north and follow the pass through the mountain. After climbing the climbable rock wall to reach the Gorge, follow the path up and take the first right, dropping down to a ledge below. On the way down, use the falling strike to hit the ice pillar, shattering it to reveal the chest.
The Labyrinth of Ice / Middle Tier
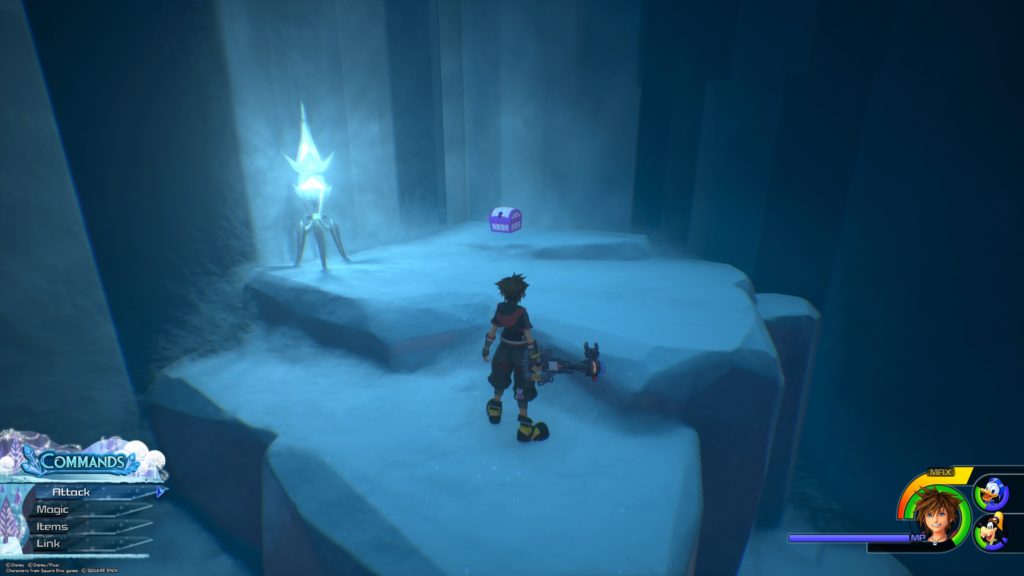
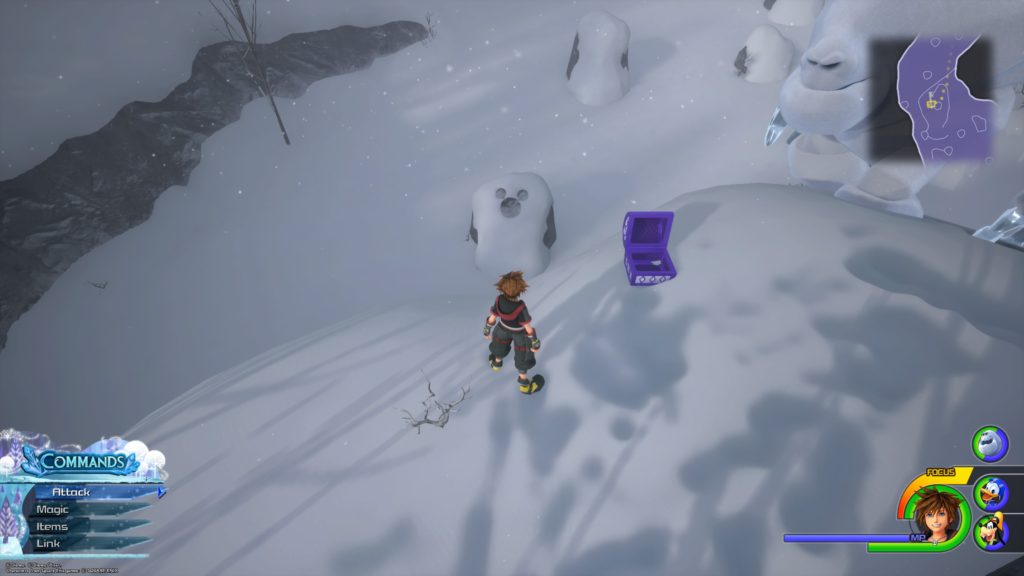
Snowman Rosette
From the room with the rotating ice pillar, follow the path down until you reach a T intersection. Turn left and take the stairs down to the bottom room. Jump on the ice blocks to the left to find the chest at the top. This is in the room with the ice trees whose branches you can swing on.
Map: Labyrinth of Ice
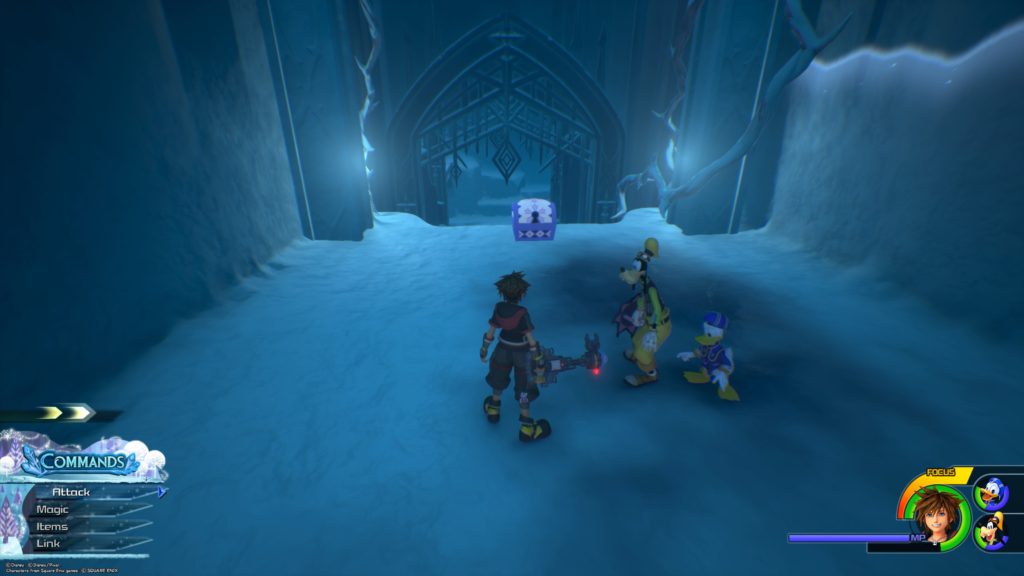
From the room with the rotating ice pillar, follow the path down until you reach a T intersection. Turn left and break the ice wall if you haven’t already. Drop down on the ledge to find the chest.
Blizzard Cufflink
From the Lower Tier save point, take the southwest path and travel up the wall to the Middle Tier. From there head across the ice bridge into the room with the spinning pillar and take the left path down the stairs. Turn left a jump on the rail. About halfway along the rail, jump onto a second rail above you that leads to a room with the chest.
The Labyrinth of Ice / Lower Tier
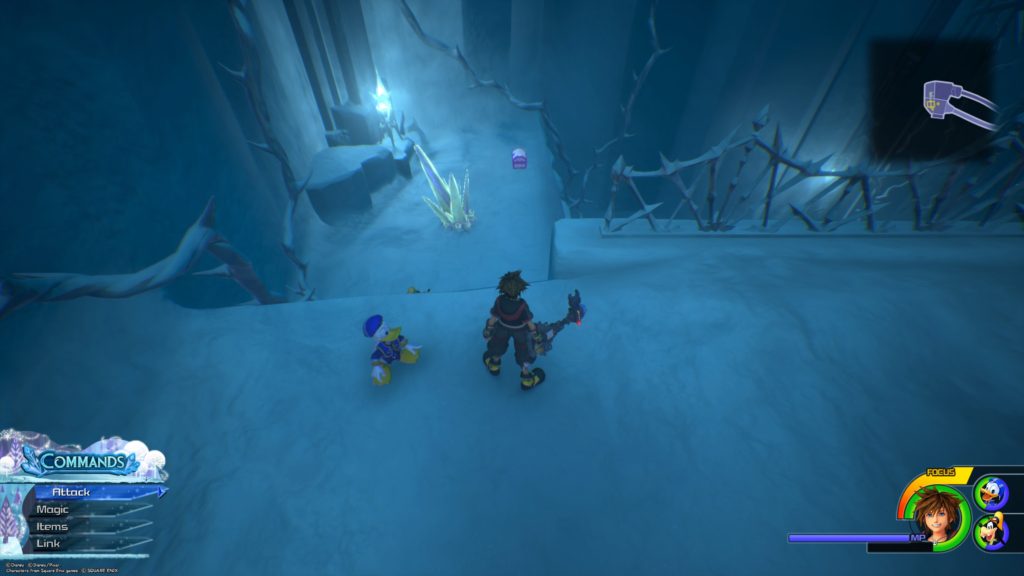
Barnyard Sports
The chest is located in the room north of the save point. You will need to spin the pillars to access it.
The Labyrinth of Ice / Upper Tier
Damascus / Dark Anklet
Starting in the center room with the spinning ice pillar, grind on the south rail to reach the room with the exit. The room contains two chests. The Damascus is in the chest on the right and the Dark Anklet is on the left.
The North Mountain / Gorge
Guardian’s Belt
From the Gorge save point, head up the mountain by taking the climbable wall. Jump across and take the second climbable wall. The chest will be guarded by the pot like enemies. Defeat them to open the chest.
Elixir
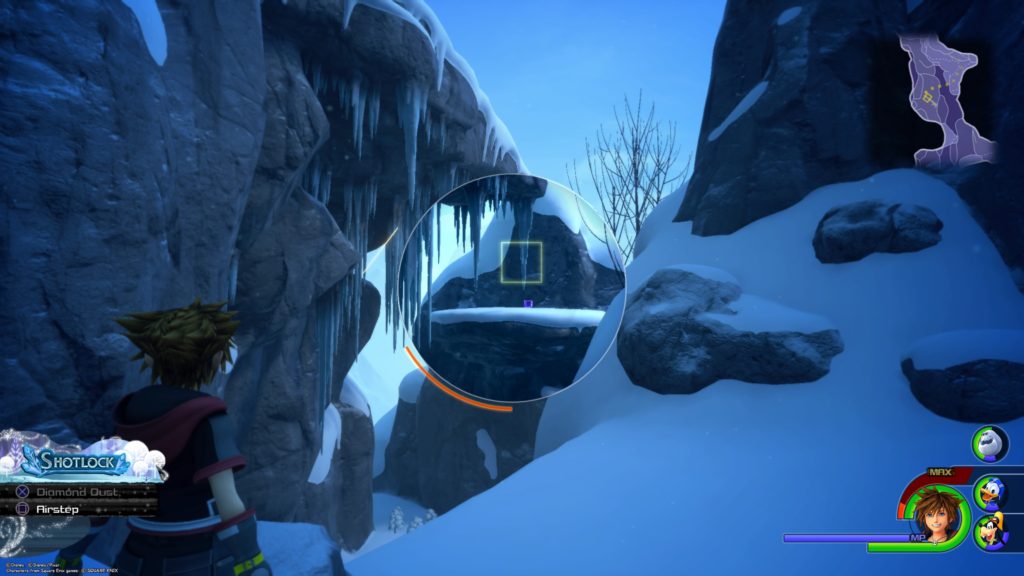
From the Mountain Ridge save point, head south to the Gorge by jumping down three climbing walls. Follow the path left under the icicles hanging down from the overhanging rock. At the end, jump to the ledge across the way. From there look south to see the chest on a ledge in the distance. Use R1 to lock onto the icicle closest to the chest and use flowmotion to launch yourself to the icicle. This will put you in range to reach the ledge to open the chest.
The North Mountain / Valley of Ice
Hi-Potion
From the Valley of Ice save point, take the first right jumping onto a small cliff. The chest will be in the very back.
Refocuser
From the Valley of Ice save point, follow the lake to the right until you come across the wheelbarrow. Jump onto the ledge to the right of the wheelbarrow to reach the chest.
Hi-Ether
From the Valley of Ice save point, take the path east heading into the mountain. The chest will be on the left in an inlet a little way up the mountain.
Blizzara Charm
From the Valley of Ice save point, take the path east heading into the mountain. Continue following the path south until you come to a clearing where the Winterhorns spawn. Turn right and follow the snowy path to the top of a large overhanging rock. Use doubleflight to reach the other side of the gap where the chest is located.
AP Boost
From the Valley of Ice save point, follow the path until just before the Frozen Wall (at the southernmost tip around where the Parasol Beauty start to spawn). Head up the snow-covered rock and jump across the gap to the other side to find the chest just off to the right in a little nook.
The North Mountain / Frozen Wall
Mega-Ether
From the Frozen Wall entrance, you will travel throughout this area using wind pillars that launch you into the air. When you come to the big clearing with a wind pillar and climbable wall, turn left just before the clearing and drop down to a secluded part of the mountain that will contain the chest.
Silver Amulet
From the Frozen Wall entrance, you will travel throughout this area using wind pillars that launch you into the air. When you come to the big clearing with a wind pillar and climbable wall, take the climbable wall up and keep following that path along the mountain. After you pass the second wind pillar, head up a little way until the path curves left. Jump off the right side of the mountain two levels to land on a ledge with a tiny cave near a climbable wall. This chest is inside the cave.
Magician’s Wand+
From the Frozen Wall entrance, you will travel throughout this area using wind pillars that launch you into the air. When you come to the big clearing with a wind pillar and climbable wall, take the climbable wall up and keep following that path along the mountain. After quite a ways, you will come to another climbable wall on the left. Climb that wall all the way to the top of the mountain to arrive on a narrow snow path. Follow that path to come across this chest.
The North Mountain / Snowfield
Force Ring
From the Snowfield save point, follow the path south and slide off the mountain. Keep moving forward to reach a climbable wall on the east side and take it up to the top of the mountain. At the top, jump across the gap to the snowy path next to the lucky emblem. Follow the path up the mountain to reach the chest.
Orichalcum
From the Snowfield save point, follow the path south and slide off the mountain. Turn right and jump down the mountain two times. On the second jump, smash the ice block while falling to reveal the chest.
Mickey’s Kitten Catch
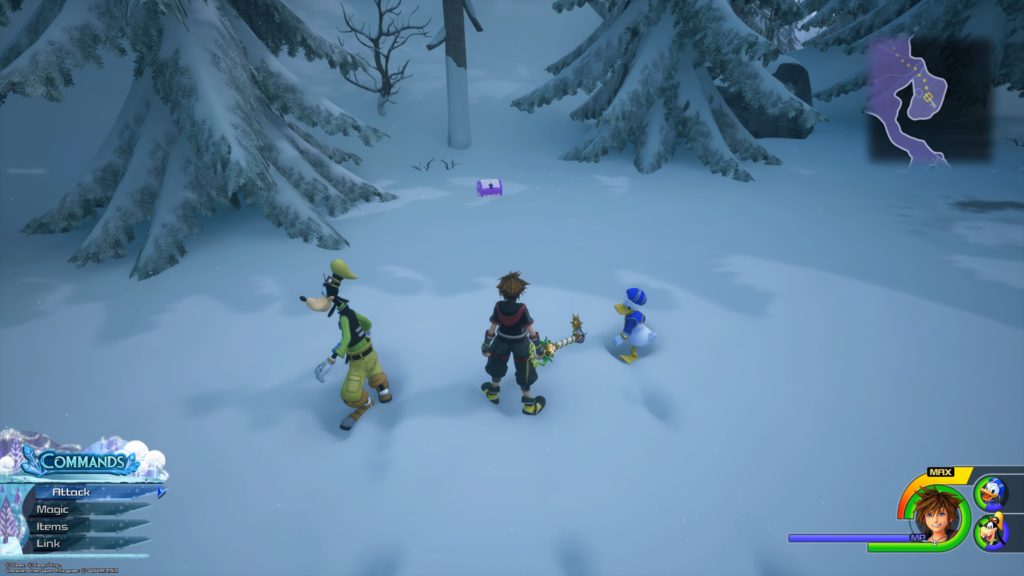
From the Snowfield save point, follow the path south and slide off the mountain. Turn right and jump down the mountain two times. Follow the path until you come across a clearing. The chest will be to the right on the raised ground. You will need to follow the clearing until it allows you to jump up to reach it. (In the area where you meet the giant snowman for the second time.)
The North Mountain / Foothills
Slayer’s Earing
From the Foothills save point, head south into the Foothills clearing. The chest will be located on the largest rock straight ahead.
Damascus
From the Foothills save point, head south into the Foothills clearing past the giant rock in the middle of the area. The chest will be located on the right behind a wheelbarrow.
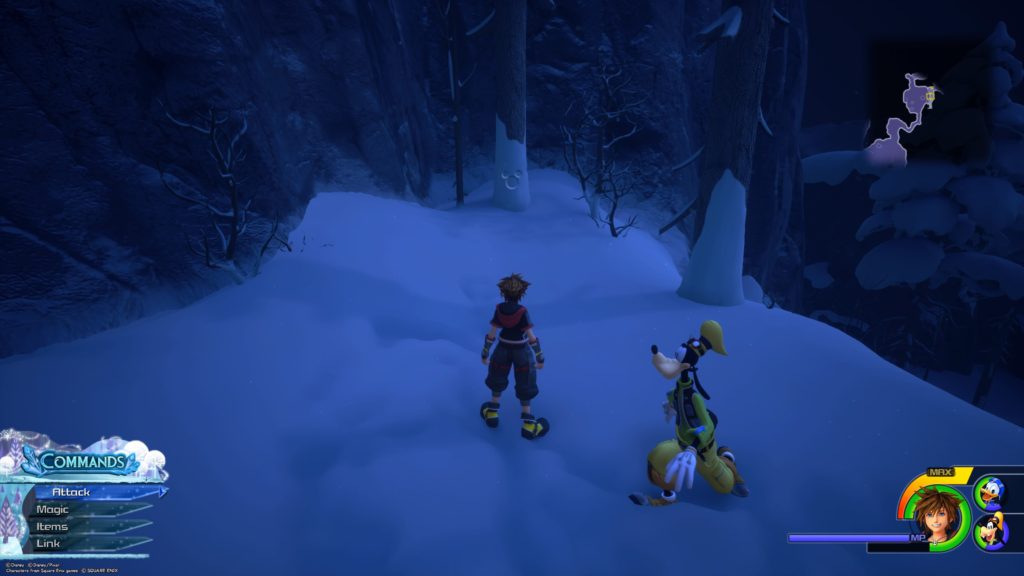
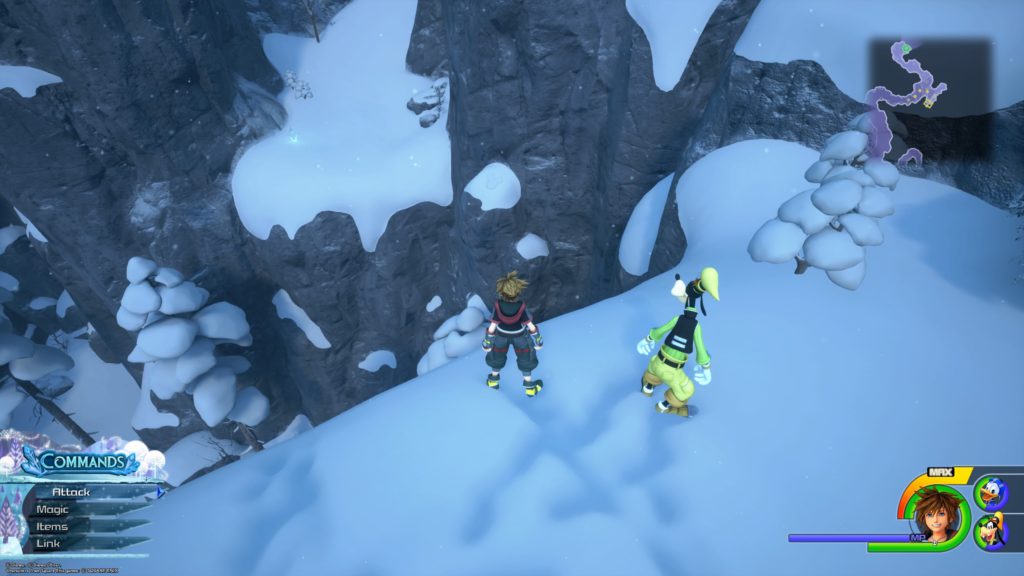
From the Treescape save point, head north and follow the pass through the mountain. After climbing the climbable rock wall to reach the Gorge, follow the path up and take the first right, dropping down to a ledge below. Follow the path south to find the emblem on a tree at the end of the path.
The Labyrinth of Ice / Middle Tier
Lucky Emblem 2
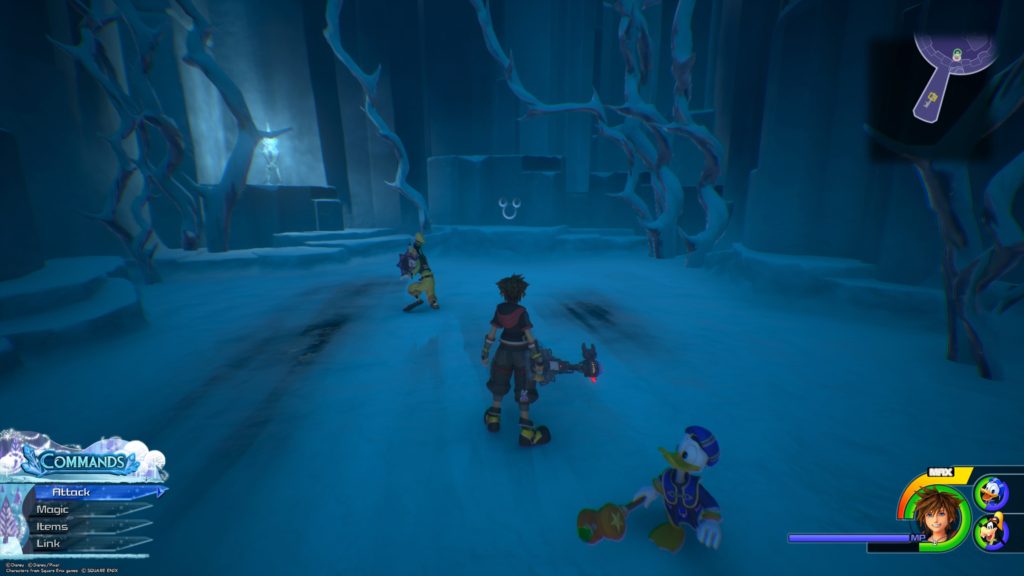
From the room with the spinning ice pillar, follow the path down until you reach a T intersection. Turn right and follow the stairs to the bottom. Swing right following another set of stairs down. At the bottom of the second stairs, turn right and break the ice wall if you haven’t already. The emblem will be at the top of the bridge on the right side.
Lucky Emblem 4
From the Lower Tier save point, take the southwest path and travel up the wall to the Middle Tier. From there head to the middle of the nearby ice bridge and look to the left of the bridge to find the emblem on the wall.
The Labyrinth of Ice / Lower Tier
Lucky Emblem 3
From the spinning pillar, keep heading down the slopes, dodging the ice pillars until you reach a drop-off. Drop off the slope and the emblem will be on the left on a wall. Alternatively from the Lower Tier save point, head south past the save point into the frozen hallway to find the emblem on the wall at the end of the hallway.
The Labyrinth of Ice / Upper Tier
Lucky Emblem 5
Starting in the center room with the spinning ice pillar elevator, grind on the northeast rail to reach a room with pillars. Jump on the center ice formation to find the emblem on the north side of the room on the ground in a cluster of small pillars.
The North Mountain / Mountain Ridge
Lucky Emblem 6
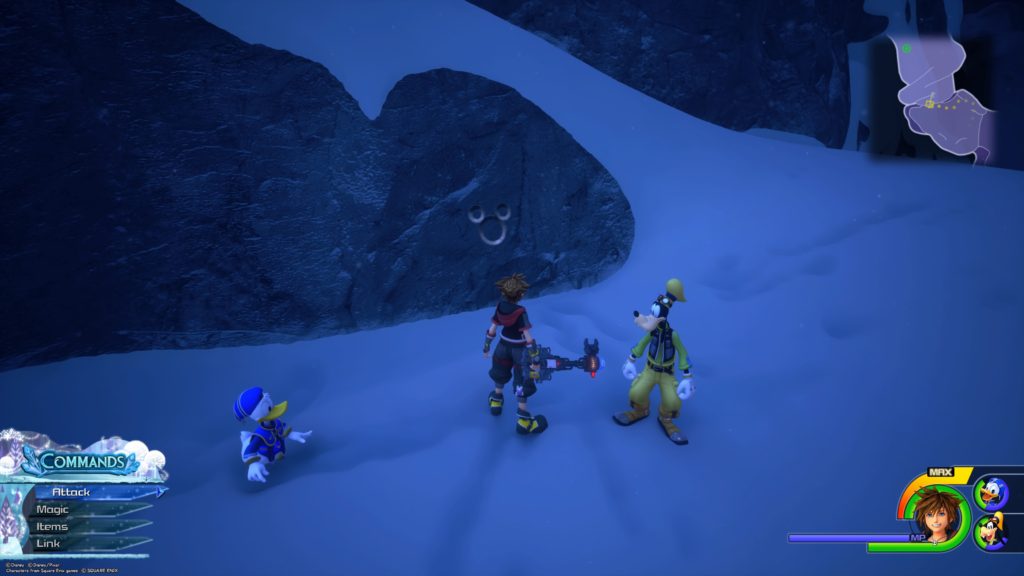
From the Gorge save point, head up the mountain via two climbable walls. After you climb the second wall, go through the path and jump across the gap to the line of icicles hanging down. Pass underneath the icicles and climb up the next climbable wall. At the top you will be staring at the emblem, which is on a part of the mountain not covered by snow. Alternatively, from the Mountain Ridge save point, head south down the snow-covered path to find the lucky emblem on the cliff wall on the right at the end of the path.
The North Mountain / Frozen Wall
Lucky Emblem 7
From the Frozen Wall entrance, you will travel throughout this area using wind pillars that launch you into the air. When you come to the big clearing with a wind pillar and climbable wall, take the climbable wall up and keep following that path along the mountain. After quite a ways, you will come to another climbable wall. Instead of taking the wall up, jump down to the big open area below. Swing left around a rock sticking out the side of the mountain to come to another piece of the climbable wall. The rock to the right of that will have the lucky emblem on top of it. You can either run up the rock wall and jump over to it or use the doubleflight and superjump to reach it.
Lucky Emblem 8
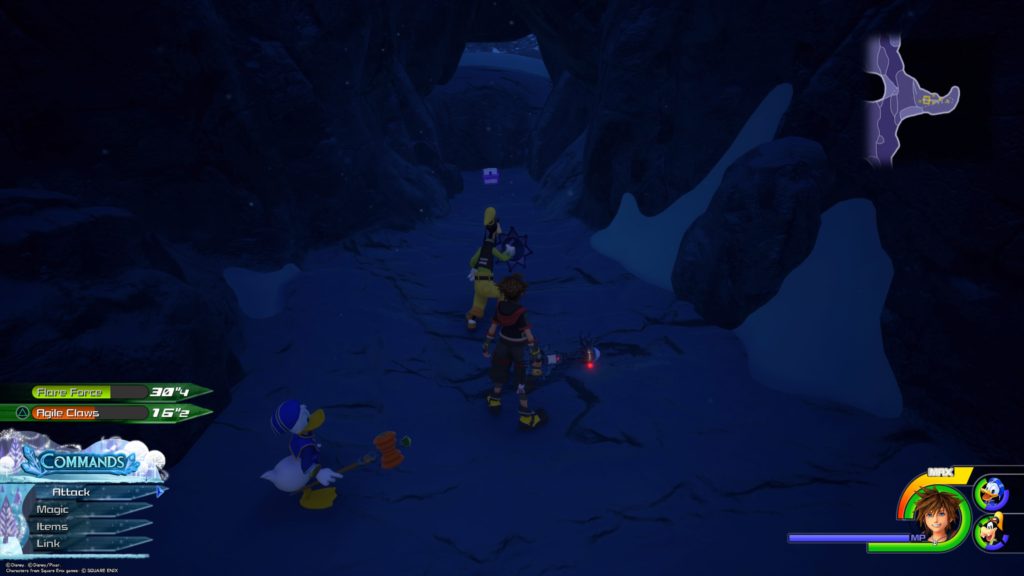
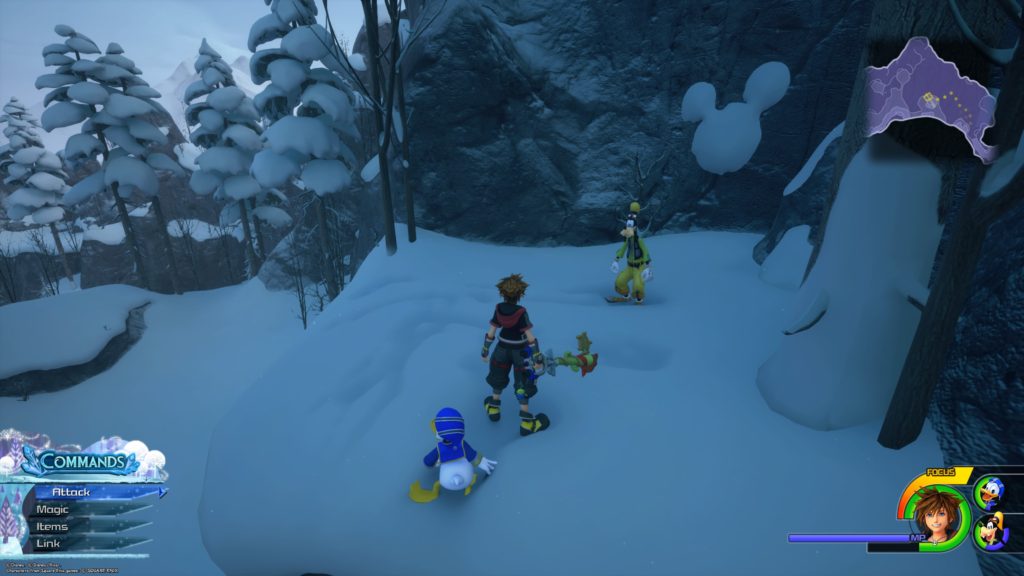
From the Mountain Ridge save point, head into the cave and follow the path north through the jagged snowy rocks until you reach where the path turns right. The emblem will be straight in front of you in the snow on the last jagged snowy rock.
The North Mountain / Snowfield
Lucky Emblem 9
From the Snowfield save point, follow the path south and slide off the mountain. Keep moving forward to a climbable wall on the east side taking it up to the top of the mountain. Look behind you towards the northeast to find the lucky emblem on a snow-covered rock below.
Lucky Emblem 10
From the Foothills save point, head north into the Snowfield. Follow the path, hugging the right side. Before you go into the clearing you will see a giant rock on the right. Behind the giant rock is a stack of logs that form the emblem.
The North Mountain / Foothills
Lucky Emblem 11
From the Foothills save point, head south into the Foothills clearing. Climb up on the largest rock in front of you that has a chest on it and look downwards to the north near the chest. The emblem will be in the snow on top of a small rock.
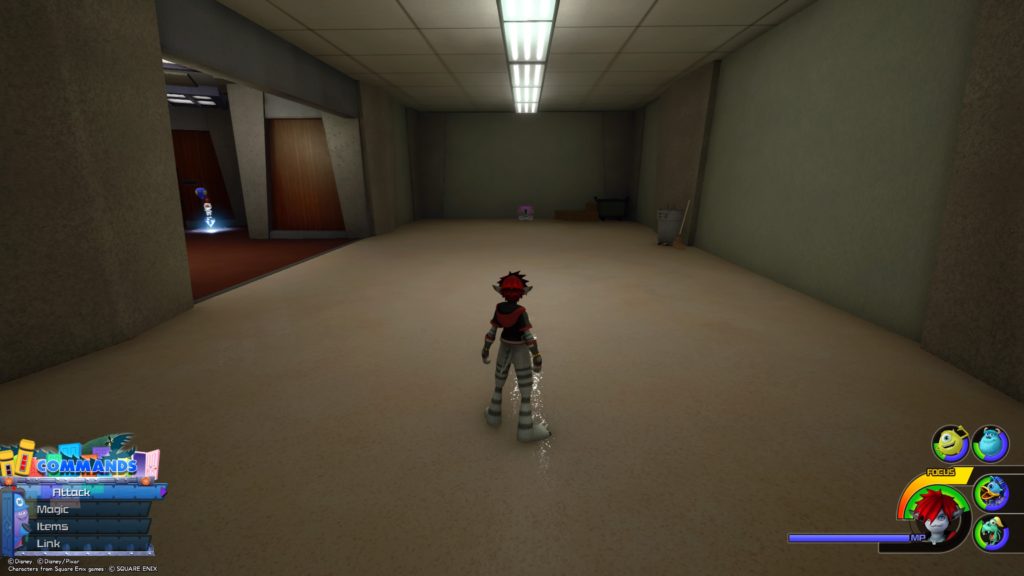
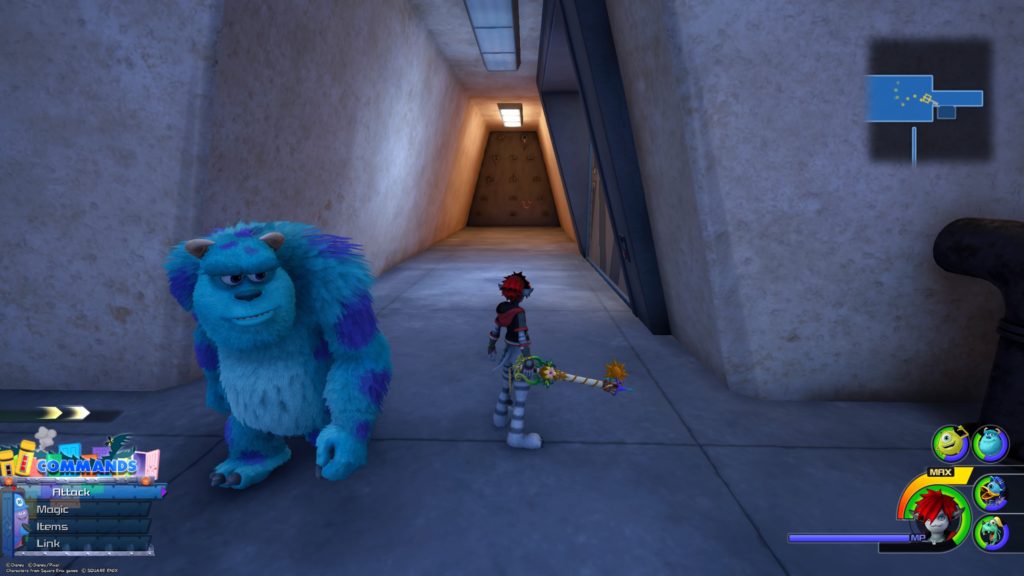
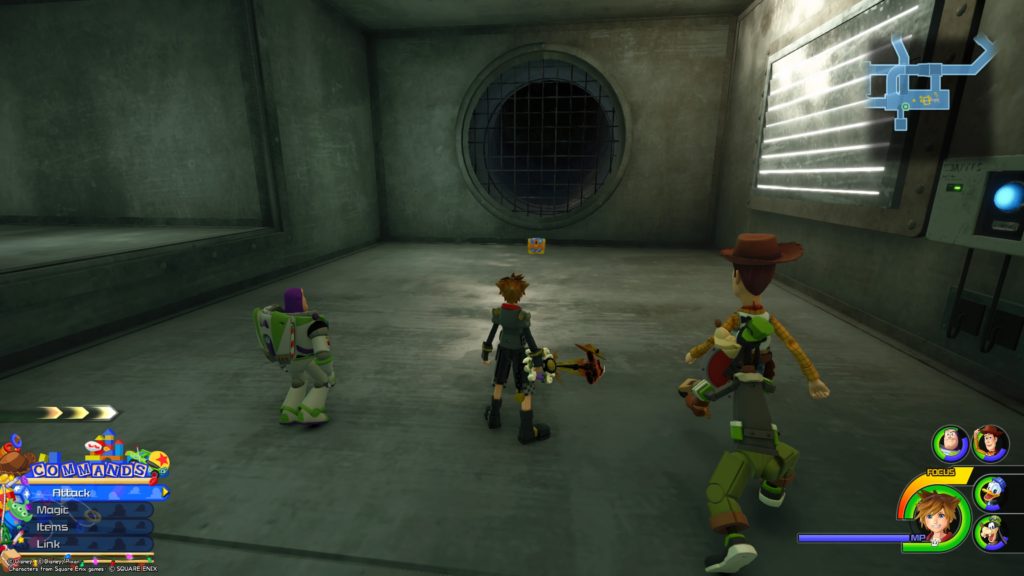
Head down the hall from the starting area to find the chest at the end.
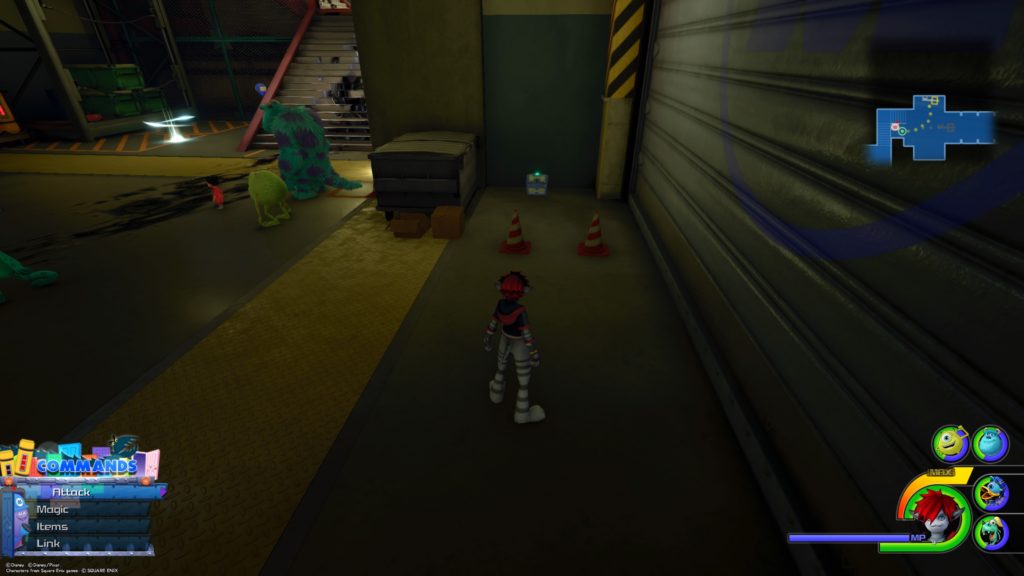
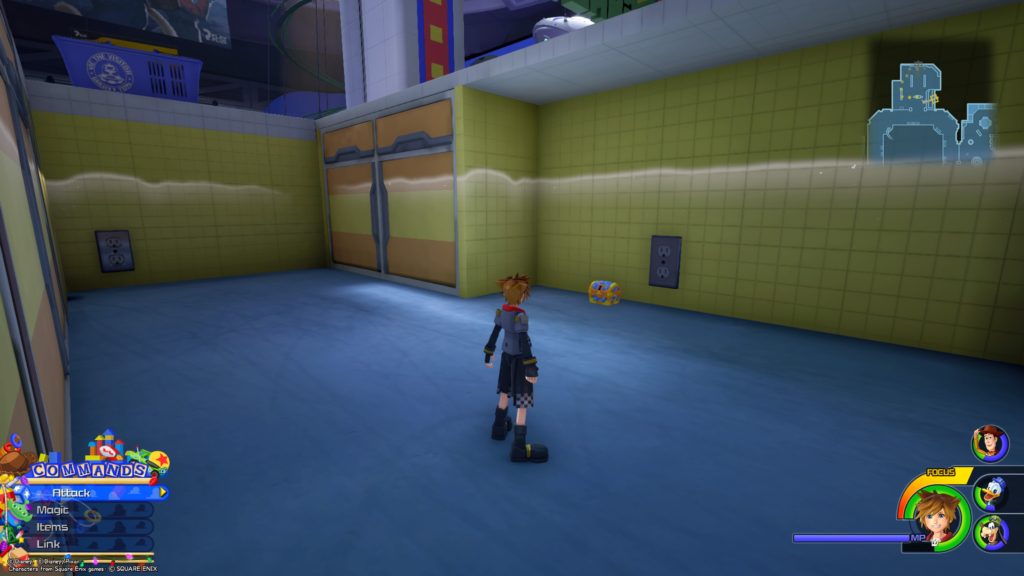
Hi-Potion
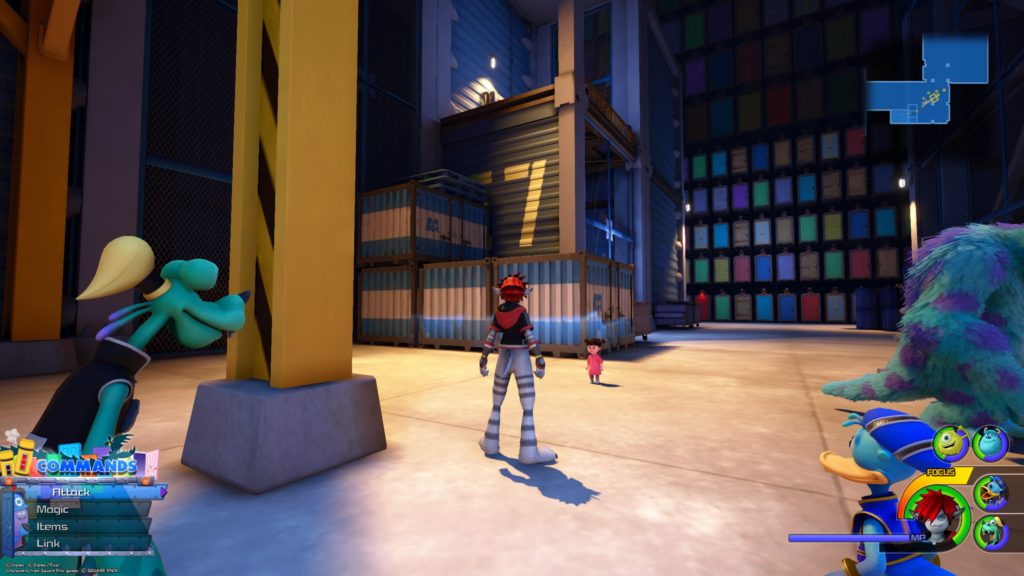
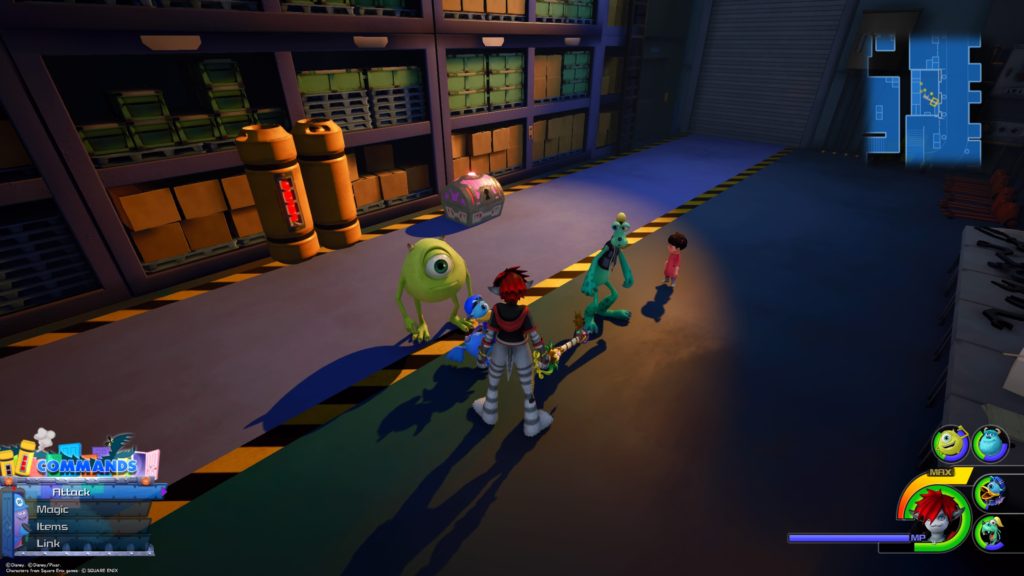
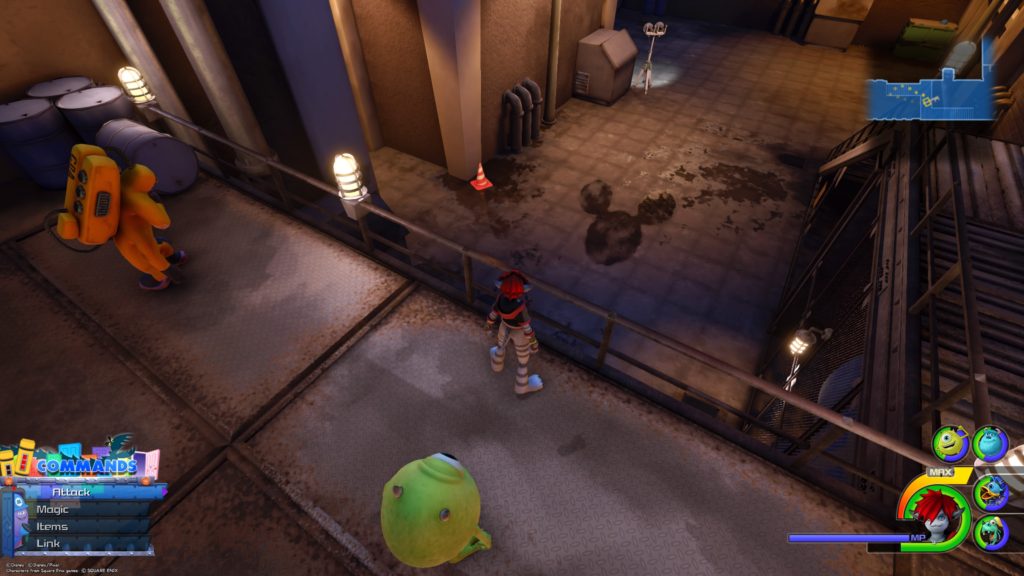
From the Lobby & Offices save point, head north into the big hallway. Take a left and head back towards the metal shutters to find this chest behind some canisters.
Monsters, Inc / Laugh Floor
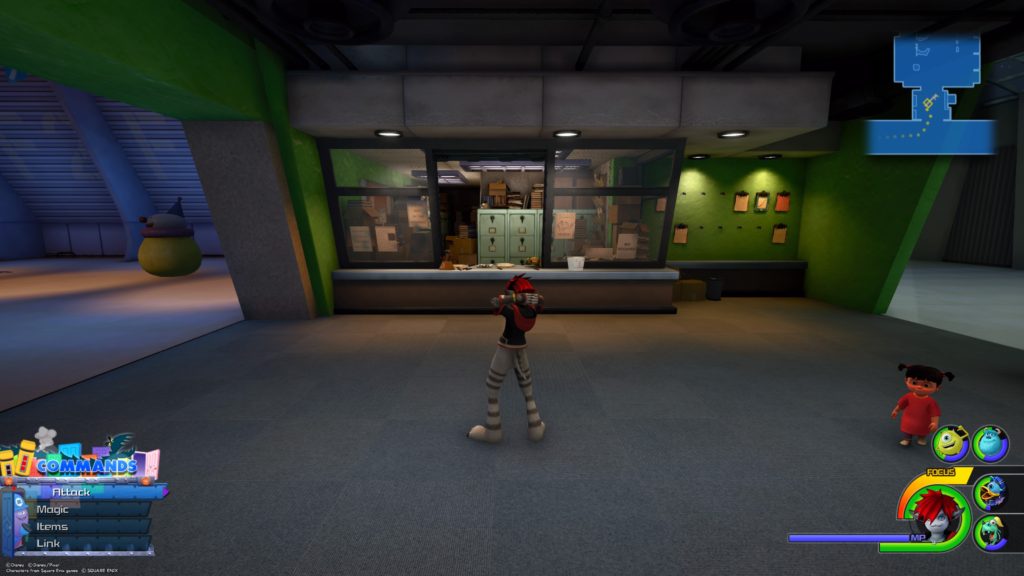
Technician’s Ring+
From the Lobby & Offices save point, head north into the big hallway and make a right. Follow the hallway turning left into the green hallway (giant F will be on the wall) leading to the Laugh Floor. From here, jump over the desk into the small room surrounded by windows just before the Laugh Floor to find this chest on the floor.
Refocuser
The chest will be in the northwest corner of the Laugh Floor on the other side of the employee desks.
The Door Vault / Lower Level
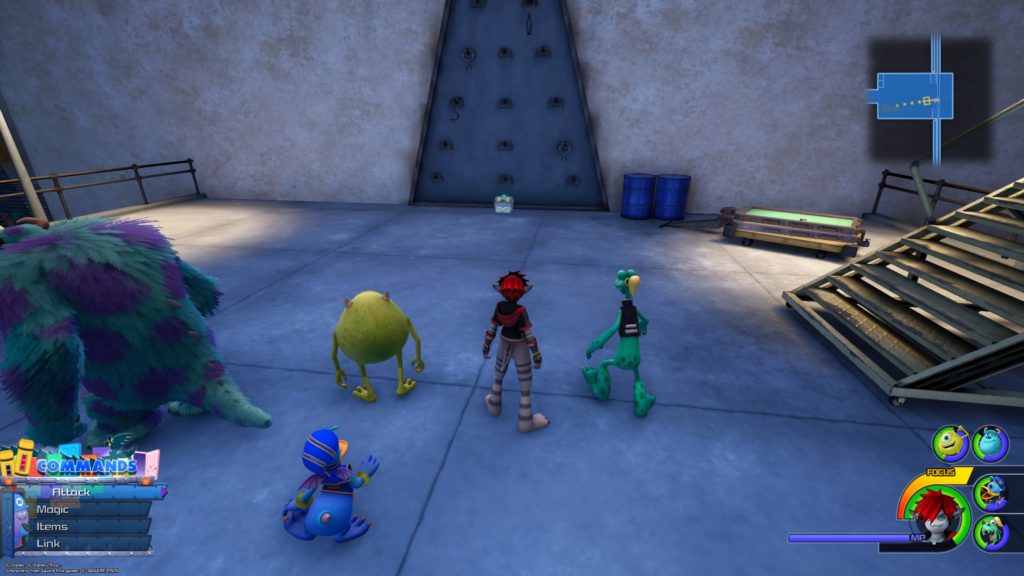
Star Shield+
This chest is on a platform above the yellow 7 in the lower level overlooking the wall of doors.
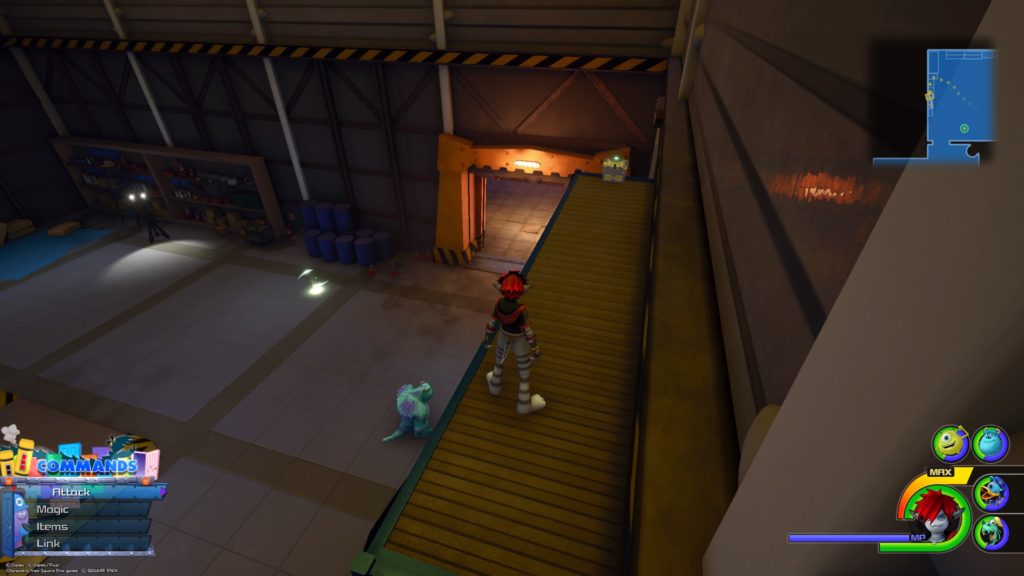
The Door Vault / Upper Level
Fencer’s Earring
From the Door Vault Upper Level save point, take the conveyor belt on the left to the next area. When you land, turn left and enter the door leaning against the wall to end up at the wall of doors. From there, turn right and enter the barnyard looking door to find this chest straight ahead.
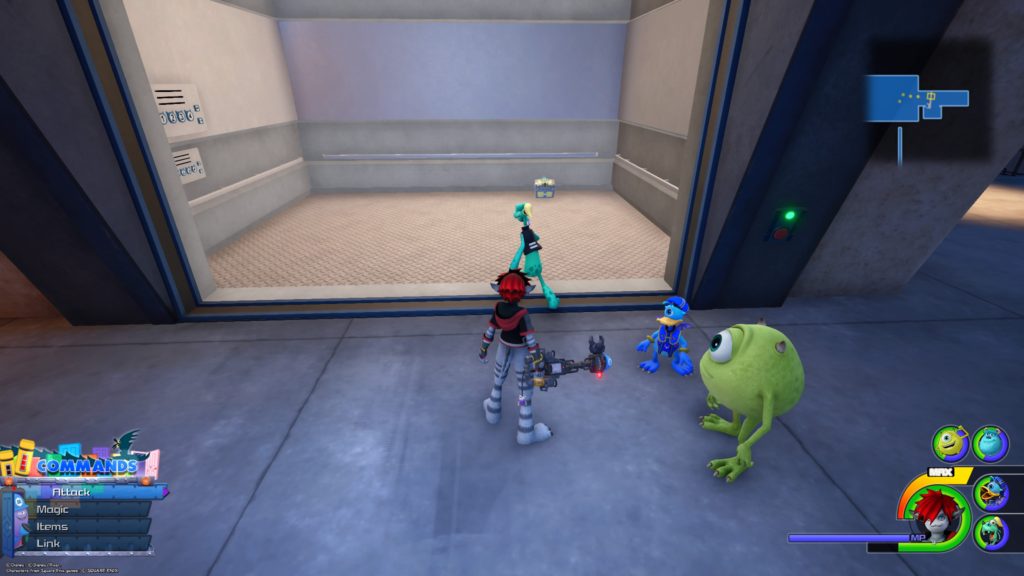
Thunder Cufflink
From the Door Vault Upper Level save point, take the conveyor belt on the left to the next area. When you land turn right down a dead end hallway and enter the elevator there to find the chest in it. Note: This chest cannot be reached until after you complete the story on this world.
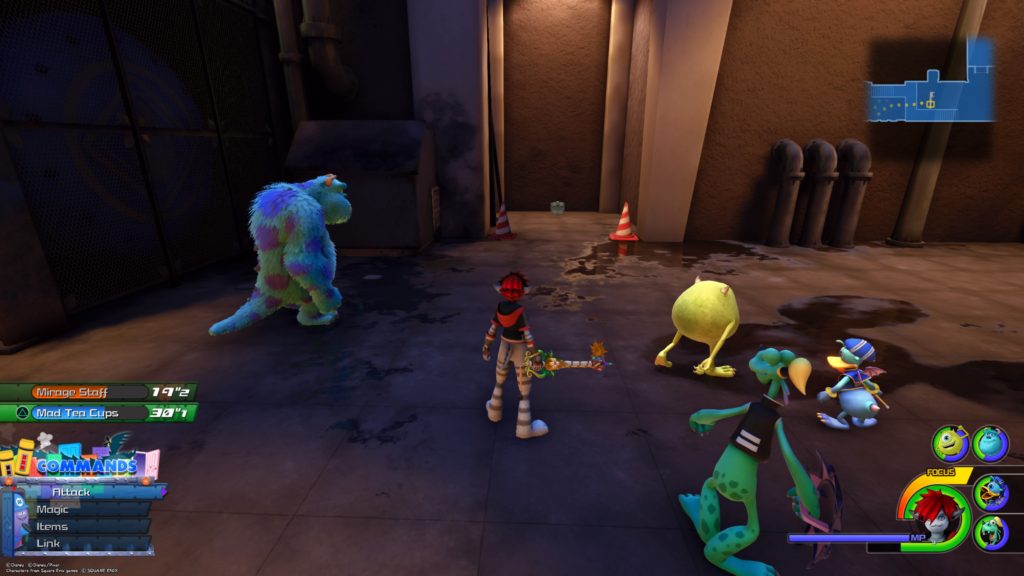
The Factory / Basement
Map: The Factory
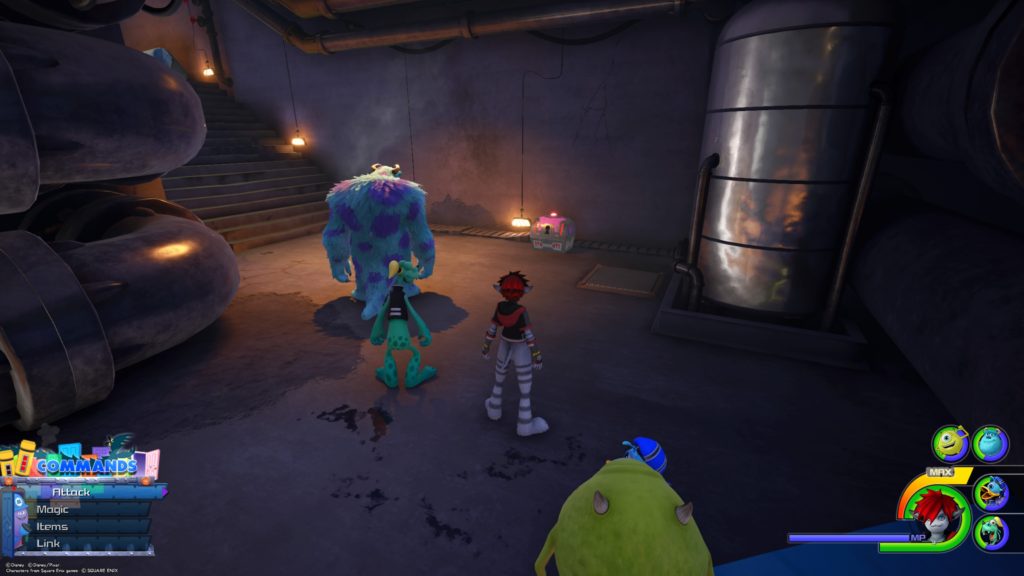
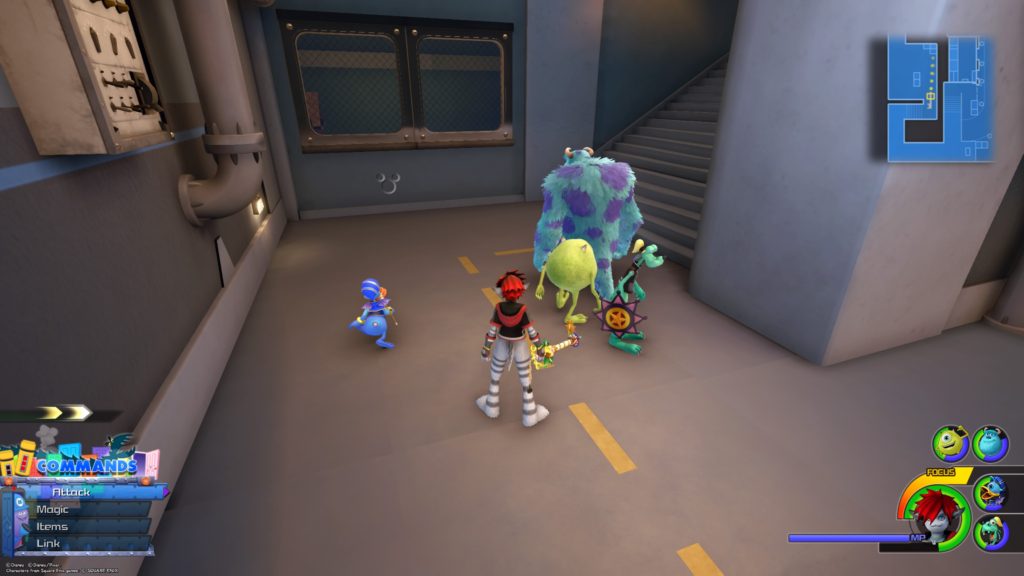
From the Factory Basement save point, head northeast to find this chest on the wall just before the stairs.
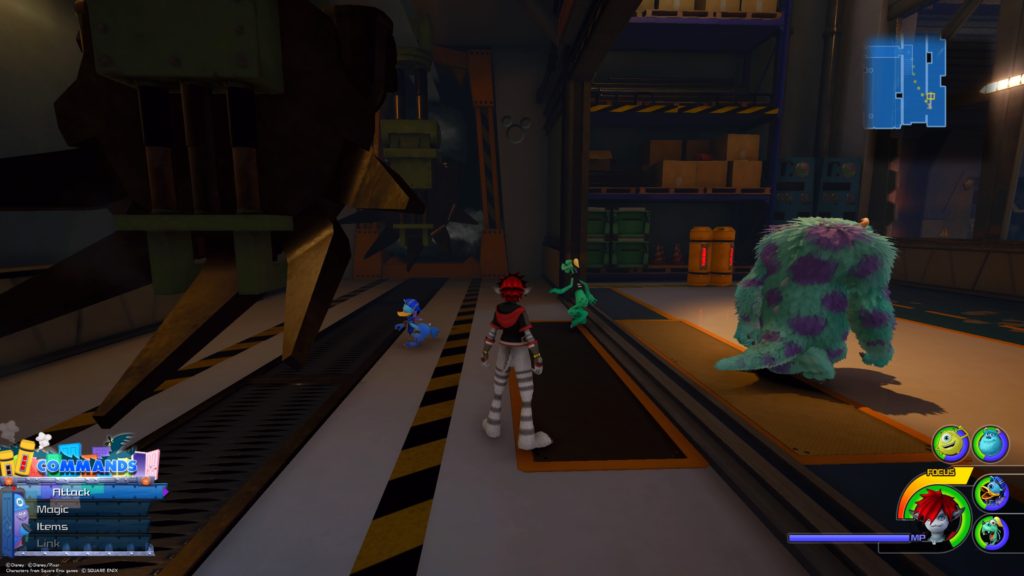
Damascus
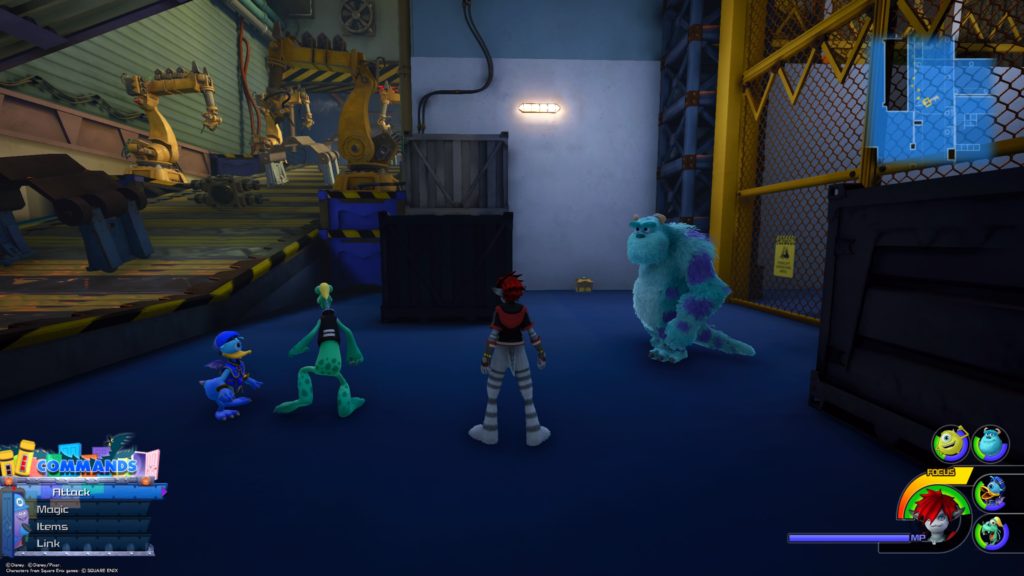
From the Factory Basement save point, head northeast up the stairs and follow the path to arrive at the assembly line with the laser machines. Follow the line until you reach the blue gate with E6 on it. The chest will be on the other side of a wooden crate.
The Factory / Ground Floor
Umbrella Rosette
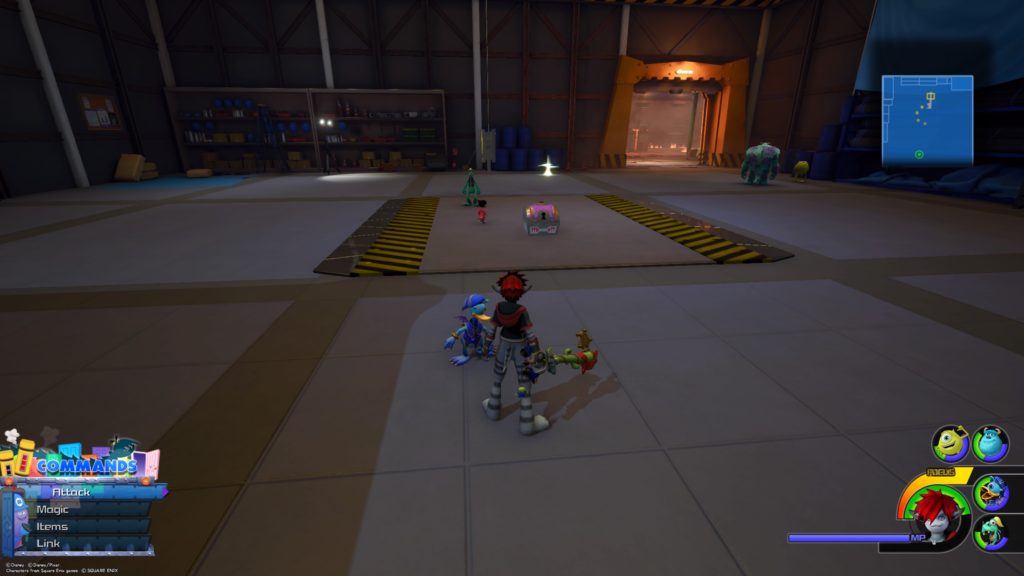
From the Ground Floor save point, jump on top of the canisters next to the save point to find this chest.
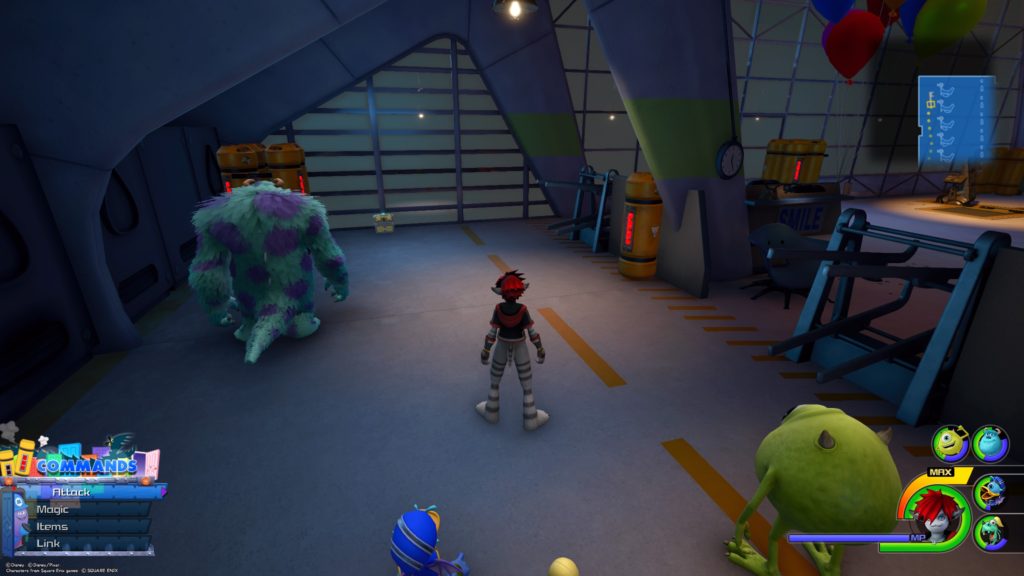
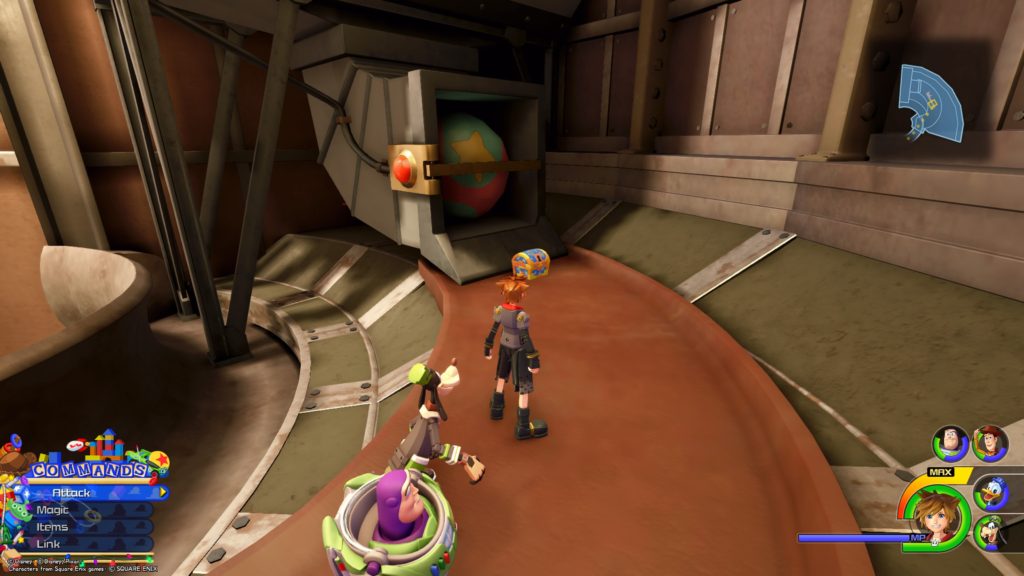
How to Play Golf
From the Ground Floor save point, take the elevator up to the second floor and follow the path until you reach the dead end in the image above. Keep going straight and take a left at the end of the hallway. Then work your way past machine parts until you reach the machine controlling them at the end. Drop down to the ground floor from here to find this chest.
Hi-Potion
From the Ground Floor save point, take the elevator up to the second floor and follow the path until you reach the assembly line with the laser machines. Follow the assembly line to the end, then take a left. The chest will be next to some wooden crates.
Valor Ring
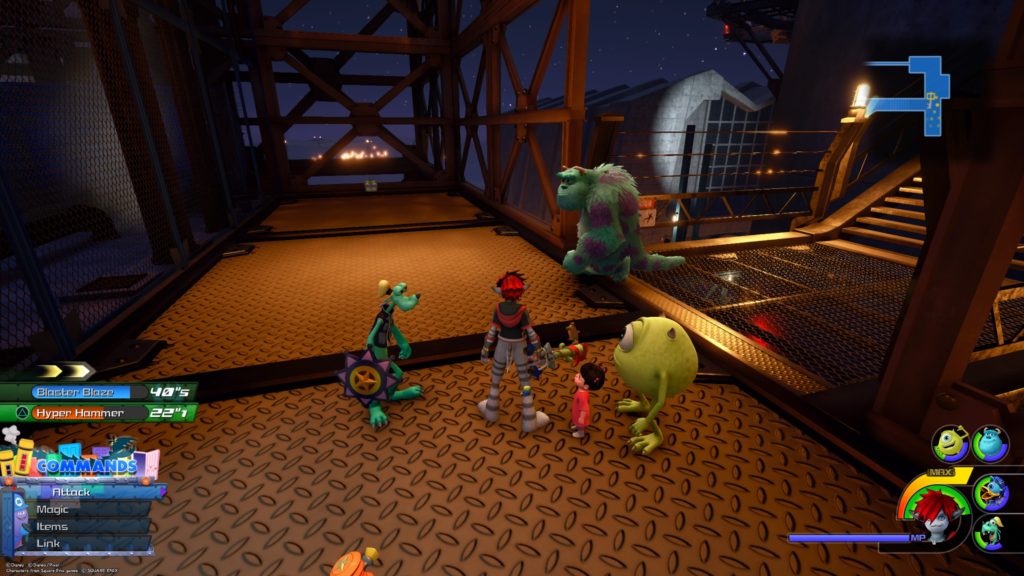
From the Power Plant Accessway save point, head back to the Factory Second Floor. Once there, jump up the containers on the right, then the canisters on those to find the chest.
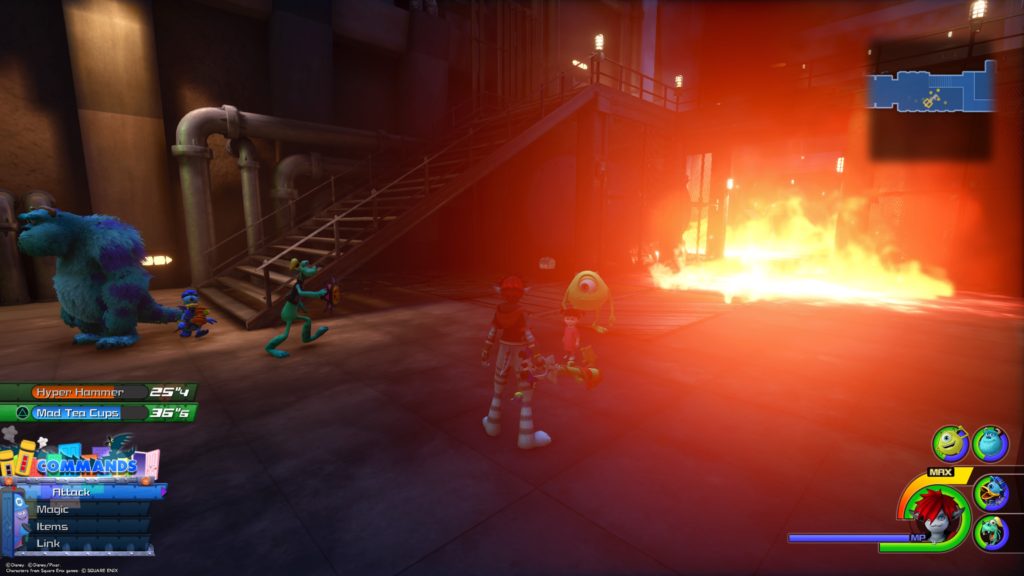
The Power Plant / Accessway
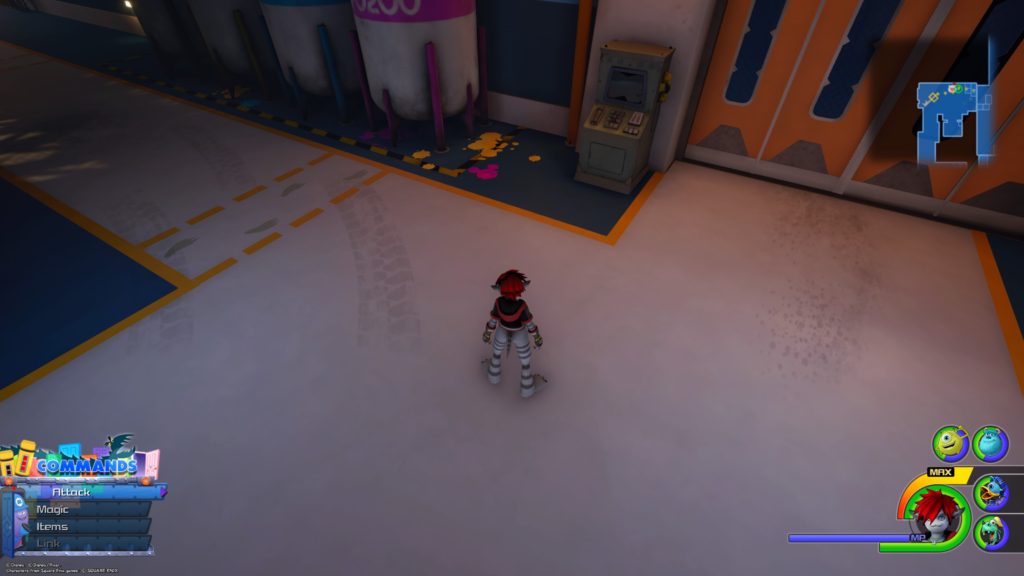
Firefighter Rosette
This chest is located next to the Accessway save point in front of some storage crates.
Fire Bangle
From the Power Plant Accessway save point, head down the hallway leading outside and down the steps. This chest will be across the courtyard in front of a giant silver cylinder next to the doorway.
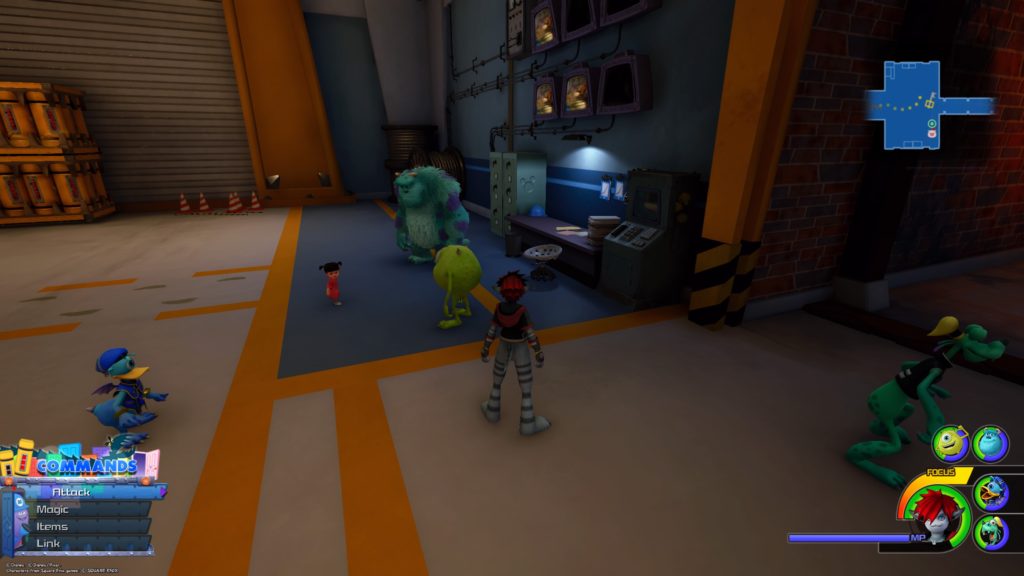
Hi-Refocuser
From the previous chest, enter the brick doorway and follow the hall until you reach a sort of break/storage room. The chest will be in this room by the doorway leading further into the plant.
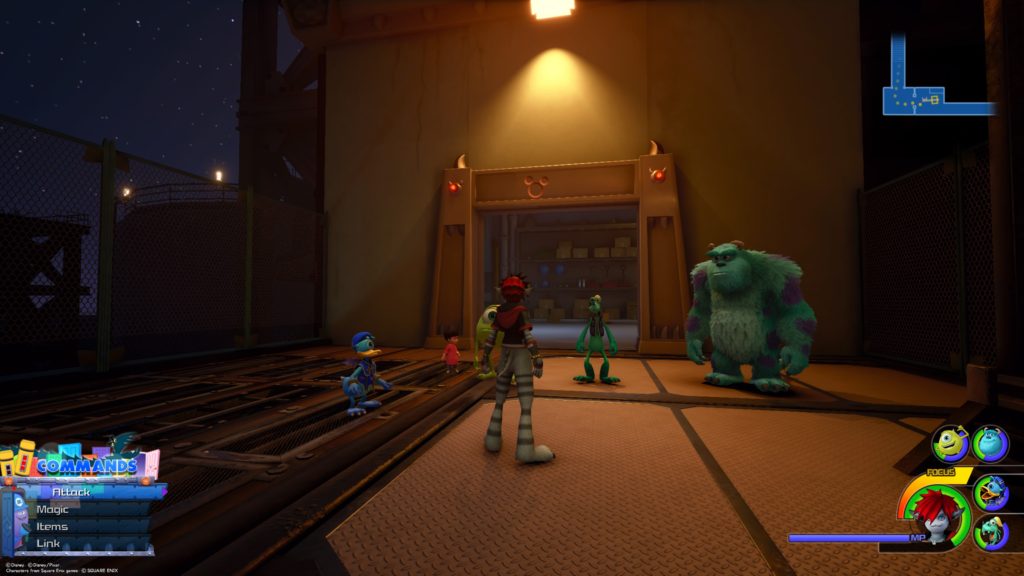
Damascus
From the Power Plant Accessway save point, head down the hallway leading outside and down the steps. Pass through the courtyard and enter the brick doorway. Continue through that hallway to end up in a storage/break room. Exit the room to emerge outside once again and keep following the path forward. Once you grind on the pipe, this chest will be straight ahead near the end of some metal scaffolding.
The Power Plant / Tank Yard
Mickey’s Circus
This chest is in a storage unit in the middle of the room containing the Tank Yard save point. You will need to attack the storage unit from somewhere high to get enough momentum to break it.
Ether
This chest is in the same room as the Tank Yard save point. Climb up the blue storage units on the western wall to find this chest on the shelf cover by a blue tarp.
The Power Plant / Vault Passage
Megalixir
From the Service Area save point, head back into the Vault Passage and follow the path forward under the walkway connecting the two sets of stairs. Once past the walkway, turn left to find this chest. Note: You cannot access this chest until after you complete the story for this world.
Mega-Ether
From the Service Area save point, head back into the Vault Passage. Once there, look under the steps on the left to find this chest.
The Door Vault / Service Area
Hi-Potion
This chest is in the same room as the Service Area save point. It is on the north side of the area next to a giant metal door behind a dumpster.
This lucky emblem is on a piece of paper attached to a clipboard on the 7th desk from the entrance to the Laugh Floor.
Lucky Emblem 2
This lucky emblem is under a blow-up clown near the entrance to the Laugh Floor on the right (east) side. You will need to hit it a couple of times to move it out of the way, revealing the emblem.
Monsters, Inc. / Upper Level
Lucky Emblem 3
Use the r-ed door in the Lower Level (room with the wall of doors) to enter the area where you were grinding on the conveyor belt transporting doors. This emblem will be straight ahead at the end of the hallway on a wall.
Lucky Emblem 4
Use the brown door (kind of looks like a bar door) on the left side of the wall of doors in the level. Swing left and head through the concrete hallway towards the giant banana. The emblem will be behind it made out of doors.
The Factory / Ground Floor
Lucky Emblem 5
From the Factory Ground Floor save point, head south through the hallway next to the Painting Room and into the open room with C1 on the wall. Continue through this room to find the lucky emblem on the wall near the stairs heading towards the Factory Basement save point.
Lucky Emblem 6
From the Factory Ground Floor save point, head over to the Painting Room to find this emblem on the floor to the left of the Painting Room sign.
The Factory / Second Floor
Lucky Emblem 7
From the Factory Ground Floor save point, take the elevator up to the second floor and follow the path until you reach the dead end in the image above. Keep going straight and take a left at the end of the hallway into an assembly line for a big metal part. The emblem will be on the wall to the right.
The Power Plant / Accessway
Lucky Emblem 8
From the Power Plant Accessway save point, head over to the monitors on the wall to find this emblem on the side of a file cabinet.
Lucky Emblem 9
From the Power Plant Accessway save point, follow the hallway leading outside and head down the steps. Once at the bottom, pass through the courtyard and enter the bricked doorway. Follow that hallway to a sort of break/storage room. Exit that room to head outside once more and turn around looking at the top of the doorway to find this emblem.
The Power Plant / Tank Yard
Lucky Emblem 10
This emblem is located in the same room as the Power Plant Tank Yard save point. Climb up to the platform in the northeastern corner of the room and look south to find the emblem made out of some pipes.
The Power Plan / Vault Passage
Lucky Emblem 11
From the Service Area save point, head back into the Vault Passage. Take the stairs on the left up and look over the walkway at the top next to the CDA agent to find this emblem on the ground below. You will need to stand on the railing to take the picture. Note: You cannot access this emblem until you complete the story for this world.
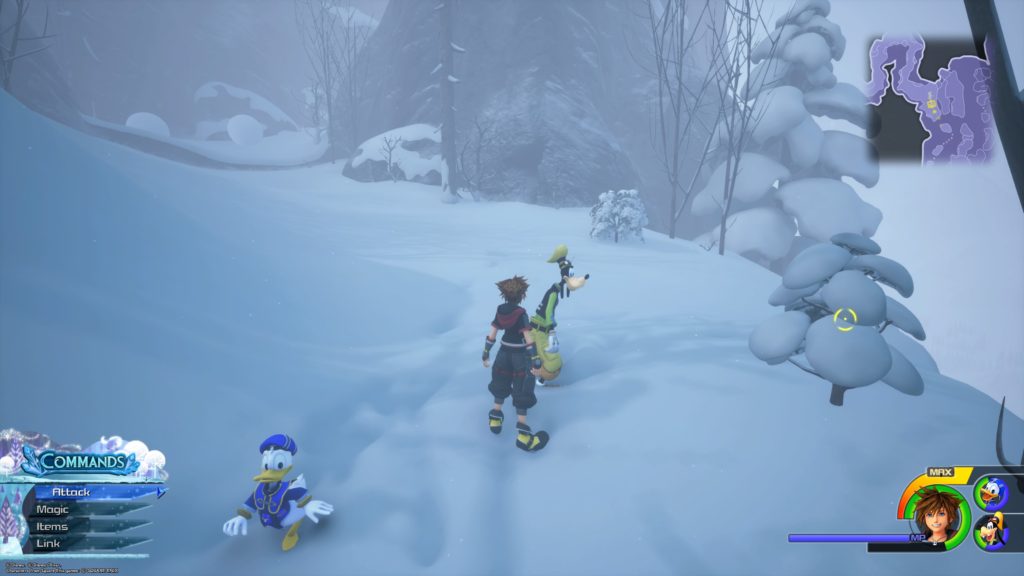
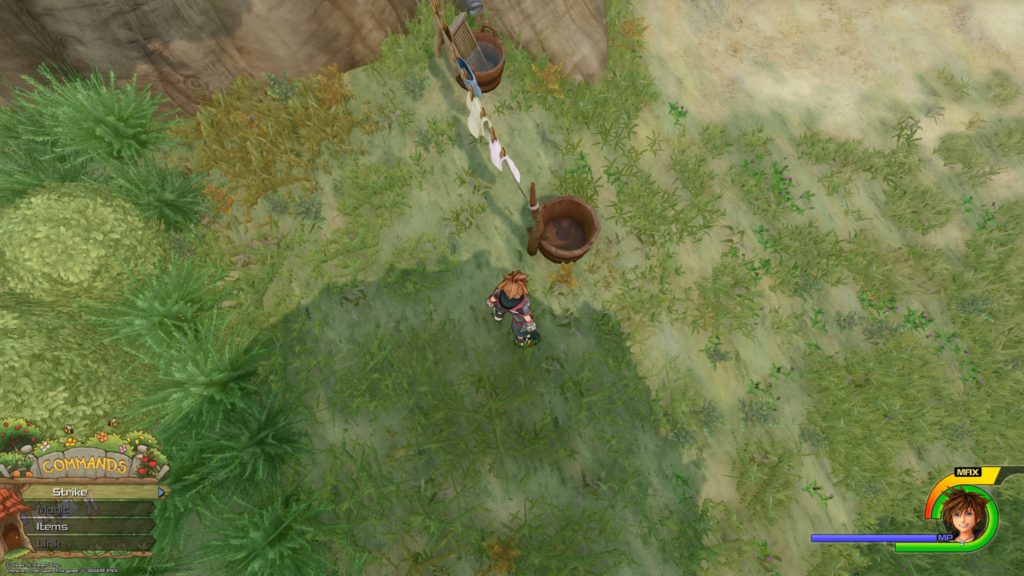
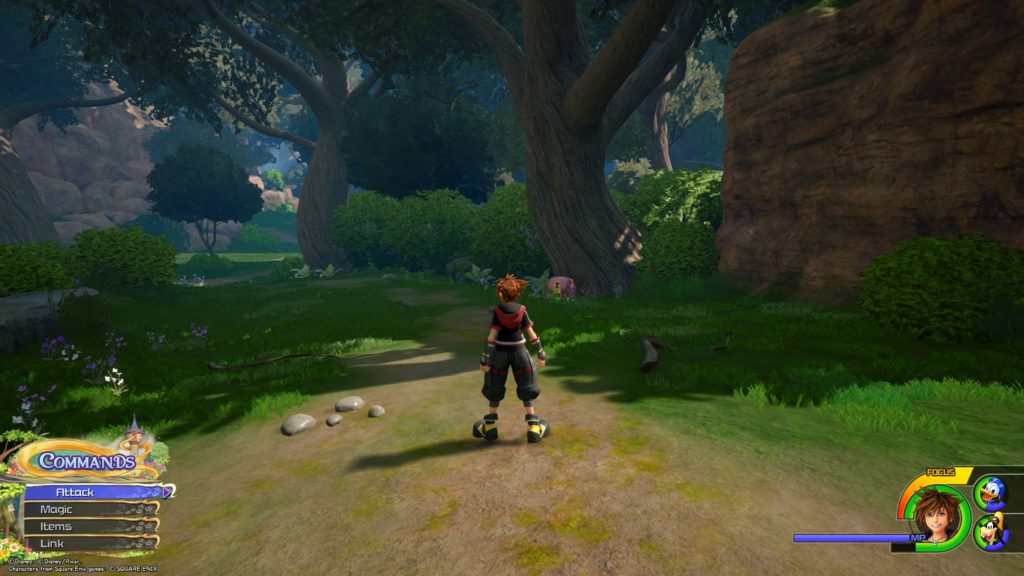
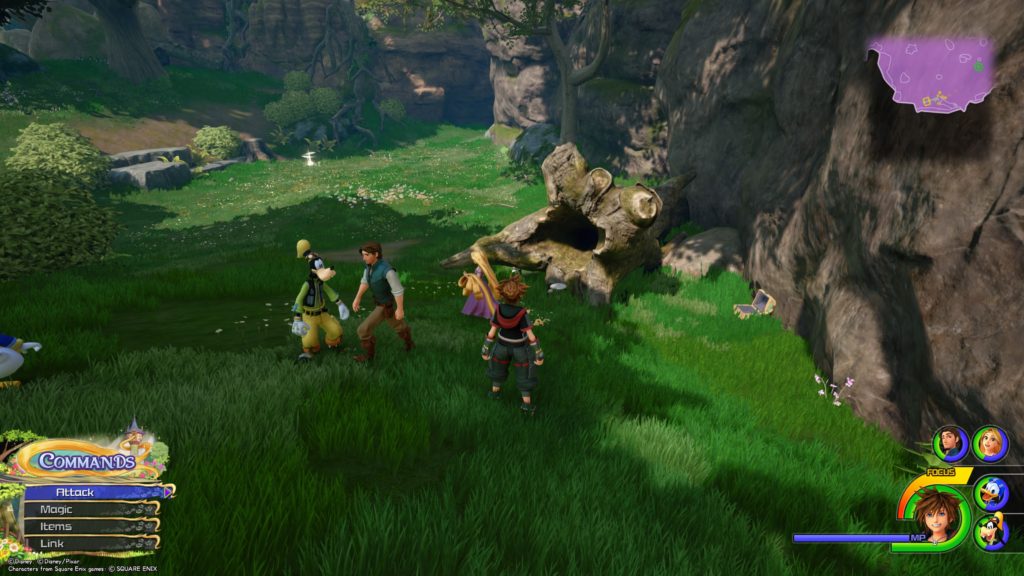
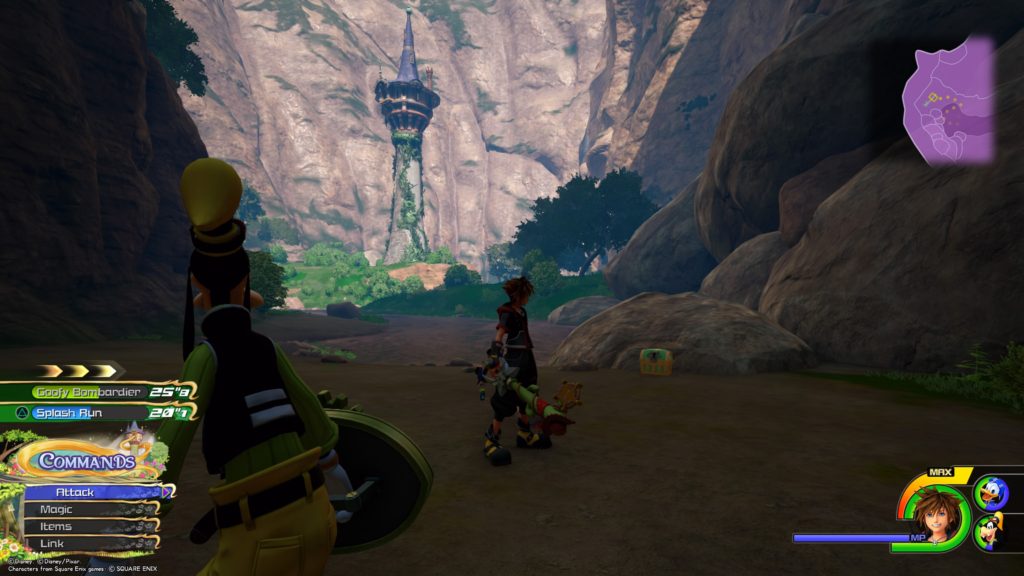
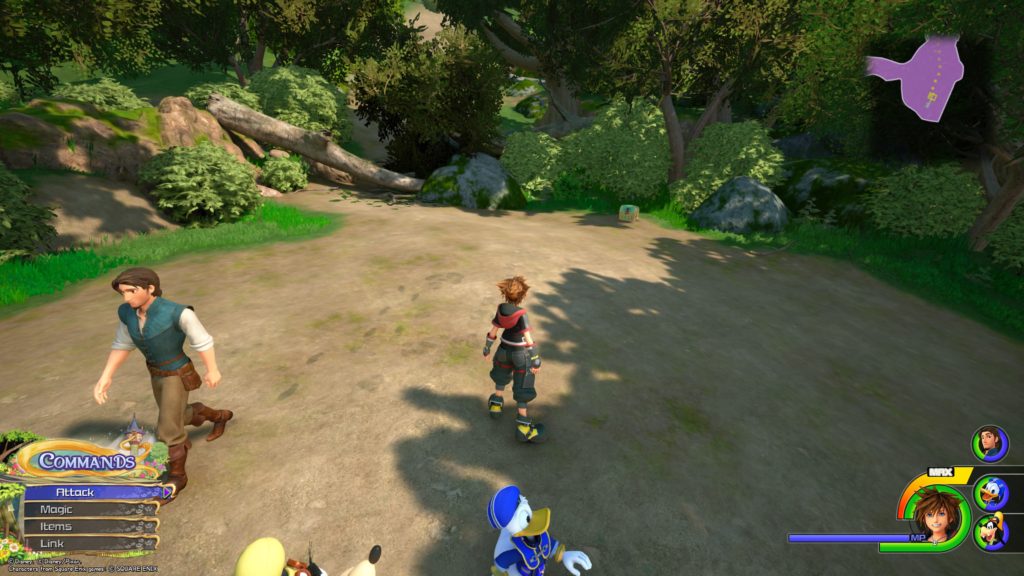
This chest is in the beginning area next to a tree when you first gain control of Sora. Alternatively when you exit the tunnel from the Tower, head straight until you come across the chest, which will be on the left.
Refocuser
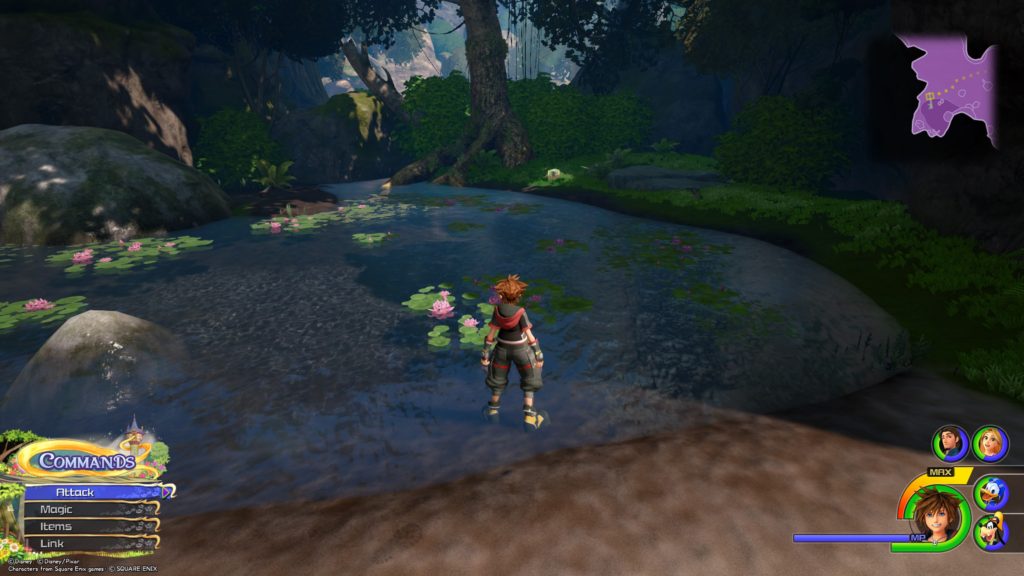
With the tunnel leading to the Tower behind you, head left (west) until you reach a small pond. The chest will be on the other side of the pond next to a tree.
Camping Out
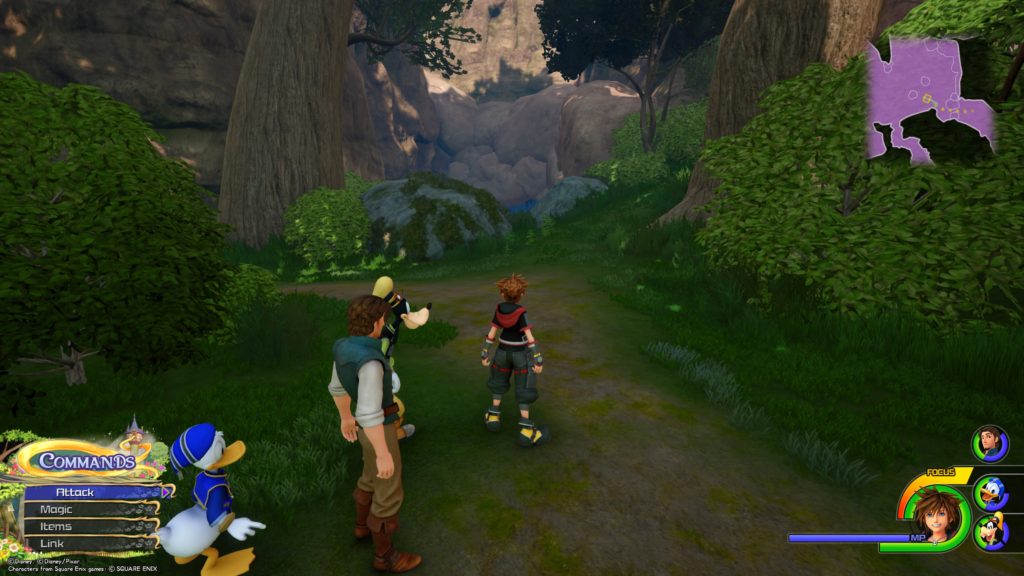
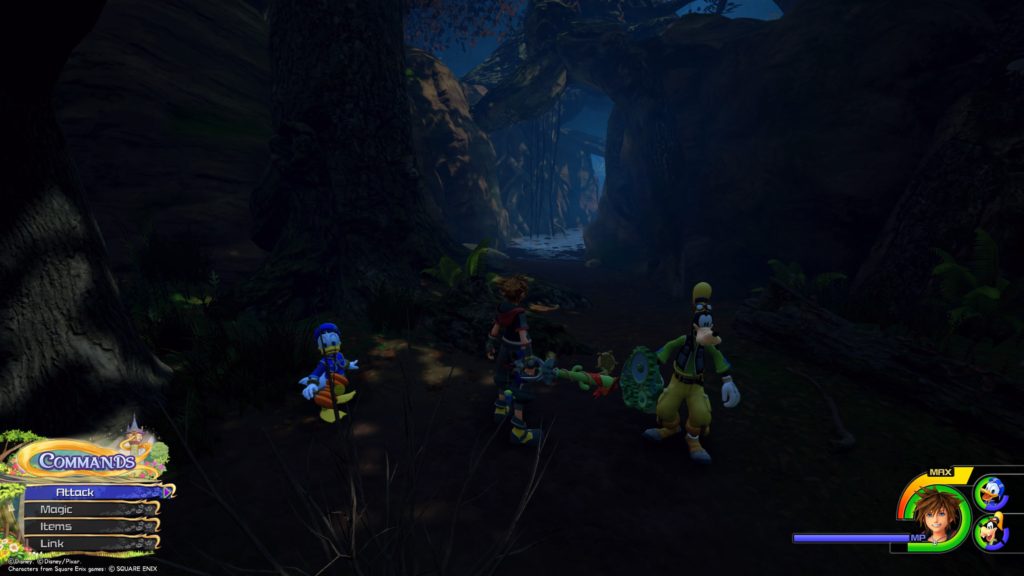
With the Tunnel to the Tower behind you, turn right and follow the path to arrive at two large rocks. Walk between/jump over them and enter the cave there. This chest will be at the end of the cave surrounded by heartless.
Potion
Southeast of the Hills save point behind a fallen log
Bronze Amulet
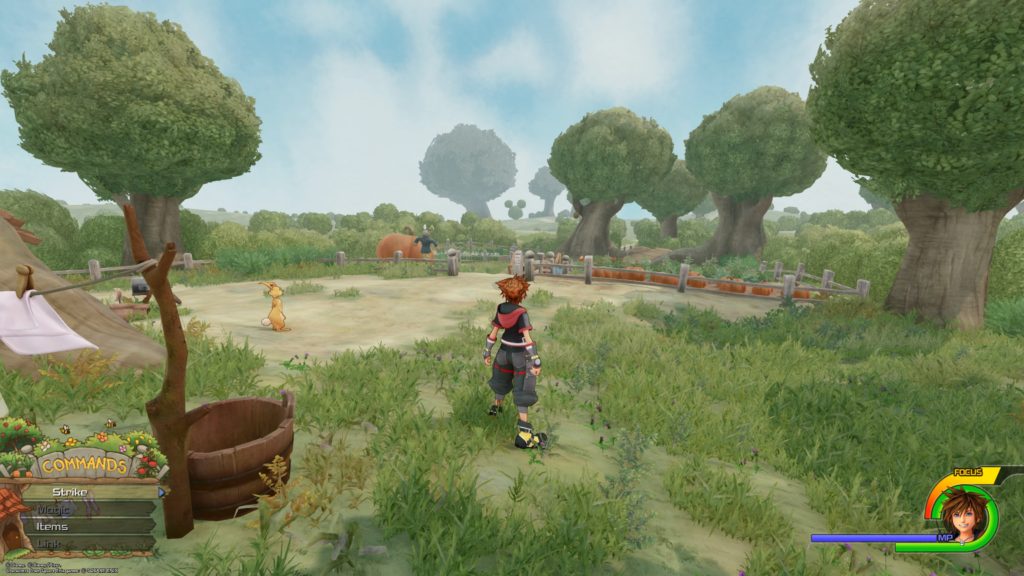
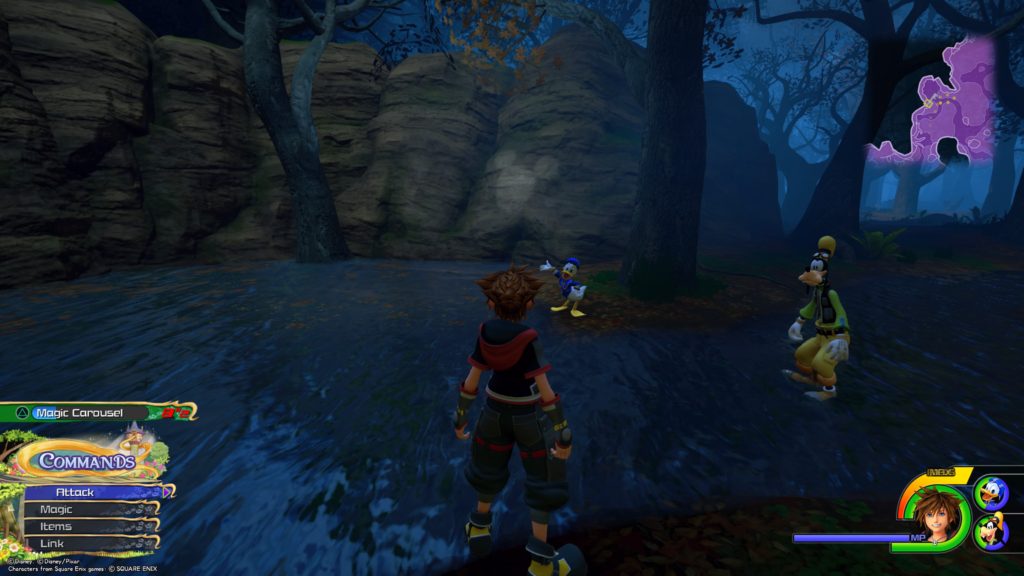
Follow the rabbits Sora and the gang save during the story to find this chest.
Panacea
From the Hills save point, head north following the path right towards the giant pond. The chest will be on the left next to a tree surrounded by bushes.
Wind Fan
From the Marsh save point, follow the path back into the Hills sticking to the left. You will eventually reach a short climbable wall. Head up it to reach an area full of trees with low hanging branches (tons of Power Wilds will spawn here). Keep heading left and jump over some rocks to reach the slightly raised ground. From there jump up to the top of the rock to find this chest.
Elven Bandana
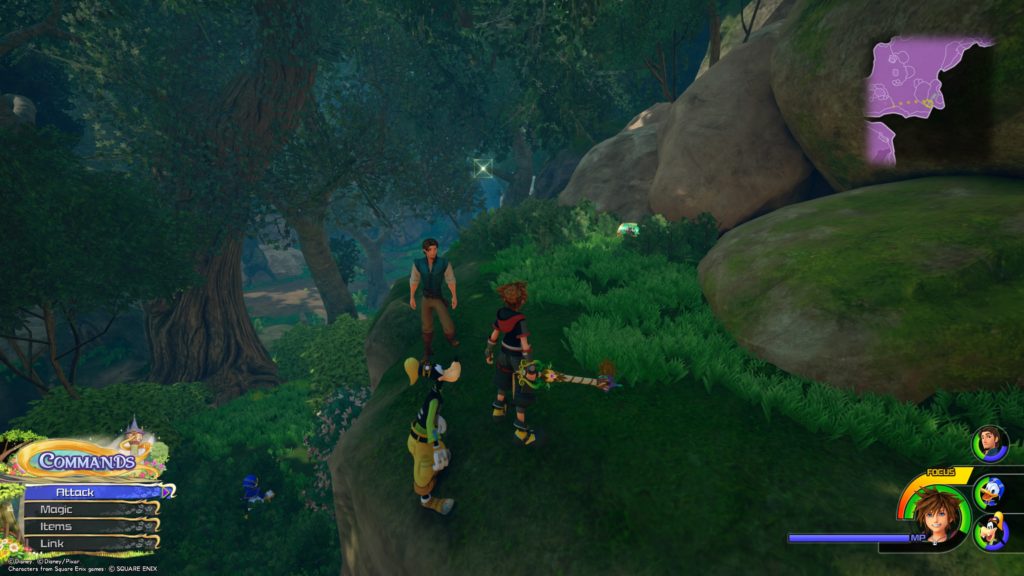
From the Marsh save point, follow the path back into the Hills sticking to the left. You will eventually reach a short climbable wall. Head up it to reach an area full of trees with low hanging branches (tons of Power Wilds will spawn here). From here, turn right and head straight towards the unclimbable rock wall in the image above. The chest will be at the top of that wall. You can get up there by jumping on the nearby tree branches or using the superjump ability if you have it.
The Forest / Tower
Mask Rosette
From the Tower save point, head down the hill and follow the river right until you reach a dead end where the chest will be on the left.
The Forest / Marsh
Shadow Anklet
From the Marsh save point, hug the left wall until you find an opening covered by tree roots. Head into the water and the chest will be straight ahead.
Map: The Forest (2/2)
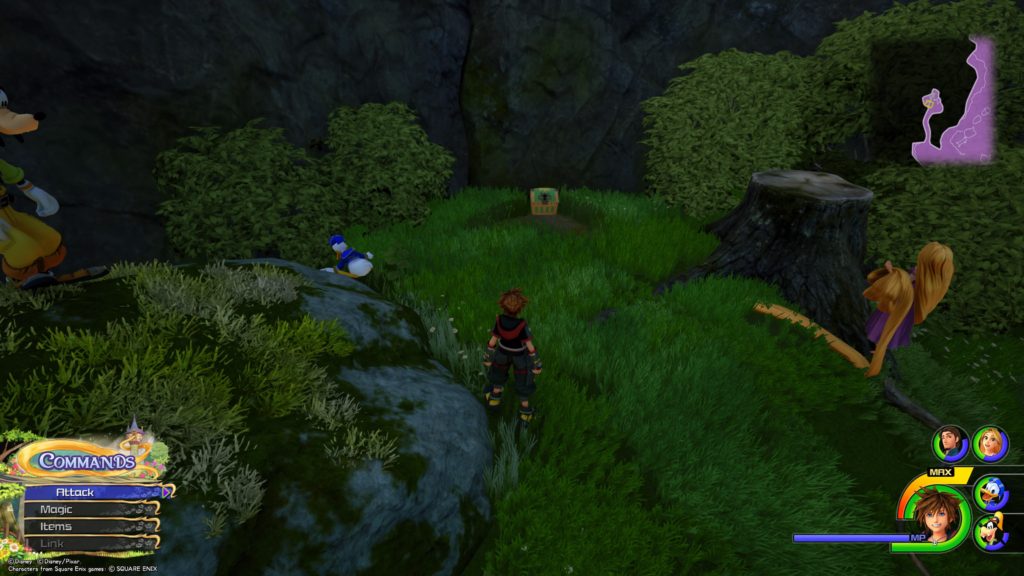
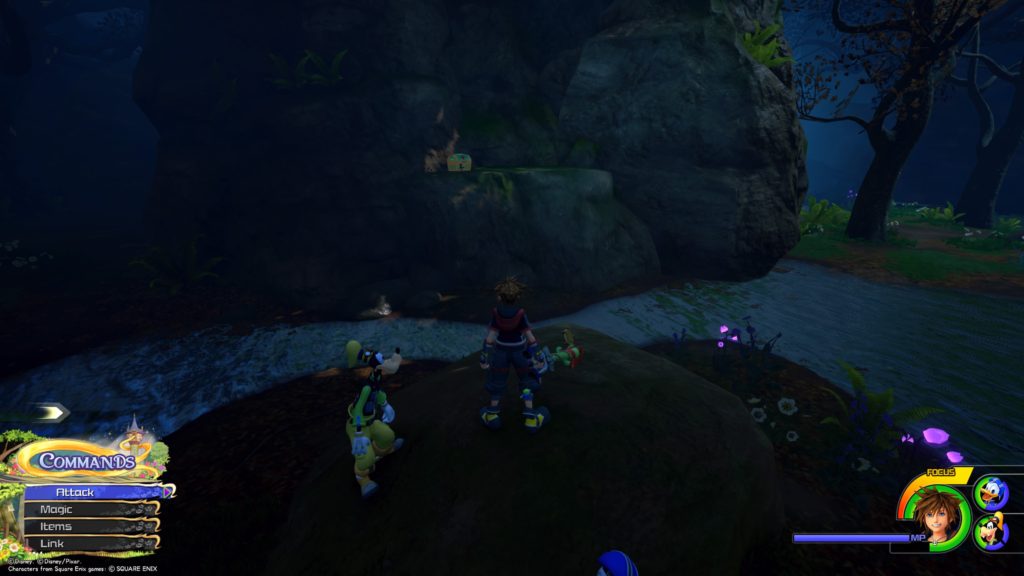
From the Marsh save point, follow the water to the right around the large stump with the Lucky Duck hatch inside of it. The chest will be on the land to the right of the water.
Potion
From the Marsh save point, keep heading west until you come to a giant rock that has a chest on it (the cave leading to the Campsite will be behind it).
Damascus
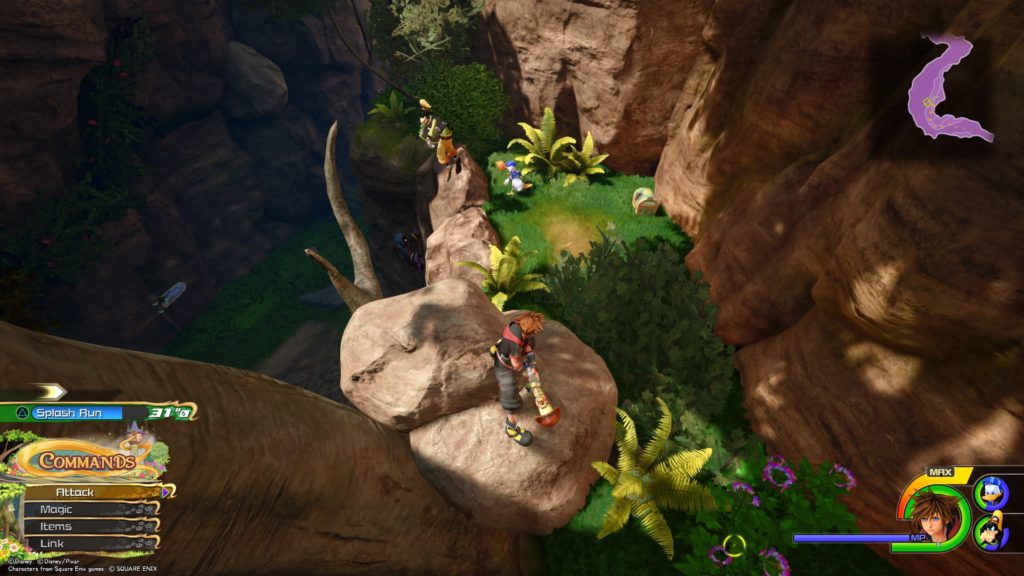
From the Campsite save point, head back through the canyon towards the Marsh and climb up the first climbable rock wall on the left to find the chest at the top.
The Forest / Wetlands
Ether
After exiting the Campsite into the Wetlands, take the first left towards the dead end containing the chest.
Defense Belt
After the second swing using Rapunzel’s hair, drop down onto a ledge to the right just before you enter the cave to find this chest.
Aero Cufflink
From the Campsite, follow the path towards Corona until you reach the quarry like area where you had to use Rapunzel’s hair to swing from the tree branches. This chest is located in a giant rock just before the first tree. You will need to perform a falling strike on the rock from high up to break the rock, revealing the chest. You can also use superjump to get the height you need.
Damascus
Head to the spot in the Quarry area from when Rapunzel helped you cross the second time and head into the cave that is straight in front of you. Follow the path until you reach an open area in the cave. Take a right and run up the wall, which brings you to an elevated area of the cave. From there go straight ahead up the larger climbable wall. Once at the top, turn around to see this chest on a ledge slightly below.
Mythril Stone
From the previous chest, jump back down into the cave and follow the right path along the west wall of the cave to find the chest at the end of the path.
Mage’s Earring
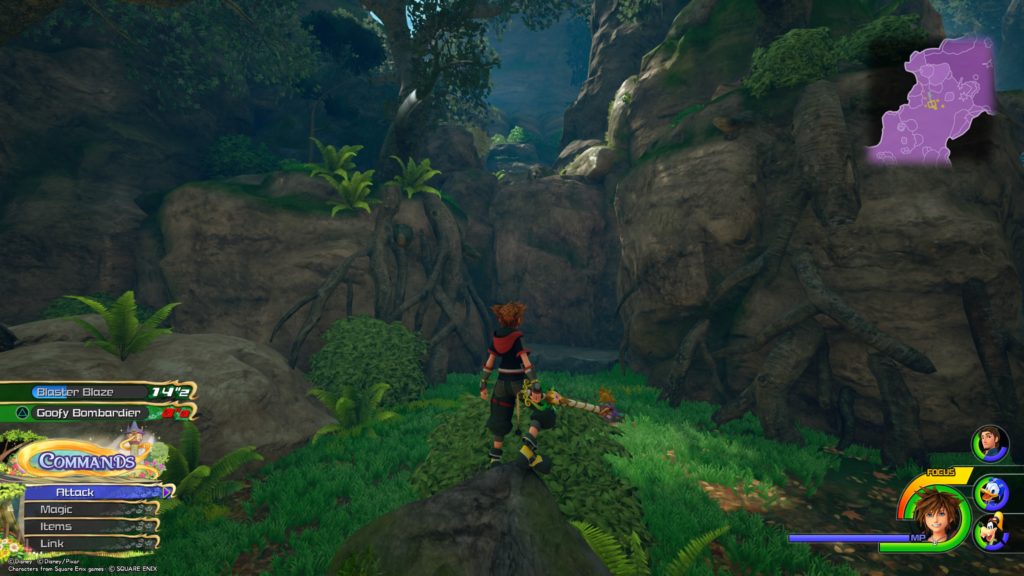
From the Wildflower Clearing, head back to the Wetlands and stop just above the area where you fought the Chaos Carriage from the story. Use superjump to reach the top of the right rock (one in the image above) to reach the chest.
The Forest / Wildflower Clearing
The Wayward Canary
This chest is next to a tree on a rock ledge north of the Wildflower Clearing save point
Hi-Ether
From the Wildflower Clearing save point, head past the giant tree (right next to the save point) to the southeast until you reach the top. Walk through the bushes in front of it to reach this chest.
The Forest / Shore
AP Boost
From the Thoroughfare save point, head back to the shore and walk straight ahead (south) to find this chest.
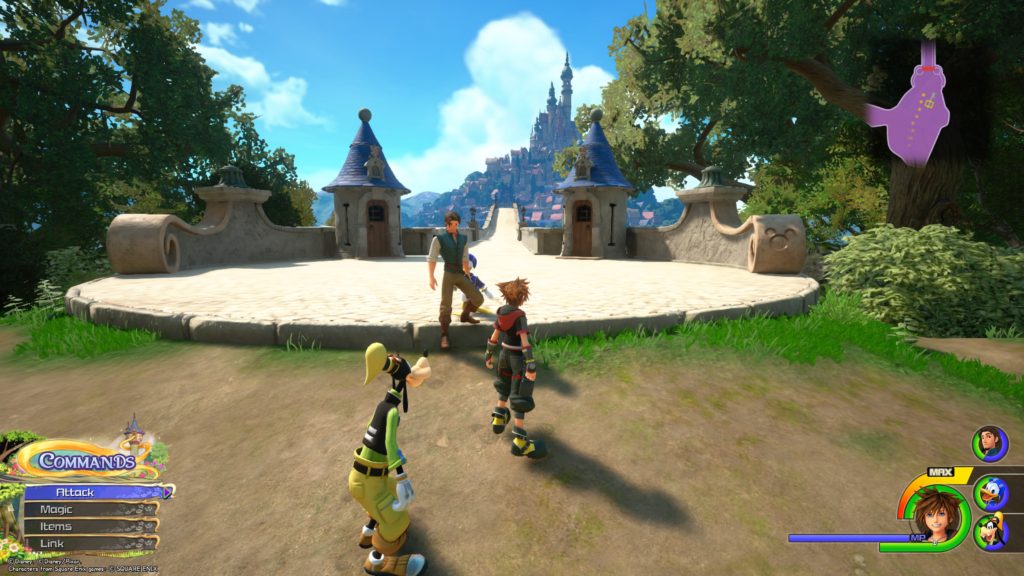
The Kingdom / Thoroughfare
Ether
From the Thoroughfare save point, swing left around the stone entryway to find a chest along the stone wall.
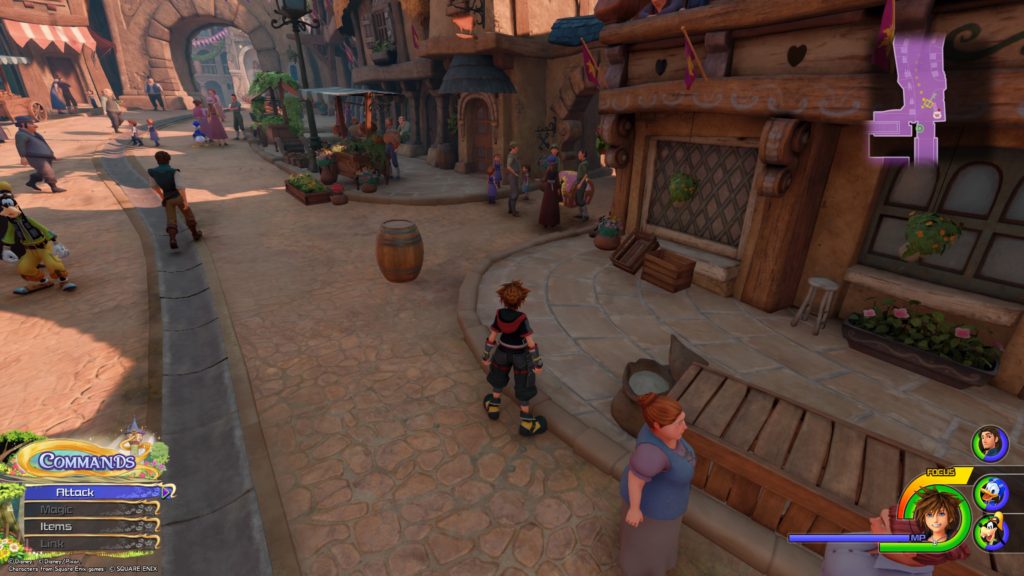
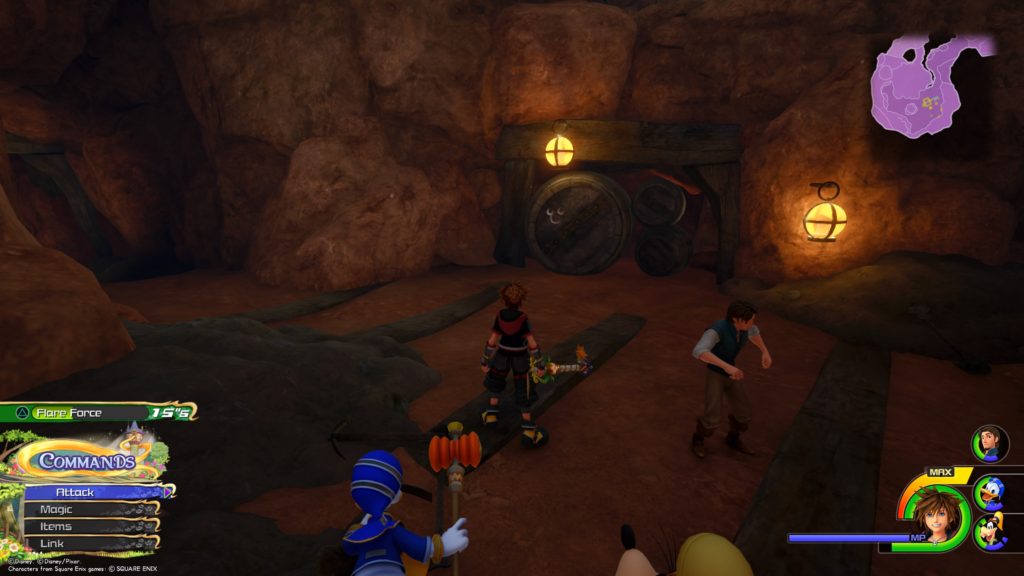
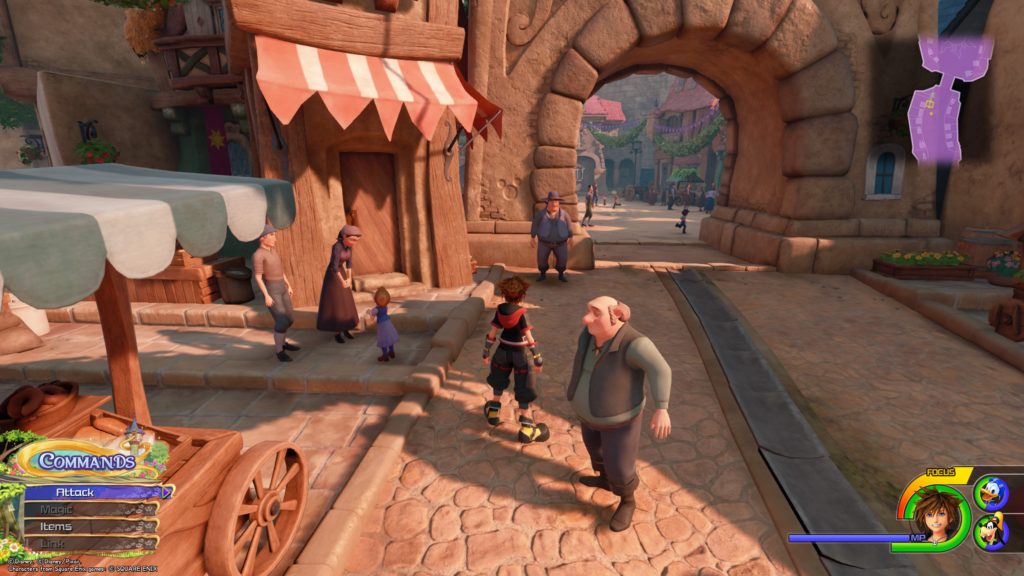
The Karnival Kid
From the Thoroughfare save point, follow the road towards the plaza a short way until you reach the lone barrel on the right side of the road. Interact with it to start a performance that will cause a group of people to disperse, allowing you to access the chest.
Magic Boost
From the Thoroughfare save point, follow the road into the plaza just outside the castle. Interact with the lone barrel to the right of the royal family’s portrait to start a performance. This will cause the crowd next to the chest to dissipate allowing you to access it.
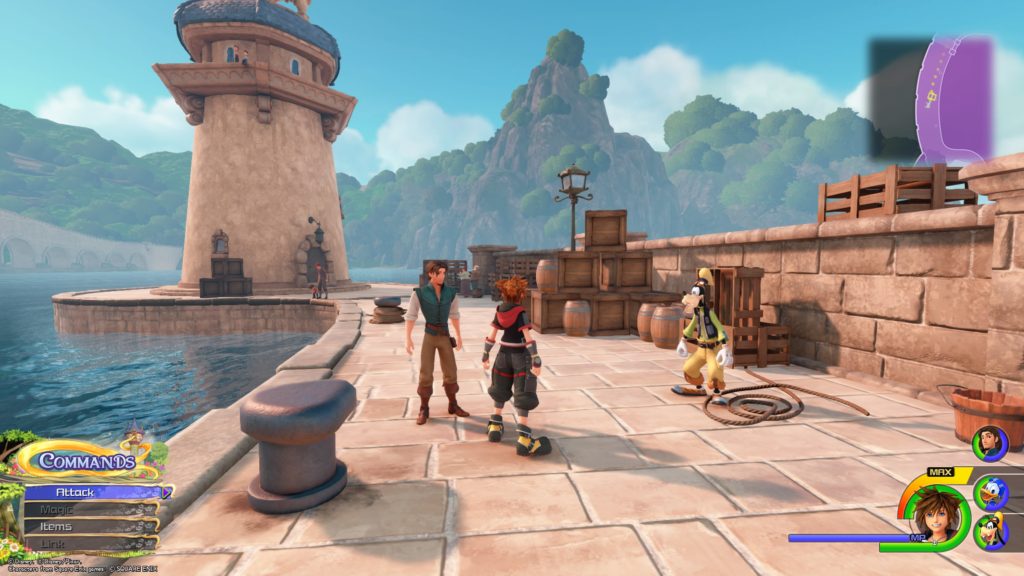
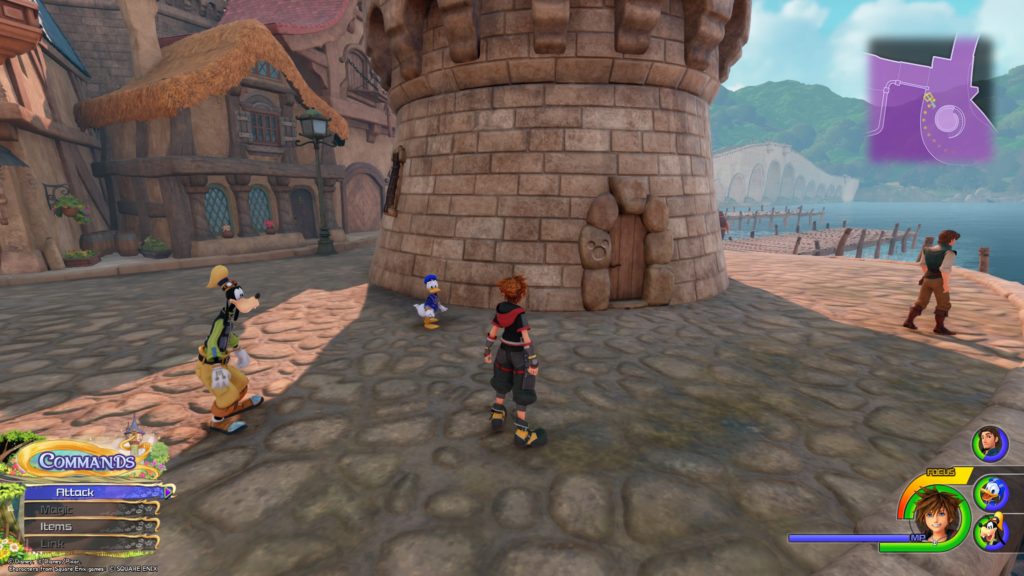
The Kingdom / Wharf
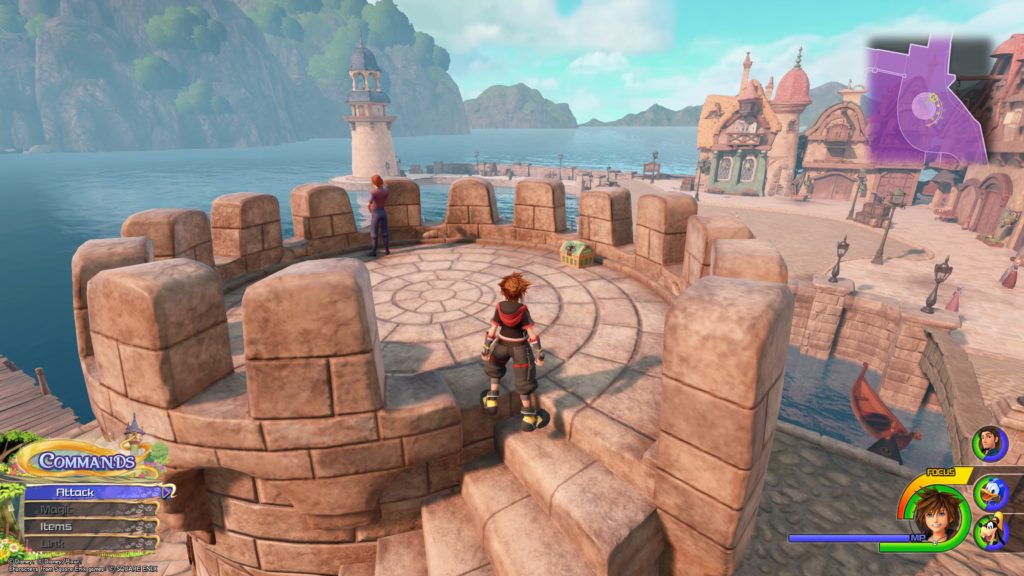
Rune Ring
From the Thoroughfare save point, take a left and head down the stairs into the Wharf. Turn right and follow the wharf down to the castle tower structure. Take the stairs up to the top to find this chest.
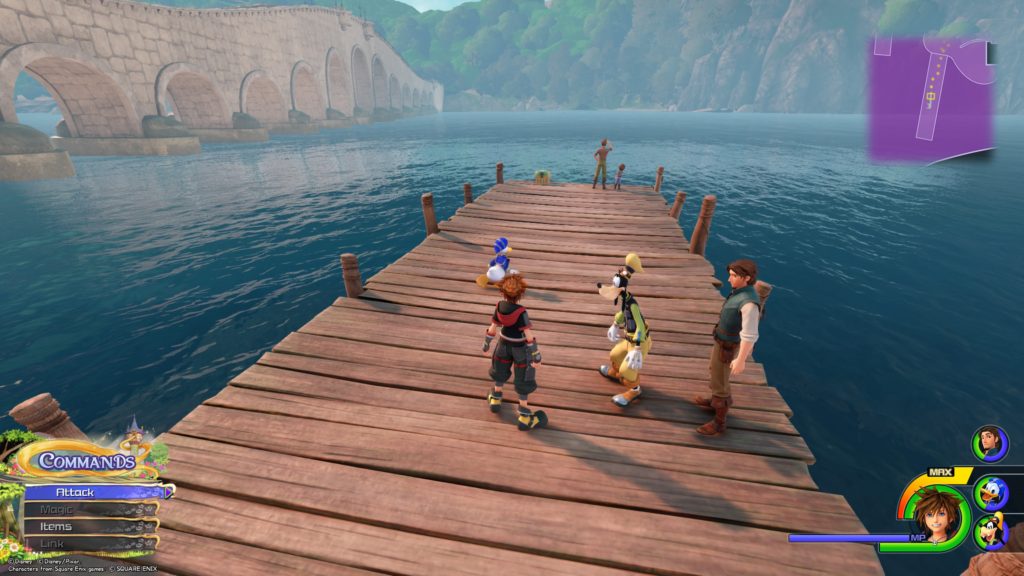
Sea Bass en Papillote+
From the Thoroughfare save point, take a left and head down the stairs into the Wharf. Next, take a left and walk to the end of the dock to find this chest.
Hi-Potion
From the Thoroughfare save point, take a left and head down the stairs into the Wharf. Go right and make your way past the castle tower structure. Turn left over the bridge and go to the lighthouse on the other side of the Wharf. As you reach the lighthouse, destroy the stack of wooden boxes and barrels to reveal a hidden chest.
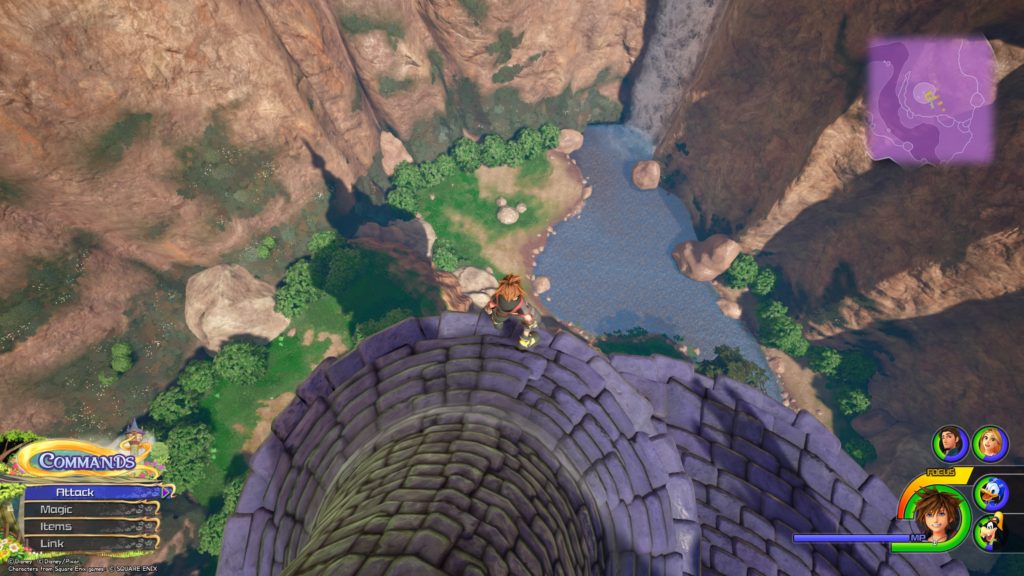
This emblem is the rock formation on the ground southeast of Rapunzel’s tower. You will need to climb up Rapunzel’s tower in order to take the picture.
The Forest / Marsh
Lucky Emblem 2
With the Marsh cave leading to the Campsite behind you, head east until you reach a giant rock surrounded by trees and follow the path left. From there keep heading straight until you reach an inlet surrounded by rocks. The emblem will be on the right side of the rock face.
The Forest / Wetlands
Lucky Emblem 3
Head to the spot in the Quarry area from when Rapunzel helped you the second time and head into the cave that is straight in front of you. Follow the path until you reach an open area in the cave. Turn to the left to find the Lucky Emblem on the side of a barrel.
The Forest / Shore
Lucky Emblem 4
From the Thoroughfare save point, head back to the shore to find this emblem at the end of the stone wall.
The Kingdom / Thoroughfare
Lucky Emblem 5
This emblem is on the left side of the stone entryway leading to the plaza in front of the castle
Lucky Emblem 6
Head to the plaza and turn left at the portrait of the royal family. The emblem will be on a wooden door located on the right side of the street.
The Kingdom / Wharf
Lucky Emblem 7
From the Thoroughfare save point, take a left and head down the stairs into the Wharf. Go right and make your way to the castle tower structure to find this emblem on its wooden door.
Lucky Emblem 8
From the Thoroughfare save point, take a left and head down the stairs into the Wharf. Take another left to find the lucky emblem made out of some barrels along the stone wall to the right of the steps.
Lucky Emblem 9
From the Thoroughfare save point, take a left and head down the stairs into the Wharf. Go right and make your way past the castle tower structure. Turn left over the bridge and go to the lighthouse on the other side of the wharf. Climb the lighthouse to find the lucky emblem at the top.
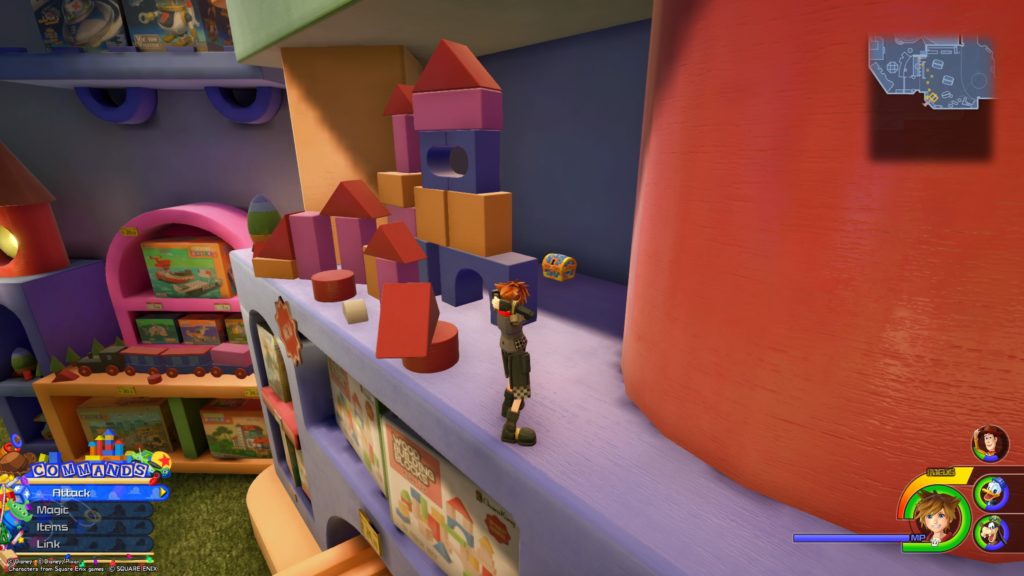
Located behind some wooden building blocks on a shelf
Hi-Ether
Located on top of windows viewing into the Kid Korral (to the left of the pink doors leading to the Kid Korral)
Galaxy Toys / Video Games
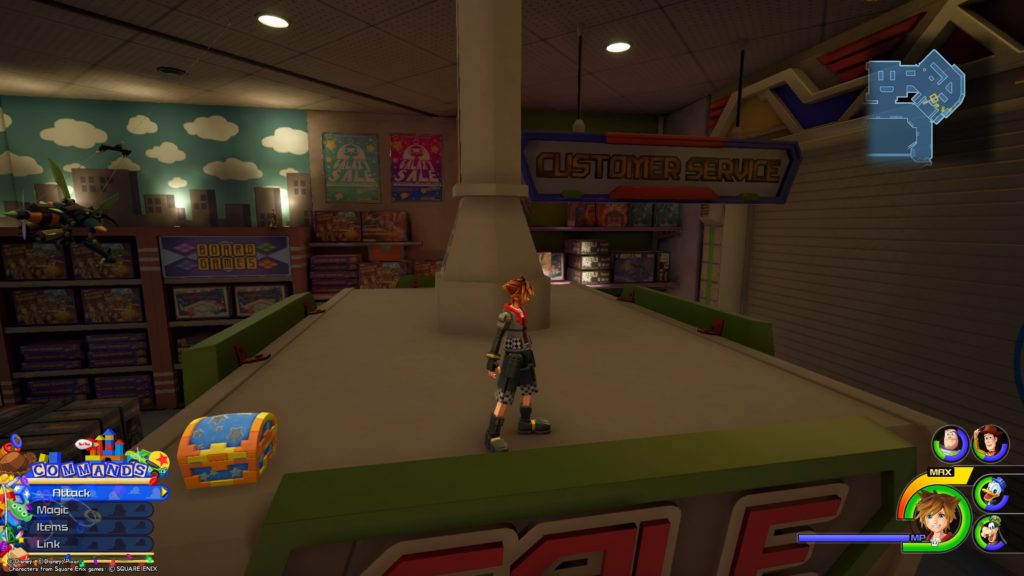
Ability Ring+
Located on the floor behind the checkout registers
Galaxy Toys / Kid Korral
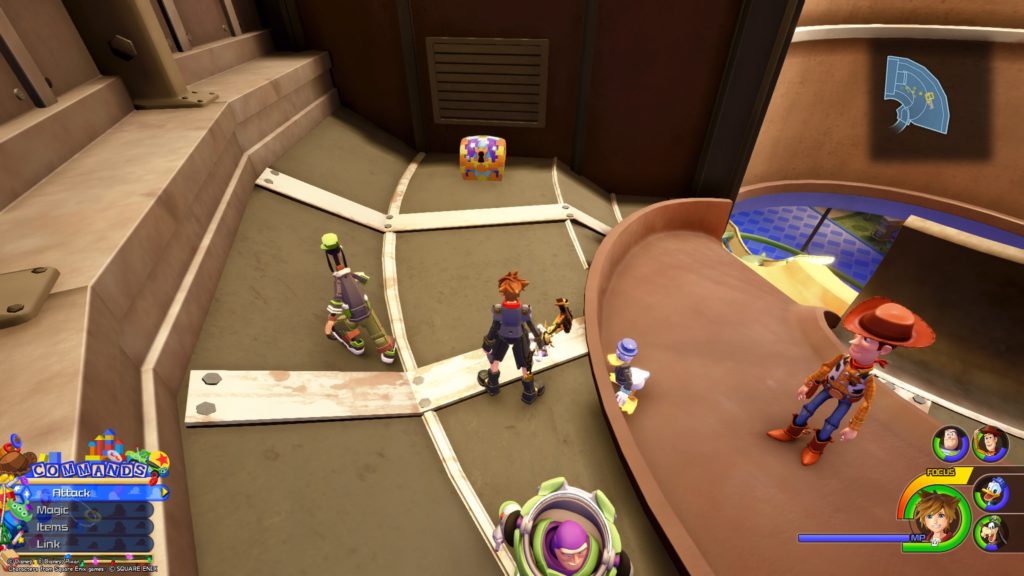
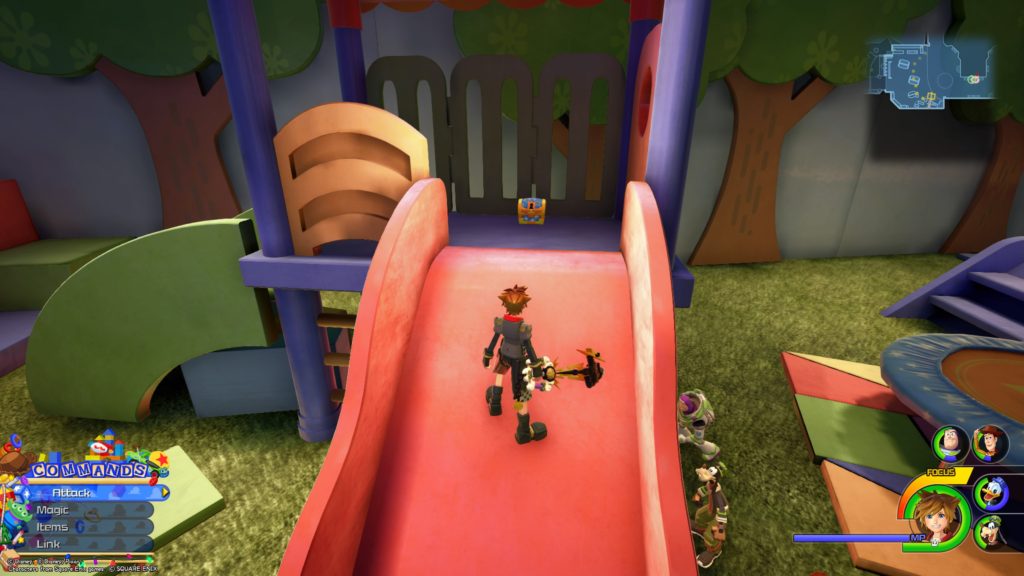
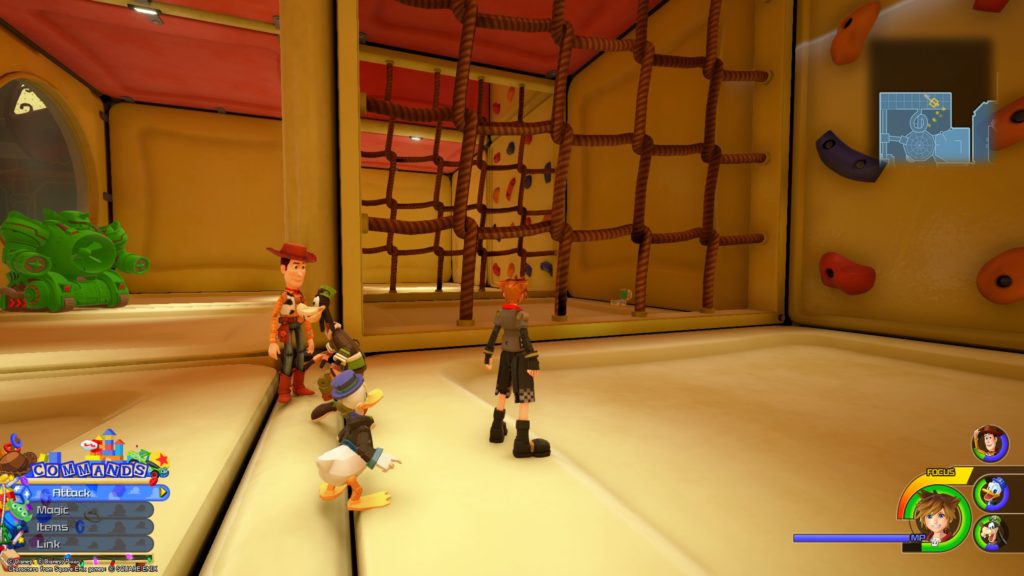
Potion
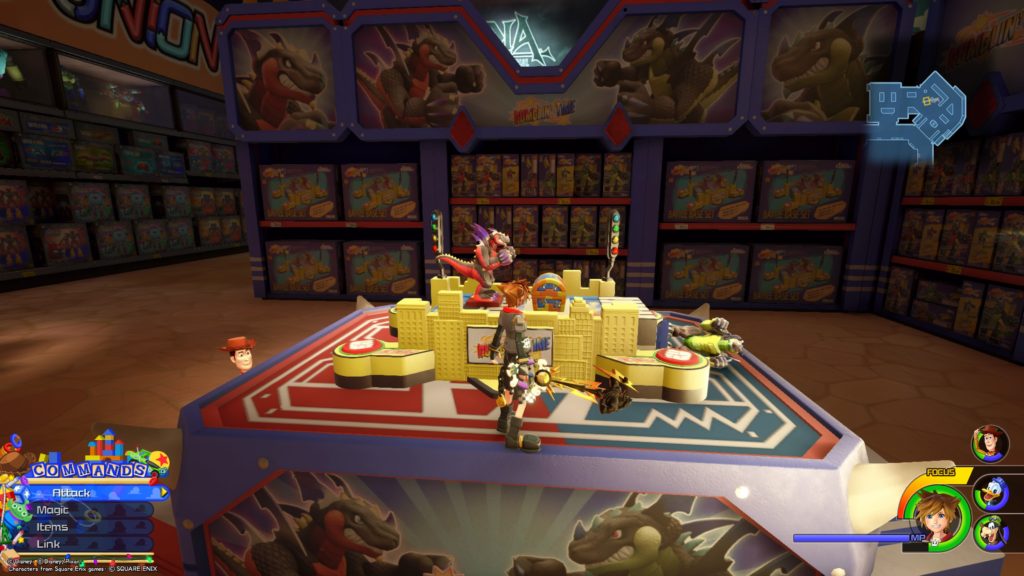
Located on lower level of the playpen in a roped off room in the yellow section
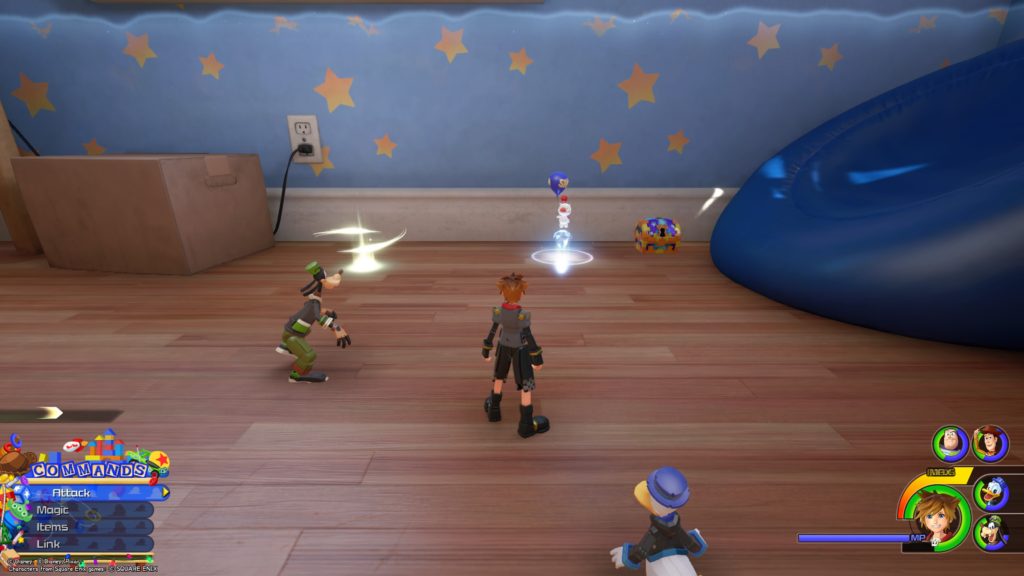
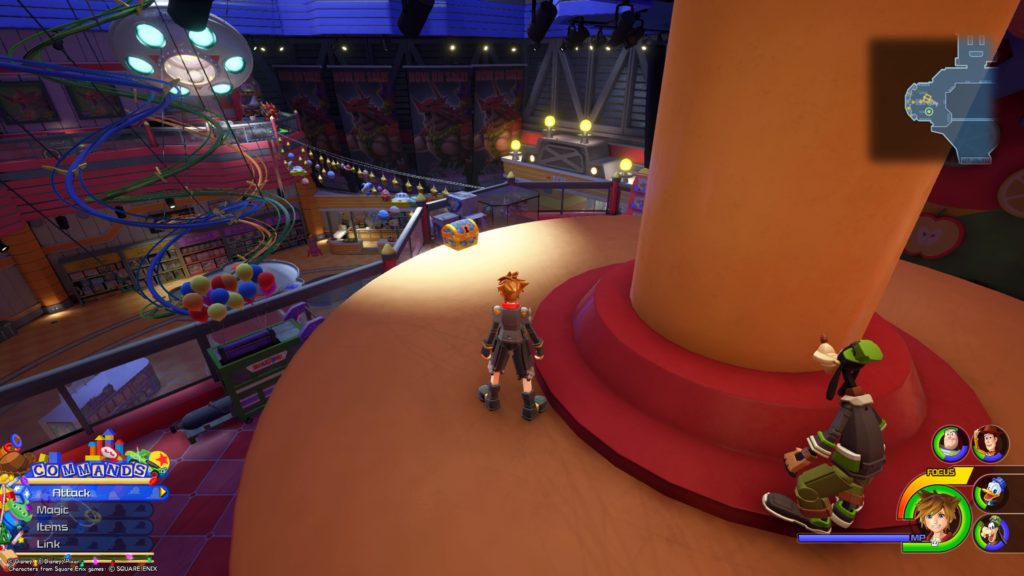
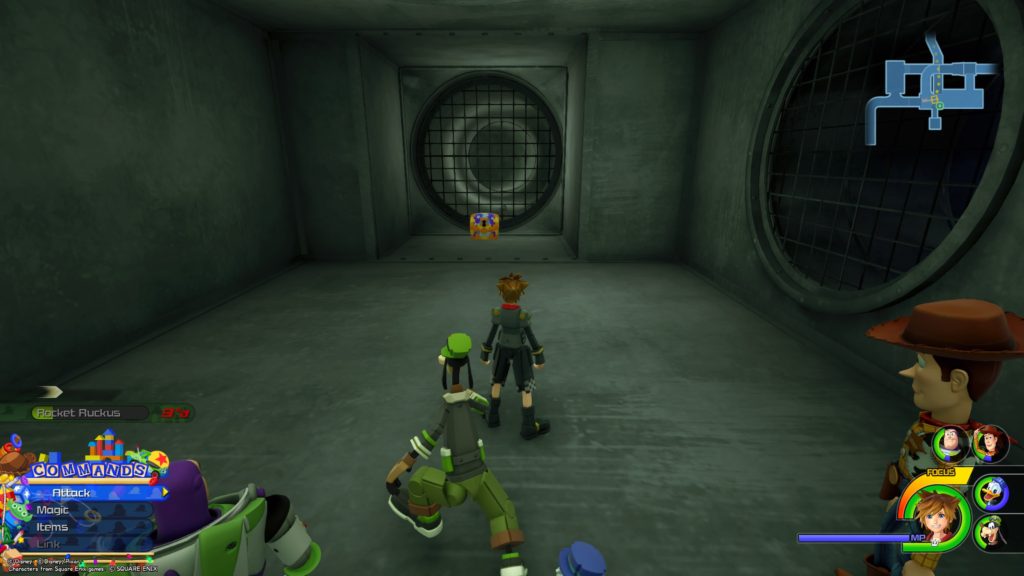
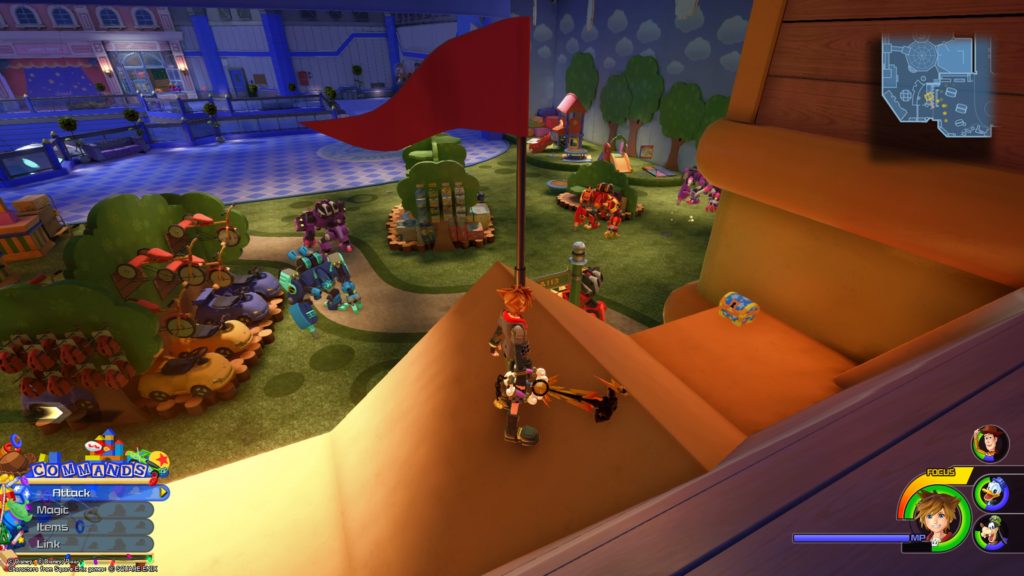
The Barnyard Battle
Located on the second level of the playpen. Enter the playpen from the left (west) side and follow the yellow, green and white striped tunnel to the first section and turn right into the blue, white and yellow tunnel to reach a section overlooking the ball pit that contains the chest.
Fluorite
Located in the purple section of the playpen behind the ball pit near the red punching bags
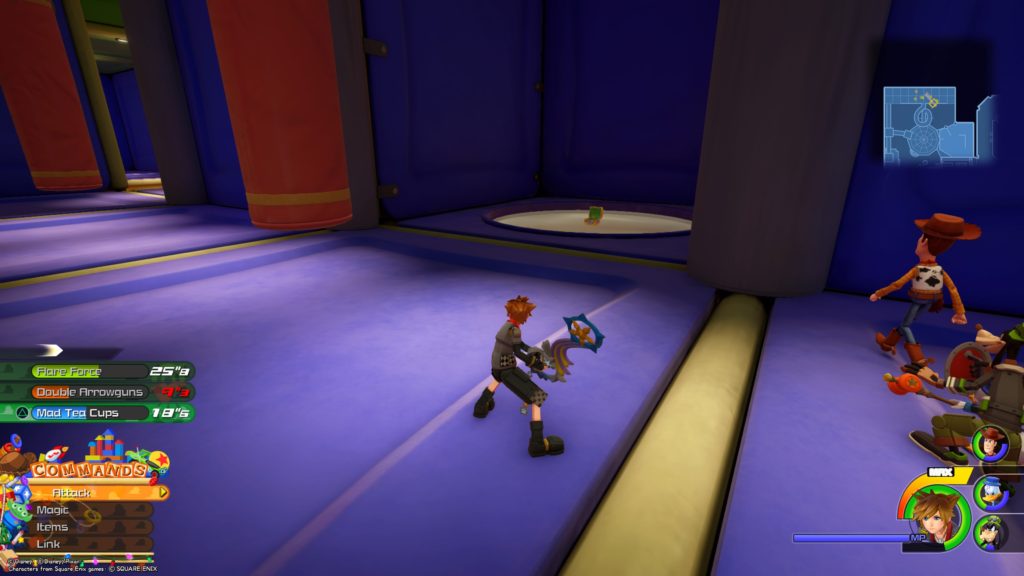
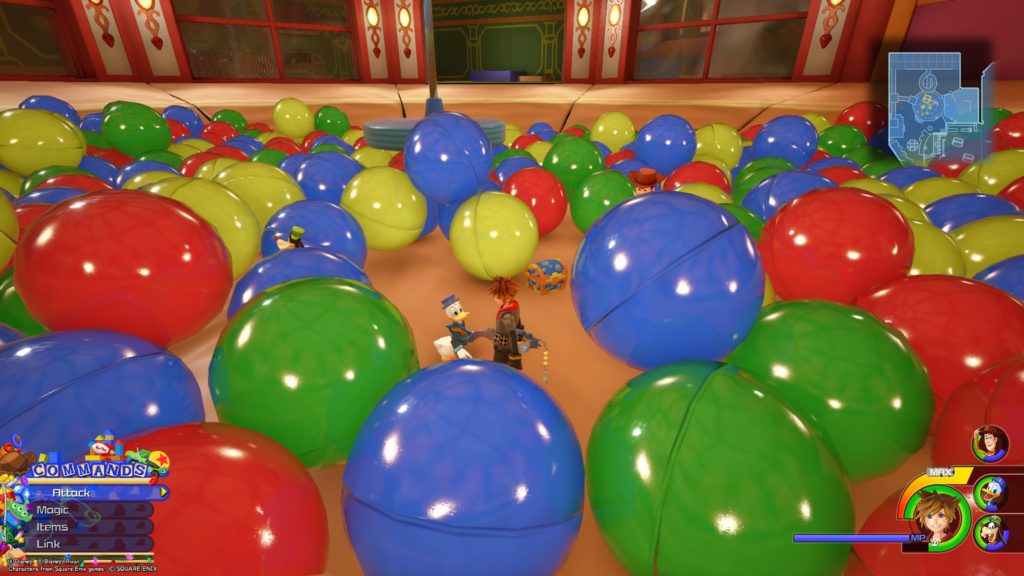
Thunder Trinket
Located in the ball pit under some of the ball pit balls
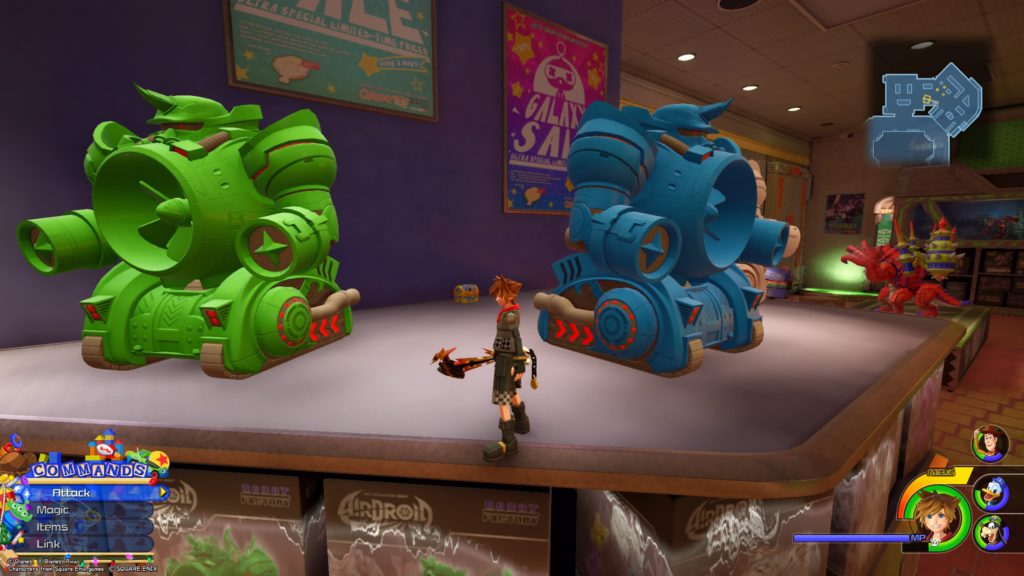
Buster Ring
Outside the ball pit (northeast) near the inactive Gigas: Gunner Class behind the colorful dice
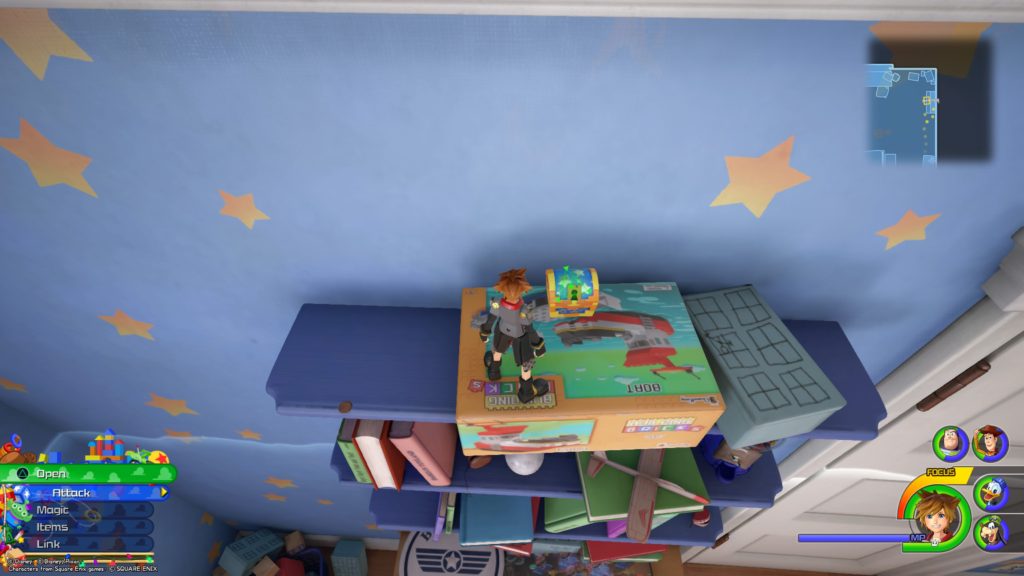
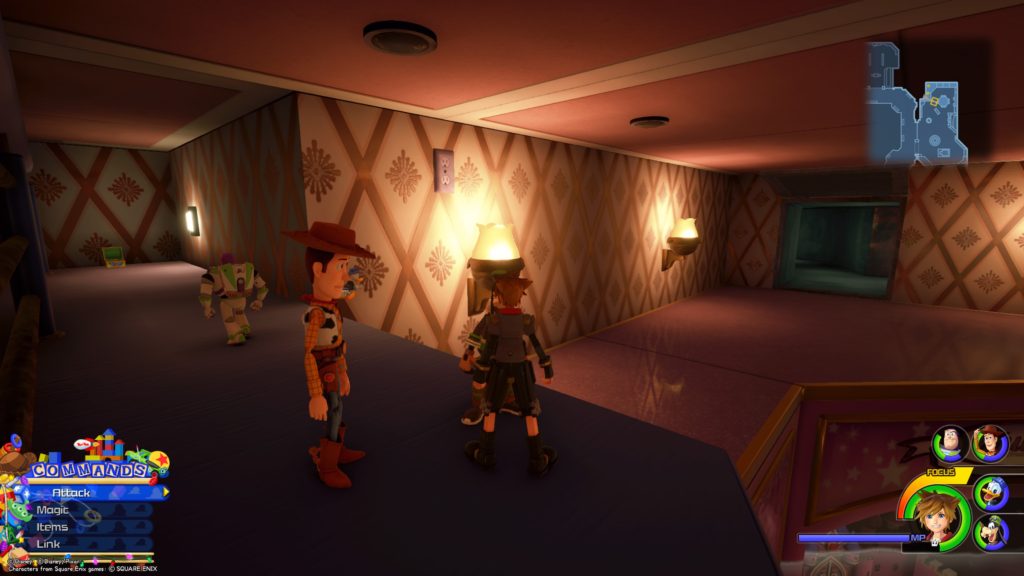
Located above the bookshelf (left of the white door) on a gray box in the middle. You will need to jump onto Andy’s desk or onto the bookshelf right in front of the emblem to take the picture.
Lucky Emblem 2
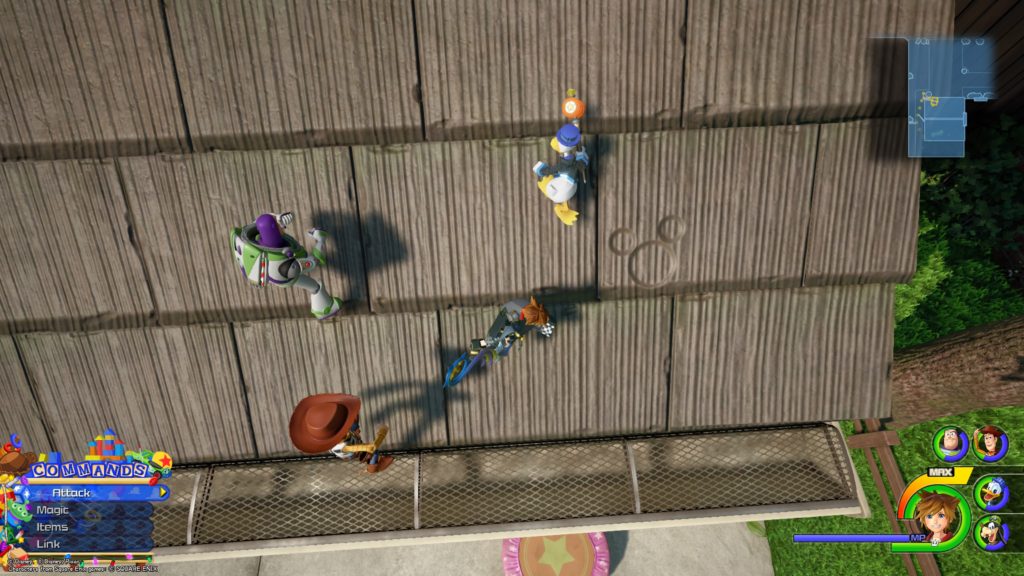
Located on the roof of Andy’s house closest to the street in the shingles near the gutter (the trampoline is directly below)
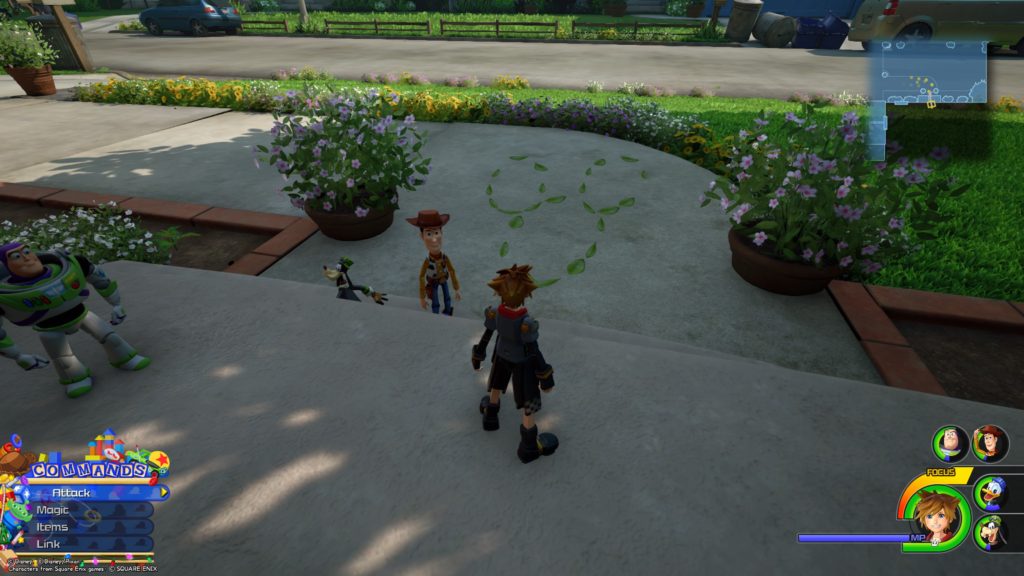
Lucky Emblem 3
Located on the ground in the leaves on the sidewalk in front of Andy’s front door
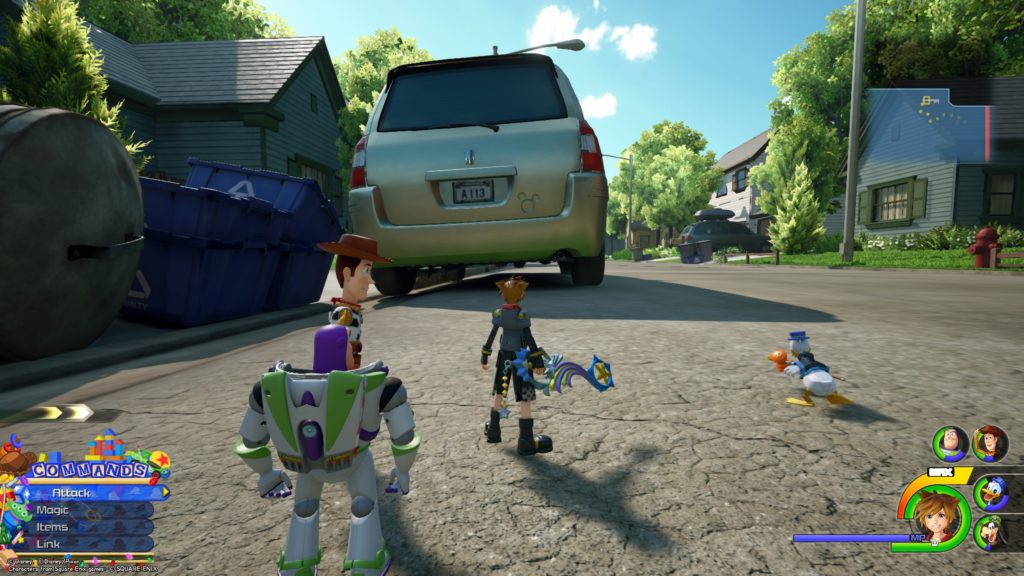
Lucky Emblem 4
Located on the trunk of a silver minivan next to the license plate across from Andy’s House
Galaxy Toys / Main Floor: 1F
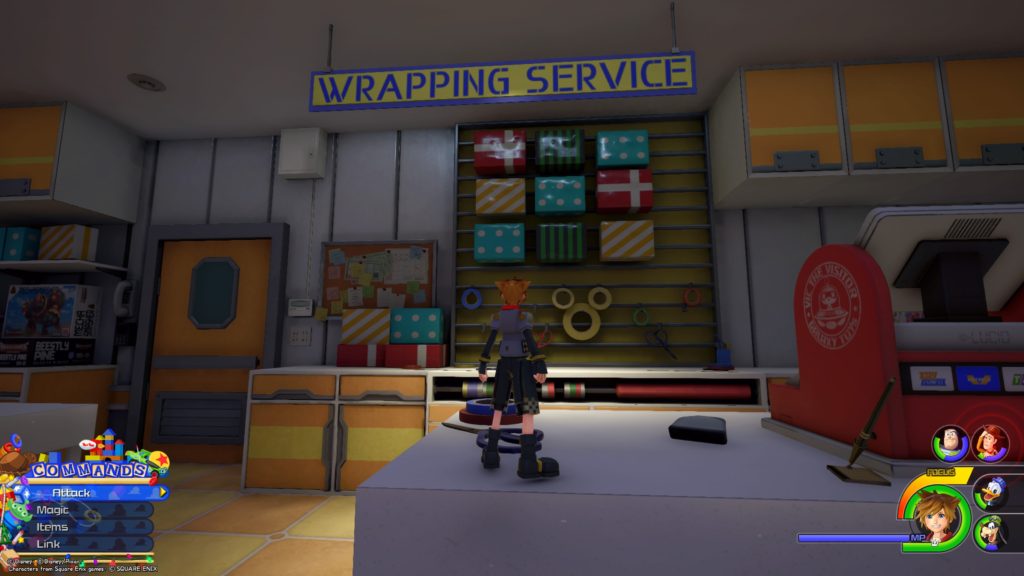
Lucky Emblem 5
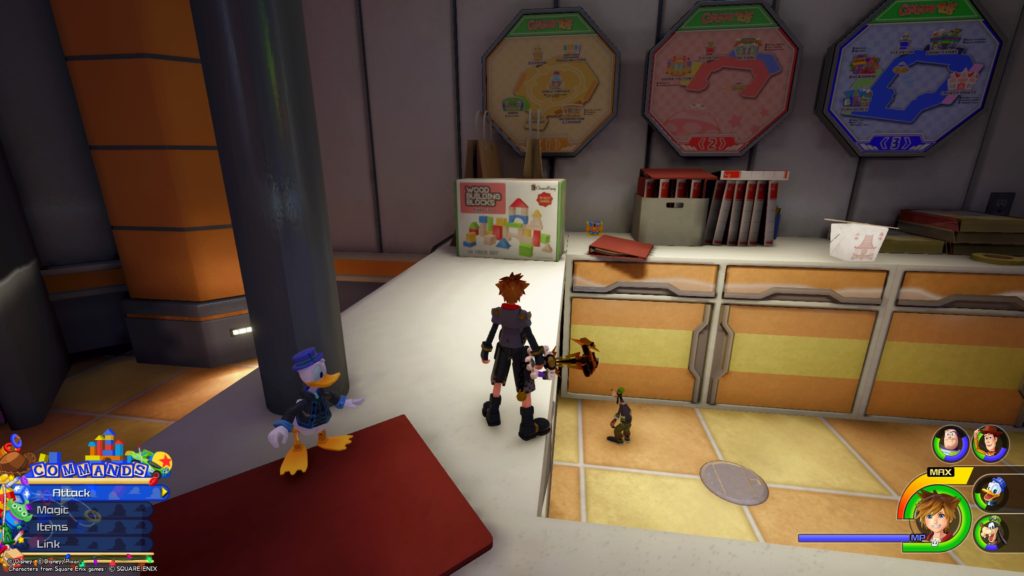
Located in Wrapping Service behind the counter on a wall under some gift boxes
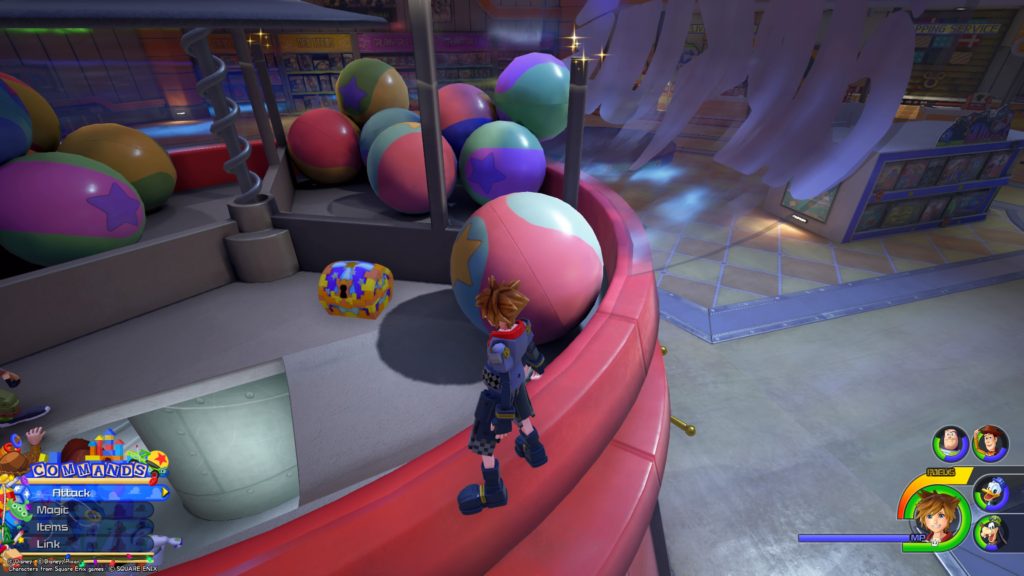
Lucky Emblem 6
Located underneath the toys on a toy display rack straight behind the gumball machine. You must destroy the toy display with the Gigas to reveal the emblem.
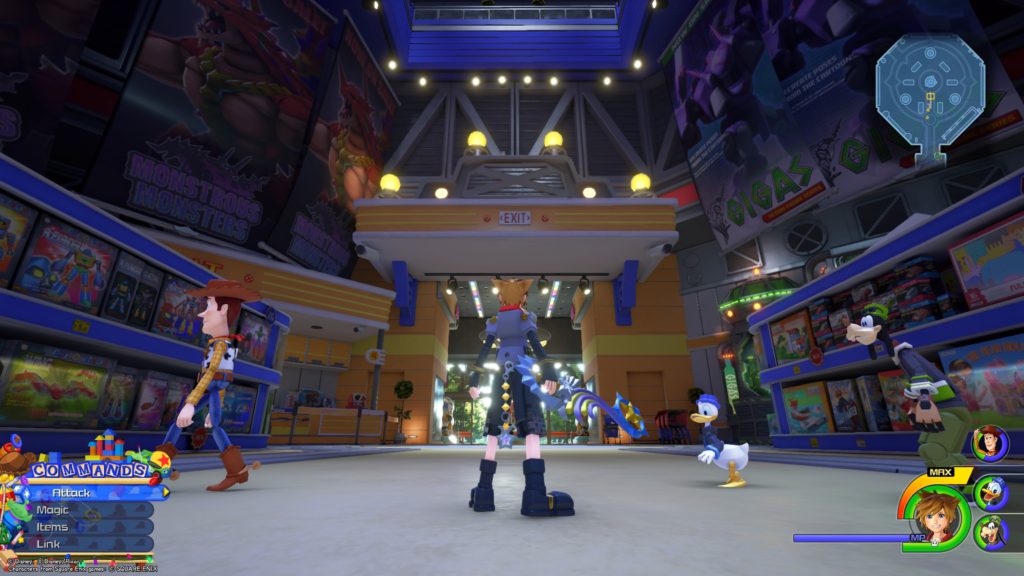
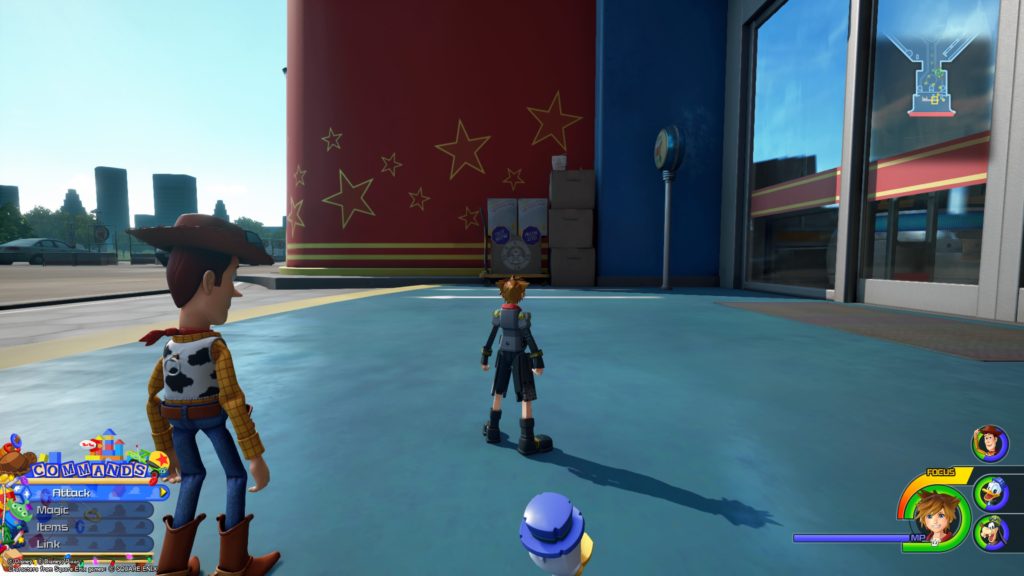
Lucky Emblem 11
Located outside the main doors of Galaxy Toys to the right
Galaxy Toys / Lower Vents
Lucky Emblem 7
From the Lower Vents savepoint, head back towards the Action Figures passing through the giant spinning fan. Take a right at the end of the duct into another section of the duct and follow it all the way down until you reach the emblem.
Galaxy Toys / Main Floor: 3F
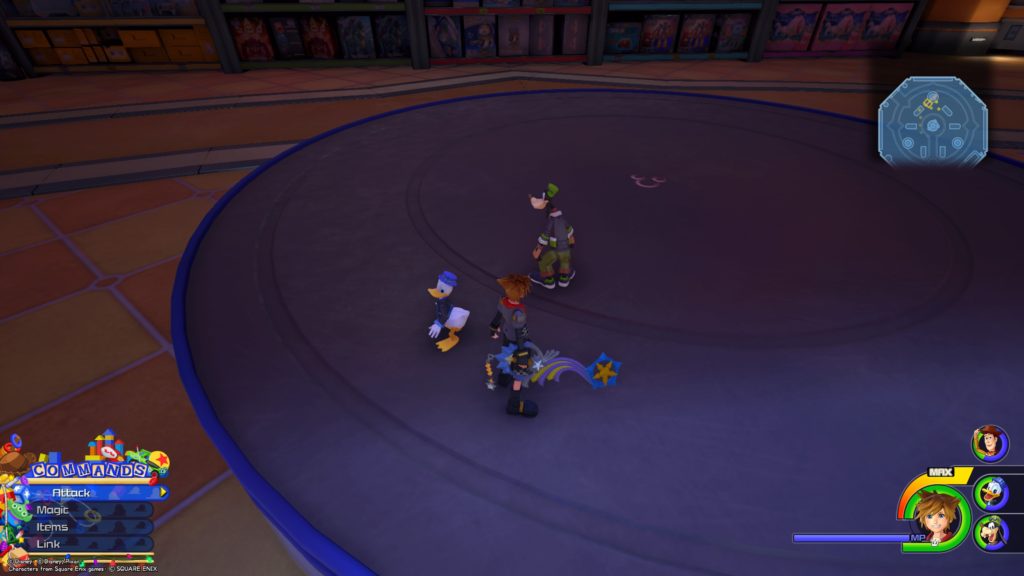
Lucky Emblem 8
Stand on the railing of 3F outside of Lovely Party and look down. The emblem is on the hatch of the spaceship. You may need to jump onto the spaceship to take the picture.
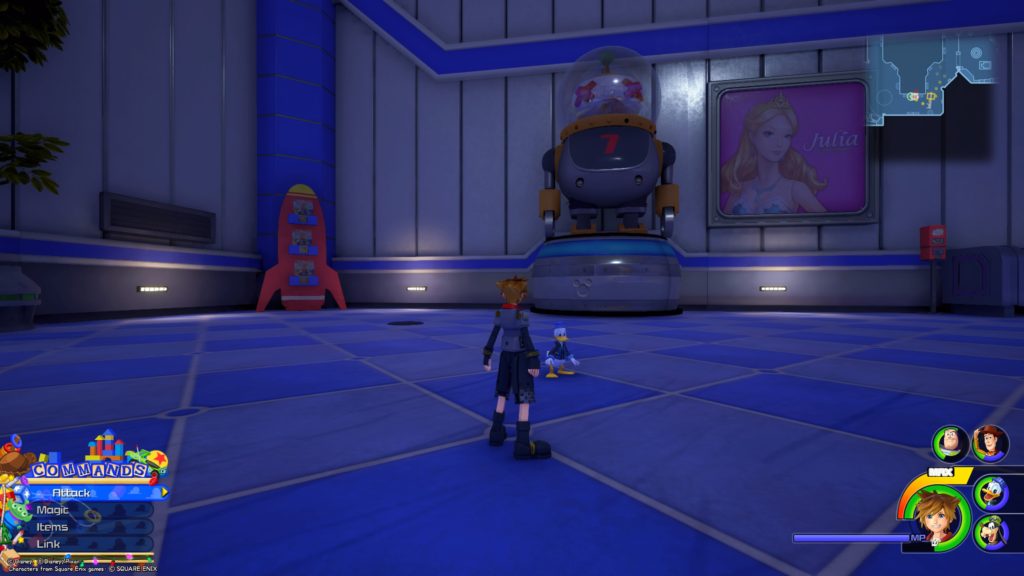
Lucky Emblem 10
Located on the base of the #7 Robot next to the Main Floor: 3F save point
Galaxy Toys / Babies & Toddlers: Dolls
Lucky Emblem 9
Line the three disco balls above the checkout counter by standing on top of the Julia display nearest the Upper Vent
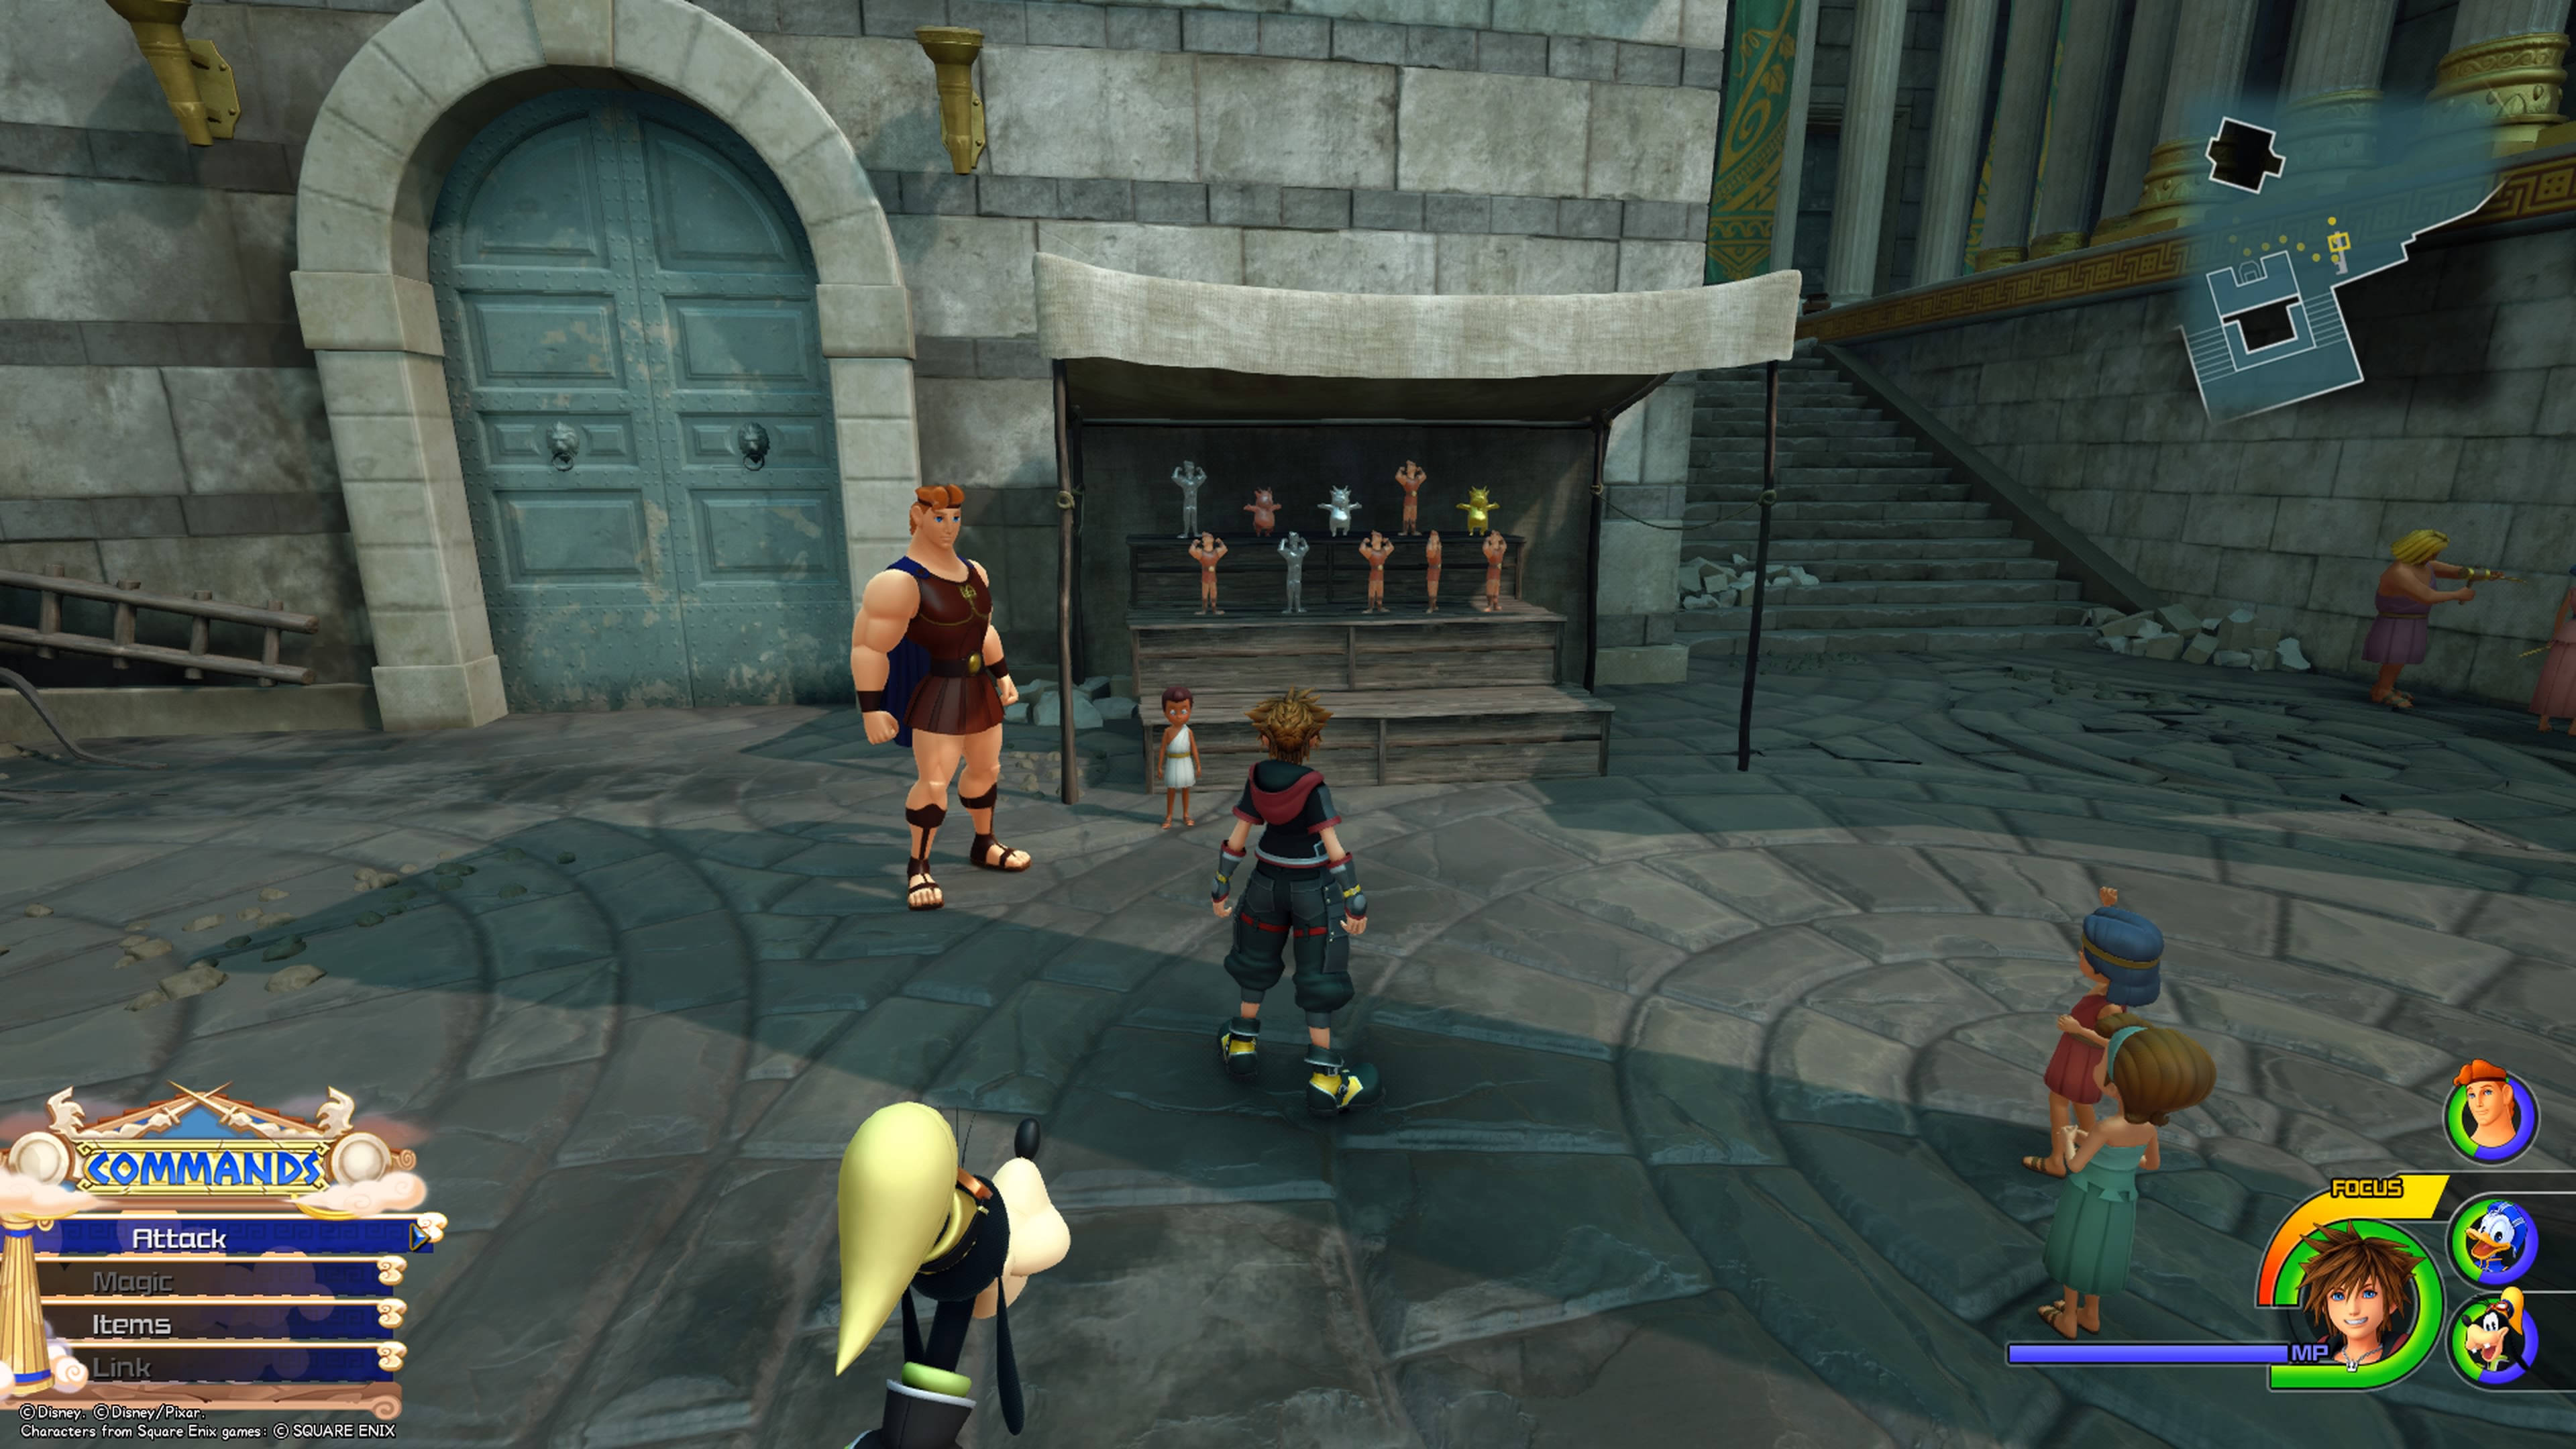
Once you have saved all of Olympus from the dastardly plans of Hades, make your way to the Agora save point. From there, you want to head to the left of the building behind the giant Hercules statue. Here you will find the stall pictured in the image above. Talk to the boy next to the stall to learn that he only needs the 5 Golden Hercules Dolls to complete his collection. You can find their locations below. Once you collect all 5 of them and return them to the boy, he will reward you with the Hero’s Belt.
Golden Hercules Doll Locations
Thebes / Overlook
Doll 1
Golden Herc is waiting on a bench near the Overlook save point.
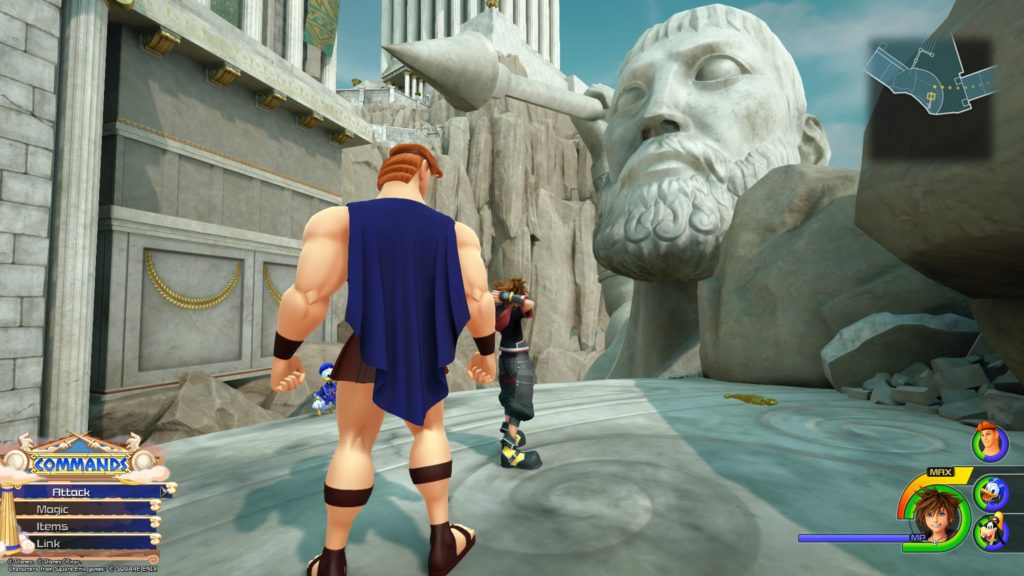
Doll 2
From the save Overlook point, take the steps on the left down and follow the path until you reach the rooftops. From there, jump across to the shield of the giant warrior statue to find the Golden Herc near its beard by some debris.
Thebes / Gardens
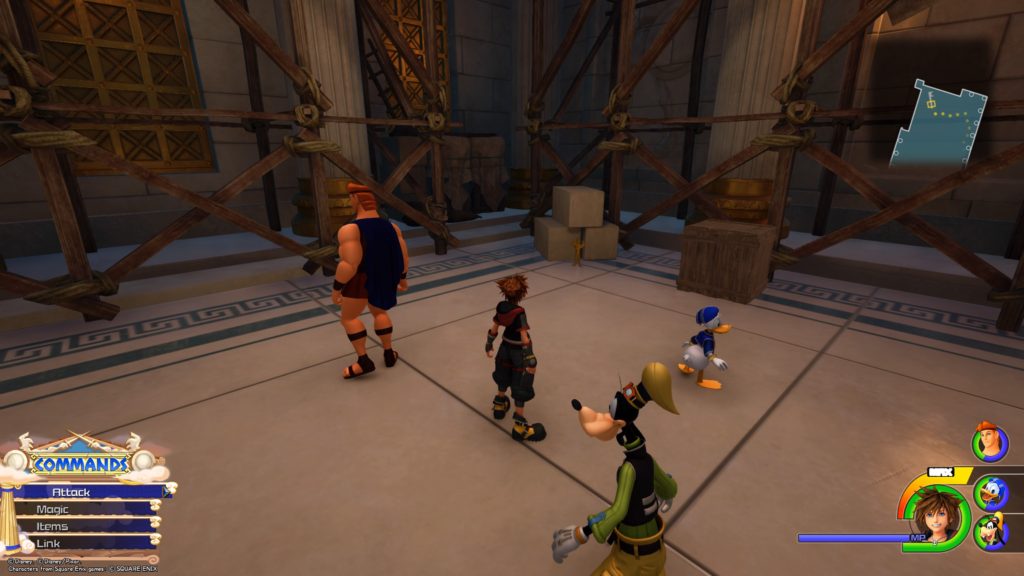
Doll 3
Facing the Gardens save point, take a right heading up the two sets of steps then turn right again into the storage building just past the blonde haired man wearing a purple toga. The Golden Herc will be in there standing on a bench.
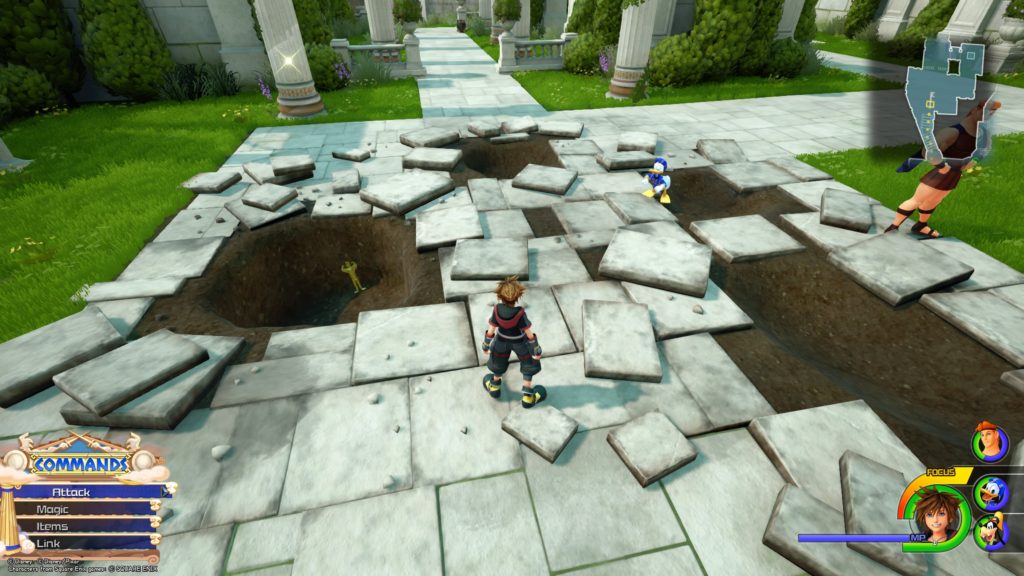
Doll 4
Facing the Gardens save point, take a left and head past the water fountain and down the steps. The Golden Herc will be in the first hole on the left.
Thebes / Alleyway
Doll 5
From the Agora save point, head towards the giant Hercules statue and take a left jumping under the water dragon fountain into the aqueduct like area in the alleyway. Exit through the hole in the left side of the wall. Follow that path until you reach a big building surrounded by wooden scaffolds on the left. Enter it to find the Golden Herc in the back left side of the room.
Search
This site uses cookies. By continuing to use this website, you are giving consent to cookies being used. For more information on cookies, view our Privacy Policy.OkPrivacy Policy