Below is Part 1 of a walkthrough for the collectibles found during Chapter 1: Afternoon of the Wolves of The Legend of Heroes: Trails from Zero.

Crossbell
Return to the SSS and interact with the terminal to pick up the following support requests:
You’ll only be able to do Assistant with New Service and Overdue Book Retrieval right now. Complete those then explore the town to find the below!
- Books
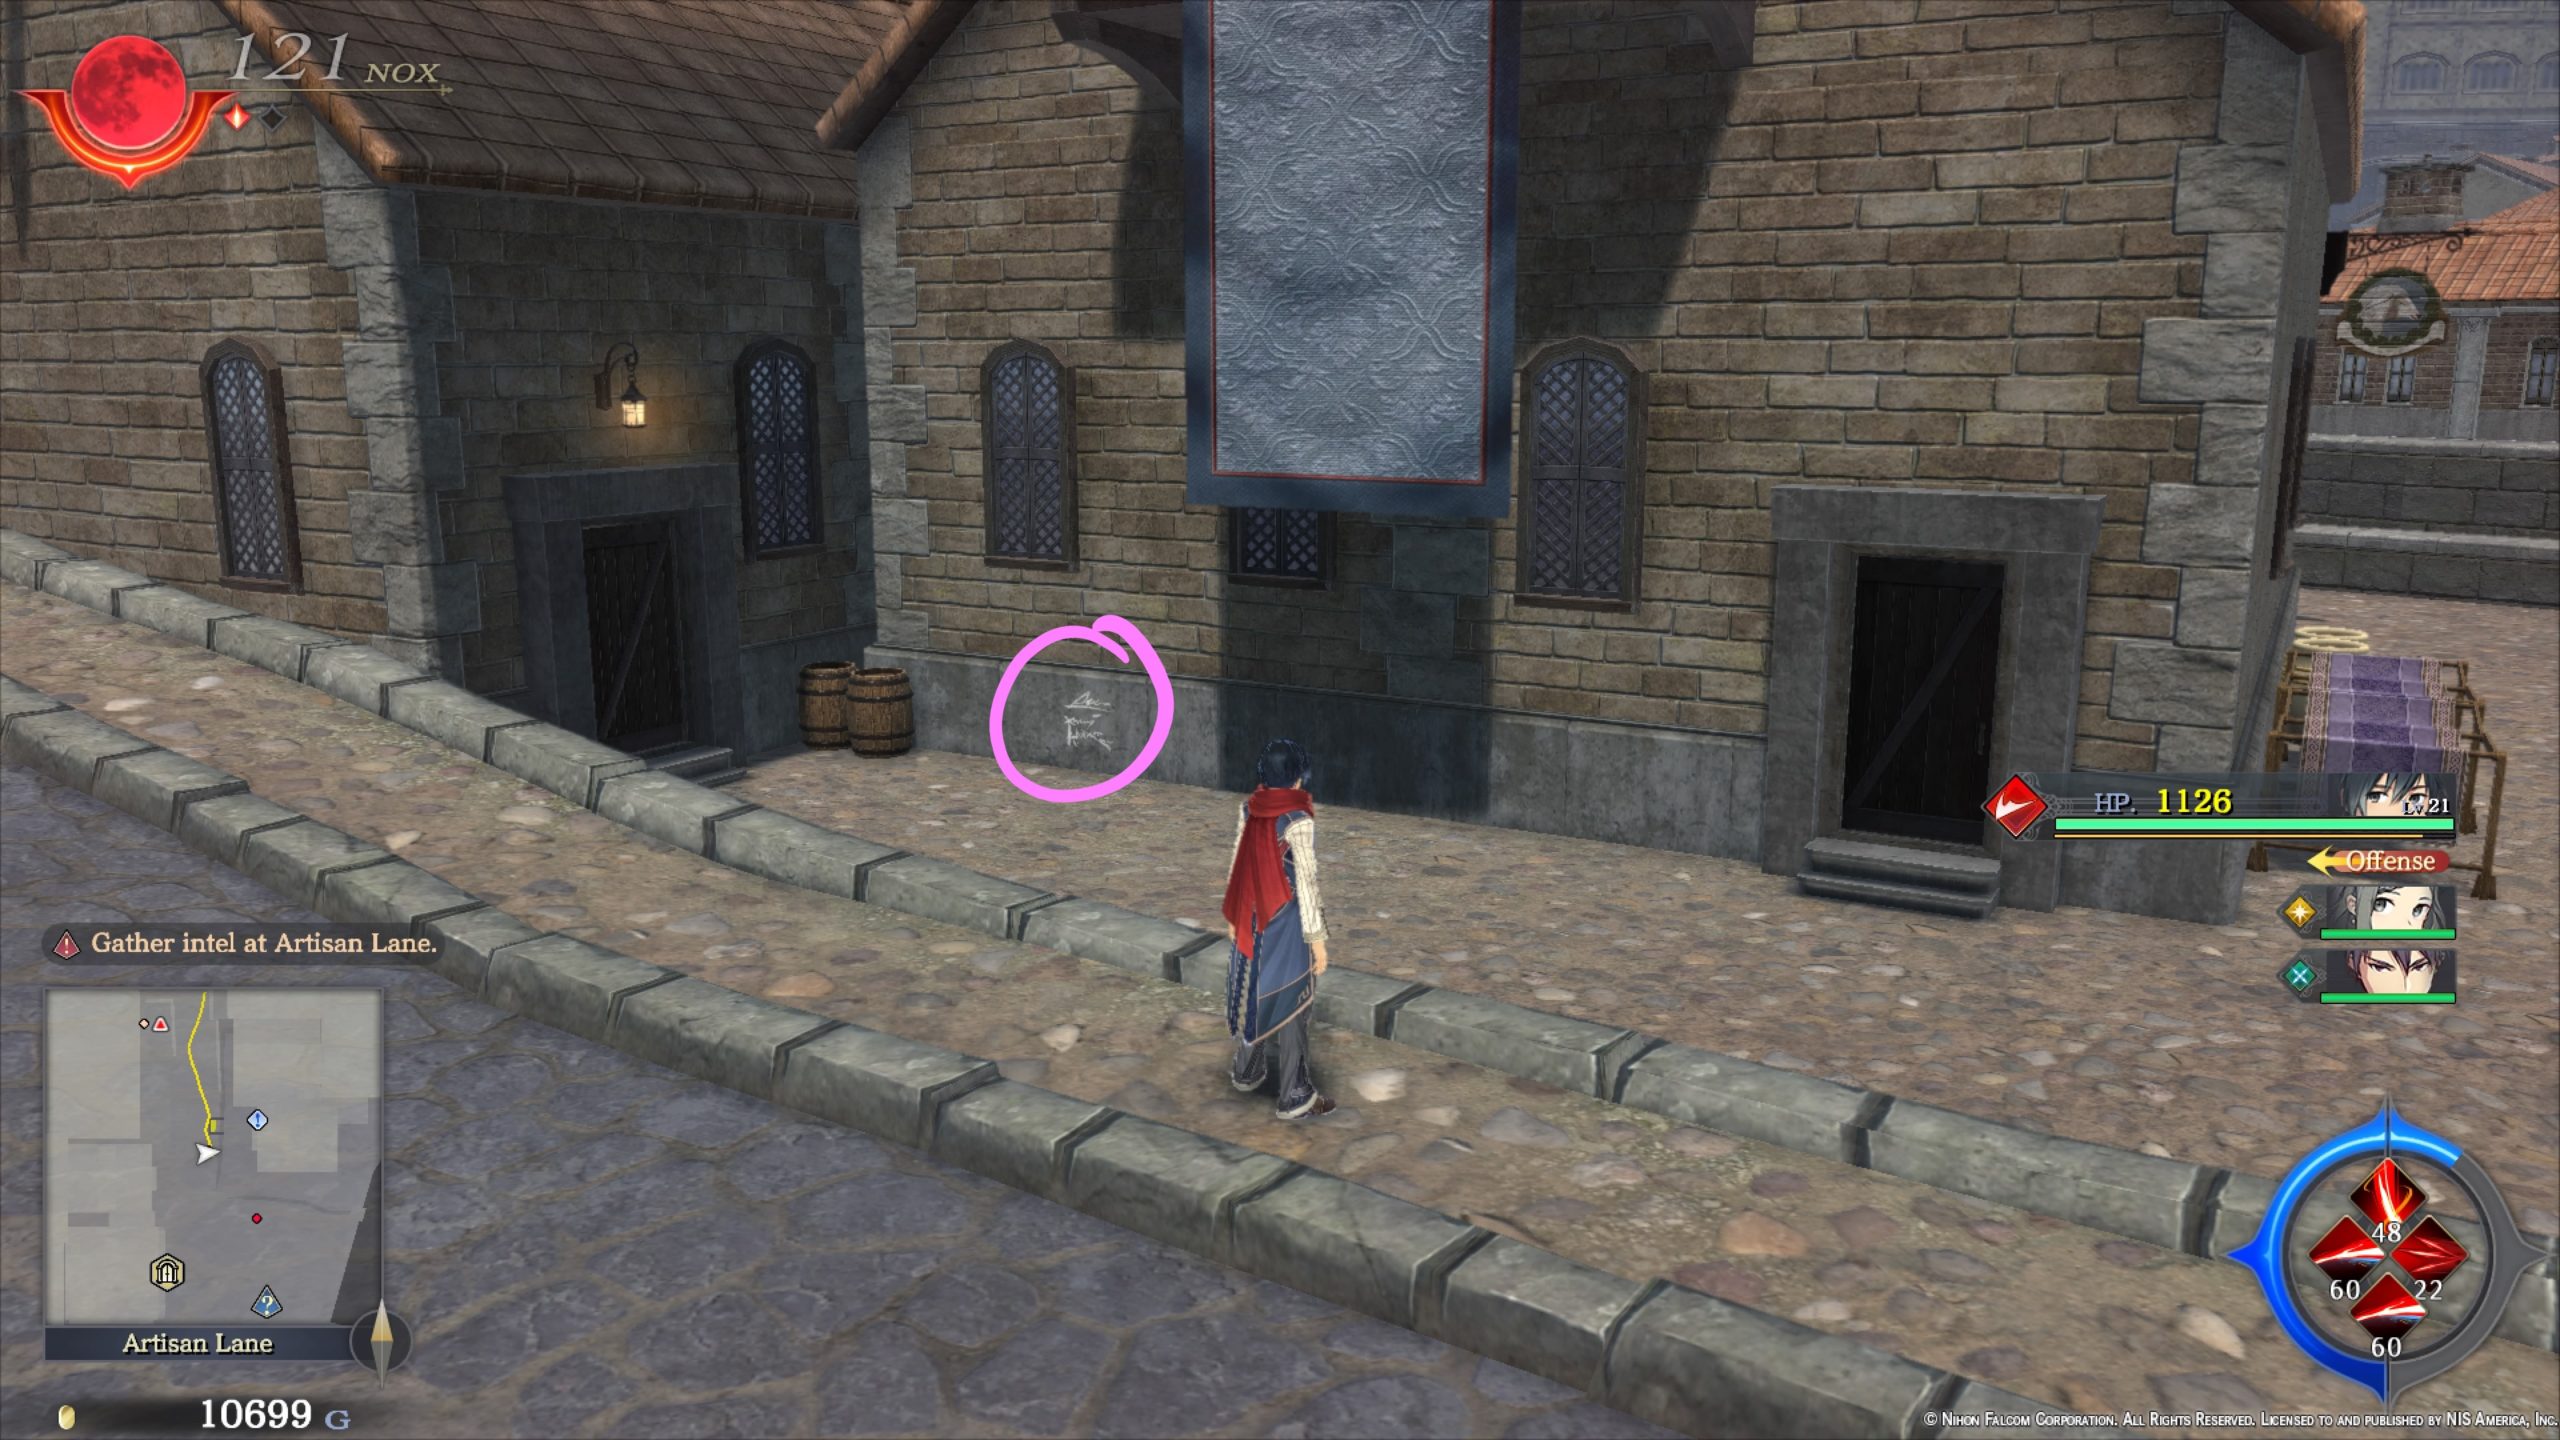
- Crossbell Times – Issue 2 – West Street – Tallys’ General Store – Purchase for 100 mira
- Recipes
- Juicy Steak – West Street – Bellheim Apartments – Speak with Leyte
- Fresh Fruit Juice – Administrative District – Speak with Croma at her juice stall
- Event Items
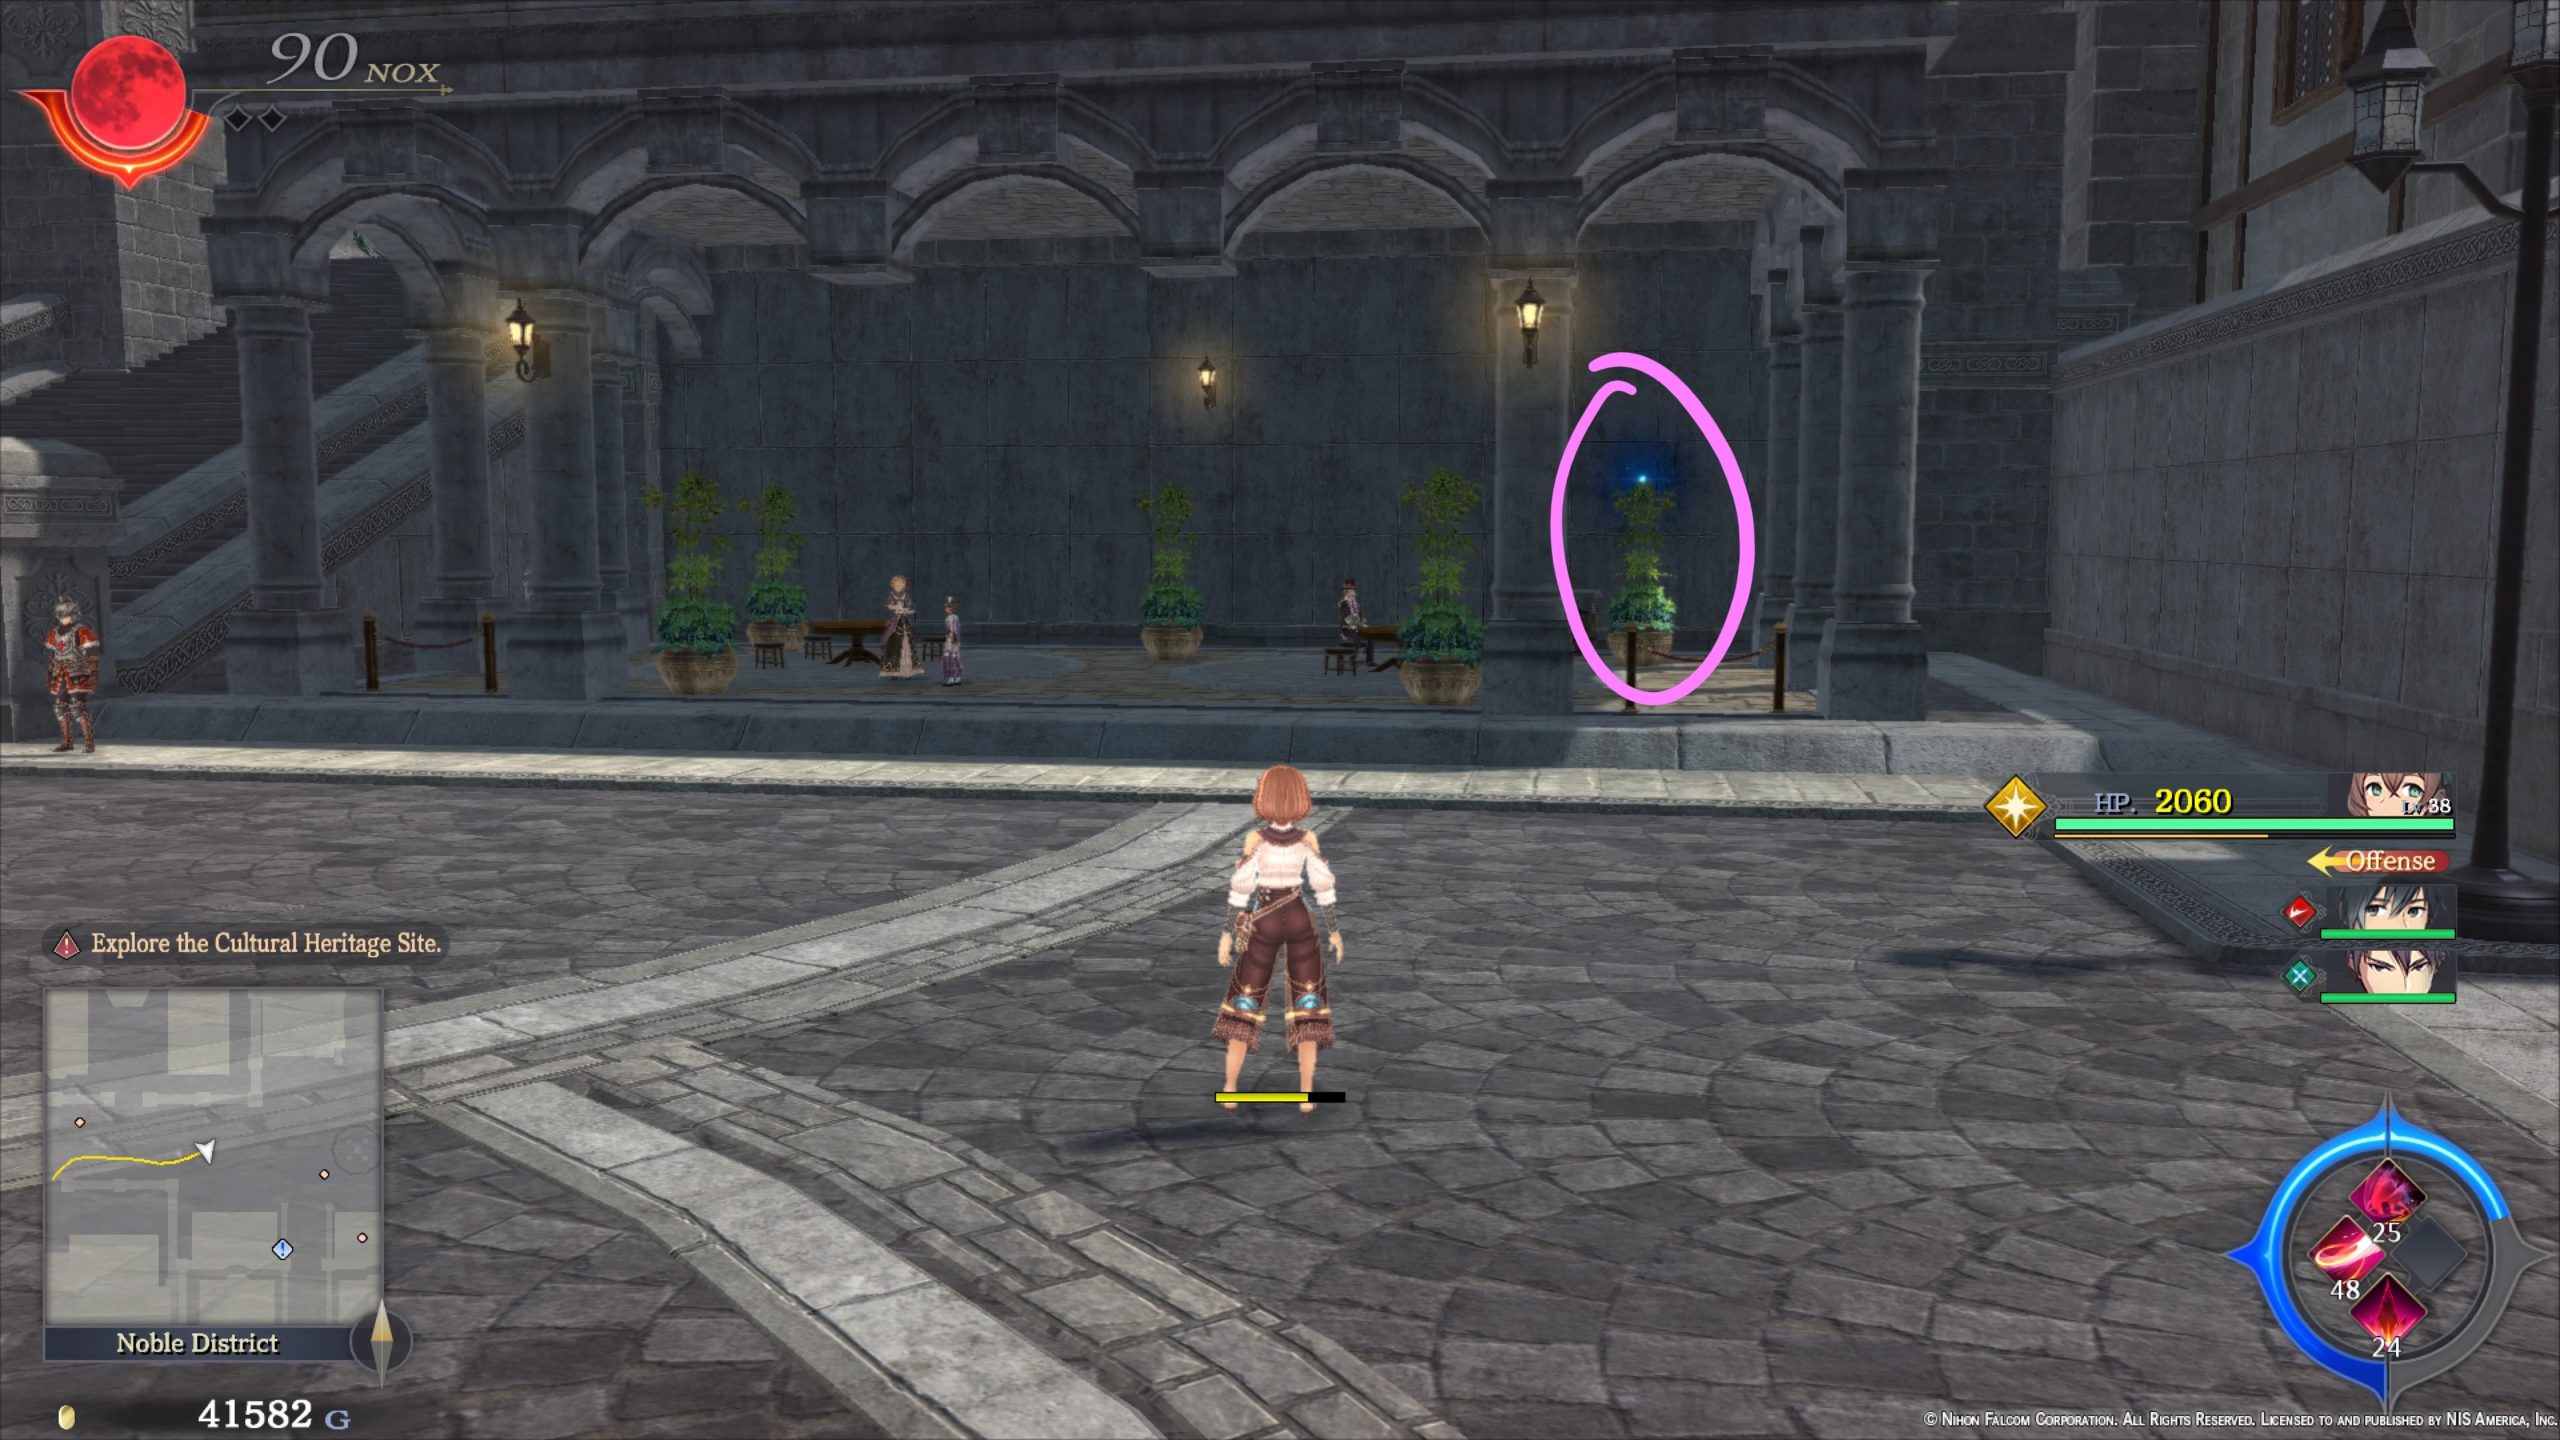
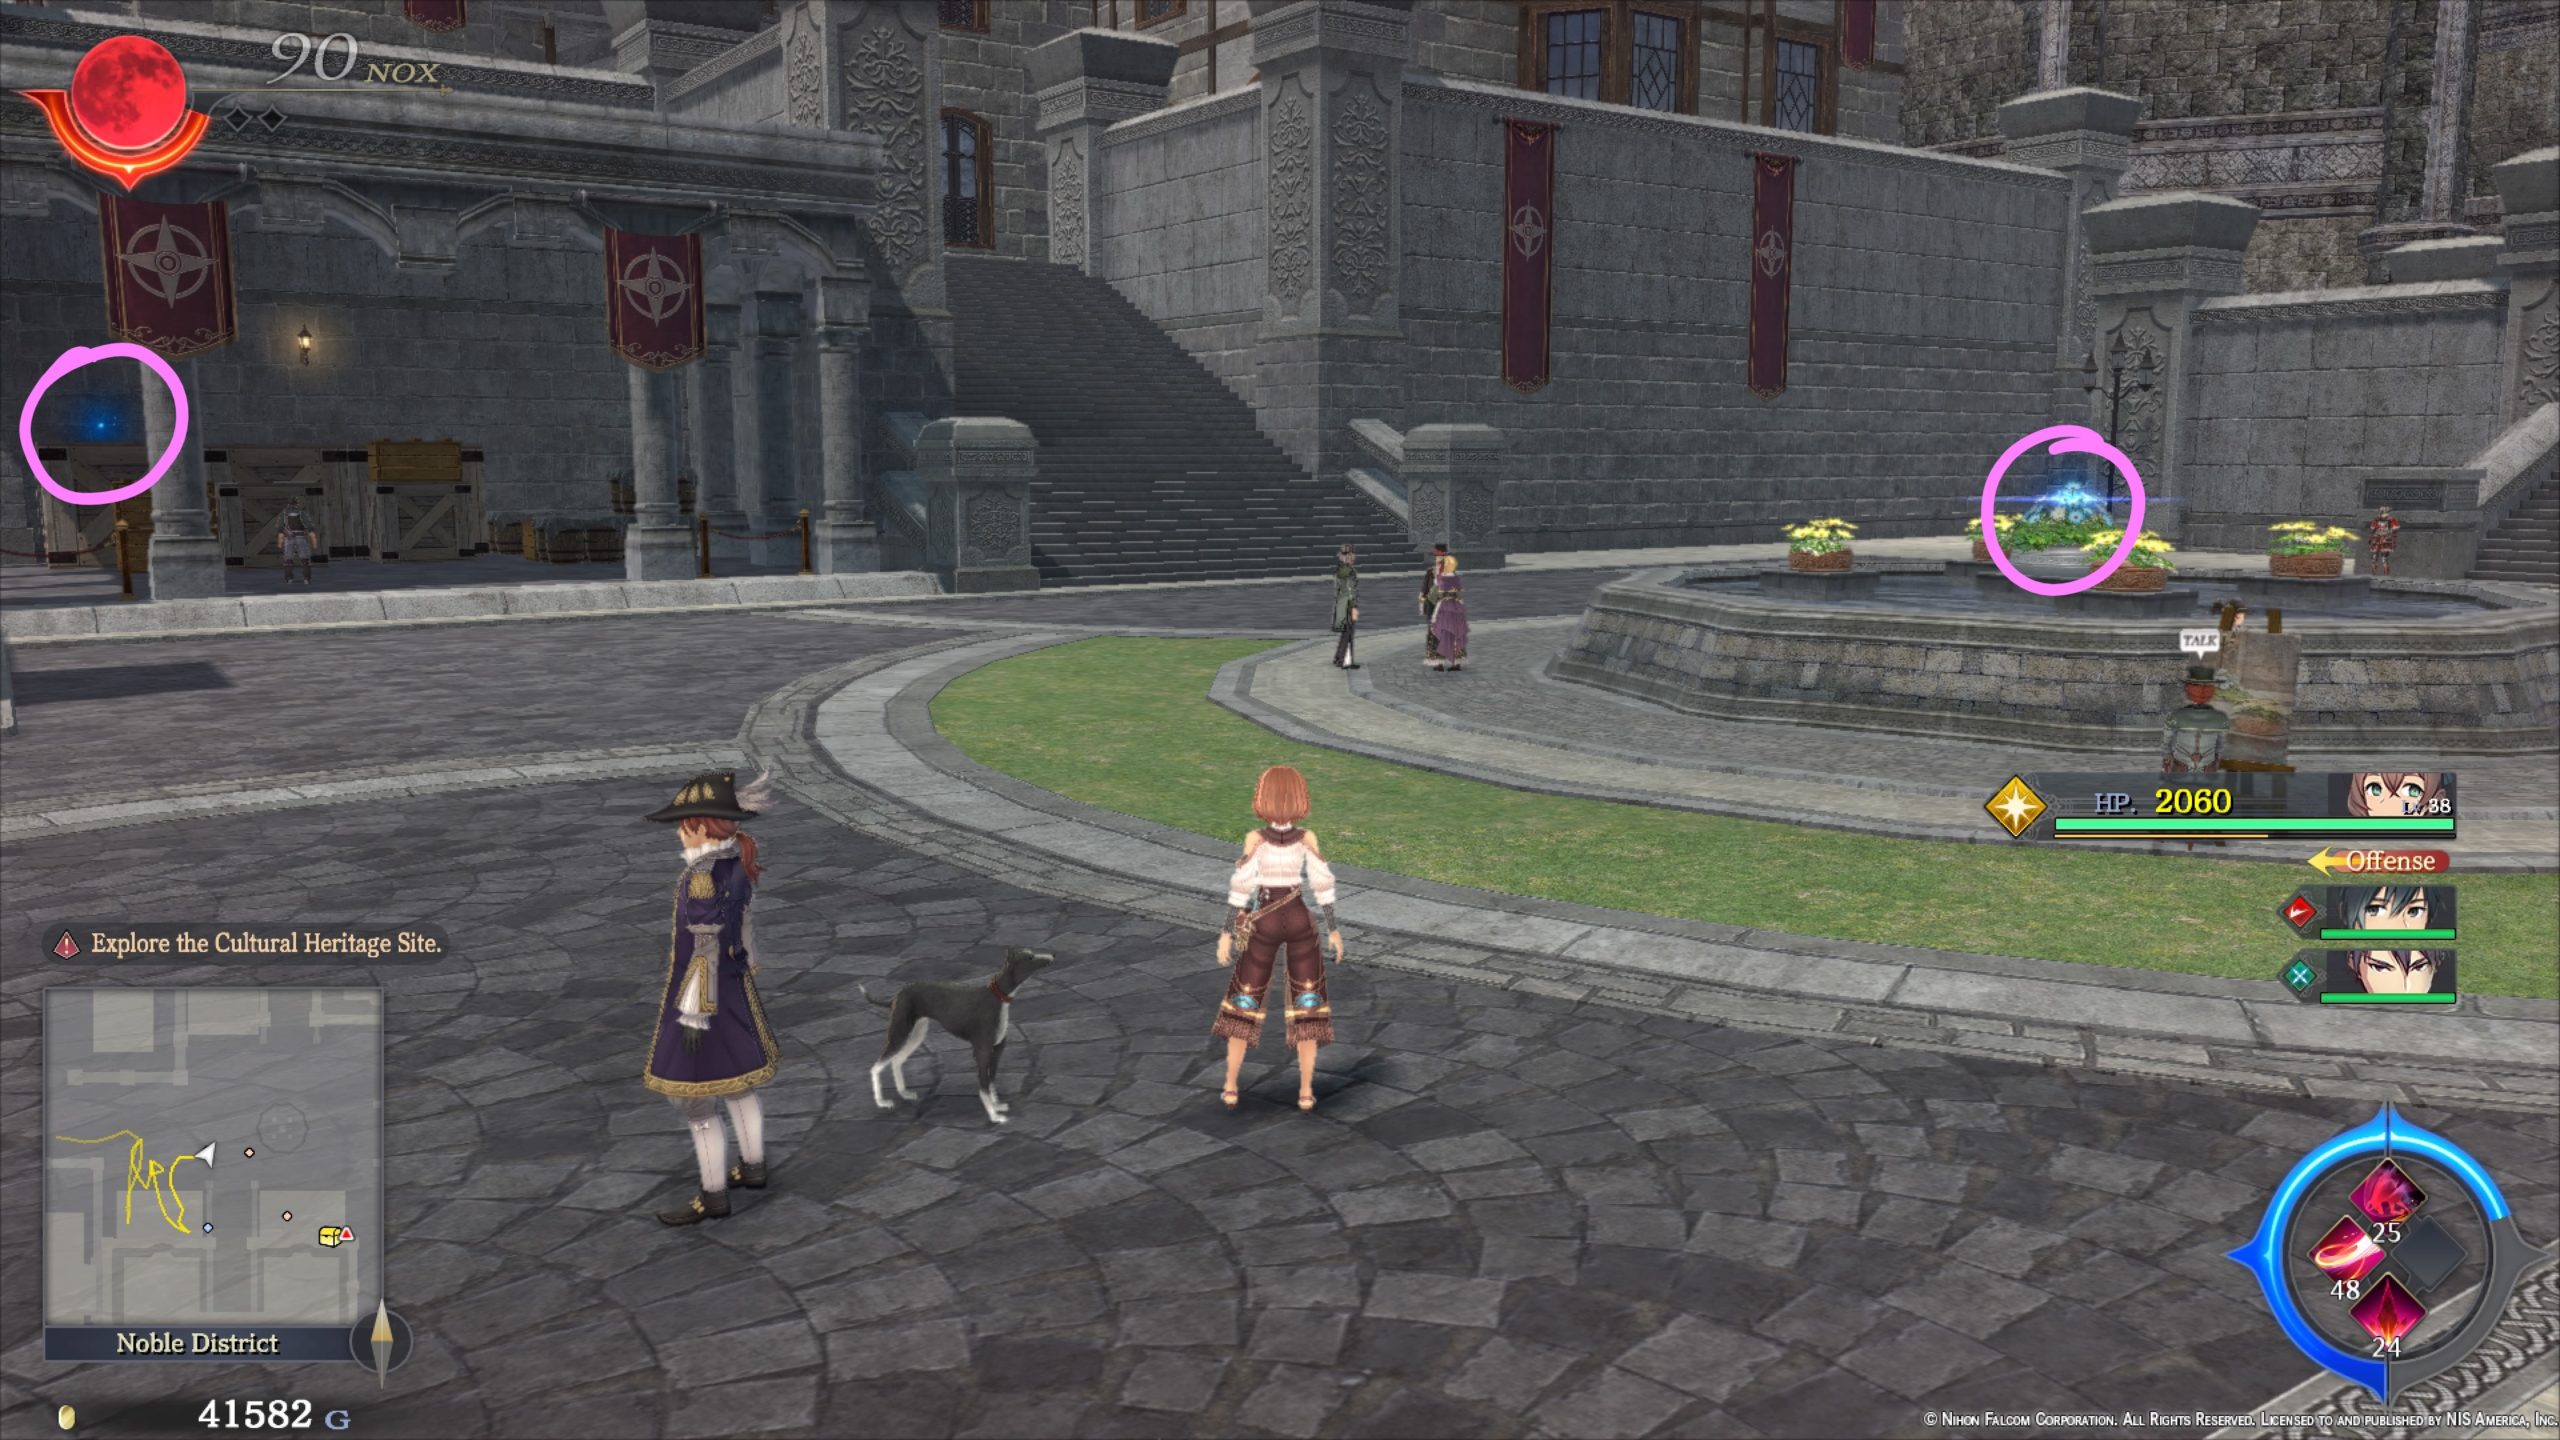
- Elegant Vase – Central Square – Department Times – Southwark General Store (Increases Elie’s bond)
- Darts Set – Entertainment District – Barca Casino – Purchase for 1000 medals (Increases Randy’s bond)
- Lemonade – East Street – House to the right of the Fisherman’s Guild next to the map transition to East Crossbell Highway
Make sure to stop in at the CPD in the Administrative District and show Receptionist Rebecca your Combat Notebook. If you’ve scanned every enemy you’ve come across so far, you’ll receive the following:
- 500 mira
- U-Material
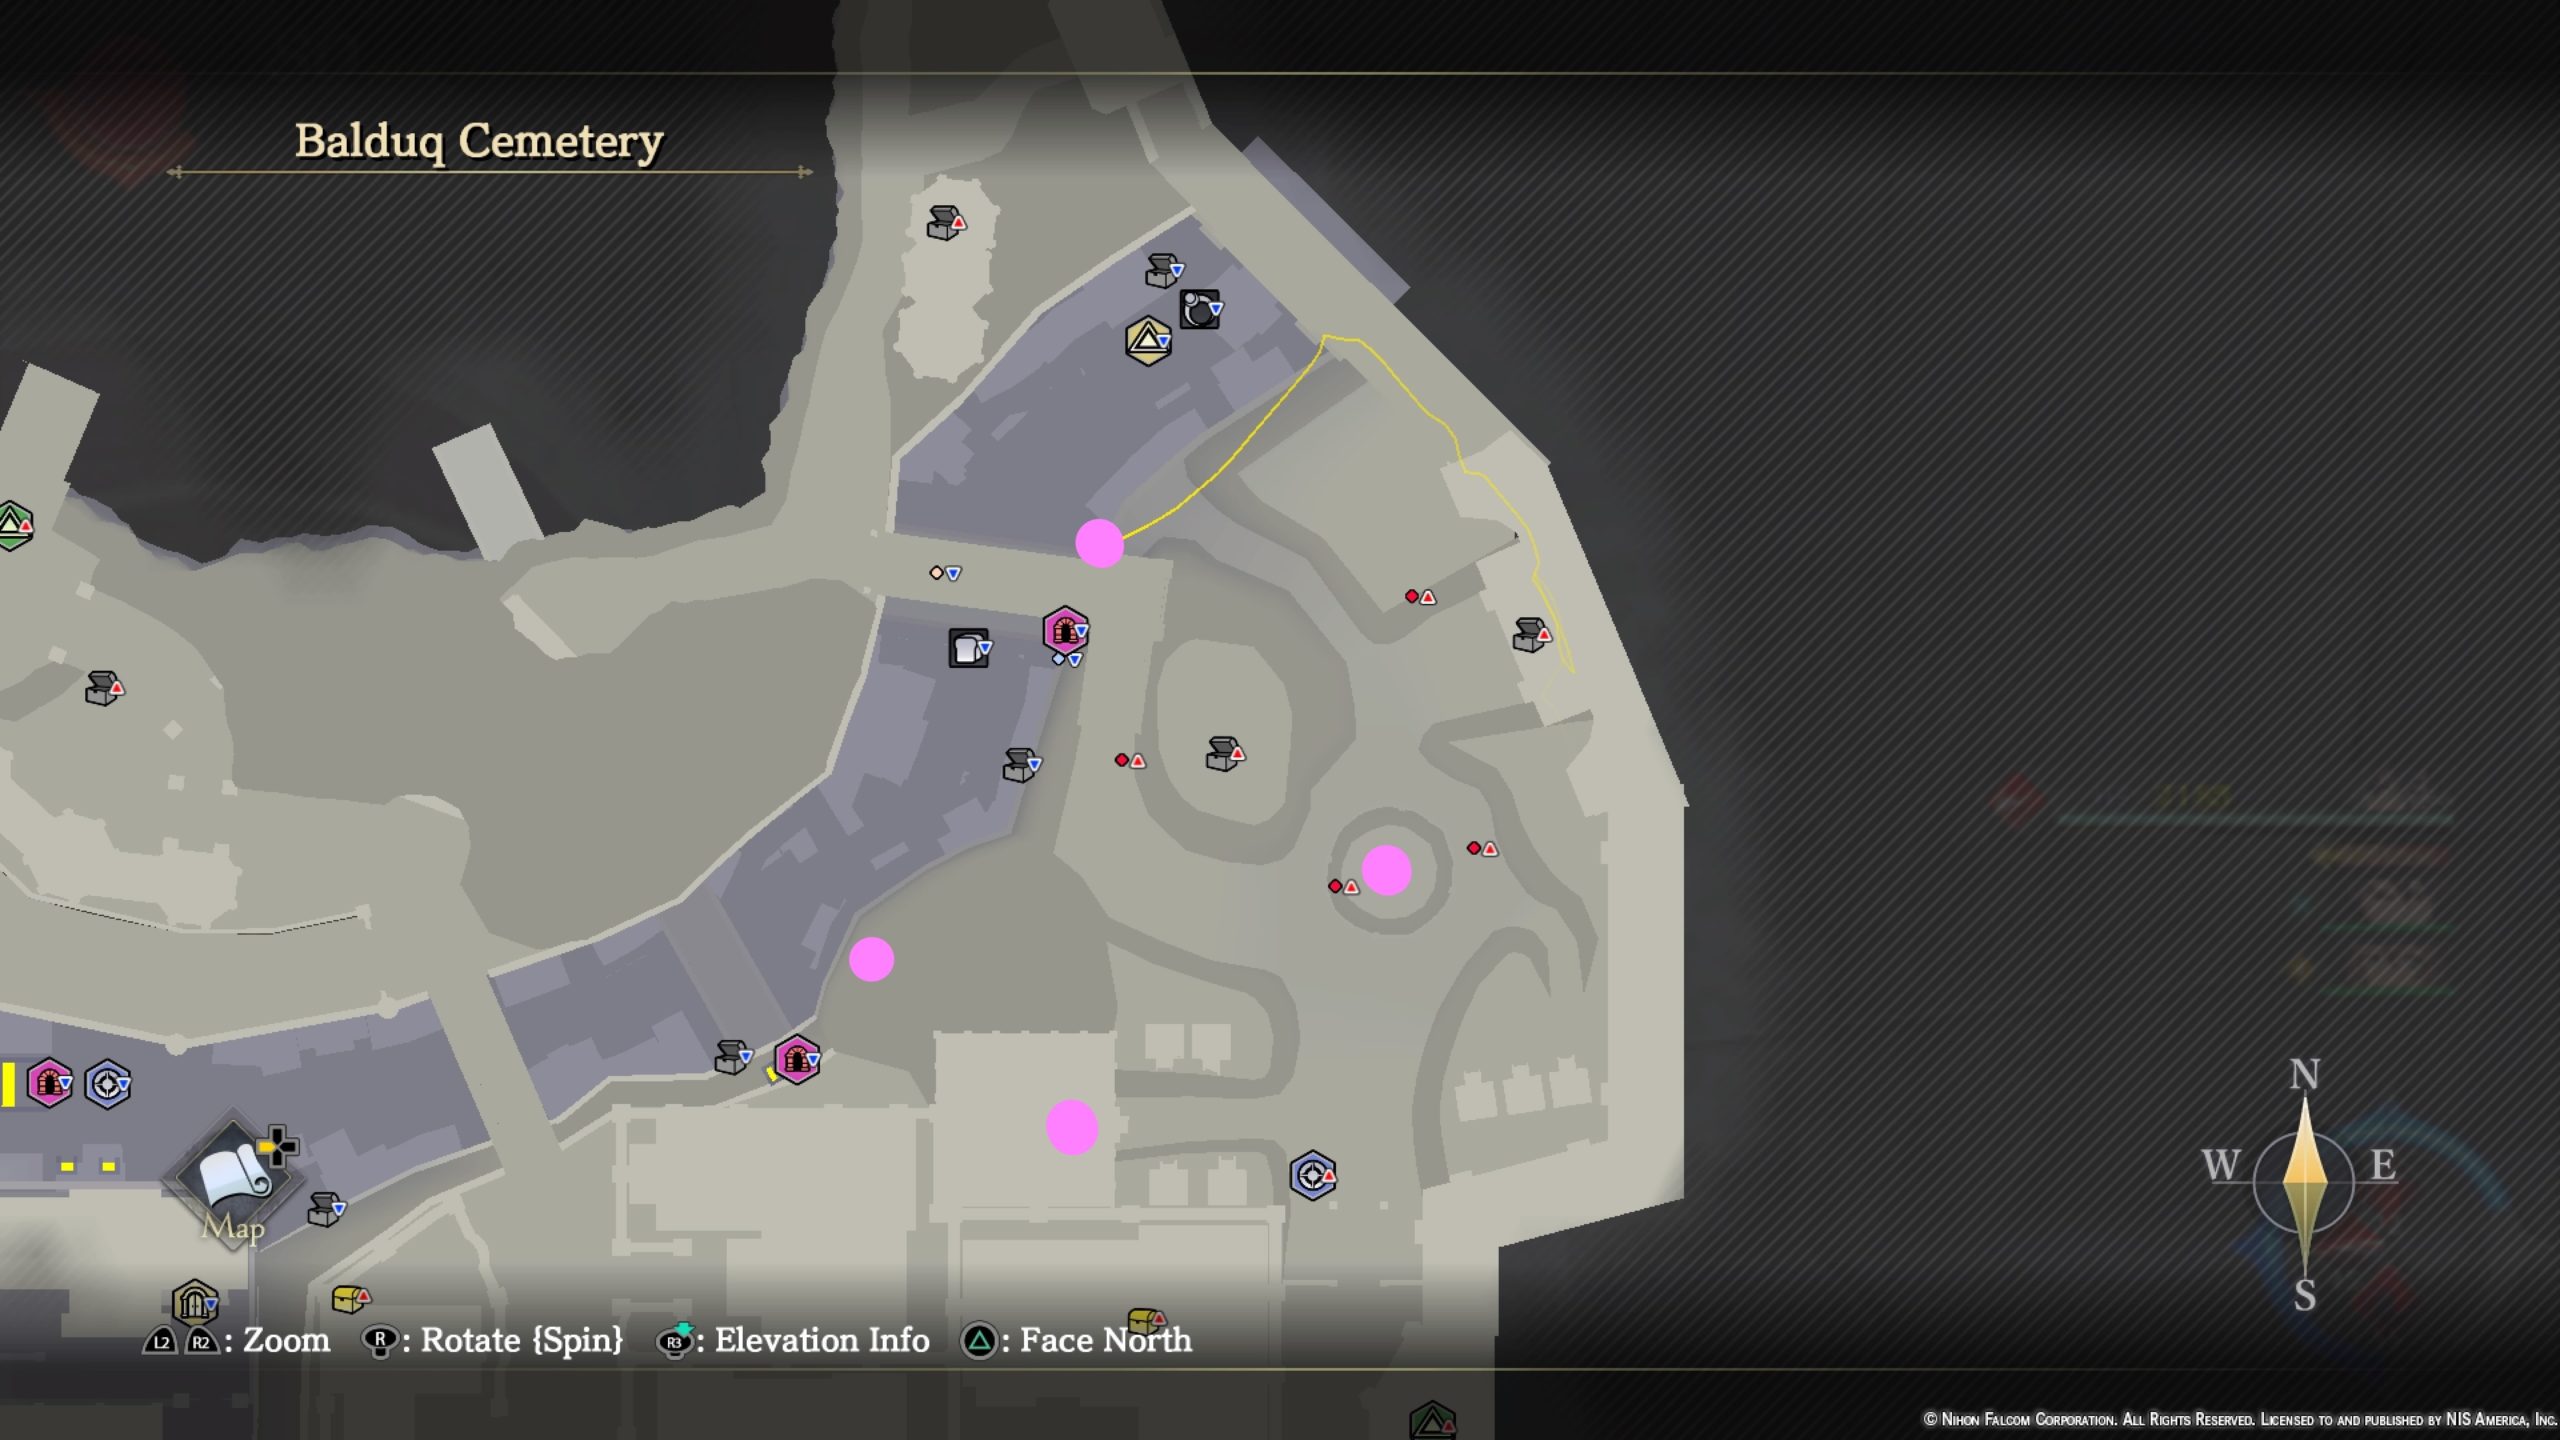
East Crossbell Highway
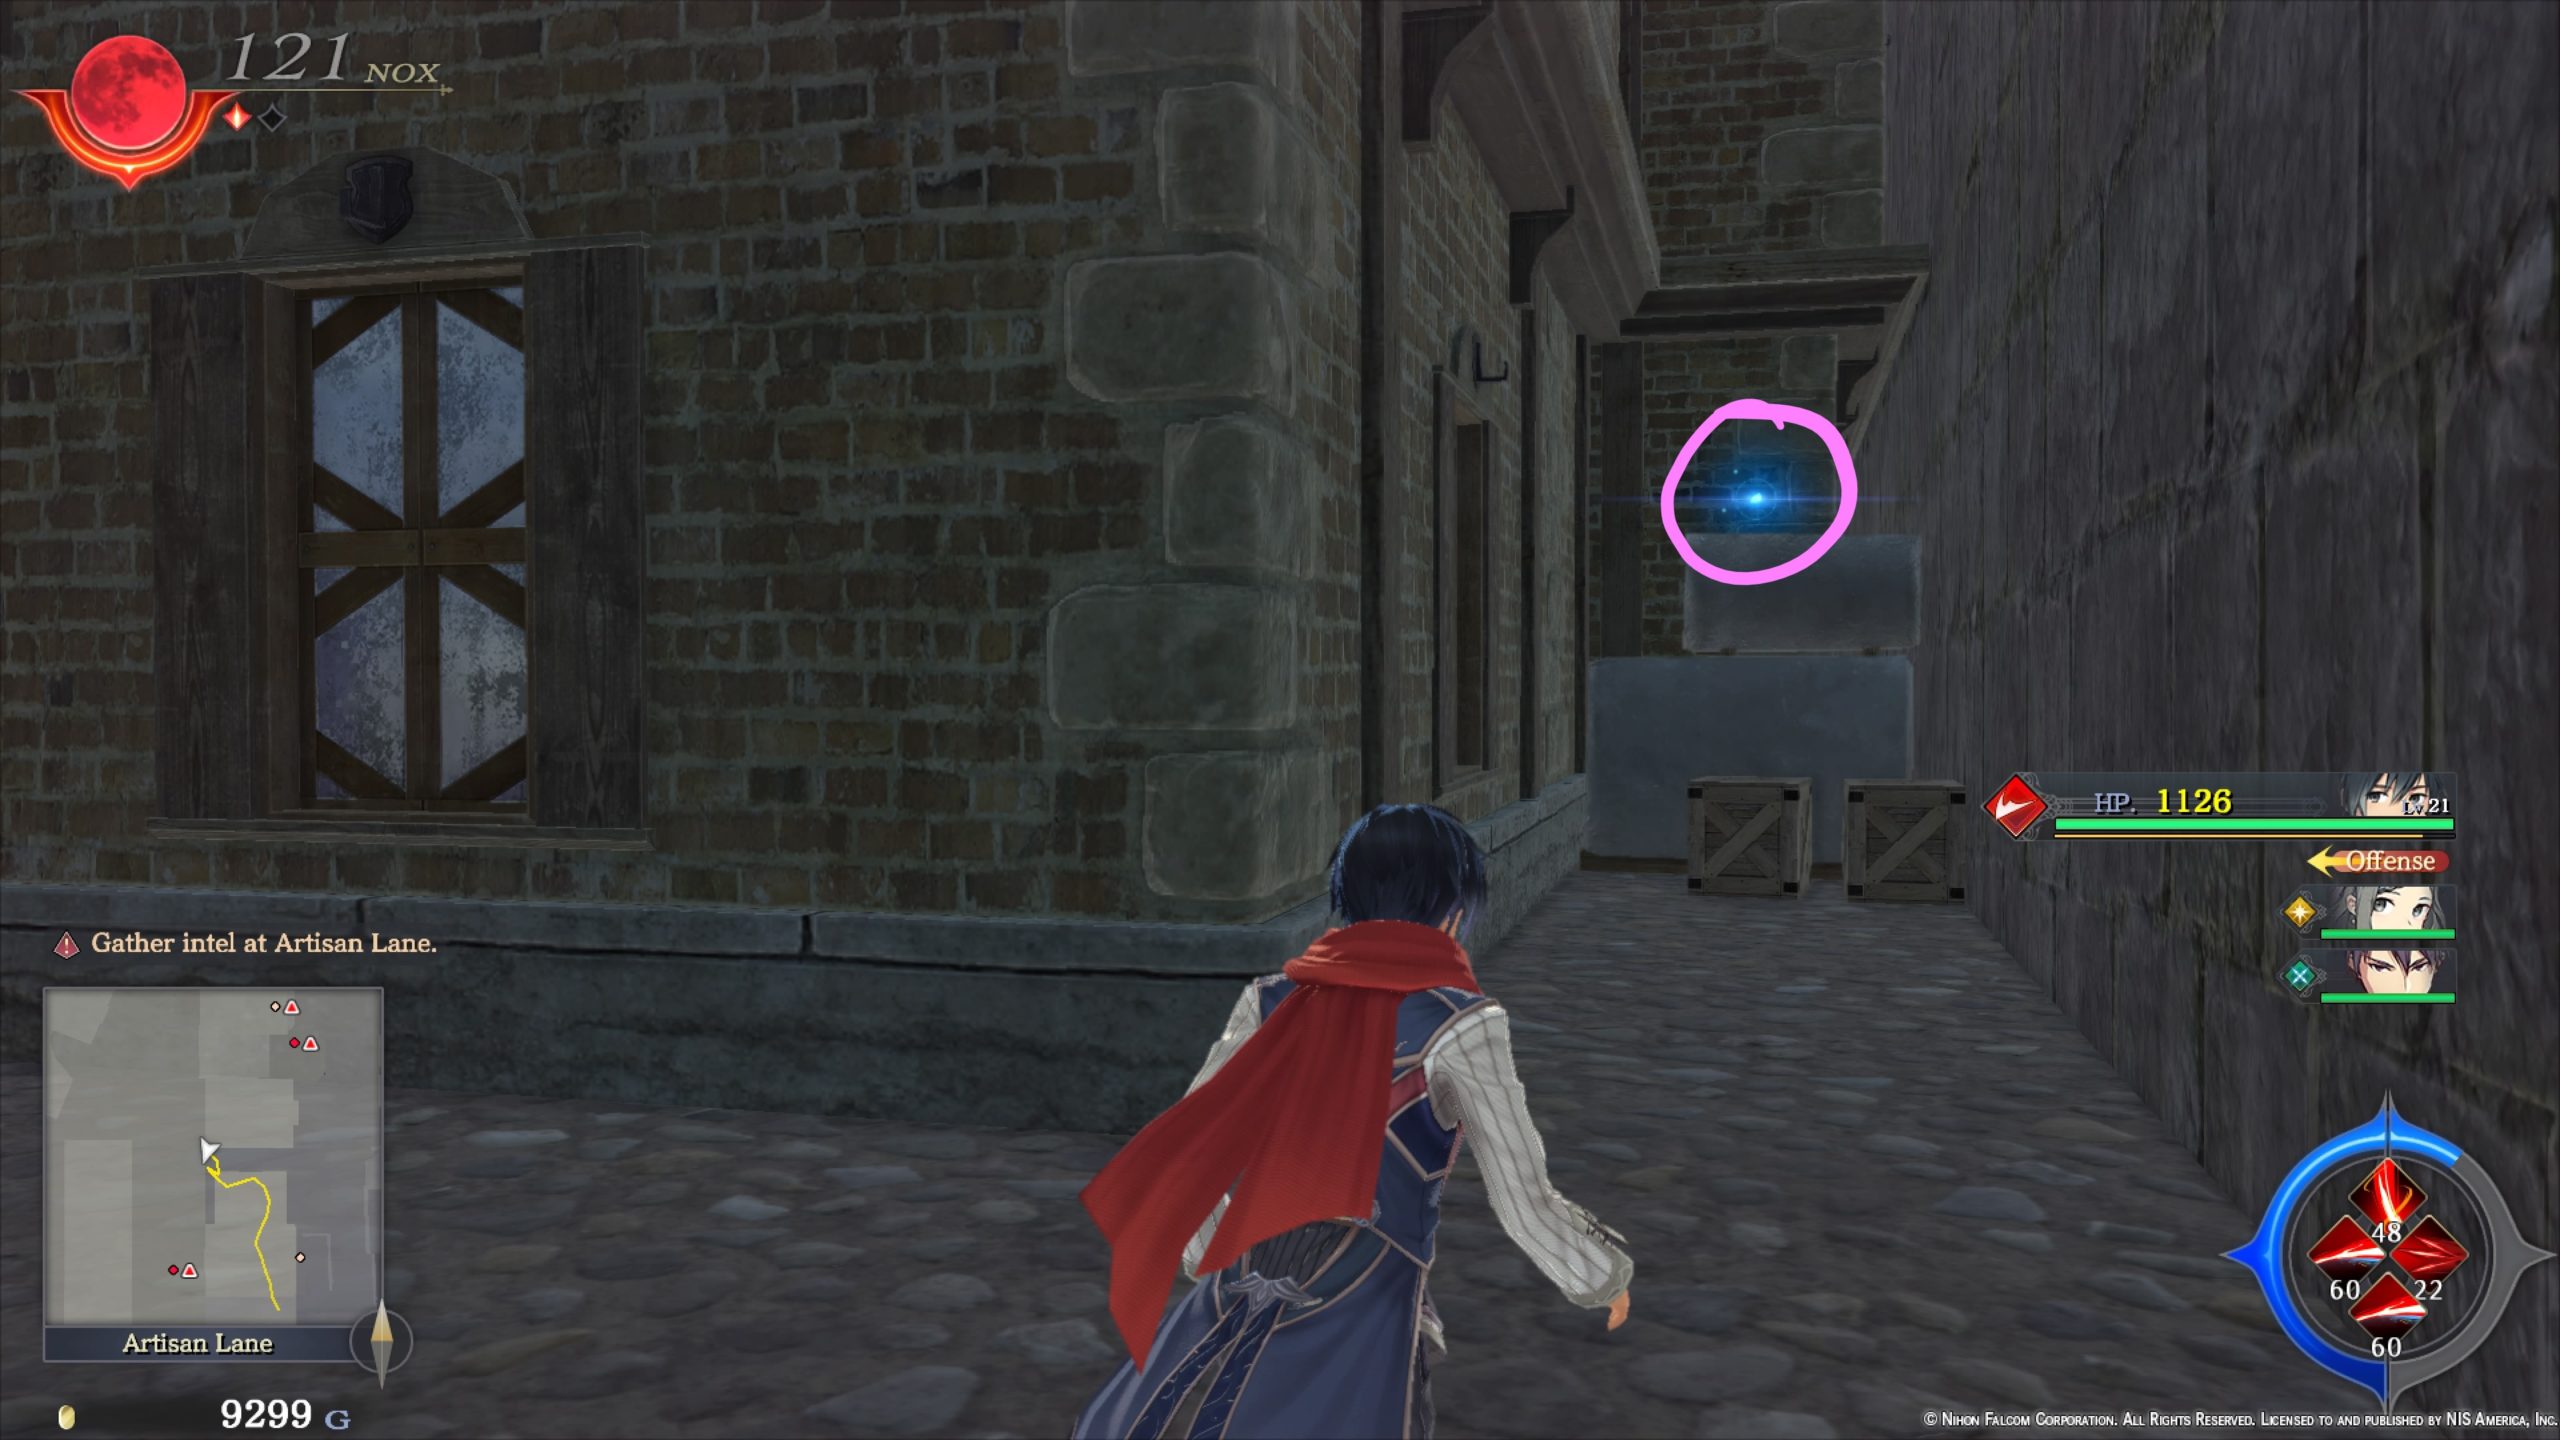
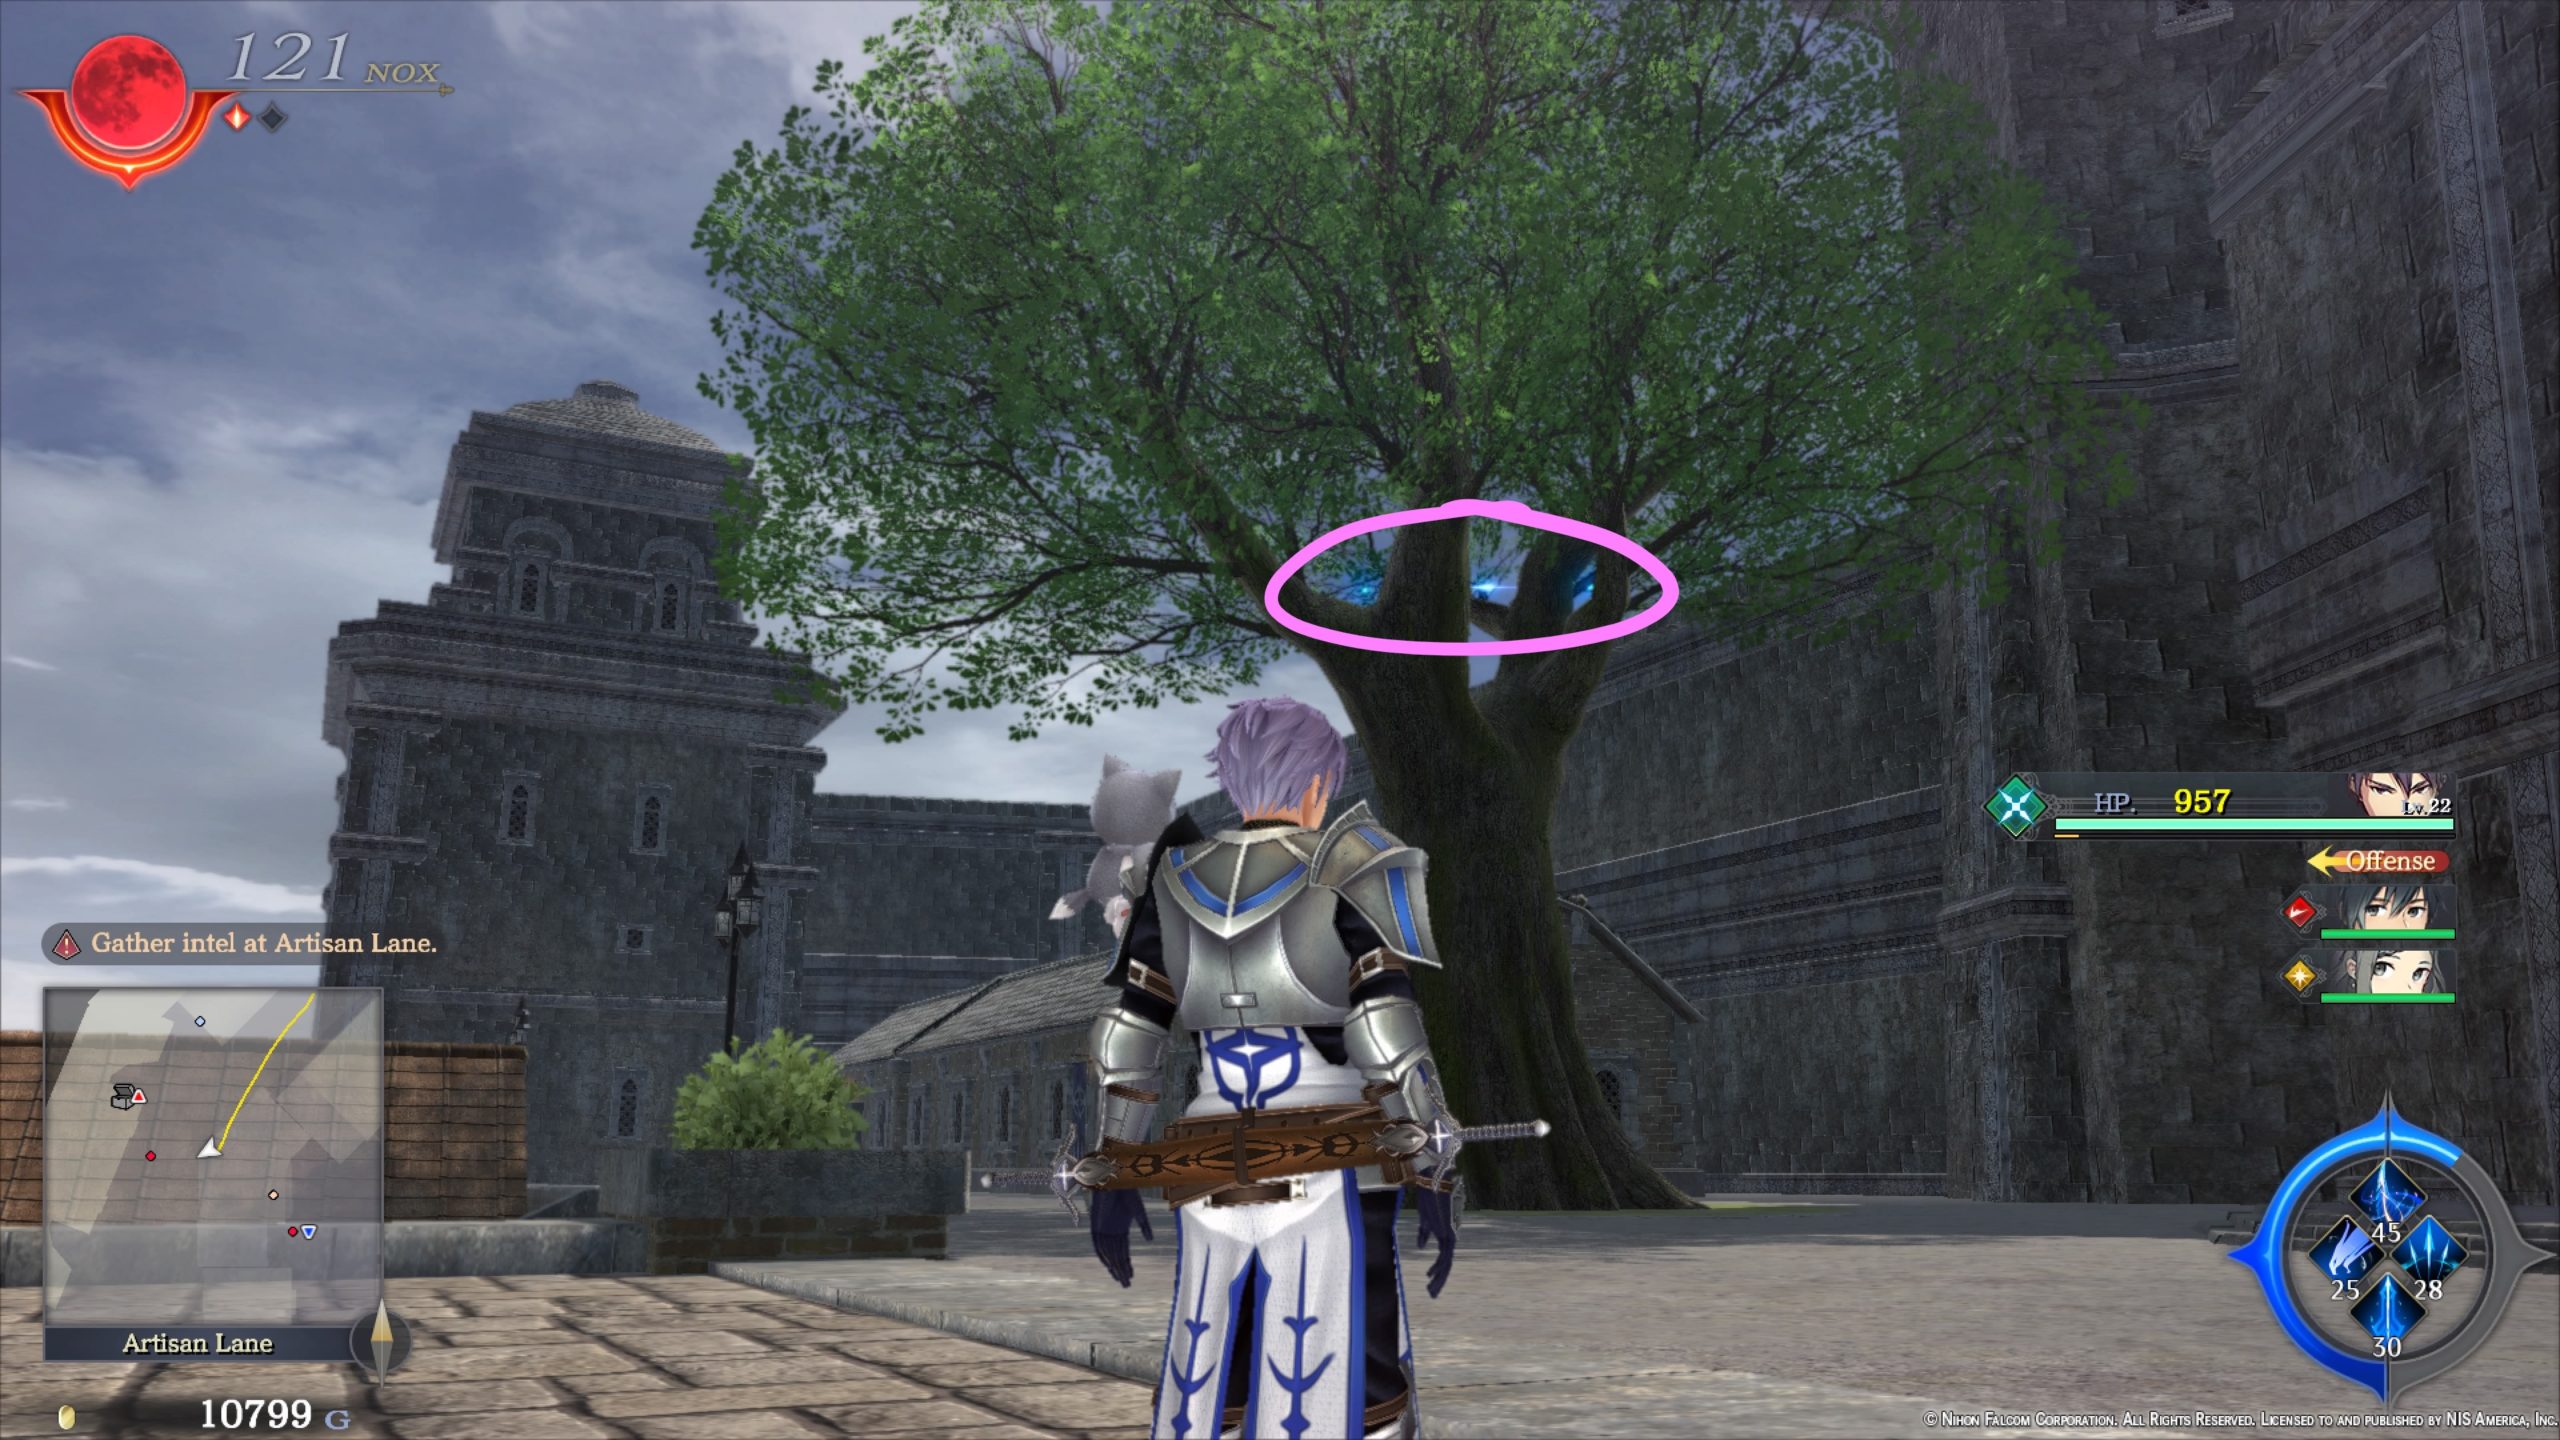
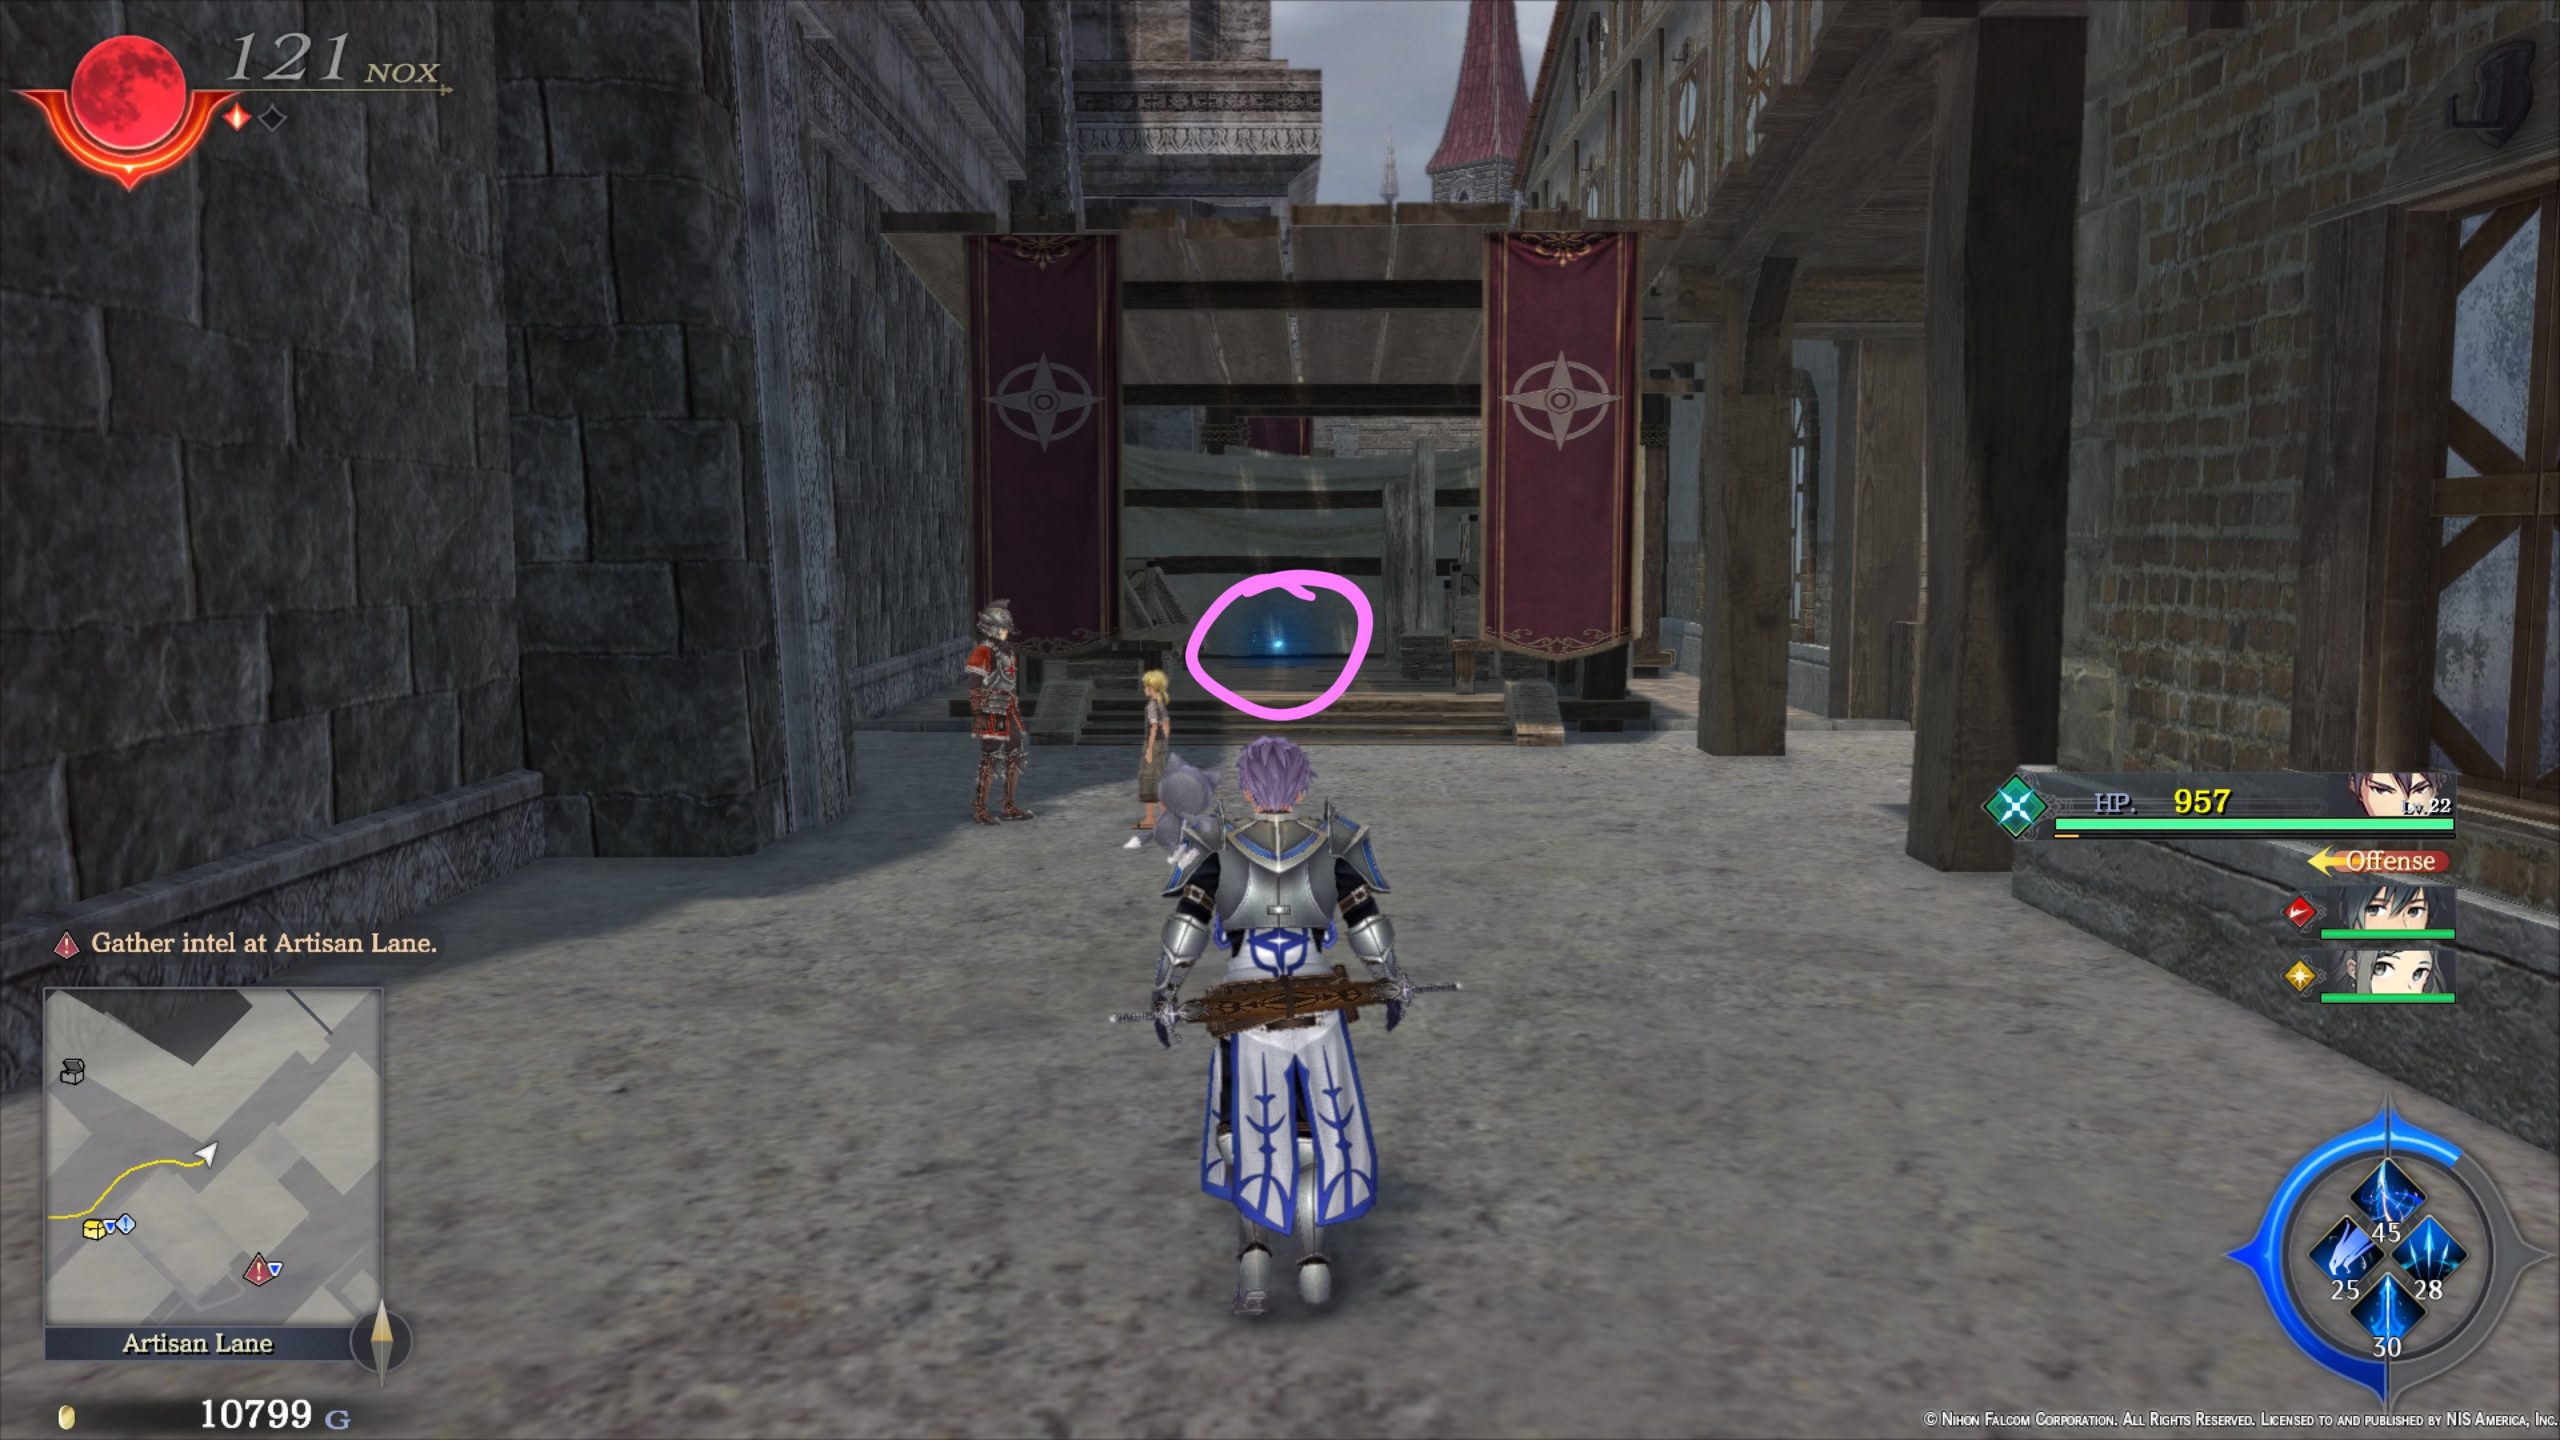
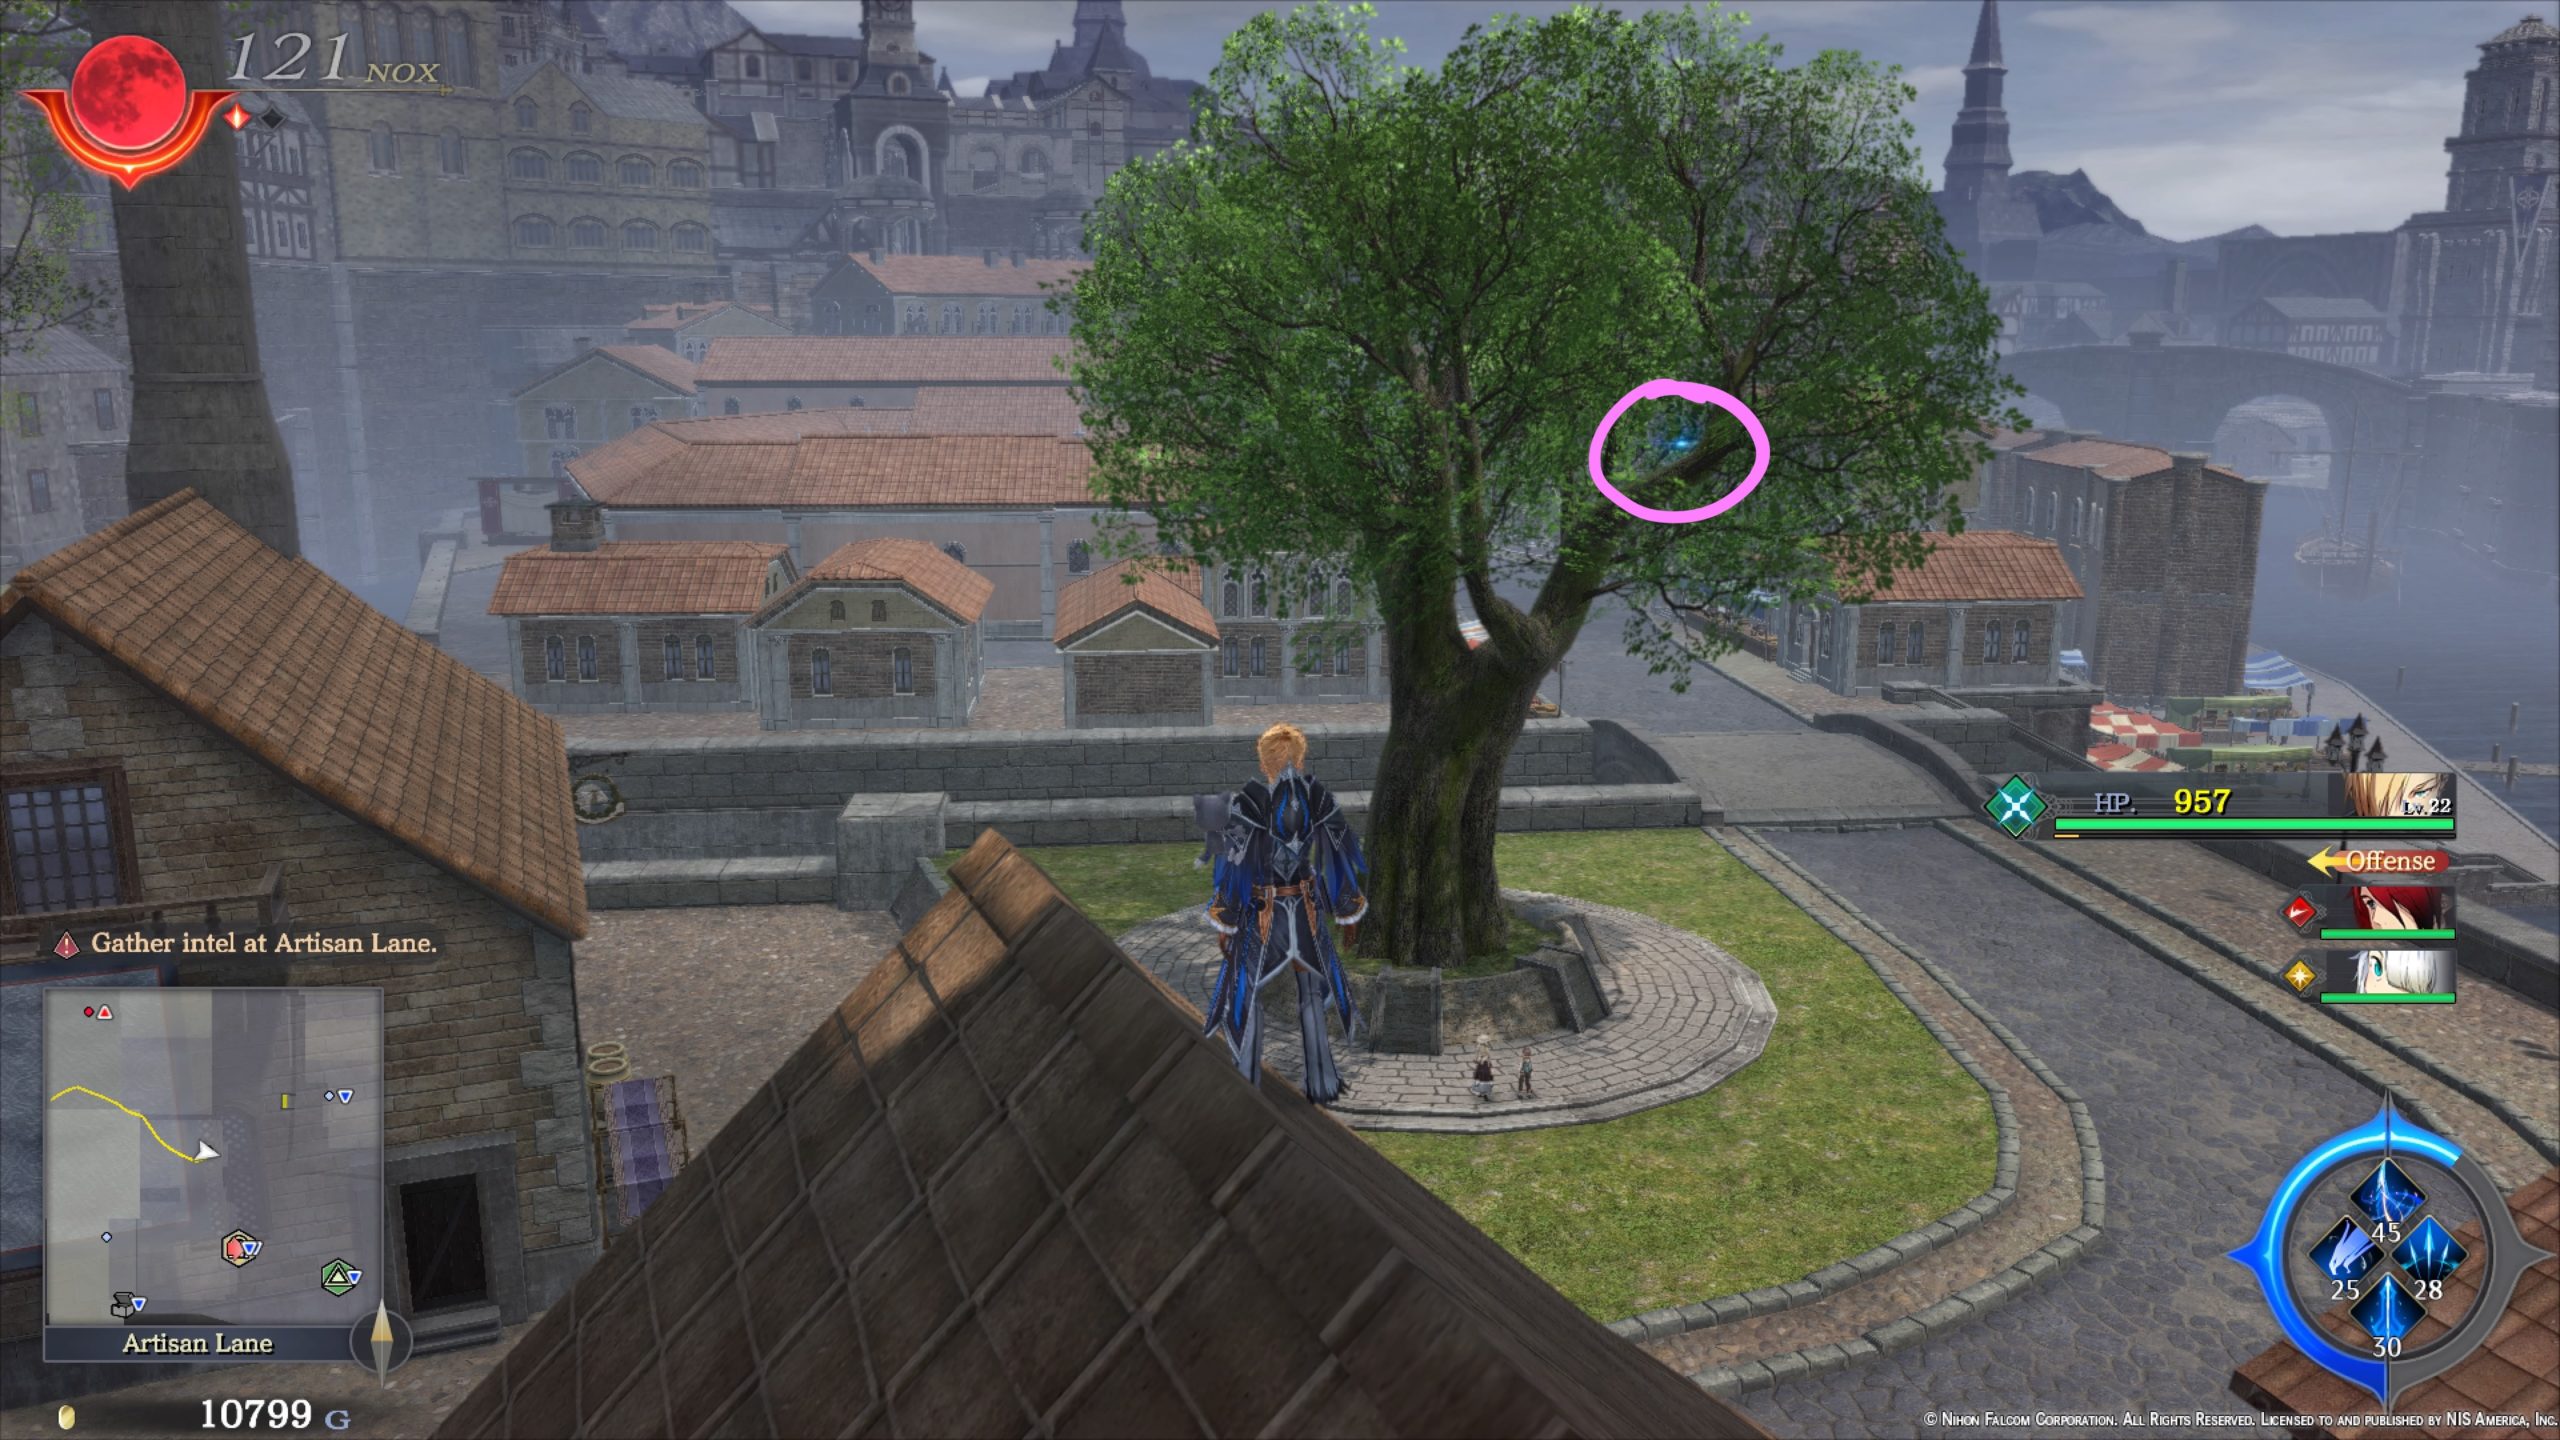
After you’re done exploring Crossbell, set out for East Crossbell Highway! When you first arrive, a cutscene will trigger. Explore the area to find the below!
Area 1
- Treasure Chests
- Teara Balm
- Leather Jacket
- Enemies
- Berga Bug
- Grass Drome
Area 2
- Treasure Chests
- Silver Brooch
- Each Sepith x20
- Silver Brooch
- Enemies
- Egg Snake
- Berga Bug
- Grass Drome
- Metal Saucer
- Teara Balm
Area 3
- Treasure Chests
- Steel Wrist
- EP Charge
- Enemies
- Berga Bug
- Metal Saucer
- Grass Drome
- Egg Snake
- Acerbic Tomartian
Old Armorica Road
Area 1
- Treasure Chests
- Reviving Balm
- Grasshoppers
- Enemies
- Golden Axe
- Helmet Hunter
- Bad Frogger
- Deadly Dandelion
- Magma Drome
- Grass Drome
Area 2
- Treasure Chests
- Cool Necklace
- U-Material
- Mute
- Enemies
- Death Corolla
- Deadly Dandelion
- Magma Drome
- Helmet Hunter
Area 3
- Treasure Chests
- Reviving Balm
- Each Seriph x20
- Opening the chest in the northern part of this area will lead to a fight against 6 Helmet Hunters. After you defeat them, you’ll receive Attack 2.
- EP Charge
- Enemies
- Deadly Dandelion
- Golden Axe
- Magma Drome
- Helmet Hunter
- Death Corolla
Armorica Village
Once you finally arrive in Armorica Village, explore the town to find the below!
- Recipes
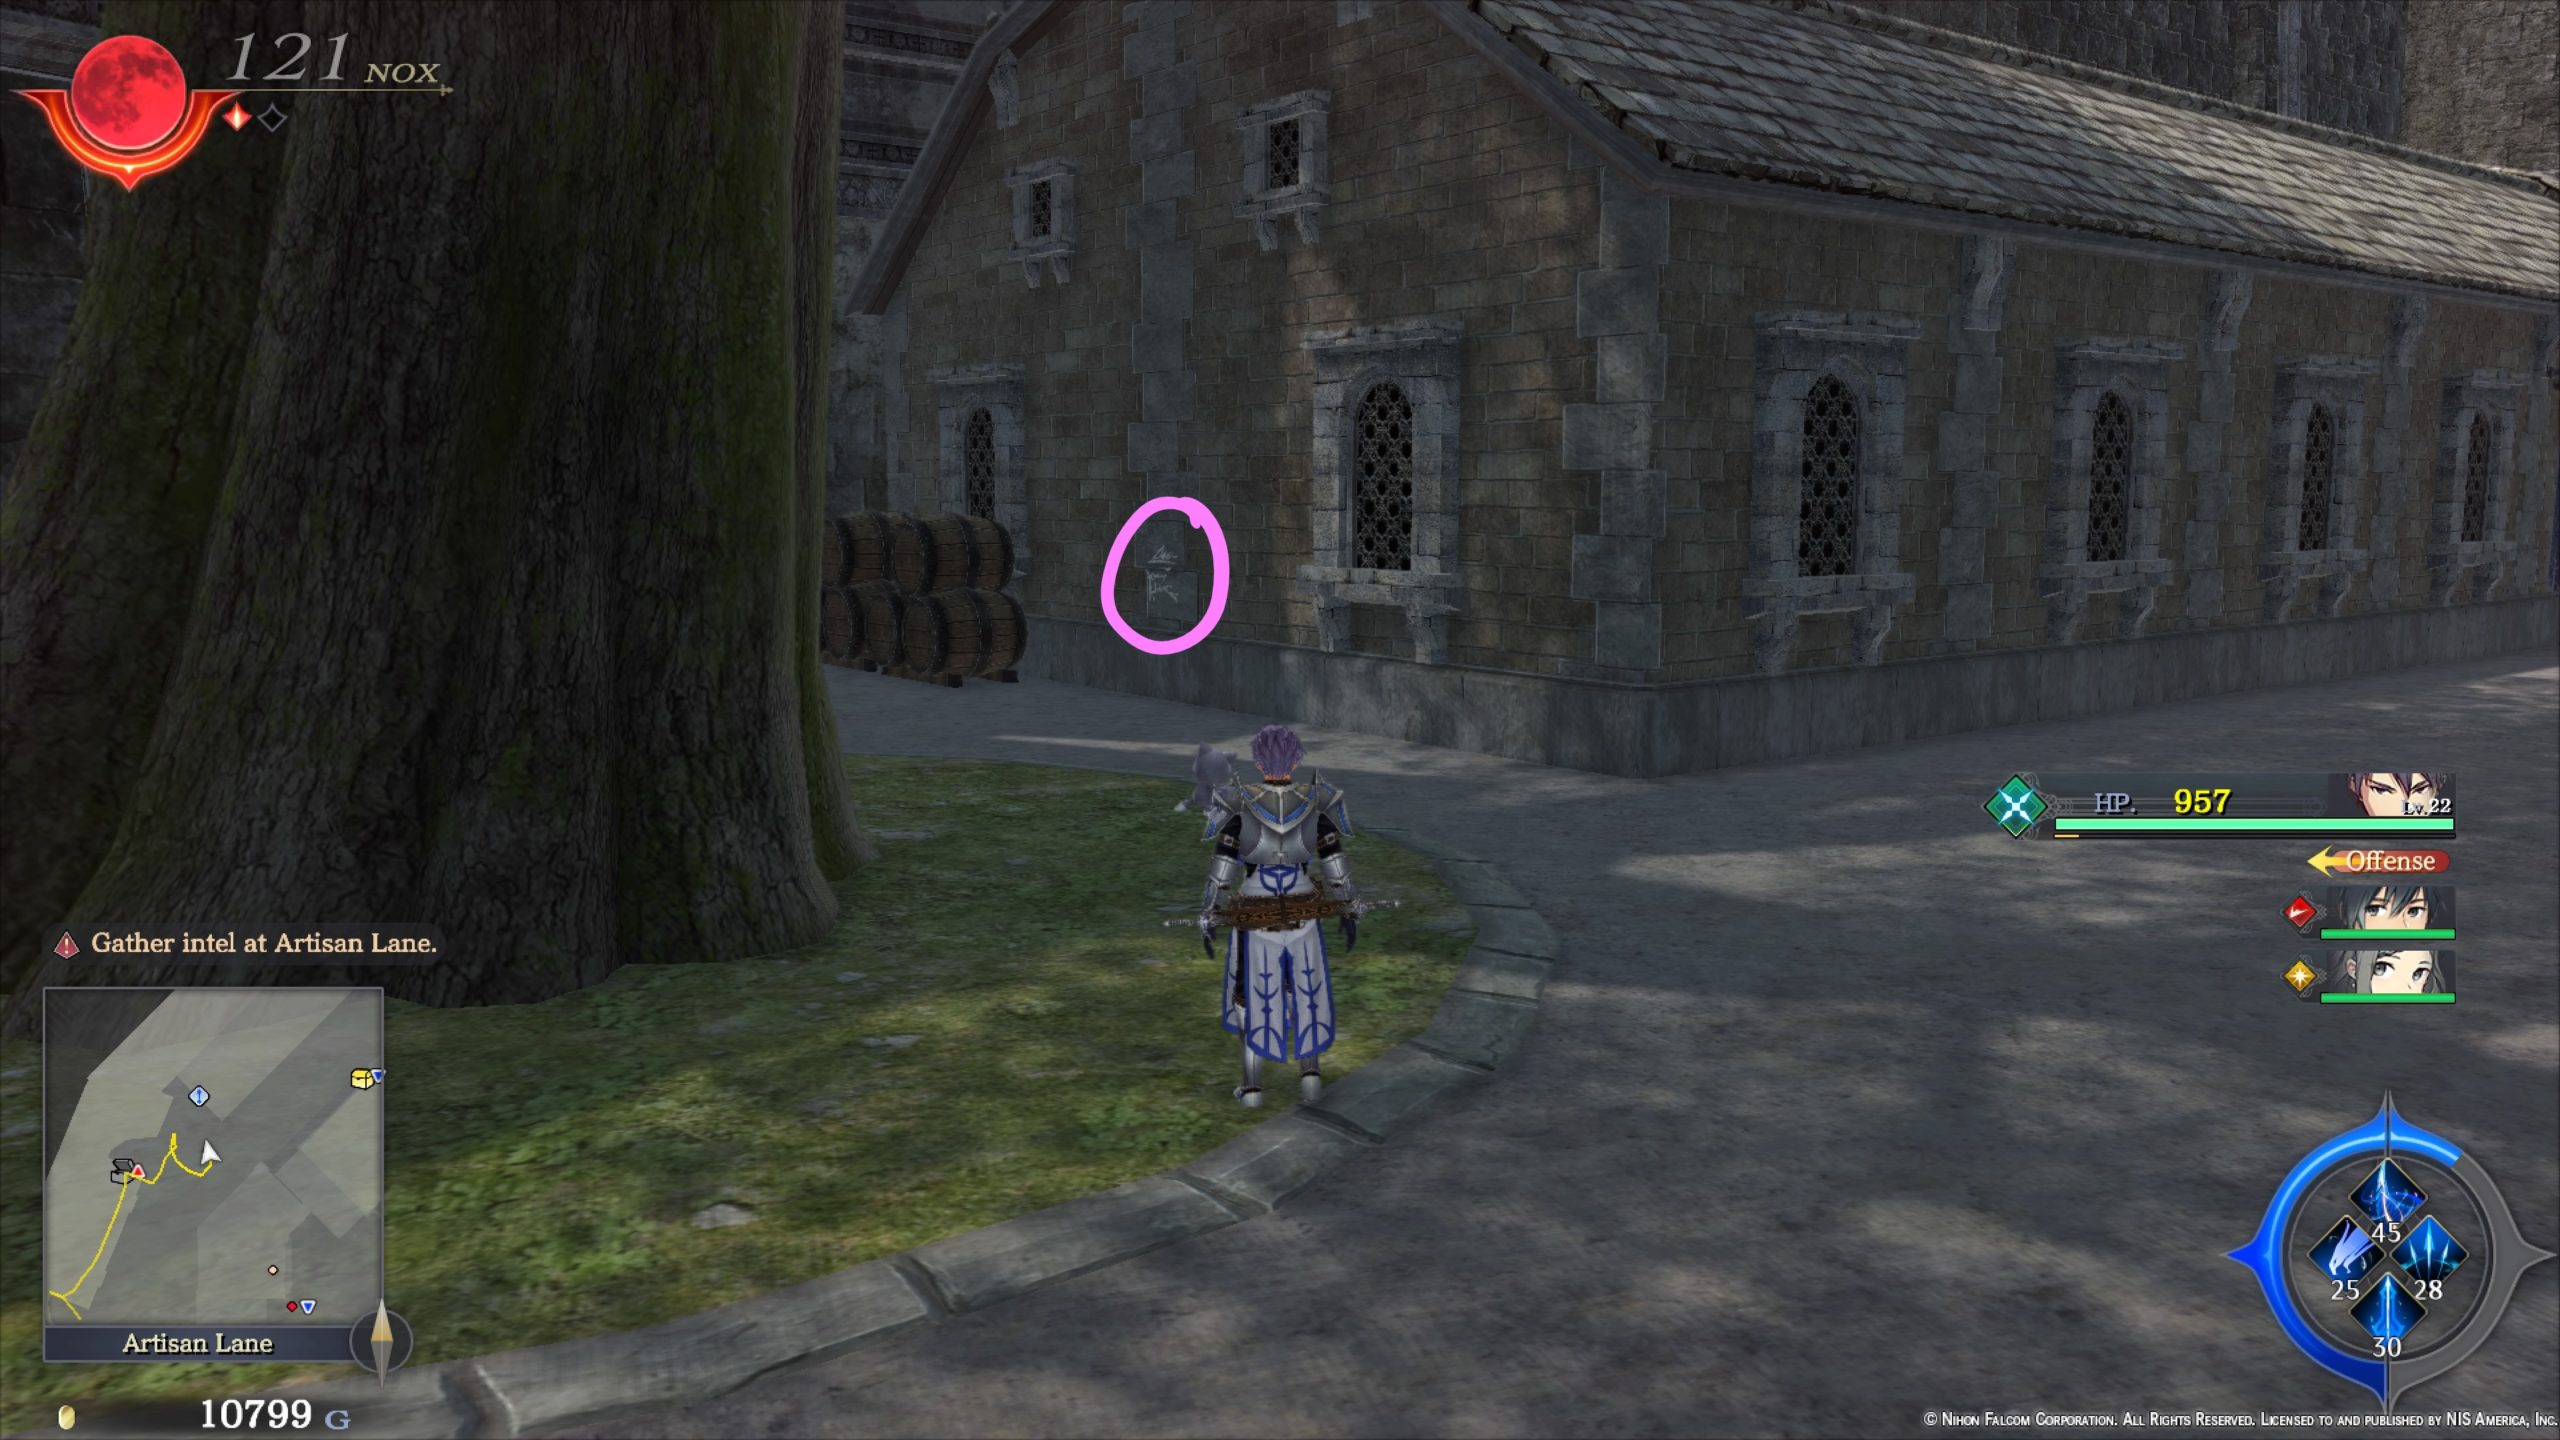
- Rustic Omelet Rice – Ash Tree Inn – Interact with the wooden plaque hanging on the wall on the right side of the room
- Event Items
- Model Orbal Car – Reoir General Store – Purchase for 1,000 mira
- Treasure Chests
- EP Cut 1 – In house on northeastern side of town
After you’re done exploring, enter the large building on the northern side of town to trigger a cutscene. Afterwards, exit the building and speak with Kopan on the bridge.
You’ll receive the Novice Rod, Earthworm x10, Dumplings x10 and Fishing Notebook. Head to the dock across from the bridge and fish to find the below.
- Fish
- Raineater (Novice Rod, Earthworm)
- Tiger Rockfish (Novice Rod, Earthworm)
- Armorican Carp (Novice Rod, Earthworm or Dumplings)
- Rockeater (Novice Rod, Earthworm)
Next, enter the Ash Tree Inn. Speak with Gofan behind the counter then head upstairs and enter the room on the northwestern side. Speak with the Kind-Looking Man. Afterwards, speak with everyone in the village. After you’ve spoken to everyone, enter the house near the entrance of the town then leave. A cutscene will trigger. When it concludes, speak with Old Man Reoir in the Reoir General Store to receive the below book.
- Book
- Back Alley Doctor Glenn – Ch. 2
When you’re ready to leave, attempt to exit the town then interact with the nearby bus stop.
Click here for Part 2 of the Chapter 1 walkthrough in The Legend of Heroes: Trails from Zero.