Below is Part 2 of a walkthrough for the collectibles found during Chapter 1: Afternoon of the Wolves of The Legend of Heroes: Trails from Zero.

Crossbell
When you’re able to explore the city, stop by and feed the cat on the roof of the SSS building. We gave it a Tiger Rockfish that we caught in Armorica Village and were given an Attack 1.
Next up, head to West Street and make your way to the Bellheim Apartments. Once inside head downstairs then go into the middle apartment. Speak with Ryu to receive the below support request.
Complete this request and make sure to report it to the SSS terminal! Afterwards, head to the Administrative District and check in with Receptionist Rebecca at the C.P.D. Show her your Combat Notebook. If you’ve scanned all the monsters, you should receive 500 mira and U-Material.
Next, head on over to the Harbor District and fish off the dock near the lighthouse to receive the below fish.
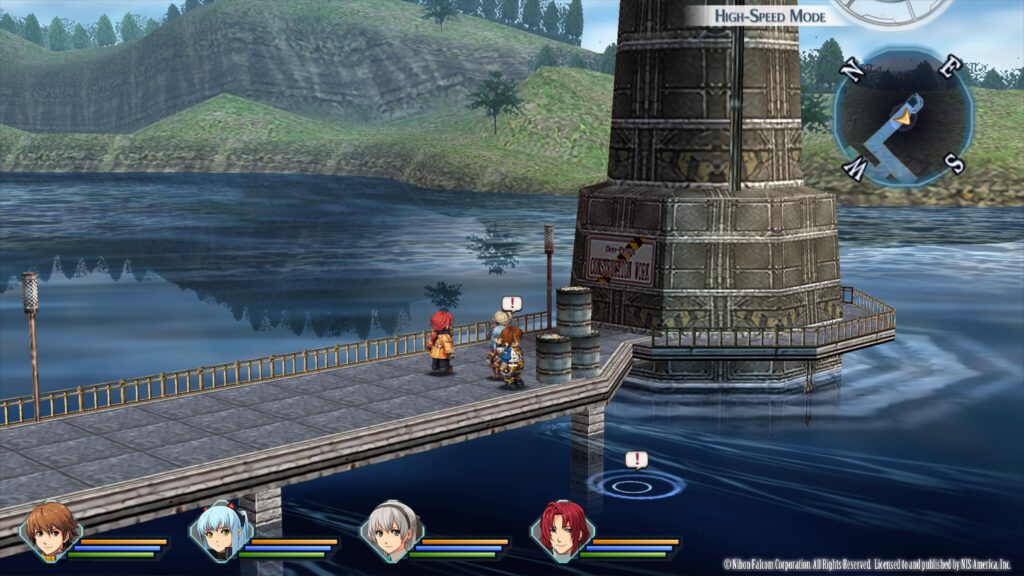
- Fish
- Pearlglass (Novice Rod, Dumplings)
- Gluttonous Bass (Novice Rod, Earthworm)
- Amorican Carp (Novice Rod, Dumplings, Earthworm)
- Eel (Novice Rod, Earthworm)
With some entries in your Fishing Notebook, head to East Street and enter the Fisherman’s Guild. Speak with the Branch Manager Cerdan behind the counter and select “Check your rank” twice. He will examine your notebook and if you caught all of the above fish, you’ll earn the Hobbyist Fisher title and the Straw Hat.
Now that you’ve done everything, head to Station Street and interact with the bus stop on the southern side of the city to trigger a cutscene. When it concludes, exit the city to Ursula Road!
Ursula Road
Once on Ursula Road, explore the area to find the below.
Area 1
- Enemies
- Racohm
- Ocean Drome
- Deathcargot
- Long-Eared Monkey
- Kesalan
- Fish (First northern path you can take. Follow it to the end where there is a rectangular platform. Fish off of the northern side!)
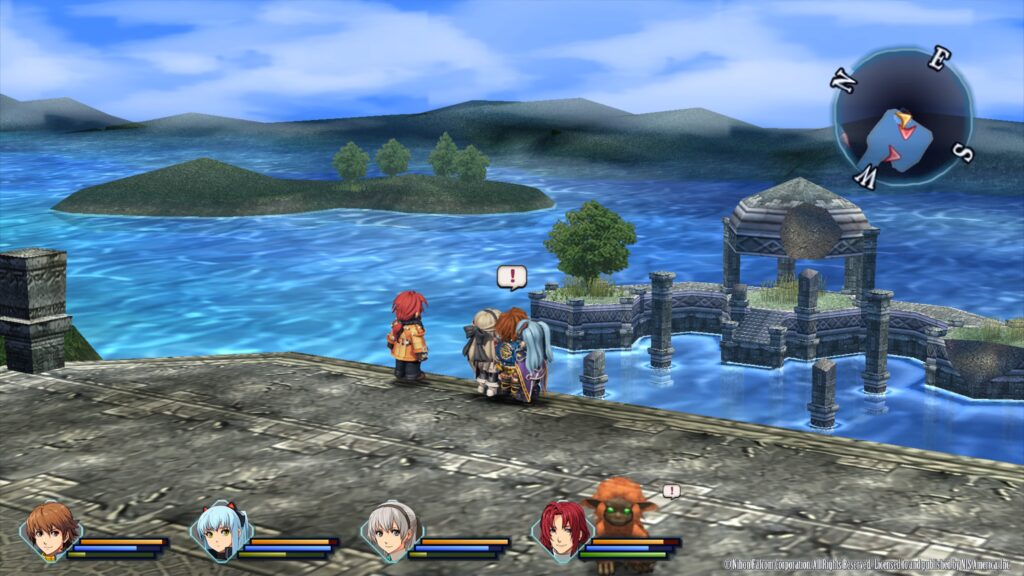
-
- Carp (Novice Rod, Dumplings or Earthworm)
- Eel (Novice Rod, Earthworm)
- Snow Crab (Novice Rod, Earthworm)
Area 2
- Treasure Chests
- Coral Ring
- EP Charge
- Enemies
- Deathcargot
- Grass Drome
- Ocean Drome
- Kesalan
When you reach the southern part of this area, a cutscene will trigger followed by a fight against 2 Gordian. Defeat both of them to continue with the cutscene. Once it concludes, speak with the bus driver again to heal then continue south.
Area 3
- Enemies
- Ocean Drome
- Kesalan
- Backlash
- Mossimon
- Tropical Archer
- Racohm
- Treasure Chests
- Reviving Balm
- When you open the different colored chest on the eastern side of this area, a fight against 8 Backlash will trigger. Defeat them all to receive a Rune Cloth!
- Impede 1
Please note that when you’re in this area, you’ll be able to fulfill an objective for the Hunting for Ingredients support request.
Area 4
- Enemies
- Fire Beetle
- Butterflier
- Ocean Drome
- Spineedler
- Treasure Chests
- Tinkle Earrings
- EP Charge
- Each Sepith x20
St. Ursula Medical College
Explore the St. Ursula Medical College to find the below!
- Recipes
- Deluxe Beef Stew – Le Lectier Inn – Speak with the guy behind the counter
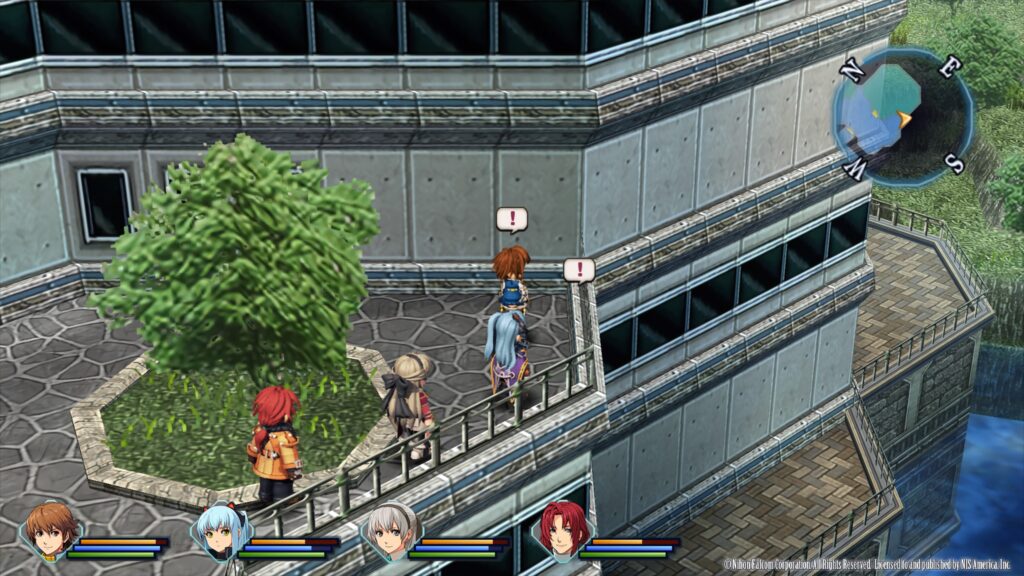
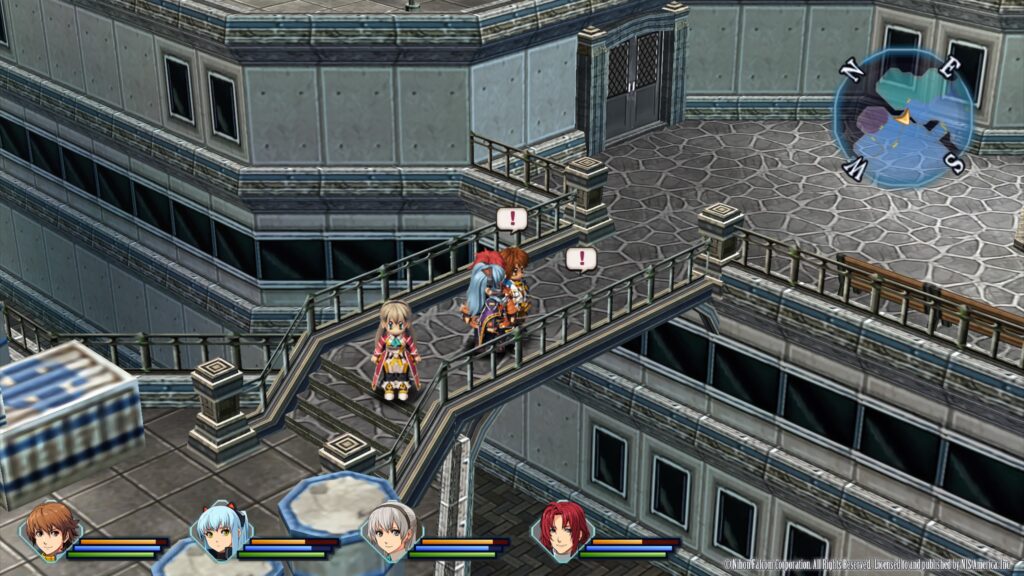
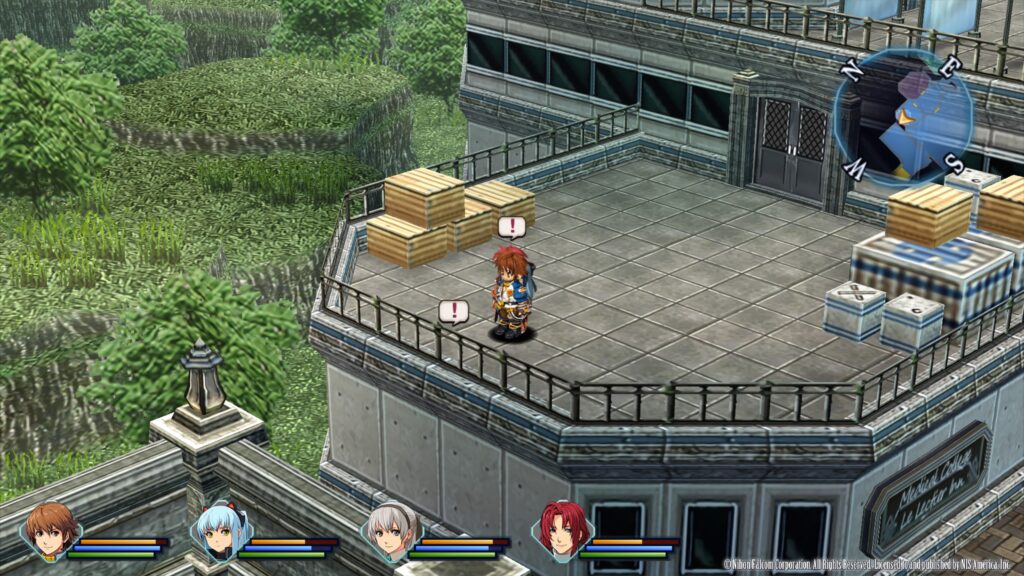
Once you’re ready, enter the main building on the east side of the area to trigger a cutscene then speak with Receptionist Sera (the female) behind the counter. When the cutscene ends, head upstairs to the top level then enter the area on the southwestern side to find the roof. Approach the bridge to trigger another cutscene. Afterwards, exit the room and head up the stairs on the right. On the new level, turn left and follow the path all the way to the end where you’ll see a giant EXIT sign. Exit here to reenter the roof. Once on the roof, follow the path until a cutscene triggers. Now you’ll have to investigate. First, head right and check the railing overlooking the water.
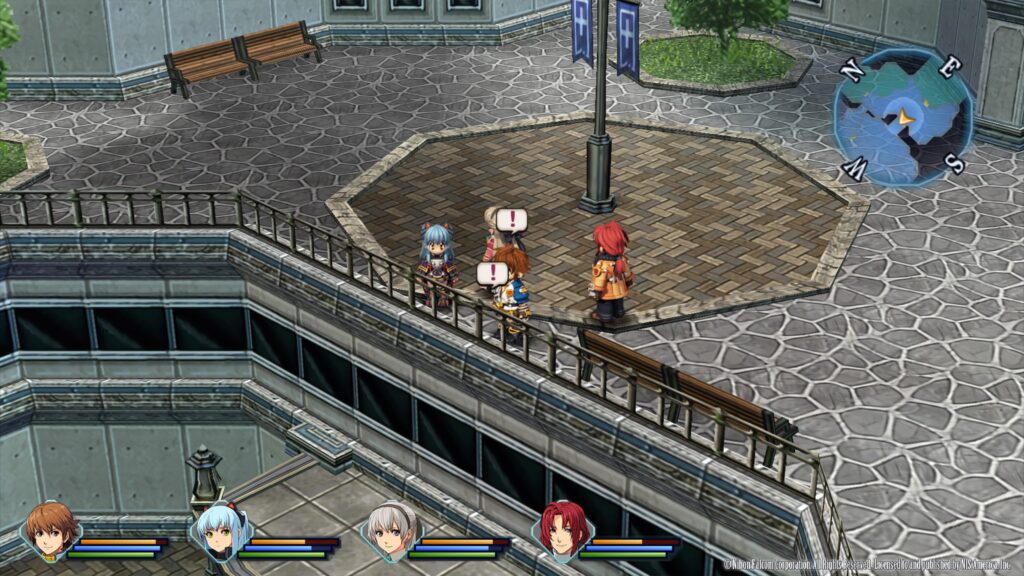
Next, head left along the rail and inspect the rail in the middle of this area overlooking the overhang below. It will be across from the light post with the two banners.
Continue heading left along the railing and inspect the railing on the bridge.
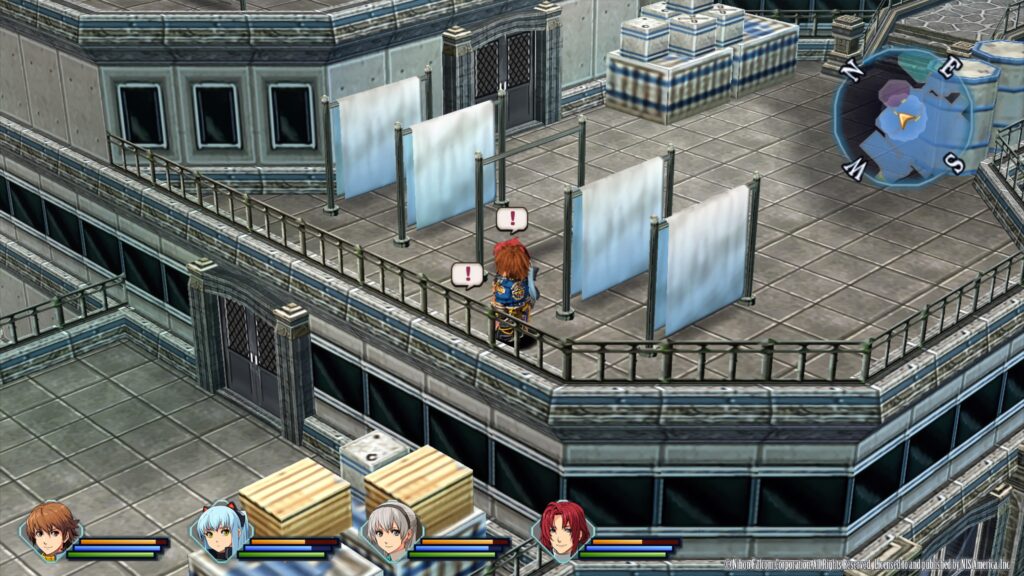
Next, head left and check the railing behind the hanging sheets.
To investigate the area below, head through the nearby doors then take a right and head down the stairs. Once on the next level, enter through the door on the left. Follow this path to the far left. When you’re outside, interact with the boxes on the right side.
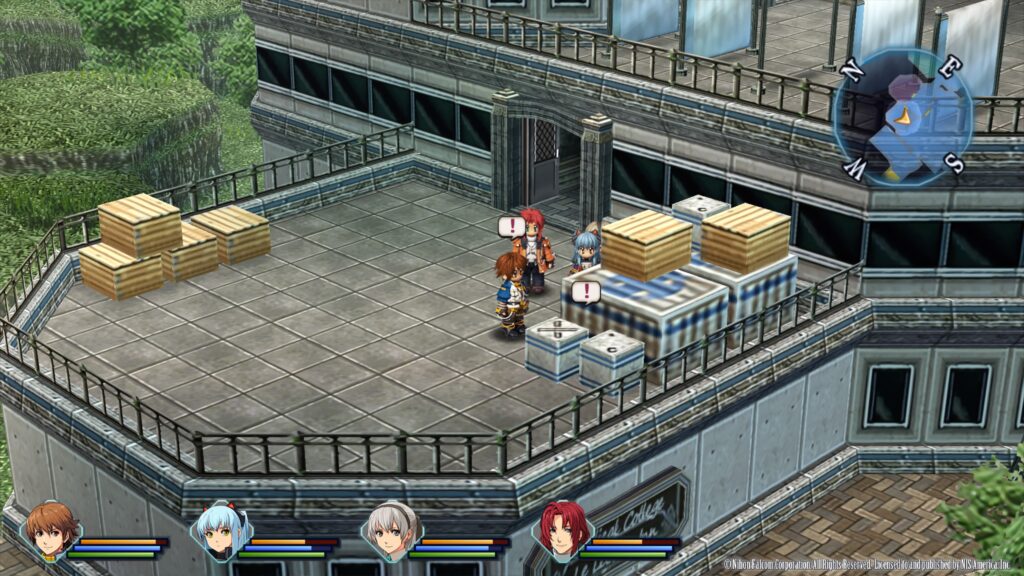
Tio points out the other boxes across from the ones above. Before heading back inside, interact with them.
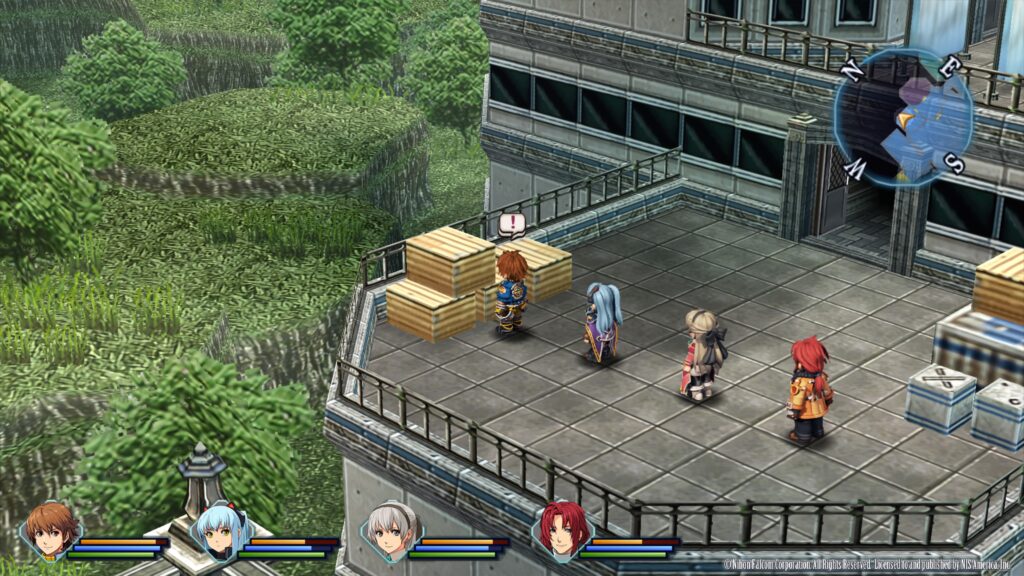
Next, inspect the railing on the western side.
Afterwards, head inside and return all the way back to 2F where the Resident Lytton was. On this floor, speak with him then head to the Nurse Station to the northwest of Resident Lytton’s room. Speak with Nurse Philia. Instead of heading to the third floor to speak with Cecile, follow Martha into the room behind the Nurse Station and speak with her. A special scene with Martha and Tio will trigger. Exit this room to trigger another dialog event. Afterwards, head to 3F and enter room 304 to trigger a cutscene. When you’re ready to leave, interact with the bus stop and wait for the bus.
Click here for Part 3 of the Chapter 1 walkthrough for The Legend of Heroes: Trails from Zero!