Below is a walkthrough for Chapter 7 in Voice of Cards: The Beasts of Burden.
Underground Passage
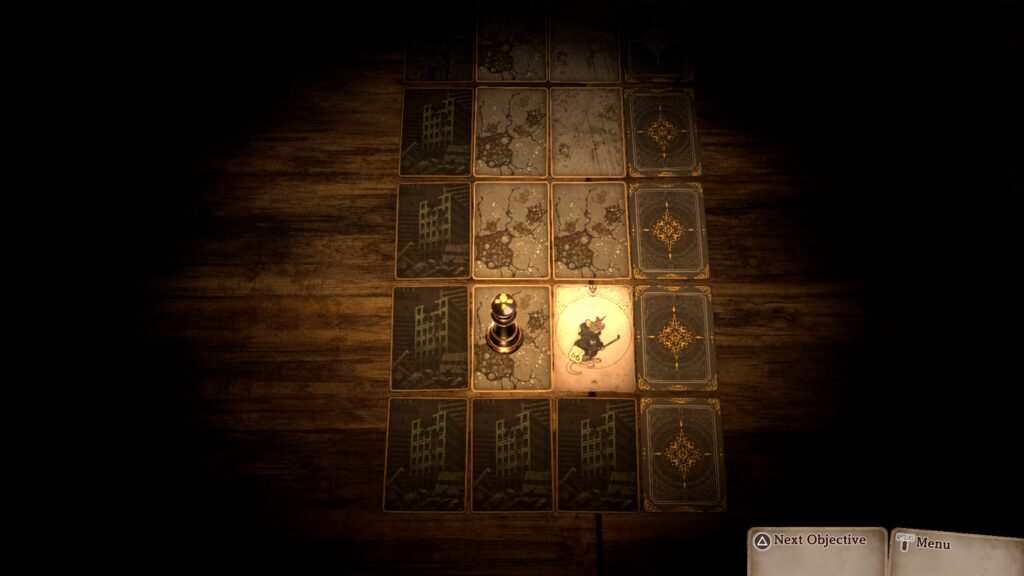
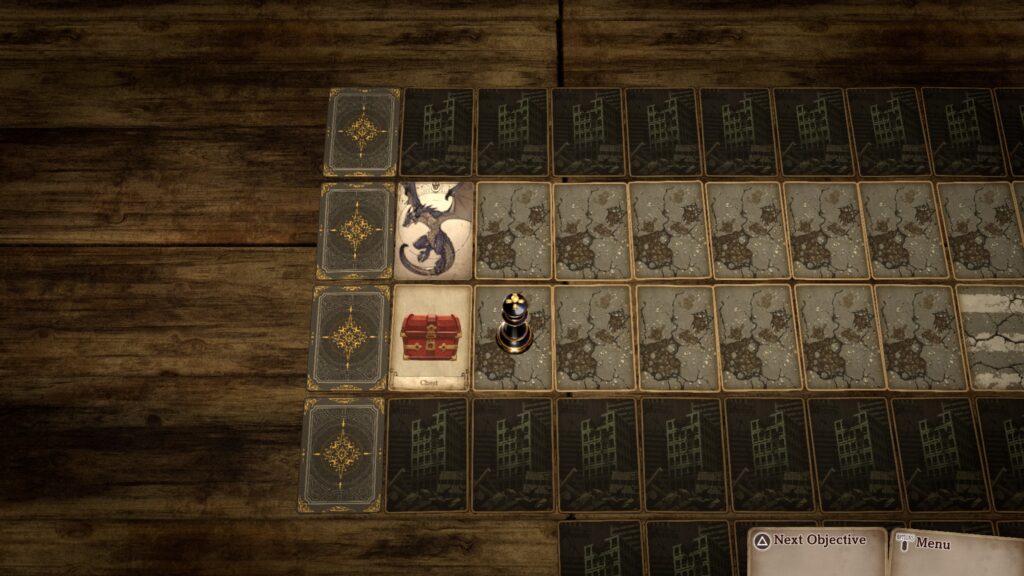
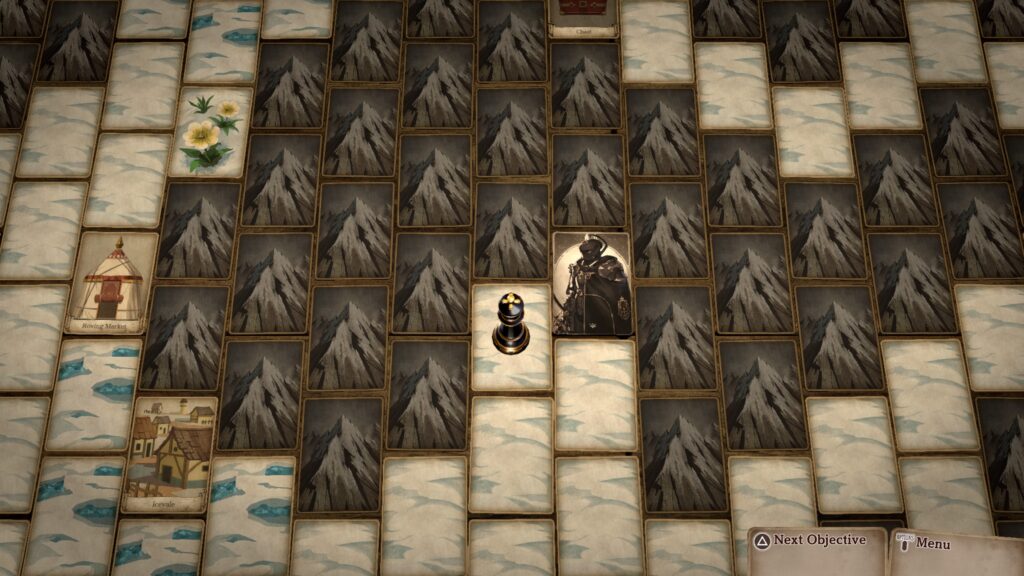
At the start of the chapter, head forward a short way to trigger a cutscene. When it concludes, continue forward to reach a set of stairs and take them to the Subsurface Ruins B2. Head forward a short way to trigger a fight against a monster. Defeat it. When prompted select “At the Endwall”. Explore the passage! Make sure to head to the very south to find a mouse monster. Interact with it to receive the Ring of Bravery!
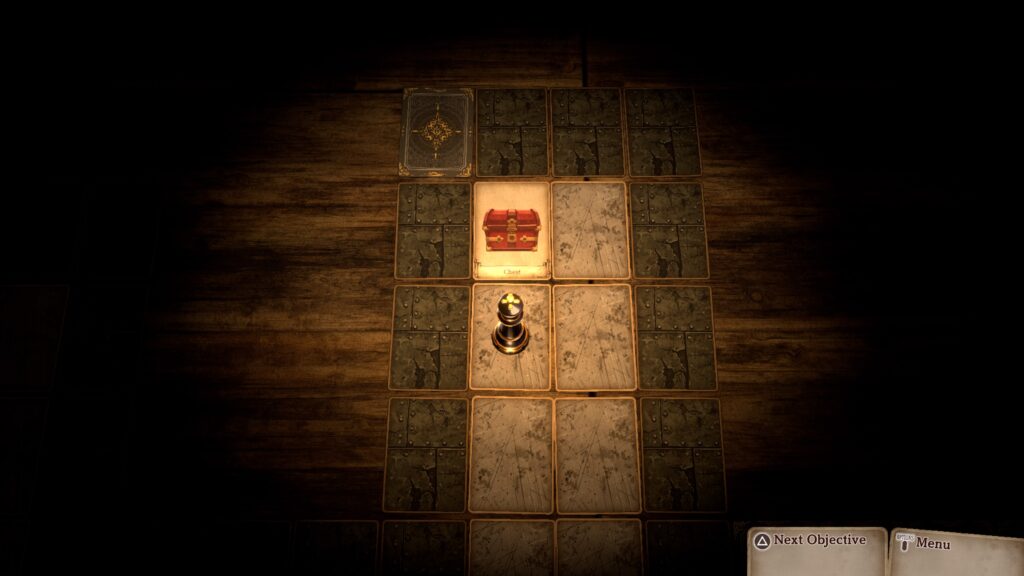
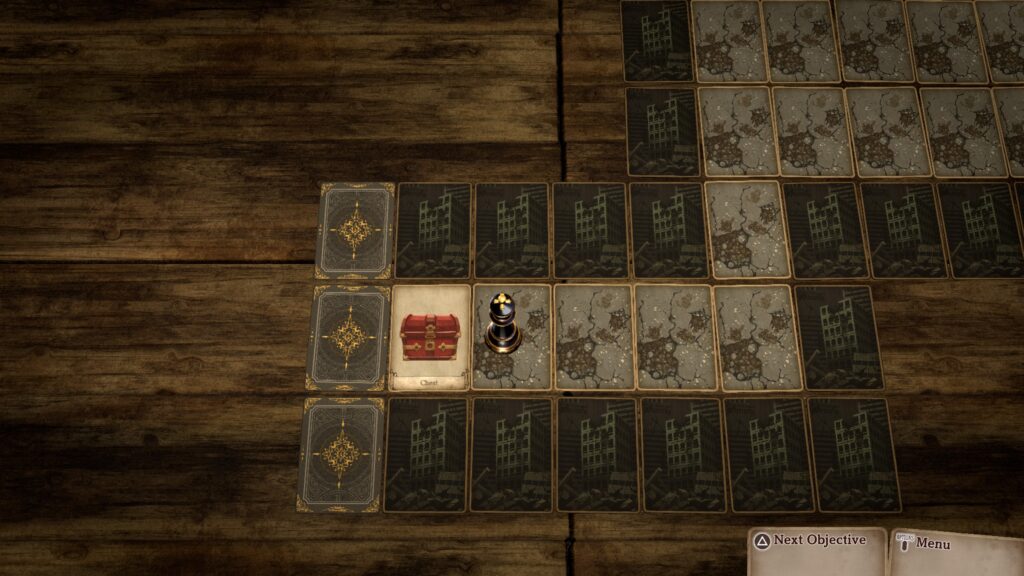
After collecting this ring, head to the far north and open the chest there to receive a Supreme Salve!
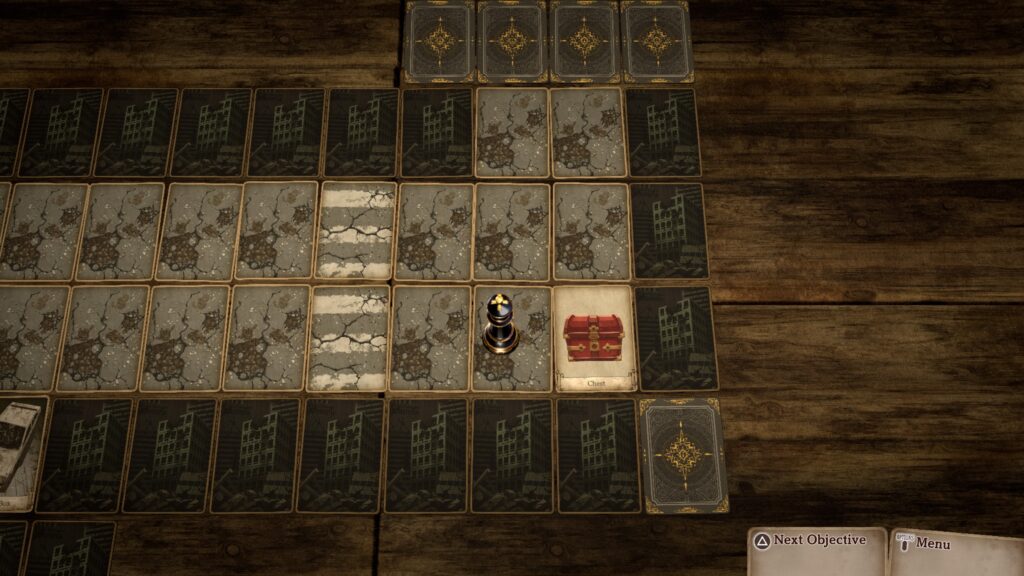
Make your way to the southeastern corner to find a set of stairs. Take them to reach Subsurface Ruins B3. Head east a short way to trigger a cutscene involving an Iron Figure. Defeat the creature with 35 attack, 120 health and 20 defense. Afterwards, head to the southeastern corner of the area to find a chest with the Godsguide!

Next, make your way around the northeastern side to reach a keypad. Approach it to trigger a fight against 3 Voltwasp. Defeat them then return to the Iron Figure near the start of this level! Once you’ve spoken to it, interact with the nearby elevator. When the cutscene ends, head directly south and follow the path east to the southeastern corner of the area where you’ll find a chest containing the Shepherd’s Lament!

As you explore the area, you’ll find another robot on the far western side of the map.
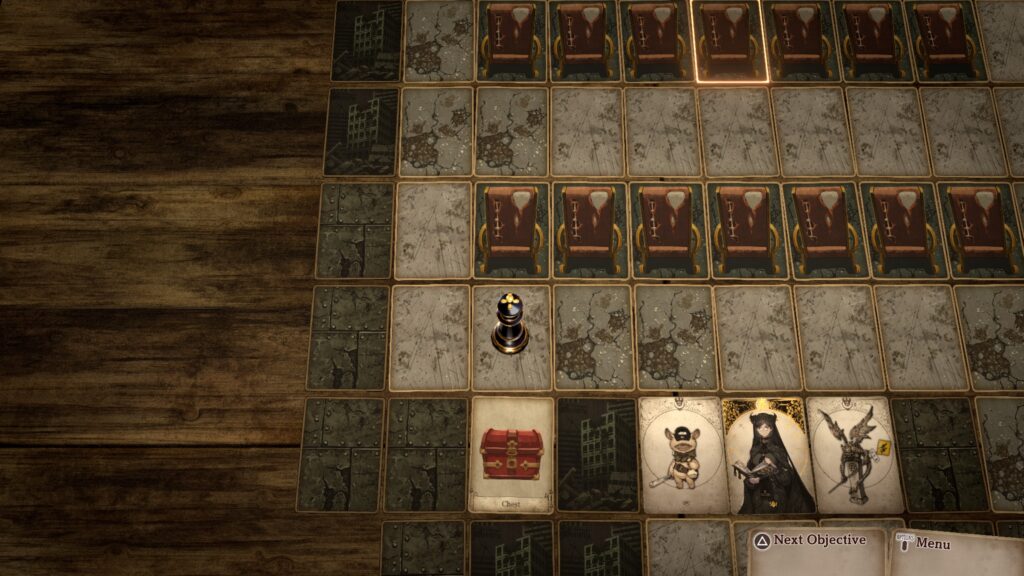
This one will offer you Canned Goods. Choose to eat the contents to gain HP! From the robot, head north as there is nothing to its south. Work your way to the northeastern corner to find another elevator. Step inside to reach Subsurface Ruins B5. Head directly north to find a robot. As you approach it, a cutscene will trigger followed by a fight. Defeat the 3 monsters to trigger another cutscene. When it concludes, enter the elevator again to return to Subsurface Ruins B5. Interact with the monsters blocking the door to begin a battle with them. After you defeat them, enter through the door to reach Subsurface Ruins – Urbania. Once in this new area, follow the creatures north. When the path forks, head east to find a chest containing an Omnipanacea!
Head north then go past the TV. Once past the TV, make your way to the west to find a chest containing 3,000G!
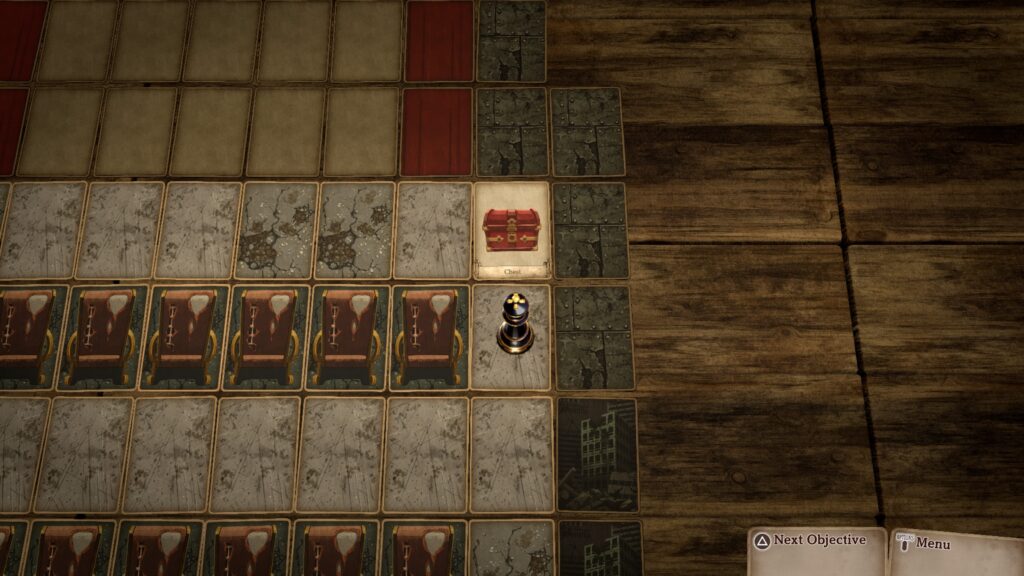
Continue following the path forward. You’ll head past another TV. Again, continue following the path. When you reach the far western side again you’ll come across another chest. This one will contain a Dark Honor!
From this chest, continue heading north. When the path forks, take a left to find this chest containing a Large Soothstone!

Backtrack to the fork then continue east. At the next fork, take the northern path to find a chest containing a Supreme Inspirilixir!

Once you collect this chest, continue east to run across another TV. Follow the linear path to reach a door. Enter the door to reach Subsurface Ruins Cinema. Head forward as short ways and interact with the woman to trigger a cutscene. Before you take a seat, grab the two chests in this room. The southwestern one contains a Ring of Evasion.
The northeastern one contains a Flashpoint!
When you’re ready, take a seat. Defeat the three monsters using the unknown man. After you’ve defeated them, interact with the 3 villagers then make way for the Meeting Place in the north. After the revelation, speak with Mizar then speak with her 2 monsters. Once you’ve done that, speak with Mizar again then pursue her. Before you speak with your friends, make sure to have your party set up accordingly. For the next fight, you’ll only be able to use Tralis and Al’e. In addition, Al’e will not be able to use her monsters. When you’re ready, speak with all of your friends then the fight with the 2 monsters. The Proto-Yeti has 34 attack, 64 health and 17 defense. The Proto-Gargoyle has 37 attack, 40 health and 26 defense. After dealing some damage, the fight will stop and you’ll have to pursue Mizar again. Head west to find the Roving Market!!
Roving Market
Before spending any money here, there is a way to get your items 10% off. If you wish to do this, please see the below section entitled CLEANUP!
Shops
- Armorer
- Steel Blades
- Mercenary’s Blades
- Hawksblade
- Mercenary’s Sword
- Mistralblade
- Evilsbane
- Magic Staff
- Thunderstaff
- Sage’s Staff
- Tamer’s Whip
- Femme Fatale’s Whip
- Dragontwist Whip
- Knight’s Armor
- Frostmail
- Darkmail
- Steel Breastplate
- Knight’s Chainmail
- Warrior’s Mail
- Adventurer’s Attire
- Martialist’s Garb
- Spangle Dancewear
- Firestay Ring
- Waterstay Ring
- Lightningstay Ring
- Windstay Ring
- Lightstay Ring
- Darkstay Ring
- Poisonstay Ring
- Numbstay Ring
- Freezestay Ring
- Bindstay Ring
- Cursestay Ring
- Ring of Life
- Ring of Compassion
- Ring of Evasion
- Gemstone Ring
- Item Shop
- Salve
- Quality Salve
- Supreme Salve
- Omnisalve
- Quality Omnisalve
- Antidote
- Curative
- Defroster
- Unsealer
- Dispeller
- Pepper-Upper
- Serum
- Panacea
- Omnipanacea
- Inspirilixir
- Bomb
- Invigorant
- Protectorant
- Soothstone
- Oil Pot
- Corrosive
- Destruct-o-Box
- Zapsmoke
- Smoke Bomb
- Bellwether
- Bill of Good Fortune
- Bill of Godly Fortune
- Pet Shop
- Wraith
- Slime
- Iron Tortoise
- Lesser Troll
- Orc Child
- Centaur
- Wererat
- Ogre
- Red Fungo
- Skull Soldier
- Dryad
- Voltwasp
- Gargoyle
- Venomslime
- Magma Tortoise
- Salamander
- Death Crawler
- Ice Tortoise
- Snowy Treant
- Lost Soul
- Ghost
- Devilwasp
- Orc Wildling
- Wyvern
- Darktoad
- Undine
- Gold Fungo
- Aquarock
- Fearock
When you’re done shopping, exit the market.
CLEANUP
To any trophy hunters out there, this is the clean up point. Do not interact with the elevator doors as that is the point of no return. Instead, exit this area via jumping to the point in the southeastern corner of the area. Select that you want to leave. From there, use a Bellwether to exit the dungeon. Once out of the dungeon, exit Monster Town and travel to the Roving Market a short way to the west. Speak with the Wandering Merchant to trigger an event. You’ll then be able to show him a Seastone of any rank to receive a Ring of Omnipotence and the Legendary Monster Tamer Certificate. The Antique Collector trophy will pop and you’ll receive 10% off at the Roving Market. If you speak with the Wandering Merchant again, it will trigger an event where he’ll show you the regions that each monster inhabits. Next travel to the Black Knight near Icevale in the Snowfield to trigger an event.
Fight him! He has 45 attack, 200 health and 20 defense. After you defeat him, you’ll receive Wild God’s Breastplate and the Dark Warrior trophy will trigger!
FINAL BATTLE
When you’re ready to begin your final battle, interact with the elevator doors west of the Roving Market in the Underground Passage. Once the cutscene concludes, defeat the 2 waves of monsters then approach Mizar to begin the final fight. She has 42 attack, 300 health and 25 defense. When we got her health down to 50, a cutscene triggered. Approach her again to find more monsters standing in your way. Defeat the 4 monsters. Next up you’ll face the primals. Therefore, if they were in your skill set you’ll need to readjust it! Once you’re ready, interact with the primal cards to start the fight!

Defeat them then you’ll have to face off against the transformed Mizar.

You’ll need to take care of the two outer cards as the middle card has a barrier until the others have been destroyed. The middle card is resistant to ice attacks. Defeat her then approach her card to listen to her final moments. You thought the game was over! Ha! Steelborough townsfolk are next up to bat. Defeat the 4 villagers to trigger another cutscene. When you retain control, speak with your party members then step on the glowing card to the east to continue on. Approach the monster to trigger a cutscene. Congratulations! You beat the game!
Post Game
Exit the Underground Passage to trigger a cutscene when you reach Monster Town. Exit Monster Town as well then make way for the southern map transition. Select “Desert” then travel to the Subterranean Village. Once in the village, head to your old house on the western side. This will reveal a staircase. Take the stairs then venture into The Depths! Head directly north then interact with a monster to trigger a cutscene followed by a fight. This monster has 42 attack, 300 health and 22 defense. Defeat the Forebearer to begin round 2. This time you’ll be against 4 of them with the following stats:
- Dark
- 45 attack
- 340 health
- 20 defense
- Lightning
- 42 attack
- 350 health
- 19 defense
- Ice
- 40 attack
- 325 health
- 18 defense
- Light
- 39 attack
- 380 health
- 23 defense
Pay attention to which cards have the barrier. You will not be able to attack those cards even though they can attack you, and they do switch during the battle. Good luck in defeating all the enemies!