Main Gates
Quests
- Bathhouse Debauchery
- Obtained: Bulletin Board during Chapter 4
- Objective: Search bulletin board near the public baths
- Head to the bulletin board in the Main Square across from the bathhouse to locate Old Man Guindeau. Speak with him then inspect all the windows on the roof on top of the receptionist area. Afterwards, head to the top and check all the chimneys. Return to Old Man Guindeau and speak with him to complete the quest.
- Reward: Blinding Bangle
- Prison Rescue
- Obtained: Bulletin Board during Chapter 4
- Objective: Visit Parks in basement of Dandelion
- Speak with Parks in the basement of Dandelion and agree to help the young girl escape. Next, head to the Central District and speak with Maxim. He’ll want you to get the latest tabloid and 500 Gold. Speak with Marie near the bulletin board at the Main Gates to receive the tabloid then return to Maxim once you have the 500 Gold. After the cutscene, follow the path through the hallway and down the stairs to reach the North Wing – Roof. Once on the roof, pull the lever behind the door to raise the wooden plank allowing you to continue down the stairs. After enter the large room, examine the barrel with scrolls sticking out of it on the right side of the room to obtain the Prison Floor Plan. Head through the double doors to the left and Adol will notice a sound. Enter the storage room on the right and interact with the pot in the back of the room to trigger a cutscene. Xavier will lead you through the West Dumping Ground. Avoid the traps and defeat the enemies as you proceed through the area. Eventually you’ll arrive in an archive room. Inspect the bookshelf near the two tables to find a book on the prison. This will trigger a cutscene. Adol and party will receive a map of the prison. Take it to Parks in the basement of the Dandelion then speak with him when you’re ready to begin the rescue mission. Once inside the prison, work your way to the Head Office to trigger a cutscene. During the cutscene, convince Iris to return with you to the bar. After this cutscene ends, the quest will complete.
- Reward: 2500 Gold
- Wanted: Maretudos
- Obtained: Bulletin Board during Chapter 4
- Objective: Subdue Maretudos in Cloaca Maxima
- Travel to Cloaca Maxima – Depths then defeat the 3 Maretudos (large frog-like monsters) in the room ahead. When you defeat the enemies, exit the dungeon and travel to the Central District. Speak with Aprilis in the giant tower west of the Pendleton Company to complete the quest.
- Reward: Fool’s Gloves
Shops
- Silhouette’s Errand Runs
Central District
Quests
- One in a Bouillon
- Obtained: Speak with Chante and Roscoff near the Le Bistro Blanc during Chapter 4
- Objective: Gather intel on ingredients
- Head to the Agricultural District and speak with Susie. Next, travel to the Main Square – Marketplace and speak with Philippe on the dock. Afterwards, head to the Pendleton Company in the Central District and speak with Carla. After the conversation, return to Chante and Roscoff to complete the quest.
- Reward: Bouillabaisse Recipe
Treasure Chests
- 1000 Gold
- This chest is available after unsealing northern Main Square. Head to the area with the tree shading a park bench and jump over the fence to land on a ledge below containing the chest.
Prison
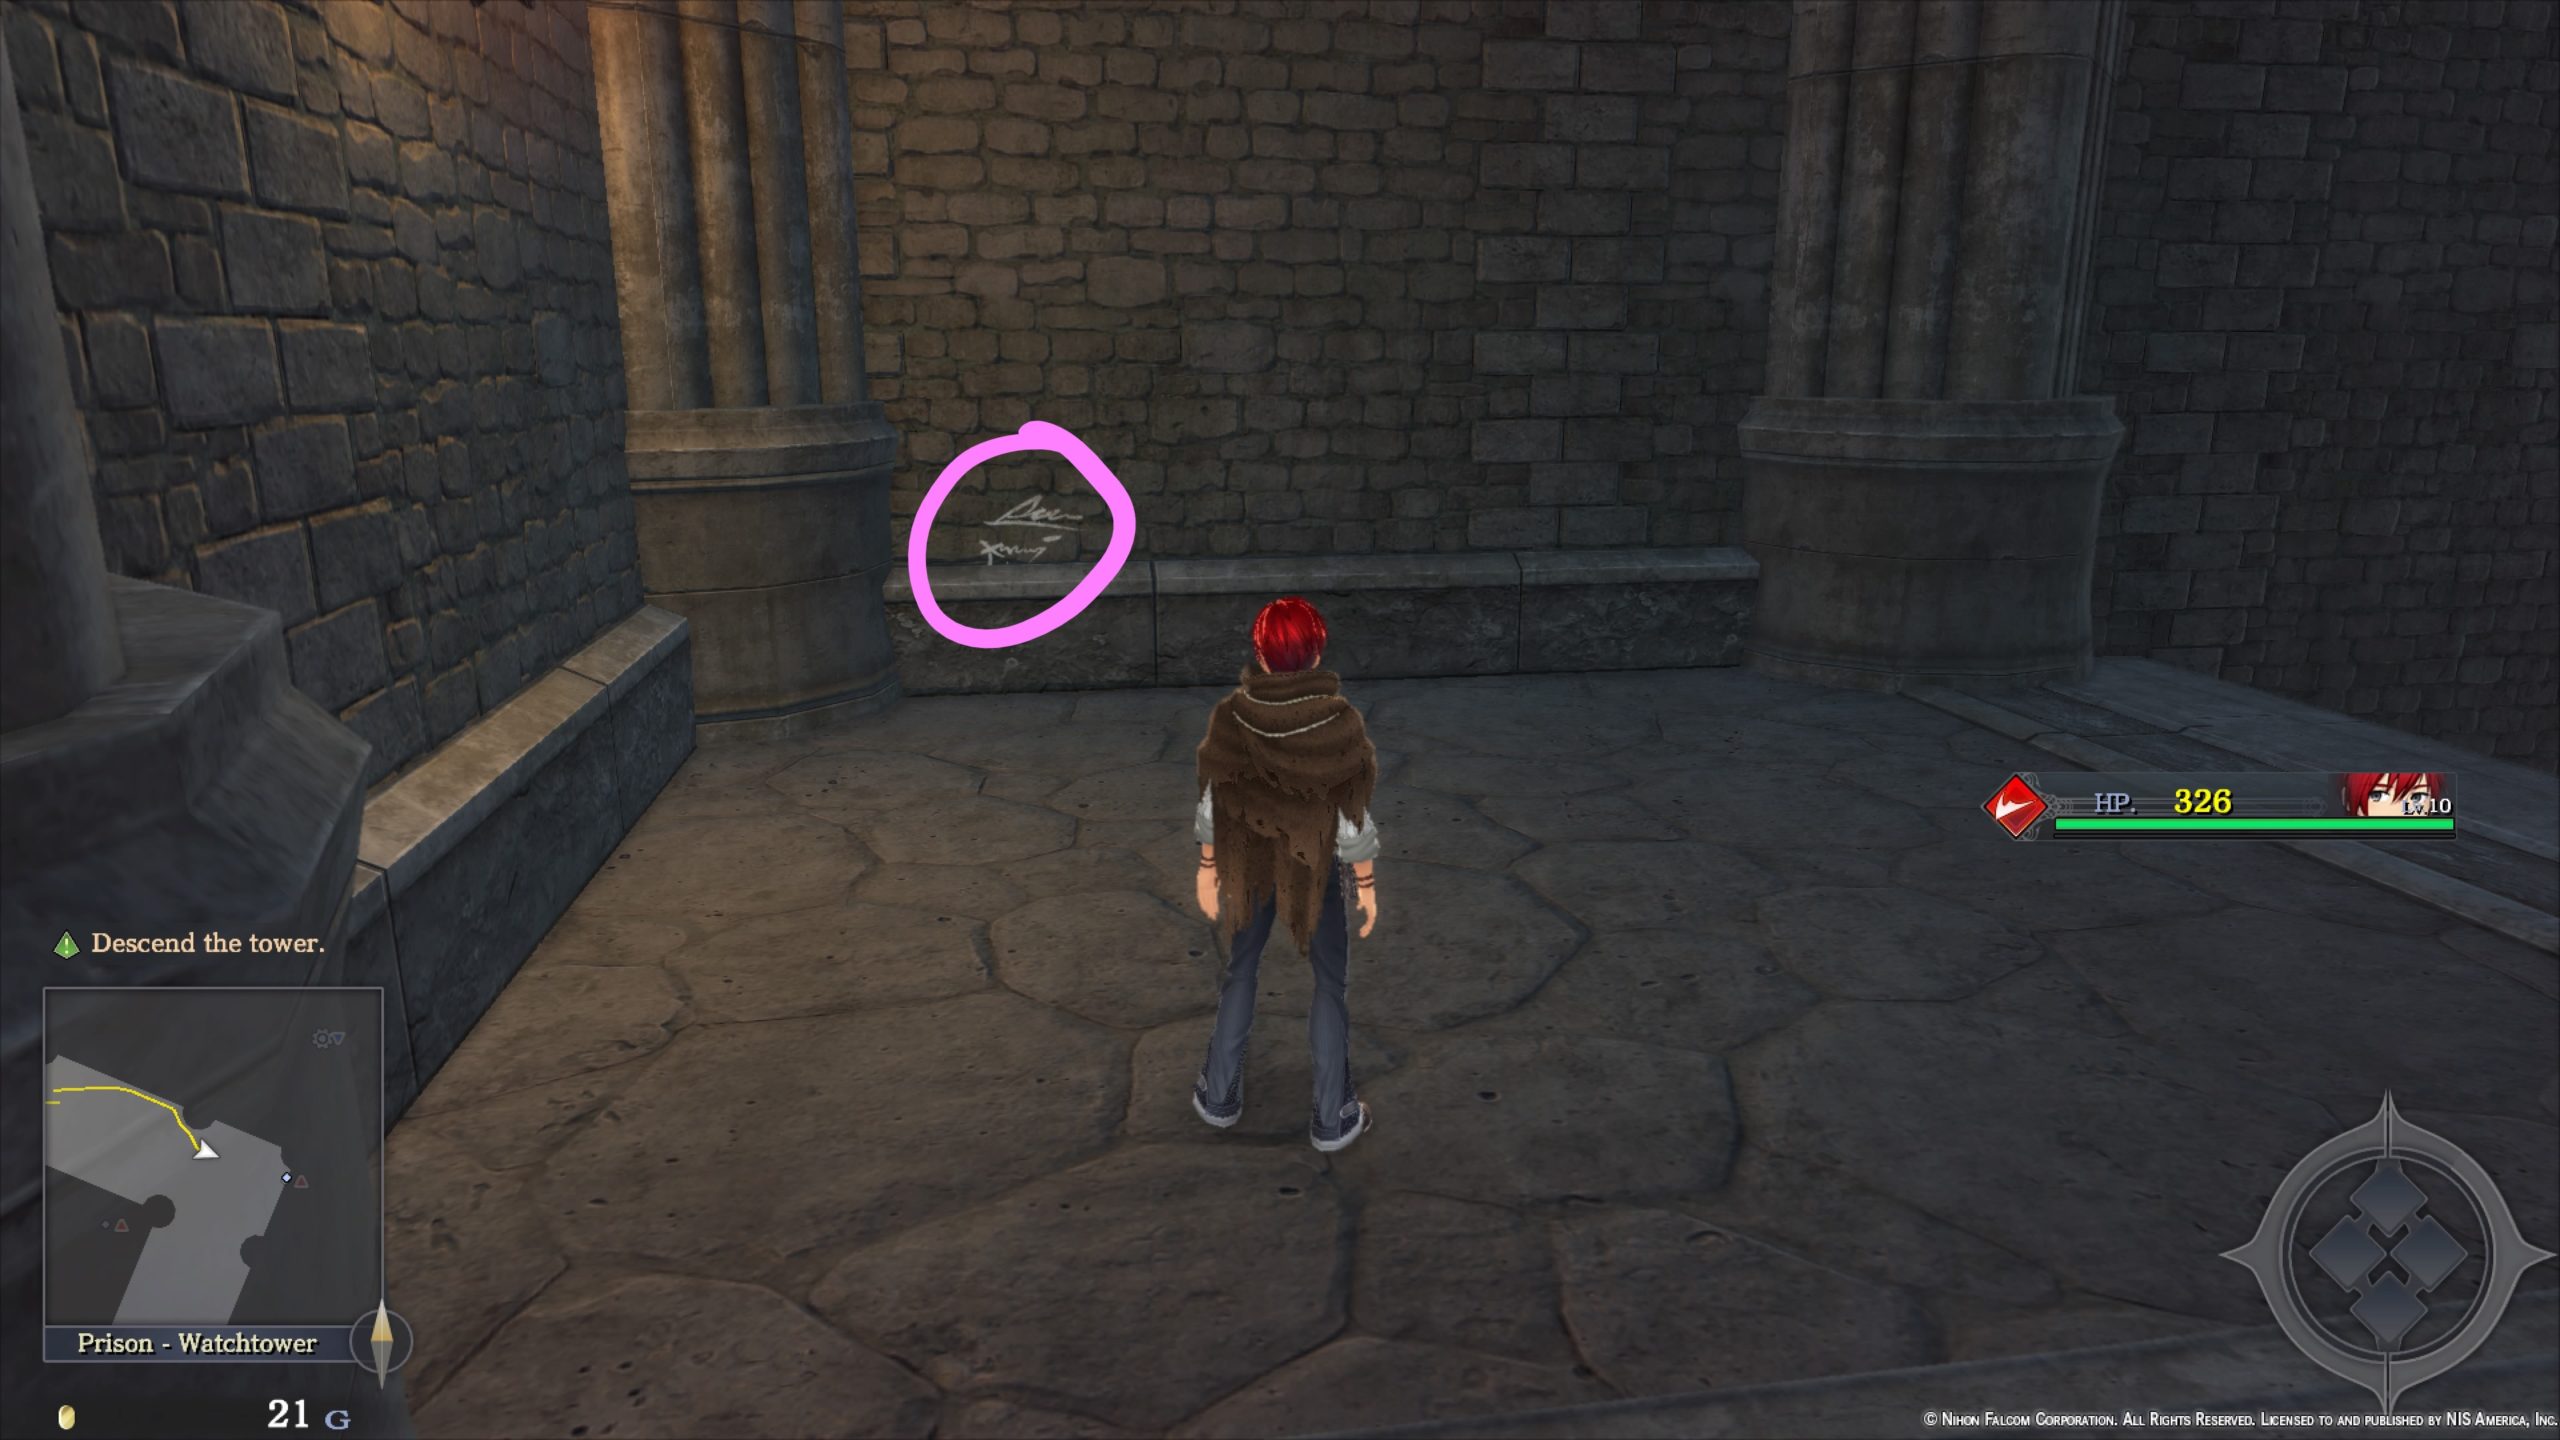
Graffiti
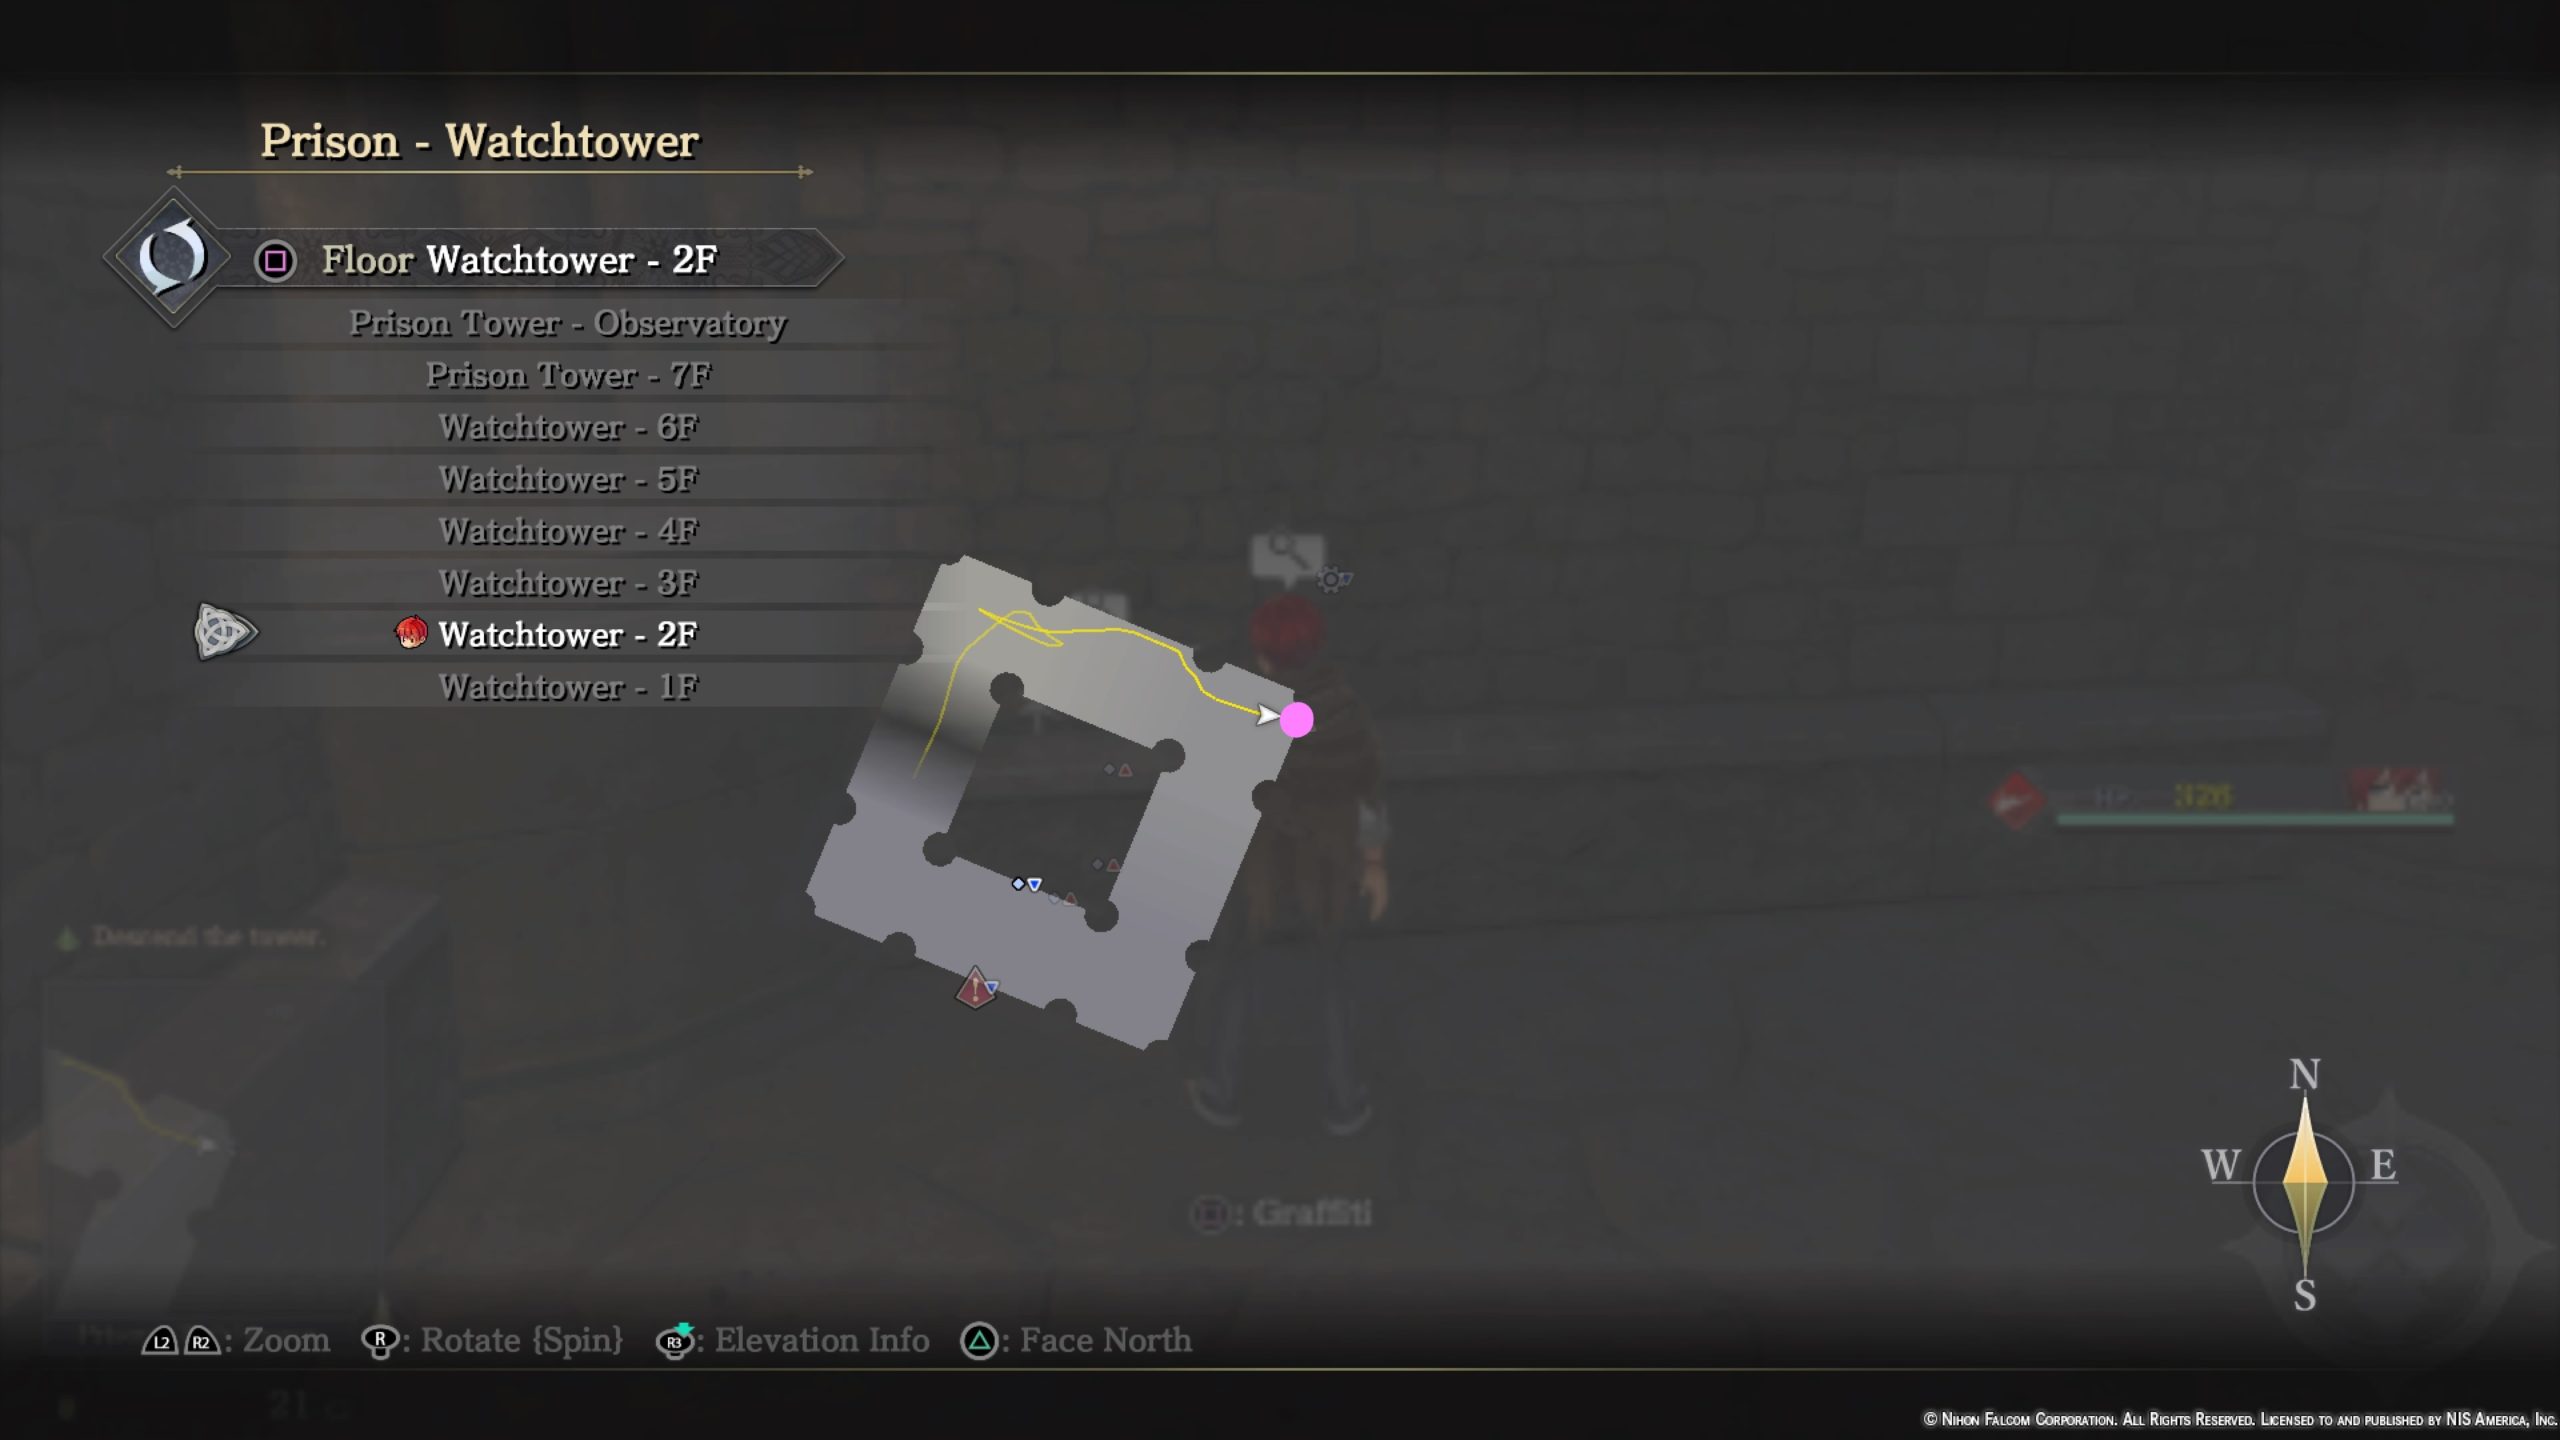
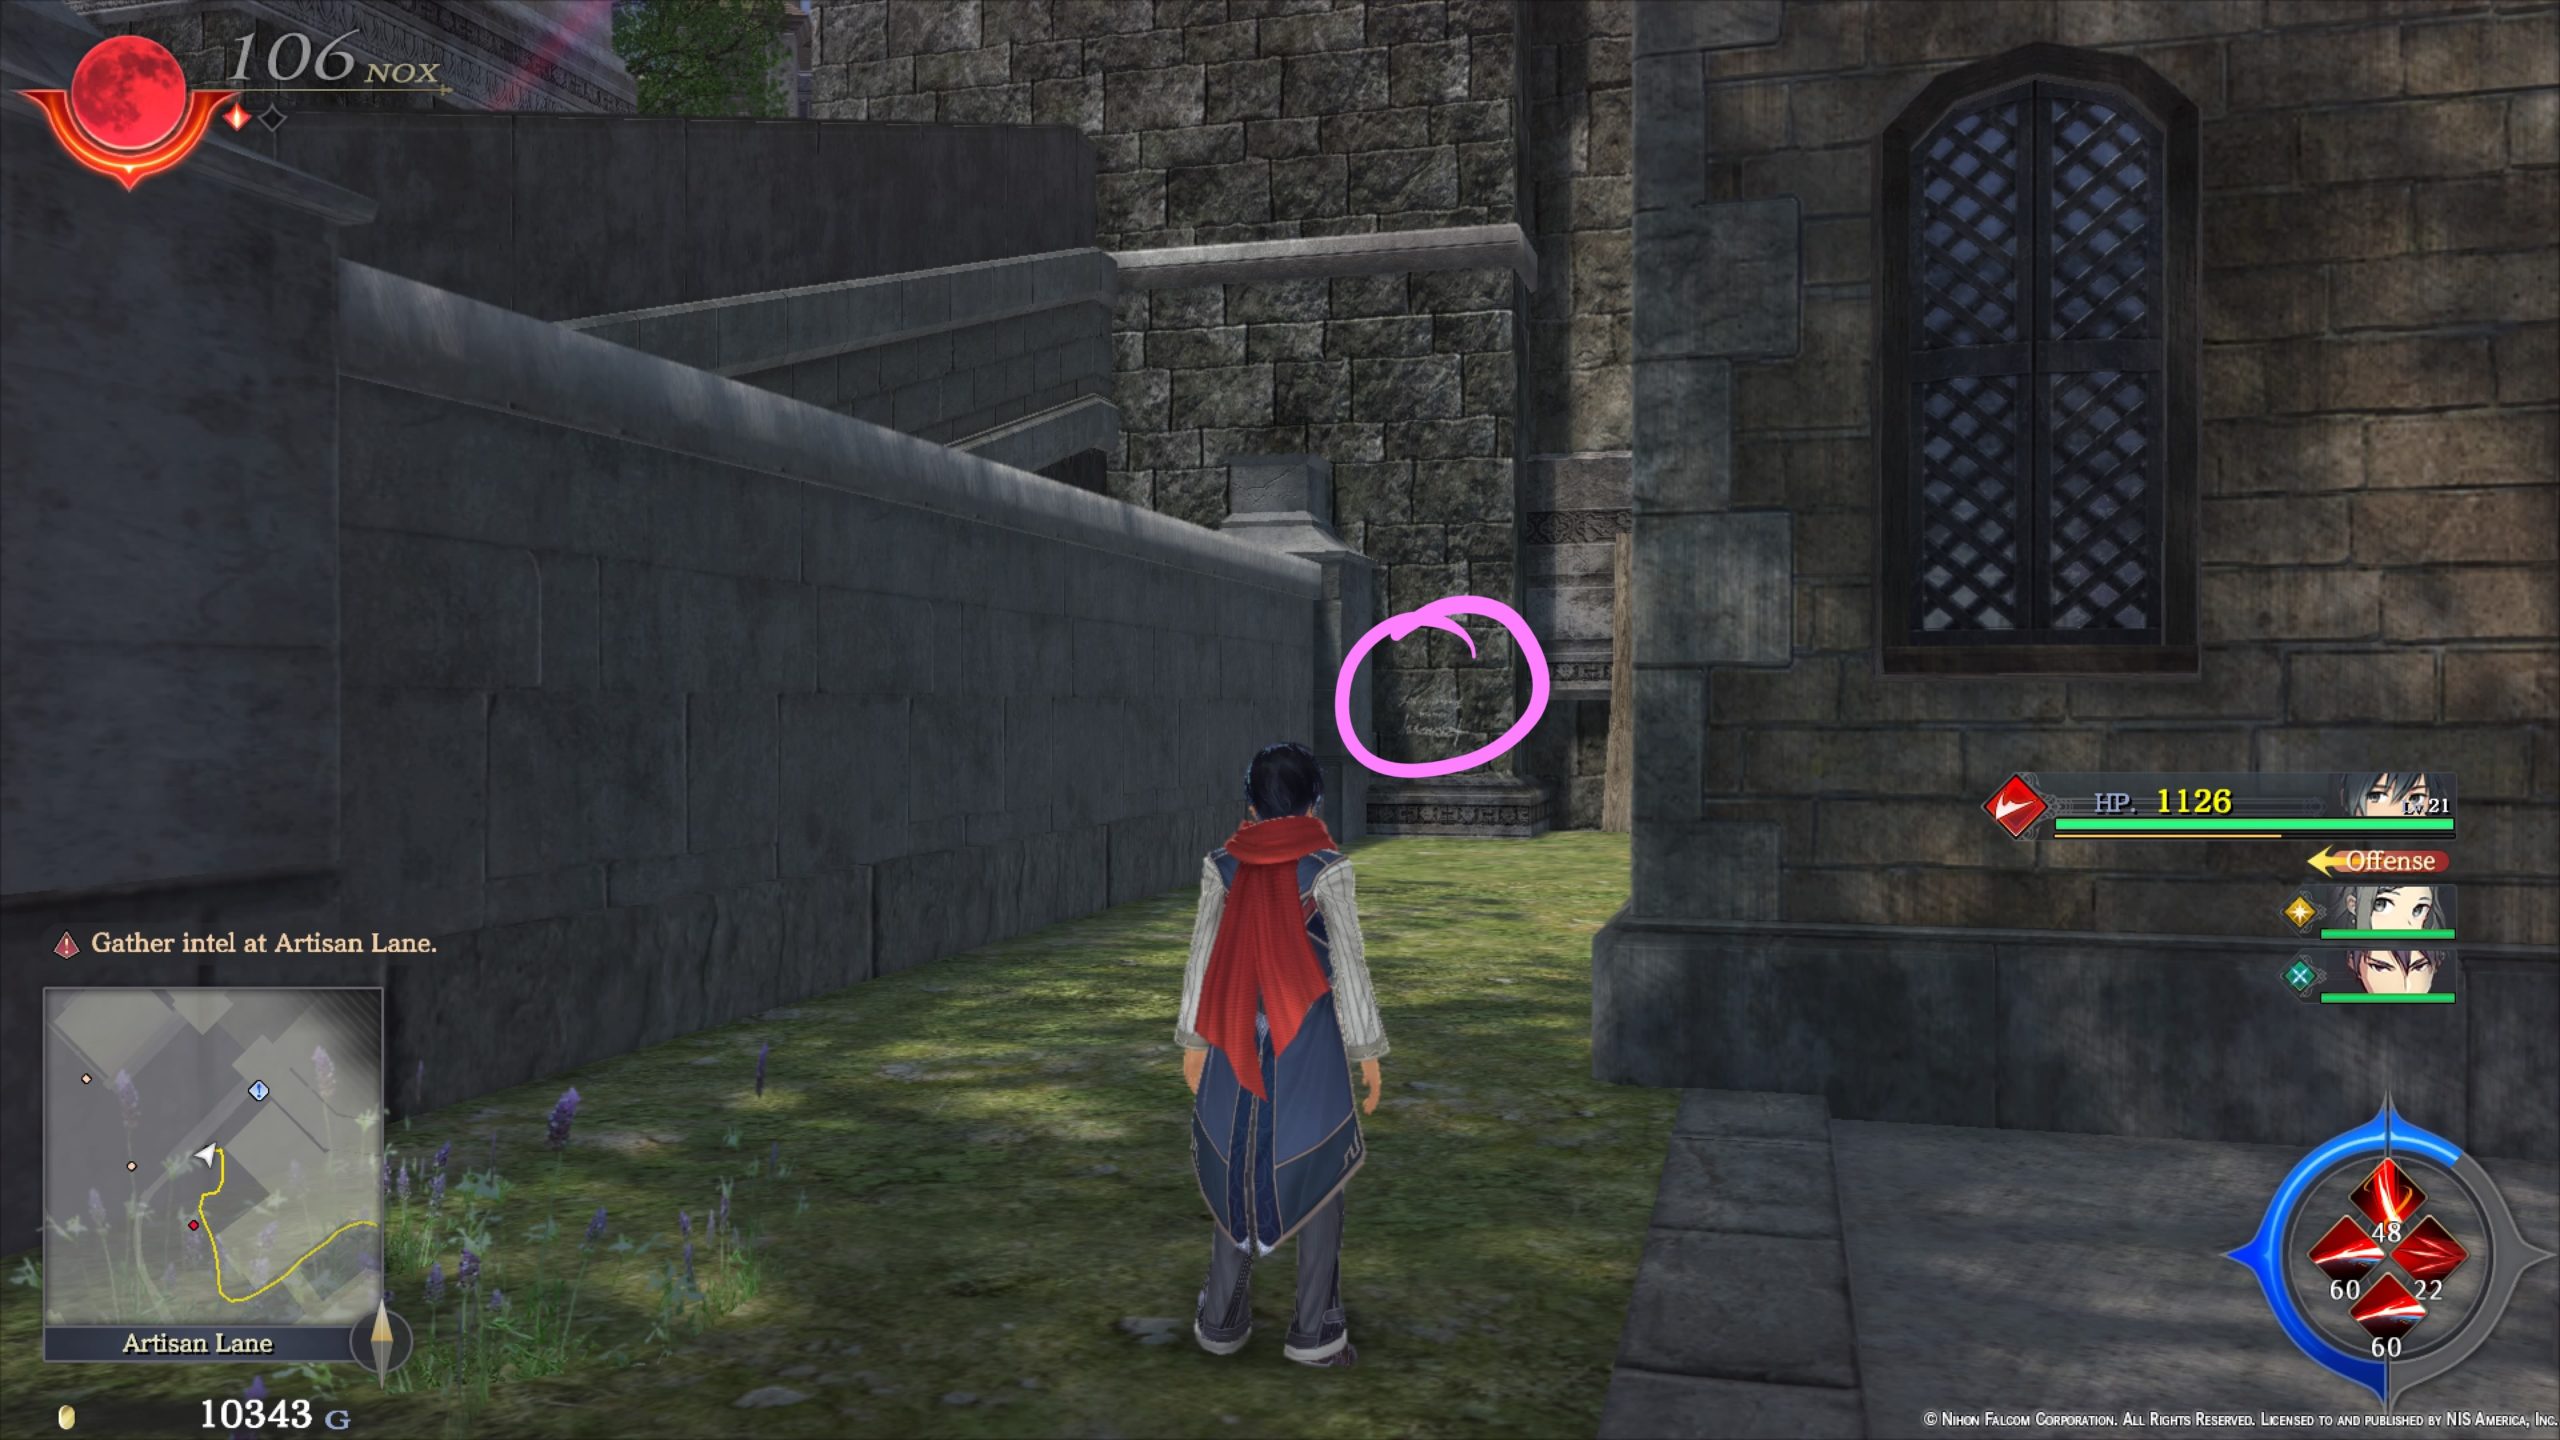
- Watchtower 2F – On the wall as you head down the flights of stairs
Treasure Chests
*The chest in the high nook between the 2 levers in the center of this area is inaccessible at this time. You’ll be able to reach it in Chapter 5.

- West Dumping Ground – Raisins x3
- West Dumping Ground – 3000 Gold
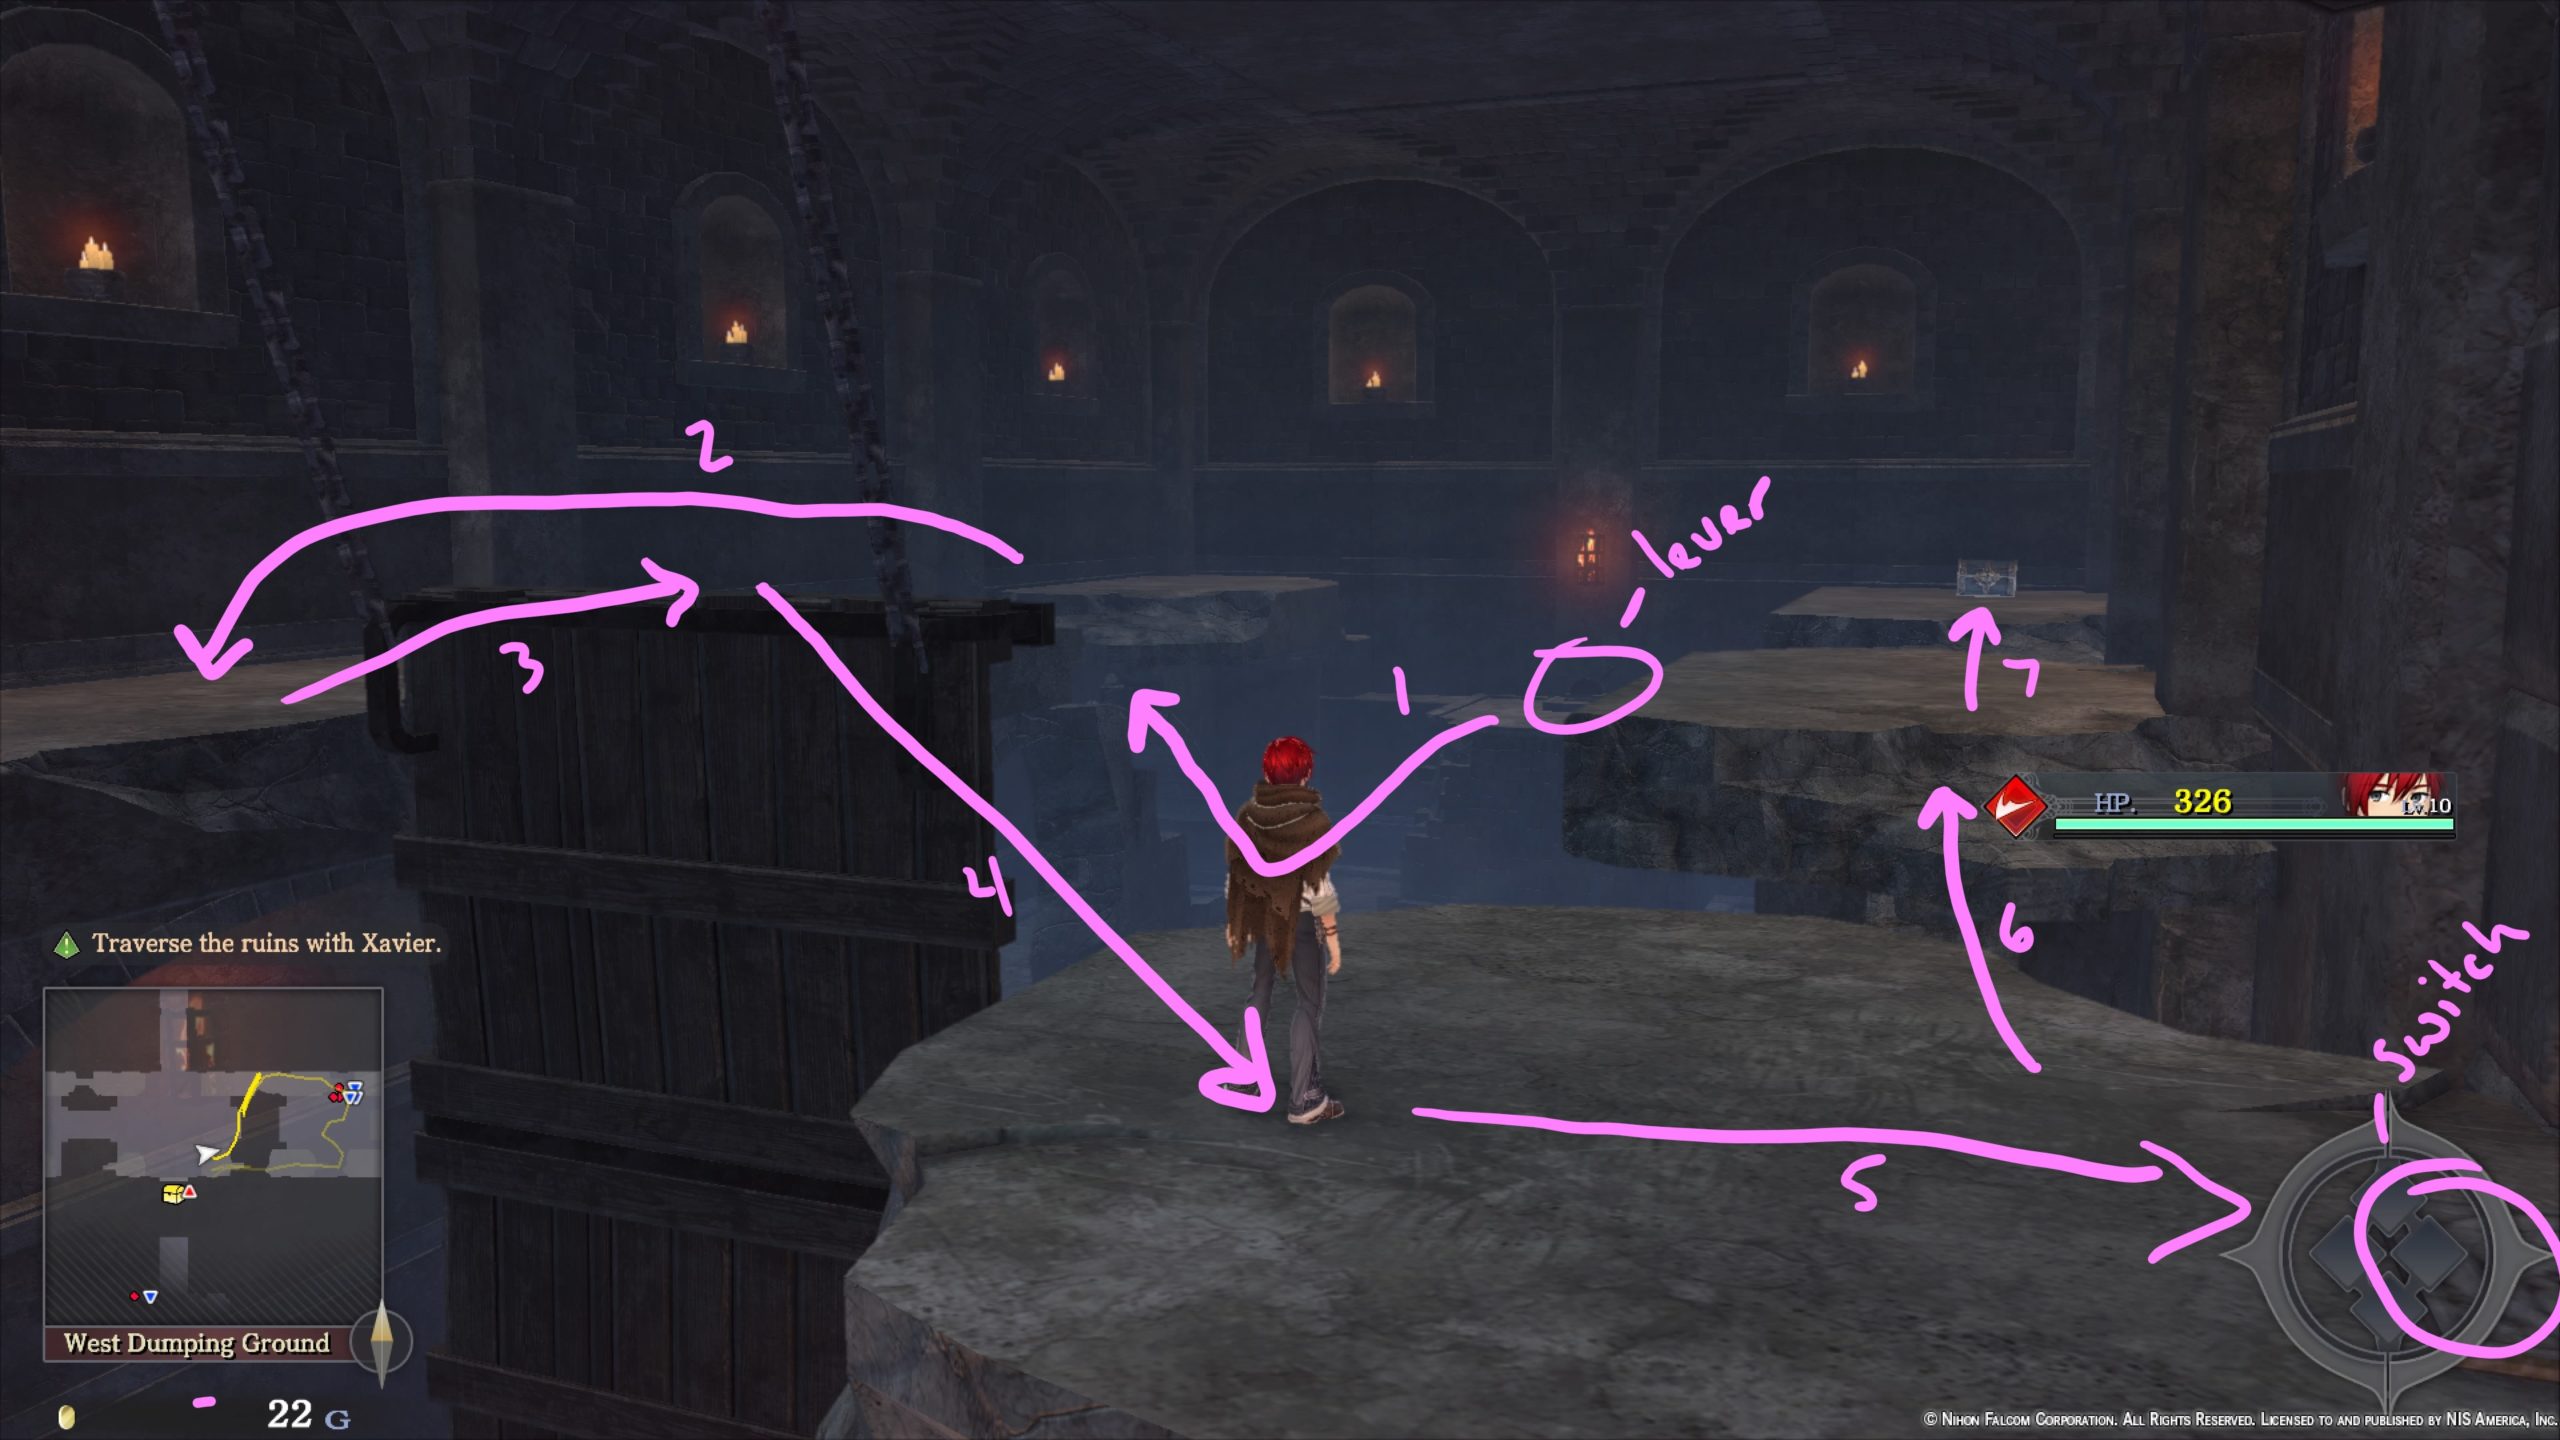
-
- To reach this chest on the left side of the room, flip the lever raising the drawbridge that you just walked across then jump down and head back up the crumbled wall. At the top, make your way to the raised drawbridge then do a sprint jump to reach the top of the drawbridge. Once you make it, jump to the other side of the room to find a switch. Stand on the switch then jump your way to the chest.
- West Dumping Ground – White Nut x3
Waterfall Storeroom (hidden area)
*To reach this area, head to northern Main Square near the circular gazebo. Make your way to the graffiti on the wall near the waterfall. Jump on the ledge to the left of the graffiti then jump into the waterfall to locate a hidden path leading to the Waterfall Storeroom.
Treasure Chests
- Strength Elixir
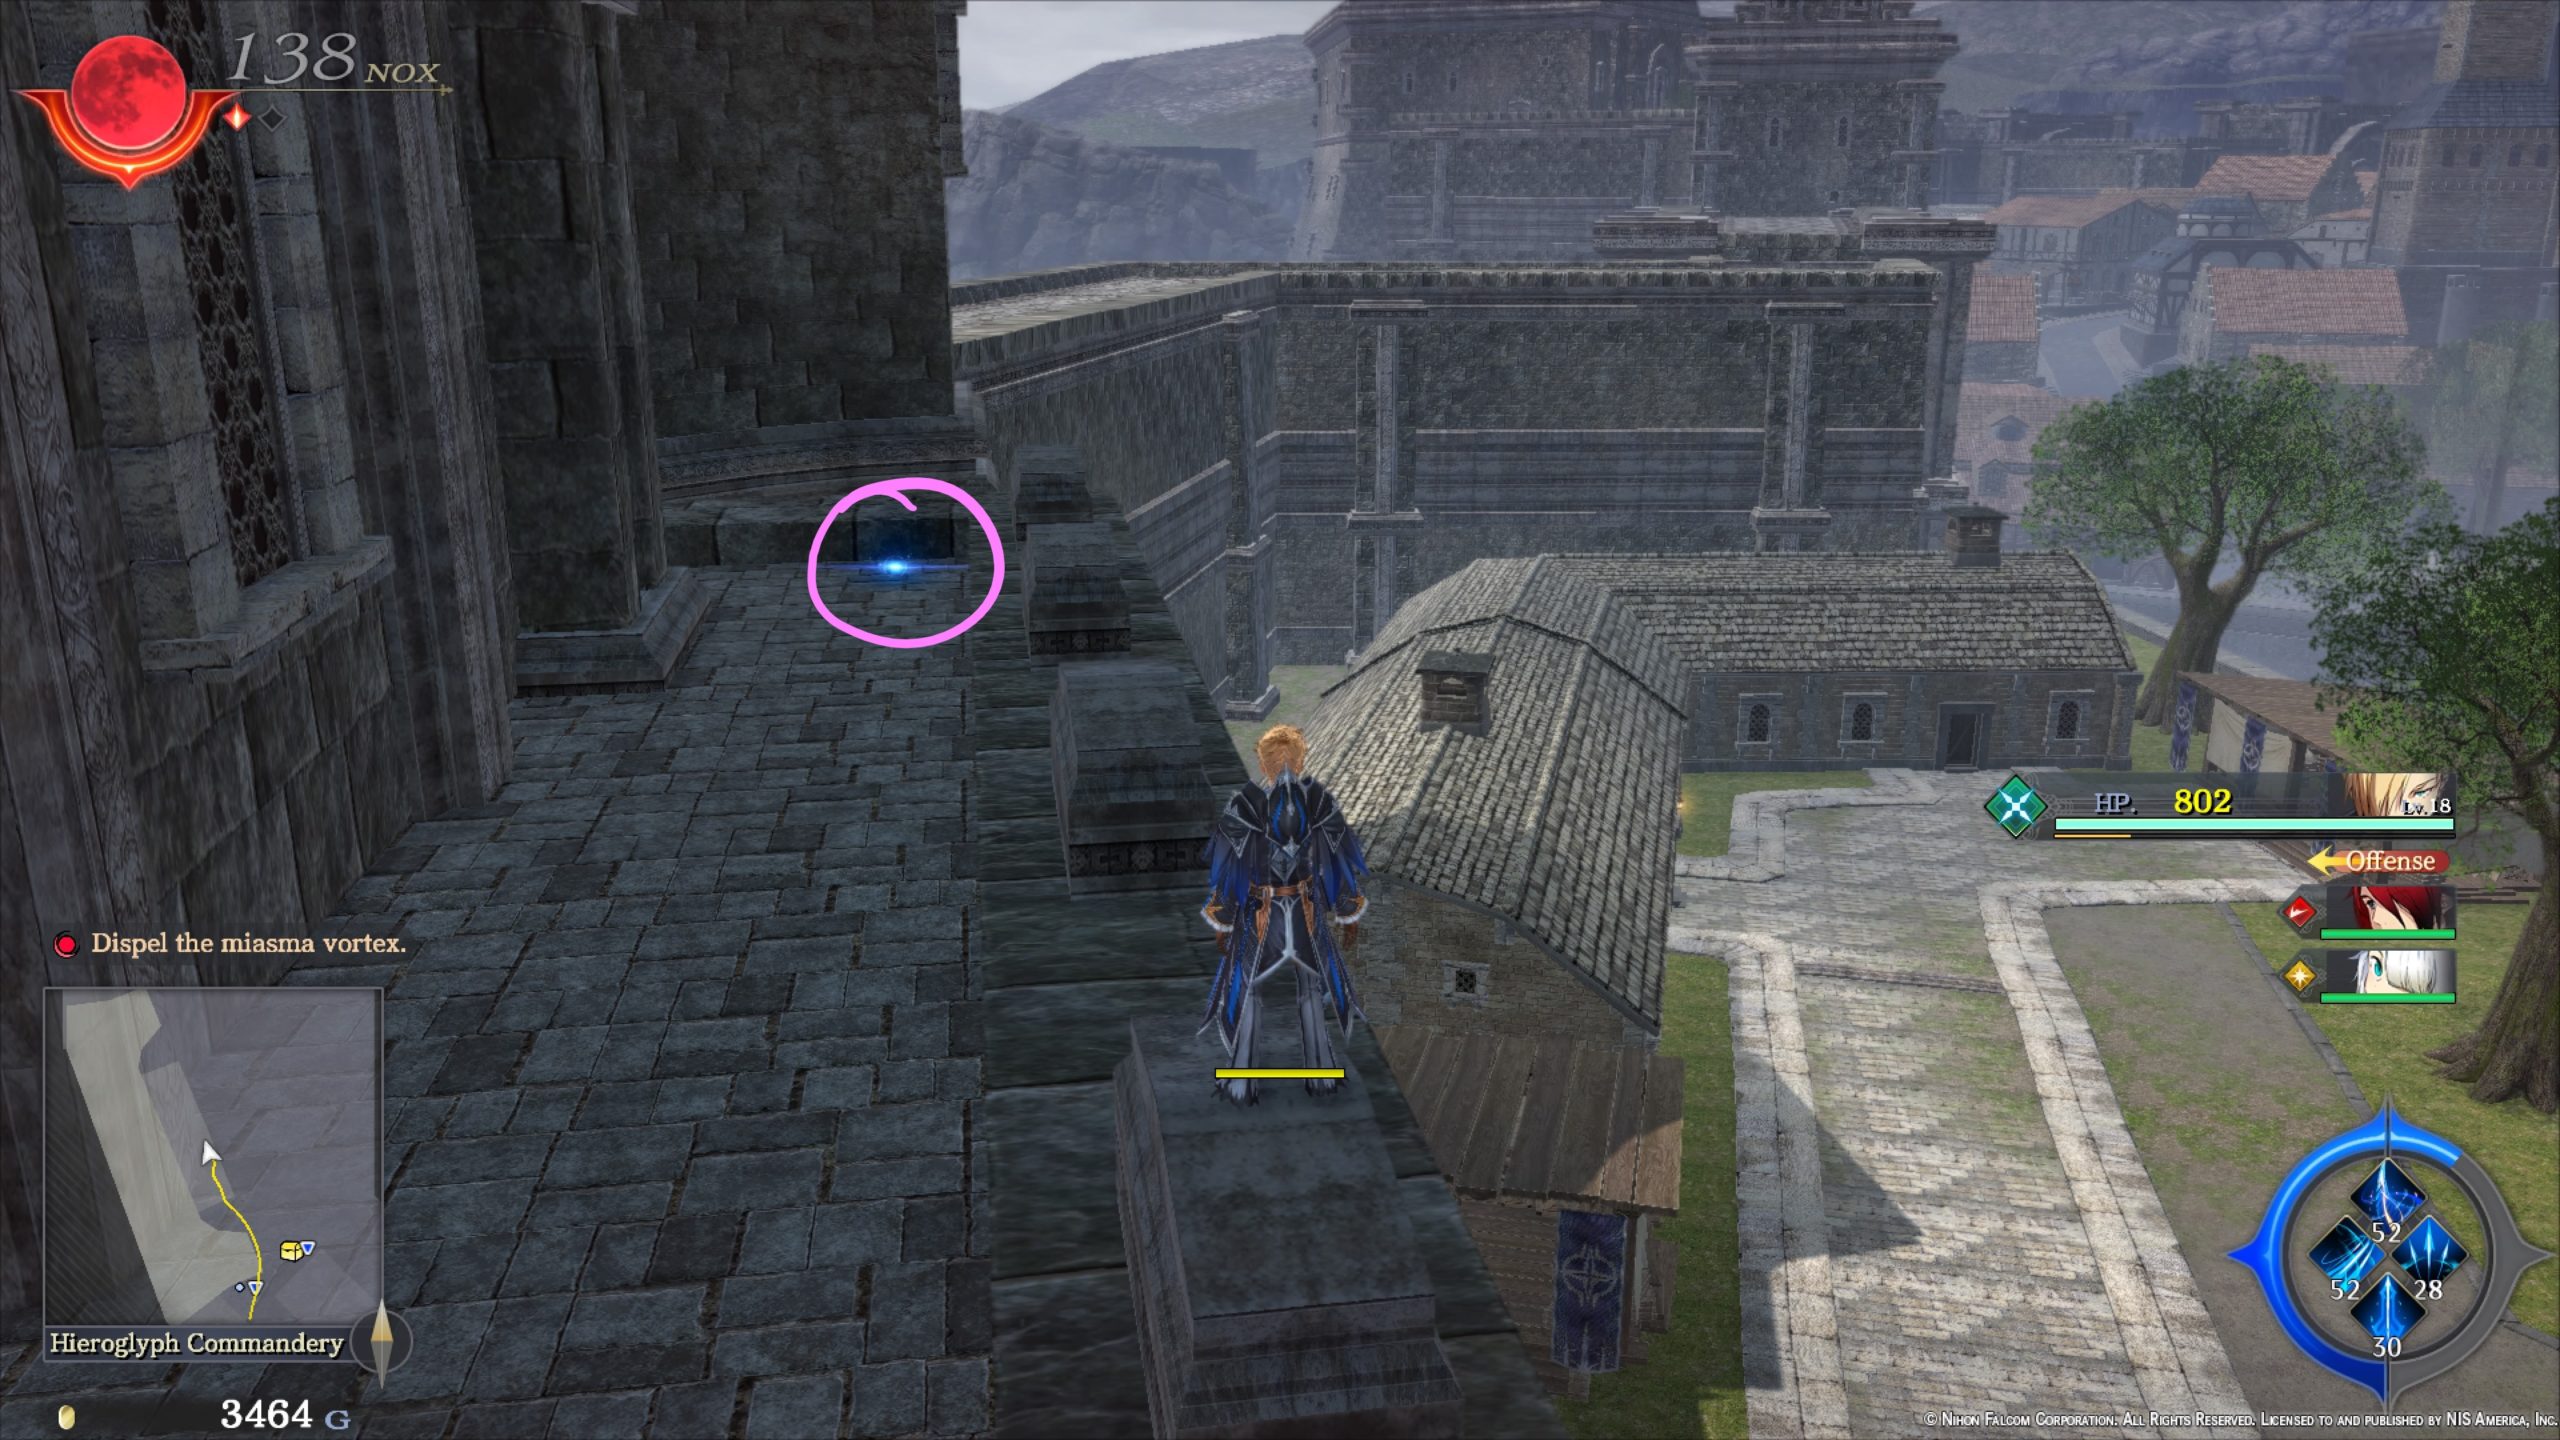
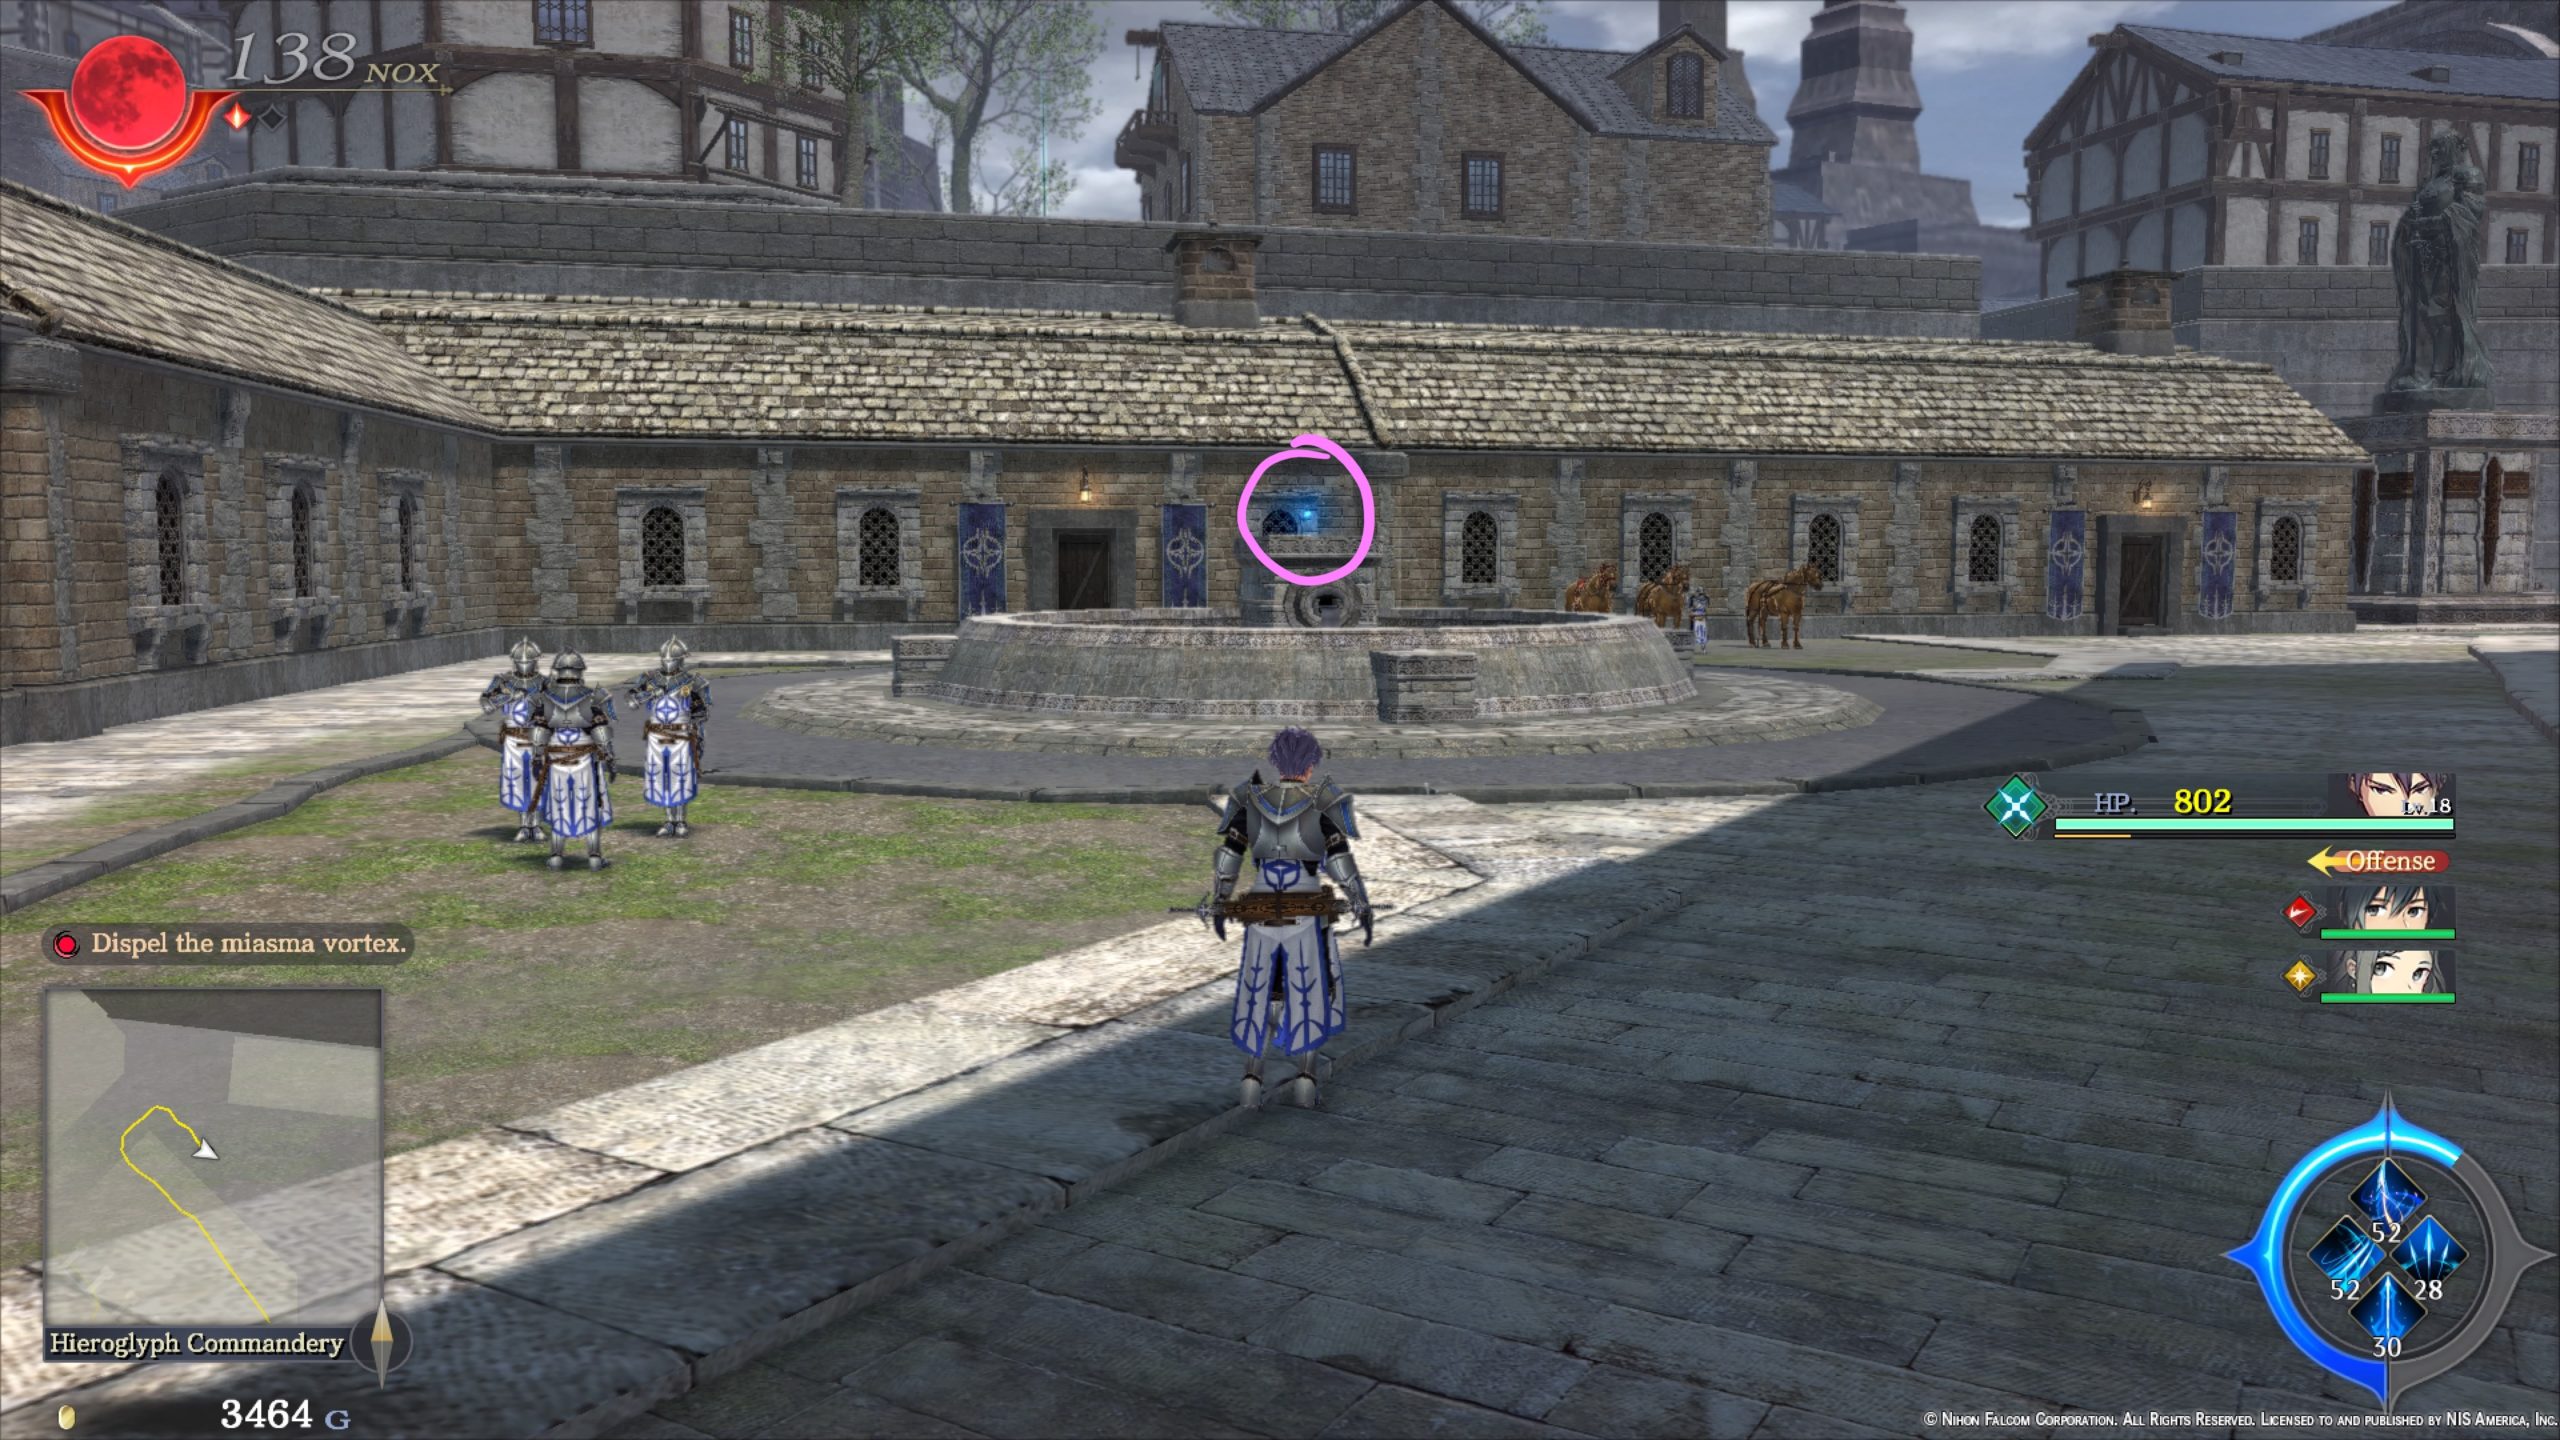
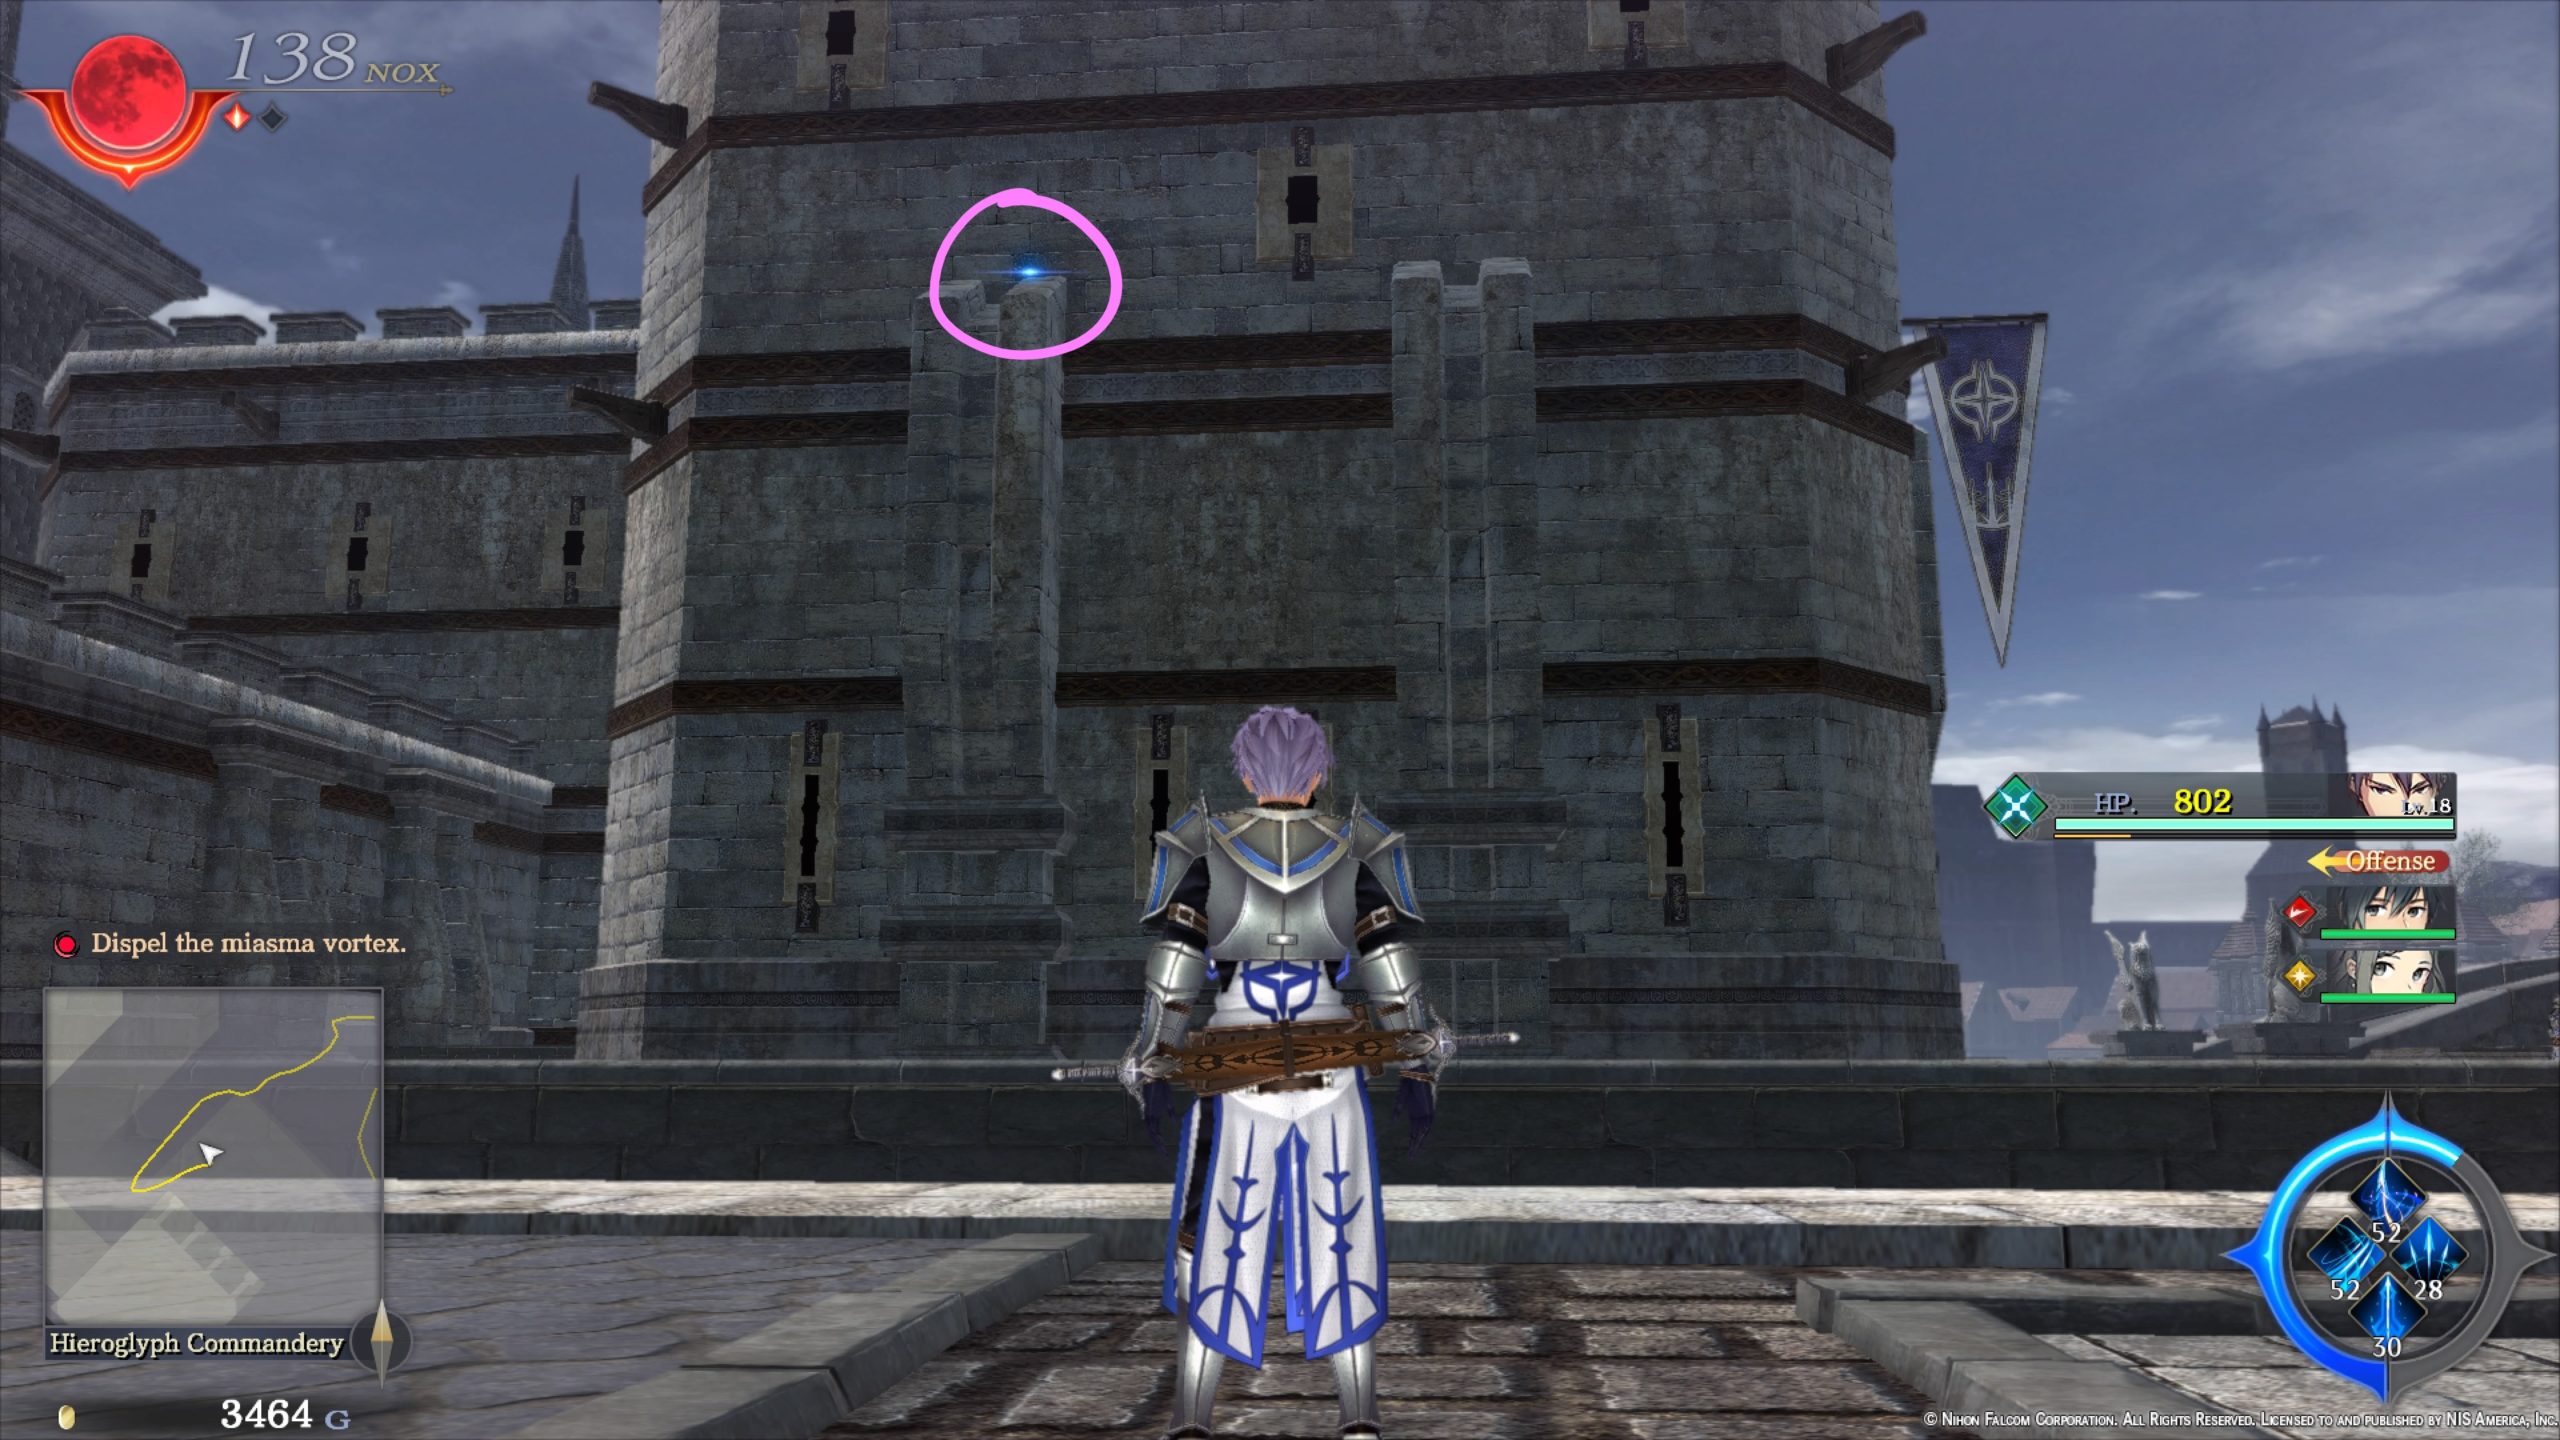
Hieroglyph Commandery
Azure Petals
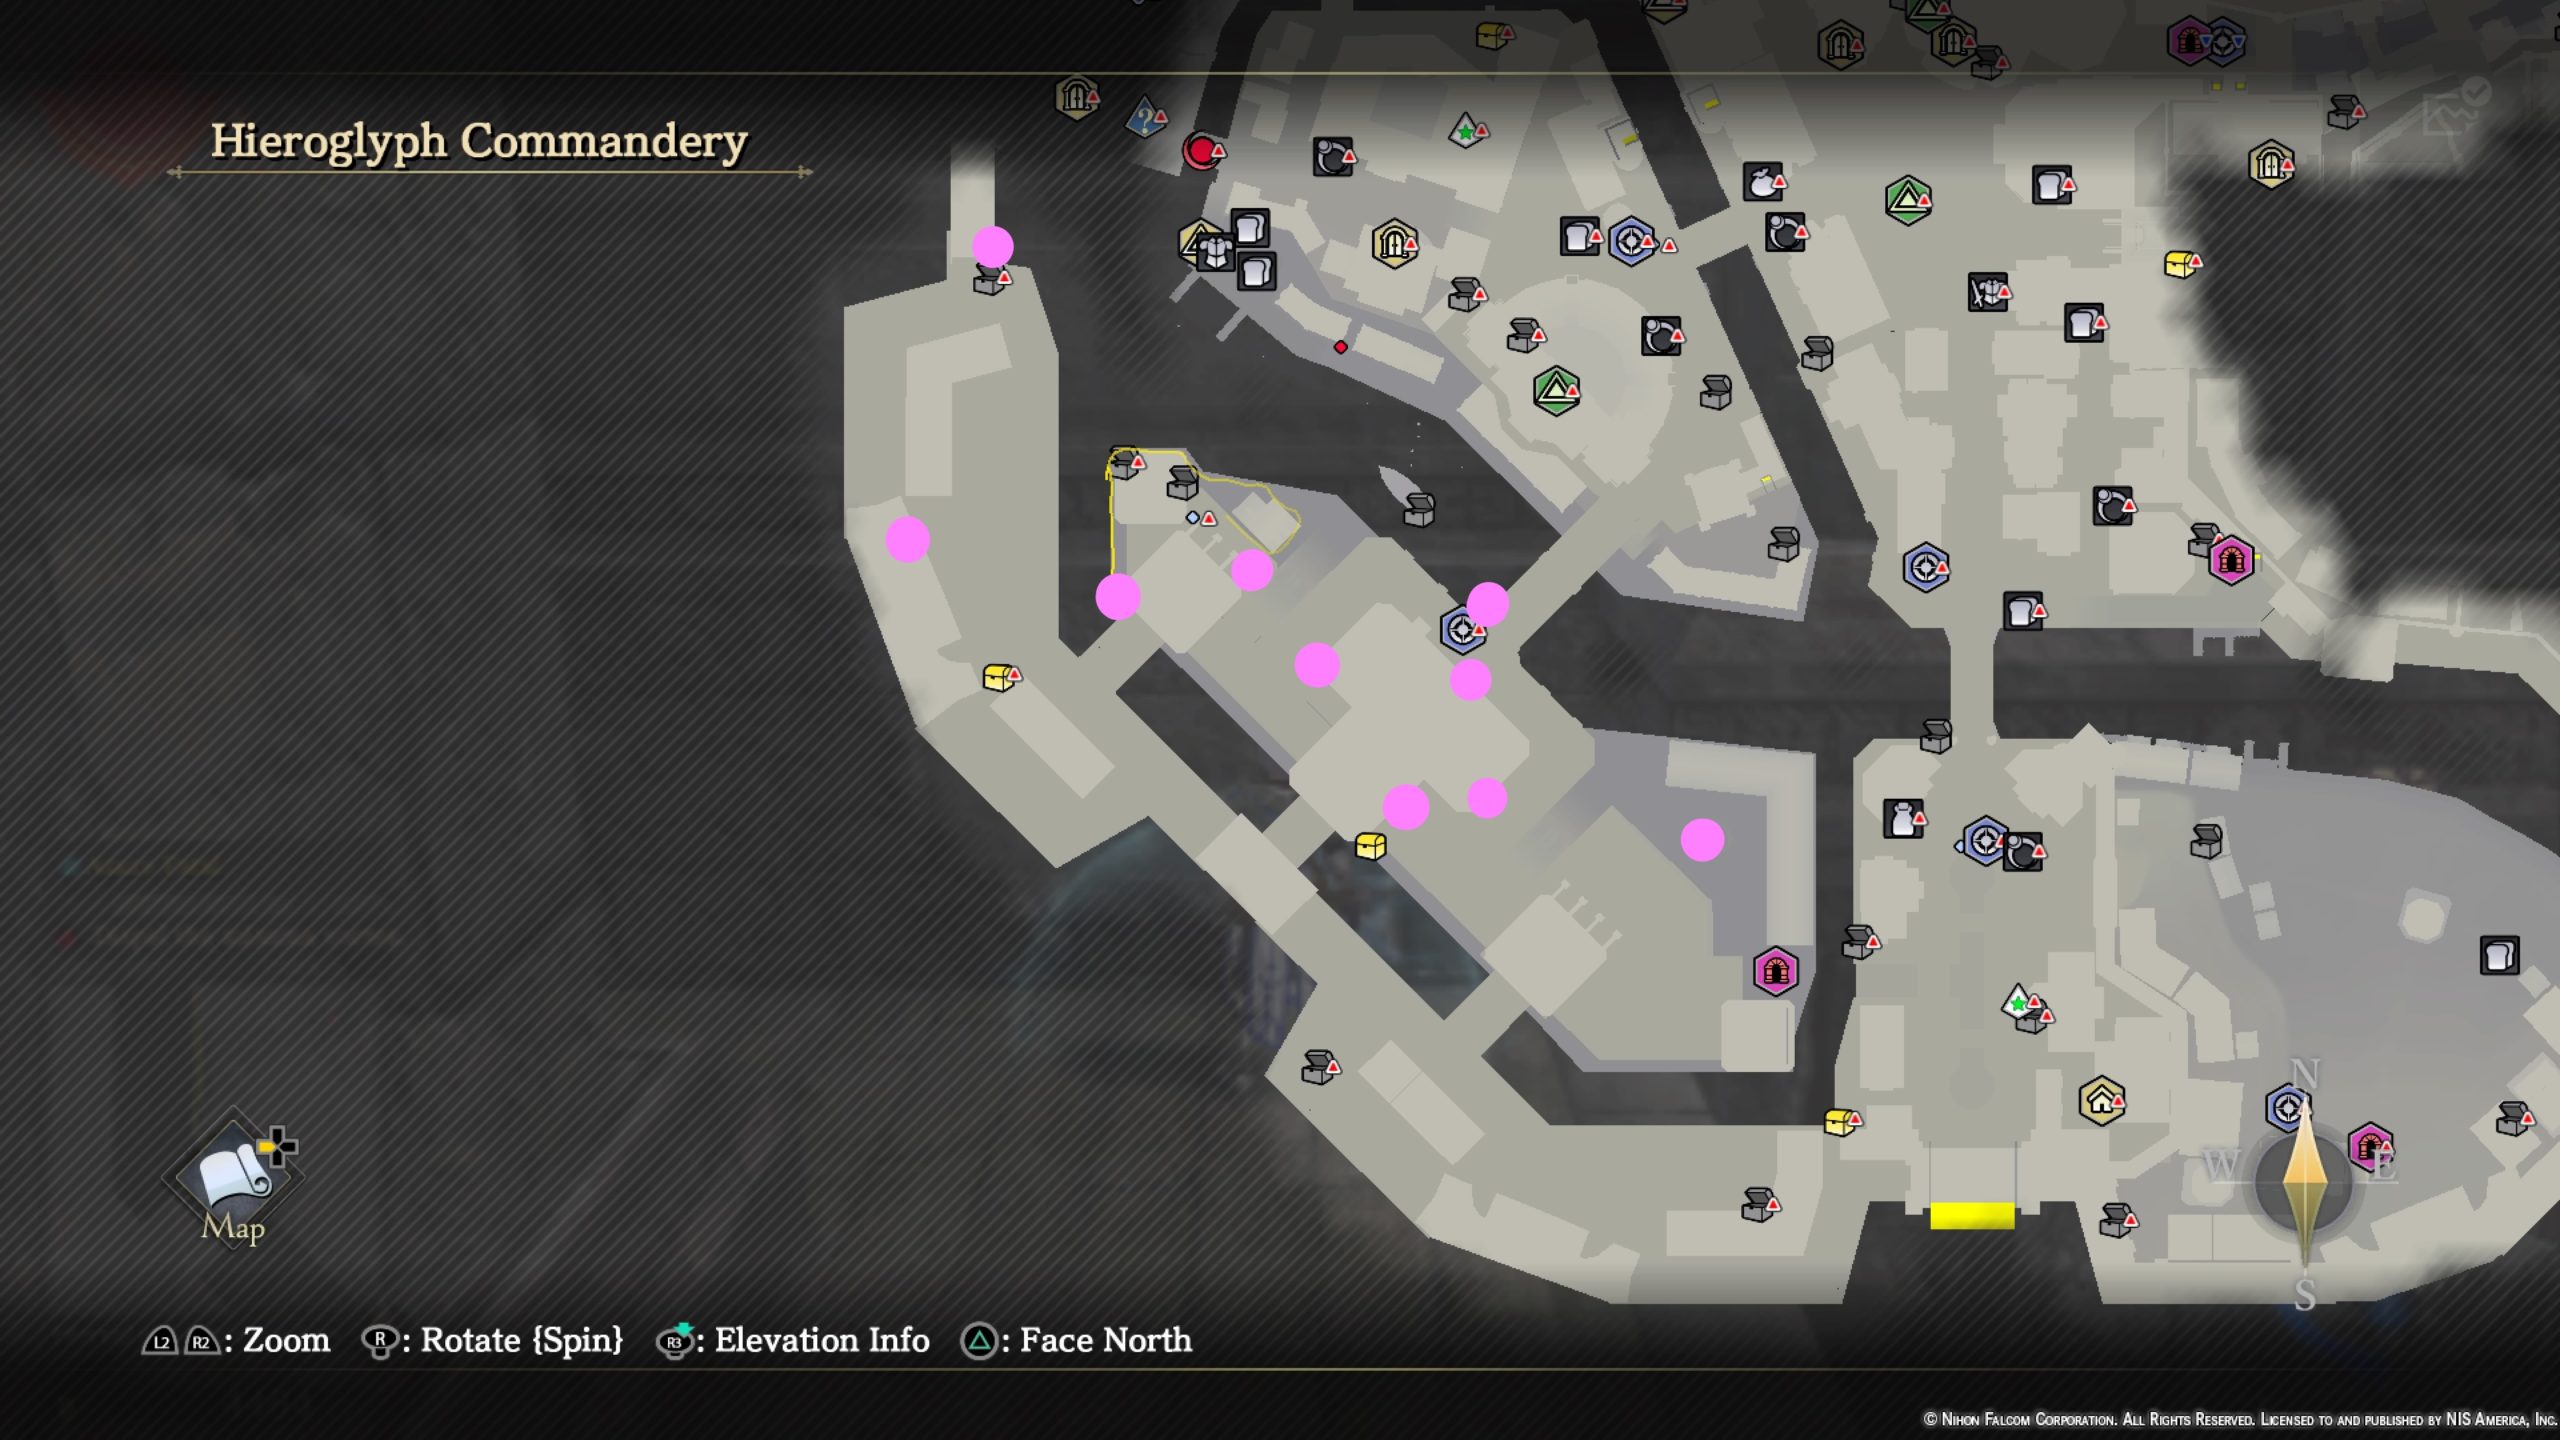
- On the statue on the bridge behind the Relief Tile

- On wood jutting out from the top of the large building next to the Relief Tile
- From the Relief Tile, head north to find the petal on top of a stone pillar.

- At the very top of the outer wall in the northern part of the area
- On wood jutting out from the north side of the main building
- On an inward balcony on the outer wall in the northern part of the area
- In the grass on the south side of the main building

- On the fountain in the southern part of the area near the Dry Moat Ruins
- On the southern part of the main building on a stone column sticking off the side
- Along the river’s edge in the northern part of the area, look for the maid kneeling next to the cat and follow the waterline north hugging the edge past the chest to find the petal.

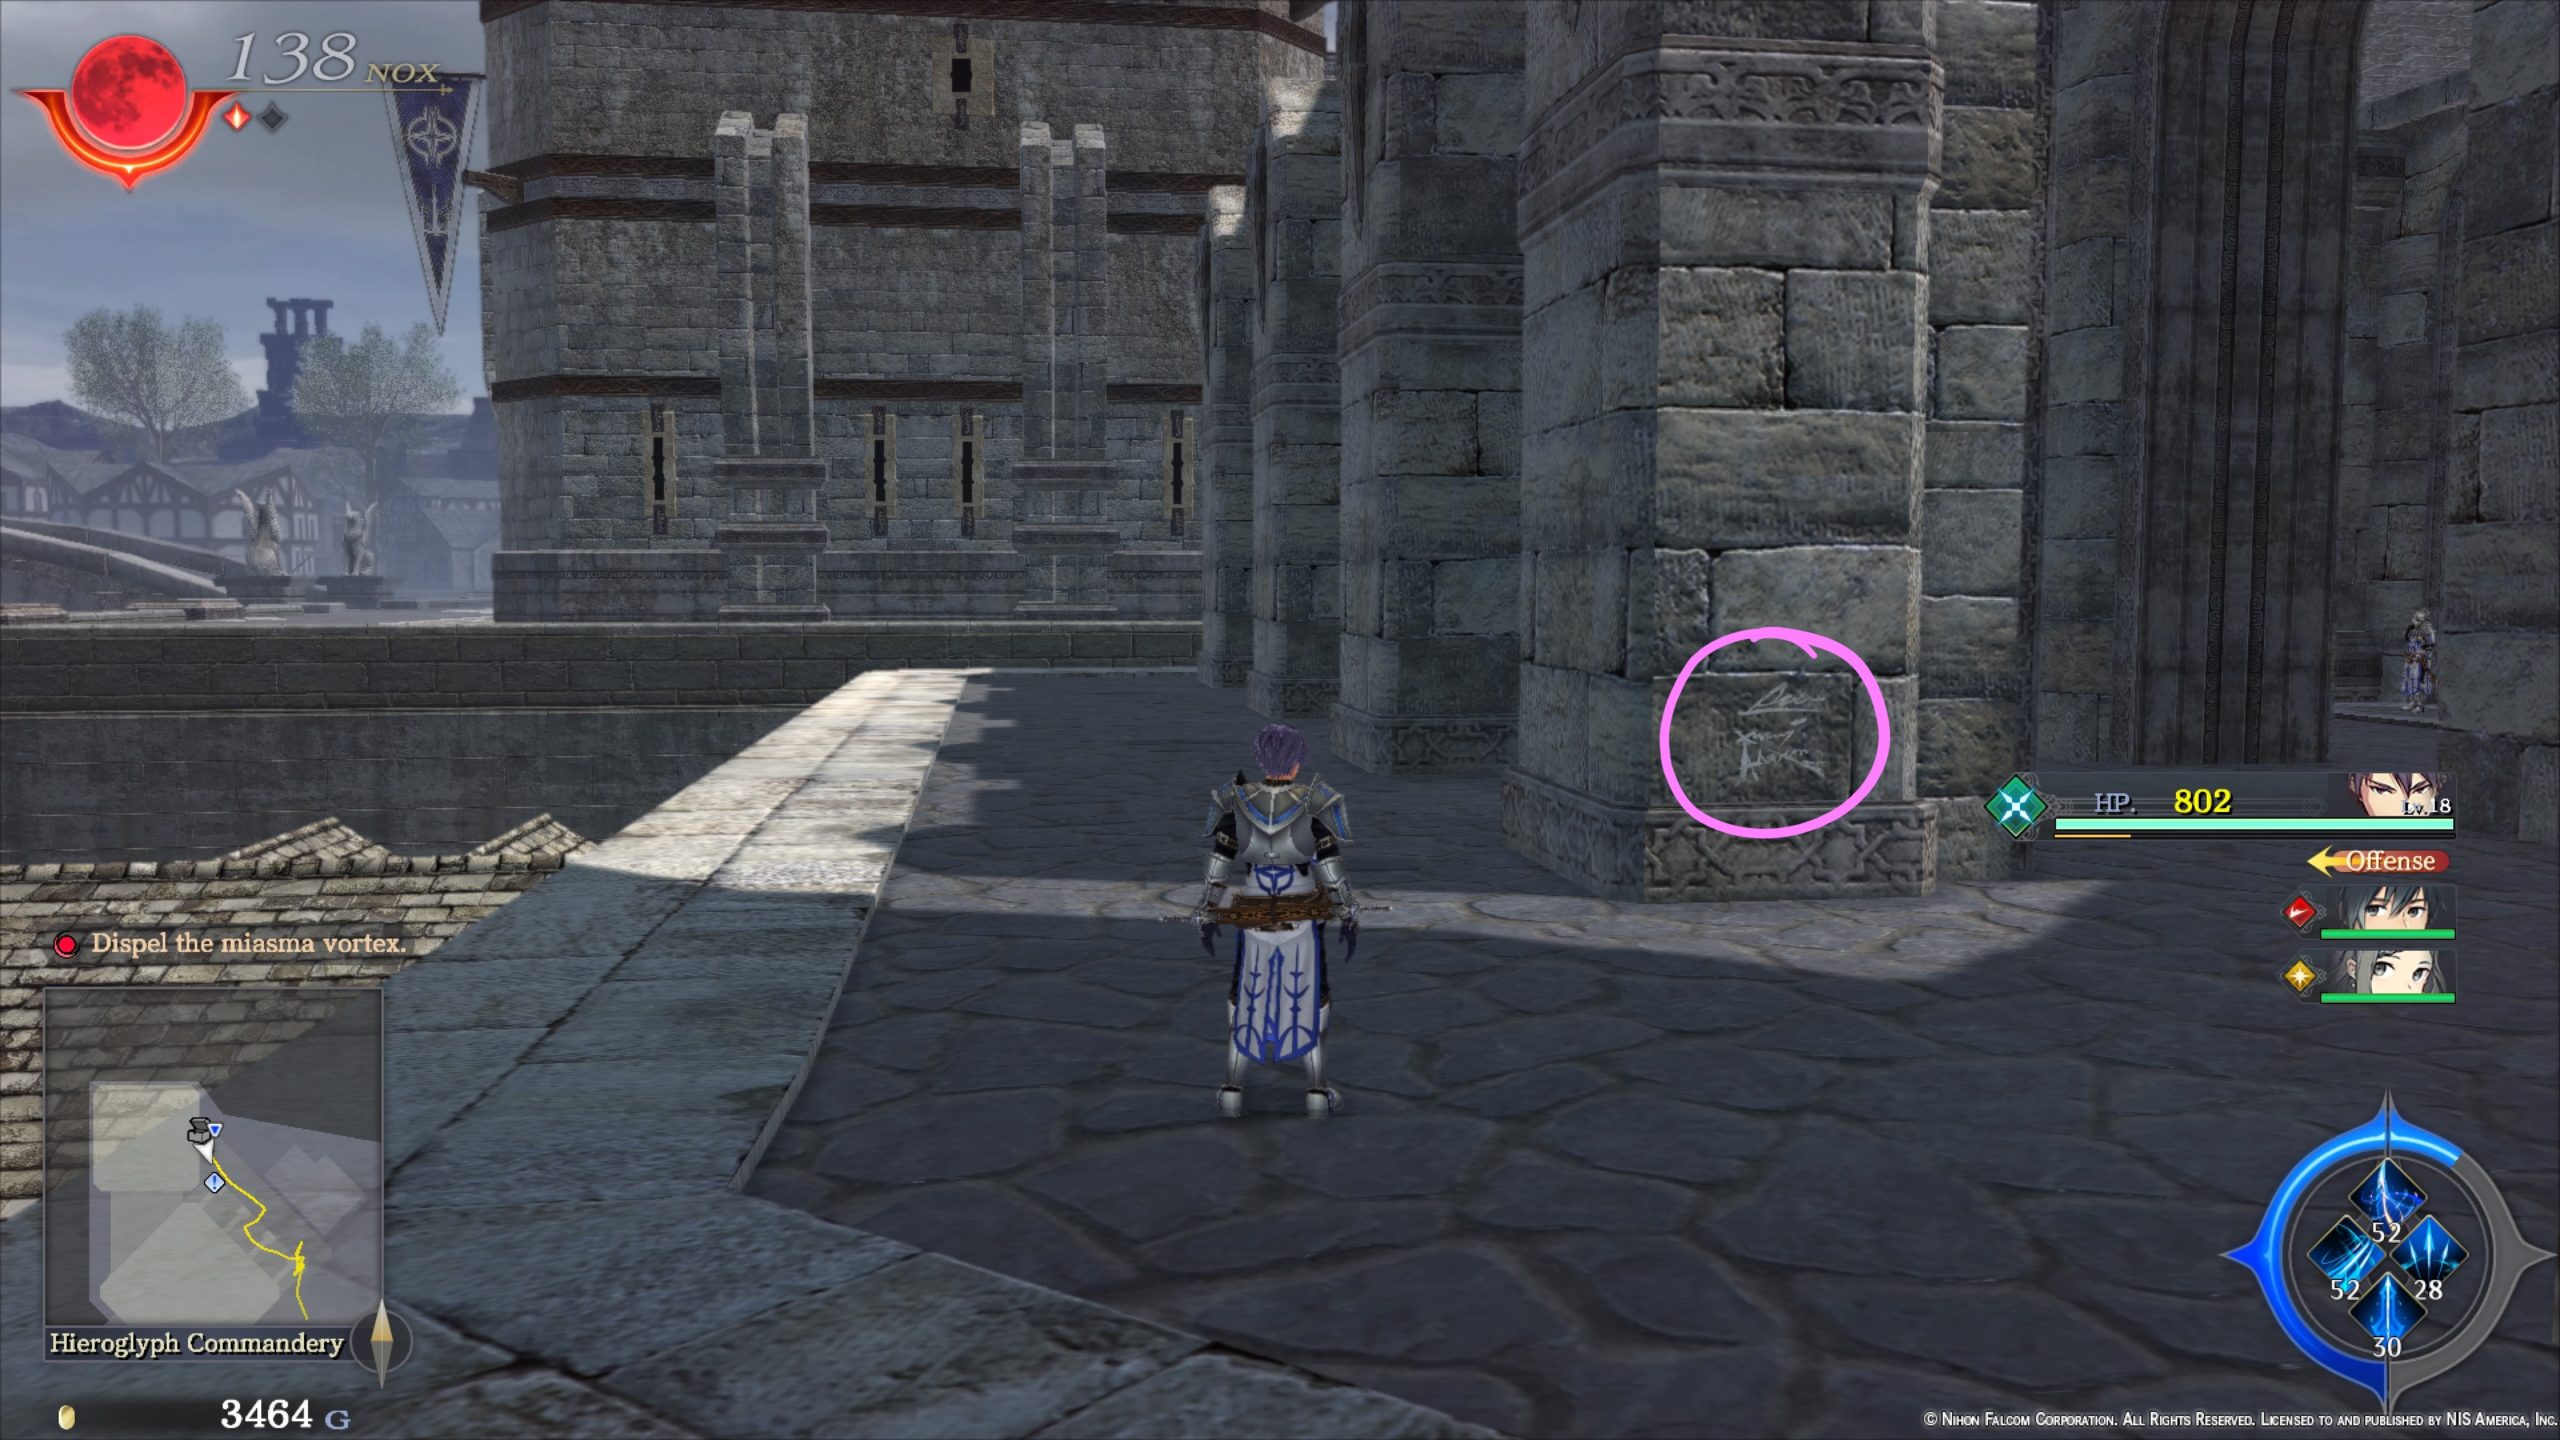
Graffiti
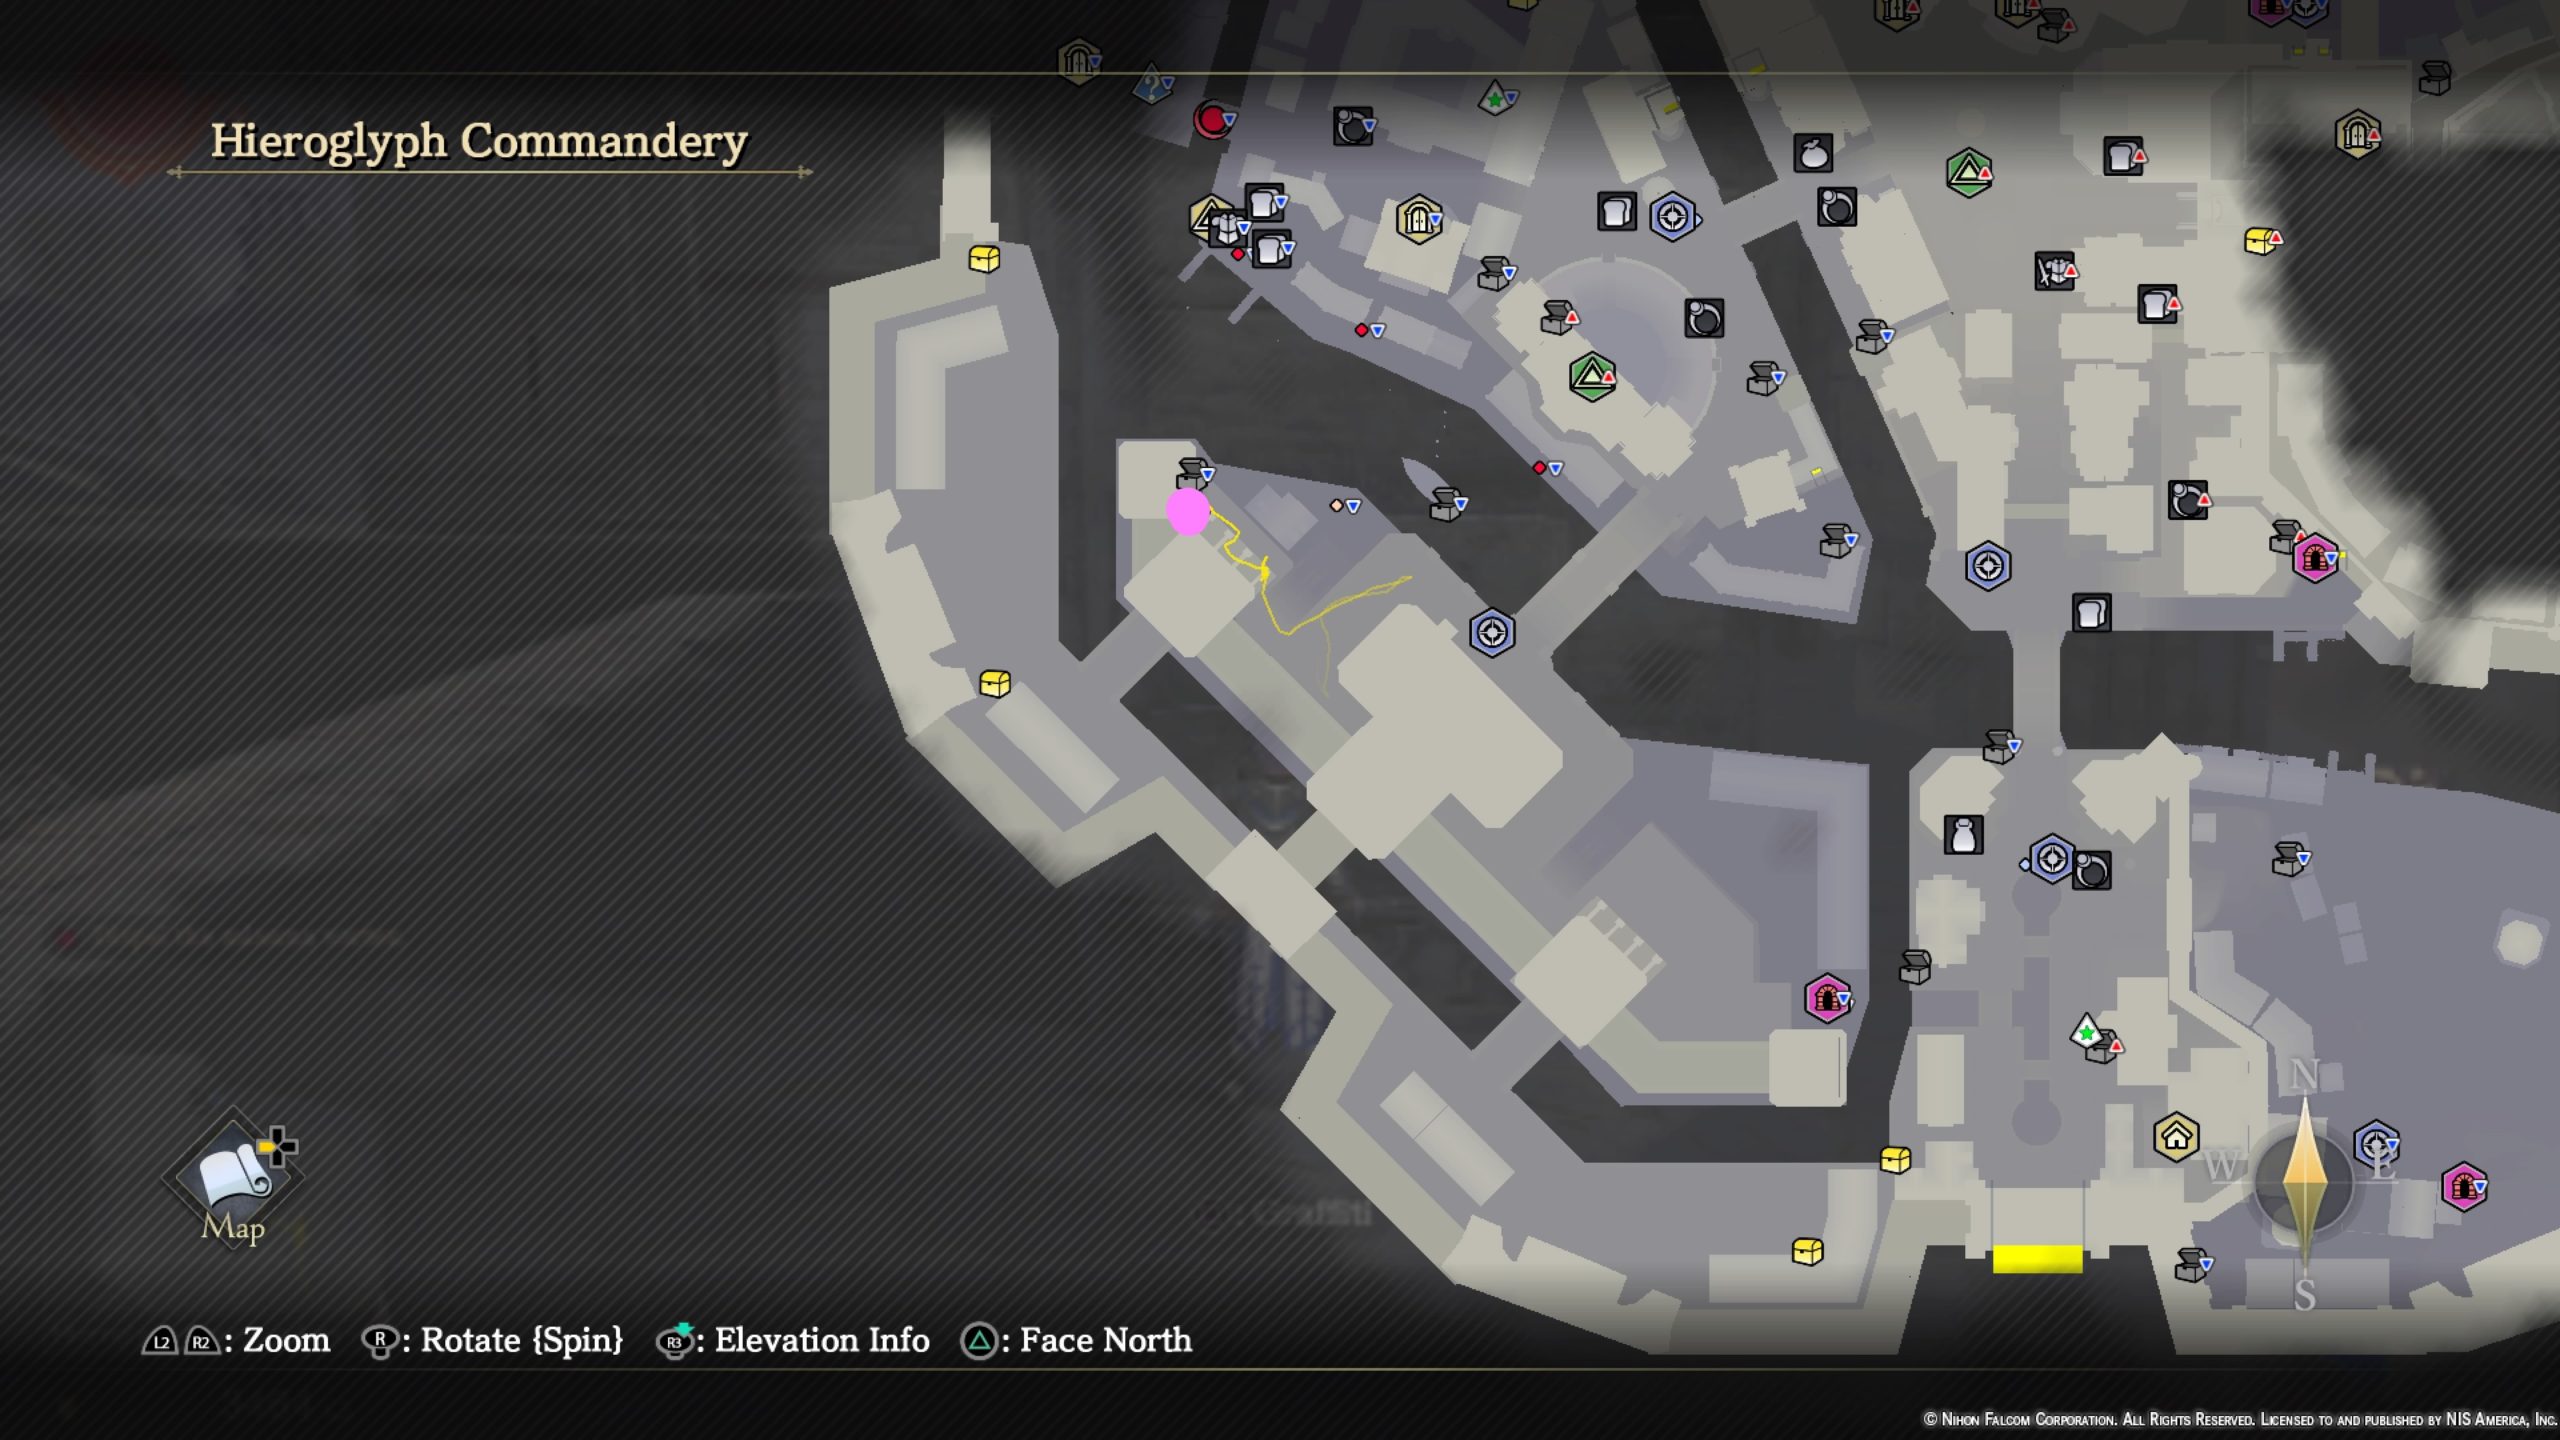
- From the Relief Tile, head north to find the graffiti on the last stone pillar in a set of 8.
Treasure Chests
- Grimnut x2
- Tomato x5
- Red Meat x5
- Sedative x2
- 1000 Gold
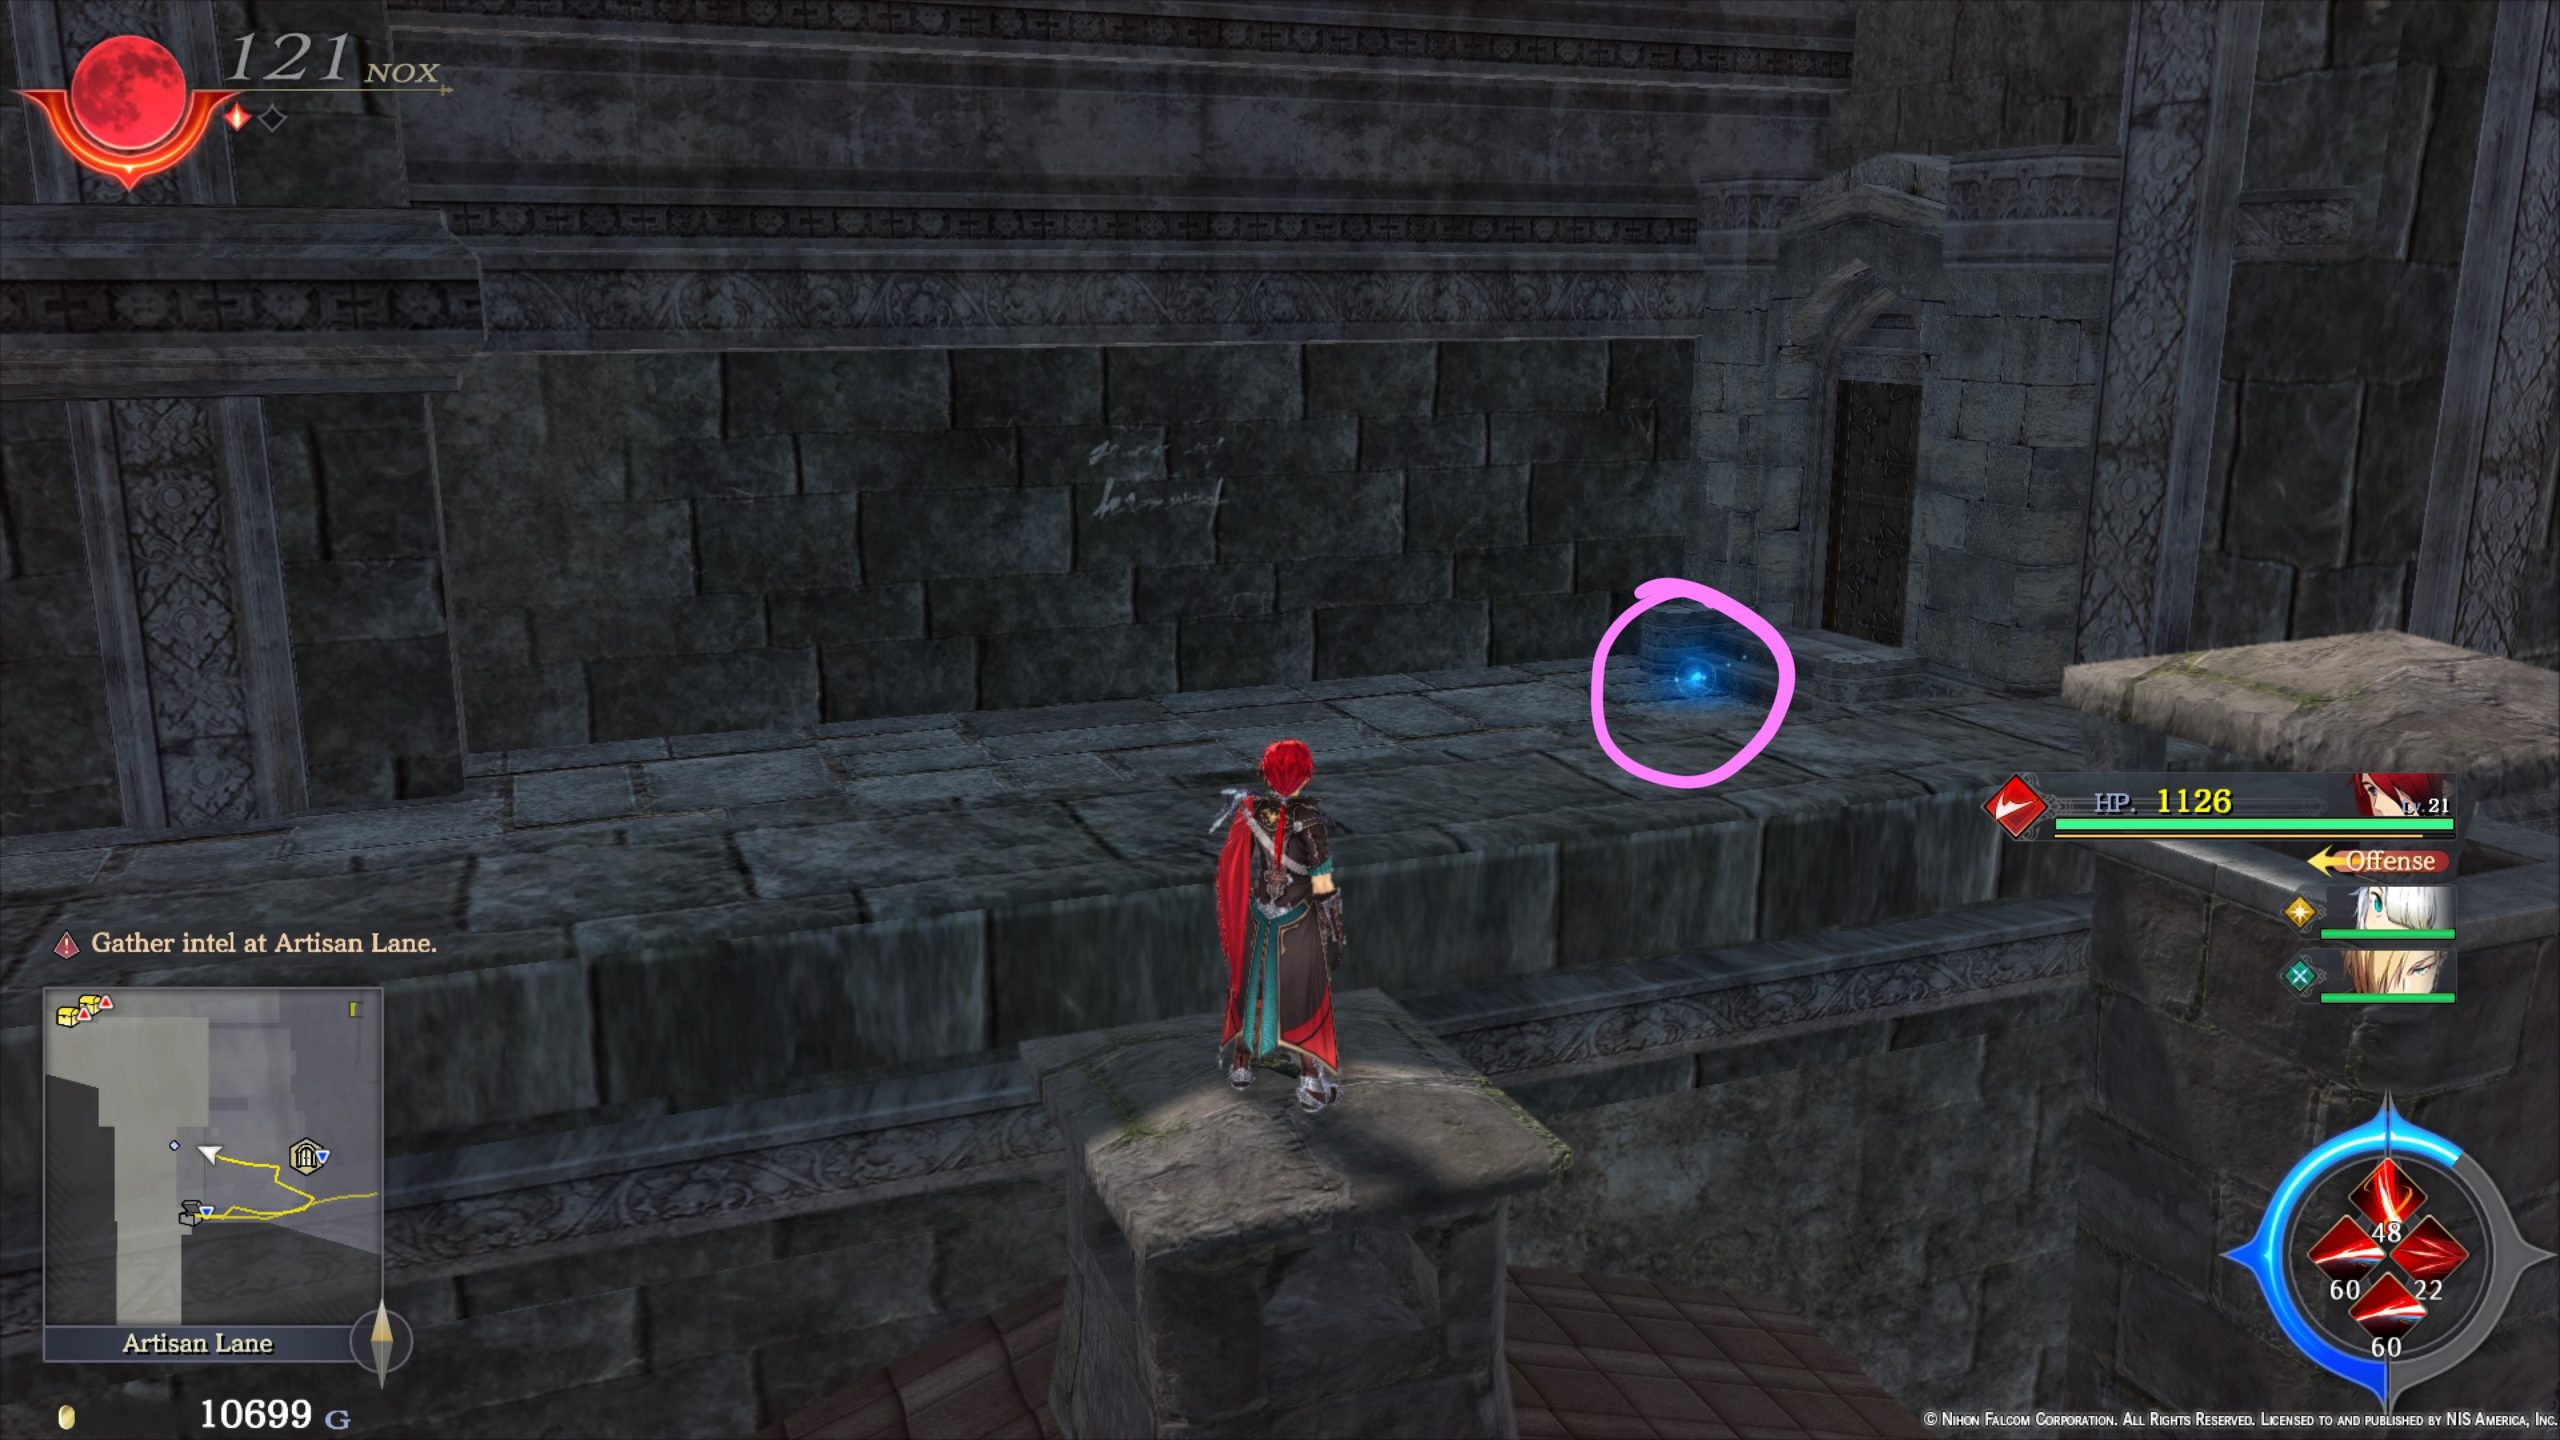
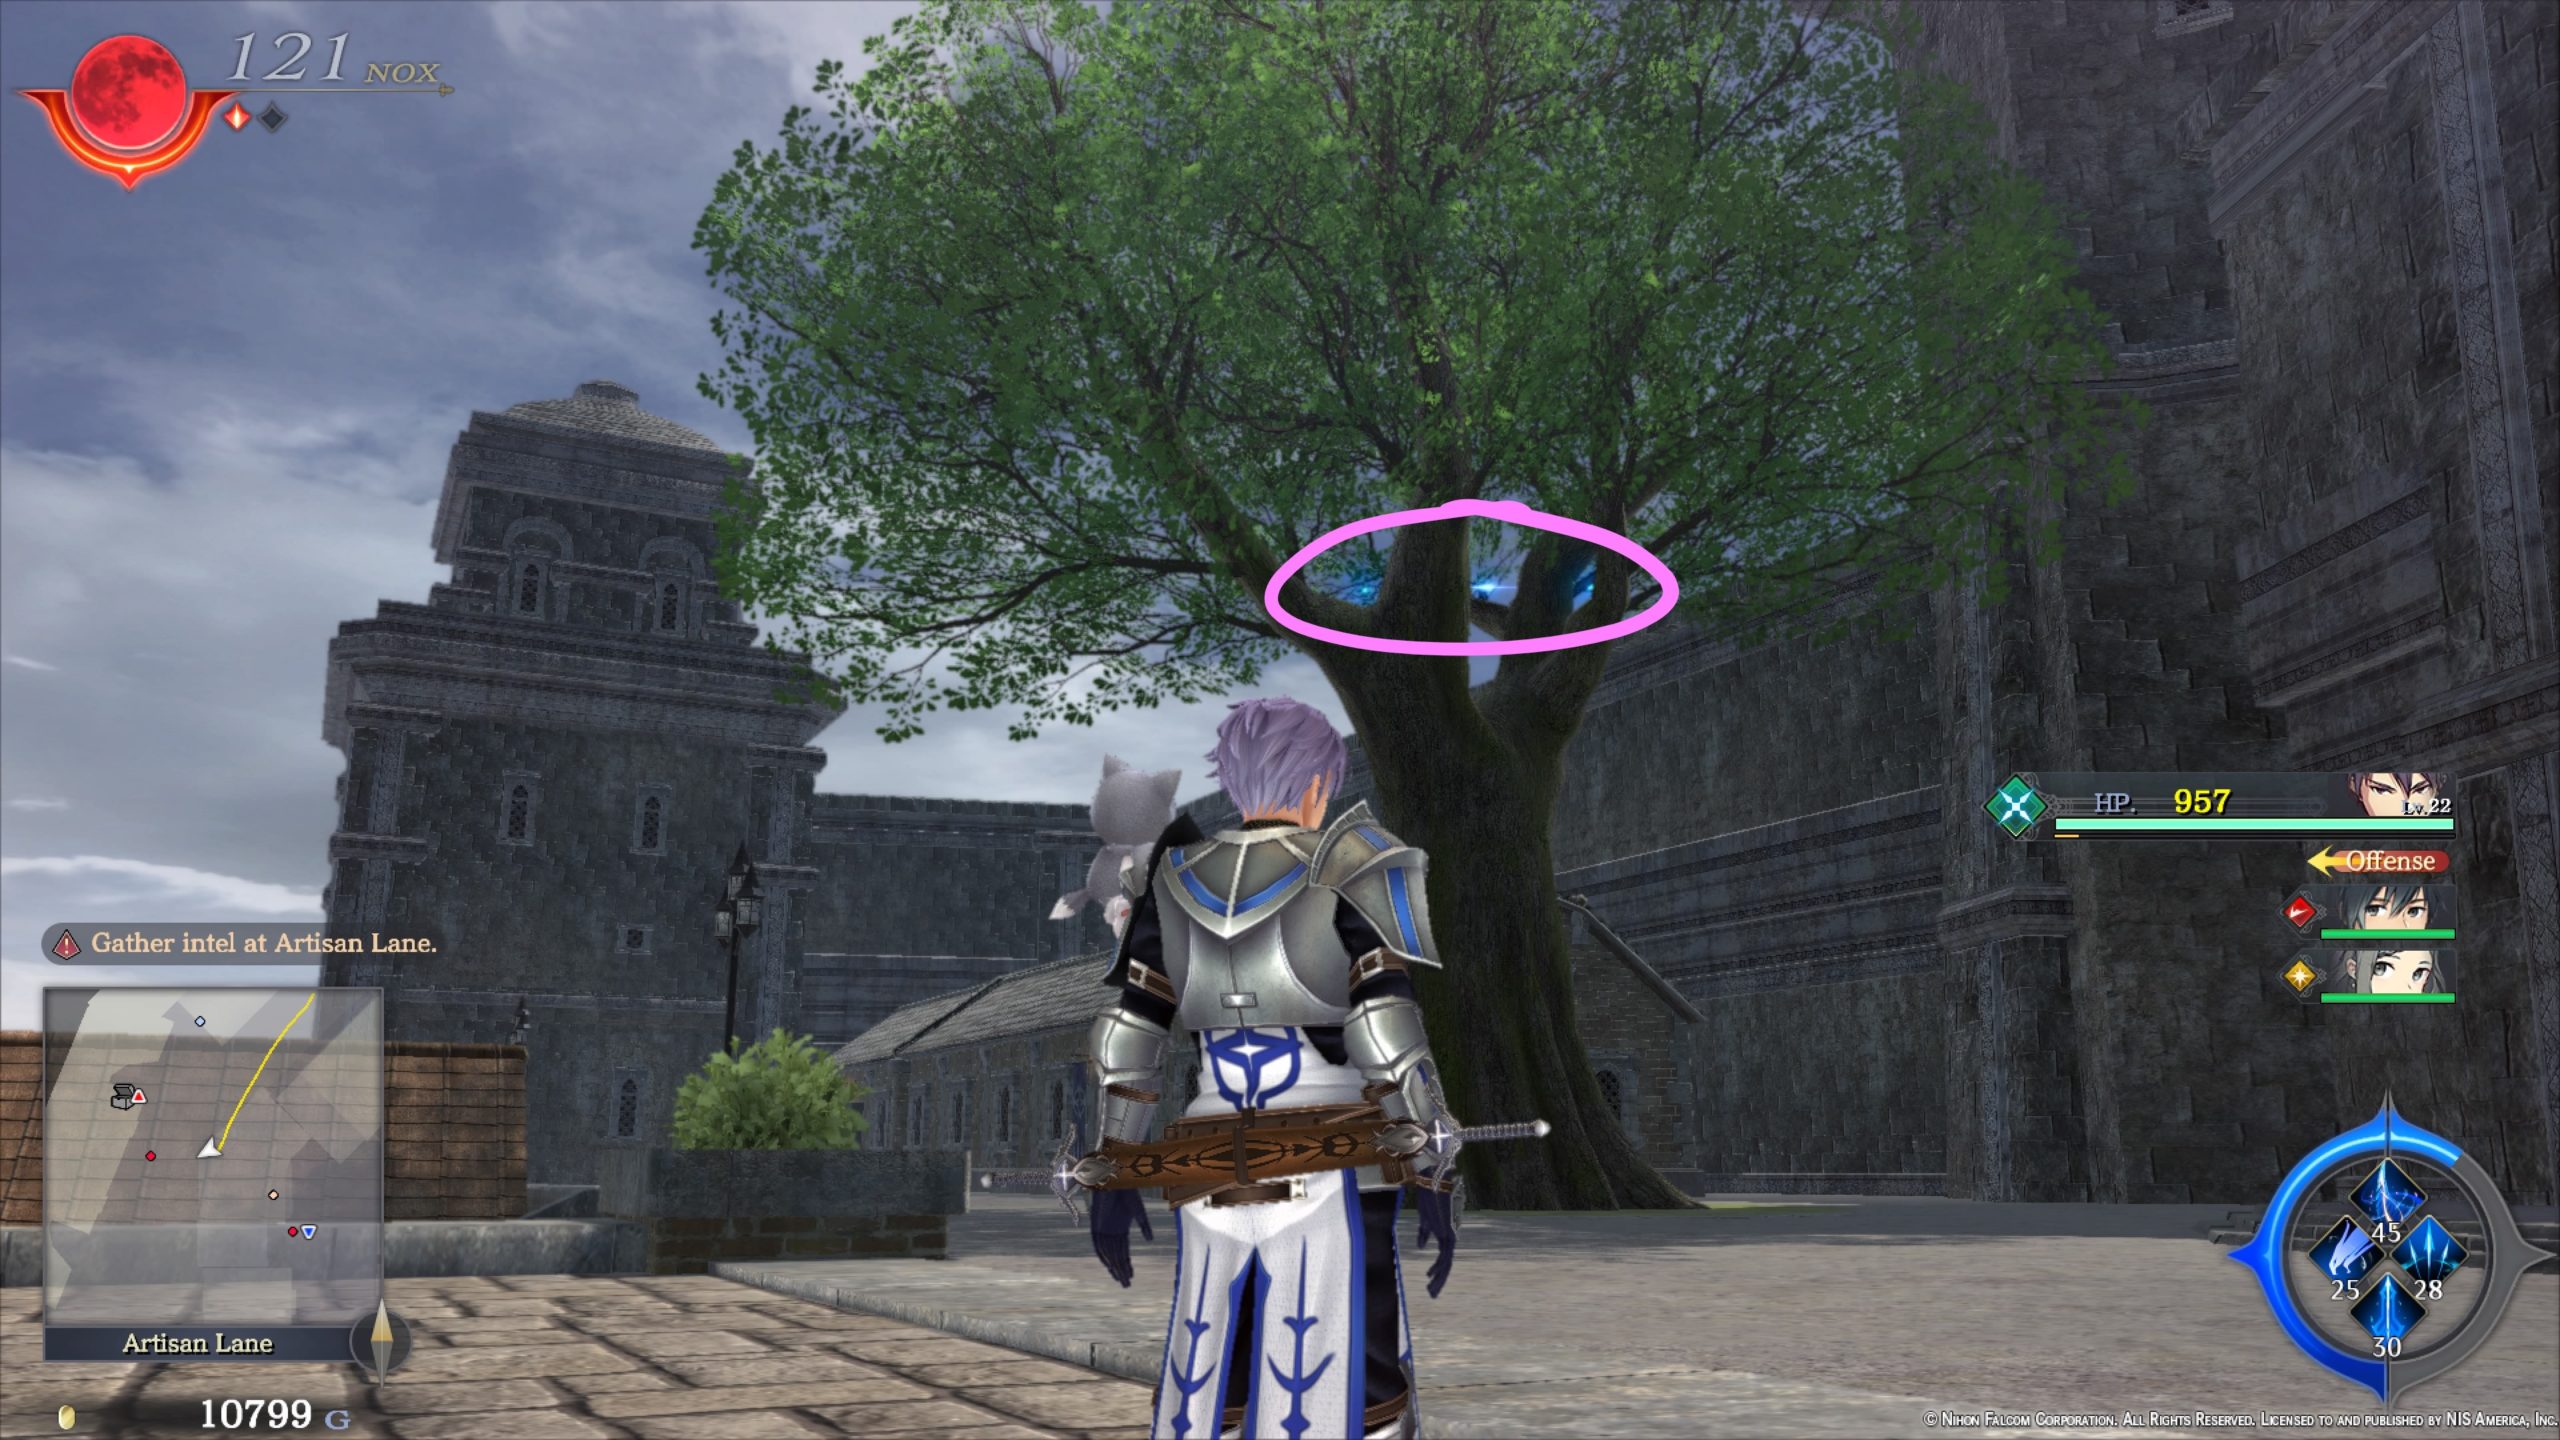
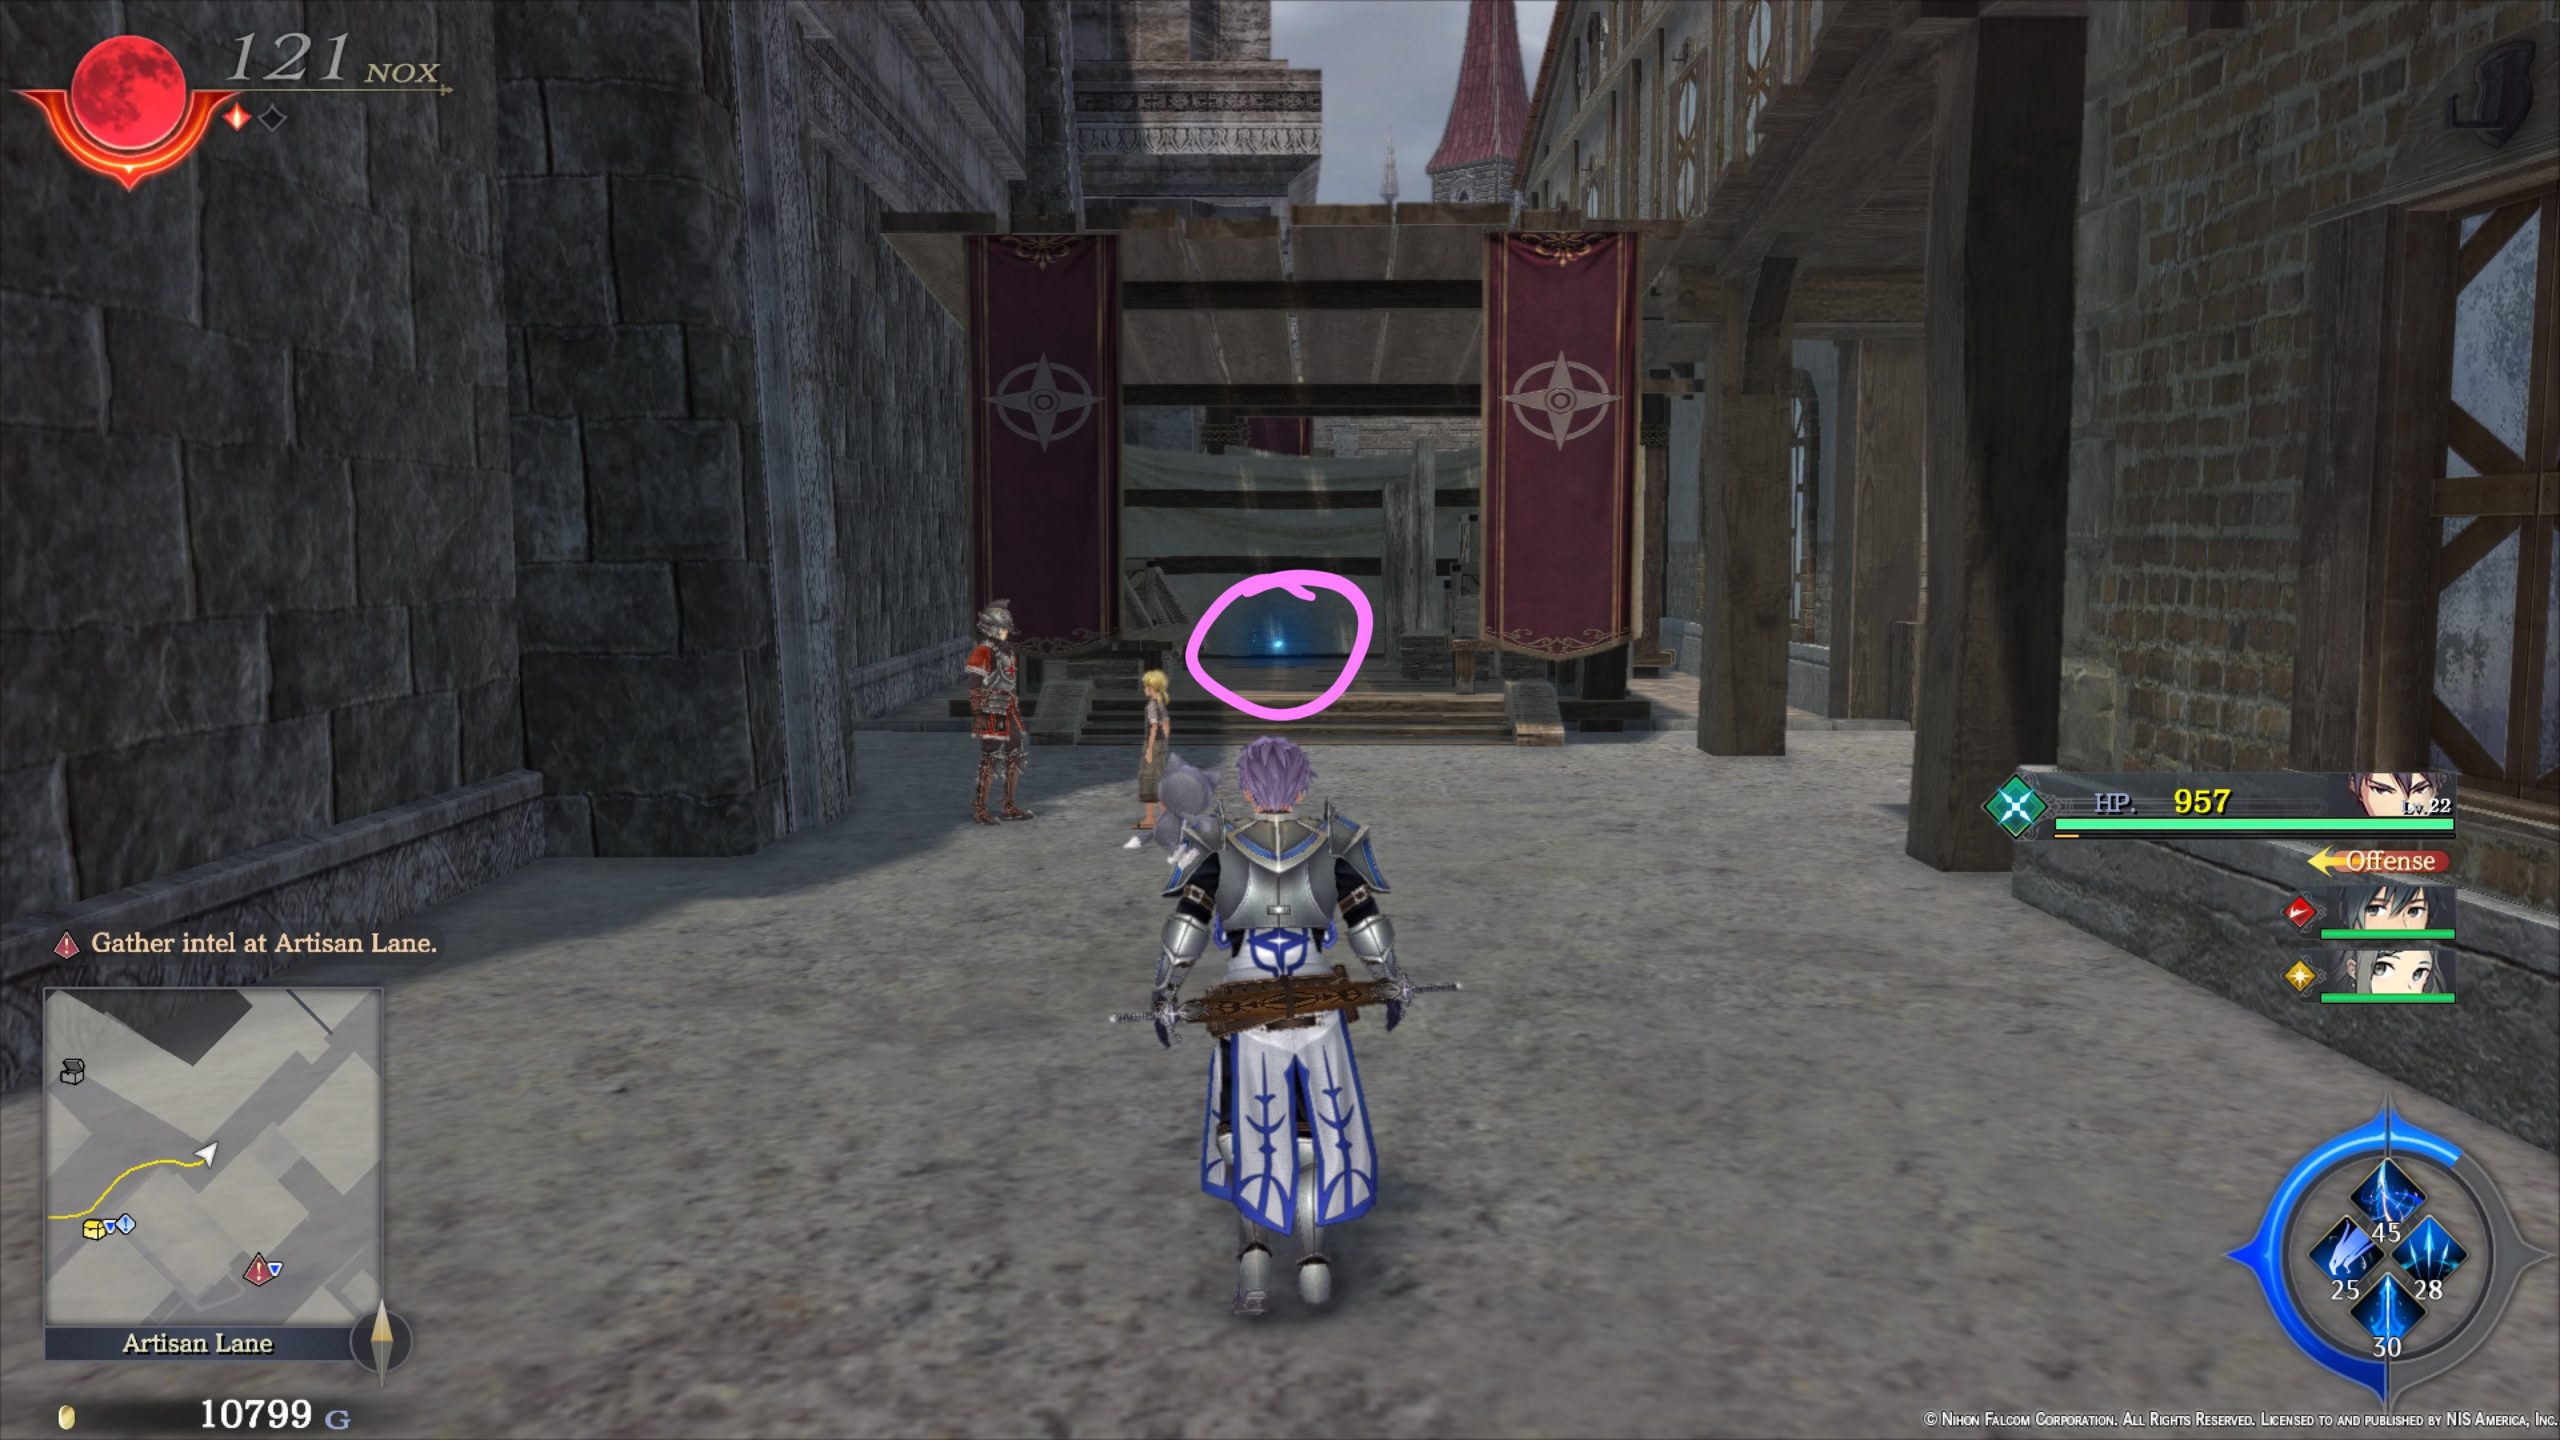
Artisan Lane
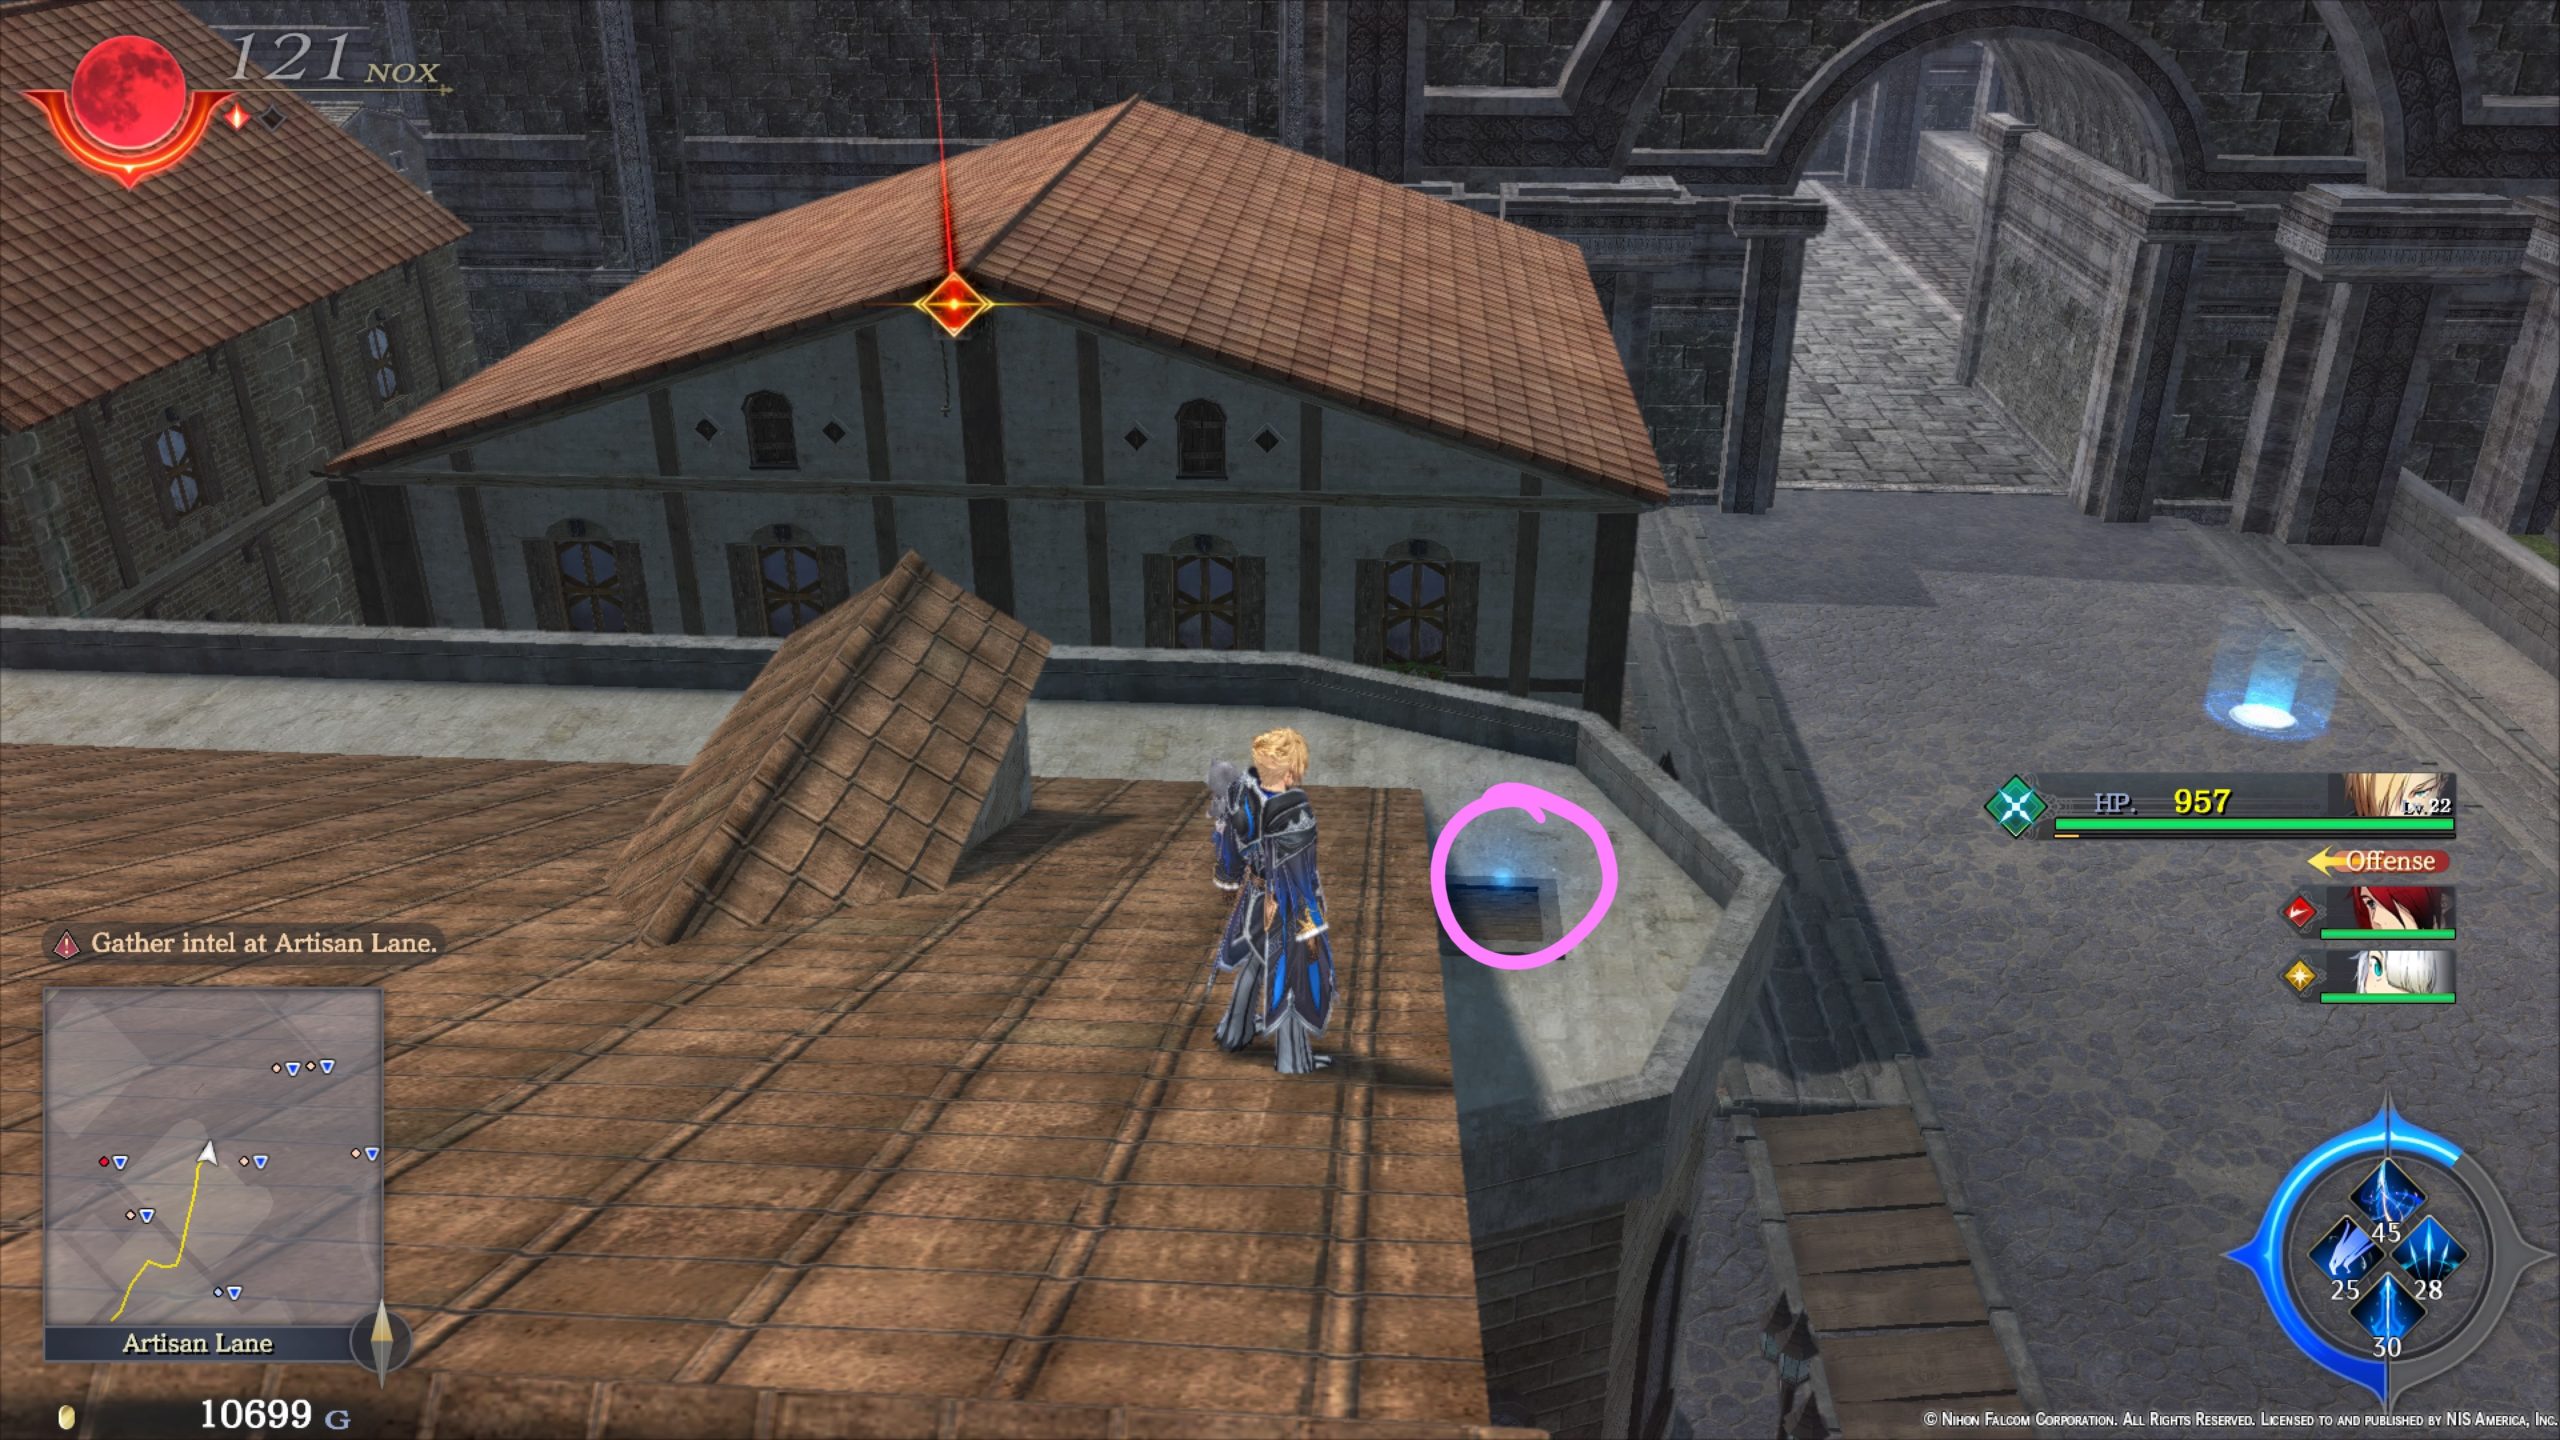
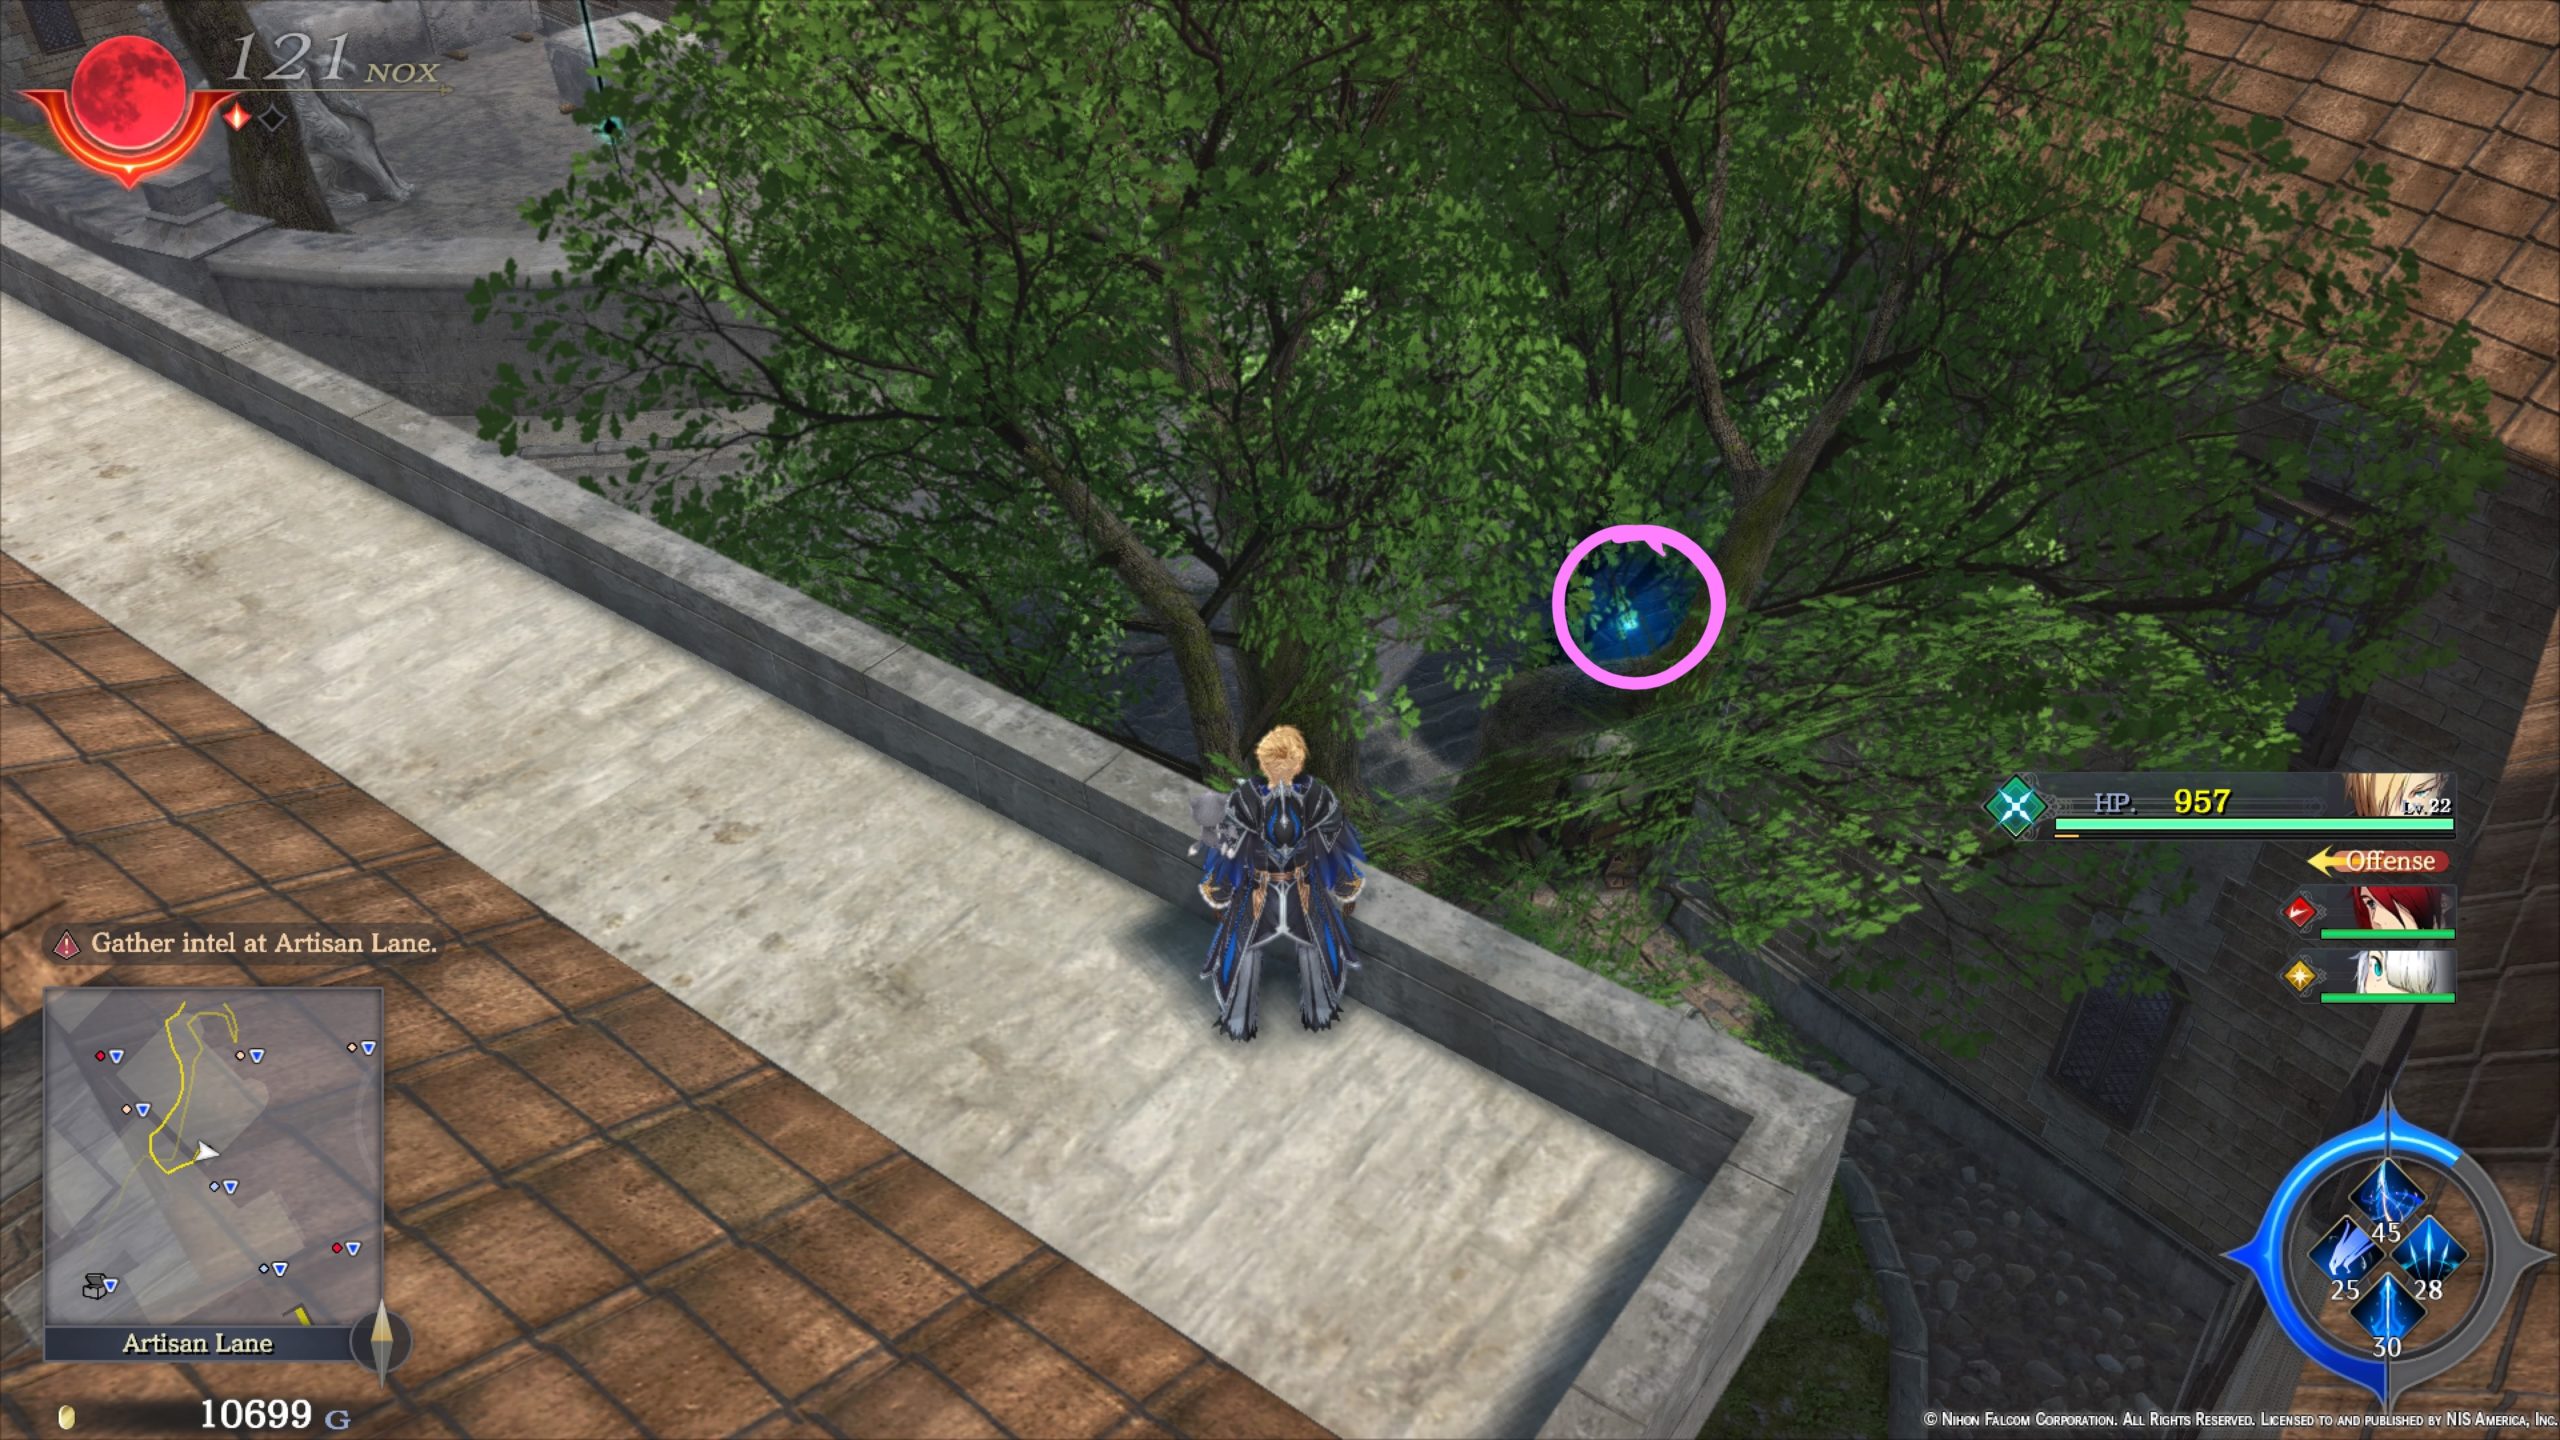
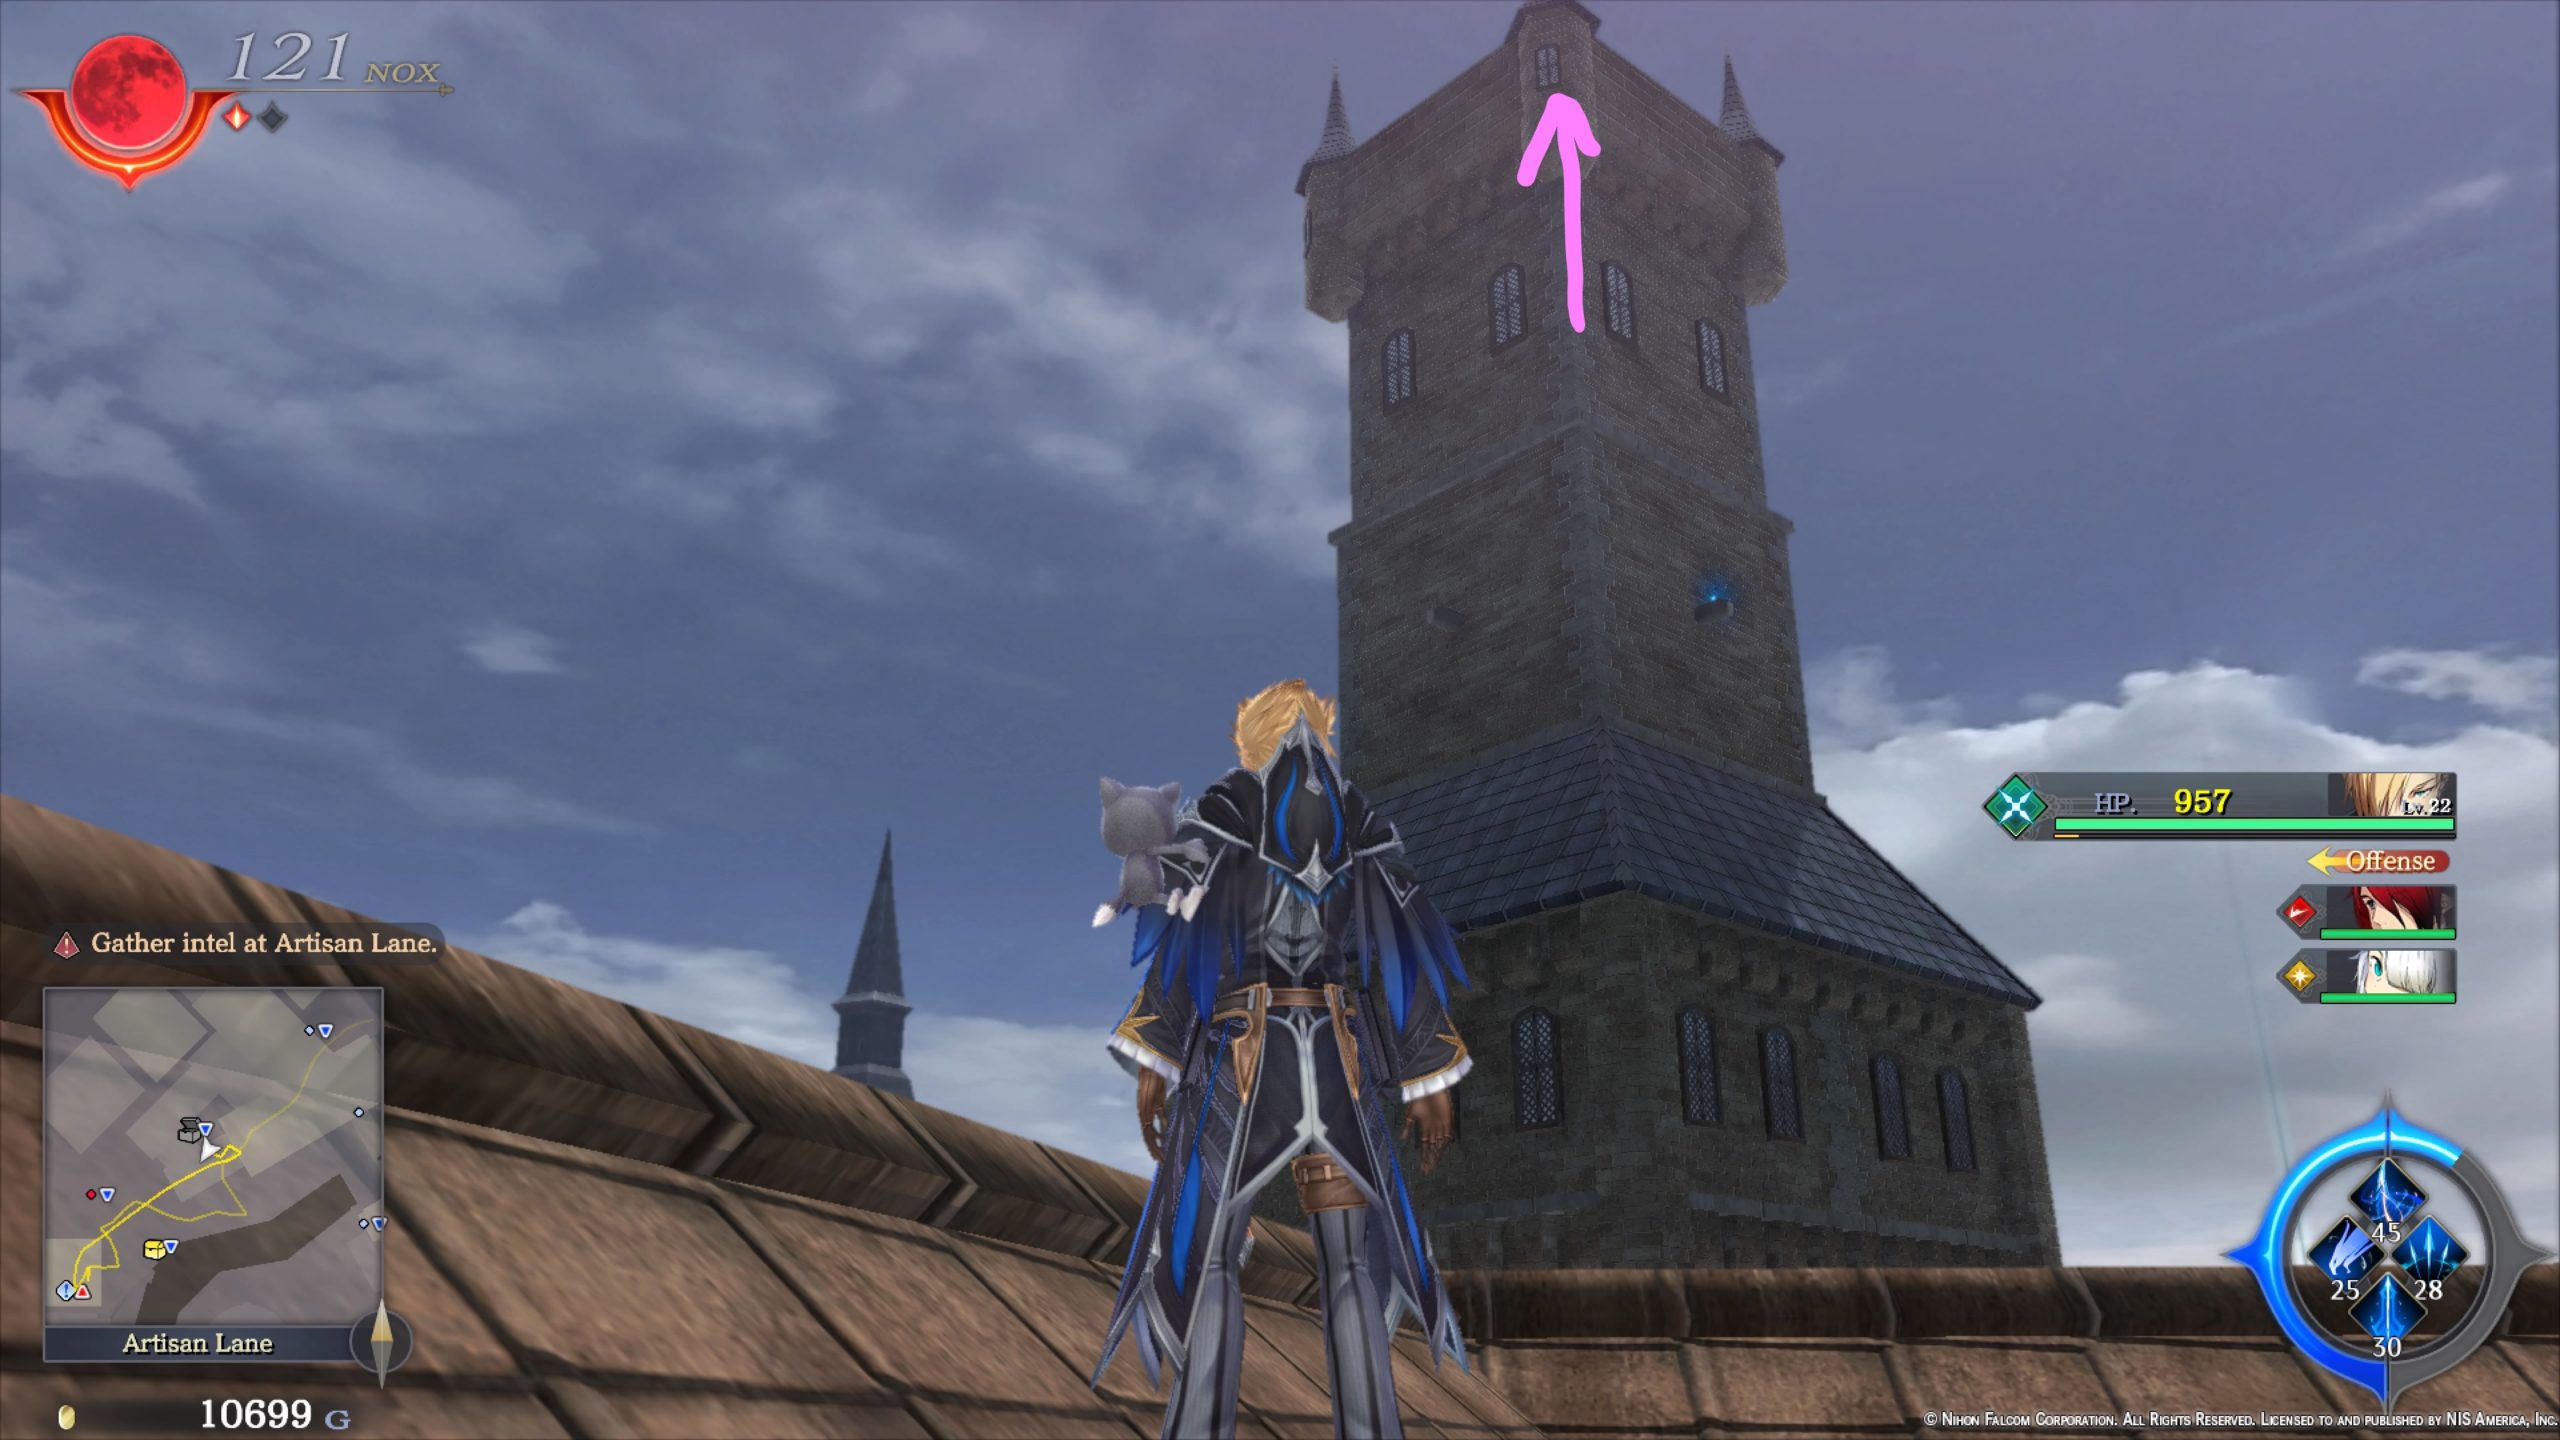
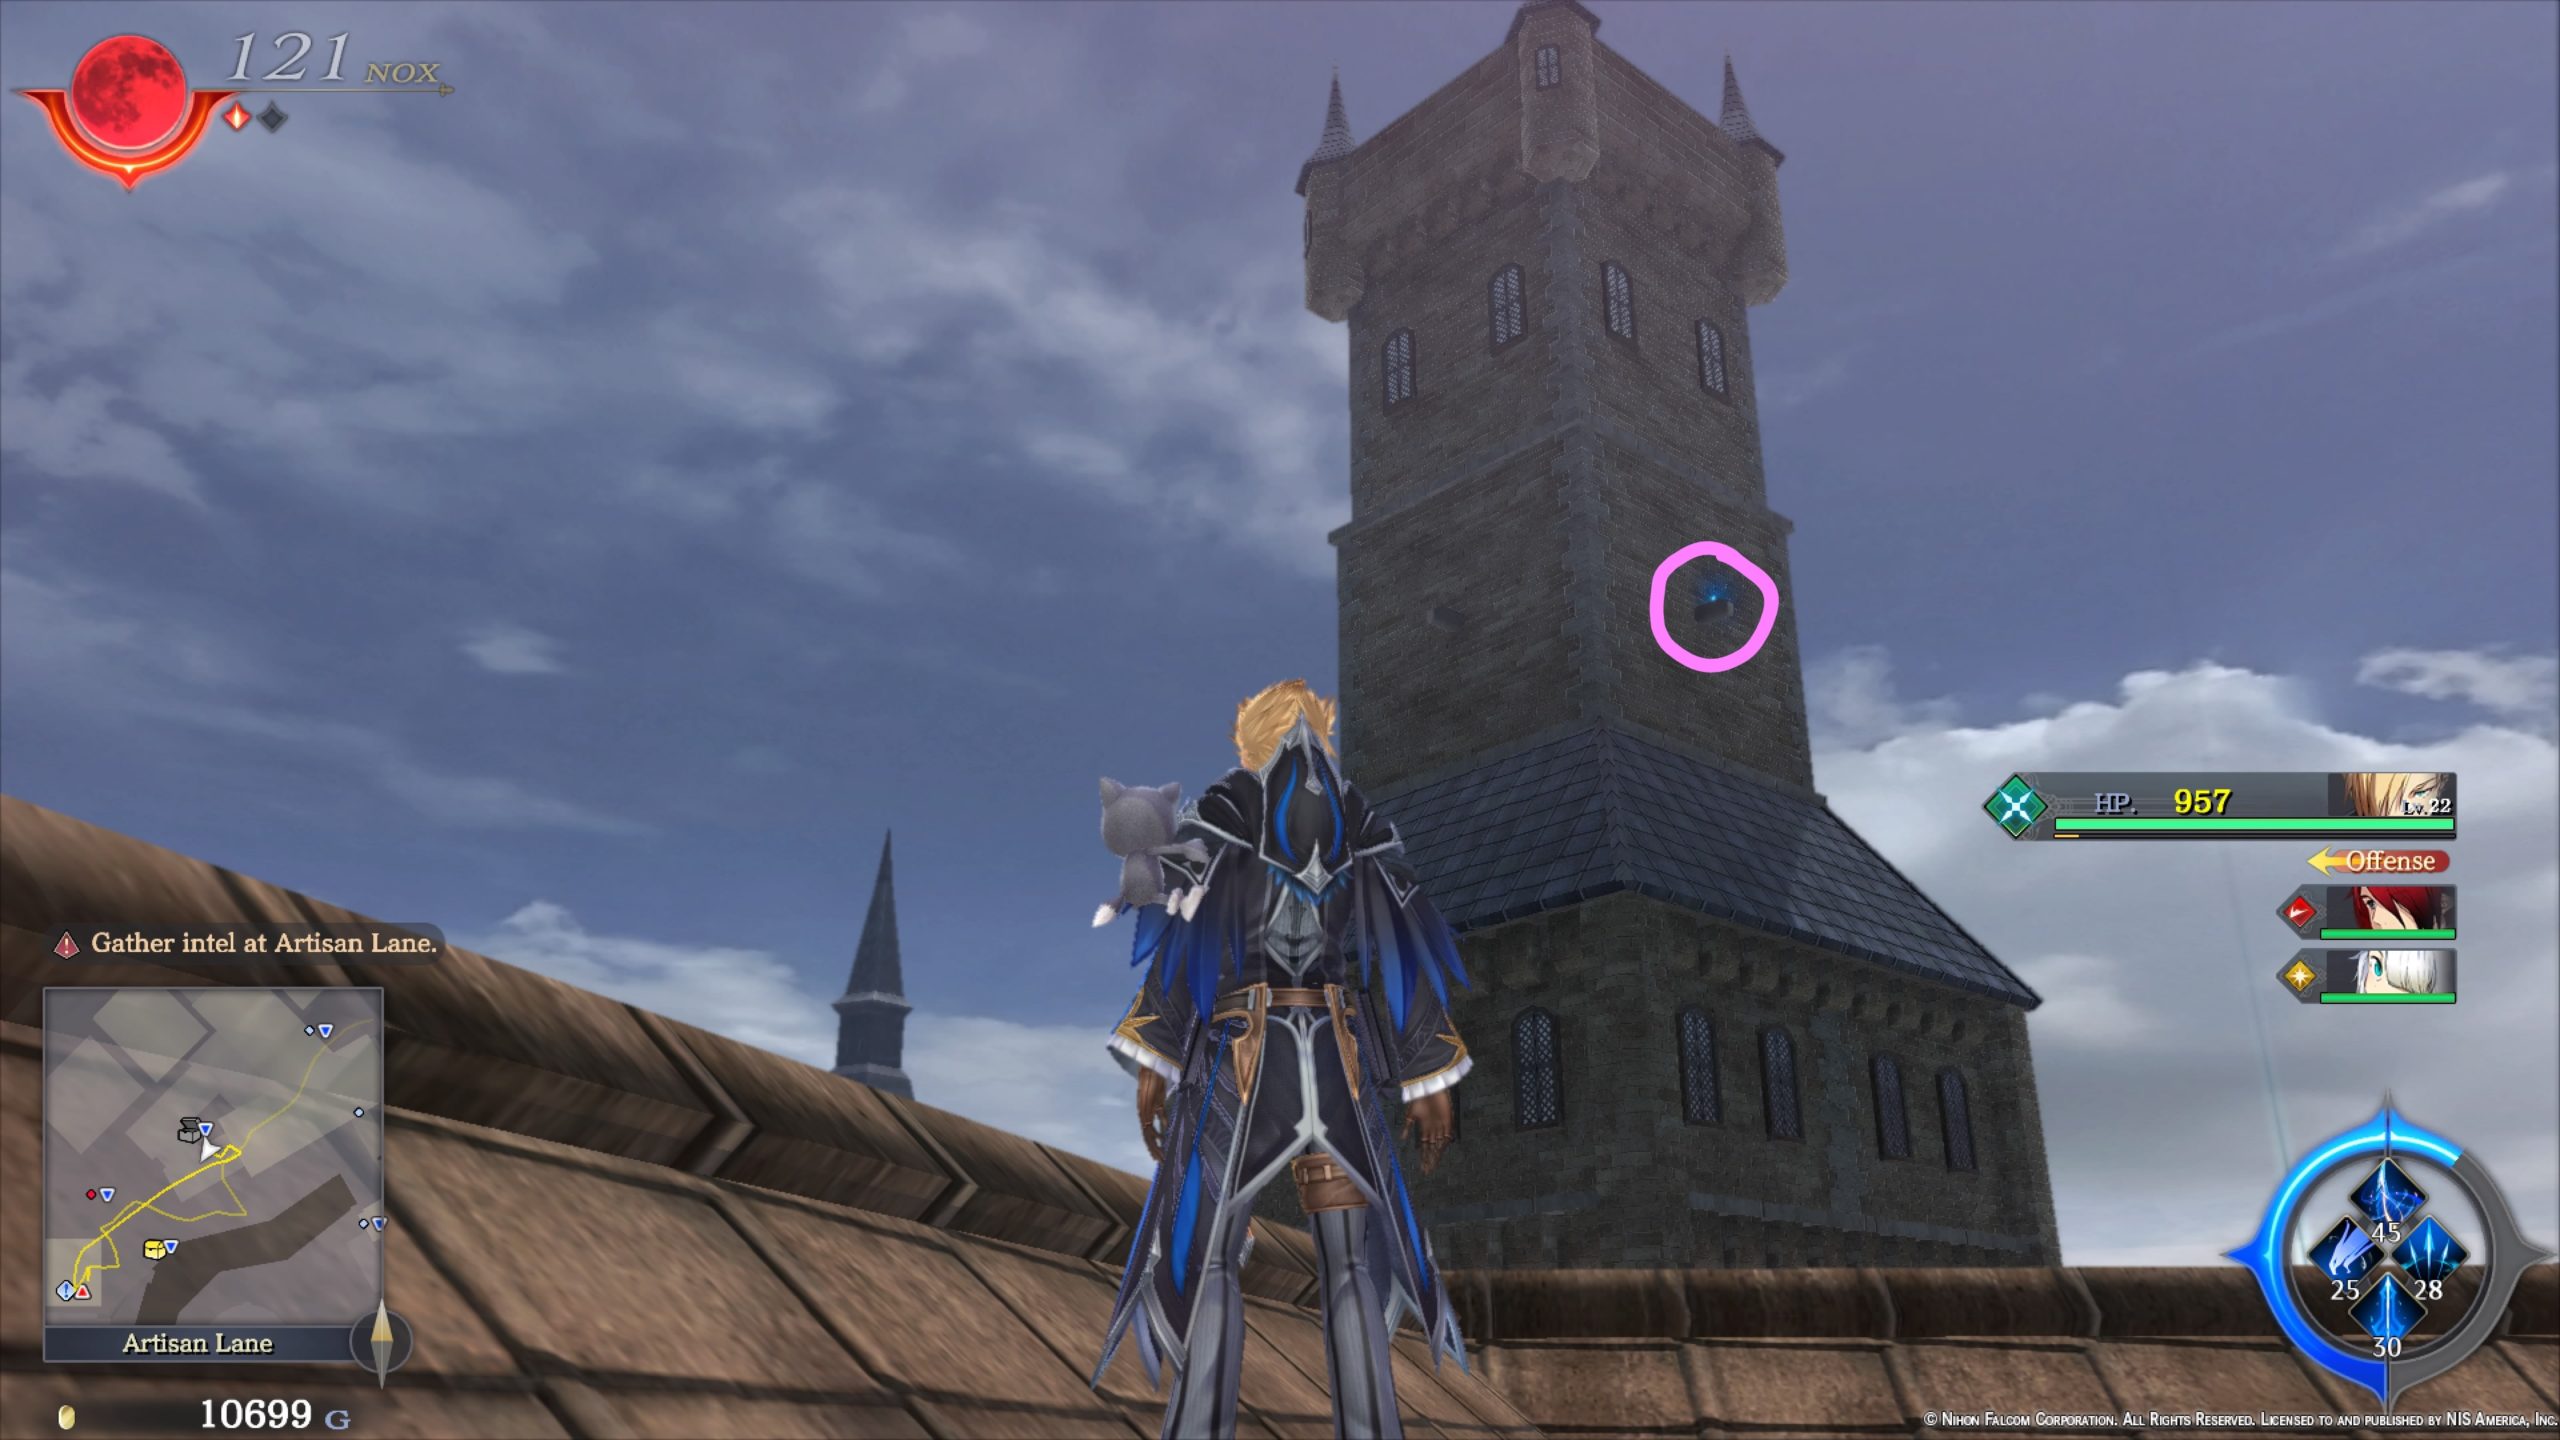
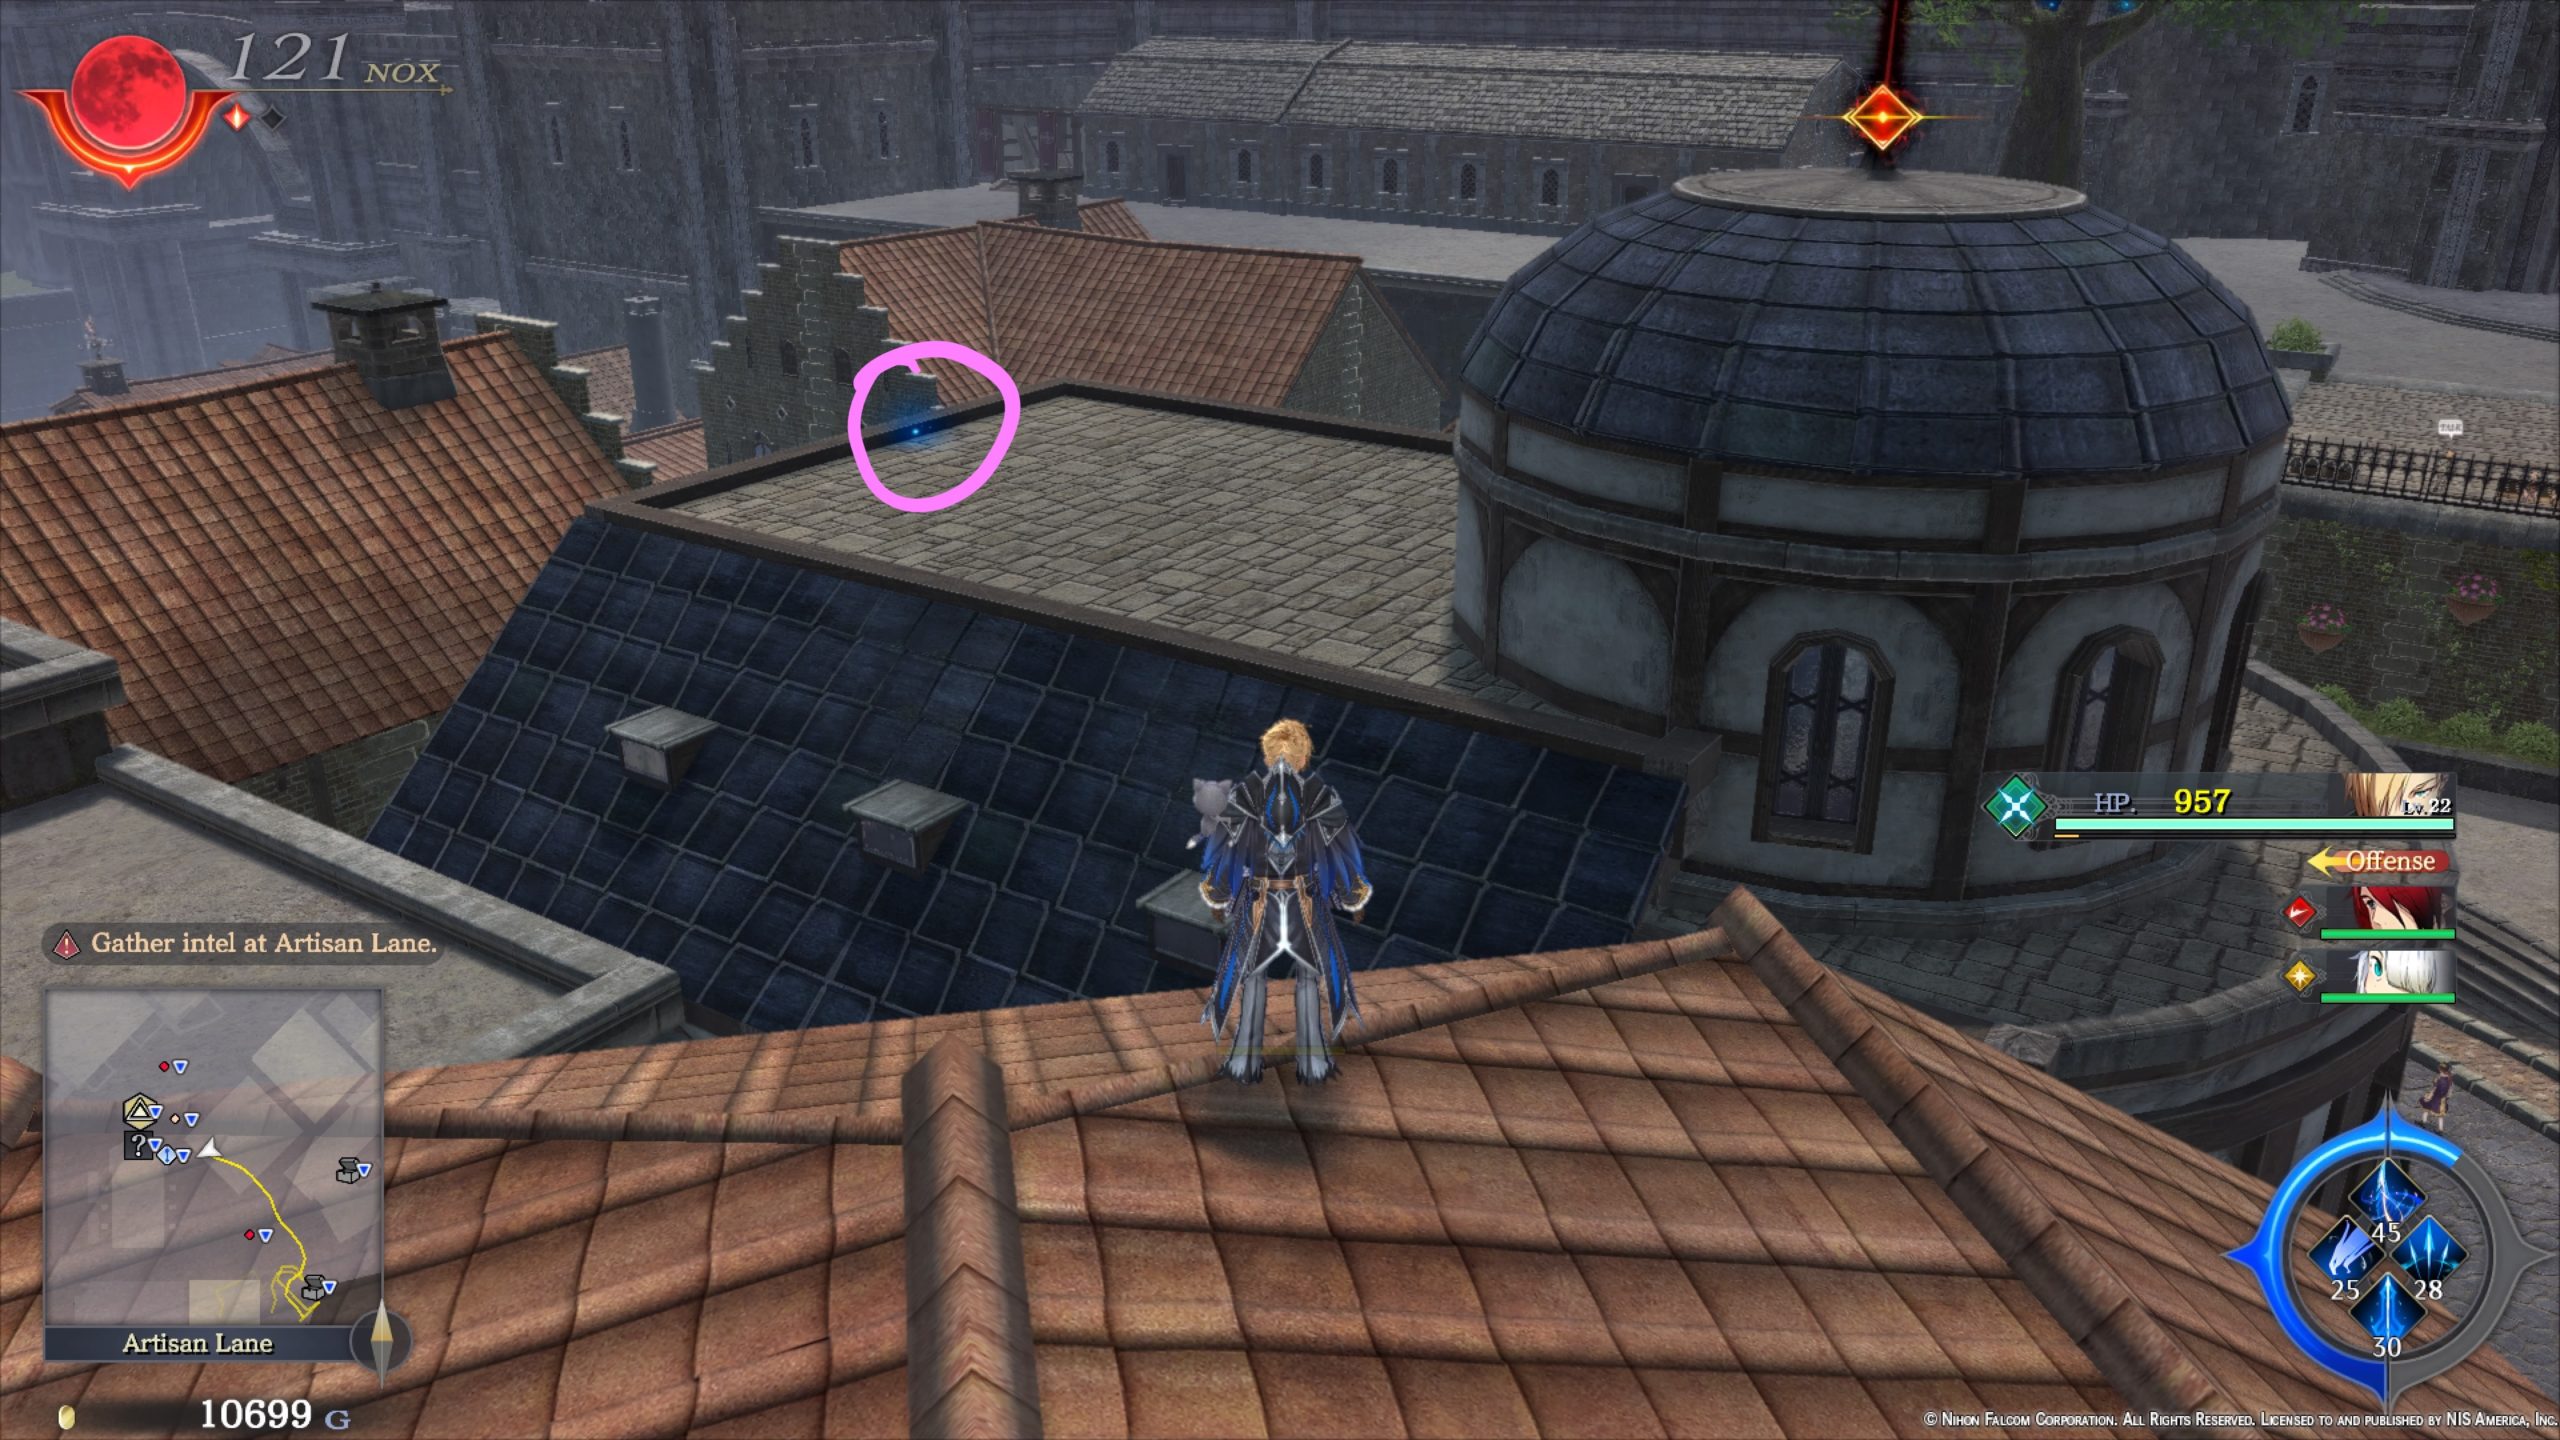
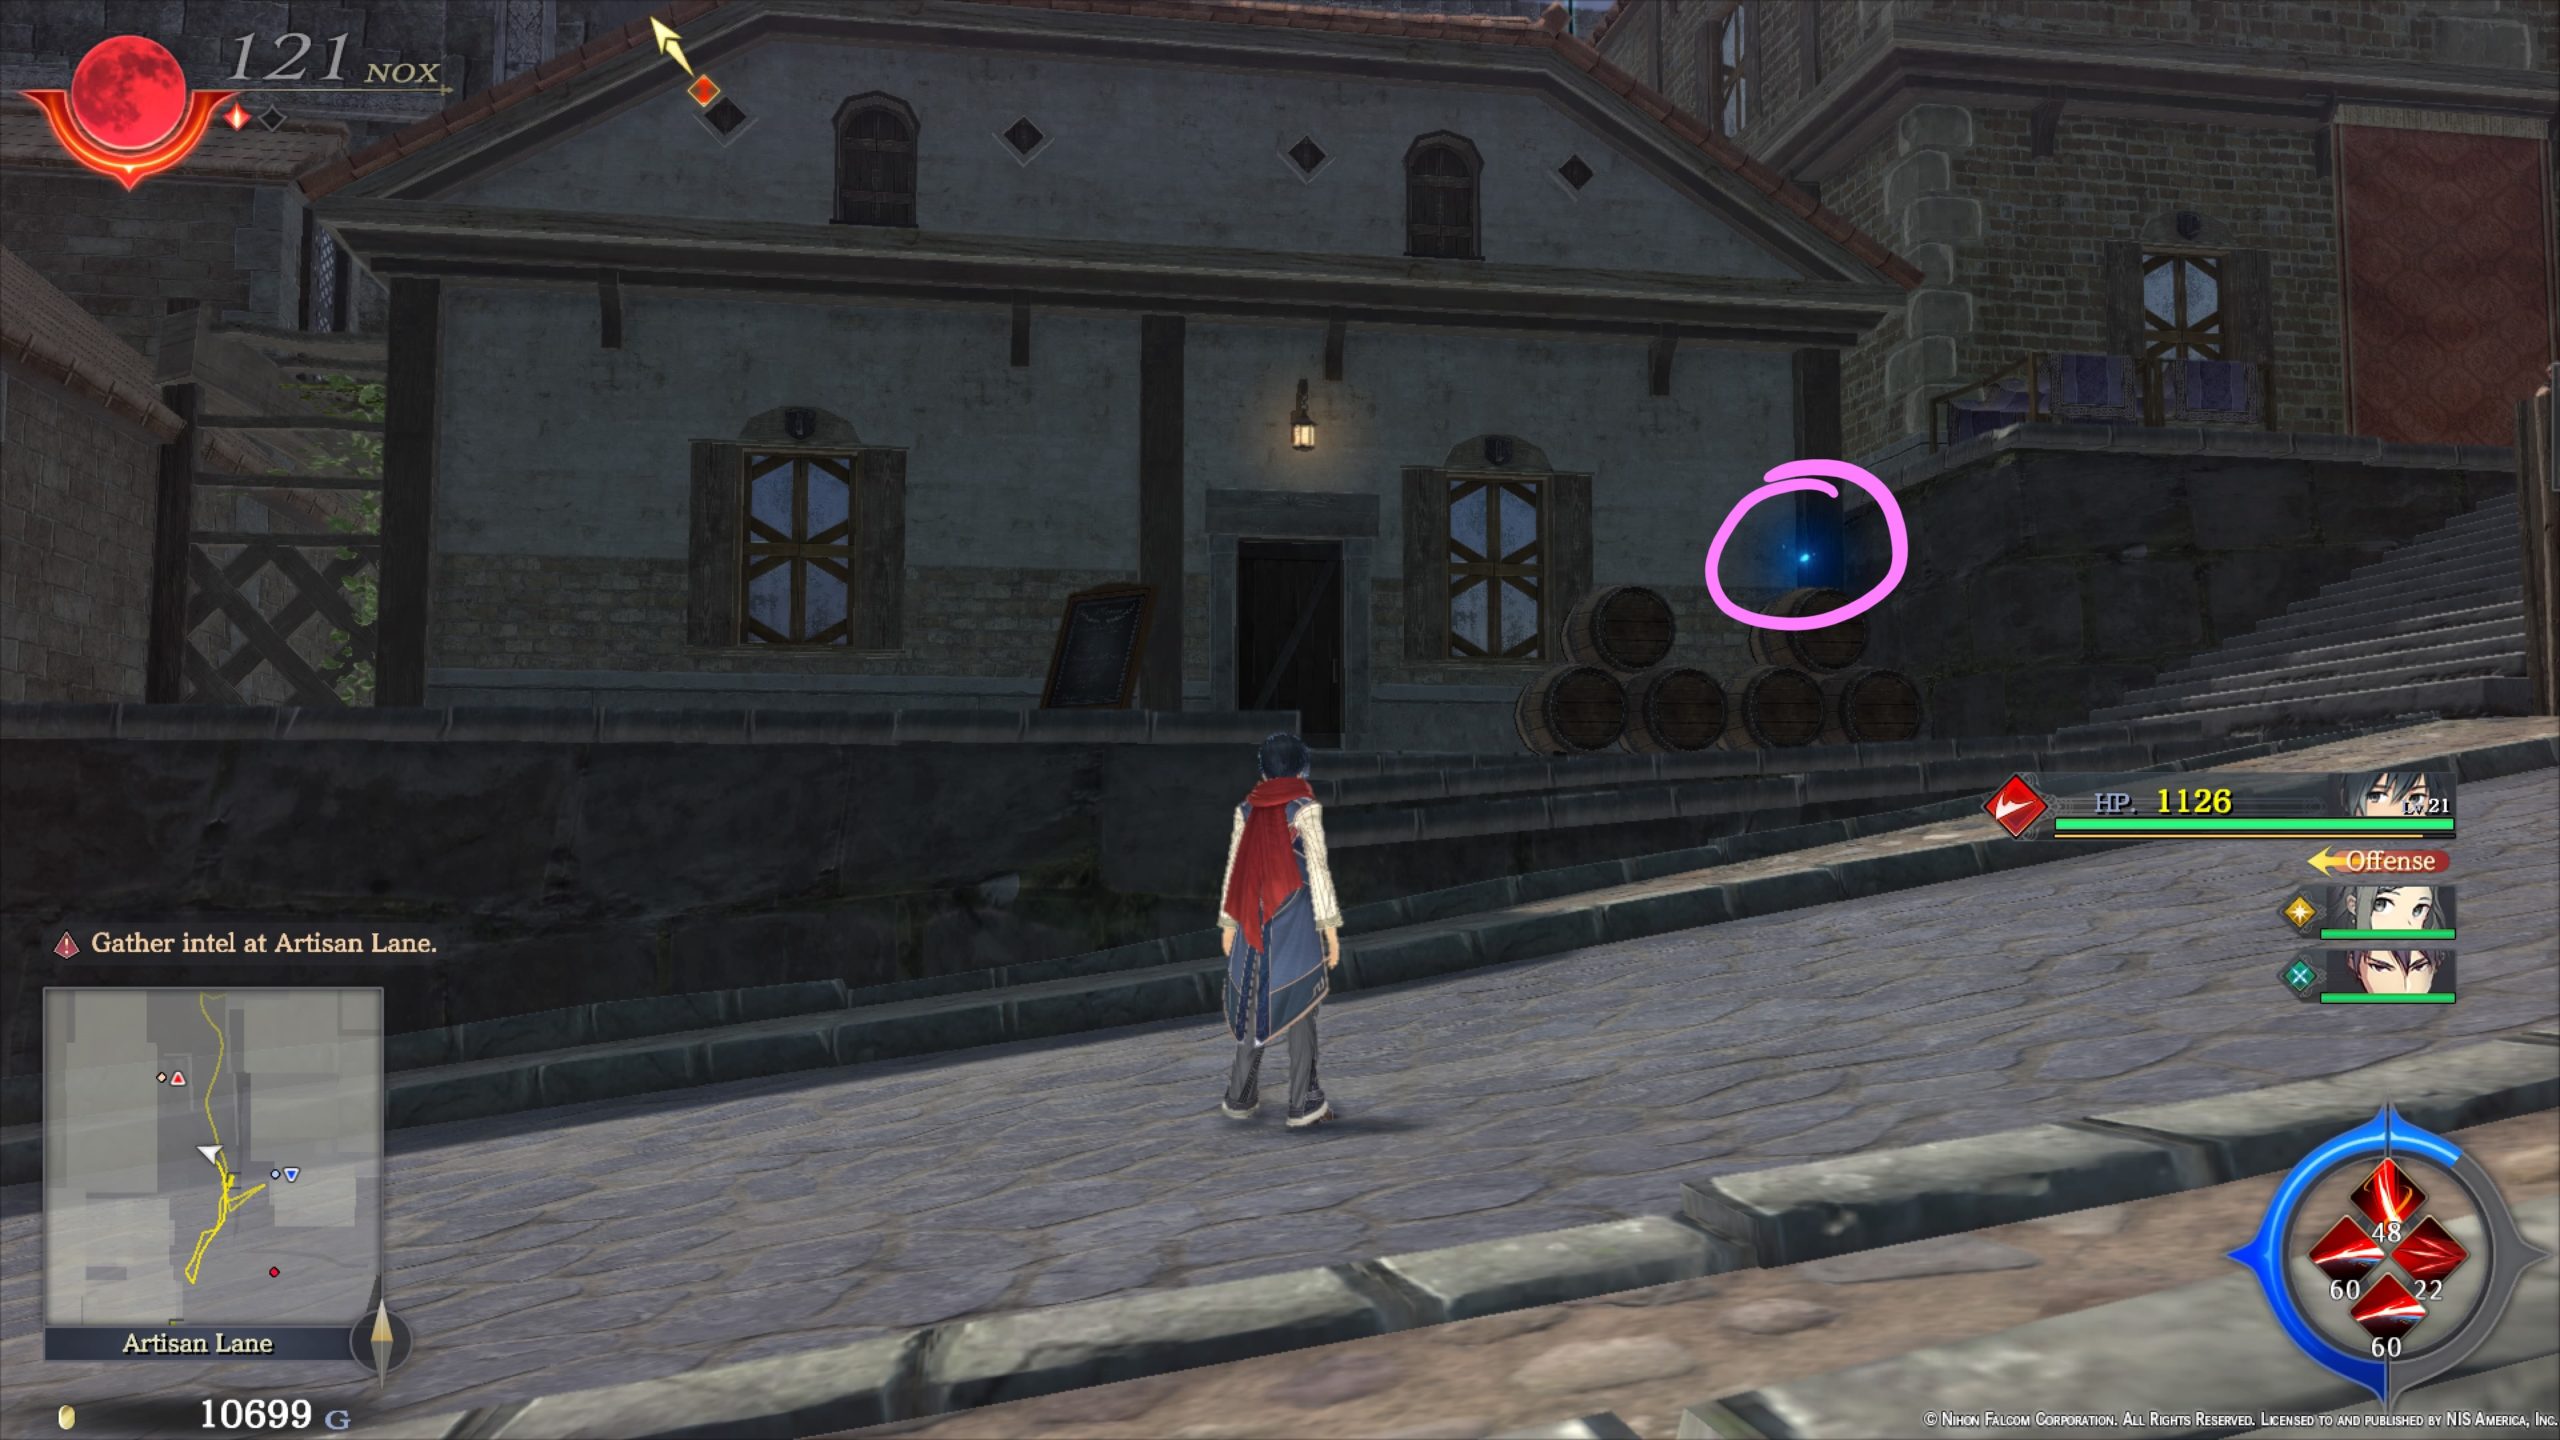
Azure Petals

- On stone tower next to the road leading to the Entertainment District

- On the roof of a building overlooking the Relief Tile
- In a tree next to a wagon near the bridge leading to the Central District
- On the top of the peak of the building southeast of Marcel’s Smithery
- On the wood jutting out of the side of the building southeast of Marcel’s Smithery
- On the roof of Marcel’s Smithery
- South of Marcel’s Smithery under an overhang containing a fire

- On a stack of barrels outside of a building between Rijndael Antiques and Marcel’s Smithery
- On a balcony behind Rijndael Antiques
- On a stack of stones behind a building with 2 sheep signs diagonally from Marcel’s Smithery
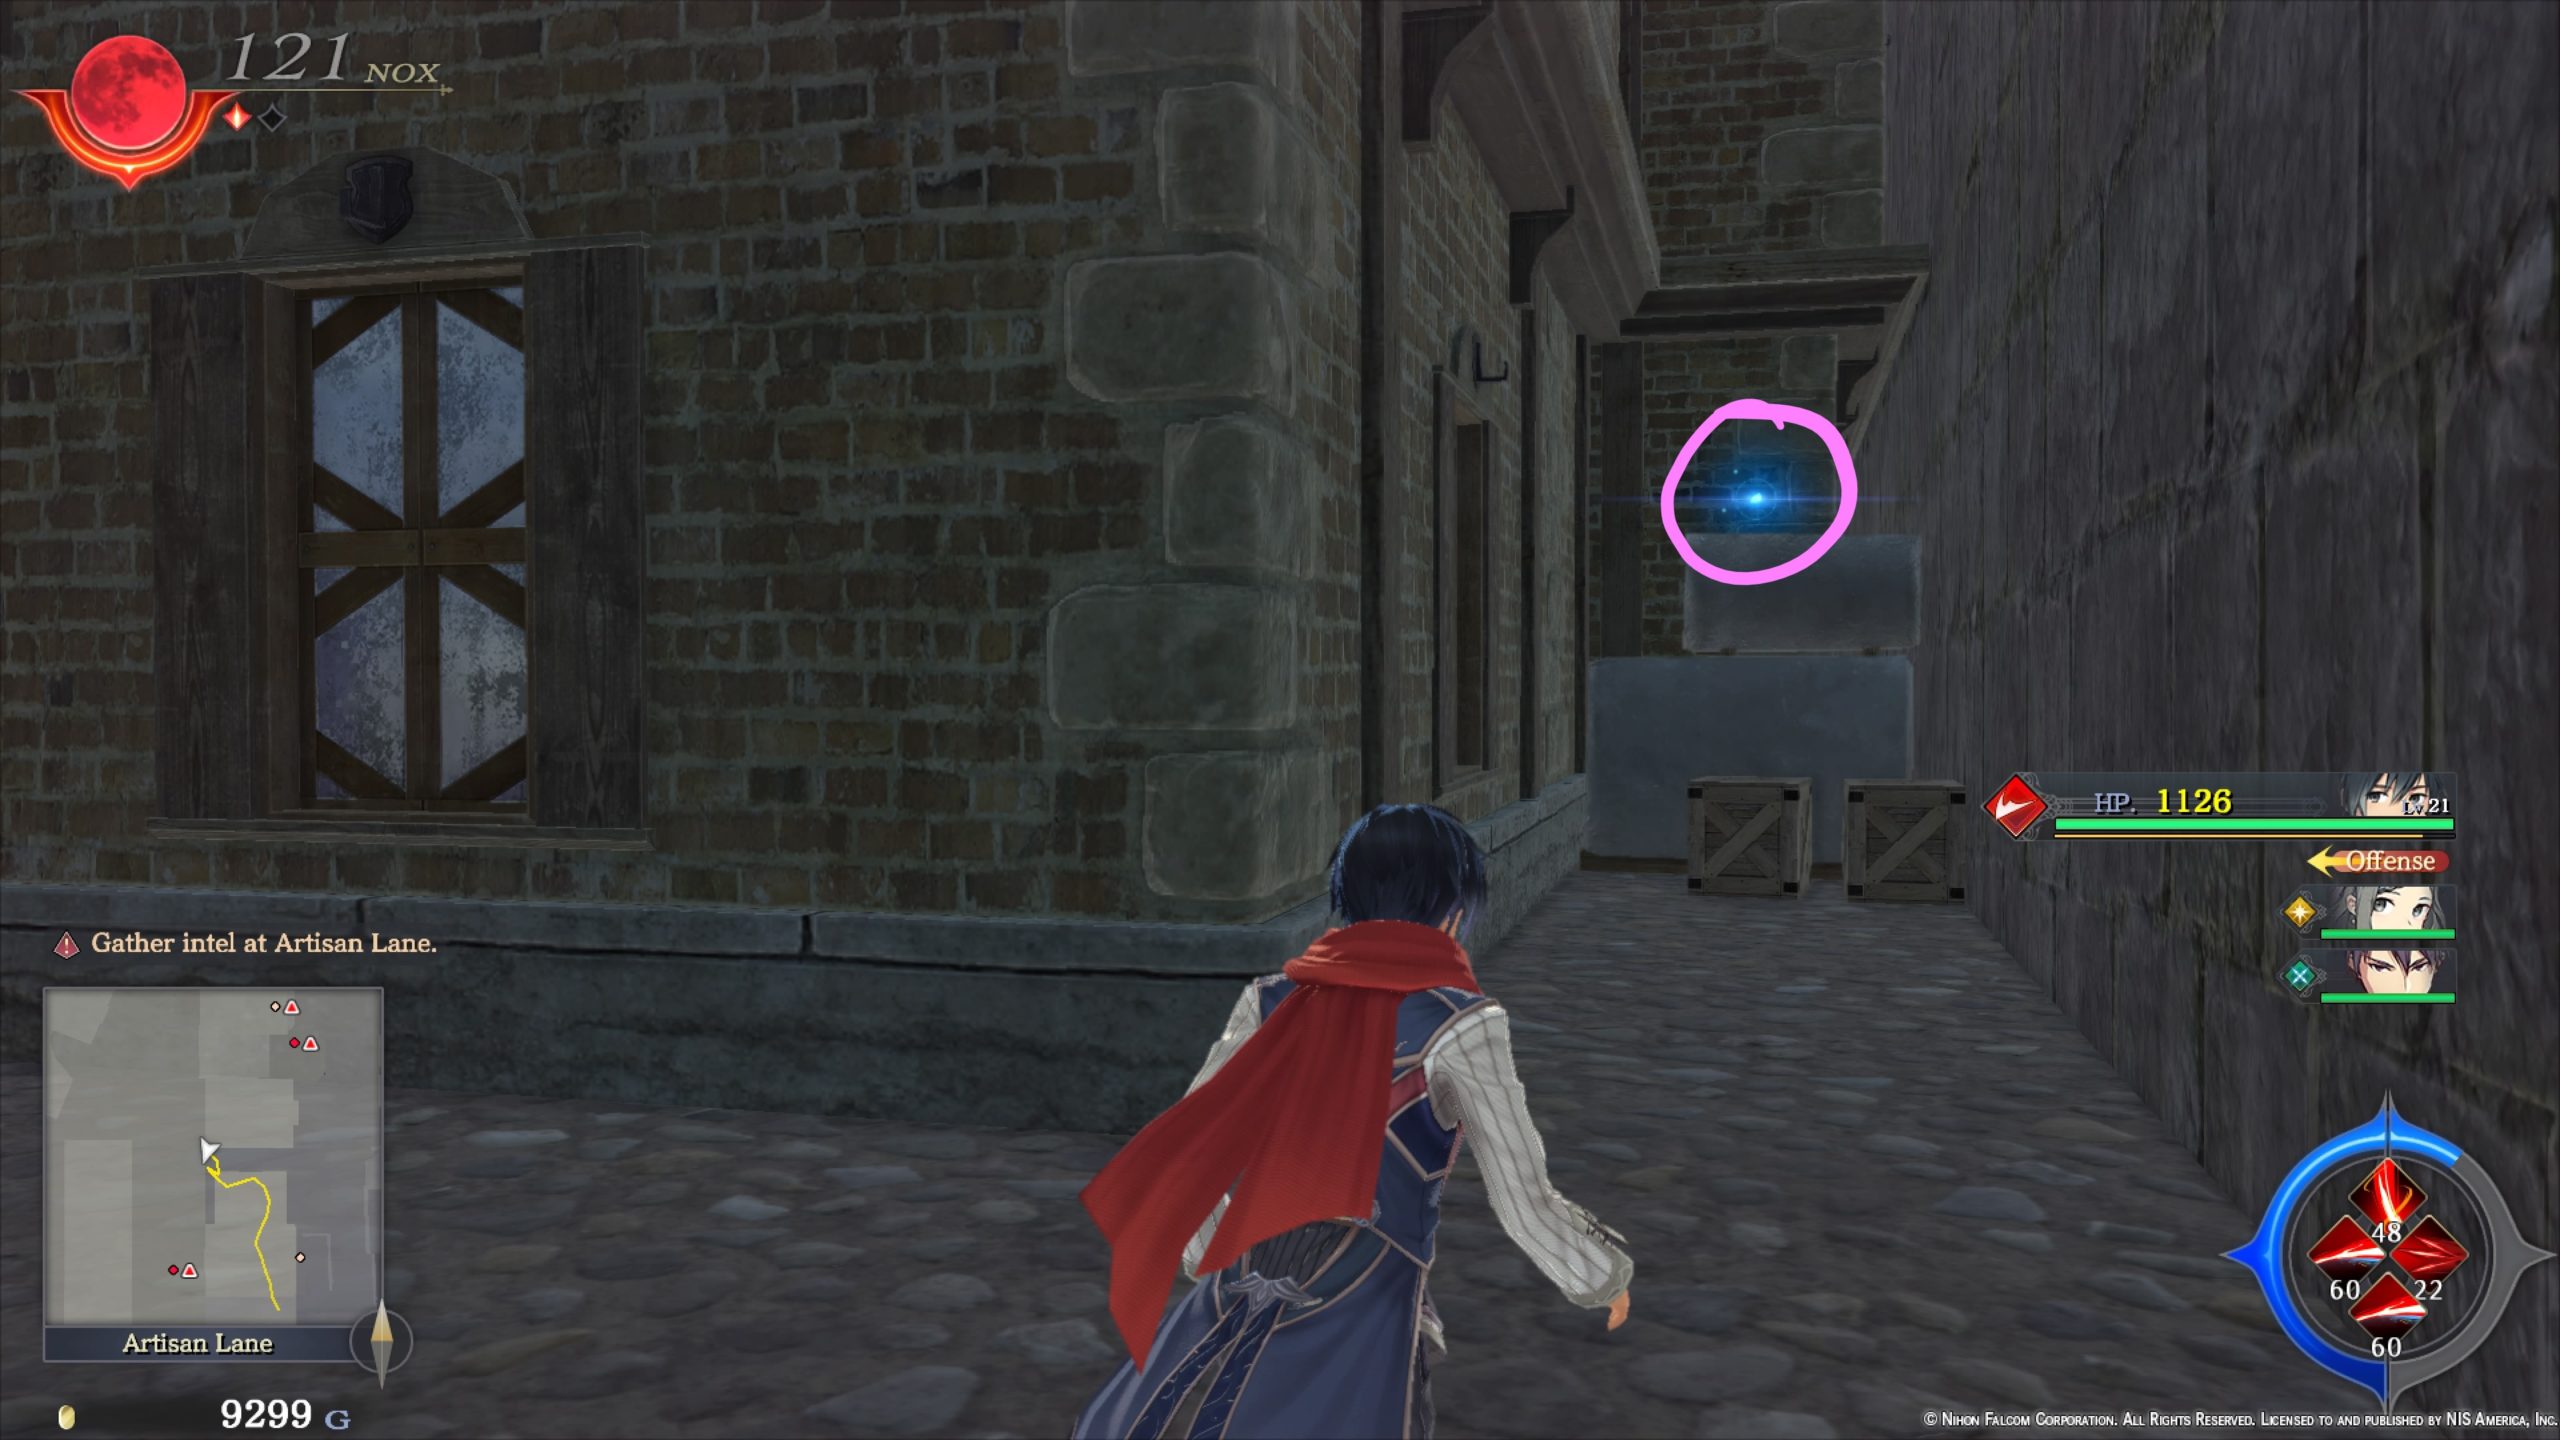
- On a stack of barrels in the southwestern part of the area near the long building

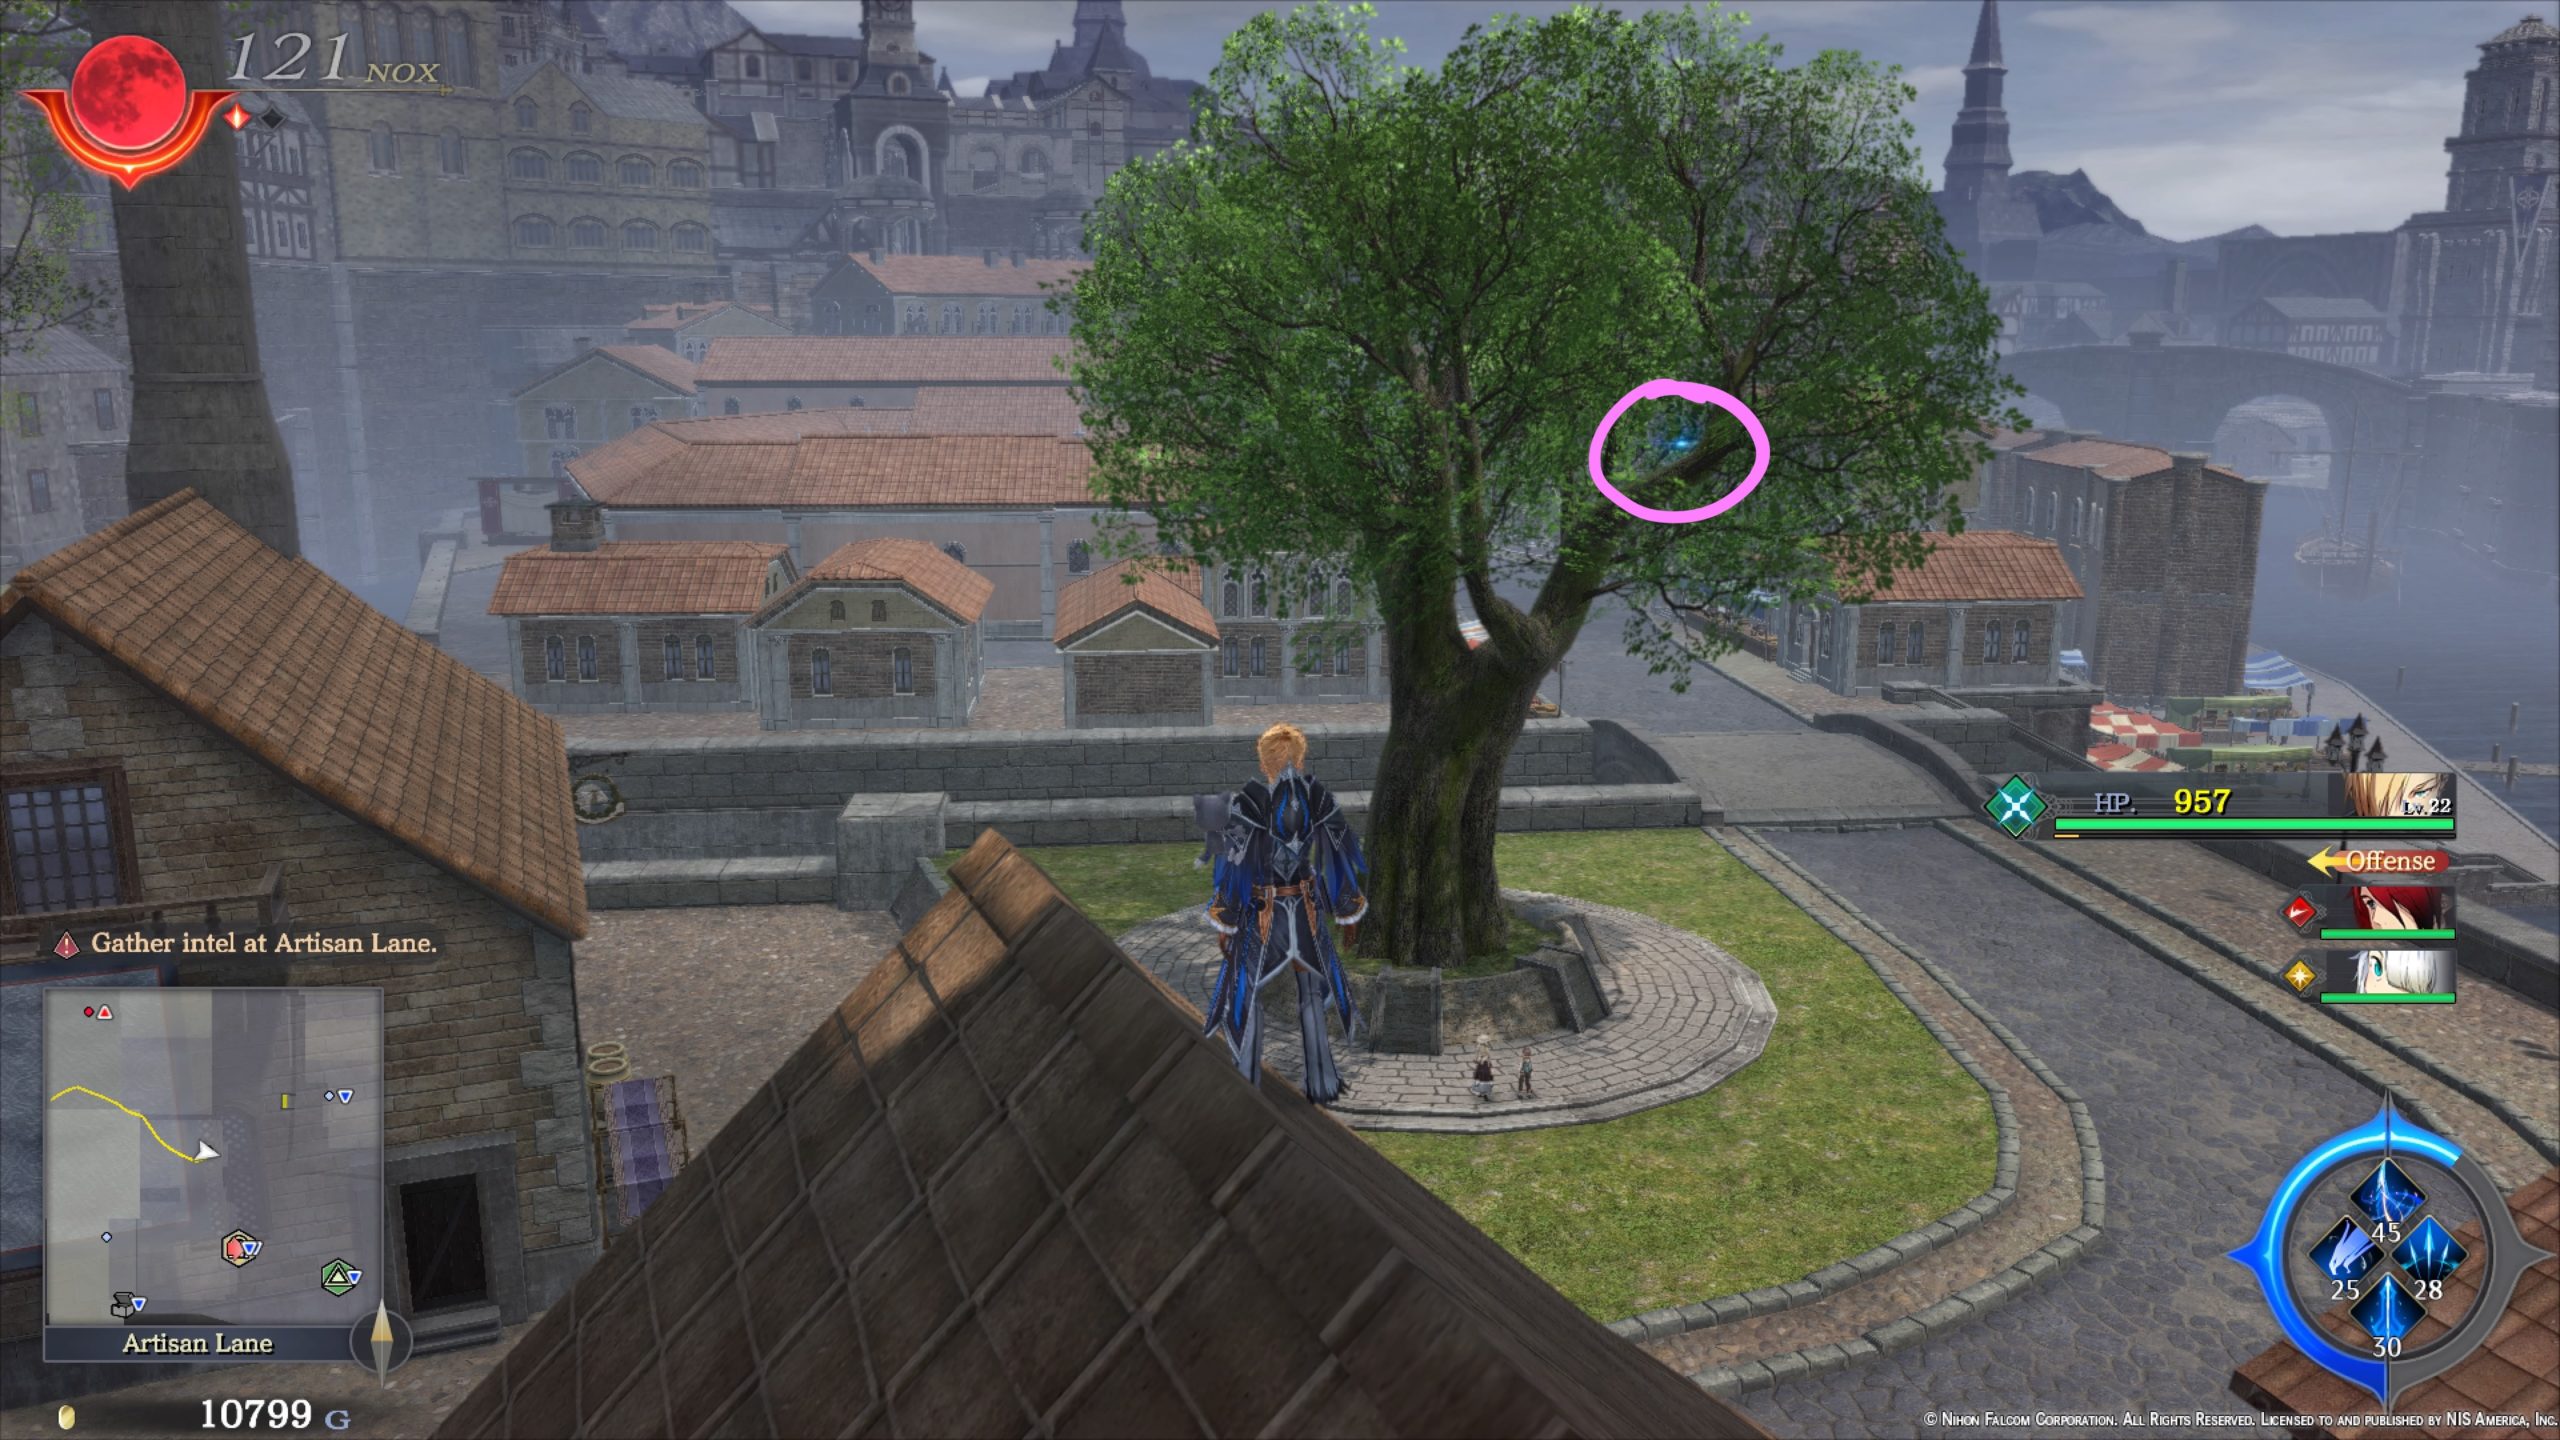
- 3 in a giant tree in the southwestern part of the area near a long building
- In a bush at the top of some stairs leading to the upper level of the area

- In a Romun storage shack
- In the Memorial Tree landmark
- At the top of the outer wall in the central western part of the area near a long building

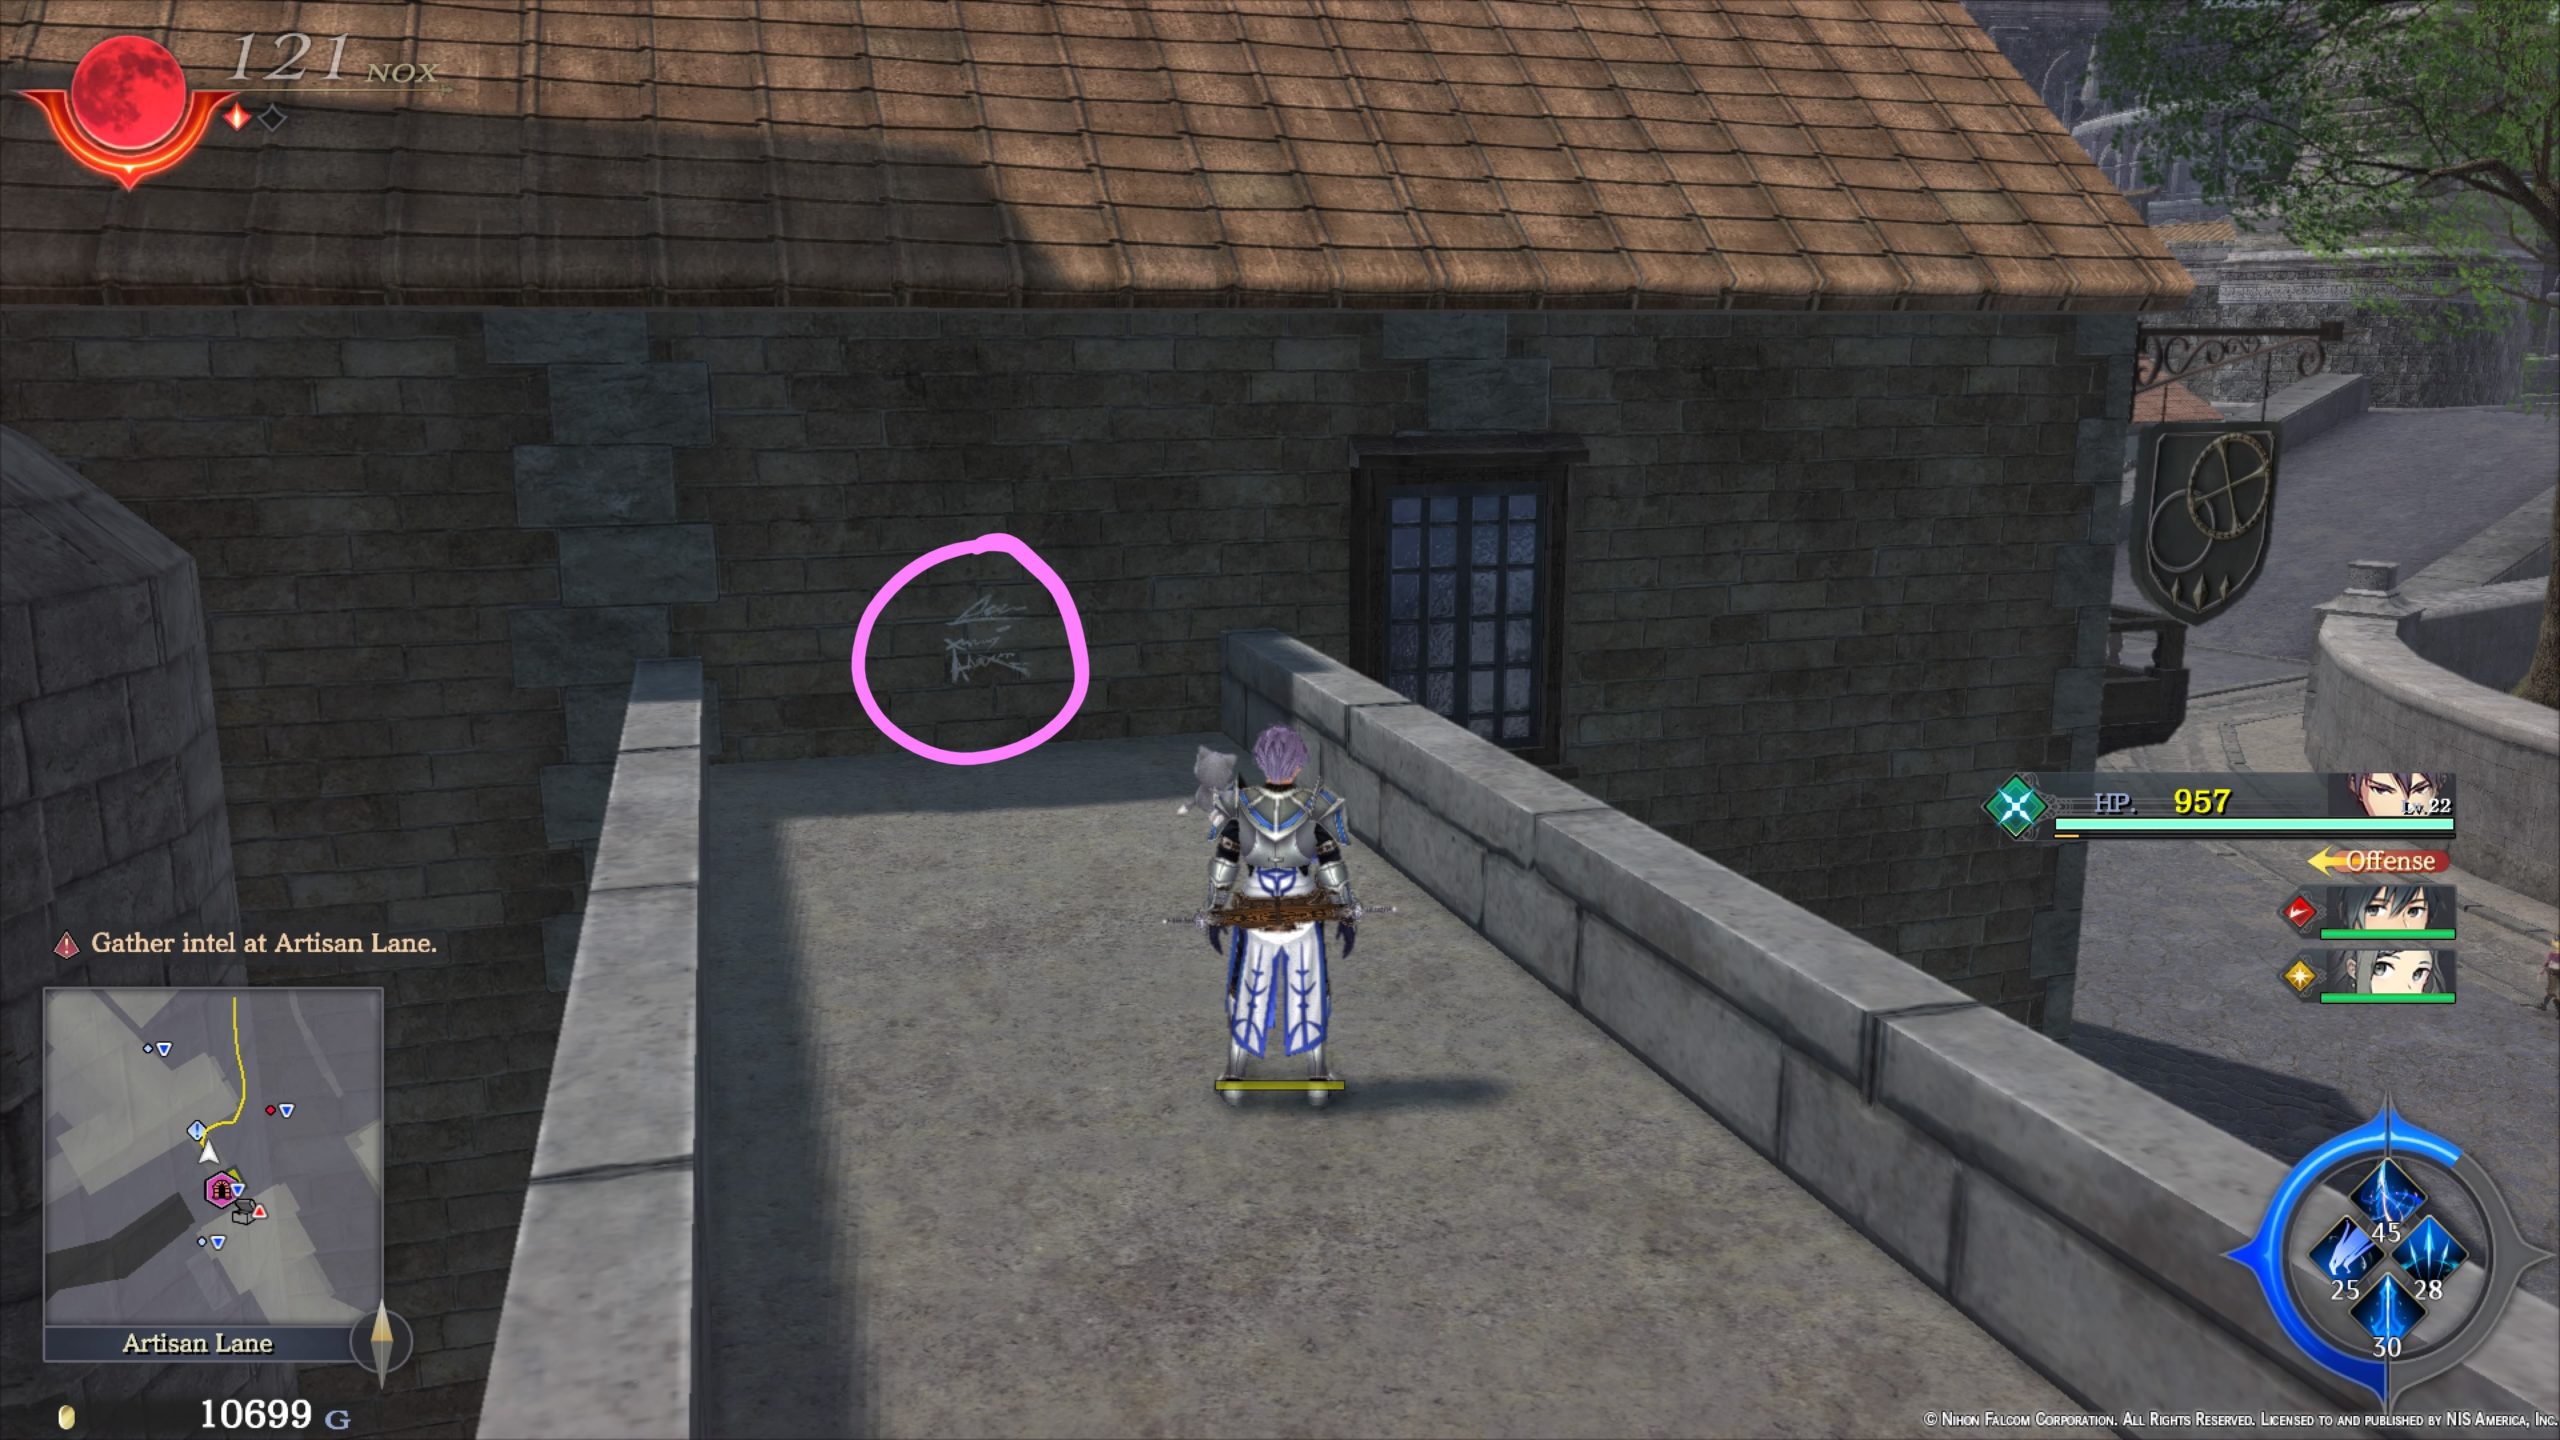
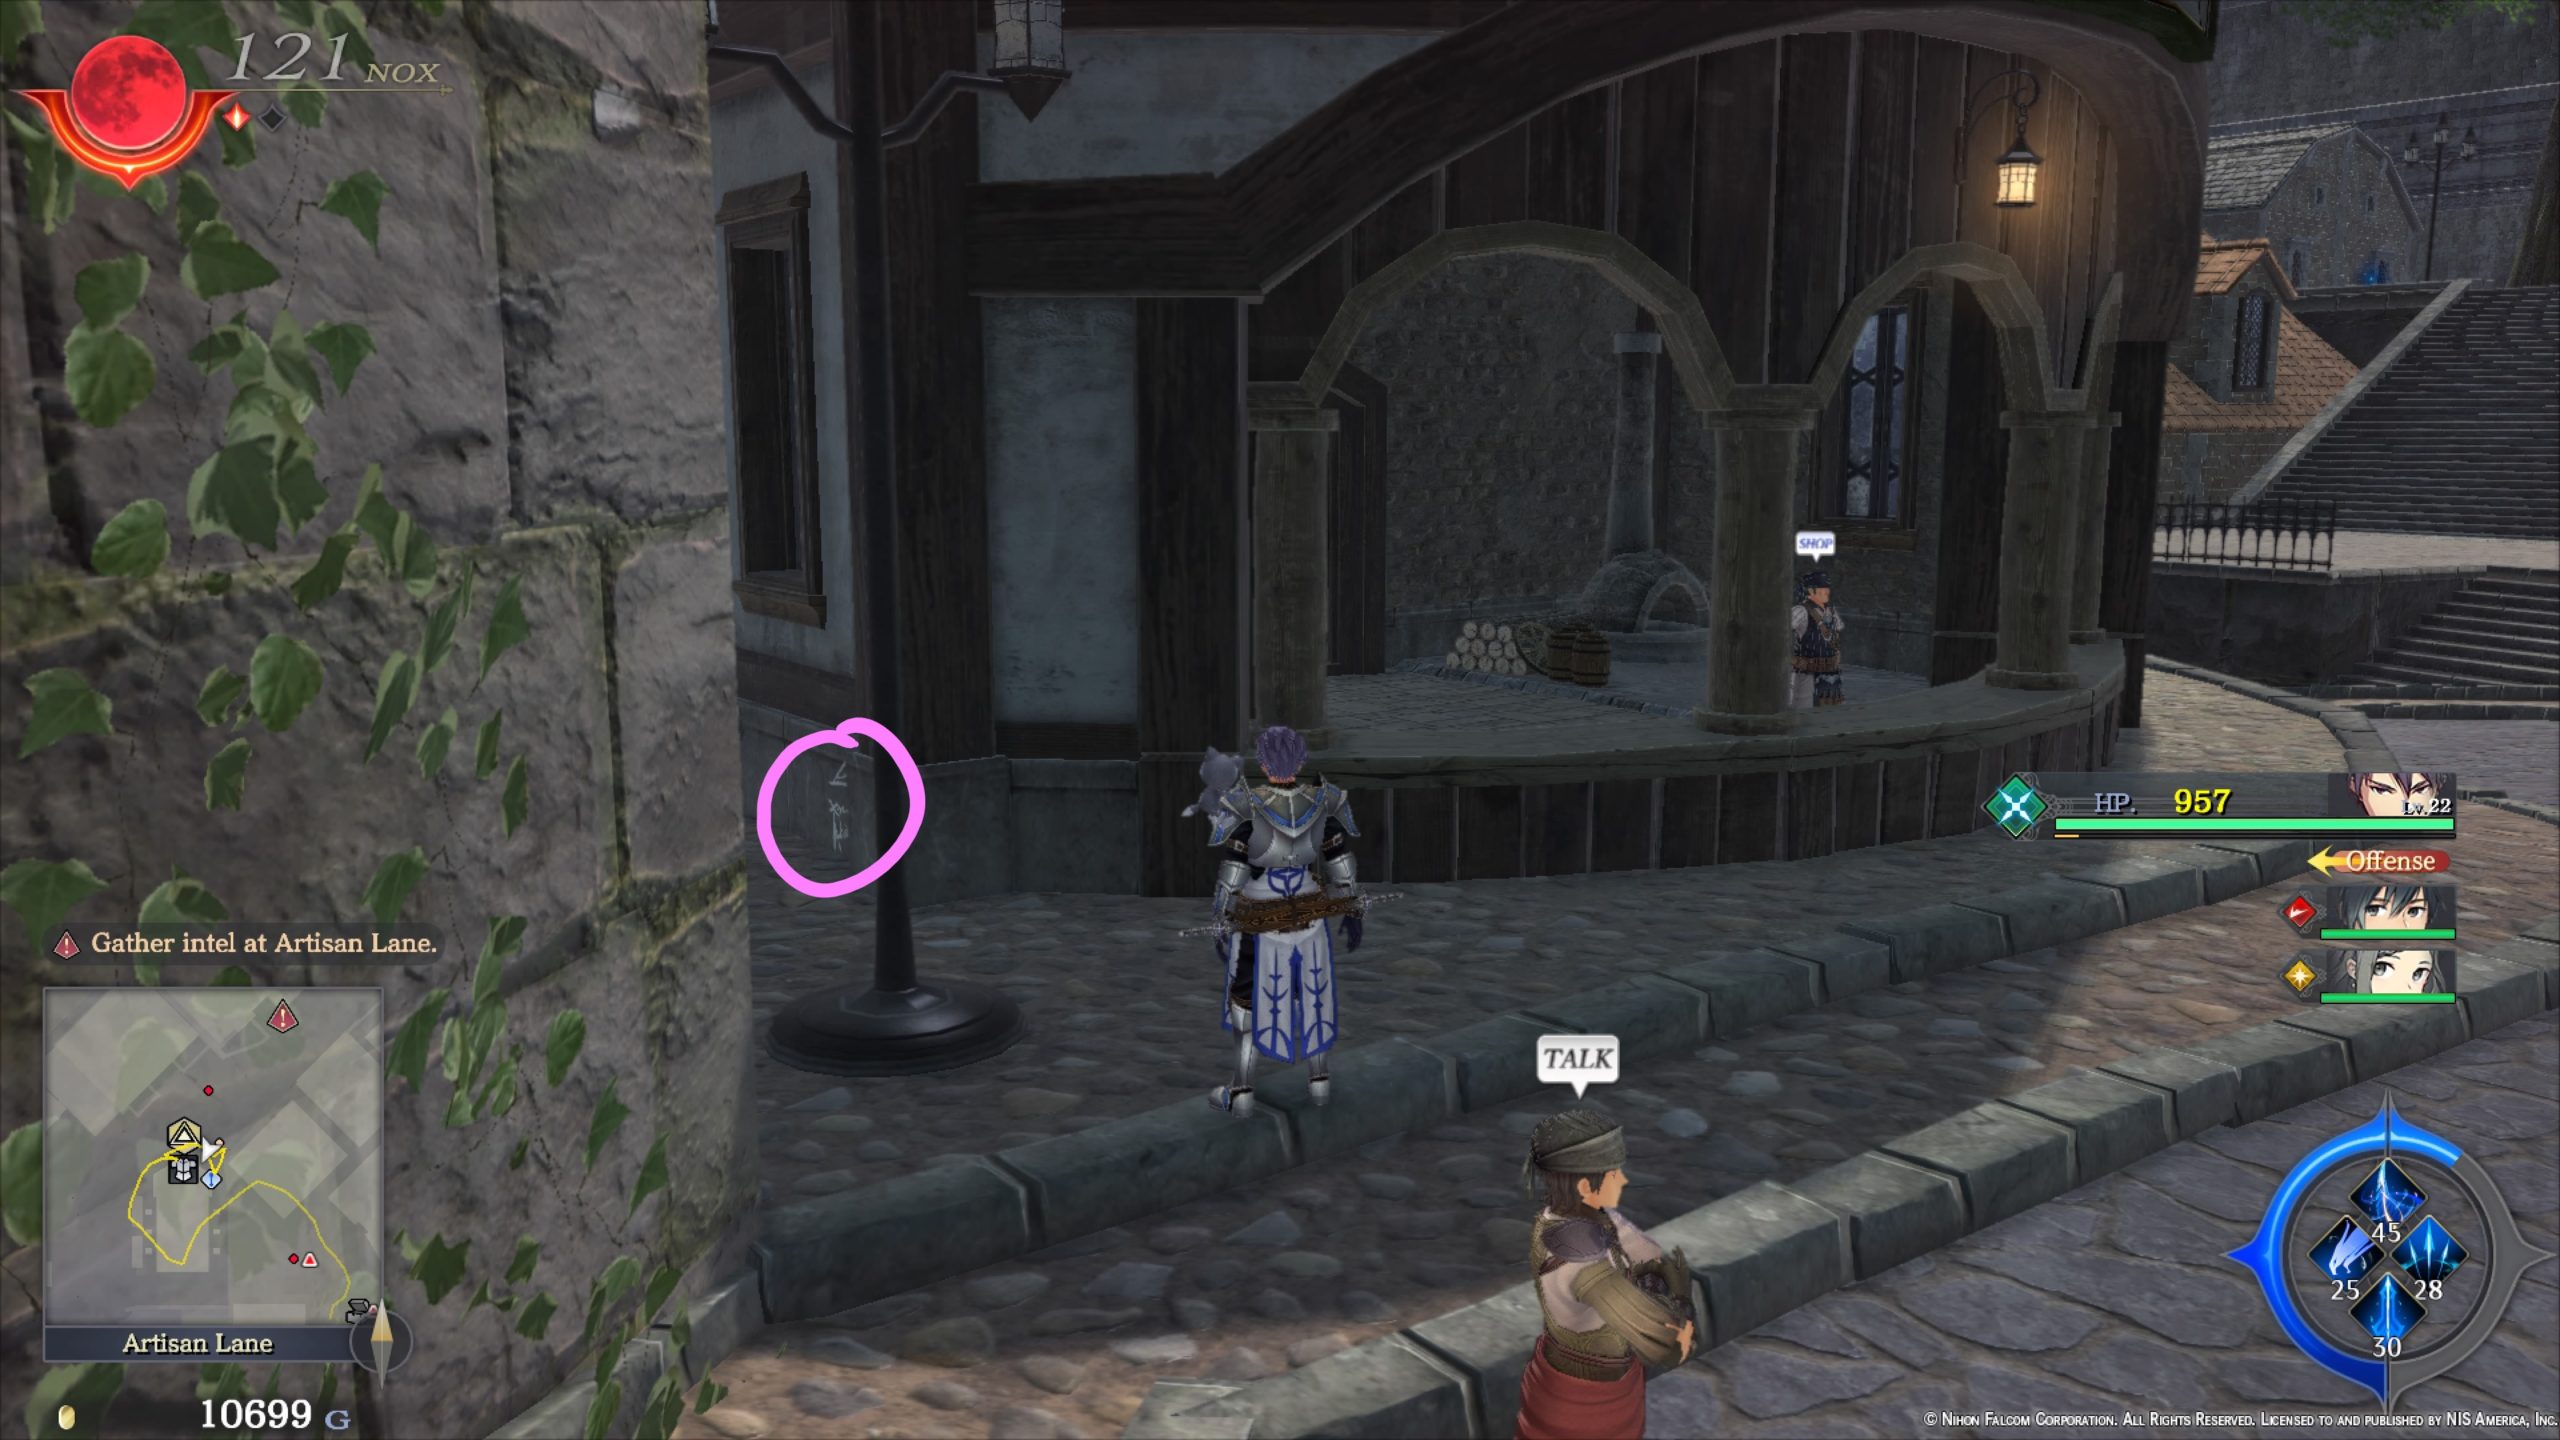
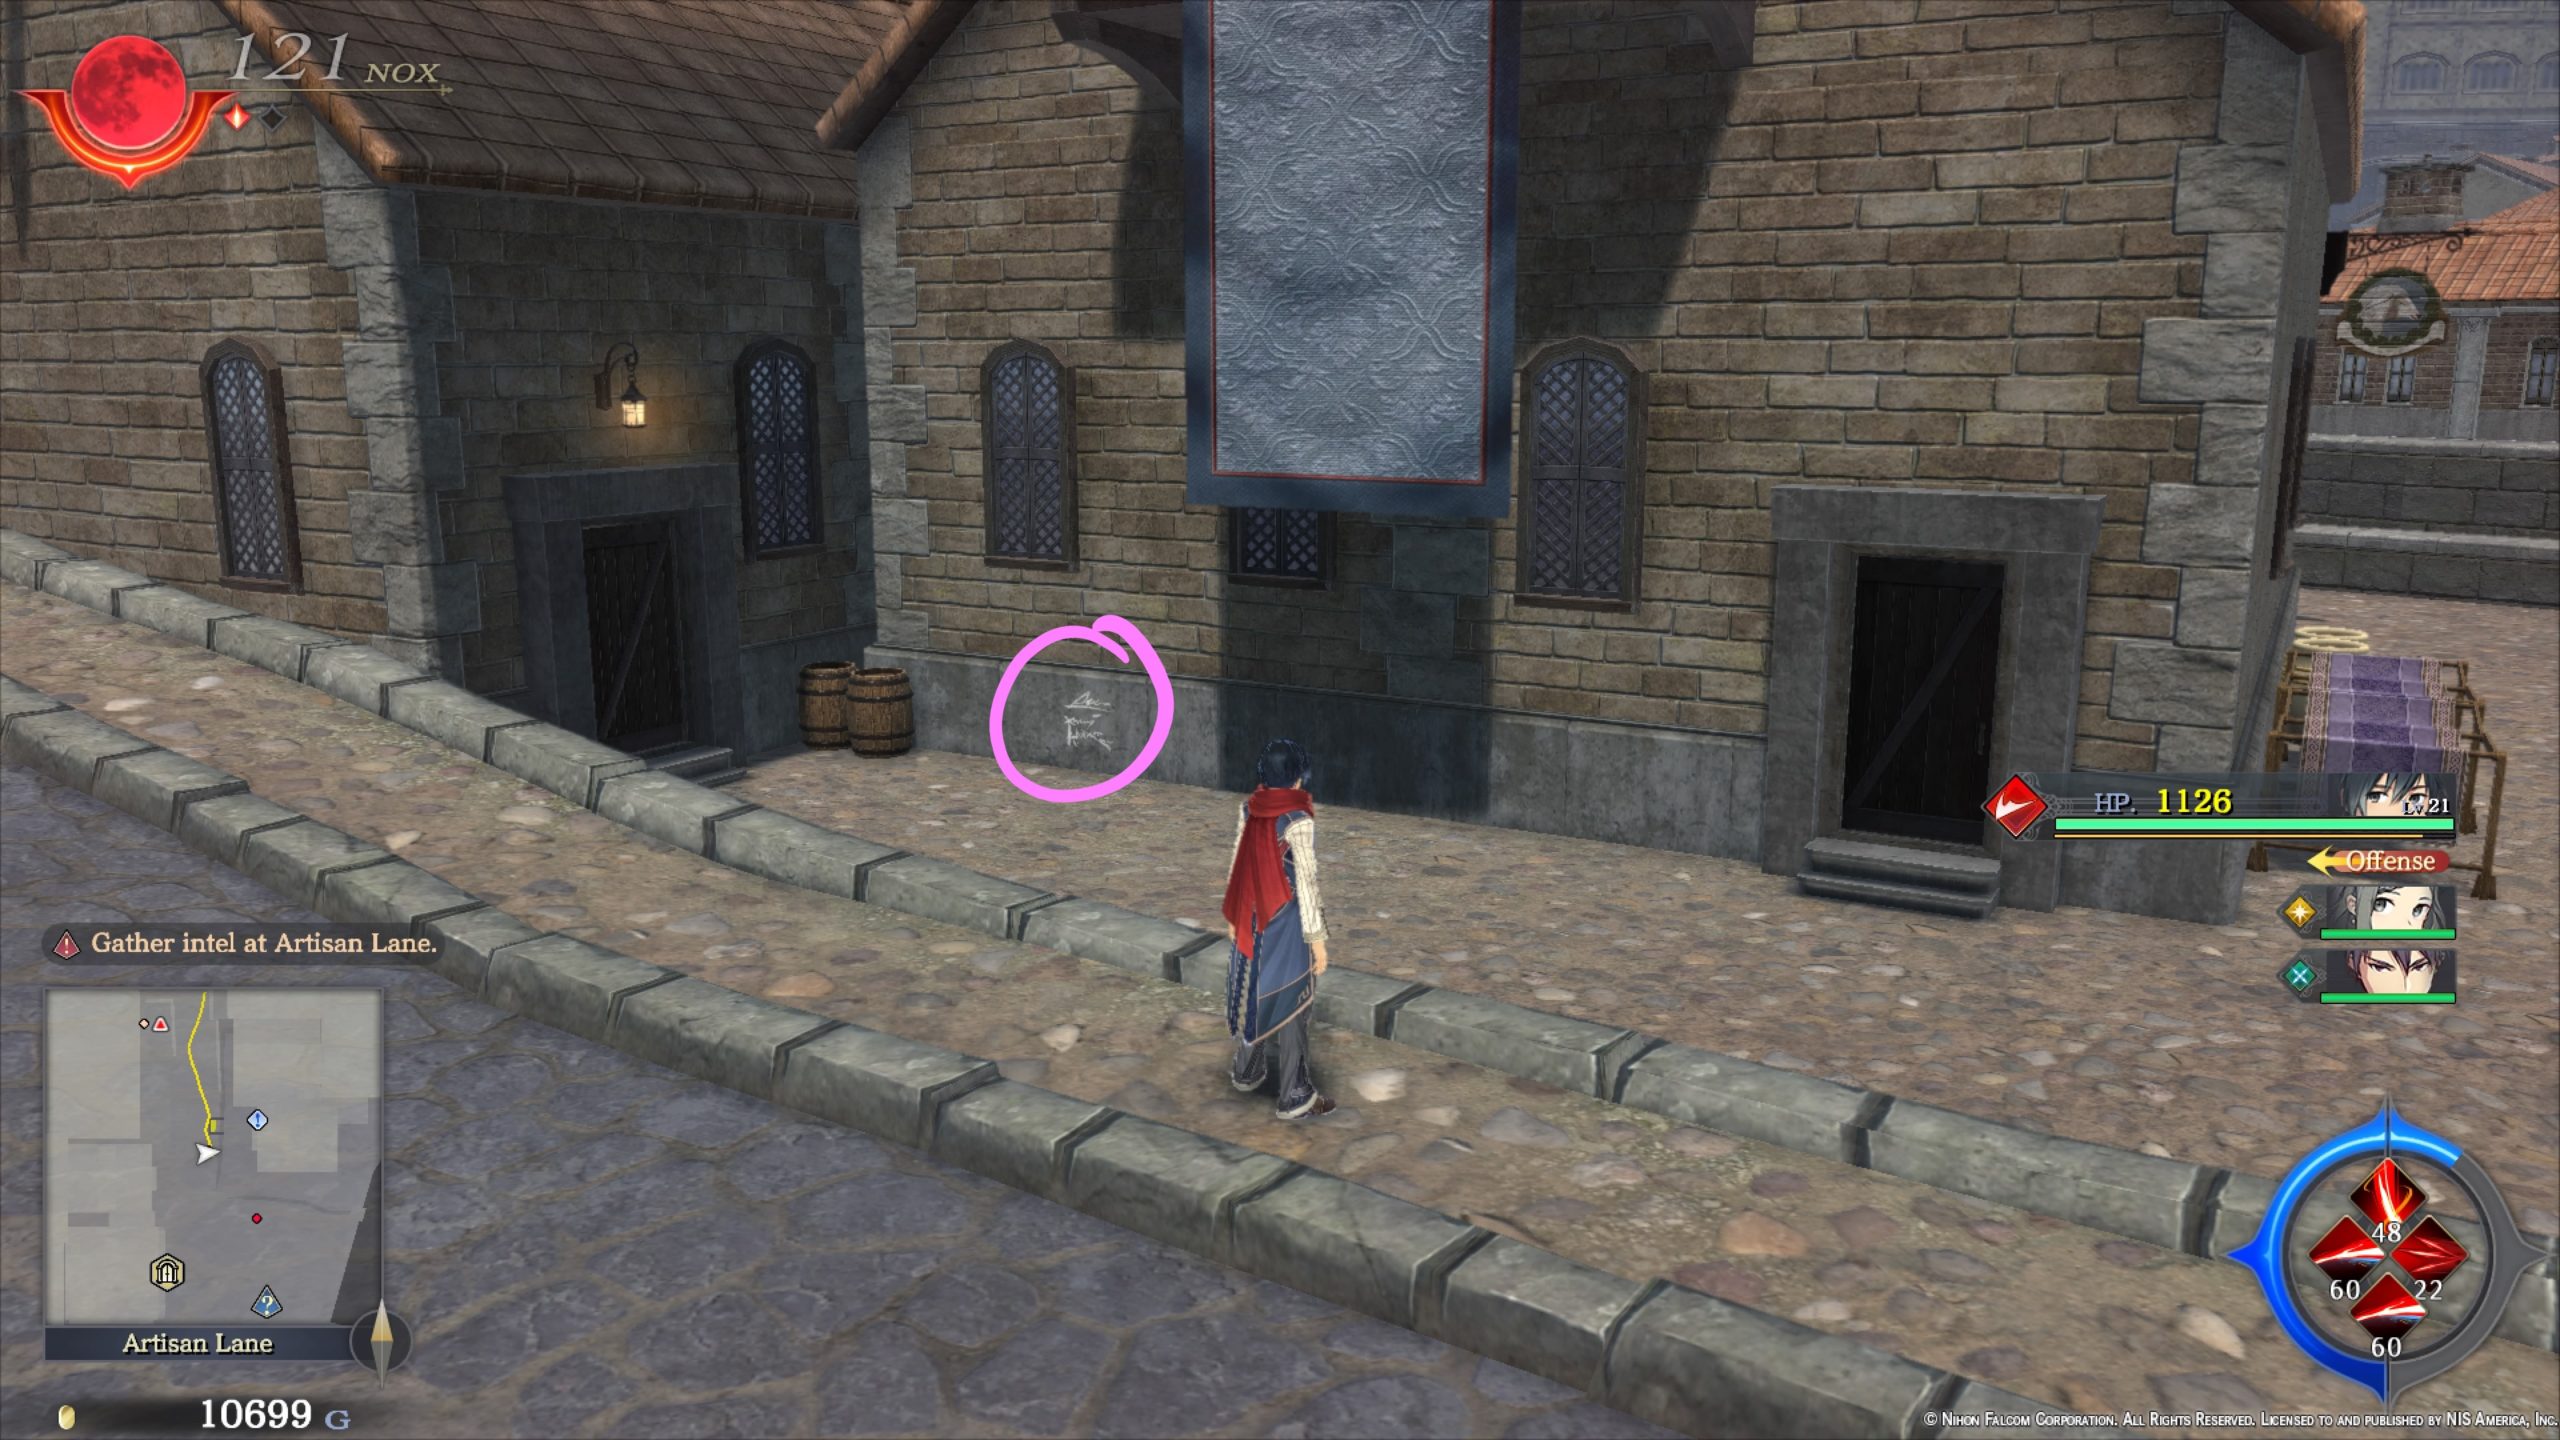
Graffiti
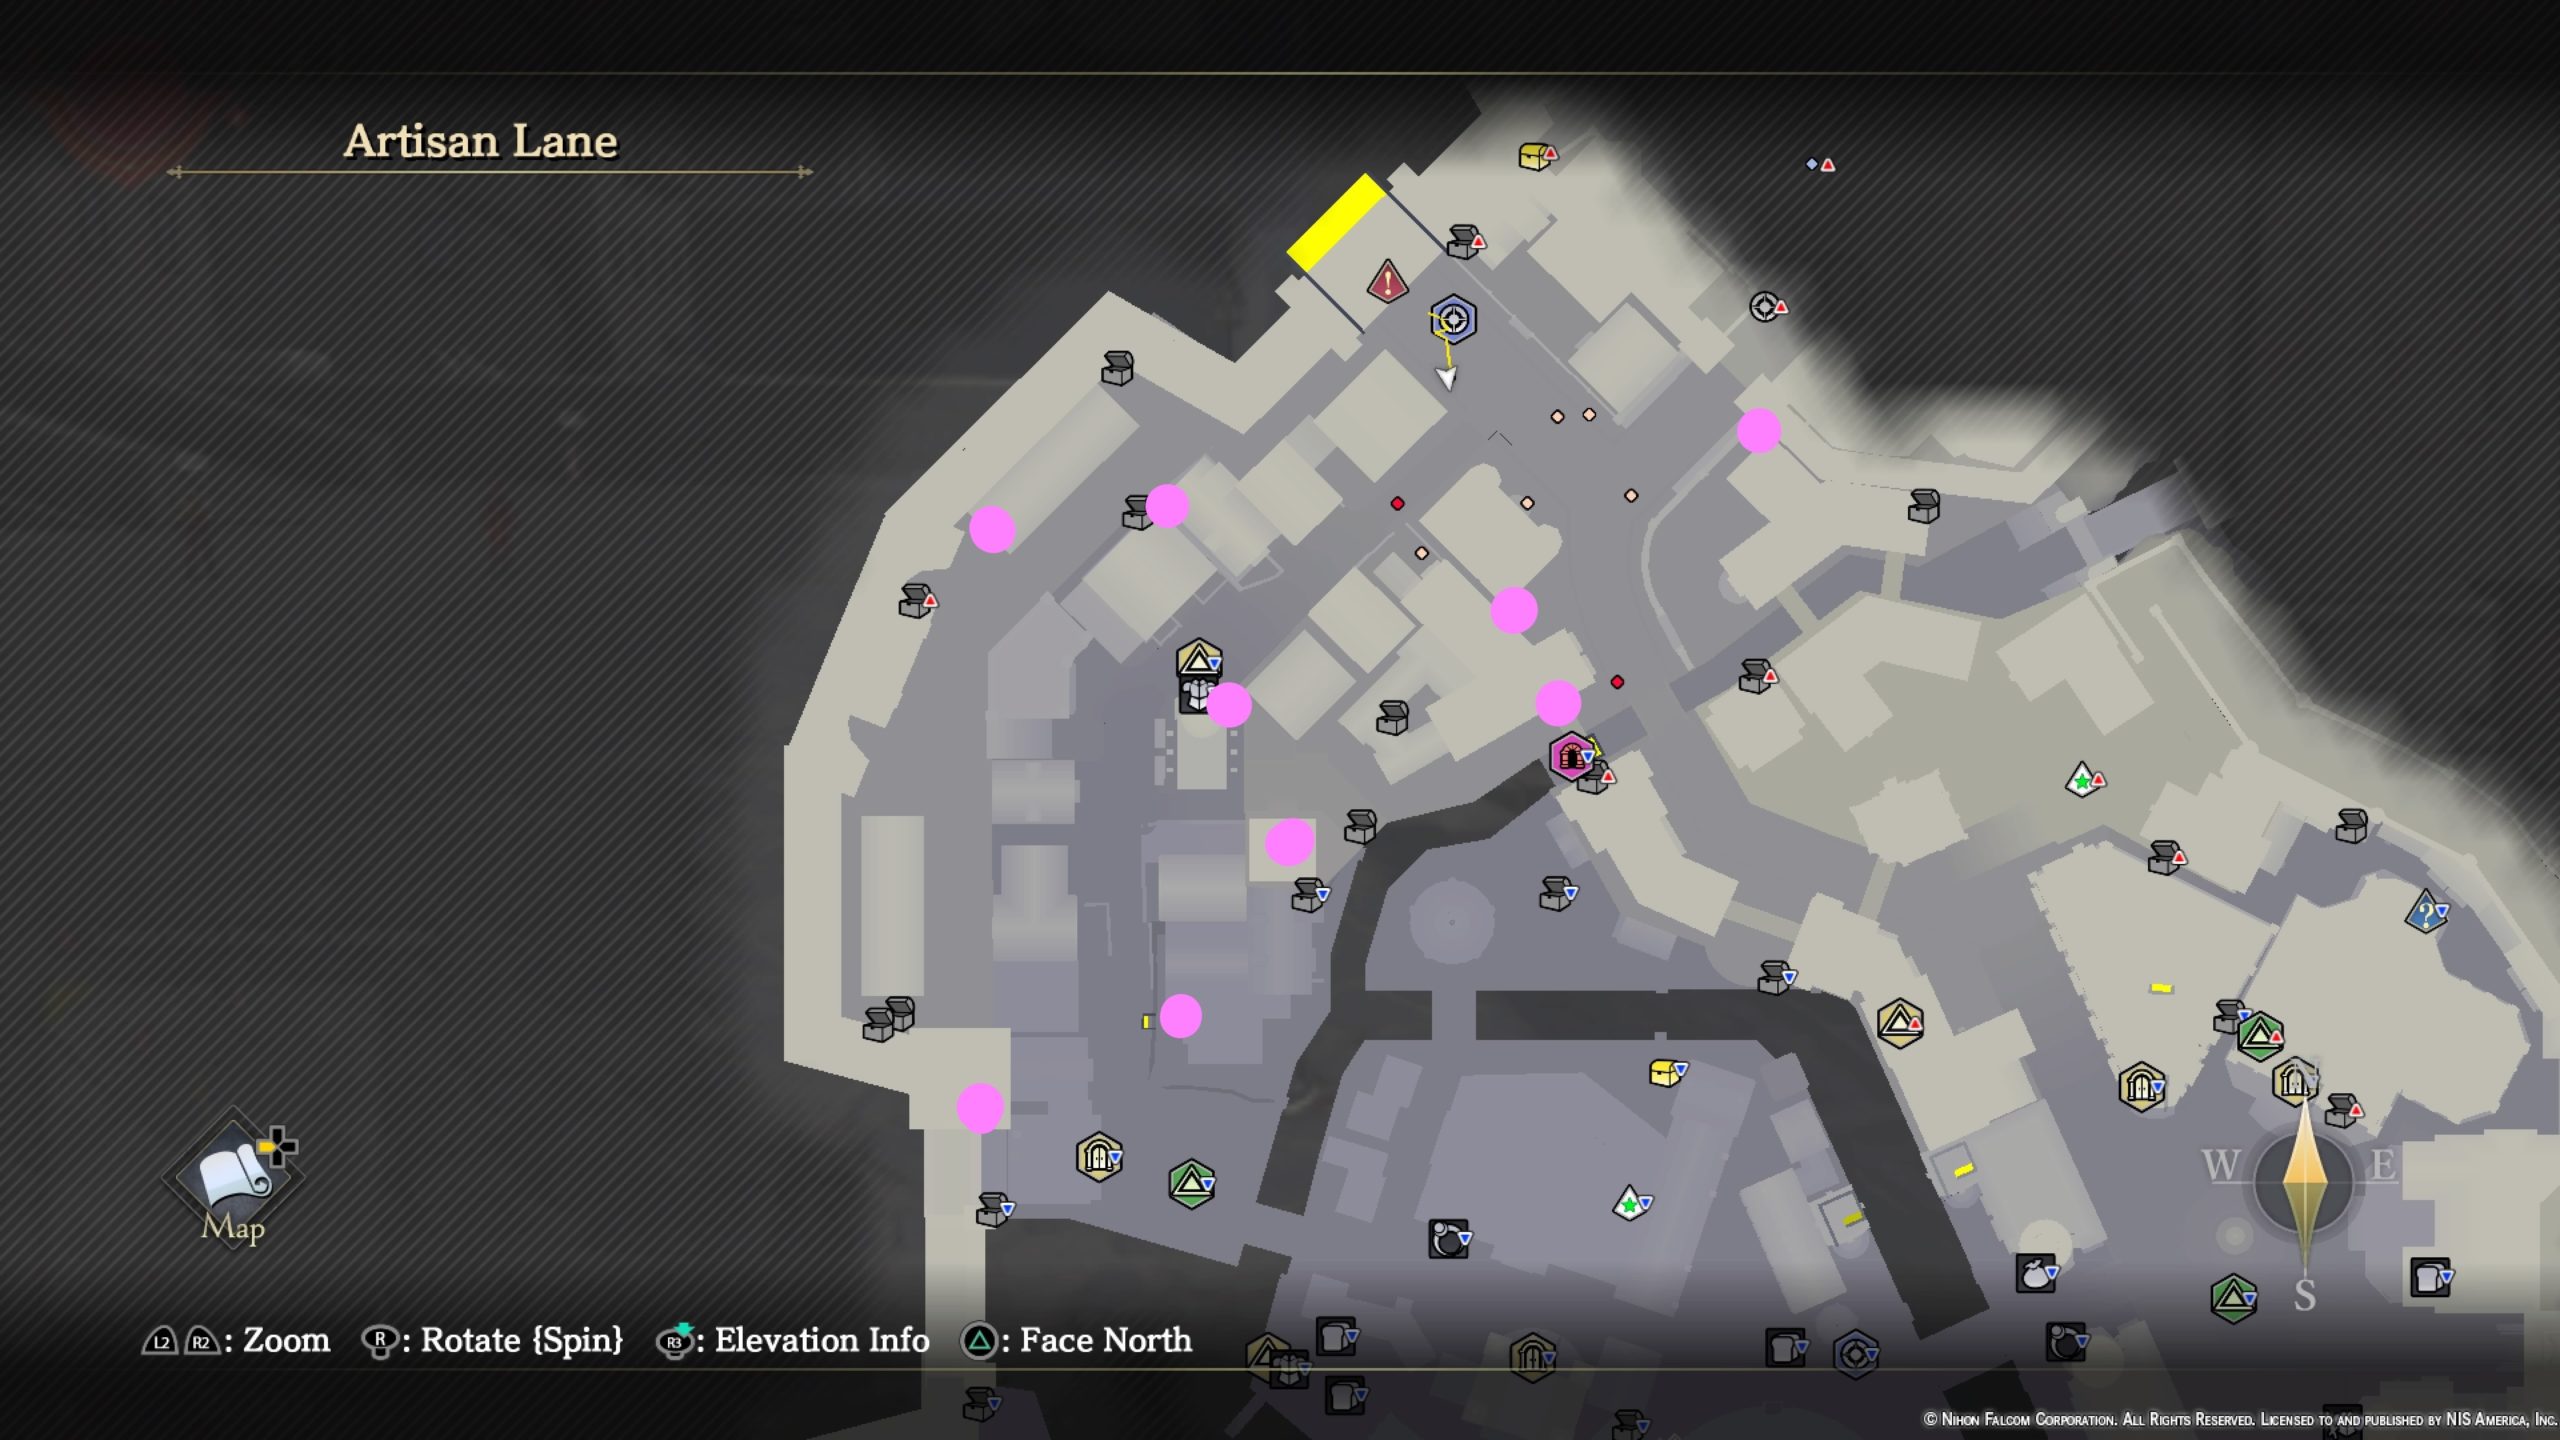
- On the bottom right side of the stone tower next to the road leading to the Entertainment District
- On the side of a building next to a giant tree with a wagon near the bridge leading to the Central District

- On the side of a building at the top of an archway above the waterfall
- Above wood jutting out of the side of the building southeast of Marcel’s Smithery

- Facing Marcel’s Smithery, it is located on the left side of the building behind a streetlight next to some barrels.
- On the side of a building under a blue rug hanging from a balcony
- On a balcony behind Rijndael Antiques

- On the side of a long building in the northwestern part of the area
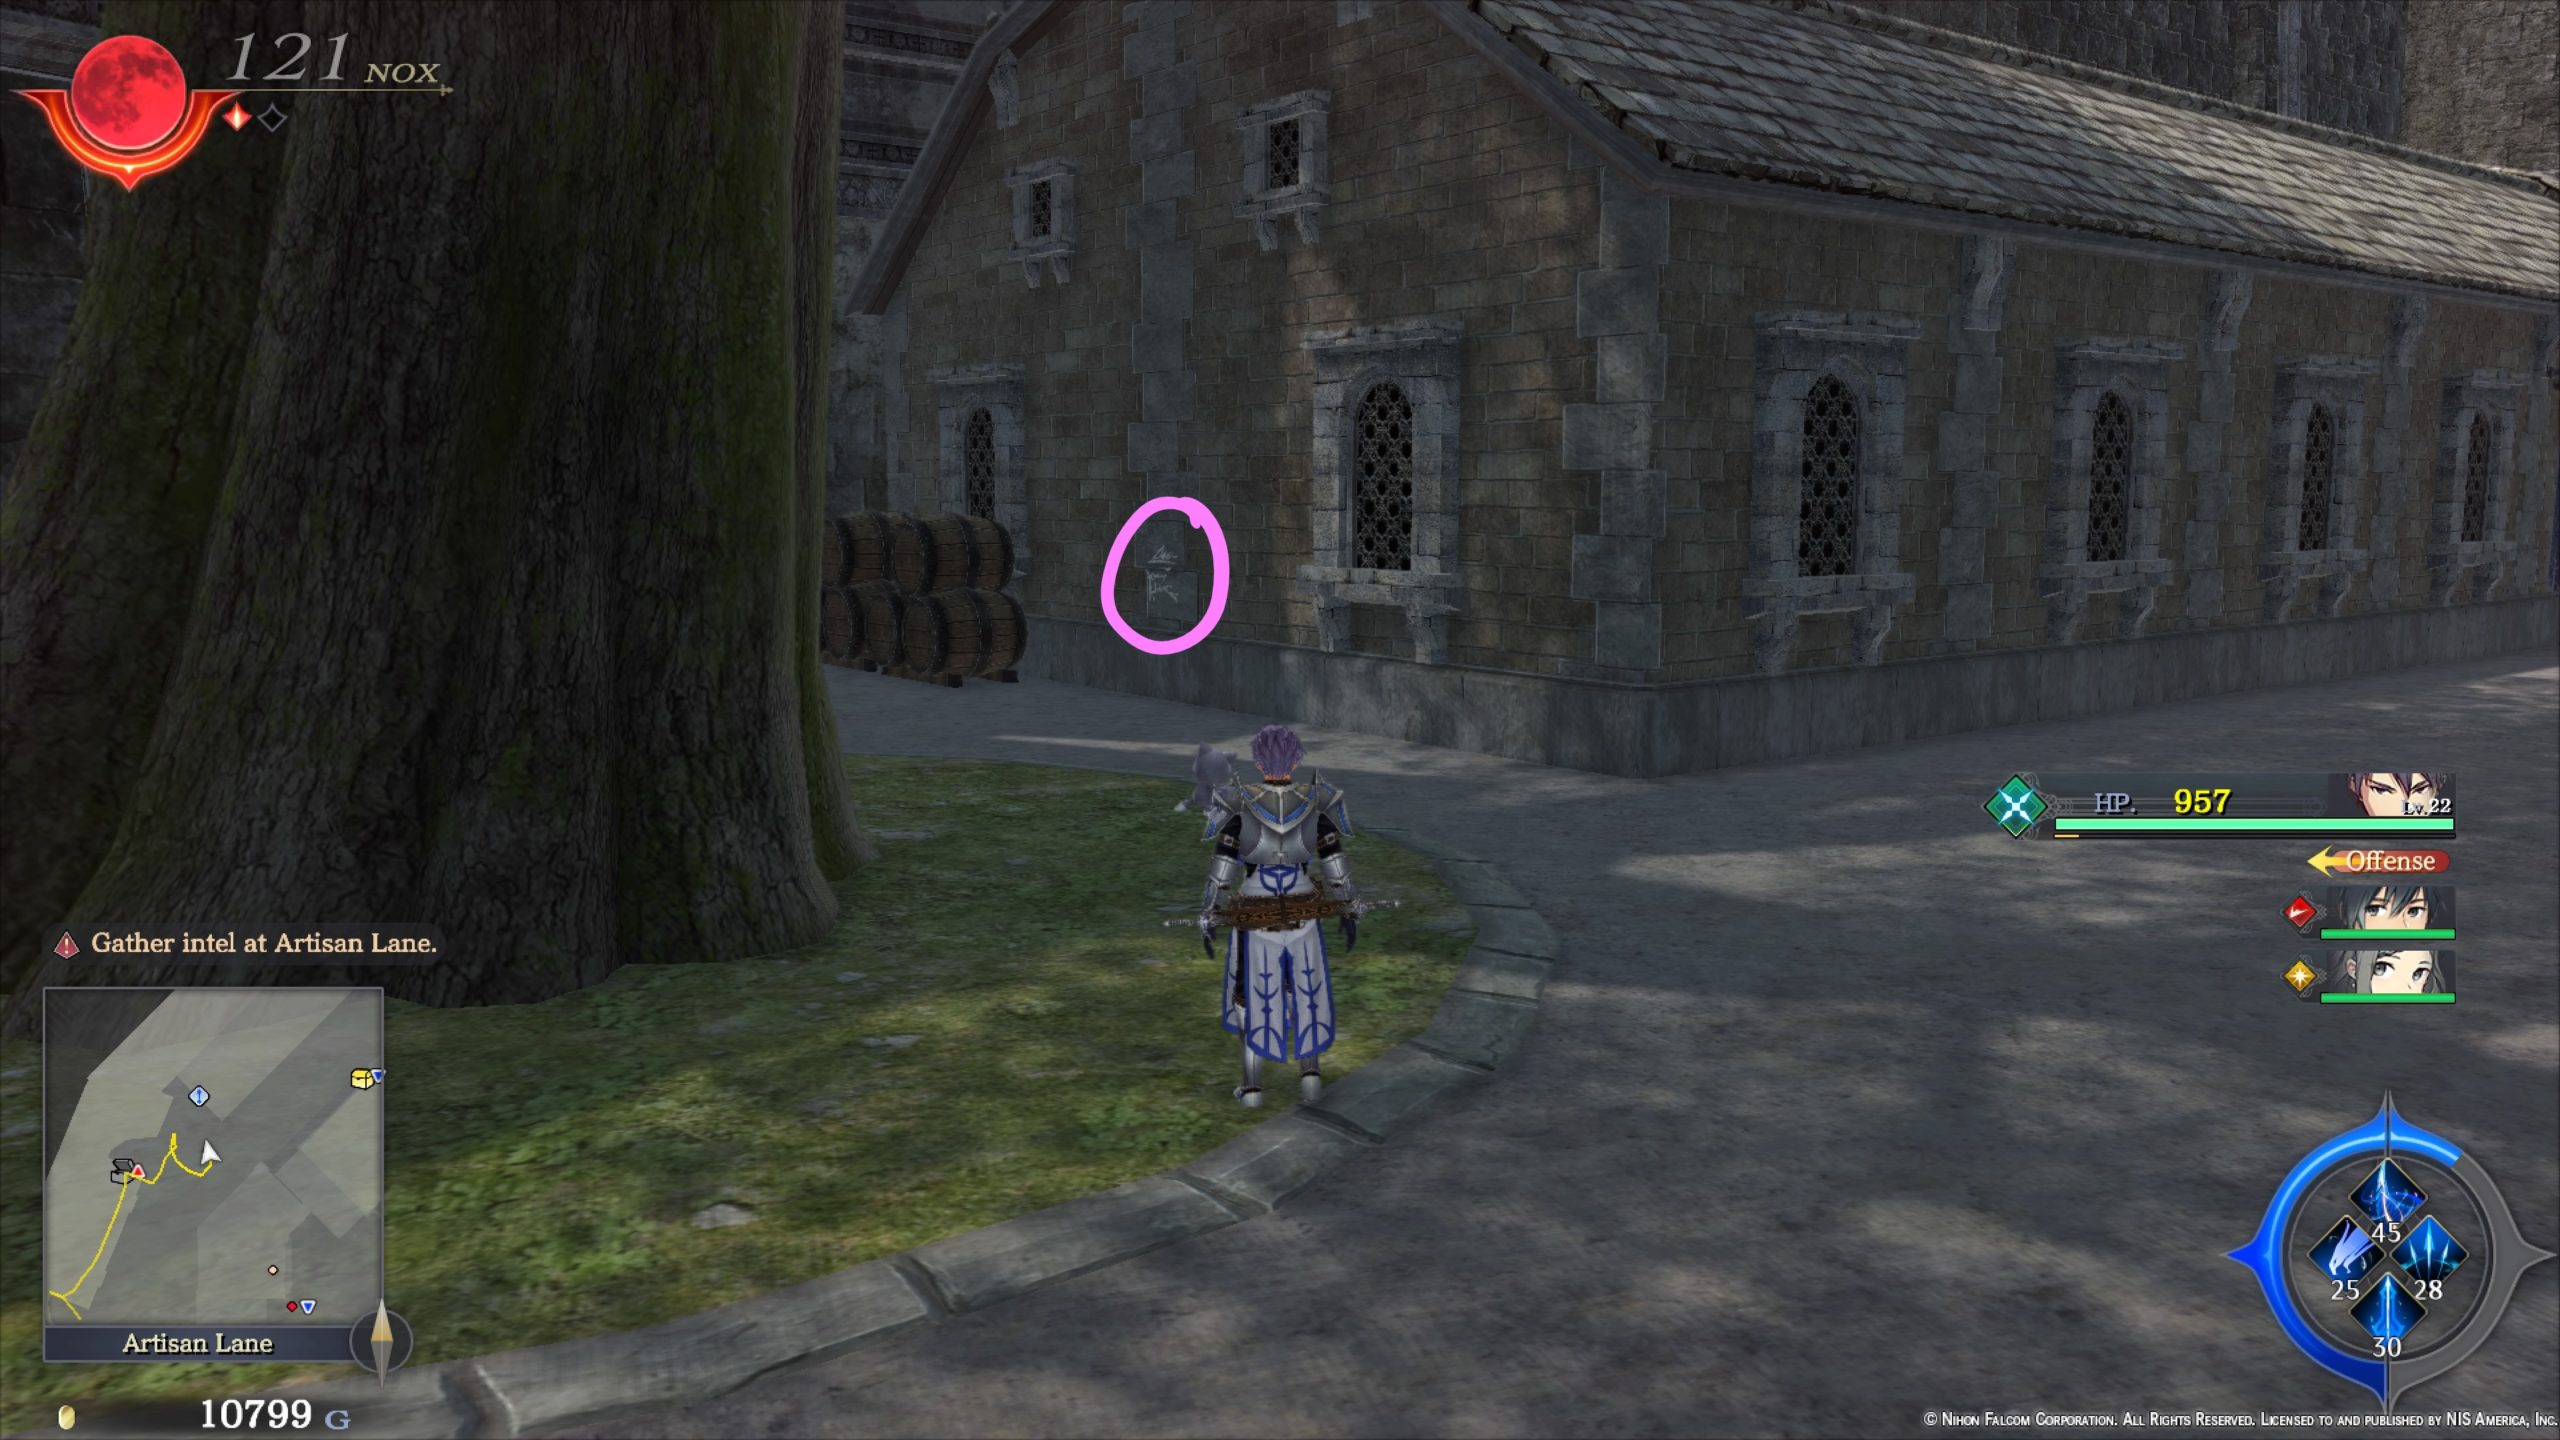
- On the side of a building in the alley between 2 buildings northwest of Marcel’s Smithery

Landmarks

- Memorial Tree

Quests
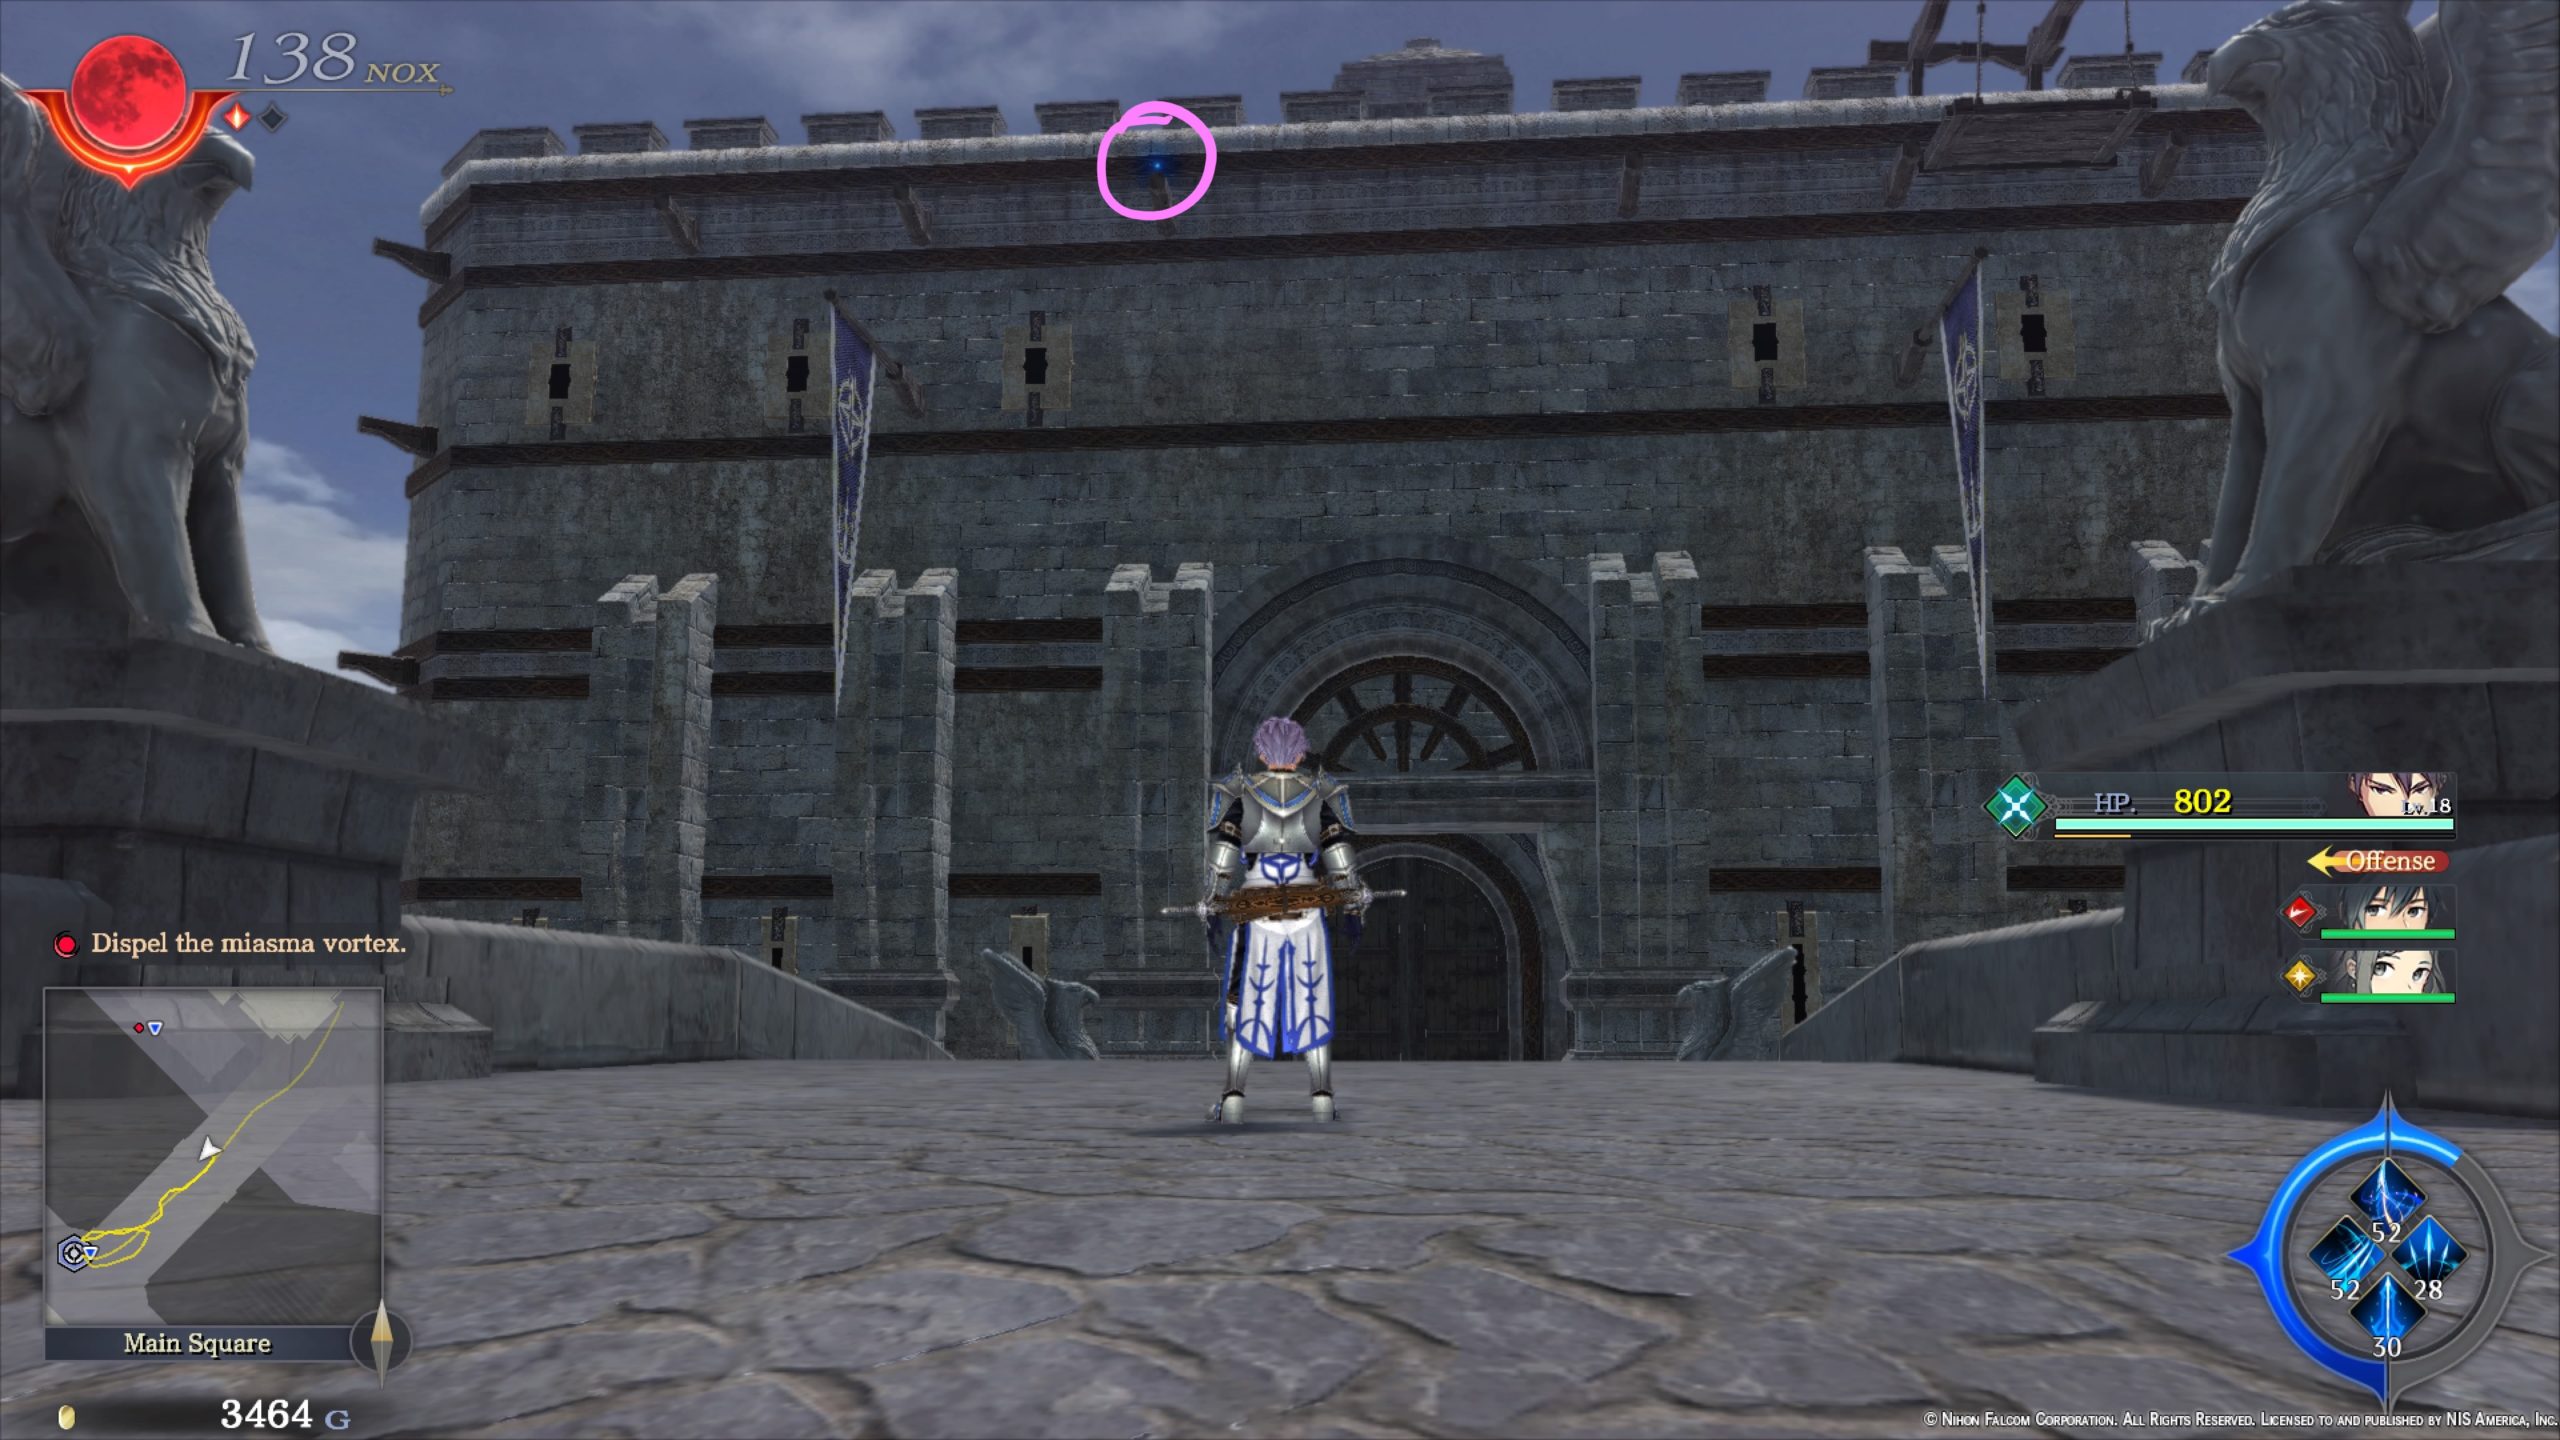
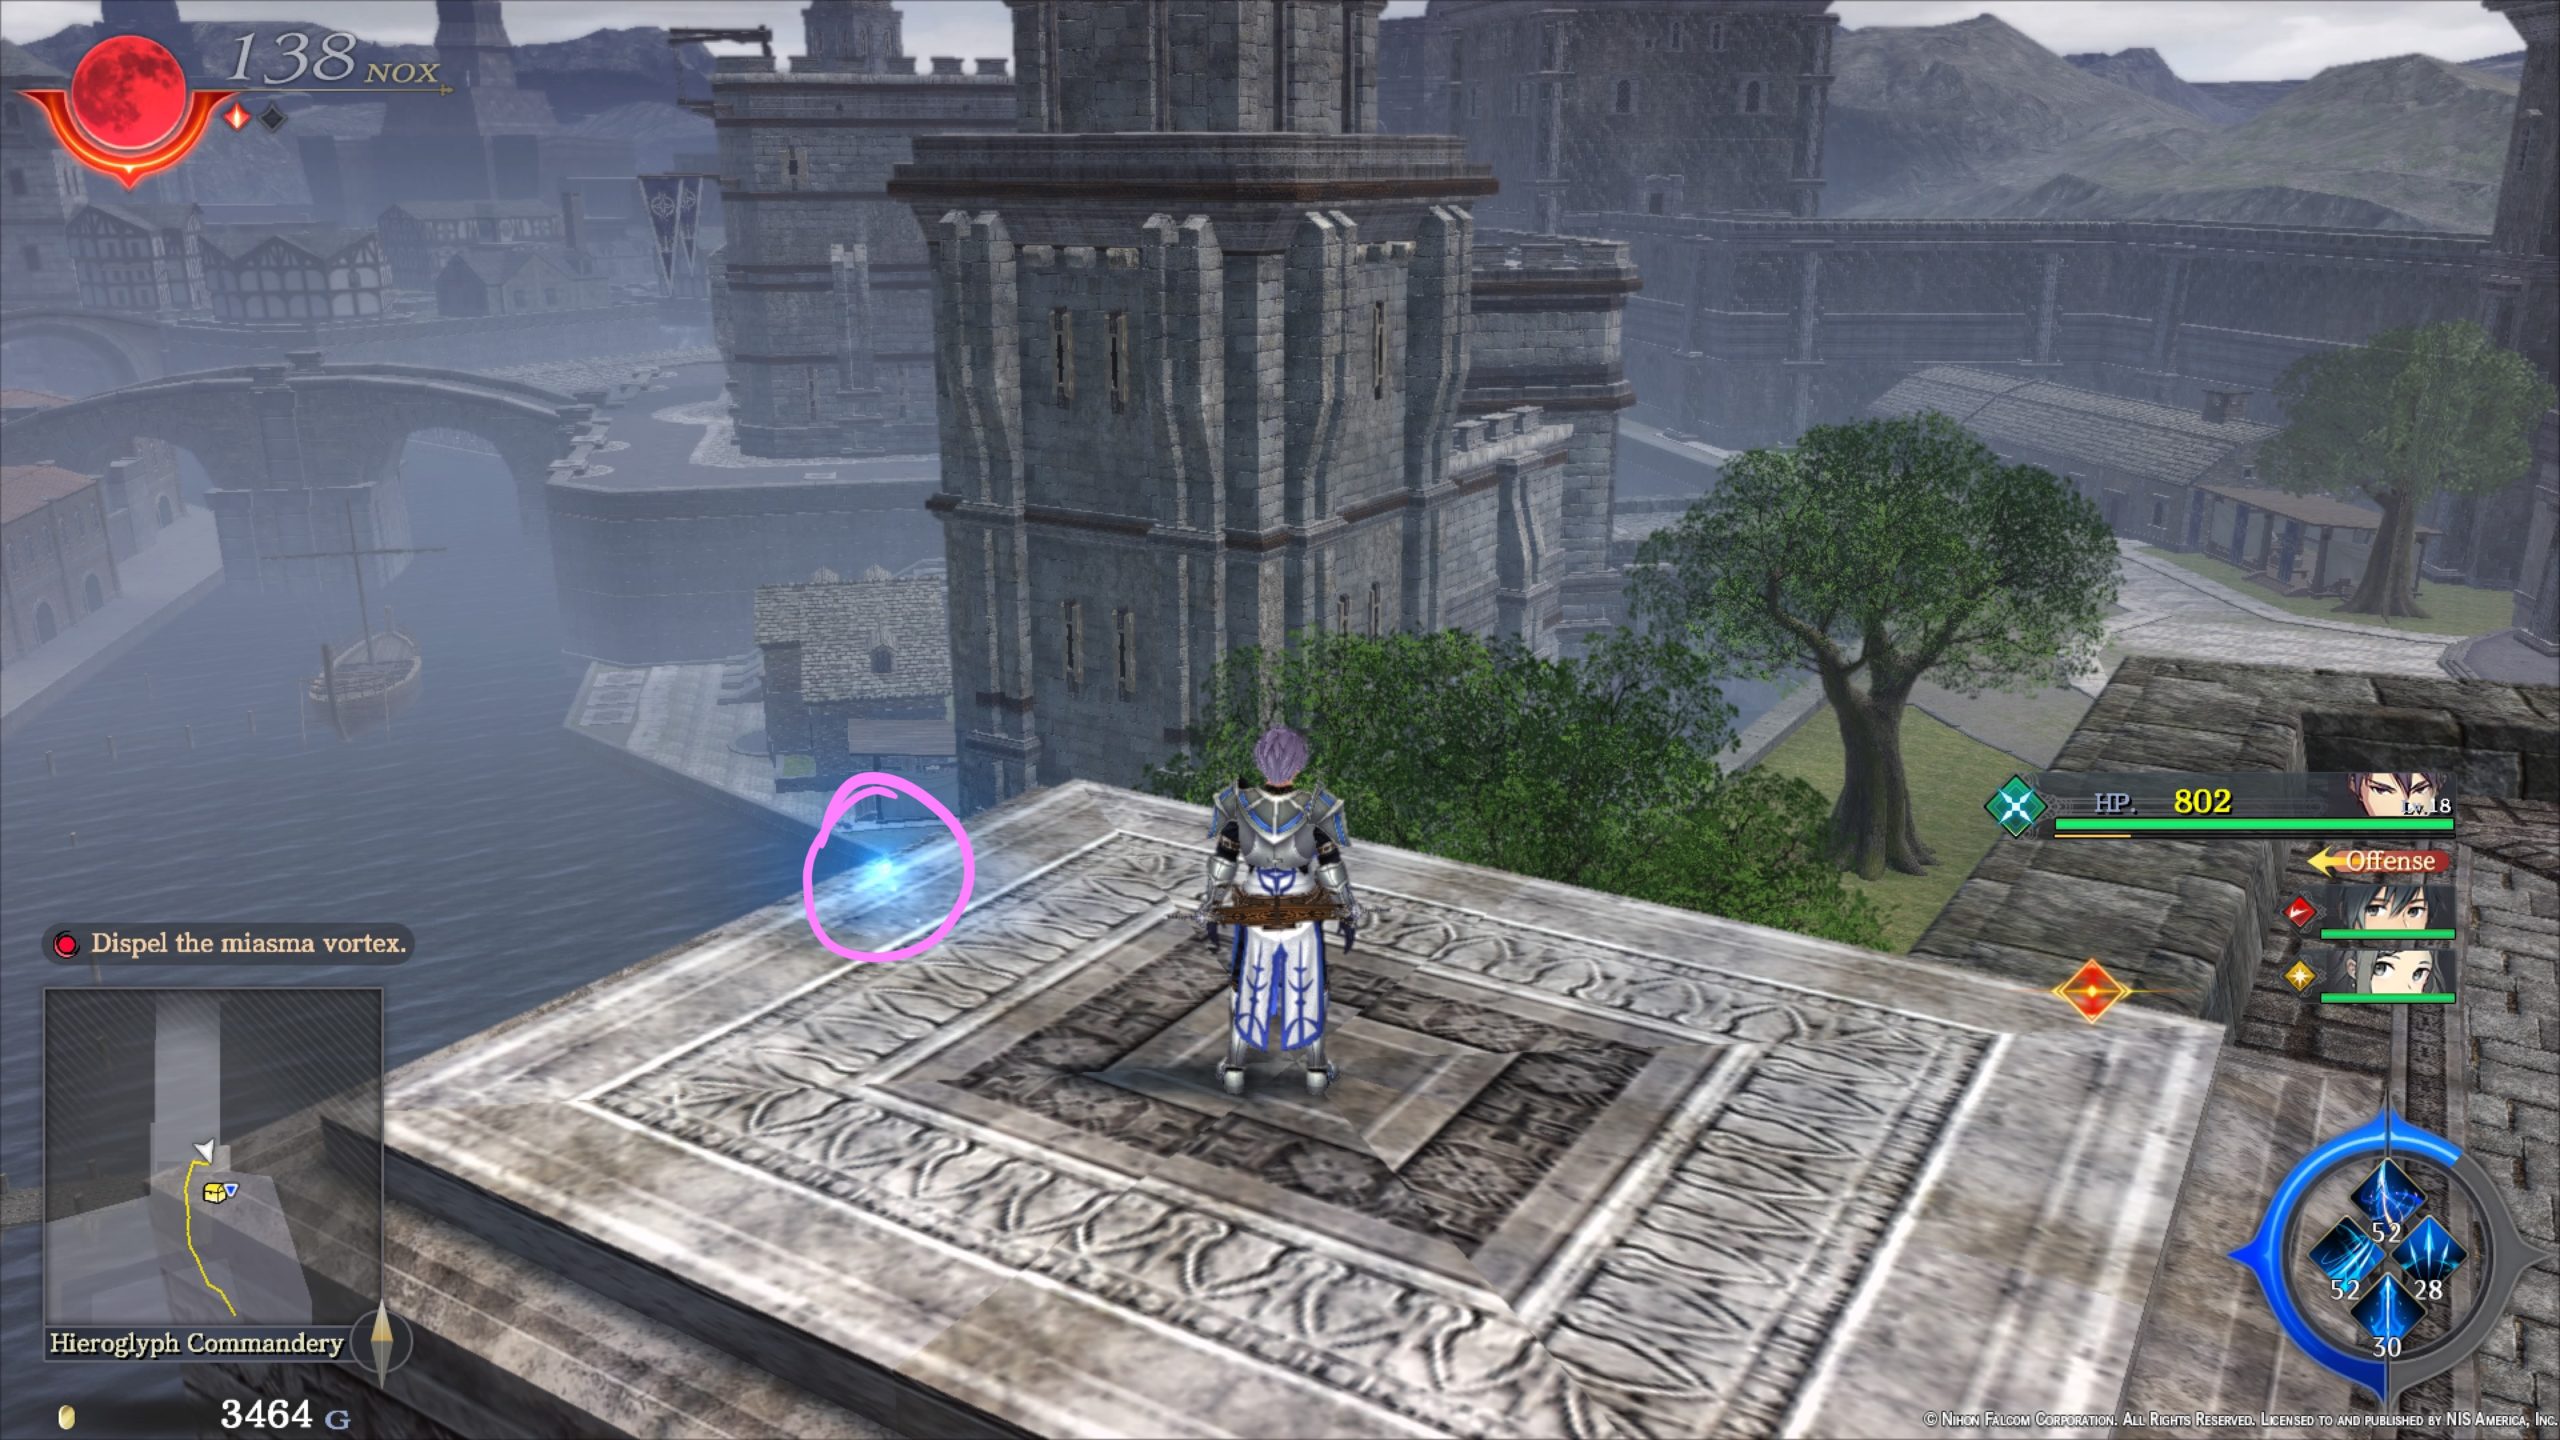
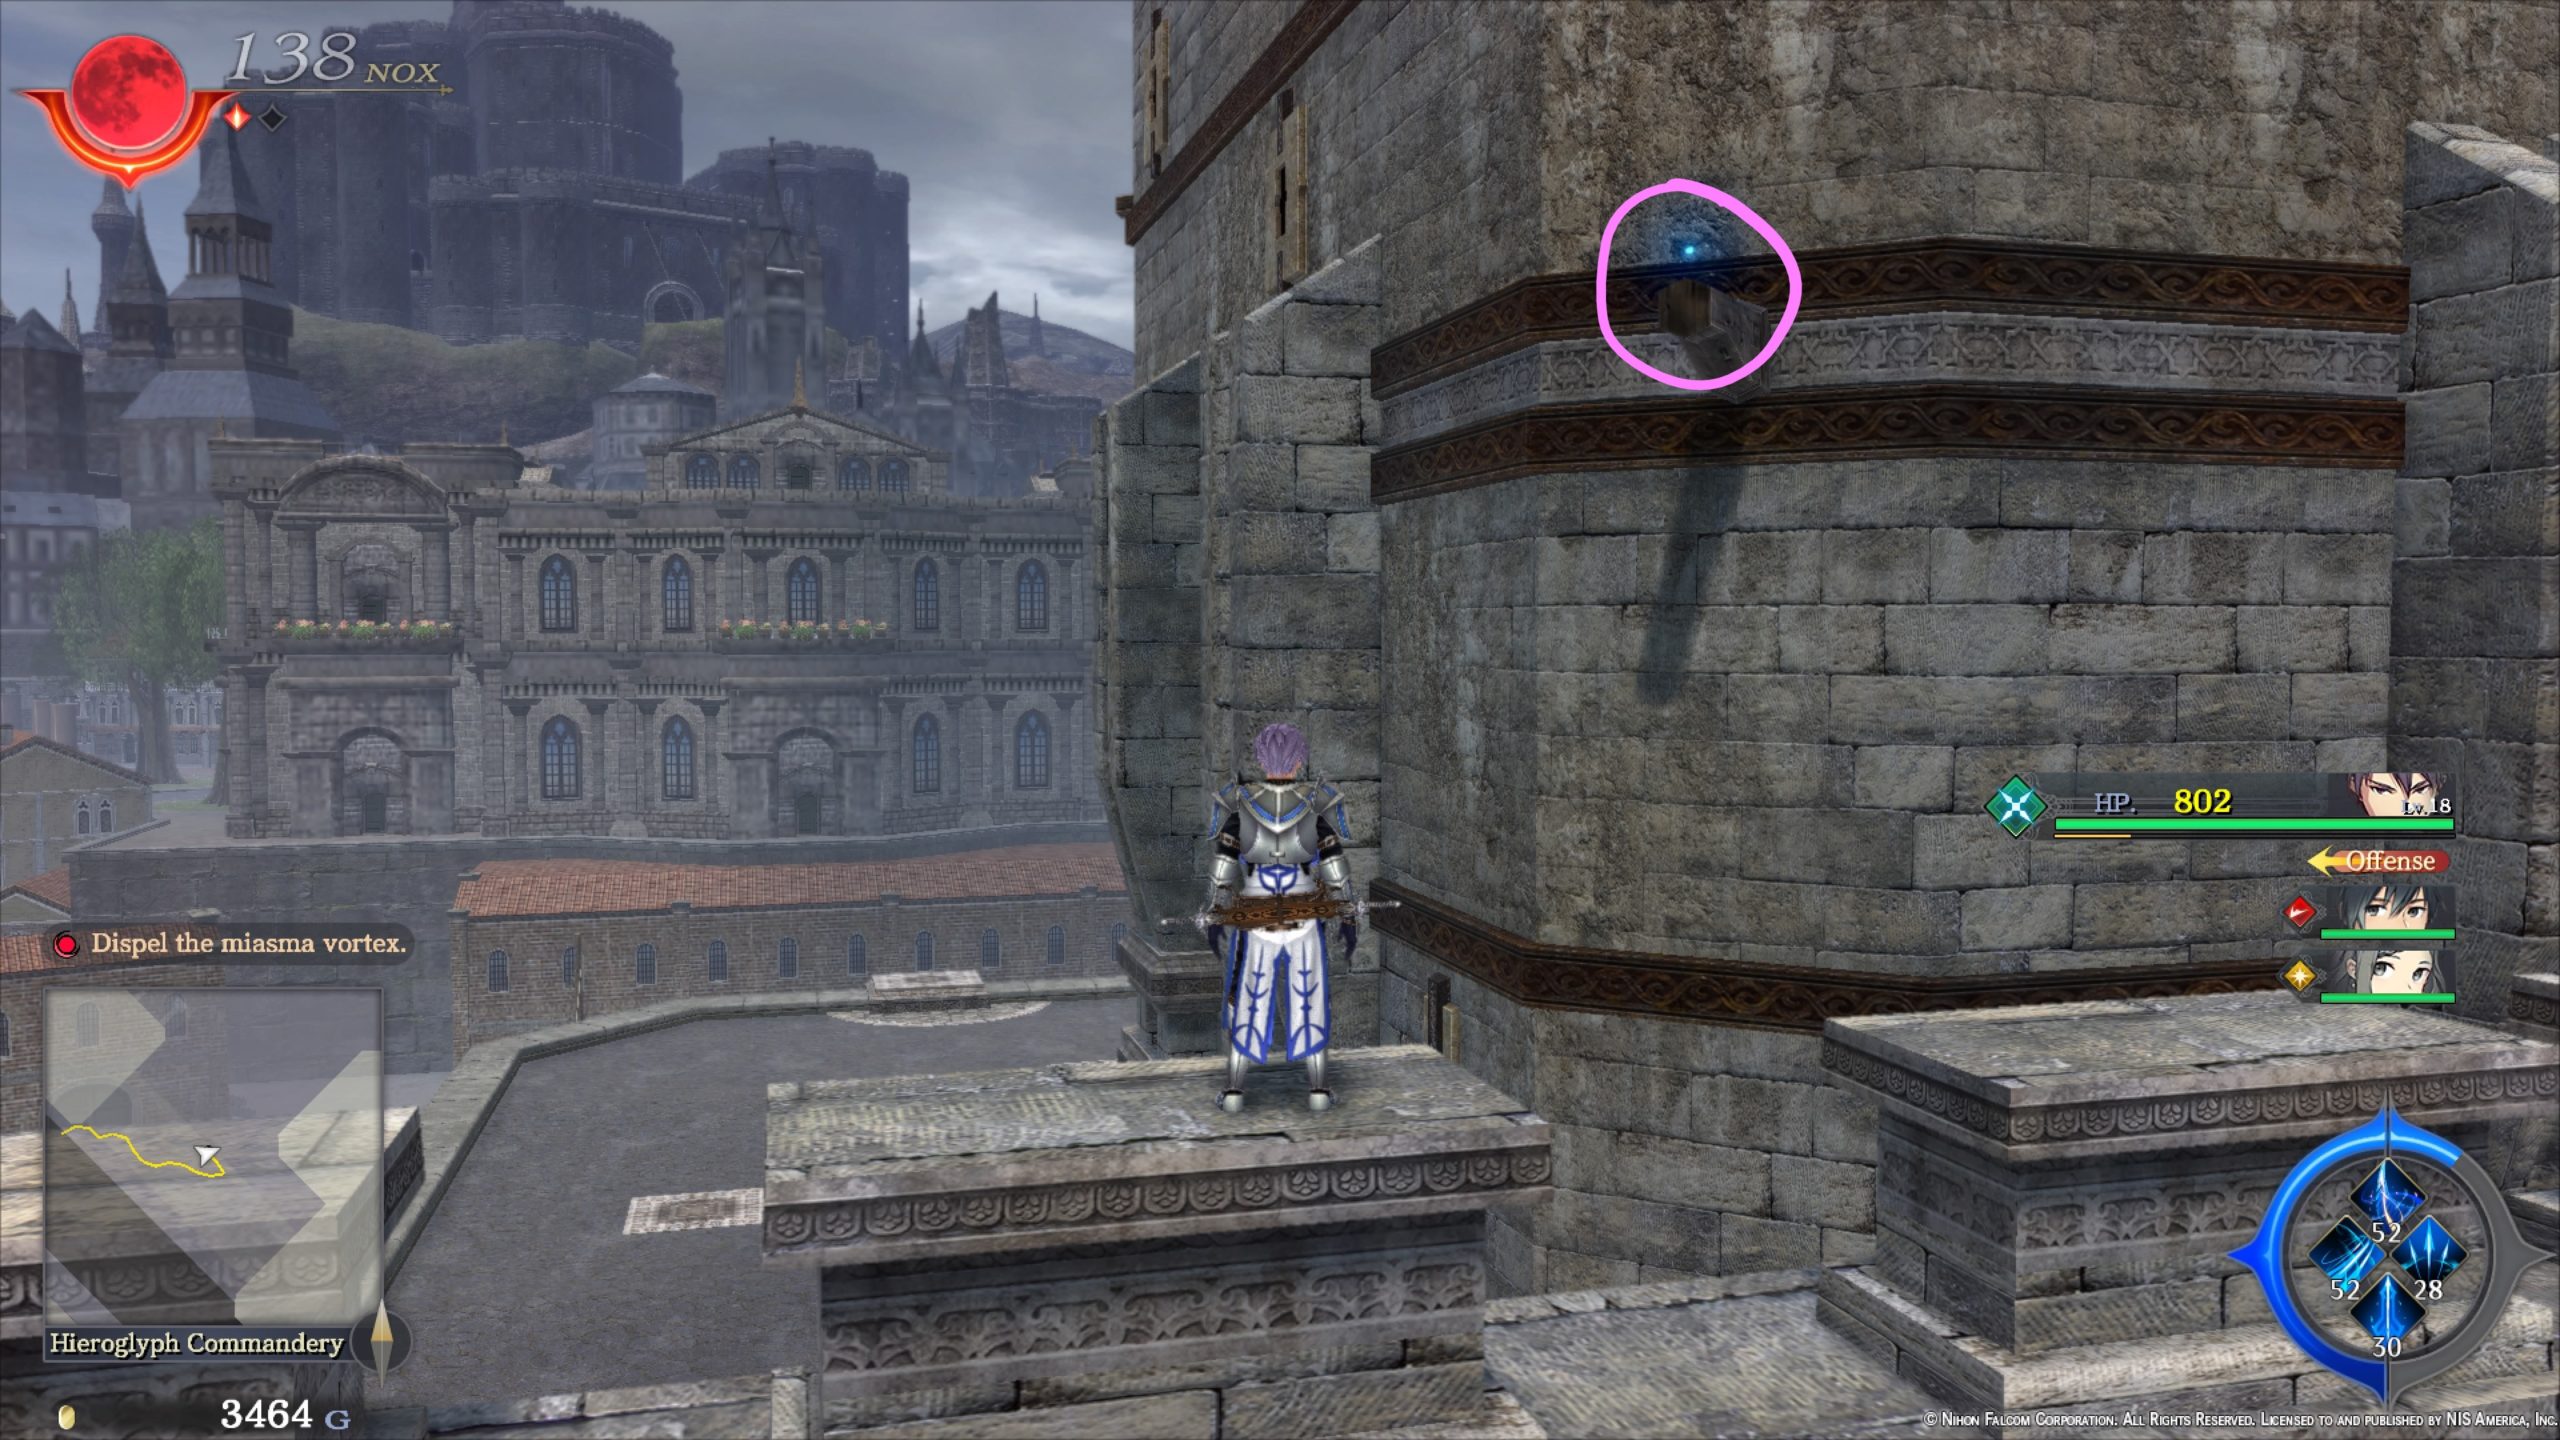
- Chapterhouse Repairs
- Obtained: Speak with Knight Huon in the Artisan Lane in Chapter 4
- Objective: Check out the damages around the commandery
- Head to Hieroglyph Commandery then make your way up to the roof of the main building and inspect the wooden lift. Next, travel north near the waterfront passing a maid playing with a cat to interact with a cut banner on the ground. Afterwards, head to the southern side of the area to inspect a broken column. After inspecting all 3 items, you’ll automatically return to Knight Huon to complete the quest.
- Reward: Strength Elixir
Shops

- Marcel’s Smithery
- Rijndael Antiques
Treasure Chests

- 1500 Gold
- Smoked Meat x2
- Life Elixir
- Nors Bleu x2
- Antidote x2
- White Asparagus x5
- Red Meat x5
- Red Cheese x2
- 1500 Gold
- White Meat x5
- Tomato x5
Agricultural District
Miscellaneous
After collecting all the graffiti from Artisan Lane, head to the fence containing the animals and inspect the spot to receive 2000 Gold.
Estatte Road
Landmarks
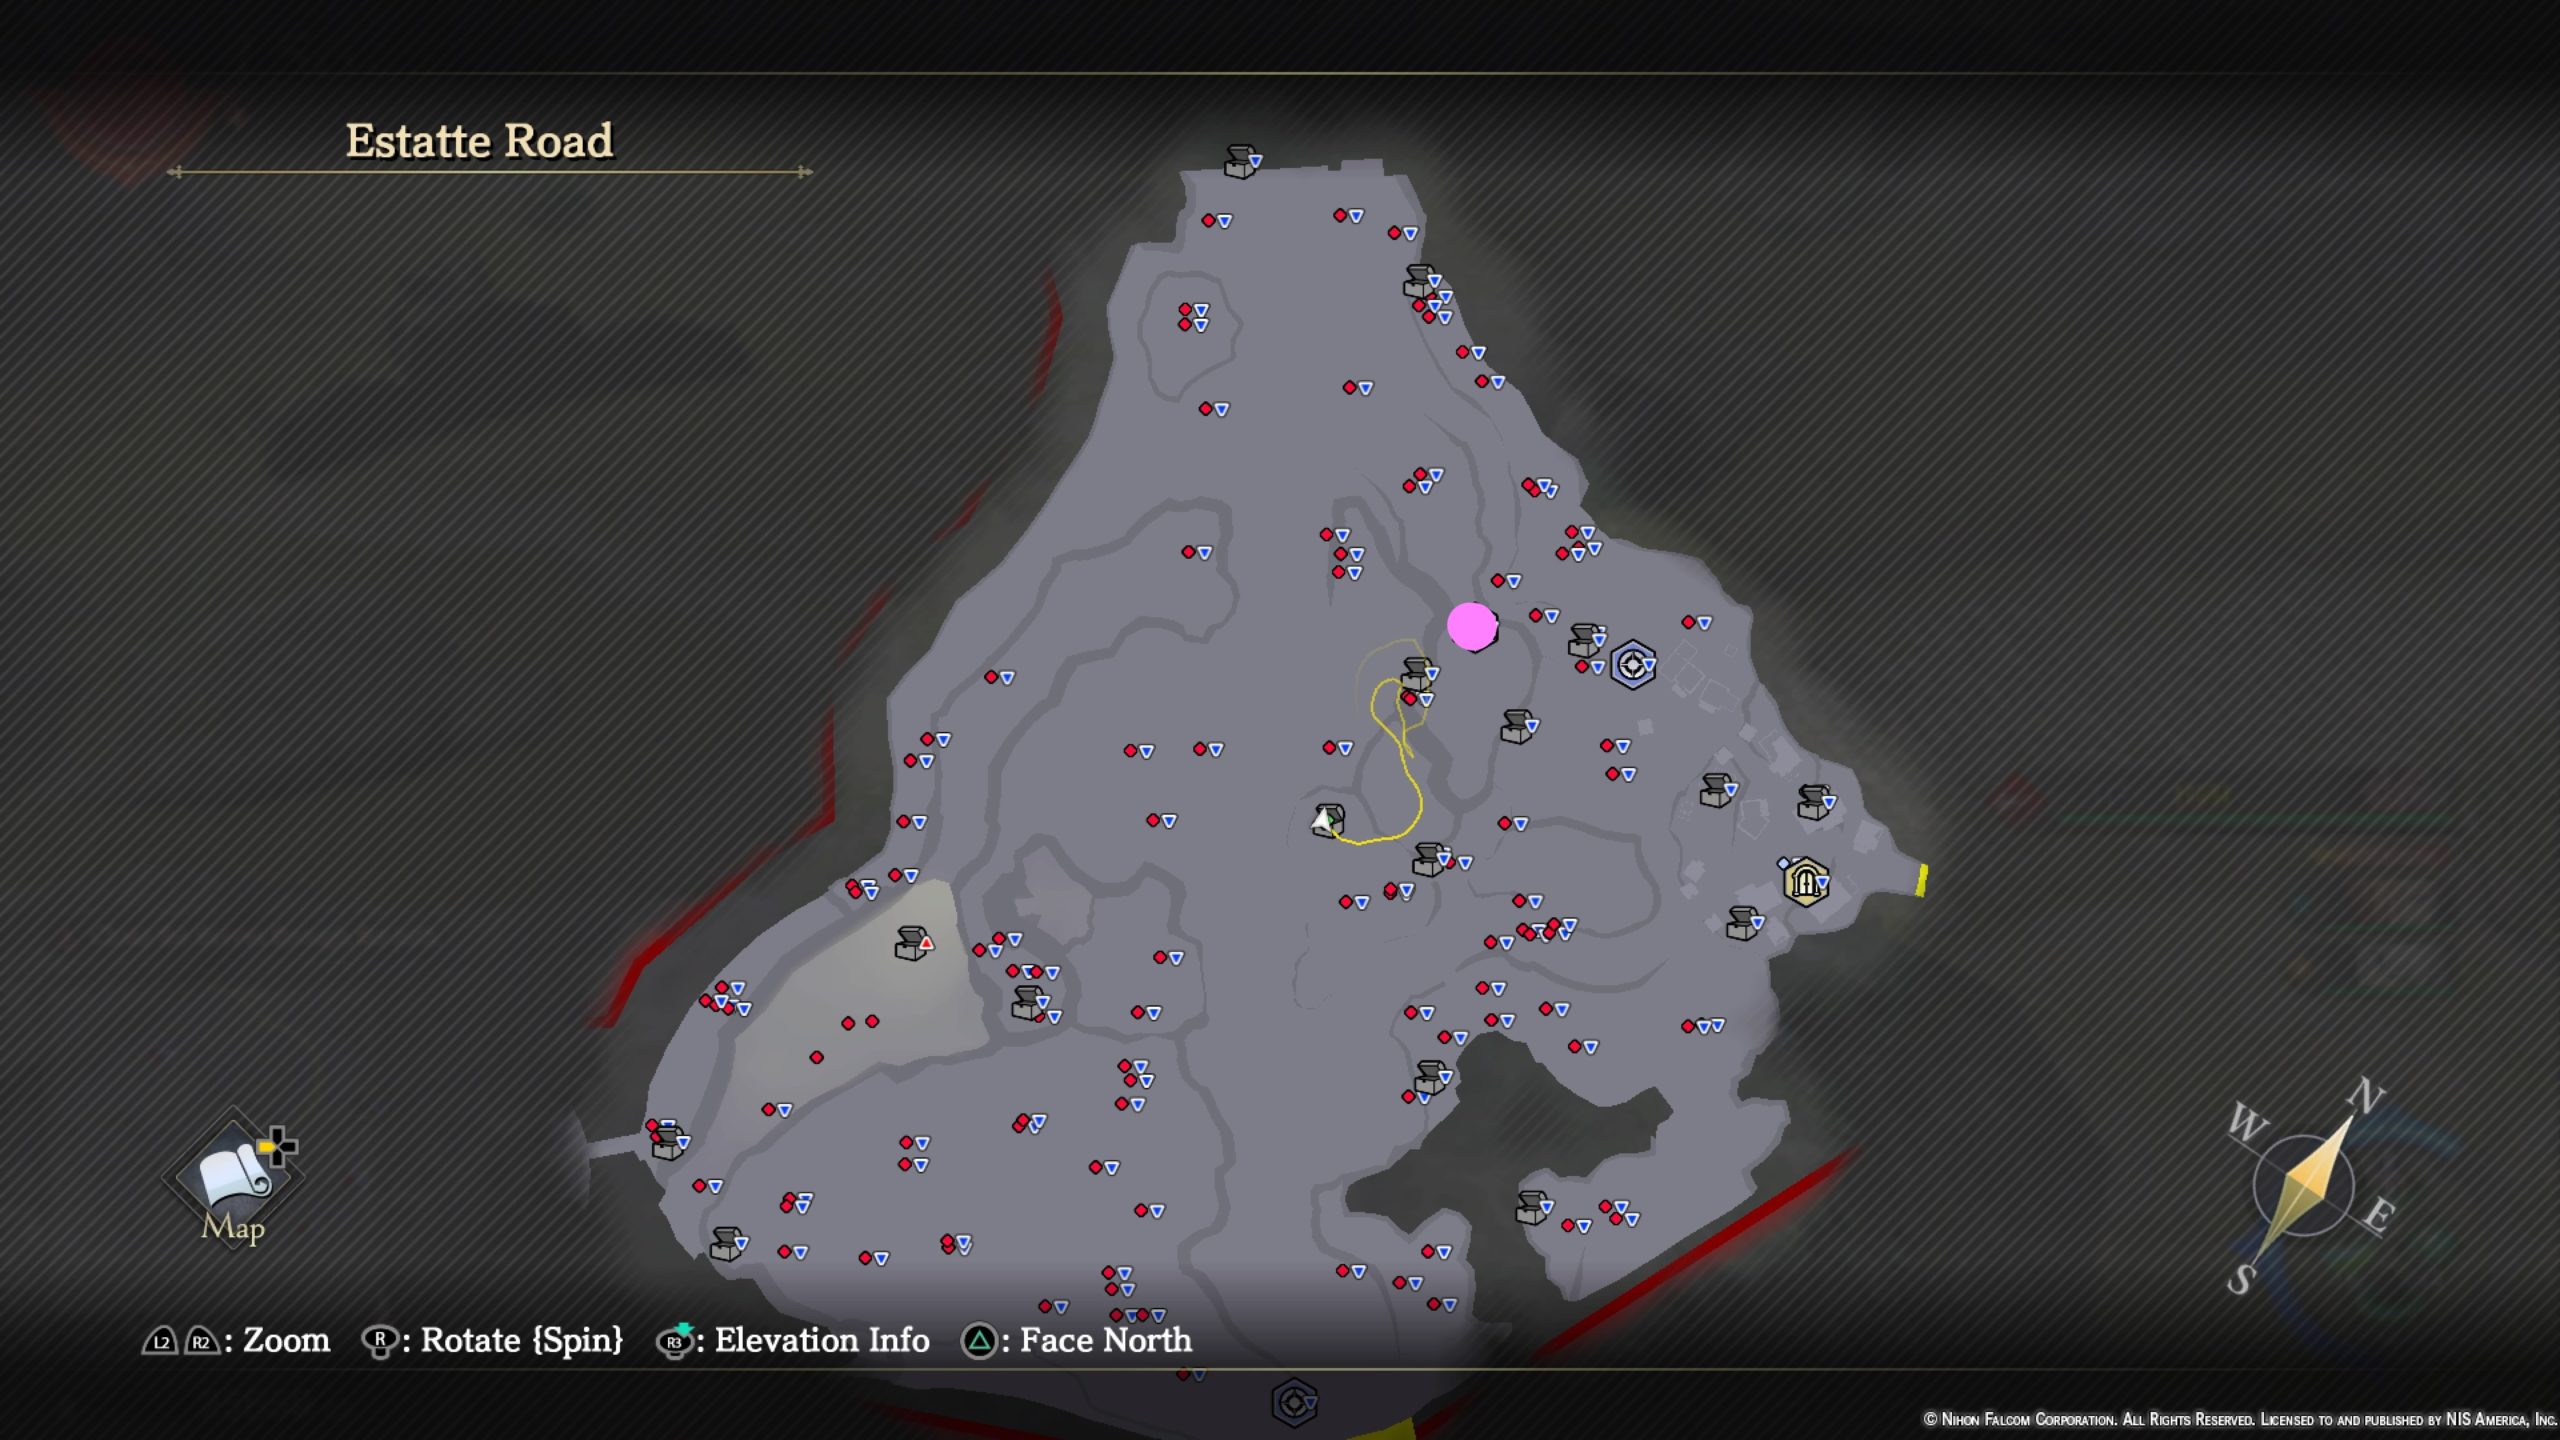
- Springwater Reservoir

Materials
- Aromatic Lumber
- Chamomile
- Copper Ore
- Glossy Leaf
- Iron Ore
- Small Leaf
- Spirit Lumber
Monsters
- Channam
- Ratni
- Lubregia
Treasure Chests
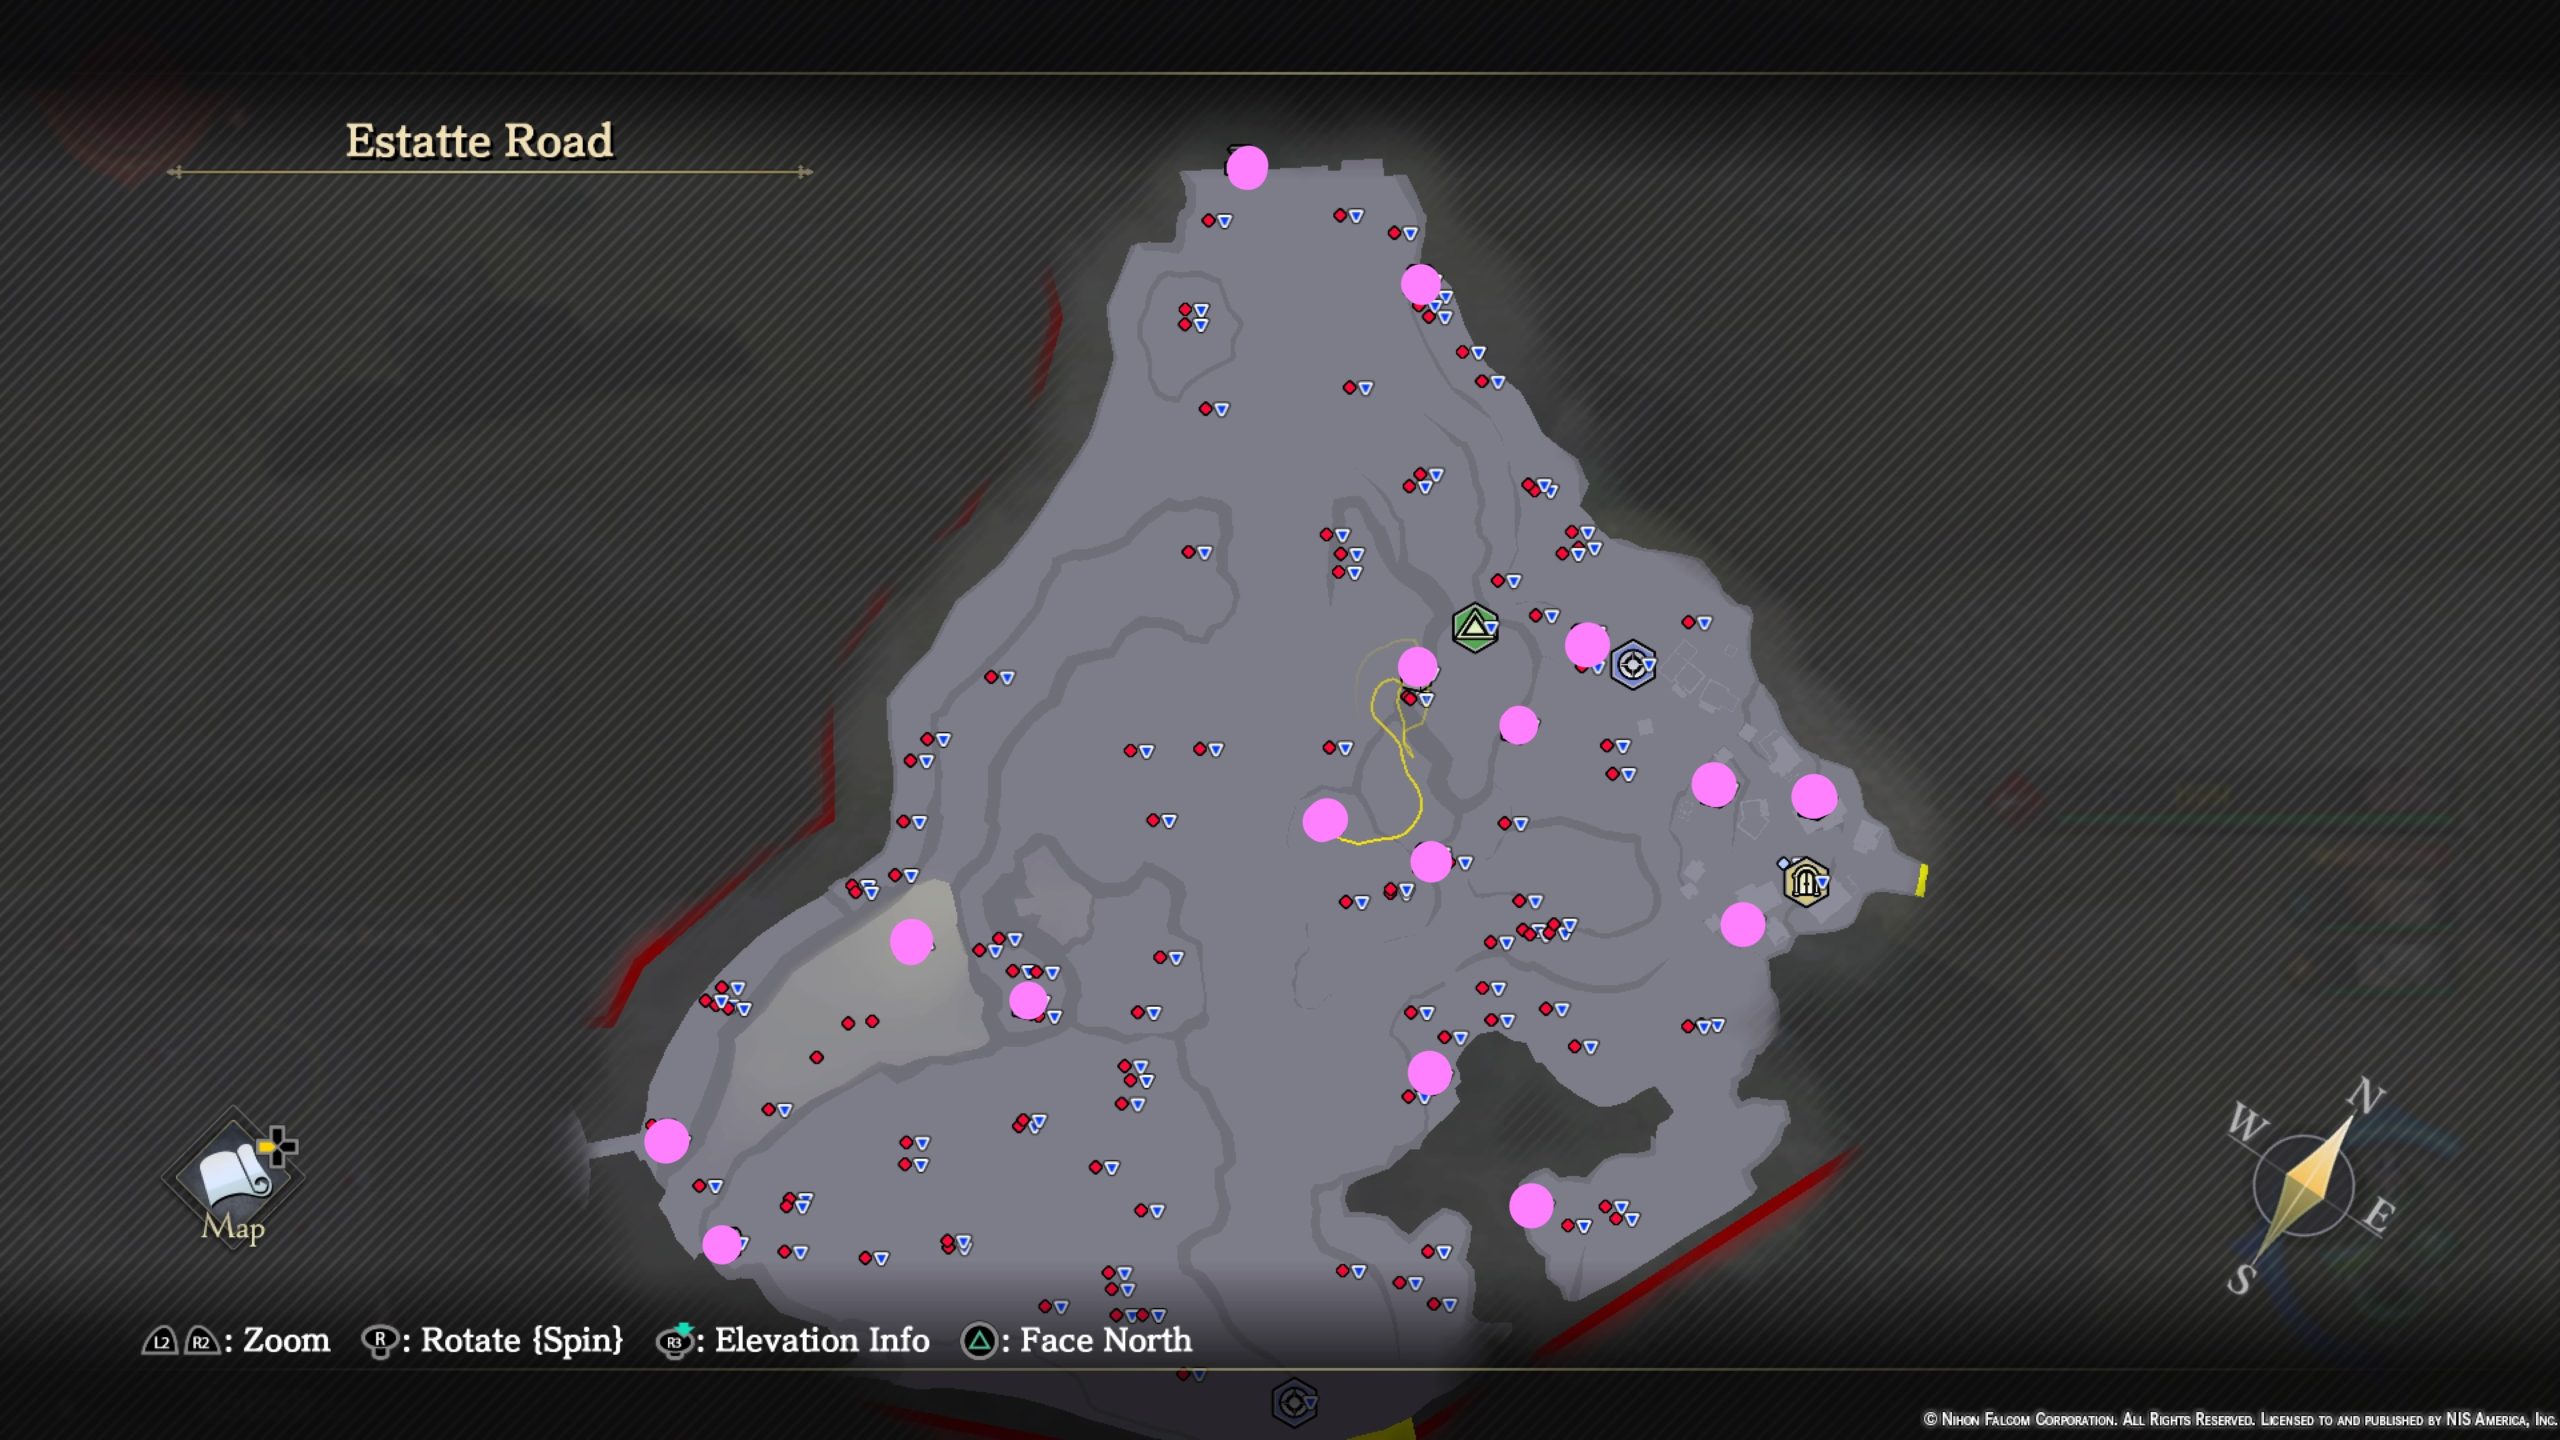
- Heal Potion
- White Meat x5
- Aromatic Lumber x5
- Eagle Feather
- Bitter Remedy
- Black Belt
- Ultradense Bone x2
- Defense Elixir
- 800 Gold
- Grimnut x2
- Iron Ore x5
- Red Meat x5
- Red Cheese x3
- Antidote x3
- 800 Gold
- Panacea
Concealed Path
Materials
- Aromatic Lumber
- Copper Ore
- Glossy Leaf
- Iron Ore
- Small Leaf
- Spirit Lumber
Monsters
- Culeiyo
- Mudhu
- Mushahr
- Tarantiel
- Tarantiel Egg
- Veidon
Treasure Chests
*You’ll need to use Doll’s gift to reveal some of the below chests. Some chests are hidden behind walls that are openable via pressing stones and others are concealed behind vines.
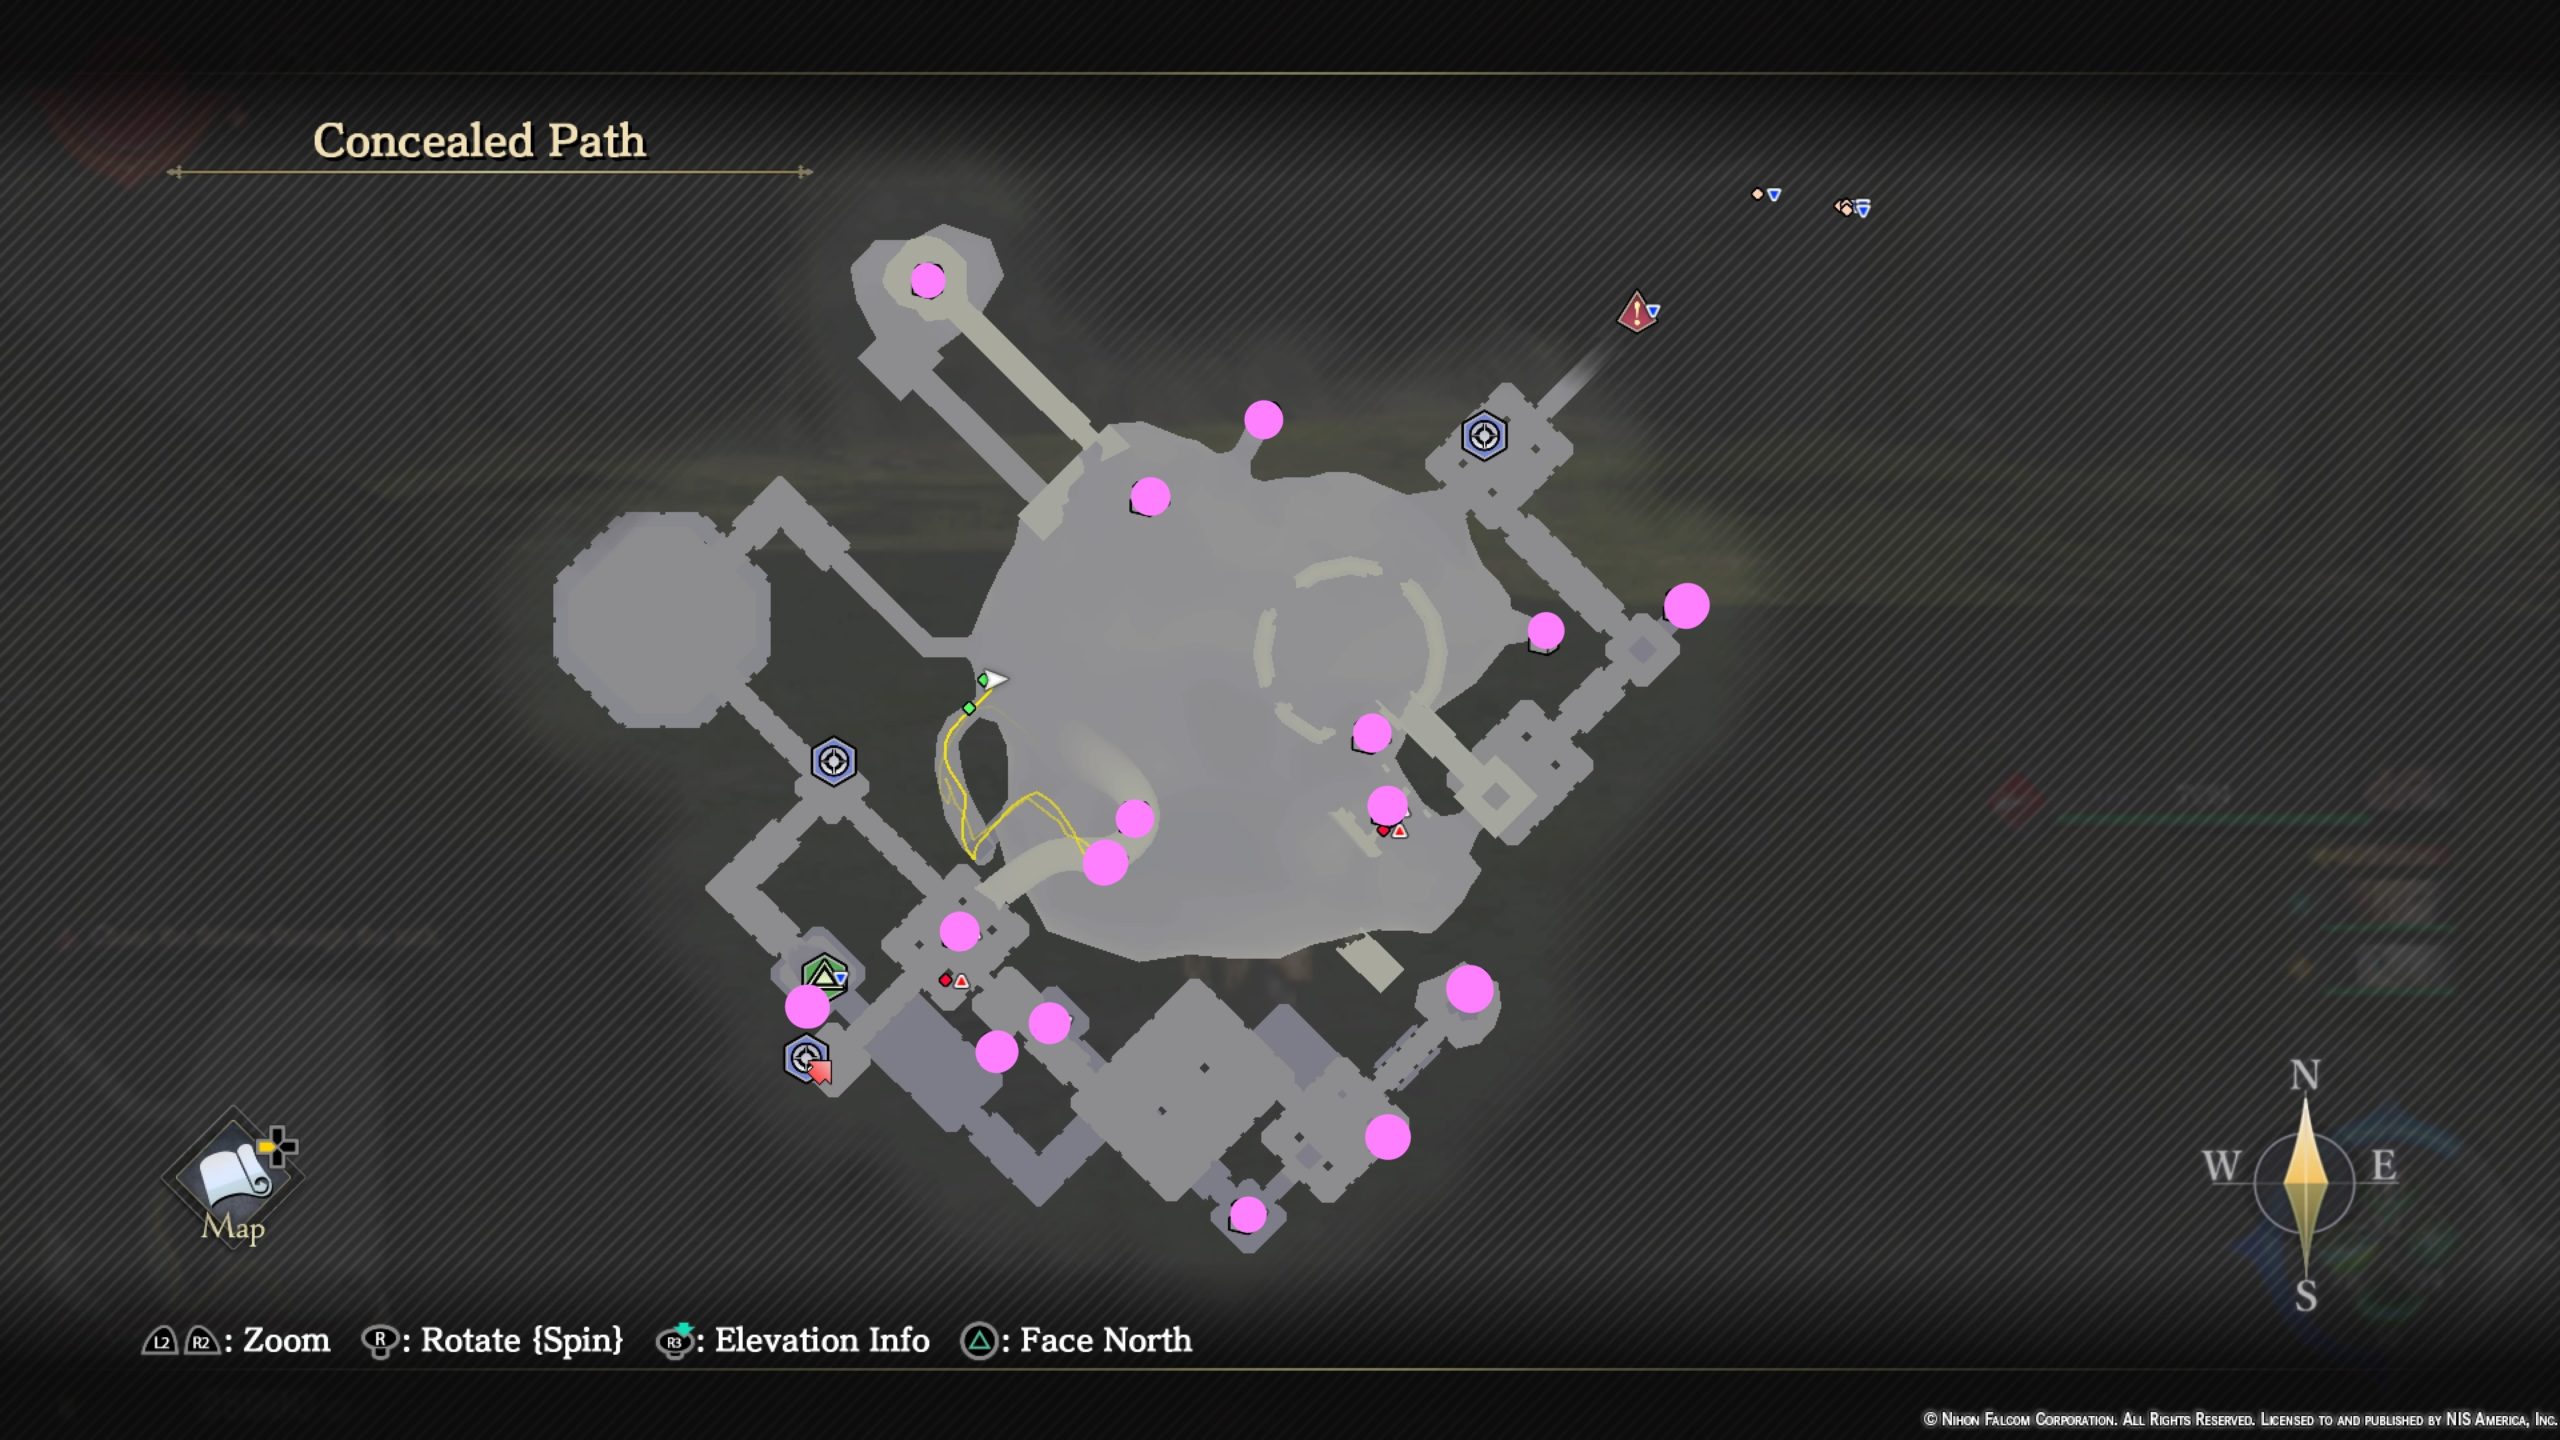
- Vortex Grimoire
- Tarantiel Thread x2
- Panacea x2
- Iron Ore x6
- 800 Gold
- Nors Bleu x2
- Rakshasa Bangle
- Smoked Meat
- Dark Drop x6
- Tempest Elixir
- Chamomile
- 1600 Gold
- Shadow Shoes
- Sparkling Leaf x3
- Blue Bandana
- Blinding Bangle
Click here for the next guide on Chapter 5!!