Welcome to NGB’s guides and walkthroughs page for Avatar: Frontiers of Pandora! Here’ll you’ll find a plethora of guides and walkthroughs to assist you along your journey in the Frontiers of Pandora!
Welcome to our Chapter 3: Yltheum Collectibles Guide for Immortals of Aveum! In this guide we’ll cover all the collectibles that you can find during the Yltheum mission.
Return to the Tower
Lore: Spell Altars, Annotated
This lore can be found in the ruins behind the blue locked door on the ground of the upper ledge just before the spell altar.
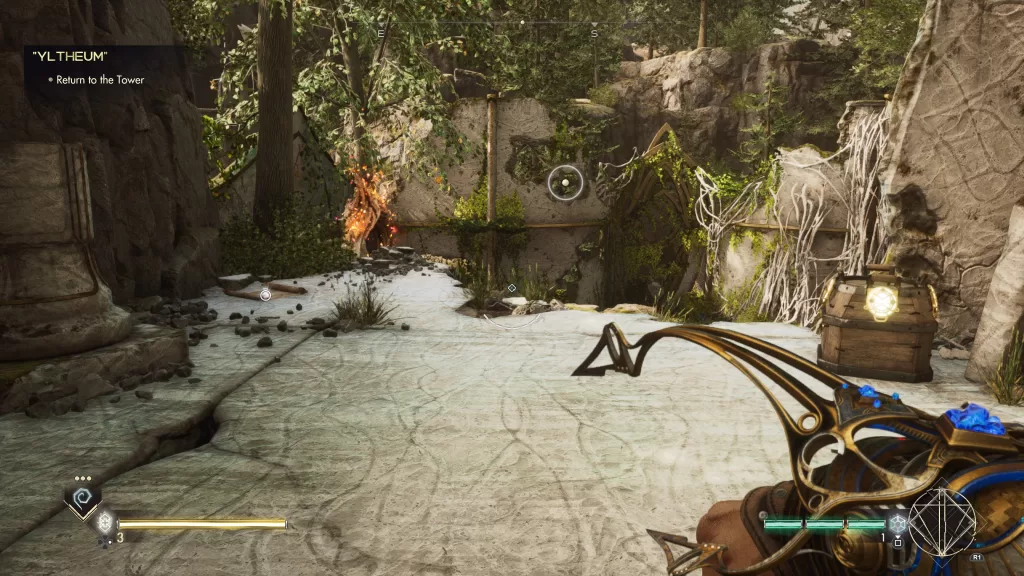
Gold Chest: Cinder Ring
After unlocking the Blastwave in the ruins, you’ll jump down to the same courtyard where you previously fought a bunch of enemies and will need to fight some more. Afterwards, use each of the different colored spells on their corresponding crystals to unlock the door thus revealing the chest.
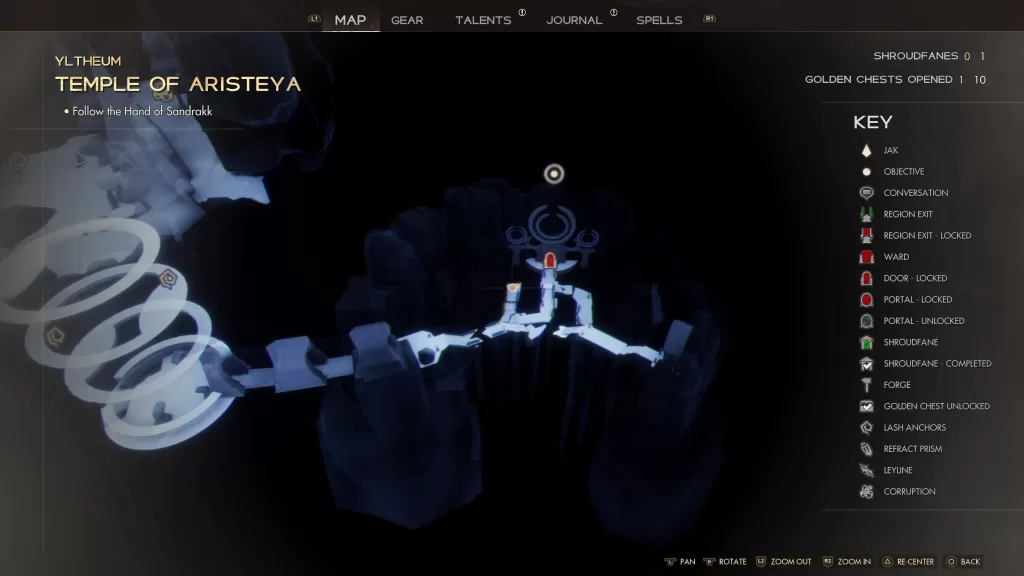
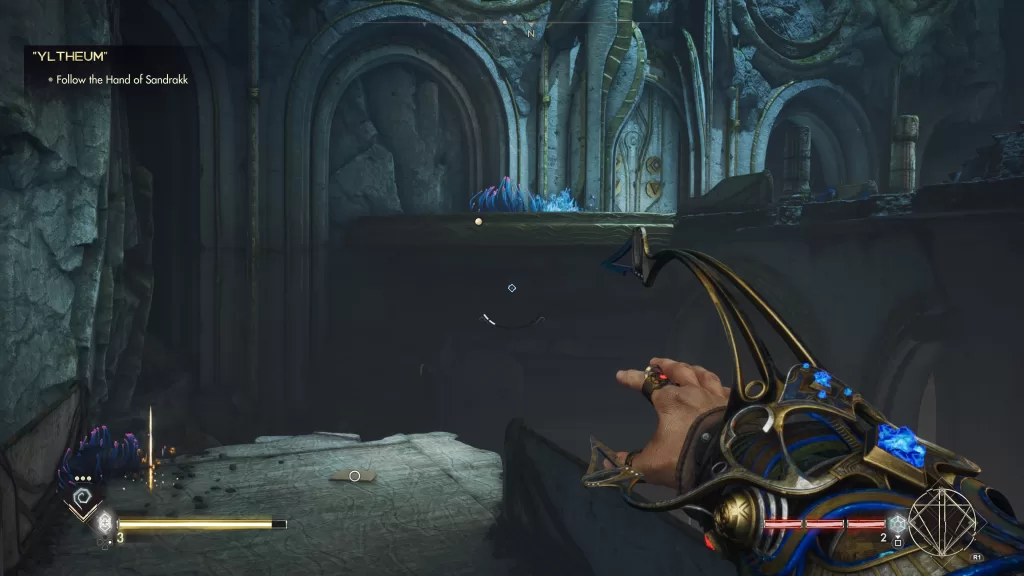
Follow the Hand of Sandrakk
Lore: Druahmen Fanesong
After dropping down into the temple, you’ll find this lore on the ground in the large open area with a bunch of walkable platforms.
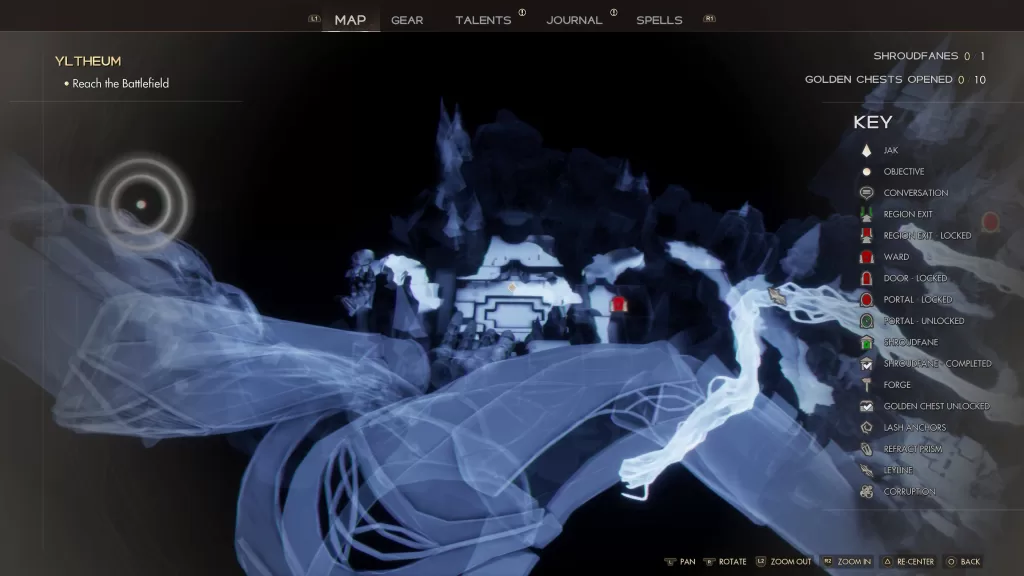
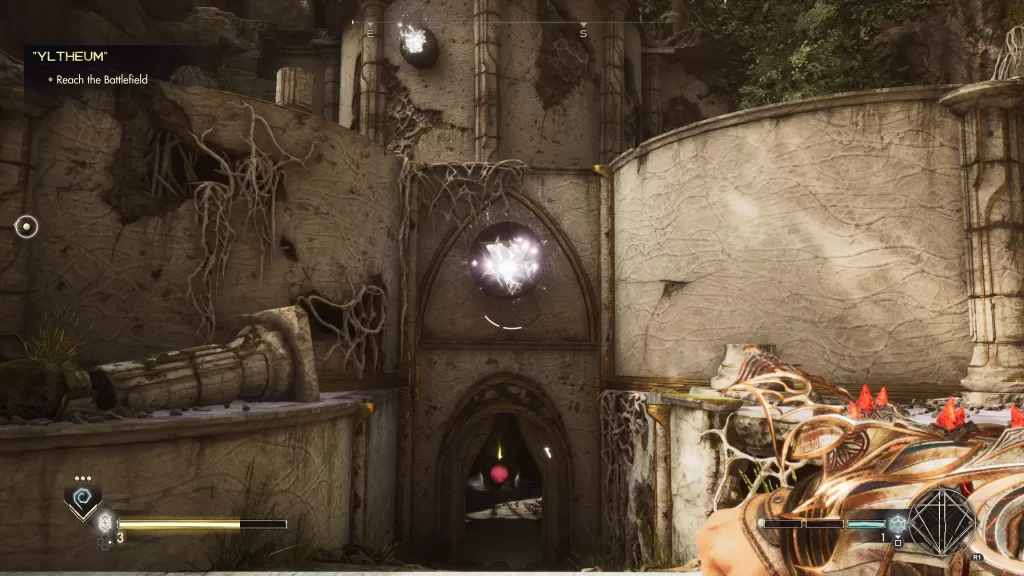
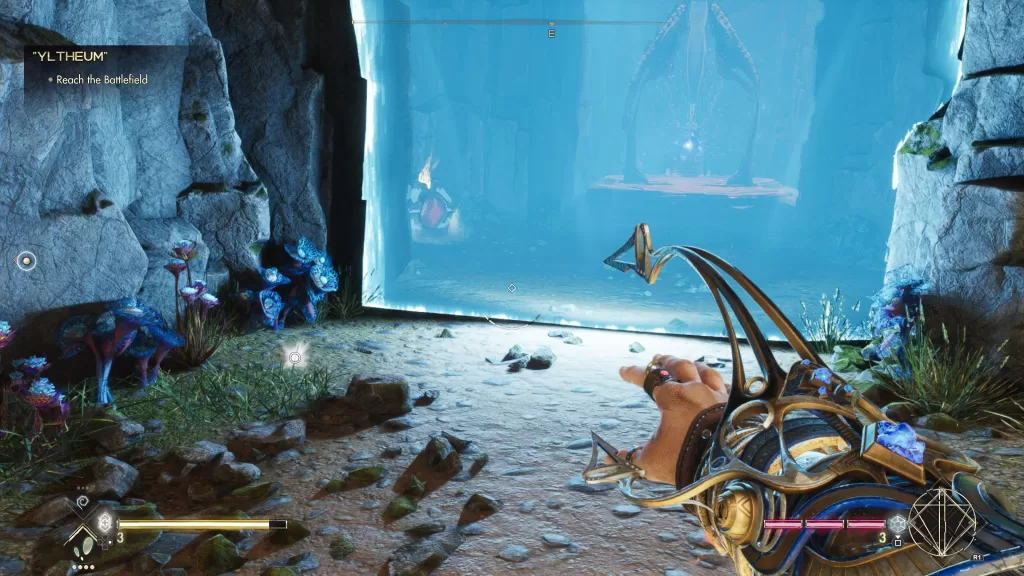
Reach the Battlefield
Lore: Shroudfanes and Sentience
After exiting the temple, look on your right to find a blue barrier. Just before the barrier you’ll find this lore on the ground.
Welcome to our Immortals of Aveum Guides and Walkthroughs page! Here you’ll find all of our guides and walkthroughs for Immortals of Aveum. We’ll be covering mostly what collectibles can be found in each chapter.
Welcome to our main guides and walkthroughs page for Baldur’s Gate III! On this page, you’ll find all of our guides and walkthroughs for Baldur’s Gate III. We’ll be covering mostly quests and what can be found in each area.
**PLEASE NOTE** – We will be playing a borderline hero character making mostly good or neutral decisions so the guides will be tailored to that at first.
Welcome to our The Legend of Heroes: Trails into Reverie Guides and Walkthroughs page! Here you’ll find all of our guides for Trails into Reverie such as collectibles and walkthroughs.
Below is a listing of all our Diablo IV guides and walkthroughs!
Faded Plaques
As you find Faded Plaques in Diablo IV, read their inscriptions then perform the corresponding Emote. For a guide on which Emotes to use for the Faded Plaques, click here!
Collectibles & Side Quests
For each area, we’ve broken apart our guides based on the type of collectible or side quest available.
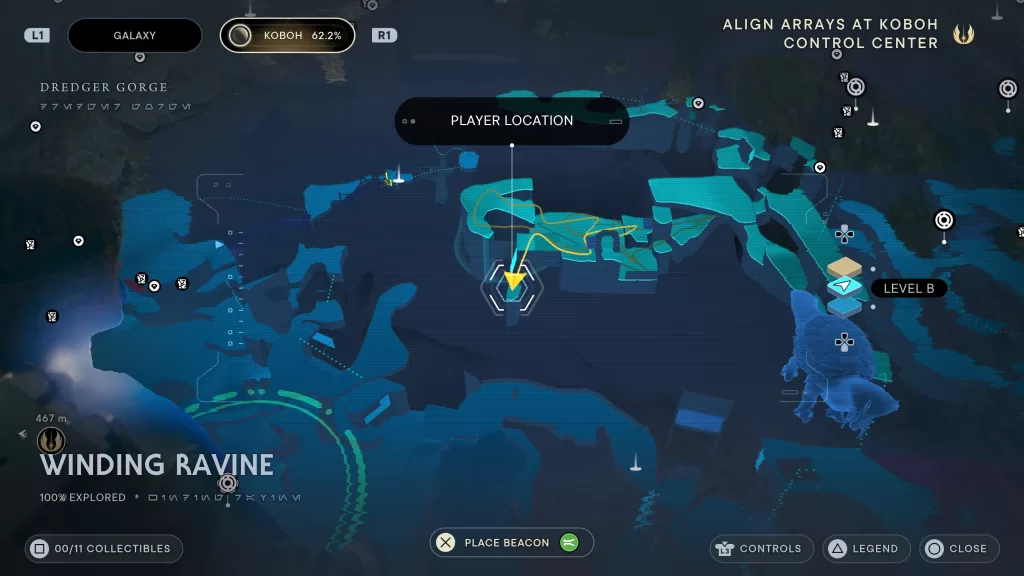
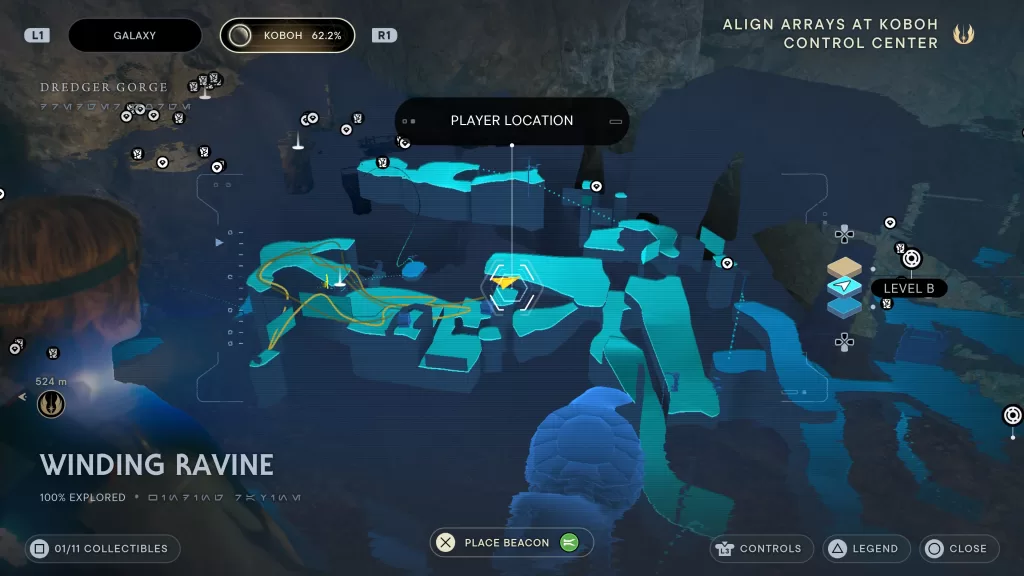
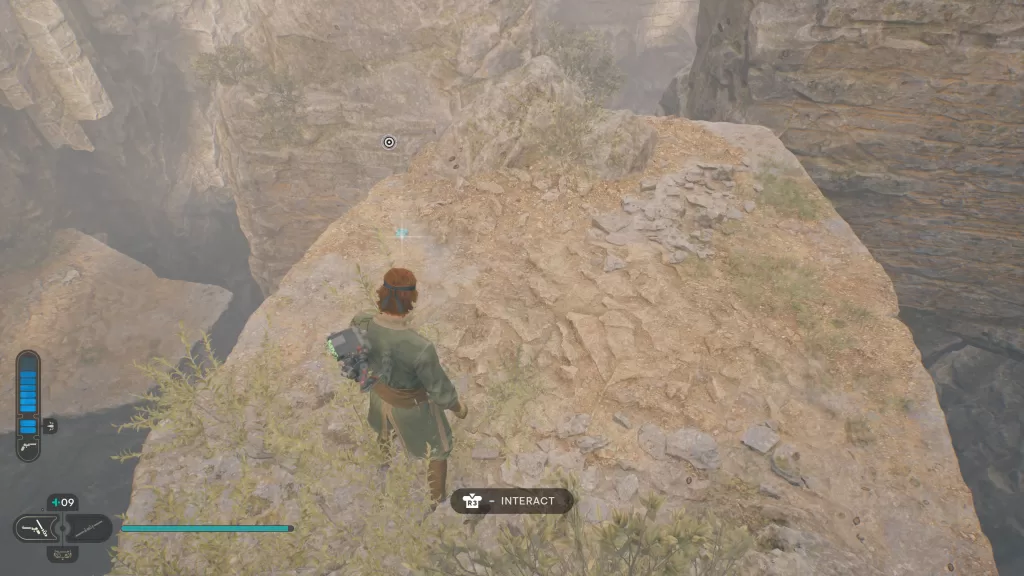
Need help locating the collectibles in the Winding Ravine on Koboh? Check out our Koboh Winding Ravine collectibles guide below! In order to reach this area, head to the Derelict Dam then make your way to the giant dinosaur looking creature. Please note that you must have the ability to tame creatures in order for this to work! Use the tame button on the creature to call it down. Jump to the tentacle with the mossy section to be carried to the Winding Ravine.
Chest – Weapon Material: Warm Metal
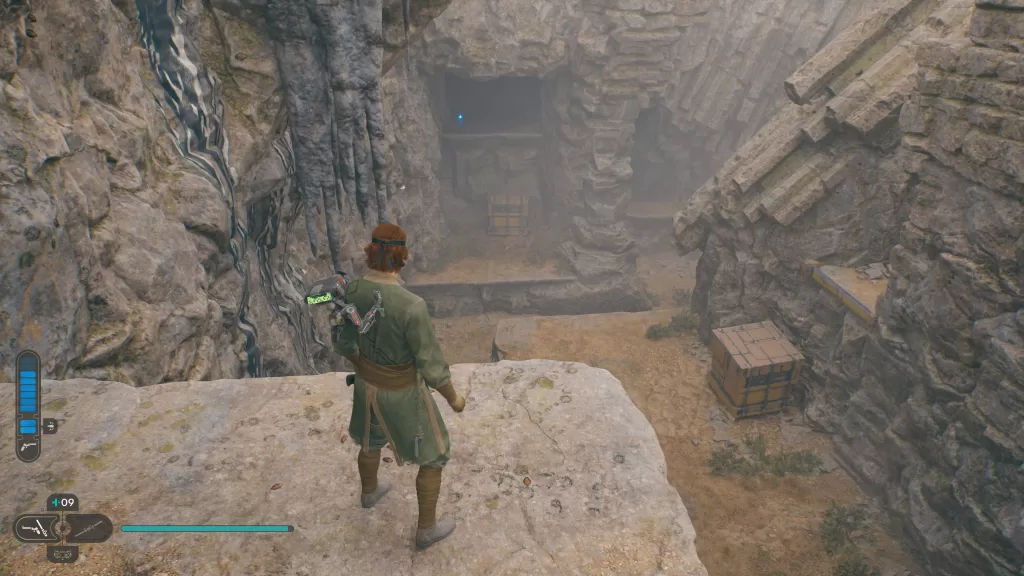
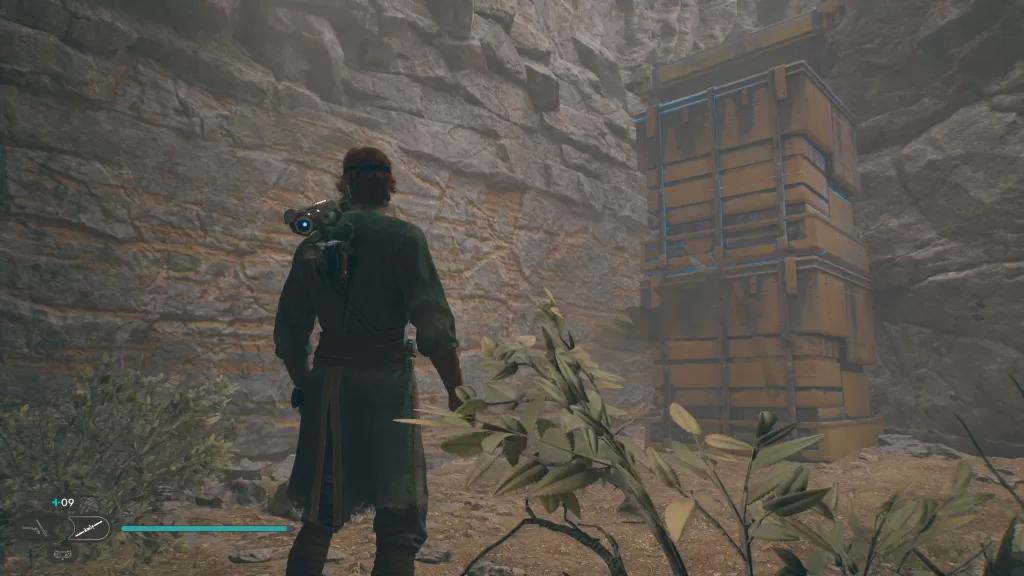
From the beginning of the area, follow along the path until you reach the split. Take a left and head through a cave. When you reach the other side, drop down then look to the left to see a giant crate. You’ll need to push it to the right then left up a ramp. Push it under the ledge so you can climb up on top of it. This will bring you between two cliffs with running walls on the sides. The chest can be found on a ledge past the opening on the left wall.
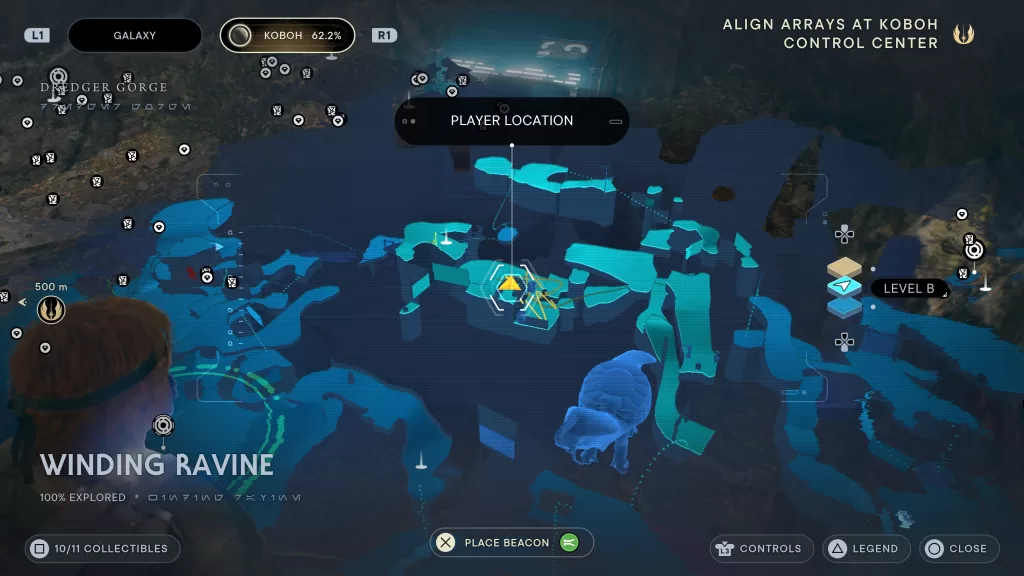
Essence – Skill Point
From the above chest, use the running wall. Head left then follow the path around to find another giant metal crate. Use the Force to push it off the ledge. Jump down to where both crates are and move one crate down the ramp and a little to the right. For the other crate, push it over the top of the crate you just moved into position so you can reach the ledge containing the essence.
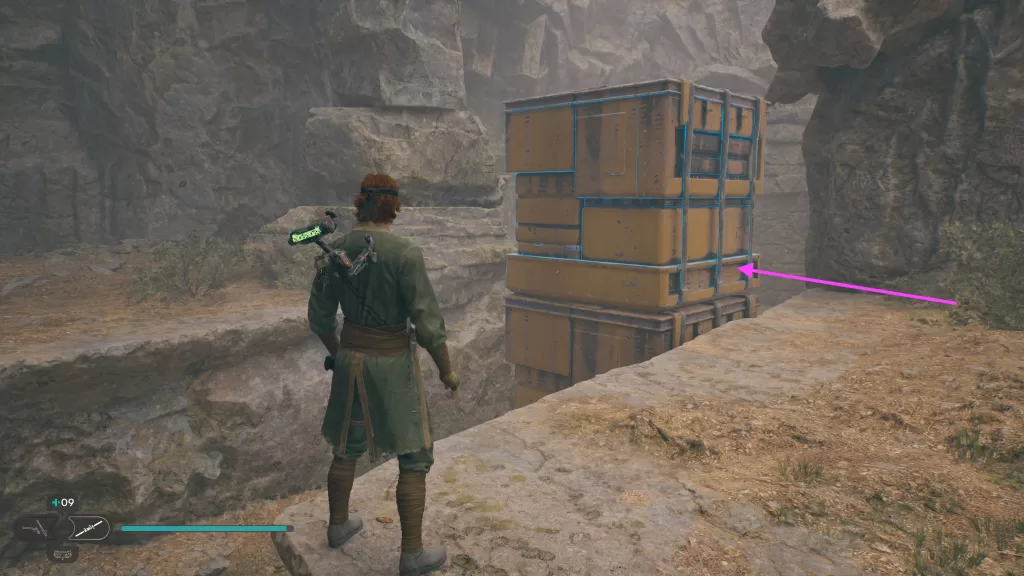
Chest – Beard: Goatee
After grabbing the essence, drop back down where the crates are. Send the crate you used to reach the essence back across the gap. You then want to push the ground crate over so that it sits next to the rock column. Head back up to the ledge higher up and push the crate on top of the other crate, using the rock column to prevent it from overshooting.
Use the Force to push it straight back. Use the crates to reach the higher ledge containing the chest.
Treasure – Priorite Shard
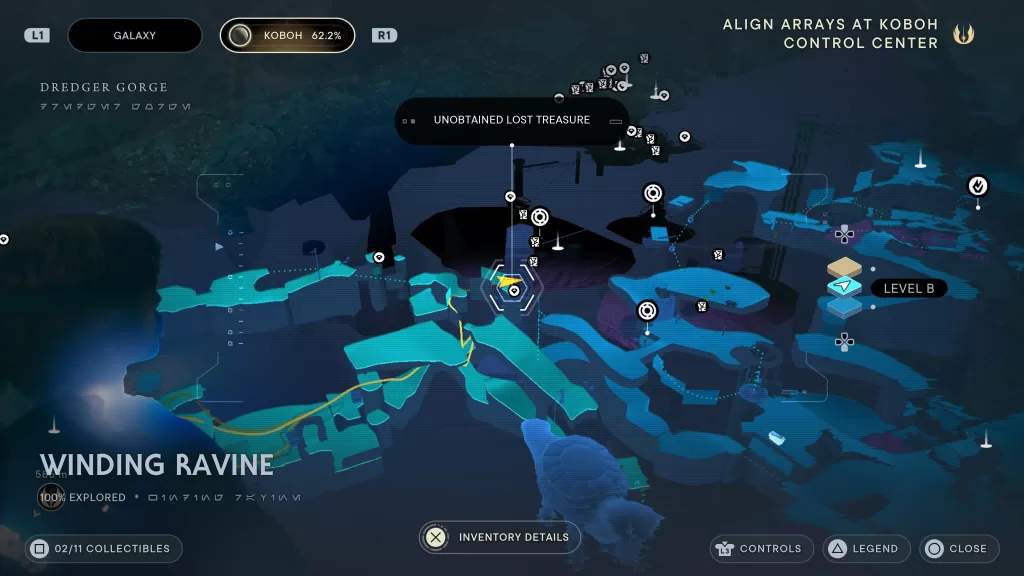
From the beginning of the area, follow the path until you reach the split then head right. This will bring you into a cave with a couple of running walls. You’ll need to run across both running walls. When you land look to the right to find another set of running walls. Follow them to reach a ledge containing this treasure.
Treasure – Priorite Shard
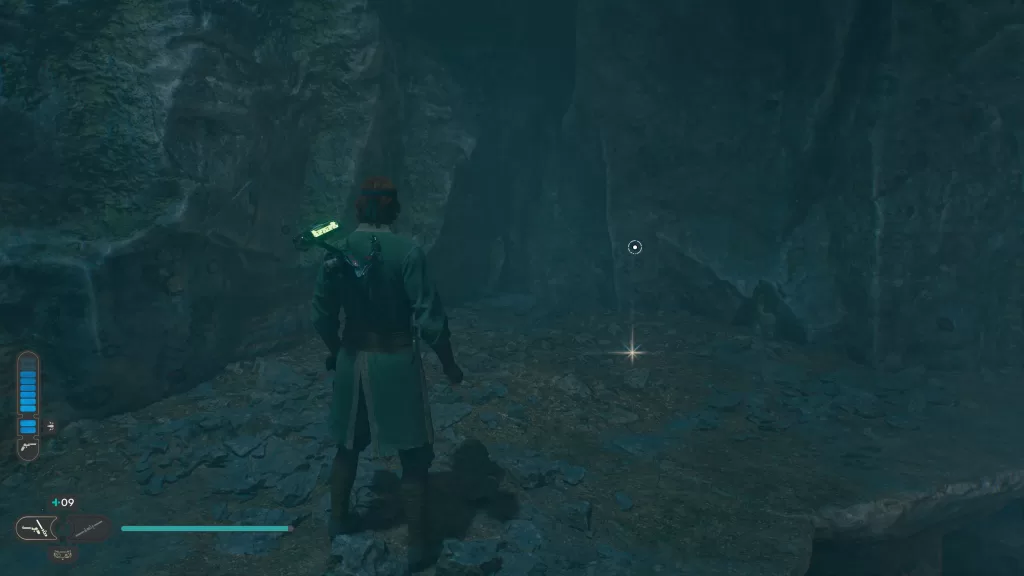
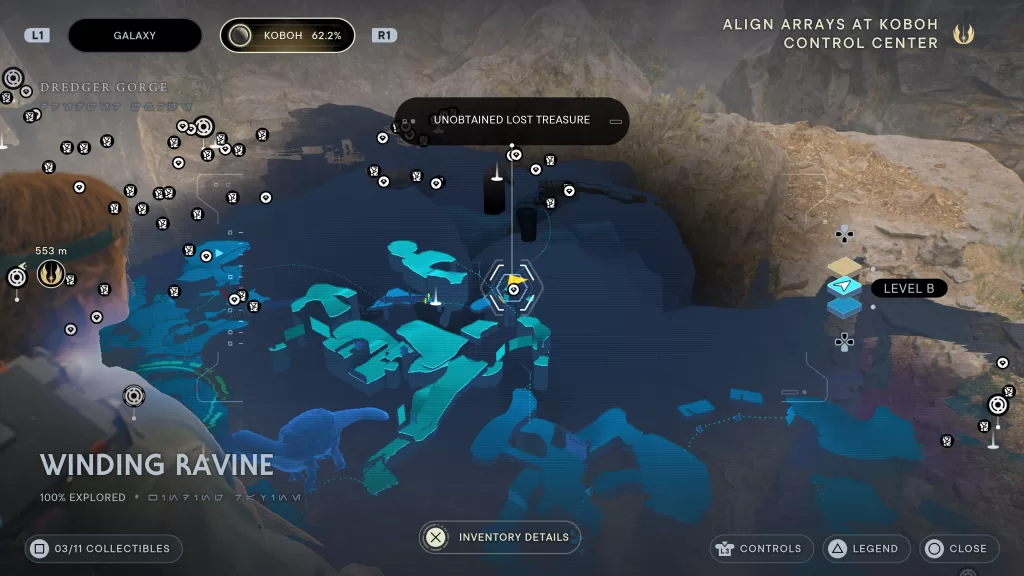
From the above treasure, head back using the 2 running walls then take a right heading up a slope. This will bring you back outside. Use the running walls to reach a rope. Swing across to reach a ledge. Turn around and use the rope to swing to the top of a rock pillar containing this treasure.
Seed Pods – Cactus Ball: Rare / Cactus Ball x4
Continue heading further into the area until you reach the flying creature. Use it to glide. When it drops you off, turn around and drop to the lower ledge to find these seed pods.
Chest – Lightsaber: Hunter
Next to the shortcut leading back to the beginning of the area.
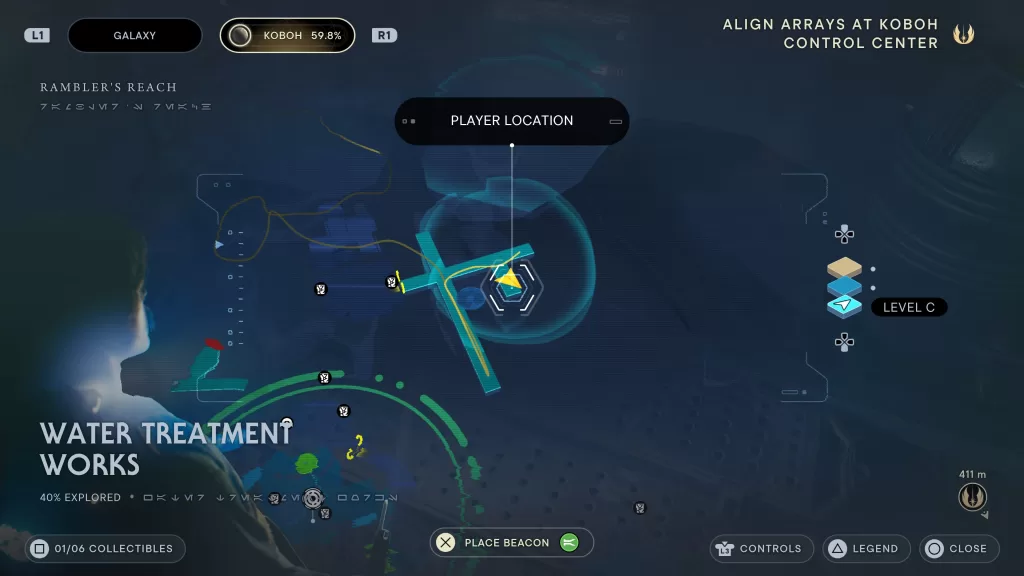
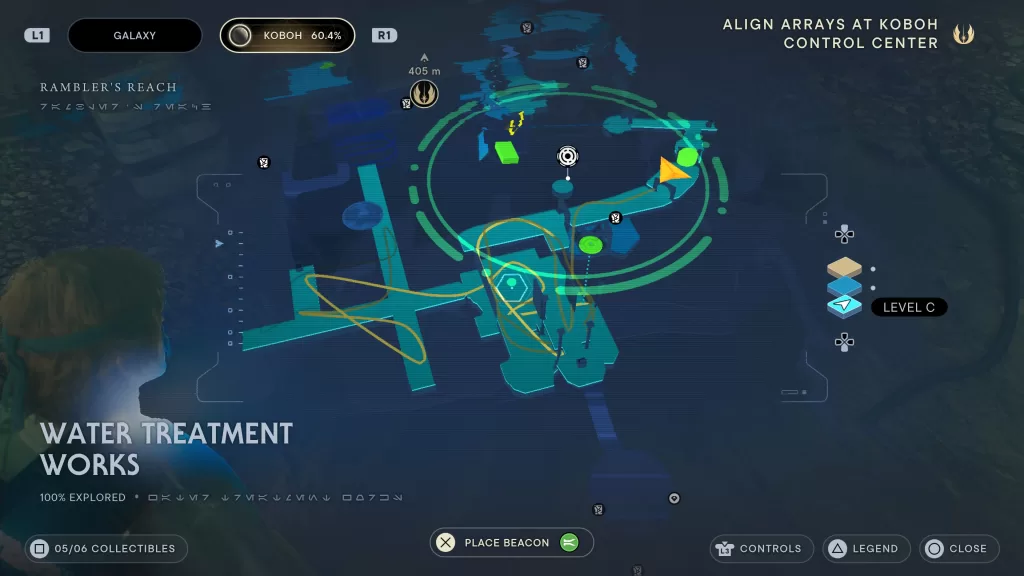
Need help locating the collectibles in the Water Treatment Works on Koboh? Check out our Koboh Water Treatment Works collectibles guide below!
** You’ll be able to access the below collectibles after you gain the ability to open doors with the Force.**
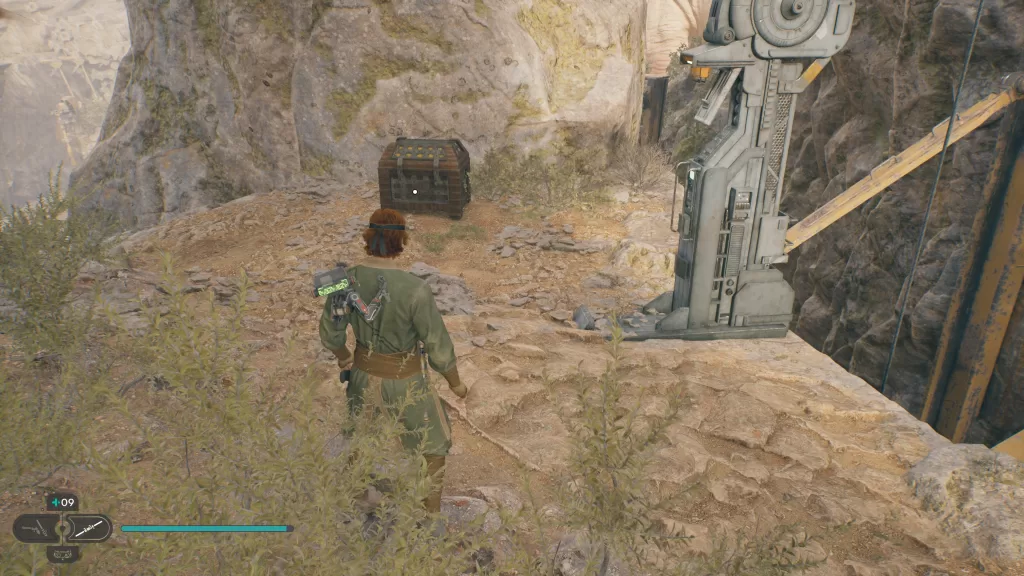
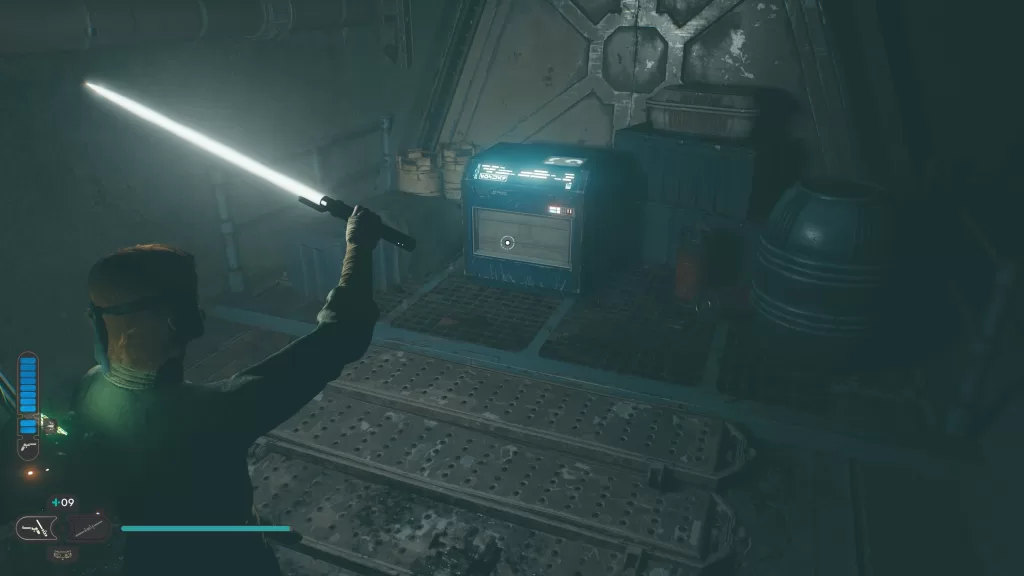
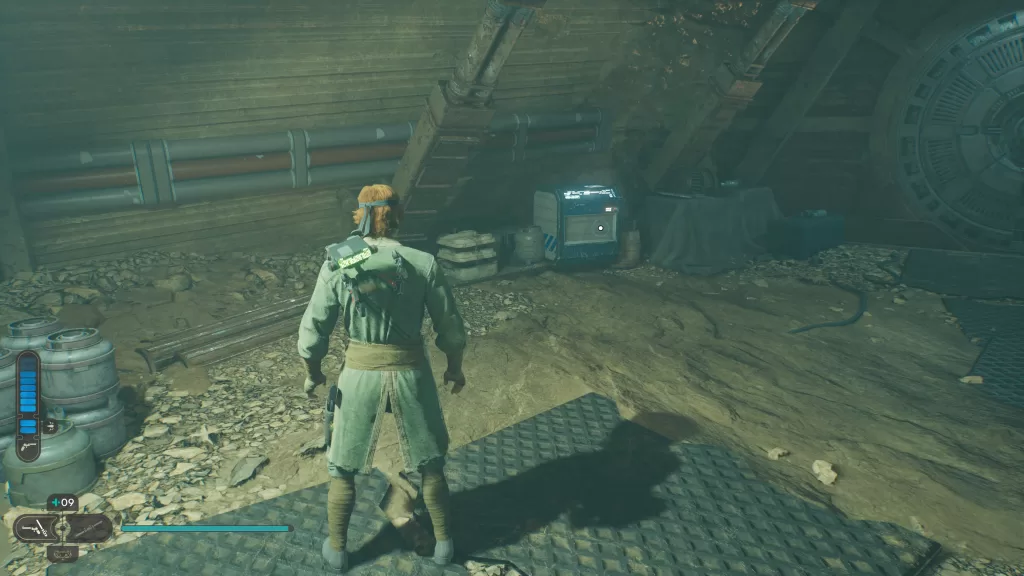
Chest – Switch: Edgehawk
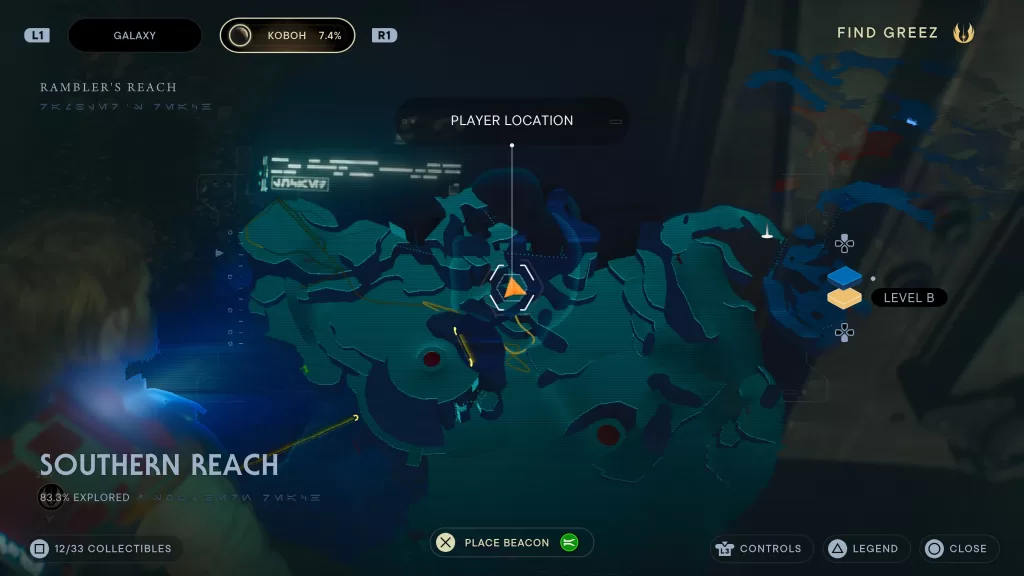
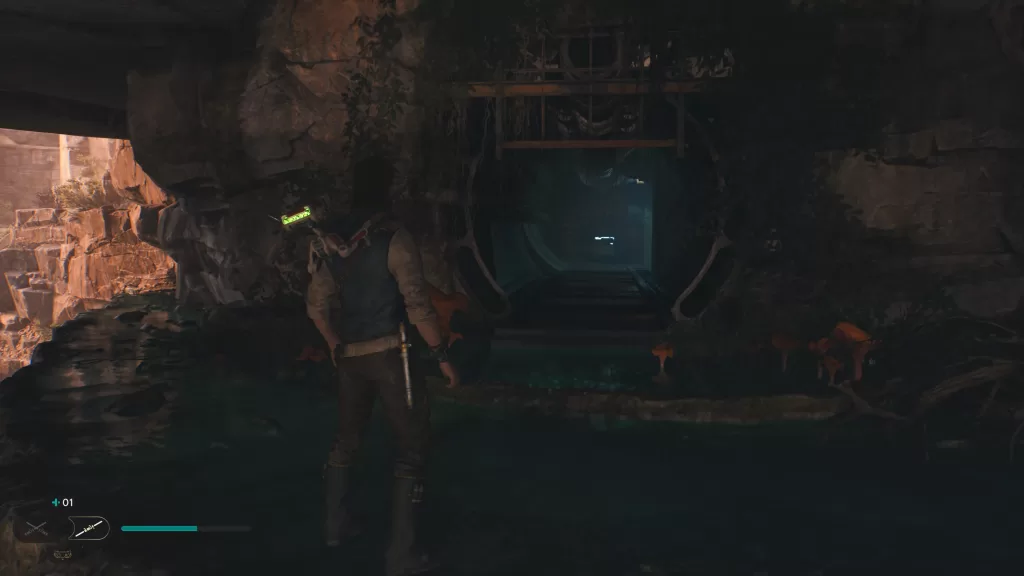
After dropping down the hatch in the Southern Reach, head down the tunnel and cut some hoses blocking the way. When you get to the 4 way split, take a right. Take the next right to find the chest.
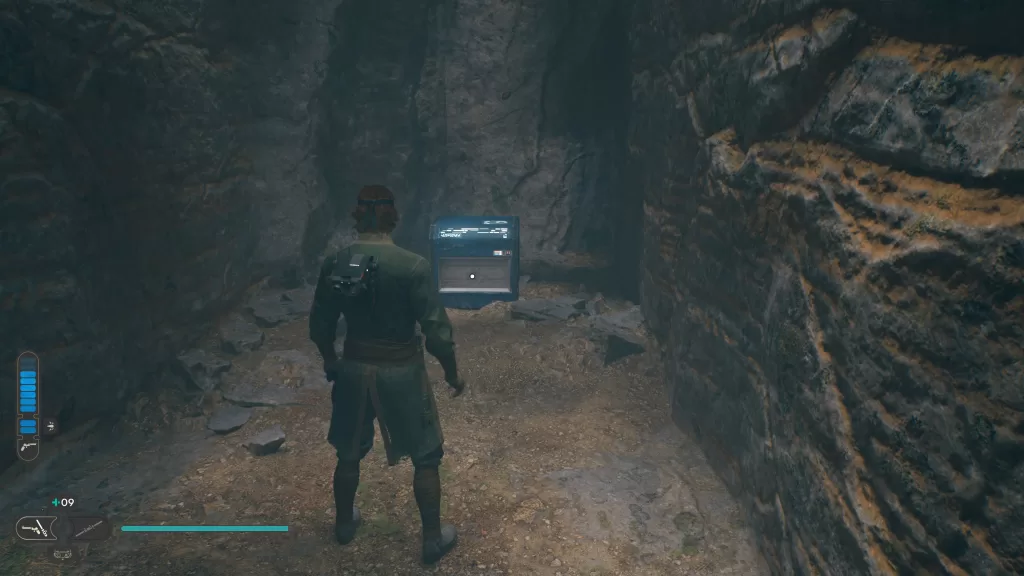
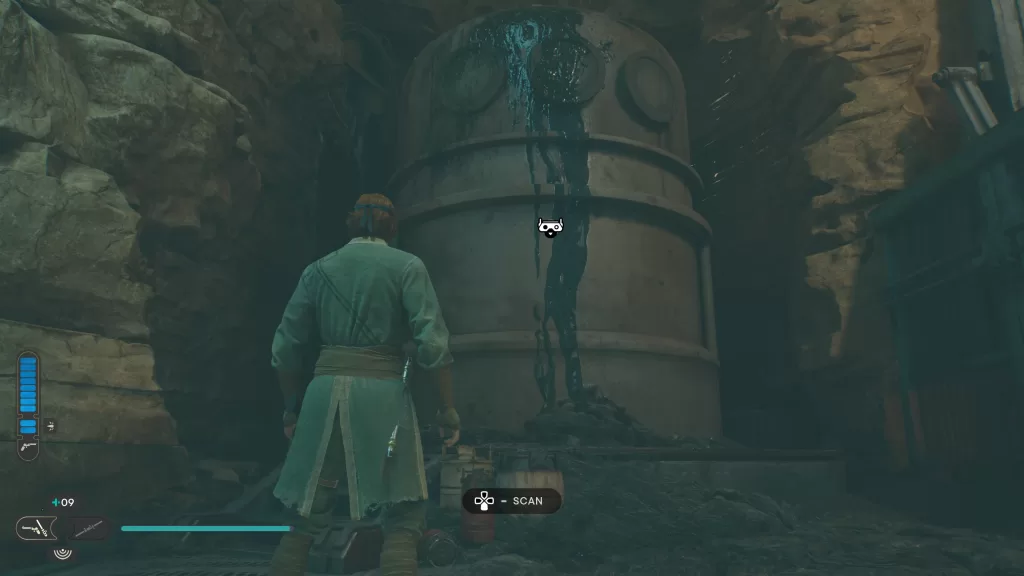
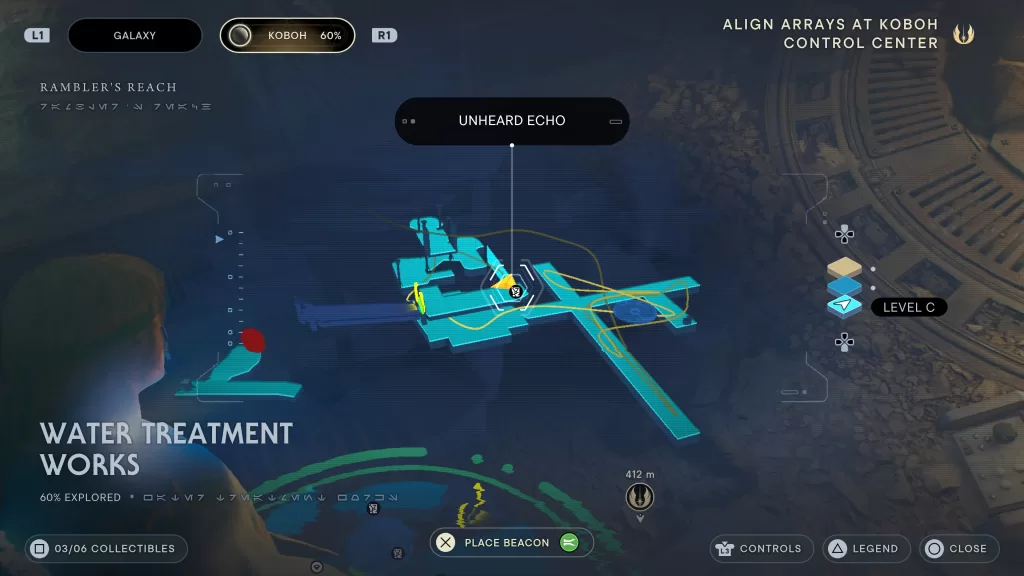
Databank – Leaking Water Storage
From the above collectible, backtrack to the 4 way. Head straight to reach a big open room. Scan the giant cylinder against the wall.
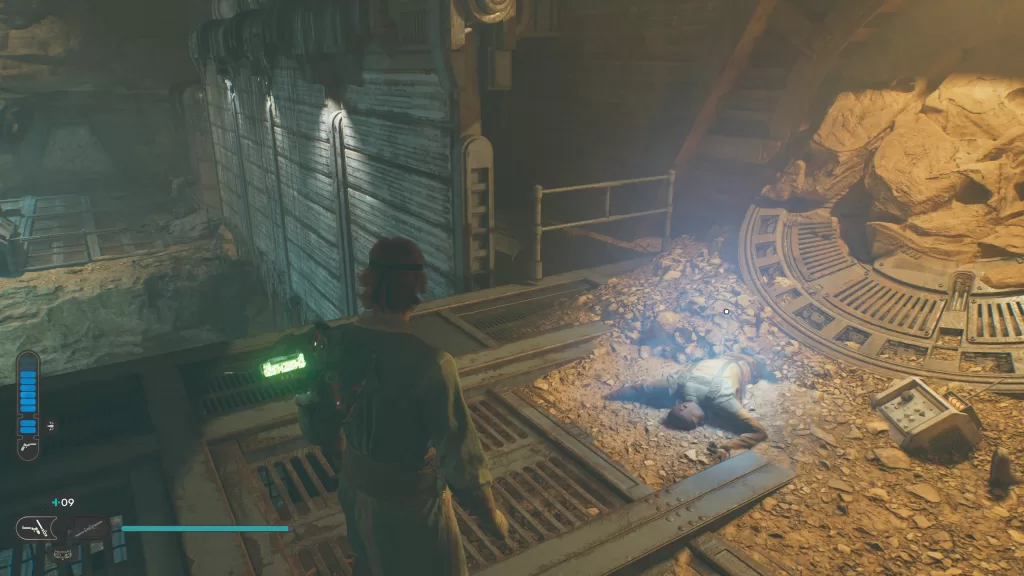
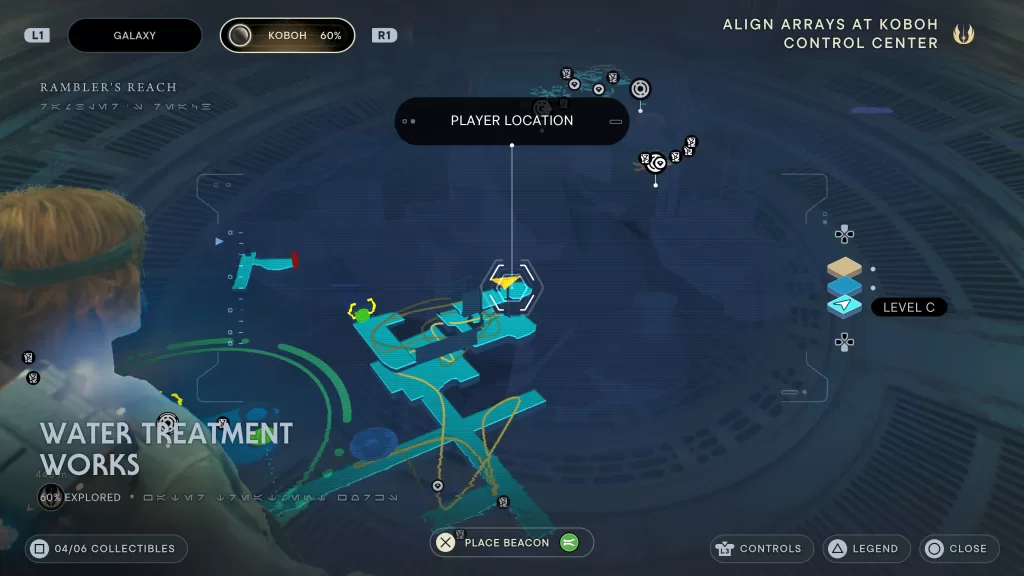
Databank – Lawful Good
To the right of the previous collectible, jump up onto the ledge and follow the path up a flight of stairs. Head across the running wall then scan the corpse.
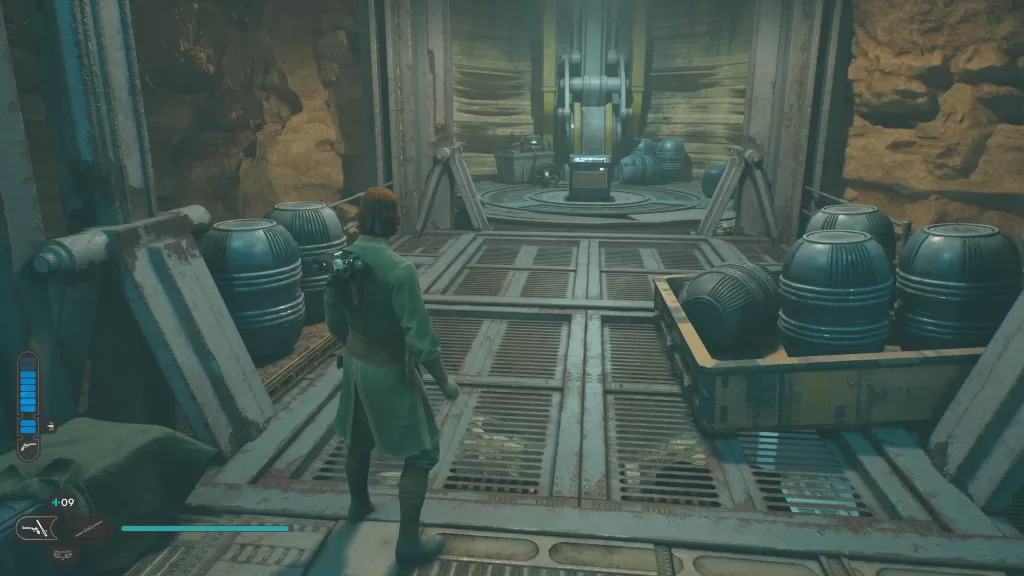
Chest – Emitter: Edgehawk
With your back to the echo, follow the walkway heading to the shadow of a doorway. Take a right before the doorway. You’ll then need to double jump and dash to the room across the way to find the chest.
Chest – Grip: Edgehawk
From the above collectible, return to the shadow of the doorway and use the Force to blast your way through. You’ll find the chest straight ahead.
Chest – Hair: Scrapper
Just past the chest, there will be a door. Open it then head through and up the stairs. Look to the right to find it! Alternatively, from the Southern Reach Meditation Point, head down the hill to reach a canopy tent. From there, take a right then head towards the cylinder. At the bottom of the hill near the silo, take a right to reach a cavern. Climb up the ledge on the right then jump across to the ledge on the left to find a tunnel with a chest at the end.
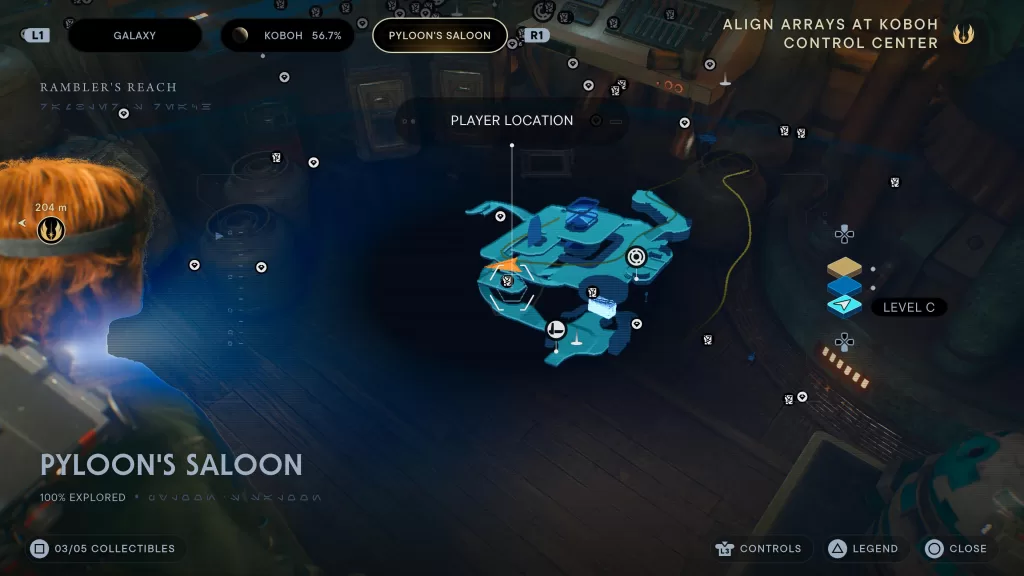
Need help locating the collectibles in Pyloon’s Saloon on Koboh? Check out our Koboh Pyloon’s Saloon collectibles guide below!
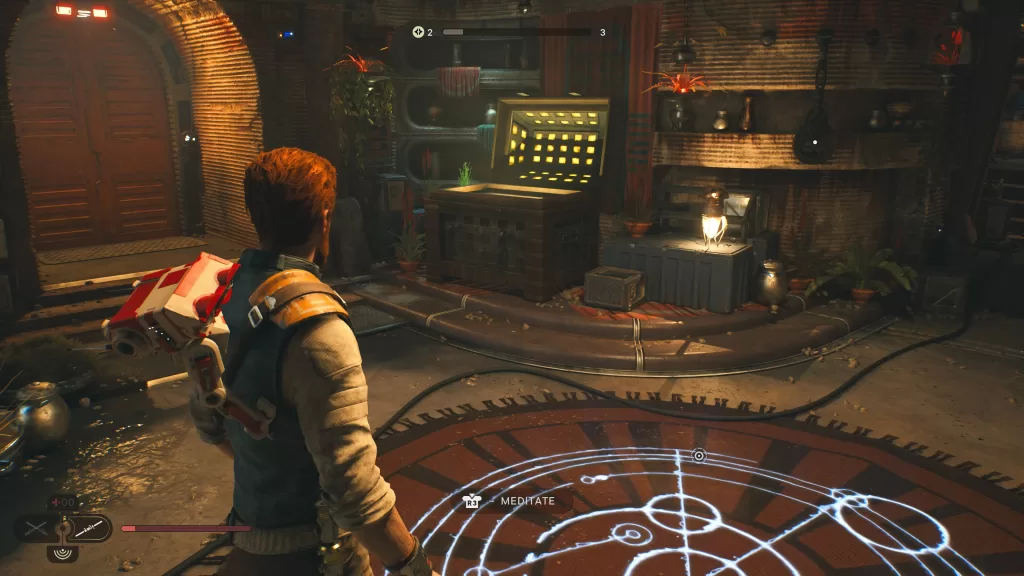
Chest – Outfit: Scrapper
This chest can be found in Cal’s room near the meditation point.
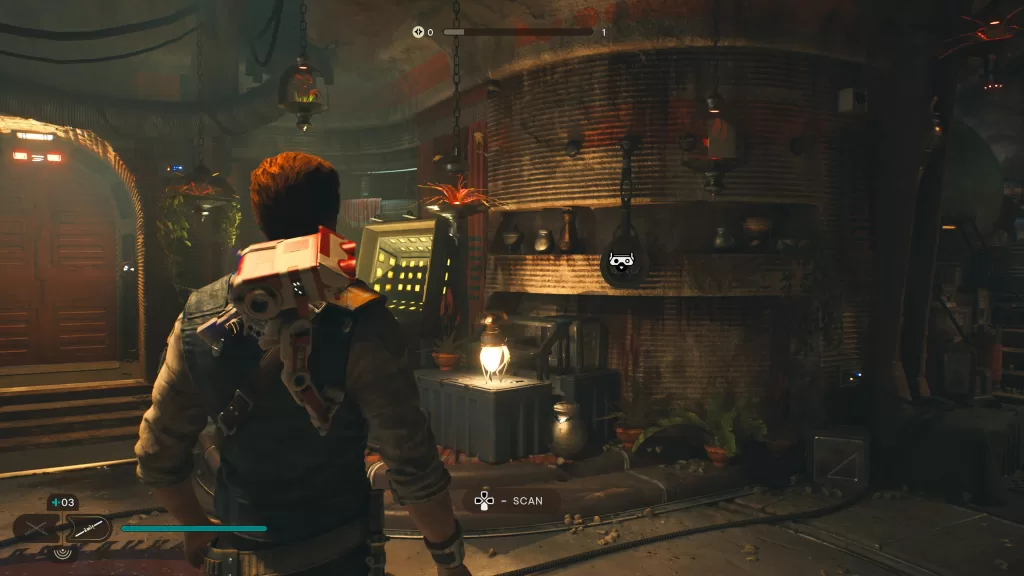
Databank – Hallikset
Hanging on the wall to the right of the above chest.
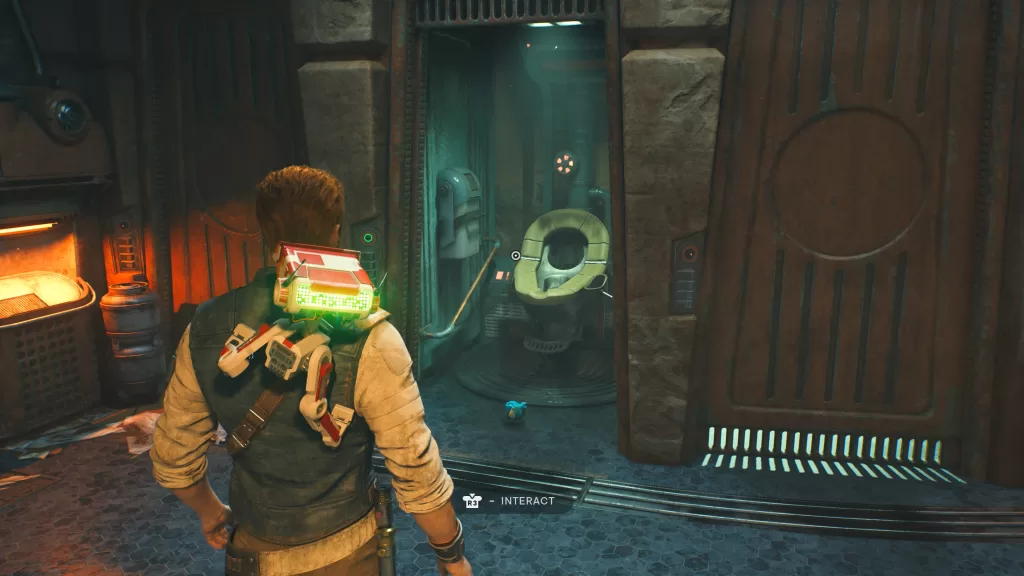
Treasure – Priorite Shard
From the entrance of the saloon facing the bar, go right into the bathroom. Interact with the first open stall then collect the shard.
*To gain access to the two collectibles below, you’ll need to talk to Moran several times and eventually he’ll give you access to a back room where they can be found.
Databank – Moran’s Possessions
Head into the newly unlocked room and scan the trunk on the right side.
Chest – Music Track: Eerin Siinaa
The chest can be found on the left side of the room across from the databank.
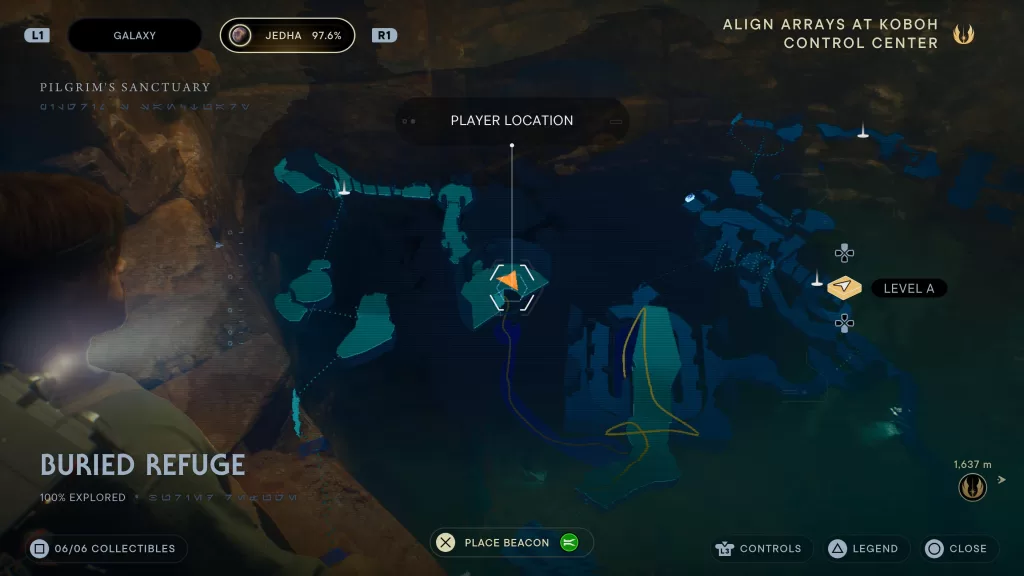
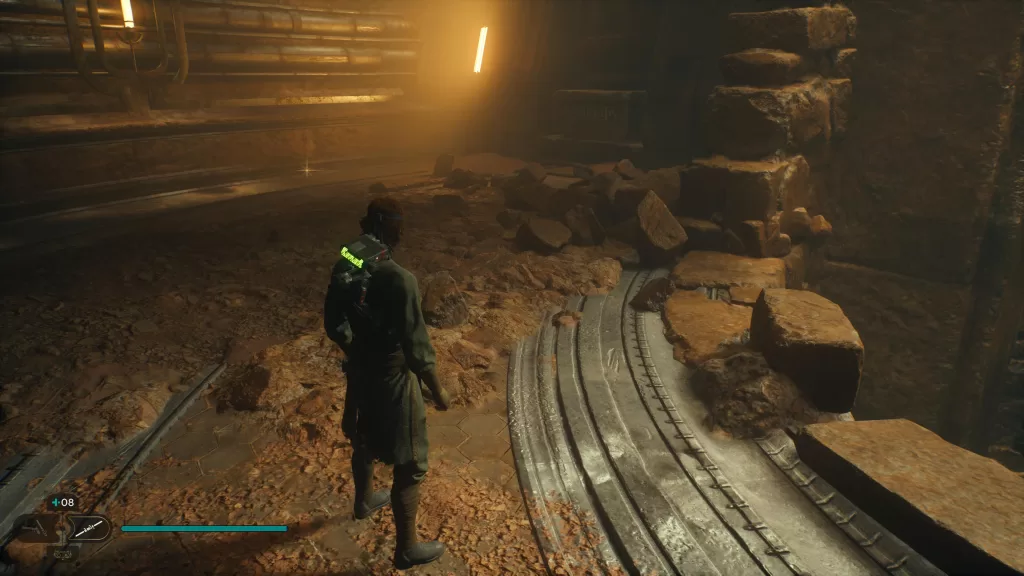
Need help locating the collectibles in the Buried Refuge on Jedha? Check out our Jedha Buried Refuge collectibles guide below!
Chest – Photoreceptors: Kaminoan
The chest can be found at the bottom of the water just before emerging into the Buried Refuge.
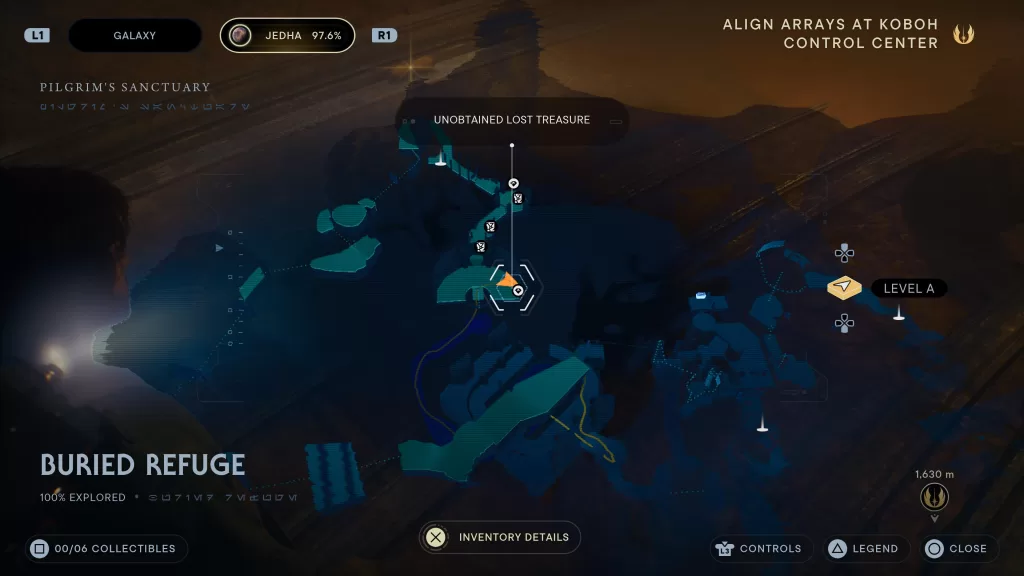
Treasure – Jedha Scroll
After emerging from the water in the Buried Refuge coming from Sanctuary Temple, look to the right to spot the treasure on the ground.
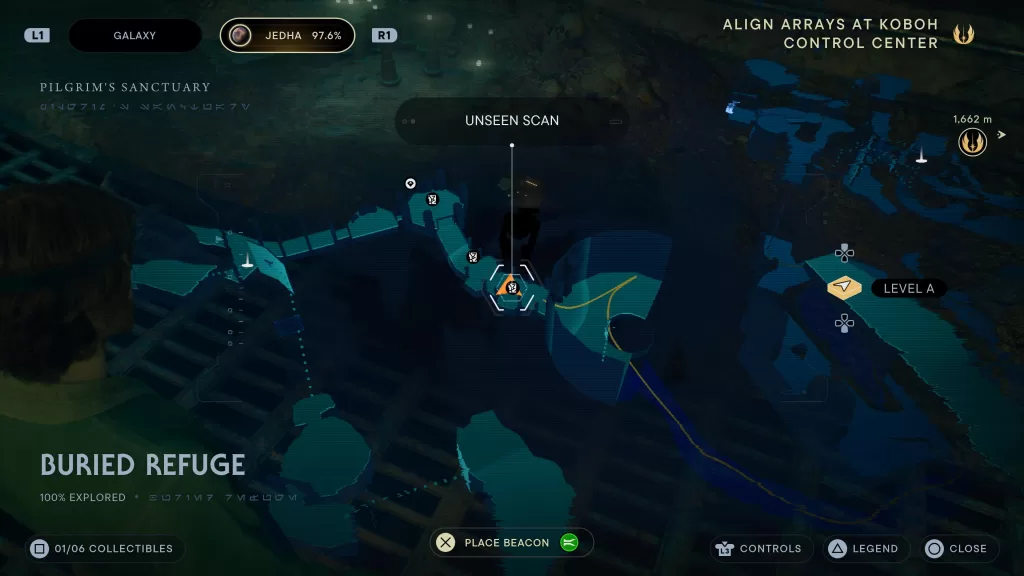
Databank – Hidden Path, Exposed
Scan one of the skeletons along the path leading to the meditation point.
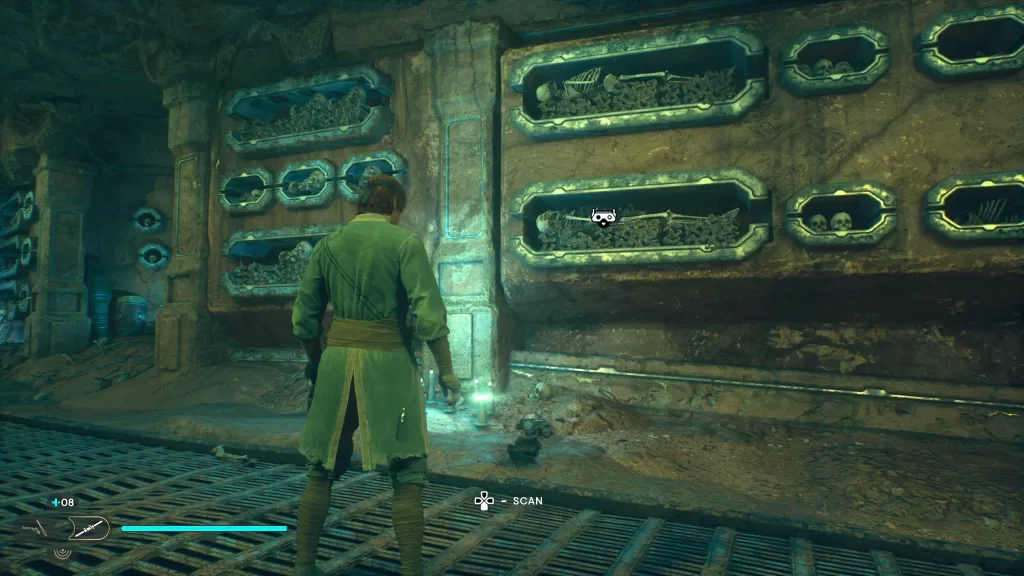
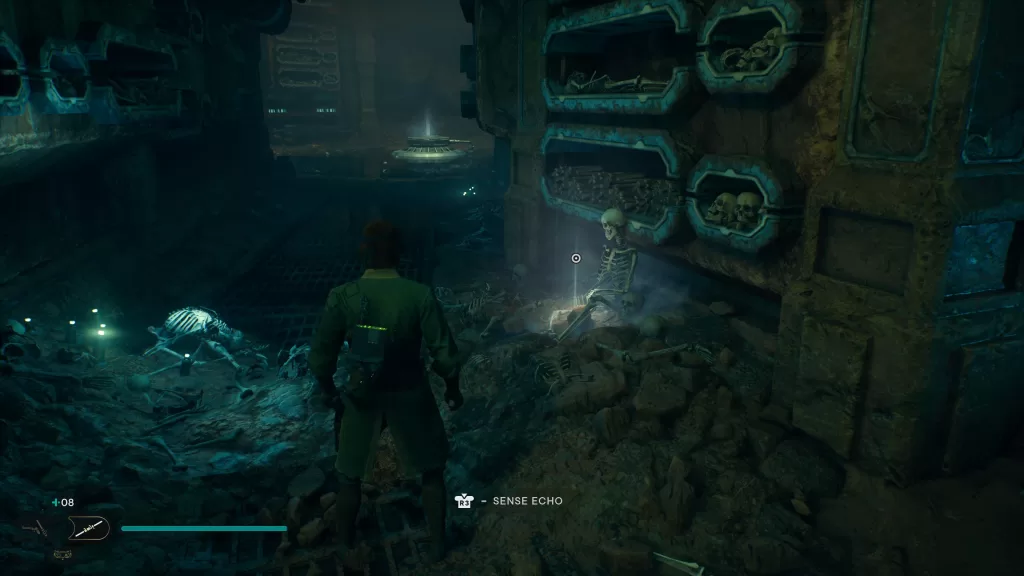
Databank – Temple Evacuation
This echo will be on the ground next to a skeleton just past the above databank.
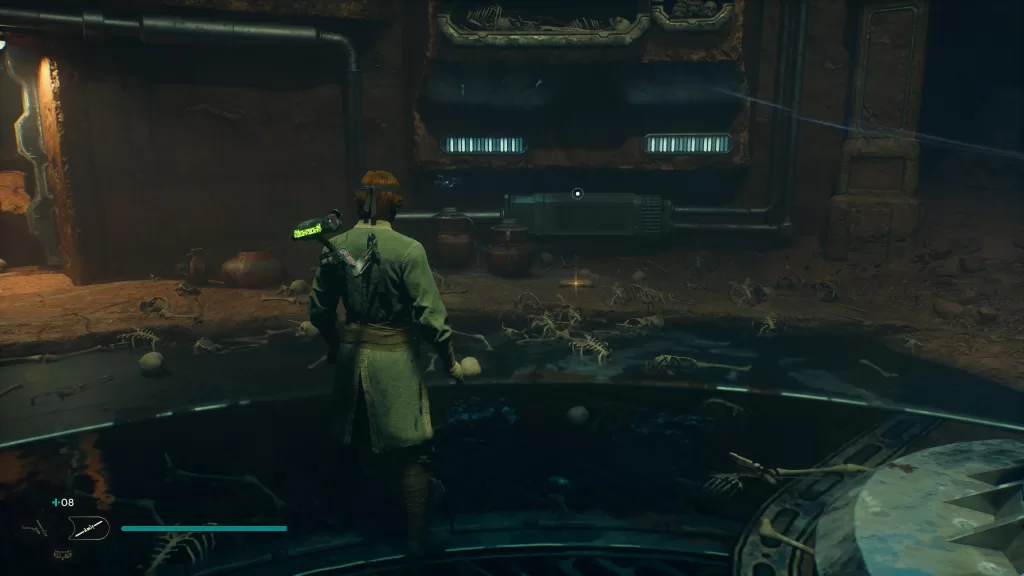
Databank – A Noble Deed
This echo can be found on a circular metal object in the middle of the room just past the above echo.
Treasure – Jedha Scroll
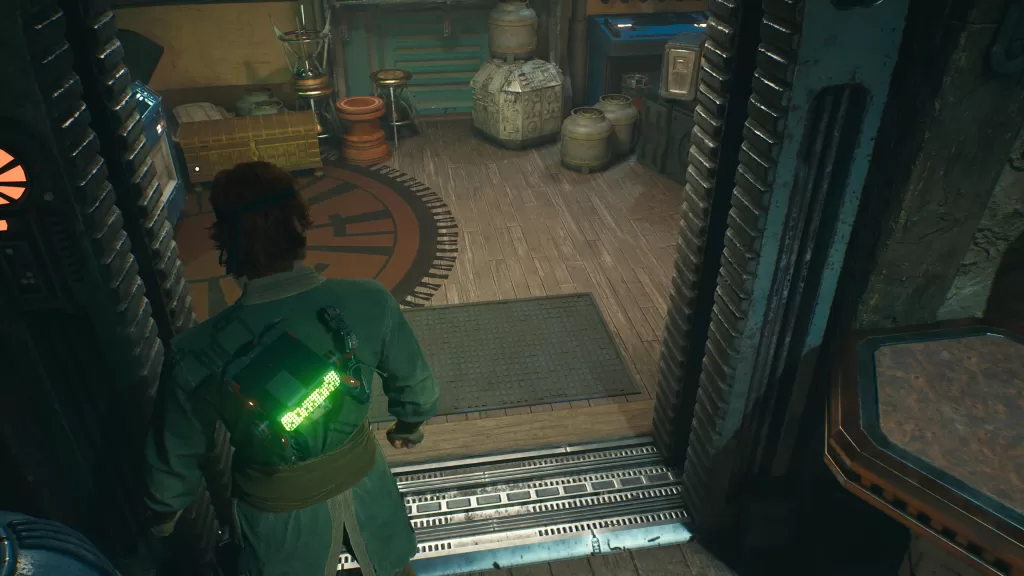
Look to the left of the above echo to find the treasure near a couple of jugs.
Search
This site uses cookies. By continuing to use this website, you are giving consent to cookies being used. For more information on cookies, view our Privacy Policy.OkPrivacy Policy