The Underdark is one of the last areas you’ll come to in Act I of Baldur’s Gate III. There you’ll find a handful of side quests you can complete for rewards to help your party on the way to the Moonrise Towers. This guide will cover the quests you can pick up in the Underdark along with what you’ll need to do in order to complete them.
Avenge Glut’s Circle
Sovereign Glut can be found on the west side of the Myconid Colony. Speak with him after talking to Sovereign and he’ll request to accompany the party with defeating the Duergar. Bring him with you when you head to the abandoned village southwest of the colony. After defeating all of the Duergar, speak with Glut. He’ll say he plans on using the enemies you just killed to form a new colony and that the other Sovereign must be killed. You can choose to side with Glut or kill him to save the other Sovereign. We chose to strike Glut down since he was giving us villainous vibes. Doing this starts a battle with the shroom and any of the Duergar you converted during the fight. He also has an increased health pool when fighting against the Duergar. Defeating him completes the quest. If you return to Sovereign Spaw, he’ll give you a fancy title.
Cure the Poisoned Gnome
The gnome Thulla can be found in the Myconid Colony near Sovereign. Speak with her and choose “Who did this to you?” to get additional options. From there you’ll want to do the Medicine skill check. Passing that will allow you to examine her more closely to determine that a regular antidote will do the trick. Give her one to cure the poison leading to more dialog. She’ll tell you that her people are in trouble and she needs to help them. You can say that sucks or offer to help. If you do the latter, she will give you rare Boots of Speed and the quest will be completed. If you can’t pass the check, then you’ll need to follow the Defeat the Duergar Intruders quest which has you taking down the leader of the group, Gekh Coal. He will drop a Duergar Antidote that you can use to save the gnome.
Defeat the Duergar Intruders
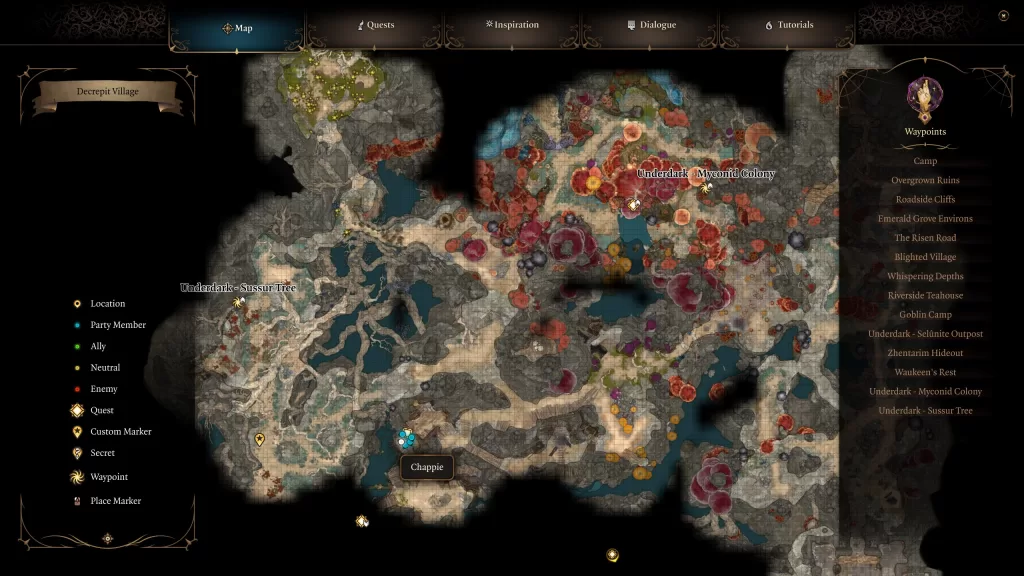
To start this quest, you’ll have to meet with Sovereign and agree to help him by removing the Duergar who threatened his people. Sovereign can be found in the Myconid Colony on the northern end of the map north and slightly west of the Selunite Outpost past a mushroom field. As you approach it, you’ll begin a conversation with the big guy who wants to know your purpose for the visit. If you’re honest with him, he will let you in and want to speak in person giving you the quest. Please note, you’ll want to grab the Avenge Glut’s Circle and Cure the Poisoned Gnome quests before setting out to do this quest.
Exit the colony on the west side and head southwest to reach the Decerpit Village. The Duergar will be hiding in wait there, but passing a perception check will warn you about the ambush. You’ll have to defeat four of them along with three corpses that the leader reanimates.
After the battle return to the Sovereign in the colony and tell him the good news. You’ll be free to claim your reward behind the vines for completing the quest then Spaw will have another request for you.
Deliver Nere’s Head / Free True Soul Nere
** PLEASE NOTE** This is a timed quest once you reach Grymforge. If you do a long rest, Nere will die automatically and you will not be able to save the gnomes.**
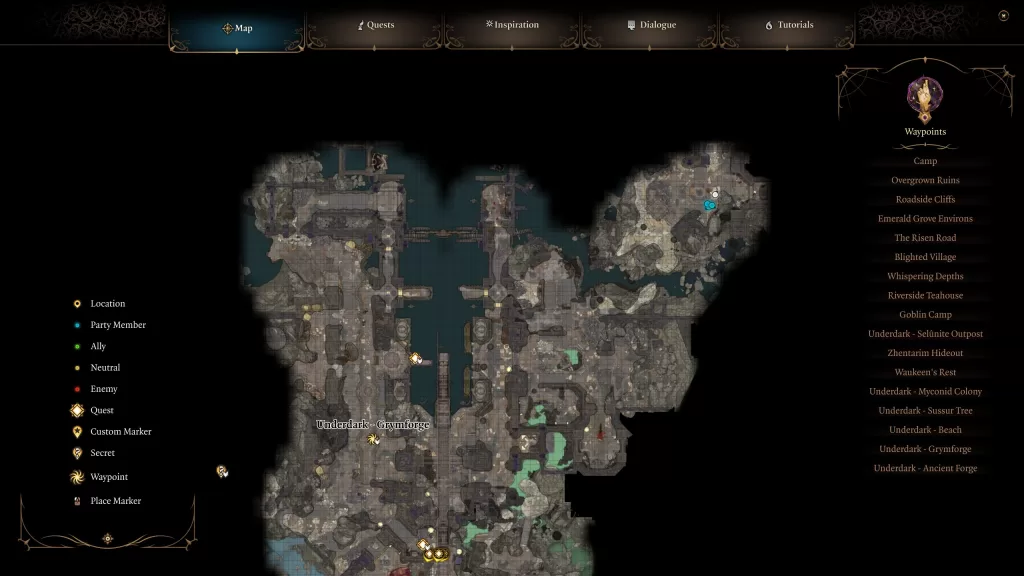
So I put these two quests together but you get them differently. You’ll get Deliver Nere’s Head after completing the Defeat the Duergar Intruders quest. Sovereign Spaw will say that in order for his colony to truly be safe, Nere has to die. To reach him, you’ll need to return to the beach and take the boat there. This will trigger a cutscene with more Deurgar, but it should be easy to pass one of the skill checks to have him guide you to the Grymforge. Once there, you’ll learn that Nere is trapped and will want to make your way to the Ancient Sigil Circle where he will reach out asking for help. This starts the Free True Soul Nere quest. It’s also worth noting that this is also where you need to be for the Save the Grymforge Gnomes quest.
Follow the path south to reach the room where the rocks collapsed. If you interact with the rock then you’ll have a brief conversation with Nere. Next, you’ll want to look for Elder Brithvar. Speak with him and if you pass some skill checks, you’ll be able to team up and backstab Nere by blinding the Scrying Eye floating around. You can also ask him about a way to clear the rocks and he’ll tell you about an escaped gnome that fled with blasting powder. Talk to the gnomes digging out the rocks to learn more. If you pass a skill check, they’ll even tell you where to look. To blind the eye, interact with it and then choose the poke it option. You can then lead it away from everyone and destroy it somewhere discreetly.
Travel to the northeastern part of the map to find Philomeen in the Contemplation Chamber. Speak with her and tell her the situation with the gnomes then convince her to give you a vial of Runepowder. She’ll ask you to tell her lover that she’s dead, but that’s up to you. You can also kill her and take her stuff.
Either way, return to the Cave-In and use the powder to clear the rocks by dropping the vial on the ground and blasting it with something flammable. A cutscene will trigger and Nere will walk out and blast a goblin into the lava. You’ll have the choice to stop him or egg him on.
We chose to tell protect the gnomes and take Nere down. We also decided to work with the rebels as well. Nere will be joined in battle by some of the dwarves. You can get rid of a couple of them by pushing them into the lava. Once all of the enemies have been dealt with, Brithvar (or someone else if he died) will approach you about leaving. You’ll have to pass a persuasion check to convince them to leave the gnomes for the Save the Grymforge Gnomes quest. Speak with Beldron of the gnomes for a reward and to complete the gnome quest. Afterward, head over to Nere and interact with his corpse to decapitate it. Then take it back to Sovereign Spaw to complete the quest.
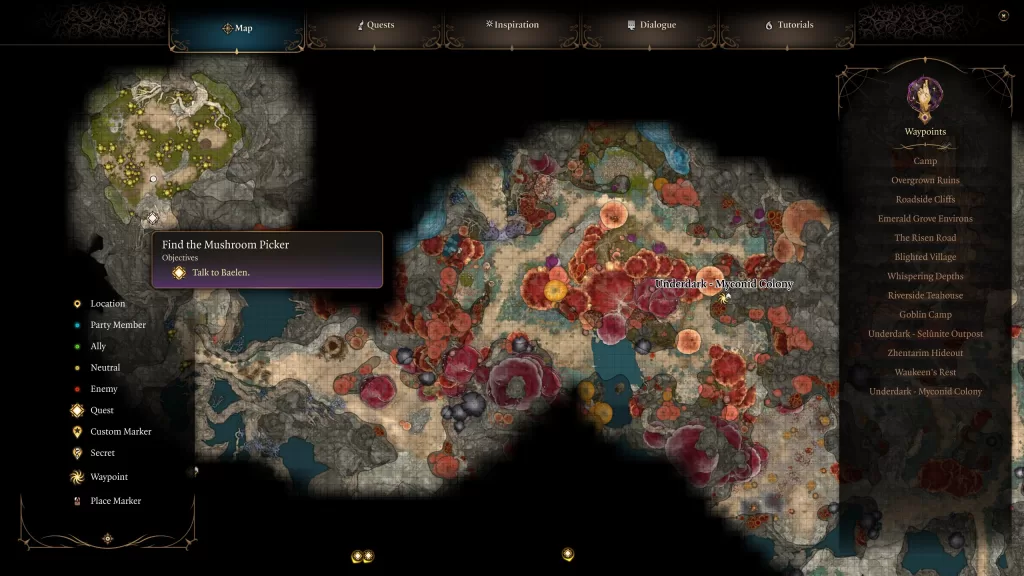
Find the Mushroom Picker
Talk to Derryth Bonecloak who can be found on the west side of the Myconid Colony. She will ask if you’ve seen a dwarf named Baelen anywhere then say her husband is missing. If you feel so inclined, you can offer to help her look for him. Exit the colony from the west side and follow the path heading north. When you reach the split on the rock bridge, head right and climb down the vines to reach a ledge below. This will lead to a cave filled with green mushrooms.
Approach the cave to begin a conversation with a dwarf. He’ll say he’s trapped and request that you throw him his bag which can be found to the left of him by the rock with a torch on it. Unfortunately, there are some green mushrooms between you and it. You can try and sneak over there and throw it to him, use Misty Step to teleport in and out… or you can just let it blow up and he’ll come to you. It doesn’t make a difference either way. Speak with him afterward and say his wife sent you. He’ll give you Scroll of Invisibility on the way out. Return to his wife in the colony and speak with her to receive the rare Gloves of Uninhibited Kushigo which deals extra damage with throw attacks and attack made with improvised weapons. The quest will also complete.
Help the Cursed Monk
To start this quest, you’ll need to travel to the Adamantine Forge in the Underdark (past the Ancient Forge fast travel point). Make your west of the forge to find a pool of lava being circled by a Lava Elemental. In the middle of the pool will be a structure you can reach and on it a structure with an Adamantine Chest. You’ll need to open the chest by passing a level 20 Slight of Hand skill check and loot the Sentient Amulet inside. This will trigger a dialog conversation with the Cursed Monk who will ask you to take him to his granddaughter at Wyrm’s Crossing. You can pass a series of skill checks to learn that the monk was probably tortured by servants of Shar and that while he doesn’t want to hurt you, he might. We agreed to help him and in exchange he granted us his power after we equipped the amulet. You can’t proceed with this quest until Act II when you reach Baldur’s Gate. (It’s a Baldur’s Gate quest that we put here so you didn’t miss it!)

Save the Grymforge Gnomes
** PLEASE NOTE** This is a timed quest once you reach Grymforge. If you do a long rest, Nere will die automatically and you will not be able to save the gnomes.**
You’ll get this quest after completing the Cure the Poisoned Gnome quest and agreeing to help her people. See the Deliver Nere’s Head / Free True Soul Nere quest above on how to complete it.
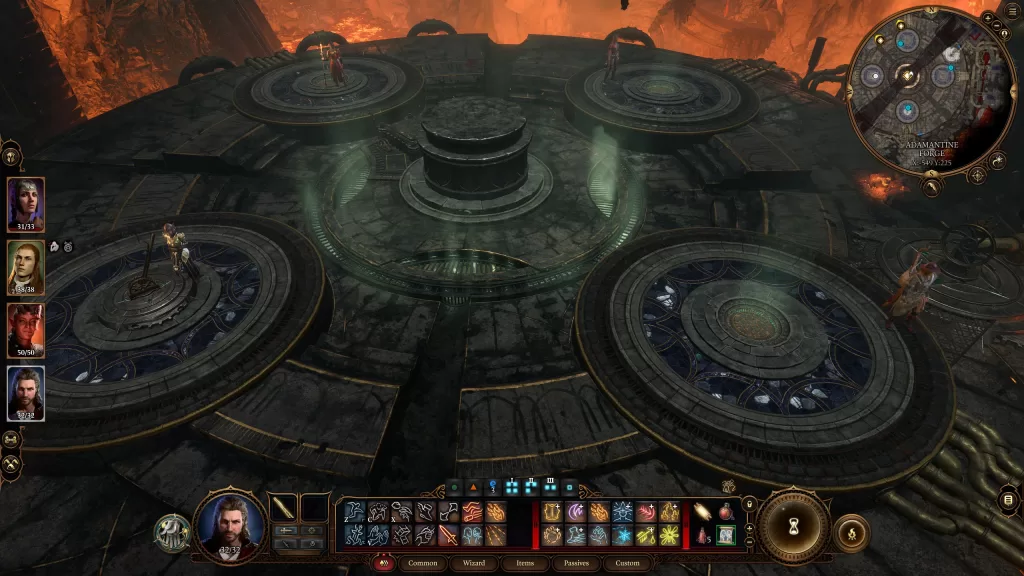
The Adamantine Forge
You can pick this quest up by traveling to the Sussur Tree and defeating Filro the Forgotten there. You’ll then want to loot him and read the Scribble notes he was carrying. That will trigger the quest. To learn more about the forge, complete the Defeat the Duergar Intruders quest to gain access to the area behind the vines in the Myconid Colony. You can loot a Pale Corse there that has a book on it. Pass a skill when reading the book to learn it’s really titled The Great Furnace of Grymforge.
Head to the Grymforge (you can get there following the Defeat the Duergar Intruders quest line) then follow that path through the north part of the area to meet Herdmaster Skarjall. He’ll tell you to get the beasts to work to help clear the rubble. If you pass a persuasion check, then he’ll inform you that there is adamantium on the other side of the rubble. Interact with the animal to get the notion to hit it, If you have Animal Handling, you can take that approach (and that is what we did) to calm the beast. You can then tell it to get back to work or to attack its masters. We recommend having the animals dig out the rock because afterward, the dwarfs will attack you anyway. If you want to make the fight easier and don’t care about the loot, you can try and push them over the edge. Also note that if you don’t interact with the animals before attacking the dwarfs, you’ll have to fight them too.
With those goons taken care of, you’ll now want to work your way around to the southeastern part of the area. There you’ll find the Ancient Forge Ancient Sigil Circle and slightly further than that the Adamantine Forge itself. In order to use the forge you’ll need a mould and some ore. The ore can be found in two locations: in a sitting area just off the broken steps leading to the forge (beware ambush) and down the path southwest of the Ancient Forge fast travel point on the other side of the lava. The image below has the general locations of the moulds (pink) and the ore (blue).

When you have both of those things go to the forge and place a mould into the Mould Chamber and a piece of Mithral Ore into the Crucible. After that head over to the Forge Lever and activate it. This will lower the forge. Once it comes to a stop have someone use the Lava Lever… to start the boss fight against the automaton Grym, Etneral Protector of the Forge who also happens to be level 8. The way Grym works is that he will go after the last person who attacks before his turn. If you spread out your party, you can effectively kart him around as you see fit and if you get him in the center of the room and hit the Forge Lever, you’ll deal some massive damage to it. Another thing you’ll need to do is keep the room filled with lava. It will heat Grym up so that you can deal damage to him. When his health gets low, a squad of Magma Mephit will spawn on the northwest side of the forge. Once they and the guardian have been dealt with you can claim your forged item. Once doing so, the quest will be completed.