The Shadow Cursed Lands is the first area you’ll come to during Act II of Baldur’s Gate III. This guide will cover the quests you can find in the Shadow Cursed Lands along with what you’ll need to do to complete them.
Find Arabella’s Parents
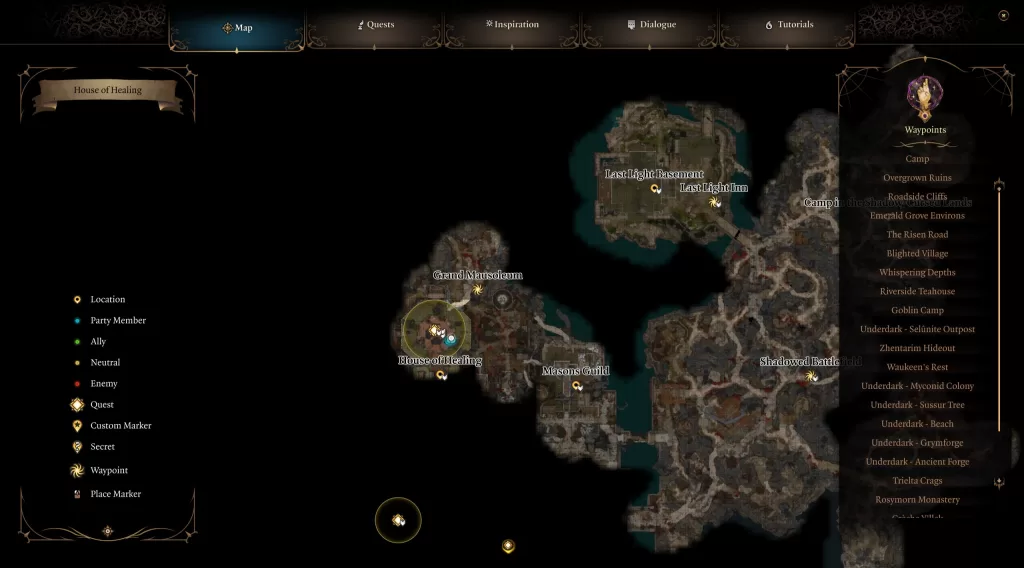
You’ll get this quest after finding Arabella just west of Mason’s Guild in the cemetery. She’ll ask you to help find her parents and then ask if she can stay with you until then. If you agree, most of the party will approve. Travel west of the cemetery to reach the House of Healing then head inside. Speak with Sister Kidwin to locate her parents. Return to your camp and speak with Arabella to let her know what happened. You’ll then need to wait a bit then check up on her in camp. When you return, Withers will be speaking with her. Talk to them both and Withers will say she needs to leave in order to learn how to control her power. If you agree with him, then he will show the girl her future which makes her happy. The quest will be completed and she’ll then reward you with an uncommon ring.
Find Mol
After the attempted kidnapping of Isobel, Mol will be taken during the fight. Speak with the kids near the kitchen and tell them you’ll get her back. This quest will be updated during the Defeat Ketheric Thorm main quest. Upon searching the area under the castle, Mol is nowhere to be found…
This quest will be carried into Act III. While exploring the Lower City of Baldur’s Gate, you’ll come to the Guildhall (in the Lower City Sewers) while following Jaheira’s companion quest or if you pick up the Aid the Underduke quest. It is there where you’ll learn about the fate of Mol finally completing this quest.
Find the Nightsong
This quest is a continuation of the Act I quest with the same name (you can view the first part here). During the main story quest objective, Infiltrate the Cult of the Absolute, Disciple Z’rell will task you will backing up Balthazar in Mausoleum. If you use the key to enter Balthazar’s room, you can head over to the bookshelf and look for the Protruding Book on the bottom right side. Interact with it to unlock the altar to the right of the bookshelf. Next loot the corpse in the room or Viscera’s pile of flesh for a heart then interact with the altar and combine the heart with it. This will open a secret door behind the bookshelf. Head inside and read the Research Notes. This will tell you that Balthazar was sent to the Mausoleum to find the Nightsong giving you this objective.
To push forward in this quest, you’ll need to complete the Chosen of Shar objective for Shadowheart’s Daughter of Darkness companion quest. You can check out the guide for it here!
When that is done, you’ll find the next part of this quest in Baldur’s Gate during Act III. Click here for our guide on it!
Find Zevlor
Head to Last Light Inn and speak with Cerys there to learn that Zevlor is missing. This will trigger the quest. You won’t be able to find Zevlor until you start the Defeat Ketheric Thorm main quest near the end of Act II. Check here for its guide where we’ll cover how to find Zevlor.
Kill Raphael’s Old Enemy
Travel to the Mausoleum Entrance located in the southwestern part of the Shadow-Cursed Lands near the Moonrise Towers to find Raphael. Speak with him (make sure to bring Astarion if you still have him) to learn that his old enemy is nearby and that you should not try to reason with it, but kill it. When you’re ready, head through the Mausoleum Entrance. To complete the quest, check out the Kill the Orthon objective in our Pale Elf guide here.
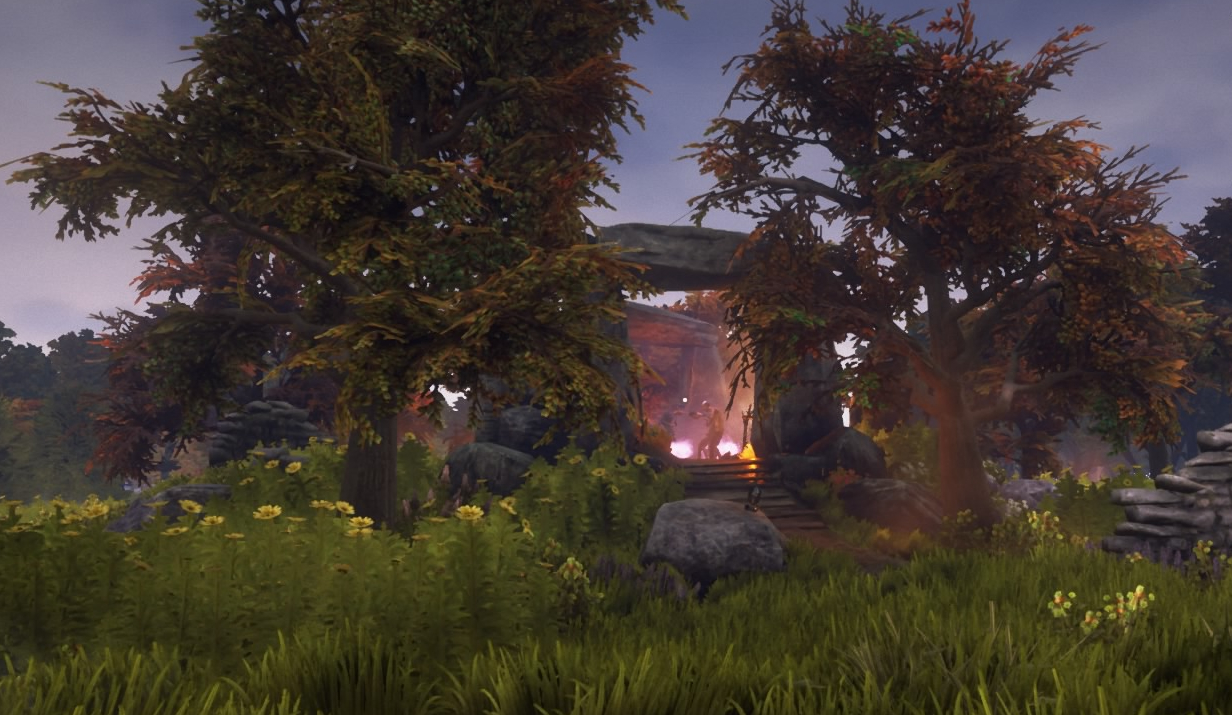
Lift the Shadow Curse
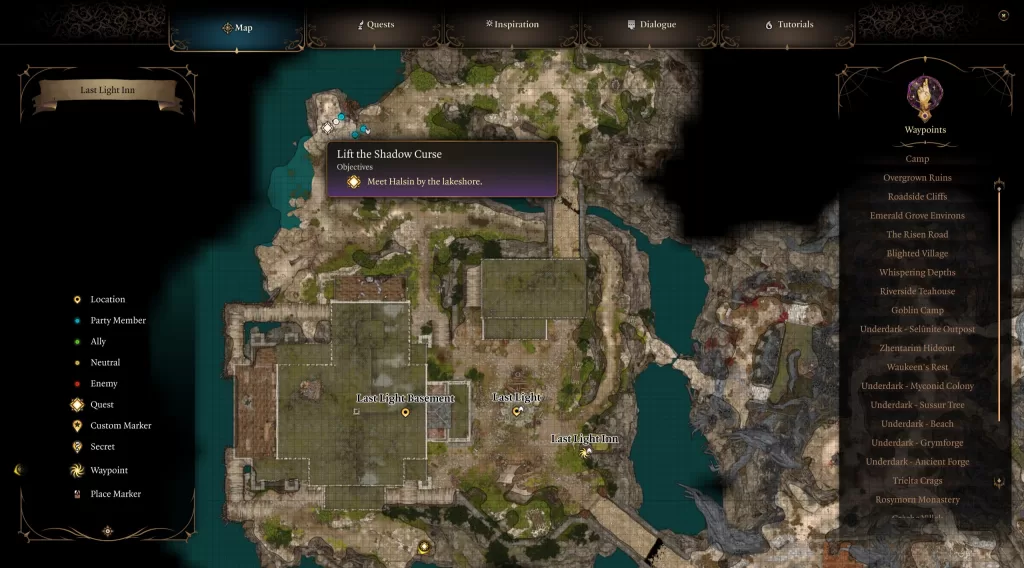
When you reach the Shadow-Cursed Lands, travel to your camp and speak with Halsin there. Bring up the curse to learn more about it also triggering the quest. Halsin will also tell you we need to find Thaniel if the curse is to be lifted. To start, travel to Last Light Inn and enter the inn. Head into the room on the north side of the building to find Art Cullagh lying on a bed. You’ll need to complete the quest Wake Up Art Cullagh before you can proceed. When that’s done, head back to Halsin and tell him about Art then meet him at Last Light Inn where you’ll speak with Art together. After the conversation, meet Halsin at the lakeshore on the northern side of Last Light.
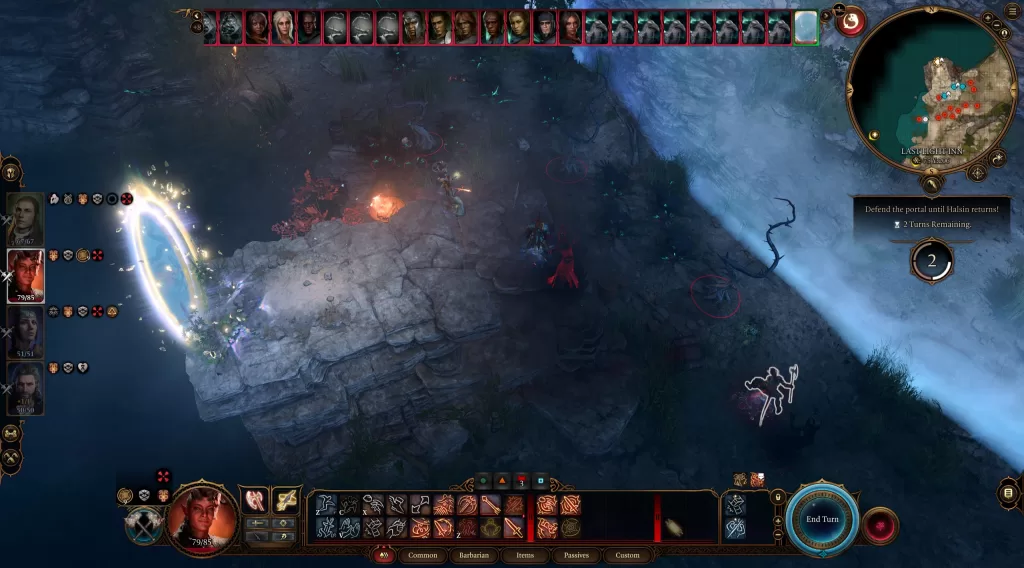
Head to Halsin and speak with him to learn what must be done. He’ll go through a portal while leaving you and the party behind to protect and keep it open. During this period, you’ll be attacked by multiple waves of Shadows and Shadow-Cursed enemies with the goal of keeping the portal open. Make sure to bring a couple of companions that have AOE attacks to deal with multiple enemies at once. Once Halsin returns, he’ll have Thaniel and take him back to camp. Clean up the enemies then meet them there. Halsin will say that Thaniel is missing part of himself and to heal him, we need to find it. You’ll also be able to add Halsin as a party member.
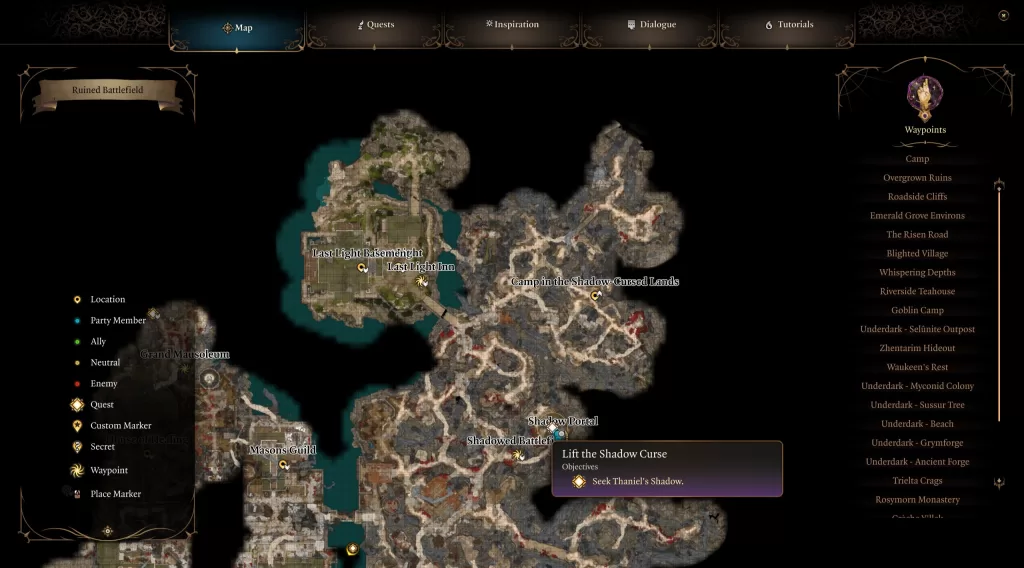
Our next destination is an old house up the eastern path next to the Shadowed Battlefield. If you’ve been there already, you’ve played hide-n-seek with Oliver already. If not, then you might have to do that first (we already did beforehand). Afterward, you can speak with him in the house and tell the lad you know who he really is, trying to convince him to come with you. He’ll say no and jump through a portal. You’ll need to follow after him which leads to a battle. Oliver will be under a Nightdome and surrounded by shadows. You’ll need to defeat the Shadow to damage the barrier. Taking out a Shadow Fiend deals 10 damage while defeating Mummy and Daddy will deal 60 damage each. Once the Nightdome’s HP reaches 0 you’ll be thrown into dialog with Oliver where you’ll have to convince him to return to Thaniel. Just be nice to him and speak with him like the child he is to convince him to return.
Head back to camp and speak with Halsin and Thaniel. In order to finally complete this quest, you’ll need to defeat Ketheric Thorm. It won’t officially updated to completed until you begin Act III.
Punish the Wicked
To start this quest, you’ll need to speak with He Who Was southeast of the Camp in the Shadow-Cursed Lands (east of Last Light Inn). The raven will deem you strong enough to help and request that you travel to the Waning Moon to locate a leger belonging to a killer.
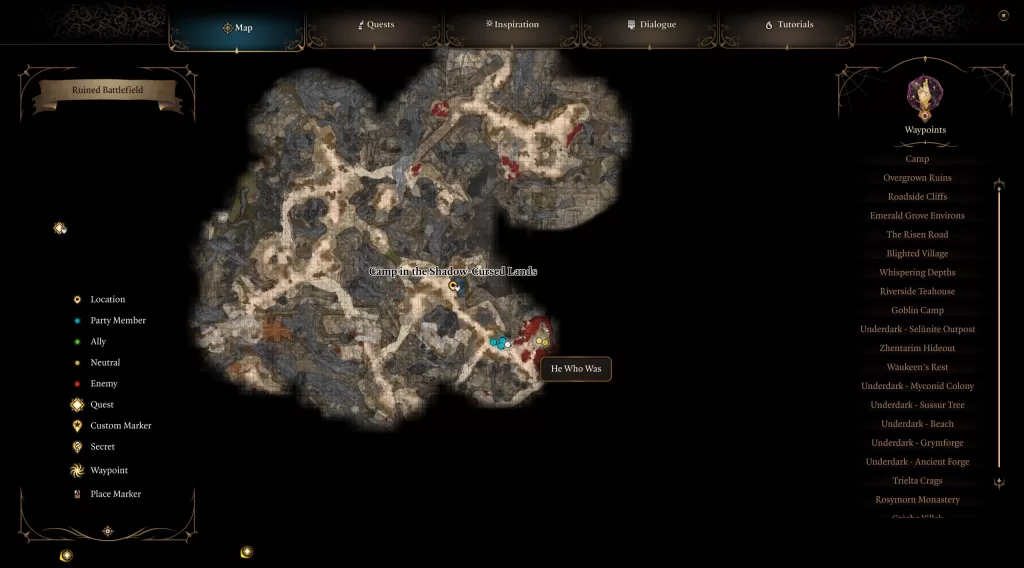
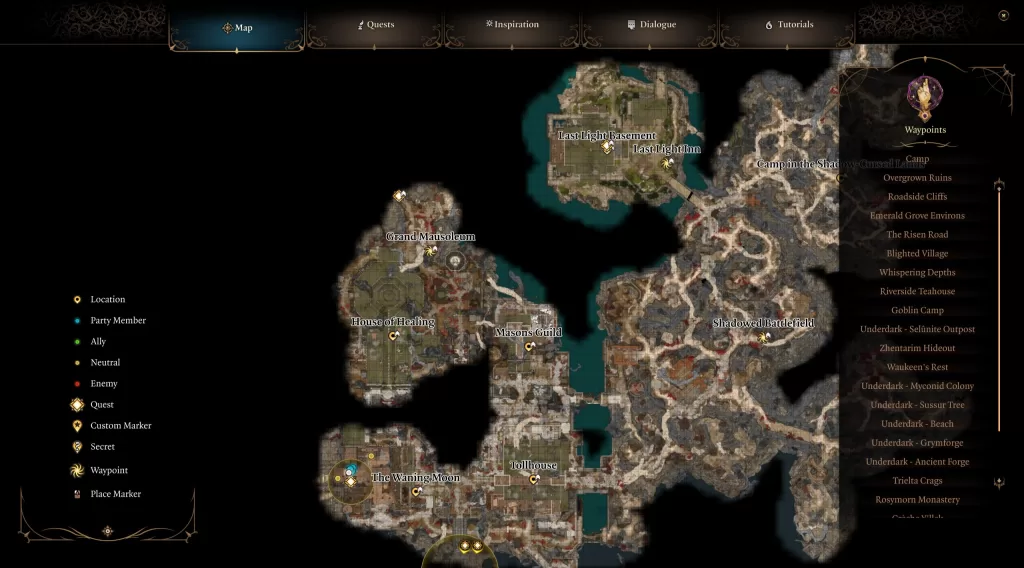
To find the Waning Moon, you’ll need to head to the southwestern corner of the map near the Moonrise Towers.
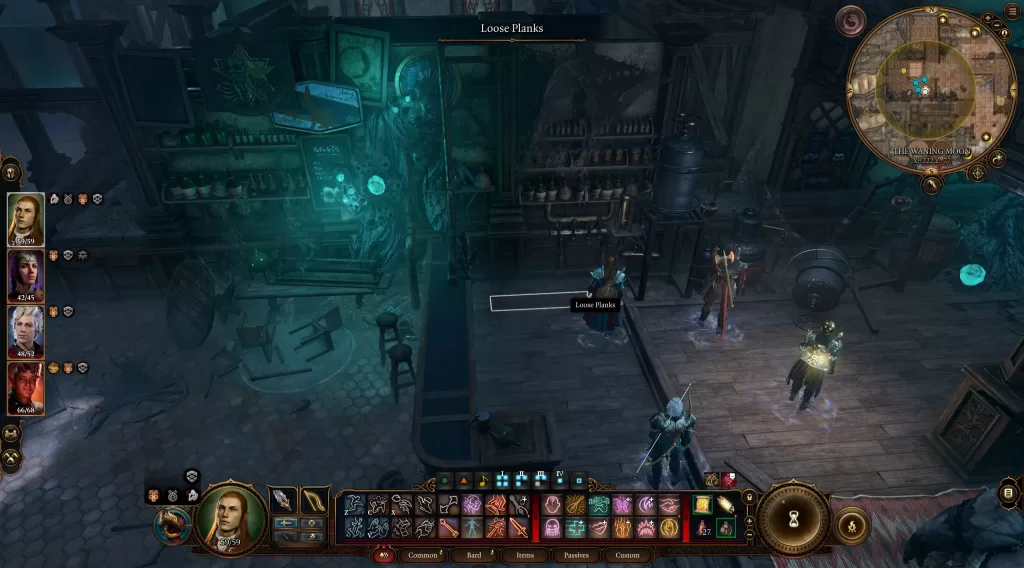
Once there, enter the tavern and make your way down to the lowest level. Approach the counter with Thisoblad Thorm behind it to start up a conversation. When prompted choose one of the first two options and the proprietor with invite you to drink with them. You’ll either need to drink and pass a skill check or decline. If you choose to decline, you’ll have to battle against Thisoblad and the other patrons. If you go the drinking route, you’ll have to pass a series of skill checks while drinking back and forth with the abomination. After a few turns, he will drink too much and burst. You’ll then be free to head behind the counter. There will be some loose planks under the beer tap that houses Madeline’s Ledger. You’ll need to pass a perception skill check to find it. Once it’s in your possession, deliver it to He Who Was.
He Who Was will tell you that it’s up to you to be the judge while he channels her into his body. You can speak with Madeline to learn what happened then render your judgment. If you forgive her, then the quest will compete and He Who Was will get angry and attack you along with his Raven. If you deem her guilty and tell her to stab herself, He Who Was will attack you. If you tell her it’s her fault and that she’s a monster then He Who Was will feel her agony and be pleased, awarding you some gold and the rare Raven Gloves which allow you to summon Quothe the Raven.
Rescue the Tieflings
** PLEASE NOTE – This quest is time sensitive and doing a couple of long rests will move it forward. You can save the Tieflings (and Wulbren) while only slightly moving the story forward.**
So the prerequisite to get this quest is to save the grove from the goblins. After doing that, once you reach Last Light Inn, you’ll find some of the tieflings from the grove are taking shelter there. Speak with them (Vex, Alfira, Rolan) to learn about the attack and that some of them were taken to Moonrise Towers. Please note that your past actions might impact who is here or not. We helped Alfira finish her song and convince Rolan to stay and help the grove which could affect their being at Moonrise Towers.
When you reach Moonrise Towers, make your way to the prison in the basement (the stairs are through the back right door when facing the throne). Down there you’ll find Lia, Cal, Lakriss and Danis in a cell. Speak with them to learn the gnomes are up to something. If one of the guards catches you talking to the prisoners, you’ll have to pass a skill check or fight them. Whatever you decide, you’ll need to complete Rescue Wulbren before you can proceed with this quest. When that’s done, return to Last Light and speak with Rolan, Alfira and Vex to complete this quest. They will each give you their own set of rewards.
Rescue Wulbren
** PLEASE NOTE – This quest is time sensitive and doing a couple of long rests will move it forward. You can save Wulbren (and the tieflings) while only slightly moving the story forward.**
This quest is started after rescuing the gnomes at the Grymforge from Nere towards the end of Act I. Speak with their leader and you’ll learn that Wulbren was taken to Moonrise Towers, but that gnomes are too weak to go after him. Thus it falls to us (or not).
If you have been helping Barcus Wroot up to this point, he can be found at Last Light Inn in Act II. Speak with him there and he’ll promise to make you something remarkable if you save Wulbren.
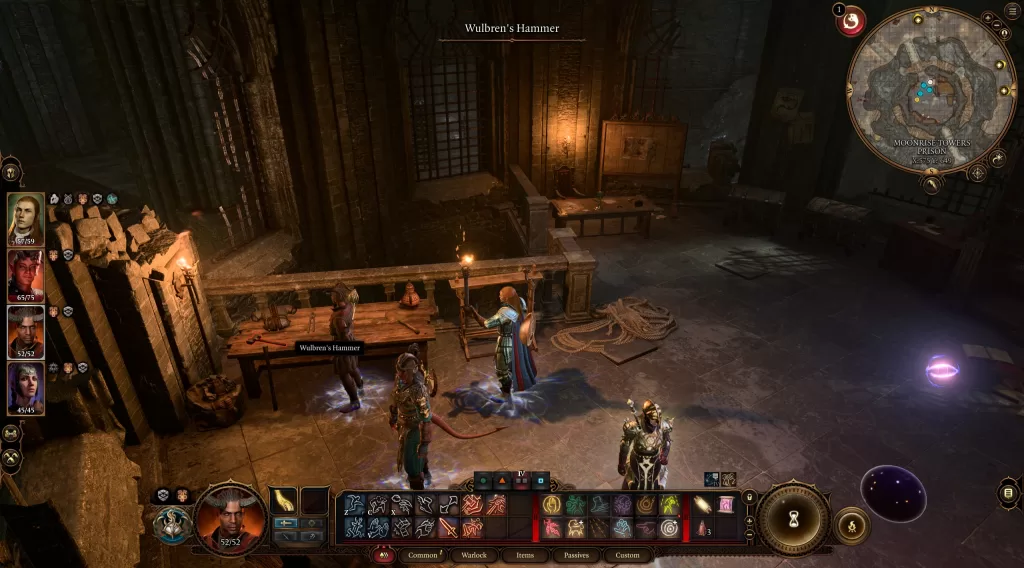
When you reach Moonrise Towers, make your way to the prison in the basement (the stairs are through the back right door when facing the throne). In the basement, locate Wulbren and speak with him (make sure to check in on the tieflings along the way). Tell him you’re there to break him out and he’ll say he needs some things to make their escape. Enter the Warden’s Office and speak with her to learn that the prisoner’s effects are being kept in a room at the top of the ladder. Climb up and head over the furthest table to find Wulbren’s Hammer on it. Grab the hammer and bring it back to the gnome keeping an eye out for the wander eye. As an FYI, this area is considered restricted so the Warden might show up and confront you. You can try to talk your way out of it or take down the warden. In addition, it’s possible for other guards to show up as well. You can also try convincing them you are supposed to be there or settle the matter in glorious combat.
When that’s done and you have the hammer, take it back to Wulbren who will then wait for your word to execute the plan. When you say go, they will break a hole in the wall and head over to free the tieflings. While this is happening, a guard will make a b-line to the Warden’s room to flip the switch opening the cells and allowing them to pursue the prisoners. You’ll need to stop the guards from doing this and fight them off long enough for the prisoners to escape. To make it easier, deal with the guards first before telling the gnome to begin the escape. When the guards are no more, open cell 2 and head through the hole in the wall. **Please Note – If a guard flips the switch, it’s best to defeat them all and not attempt to close the cell. Doing this might bug the quest and gnomes might leave without saving the tieflings** Approach the boat at the dock to speak with Wulbren then send him to Last Light. The next time you go there, find Wulbren drinking at the inn and speak with him to complete the quest.
Wake Up Art Cullagh
The quest will be triggered upon finding Art during the Lift the Shadow Curse quest. If you pass a perception check after interacting with Art, you’ll notice a note under him. Pick it up and read it to discover he was sent by the Duke. It will also mention he was to investigate the House of Healing. To reach the House of Healing, travel to the southwestern part of the map, west of the Mason’s Guild.
Once there head inside and make your way to the northern part of the building. If you come in through the front door, you’ll be stopped by Sister Sinda and have to pass a skill check to pass. Approach Malus Thorm in the middle of training the sisters. This will trigger a cutscene leading to some dialog. If you pass some skill checks, you can have him become the test subject for the sisters resulting in his death, otherwise, you’ll need to fight all 5 of them. Once he’s dead, loot him to find a Battered Lute. Take that loot back to Art and interact with him. Choose the option “Pull out Art’s lute and play” to wake him and complete the quest.