Daughter of Darkness is the companion quest for Shadowheart in Baldur’s Gate III. You’ll receive this quest automatically after allowing our lady of darkness to join your party shortly after escaping from the Nautiloid and waking up on the beach.
Where to Find Shadowheart
There are two potential places you can find Shadowheart after escaping the Nautiloid ship in the game’s opening sequence. They are as follows:
- Passed out on the ground nearby where your character wakes up
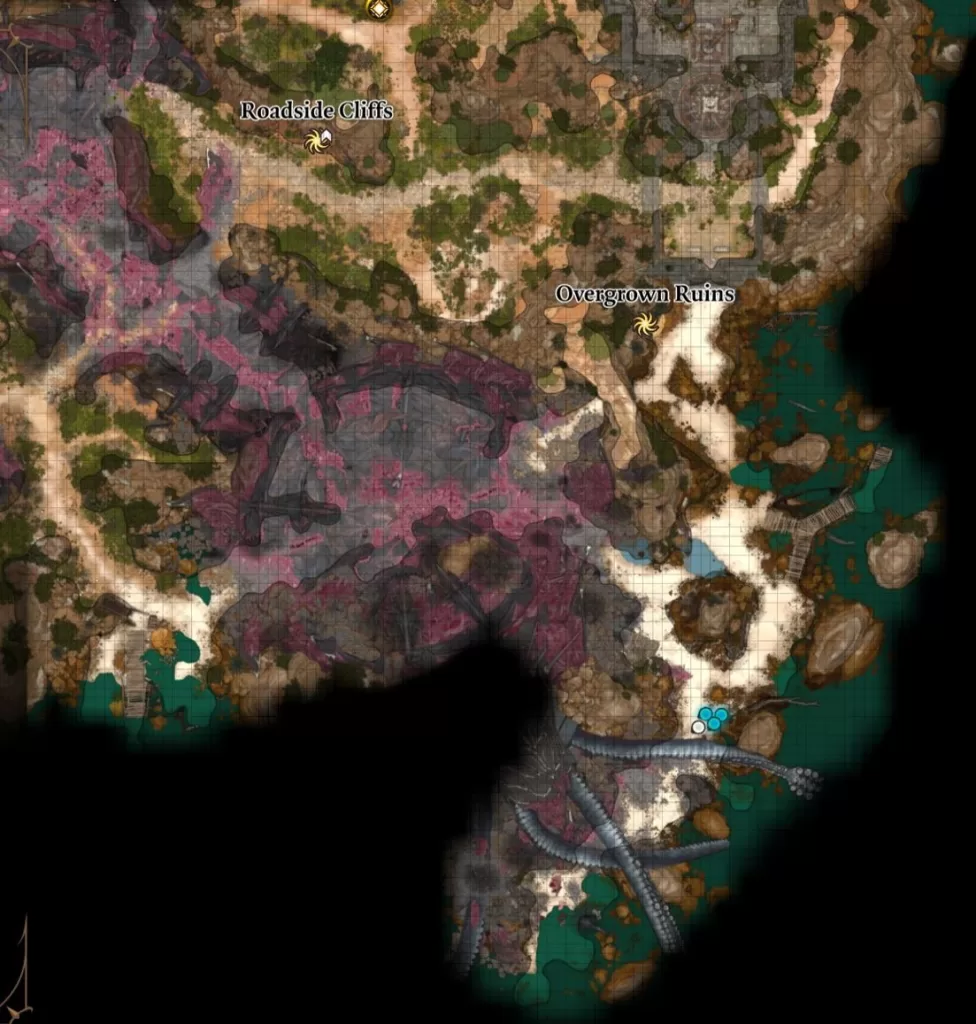
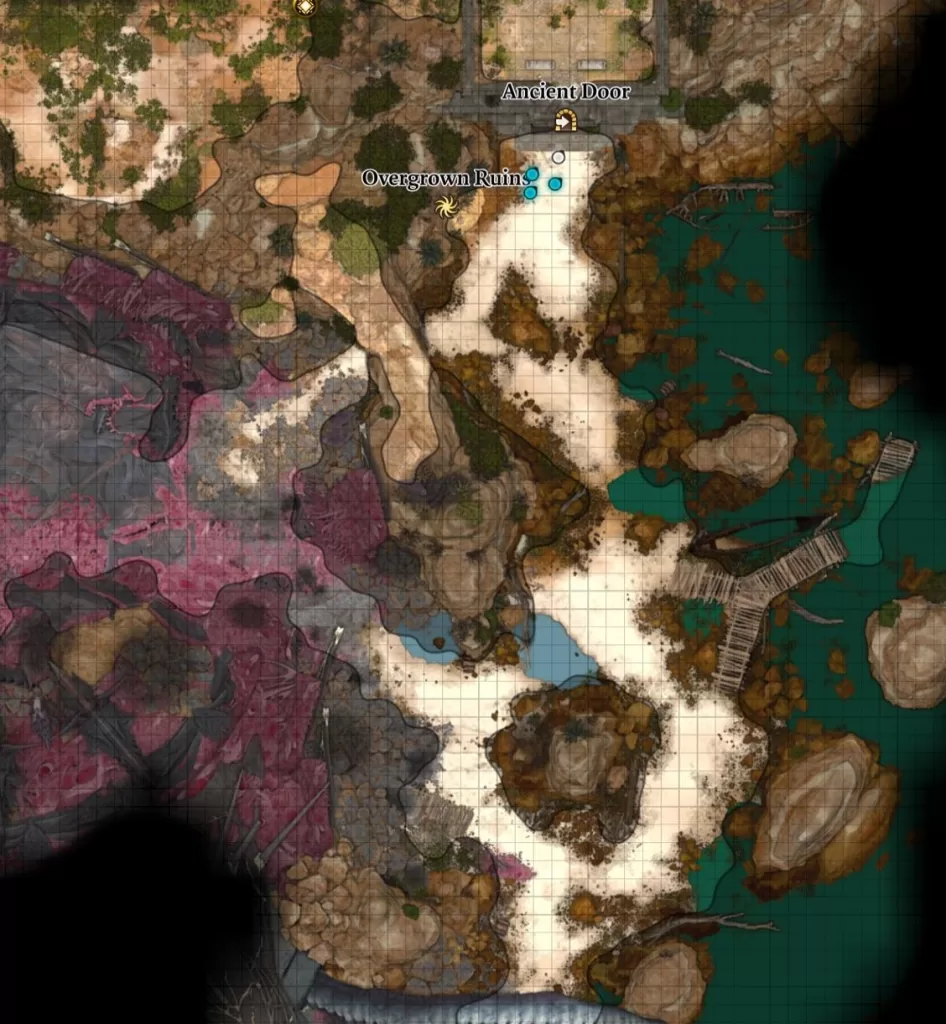
- Trying to open the Ancient Door near the Overgrown Ruins
For option 1, you’ll find her passed out near where you woke up on the beach if you freed her from the pod on the Nautiloid and allowed her to join your party. Interact with her to be given a handful of options:
- Wake her
- Reach for the artefact
- Leave
If you choose the first choice, then you’ll gently wake the sleeping beauty from her slumber resulting in a conversation where she’ll mention wanting to stay together. Choosing the second choice to try grabbing her artefact will result in Shadowheart waking up mid-grab. Either option from that conversation still ends with her wanting to stay together. You could also leave her there, but who would want to do that?
If you went with option 2 and left her to the powers that be, she can be found further northeast along the beach trying to break through the Ancient Door near the Overgrown Ruins. You can speak with her there to get her to join the party or not. Keep in mind that if she doesn’t officially join the party, you will not get the Daughter of Darkness companion quest.
Continue TRAVELING with Shadowheart
Once you first get her quest, there isn’t much you can do with it yet. You’ll need to travel with her a bit more to get her affection up. Doing the below things will also help.
- Speak with her at camp regularly
- Saw Shadowheart’s mysterious pain in action while talking with Kagha in the Emerald Grove
- Bring her with you to the Owlbear Nest and try to open the Gilded Chest
- Read the Old Schoolbook looted from the most southwestern building in the Blighted Village
- Make sure Shadowheart is in the party
- Shadowheart and Lae’zel will get into it at camp
- Make sure they don’t fight
- Bring Shadowheart near some wolves to learn she’s afraid of them
- Triggered for us at the creche in the Mountain Pass
The Chosen of Shar
This objective is a subquest of the Daughter of Darkness. You can get it from talking to Shadowheart in camp about her faith. She will eventually mention (with some persuasion) her aspiration to become a Dark Justiciar. That conversation will trigger the quest where you’ll then need to wait until you can access the Underdark. If you saved Halsin and the grove, he will tell you through dialog that he once helped purge the Dark Justiciars from the Underdark thus giving us our next heading.
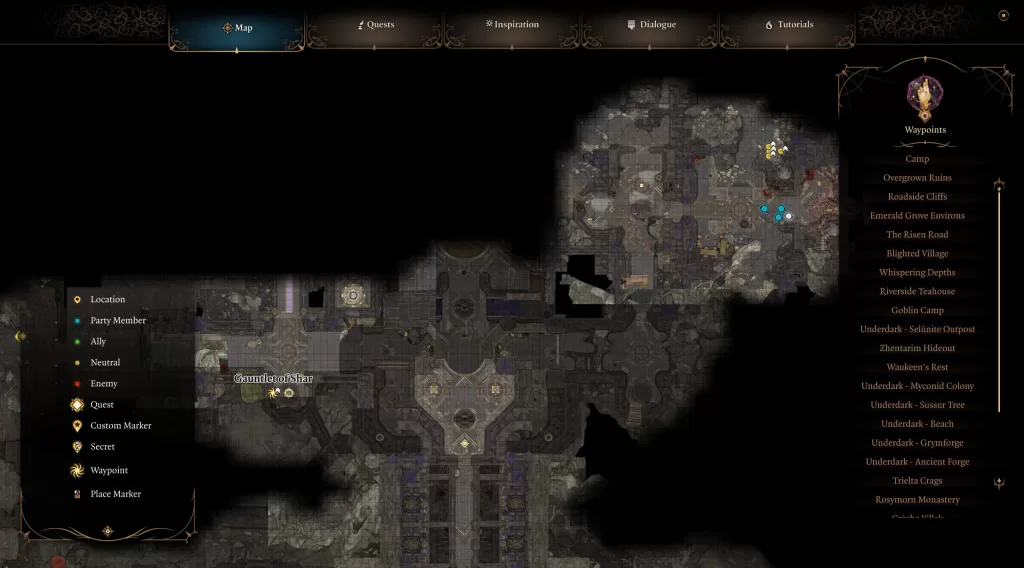
Once you reach the Underdark, head for the Myconid Colony in the northern part of the area. Speak with the Sovereign and he’ll give you a quest to Defeat the Duergar Intruders. You’ll head to the Underdark Beach southwest of the city where you’ll find some Duergar. You can commandeer their boat to travel to the Grymforge. If you have Shadowheart with you, this will trigger an event where she recognizes some Shar statues telling us we are in the right place. You can check out the list below for some minor dialog with Shadowheart.
- Skeletons – Group of Shar worshippers north of the Underdark Grymforge along the main path
- Relic of Shar – At the end of the booby-trapped bridge behind the locked gate
- A skeleton hanging on the side of the rail has the key
- Hellish Fiends – Behind two giant locked wooden doors across the room from the booby-trapped bridge
After clearing the cave-in, head past the poison (you can cast Fog Cloud to clear it) and lockpick the door then head to the end of the broken bridge. Shadowheart will spot an ancient temple off in the distance making it our next objective which can’t be reached until Act II.
In Act II, if you bring Shadowheart with you to the Shadow-Cursed Lands, she will comment that she has a certain amount of resistance to the effects of the shadow curse given to her by Shar.
To finally progress this objective, you’ll need to travel to the Grand Mausoleum, which can be found in the southwestern part of the map near Moonrise Towers in Act II. You’ll be sent there during the main story and will need to solve a puzzle by pressing a button under each portrait in the northern room starting with the southwestern one and going counter-clockwise. This will open a hidden path bringing you to the Gauntlet of Shar.
Investigate the Gauntlet of Shar
Once in the Gauntlet, follow the path north and through the doorway at the end to reach a room with a statue of Shar in the middle. There will also be a gem in front of it protected by an invisible barrier. You’ll want to keep an eye out for a ton of traps scattered around the room as you try to solve the puzzle. To move forward, you’ll need to reach and interact with the gem. Start by heading to the four crypts (watch out for the floor traps in each one) on both sides of the statue then flip the levers in each one. This will lower 4 Mystyic Thuribles from the roof to surround the statue putting the total number of thruibles to 8. You’ll then need to interact with each one to put the flame out to cause the barrier to appear. You can now follow the path to reach the gem, but you’ll want to ungroup a single character and use them to do it.
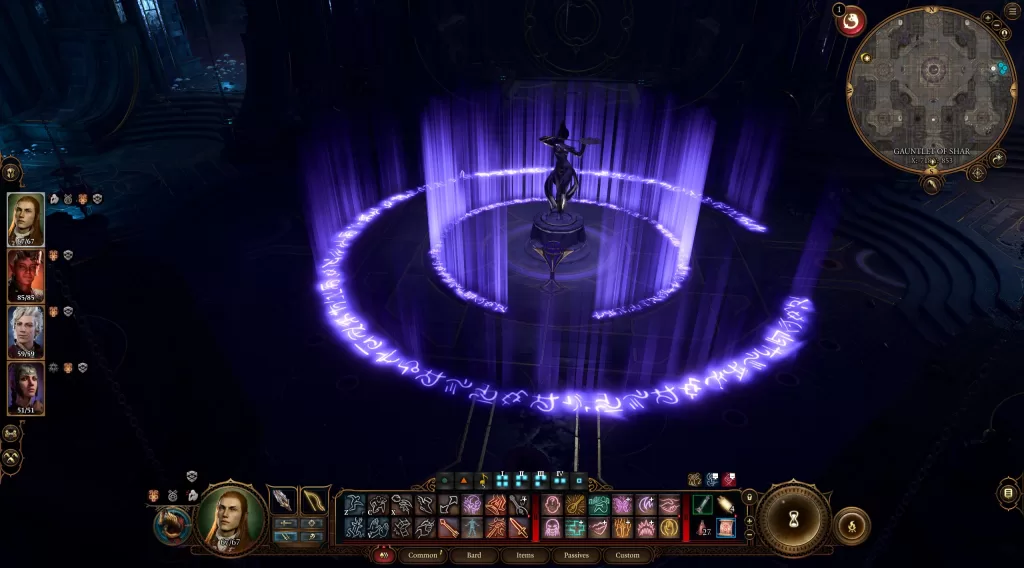
Please Note: If you have someone equipped with the Blood of Lathander mace, then the light it sheds will prevent the barrier from showing.
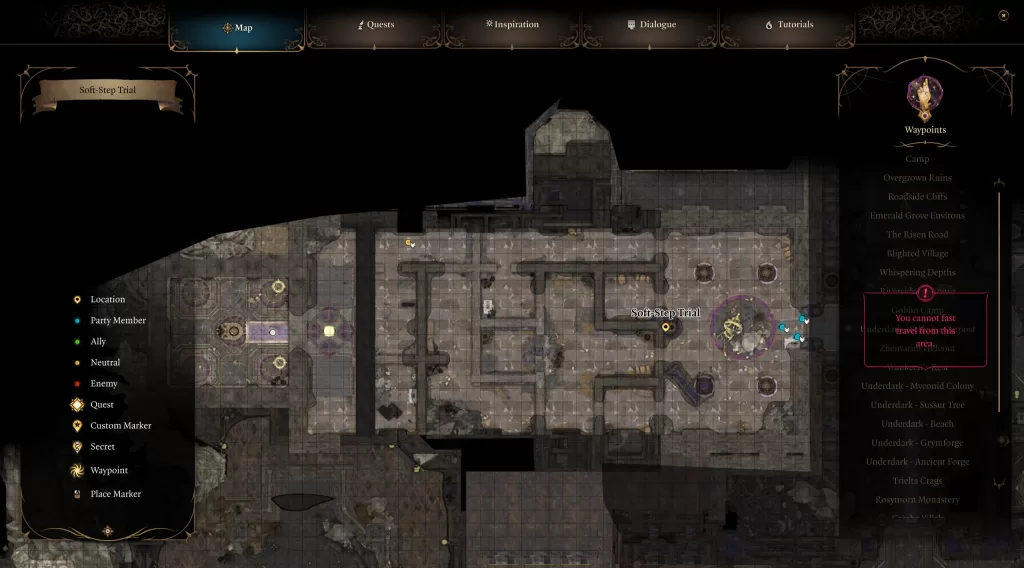
Soft-Step Trial
Once you activate the gem, head north through the doorway and follow the hallway there to the end. In the next room, take a left and keep going until you reach the Ancient Sigil Circle. Head north there then enter the first door on the left. There will be a Sacrificial Bowl you need to interact with. When prompted, choose to cut yourself and offer blood to the bowl. This will open the way forward where you’ll have to sneak past enemies to reach the gem at the end. Go through the rightmost door and follow the path straight until you reach the wall. There will be a button on the right you can press to lower the wall. Keep going straight through the doorway and take a left up the stairs. You’ll need to lockpick the gate to collect the gem passing this trial. Interact with the Umbral Transporter where the gem was to warp back to the first room.
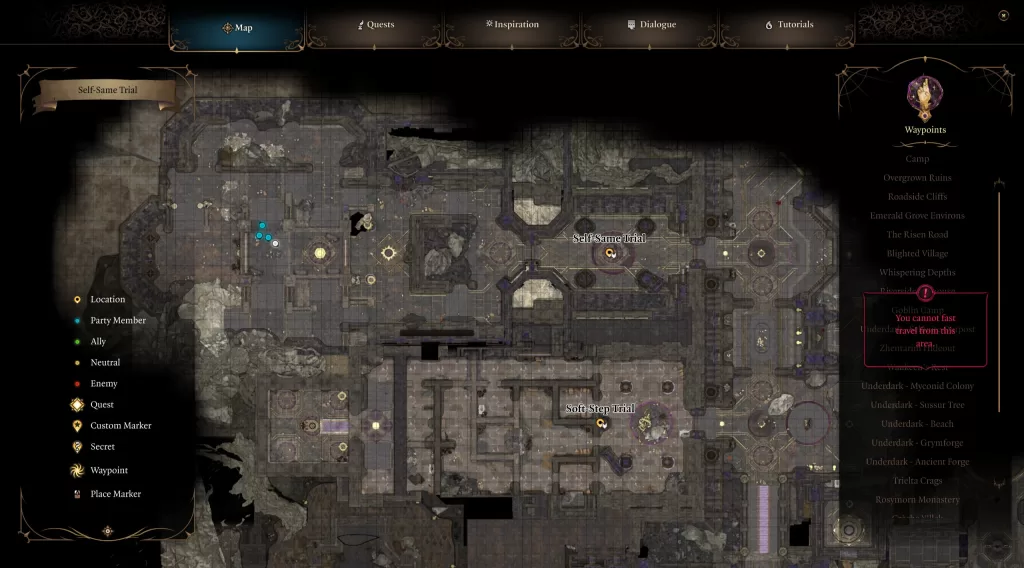
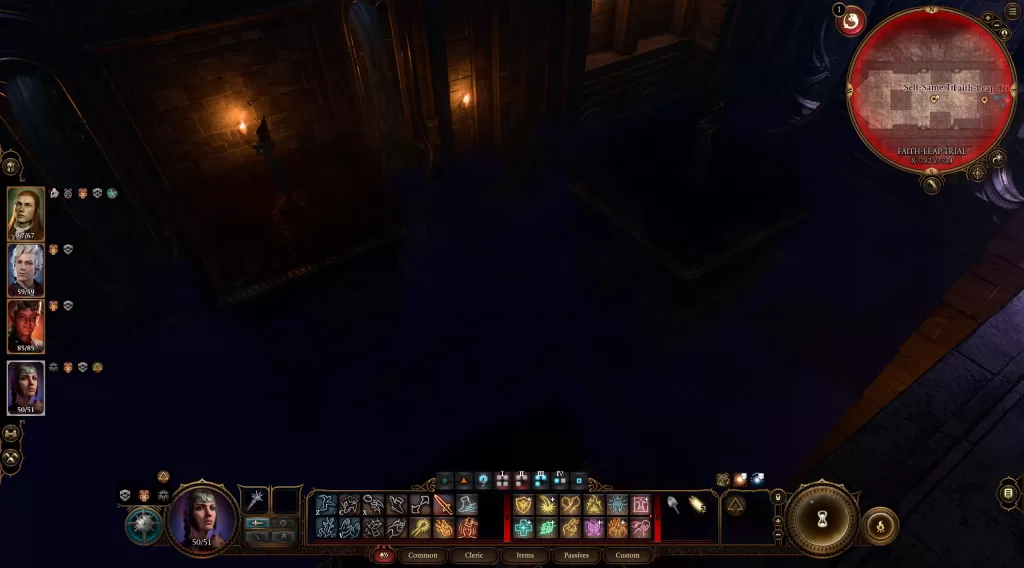
Self-Same Trial
Return to the long hallway and head left (going north). Enter the next door on your left to reach the next trial. Interact with the Sacrificial Bowl and offer your blood again. For this trial, you’ll be facing copies of your party in glorious combat. Defeat them to complete the challenge then look for the Umbral Gem. It should be near the last enemy you killed. After that, interact with the Umbral Transporter to return to the first room.
Faith-Lead Trial
Head back to the long hallway and take a left going down the stairs. You’ll want to enter the room past the wooden doors across from the stairs to reach the third trial. Again interact with the Sacrificial Bowl and offer your blood to start. You’ll then have to walk to the gem on the other end of the room following along an invisible path. Start by walking off the ledge on the left towards the middle then go straight across to the platform with the statue.
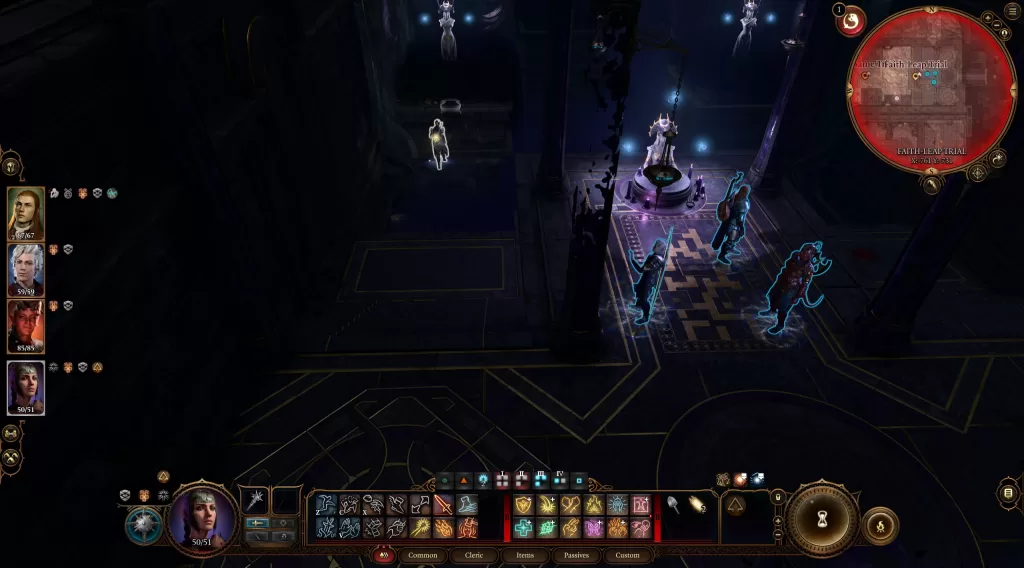
Head to the northwest part of that platform and walk out to about where the waterfall is. You’ll then want to go right towards the middle of the room until you are aligned with the back left corner of the central platform. Now head to that one. Now make your way to the northcentral part of the middle platform behind the statue. Walk off to the north heading toward the gem. Stop a little before halfway and jump to the gem. Collect it then use the Umbral Transporter to reach the beginning of the room.
Silent Library
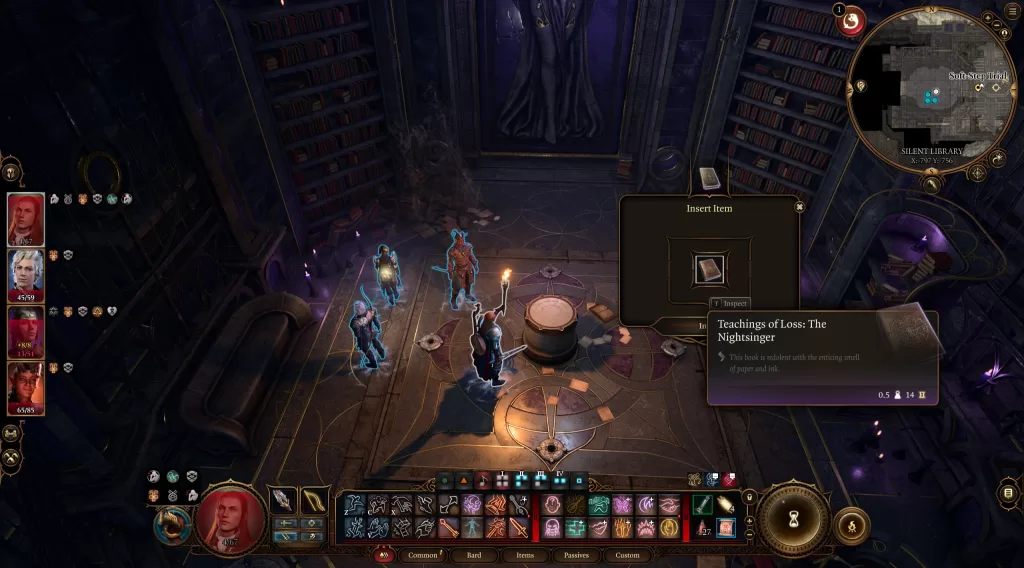
Continue working your way west down the hallway to the next room, the Silent Library. It will have a barrier covering the entrance that you can pass through. In here, you’ll need to defeat a handful of Justicar Nightweavers and the Librarian (an Umbral Termor). While the Librarian lives, silence will be cast on everyone in the room. Defeating it will allow you (and the enemies) to cast magic again. When they are dealt with, interact with the bookshelves looking for Teachings of Loss: The Nightsinger (it’s on the east side, watch out for traps).
Once you have the book, go to the gate in the back of the room and unlock it using lockpicking. You’ll then want to scope out the room, disabling the traps you find. When you’re finished with that, you can finally interact with the Riddle of the Night in the middle of the room. It will ask “What can silence the Nightsong” and open an Insert Item prompt. Use the book you found earlier “Teaching of Loss: The Nightsinger” to reveal a hidden path. Follow it to find the Spear of the Night resting on an altar. Also, make sure to loot the chest in the room before returning to the hallway.
Back in the hallway head south to reach the elevator. Pick up the lever handle on the ground there then take the elevator up. This will bring you near the Ancient Sigil Circle.
Orthon
Head to the northwestern part of the gauntlet to find the Orthon (this is part of Astarion’s quest). You’ll need to deal with him either by fighting, trying to help it out or my personal favorite, getting him to kill his minions and then himself with the power of persuasion. After that’s taken care of, you can find the Umbral Gem on the steps near Orthon’s Bed.
Venture into the Inner Sanctum
From the Ancient Sigil Circle, head west up three flights of stairs then take a left. Take the next left down a flight of stairs to reach the Pedestal of Reckoning with an Ancient Altar on it. Interact with the altar then insert an Umbral Gem to bring a moving platform to you. Climb on it then activate the Traversal Gem to reach another Ancient Altar.
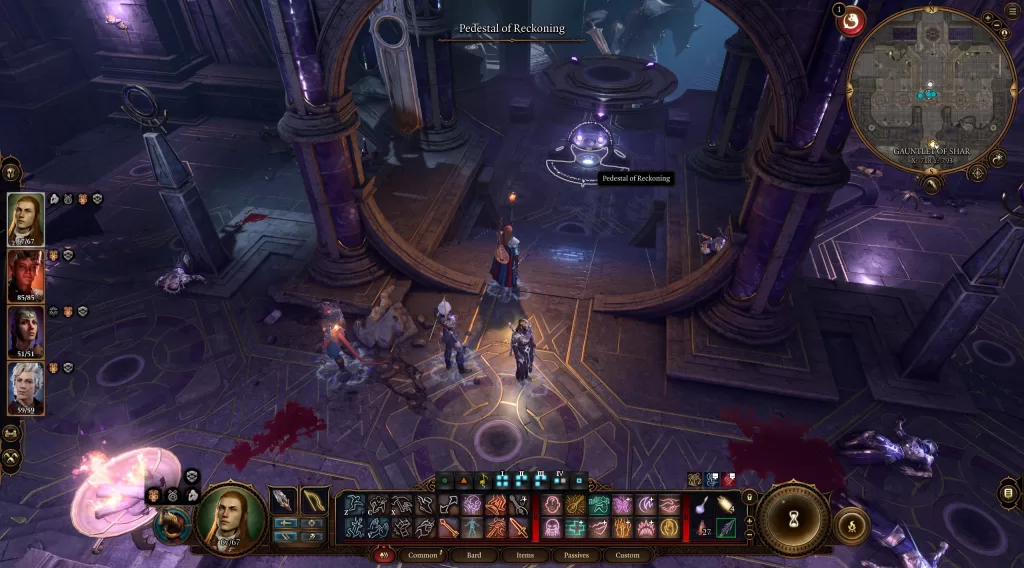
Interact with that and insert the remaining three Umbral Gems then proceed through the door. Work your way to the pool at the end interact with it and allow Shadowheart to pray. When she’s done, enter the Shadowfell Entrance. The game will prompt you that the choice you make here will have story ramifications.
*BEFORE HEADING IN* You may want to kill Balthazar before heading to Shadowfell if you were planning on doing it anyway.
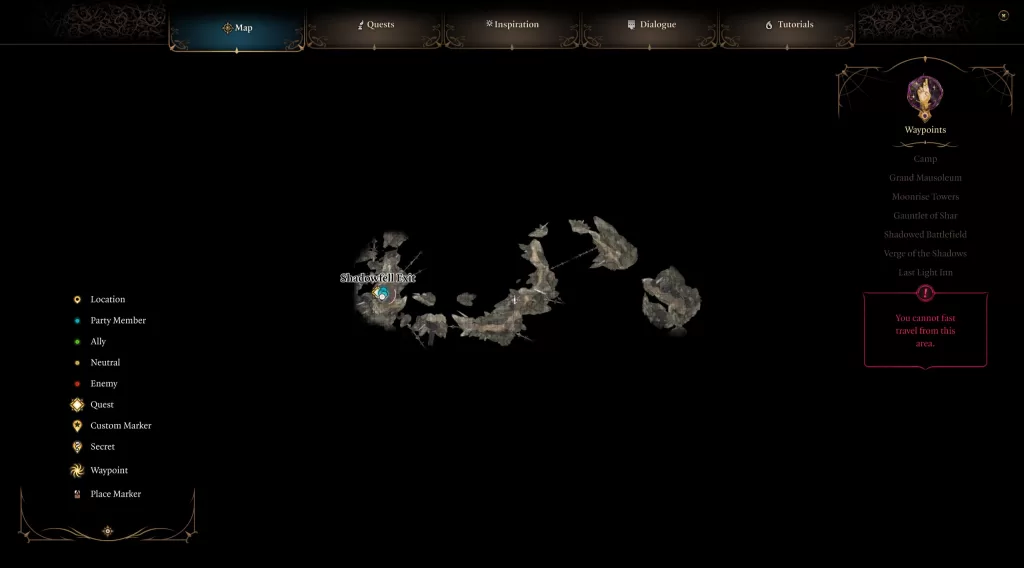
You’ll reach the Dark Lady’s domain and be greeted by Balthazar if you haven’t killed him yet. Regardless of what choice you make, you cannot do anything to him. For this guide, we killed him before entering Shadowfell. Press on through the area by jumping down from rock to rock (the game is nice enough to give you Feather Fall). Eventually, you’ll reach Nightsong at the bottom who is imprisoned.
Approaching it will trigger a dialog event with Nightsong event where Shadowheart will say she’s there to kill Nightsong with the Spear of Shar. This is a major choice that will have some rippling effects. For starters after making the choice, you will not be able to return to Act I areas and some of your quests can fail depending on what they are. Below, some of the other consequences are listed.
Let Balthazar Have Nightsong
- N/A – We killed Balthazar so maybe next time!
Kill Nightsong
- Everyone at Last Light Dies (including Jaheira and Dammon who is needed for Karlach)
- Shadowheart commits to the Dark Lady and cannot be romanced
- You’ll get the legendary spear, Shar’s Spear of Evening
Save Nightsong
- Shadowheart can be romanced
- Moonlight Towers will suffer losses and Thorm will be vulnerable
- You’ll get the rare glaive, Moonlight Glaive
So for this section, we decided to save Nightsong by convincing Shadowheart to stay her spear. We are able to do so with the following dialog choices “Trust Shadowheart – do not interfere” and then “She knows something about you. Spare here, and see what she has to say”. This will cause Shadowheart to toss her spear away and help Nightsong. After a0 cutscene, interact with the Shadowfell Exit to leave. Note: Shadowheart almost had the maximum affection for our character and we knew about her fear of wolves which could have played a factor in these choices.
Back in the Shadow-Cursed Lands, Shadowheart will show up after the party. We’ll then learn that she was punished by Lady Shar and made an exile. You’ll then be able to lift her up or tell her to get over. You’ll also be able to finally confess any feelings you might have for her and she can finally return them. The Chosen of Shar objective will also be complete now.
Learn about Shadowheart’s past from Dame Aylin
After freeing Nightsong and taking down Ketheric Thorm, you’ll need to do a full rest back a camp (or a couple). Eventually, Nightsong will want to talk with you. Speak with her and Shadowheart will show up and question Nightsong about her past. After learning more about herself, Shadowheart’s next destination will be set. You’ll also be given the legendary spear, Selune’s Spear of Night. Make sure to check in with Shadowheart afterward. You might need to do a couple of full rests to get the dialog. She will mention needing to do something and to leave it with her. The next morning she will have an ! above her head. Speak with her to see what it was!
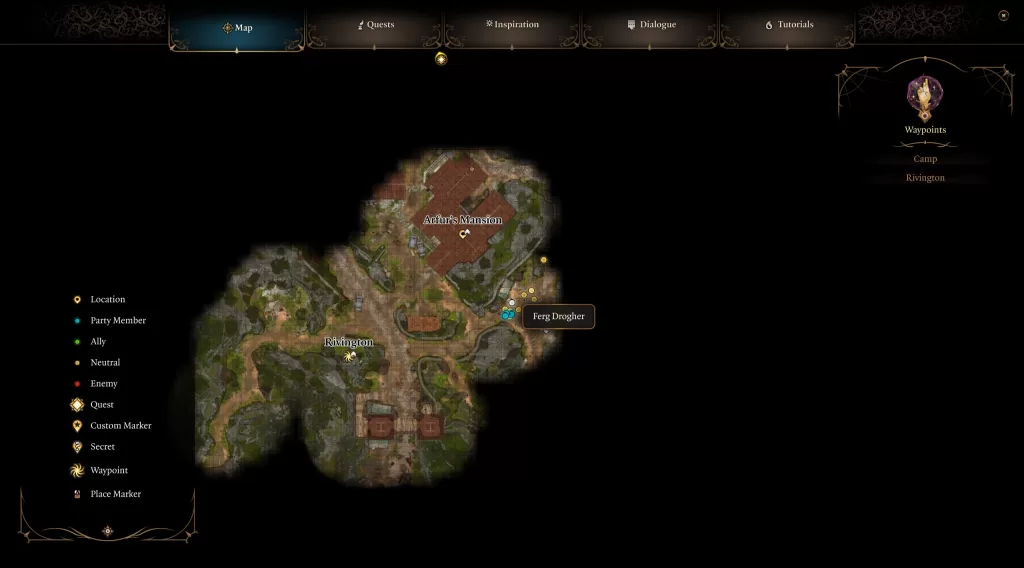
Find a Sharran Lookout
You’ll be able to complete this objective at the start of Act III after reaching Rivington. Follow the path east of the Rivington Ancient Sigil Circle looking for Ferg Drogher. Speak to him with Shadowheart in the party. He will send you to the House of Grief in the Lower City of Baldur’s Gate.
Journey to the House of Grief
…