Escape the Nautiloid is the opening quest to the highly anticipated video game, Baldur’s Gate III. During this first quest, you’ll need to escape a besieged Nautiloid ship by fighting your way to the helm. Along the way, you’ll come across a number of potential allies that can assist you. This guide will cover the Escape the Nautiloid objectives and what you’ll need to do to complete them.
Escape the Nautiloid Objectives
- Find a way off the Nautiloid
- Speak with Us
- Speak with Lae’zel
- Reach The Helm
- Connect the nerves of the transponder
Find a Way Off the Nautiloid
When you gain control of your character, interact with the nursery in the center of the room. The game will then introduce you to its Skill Checks mechanic and you’ll have the option to take it for a spin. When you’re done, make sure to check out the room for any goodies. Specifically, you’ll want to loot the dead Mind Flayer to receive a miscellaneous ore.
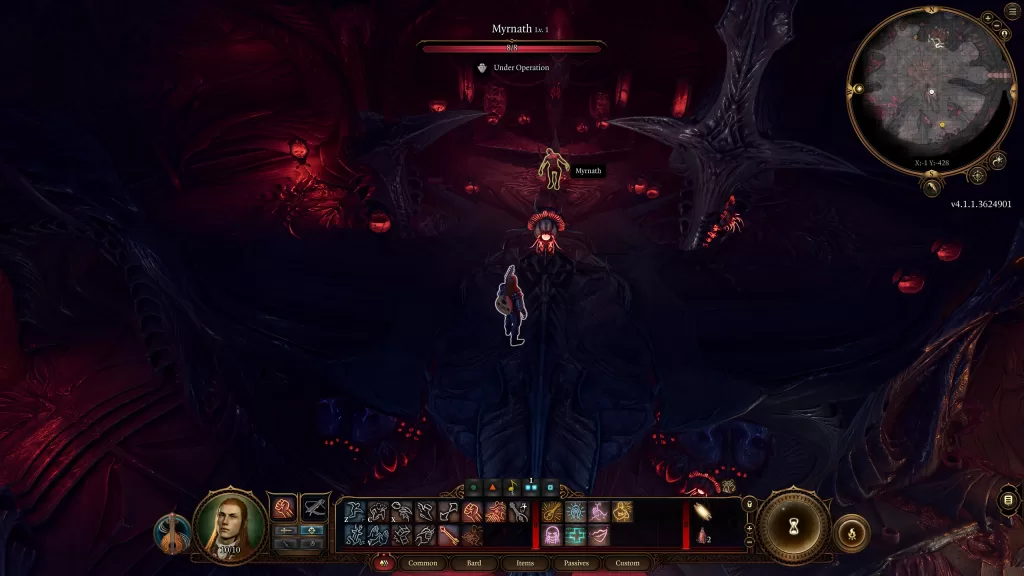
Head into the next room where you’ll hear a voice calling out to you. Walk onto the Neural Apparatus in the center of the room and interact with it. This will take you up to a platform with Myrnath strapped to a chair. Interact with him to begin conversing with an Intellect Devourer. There will potentially be two sets of skill checks here:
- Gently prise the brain from the skull.
- Strength, Dexterity, Medicine, etc
- Mutilate the brain
- Dexterity
You can choose to destroy the brain and then continue on your merry way. If you decide to try and save the brain, you’ll get the first skill check by pulling the brain out of the skull. Passing this check will net you the temporary companion Us (the Intellect Devourer) who you’ll lose after completing the prologue. If you fail, then you’ll either have to put them out of their misery or just leave them there. After passing the first check, you’ll then be given the option to cripple Us making it more subservient. If you fail the check, then the creature flees and you’ll miss out on this temporary companion. Passing the check will help you later on if you decided to try for a special weapon during the fight in the helm. After the Multilate the brain skill check, the Intellect Devourer will tell you to head for the helm thus giving you your next objective.
Now if you are 100% against using the Intellect Devourer because of being abducted and implanted with a little parasite of your own (which is understandable) you can kill the brain and press on. Shortly you’ll be introduced to Lae’zel who will also tell you it’s imperative to reach the helm.
Reach The Helm
The path to the helm is pretty much linear, so keep pressing on after fighting the Imps with Lae’zel. Just before reaching the helm, you’ll reach a room with a big red device in the center of it with four chairs hooked up to it. In this room on the northern side, you’ll hear someone calling out for help. If you speak with her, you’ll receive the Rescue the Illithid’s Captive quest. Completing it will give you the opportunity to add Shadowheart to your party which can help out in the upcoming fight at the helm. You can check out what you’ll need to do to free her here. If you aren’t planning on saving her, it’s still worth exploring the eastern room where you’ll find a chest containing some potions and a Dead Thrall with a Golden Key that unlocks a locked chest in the same room as Shadowheart on the southeastern side. When you’re ready to proceed, go through the southern doorway in the room with Shadowheart. This will take you to a small room leading to the helm. There will also be a healing device if you need to top off before the battle ahead.
Connect the nerves of the transponder
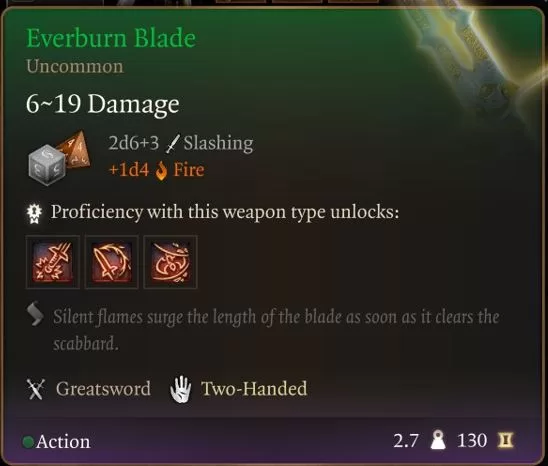
When you reach the helm, a Mind Flayer fighting Commander Zhalk will instruct you to hurry over to the transponder and use it before the ship crashes. You’ll have 15 turns to do this, but before that turn your attention to the Commander. If you can manage to take him down, you can loot the two-handed sword Everburn Blade off him. Just be careful because around turn 9 two Cambions will show up to aid the commander.
Also note that when you kill Commander Zhalk, the Mind Flayer will turn hostel and start attacking you. If the Cambions are nearby, he will focus on them instead. If you didn’t injure the Intellect Devorour earlier and recruited it, that creature may also turn against you as well. Keep in mind that once you interact with the transponder combat ends so use that to your advantage. You can also loot some of the fallen enemies on the field to receive additional equipment and items. The Escape the Nautiloid quest will complete following a cutscene that triggers when connecting the transponder nerves.