Starfield Logo
Guides

How to Easily Complete the Starfield Search and Seizure Mission

by NightlyGamingBinge in

Welcome to our walkthrough for the Starfield Search and Seizure mission! Search and Seizure is one of the missions you can pick up in New Atlantis on Jemison in the Alpha Centauri system. To start the mission, speak with Sergeant Yumi after completing the Eyewitness faction mission.

Search and Seizure Mission

Speak to the Port Workers

After exhausting all the dialog with Sergeant Yumi, head to the Spaceport launch pad. Speak with the two technicians there to learn more about the Search and Seizure mission.

Obtain the Ship Records from Aegis

Travel to the MAST building in the MAST District then take the elevator up to the Defense Research / Health and Human Services / Aegis floor. Head diagonally to the right and enter the Aegis Intelligence Network. Once inside this area, take a left to enter Agent Plato’s office and speak with him. Now that you have the Potential Smuggler Ships slate, read it!

Report to Sergeant Yumi

Return to Yumi in the Spaceport and speak with him. The correct answer is “Anansi”.

Obtain the Contraband

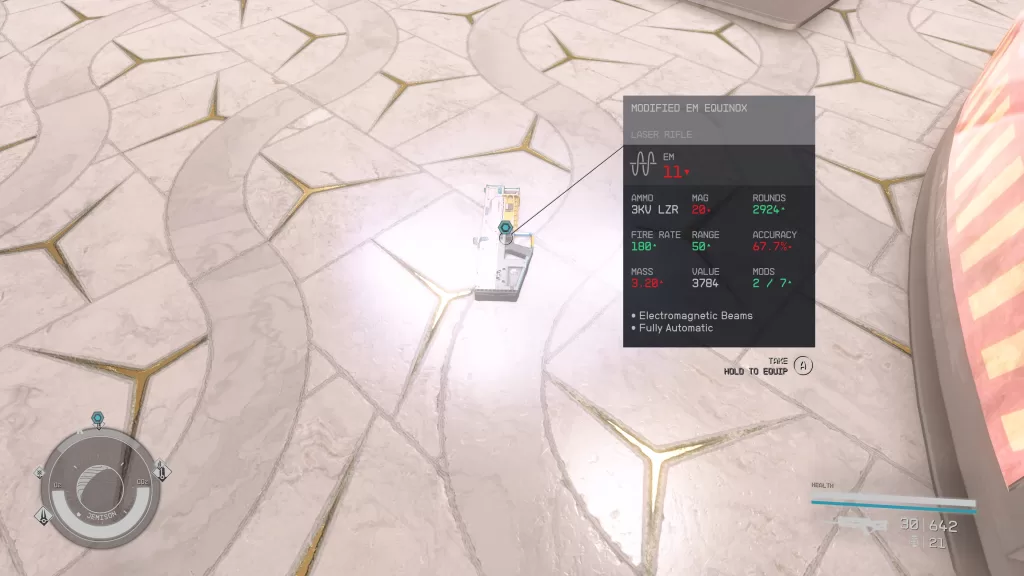
Make for Launch Pad B to find the Anansi. Board the ship then head for the cockpit. Inspect the Cargo Hold to find a Crate of Contraband. Grab it then the Captain Malai Ndiaye will ask you to bargain with her.

Make a Bargain

You’ll receive 2,500 credits to lie to Sergeant Yumi. When you report back to him, he’ll believe you and is sorry that he wasted your time. The Search and Seizure mission will complete and as a reward, you’ll receive 200 EXP and 3800 Credits.

Don’t Make Bargain

If you refuse her offer, the crew will attack you. Take them all 3 out then report back to Sergeant Yumi. You’ll have the option to give the contraband to him or withhold it. Either way, you’ll receive 200 EXP and 3800 Credits.

For more guides and walkthroughs on Starfield, click here!

Starfield Logo
Guides

How to Easily Complete the Starfield Eyewitness Mission

by NightlyGamingBinge in

Welcome to our walkthrough for the Starfield Eyewitness mission! Eyewitness is one of the faction missions for the United Colonies (UC). This mission will automatically begin after completing the Delivering Devils faction mission.

Starfield Eyewitness Mission Steps

Meet Hadrian

After obtaining the Starfield Eyewitness mission, travel to the MAST District in New Atlantis on Jemison in the Alpha Centauri System. Speak with Hadrian outside the MAST building then walk into the building and take the elevator behind the reception desk up to the Cabinet Chambers / Interstellar Affairs floor. Make your way to the chambers and address the folks gathered.

Address the Cabinet

During this meeting, you’ll be asked if you would grant the request to open the archives. No matter your choice, the Terromorphs will attack!

Grant Access to Archives

If you choose yes, then the cabinet will agree with you.

Deny Access to Archives

If you say no, your companions and Hadrian will dislike your decision. Abello will rule that the data gathered is insufficient to allow the archives to be opened.

Take the NAT to the Spaceport

The time for action is here! Head into the elevator and ride it down to the NAT Station. When you emerge, you’ll witness civilians attacking the security guards. Pick up the Modified EM Equinox rifle from the ground and equip it.

Starfield Eyewitness Non Lethal Gun

Next, incapacitate the attackers using this weapon to avoid casualties! Afterwards, speak with the UC Security officer to see what just happened! After learning about the Terrormorphs’ ability, take the NAT to the Spaceport.

Eliminate the Terrormorph

Help the officers bring down the Terrormorph attacking the Spaceport! Afterwards, approach Sergeant Yumi in charge and speak with him. Make sure to loot all the goodies on the table next to him then speak with the Fireteam Leader. He’ll offer his team’s assistance. It’s up to you if you would like them to help or not. Just as an FYI, we had them along and they did not turn on us! When you’re ready for the next round, continue to the launch pad where you’ll encounter 2 more. Take them out!

Speak to Sergeant Yumi

Return to Sergeant Yumi and speak with him.

Report to President Abello

Make your way back to the MAST Cabinet Chambers and speak with Abello. Afterwards, the Starfield Eyewitness mission will complete!

For more guides and walkthroughs on Starfield, click here!

Starfield Logo
Game Guides

The Ultimate Collection of Starfield Guides and Walkthroughs

by NightlyGamingBinge in

Welcome to our collection of Starfield guides and walkthroughs! If you need help completing a mission or are looking for magazine collectibles, you are in the right place! Here you’ll find walkthroughs on the main missions, faction missions, miscellaneous missions, companion missions and activities! Plus we have a handy dandy listing of where all the major cities can be found.

Misc.

Starfield Main Mission Walkthroughs

Click each of the below main missions for a helpful walkthrough focused on completing their objectives! Please note this is a complete listing of all the main missions!

Starfield Faction Mission Walkthroughs

As you progress in Starfield, you’ll receive faction missions. Click on the missions below to find a walkthrough on how each faction mission is obtained, their objectives and what rewards you can receive from completing them.

Starfield Companion Mission Walkthroughs

To receive companion missions, you’ll need to have raised your companion’s affection for you high enough by making choices that he/she likes. This in turn will lead to about 3 to 4 conversations where they’ll eventually ask for your help. Click on the missions below to find a walkthrough for each one!

Starfield Activity Walkthroughs

As you listen to conversations around Starfield or speak with certain named individuals, you’ll receive activities. Click on the activities below to find a walkthrough on how each activity is obtained, their objectives and what rewards you can receive from completing them. Please note that we’ve broken them apart based on the area where we received them!

Alpha Centauri System – Jemison – New Atlantis

Narion System – Deepala – The Clinic

Starfield Miscellaneous Mission Walkthroughs

As you speak with people in the Starfield universe, you’ll acquire miscellaneous missions. Click each of these missions to find a guide. We’ll detail how each miscellaneous mission is obtained, their objectives and what rewards you can receive from completing them. Please note that we’ve broken them apart based on the area where we received them!

Alpha Centauri System

Jemison – Abandoned Deimos Scrapyard

Jemison – Industrial Outpost

Jemison – New Atlantis

Gagarin – Gagarin Landing

Cheyenne System

Akila – Akila City

Kumasi System

Olympus System

Porrima System

Porrima II – Paradiso

Procyon A System

Sol System

Mars – Cydonia

Deimos Starfield

Valo System

Polvo – HopeTown

Volii Alpha – Neon

Wolf System

Den