Welcome to our walkthrough for the One Small Step main mission in Starfield! In this guide we’ll cover all the objectives and the rewards you’ll receive from completing the One Small Step mission.
One Small Step Mission
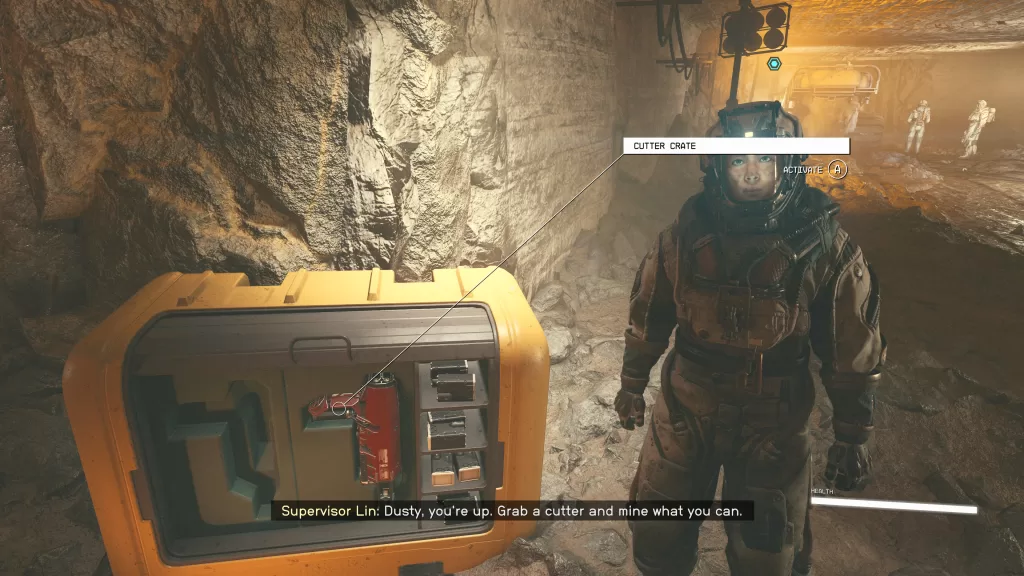
Follow Supervisor Lin
When you gain control of your character at the start of the One Small Step mission, follow Supervisor Lin until you reach the cutter create. Grab yourself one then head down the tunnel to the left of the crate and mine the 5 deposits.
When you’re done, return to Lin near the crate.
Follow Supervisor Lin (Again)
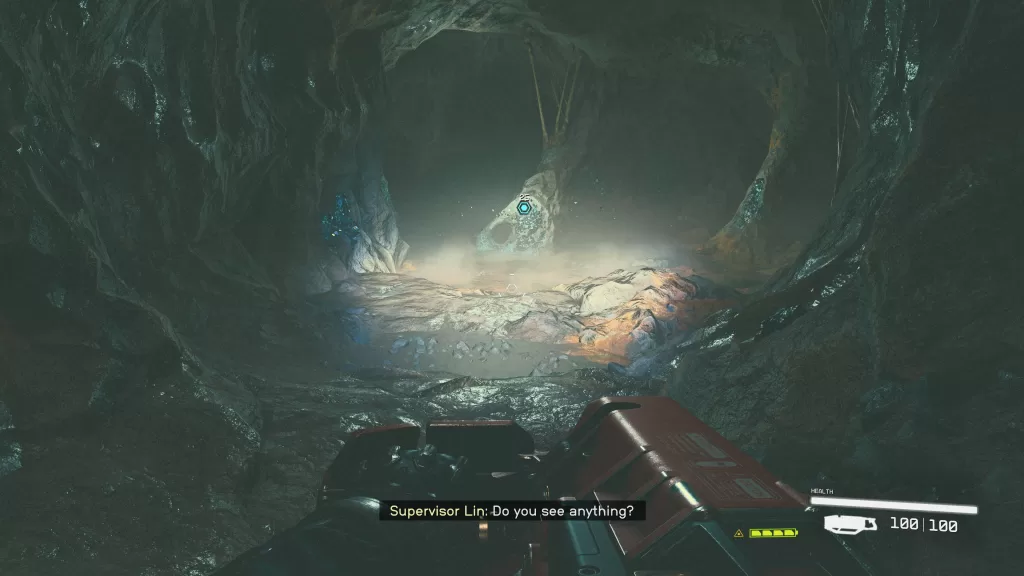
Afterwords, follow Lin to where Heller and Isabelle are working the mining machine. After they clear the machine, continue following Lin through the new tunnel. After a bit, Lin will send you to explore the cavern on your own. Keep following the main path until you reach the glowing rock. Use your cutter on the Caelumite Deposit to free the strange object then grab it to trigger a strange vision.
Choose Your Character
You’ll now be able to customize your character!
Follow Supervisor Lin (Thrice!)
After creating your character, Lin will make sure you are okay then you’ll have to follow her again. Before heading out, you can look around for loot if you want. Watch out for First Aid Medical Kits which contain some healing items. When you’re ready, continue following Lin. After you reach the airlock, you’ll need to go into your inventory and equip a helmet to continue on outside where you and Lin will meet the client. Just before the bridge leading to the ship, there will be a container with a weapon and med kit you can loot.
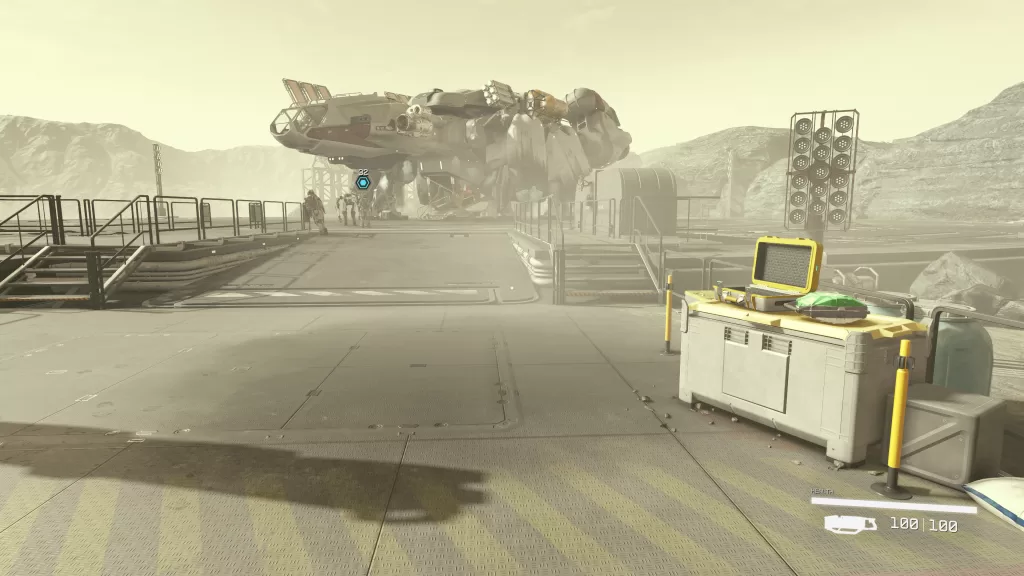
After speaking with Barrett you’ll be attacked by the Crimson Fleet. Deal with them then speak with Barrett afterward. He’ll then invite you to join Constellation and send you to the Lodge in his place.
Board the Ship
Head up the ramp to the ship and use the ladder to board. Head for the cockpit. Take your seat in the pilot’s chair then blast out of there! Once in space, you’ll be introduced to the tutorial on how to fly. Follow the prompts to complete it. When that’s done, you’ll be attacked by a Crimson Fleet ship then two more will show up. Engage them in a space battle!
Travel to Kreet
After the battle, our robot companion will determine we need to deal with a local Crimson Fleet Captain if we are going to make it to the lodge safely. Travel to Kreet (the Moon of Anselon). You can do this by opening the Planet Map, choosing “Back to the System” and then selecting Kreet. From there you can hover over the Kreet Research Lab and set it as the course which will let you fast travel there. You’ll then need to interact with the lab again to choose to land.
Deal with the Crimson Fleet Captain
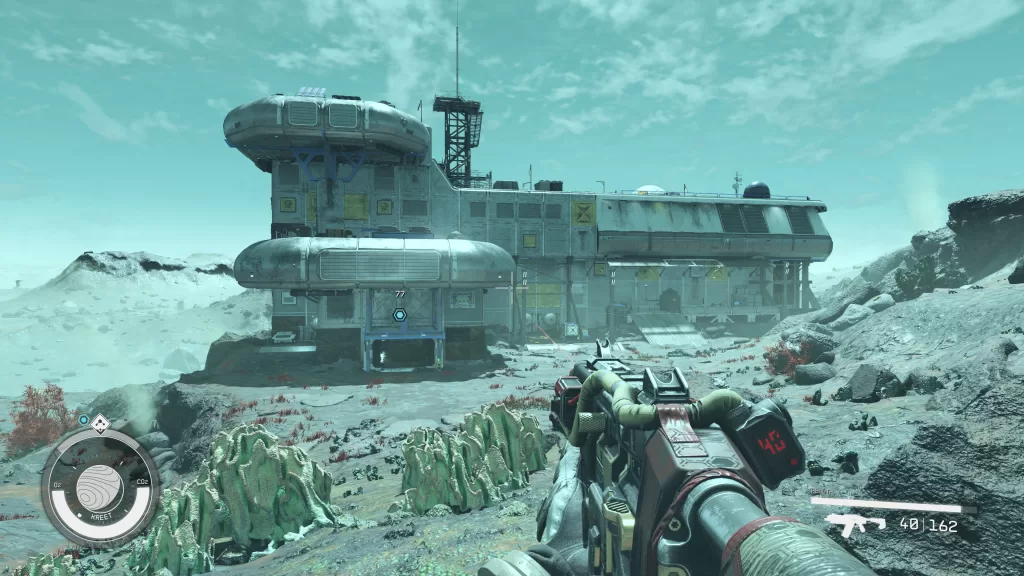
After landing on the planet, work your way to the Research Lab. Along the way, you can collect samples from the local plants and mine ore such as Iron or Silver. Vasco will also show you how to use the scanner. Once you reach the lab, head inside and work your way through dealing with the Crimson Fleet as you go.
When you reach the Roof Access ladder, there will be a safe there you can try and unlock using digipicks. Climb up the ladder and head through the door at the top to finally find the captain. Approach him to begin some dialog where you’ll be able to try and persuade him to walk away. Fail and a firefight ensues. Either way, after dealing with the captain, head back to the ship (via fast travel using your scanner) then take off.
Grav Jump to Jemison
Once in space, divert power to your grav drive then start flying towards the objective. You’ll be prompted to travel to the mission area which will engage the drive when you accept. After you reach your destination, open the star map and choose to land at New Atlantis. You’ll then want to exit the ship and speak with the Ship Service Tech. Next, head over to the New Atlantis Transit and ride it to the MAST District.
Go to the Lodge (Mast District)
Head up the ramp then take a right at the big tree and follow the walkway heading toward the objective marker to reach the lodge. Go inside and pass through the door to meet Sarah and the rest of the bunch. When prompted, place the artifact on the table. After a brief event, Sarah will officially invite you to join Constellation. The mission will complete after you accept. As a reward, you’ll receive the following:
- Constellation Pack
- 400 EXP
- 8,000 credits
- Lodge Key