Welcome to our walkthrough for the Back to Vectera mission in Starfield! Back to Vectera is one of the main missions you’ll need to complete to beat the game. To start it, simply complete The Old Neighborhood main mission.
Talk to Lin
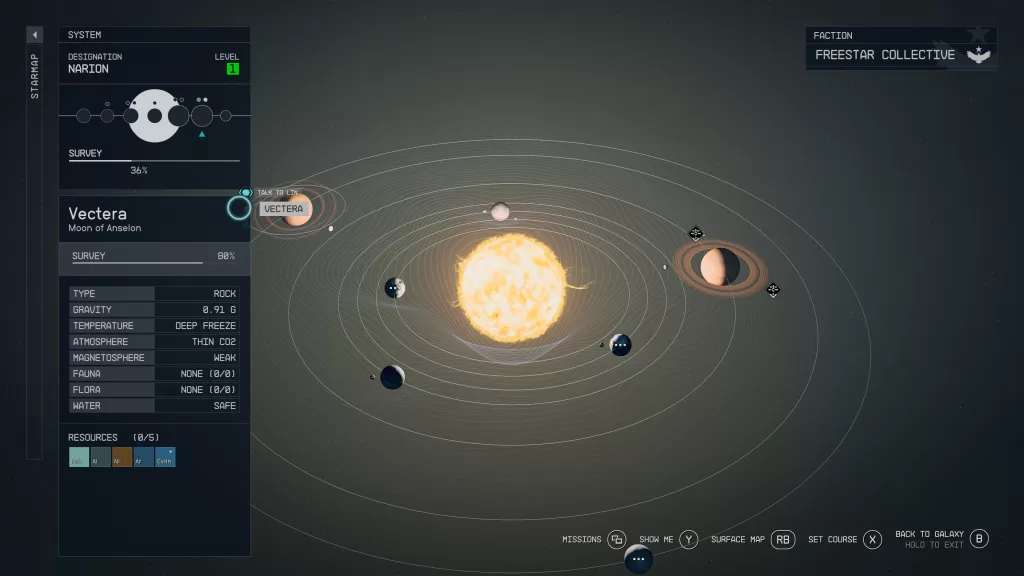
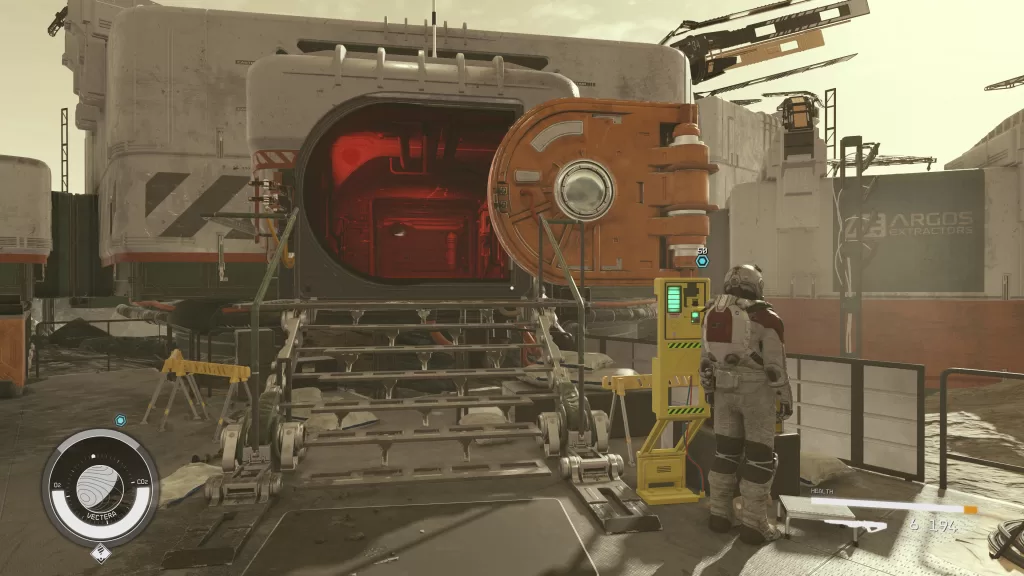
Head out to space then set course to the Narion System. You’ll want to land at Argos Extractors Mining Outpost on Vectera (orbiting planet Anselon) so you can check in on Barrett. Disembark the ship then speak with Lin who is waiting for you. After the conversation, head over to the comms building off to the right and flip the switch to get inside.
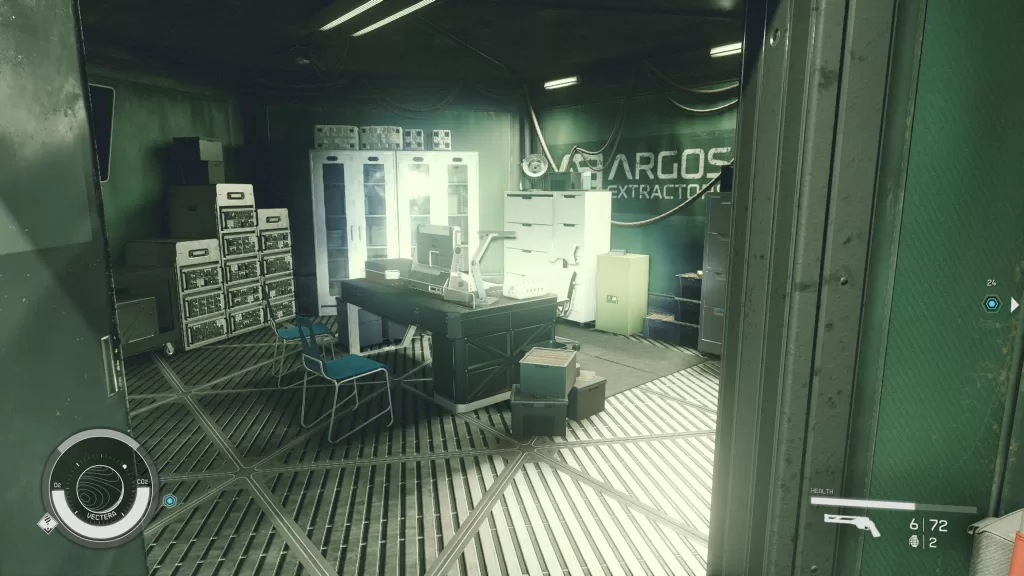
After entering the building, head through the door on the right. In this next room enter the room on the left (left of the Industrial Workbench) to find the Vectera Control Room Key on a desk.
Work your way to the back of the building and use the key to open the door leading to the Comms equipment. Head inside then interact with the Communications Computer. Select “Look for a Power Source” and some more objectives will show up on your hud. Leave the building and search the three things listed below to find the power cells.
- Grab one from Lin
- Examine the robot near Lin
- Examine the medical bed in the main facility
Return to the comms system and place the cells in the Power Receptacle. This will power up the equipment allowing you to access the Communications Computer. Select the Emergency Transmission to listen to a transmission from Barrett. Head back outside and speak with Lin and she’ll give you the coordinate hidden in Barrett’s transmission. As a side objective, you can also recruit Lin to join your crew.
Travel to Valo System
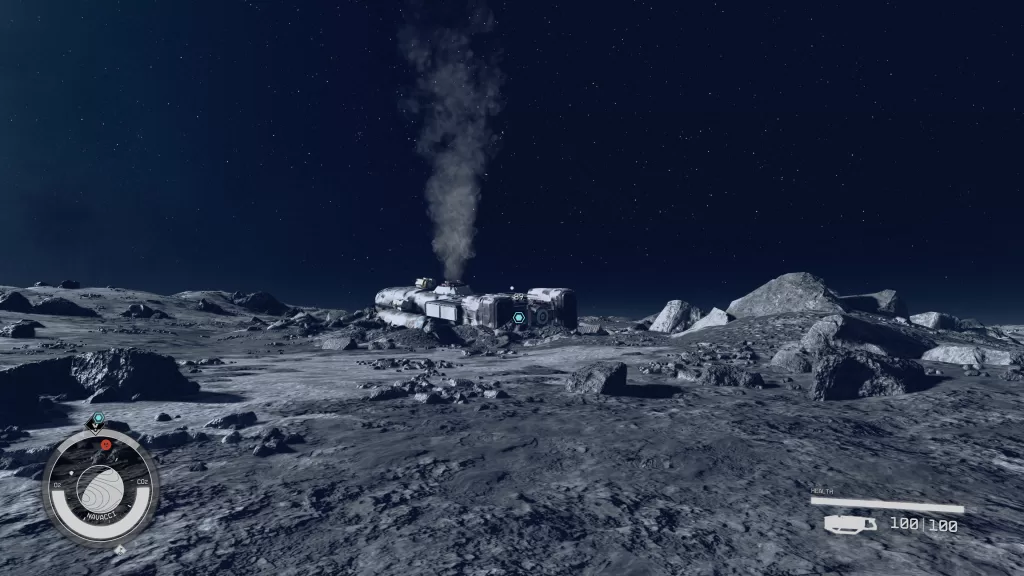
Return to your ship and plot a course for the Valo System. Once there head to the moon marked by the objective and landed at the Crashed Ship. Exit your ship and head for the crashed ship, northeast of your position.
When you reach the wreckage, locate and speak with Heller. After the conversation, you’ll gain the optional objective of recruiting him to your ship by speaking with him again. To progress the mission, open your inventory and listen to Emergency Transmission 02.
Travel to Bessel III
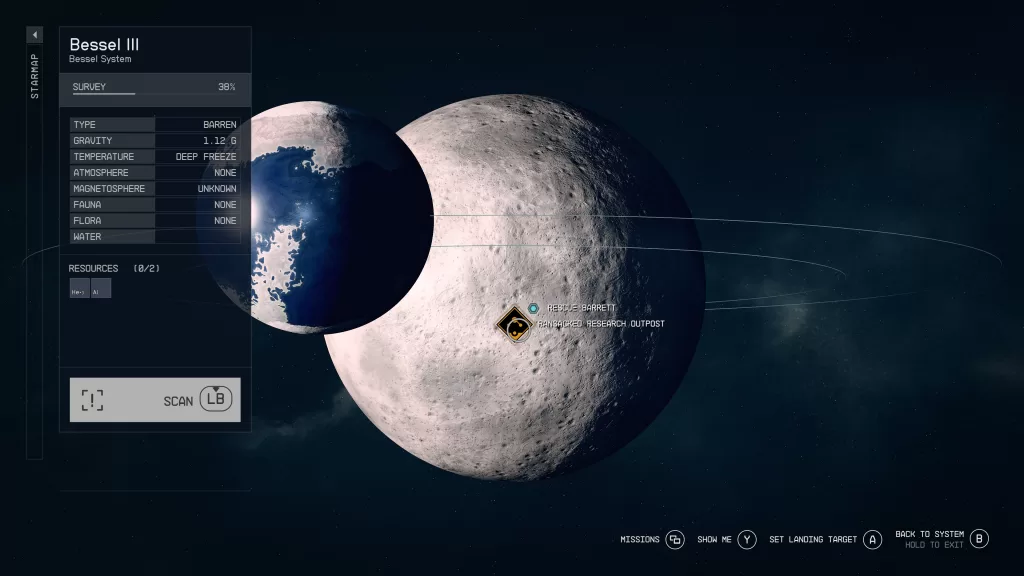
Head back to the ship then plot your next course for Bessell III in the Bessel System and land on the Ransacked Research Outpost. Exit your ship and head northwest to arrive at a Crimson Fleet Outpost. Deal with the members of the fleet stationed outside (while watching out for the turrets). When they are taken care of enter the Crimson Fleet Outpost.
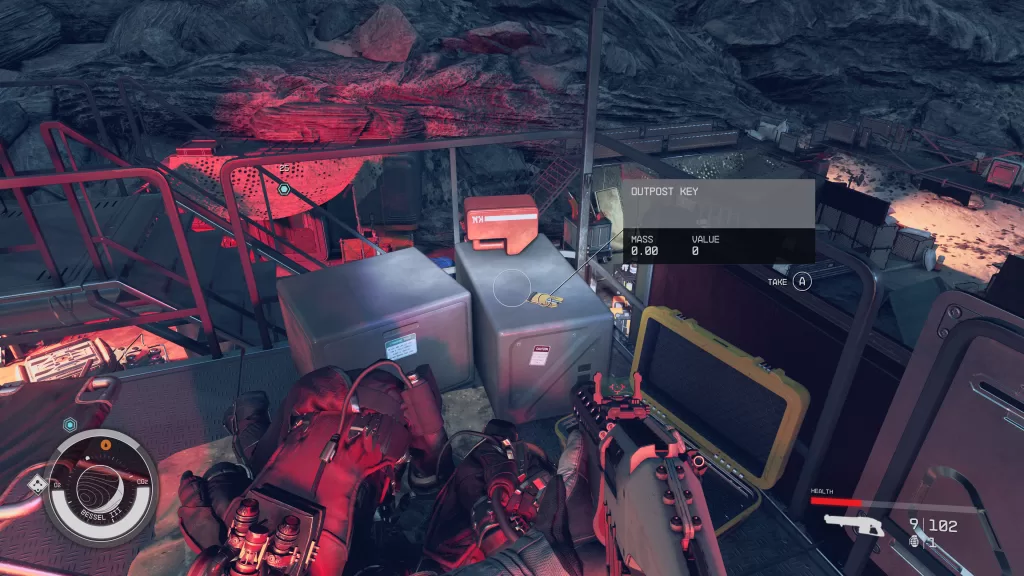
NOTE – To the left of the outpost is a locked building that requires an Outpost Key to enter. You can find one on top of the tallest structure in the middle of the outpost. It will be on a crate across from the Space Suit Workbench.
Rescue Barrett
Once inside the outpost, follow the path forward down multiple ramps. At the bottom, you’ll find a doorway leading to the room in the center of the structure where Barrett resides. Before entering the room, check the cart (that has a weapon crate) to the left of the door to find a journal entry that permanently adds an effect.
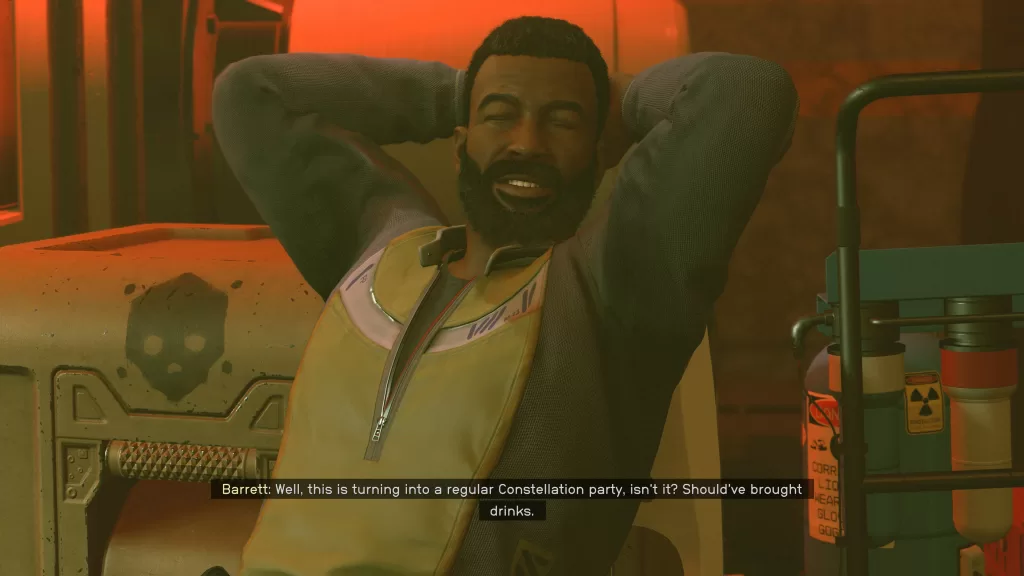
When you’re ready, head in to begin a conversation with Barrett and his captors. They will demand a ransom of 4000 credits for his freedom. You can choose to pay it or if you brought Sara, there will be an option for her to pay the ransom using some of Constellation’s funds. There is also the option to persuade them to just let Barrett go or you can just kill them all! If you choose to attack the pirates, Barrett won’t be too happy about it after.
Return to the Lodge
Regardless of what happens, you can chat with Barrett afterward. You’ll then be free to return to the Lodge in New Atlantis. Once there, head into the Library and watch the scene play out. Speak with Barrett after and the mission will compete. As a reward, you’ll receive 350 EXP, 7200 credits and Barrett will become a party member.