Welcome to our guide walkthrough for the Unearthed mission in Starfield! Unearthed is one of the main missions you’ll need to complete to beat the game. You’ll start this mission automatically after completing the In Their Footsteps main mission.
Some of the planets referenced in our guides and walkthroughs won’t match up with yours due to how Starfield was created. In these situations, what you do and the places you visit on those planets should be the same.
Go to Nova Galactic Research Station
Travel to the Luna orbiting Earth in the Sol System and land at the Nova Galactic Research Station. Approach the research station and head inside using the key that the Emissary gave you.
Investigate the Research Station
Inside the station, interact with the Nova Galactic Research terminal on the desk looking at both files on it. Before heading up to the roof, there are 6 Moon Base Slates you can collect. Their locations are listed below:
- Moon Base Slate 1 – On a crate in the storage area through a blue door on the other side of the 1st floor
- Moon Base Slate 2 – In a charger on the desk across from the one with a research terminal
- Moon Base Slate 3 – In a locker in the storage area through a blue door on the other side of the 1st floor
- Moon Base Slate 4 – On a stand in a storage room across from the workout equipment on the 1st floor
- Moon Base Slate 5 – In a charger on the counter in the break room on the 1st floor
- Moon Base Slate 6 – On a desk on the second level in the room with the research terminal
With all the slates now in your possession, make sure to grab the Restricted Equipment Key from the desk next to the Nova Galactic Research terminal. This key will unlock the Science Crate on the second level of the building. Once everything has been collected, exit the research station and jump up to the roof. Play the recording at the base of the antenna to get our next heading… NASA on Earth!!!
Go to NASA
Set a course for Earth landing at the NASA Launch Tower then approach the tower. Climb up the tower until you reach an elevator.
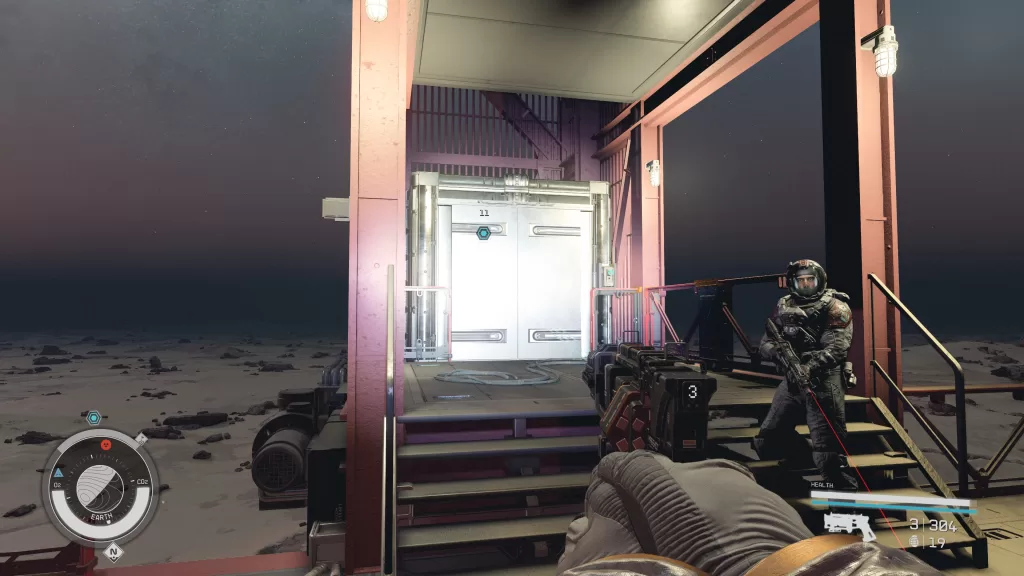
Follow the power cords to a nearby room where you’ll need to place a power cell in the receptacle to power up the elevator. Luckily there are a couple of power cells in the room you can use. Return to the elevator and use it to enter the Launch Facility.
Find Information
Make your way to the other side of the room. You’ll find a NASA Research Computer on the desk next to the door. Access it then view both files and all of the attachments on the Access Station Logs.
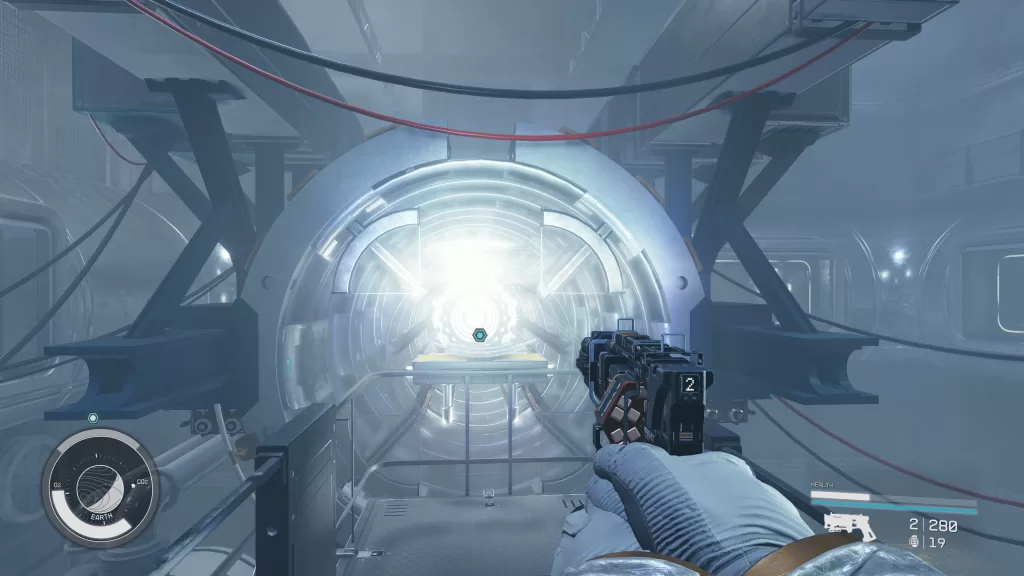
Afterward, head through the nearby door and proceed further into the facility. After you pass the museum area, you’ll find yourself in a bathroom with a tunnel in it. Read “Judith – Personal Recording” then head down the tunnel.
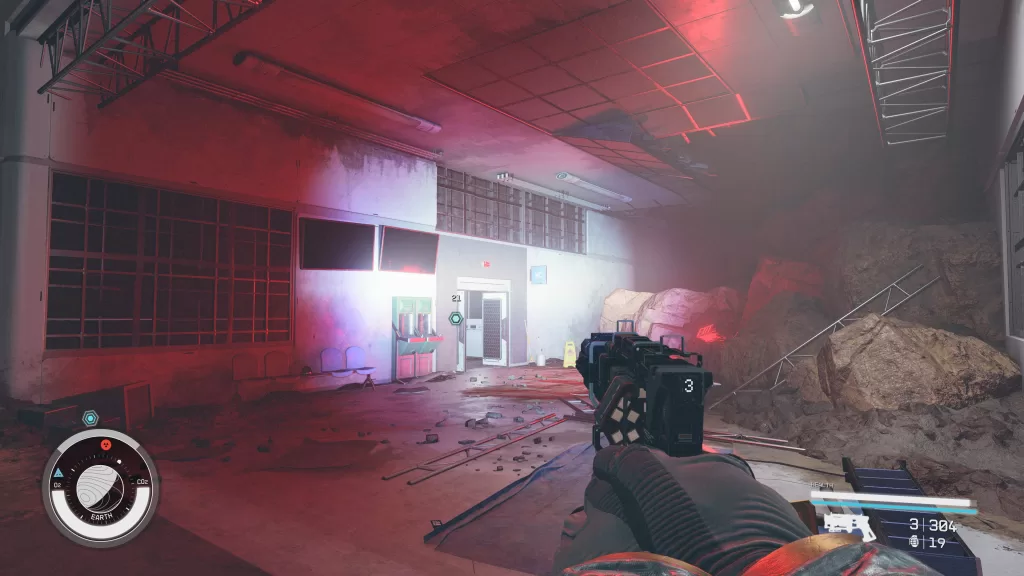
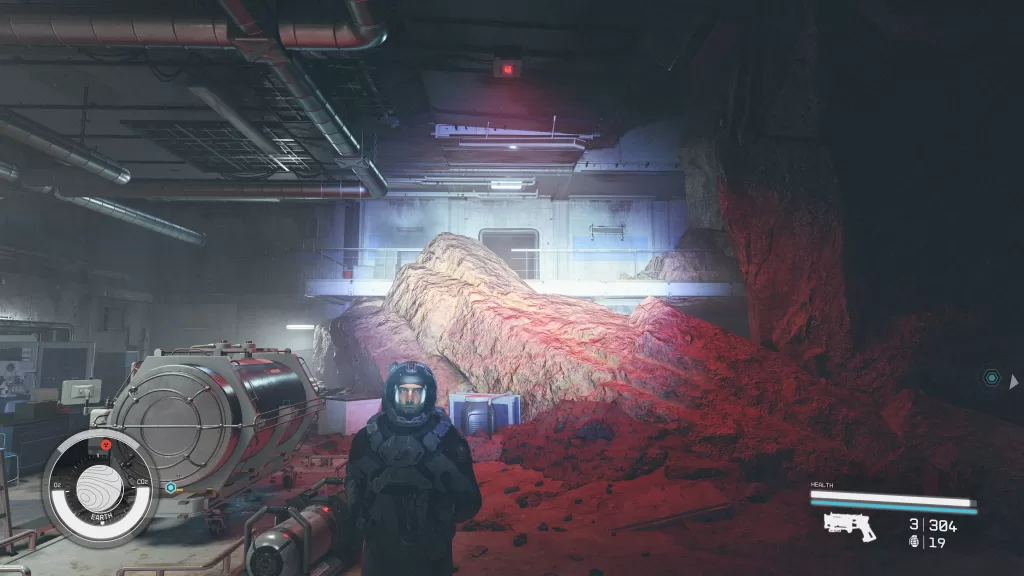
Eventually, you’ll head through a doorway with “Lab” written across the top. In this room, it will seem like a dead end, however, you can use the rock ramp to reach the second level.
Follow the hallway to reach a power switch. Flip it then backtrack around the corner and flip the switch next to the red secure access door. Keep going until you reach another red secure access door.
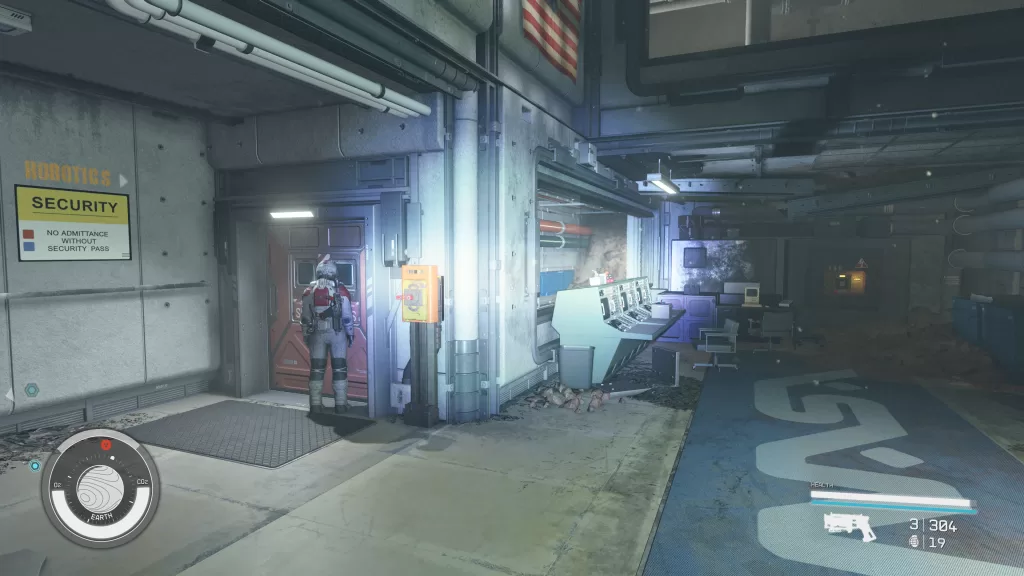
This will require a power cell to open. Thankfully there will be a lot in this room. Keep heading down the linear path until you need to slip through a cracked door.
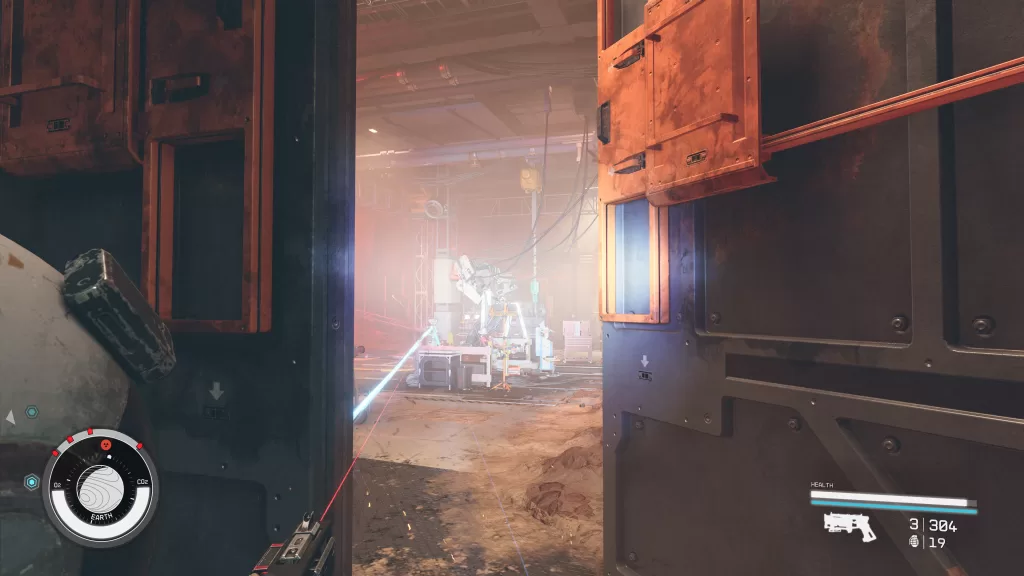
This room will be filled with a handful of turrets and a robot. To proceed forward, you’ll need to power up a gate. The controls for it can be found on the north side of the room. When you reach the room, interact with the Power Switch on the wall to restore power. There is also a terminal there you can break into to disable to the turrets.
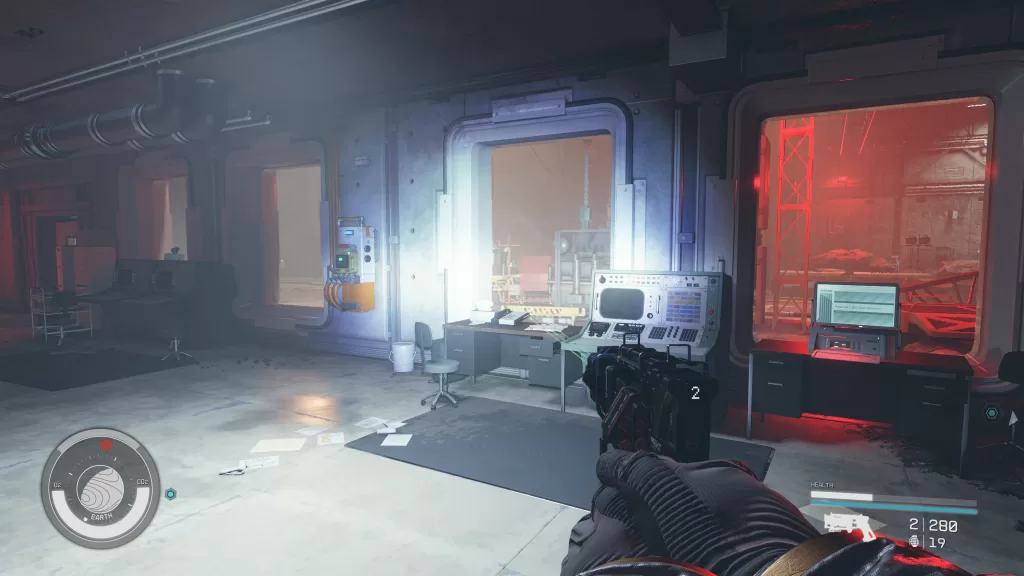
When you’re ready, activate the switch to the right of the big metal doors to raise the gate the pass through it. Follow along the tunnel to emerge in a storage area. Locate the desk and interact with the NASA Research Computer on it. View all of the files and any attachments.
When you’re finished, head through the nearby white door. Jump down the elevator shaft then float to level B2. Head through the white door there then take a left down the hallway. Look for the nearby desk and access the NASA Research Computer on it.
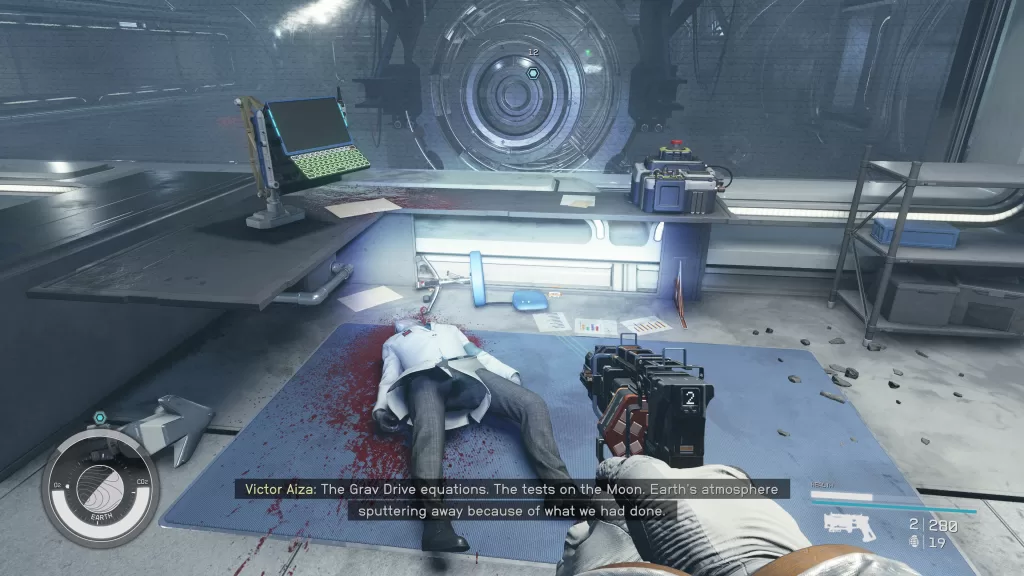
Check all of the files and any attachments then press the button on the desk. Grab the NASA Maintenance Key on the desk next to the computer then head back down the hallway. Near the B2 elevator shaft, you’ll find a door.
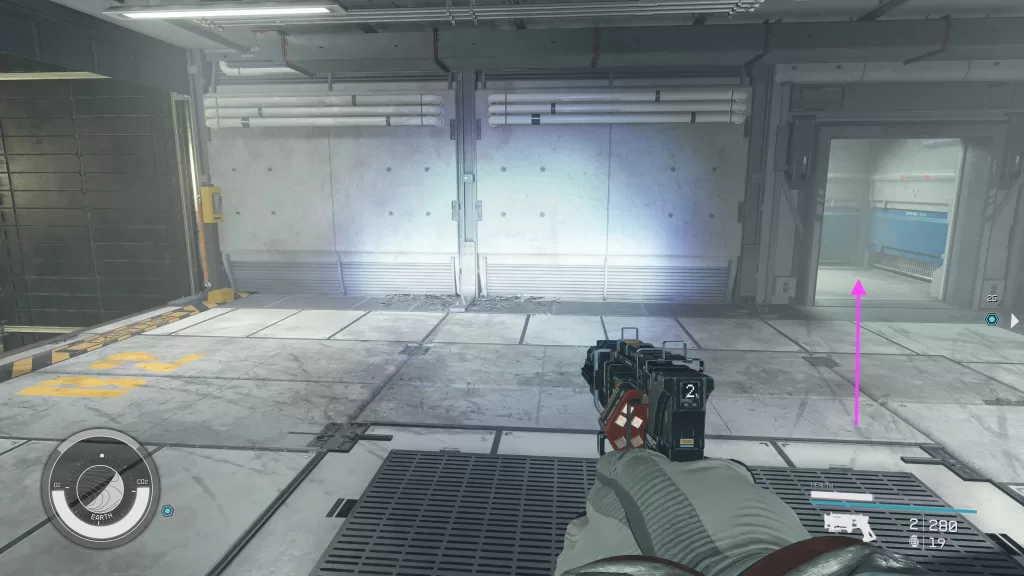
Head inside to find a room filled with pipes. Use them to reach B3. Use the cutter to knock down the red Emergency Cuttable Wall. Head through the door across the way then take a left. Flip the switch then enter the door. Head up the stairs to reach the artifact secured in the middle of the room.
As soon as you do, the Emissary and Hunter will say they need to talk and that other Starborn have come for the artifact. Fight your way out of the facility then meet up with them outside. Approach them to begin dialog where you’ll have to pick a side: The Hunter, the Emissary or neither. If you pick the Hunter or Emissary, then the one you pick will help you out in a future mission. If you don’t side with either, then you’re on your own. After you make your choice, you’ll be rewarded with 4500 EXP.
Complete Unearthed
For this last objective, you’ll need to complete the Unearthed main mission. Doing so will complete the Unearthed mission rewarding you with EXP and the Calibrated Constellation Spacesuit.