Welcome to our guide for the Starfield Echoes of the Past mission!
PLEASE NOTE: Some of the planets referenced in our guides and walkthroughs may not match up with yours due to how Starfield was created. In these situations, what you do and the places you visit on those planets should still be the same.
Starting Echoes of the Past
Echoes of the Past is one of the missions for the Crimson Fleet faction. You’ll start it automatically after completing the Rook Meets King mission.
Echoes of the Past Objectives
Proceed to the Surface of Suvorov
For the Echoes of the Past Starfield mission, you’ll need to travel down to planet Survorov and land at the Lock. Approach Delgado to get things started. Follow along the ice path to reach the Lock taking out the enemies that spawn along the way. When you reach the outer door, speak with Delgado. He’ll open the door allowing you to enter, but your companion will have to wait outside.
Continue Exploring the Lock
Follow the group through the Lock. When you reach the big open room, you’ll be ambushed by the same creatures from outside. Deal with them then speak with Del. Take Mathis and head for the control room to the south. Speak with him after the roof caves in. him who will want to team up to take out Delgado. Answer however you like then head through the nearby loose panel. Follow the linear path through a couple of rooms to reach the control room where Del we’ll be trying to reach you through the intercom. Interact with it to get your order then examine the Transfer Area Control Workstation nearby. Access the Security Controls and use them to override the lockdown.
Head through the newly opened Secure Access door and down the stairs into the intake room. Interact with the Prisoner Intake Workstation. Access the Power System Controls and activate the auxiliary power for D-Block. Continue heading forward to reach the guard tower overlooking the cell block. In the tower, your new buddy will ask you again about his proposal. Again, answer how you like then interact with the D-Block Post Workstation. Make sure to check out all of the files so you can pick up some of the optional objectives along with the cell block that Kryx was placed in.
Locate the Cache in Cell D-02-106
You’ll need to backtrack a little bit to reach cell D-02-106. Head back along the path you took to reach the guard tower looking for the broken section of stairs in the image below.
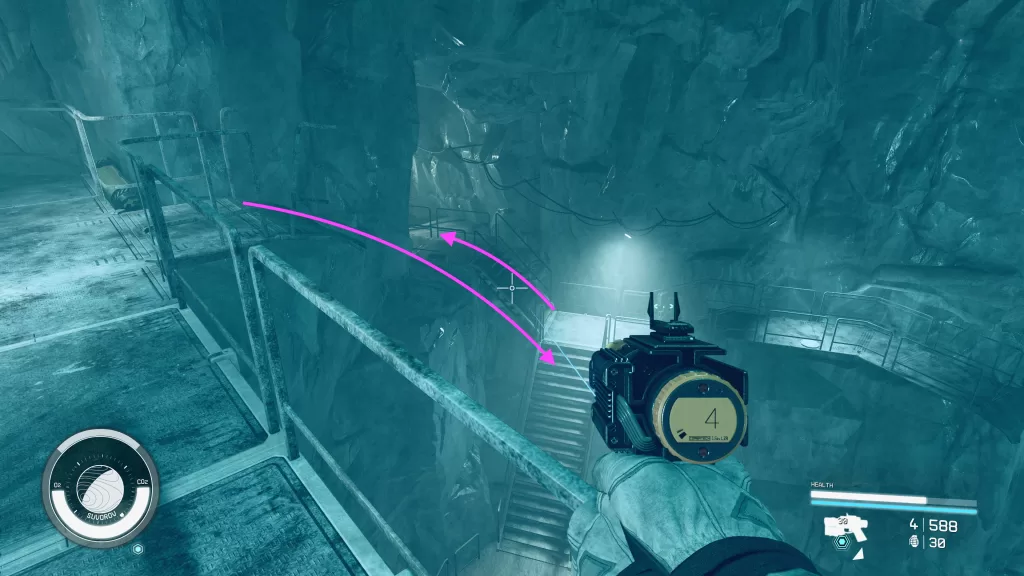
Jump off that section to the stairs below and follow the stairs up. Take a left going up another set of stairs brining you to a split.

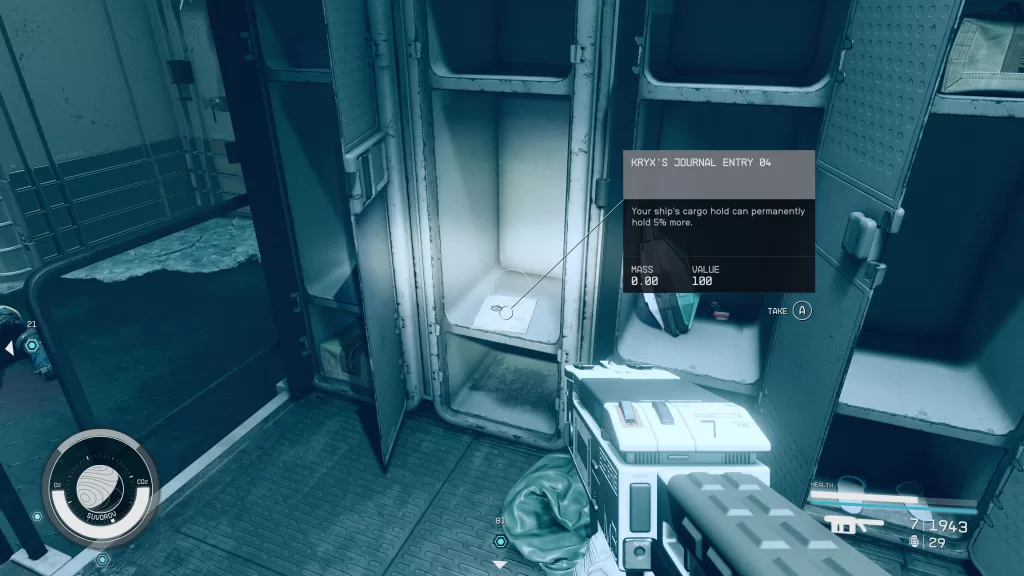
The right has another set of stairs leading down and the left leads to Cell D-02-106. Take the right set of stairs down then take a right at the bottom to spot the kitchen. Across from the Kitchen, you’ll find the Showers. In one of the lockers, you’ll find the Kryx’s Journal Entry 04 magazine.
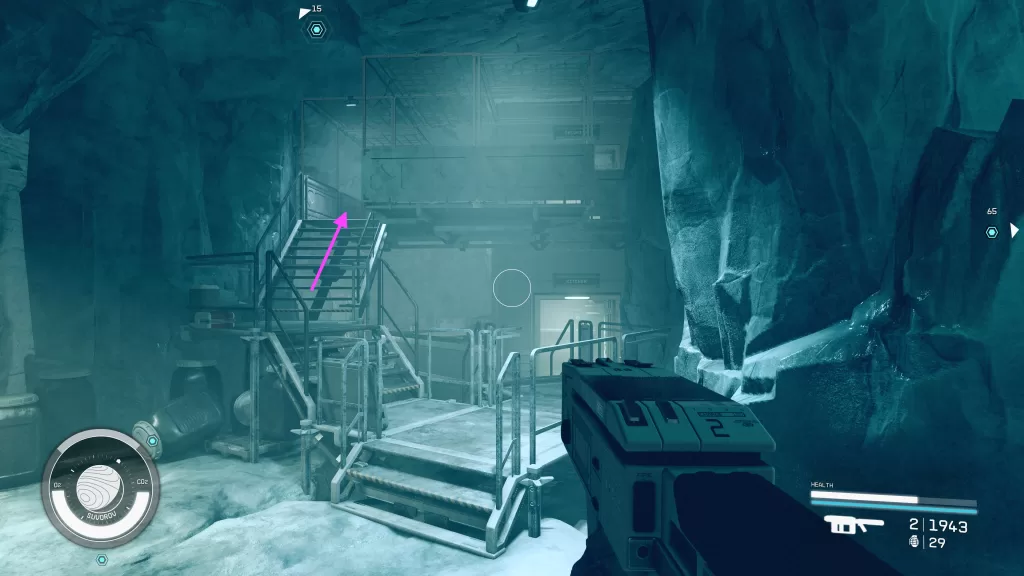
Exit this room and face the Kitchen. You’ll want to take the stairs on the left just before the Kitchen to reach the Security Room.
Inside you’ll find a switch on the wall that unlocks cell D-02-106. You can then return to the split and head to the cell to access the cache.
Open Cells in D-Block Section 3
Head back up to the guard tower and jump across the broken walkway. Head down the stairs, take a right then follow that with another right to reach the D-Block Section 03 Cell Release Switch. Interact with it to open Kryx’s cell then make your way there and head inside (it should be the next cell on the left). Activate the lamp then choose the first option to pry open the base. Listen to the Best Laid Plans slate that you find there.
Search Carter’s Locker
Head back to the Kitchen near block D section 2 to find the showers. This is where you previously found the Kryx’s Journal Entry 04 magazine. Use the code you got for Carter’s Locker to open it. Grab the Carter’s Gig slate to listen to it. Exit the showers and head left passing through the kitchen.

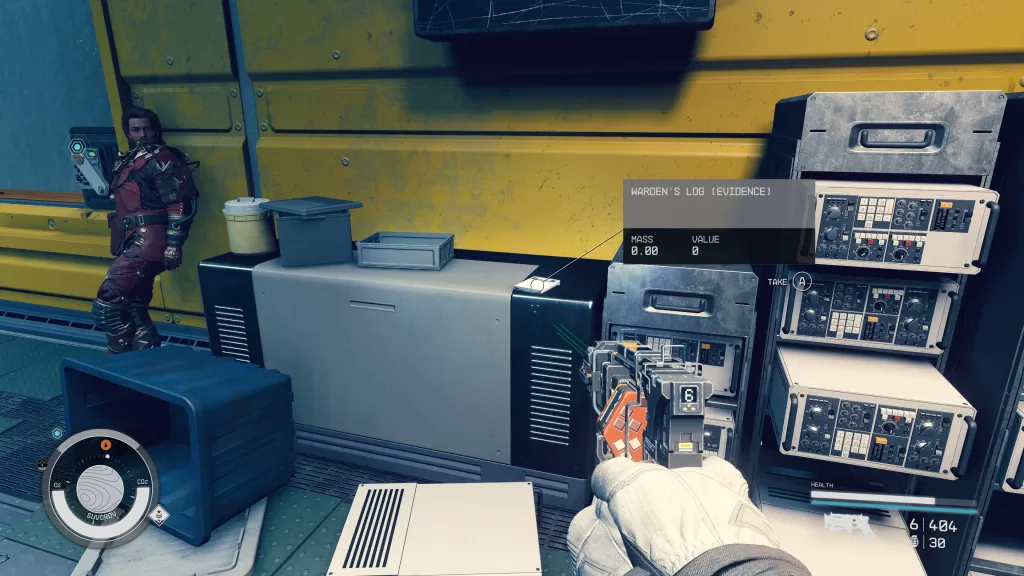
You’ll then need to cross over to the north side of the area to reach Ventilation. Enter the room interacting with the Maintenance Access Computer on the other side. Use it to open the door to the closet on your left. Head inside and interact with the loose panel then follow the tunnel to eventually end up in the Warden’s Office. Delgado will be in an adjacent room trying to hail you on the intercom. Interact with it to speak with him to tell the bossman what you found. He’ll then open the way to the shuttle bay for you. Before leaving, make sure to grab the Warden’s Log evidence.
You’ll also need to speak with Mathis. Head to the Shuttle Bay and be prepared for a fight. You’ll need to secure the area before you can enter the ship. This time the bugs will be accompanied by their ridiculously high level queen.
Travel to the Key
Once the pests have been exterminated, fly back up to the Key and speak with Delgado in the Operations Center. Hand over the slate and he’ll reward you with a legendary pistol. You’ll then be given your next task. Make your way to the Last Nova (under the Operations Center) and speak with Mathis there. When you’re done, locate Naeva in the same place and chat her up.
Report Mission Progress on the UC Vigilance
Leave the Key and head back to the UC Vigilance in the Sol System. Dock with the ship then head to Commander Ikande to update him on your progress. The mission will be completed afterwards and you’ll be rewarded with 350 EXP and some credits.
For more Starfield guides and walkthroughs, click here!