Welcome to our walkthrough for the Starfield Hostile Intelligence mission!
PLEASE NOTE: Some of the planets referenced in our guides and walkthroughs may not match up with yours due to how Starfield was created. In these situations, what you do and the places you visit on those planets should still be the same.
Starting Hostile Intelligence
The Hostile Intelligence mission will automatically begin after completing the War Relics faction mission.
Hostile Intelligence Objectives
- Follow Hadrian
- (Optional) Visit Lt. Azevedo to Purchase New Gear
- Proceed to Londinion
- (Optional) Collect Your Gear
- Inform Hadrian You’re Ready to Move Out
- Locate the Aceles Gene Samples
- Locate the Next Sample
- Follow Kaiser
- Restore Power to the Spaceport Access Hatch
- Collect the Recording
- Speak to Hadrian
- Find the Final Sample
- Return to Forward Base 441
Follow Hadrian
For the Hostile Intelligence mission, you’ll first need to follow Hadrian until she stops at a desk then speak with her.
(Optional) Visit Lt. Azevedo to Purchase New Gear
Lt. Azevedo can be found in the Red Devils HQ. Check out his items if you wish!
Proceed to Londinion
When you’re ready to continue, travel to Forward Base on Toliman II in the Toliman System. Once there, approach the UC Marine guarding the entrance just past all the turrets then continue into the base, heading for the Command Post. Once inside, speak with Commander Hatoum who will inform you that absolutely no rescue teams will be sent into Londinion to save us should we get into any trouble.
(Optional) Collect Your Gear
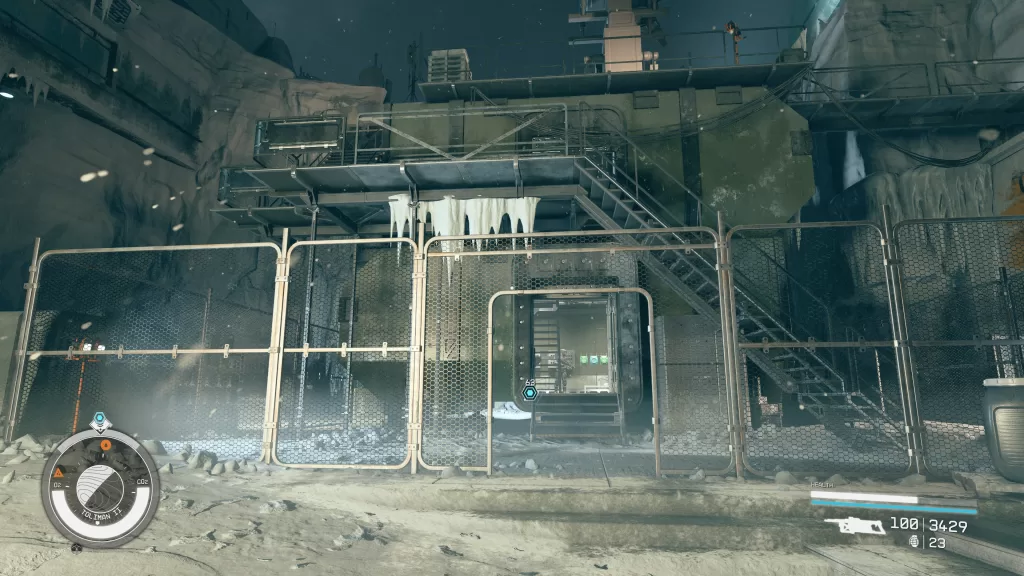
Head to the fenced in building behind the giant statue to collect all the goodies inside. Be sure to speak with the UC Marine there to get a weapon!
Inform Hadrian You’re Ready to Move Out
Speak with Hadrian near the exit to tell her you’re all set then flip the switch to open the door and proceed forward.
Locate the Aceles Gene Samples
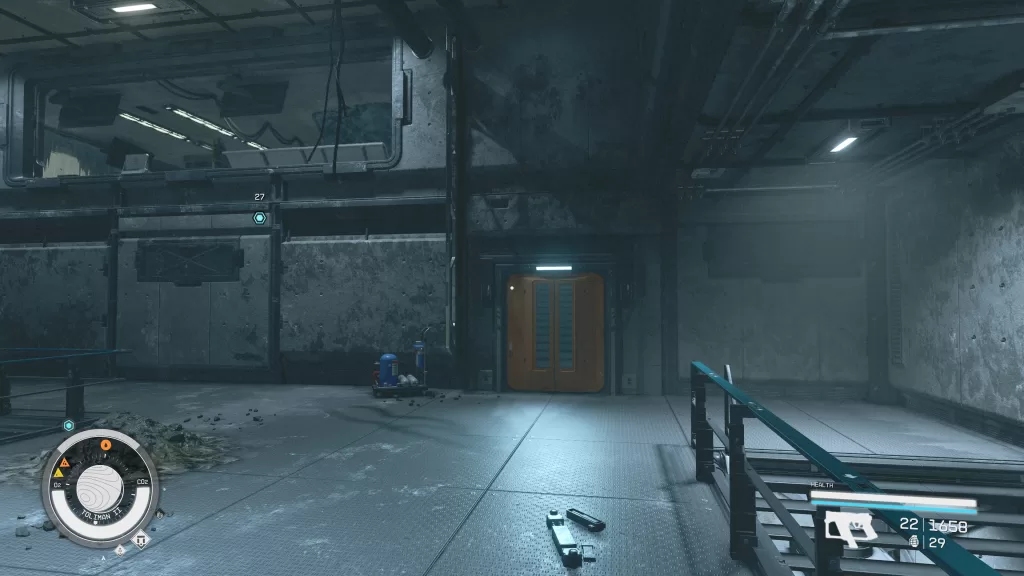
After flipping one more switch you’ll emerge outside. This is where all the fun is waiting! As I’m sure you guessed by all the med packs, weapons and ammo that was freely given in the last area you’re going to have A LOT of enemies to fight!! In the back of the first building on the main first level, you’ll find the base cache behind the orange doors.
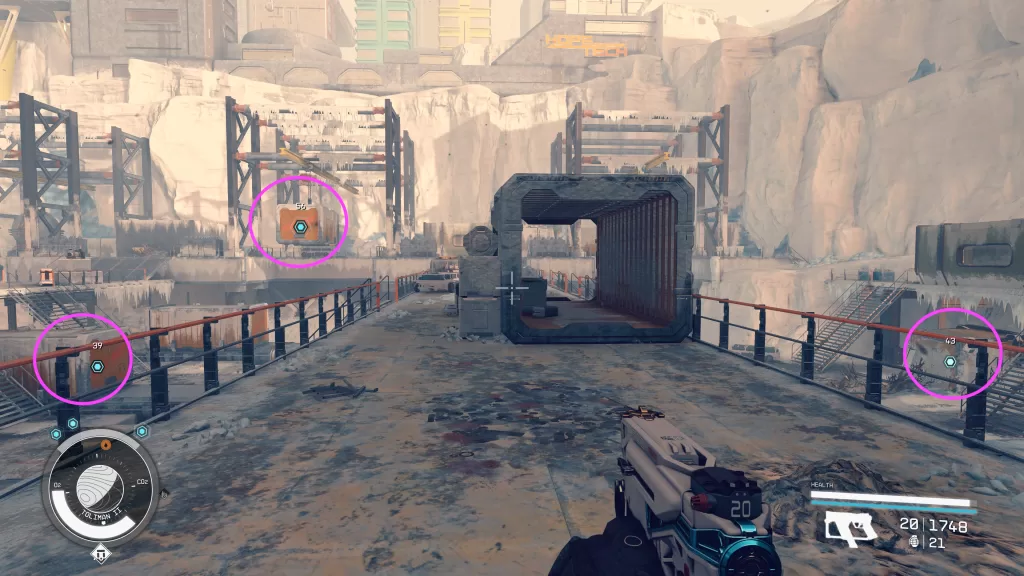
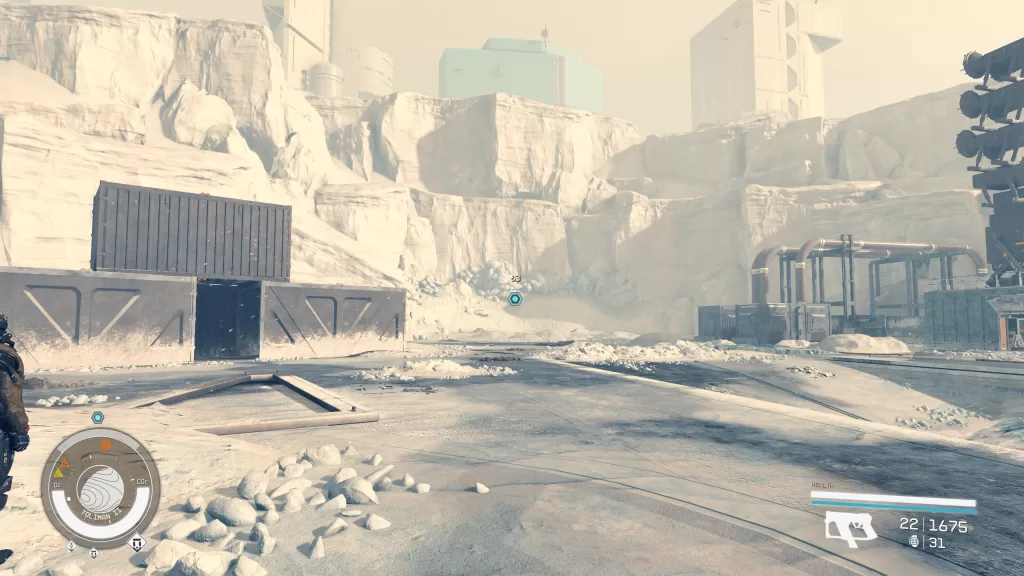
Continue to the next outdoor area where you’ll find more enemies and 3 shipping containers. Collect the Aceles samples from these containers!
Once you have collected all 3 samples, give them to Kaiser.
Locate the Next Sample
Move on to the next area, the Londinion Steam Tunnels. In these tunnels, you’ll discover the horrific truth of the Terrormorphs. After discussing it with Hadrian, follow after the Terrormorph and kill it. Afterwards, collect the sample from its corpse then give it to Kaiser.
Follow Kaiser
Follow him to a door leading to the outside.
Restore Power to the Spaceport Access Hatch
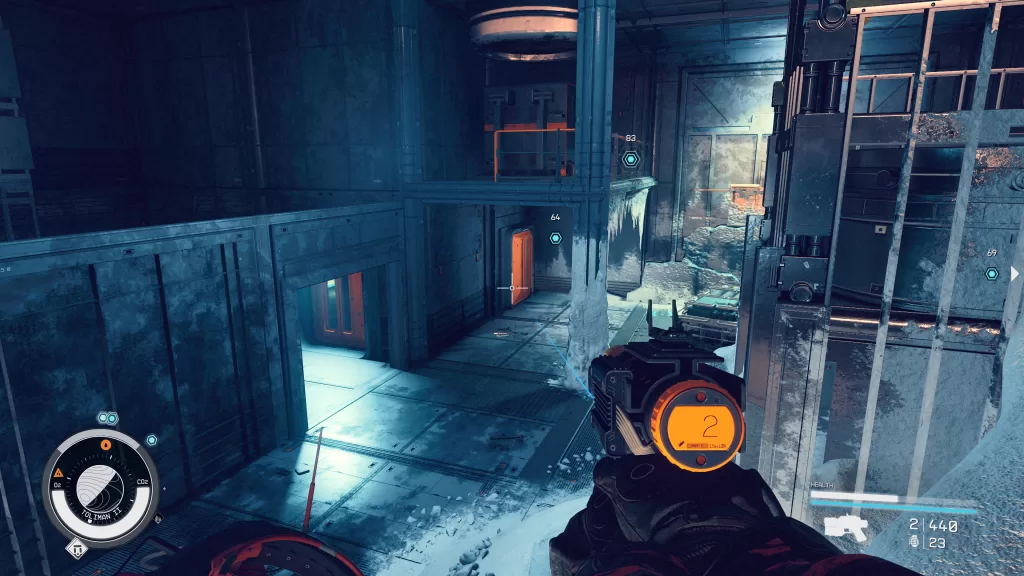
Since he has insufficient power to open it, head upstairs and proceed through the orange door.
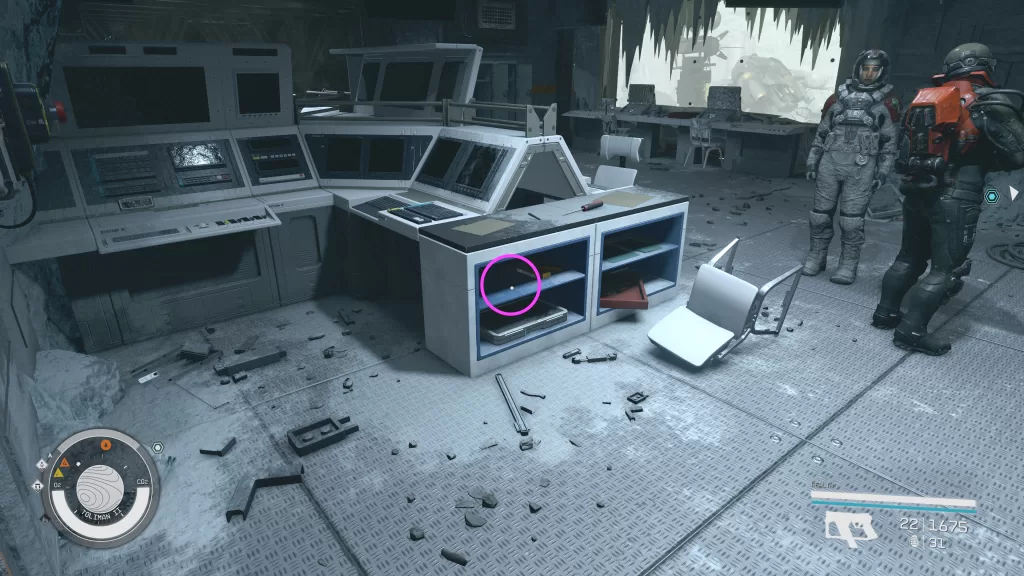
Take the stairs up. In this room you can find the Contraband Locker Key on a shelf diagonally from the Utility Controls. It will open the two lockers across from it.
When you’re ready to proceed, activate the Utility Controls to restore the power. Next, interact with the System Reboot Control on the column in the center of the room.
Collect the Recording
After listening to the recording, collect it from the terminal next to the System Reboot Control.
Speak to Hadrian
Speak with her. Andreja dislikes all but the “A cold-blooded murderer” option.
Find the Final Sample
After speaking with Hadrian, head down to Kaiser and wait for him to open the door. Afterwards, head on through to reach the Londinion Spaceport. Head to the back corner to find the Terrormorph Anomaly.
Take it out then loot the corpse to receive the sample. Just like the other ones, give it to Kaiser.
Return to Forward Base 441
Return to the base then speak with Dr. Percival Walker. After your conversation, the Hostile Intelligence mission will complete!