Fire Emblem Engage Logo
Guides

Fire Emblem Engage – Chapter 9 Walkthrough

by NightlyGamingBinge in

Below is a walkthrough for Chapter 9: A Clash of Forces in Fire Emblem Engage!

Skirmishes

Now might be a good time to do a couple of skirmishes if you wish. You can use them to level up units you normally don’t use or get others closer to classing up.

Fort on the Border

When you’re ready to push the story, head to the Fort on the Border for a dialog event leading to a battle. You’ll need to defeat Ivy again but this time during a snowstorm. When the fight starts, both retainers will split from Ivy heading for two forts in the middle of the map where they will hold their position until defeated. Also, near where your units start in the center of the map is an allied unit named Jade. Speak with her using Diamant to gain her as an ally. You’re now free to defeat Ivy! Please note that you can obtain the below items during the fight!

ItemObtained
ElsurgeDropped from an enemy mage enemy on the northern side
Spirit DustDropped from an enemy on the northern side
Steel-Hand ArtDropped from the Martial Monk guarding Ivy

Post battle explore the area when the cutscene is through, collecting items and adopting pets.

Intermission: The Somniel

When you’re done exploring, exit the area and stop in at the Somniel. Stock up on supplies, speak to new allies and complete any support/bonding events you may have. When you’re ready to proceed with the story, leave the Somniel.

Click here for the next walkthrough on Chapter 10 in Fire Emblem Engage!

Guides

Digimon Story Cyber Sleuth – Chapter 9 Walkthrough

by NightlyGamingBinge in

Below is a walkthrough for Chapter 9: Our Master Plan! in Digimon Story Cyber Sleuth: Complete Edition.

Kamishiro HQ

When you regain control of the sleuth, use the access point to access EDEN and head over to Kamishiro HQ for an event. Head to the back of the room then interact with the console there to do a connect jump to the Digital Network. Head through to the other side to reach the Avalon Server.

Digital Network Digimon

  • Falcomon
  • Hawkmon
  • Nanimon
  • Veedramon

Avalon Server

Use the teleport pad to reach the Avalon Server. Follow the path to the end of the path to battle a vaccine-type Andromon and data-type MetalMamemon. After winning, you’ll be treated to a dialog event. To reach the next area, you’ll need to copy the red data and paste it on the plate in the center of the room. This will open the way up allowing you to reach the next area. Also, make sure to grab the four chests in the area.

In the next area, there will be two chests (one on both sides of the access point). To progress, you’ll have to copy the blue data to the left plate and the green data to the right plate. Also, make sure to grab the four chests before heading to the Secret Room. As soon as you start down the path, an event will trigger leading to a battle with an Eater. After winning an event will trigger. When it concludes proceed to the Secret Room.

As soon as you reach the Secret Room, another event will trigger. You’ll then need to inspect the dresser to the left of the bed then inspect the bed. This will trigger yet another event and gain 1,000 CSP.

Digimon

  • GaoGamon
  • Gargomon
  • Gatomon
  • Starmon
  • Stingmon
  • Waspmon

Kowloon

Use an access point to travel to EDEN then head to Kowloon Lv1. Make your way over to the park and speak with Rebel Tamer there for a quick event to receive a new case.

Detective Agency

Return to the agency and accept the Expanding the Nokia Corps! case. Complete it to receive another case, La Missel that you’ll need to complete to progress the story. A guide for both cases can be found here. With both cases closed, make your way up to the K-Cafe and speak with Ryota there to receive another case. Go back to the agency and pick up the case, Flowers of Sakura. Complete that case to complete the chapter.

Click here for a walkthrough on Chapter 10: To the Promised Land in Digimon Story Cyber Sleuth: Complete Edition.

Guides

Valkyrie Elysium – The Serpent’s Nest Territory Hollow and Verdant Blossoms

by MrsChappie in


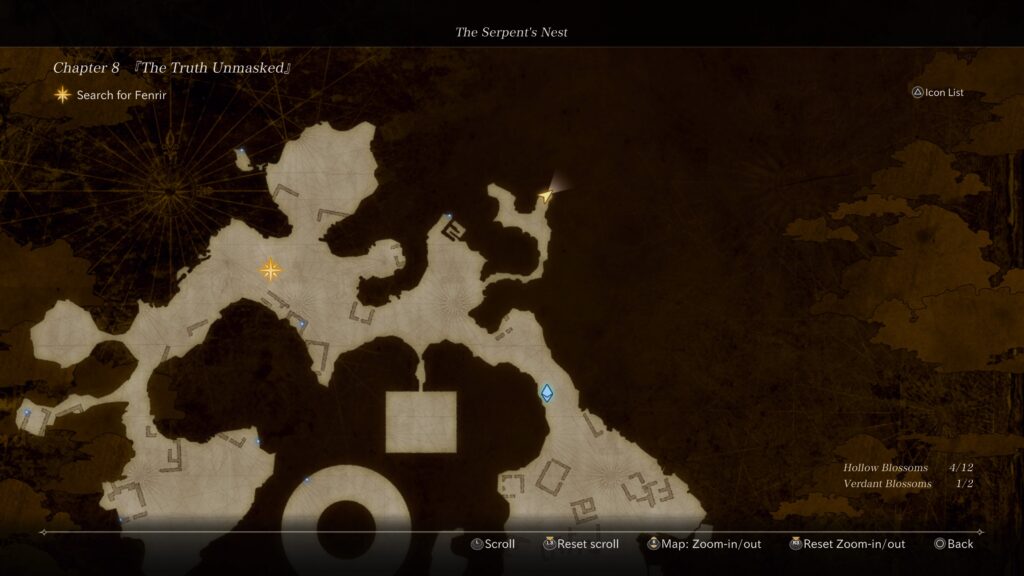
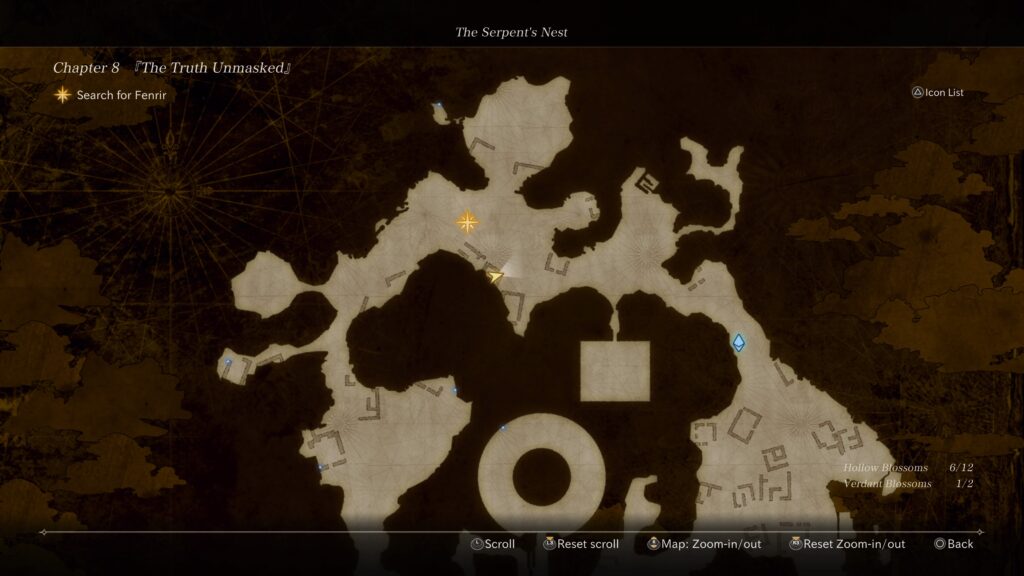
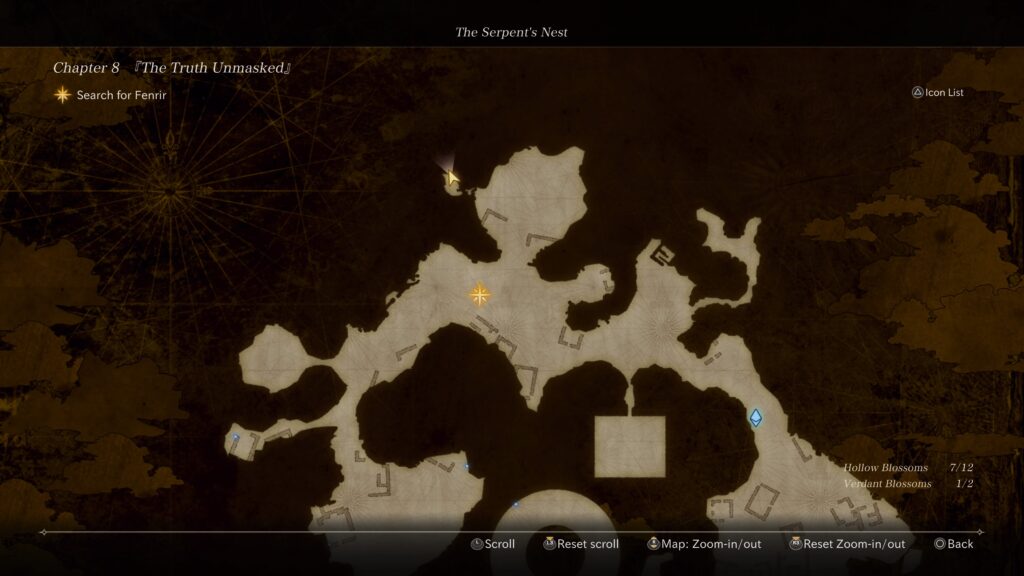
Below is a guide on where to find the hollow and verdant blossoms around the The Serpent’s Nest Territory in Valkyrie Elysium. For the purpose of this guide, all of the blossoms were obtained during the Chapter 8: The Truth Unmasked and Chapter 9: The Fate of the World main quest.


Chapter 8: The Truth Unmasked

Verdant Blossom

After the first Storage Camp, head southwest then take multiple Soul Chains to reach a secluded island. This blossom can be found on the southern tip.


Spear-Wielding Remnant Soldier

This blossom can be found on the same island as the above blossom near Armand on the northern tip.


Helpful Trader

This blossom can be found between the first and second Storage Camps on the west side.


Elderly Sailor

This blossom can be found between the first and second Storage Camps along the eastern side of the map.


Light-Fingered Grave Robber

This blossom can be found north of the second Storage Camp down a narrow path.


Fisherman Bengt

This blossom can be found northwest of the second Storage Camp behind a ruined building.


Butcher’s Widow

This blossom is located in a ruined building along the path northwest of the second Storage Camp.


Riverside Scribe

This blossom is along the water in the northern tip of the map.


Servant Einar

This blossom can be found on the western side of the map along a ruined building.


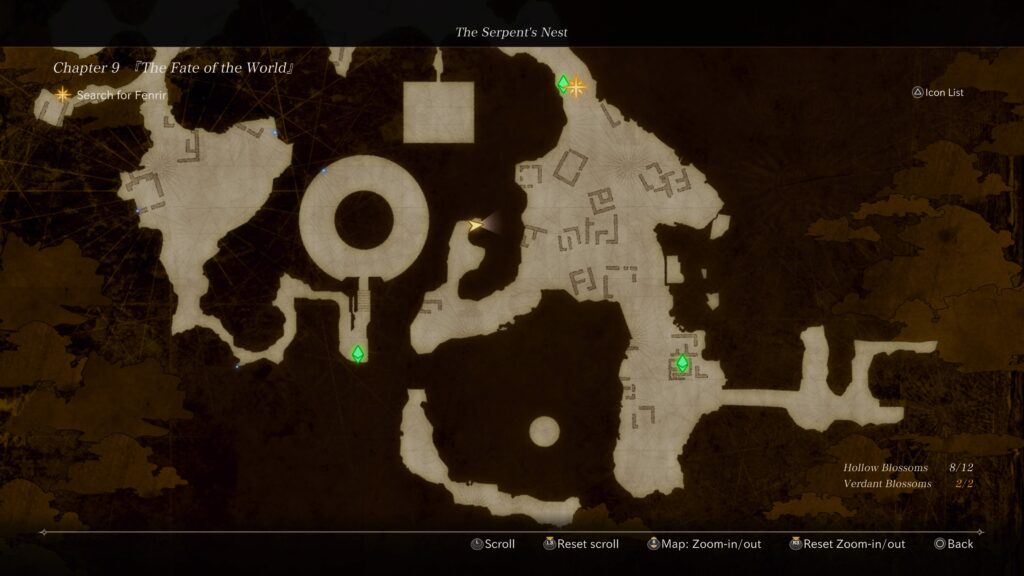
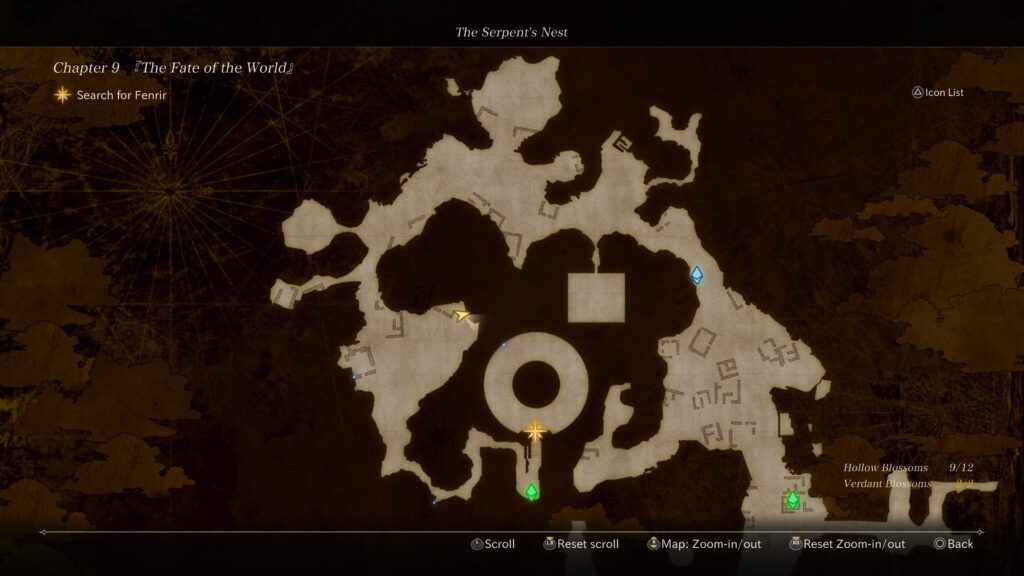
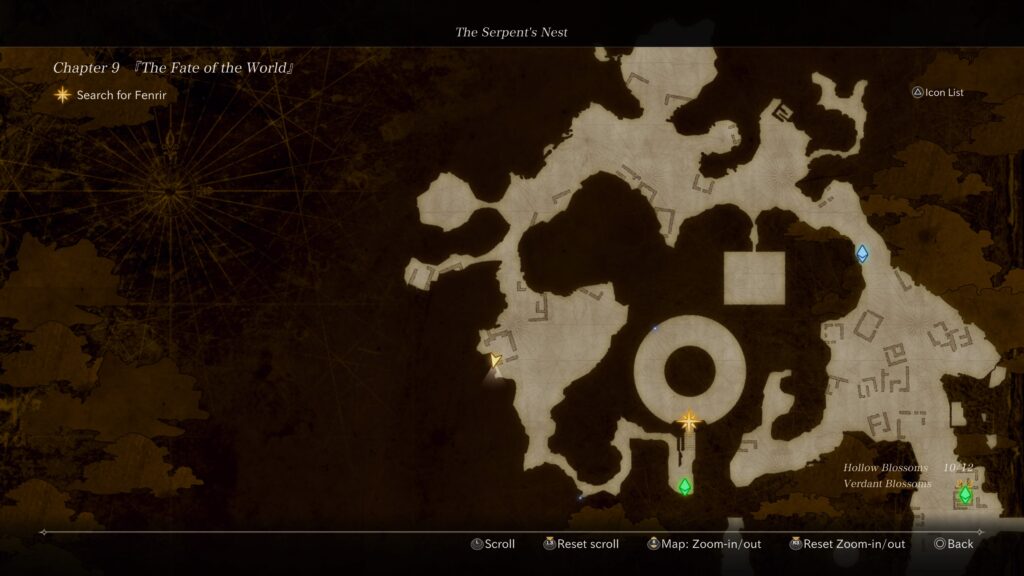
Chapter 9: The Fate of the World

Verdant Blossom

This blossom can be found between the first and second Storage Camps at the end of the western path.


Royal Professor Victor

This blossom is located on the western side of the map along a ruined building along the inner map’s edge.


Iron-Booted God

This blossom can be found on the western side of the map along the map’s outer edge in a ruined building behind some crates.


One-Armed God of Military

This blossom can be found on the path leading to the third Storage Camp.


Spore-Soaked Man

This blossom can be found just after the third Storage Camp along the rim of the pit.


Final Fantasy VII Remake
Guides

Final Fantasy VII Remake – Chapter 9 Side Quests

by Chappie in


Below are the side quests/odd jobs in Chapter 9 of Final Fantasy VII Remake!
 

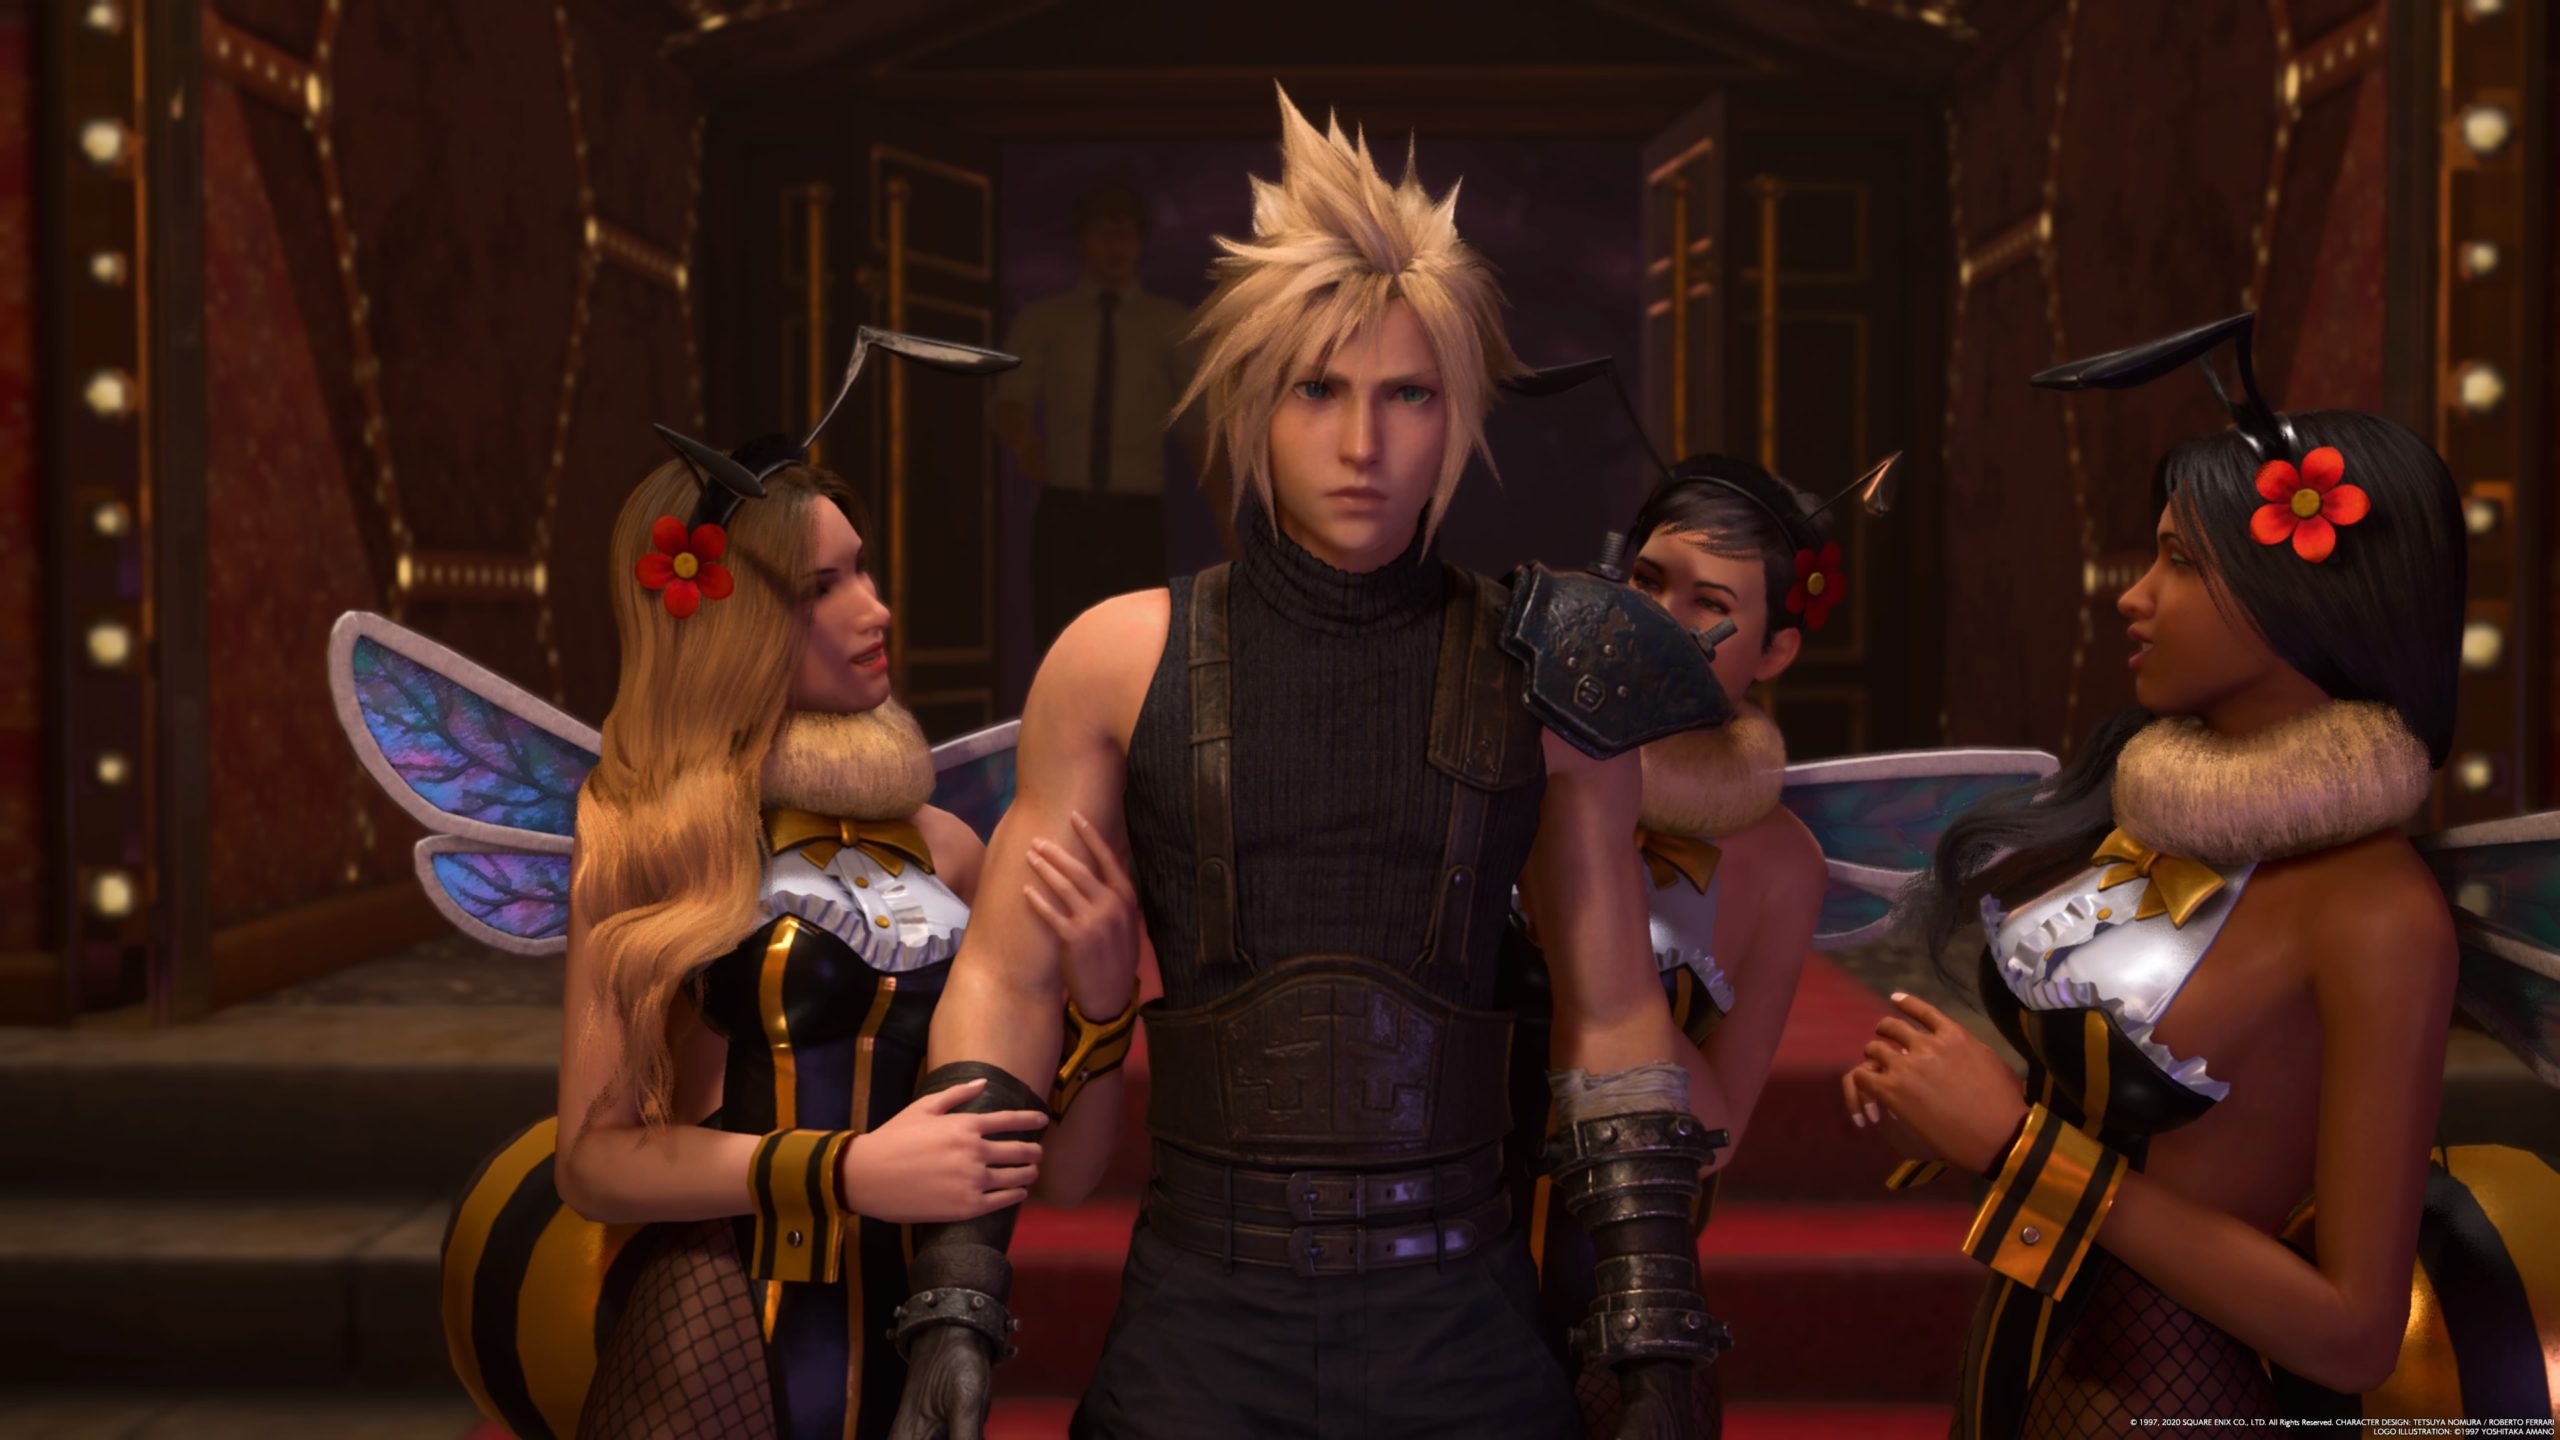
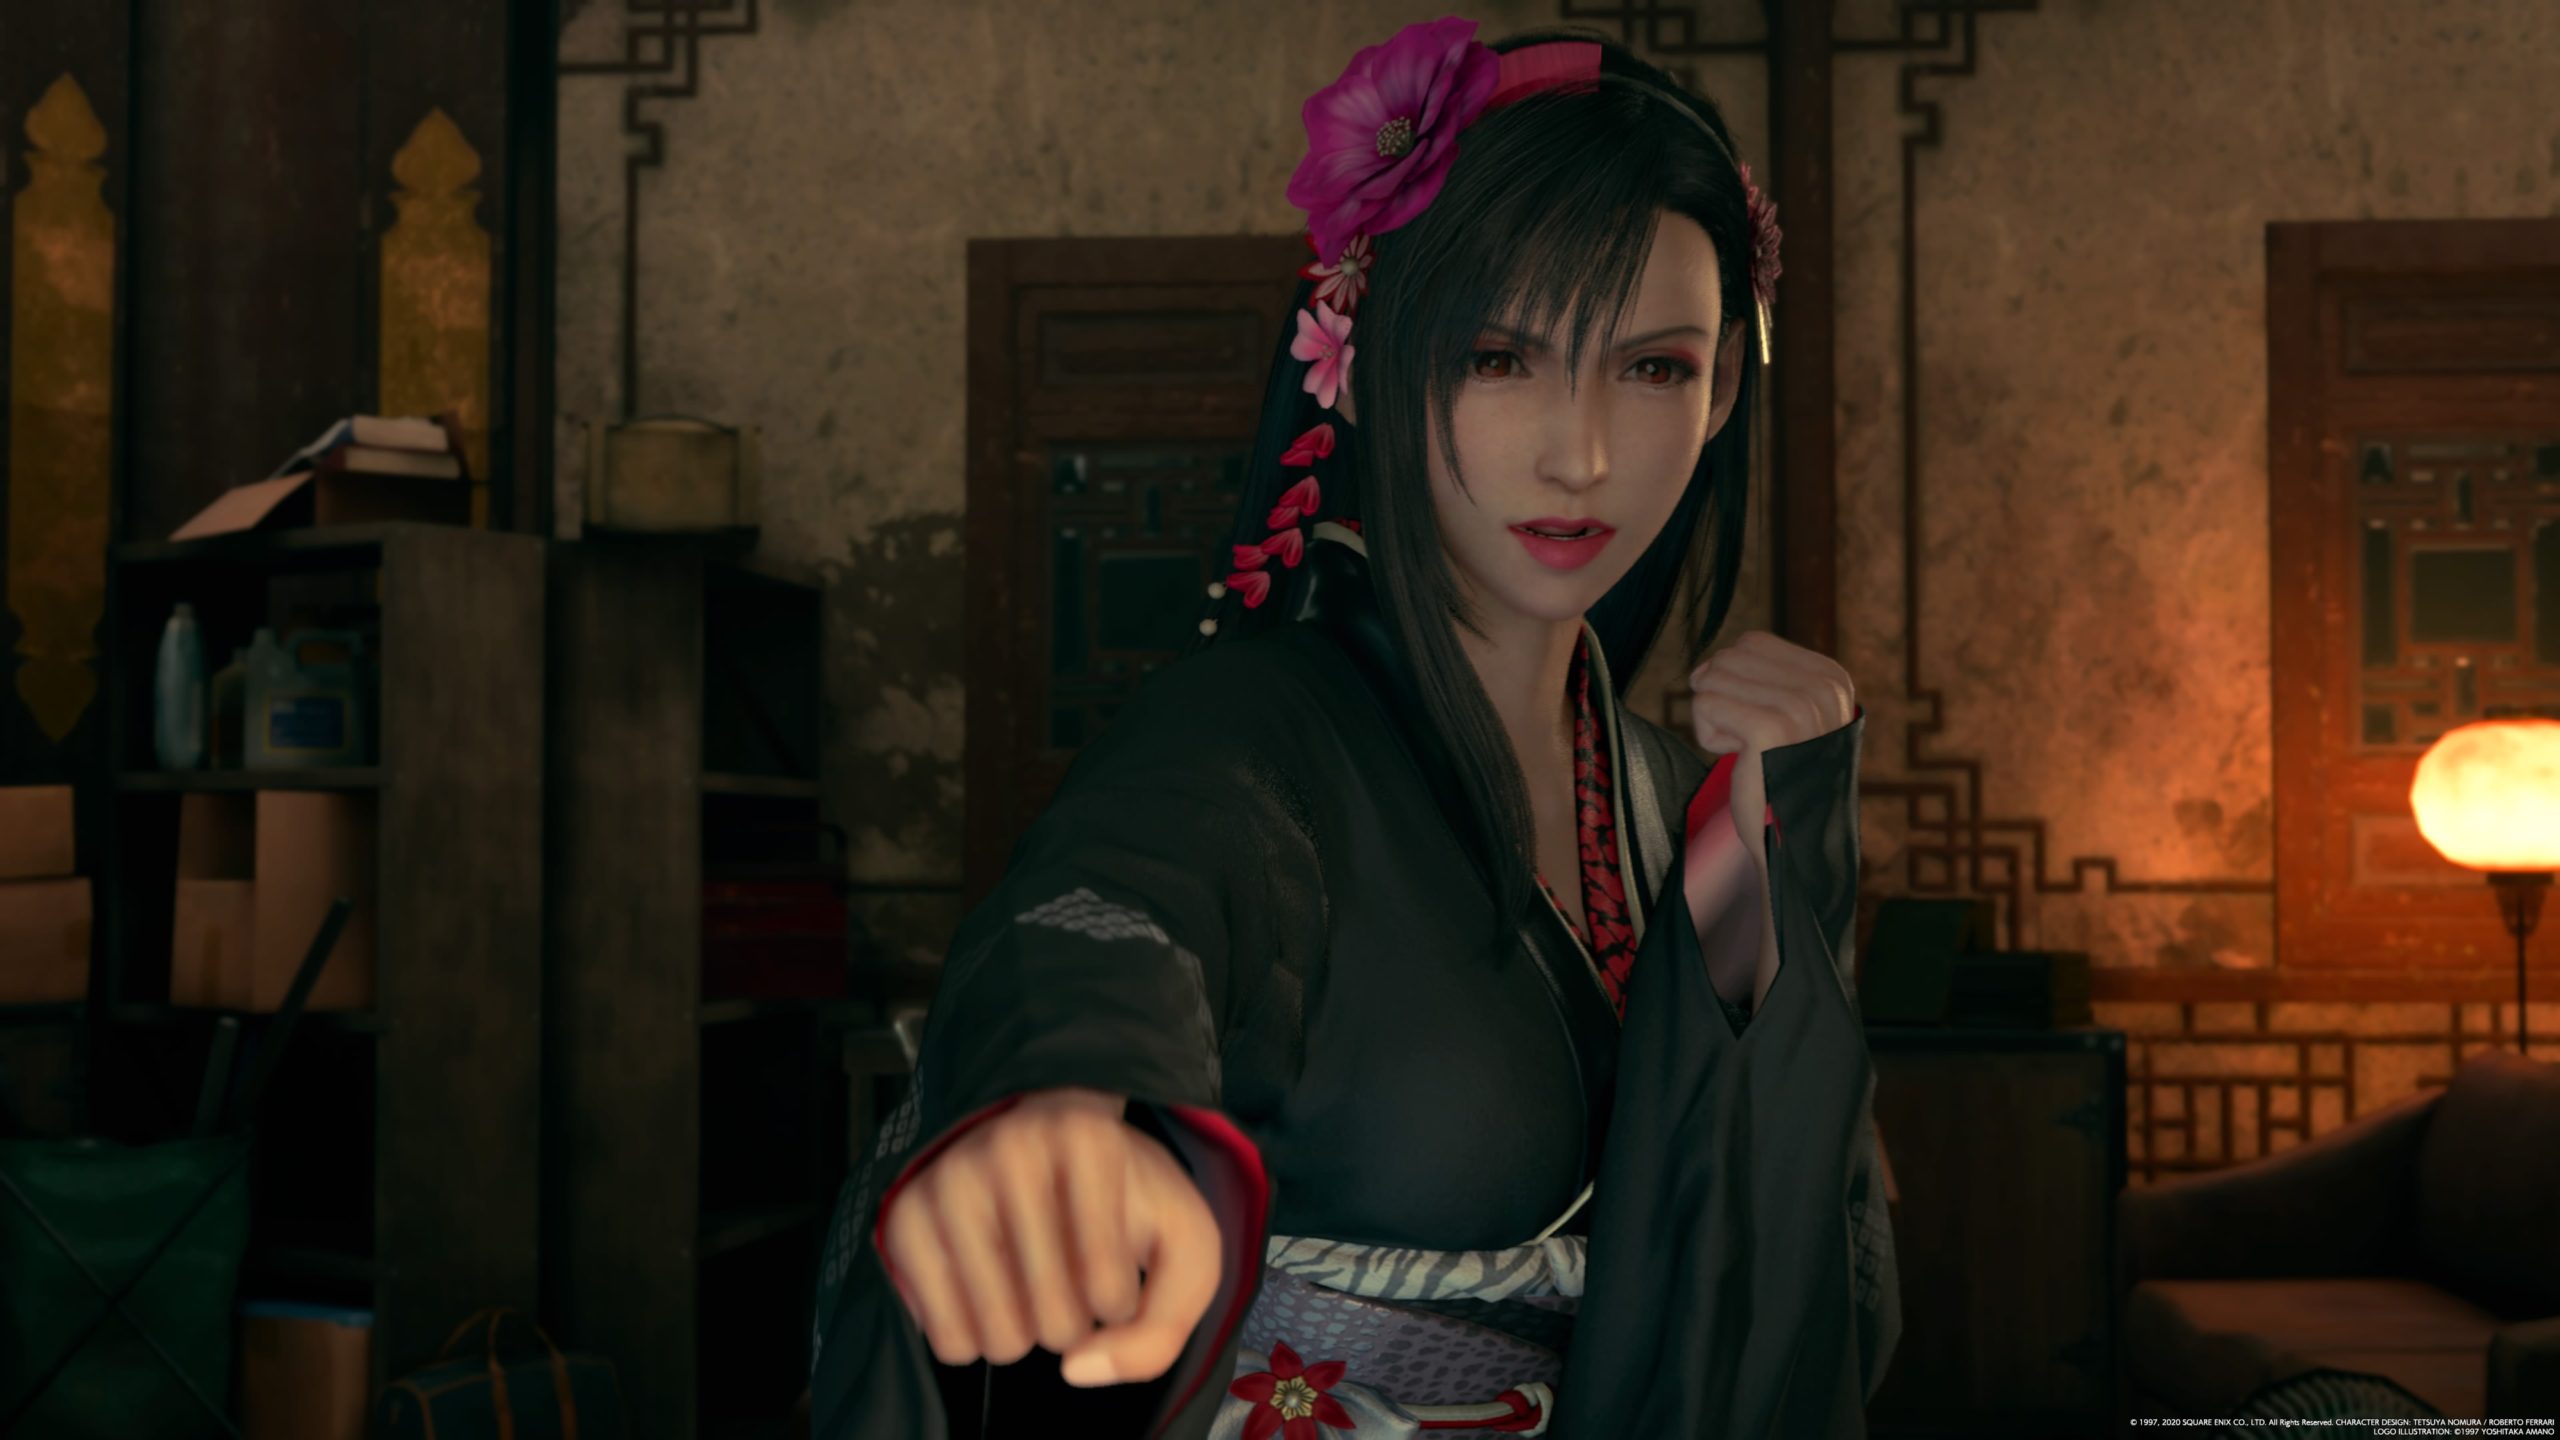
Burning Thighs

Obtained: Speak with Jules at the gym located in southwestern Wall Market

Objective: Win the competition!
Compete against one of the other gym members in a squatting competition and emerge victorious to complete the quest! *NOTE: In order to get the Sultan of Squat trophy, you will need to complete the squat challenge with each of the 3 buff dudes.


The Price of Thievery

Obtained: Meet with the Stablehand and Mireille in front of a barn across from Sam’s Delivery Service near the entrance of Wall Market

Objective: Hunt the bandits

Travel to the Collapsed Expressway Utility Tunnel, which is just past Evergreen Park. In the tunnel, you’ll come across the 3 Stooges: Beck, Burke and Butch, plus a new Grungy Bandit. Defeat all the enemies then return to Mireille to complete the quest.


Shears’ Counterattack

Obtained: After completing both of the above side quests

Objective: Defeat the Machine

Head back to Madam M’s to run into the Gatekeeper, triggering a cutscene. Make your way to the Colosseum and take the elevator down to the basement. Speak with the Gatekeeper again to begin the battle with the Jury-Rigged Cutter. Defeat the machine then exit the arena and speak with Madam M to complete the quest.


Final Fantasy VII Remake
Guides

Final Fantasy VII Remake – Chapter 9 Music Disc Locations

by Chappie in


Below are the locations of the music discs in Chapter 9 of Final Fantasy VII Remake!


Chapter 9

22. Cosmo Canyon

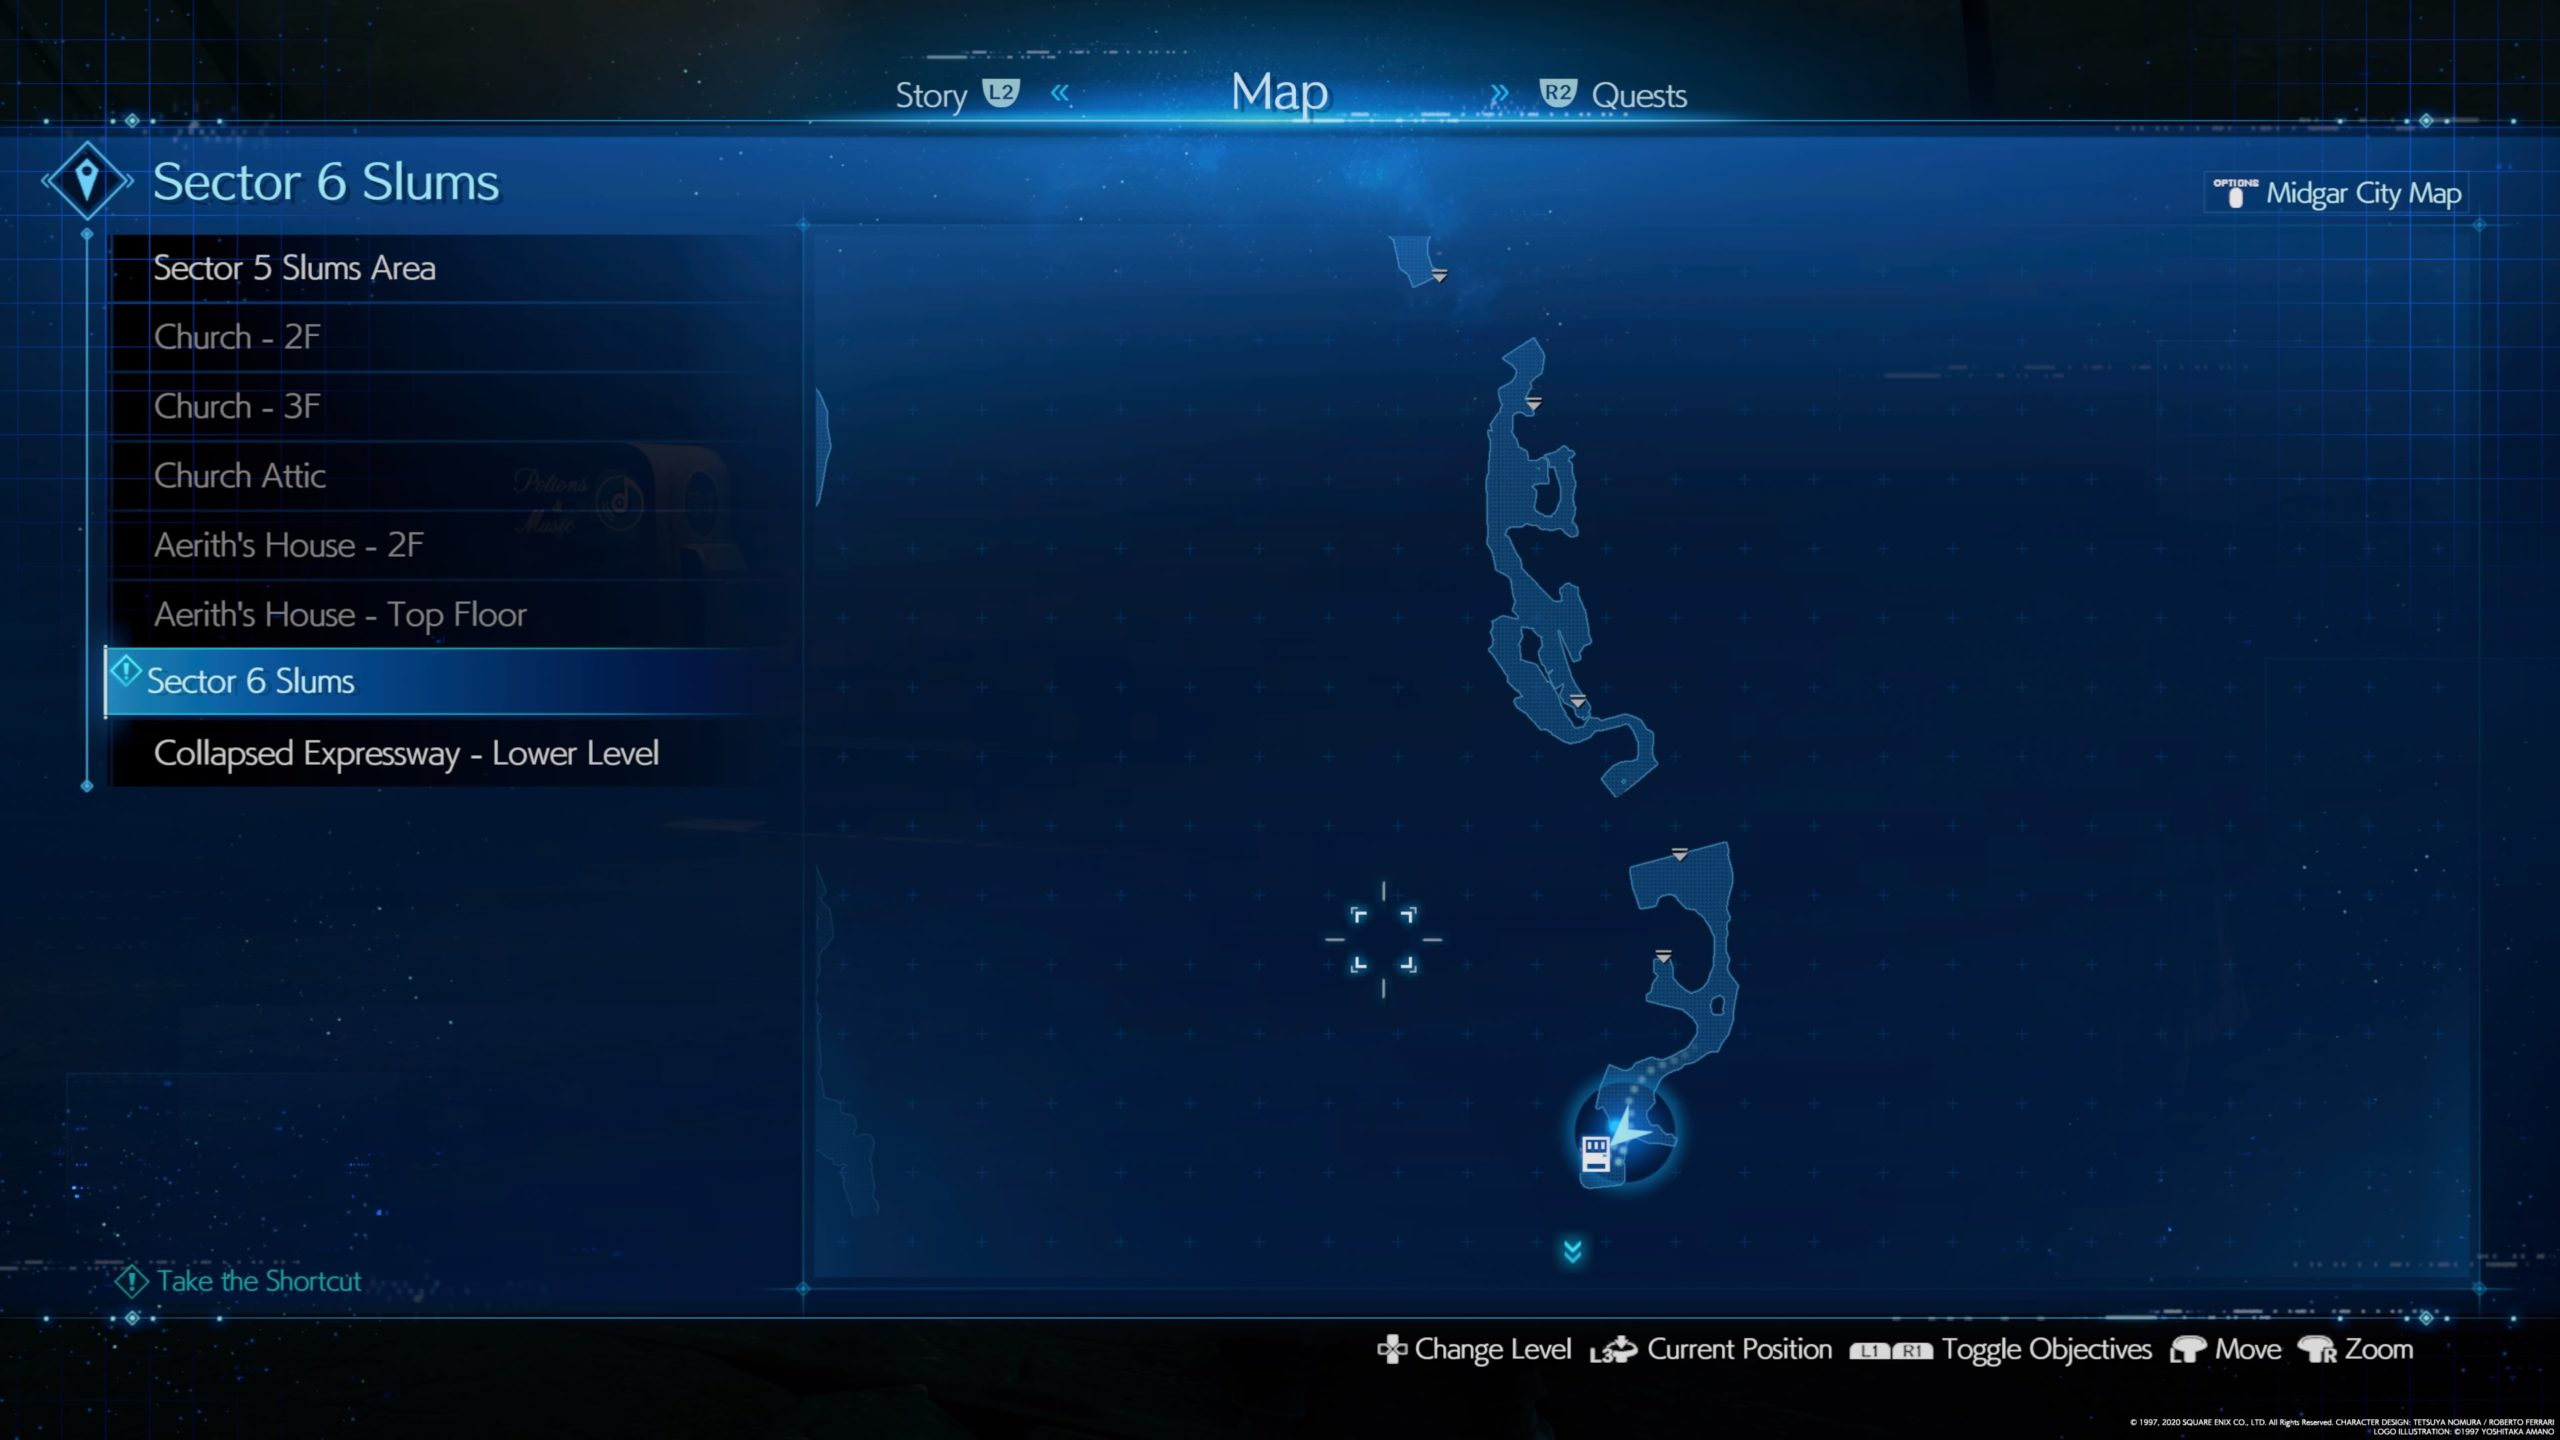
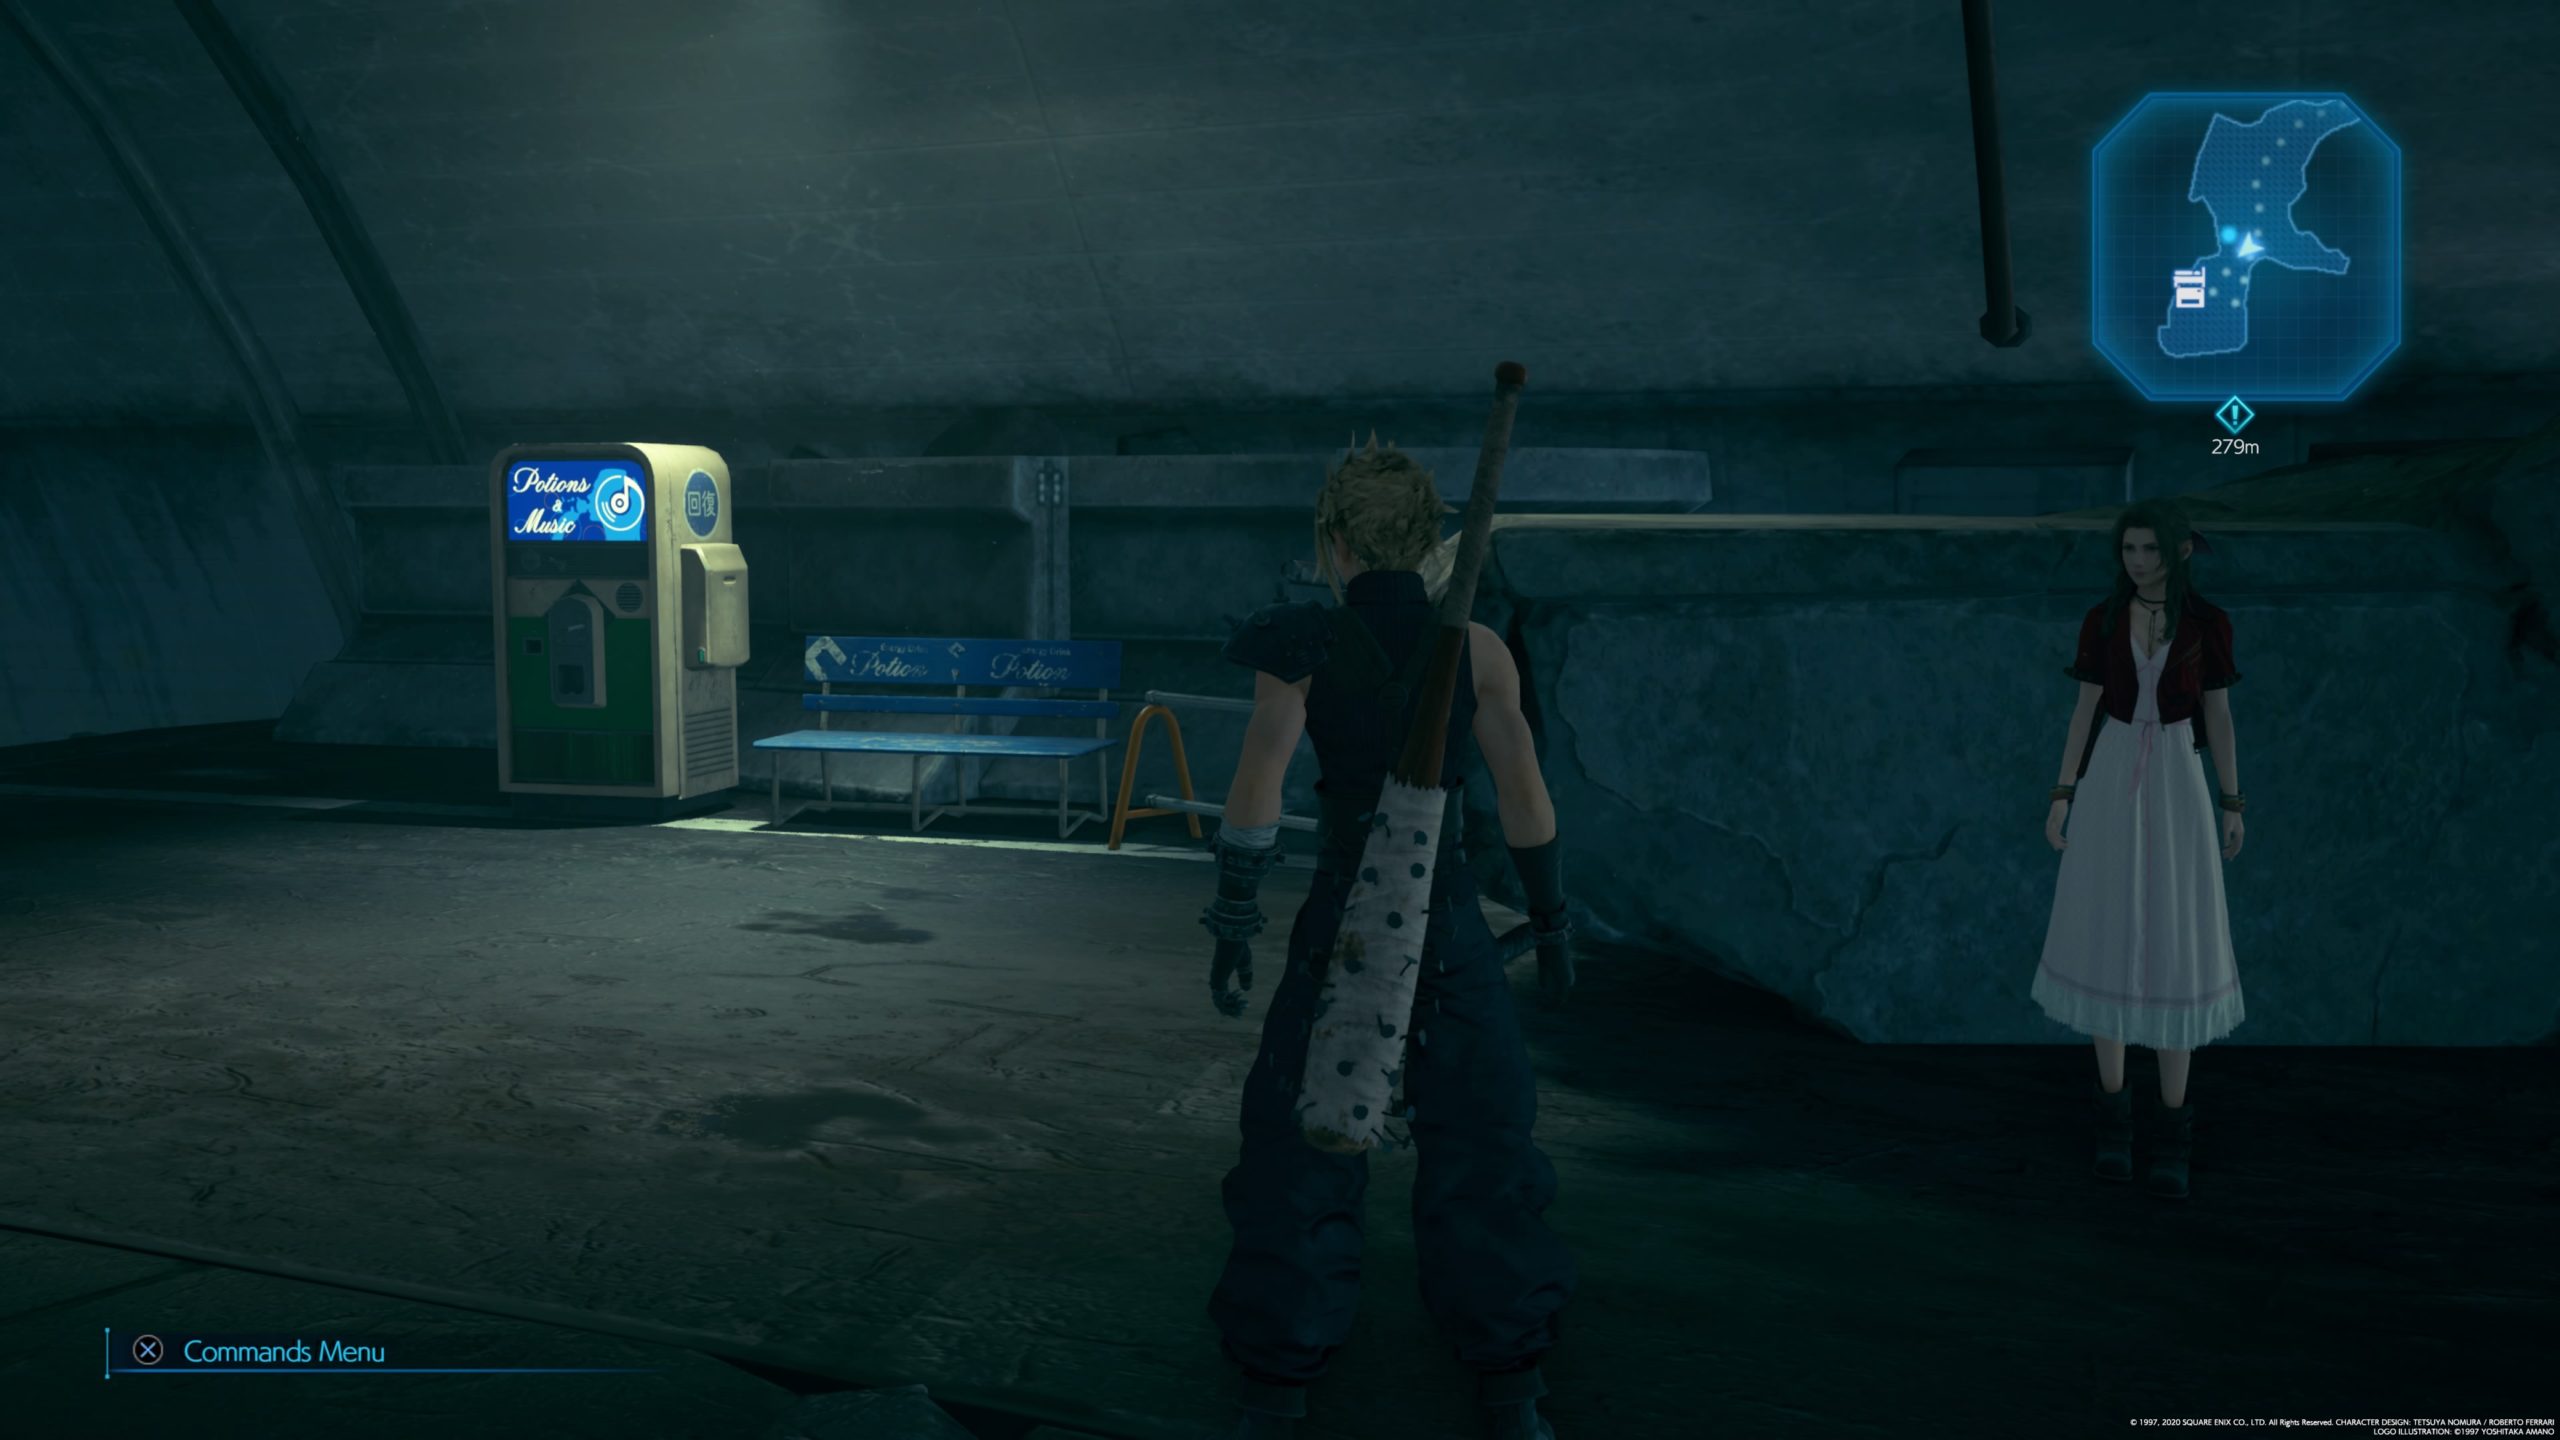
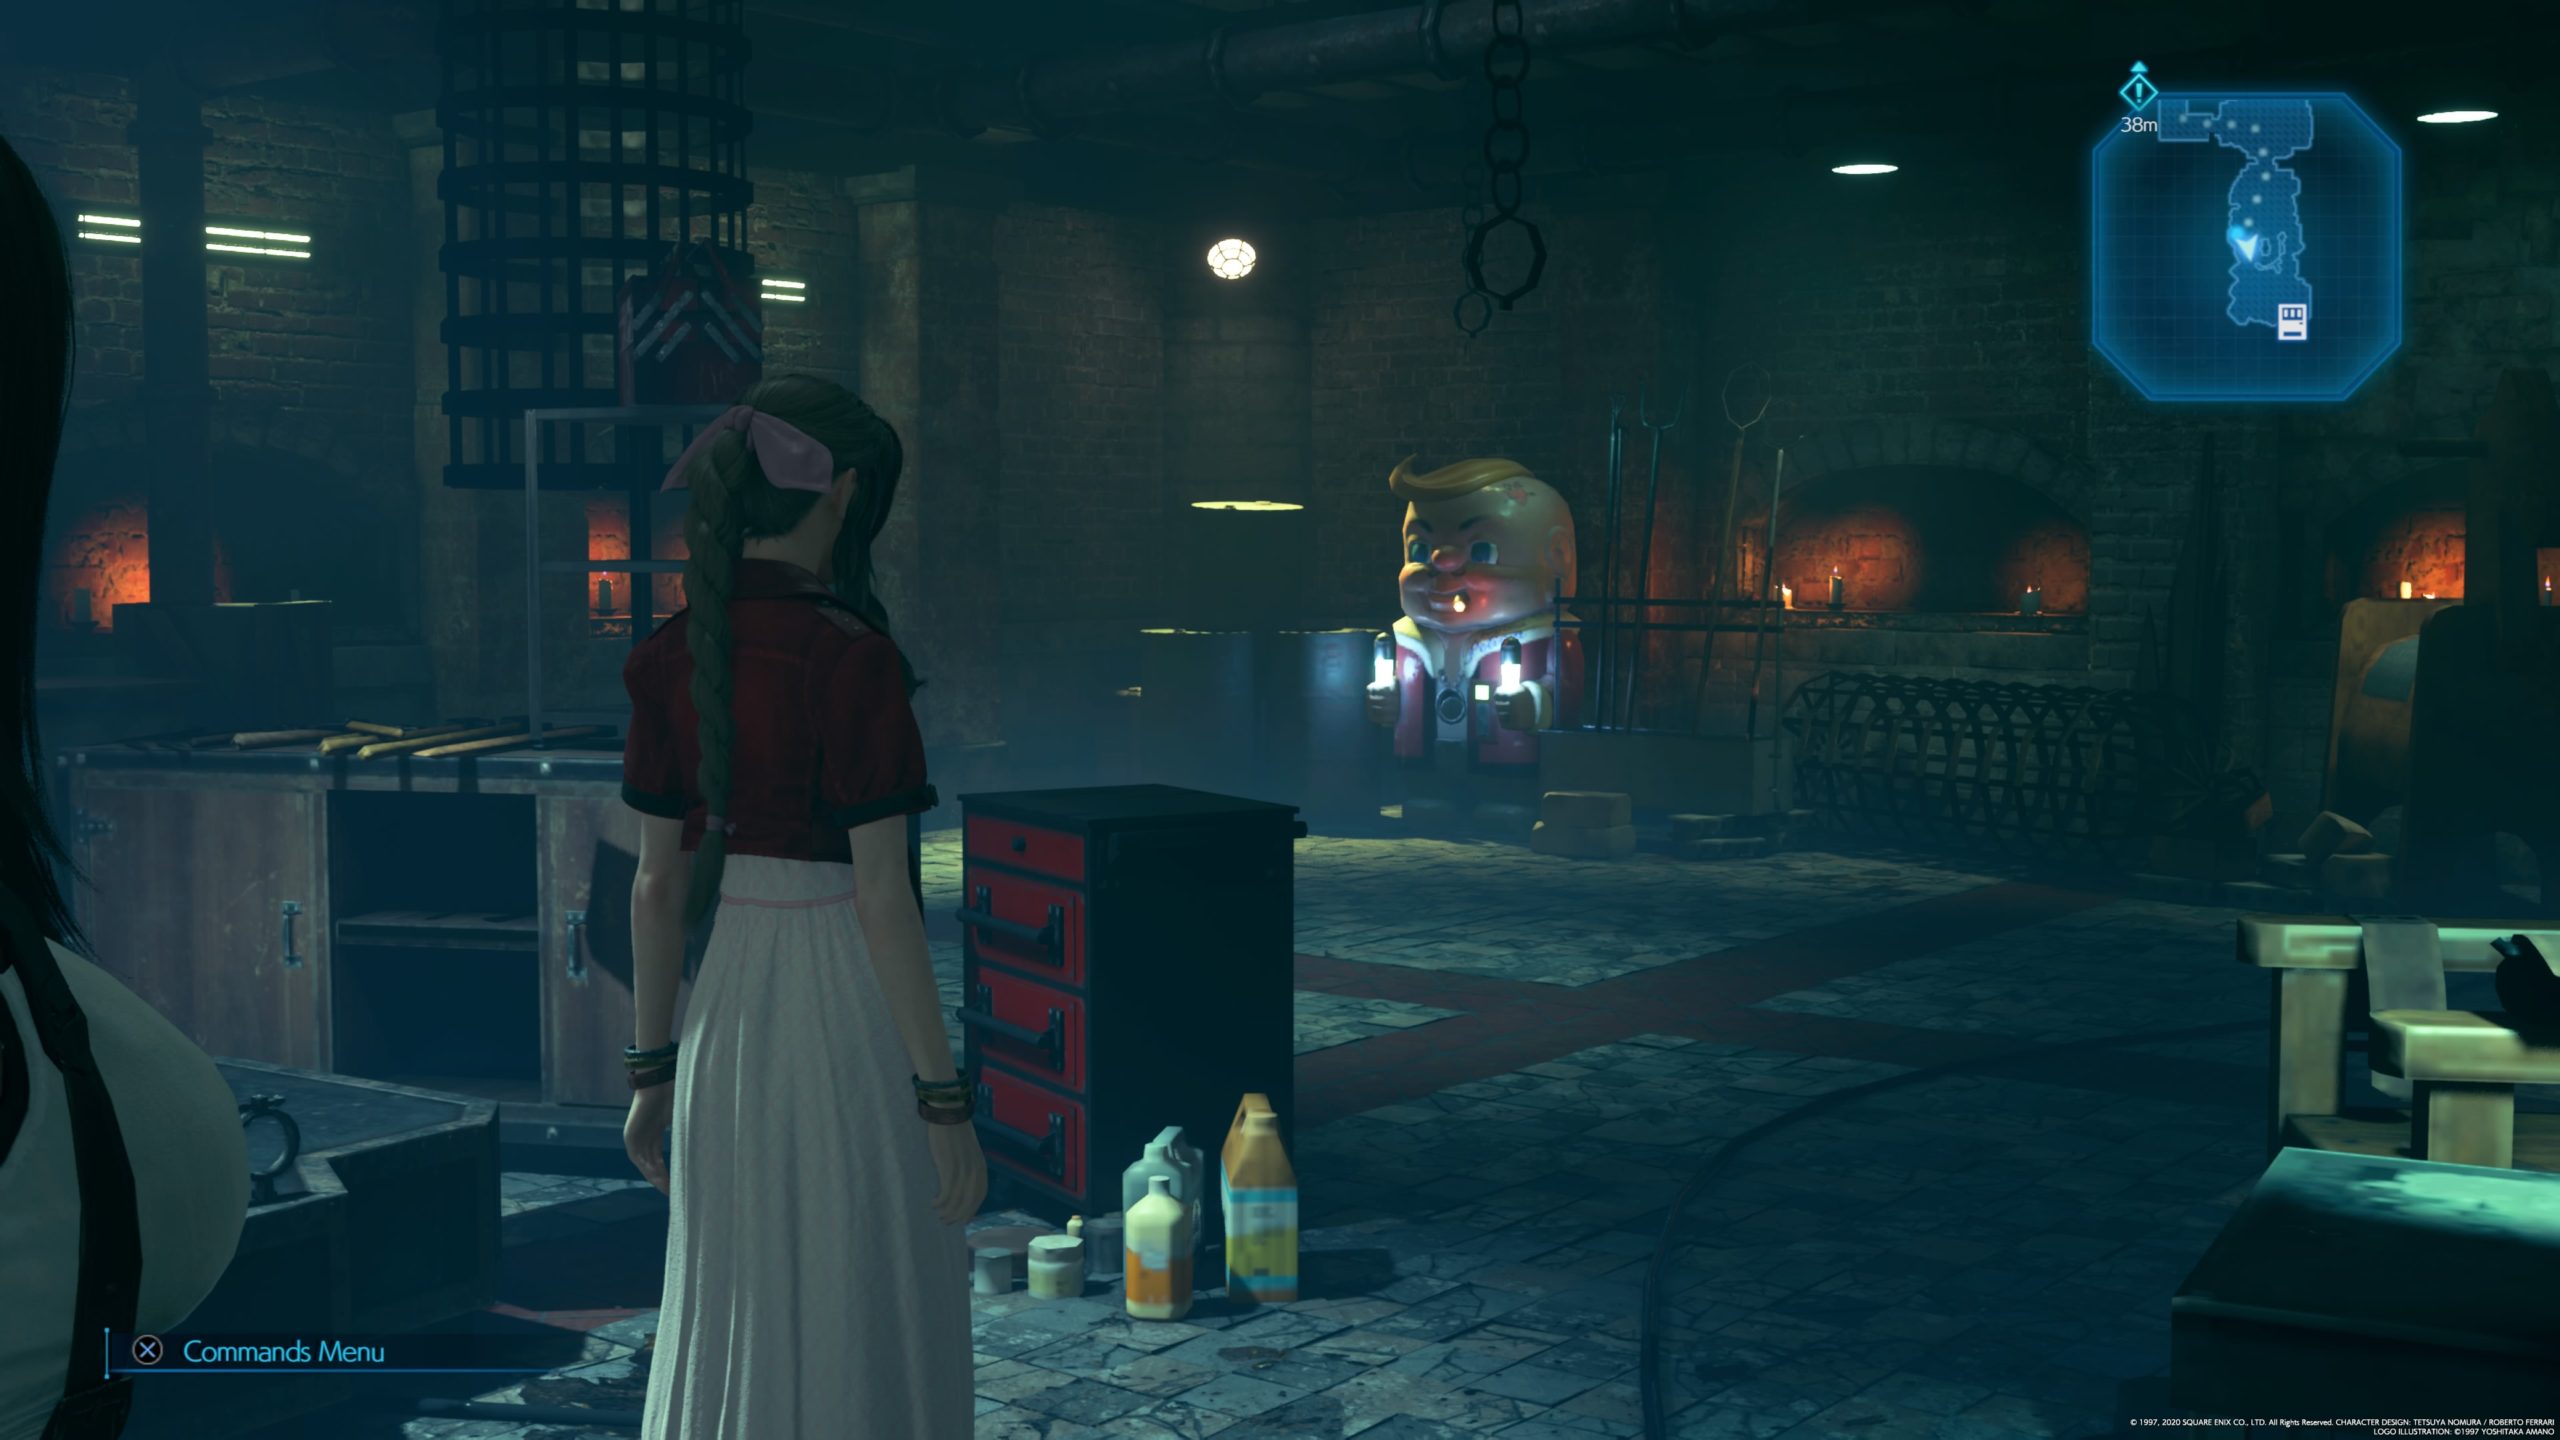
Purchase the disc for 50 gil from a vending machine located in the Collapsed Expressway – Large Cave-In. This disc will be after the second time you have to use a crane to transport Aerith to a ledge to drop down a ladder.


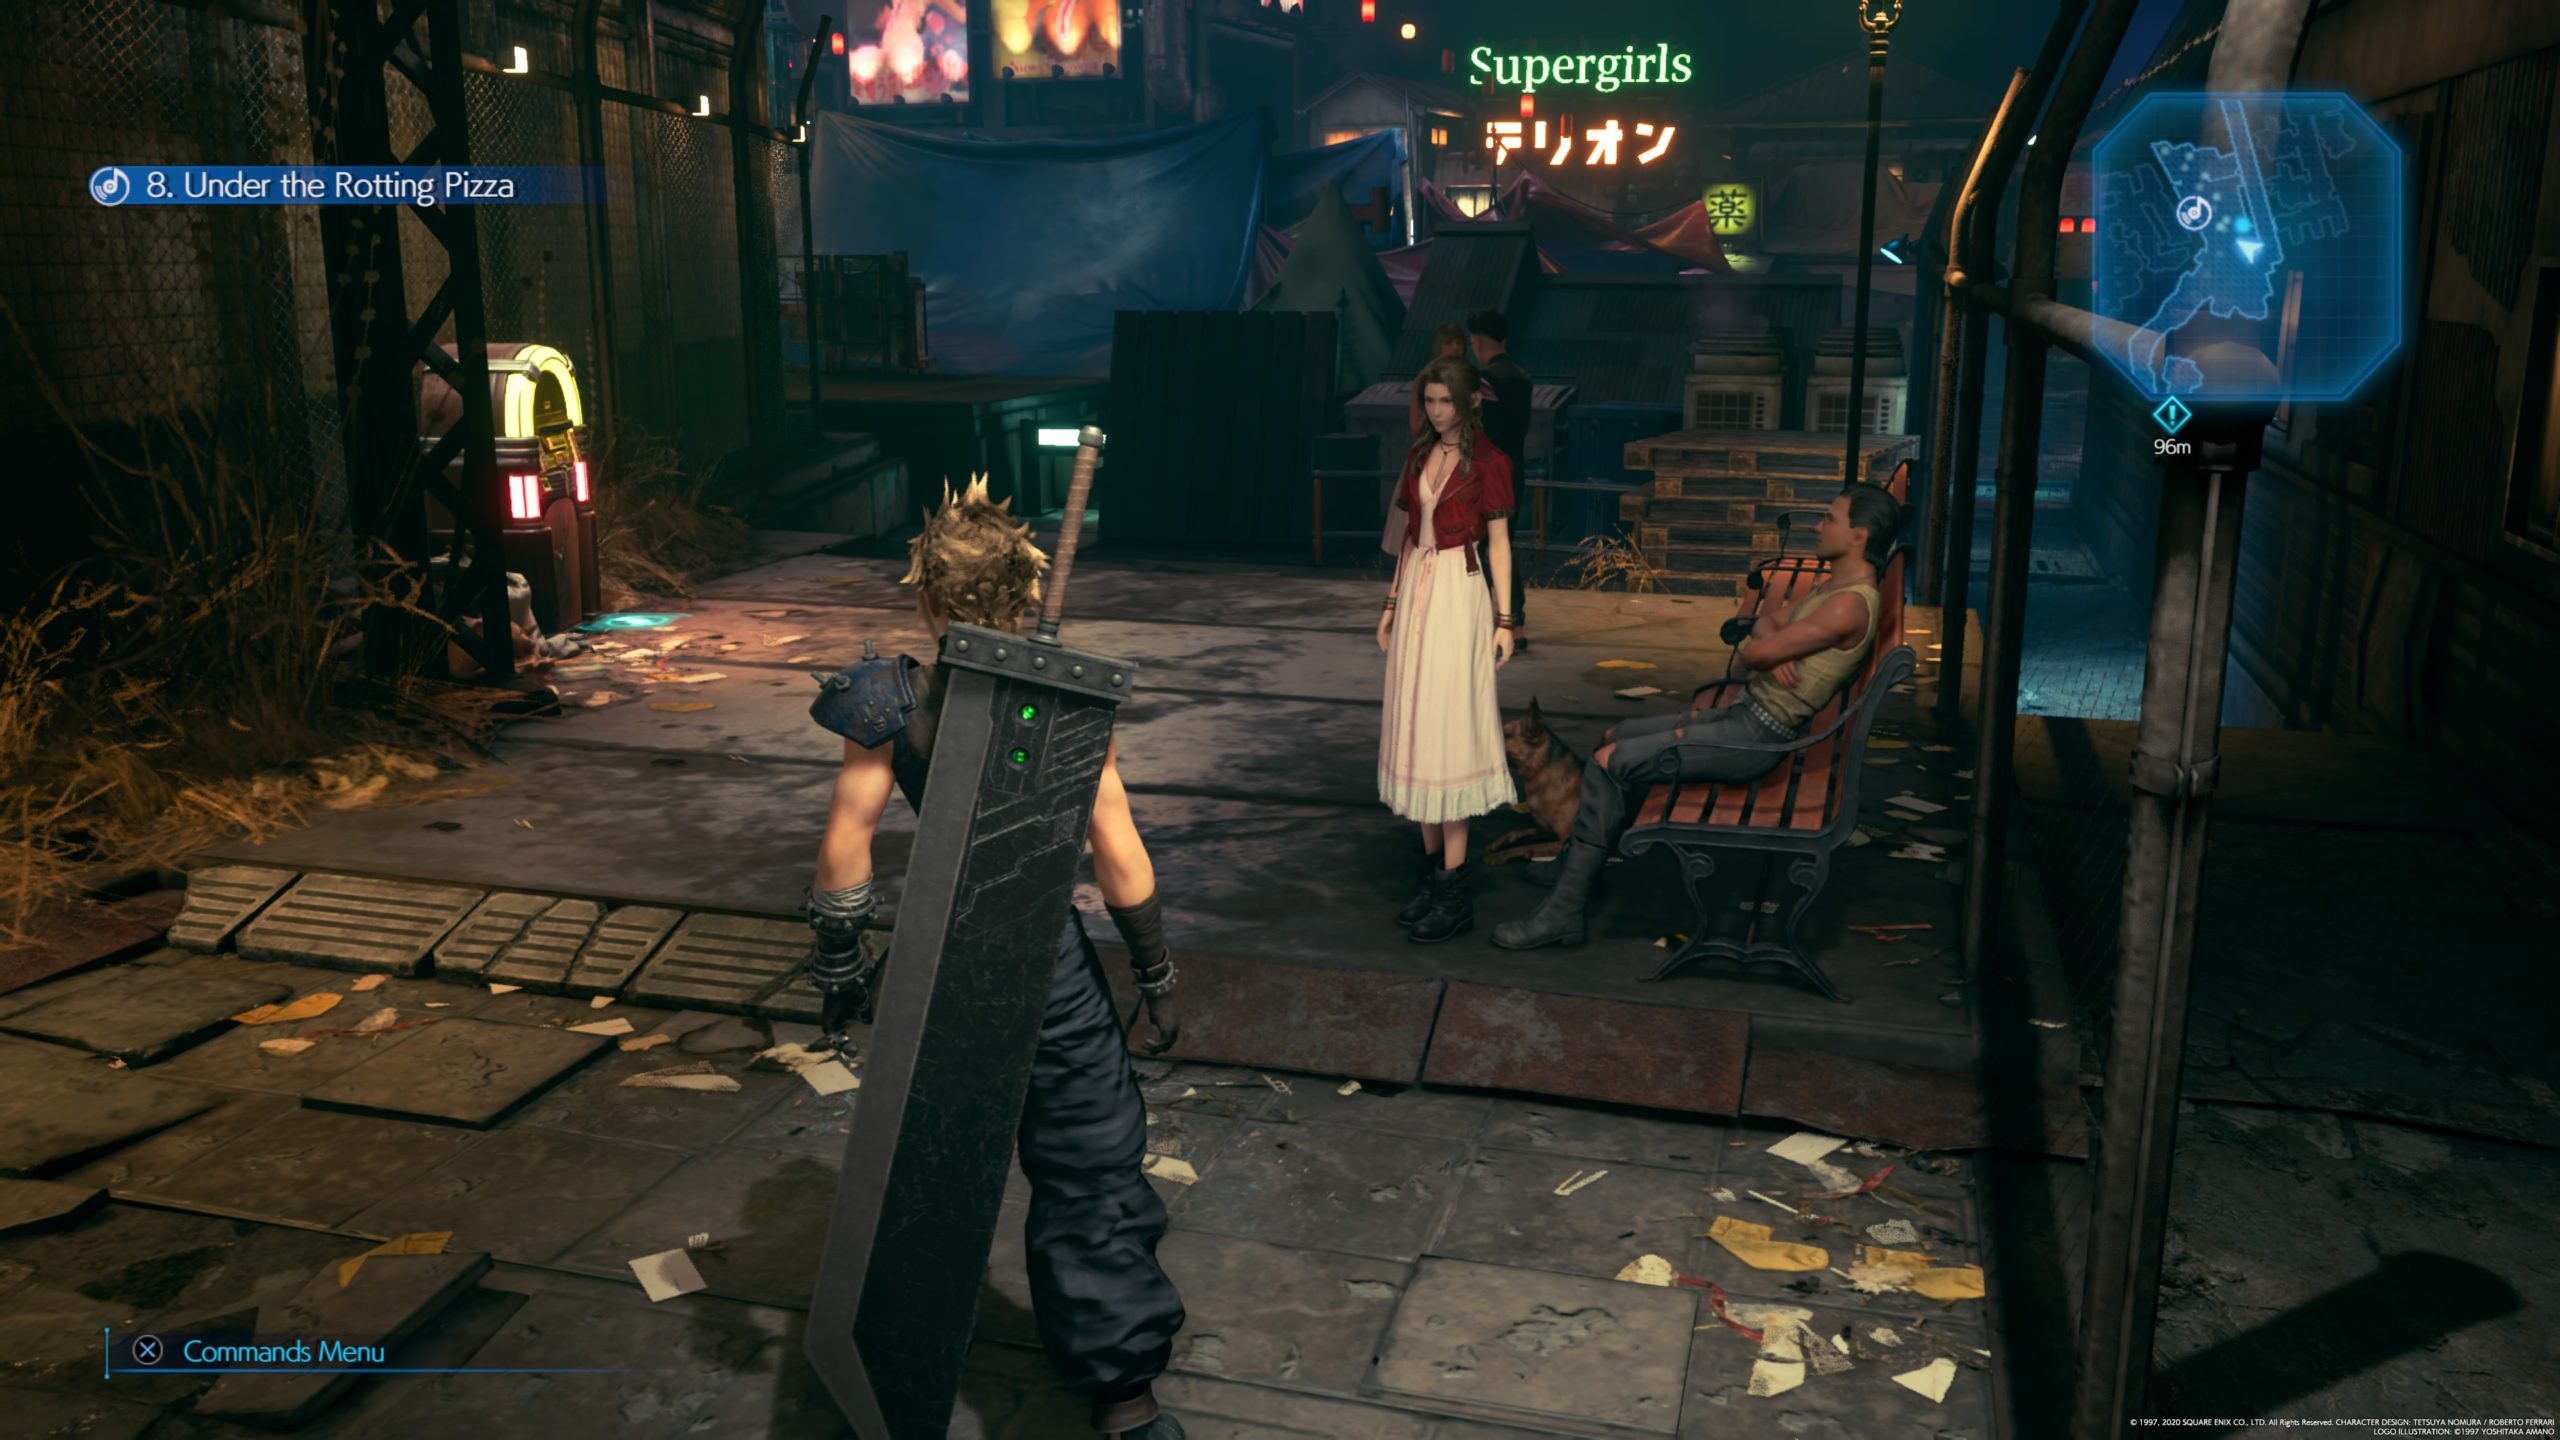
8. Under the Rotting Pizza

Interact with a Jukebox along a chain-linked fence behind the family hotel in southern Wall Market.


10. Honeybee Inn

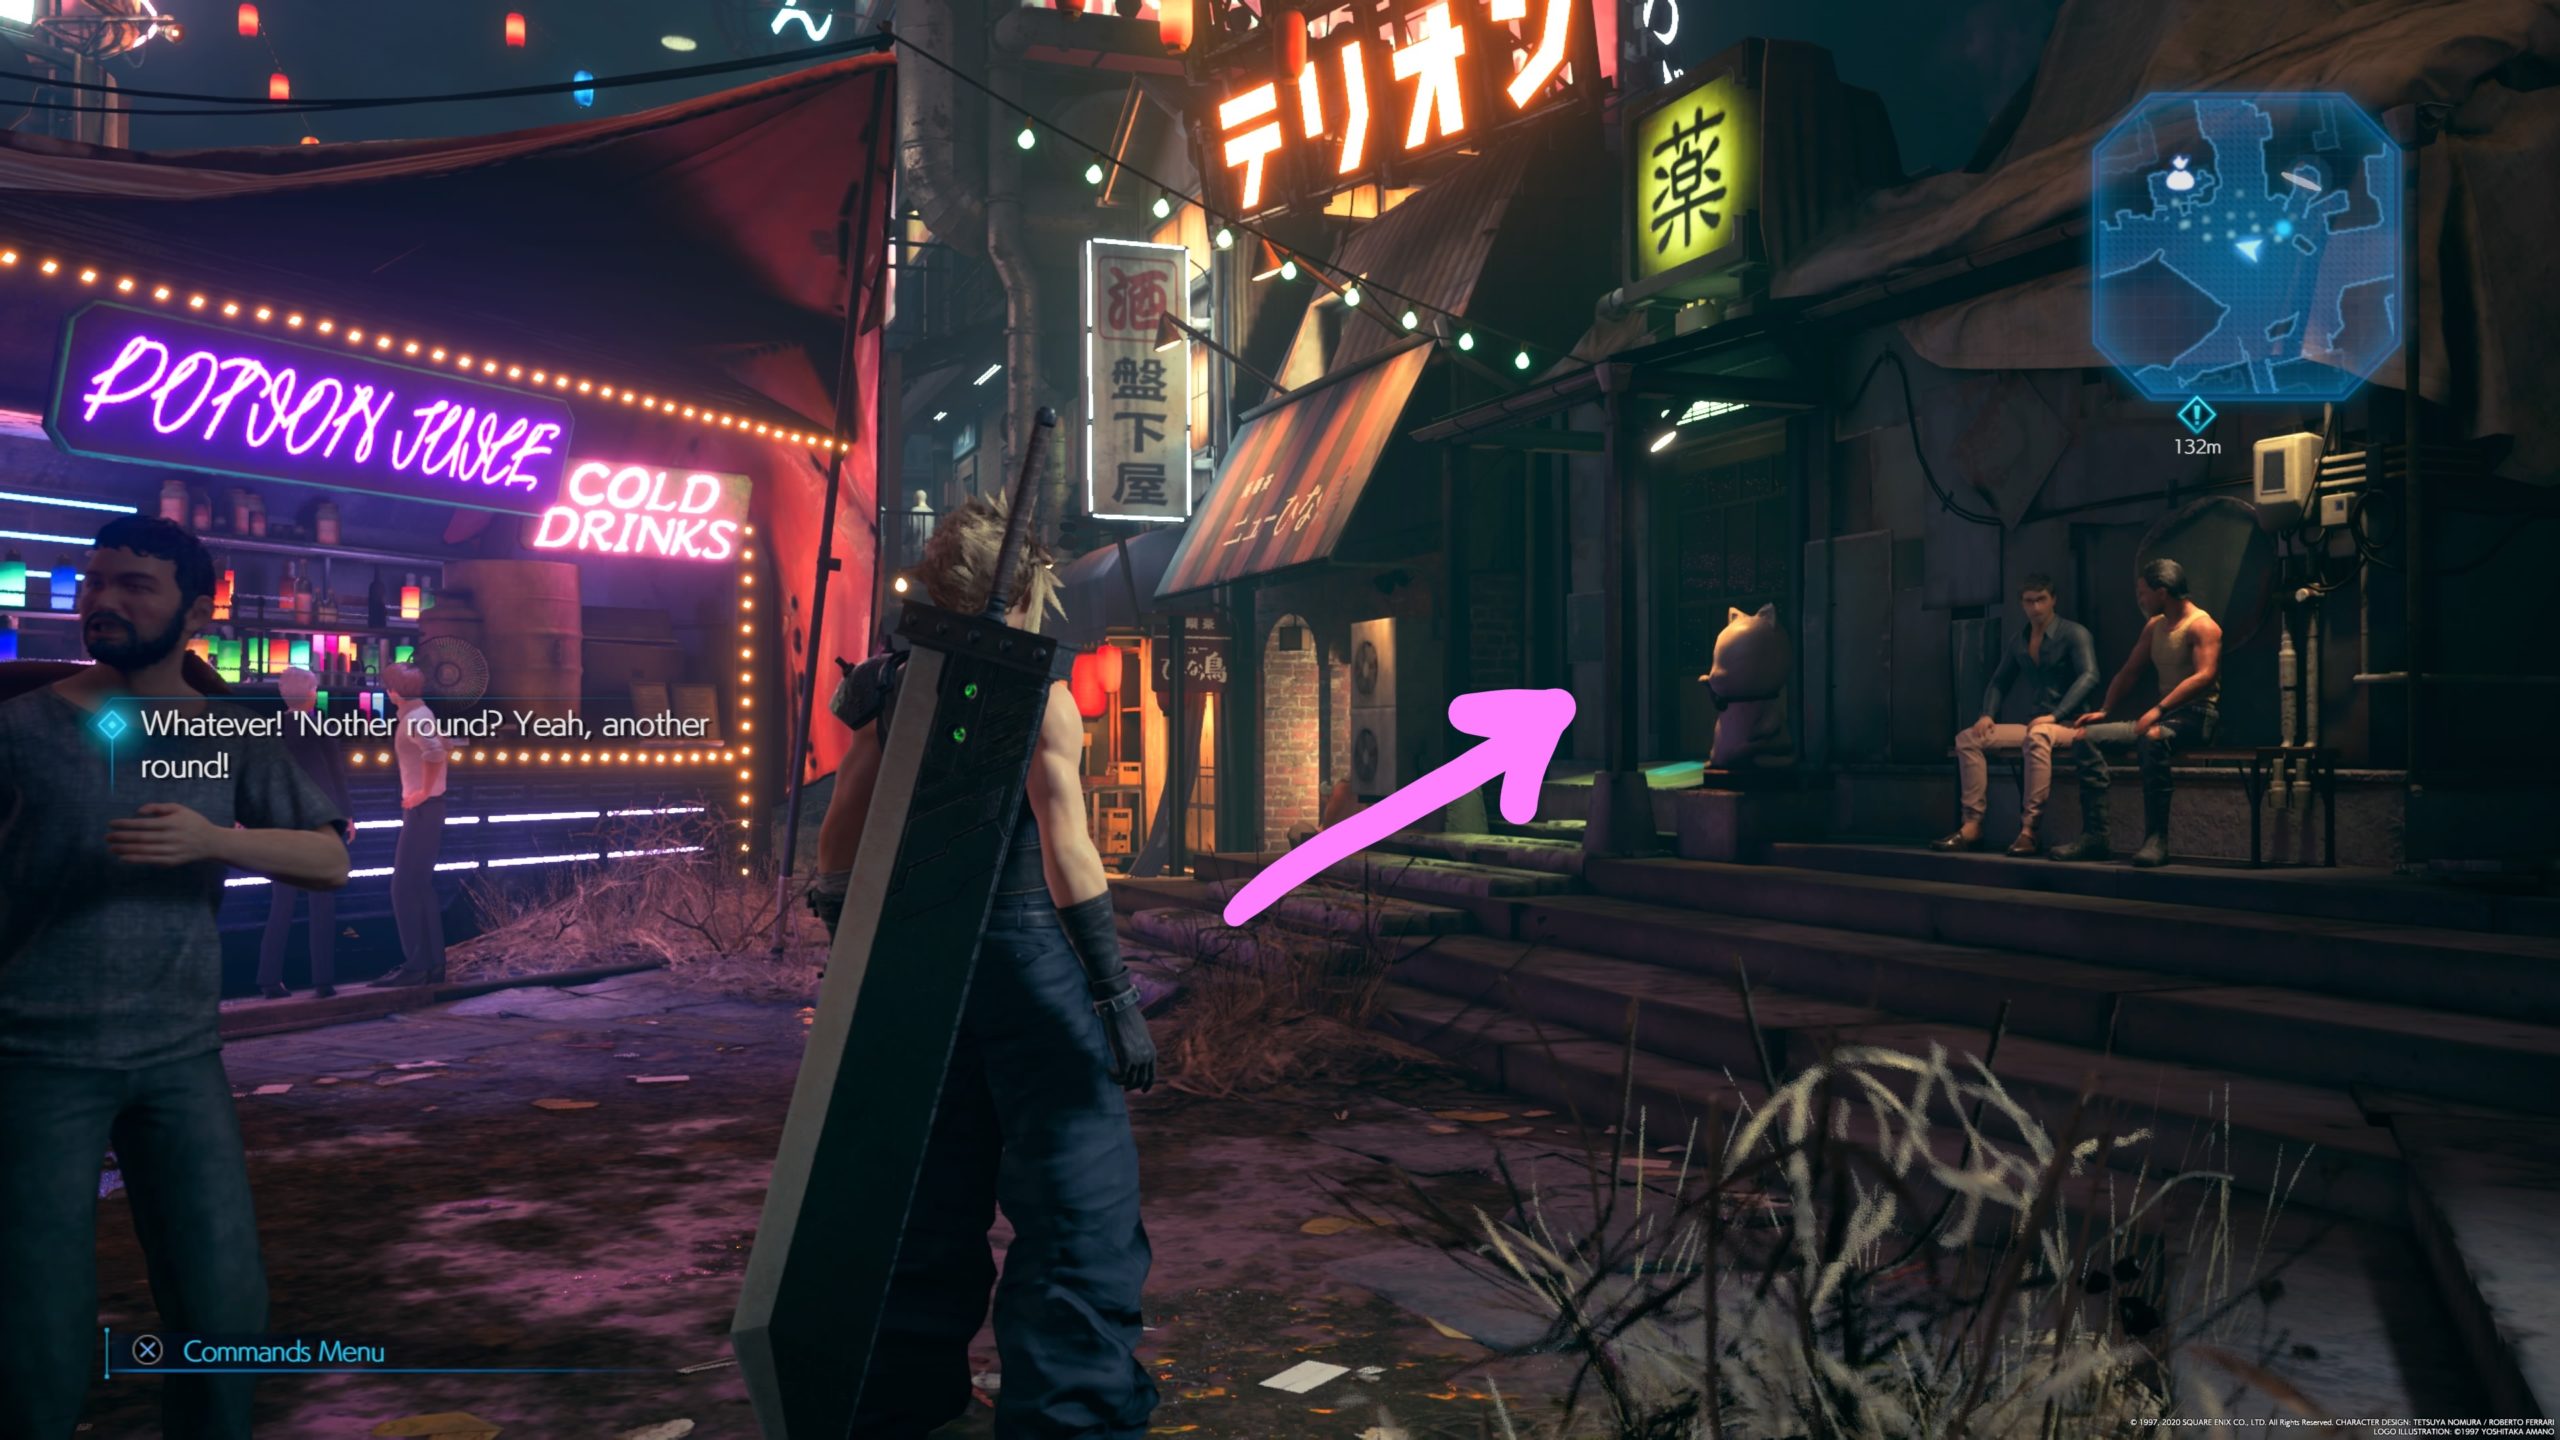
Purchase the disc for 50 gil from the Pharmacy to the right of the neon bar in the square of Wall Market.


17. Farm Boy

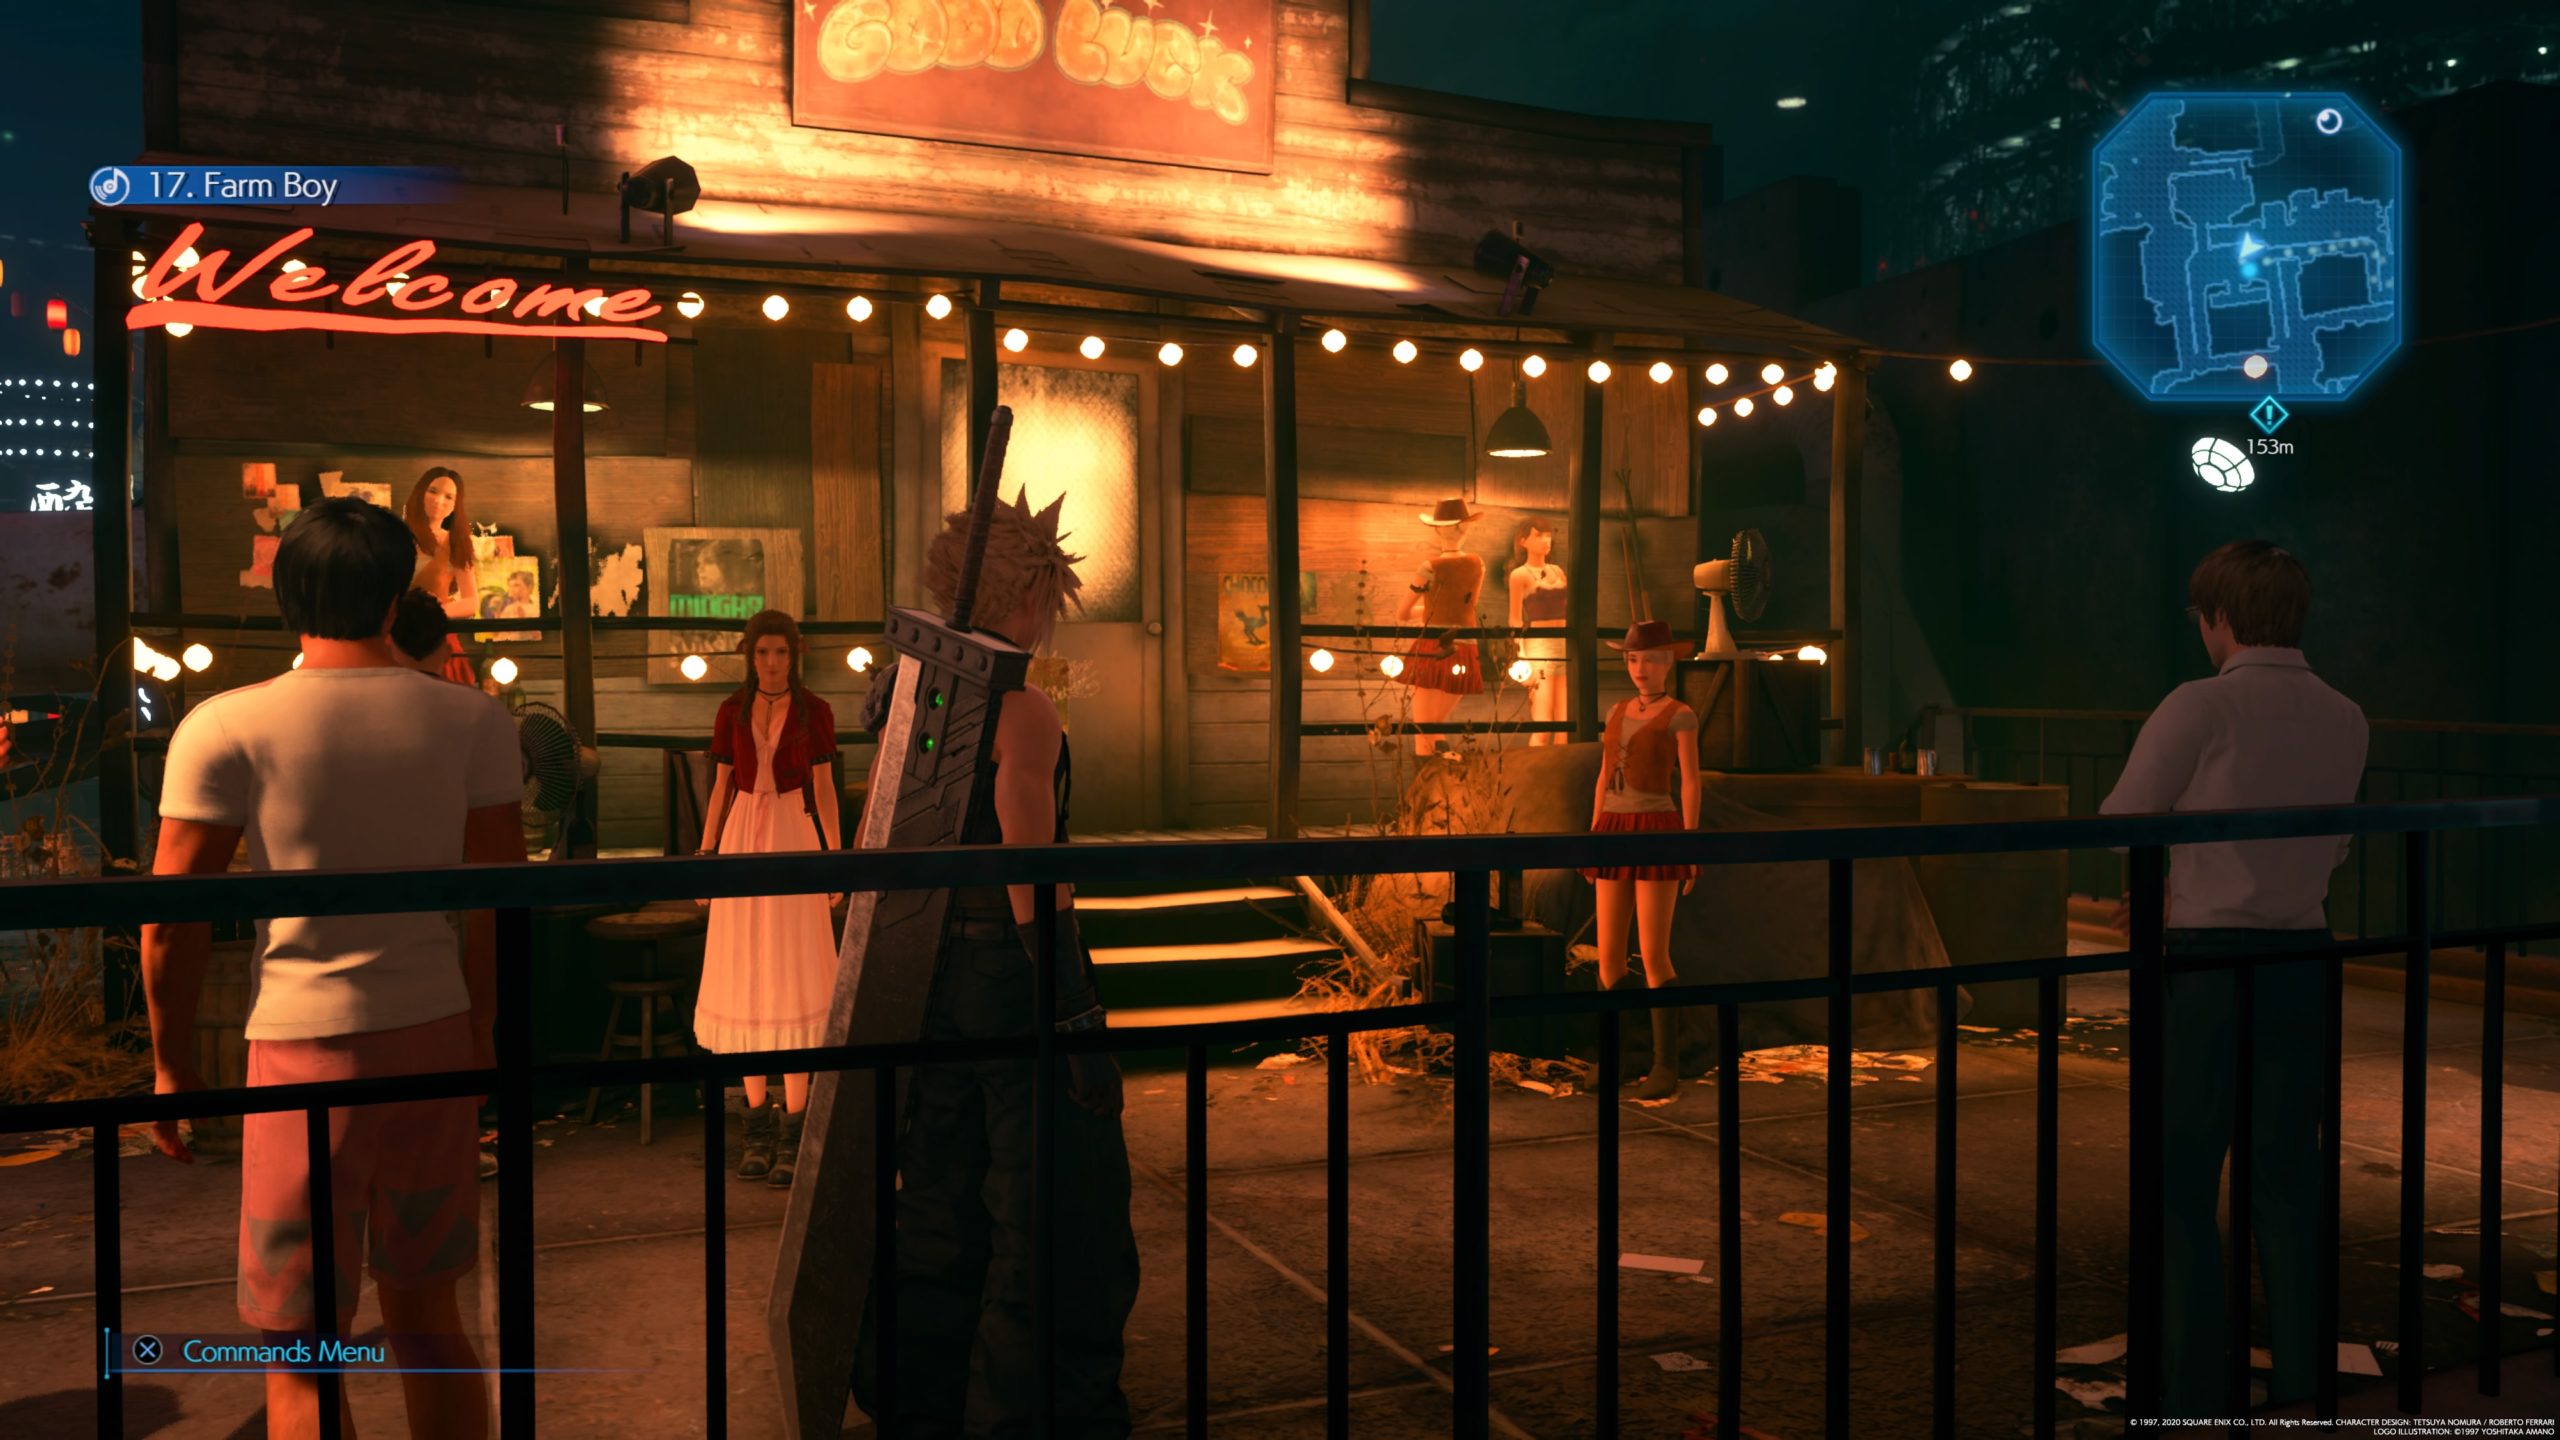
Speak with the Cowgirl in front of Good Luck in the northwestern part of Wall Market. She will give you the disc!


29. The Midgar Blues

Speak to the Singer in Yoidore, which is located along the southwestern part of Wall Market, to obtain his disc.


26. Let the Battles Begin! – REMAKE

This disc is acquired during the dance tutorial in the Honeybee Inn before your appointment with Andrea. You will have to get 10 greats during the practice in order to unlock the disc. You can keep retrying by repeating the practice.


11. Don of the Slums

Purchase the disc for 50 gil from a vending machine in the Forbidden Room of Corneo’s Mansion after the story segment where Cloud and Aerith get gassed.


Final Fantasy VII Remake
Game Guides

Final Fantasy VII Remake Guides

by Chappie in


Below are guides and walkthroughs for Final Fantasy VII Remake and the Intermission DLC.


INTERmission DLC

Collectibles


Final Fantasy VII Remake

Cleanup Crew Trophy


Music Disc Locations


Odd Jobs / Side Quests


Guides

Judgment – Chapter 9’s Correct Dialog Choices

by Chappie in

*NOTE: For each correct choice, you gain 5 extra SP.


During the conversation with everyone at your office in which you are summarizing the theory, choose the following dialog options:

  • Ryusuke Kido, Director of the ADDC
  • Six months ago when Hashiki died


Judgment
Game Guides

Judgment Guides

by Chappie in


Below are guides and walkthroughs for Judgment.


Collectibles


Best Dialog Choices


Side Cases


Miscellaneous