Welcome to our walkthrough for Ch. 1 – The Nail Man Killings in Master Detective Archives: Rain Code! Yuma has been given his first task! To track down the 5 Master Detectives and convince them to head into the agency so they can start their first official meeting. Follow along to witness what shenanigans poor Yuma gets dragged into this time!
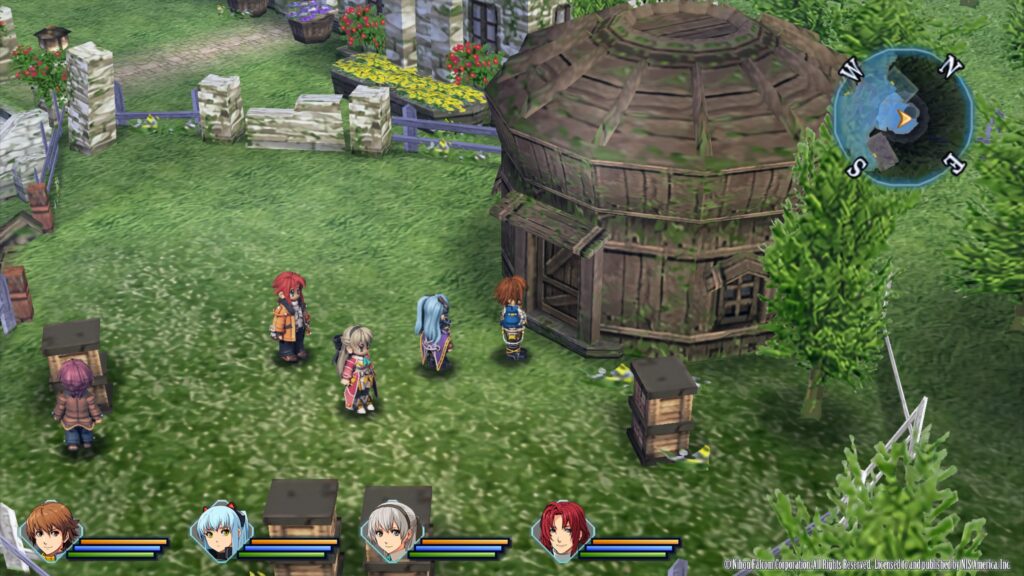
Nocturnal Detective Agency
Before doing anything, you can interact with the below objects to receive more Detective Points. When you’re ready, head to the kitchen in the back of the agency and wash that sleepy face! While you’re at it, why don’t you make the Chief a hearty breakfast and serve it to him, too! This will lead to a cutscene where Yuma will receive his first task. Leave the agency when you’re ready to set out.
- Bed
- Map
- Bookshelf
- Shower Room
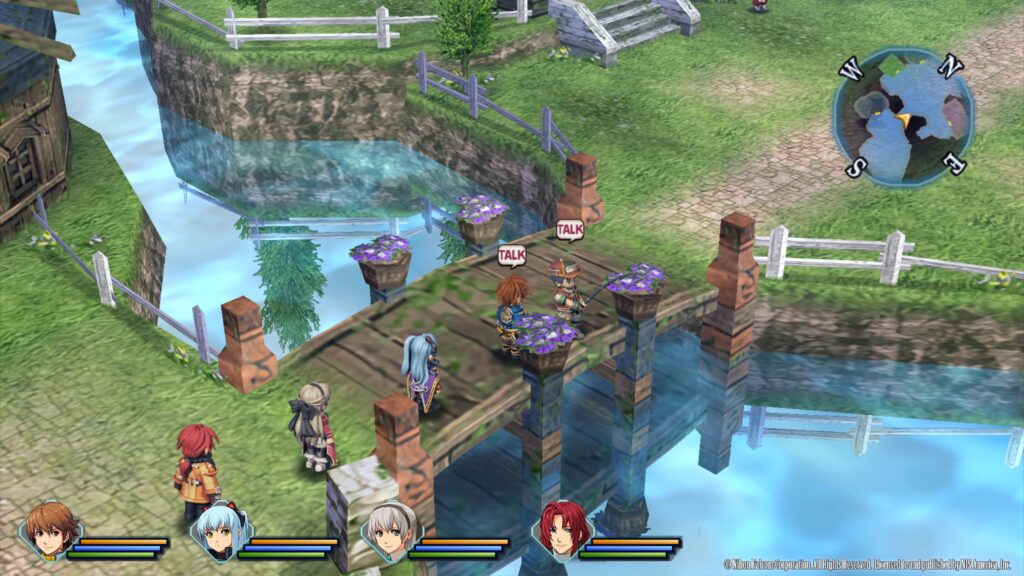
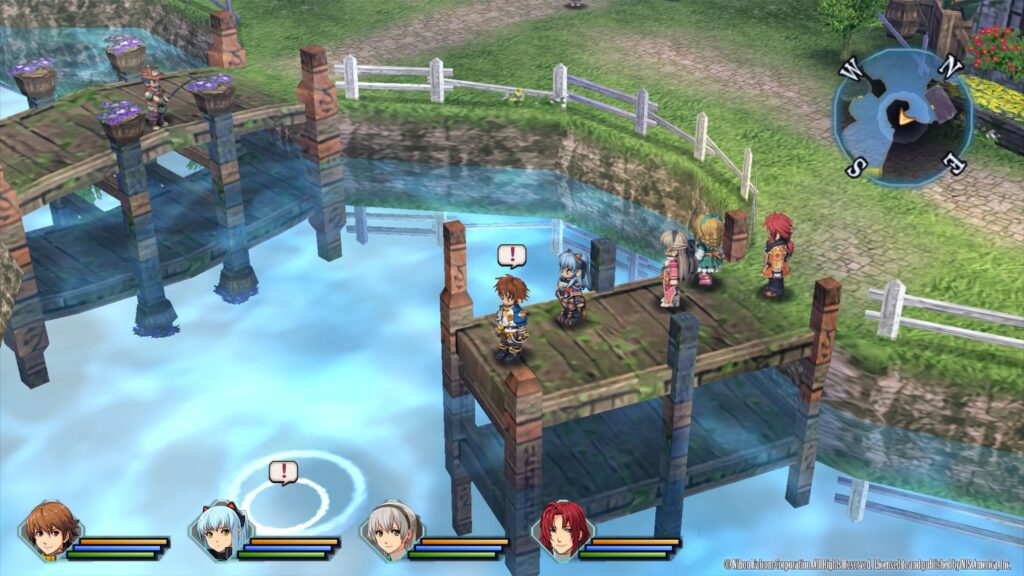
River Bank
After leaving the sub, Shinigami will point out a blue orb on the ground in a doorway. Make your way over to it then examine the object to receive a Memory Shard – First Step (Yakou). Head down the hallway and up the stairs at the end to reach the Kamaski District.
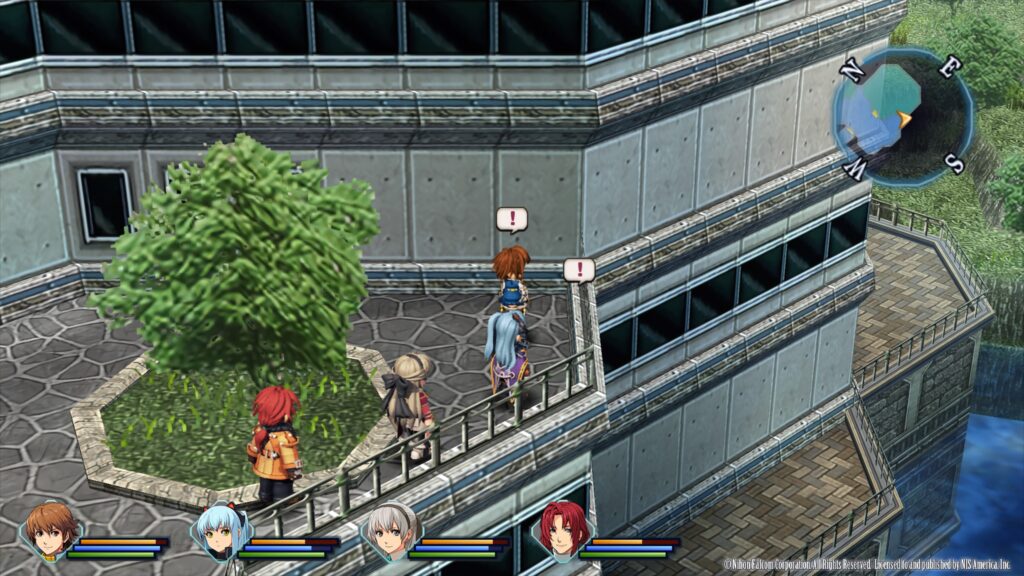
Kamasaki District
From this point on the game opens up and you can start to travel freely between the areas you’ve unlocked. Since Kanai Ward is a big place, we’re going to assume that you’ll be exploring as you go and won’t be listing each object you can interact with or people you can speak with to earn Detective Points. We will however bring up any things of interest such as Memory Shards that are in an area along with listing the area you’ll have access to explore (see list below). Happy Investigating!
Available Areas
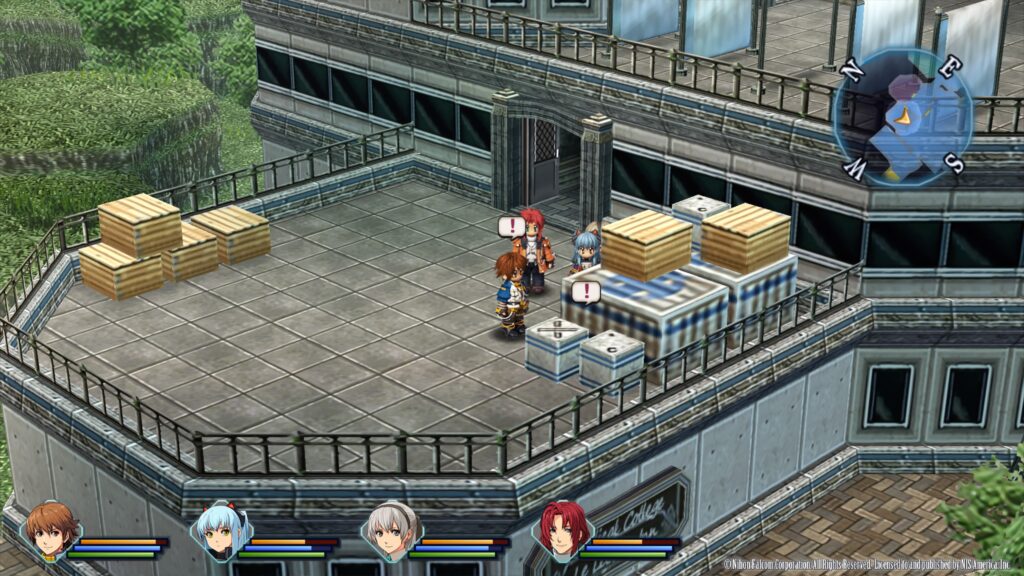
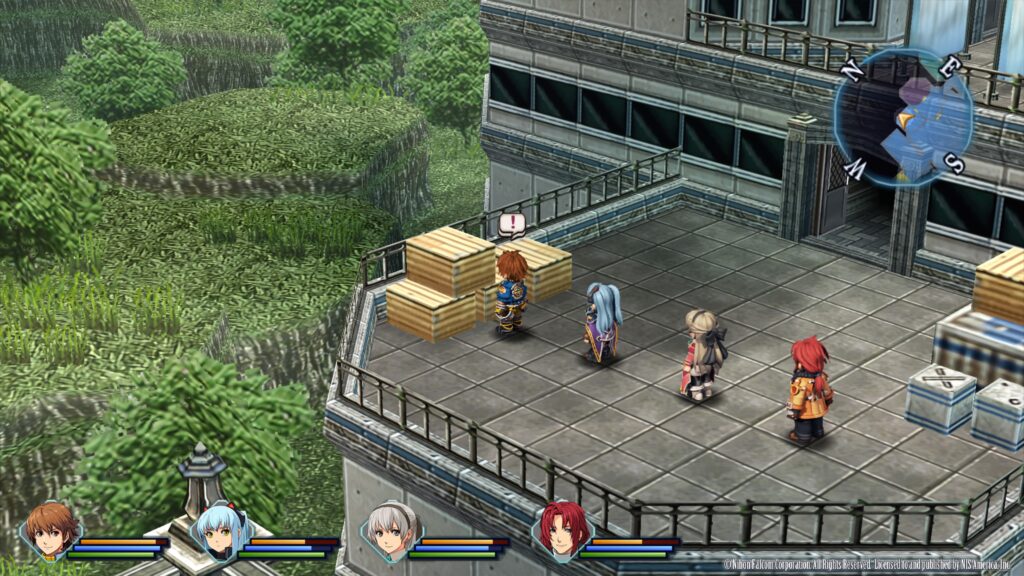
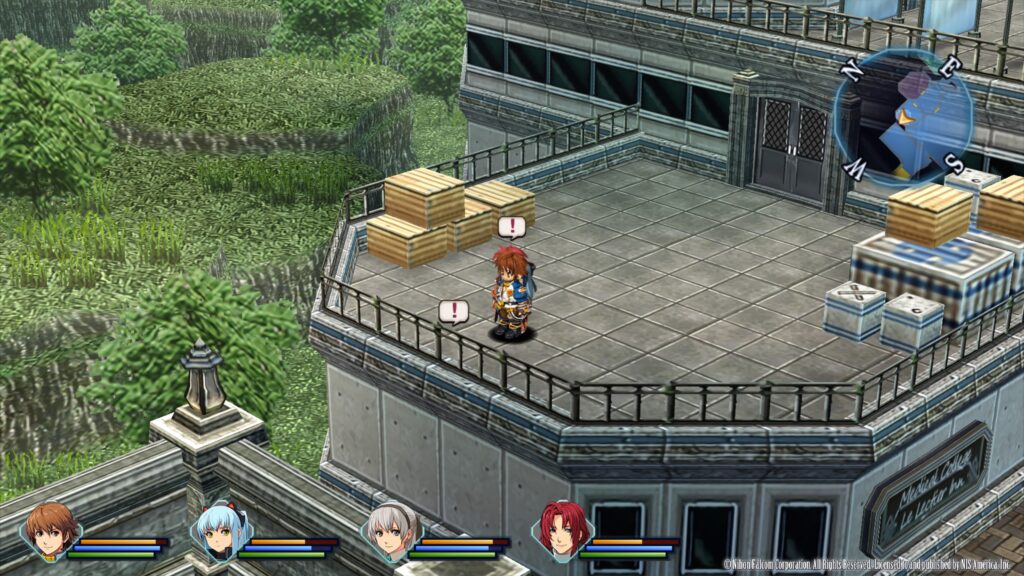
- Abandoned Building (Rooftop)
- Kamasaki District
- Kamasaki District (Underground Sector)
- Kanai Station Square
- Kanai Station (Interior)
Memory Shards
- Storage in the Underground World (Yakou) – Kamasaki District – On a wooden crate in a small storage room along the eastern path of the Underground Sector
- Can’t Live Without Books – Kamasaki District – At the very top of the district on a bookshelf of the book store
- The Iron Coffin Bed – Kanai Station (Interior) – On a metal cart near the gates to the train
When you’re done exploring the area, make your way to the Sun & Moon Hotel at the southwestern corner of the area to progress the story.
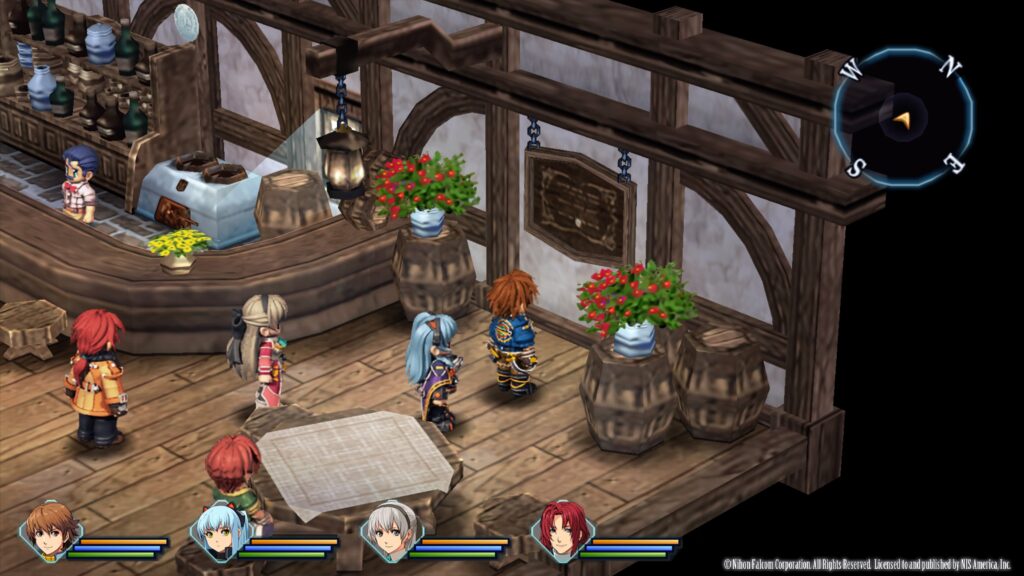
Sun & Moon Hotel
Memory Shard
- Solar and Lunar Wink – In the eye of the sun/moon fixture hanging up on the restaurant wall in the Sun & Moon Hotel
Once inside the hotel, complete the actions listed below to view a couple of cutscenes.
- Approach the piano
- Approach Desuhiko and Fubuki
- Approach the piano a second time
During the first one, you’ll be given two choices: She hates the protagonist and She likes the protagonist. Pick whichever choice you want as they don’t really matter. The only thing that changes is the dialogue and it’s only a couple of lines. After leaving the restaurant, the next cutscene that plays will introduce the concept of Requests. Before you can progress the story, you’ll need to complete the Detective Work? request from Vivia. Once that’s done exit the hotel to trigger a cutscene.
Ginma District
To kick things off, the game will introduce you to Bus Travel which is how you fast travel in the game. You’ll then be able to explore the Ginma District.
Requests
Memory Shards
- Behind the Glittering City – On a crate in the northeastern alleyway of the area.
When you’re ready to progress the story, head across the street from the bus stop then follow the sidewalk east to reach the Clocktower.
Clocktower (Front)
Approach the crowd to trigger a cutscene sending you back to the Ginma District. You’ll need to speak with the three people marked on the map. Once you do an event will trigger taking you back to the Clocktower. Approach the crowd again for another cutscene. When you finally regain control of Yuma, interact with the nearby tablet device on the ground to receive your first Solution Key. Next head inside the Clocktower.
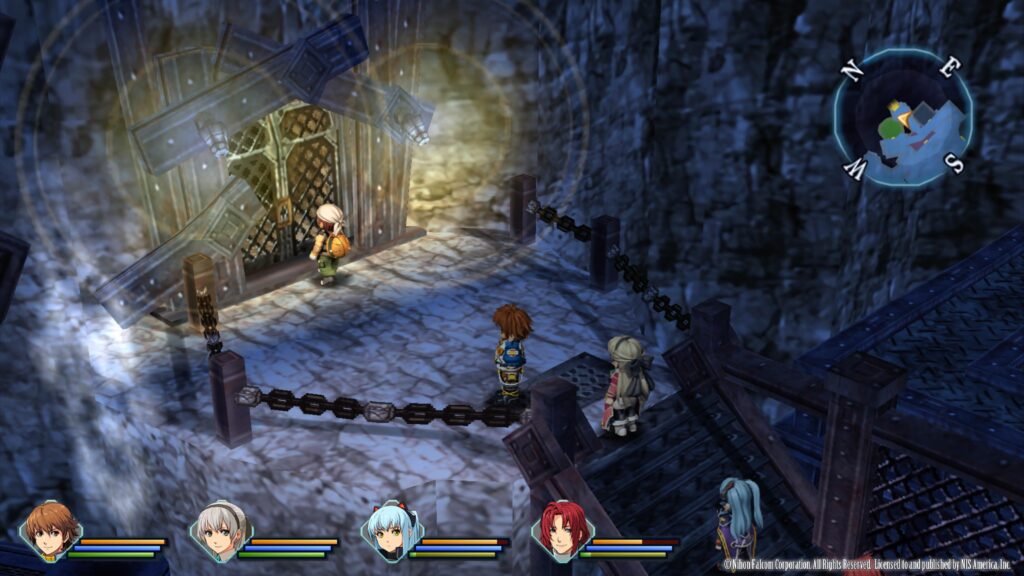
clocktower 1f / 2F / 3F
Once inside the Clocktower, take the stairs up until you reach the 3rd floor and then enter the door on the left of the hallway. This will trigger a cutscene leading to the start of the investigation. Examine the objects listed below to receive more Solution Keys.
- Corpse
- Doll on the Wall
- Window
- Under the Window (after examining the window)
- Wooden Box
- Door
After interacting with the above objects, end the investigation and then exit the room for a cutscene. You can now leave the Clocktower.
Clocktower (Front)
Back outside, follow the boy to the back of the Clocktower. If you go past him, you’ll find a Memory Shard – The Kids’ Secret Hangout Spot on the ground by the big tree. Speak with the boy to receive another Solution Key then head back to the front of the Clocktower to trigger another cutscene. When it ends, pass through the hole in the wall and make your way back to the Ginma District.
Ginma District
Time to swallow what little pride we have and ask Halara for help. She can be found at the cafe in the southwestern part of the area. Doing so will kick off another cutscene. When it concludes, return to the Nocturnal Detective Agency.
Church
After you regain control of Yuma, follow the path to reach the Kamasaki District then take the northeastern exit to arrive at the church. There you’ll want to speak with all four individuals. Once you’re done with that, the four options listed below will pop up and you’ll able to ask each question to the group.
- About past Nail Man murders
- About the dolls
- If anything strange has happened
- About the suspect
Once you’ve made it through all four questions, Yuma and his helpful assistant will discuss their next steps. When prompted select the Secret club in Kamasaki District. Before setting out for the club, if you head to the left side of the church you can find a Memory Shard – Even Crows Want to Pray (Vivia).
Secret Club
Head back to the Kamasaki District the go to the club in the center of the area. Once you’re inside, speak to Halara, Shinigami then Halara again. This will begin another investigation. Inspect the items listed below.
- Check Around Entrance
- Entrance Door
- Entrance Door (using Postcognition)
- Counter Seat
- Counter Seat (using Postcognition)
- Examine around the counter
- Glass on the Counter
- Glass on the Counter (using Postcognition)
- Slot Machine
- Slot Machine (using Postcognition)
- Examine around the table
- Roulette Table
- Roulette Table (using Postcognition)
- Doll on the Table (using Postcognition)
- Corpse’s Original Location
- Vent
- Vent (using Postcognition)
- Corpse (using Postcognition)
- Doll on the Wall (using Postcognition)
When you’re done checking out the crime scene, end the investigation.
Montclair Street
Your next stop on this crazy murder trail is in the Ginma District. Make your way over there then follow along the northwestern alley to reach Montclair Street. Before heading to the mansion, there is a request here you can complete first.
Requests
When you’re ready, approach the mansion gate to trigger a cutscene.
Mansion
Enter the mansion to kick off another event. As always, listed below are the objects you can interact with. Follow Halara down the hallway to gain access to the crime scene.
- Mansion (Entrance)
- Broken Door
- Expensive-Looking Sofa
- Expensive-Looking Painting
- Mansion (Crime Scene)
- Check around entrance
- Vent
- Door
- Door (using Postcognition)
- Check around desk and fish tank
- Fish Tank
- Fish Tank (using Postcognition)
- Projector
- Projector (using Postcognition)
- Lamp
- Lamp (using Postcognition)
- Switch
- Switch (using Postcognition)
- Check around painting
- Painting
- Painting (using Postcognition)
- Bookshelf by the Desk
- Bookshelf by the Desk (using Postcognition)
- Stacked Books
- Stacked Books (using Postcognition)
- Doll on the Floor (using Postcognition)
- Check area near the hallway
- Bookshelf Near the Hallway
- Bookshelf Near the Hallway (using Postcognition)
- Doll on the Wall (using Postcognition)
- Corpse’s Original Location
- Marks on Corpse
- Corpse (using Postcognition)
- Victim’s Neck
- Check around entrance
After examining all of the listed objects, end the investigation to trigger an event then leave the mansion.
Art Gallery
Our final stop is the location of the third killing: the Art Gallery in the southwestern part of the Ginma District. Make your way there and approach the entrance to trigger a cutscene. Head down the hallway and speak with Halara to gain access to the crime scene which will kick off an investigation.
- Art Gallery (Employee Hallway)
- Locked Door
- Art Gallery (Storage Room)
- Examine around the straightened painting
- Painting of Someone Screaming
- Blank Canvas
- Blank Canvas (using Postcognition)
- Examine the shelf with the basket
- Stacked Baskets
- Sculpture Covered with Cloth
- Sculpture Covered with Cloth (using Postcognition)
- Stacked Baskets (using Postcognition)
- Nail-Pierced Painting (using Postcognition)
- Examine around the small window
- Small Window
- Painting of a Young Man (using Postcognition)
- Large Landscape Painting (using Postcognition)
- Doll Nailed to Painting (using Postcognition)
- Examine the shelf with the painting
- Stacked Boxes
- Stacked Boxes (using Postcognition)
- Old-Looking Portrait (using Postcognition)
- Examine around the entrance door
- Entrance Door
- Spilled Paint
- Spilled Paint (using Postcognition)
- Corpse’s Original Location
- Marks on Corpse
- Corpse (using Postcognition)
- Examine around the straightened painting
After examing the above objects, end the investigation to trigger a quick dialog event. Exit the room and head to the Rear Area of the Art Gallery. Once there make your way over to the window and examine it. This will trigger a cutscene where you’ll be prompted with two choices: A Peacekeeper and A Detective. Choose the A Peacekeeper option then speak with the staff member for another cutscene.
Having concluded your investigation, your next objective will be to hightail it back to the agency. Please note that once you reach the outside of the agency in Kamasaki District, the game will prompt you that it will be some time until you are able to leave. If you have any remaining requests or Memory Shards to find, now might be a good time to start/finish them up.
Nocturnal Detective Agency
When you’re ready to progress the story, travel to the Nocturnal Detective Agency. Upon reaching the agency a cutscene dialog event triggers leading to the main event!!!
Mystery Labyrinth
A MYSTERY LABYRINTH!!! You know the drill. Follow the long path until you reach the doorway at the end and head through it. This will trigger a cutscene. When it concludes interact with the tree that has a #4 on it to enter the fourth locked room.
Spot Selection – 4th Locked Room
Select the window on the right side of the room to trigger an event. The game will also provide a new tutorial on dealing with continuous attacks giving you the opportunity to try it out right away. When the phantom launches his first statement, counter it using the first prompt. The rest of the answers can be found in the table below!
| Statement | Rebuttal |
|---|---|
| What traces did using the rope leave behind? | Marks on two dolls under window |
| What were the rope’s burnt remains originally? | Rope ladder |
Reasoning Death Match
Next up is a Reasoning Death Match! The below table has the statement to keep an eye out for and the Solution Key to rebuttal it with!
| Inflammable Statement | Solution Key |
|---|---|
| And escaped via the rope ladder | [Clocktower] Fear of Heights |
Following the Reasoning Death Match, you’ll be placed on a red carpet. Follow it to the altar and interact with the chest on it to receive a new Solution Key.
Spot Selection – Third Locked Room
Now you’ll be back in the forest and will be given the opportunity to choose whichever room you want. We’re going to go with #3, so head to the tree with #3 on it to head to the third locked room. Once you’re there, the spot selection will kick off. You’ll want to select the red door which is the main entrance to the room. When asked by Halara, leave the room via the newly opened red door to be sent behind the building. After some dialog with Shinigami, you’ll be prompted with the question: Was the key thrown in by the culprit? and will have the option to select “Yes”. Instead of doing that let the time run out to move on to the next objective!
Recreate the Locked Room
Now it’s time for a new mini-game where you’ll be tasked with recreating the crime scene. Perform the following tasks:
- Painting – Nail the doll to the painting
- Wall with a Window
- Door
- Awning Window – Nailed to the painting with the doll
- Knocked the painting toward the room
After solving the puzzle, you’ll be sent back to the room with the altar. Head down the red carpet and interact with the chest. You won’t receive a Solution Key!
Spot Selection – Second Locked Room
For our third choice, we’re going with tree #2! Approach this tree and interact with the door to enter the second locked room. Interact with the door when prompted with the question of how did the culprit escape. You’ll then need to solve the mystery of what happened to the key. Select Thrown in!
Shinigami Puzzle
After solving the previous Spot Selection, you’ll need to solve a Shinigami puzzle for how the corpse was moved. The question is The culprit used a _ _ _ _ _ _ to move the body. Choose the letters S – T – R – I – N – G.
Reasoning Death Match
After solving Shinigami’s puzzle, a Reasoning Death Match occurs.
| Infammable Statement | Solution Key |
|---|---|
| Shows no sign it was ever moved… | [Mansion] Bloodstains on Corpse |
Immediately following the Reasoning Death Match, you’ll have to take on 3 phantoms at once while deducing how the key got under the corpse. Below are the statements and their corresponding answers for this fight!
| Statement | Answers |
|---|---|
| What position was the corpse in before it was moved? | Upper body sitting up |
| What was used to sit the body upright? | A thin string |
| Why was the corpse lying on its back at the time of discovery? | The string was retrieved |
Recreate the Locked Room
With all the pieces to the puzzle, we can now recreate the crime scene. Perform the following tasks:
- Vent
- Doll
- Corpse – Under the neck
- Vent
- Door – The vent gap
Once the locked room has been solved, you’ll be transported back to the altar where you can open the chest to find a new Solution Key!
Spot Selection – First Locked Room
Last up is the first locked room! Head to tree #1 to enter this room. When asked where did the culprit flee from, select the vent above the corpse!
Reasoning Death Match
Reasoning Death Match! You know what to do!!
| Infammable Statement | Solution key |
|---|---|
| There’s no foothold to use to reach it. | [Secret Club] Nails Beneath Vent |
Once you solve this puzzle, you’ll be transported back to the room with the chest. Open it to receive a Solution Key!
Culprit Selection
When you’ve solved all the locked rooms, head through the newly revealed doorway then follow the hallway. At the end, you’ll come to a room where a cutscene triggers. In this room, you’ll need to determine who the Nail Man is! Select the Priest!!!
Reasoning Death Match
This selection will of course lead to a Reasoning Death Match!!
| Infammable Statement | Solution Key |
|---|---|
| The Nail Man is the worshipper | Persons with Access to Incinerator |
| The servant was able to commit the crimes! | Thin Person |
| The nun was absolutely able to commit the crimes! | [Mansion] Fishing Line Locked-Room |
| Of course there’s no evidence! | [Clocktower] Suspicious Footprints |
Shinigami Puzzle
After you finish the Reasoning Death Match, you’ll return to the area with the 4 trees. In order to move forward, you’ll need to complete a Shinigami Puzzle. For this puzzle, you’ll need to choose the locked room that was different. The answer is the Third Locked Room! After you select the correct barrel, you’ll be presented with the following question: This locked room is different from the others because of the victim’s _ _ _ _ _? The answer is D – E – A – T – H! Afterwards, follow along the newly opened path.
Mystery Labyrinth Options
From the previous path, you’ll be sent to a long hallway. Follow it through the door at the end to come across a new question of Why was the cause of death made to look like strangulation? Head through the door that says The work of a copycat. This will allow you to proceed further into the mystery dungeon.
Culprit Selection
At the end of the current path, you’ll reach a dungeon area with all 4 culprits inside. The copycat killer is the Worshipper!
Reasoning Death Match
Next up is a Reasoning Death Match as you might have guessed!
| Infammable Statement | Solution Key |
|---|---|
| Anyone could’ve done it | Non-Public Information |
After winning the match, you’ll need to chase after the worshipper by running up the long set of stairs.
Last Stand
At the top, you’ll reach the phantom’s fort. Charge at the fortress kicking balls, tackling through walls and jumping over the spikes. As you go you’ll come across walls with phrases that you’ll need to use a solution key on. These solutions can be found below.
| Phrase | Solution Key |
|---|---|
| You didn’t even check the crime scenes back then! | About Halara’s Forte |
| What you saw is only what I saw the moment the corpse was discovered! | [Art Gallery Storage] Paint on Floor |
Deduction Denouement
With all the mysteries solved, it’s time to put everything together. To solve how the whole crime played out, you’ll need to create the book. The table below lists which Solution Key goes on which page. When you’re done a scene will play out going through the whole incident.
| Page | Solution |
|---|---|
| Part 02 Secret Club Murder (1) | Vent |
| Part 02 Secret Club Murder (2) | Nails |
| Part 03 Mansion Study Murder (1) (Top) | Fishing Line |
| Part 03 Mansion Study Murder (1) (Bottom) | Eyeless Doll |
| Part 03 Mansion Study Murder (2) | Back of Corpse’s Neck |
| Part 04 Art Gallery Murder (2) | Key |
| Part 05 Clocktower Murder | Rope Ladder |
| Part 06 Destroying Evidence (2) | Incinerator |
| Part 07 Nail Man’s Identity | Priest |
| Part 08 Copycat’s Identity | Worshipper |
Nocturnal Detective Agency
With the mystery unravelled, you’ll be transported back to the Nocturnal Detective Agency. After the cutscene concludes, answer the door to trigger another cutscene. The chapter will then complete.
For more guides on Master Detective Archives: Rain Code, click here!