Below is a walkthrough for the Prologue: Special Support Section in The Legend of Heroes – Trails from Zero. This guide will contain which monsters and chests are in each area and the various collectibles you can find through the chapter. We are also making the assumption that you will be gearing up and scanning the enemies as you progress.
Geofront – A Sector
When you gain control of the party, equip each member with a quartz from the Orbment tab in the menu. You’ll then want to head inside Geofront. Below are the enemies that can be found in this area.
- Enemies
- Needle Rat
- Cacoroaches
- Frost Slime
- Grave Bat
When you’re ready to begin, make your way through the door past the orbment charging station and follow the path dealing with the enemies along the way. Most of the chests are along the main path with the exception of 1. When you reach the room with the Cacoroaches enemies, there will be a path along the south part of the area that leads to a dead end with a chest containing the Earth, Water, Fire and Wind Sepith. When you reach the elevator, take it down to a lower level. Note below are the chests you should have found before riding the elevator.
- Treasure Chests
- Tear Balm
- Smoke Grenade x5
- Earth, Water, Fire and Wind Sepith x20
- Reviving Balm
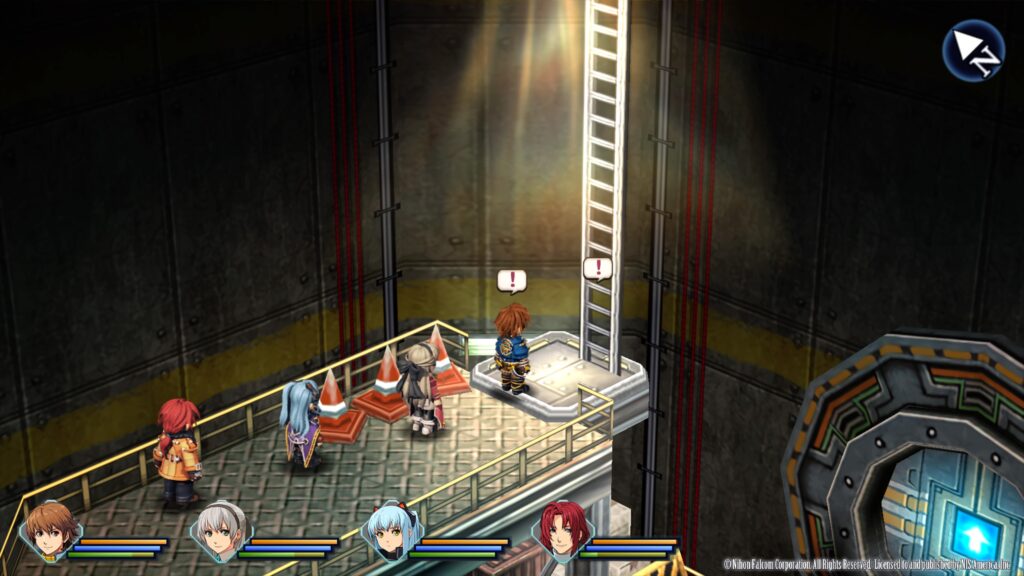
After exiting the elevator, take the northern doorway to reach a square walkway. There will be a chest in this room. Return to the elevator room then follow the path east. When you reach a room filled with vents, an event will trigger. Head to the vent on the northside of the room then enter it and follow the duct to trigger another event. When prompted, select “Search for the other boy with him”. Reenter the vent and follow it to the end to find a chest. Exit the vent then follow the path west. When you loot the chest with the Battle Scopes, make sure you start using them on the enemies the first time you fight them to unlock their details in the Combat Notebook. Doing this is necessary for The Usual Suspects trophy. Note below are the chests you should have found before the orbment station.
- Treasure Chests
- Each Sepith x20
- Tear Balm
- Lighter
- Battle Scope x5
When you reach the orbment station, rest up and save your game then head through the door to trigger an event. You’ll be prompted to either attack the monsters from behind or draw the monsters’ attention. Attacking the monsters from behind will allow you to surprise them, however, drawing the monsters’ attention will cause them to focus on you. We recommend drawing the monsters’ attention option. You’ll get extra DP from this fight if you prevent either of the children from taking damage. Starting with the monsters’ attention makes this a little easier. Another tip is to have your first party member run as close to the monsters as possible. The way the AI works is that the monster will attack the person closest to it. When the fight is over, another event will trigger.
SSS Building
When you gain control, exit Lloyd’s room and head to room 202 to interact with the door. Choose to “knock” and a conversation with Randy will ensue. When it ends, leave Randy’s room and head up to the third floor. Interact with room 301 then choose “knock” when prompted to begin a conversation with Elie. Afterwards, exit Elie’s room and interact with room 302. Again, choose “knock” when prompted. Next, head upstairs to reach the roof of the SSS Building where an event will trigger. Once it ends, head back to the first floor and go to the back corner of the room to trigger an event with Tio. When it concludes, exit the building for yet another event. Break out your popcorn and nestle in as it’ll be a long one! Once the long event ends, interact with the terminal and check the requests. Select “Support Request Explanation” then leave the building.
Central Square
Head up a flight of stairs then approach the next flight of stairs to trigger an event prompting you to check out the armory. Head through the doors to the right of the stairs to enter the armory. Once inside, speak with Gironde behind the counter. Talk with him again then browse his wares if you wish. When you’re ready exit the armory. Head up the stairs to trigger another event. Next, make your way to the Orbal Store GENTEN then head inside. Speak with Wendy at the counter.
Administrative District
Afterwards, head to the Administrative District to trigger a cutscene. When it concludes, head into the C.P.D. building and speak with the lady behind the counter to trigger an event. Exhaust all the dialog options to complete the Support Request Explanation quest!
Central Square
Return to the SSS building and interact with the terminal to “Report to HQ”. More requests will be added so select “Check Requests”. Pick up the following quests:
- Lost Item Search
- Vacancy Verification
- Geofront A1 Sector Monster Extermination
Crossbell
Hold off on doing the Geofront A1 Sector Monster Extermination quest until you’ve done the other two quests and explored the city to find the below collectibles!
- Treasure Chests
- Flower Pumps – Downtown District – Hidden entrance across from the Trinity Store in the southwestern corner
- Eagle Eye – West Street – Villa-Raisins Apartments – Enter the building then take the side door under the stairs to reach the chest.
- Recipes (To start picking up recipes, you must head to Morges Bakery first and collect the Recipe Notebook!)
- Recipe Notebook – West Street – Morges Bakery – Speak with Oscar
- Happy Ham Sandwich – West Street – Morges Bakery – Speak with Oscar
- Vanilla Au Lait – Entertainment District – Ice Cream Stand – Speak with Sophie
- Crispy Fry – East Streat – Fisherman’s Guild – Crossbell Branch – Second floor on a bookshelf
- Books
- Crossbell Times – Issue 1 – Central Square – Purchase from the Southwark General Store inside the Department Store for 100 mira
- Back Alley Doctor Glenn – Ch. 1 – Administrative District – Crossbell City Library – Speak with Novas at a table
One of the optional things you can do this chapter is to feed the cat on top of the SSS building. In order to do this, you’ll need to try crafting the recipe Crispy Fry. You’ll need Sesame Oil, Milled Flour and Tender Whitefish. If you are missing any ingredients (Tender Whitefish), you can purchase them from Legion’s Foods in the Times Department Store in Central Square. You will need to fail crafting this dish in order to make Cat Food. The easiest way to do this is to save before cooking the recipe. This way you can reload in case you don’t fail the dish and/or receive something else. It is also recommended to use Tio to cook with as she has the lowest affinity for this dish. Afterwards, give the cat the Cat Food to receive Fish Fillet x3.
Geofront – A Sector
Once you’ve explored Crossbell and completed the other 2 support requests, begin the Geofront A1 Sector Monster Extermination support request. For this quest, enter Geofront – A Sector then work your way through the area. As you make your way to the end, please grab the below chest!
- Treasure Chest
- Each Seriph x30 – Take the white ladder up to reach this chest
At the end of this sector, you’ll fight the Megalo Bat and its 4 bat companions. Exterminate them then exit the dungeon to trigger an event. Afterwards, report back to the terminal in the SSS Building.
Crossbell
When you’re ready, make your way to Downtown District to trigger an event. When prompted, select
- Reveal your Detective Notebook
Afterwards, a fight will ensue with the 4 enemies (be sure to scan each one!). Defeat them all then select
- Handle it ourselves
Next, head west and enter Trinity to trigger a cutscene.

When prompted select
- The wounds on the victim
Now speak with all the members inside the building then exit and head to the east side of the area to find the Saber Viper hangout. Speak with the guy guarding the door then save before you enter as you’ll be fighting Wald inside. Once you defeat this guy, then speak with the members before you exit. When you’re ready, exit the hangout to trigger another cutscene.
Afterwards, make your way to East Street and enter the inn on the right just after the bridge. Speak with Grace inside.
Next, make your way back to Trinity in the Downtown District and speak with Kienz. You’ll learn some more facts for the investigation.
With that business taken care of, return to East Street and enter the Bracer Guild. Speak with Receptionist Michel then accept his challenge. The answers to the test questions can be found below.
With everything completed, head inside the SSS and enter Chief Sergei’s office to trigger a cutscene. When the cutscene concludes, exit the building and make way for West Street. Approach Grimwood Law Office to trigger an event then head inside for another one. Once it concludes, travel to the SSS and approach the terminal to trigger yet another cutscene. To start the meeting, interact with the ! on the table. When prompted, select:
- The presence of Heiyue
When prompted, select who you wish to fight with against the Mafioso – Pistol and Mafiosos – Machete. Defeat them to complete the chapter!
Click here for the next walkthrough on Chapter 1 of The Legend of Heroes: Trails from Zero!