Below is a walkthrough on Chapter 7: Dragontear in Voice of Cards: The Isle Dragon Roars.

Village of the Sick
Make your way back to the Village of the Sick then head to the Inn to rest up. Afterwards, head up to the Elder’s House. Exhaust all the dialog options then make your way to the Abandoned House on the western side of town. During the flashback, return to the house. After the revelation, exit town.
Isle of Blight
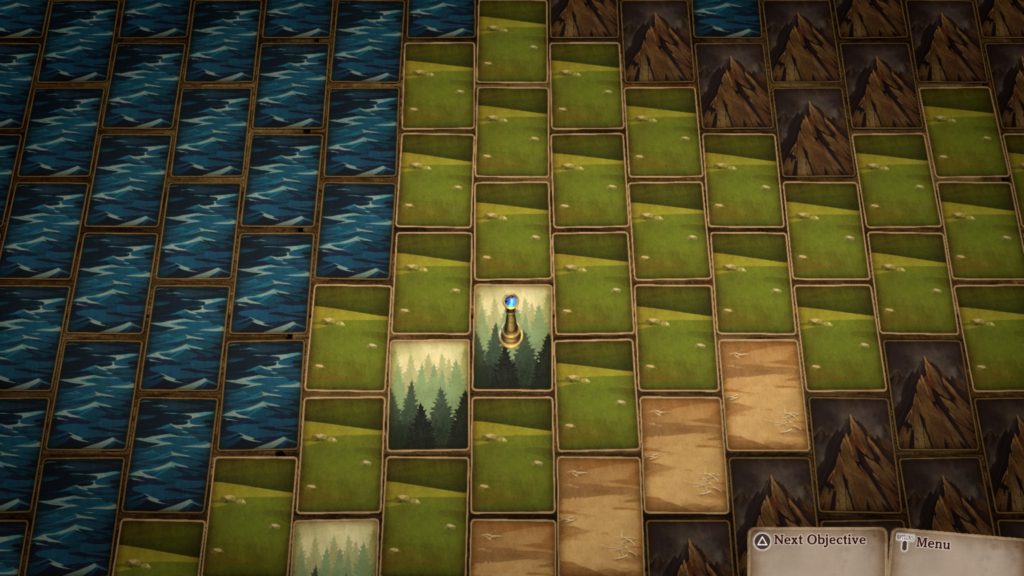
After exiting the town, head northeast along the water to find a giant boulder. Approach the boulder to trigger a dialog event. Ask Bruno for his help on getting through the boulder.
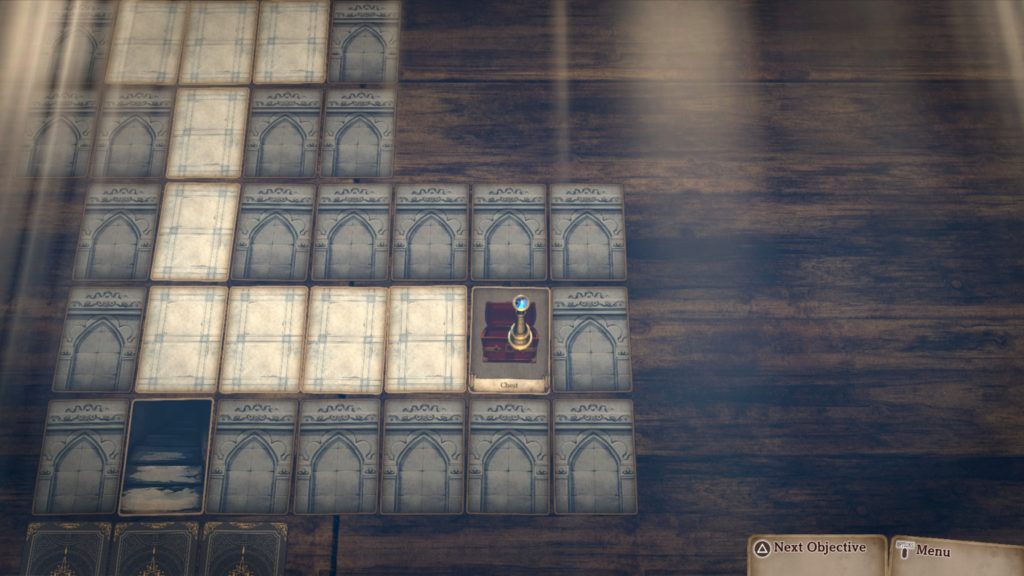
In this area, you can find the following chests:
- Freezestay Ring
- This chest can be found north of the Village of the Sick along the inner side of the eastern mountain range.

- 1600G
- This chest can be found along the western coast northwest of the Mausoleum.

- 2000G
- This chest can be found on the eastern “ear” of the island.

In this area, you’ll come across the following events:
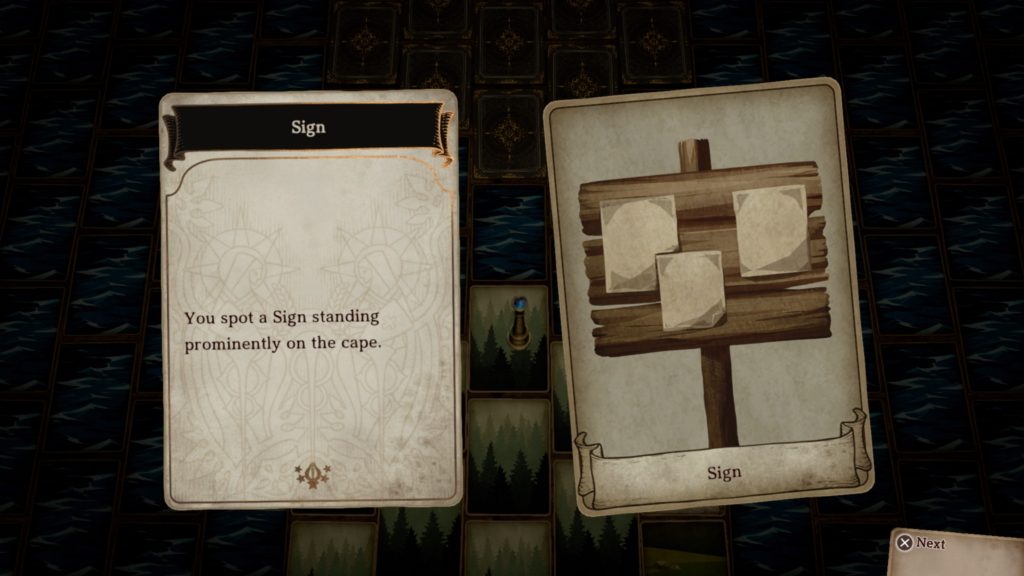
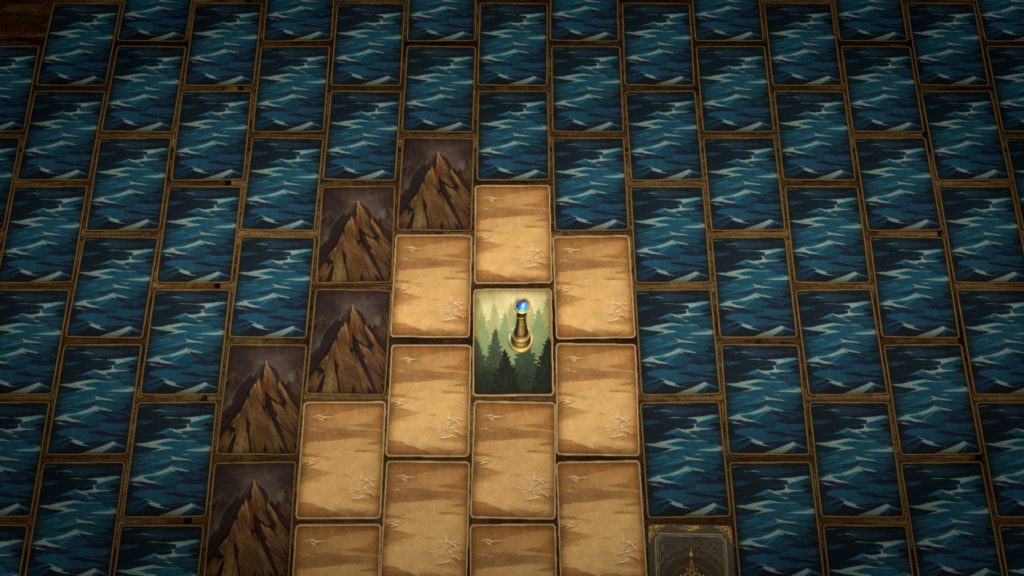
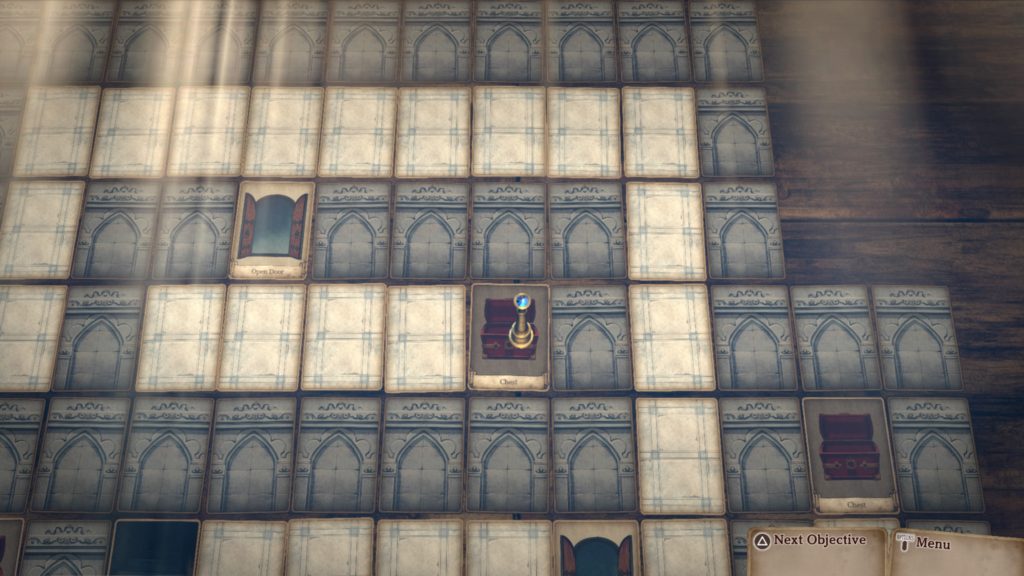
- Two Thieves
- Listen to the 2 men to receive the Stolen Goods Cache #3. We found this event at the spot shown in the image below.

-
- The chest can be found on a forest card northwest of the Volcano along the coast. Open it to find the Gold Lightning (bow).
- Scrap of paper
- We found the Monster Memo #3 on the western “ear” of the island just under a mountain card.
-
- To find the chest, head north to the very tip of the western “ear” to find it on a sandy card. Open it to find a Moonlit Gown.

- Something flown across your path
- We found this event at the base of the eastern “ear” of the island. During it, you’ll receive the Hero’s Armor.
- Hidden sign
- This sign can be found at the tip of the eastern “ear”.
-
- It says that if you strike the Stela somewhere on the island something will happen. This Stela can be found on the forest card near the tip of the western “ear”.
![]()
-
- After you interact with it, return to where the hidden sign was. It’ll now be a Stela. Choose to strike it! You’ll then be teleported to the small island north of it. An Old Man will attack you here. Don’t be fooled by his appearance as he has 130 HP and can inflict Deadly Poison on your team! Defeat him to earn the Island Hermit trophy! You’ll also receive the Purest Blessing equipment.
Advent
At this point in the game, we had enough money to purchase the legendary weapon in Advent. If you do, travel to Advent and speak with the Suspicious Weapons Merchant south of the Item Shop. Fork over 20,000G to receive the Phoenixflame, which is indeed a legendary blade! In purchasing this weapon, you’ll also receive the Wielder of the Sacred Sword trophy.
Isle of Bliss
While you’re at it, fight the White Knight south of the Bewildering Wood exit. It has 150 HP and is weak to Darkness and Poison Arrow! Defeat it to receive the Divine Armor and the Mysterious Knight trophy! Please note that you can fight this guy numerous times to level up and earn money.

Mausoleum
When you’re done exploring and cleaning up any last minute items, enter the Mausoleum on the western side of the Isle of Blight. Head forward to find a door. Approach it to trigger a fight. Defeat the 2 enemies to proceed forward. Continue straight ahead to come across another hostile disciple. Defeat them. Again, continue straight ahead to find a set of stairs and head to Mausoleum Level 1.
On Level 1, head to the northwestern corner to find a chest containing Serum.
In the southwestern corner, head across the spike cards to reach the chest containing the Fists of Goliath!

In the northeastern corner, head across the spike cards to find a chest containing an Unsealer.

In the southeastern corner, you’ll find a chest containing a Dispeller.
When you’re done exploring this level, head to the far south to find another disciple. Engage in battle and defeat them. Afterwards, descend down the stairs to reach the Mausoleum Level 2. Continue forward, defeating the disciple standing in your way. In the northwestern corner, a chest containing 3,000G awaits.
In the south, a chest containing Oldfangs sits near the stairs.
Take the stairs down to Mausoleum Level 3. Continue straight ahead and interact with the wall card in the middle to reveal a hidden door that will open when you step on the card. If you’re approached by a disciple during an event in this area, agree to take the bag offered as you’ll receive a Supreme Salve. On the northwestern side of the area, you can find a chest containing Dreamwoven.

Find the hidden path in the north to reach the chest containing the Darklore.
In the northeastern part of the area, you can find an Inspirilixir in a chest.
The hidden door to proceed forward will be 2 cards down from the chest. Continue to the western side of the path to find the Mysterious Card 10 in a chest.
This is the point of no return. The next area will contain the final boss. When you’re ready, proceed to the Mausoleum Depths! Head north to trigger a scene with the Ivory Order. When you have the chance, step on Sherwyn’s card to continue the scene. Select “Stop the Rite” to begin the battle against Sherwyn! The Ivory Order joins you for this fight, however, they act on their own accord. Defeat him then step on his card to speak with him. Afterwards, round two will commence. Defeat Ewyllyswyn! Once again, you’ll have to engage in battle with him. This time however the Ivory Order will be of no assistance to you. Focus on the dragon instead of its wings as the wings can revive each other if not frozen. In addition, if you kill the middle card the battle is over. Before the next round, you’ll have the chance to reorganize your party as Melanie is no longer an available option to fight with. You have a total of 10 attacks before Ewyllyswyn’s power is restored. The Ivory Order will assist you again and their attacks do not count. When the battle concludes, rush to Melanie’s card to interact with her. Unfortunately this is where you’ll have to choose whom to bestow the Dragontear.
- Change Melanie Back
- Change Mar Back
- Bring the Dragon Back
- Wish for Everything
- This option is only available if you gathered all 10 of the Mysterious Cards. If you choose this option, both Mar and Melanie will return to human form and the Dragon will revive! Everyone is happy and order is restored.
End Game
After you beat the game, reload your last save and exit the Mausoleum. A Strange Old Man will speak with you when you emerge and the Vexing Cave will then unlock. Head east to the cave.
Vexing Cave
Once inside the cave, head north to encounter a dragon. Step on the card to engage in a battle. Be prepared as this dragon has 400 HP! Defeat it to receive the Liberator trophy! You’ll also receive Mar Avatar appearance.