Guides

Rain Code – Ch. 4 The Imperfect Insider

by NightlyGamingBinge in

Welcome to our walkthrough for Chapter 4 – The Imperfect Insider in Master Detective Archives: Rain Code!

Kamasaki District

Before you start the main chapter, you can complete the following requests:

  • No. 13 Her Name Is Fubuki, the Legendary Waitress!
  • No. 14 Lending the Church a Hand Again
  • No. 15 Lost in the Rain
  • No. 16 The Fortune Teller Sees All

For a guide on these requests, click here!

Once you’re ready to begin the main quest, interact with the following in the Kamasaki District:

  • Serious Woman – Southwestern corner, west of the bus stop
  • Mild-Mannered Man – Northwestern corner
  • Sullen Man – Underground Sector
  • Gossipy Woman – Underground Sector
  • Difficult Man – Northeastern corner

After you’ve spoken with everyone, Kurumi suggests visiting Makoto so head to Kanai Tower.

Kanai Tower

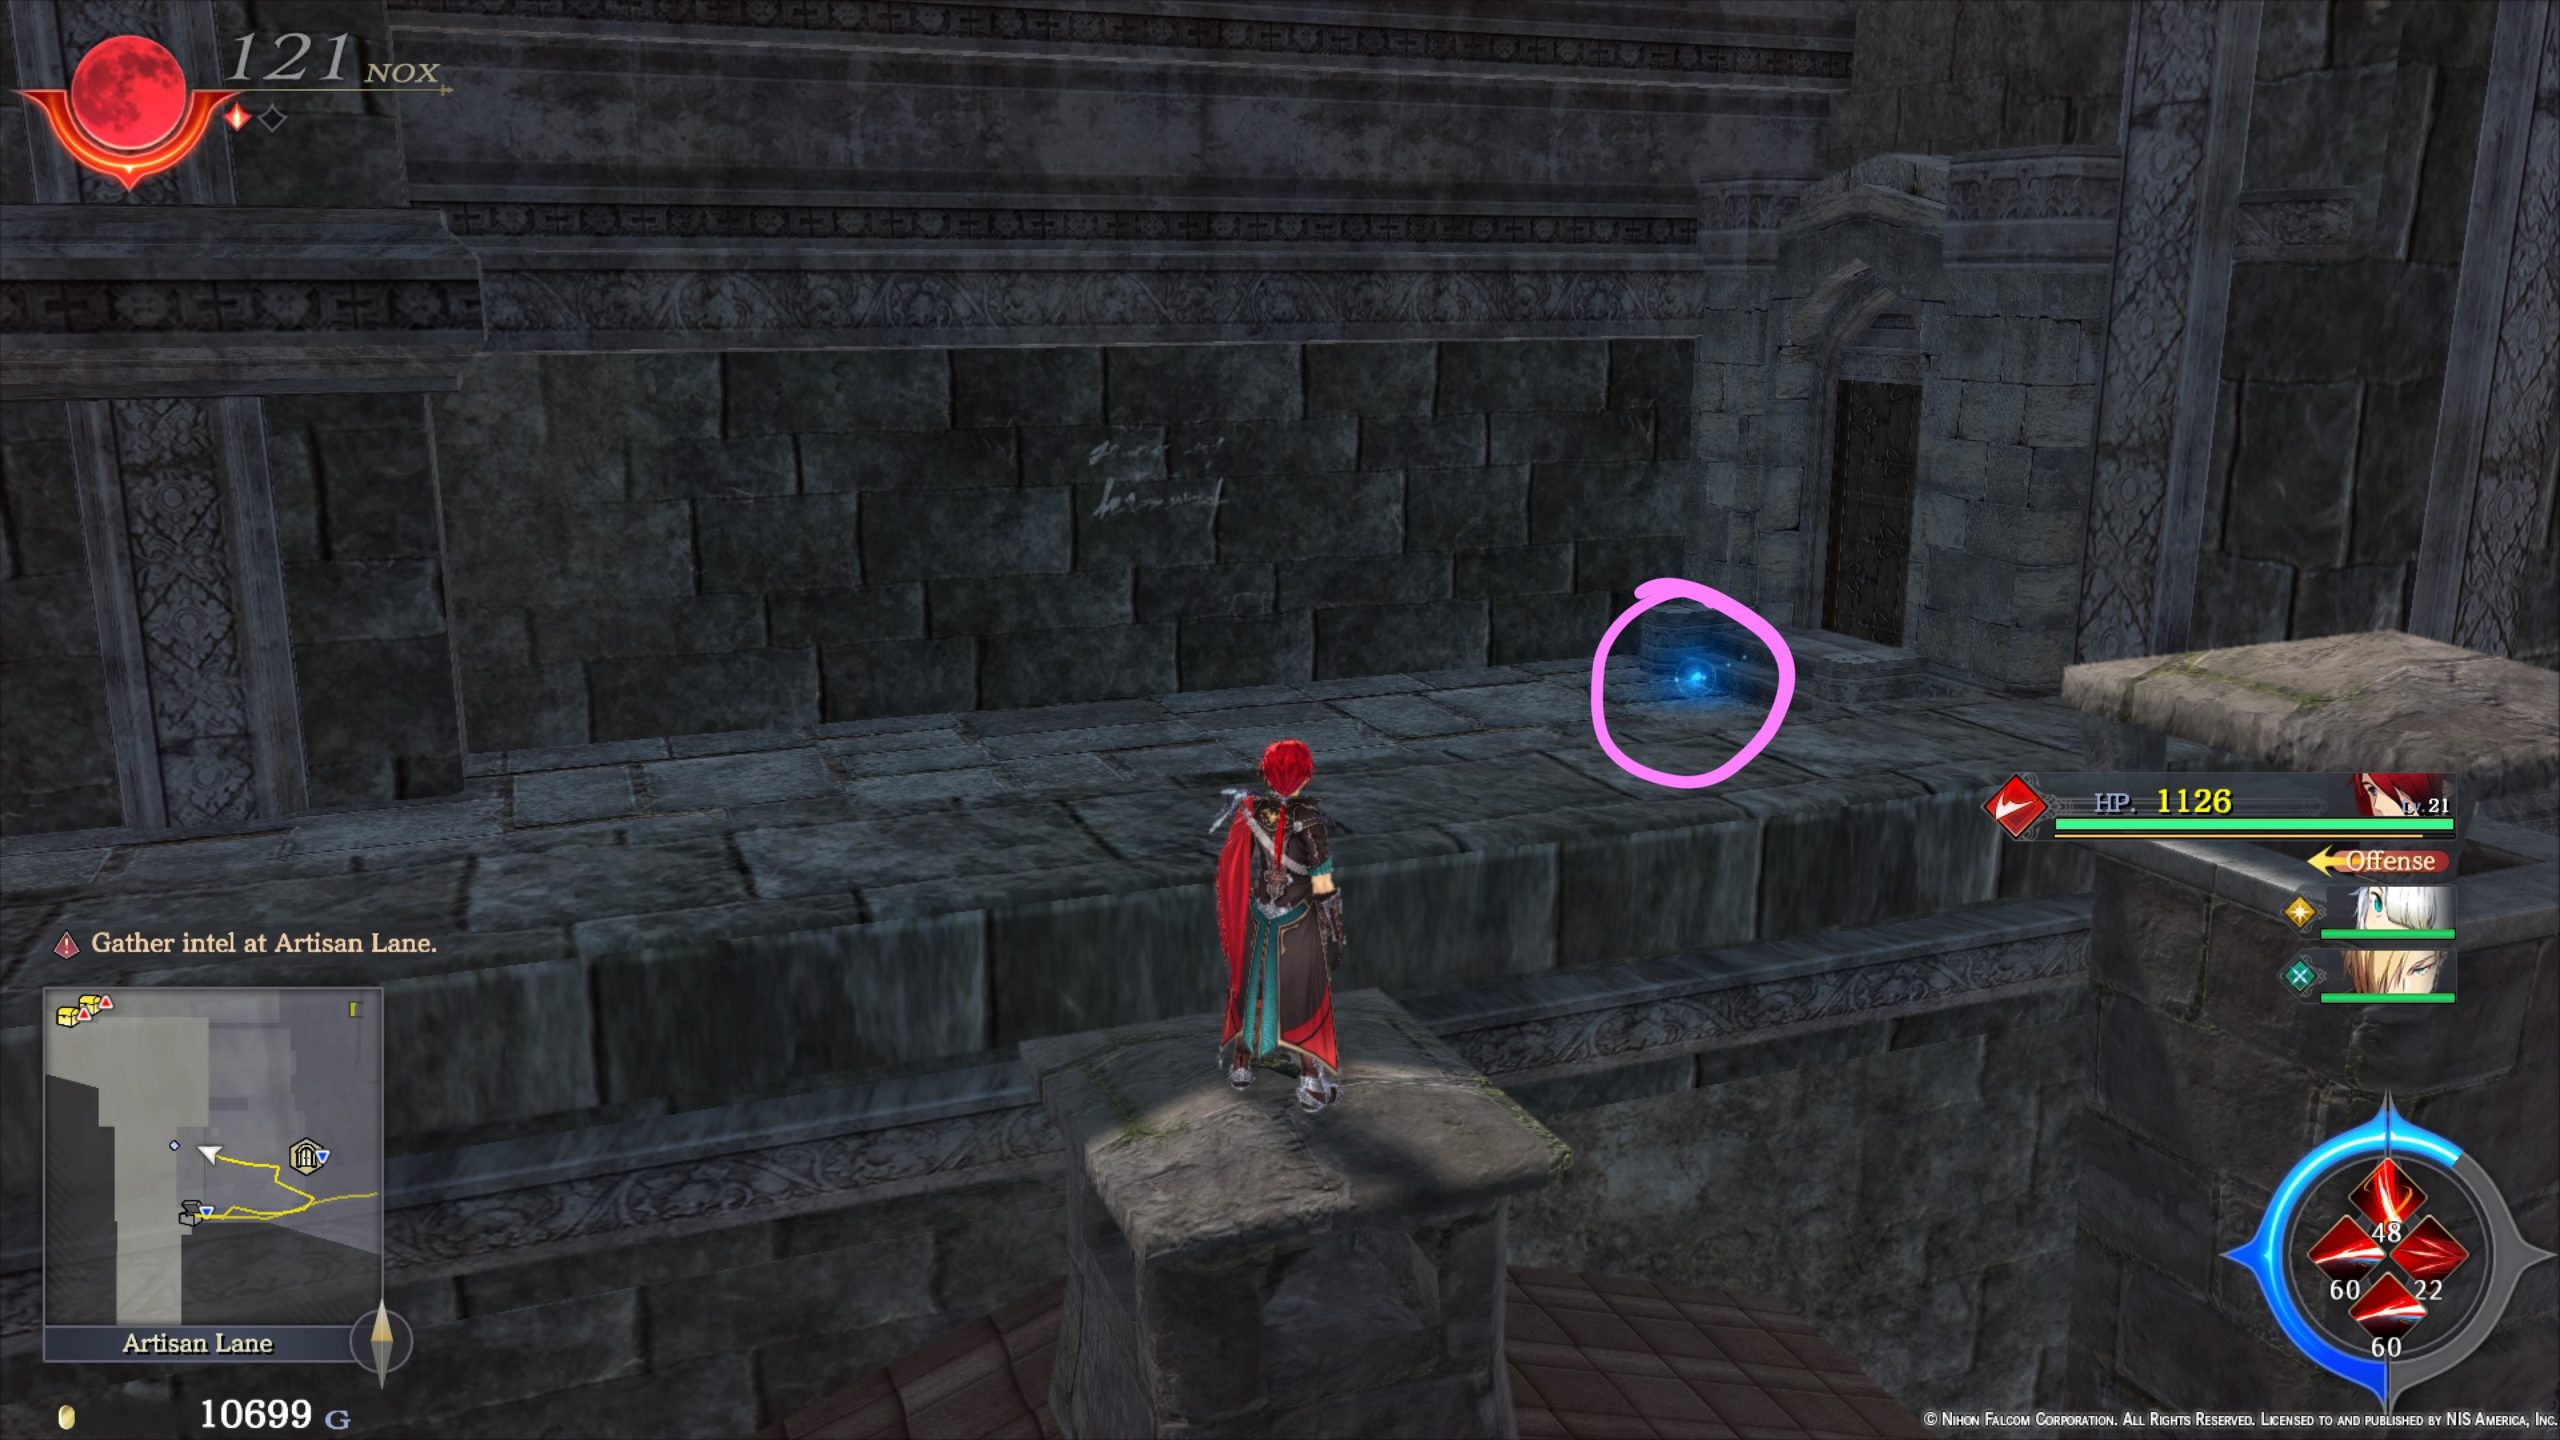
Approach the elevator to trigger a cutscene. Speak with Makoto about the Secret Lab. Before you leave, make sure to grab the Memory Shard – Kanai Ward’s Highest Welcome from the light fixture near the front door!

Nocturnal Detective Agency

After speaking with Makoto, head to the Nocturnal Detective Agency and speak with the following people:

  • Chief
  • Kurumi

With your goodbyes said, Yuma will exit the agency with Kurumi hot on his heels!

Kanai Station

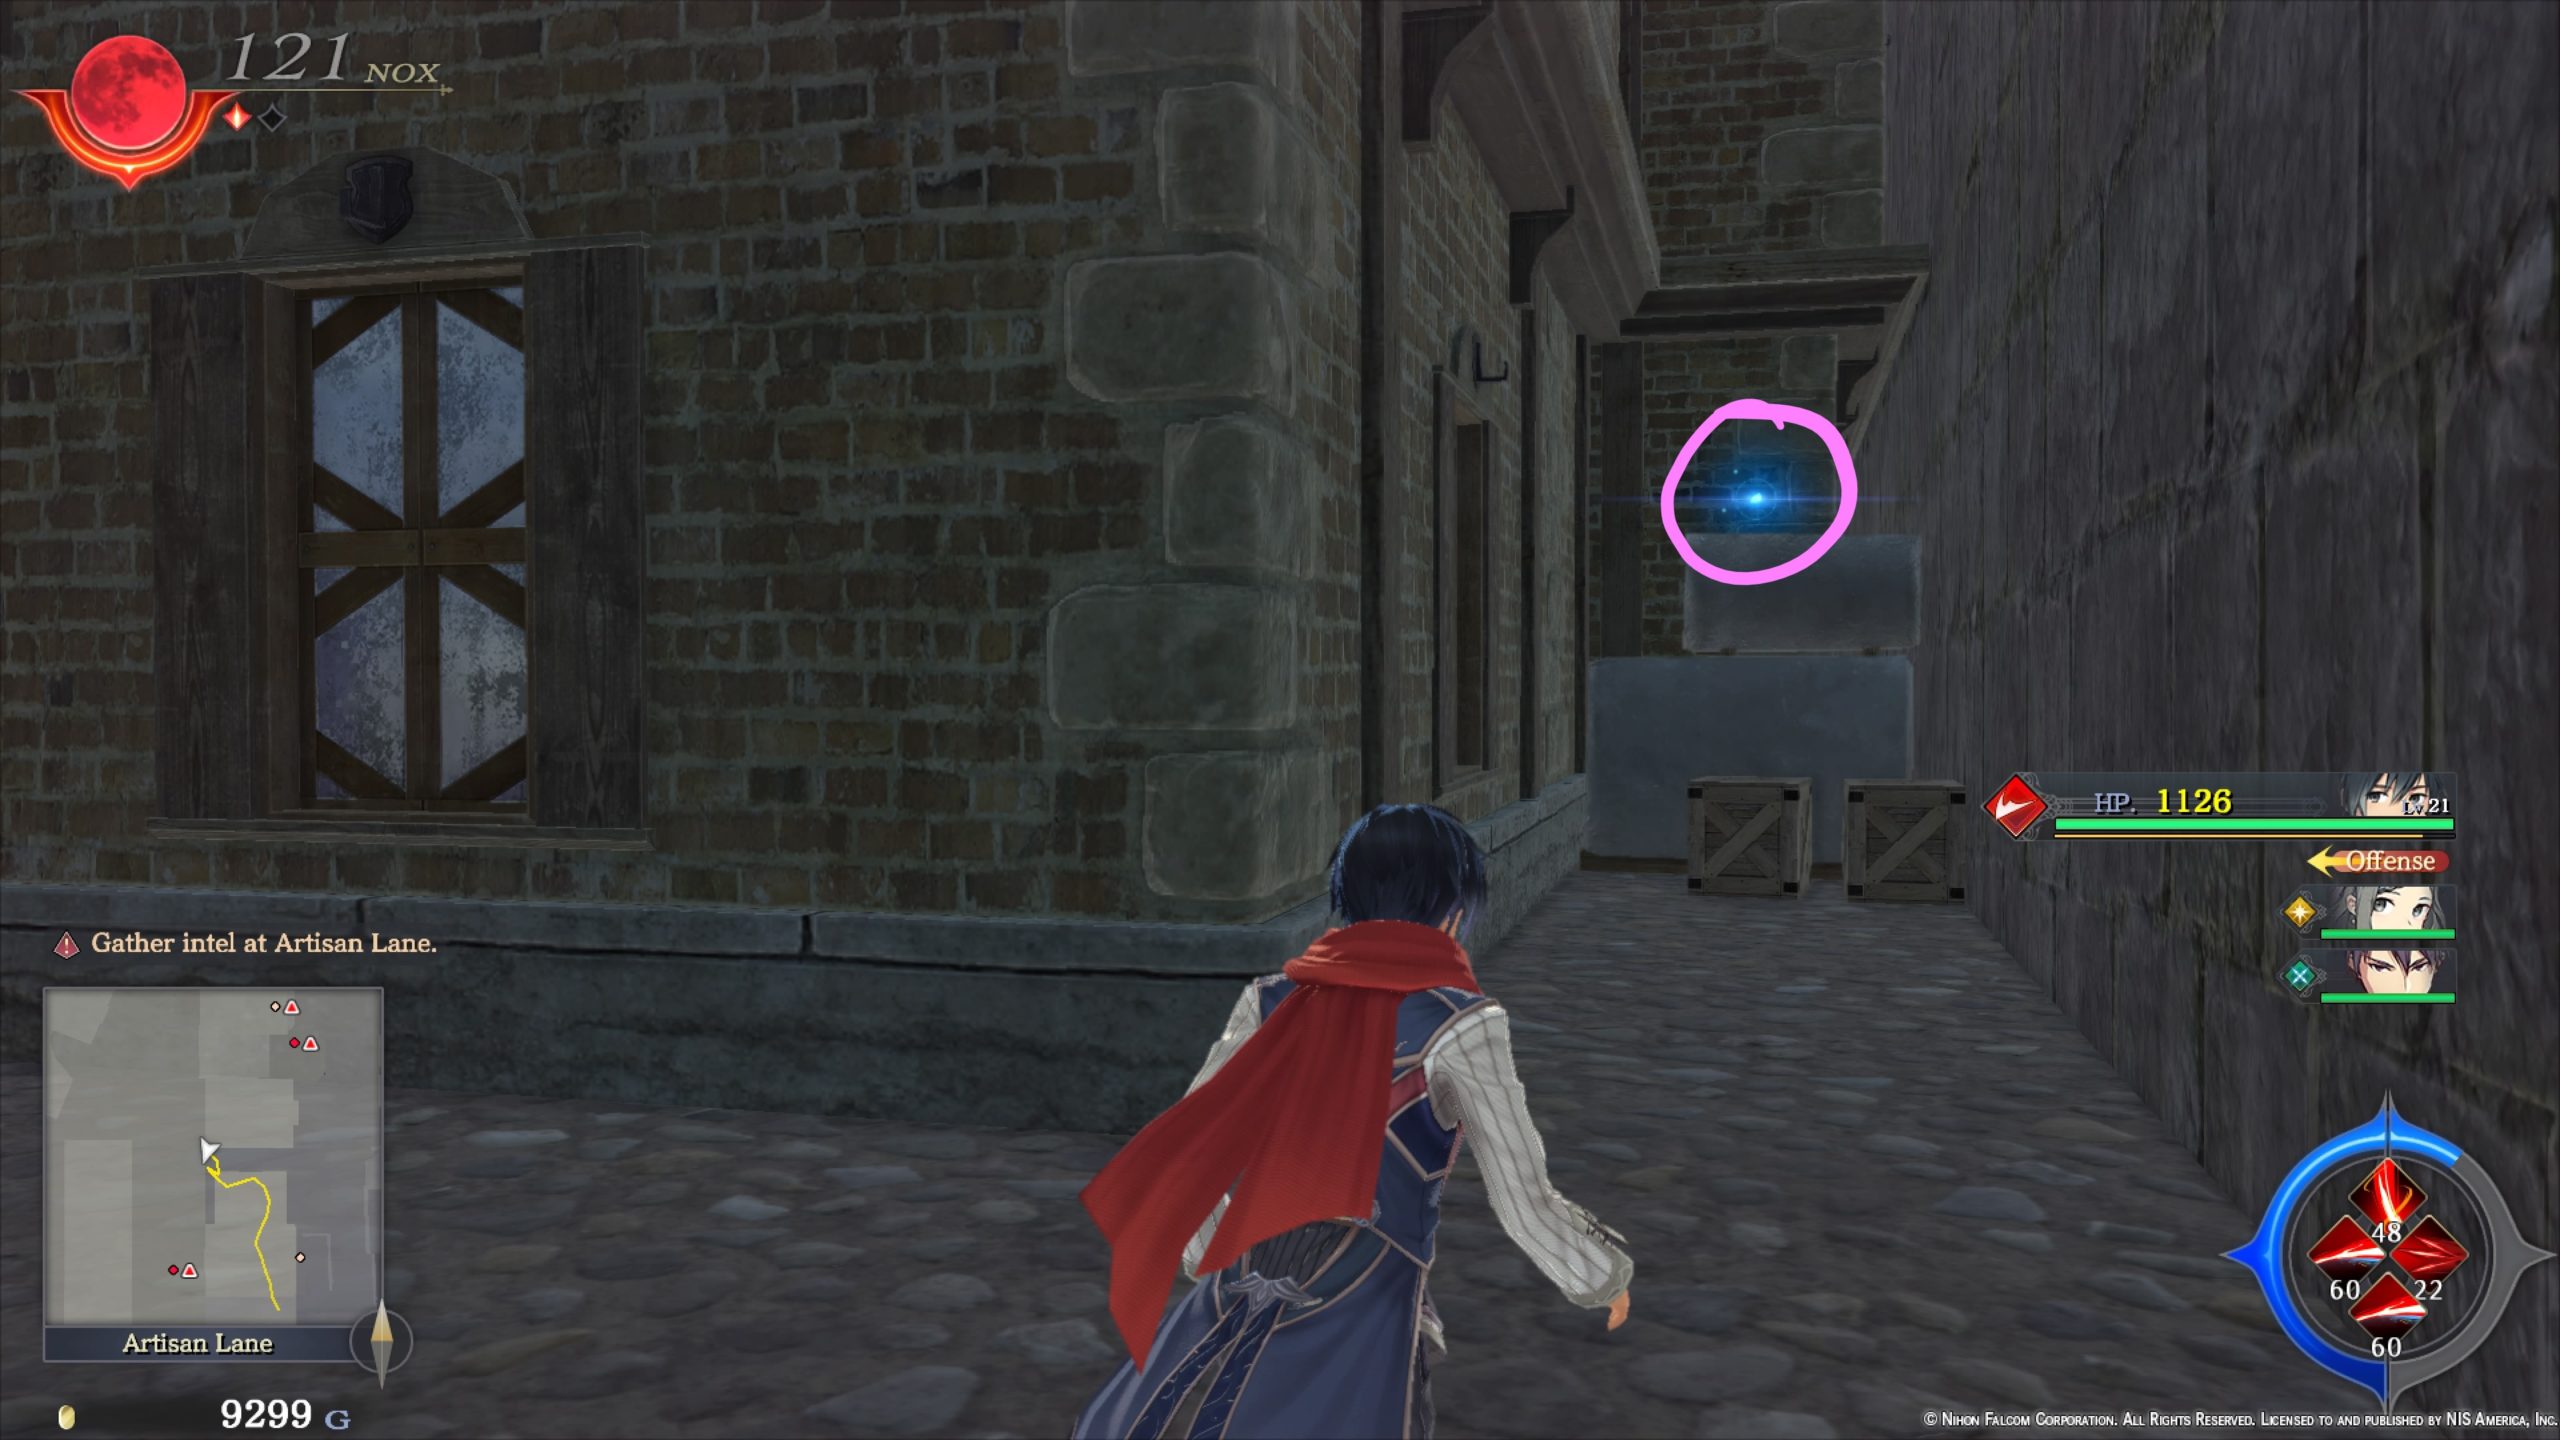
Grab the Memory Shard – Yellow Car and Lion Statue from the mouth of a lion statue along the river on the south side of the area. When you interact with the yellow car, the game will tell you that it will be impossible to return here for some time. When you’re ready, agree to continue.

Amaterasu Corporation

When walking with Makoto, you’ll have the opportunity to speak with him about 3 topics. Go through them all then you’ll continue the tour with Makoto. After exiting the elevator, approach the Peacekeeper to find out why the gate’s open. When you gain control of Yuma, follow Makoto through the lab.

After the long cutscene, you’ll find yourself in the Security Room. Make sure to pick up the Memory Shard – Patrolling on the chair!! When you’re ready, interact with the door to leave the room. After the cutscene, interact with the door again to actually leave.

When at the doctor’s door, you’ll be presented with a question: “To bypass security and protect the doctor, I should…”. Select Use a toy.

Run down the hallway and approach Desuhiko. After a quick cutscene, you’ll be able to explore the Robot Lab. Make sure to grab the Memory Shard – Find the Secret of the Toys from the robot’s arm then interact with the following objects in this room:

  • Ama-Pal Poster
  • Neurotic Researcher
  • Lab
  • Shelf
  • Sleep-Deprived Researcher
  • Monitor
  • Ama-Pal
  • Robot Researcher

When you regain control of Yuma, interact with the Intercom. You then need to drive Ama-Pal to Dr. Huesca’s critical lab. After making it through the toxic gas room, you’ll be posed with the following question: How do I keep stepping on the panels in the right order? The answer is Fubuki’s Ability!

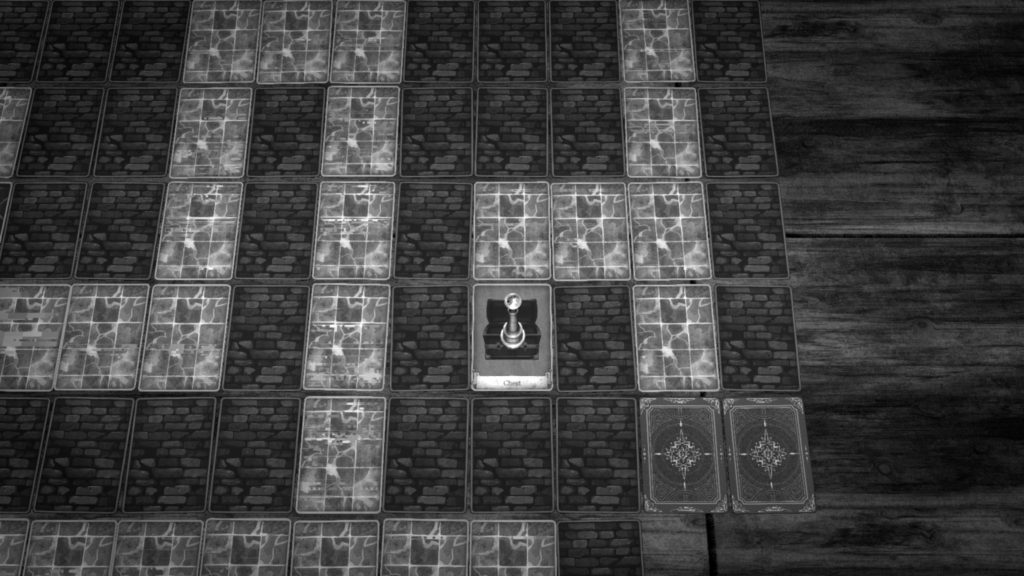
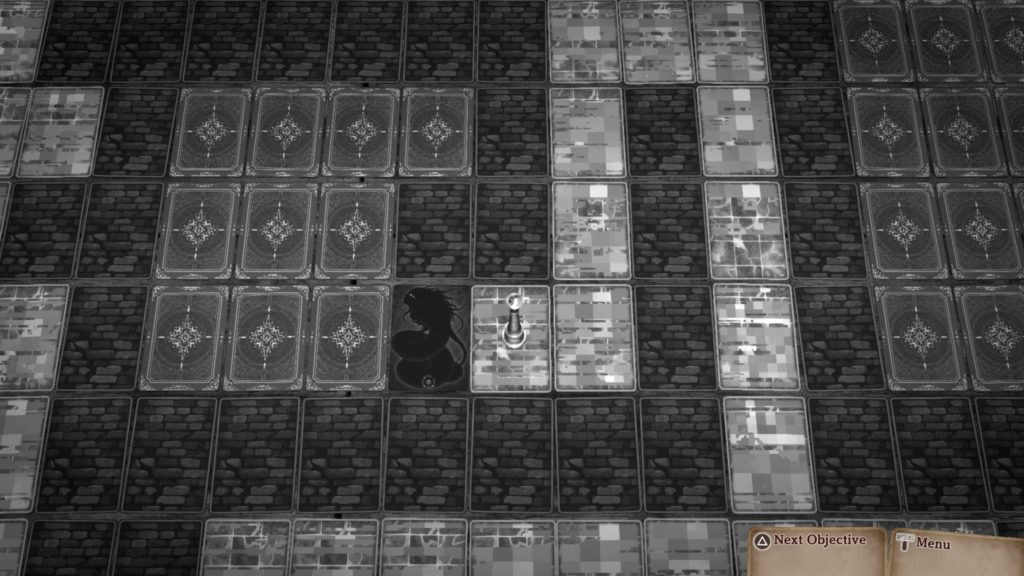
After Desuhiko gives the Panel Room puzzle a try, he’ll give the controller for Ama-Pal back to you. The correct pattern of the panels to step on is as follows:

  • Up
  • Left
  • Up
  • Right
  • Up (towards wall not door)
  • Left
  • Up (Do not set on the left panel in front of the door! Instead head up and walk off onto the narrow pathway.)

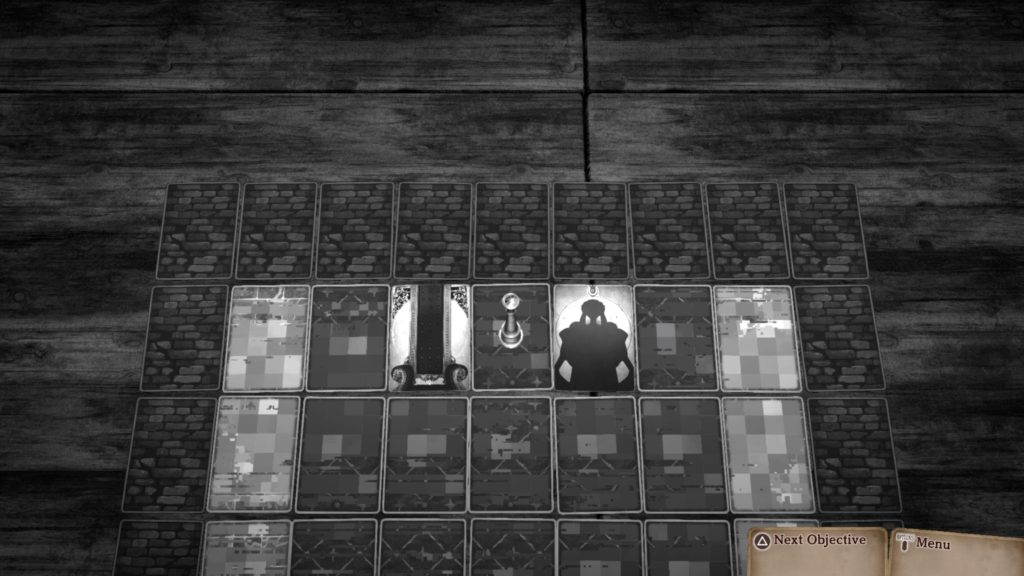
Congratulations! You successfully made it across the room. As you approach the door, a cutscene will trigger. Afterwards, press X to extend Ama-Pal’s arm to the switch then press X to retract it. Maneuver the robot around the door. After the cutscene, interact with the following:

  • Doctor’s Corpse
  • Disarm Button

Press X on the disarm button when prompted. Yuma and his friends will rush in and a long cutscene will trigger. When you arrive in the Amaterasu Lab (Security Room) again, speak with all the detectives. Speak with Fubuki again to progress the story then speak with Vivia to learn about his Forte.

After gaining control of Yuma, pass through the door. Approach the ghosts to receive a tutorial on Spectral Projection. Make your way to the doctor’s lab. You’ll need to follow the paths with the smaller ghosts. Slip past them until you finally reach the lab in the north. Once in the Critical Lab, begin your investigation! Interact with the following items:

  • Front Chamber
    • Intercom
  • Air Lock
    • Decontamination Device
  • Toxic Gas Chamber
    • Toxic Gas Vents
  • Panel Chamber
    • Decontamination Device
    • Door Switch
  • Main Chamber
    • Ama-Pal
    • Doctor’s Corpse
      • Doctor’s Corpse
      • Knife Used as Murder Weapon
    • Medicine Cabinet
    • Doctor’s Computer
    • Doctor’s Notebook
    • Two Peacekeepers
    • Food Cabinet
    • Vent

Once you’ve investigated everything, select to end the investigation. Backtrack to the front chamber and pass through the wall to encounter Vivia. After the long cutscene, return to the Security Room. Follow after Vivia through the door. Another investigation will occur. Inspect the following:

  • Northeastern Hallway
    • Researcher and Peacekeeper
  • Storage
    • Disorganized Files
  • Central Lab
    • Eavesdrop
    • Large Machine
    • Some Sort of Machine
    • Inspection Machine
    • Equipment
    • Lab
    • Two Researchers
    • Shelf
    • Electrical Room
      • Server Equipment
      • Electricity System
      • Researcher and Peacekeeper
  • Northern Hallway
    • Bloodstains on the Floor
    • Houseplant
  • Robot Lab
    • Lab
    • Monitor

Once you’ve checked everything that you could, end the investigation. When you regain control of Yuma, head to the Critical Lab. Approach the Doctor’s Computer then interact with it.

Mystery Labyrinth

Next up is you guessed it… the Mystery Labyrinth!!! When you regain control of Yuma, head down the long hallway. At the end you’ll be presented with your first Mystery Phantom. Take Yomi out using a Reasoning Death Match!

Reasoning Death Match

StatementSolution Key / Repel
There couldn’t be an intruder!Shoe Print of Ama-Pal’s Head
You proved that yourself!Repel
There’s no place to hide in the critical lab!Air Lock Decontamination Device

Mystery Labyrinth Option

Immediately following the Reasoning Death Match, you’ll be presented with a question… Was there an intruder? The answer is Yes! After selecting this answer, continue down the long hallway and pass through the doorway at the end. You’ll reach another question: How did the culprit enter the lab? All 3 answers are incorrect but you’ll need to work through each one. Select each option then use logic to say why it is not correct.

OptionLogic
Deactivated security by cutting powerSecurity Power Supply
Never entered in the first placeStab Wounds in Back
Invited in by the doctorSecurity Log
Entered and killed via Spectral ProjectionGhost Form Traits

Shinigami Puzzle

For this puzzle, the question is “Who” is capable of overcoming the security system? The answer is Am – A – PA – L!

Mystery Labyrinth Options

For the question of “Who are you?” was directed at who?, the answer is No one!

Reasoning Death Match

StatementSolution Key
The doctor was loyal to Amaterasu!The Doctor’s Email Records

Mystery Labyrinth Options

QuestionAnswerSolution Key
How did the doctor plan to escape Kanai Ward?Swapping PlacesThe Doctor’s Notes
The culprit entered the lab before Ama-PalYes

Spot Selection

During this Spot Selection, you’ll be asked where was the culprit before the crime was committed. The answer is the Air Lock (long horizontal rectangle).

Mystery Labyrinth Options

QuestionAnswer
How did the culprit use Ama-Pal?Neither
Where was the culprit before the crime?On top of Ama-Pal’s head
Hod did the culprit use Ama-Pal?As transportation
What caused Ama-Pal to malfunction in the air lock?Culprit jumped on it
Why didn’t the culprit appear on camera?They were on top of the head
When did the culprit get off Ama-Pal?When opening the door

Reasoning Death Match

StatementSolution Key / Repel
If Ama-Pal’s line of sight changed just a bit…Ama-Pal’s Design
It wouldn’t be from behindRepel
He would’ve heard someone coming!Information on Dr. Huesca
No living human can breech itFubuki’s Forte
You’ll die before reaching HuescaToxic Gas Properties
The hitmanRepel

Culprit Selection

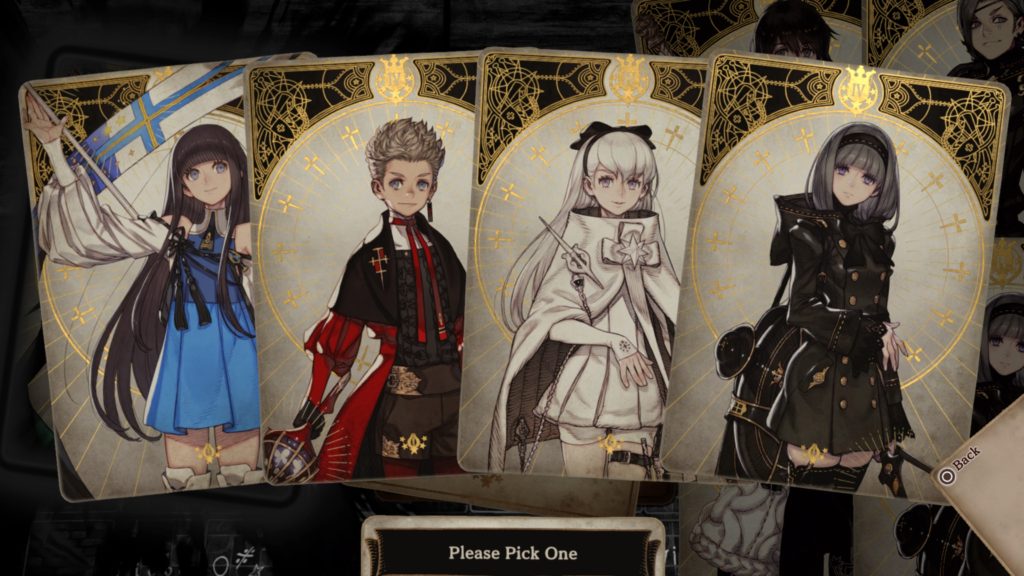
After you defeat both the Mystery Phantom and Vivia, you’ll be posed a question: What was the clue leading to the true culprit? The correct Solution Key is the Photo. Afterwards you’ll need to select the culprit. Choose the middle photo (the one containing Yakou Furio).

Battle with Vivia

For this battle, just press the first prompt that appears. When you get to the question: Who caused the blackout? Wait until you get the prompt for Fink the Slaughter Artist.

Deduction Denouement

With all the mysteries solved, it’s time to put everything together. To solve how the whole crime played out, you’ll need to create the book. The table below lists which Solution Key goes on which page. When you’re done a scene will play out going through the whole incident.

PageSolution
Part 01 Target’s LocationAmaterasu Corporation
Part 02 Crime PreparationsPeacekeepers
Part 03 Lab on High AlertIntercom
Part 04 During the BlackoutDecontamination Device
Part 06 How to Bypass Security (1)Ama-Pal
Part 06 How to Bypass Security (2)Fubuki’s Power
Part 07 Dr. Huesca’s Murder (2)Knife
Part 08 Culprit’s Murder (1)Fink
Part 08 Culprit’s Murder (2)Yakou

After the Deduction Denouement, you’ll be presented with a question: Have all the mysteries been solved? Select Some mysteries remain.

Shinigami Puzzle

QuestionAnswer
The remaining mystery is Dr. Huesca’s _ _ _ _ _E – M – A – I – L

Reasoning Death Match

StatementSolution Key / Repel
It’s solved.Repel
There is nothing connecting Yakou to Anonymous!Lab Map
Anyone could find it!Storage Key

After the long cutscene, speak with Makoto.

Abandoned Building (Rooftop)

Speak with Kurumi.

River Bank

After the long cutscene, speak with Vivia.

Nocturnal Detective Agency

When you’re ready to close out the chapter, speak with Halara then Vivia!

For more guides on Master Detective Archives: Rain Code, click here!

The Quarry
Guides

The Quarry – Chapter 4 Walkthrough

by MrsChappie in


Below is a walkthrough for Chapter 4 of The Quarry. Please note that your choices, QTEs and collectibles found will impact the story. We highlighted the options we chose during our playthrough in orange. Keep in mind that we kept everyone alive and collected as many collectibles as we could!


When Ryan is with Nick, you’ll have the below choices.

  • Press X to Apply pressure?


  • Smash X


  • Frustrated “You’re an idiot”
  • Dismissive “Why”


  • Press X to Call out


  • Press R2 to shoot (We chose not to shoot because it’s Jacob!)


  • Press R2 to shoot (We chose not to shoot because it’s Jacob!)


  • Questioning “What happened to you?”
  • Concerned “Where’s Emma?”


  • Press X to Let Go (We did not choose this as Jacob wasn’t the best shot earlier.)


When you’re Emma, head down to the end of the dock that’s behind you. A quick scene of someone using binoculars across the lake will play. When it concludes, keep heading to the end of the dock.

When the camera angle changes, you’ll be able to grab The Magician tarot card. Keep pressing forward. As you approach the tall staircase leading up, a cutscene will trigger. At this fork in the road, head to the path on the right of the stairs.

Walk forward to get the below choice.

  • Aggressive “Actually no, we’re not cool”
  • Reflective “It’s better as a memory”


Follow the path a short ways hugging the left side to find a campfire across from a ladder. Inspect it to receive the Box of Matches clue.

Backtrack to the tall stairs instead of interacting with the ladder and take them up. Follow the path until a cutscene triggers with the below choice.

  • Annoyed “Jacob’s problem…”
  • Compassionate “I hope Abi’s okay”


Continue all the way to the treehouse. Before interacting with the door, interact with the window to the left of the door to receive the Police Car Keys clue.

Now interact with the door to head inside the treehouse.

  • Open Trapdoor
  • Search Bag


  • Use Bear Spray
  • Use Taser


  • Press X to Take Photo (In taking the photo you’ll receive the Attack Photo evidence.)
  • QTE: Down
  • Smash X


  • Run
  • Spray


  • QTE: Up
  • QTE: Up


  • Block Door
  • Use Trapdoor


  • Use Bear Spray
  • Use Trapdoor


  • QTE: Down
  • QTE: Down
  • Smash X


Don’t sit back and relax quite yet once it switches over to the other Hacketteers! When the door opens to the lodge, quickly spam the X button to receive the Strength tarot card!


You’ll also have the below choices!

  • Optimistic “I hope they’re gonna be okay”
  • Cautious “Do you think it has their scent?”


  • Hopeful “That’s good news!”
  • Paranoid “You don’t know that”


  • Determined “Call the cops”
  • Curious “Do we have to be specific?


  • Dismissive “You sure you didn’t hang up?”
  • Suspicious “That’s weird”


  • Aggressive “You gotta be crazy”
  • Calm “Only temporary” 


  • Defensive “Does she need it?”
  • Aggressive “Give her your gun”


  • Keep Gun
  • Give Gun


When you’re Emma again, you’ll have the below choices.

  • Reel Slowly
  • Reel Quickly


  • Press X to Speed Up? (We did not press this as we did not want it to make a lot of noise!)


With that, this chapter will conclude! The old woman will speak to you. Select either option.

  • Move On
  • See More


Click here for the next walkthrough for Chapter 5 in The Quarry!


Voice of Cards The Forsaken Maiden
Guides

Voice of Cards: The Forsaken Maiden – Chapter 4 The Tale of Omega Village Walkthrough

by MrsChappie in


Below is our walkthrough for Chapter 4 – The Tale of Omega Village in Voice of Cards: The Forsaken Maiden.


Spirit Spire

After completing The Tale of the Onyx Maiden, head to the altar on the second level of the Spirit Spire. During the cutscene, select that you do indeed want to see what lies beyond the door. When it concludes, exit the spire and enter the Spirit Realm.


Heart Domain

Once in the Spirit Realm, travel northwest near Burdenburg to continue exploring the map. Head around the northern part of the map then you’ll head south to find the Onyx Spirit’s Stela. You’ll have to interact with it in order to proceed. Afterwards, head into Land of Woe.


Land of Woe

Once in the Land of Woe, head to the southeastern corner to pick up the below chest.


Treasure

Ring of Protection II – Southeastern corner


Afterwards, make your way to the northeastern area to find a Lethargic Man.

Interact with him to trigger a fight with 3 The Callow enemies that have 65 HP. Defeat them then head north to find Glutton. Interact with his card to trigger a fight with 3 enemies that have 69 HP each. Defeat them then work your way towards the center of the area. Here you’ll find a familiar pair. Interact with the Crimson Maiden and her attendant.

After the cutscene, travel to the southwestern corner to find a Man Looking for Love.

Land on his card to trigger a fight against 2 The Gazing enemies that have 80 HP each! Defeat them then make your way to the northwestern corner to find a Woman in Want of Wealth. Land on her card to battle 3 enemies that have 67 HP each! Defeat them then head north to the door. Enter through the door and go up the stairs to the Land of Woe: Middle.


Once in the Land of Woe: Middle, head directly south to find a shadowy Desire. Interact with the card to begin a fight with 2 enemies that have 90 HP each! They are weak to Wind. Defeat them then head to the eastern door and proceed through it. Head to the northeastern side and interact with the butterfly shade card to trigger a fight with 3 The Turbulent enemies that have 63 HP each. Defeat them! Afterwards, continue around the northeast to find the below chest at a dead end!


Treasure

Quality Omnisalve – Northeastern corner at a dead end


Next, backtrack through the door on the western side and head through the next door in the south. Head directly south to find a shadow card.

Interact with it to begin a battle with 2 The Glaring enemies that have 94 HP each. Defeat them then make your way to the southwest side of the room to find the below chest!


Treasure

Inspirilixir – Southwestern corner


Continue swinging around the circle to find the next door and interact with it to proceed forward. Head directly west to find a Man Consumed by Desire and interact with his card.

Afterwards, fight and defeat the 2 The Wrathful enemies that each have 100 HP! Upon defeating them, a new path directly to your south will open. Head there to continue forward. Continue following the path until you reach a set of stairs leading to the Depths. Enter the Land of Woe: Depths then make your way south to encounter The Torpid card. Interact with it to begin a fight with 3 of them! They all have 72 HP. Defeat them then continue exploring the area to find the below chests.


Treasure

Supreme Salve – Southern The Land of Woe: Depths


Large Soothstone – Eastern The Land of Woe: Depths


Afterwards, head to the center part of the area where you’ll find The Reptant card.

Interact with it to begin a fight with 2 of them. They both have 110 HP! Defeat them of course then continue past them to find a set of stairs and take them to arrive at the Land of Woe: Throne Room. Continue straight ahead and interact with the mysterious card.

After the cutscene, approach the Queen again to trigger a fight with an enemy that has 300 HP and likes to Freeze your party! After defeating the shadow, the queen will ask you the below questions. Answer however you’d like as all the choices are incorrect!

  • What medicine does Laty hate most?
    • Salve
    • Antidote
    • Curative
    • Inspirilixir
  • What monster does Laty fear most?

  • Who does Laty hate most?

After the quick cutscene, you’ll be expelled from the Heart Domain.


Spirit Spire

Once you’re teleported back to the Spirit Spire, speak with Lac. Afterwards, leave the spire.


Omega Isle

After the cutscene, make your way to Omega Village. Once in the town, head up to the Elder’s House to speak with the mayor. Exhaust all the dialog options then leave the town. Make your way to the southern pier to trigger a cutscene followed by a boss fight with the Isle Eater. There will be 3 parts you need to defeat. Two have 120 HP and one has 360 HP! All 3 of the enemies like to inflict Paralysis so watch out! When the monster’s HP gets under 100, a cutscene will trigger. Afterwards, the fight will continue right where you left off. After you defeat it, speak with Greith in Omega Village. Exhaust all the dialog options to complete the chapter.


Guides

Ys IX – Chapter 4 Walkthrough

by Chappie in


Main Gates

Quests

  • Bathhouse Debauchery
    • Obtained: Bulletin Board during Chapter 4
    • Objective: Search bulletin board near the public baths
      • Head to the bulletin board in the Main Square across from the bathhouse to locate Old Man Guindeau. Speak with him then inspect all the windows on the roof on top of the receptionist area. Afterwards, head to the top and check all the chimneys. Return to Old Man Guindeau and speak with him to complete the quest.
    • Reward: Blinding Bangle
  • Prison Rescue
    • Obtained: Bulletin Board during Chapter 4
    • Objective: Visit Parks in basement of Dandelion
      • Speak with Parks in the basement of Dandelion and agree to help the young girl escape. Next, head to the Central District and speak with Maxim. He’ll want you to get the latest tabloid and 500 Gold. Speak with Marie near the bulletin board at the Main Gates to receive the tabloid then return to Maxim once you have the 500 Gold. After the cutscene, follow the path through the hallway and down the stairs to reach the North Wing – Roof. Once on the roof, pull the lever behind the door to raise the wooden plank allowing you to continue down the stairs. After enter the large room, examine the barrel with scrolls sticking out of it on the right side of the room to obtain the Prison Floor Plan. Head through the double doors to the left and Adol will notice a sound. Enter the storage room on the right and interact with the pot in the back of the room to trigger a cutscene. Xavier will lead you through the West Dumping Ground. Avoid the traps and defeat the enemies as you proceed through the area. Eventually you’ll arrive in an archive room. Inspect the bookshelf near the two tables to find a book on the prison. This will trigger a cutscene. Adol and party will receive a map of the prison. Take it to Parks in the basement of the Dandelion then speak with him when you’re ready to begin the rescue mission. Once inside the prison, work your way to the Head Office to trigger a cutscene. During the cutscene, convince Iris to return with you to the bar. After this cutscene ends, the quest will complete.
    • Reward: 2500 Gold
  • Wanted: Maretudos
    • Obtained: Bulletin Board during Chapter 4
    • Objective: Subdue Maretudos in Cloaca Maxima
      • Travel to Cloaca Maxima – Depths then defeat the 3 Maretudos (large frog-like monsters) in the room ahead. When you defeat the enemies, exit the dungeon and travel to the Central District. Speak with Aprilis in the giant tower west of the Pendleton Company to complete the quest.
    • Reward: Fool’s Gloves


Shops

  • Silhouette’s Errand Runs


Central District

Quests

  • One in a Bouillon
    • Obtained: Speak with Chante and Roscoff near the Le Bistro Blanc during Chapter 4
    • Objective: Gather intel on ingredients
      • Head to the Agricultural District and speak with Susie. Next, travel to the Main Square – Marketplace and speak with Philippe on the dock. Afterwards, head to the Pendleton Company in the Central District and speak with Carla. After the conversation, return to Chante and Roscoff to complete the quest.
    • Reward: Bouillabaisse Recipe


Treasure Chests

  • 1000 Gold
    • This chest is available after unsealing northern Main Square. Head to the area with the tree shading a park bench and jump over the fence to land on a ledge below containing the chest.


Prison

Graffiti

  • Watchtower 2F – On the wall as you head down the flights of stairs


Treasure Chests

*The chest in the high nook between the 2 levers in the center of this area is inaccessible at this time. You’ll be able to reach it in Chapter 5.

  • West Dumping Ground – Raisins x3
  • West Dumping Ground – 3000 Gold

    • To reach this chest on the left side of the room, flip the lever raising the drawbridge that you just walked across then jump down and head back up the crumbled wall. At the top, make your way to the raised drawbridge then do a sprint jump to reach the top of the drawbridge. Once you make it, jump to the other side of the room to find a switch. Stand on the switch then jump your way to the chest.
  • West Dumping Ground – White Nut x3


Waterfall Storeroom (hidden area)

*To reach this area, head to northern Main Square near the circular gazebo. Make your way to the graffiti on the wall near the waterfall. Jump on the ledge to the left of the graffiti then jump into the waterfall to locate a hidden path leading to the Waterfall Storeroom.

Treasure Chests

  • Strength Elixir


Hieroglyph Commandery

Azure Petals

  • On the statue on the bridge behind the Relief Tile

  • On wood jutting out from the top of the large building next to the Relief Tile

  • From the Relief Tile, head north to find the petal on top of a stone pillar.

  • At the very top of the outer wall in the northern part of the area

  • On wood jutting out from the north side of the main building

  • On an inward balcony on the outer wall in the northern part of the area

  • In the grass on the south side of the main building

  • On the fountain in the southern part of the area near the Dry Moat Ruins

  • On the southern part of the main building on a stone column sticking off the side

  • Along the river’s edge in the northern part of the area, look for the maid kneeling next to the cat and follow the waterline north hugging the edge past the chest to find the petal.


Graffiti

  • From the Relief Tile, head north to find the graffiti on the last stone pillar in a set of 8.


Treasure Chests

  • Grimnut x2
  • Tomato x5
  • Red Meat x5
  • Sedative x2
  • 1000 Gold


Artisan Lane

Azure Petals

  • On stone tower next to the road leading to the Entertainment District

  • On the roof of a building overlooking the Relief Tile

  • In a tree next to a wagon near the bridge leading to the Central District

  • On the top of the peak of the building southeast of Marcel’s Smithery

  • On the wood jutting out of the side of the building southeast of Marcel’s Smithery

  • On the roof of Marcel’s Smithery

  • South of Marcel’s Smithery under an overhang containing a fire

  • On a stack of barrels outside of a building between Rijndael Antiques and Marcel’s Smithery

  • On a balcony behind Rijndael Antiques

  • On a stack of stones behind a building with 2 sheep signs diagonally from Marcel’s Smithery

  • On a stack of barrels in the southwestern part of the area near the long building

  • 3 in a giant tree in the southwestern part of the area near a long building

  • In a bush at the top of some stairs leading to the upper level of the area

  • In a Romun storage shack

  • In the Memorial Tree landmark

  • At the top of the outer wall in the central western part of the area near a long building


Graffiti

  • On the bottom right side of the stone tower next to the road leading to the Entertainment District

  • On the side of a building next to a giant tree with a wagon near the bridge leading to the Central District

  • On the side of a building at the top of an archway above the waterfall

  • Above wood jutting out of the side of the building southeast of Marcel’s Smithery

  • Facing Marcel’s Smithery, it is located on the left side of the building behind a streetlight next to some barrels.

  • On the side of a building under a blue rug hanging from a balcony

  • On a balcony behind Rijndael Antiques

  • On the side of a long building in the northwestern part of the area

  • On the side of a building in the alley between 2 buildings northwest of Marcel’s Smithery


Landmarks

  • Memorial Tree


Quests

  • Chapterhouse Repairs
    • Obtained: Speak with Knight Huon in the Artisan Lane in Chapter 4
    • Objective: Check out the damages around the commandery
      • Head to Hieroglyph Commandery then make your way up to the roof of the main building and inspect the wooden lift. Next, travel north near the waterfront passing a maid playing with a cat to interact with a cut banner on the ground. Afterwards, head to the southern side of the area to inspect a broken column. After inspecting all 3 items, you’ll automatically return to Knight Huon to complete the quest.
    • Reward: Strength Elixir


Shops

  • Marcel’s Smithery
  • Rijndael Antiques


Treasure Chests

  • 1500 Gold
  • Smoked Meat x2
  • Life Elixir
  • Nors Bleu x2
  • Antidote x2
  • White Asparagus x5
  • Red Meat x5
  • Red Cheese x2
  • 1500 Gold
  • White Meat x5
  • Tomato x5


Agricultural District

Miscellaneous 

After collecting all the graffiti from Artisan Lane, head to the fence containing the animals and inspect the spot to receive 2000 Gold.


Estatte Road

Landmarks

  • Springwater Reservoir


Materials

  • Aromatic Lumber
  • Chamomile
  • Copper Ore
  • Glossy Leaf
  • Iron Ore
  • Small Leaf
  • Spirit Lumber


Monsters

  • Channam
  • Ratni
  • Lubregia


Treasure Chests

  • Heal Potion
  • White Meat x5
  • Aromatic Lumber x5
  • Eagle Feather
  • Bitter Remedy
  • Black Belt
  • Ultradense Bone x2
  • Defense Elixir
  • 800 Gold
  • Grimnut x2
  • Iron Ore x5
  • Red Meat x5
  • Red Cheese x3
  • Antidote x3
  • 800 Gold
  • Panacea


Concealed Path

Materials

  • Aromatic Lumber
  • Copper Ore
  • Glossy Leaf
  • Iron Ore
  • Small Leaf
  • Spirit Lumber


Monsters

  • Culeiyo
  • Mudhu
  • Mushahr
  • Tarantiel
  • Tarantiel Egg
  • Veidon


Treasure Chests

*You’ll need to use Doll’s gift to reveal some of the below chests. Some chests are hidden behind walls that are openable via pressing stones and others are concealed behind vines.

  • Vortex Grimoire
  • Tarantiel Thread x2
  • Panacea x2
  • Iron Ore x6
  • 800 Gold
  • Nors Bleu x2
  • Rakshasa Bangle
  • Smoked Meat
  • Dark Drop x6
  • Tempest Elixir
  • Chamomile
  • 1600 Gold
  • Shadow Shoes
  • Sparkling Leaf x3
  • Blue Bandana
  • Blinding Bangle


Click here for the next guide on Chapter 5!!