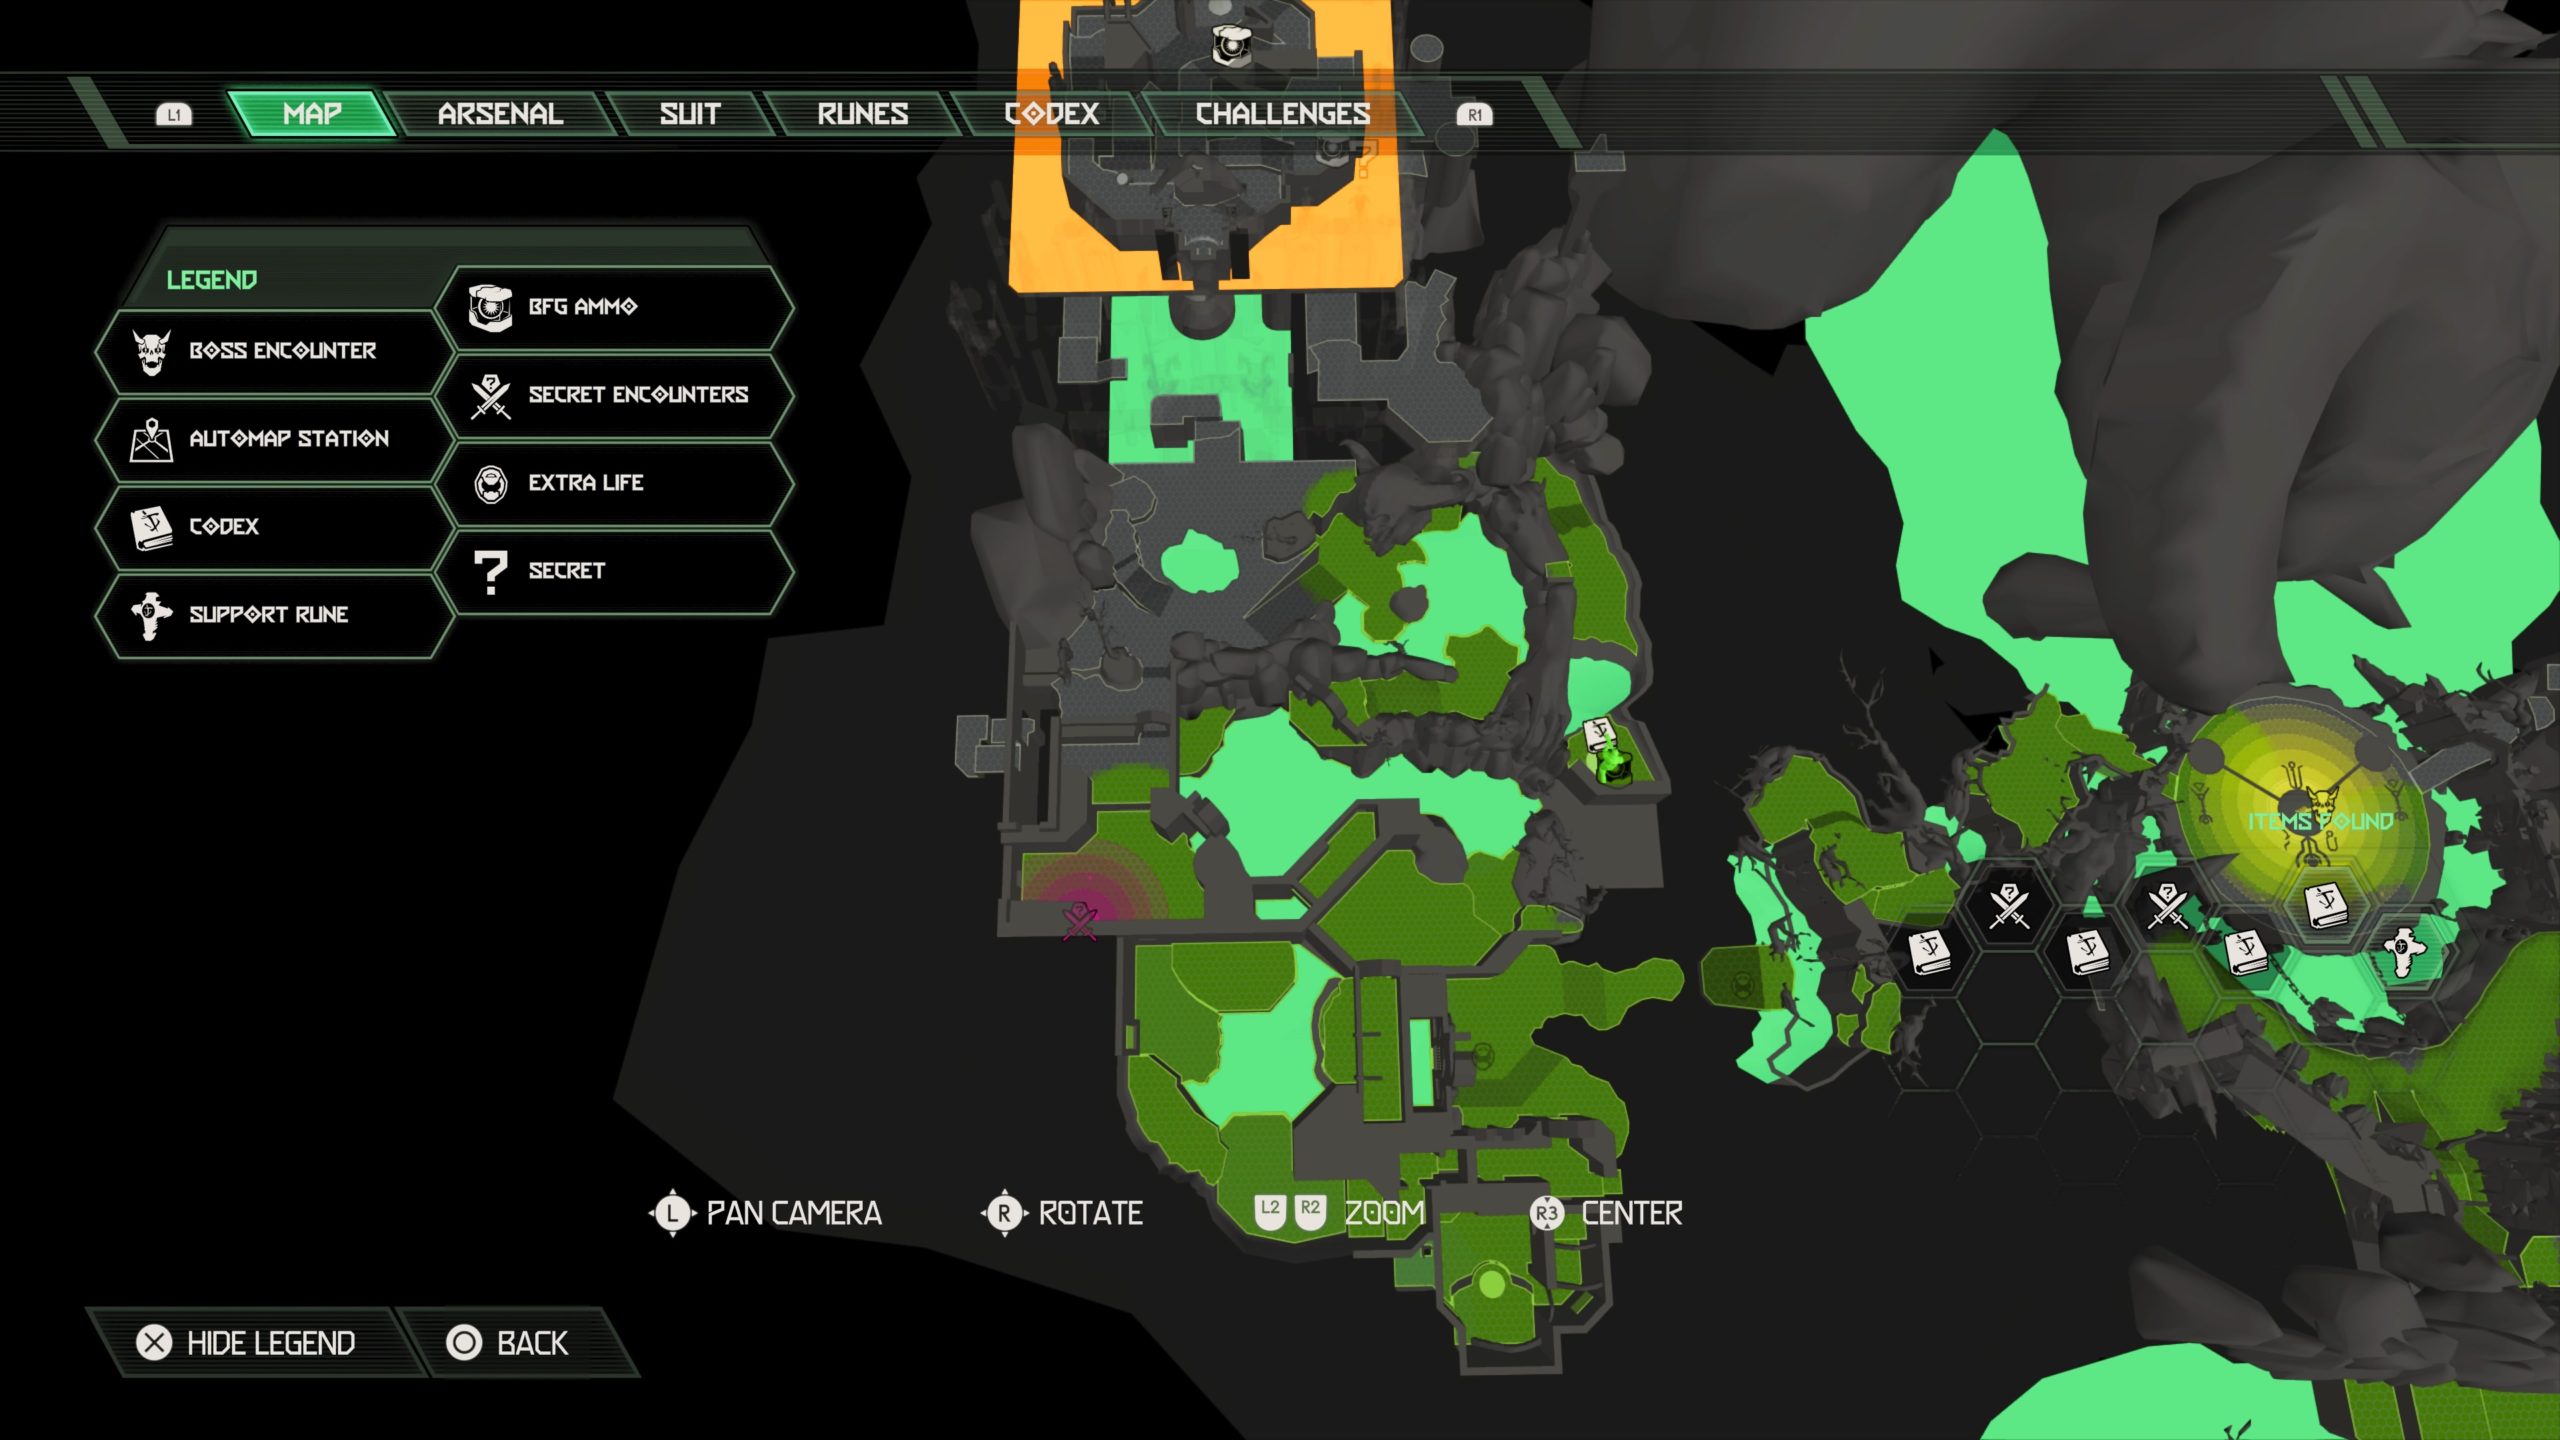
Below are the collectibles that can be found during The Holt campaign in Doom Eternal: The Ancient Gods Part 1. You will need to collect the codex pages to earn the Required Reading trophy and the Support Runes for the Lucky Charm Bracelet trophy. Locating all the secret encounters will reward you with the Hypersonic trophy!
Resurrect the Dark Lord
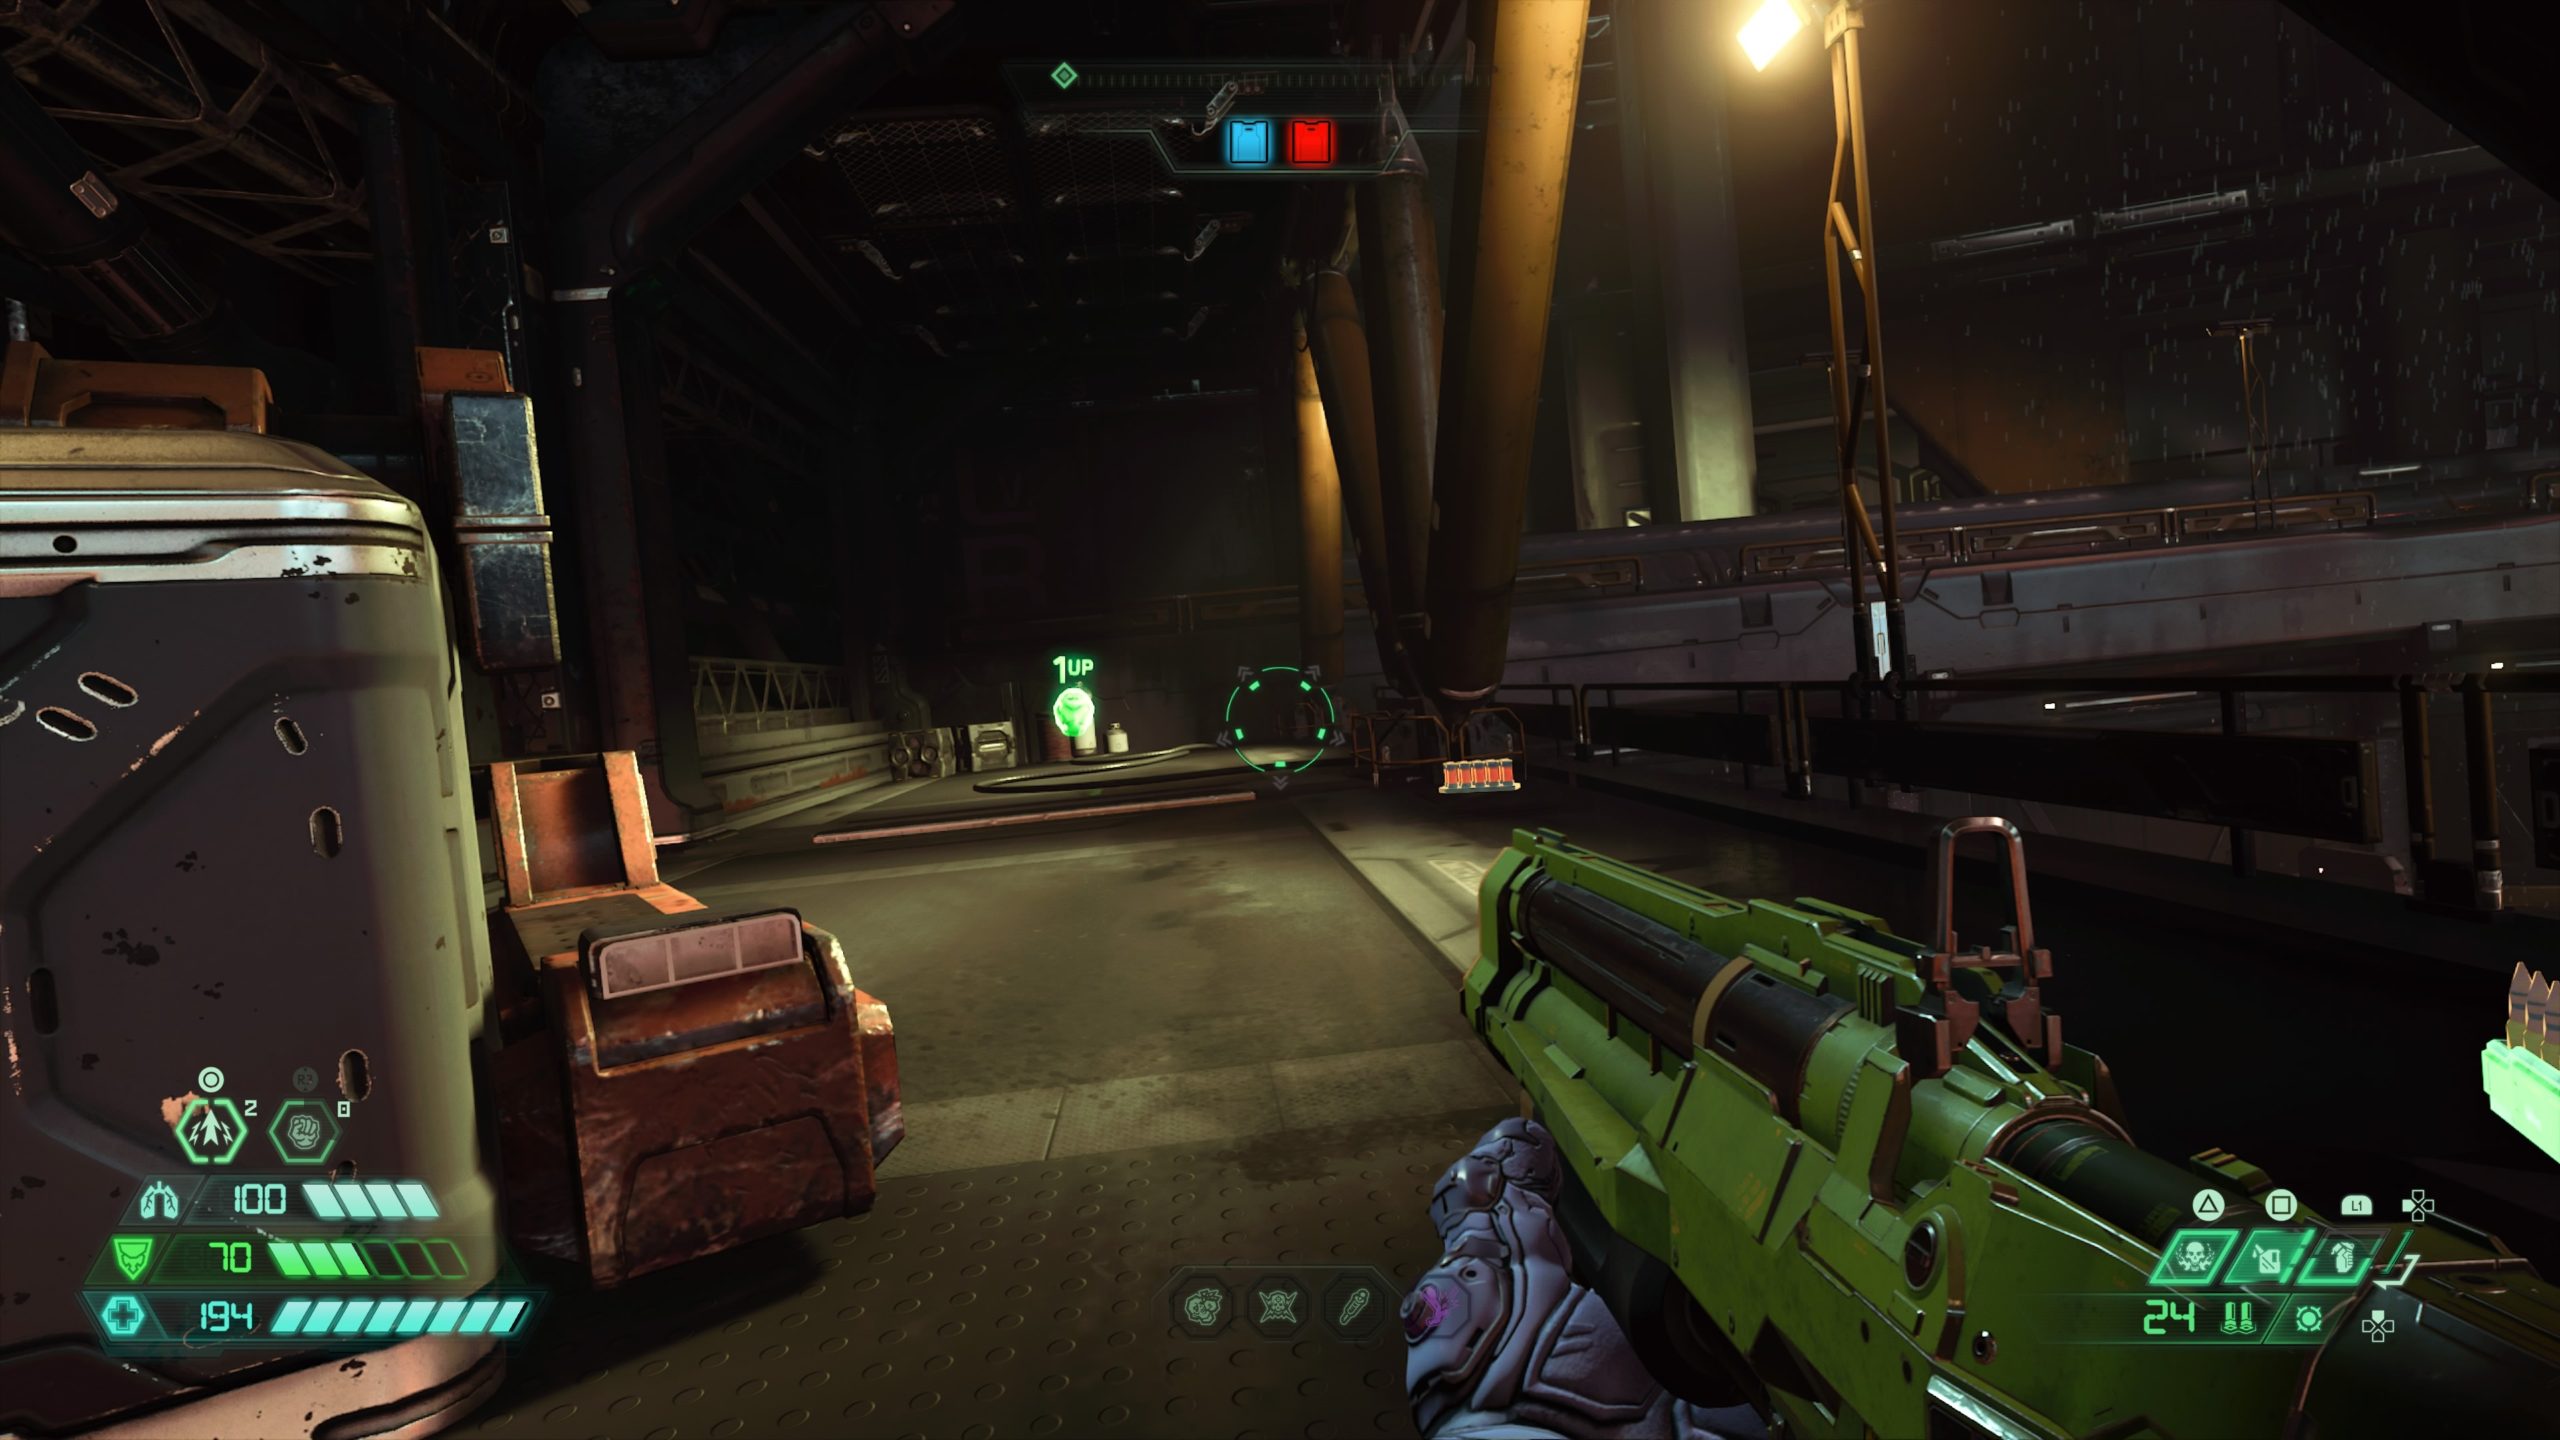
Extra Life
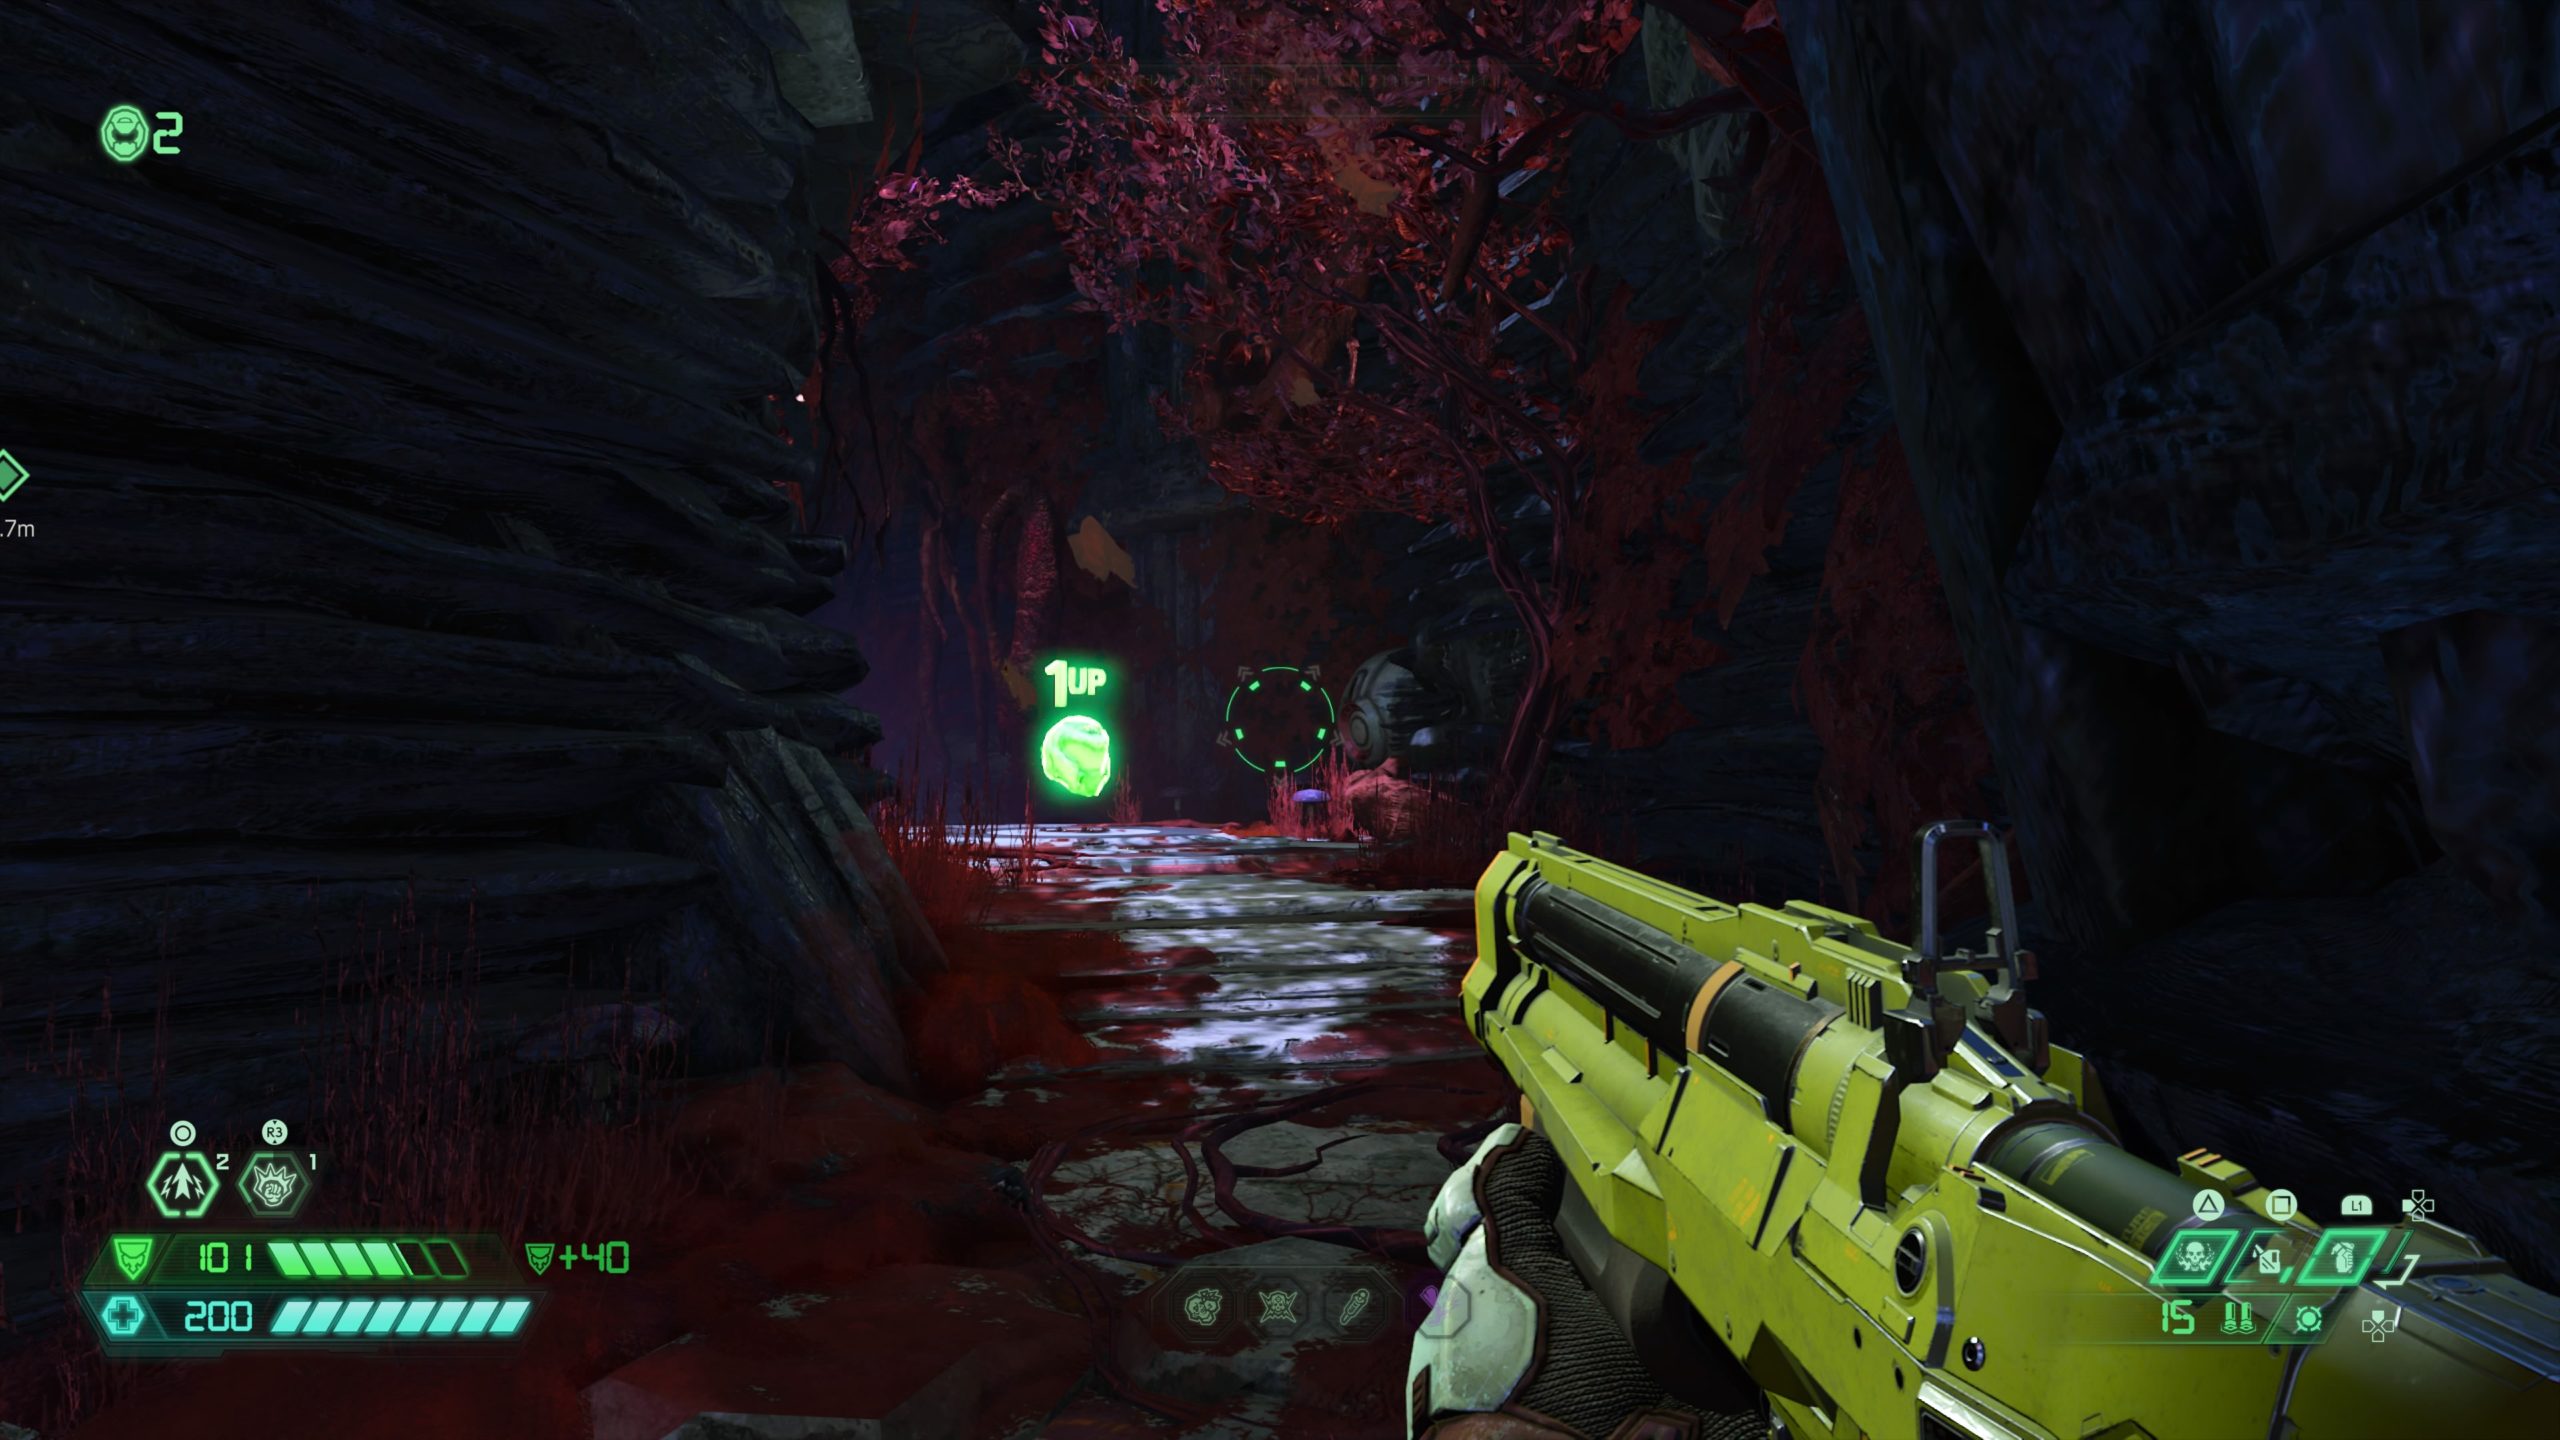
When you reach a dead end with a waterfall where you will need to melee a dead tree to create a path forward, turn around to find a ledge off to the right. Climb up it to find the extra life.
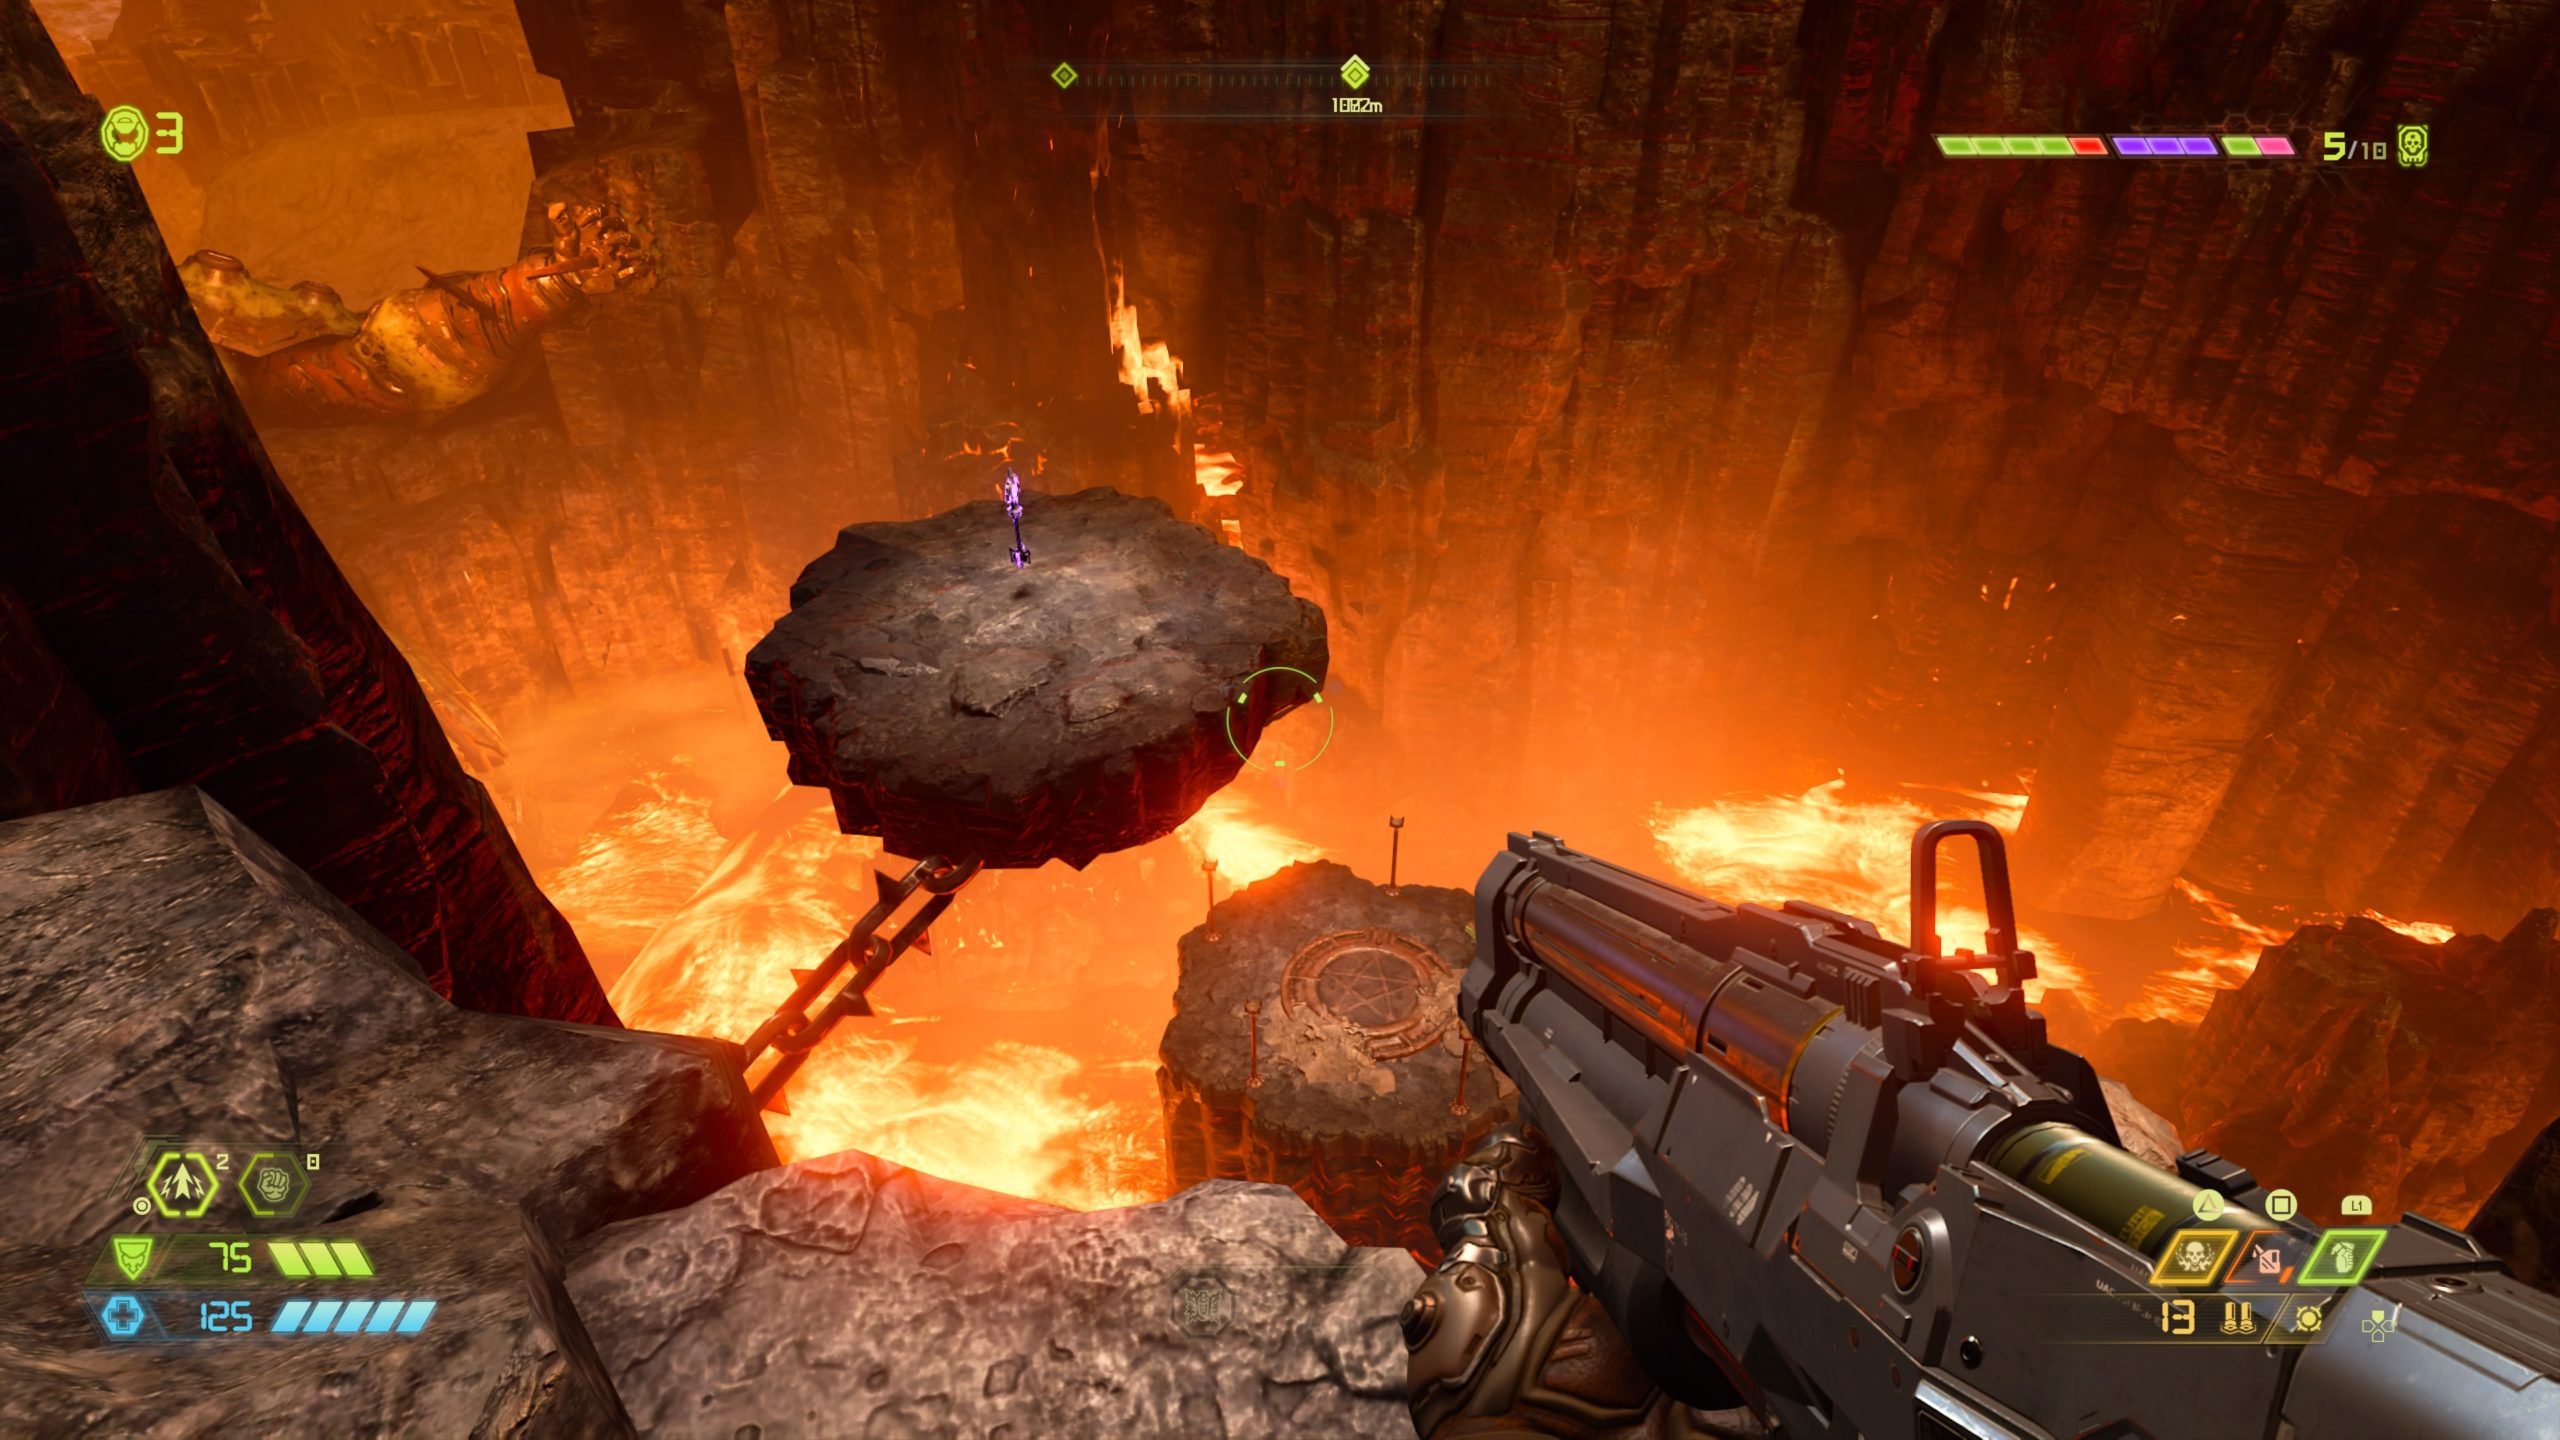
Slayer Key
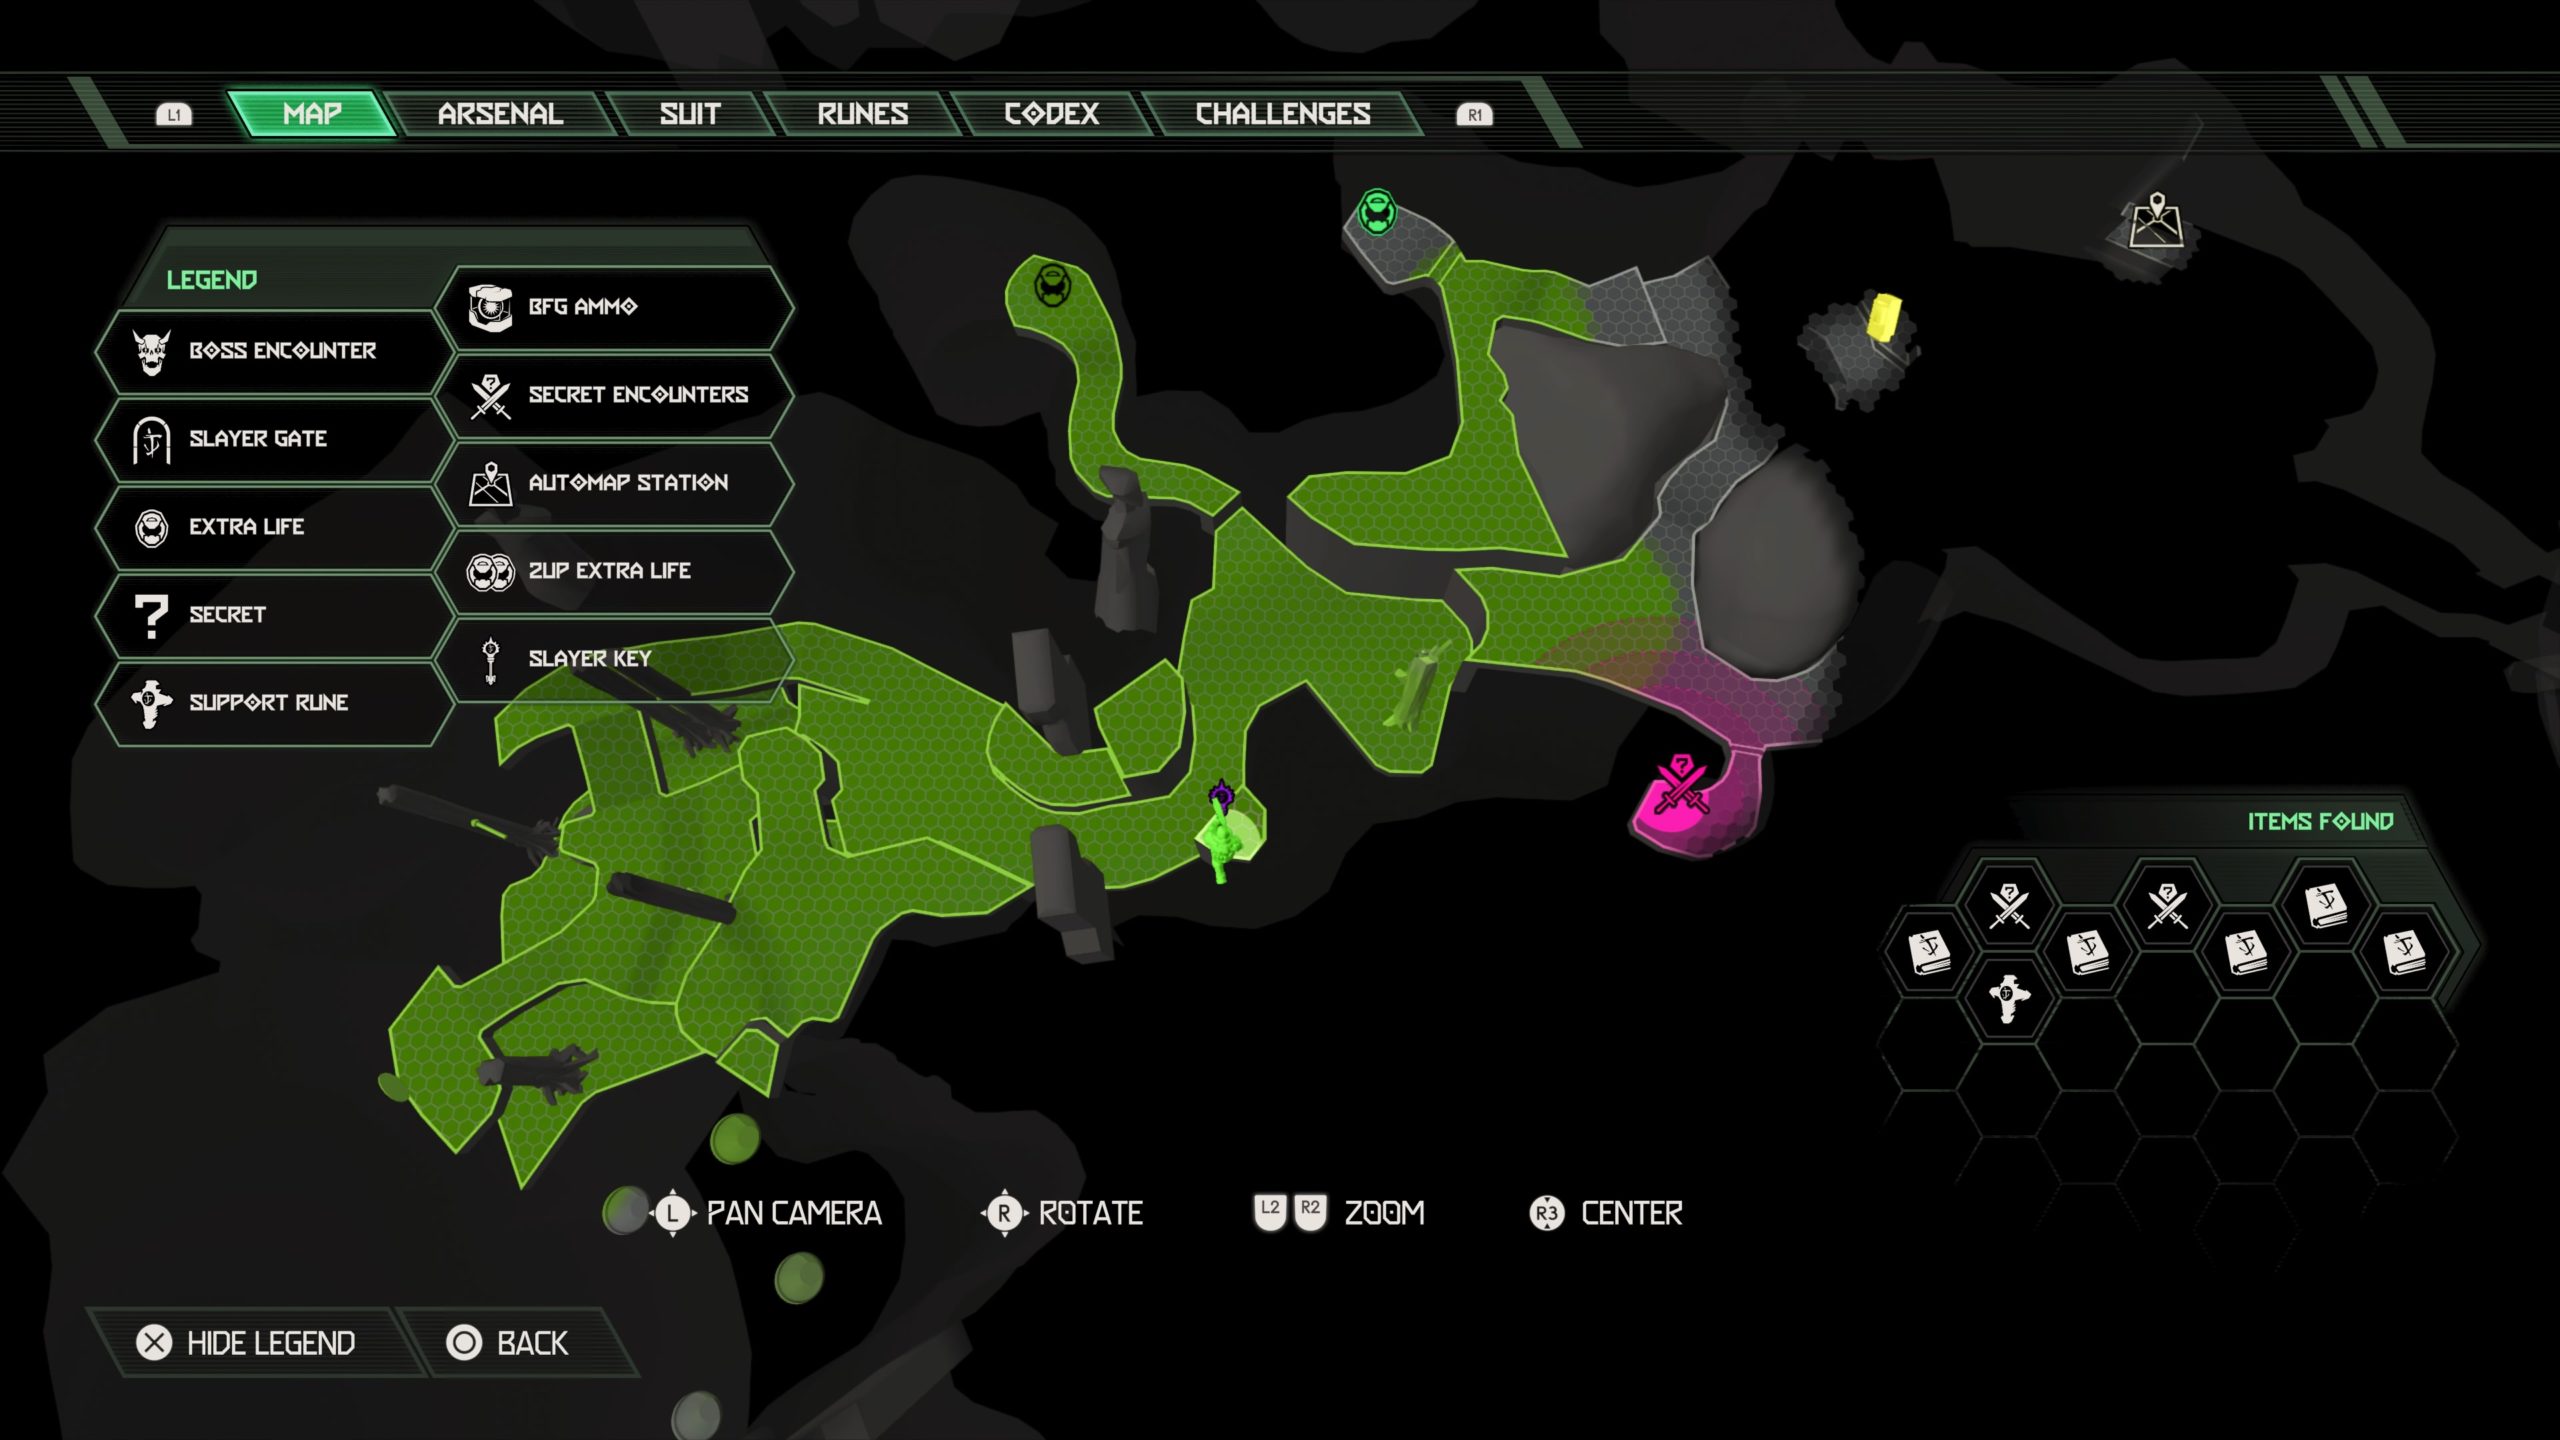

From the above tree trunk, climb up the trunk to reach the top of the waterfall. From there look to the left to find a ledge you can climb up. At the top, take a left and jump across the gap to reach a rock platform. Jump across the small gap to reach the key.
Extra Life
From the above tree trunk, climb up the trunk to reach the top of the waterfall. From there look to the left to find a ledge you can climb up. At the top, head forward and melee the breakable wall at the end of the path to reveal a cave which contains the extra life.
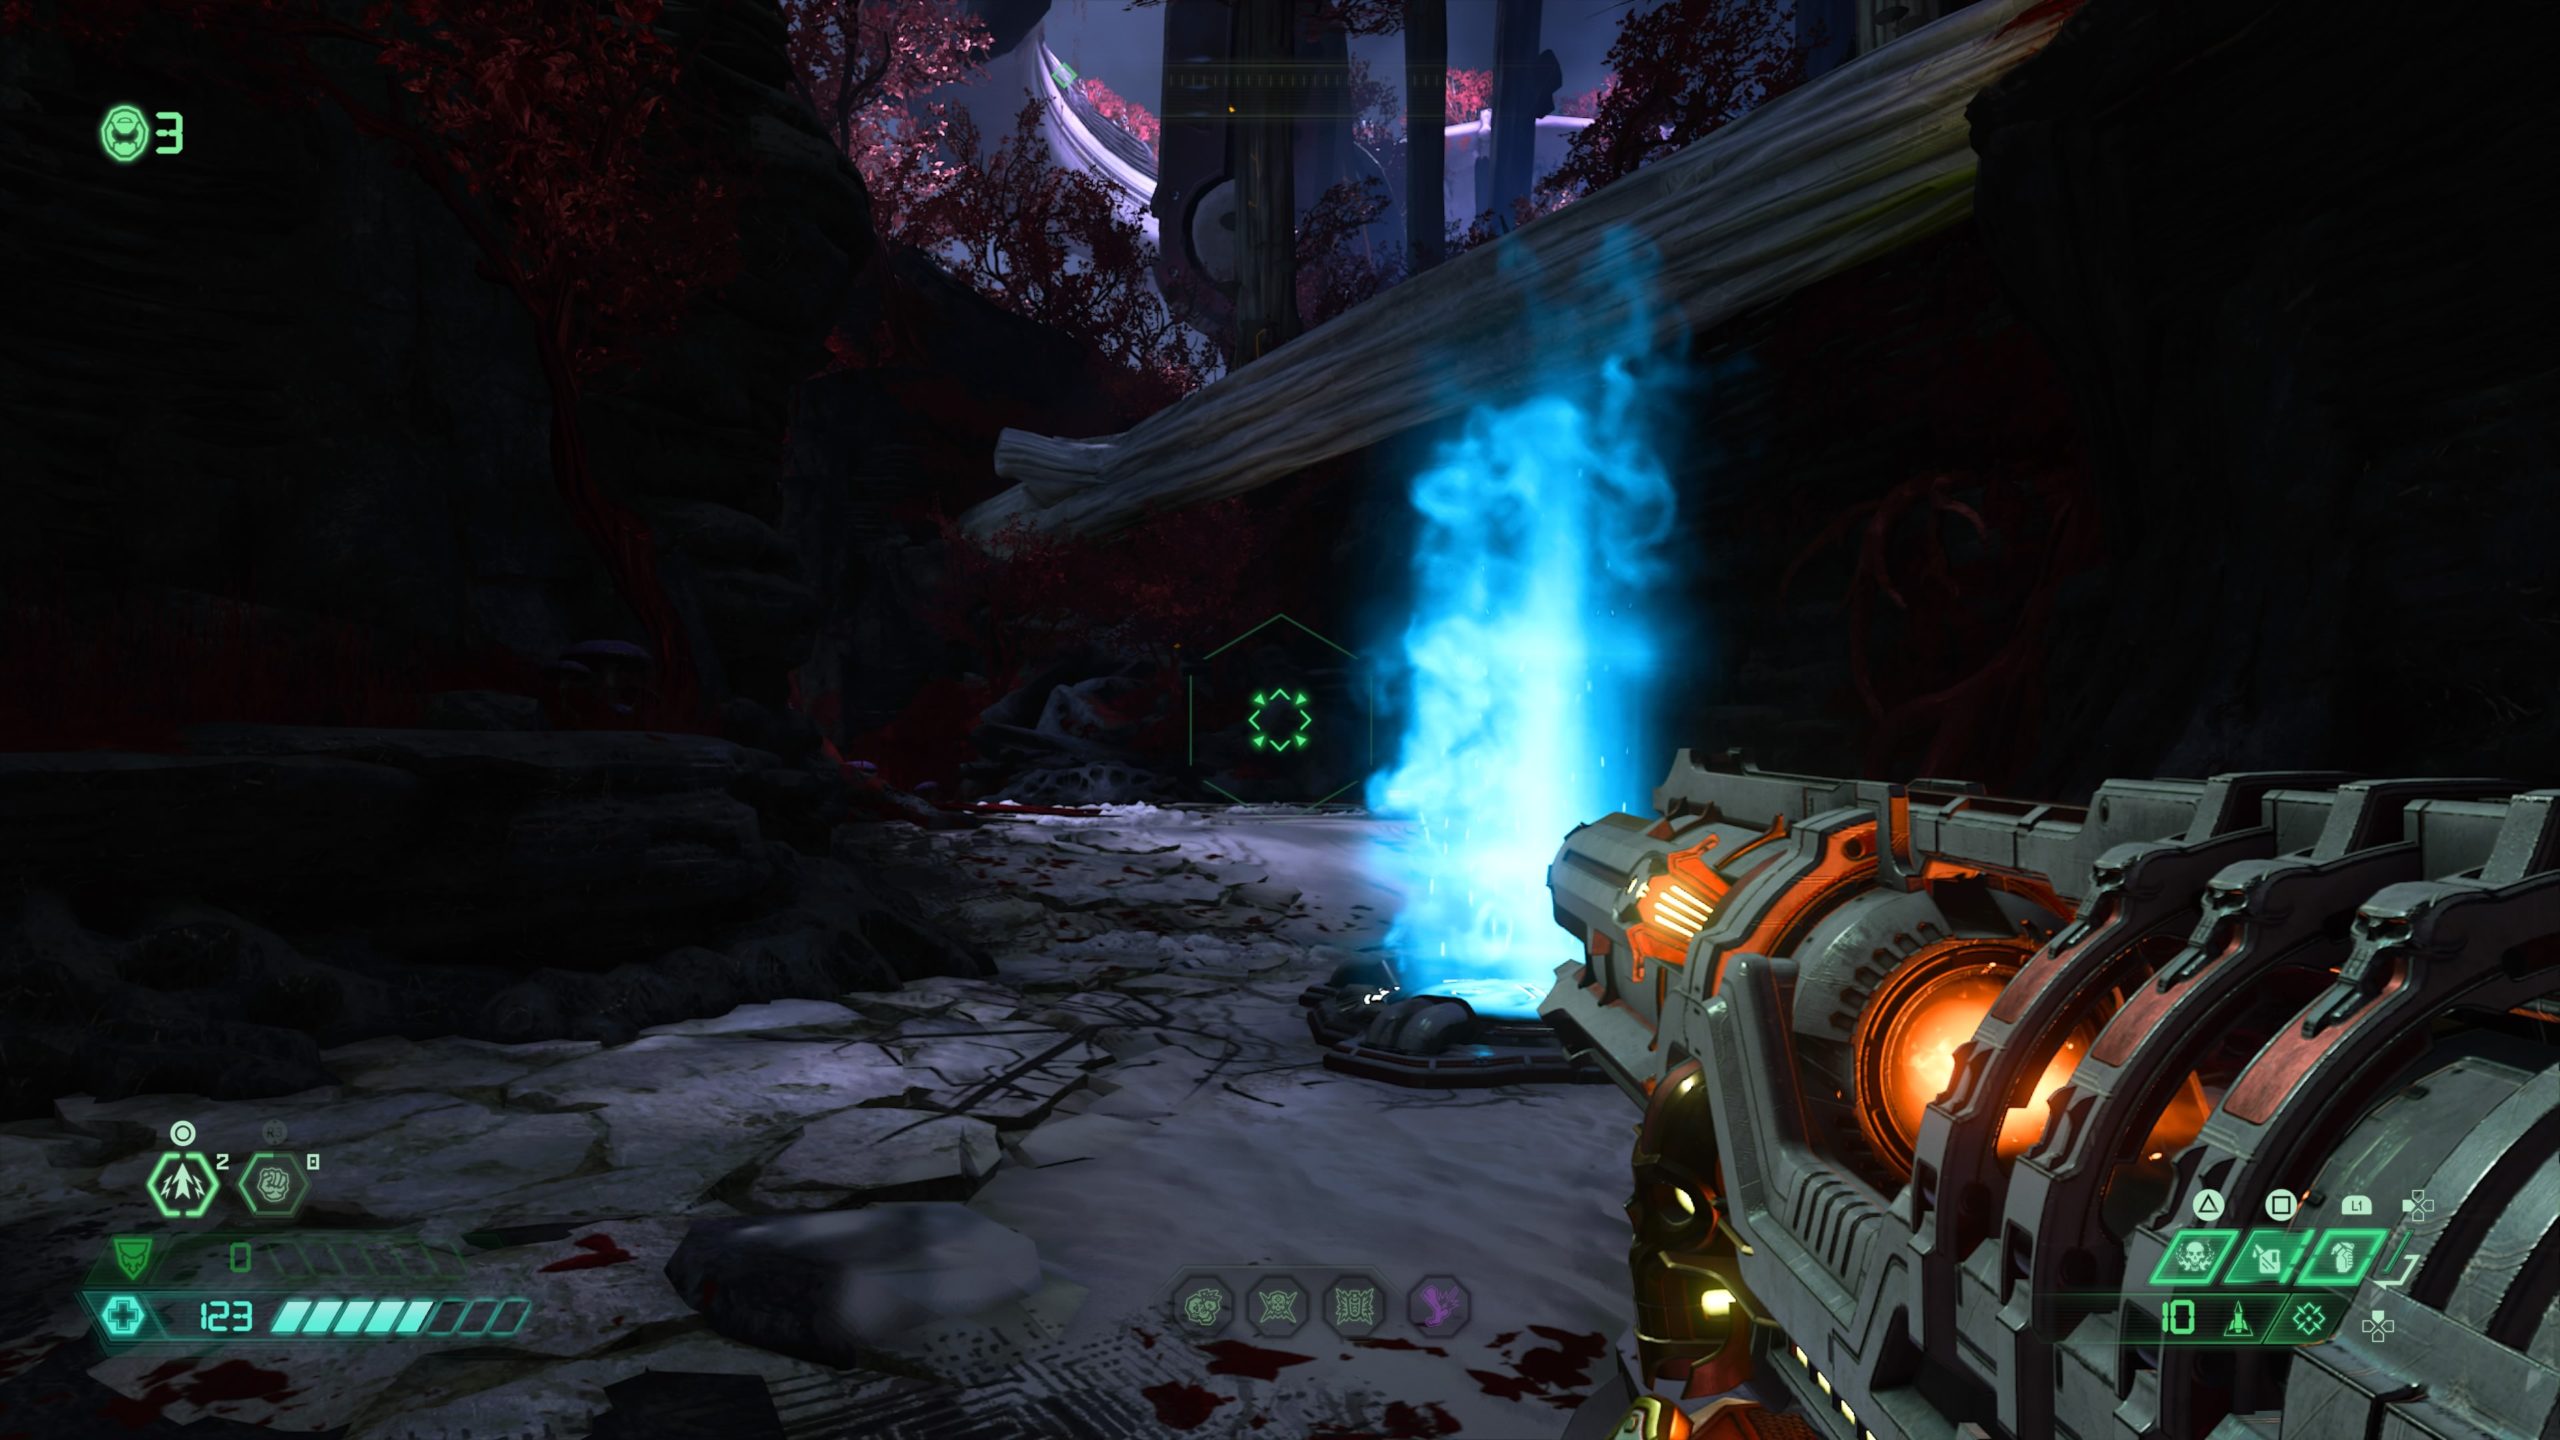
Secret Encounter

From the top of the waterfall, follow the path along the water to find a breakable wall on the right side. Melee it to reveal a cave containing the encounter.
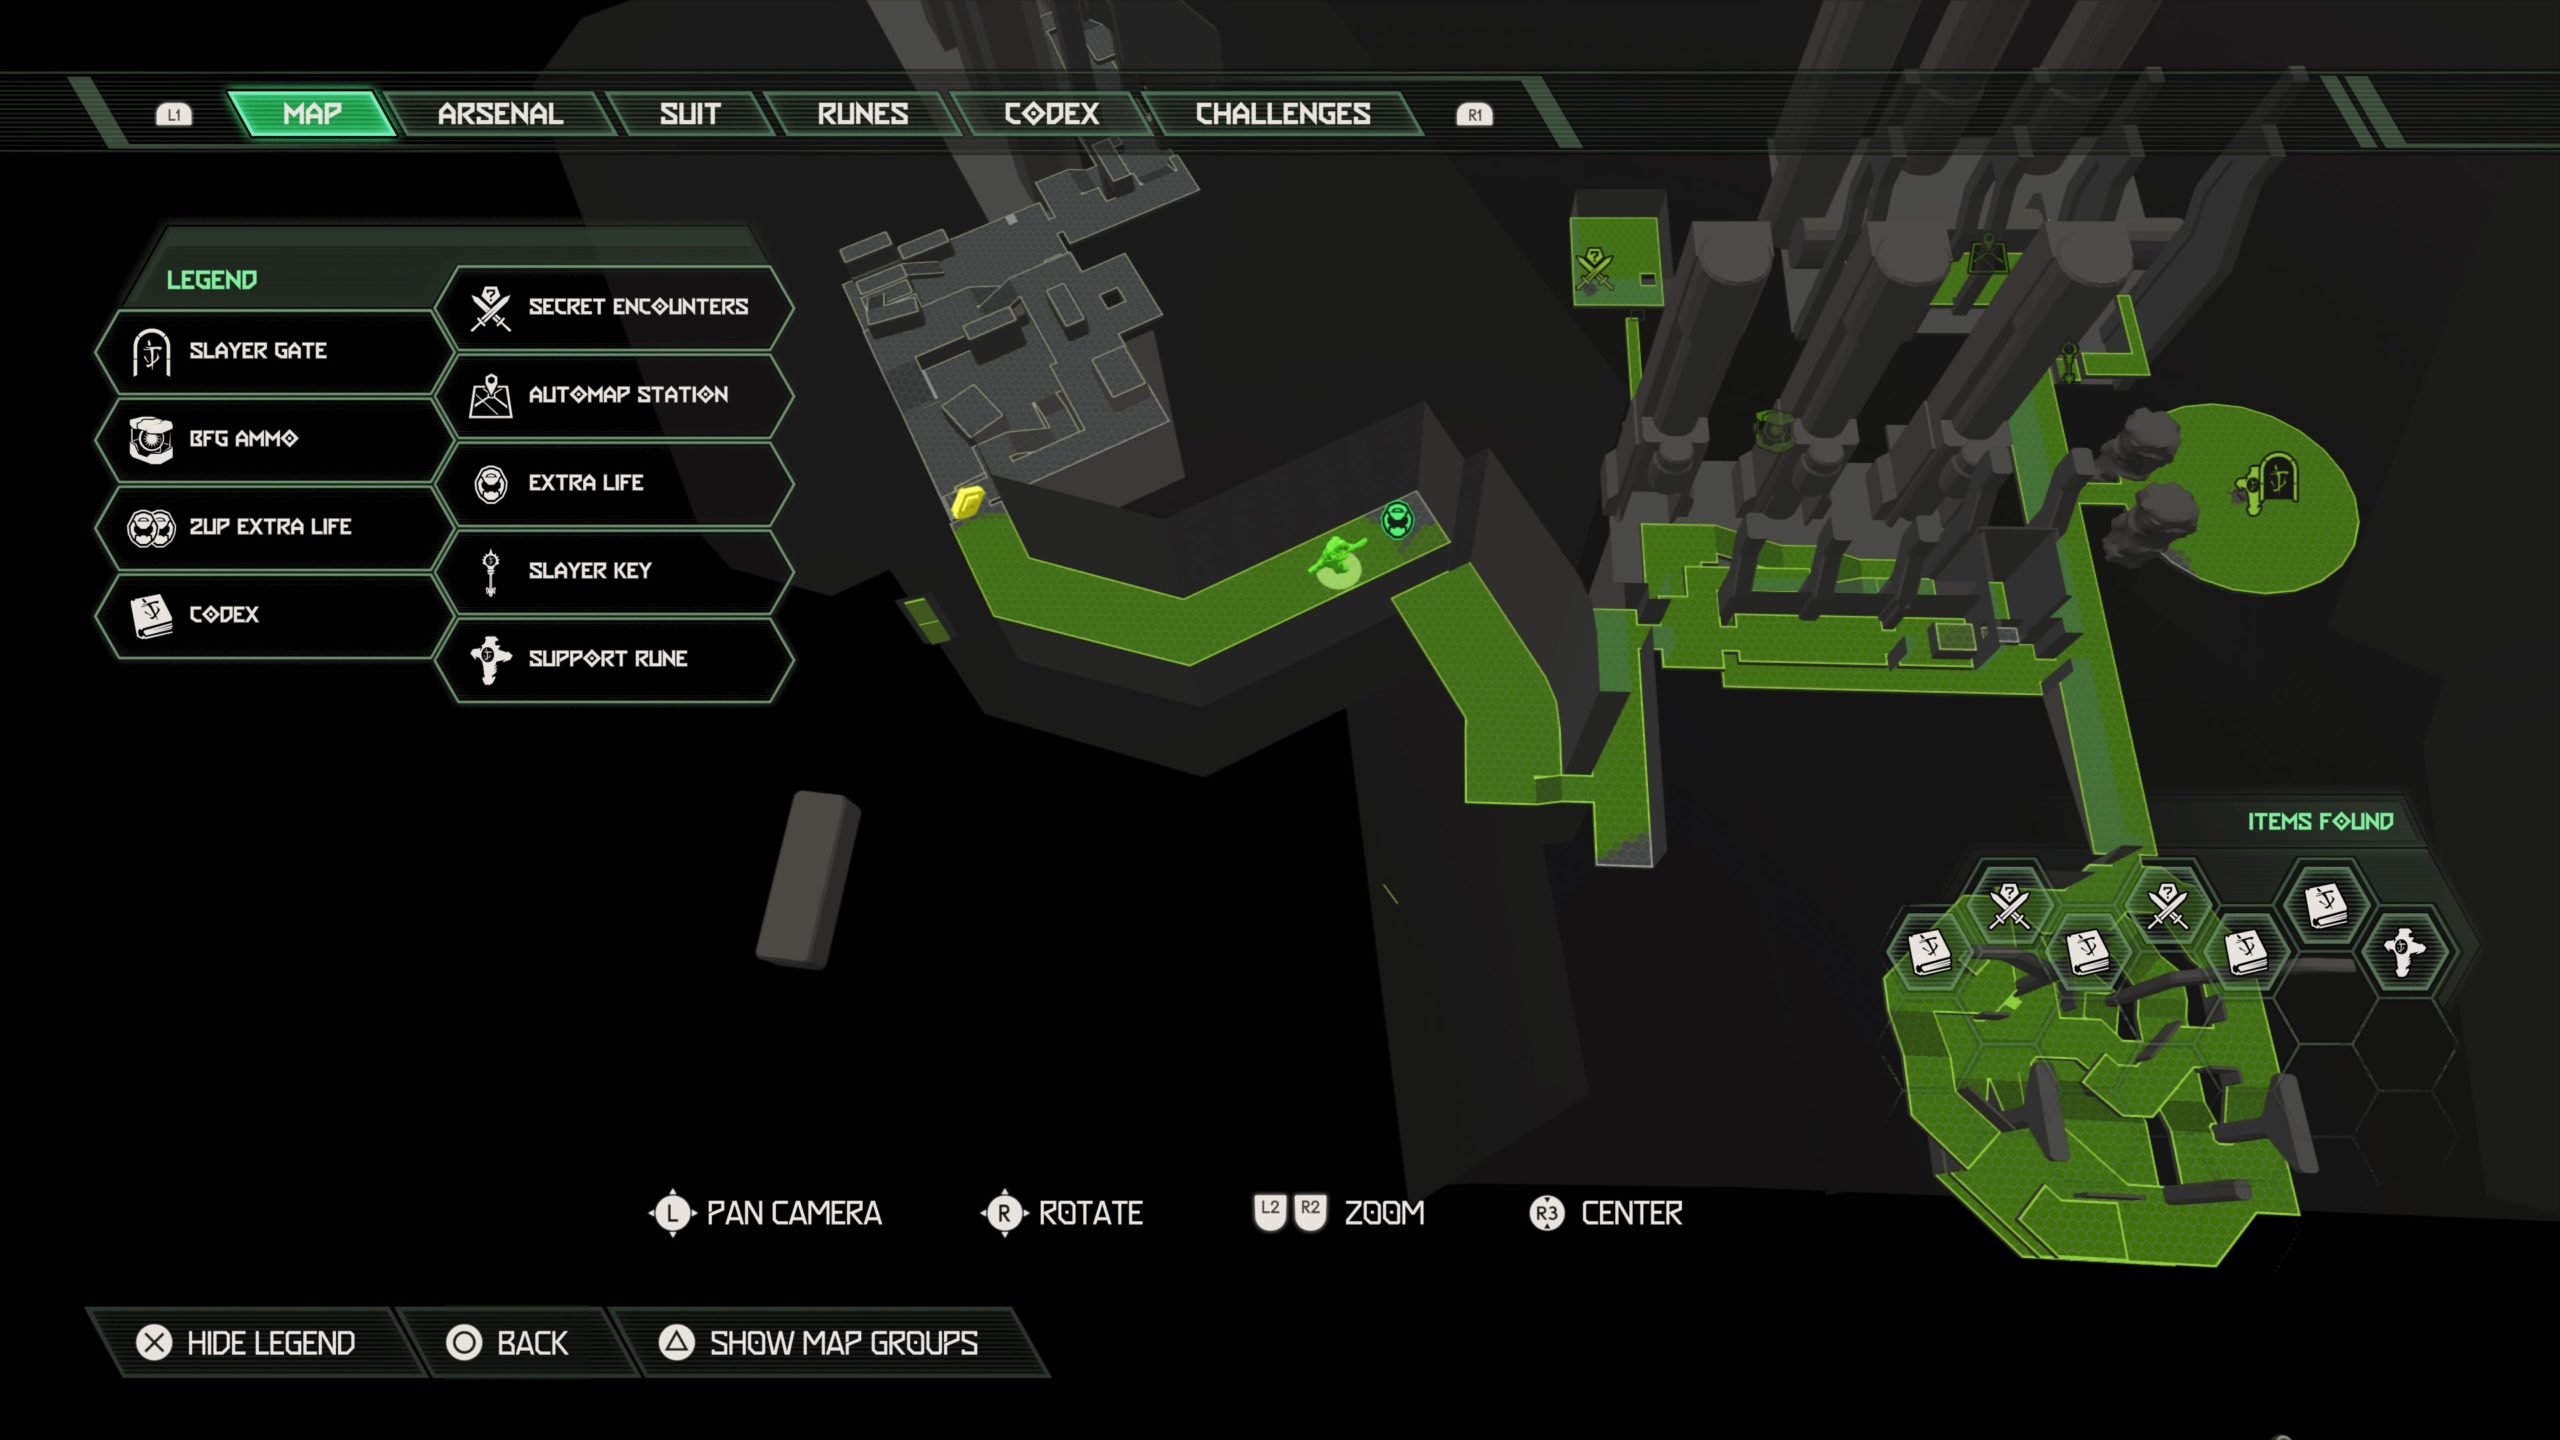
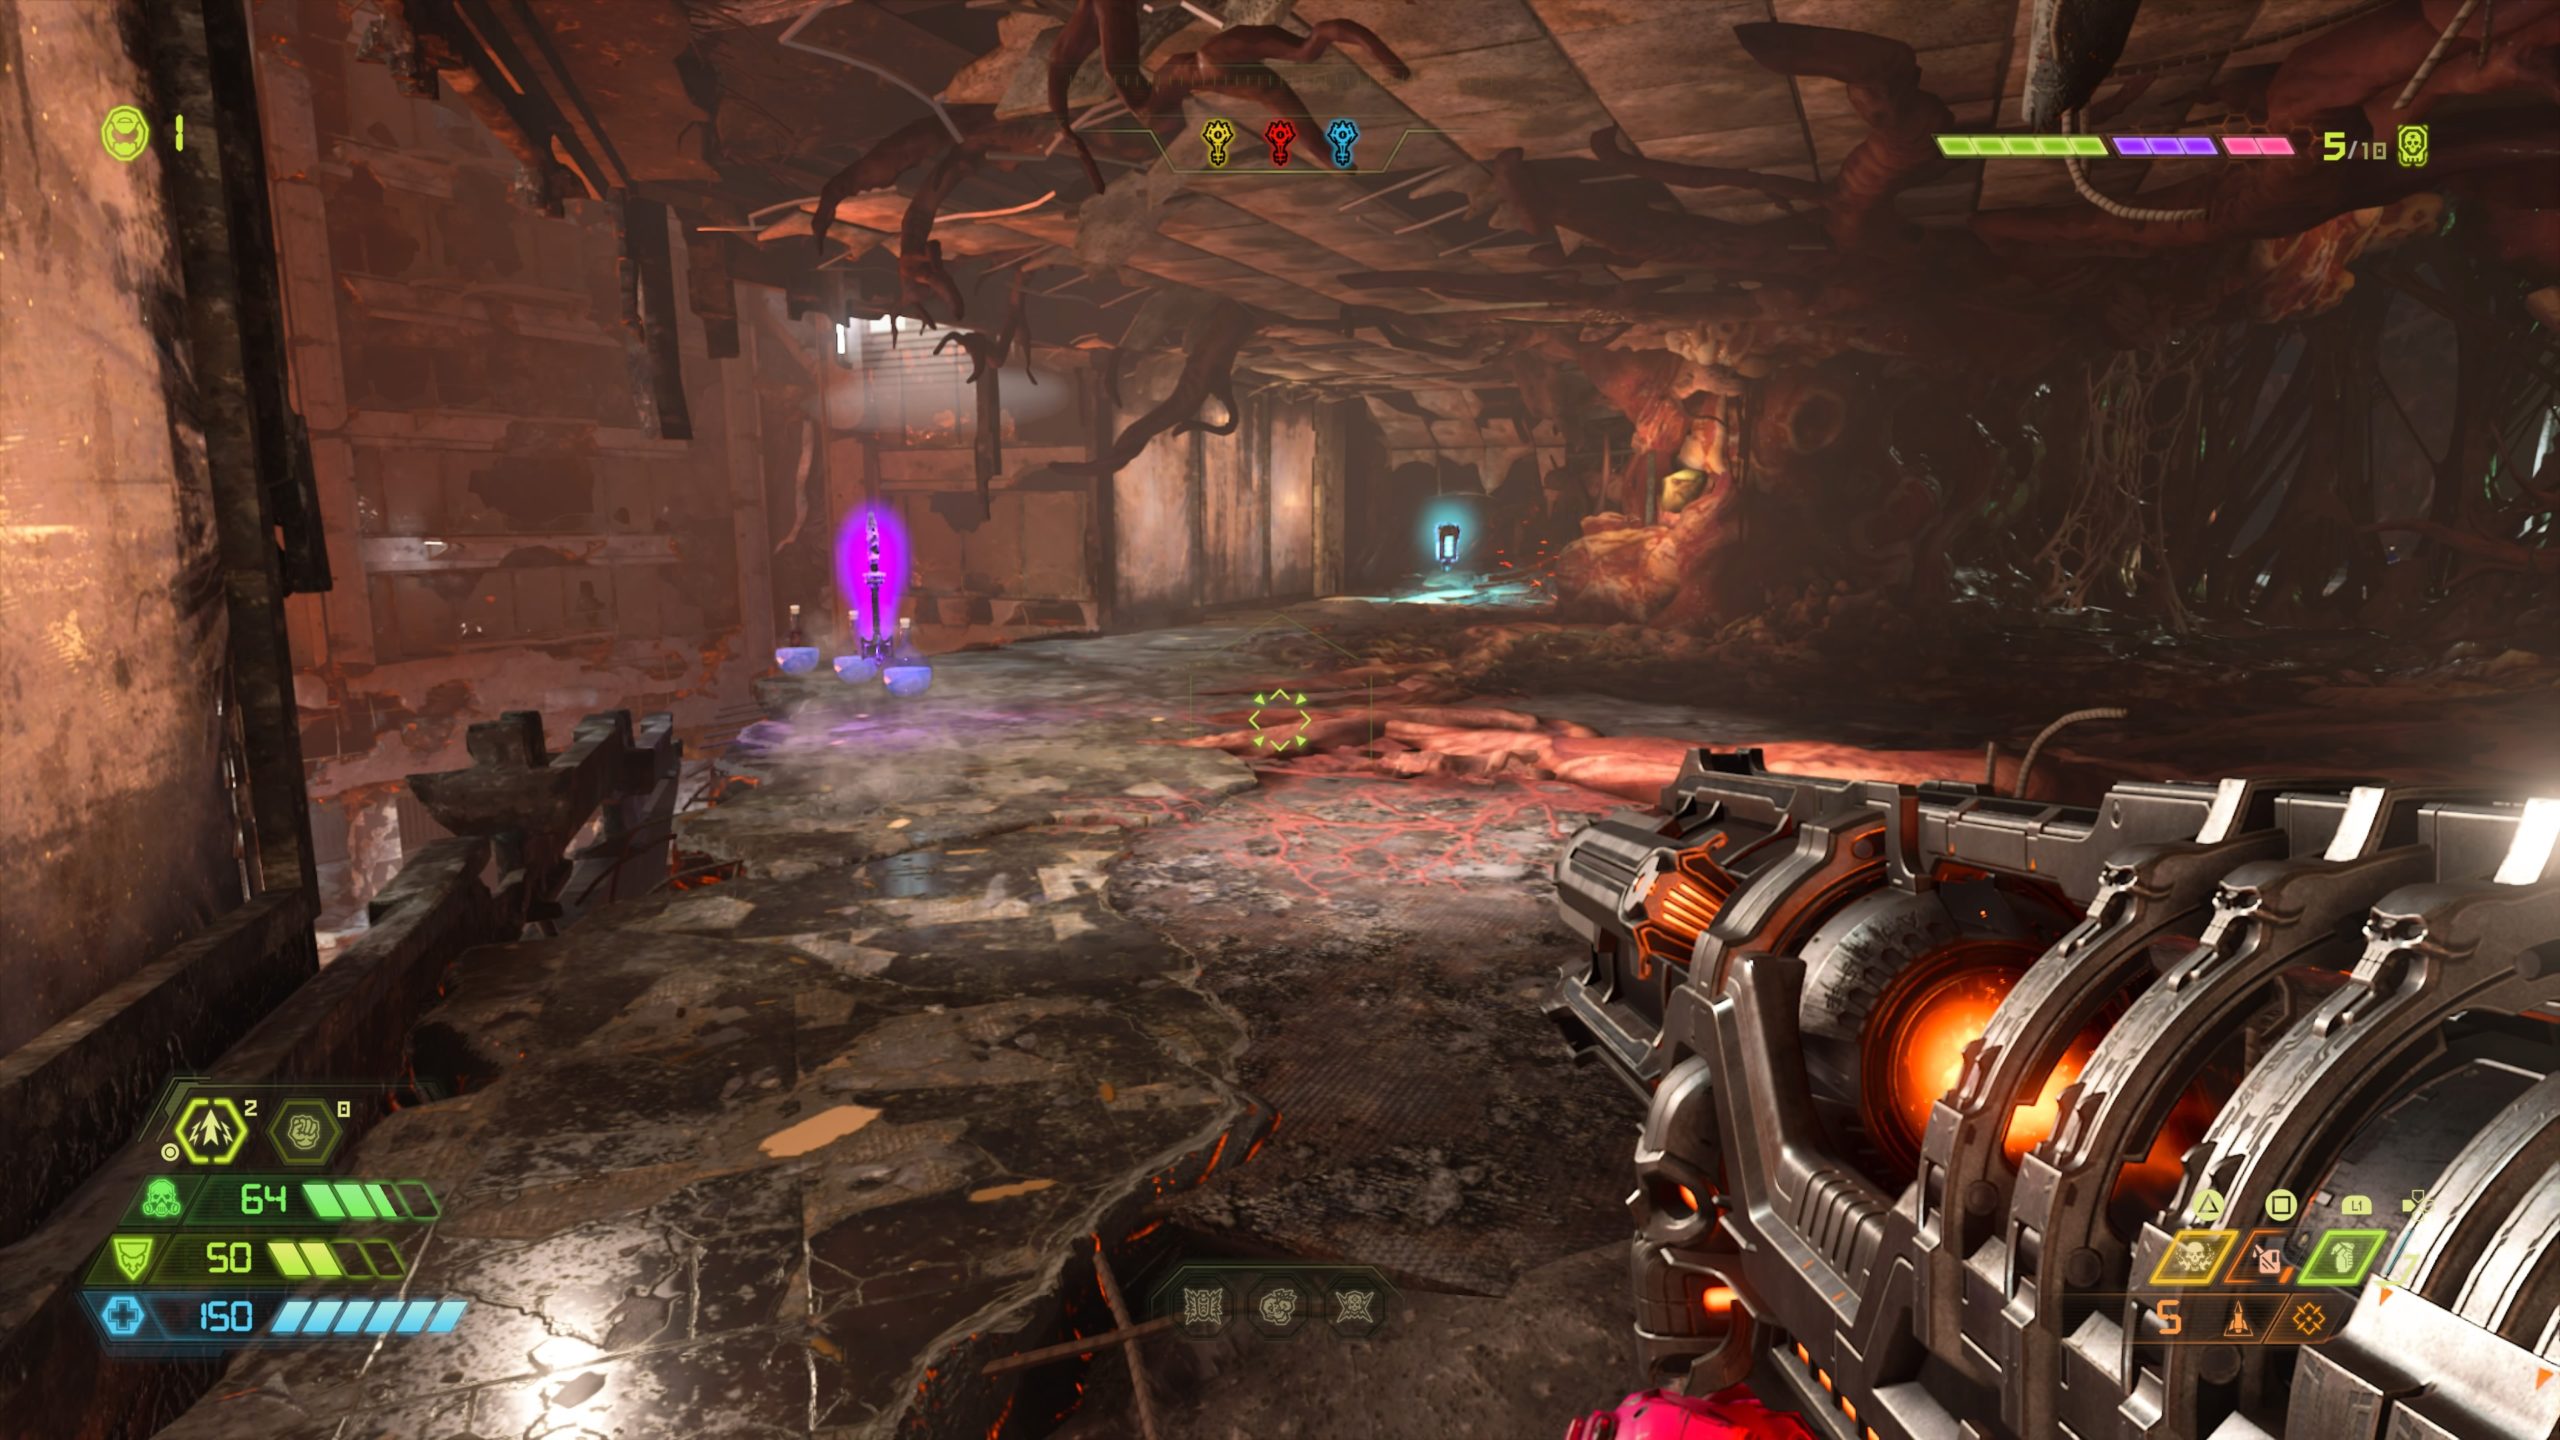
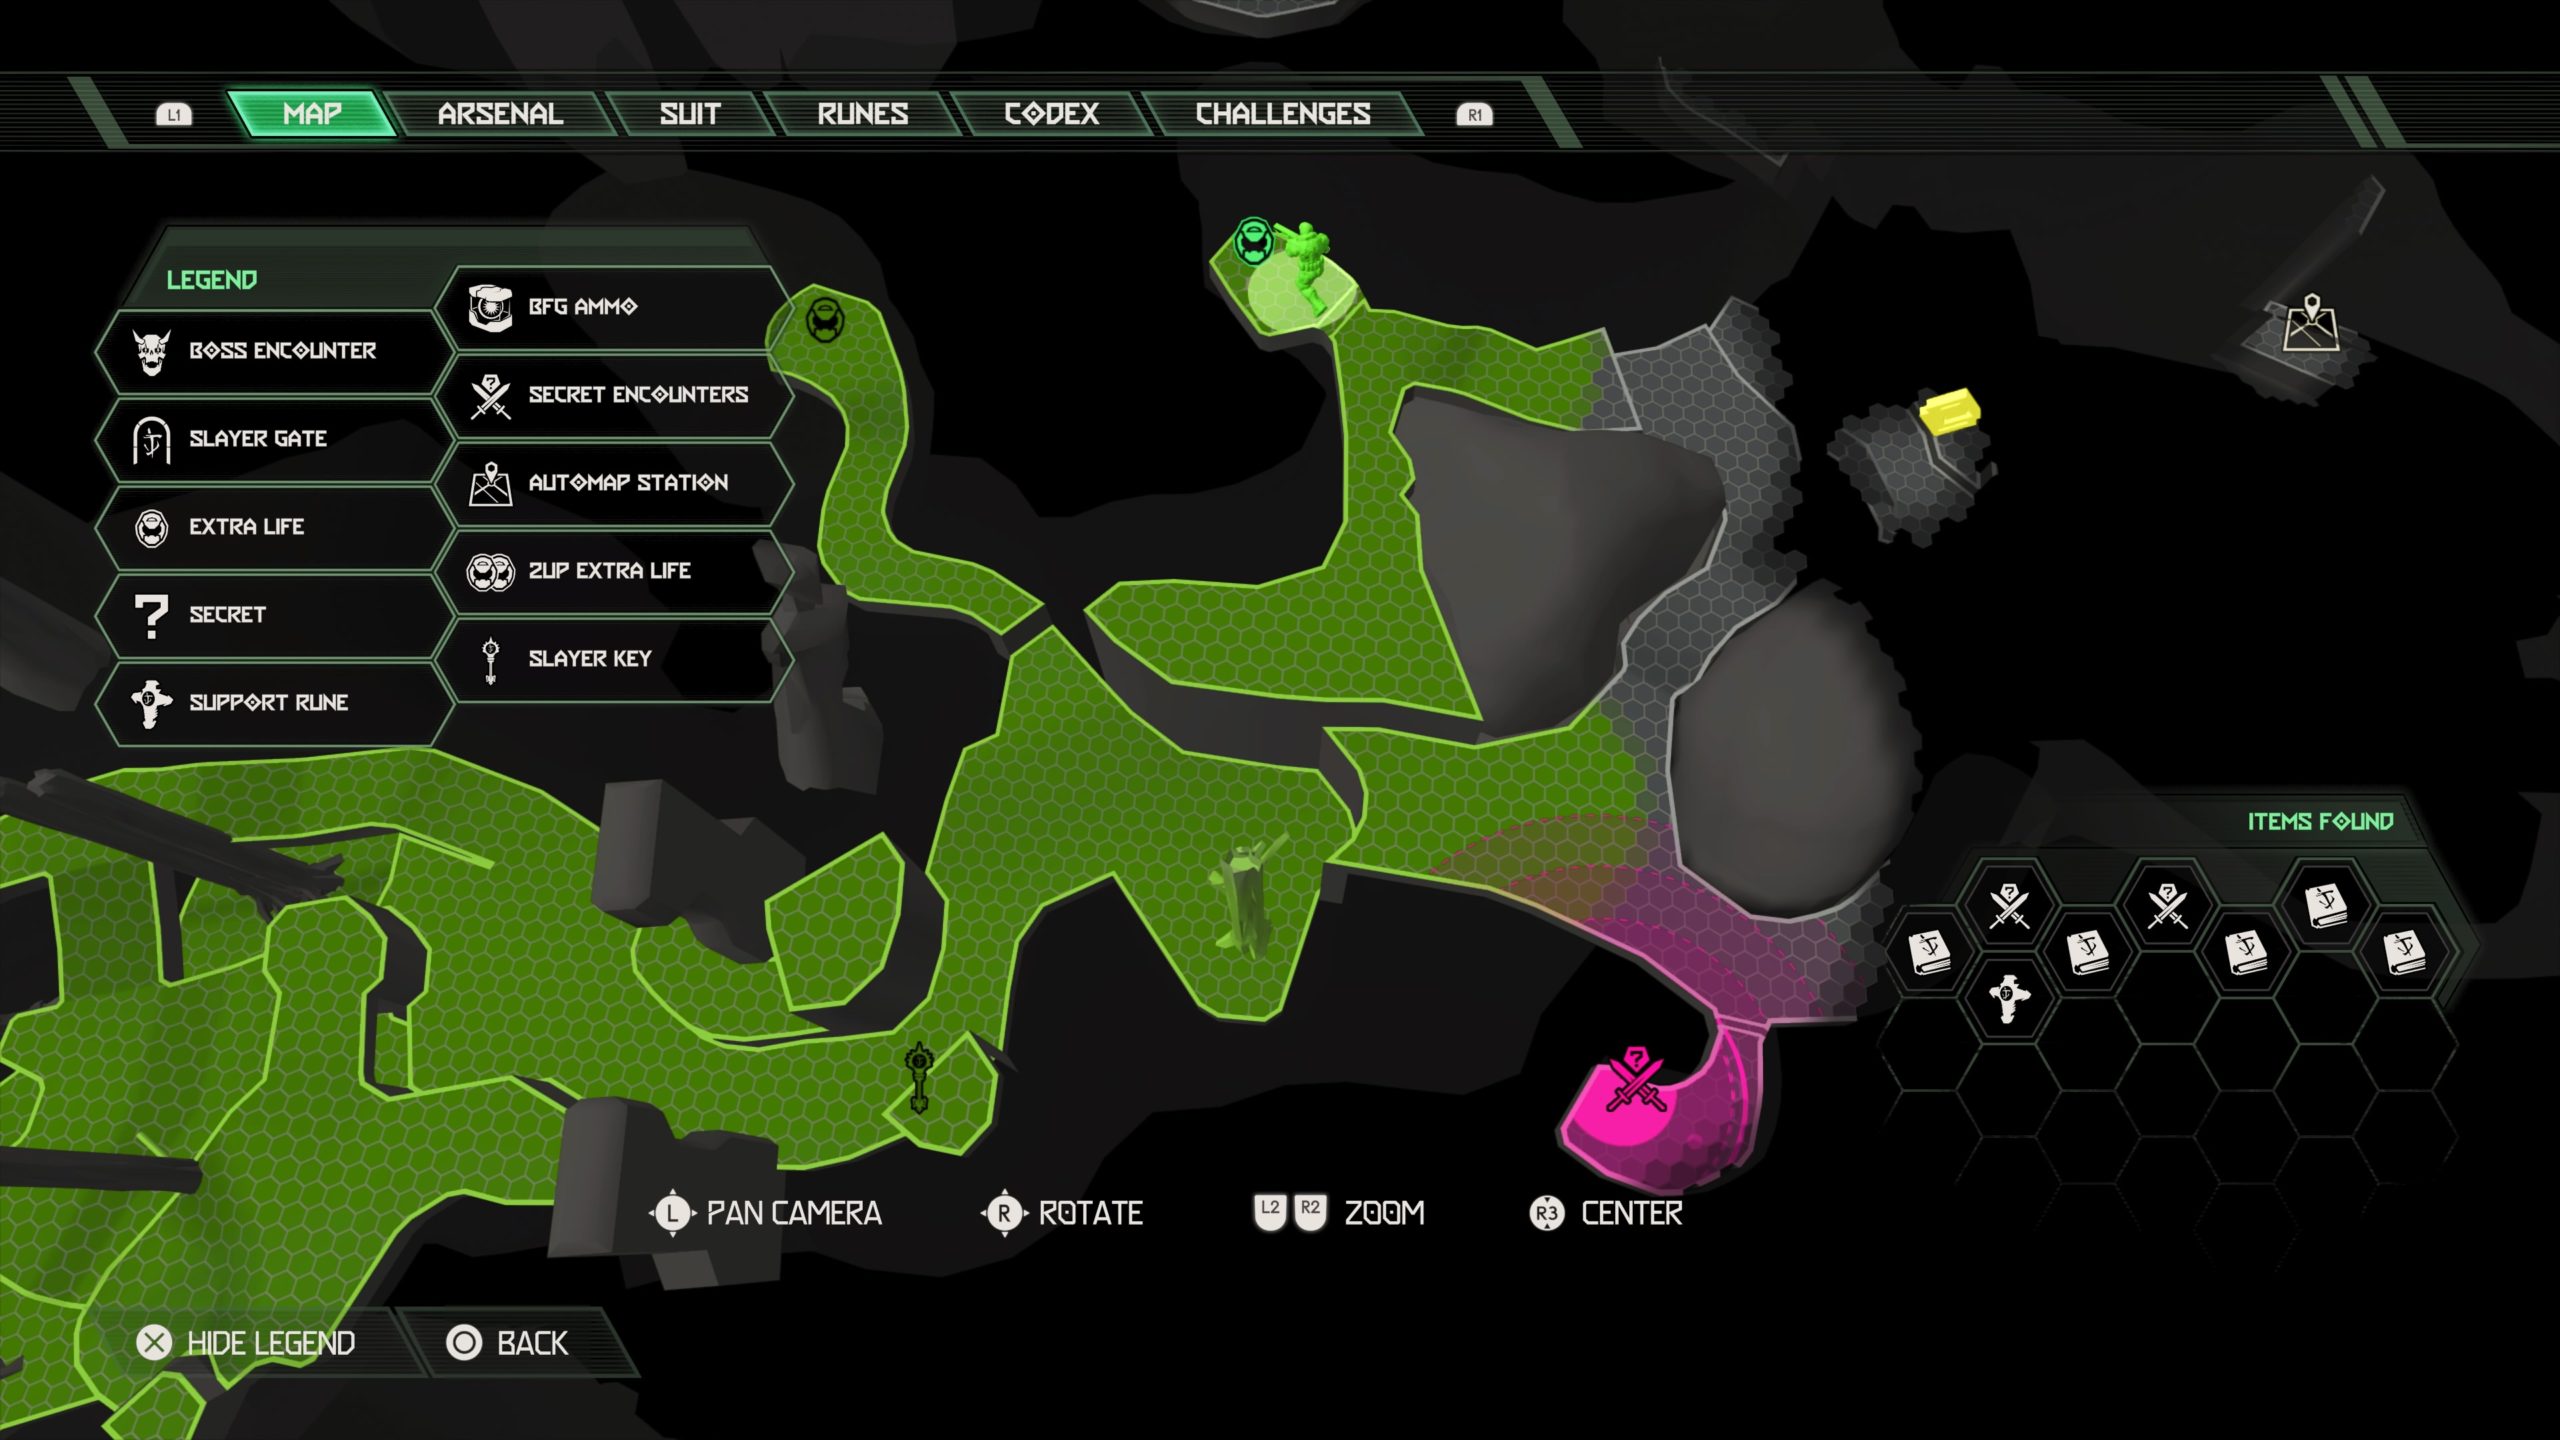
Support Rune
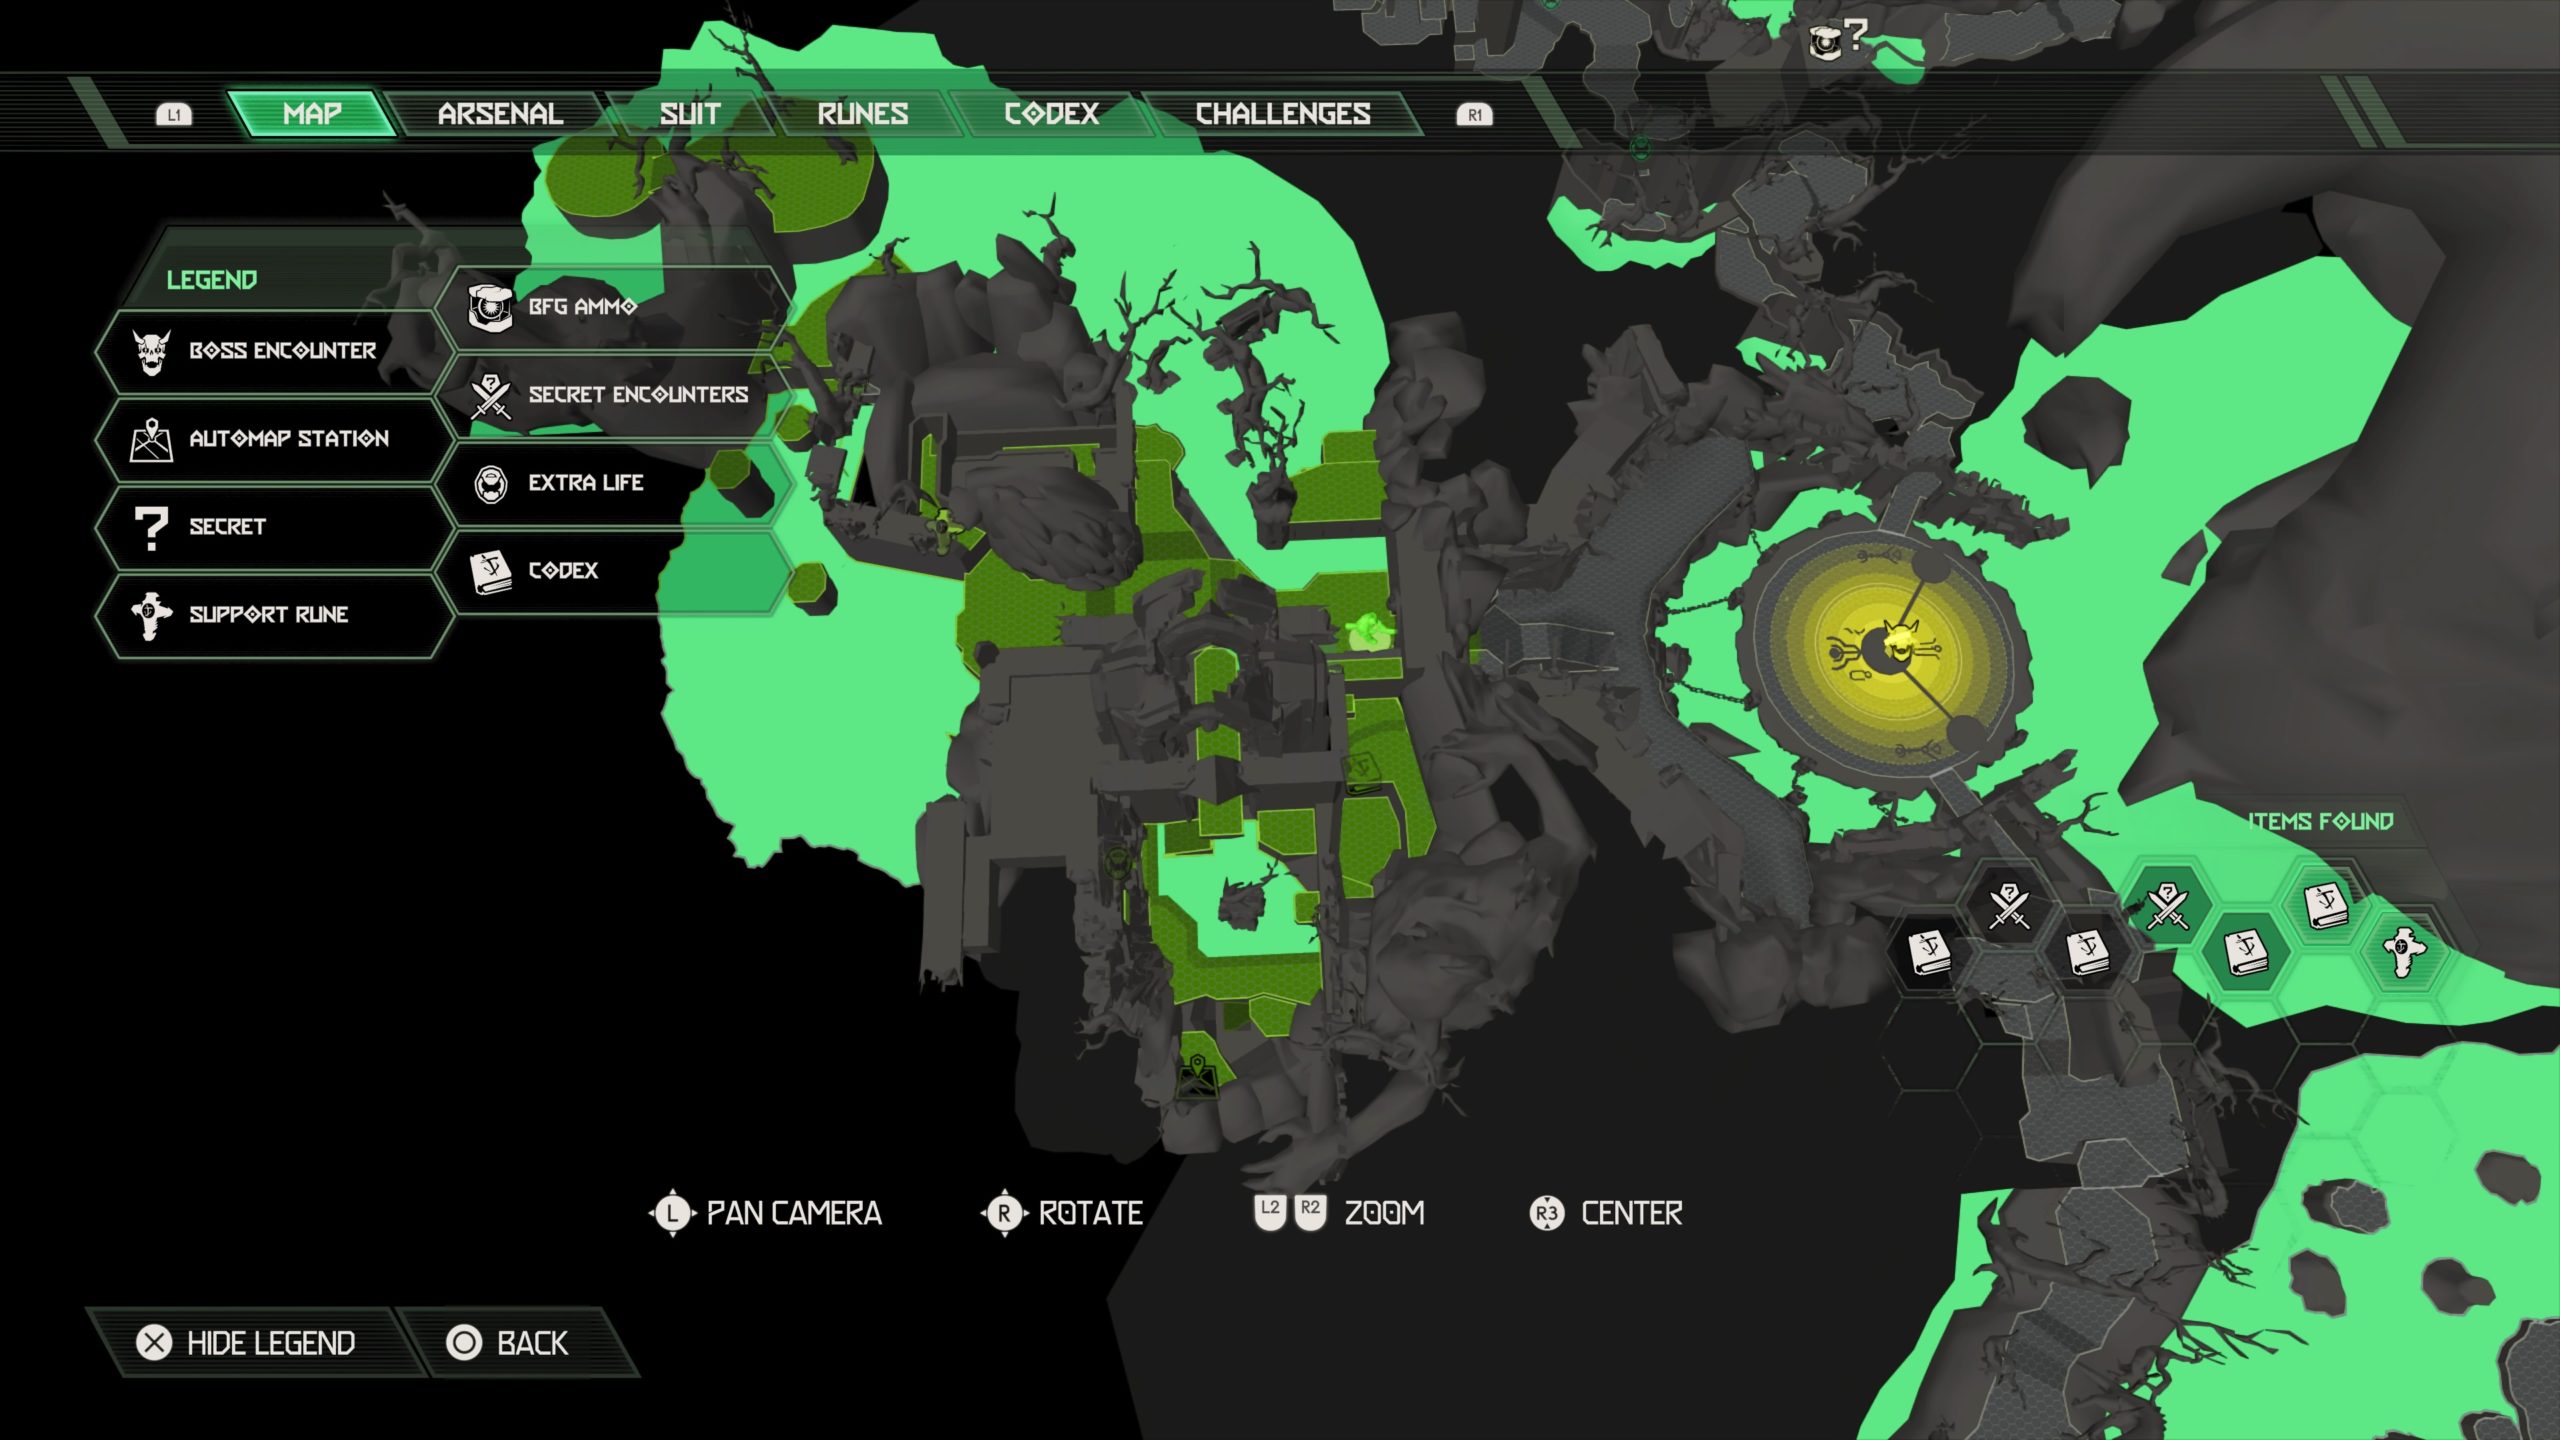
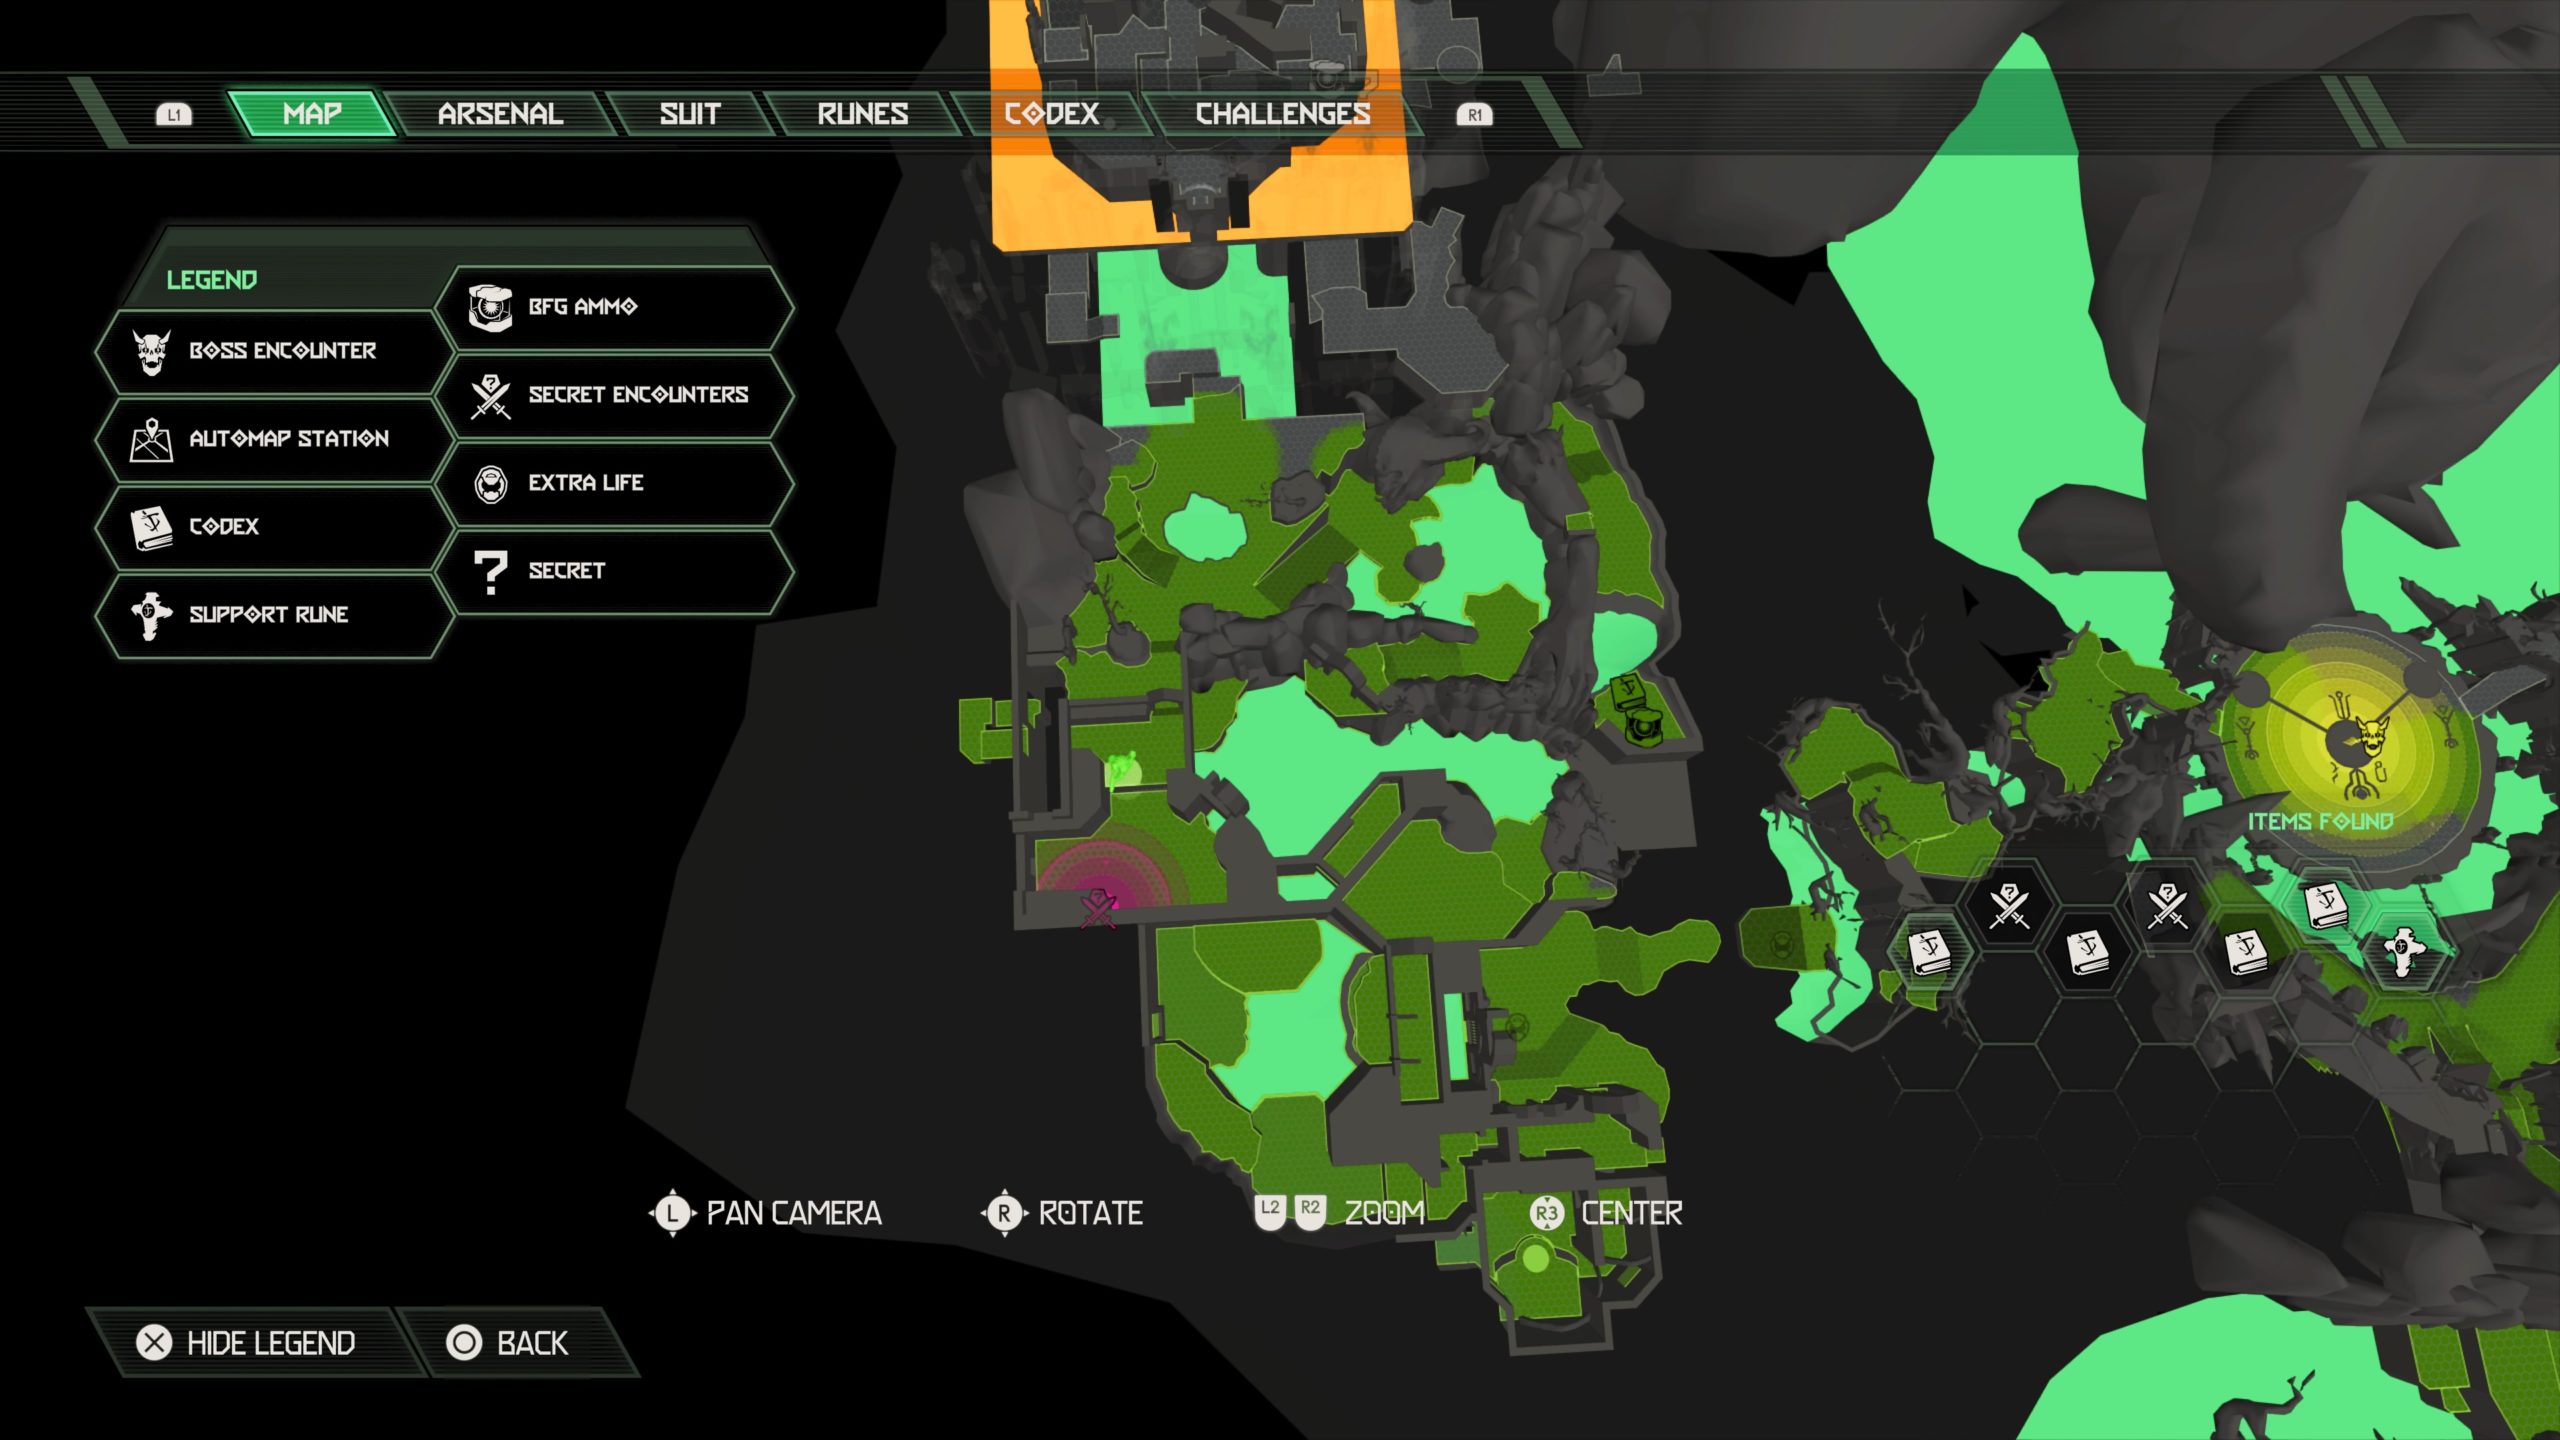
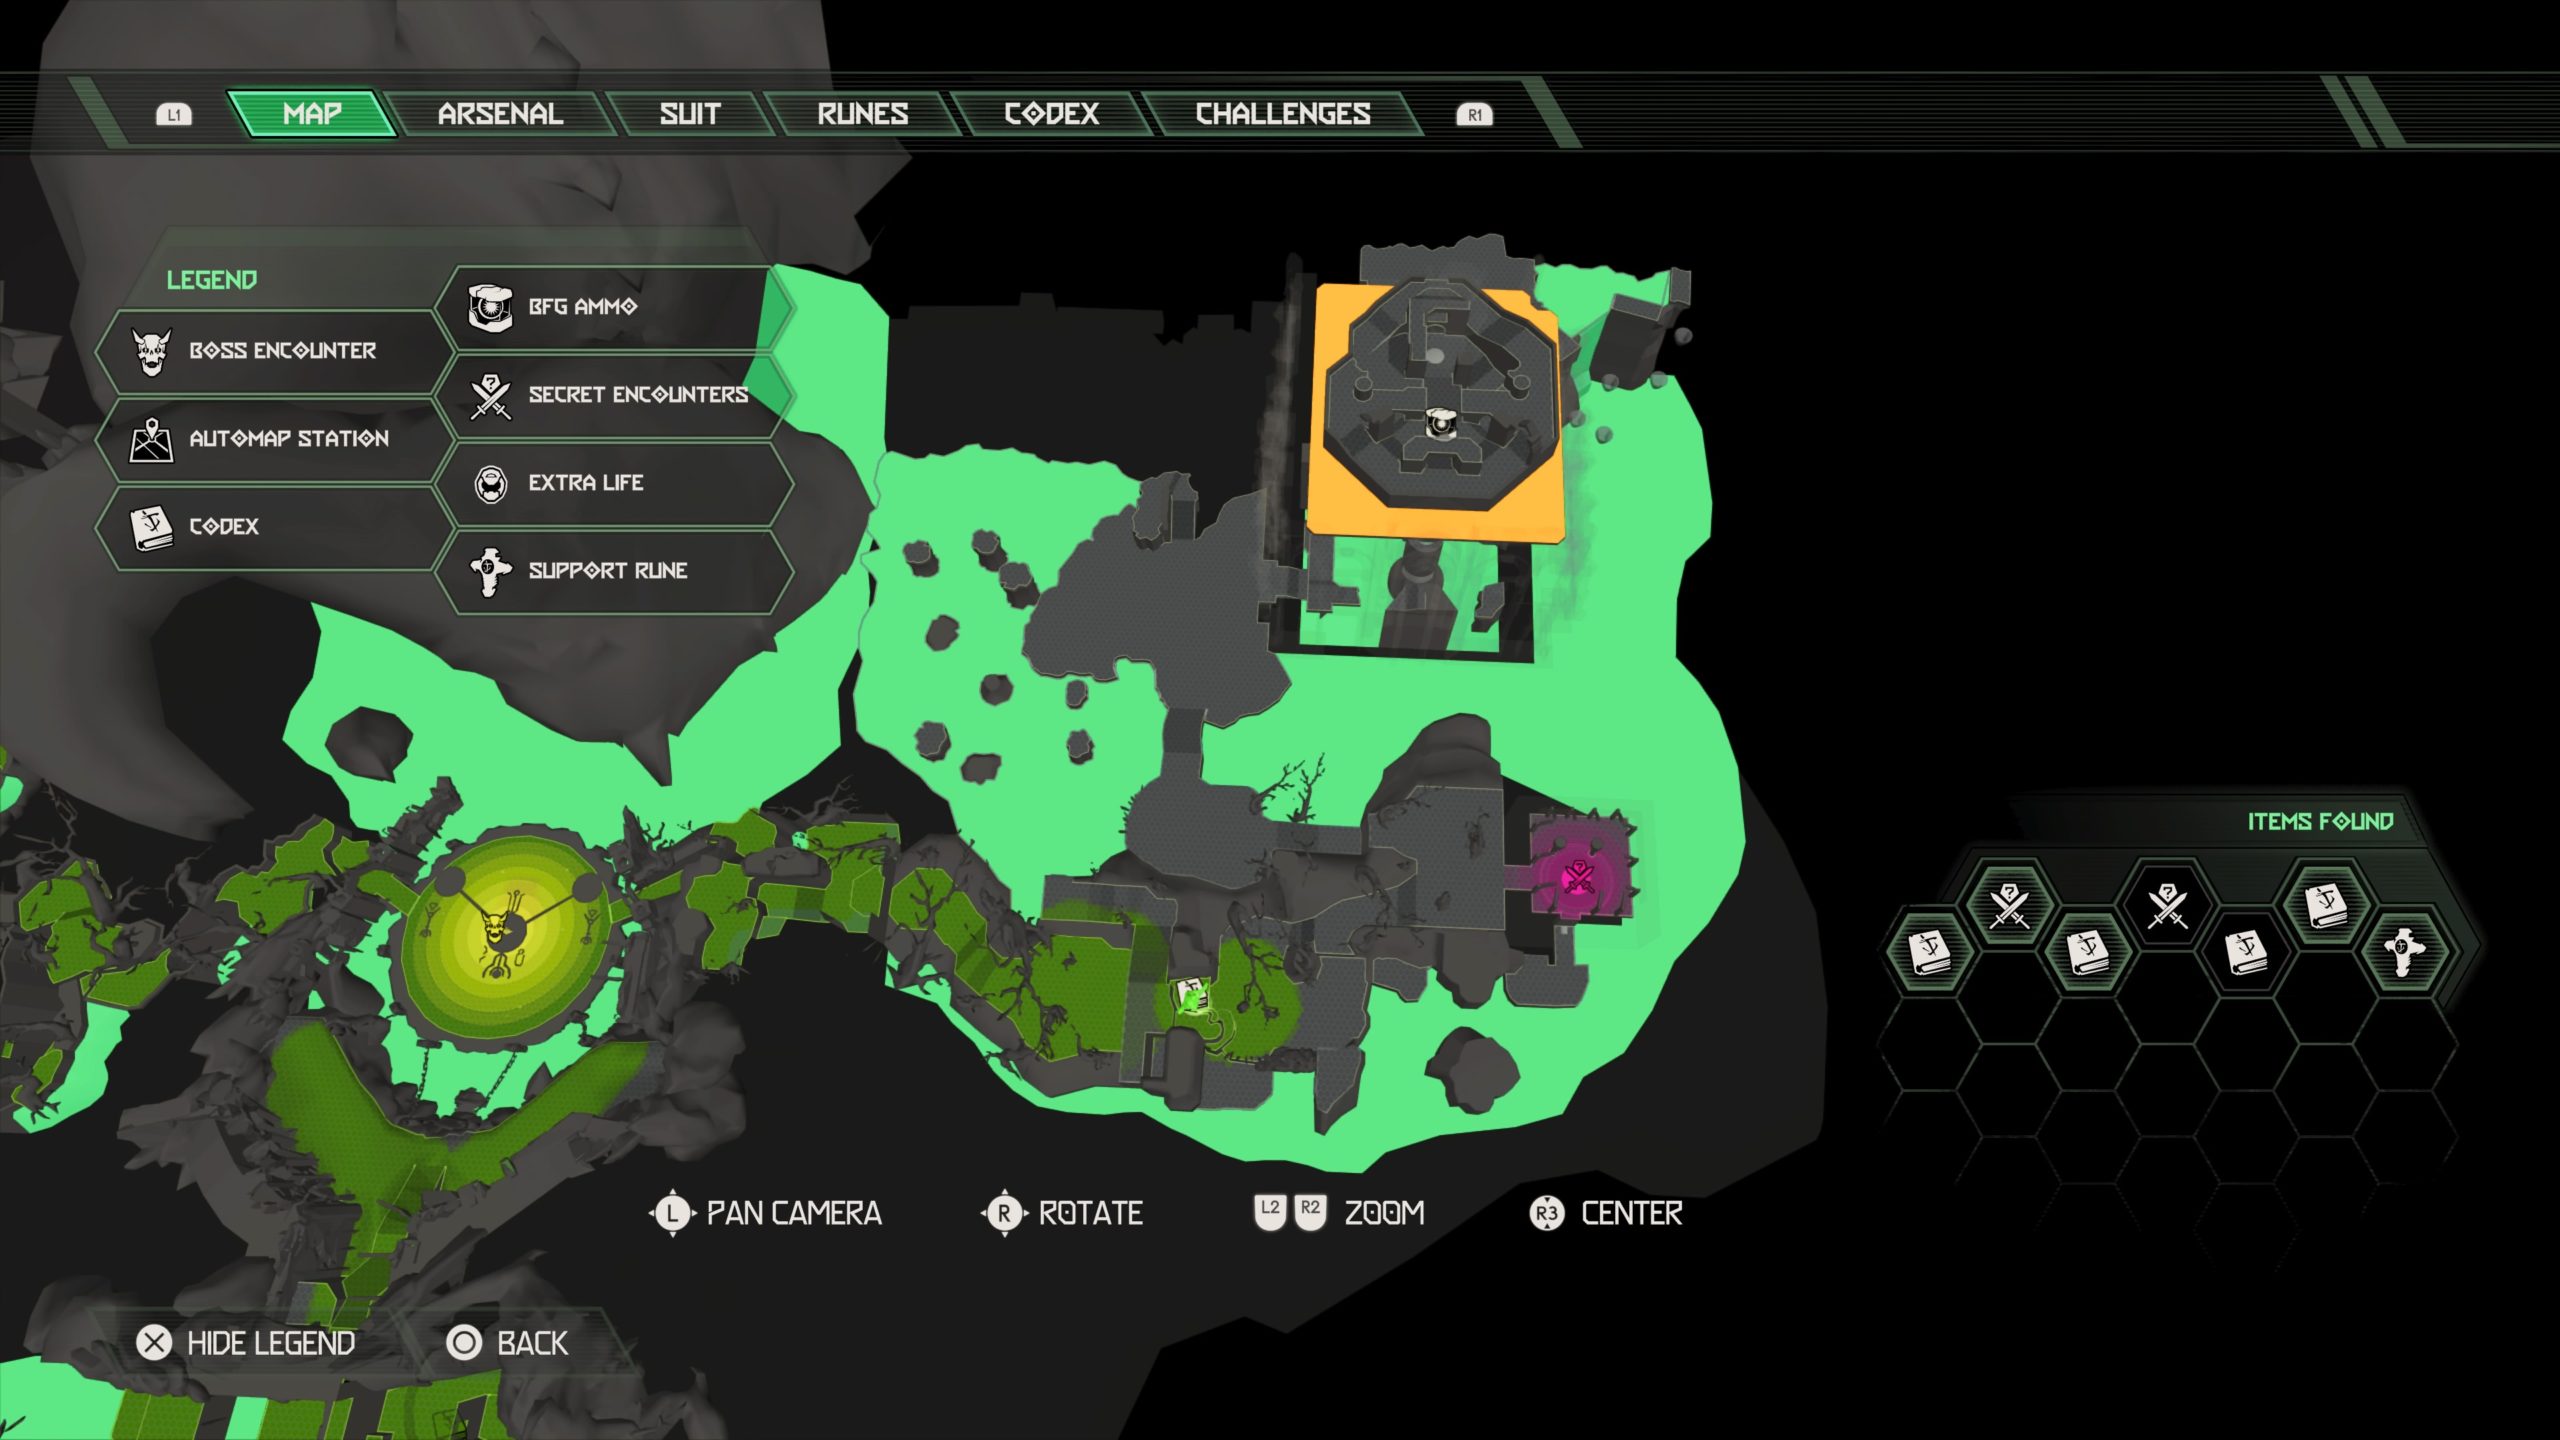
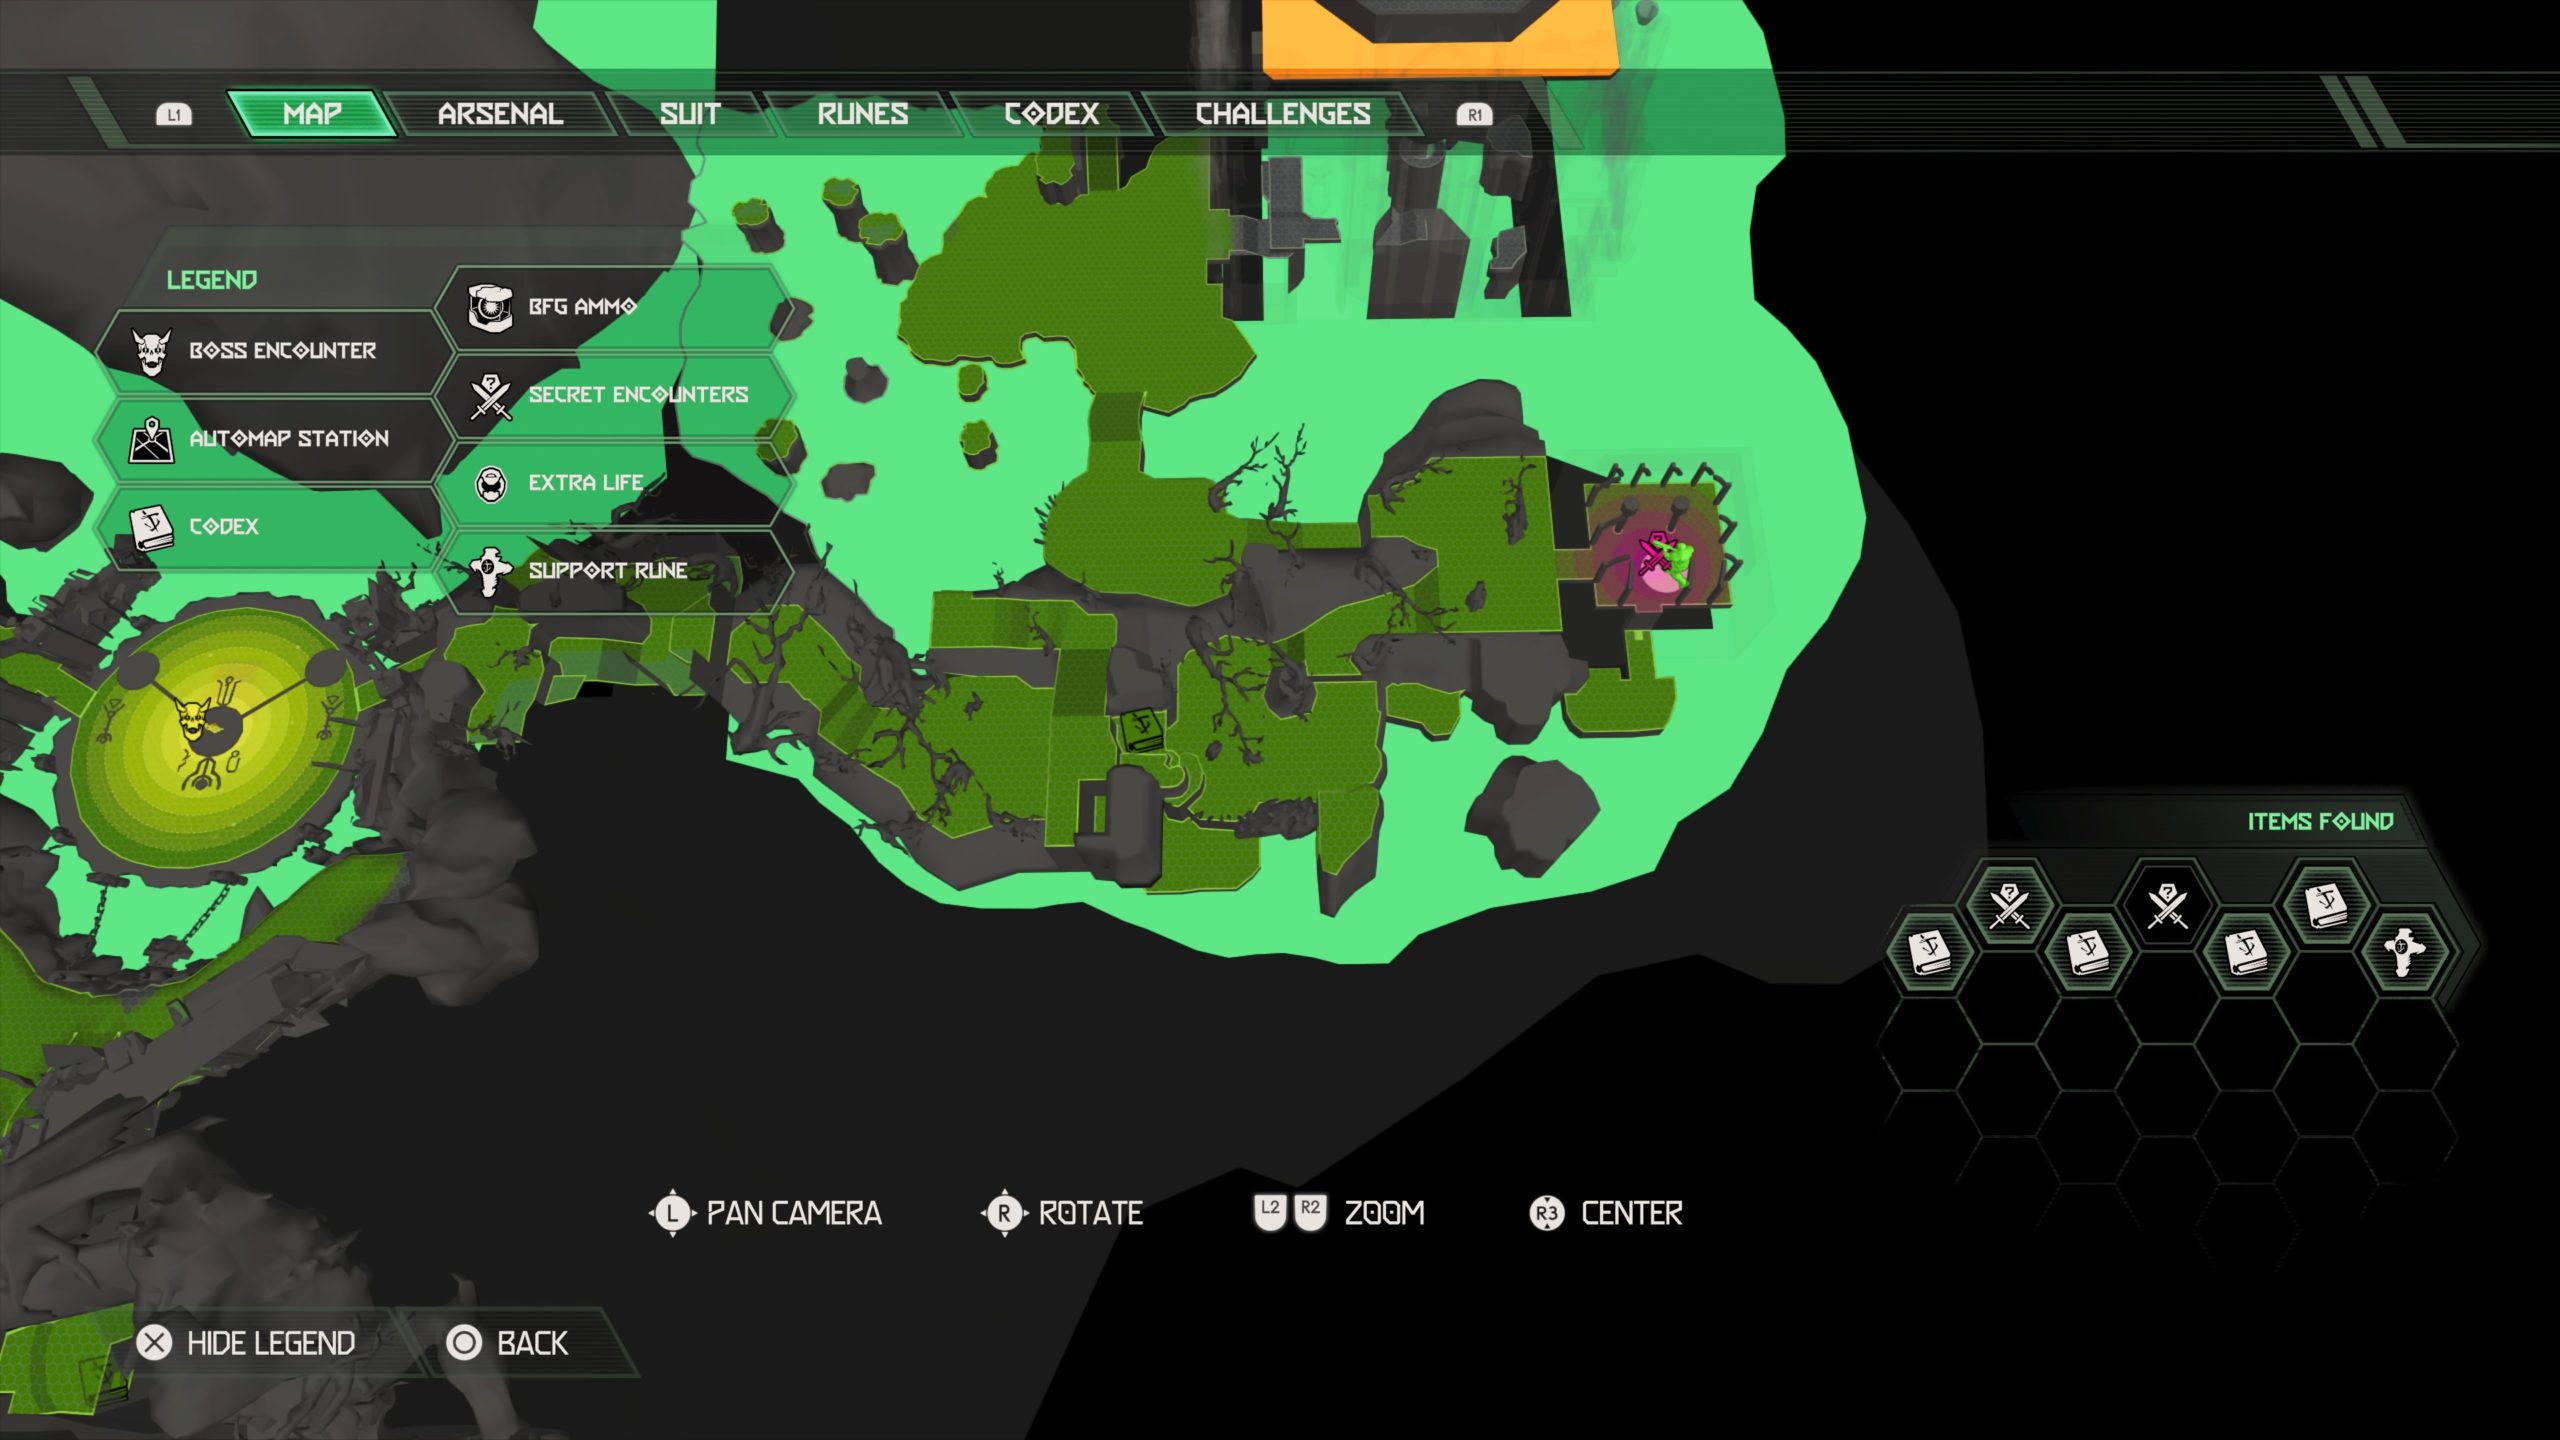
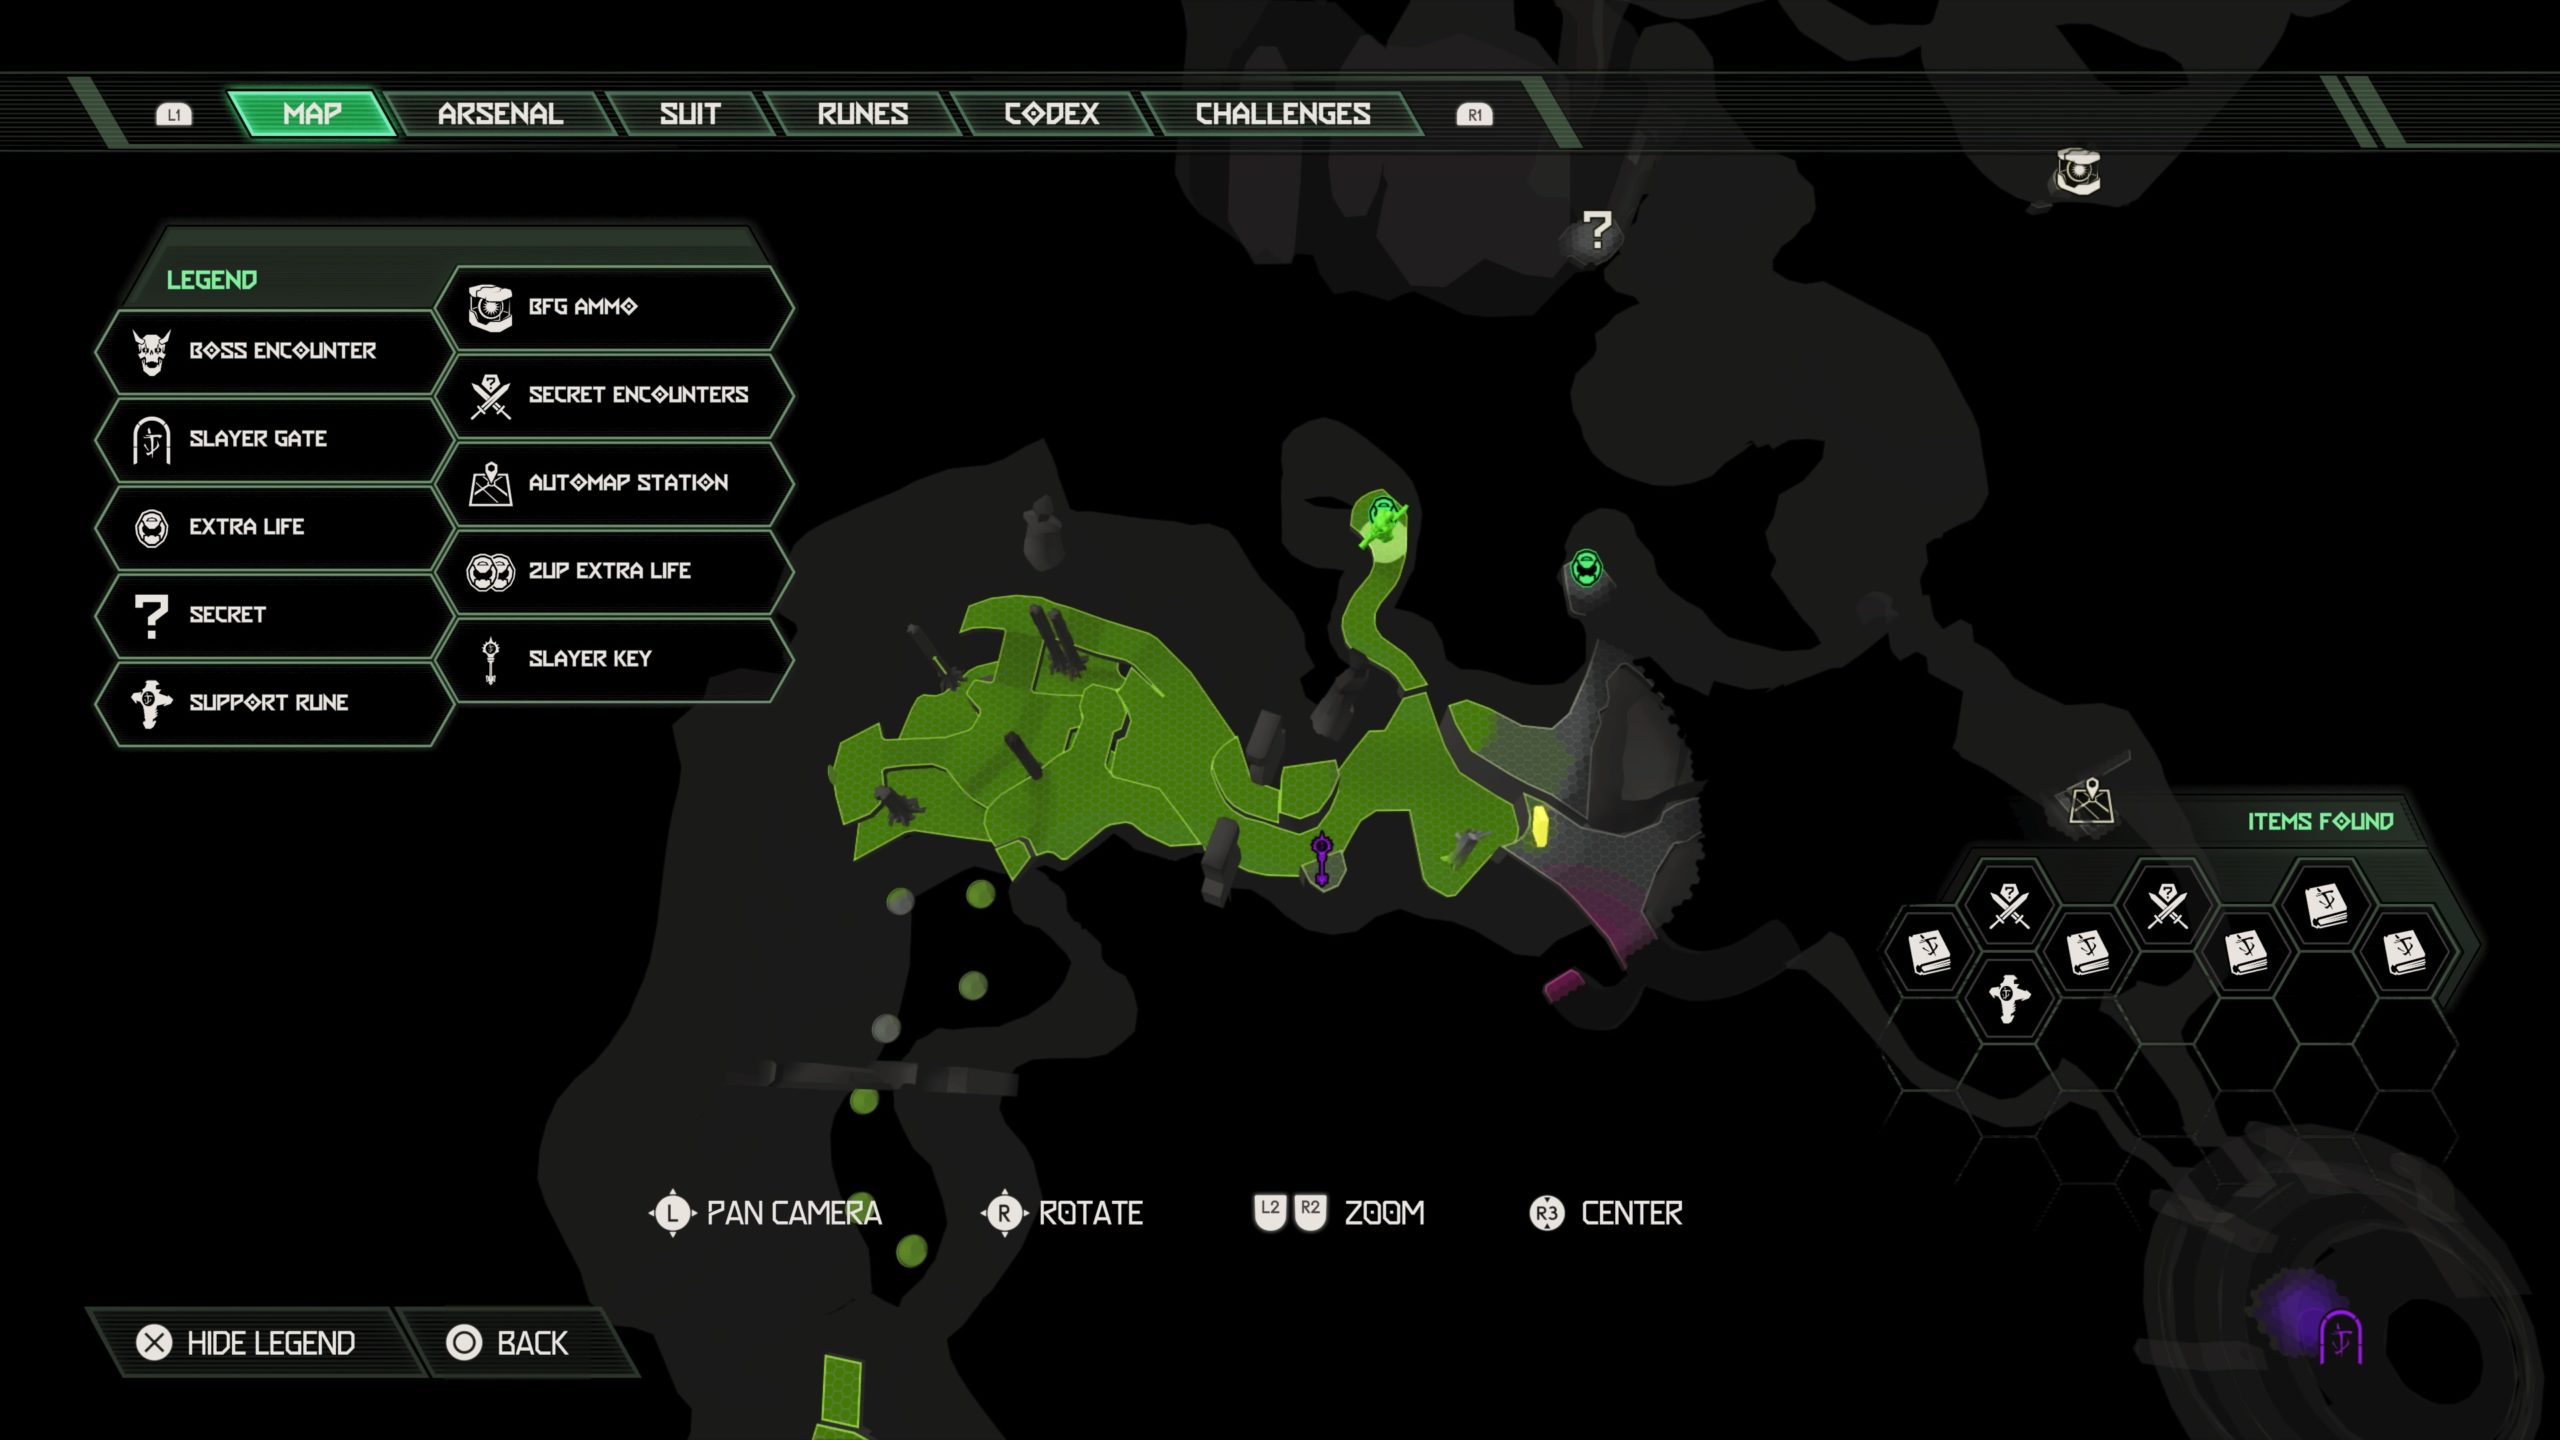
Complete the Slayer Gate located near the central eastern side of the map just past the first secret encounter then collect the rune.
Codex: Book of the Seraphs Part IX

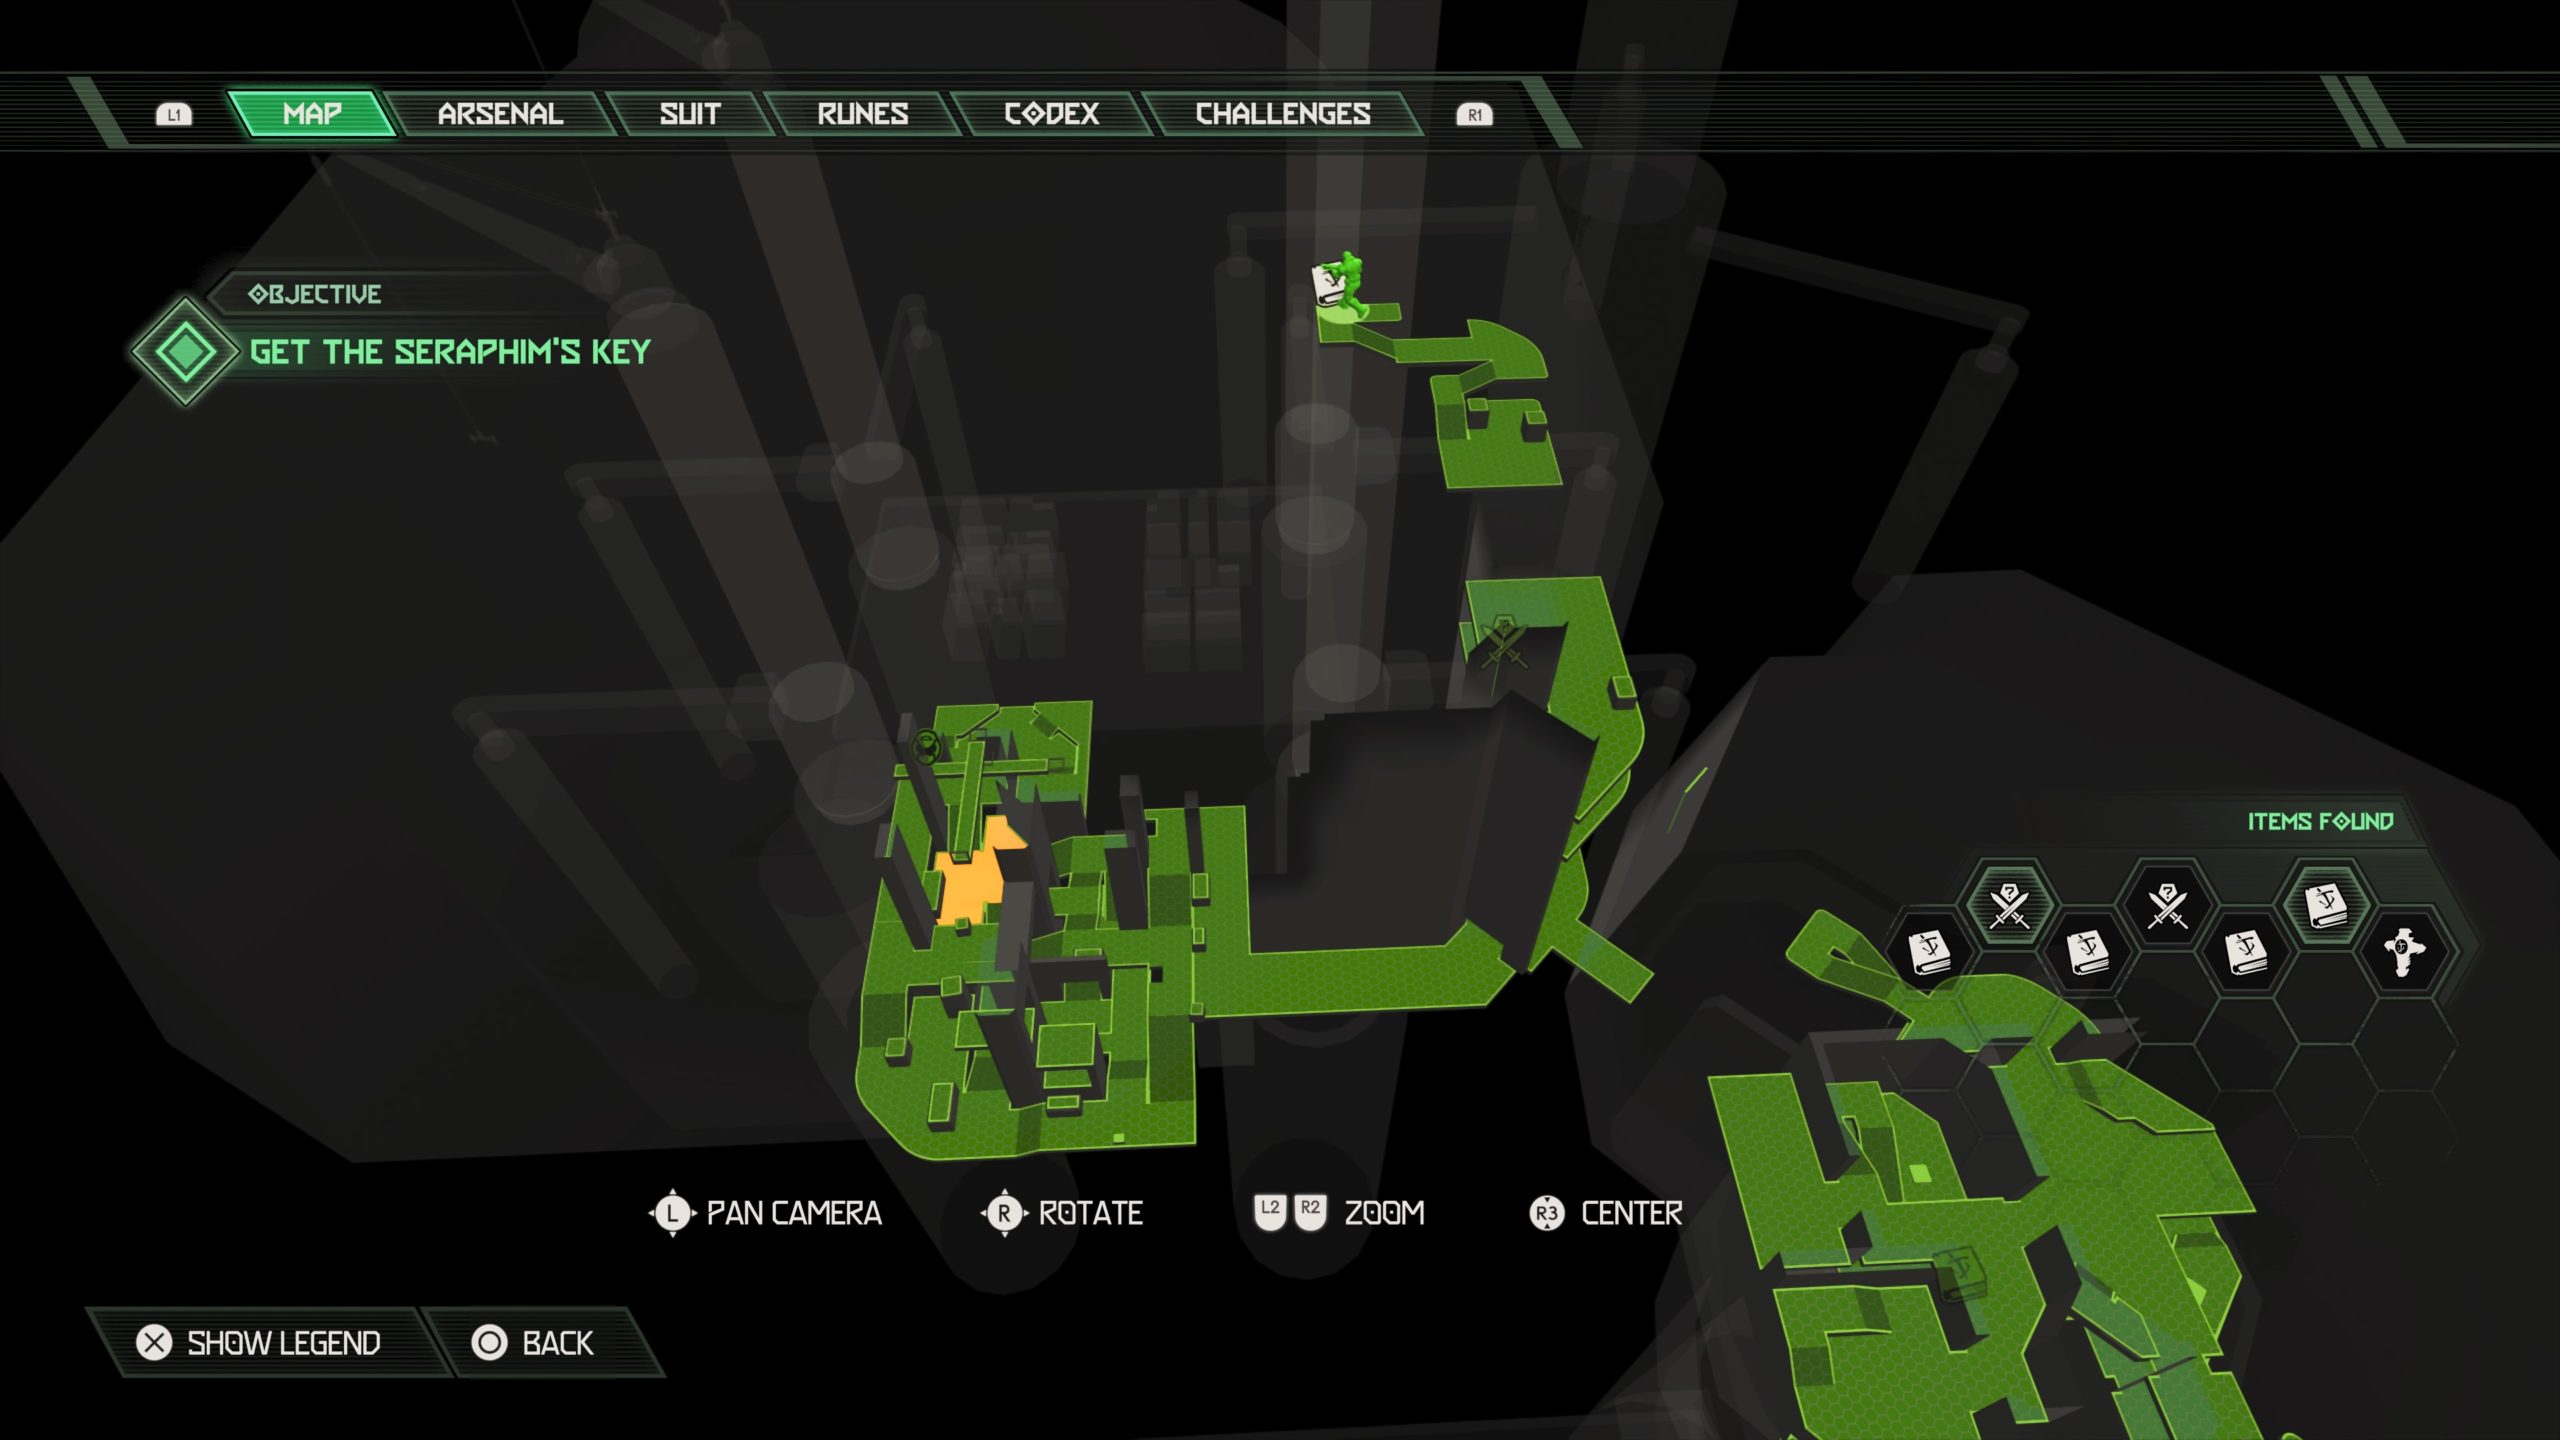
The codex can be found on a lower ledge in the center of the map. You know you’re in the right place when you see a lift pad near a tree you can knock down. The codex is guarded by 3 tentacles that pop up to attack you.
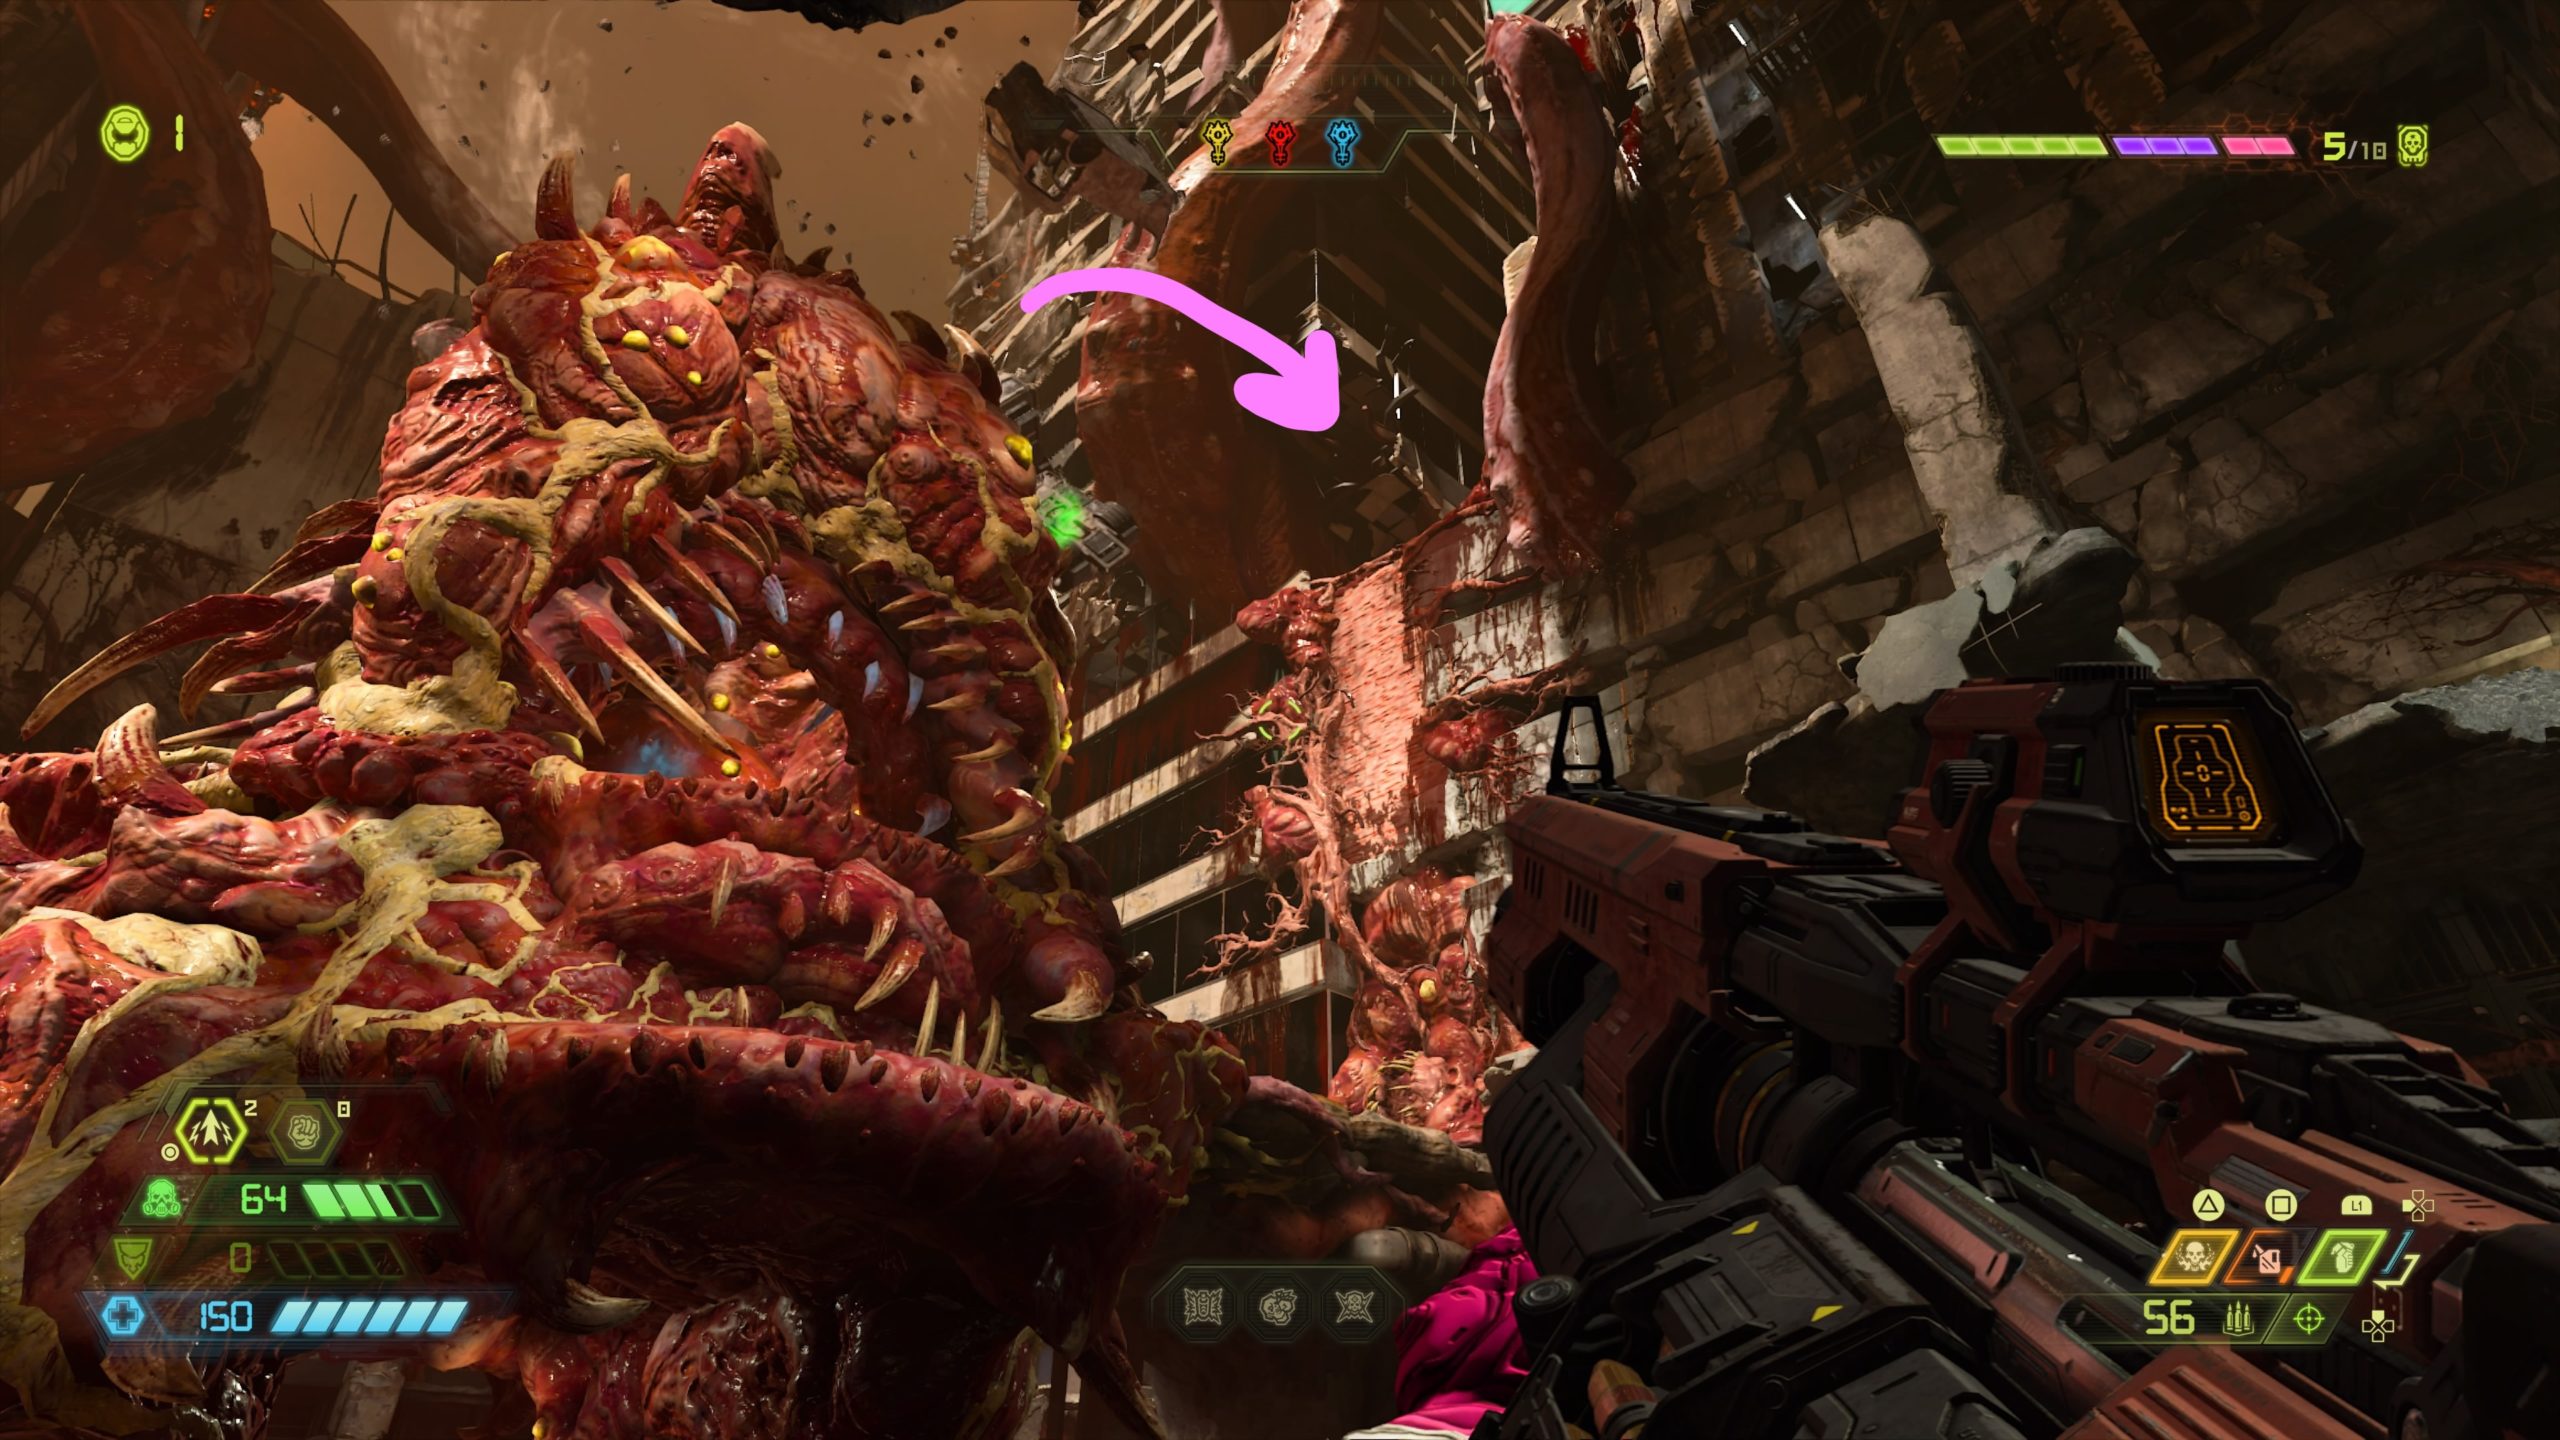
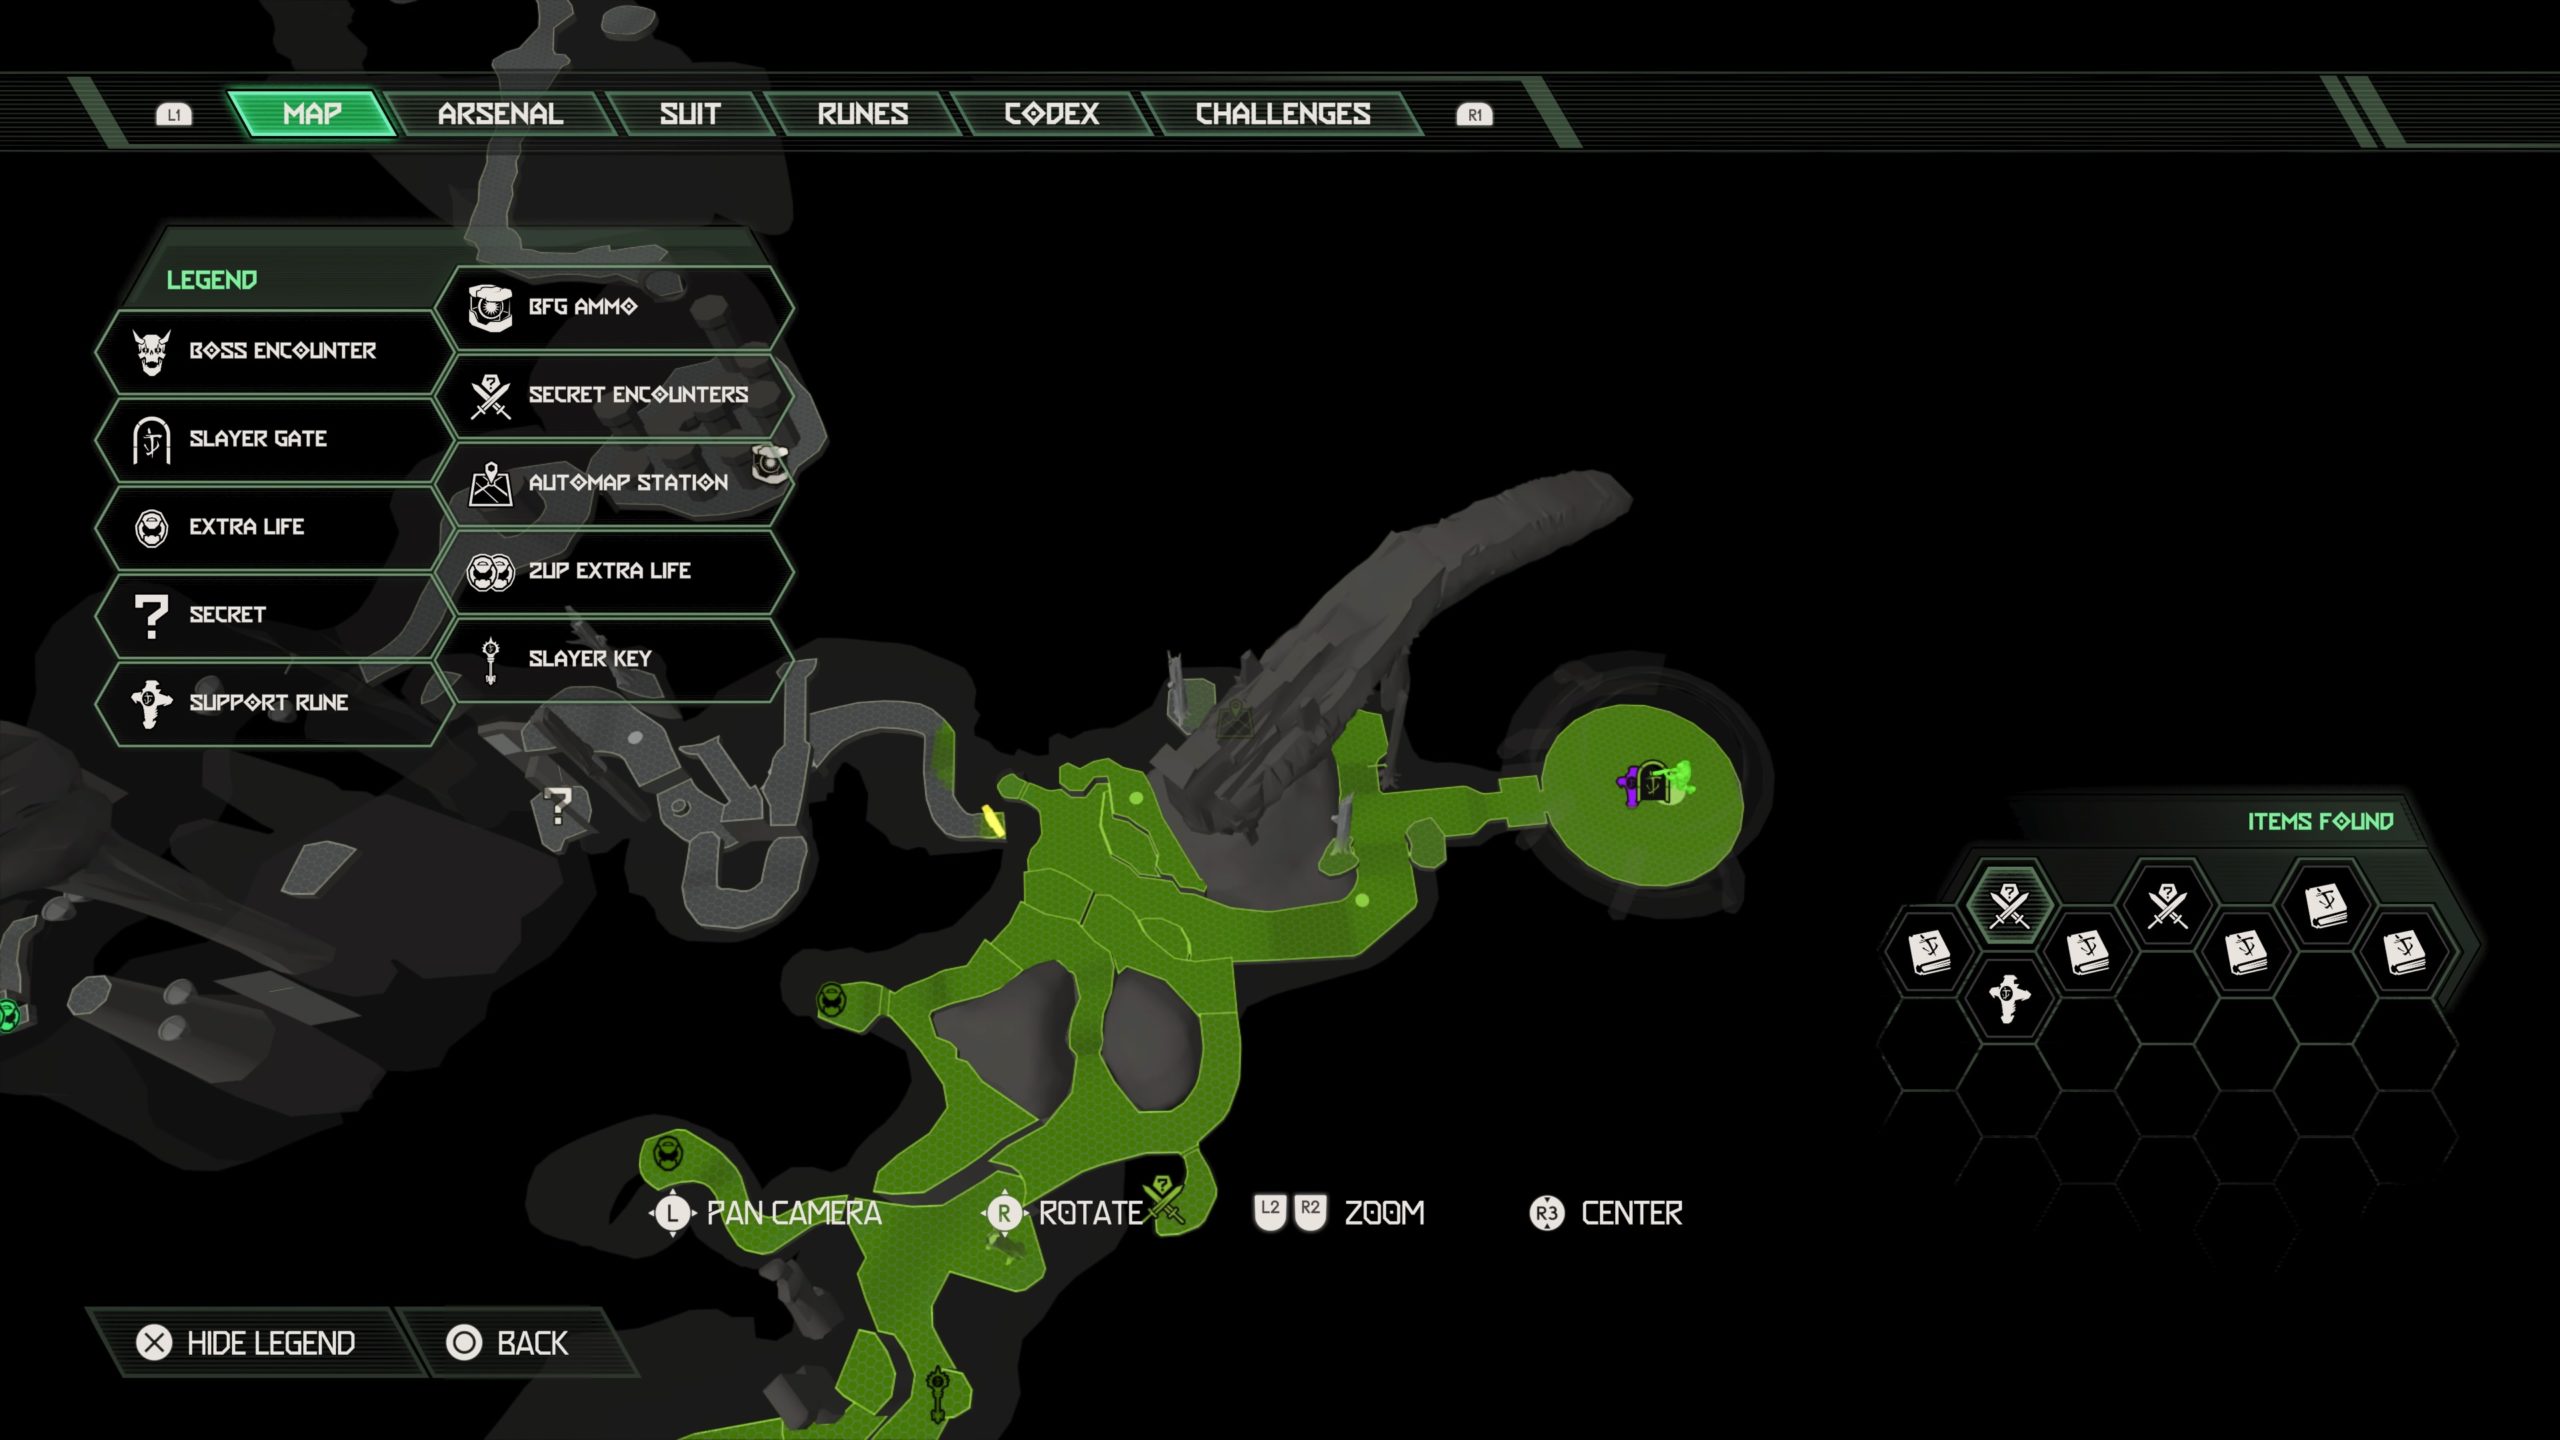
Codex: Book of the Seraphs Part X

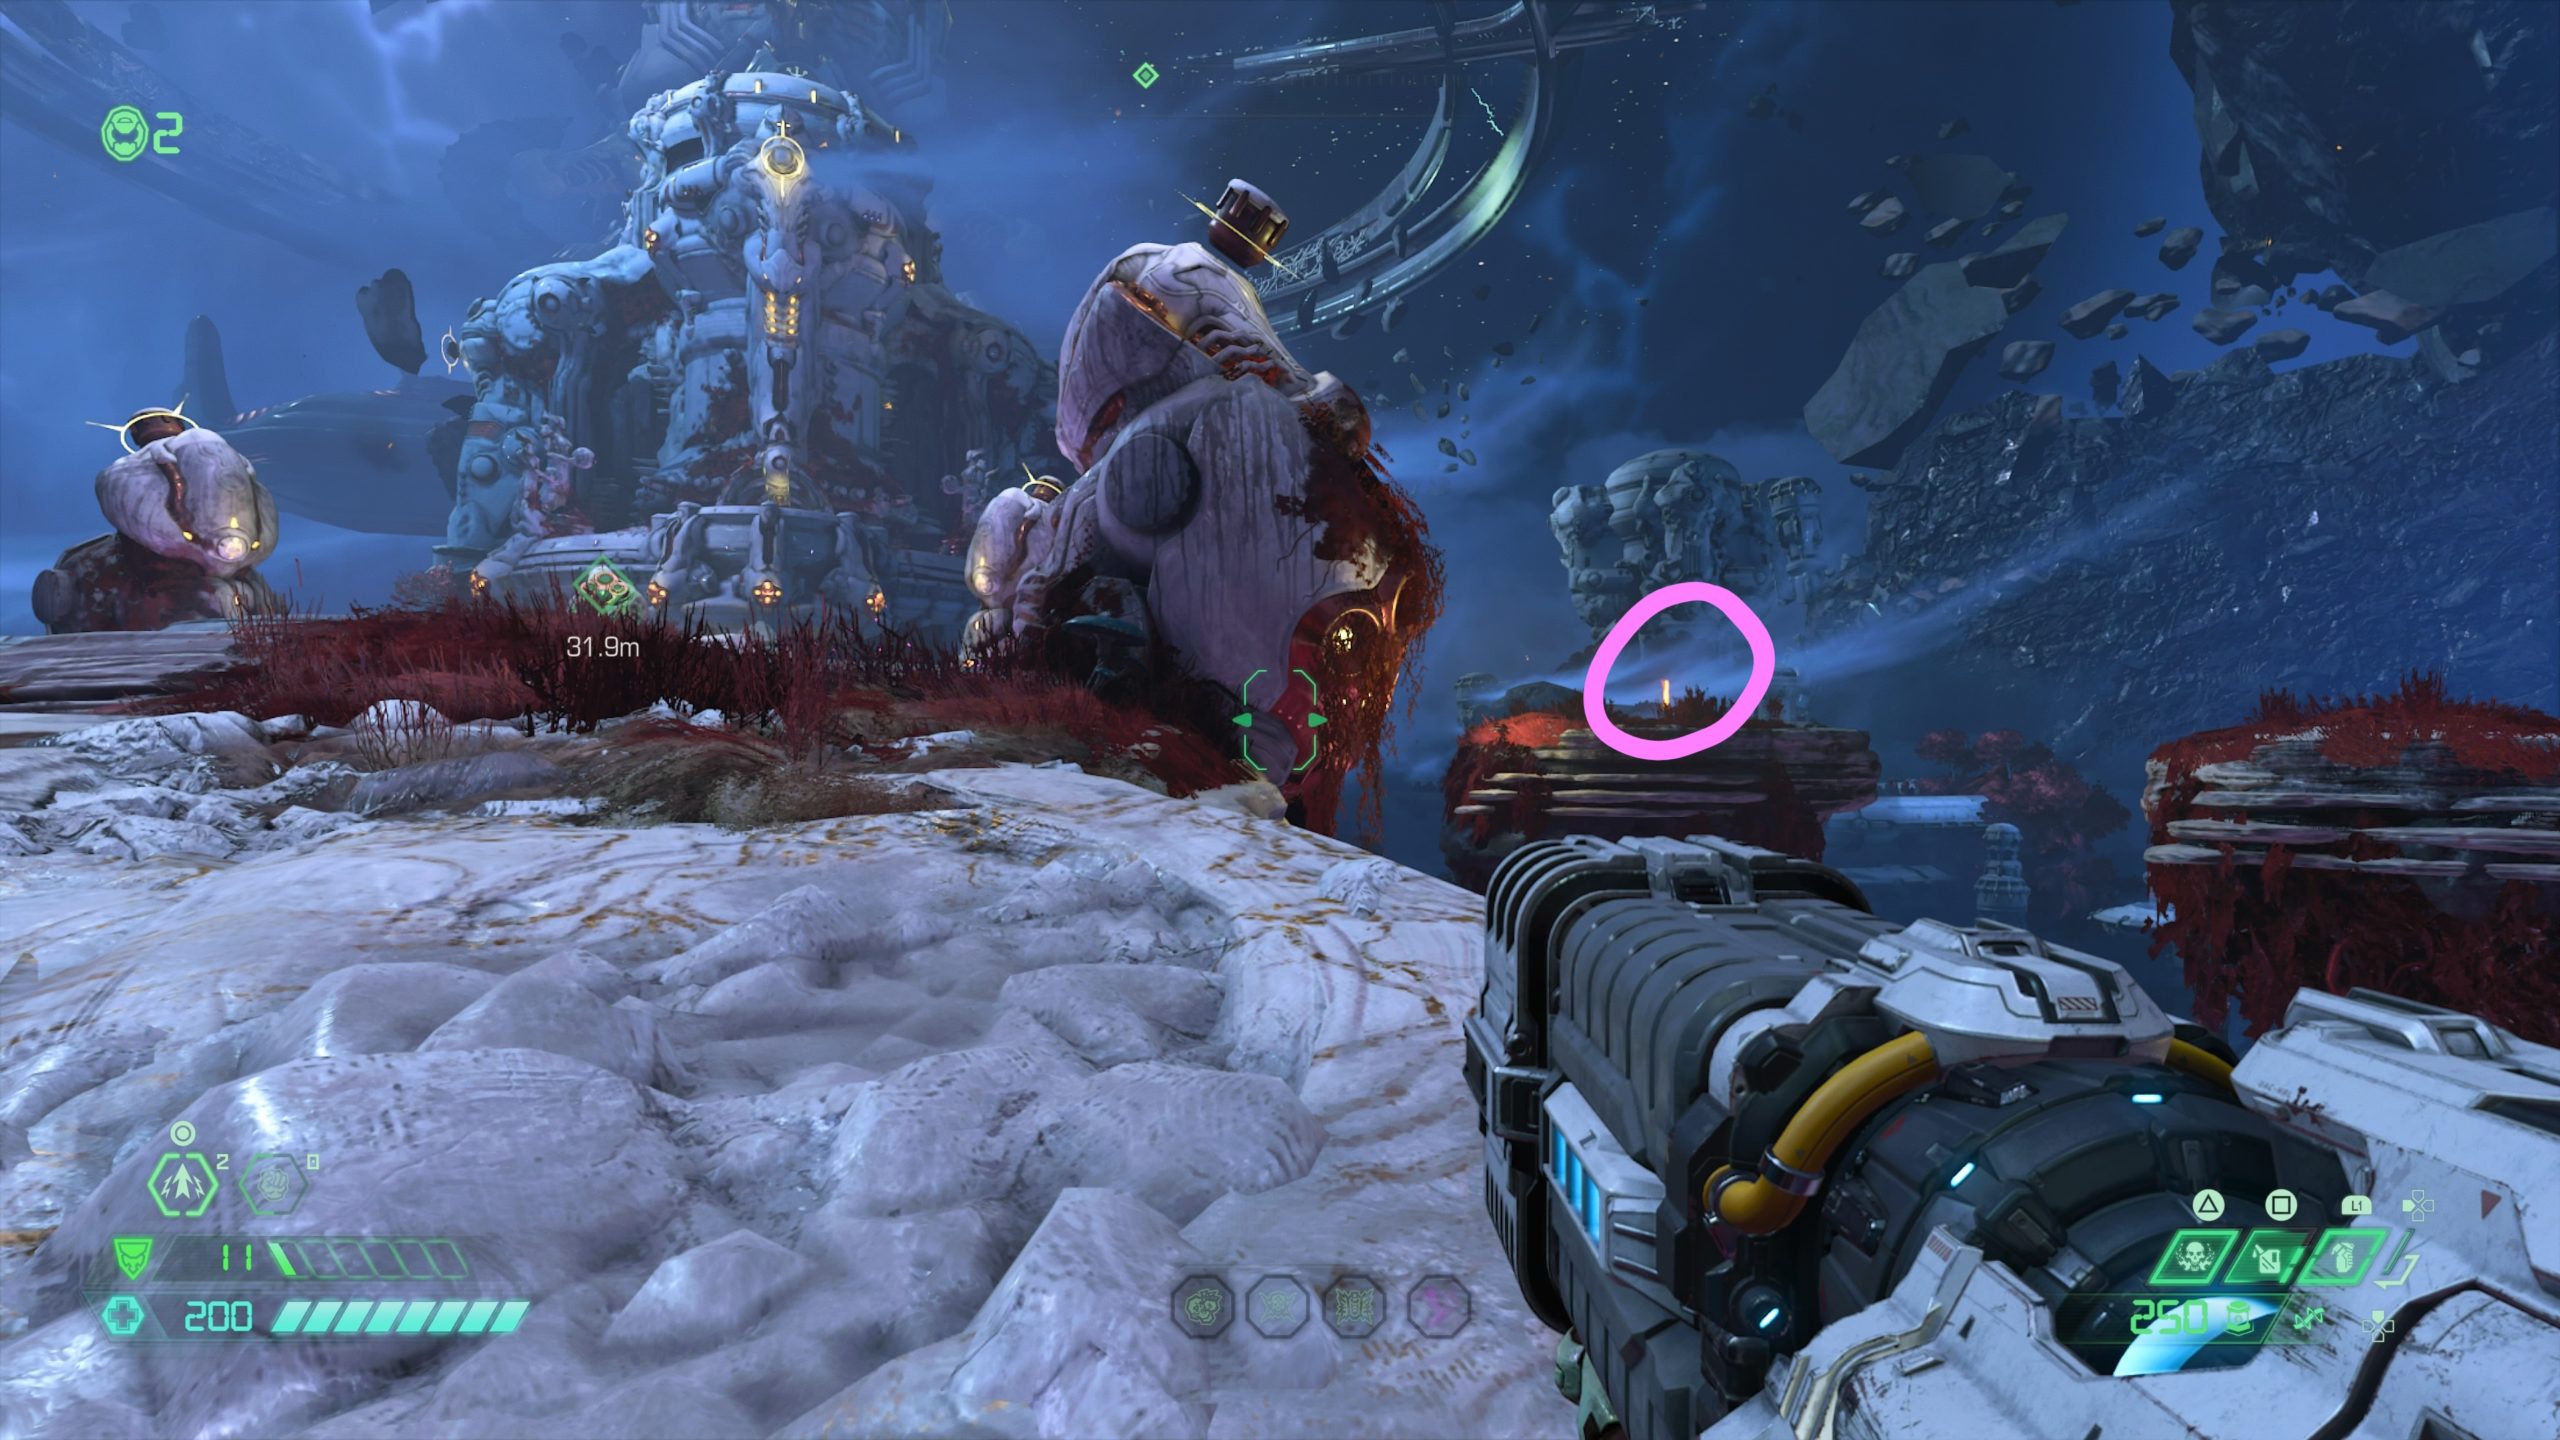
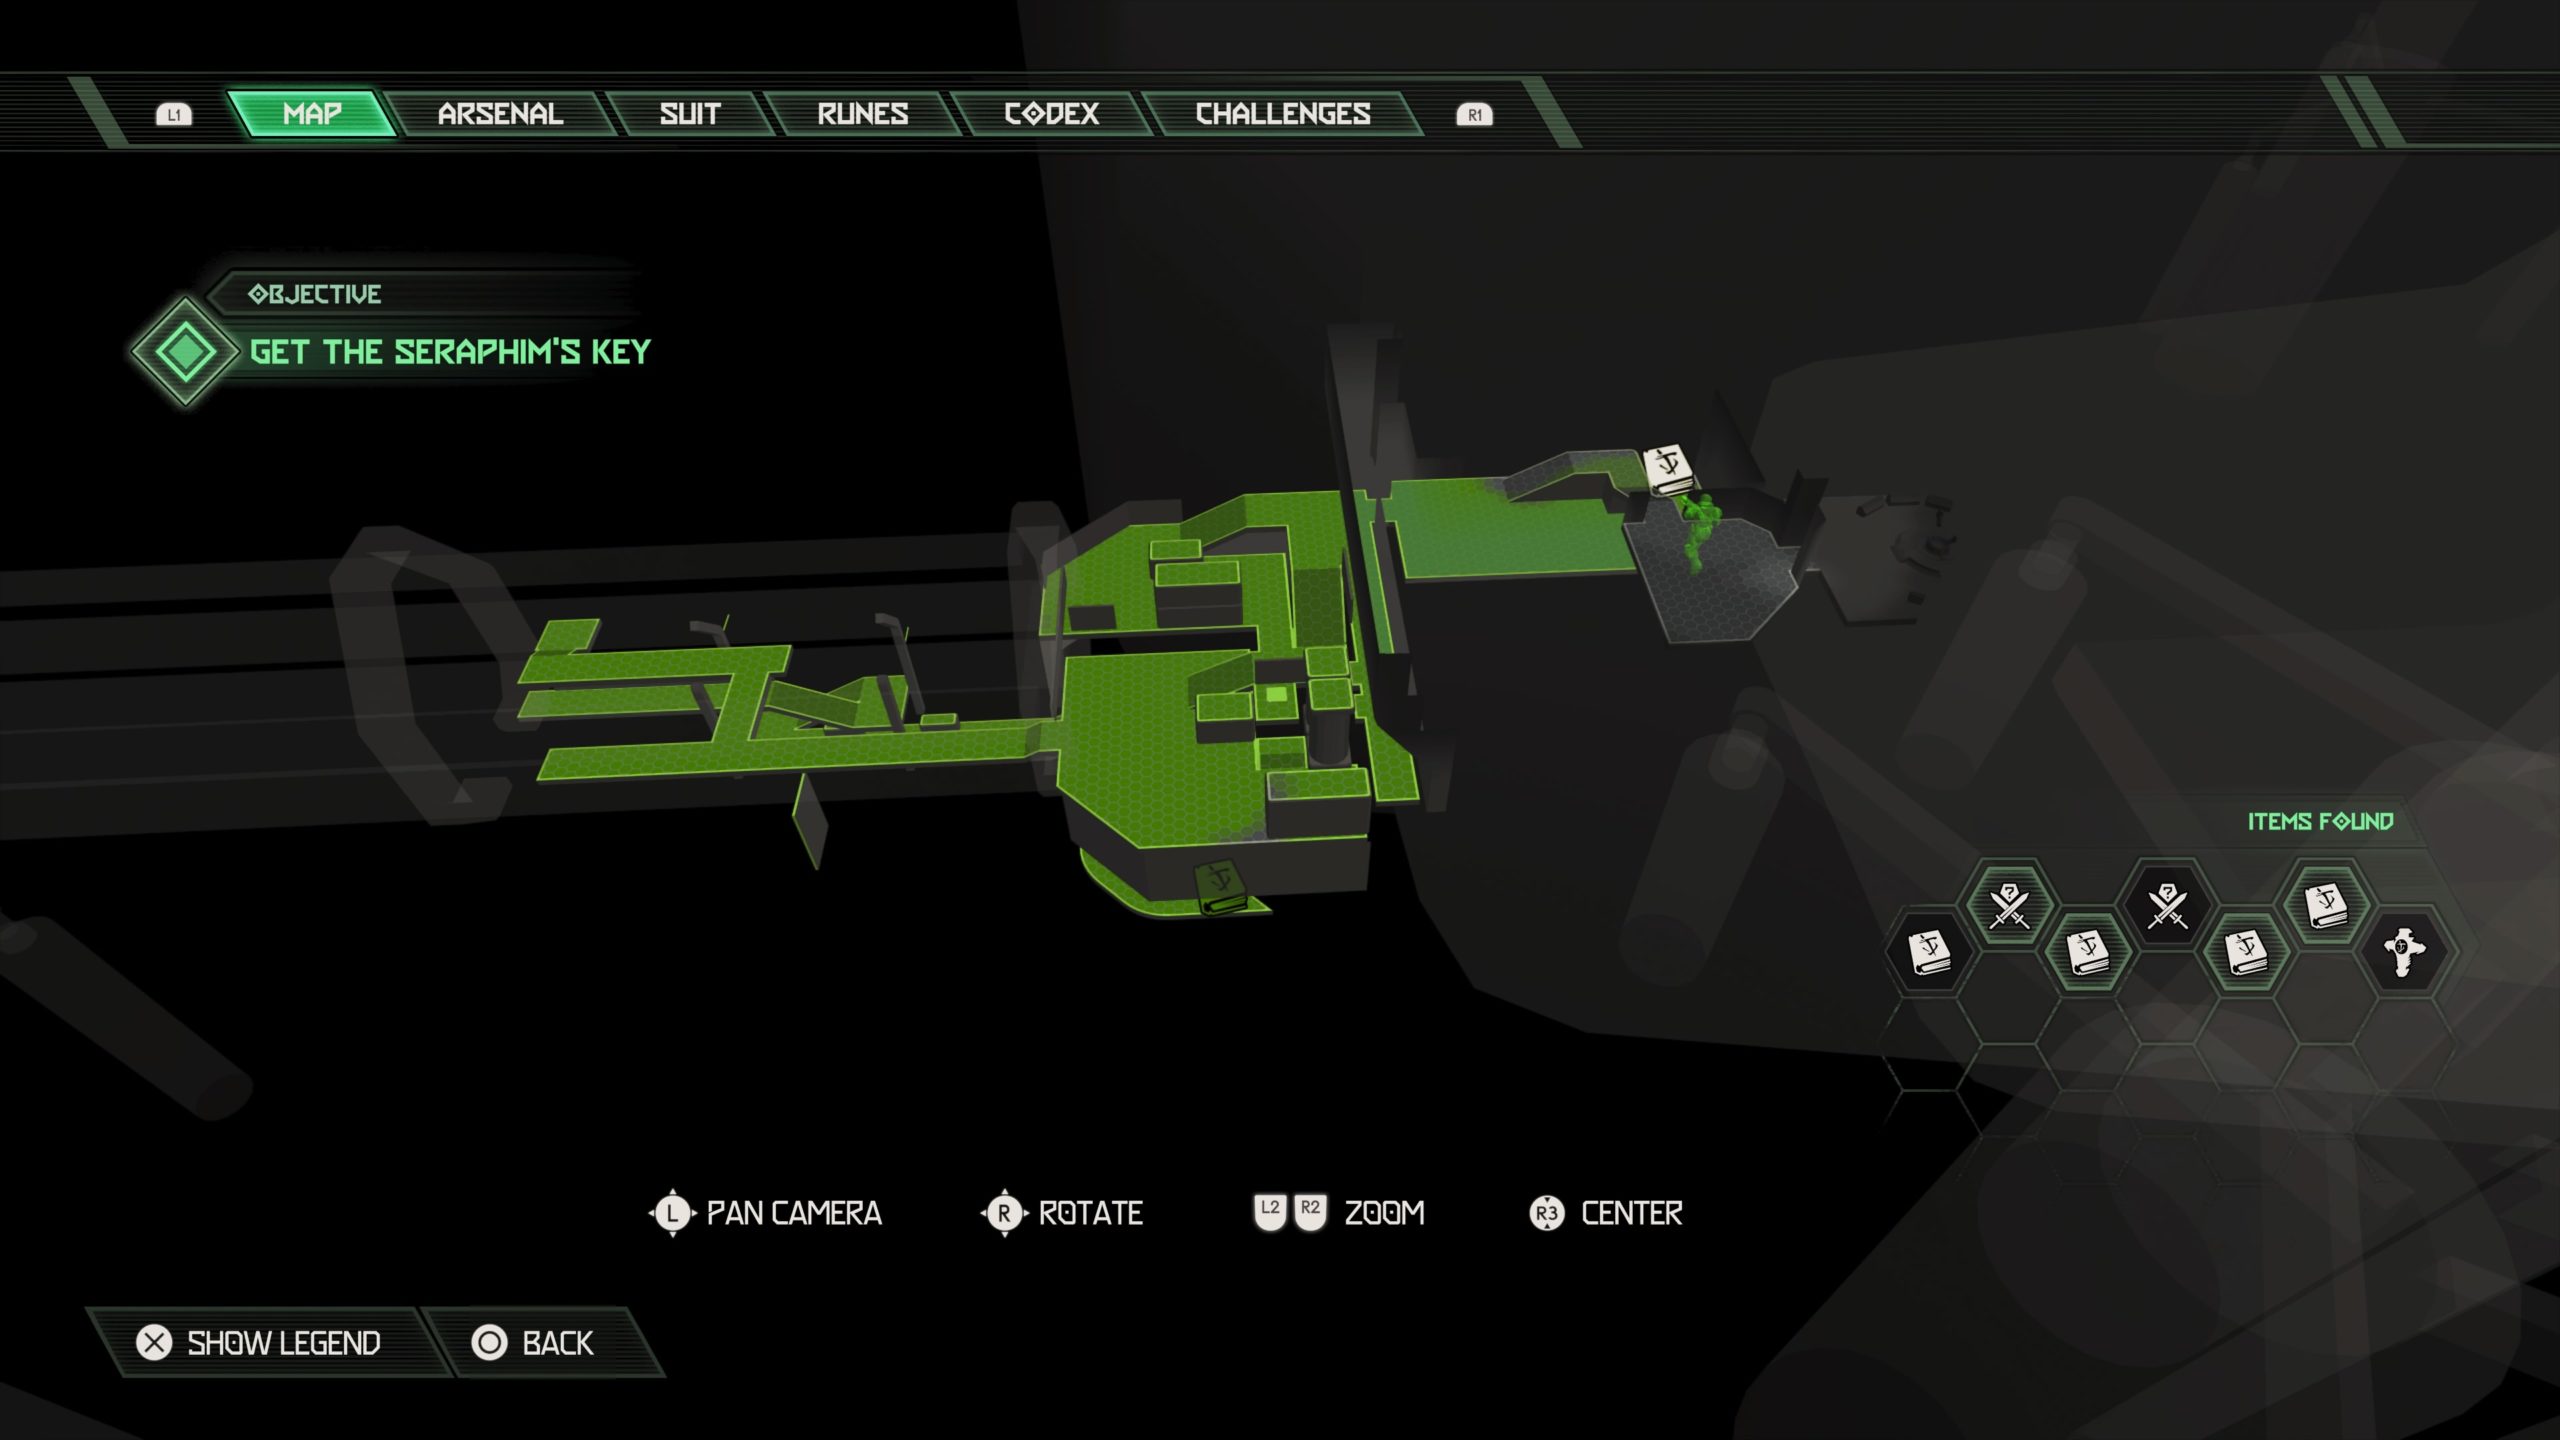
This codex is located on a floating platform to the right of the bridge leading to the tower containing the Father.
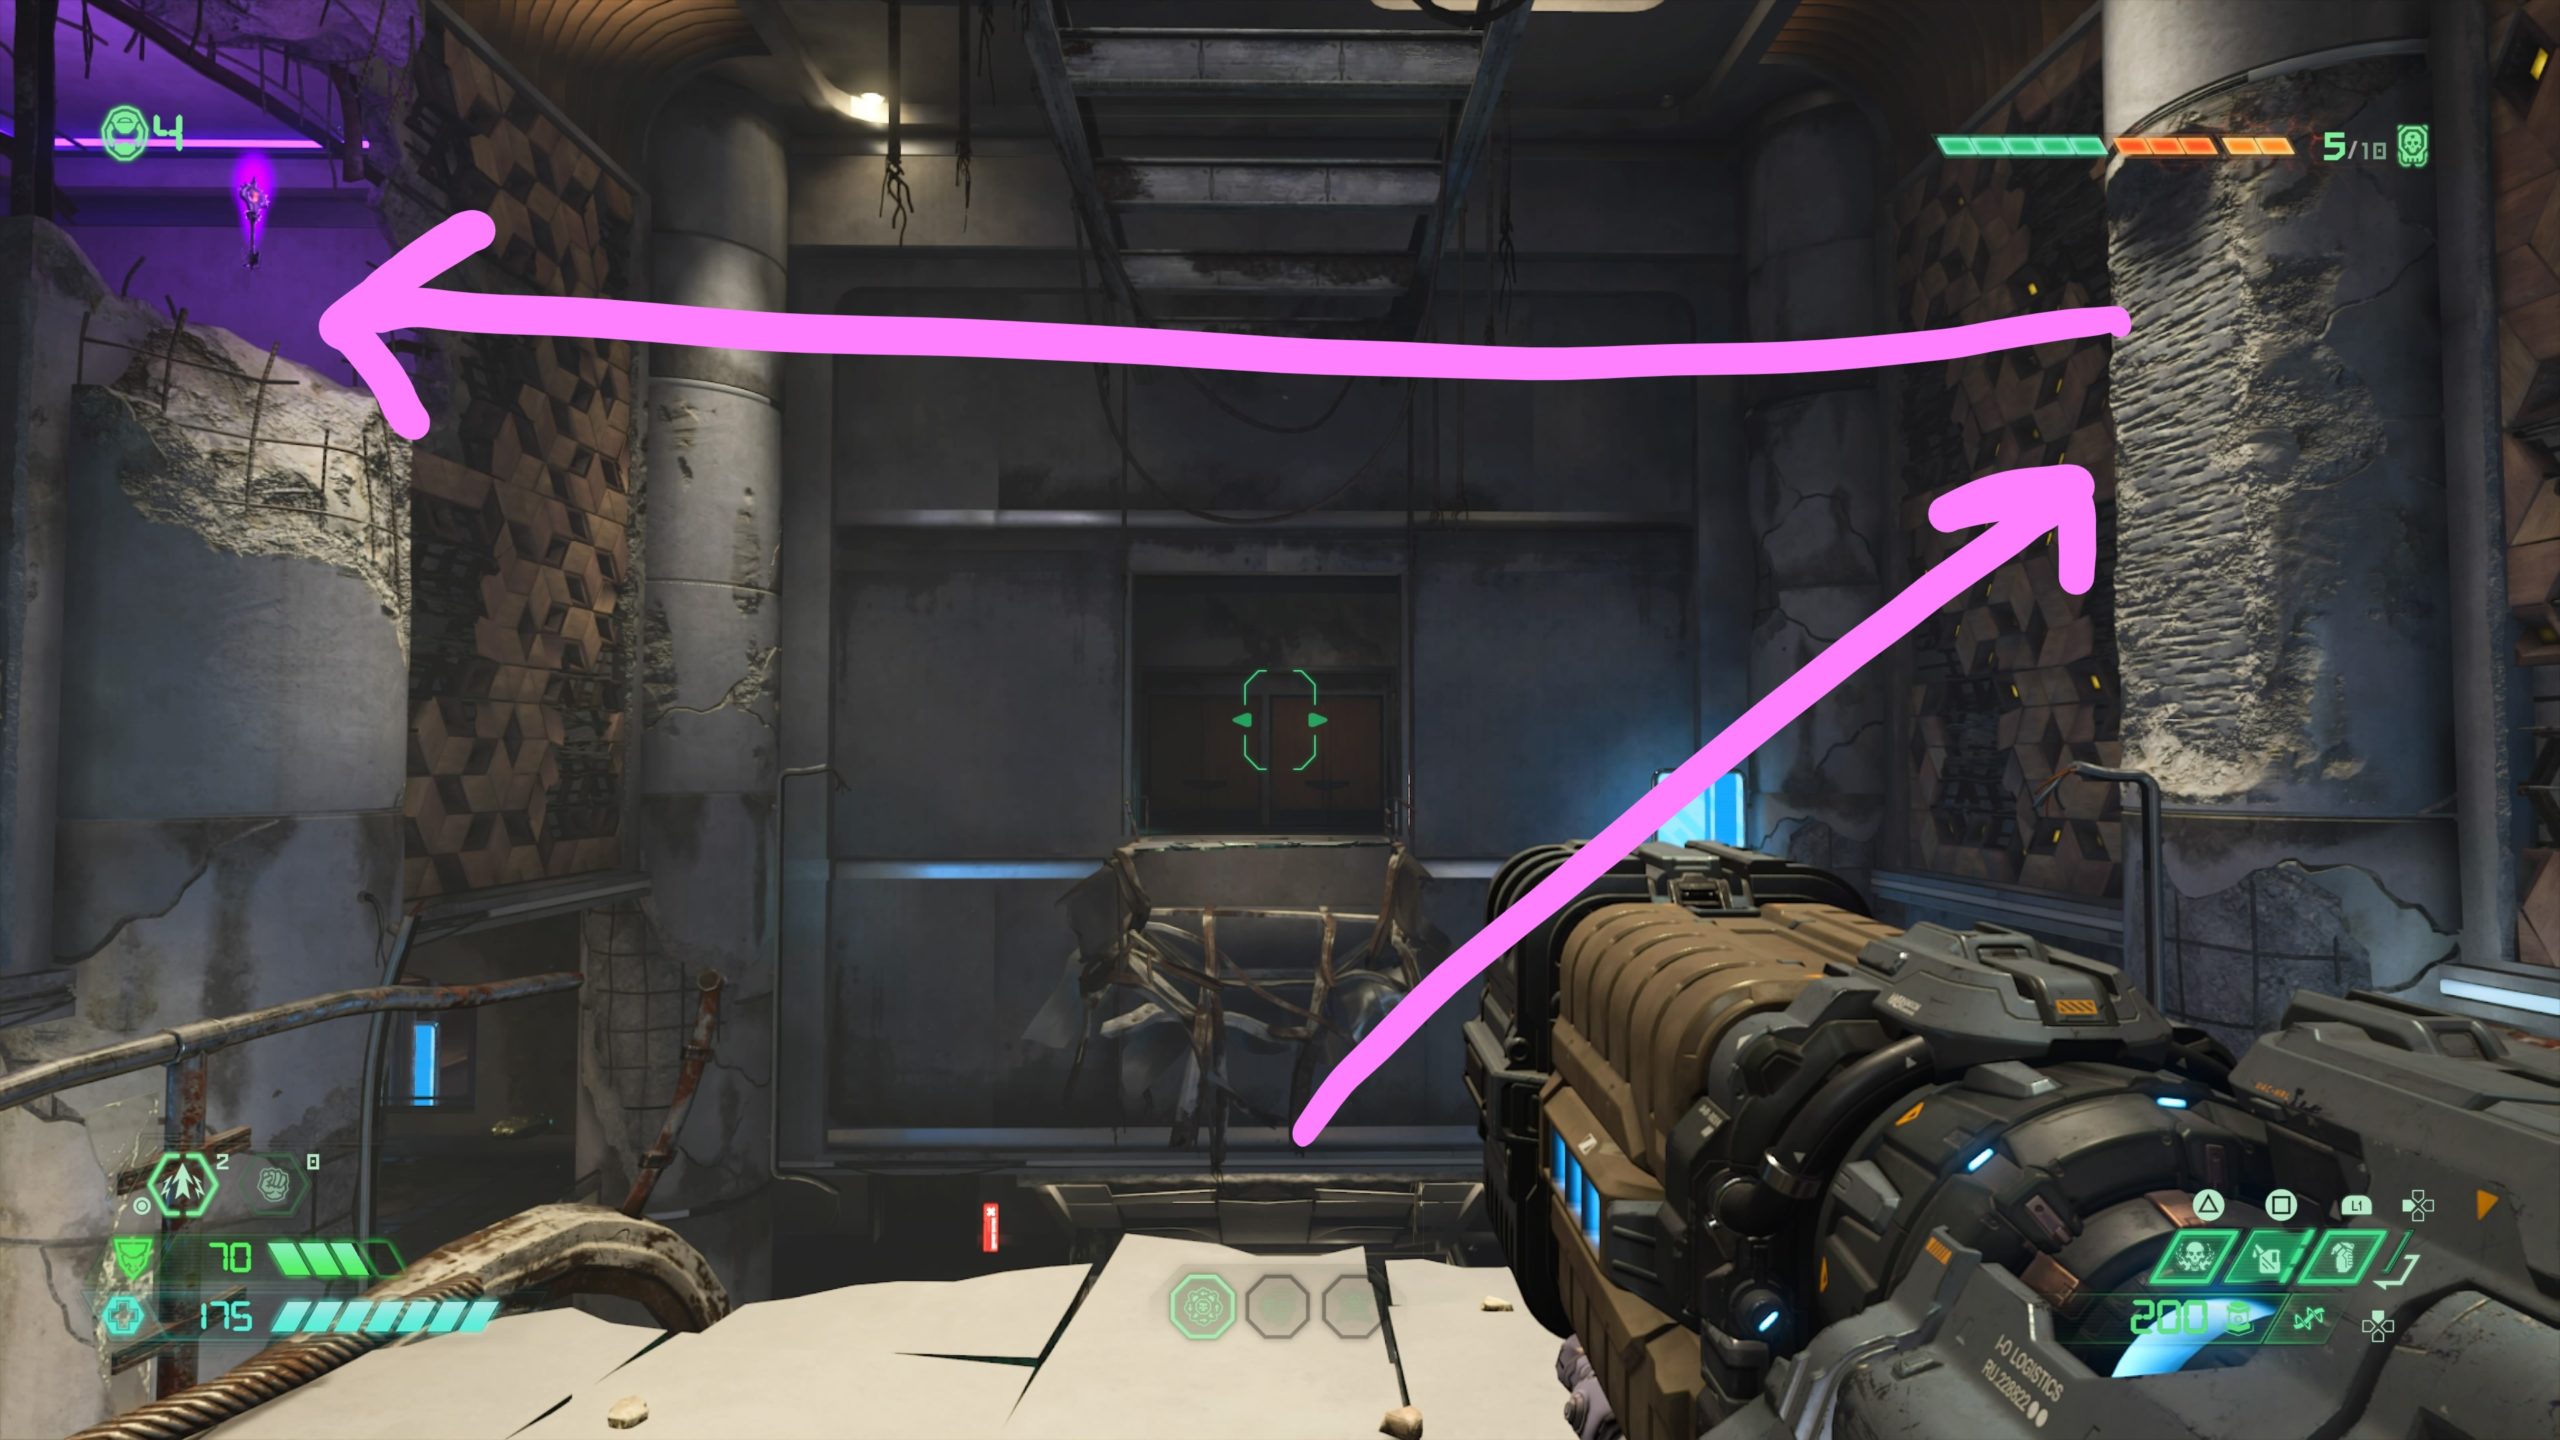
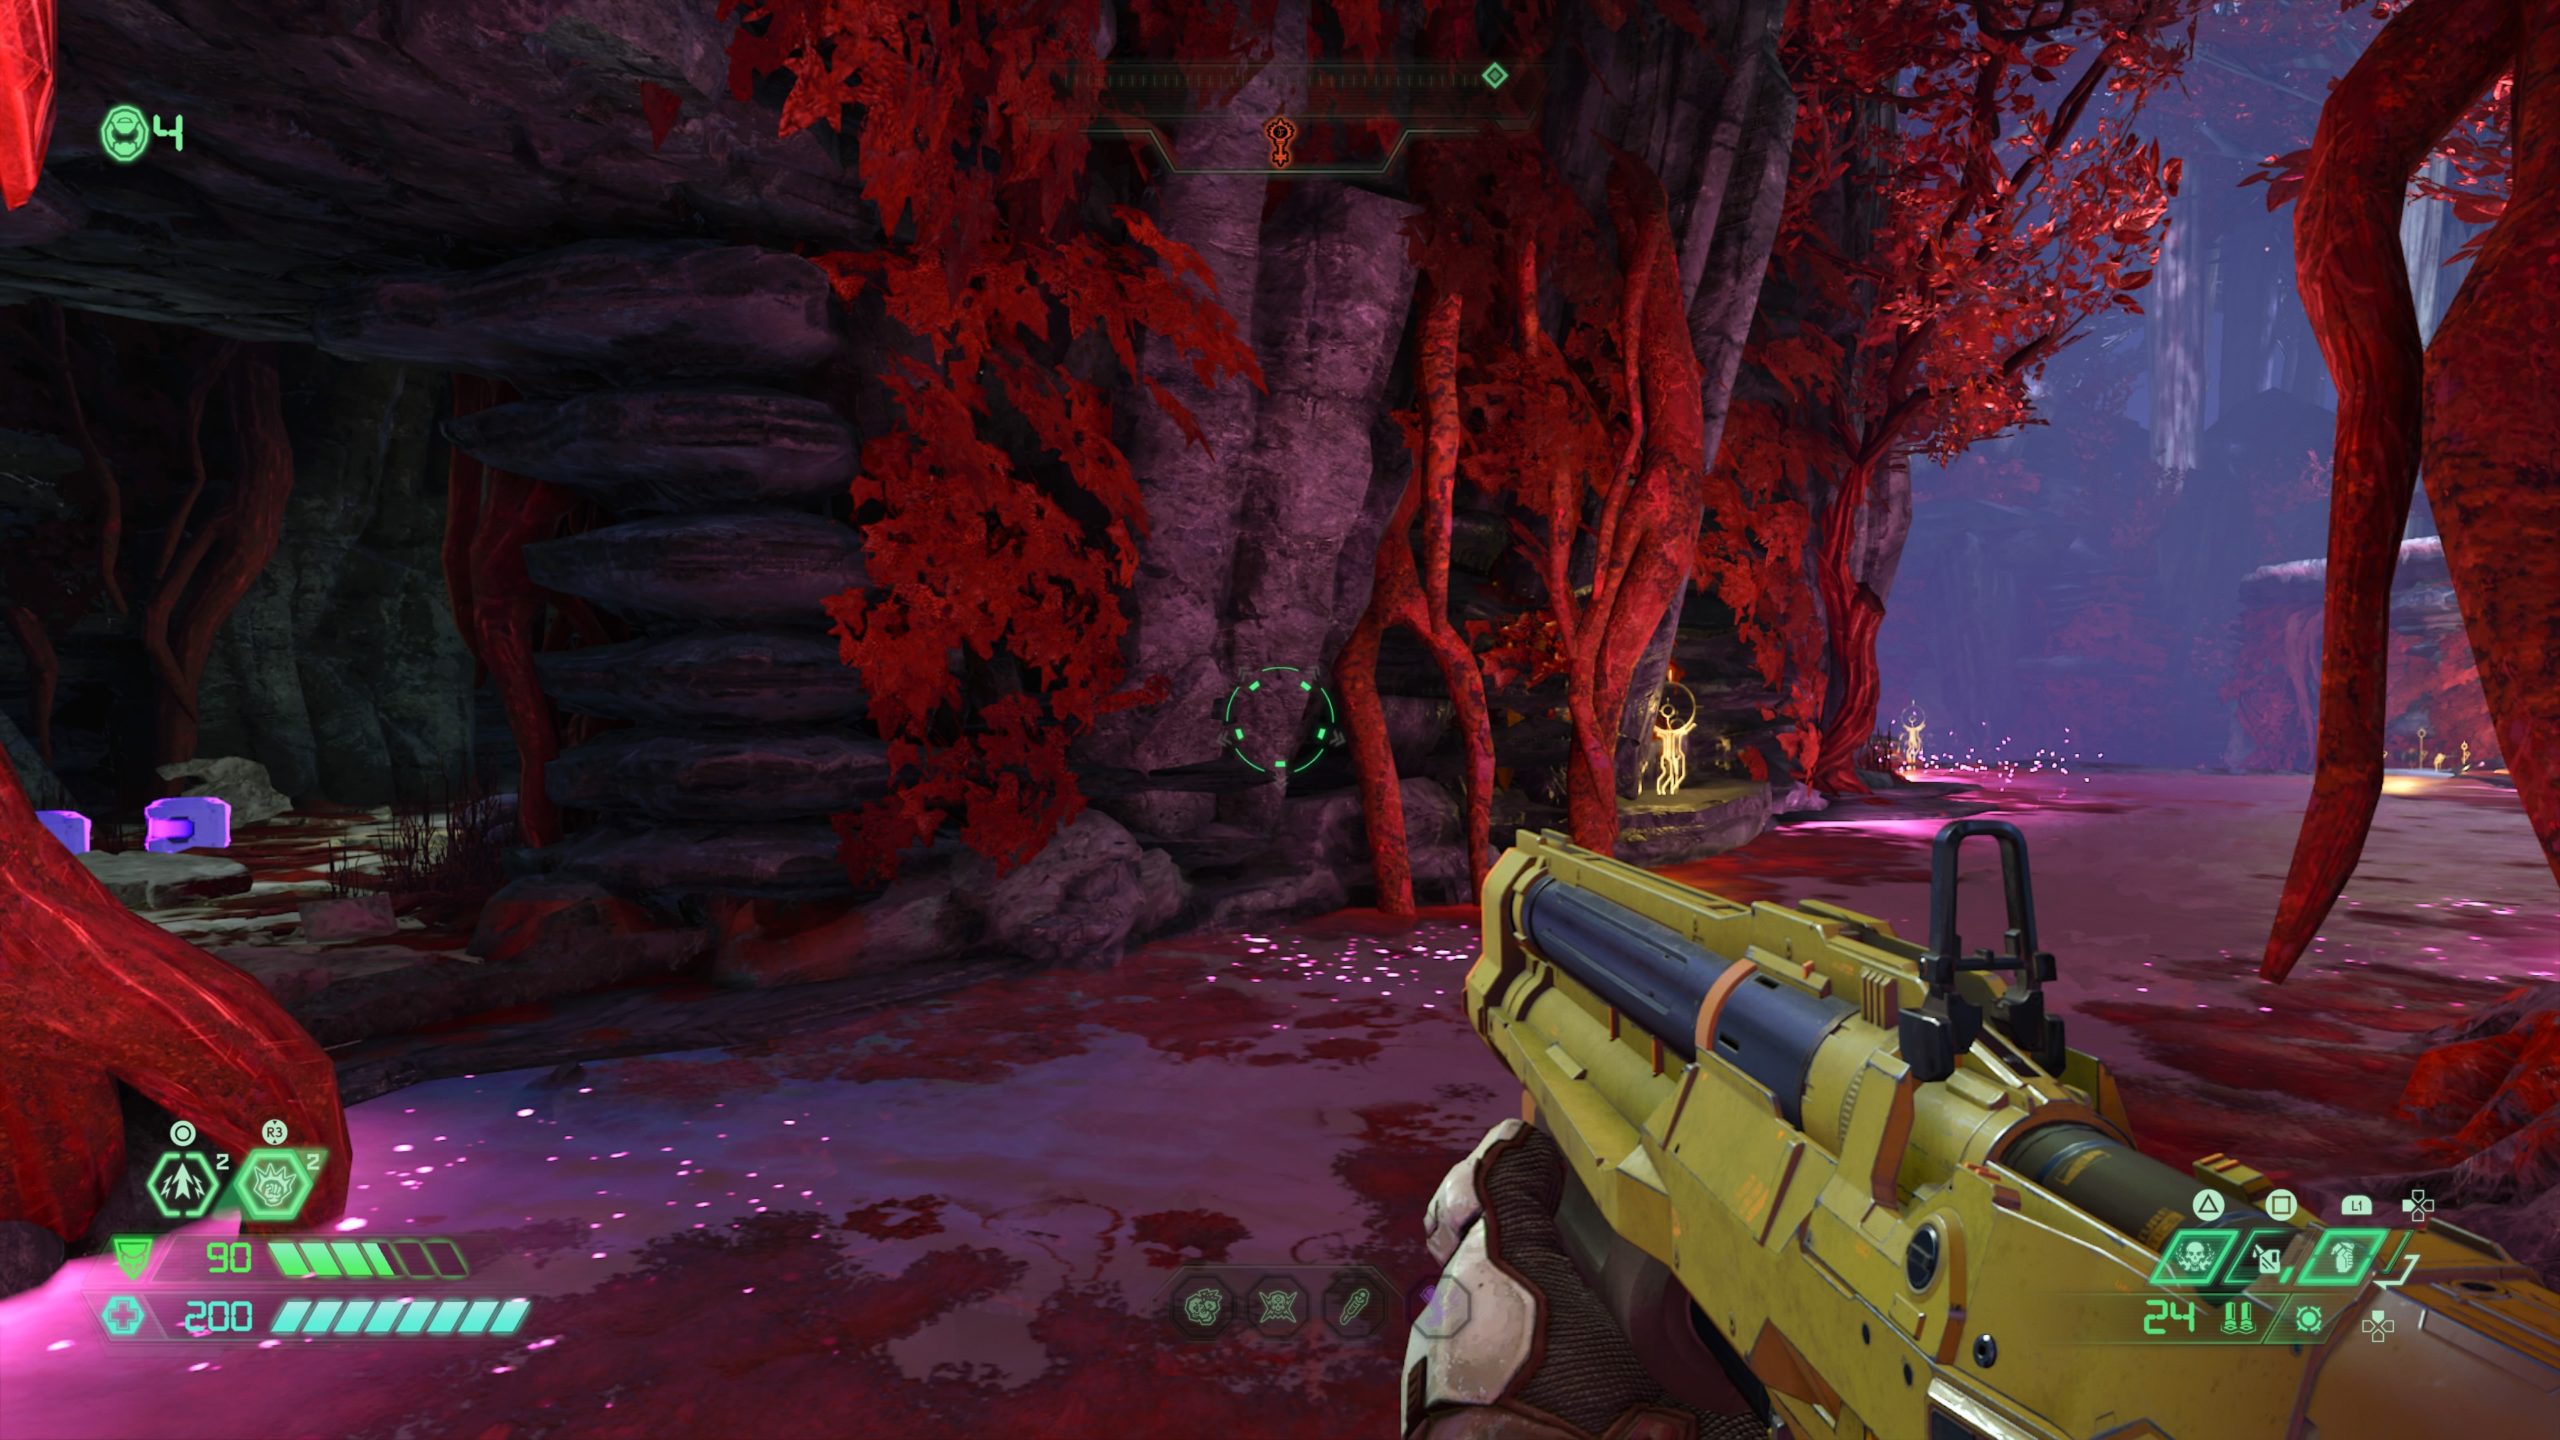
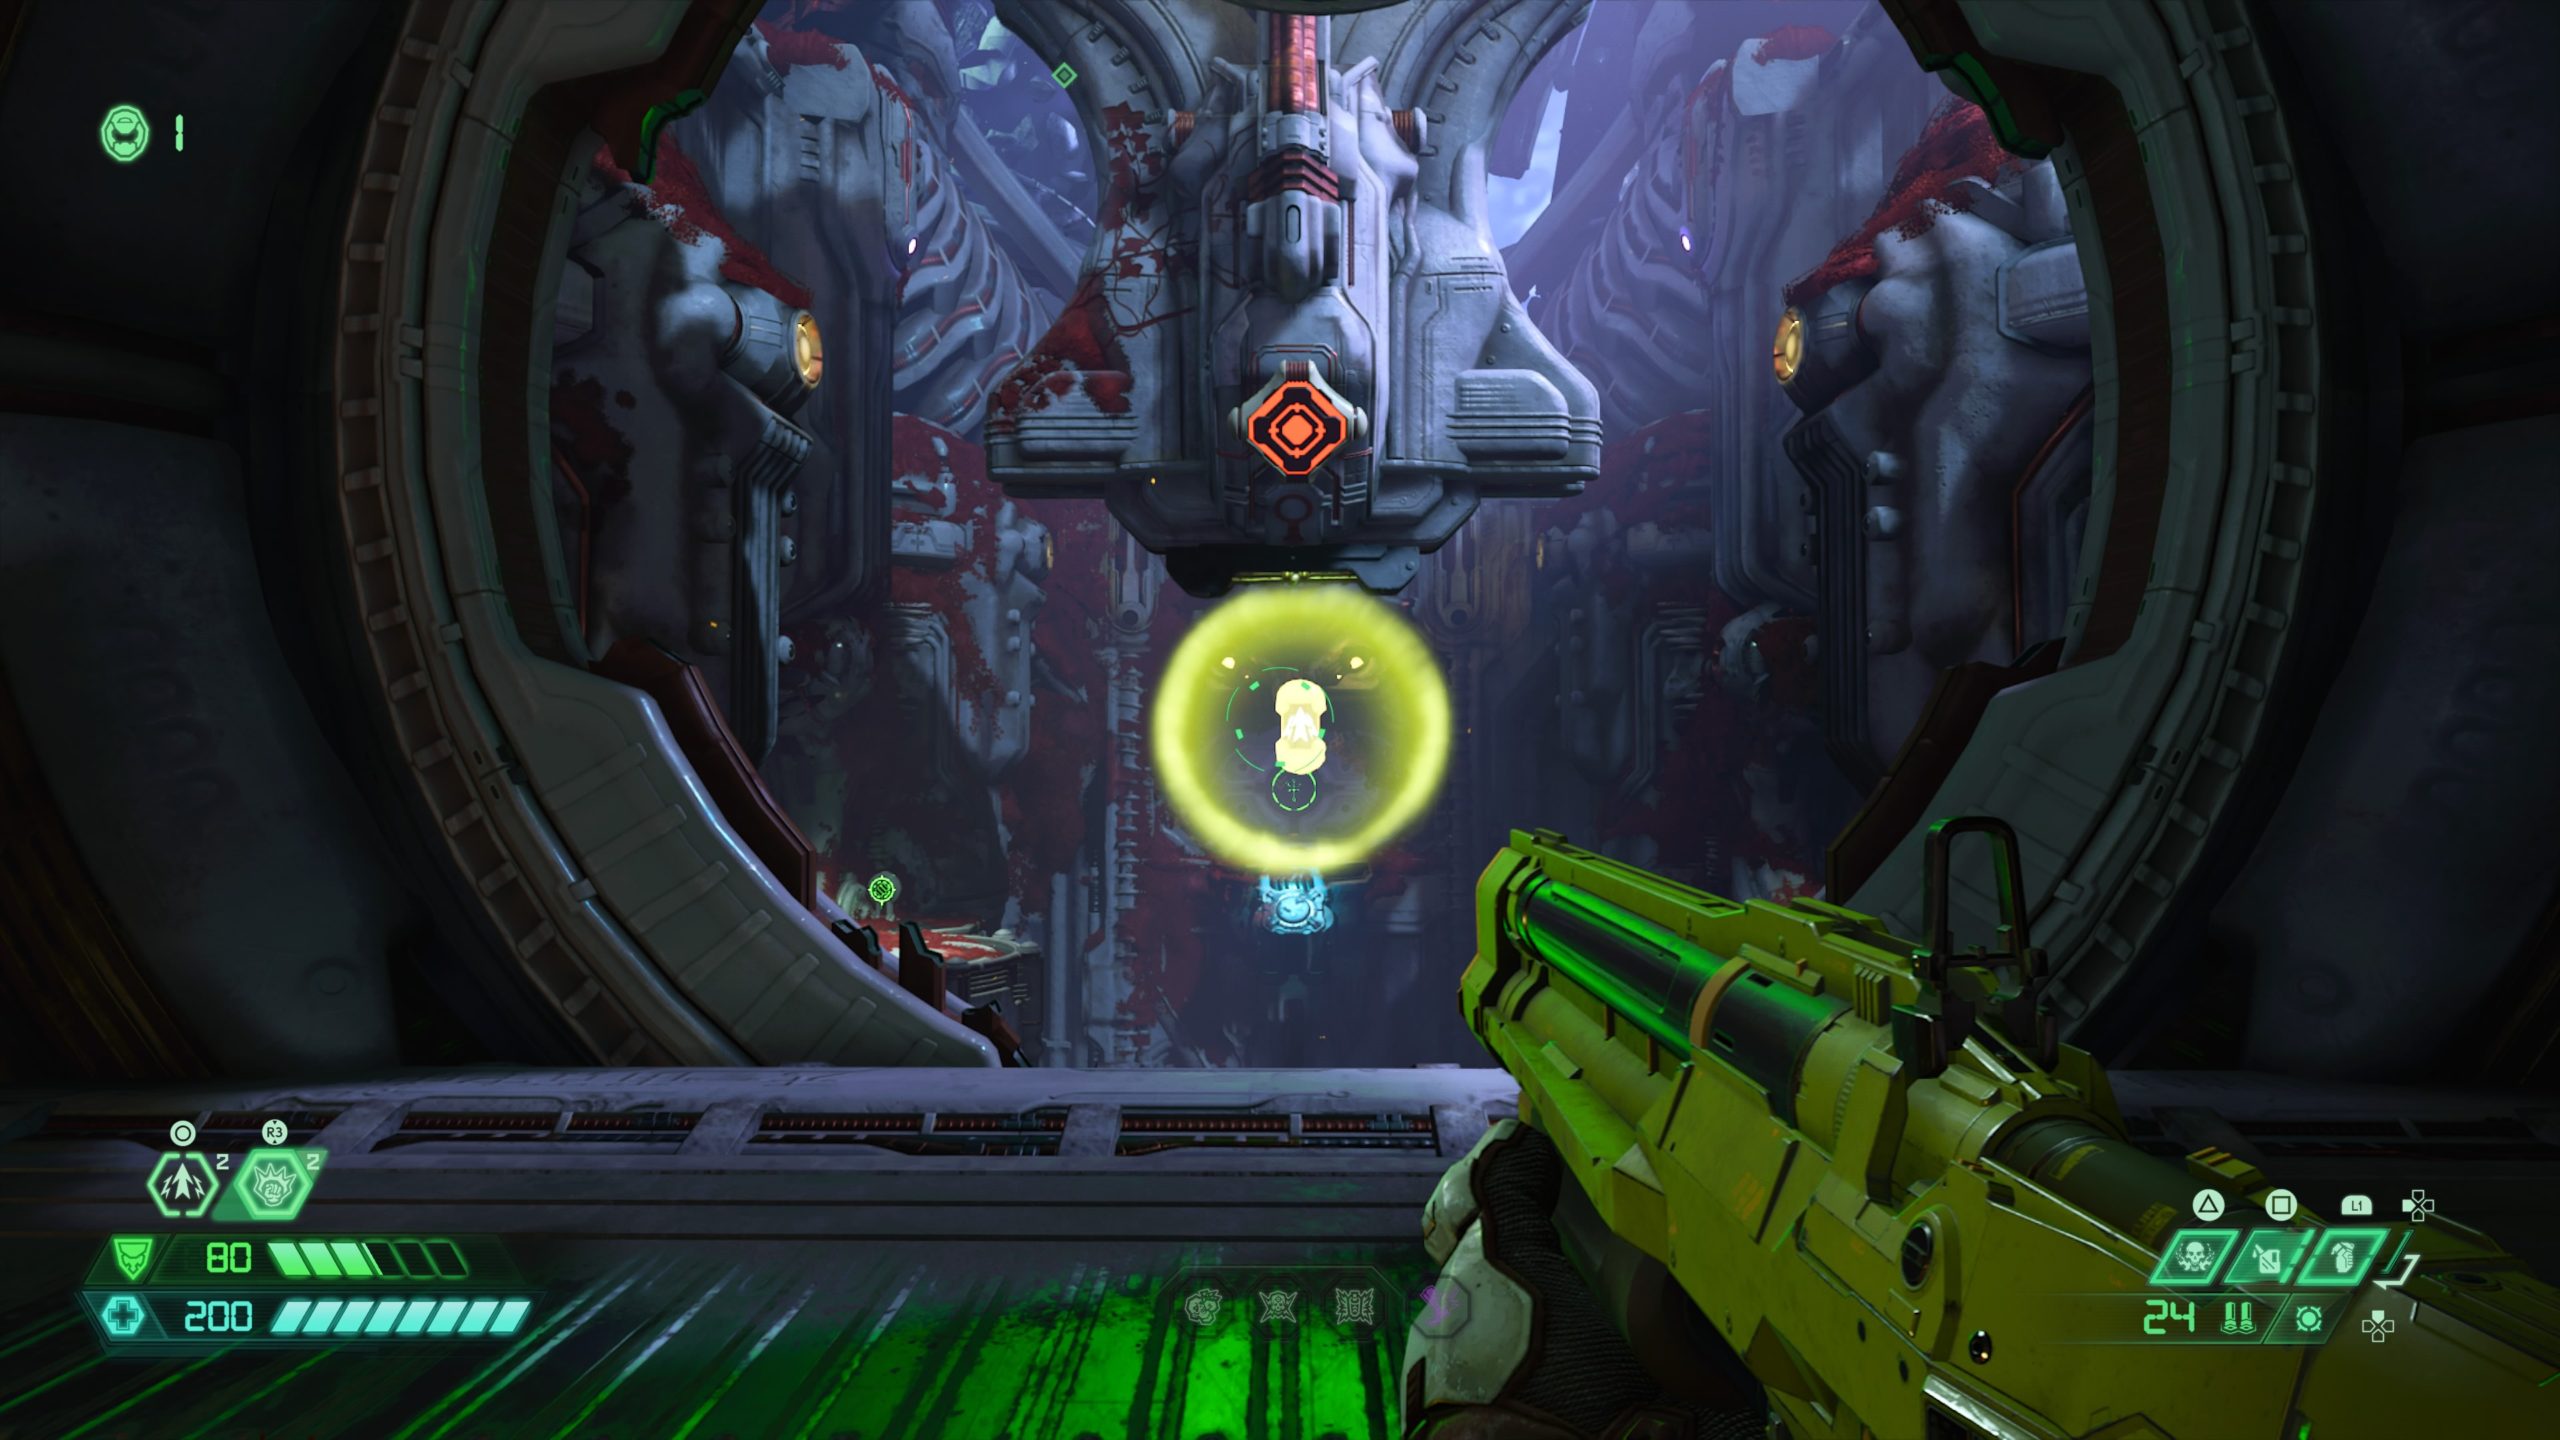
Secret Encounter

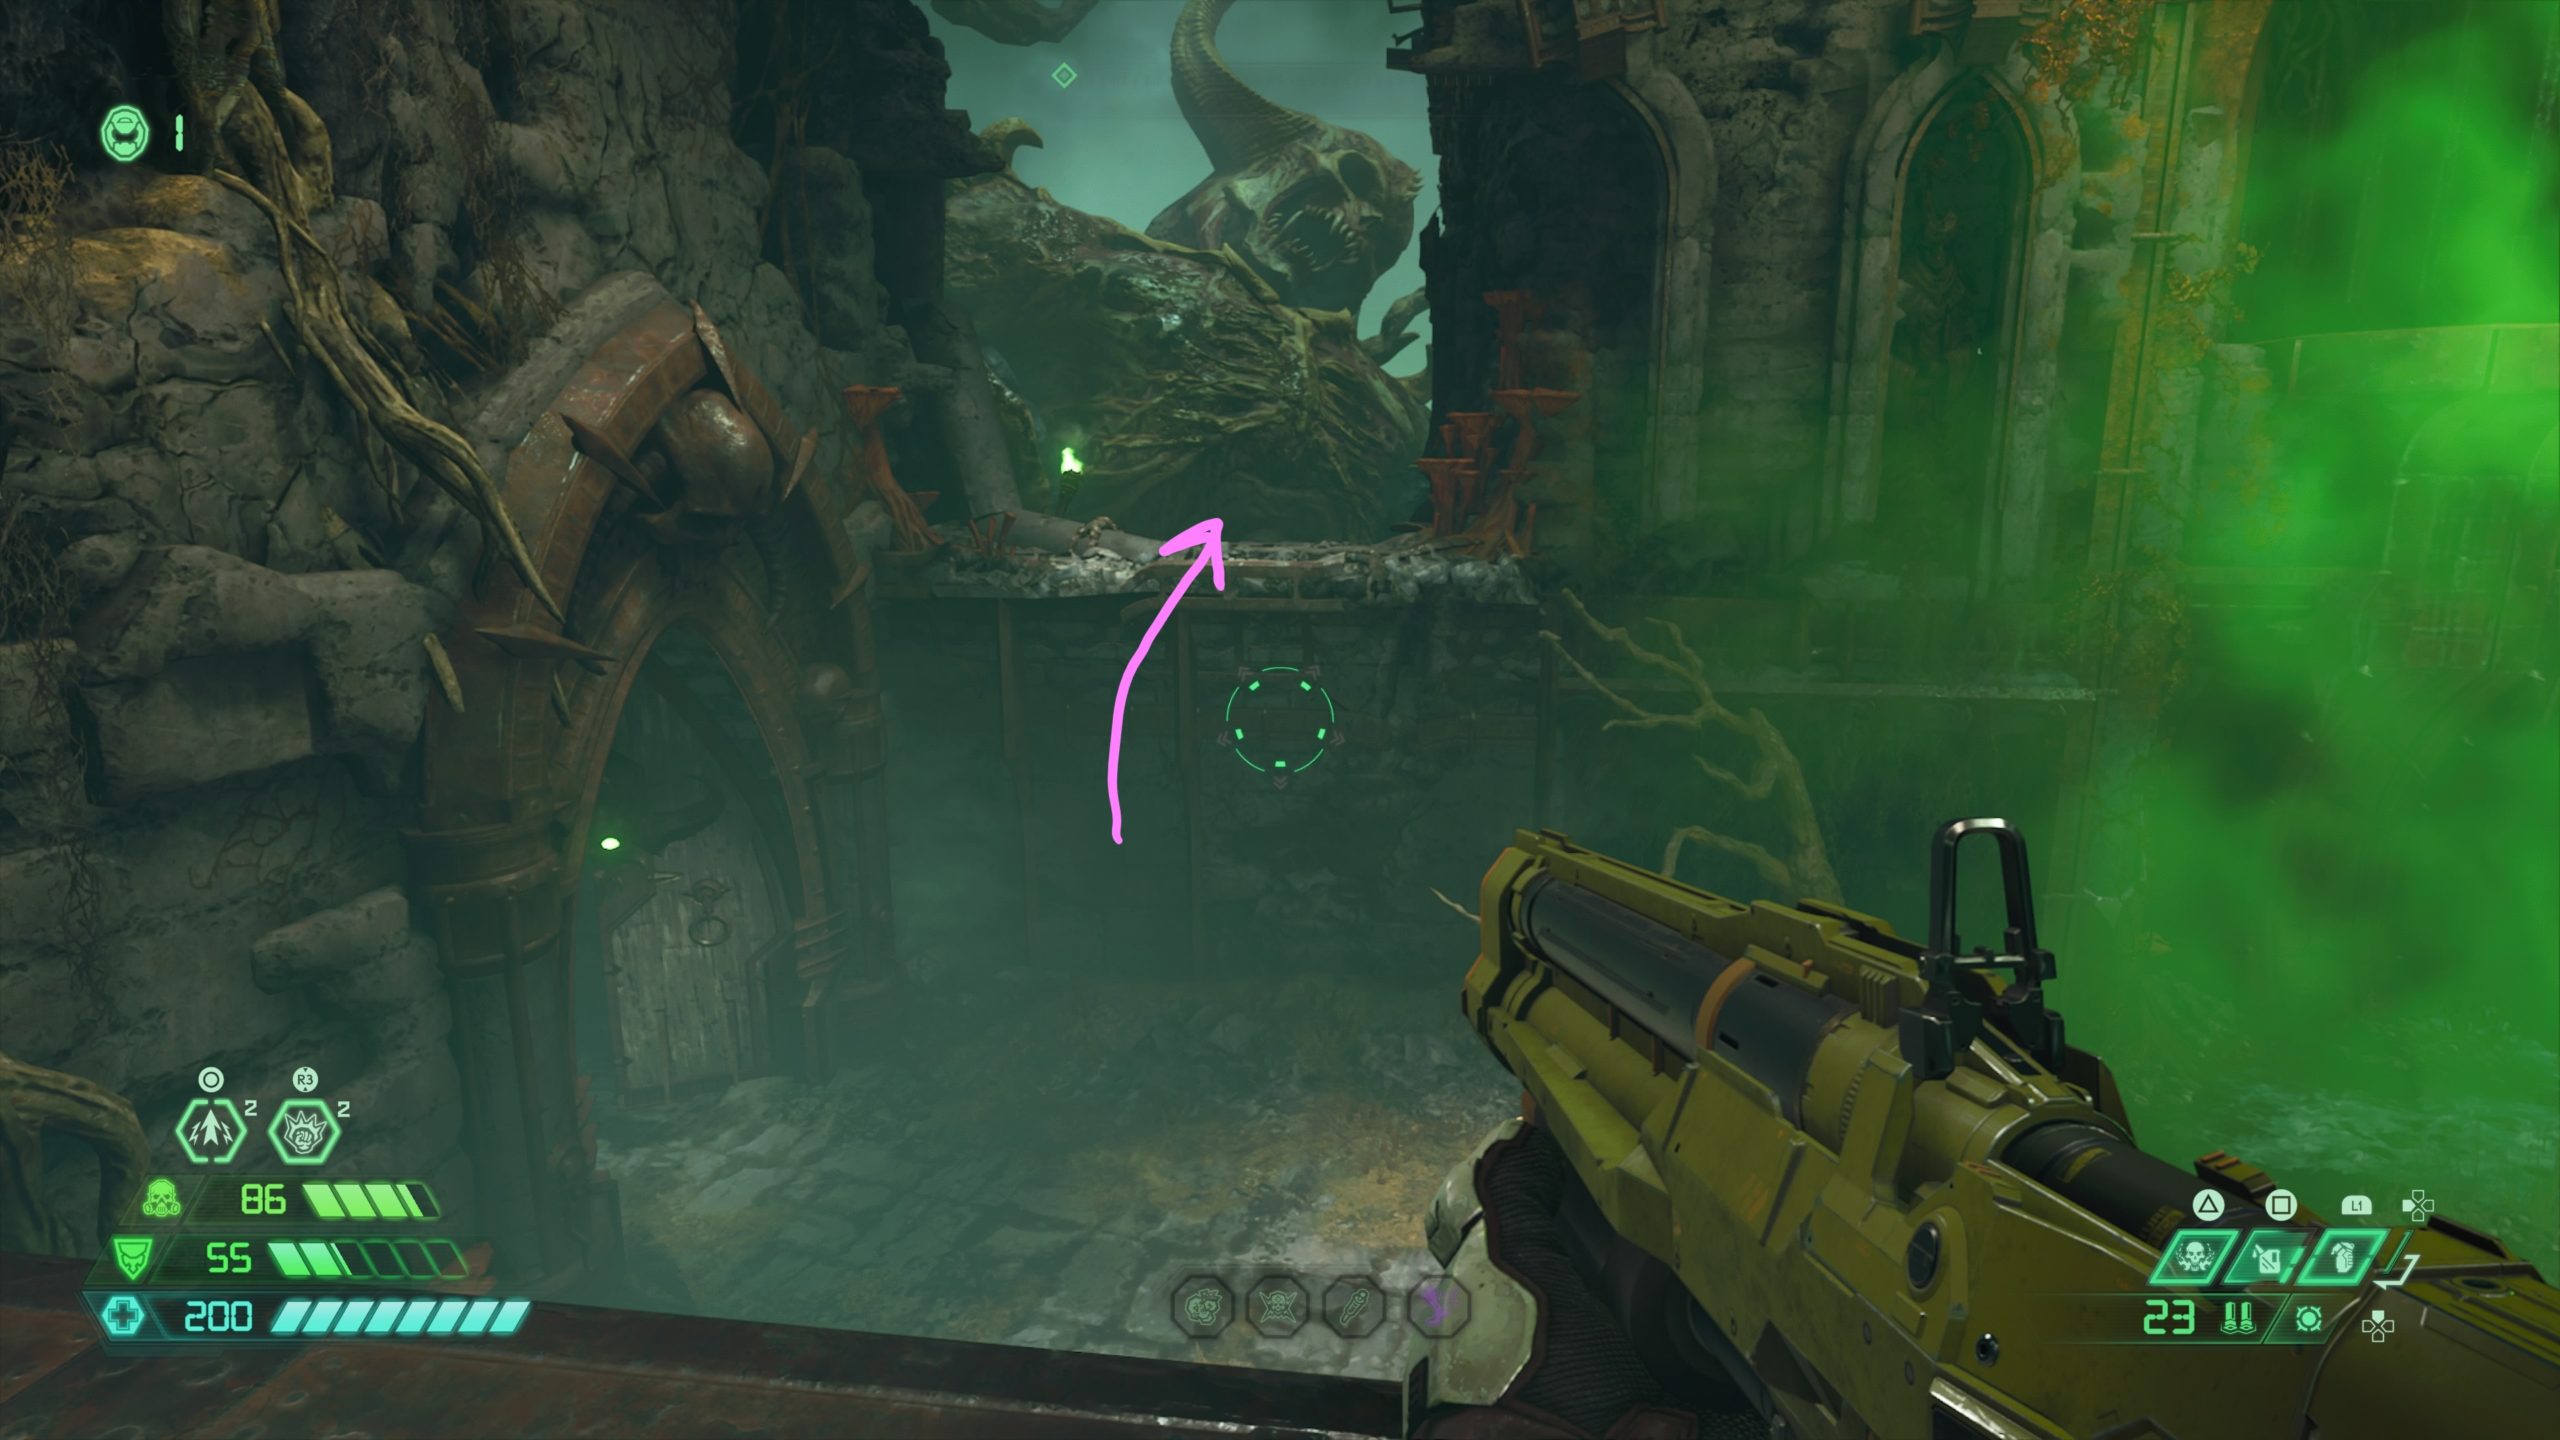
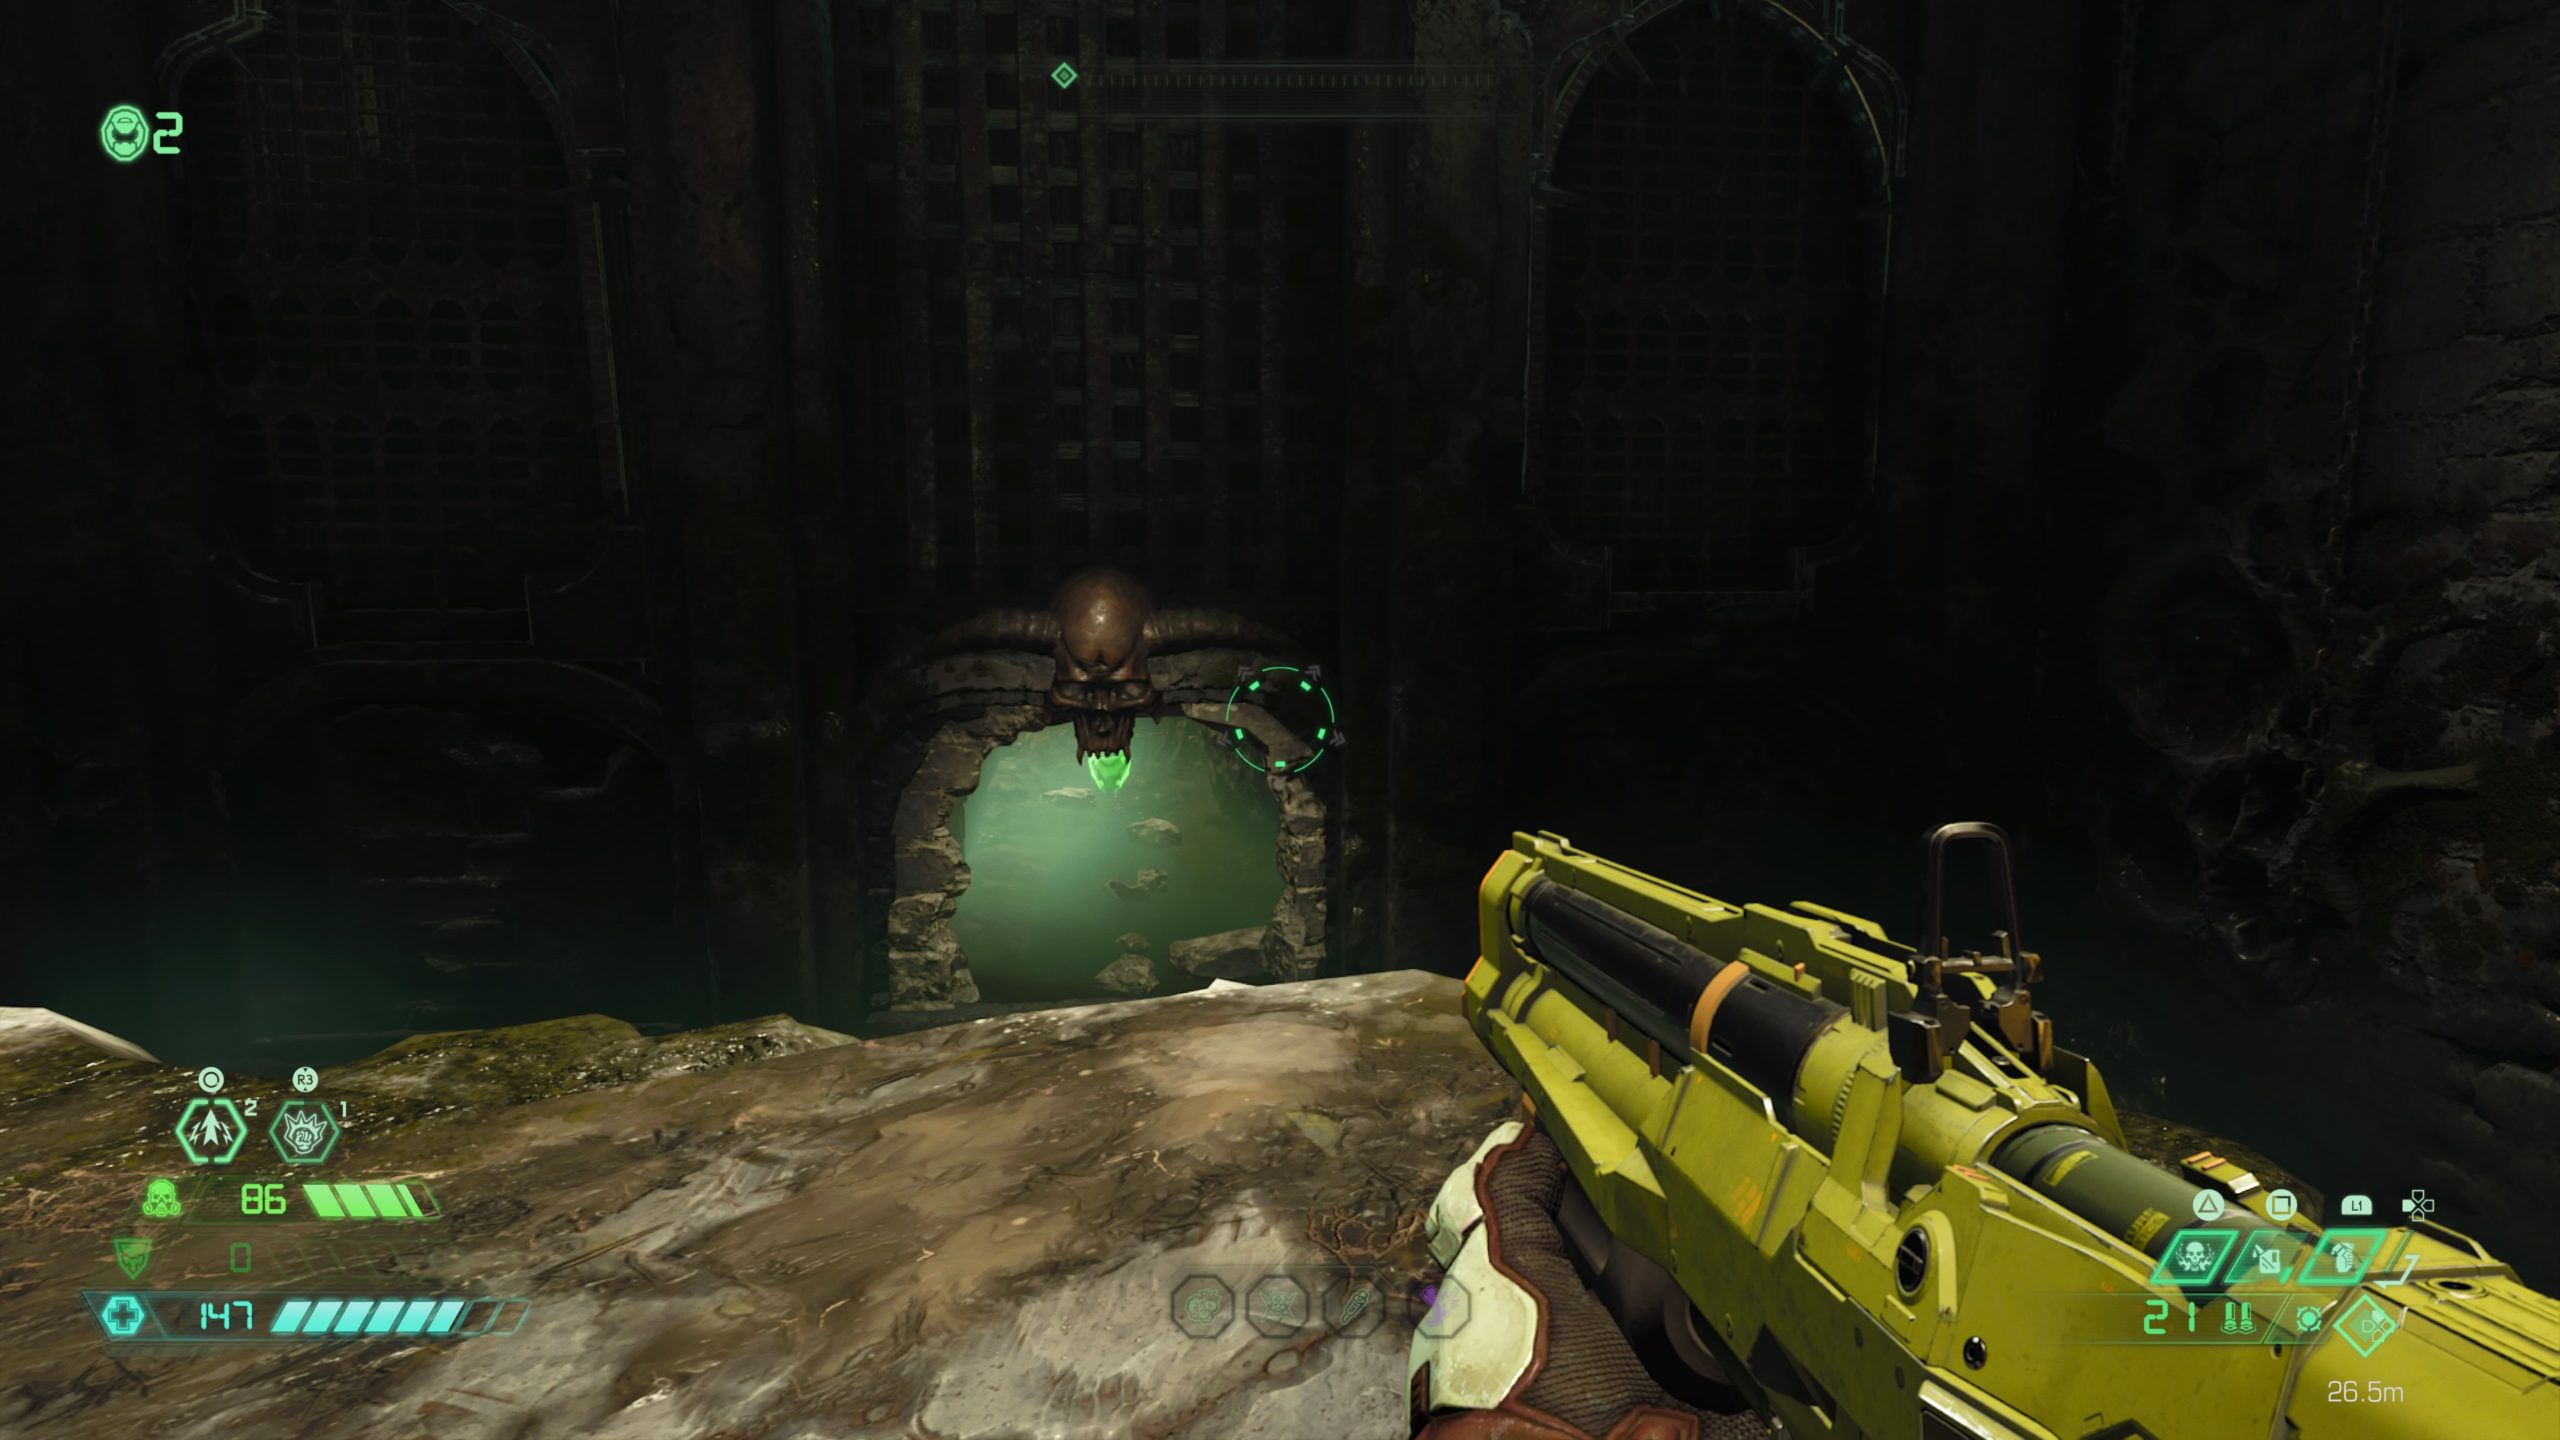
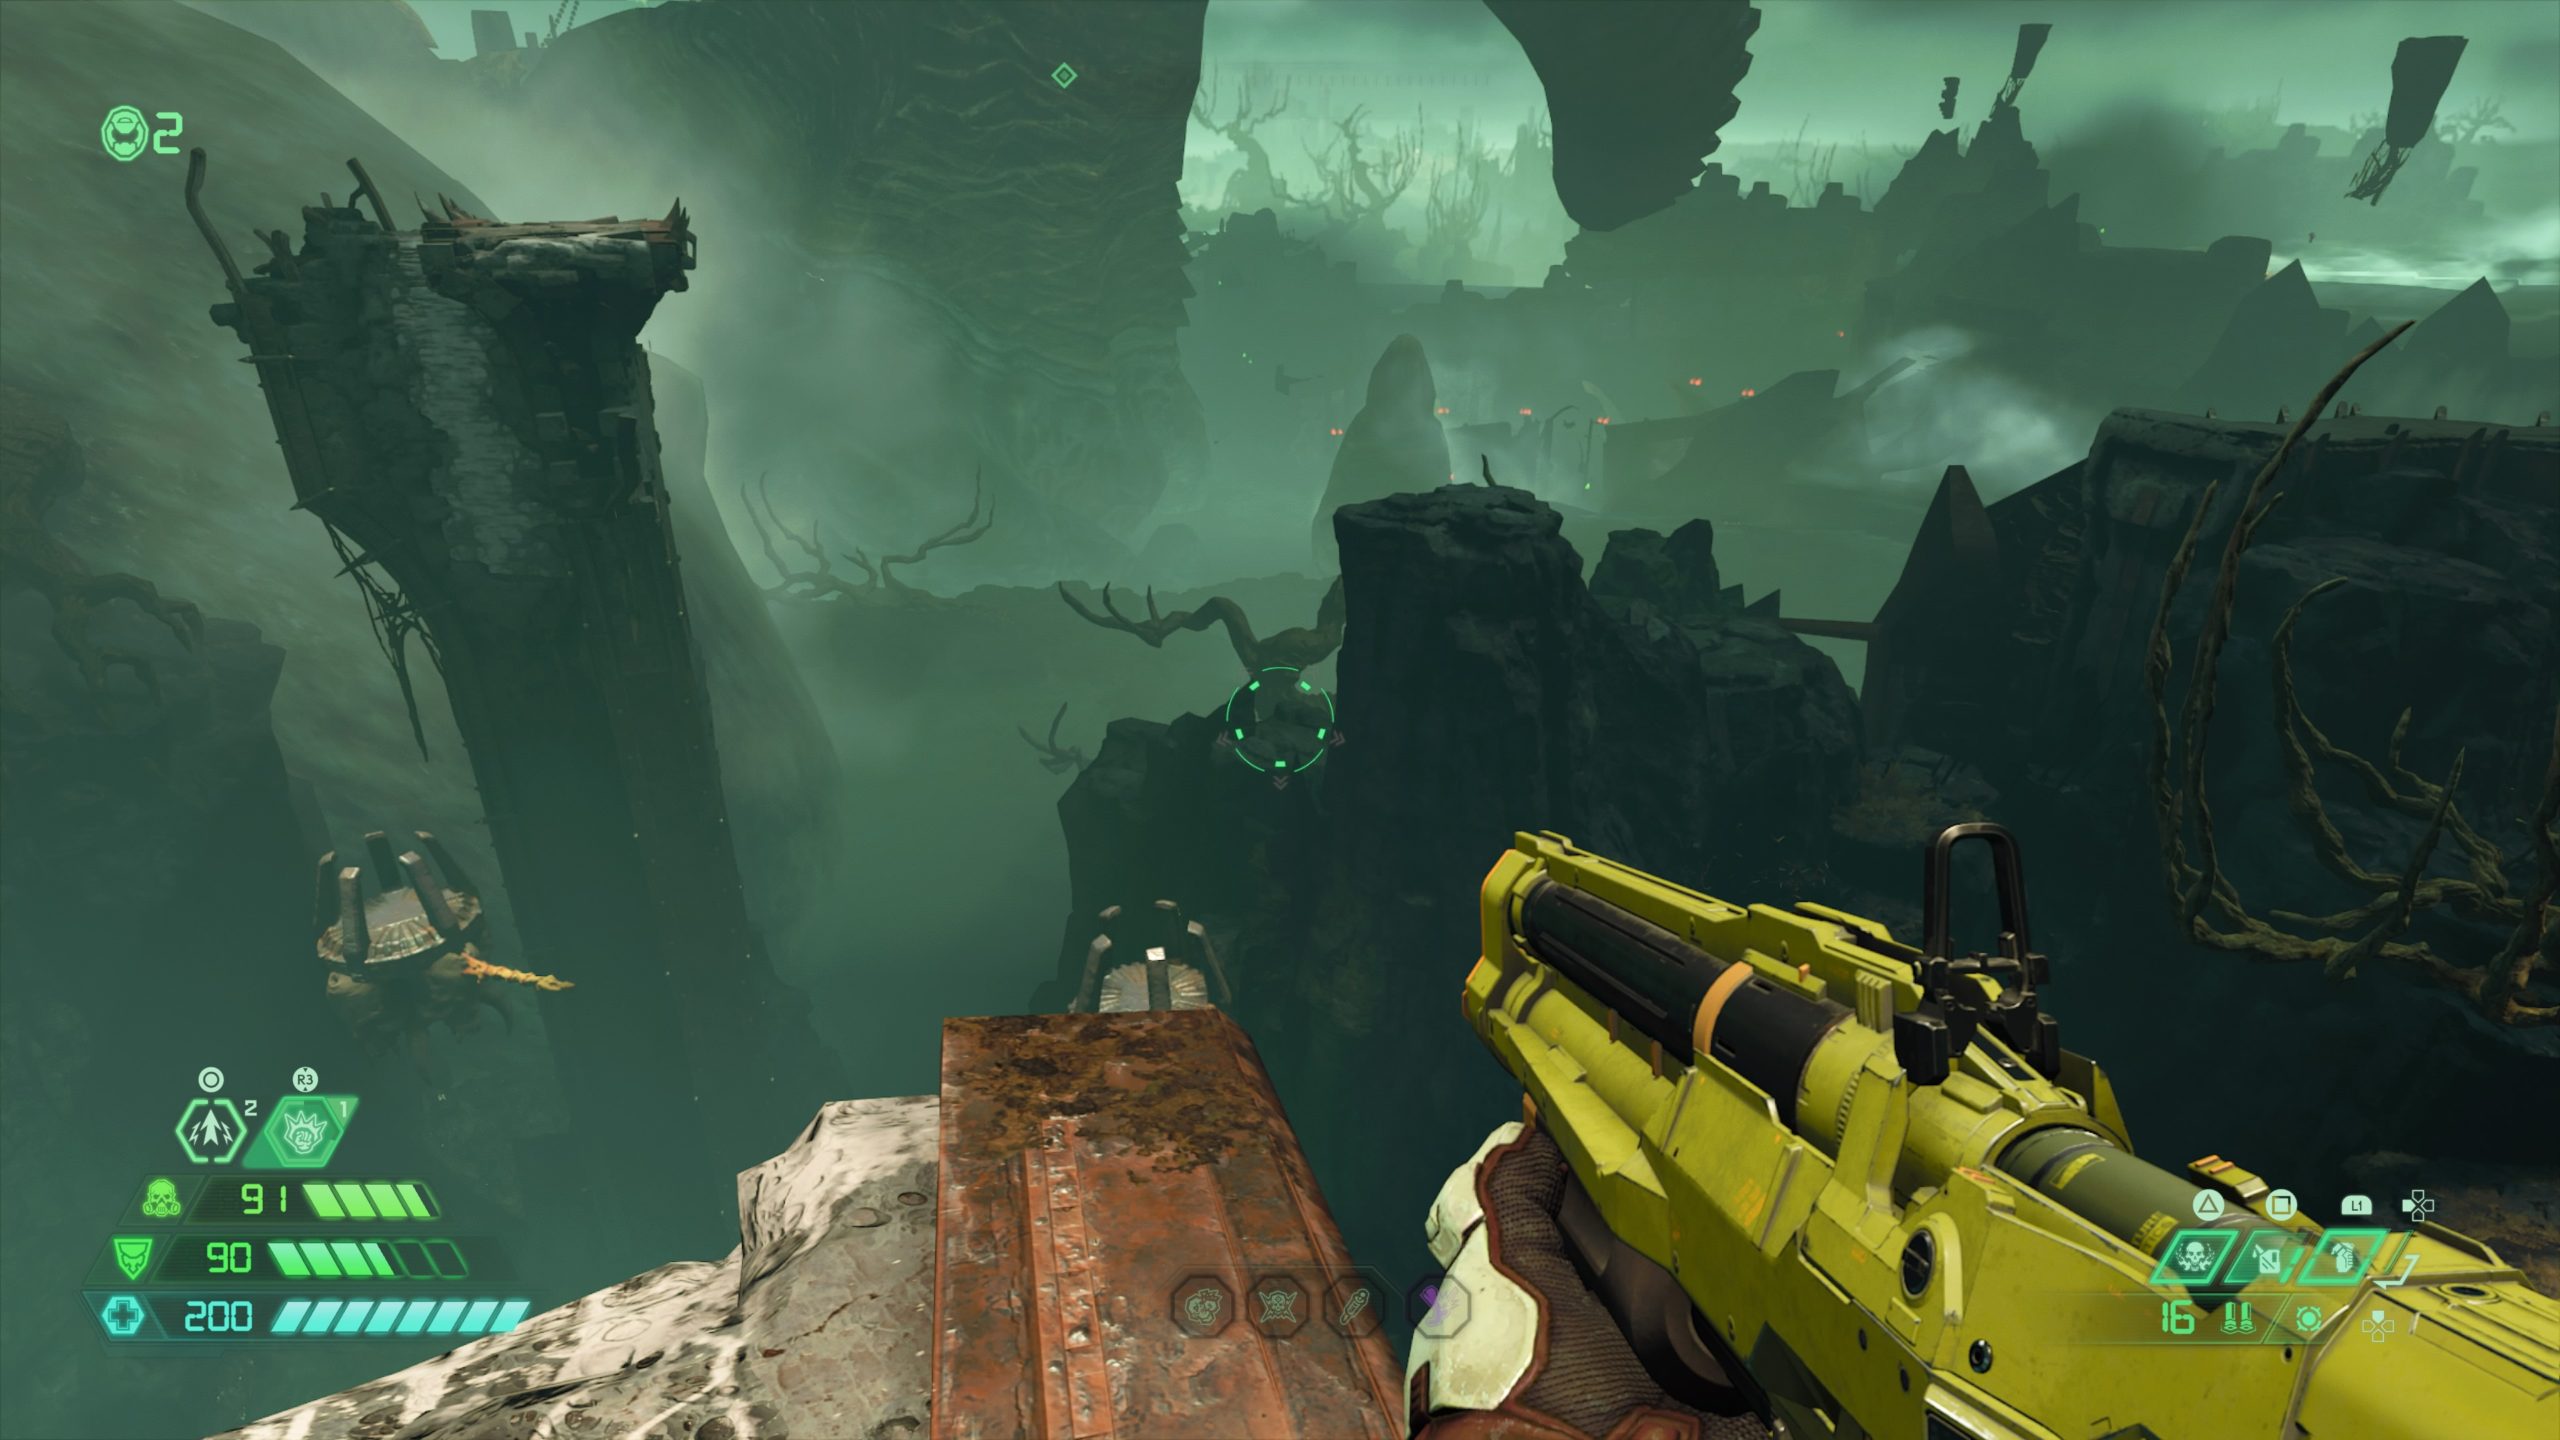
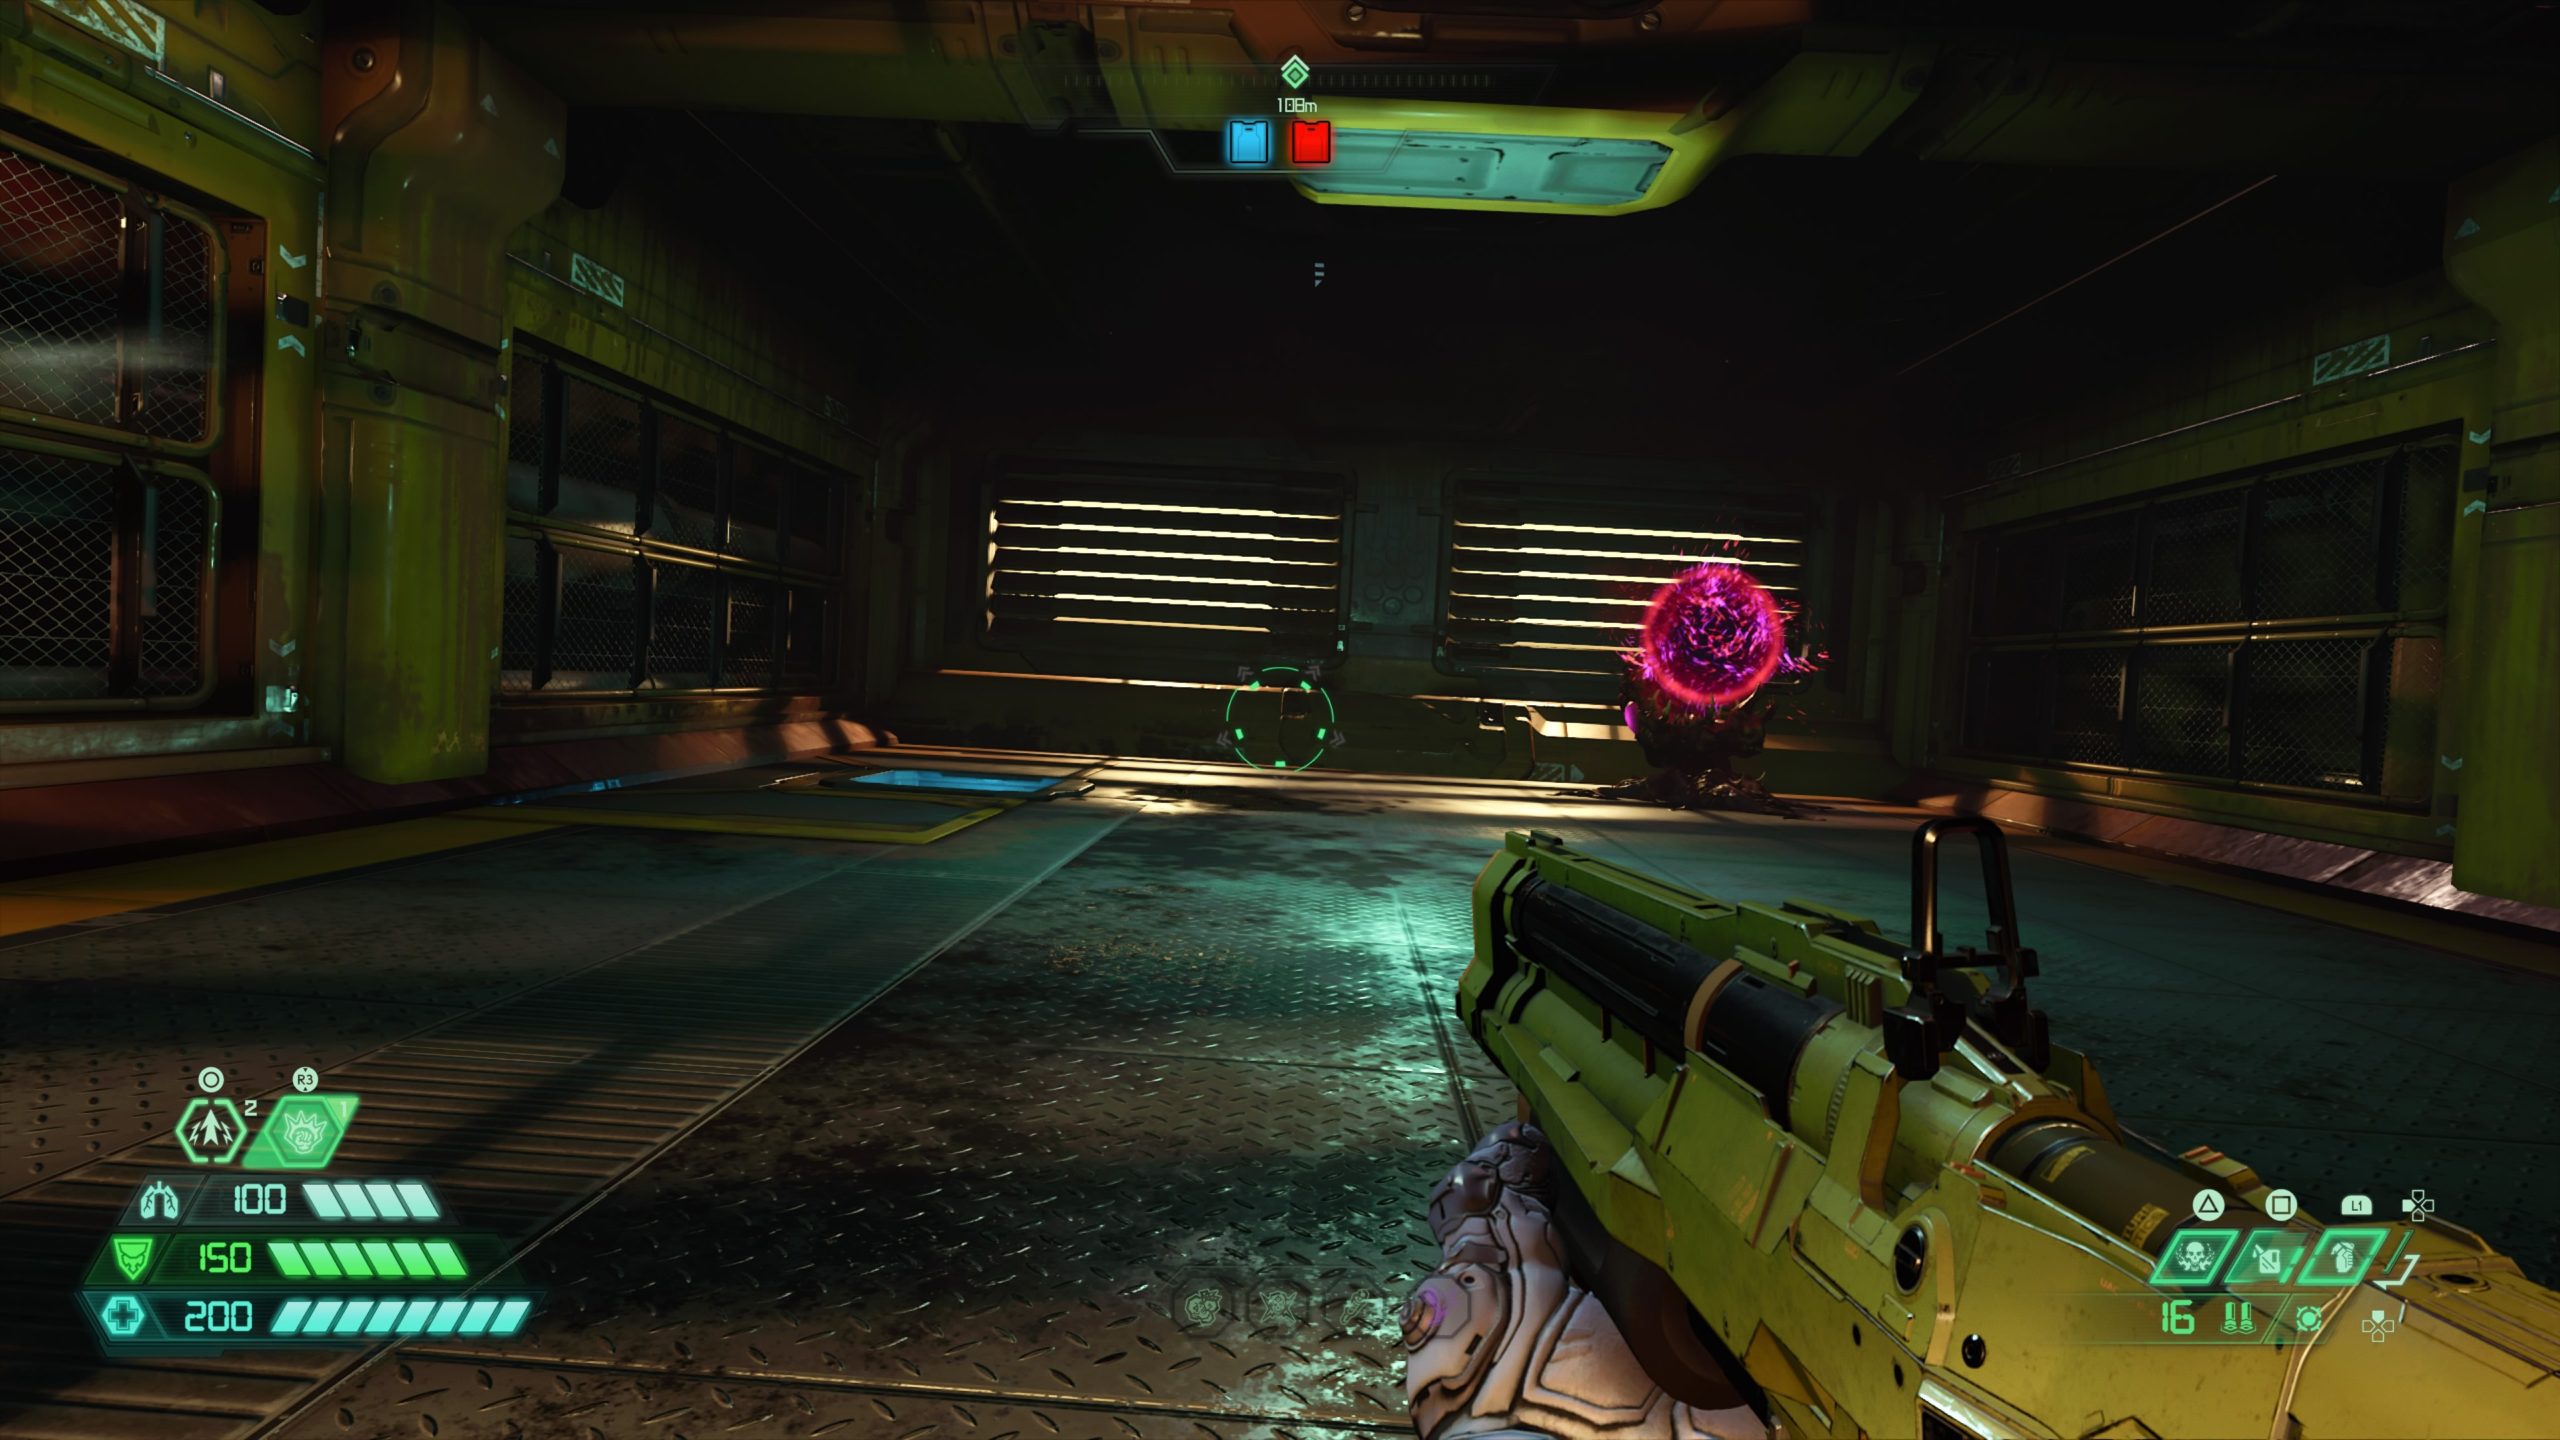
You’ll come across this secret encounter just before a courtyard filled with Maker statues. Activate the console directly across from the encounter then look at the ceiling directly above. Shoot the green diamond to unlock the gate concealing the secret encounter.
Codex: Book of the Seraphs Part XI


You’ll see this codex next to a switch you need to activate as part of the story at the very top of the structure. Once you activate the switch, the Father will talk to you briefly followed by the Intern.
Codex: Characters and Locations – The Father


The codex is located in the Holy Chamber (room just before boss) on the right side.
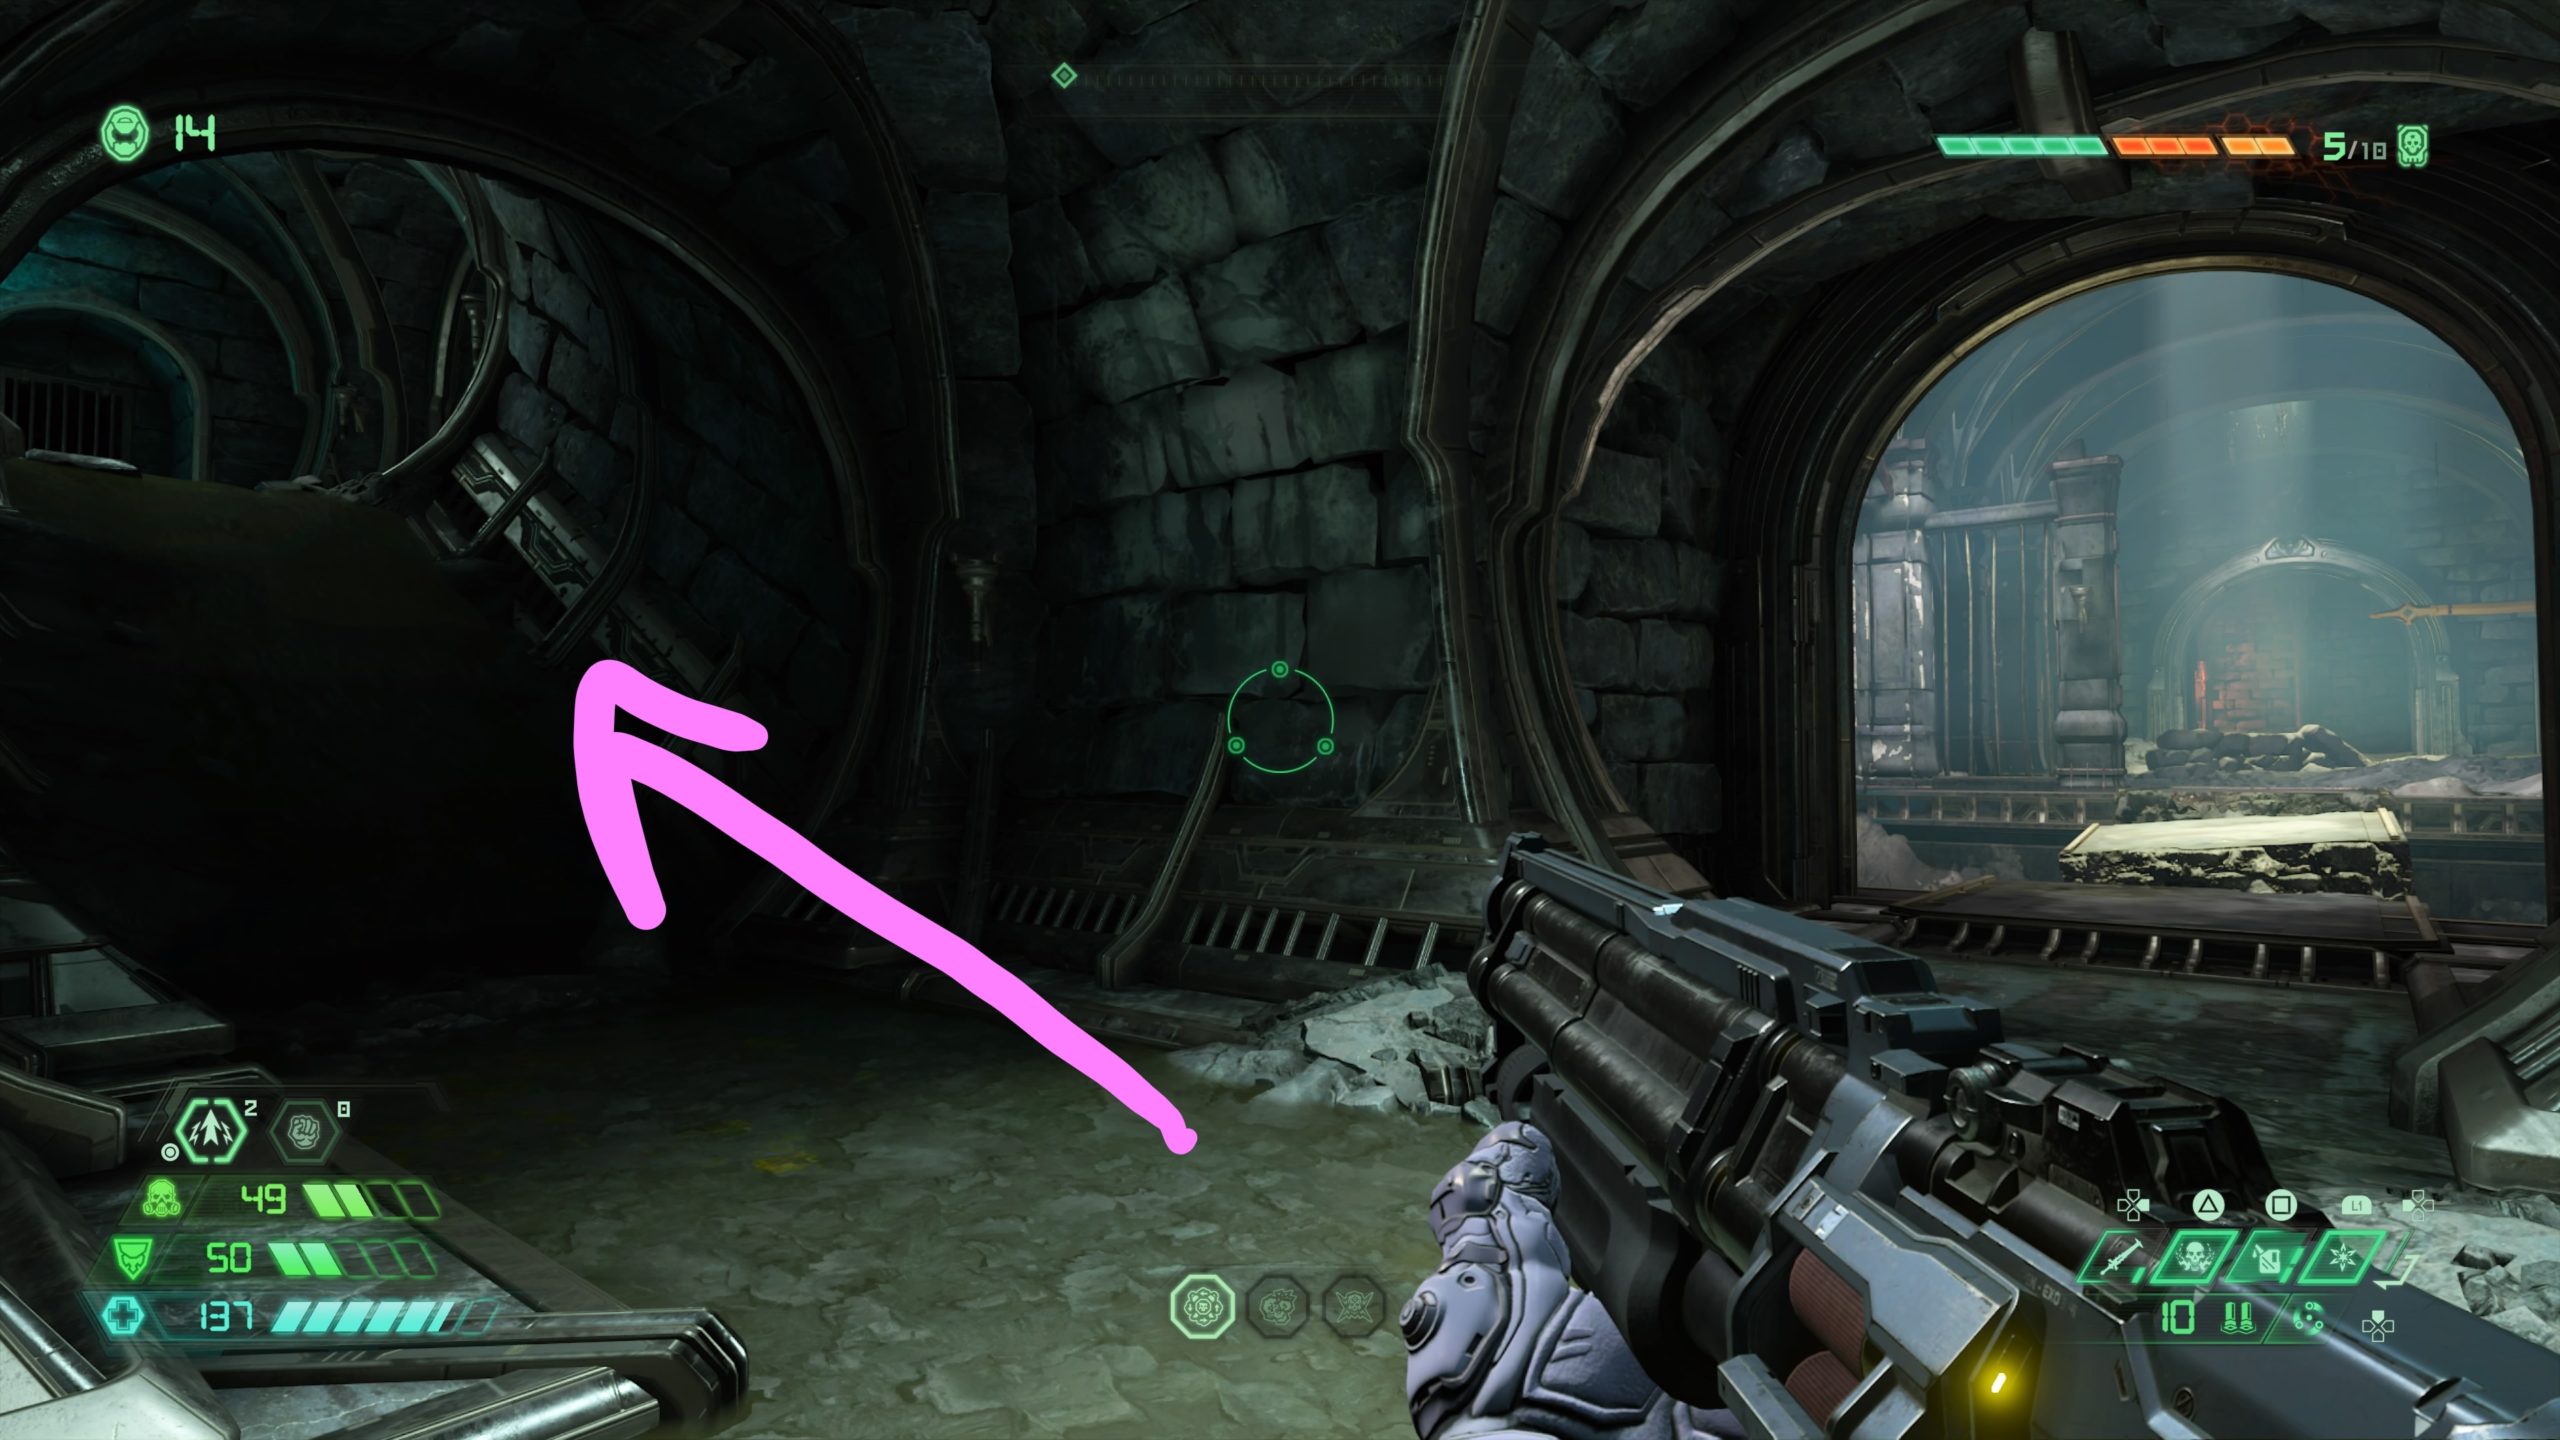
Codex: Seraphim

From the Holy Chamber, head backwards towards the doorway to see a green diamond on the pillar in front of you. Shoot it to unlock the door on the other side of the room containing the codex.