
The second mission called Exultia in Doom Eternal contains a total of 15 collectibles. There are 1 album, 7 codices, 1 Empyrean key, 1 modbot, 1 rune, 1 sentinel battery, 1 sentinel crystal and 2 toys.
Exultia (Travel Point: Mourning Spire)

Codex: Story of the Sentinels – Exultia
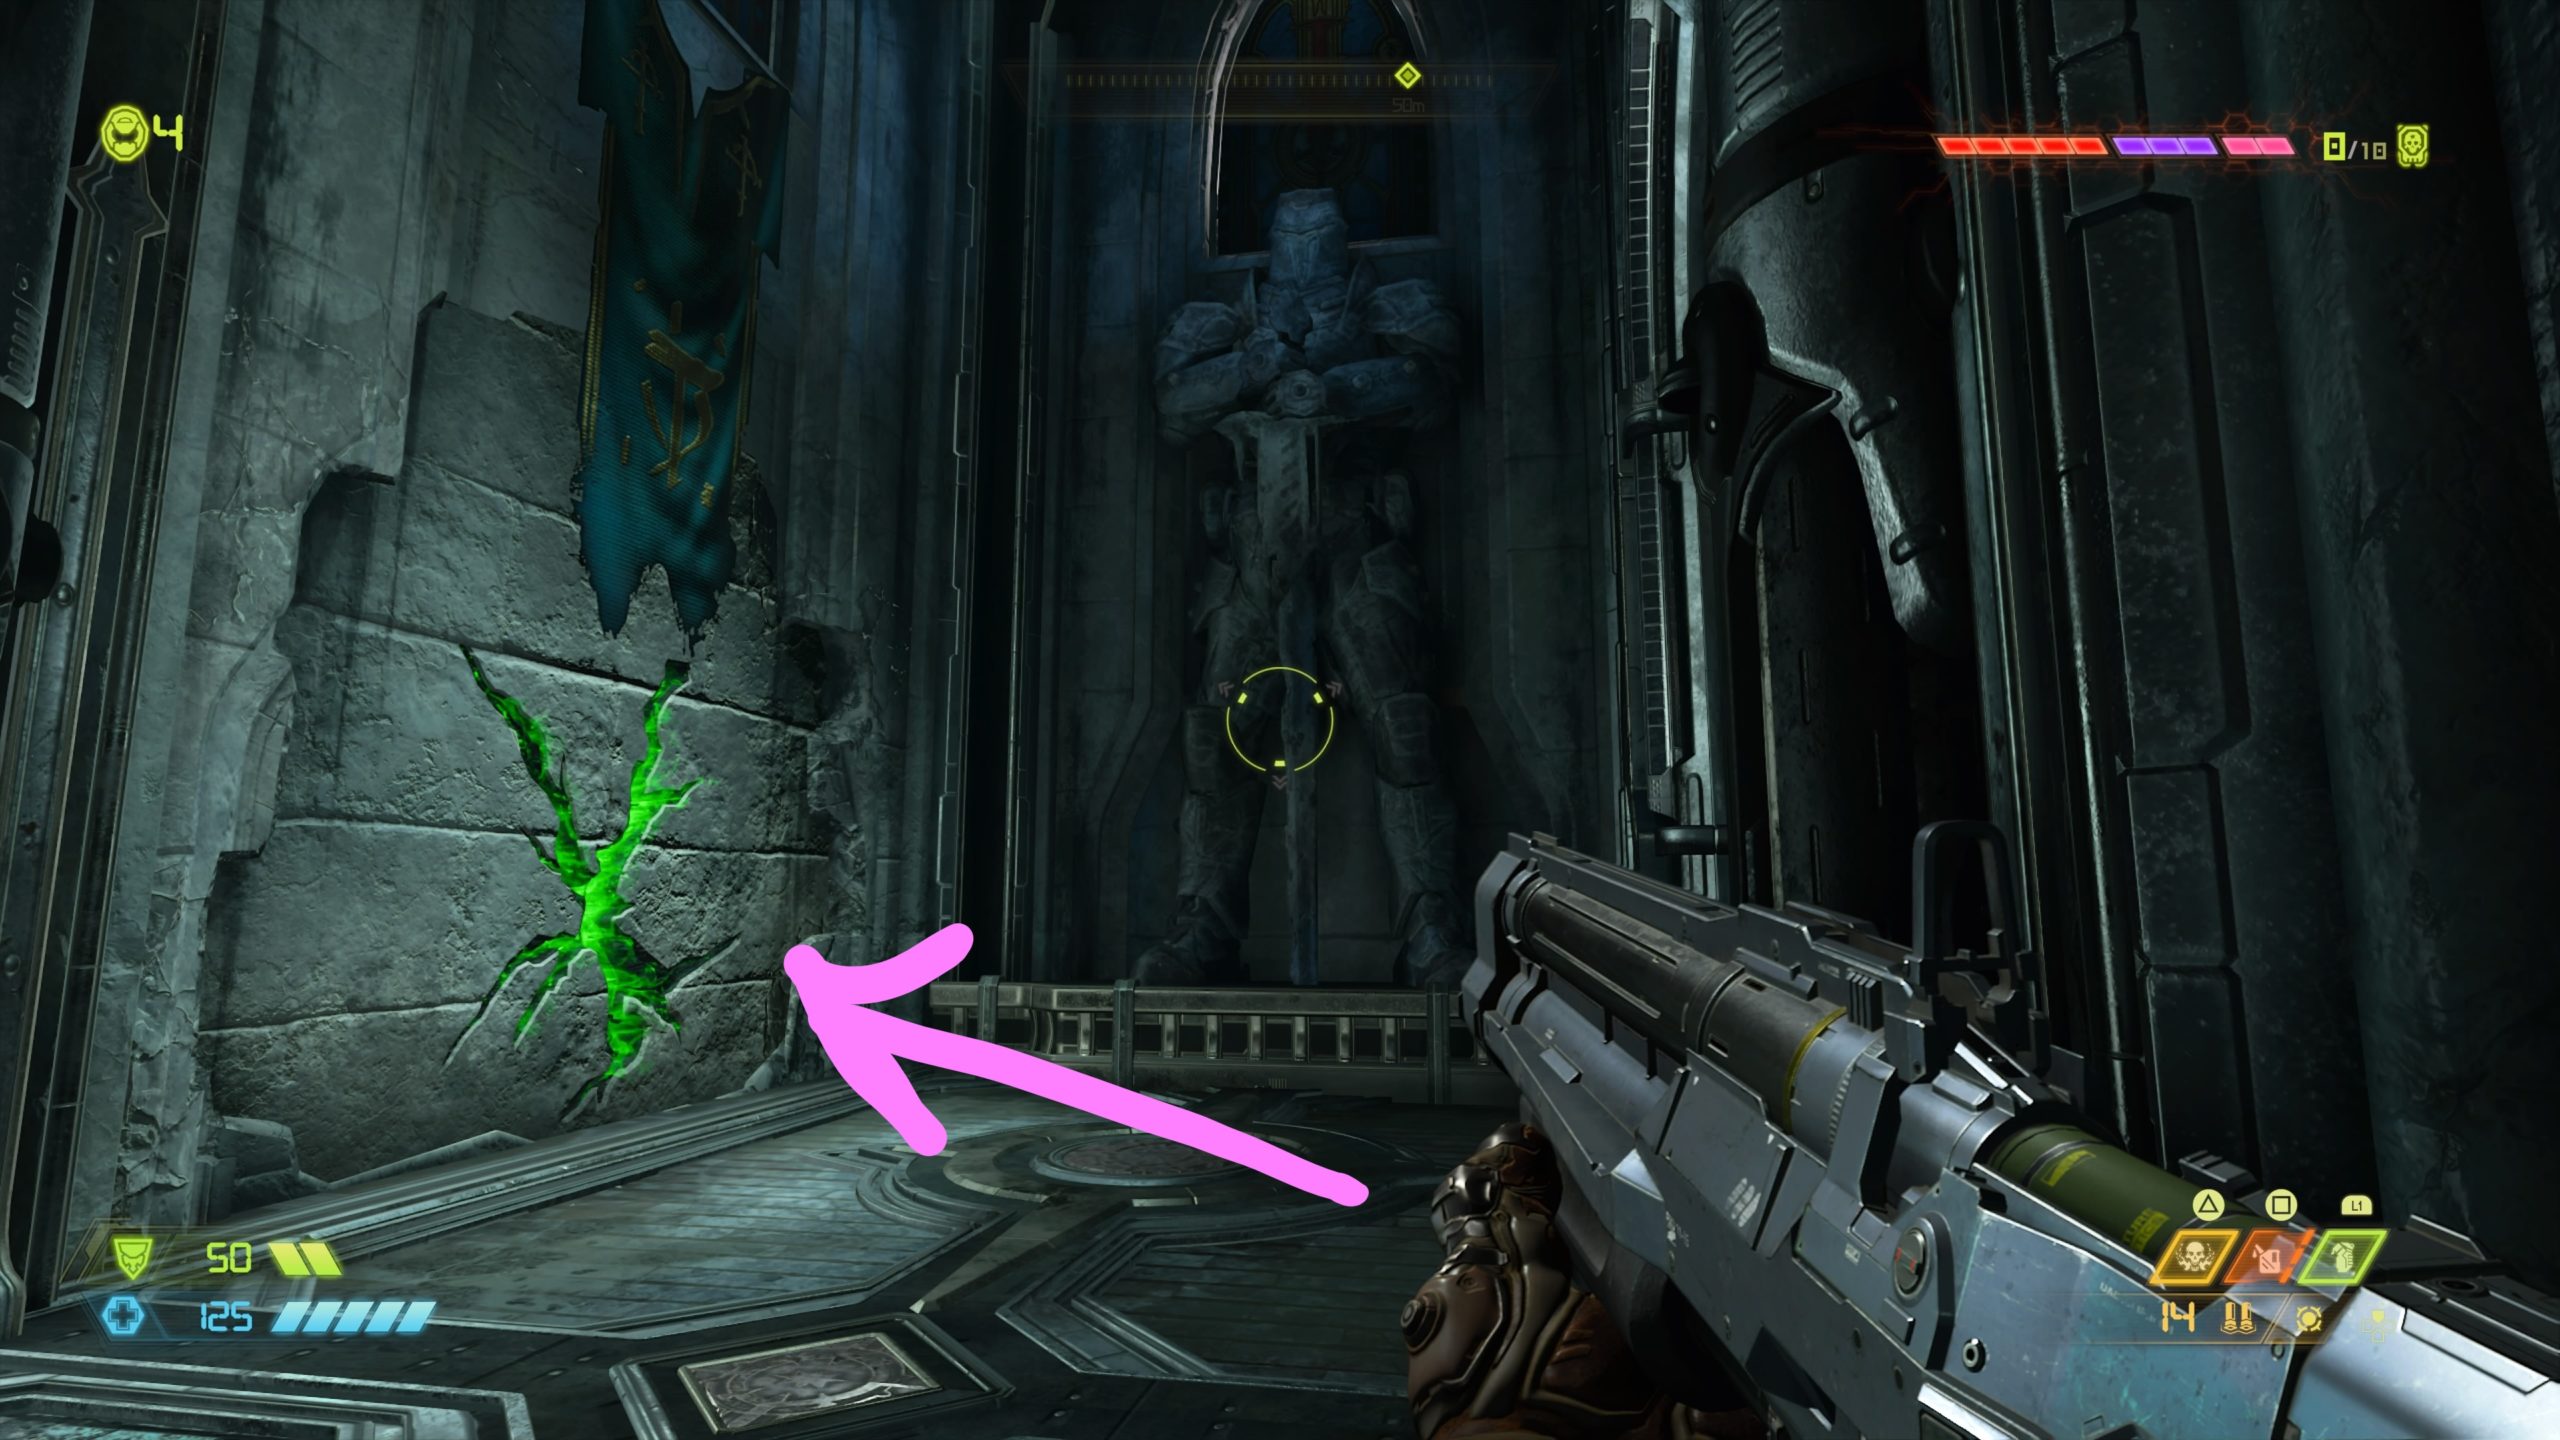
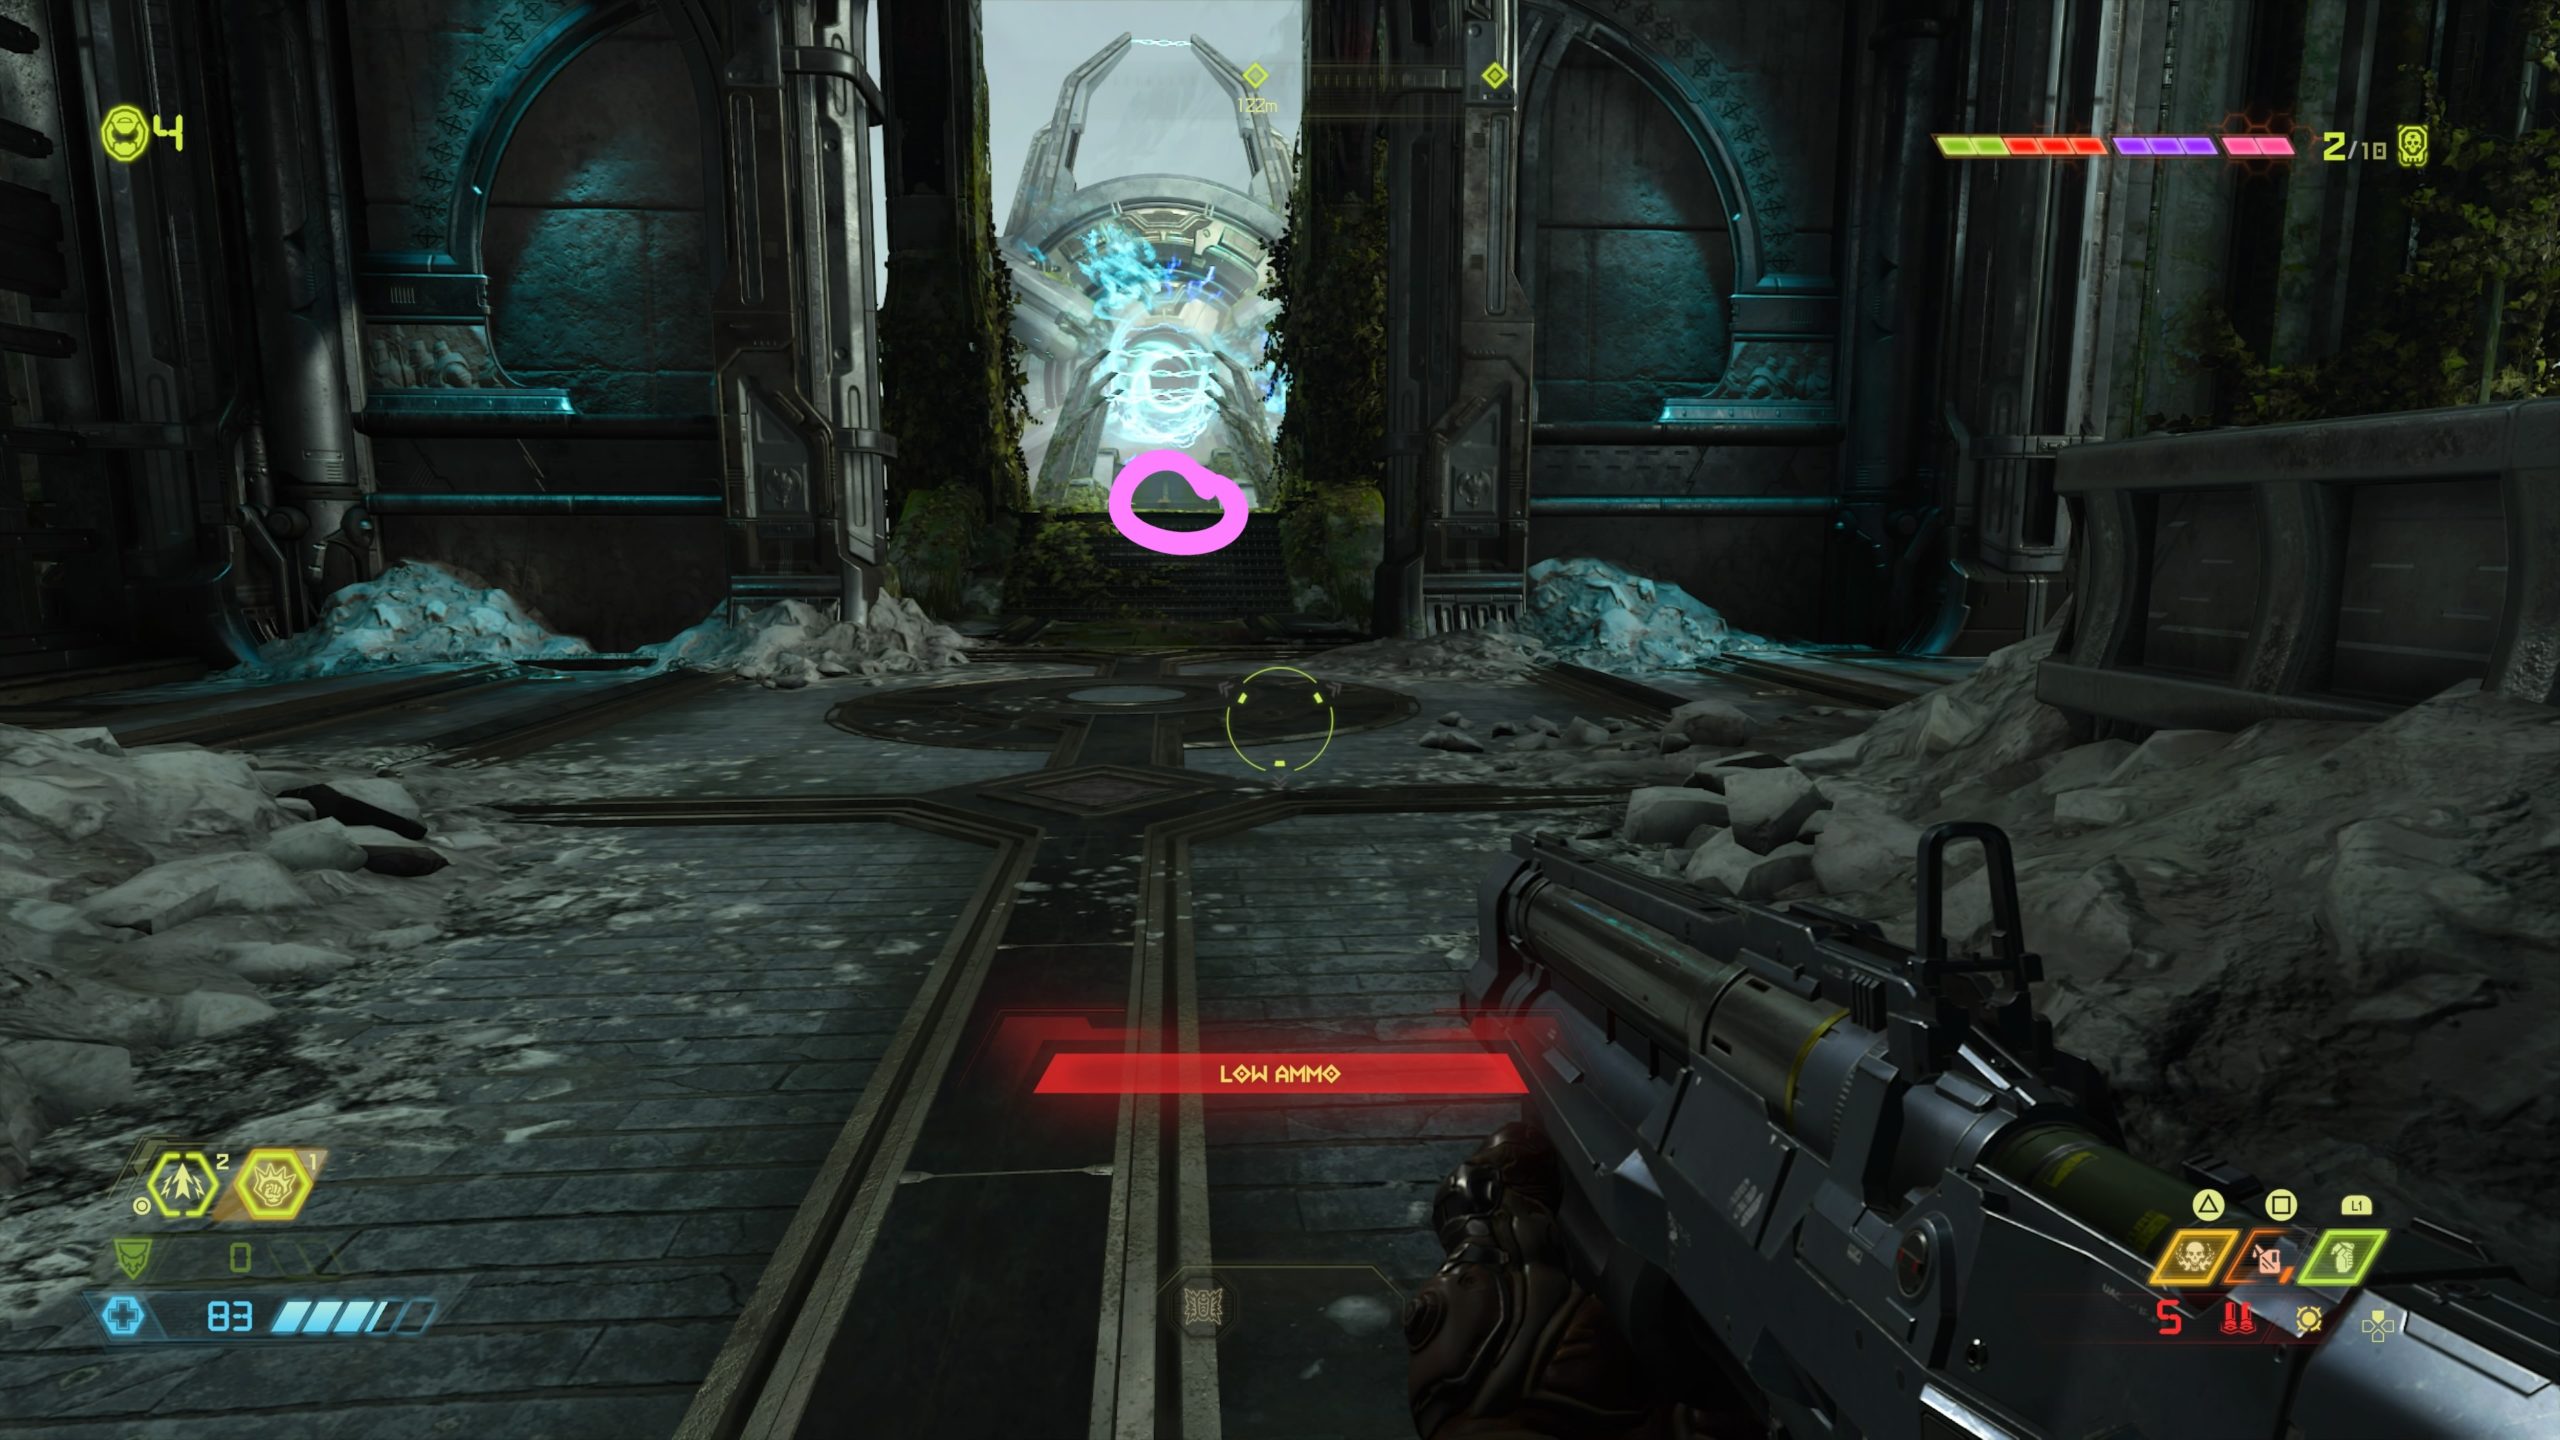
From the Exultia starting point, jump down to the ledge below then use the climbable wall to move through the broken section of wall with the two Sentinel statues on top. This will bring you to a broken section of bridge. Follow it into the upper level of a circular room. Drop down to the lower level then jump towards the gold spin bar in the middle of the long floor-less hallway using it to reach the other side. When you reach the stone statue at the end of the hallway, there will be a cracked section of wall on the left. Melee the wall and head through the hole. Take a left to locate the codex.
Rune

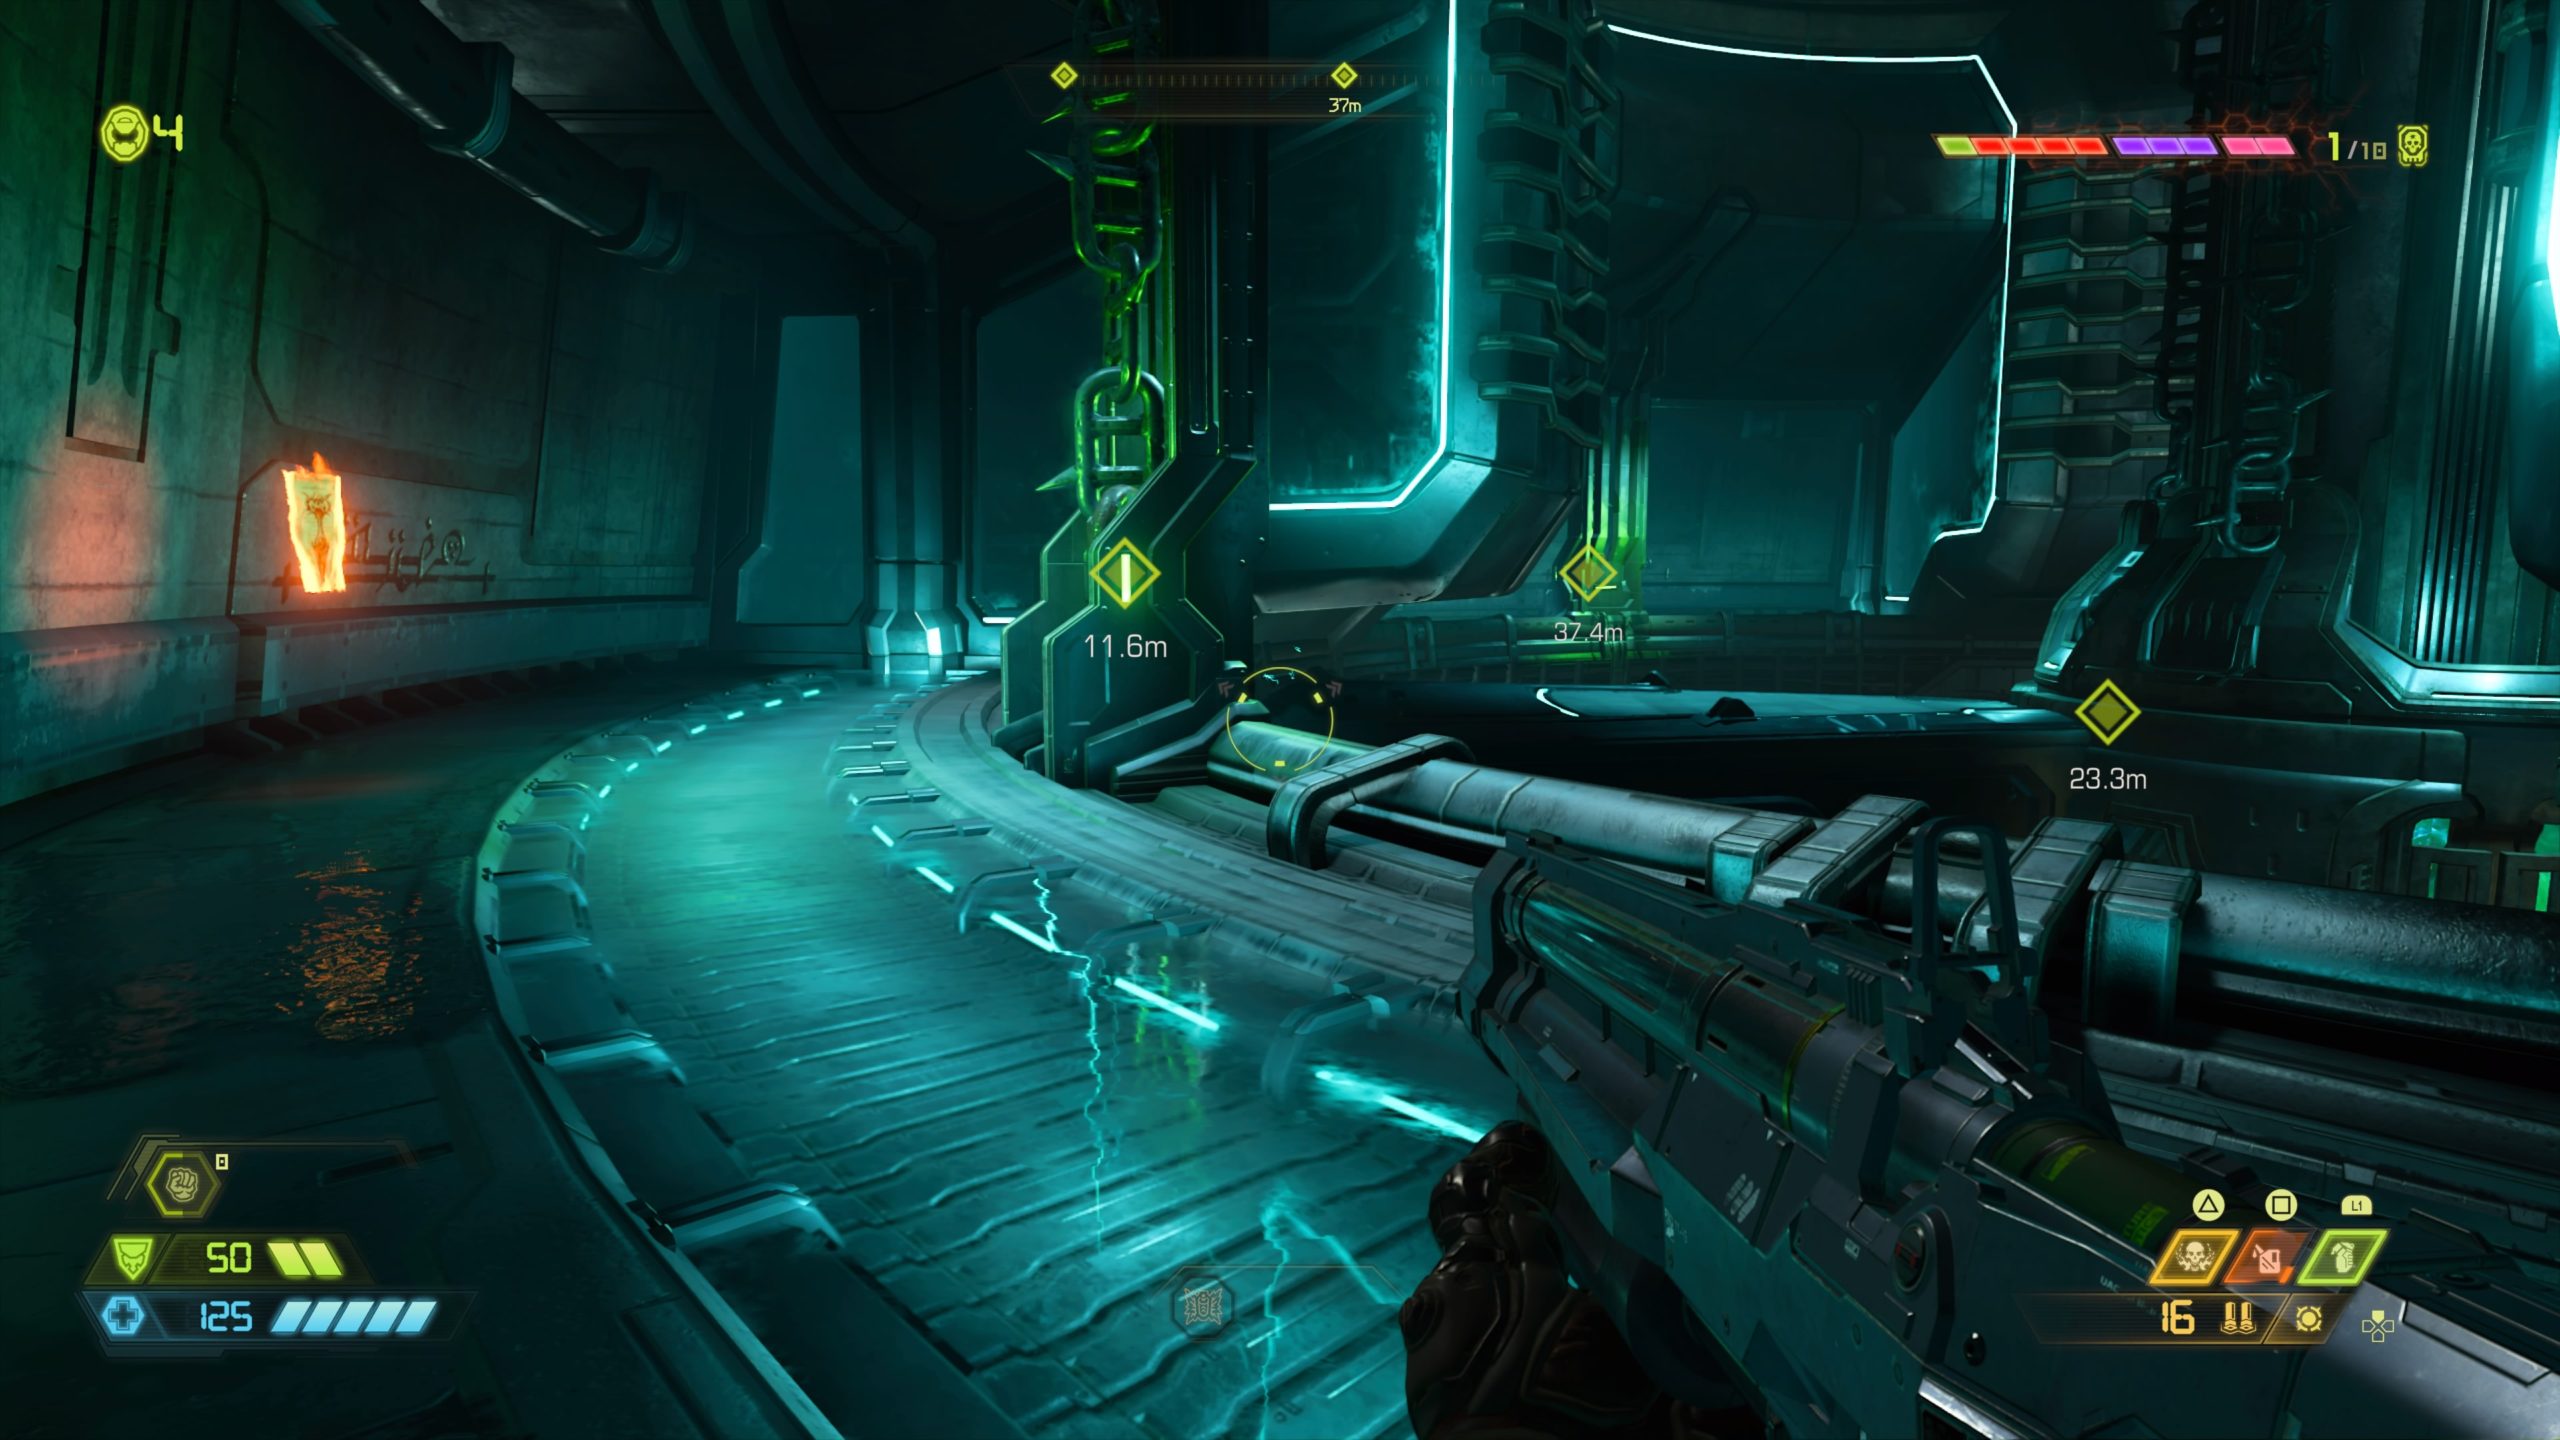
When you gain control after unlocking the Blood Punch ability, you will find yourself in a circular hallway. Follow the hallway around and dodge the lightning streaks to reach the rune at the end.
Toy: Arachnotron
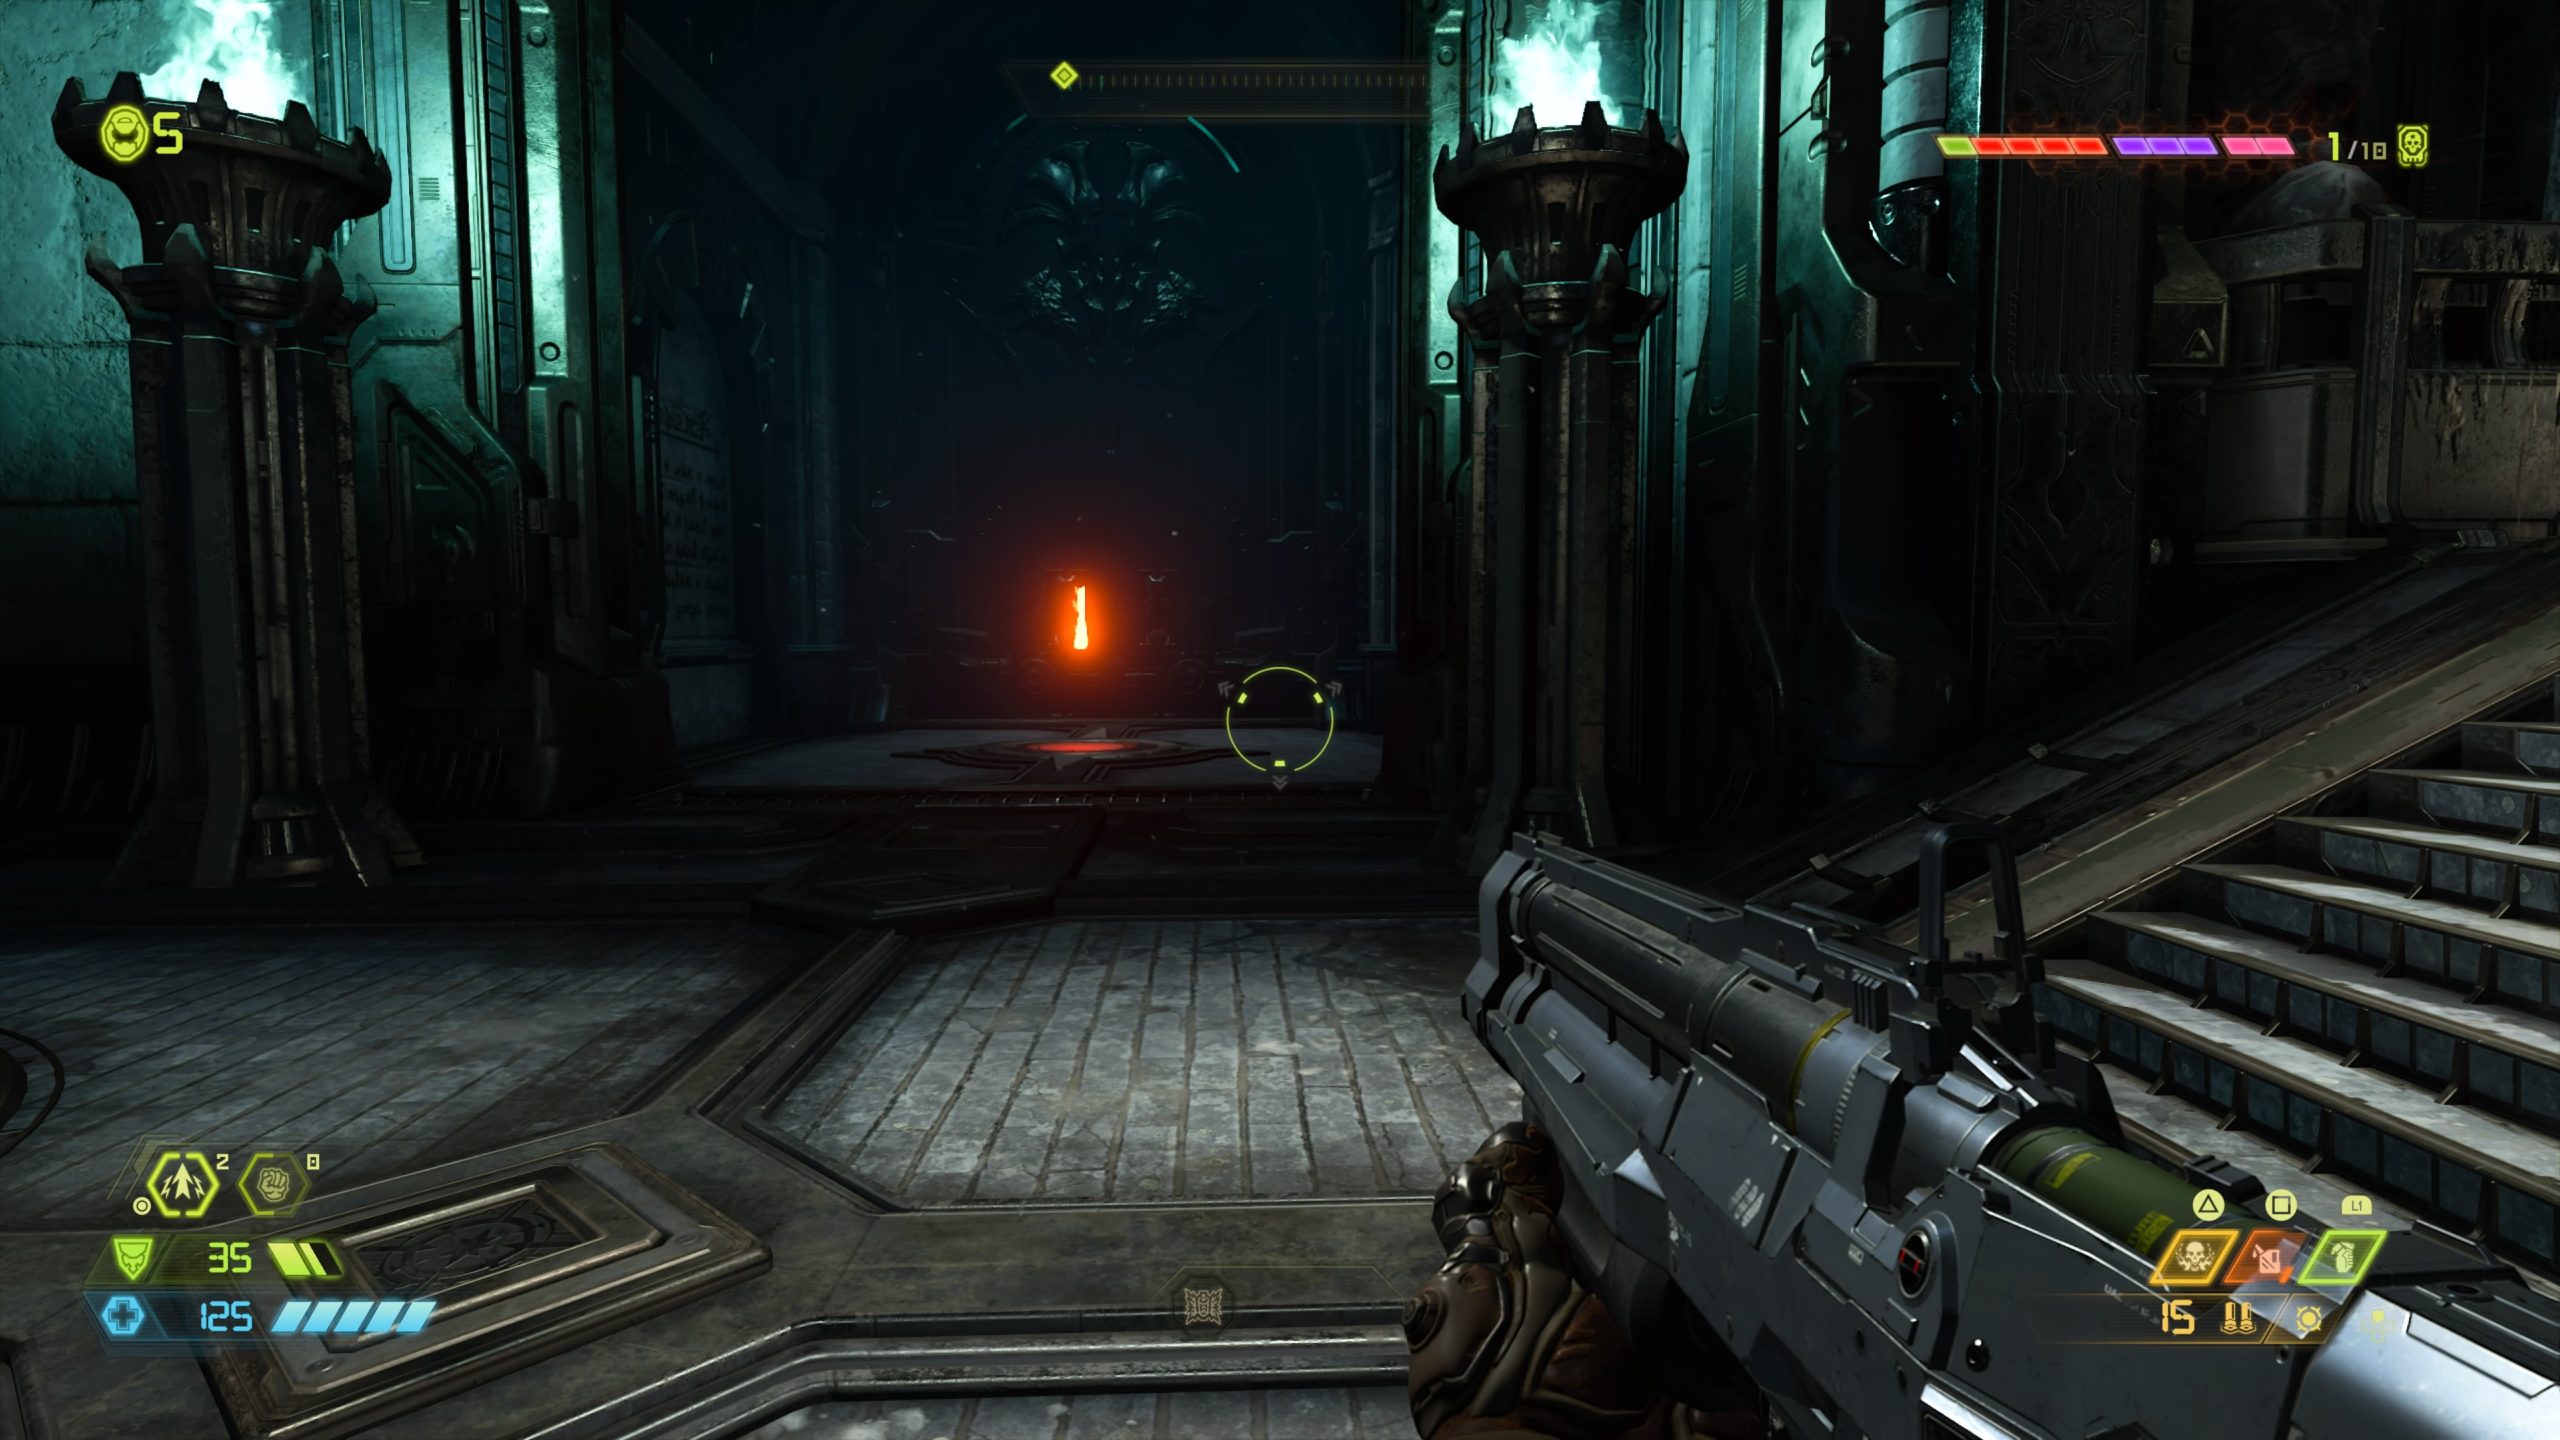
From the previous collectible, head through the nearby hole leading to the center of the structure and follow the steps on the right down until you come to an open doorway on the right. Head through the doorway and melee the wall on the left to reveal a hidden room containing the toy.
Exultia (Travel Point: Central Rotunda)
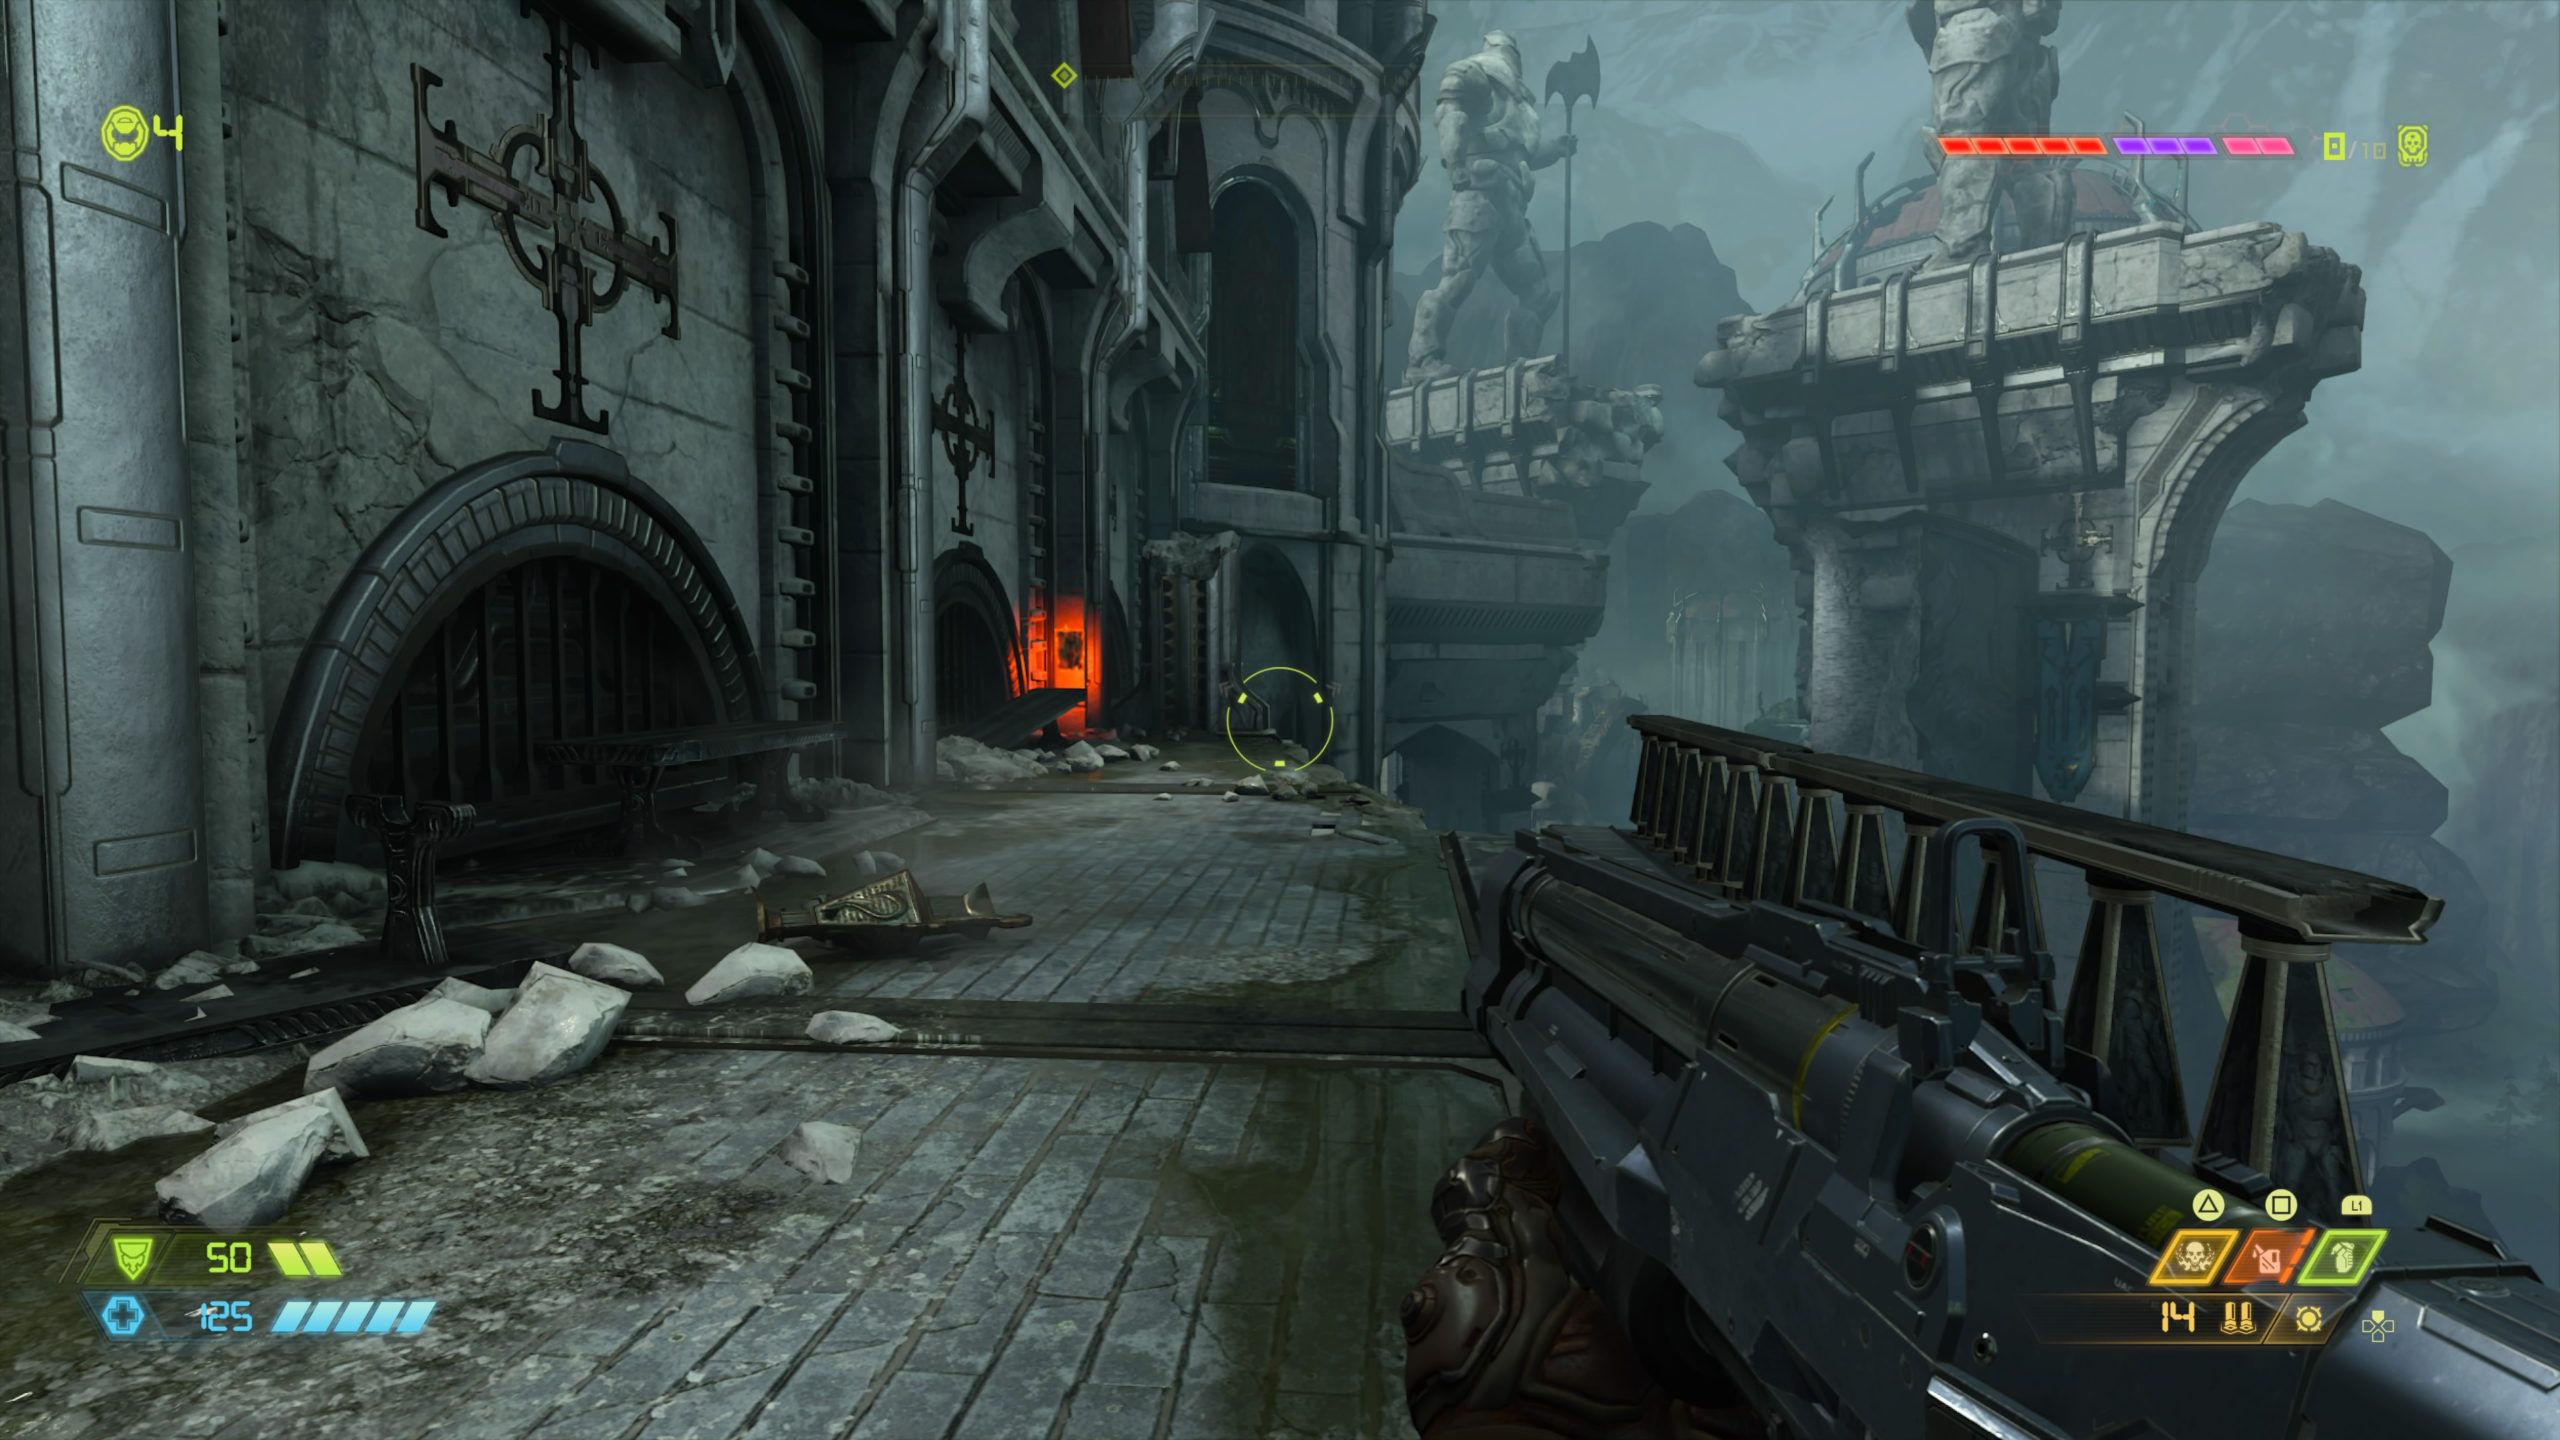
Codex: Story of the Sentinels – The Wolf
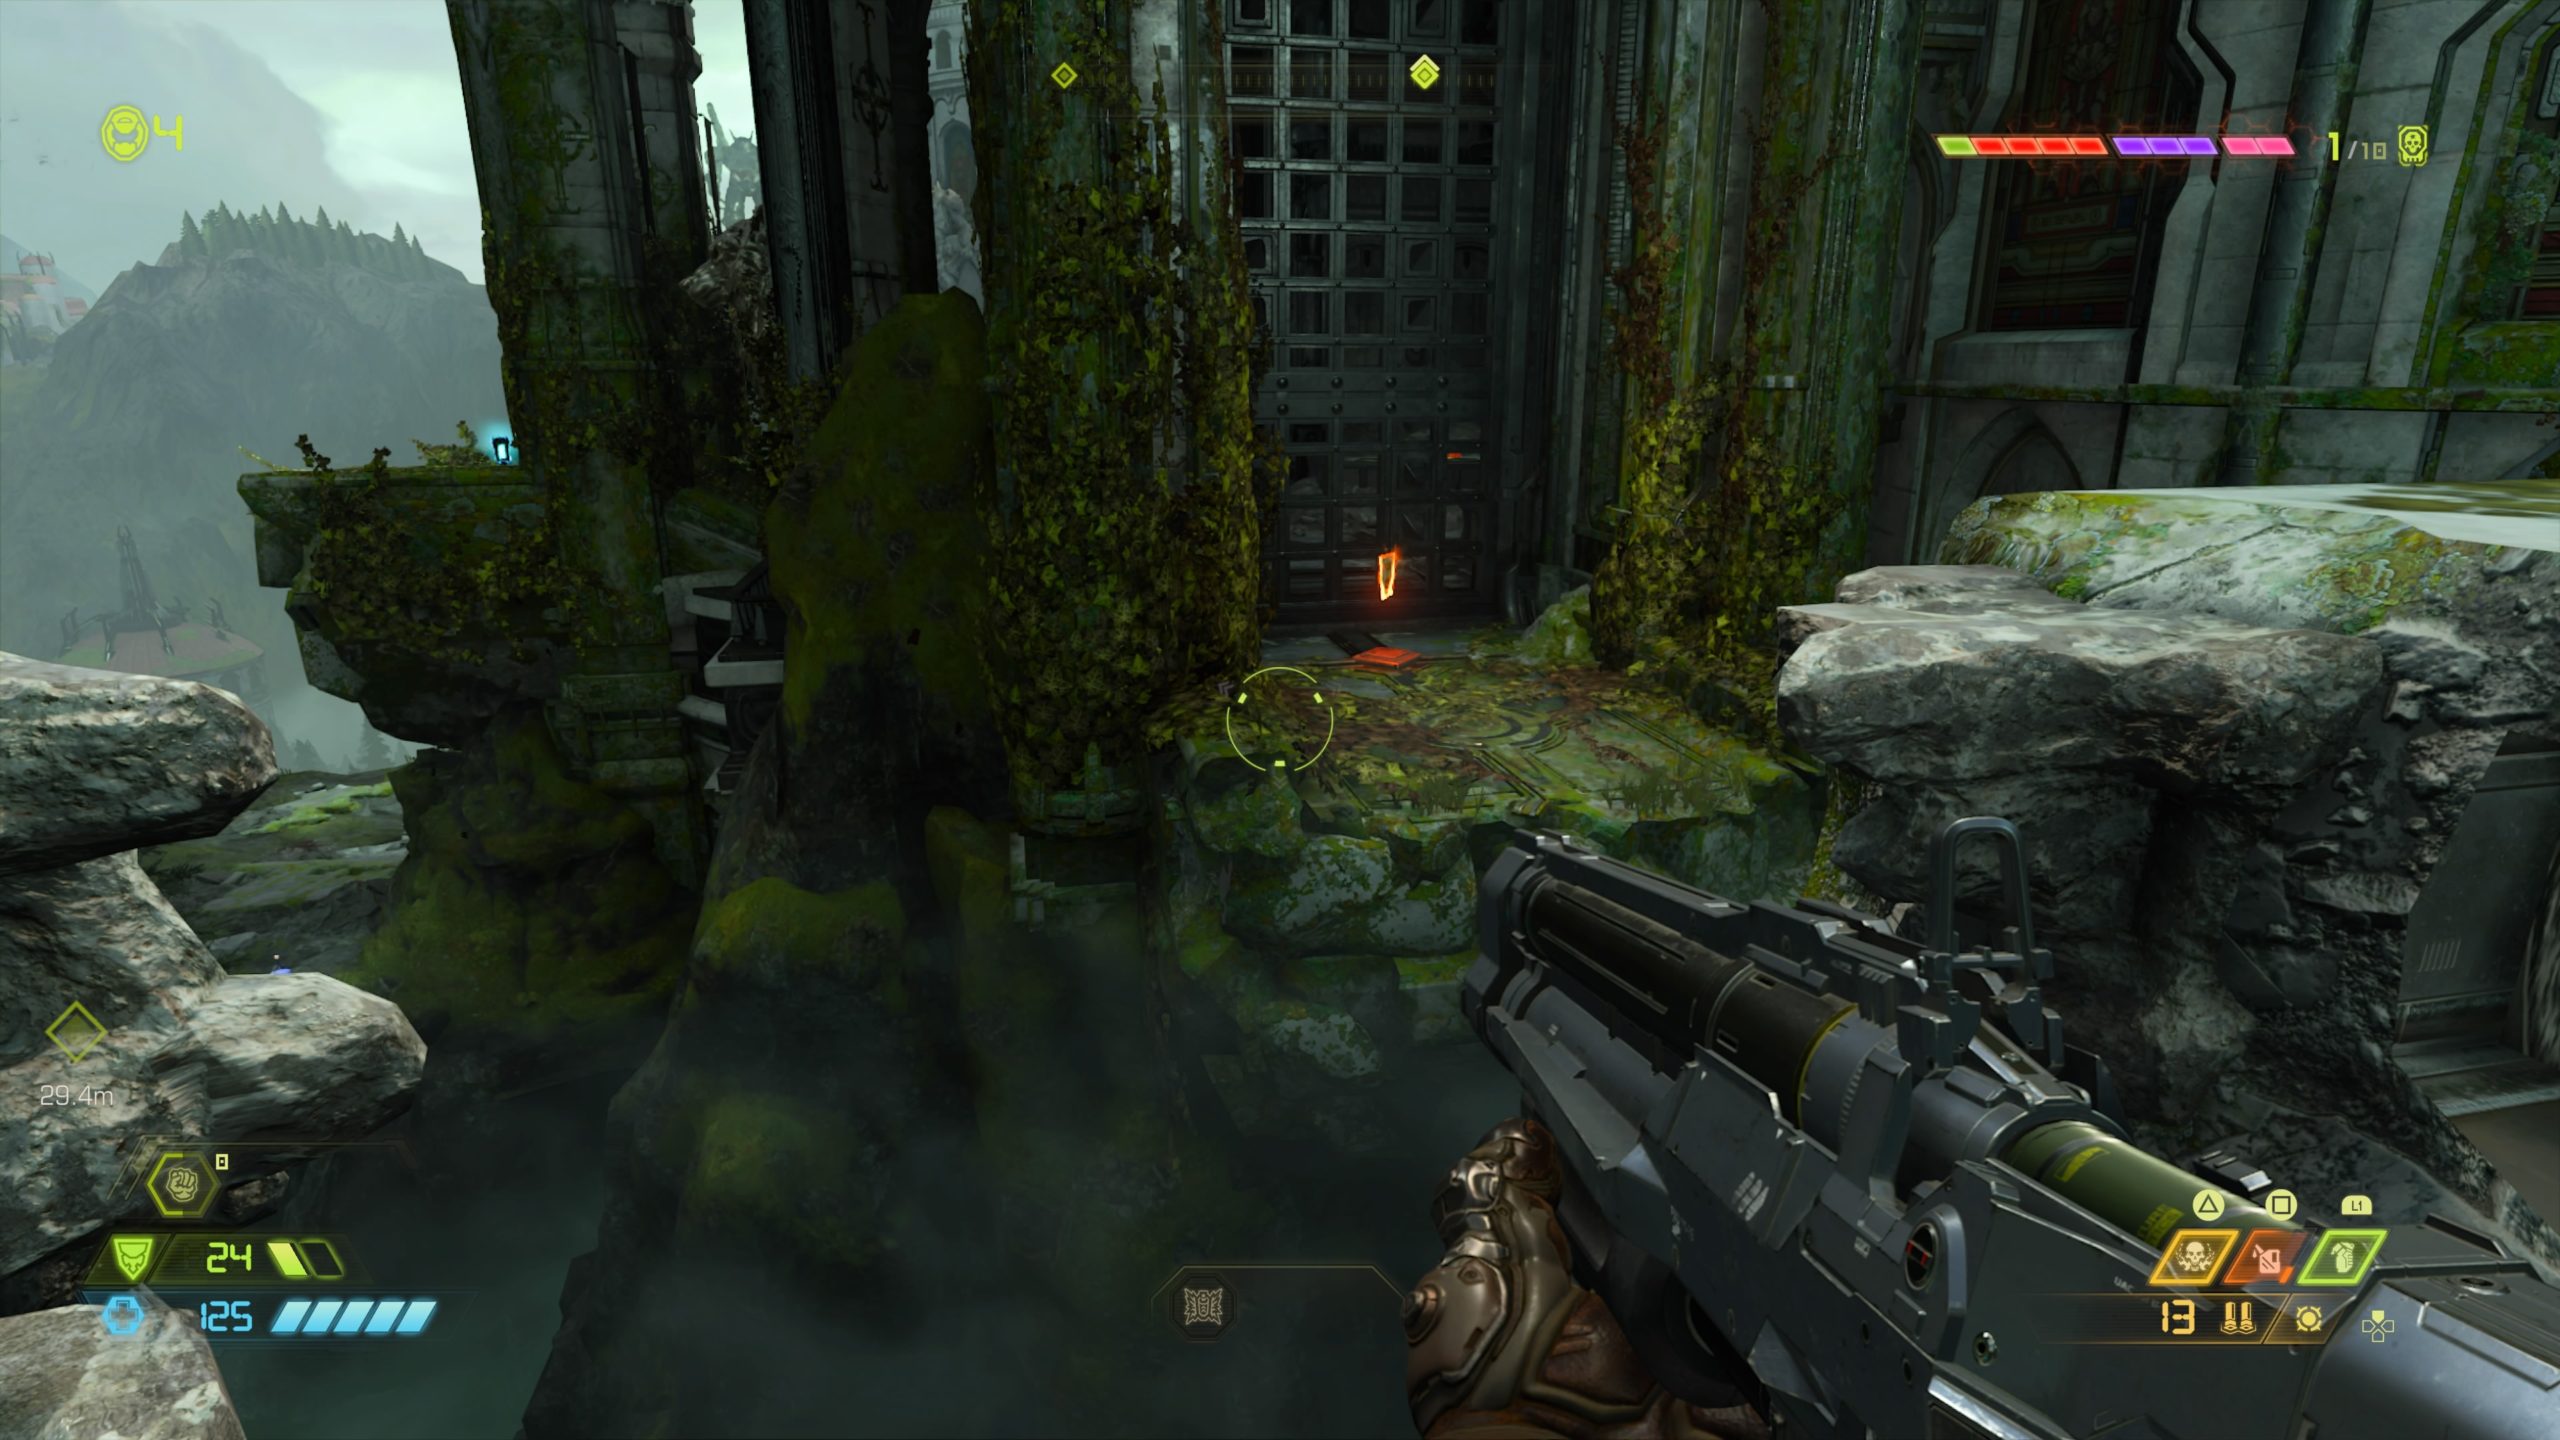
After exiting the room with the wall cannons shooting fireballs, jump across the broken section of bridge to reach a big open circular room filled with enemies. Defeat the enemies to open the way forward. This will bring you to an area outside overlooking a tower guarded by two Sentinel statues. Instead of jumping to the gold spin bars, drop down the cliff side and follow the path to the left. Use the the gold spin bar to reach a wall climbing area just past it. Climb up the wall then turn around to where you just came from to find the codex across the way on a small ledge.
Codex: Story of the Sentinels – Sentinel History Part I
This codex is located in the room with the giant spinning propeller where you obtain the Dash ability. On the ground level, follow the propeller around the room to reach an opening with a giant metal cube. Use the cube to jump to the second level. You can then use the propeller to reach the codex, or if you have Dash unlocked, you can use that ability to reach the codex on the second level.
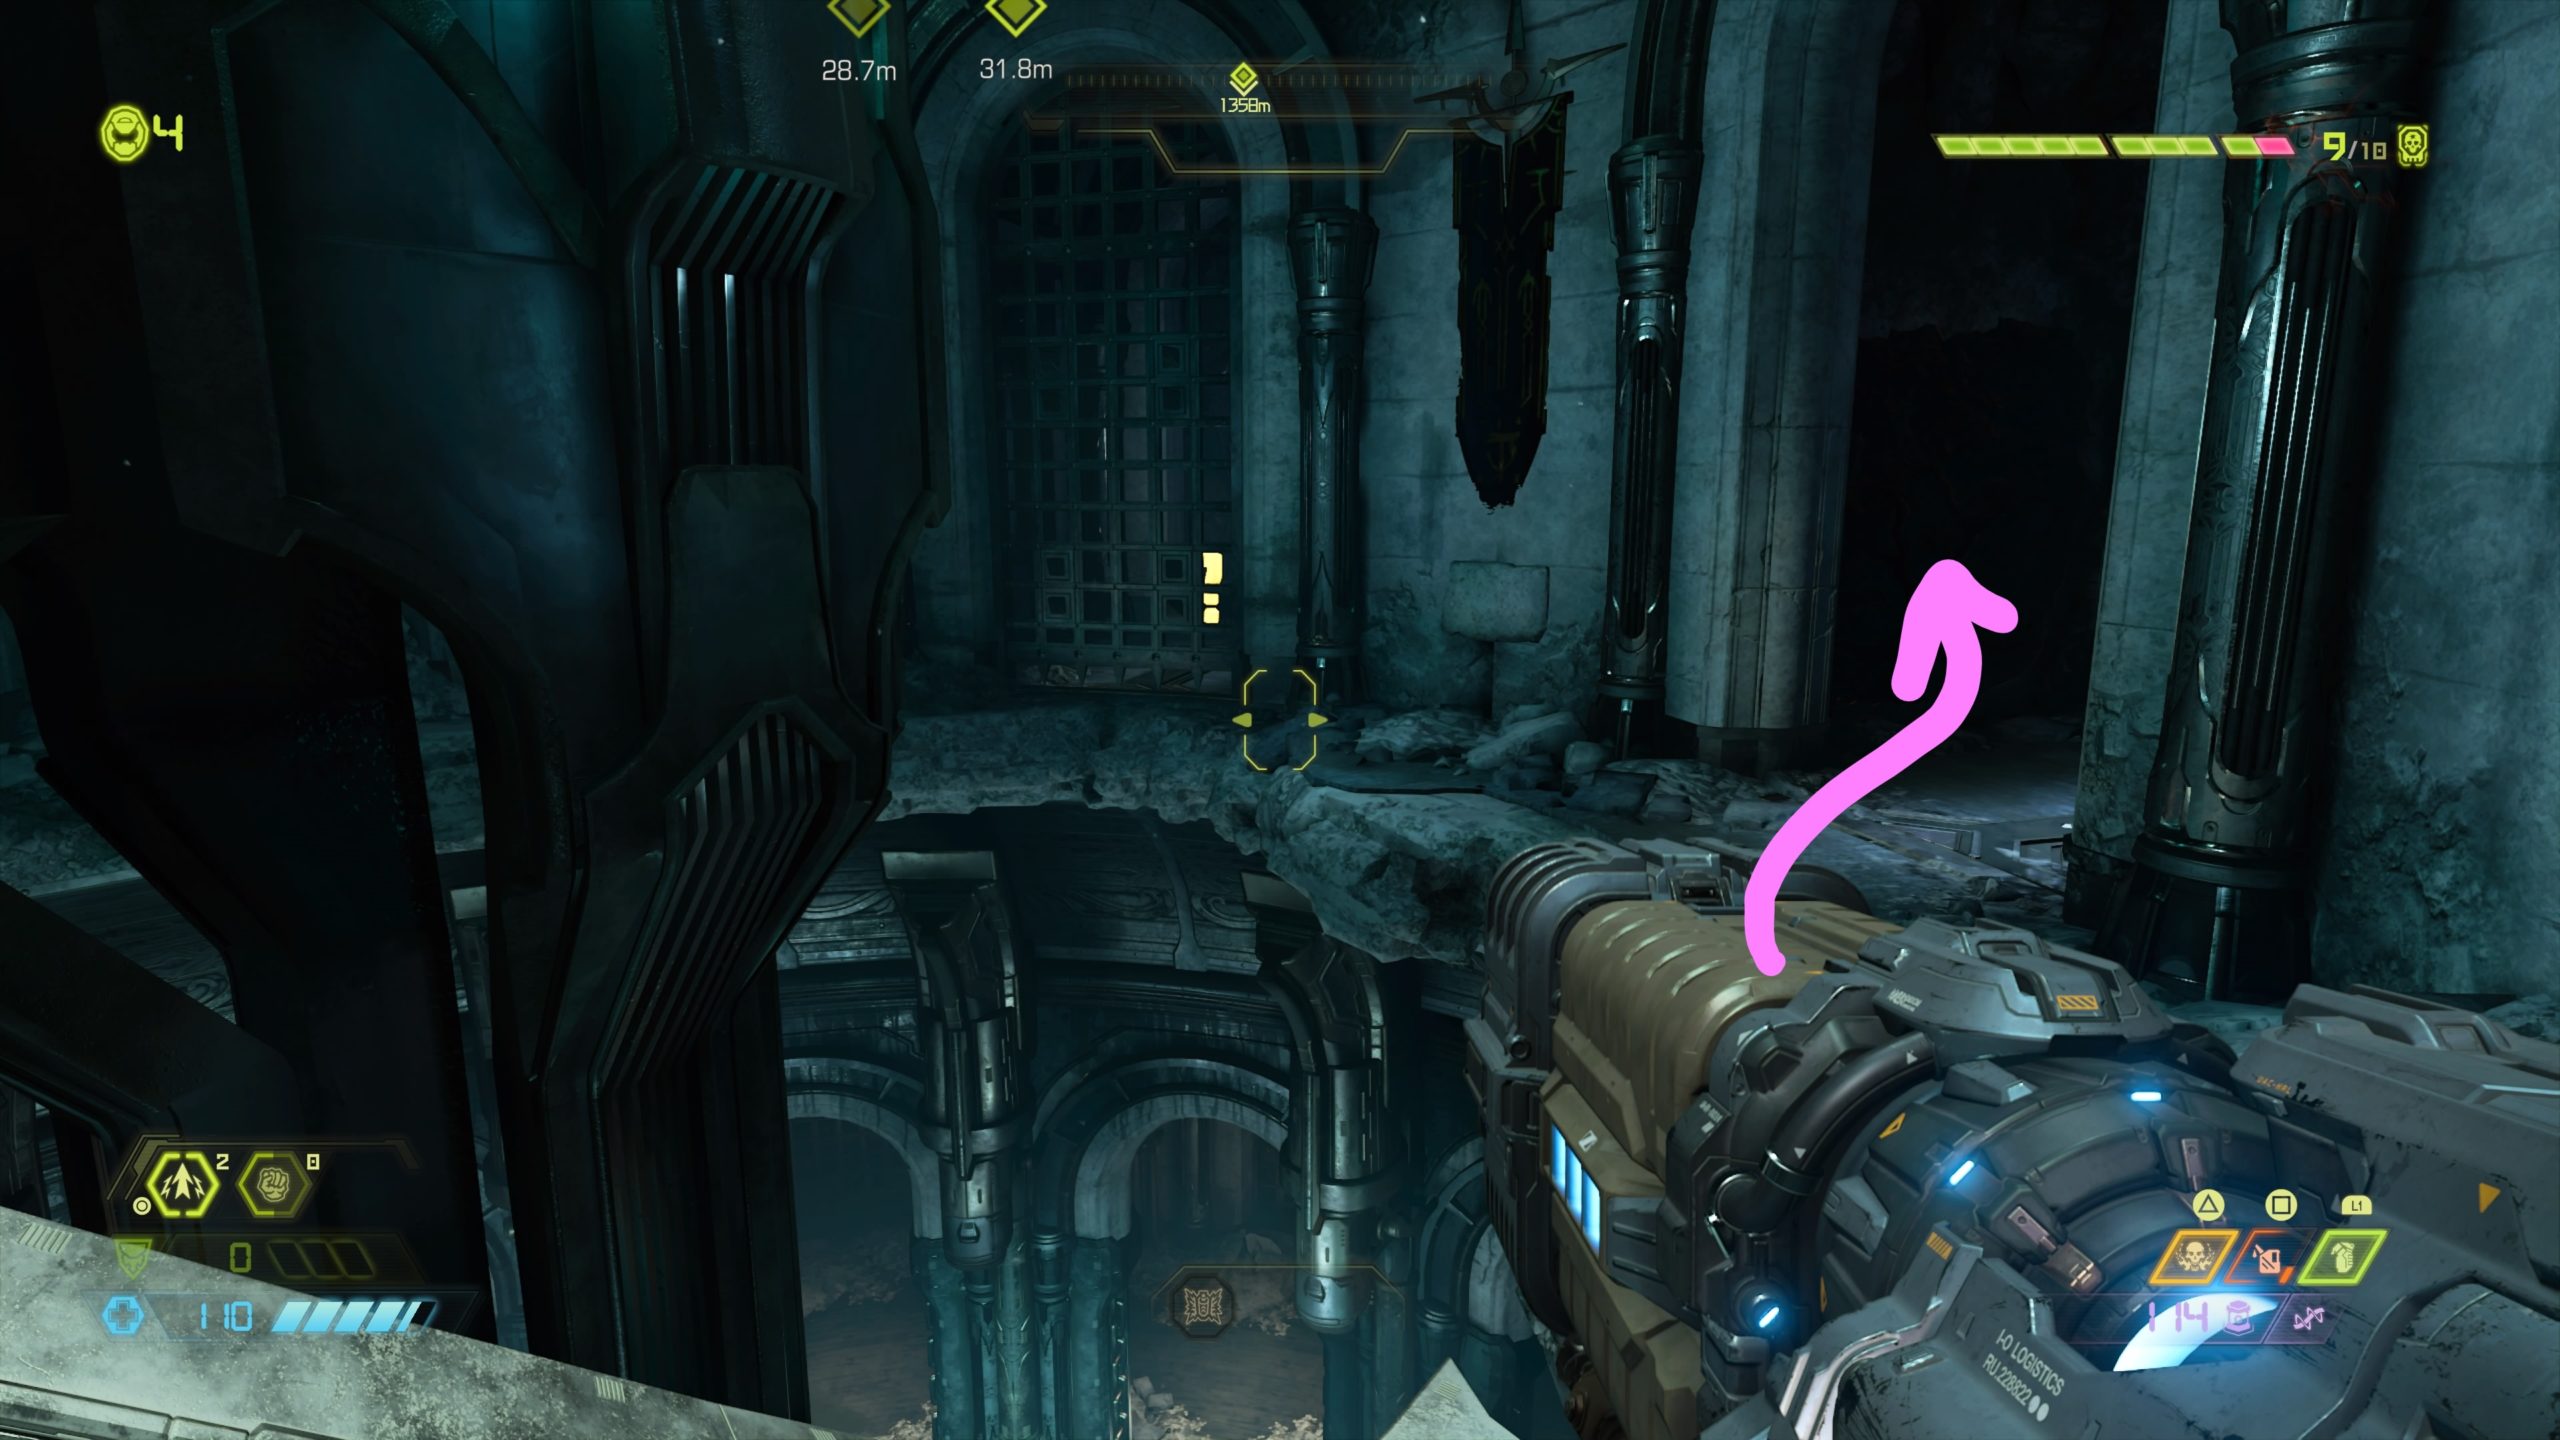
Codex: Story of the Sentinels – King Novik
This codex is located at the bottom of the stairs just past the king’s throne room.
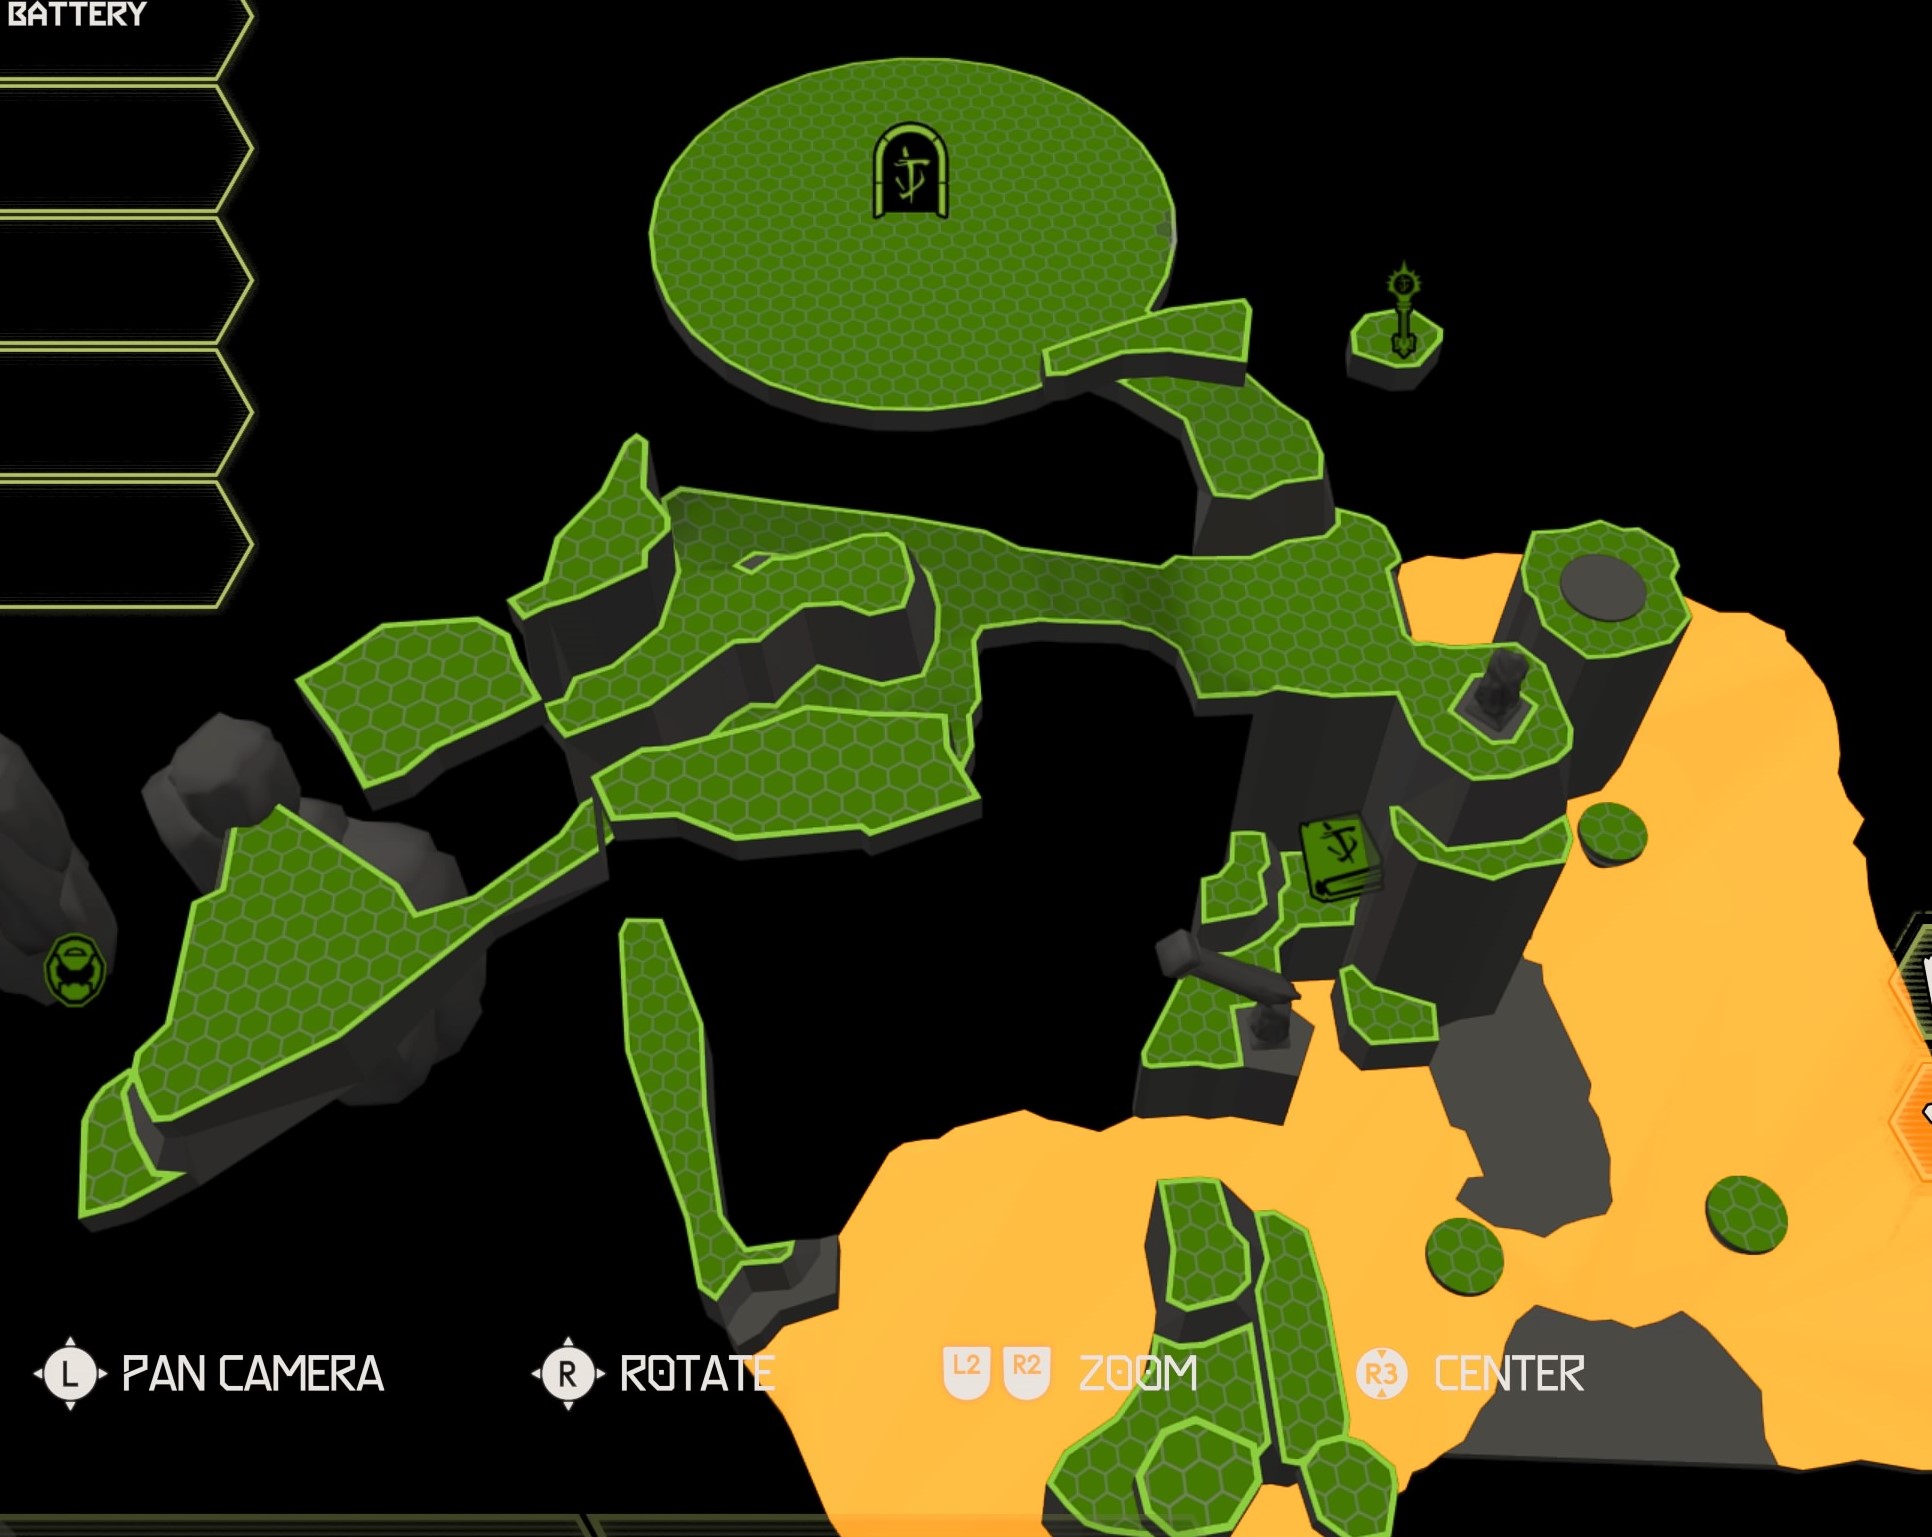
Sentinel Battery
After you meet the king, you’ll head back to the big open circular room with an electric floor. After you clear out this room, a gate guarding the battery will open, allowing you to collect it.
Hell (Travel Point: Belphegor’s Gate)
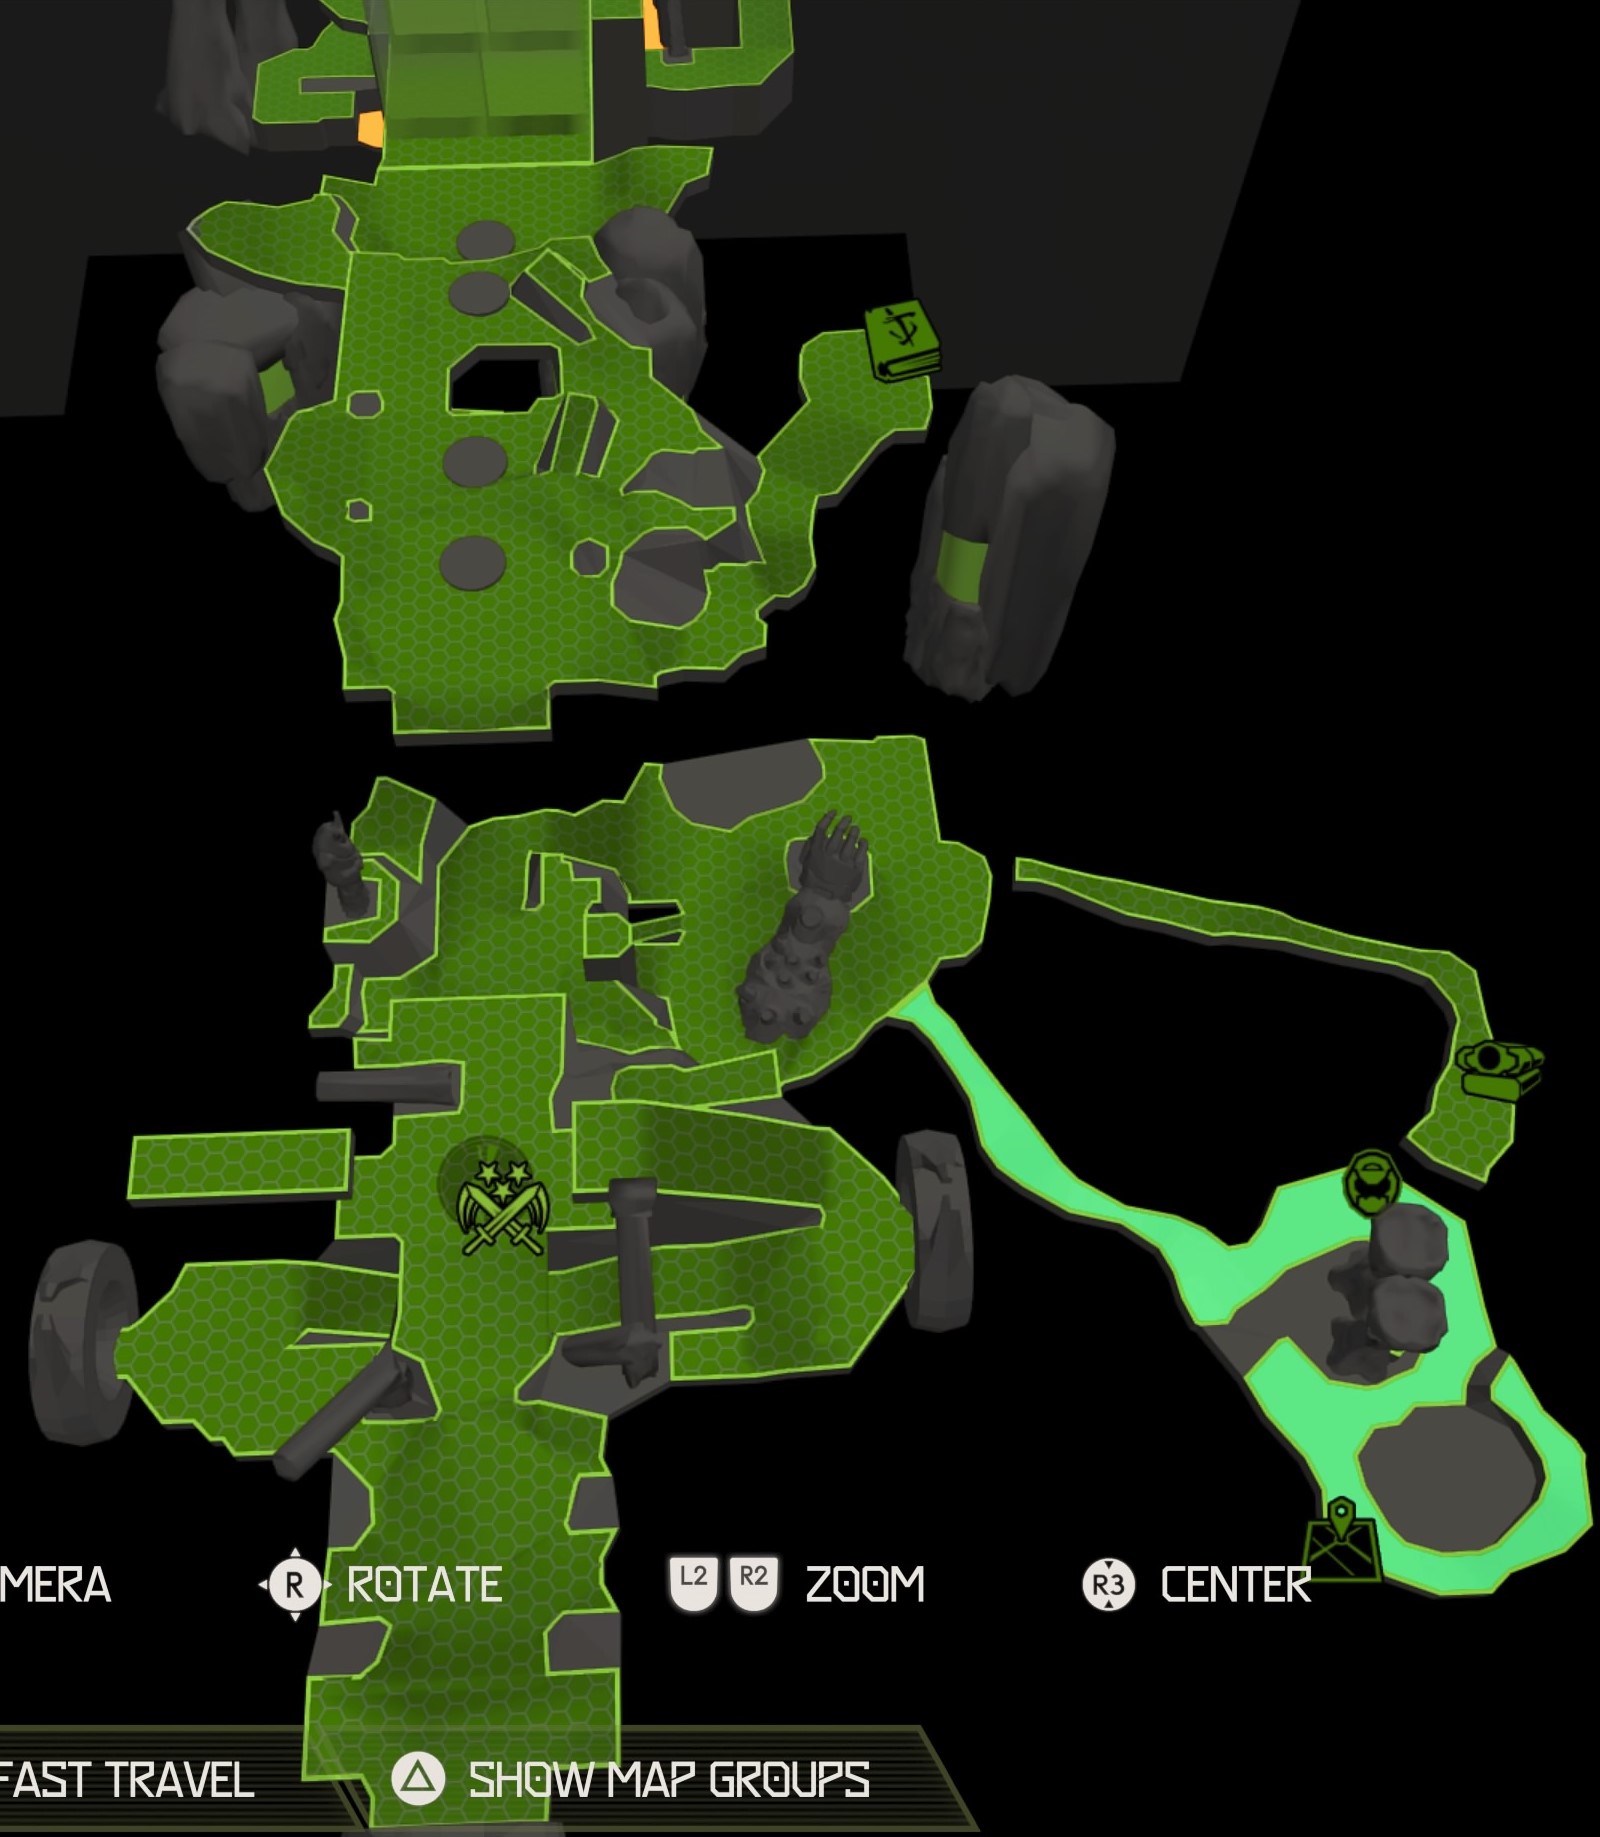
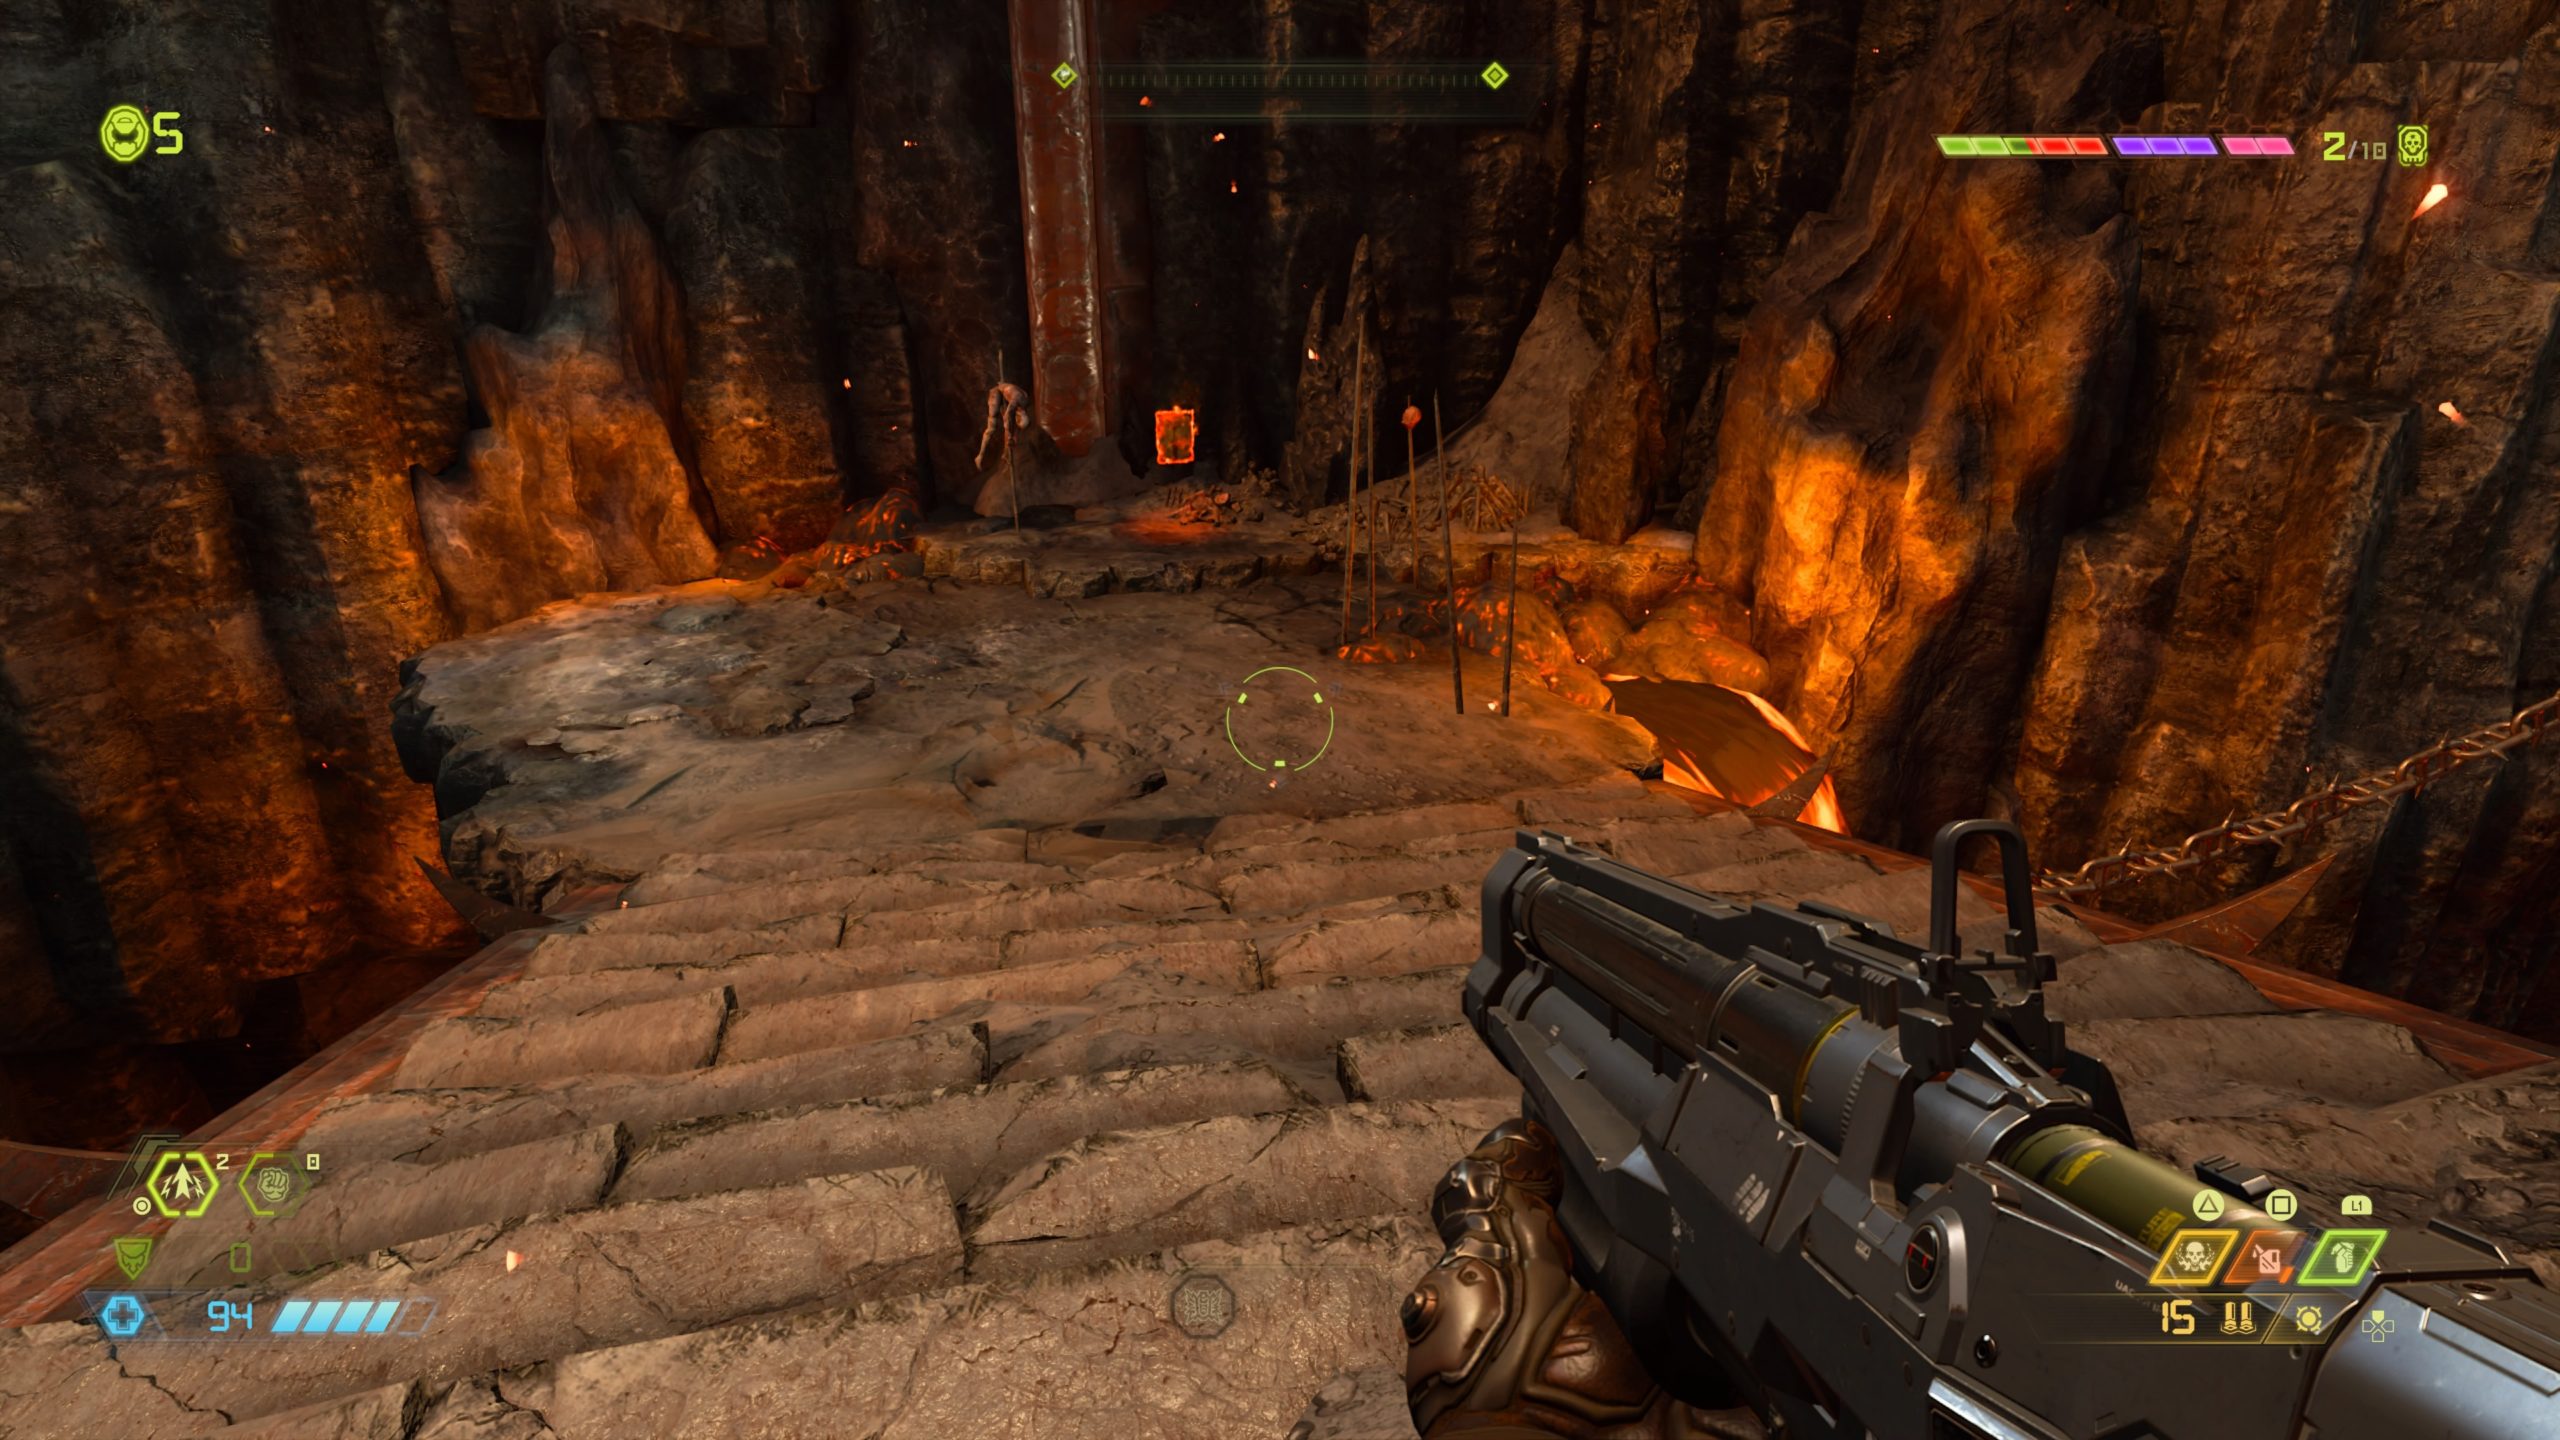
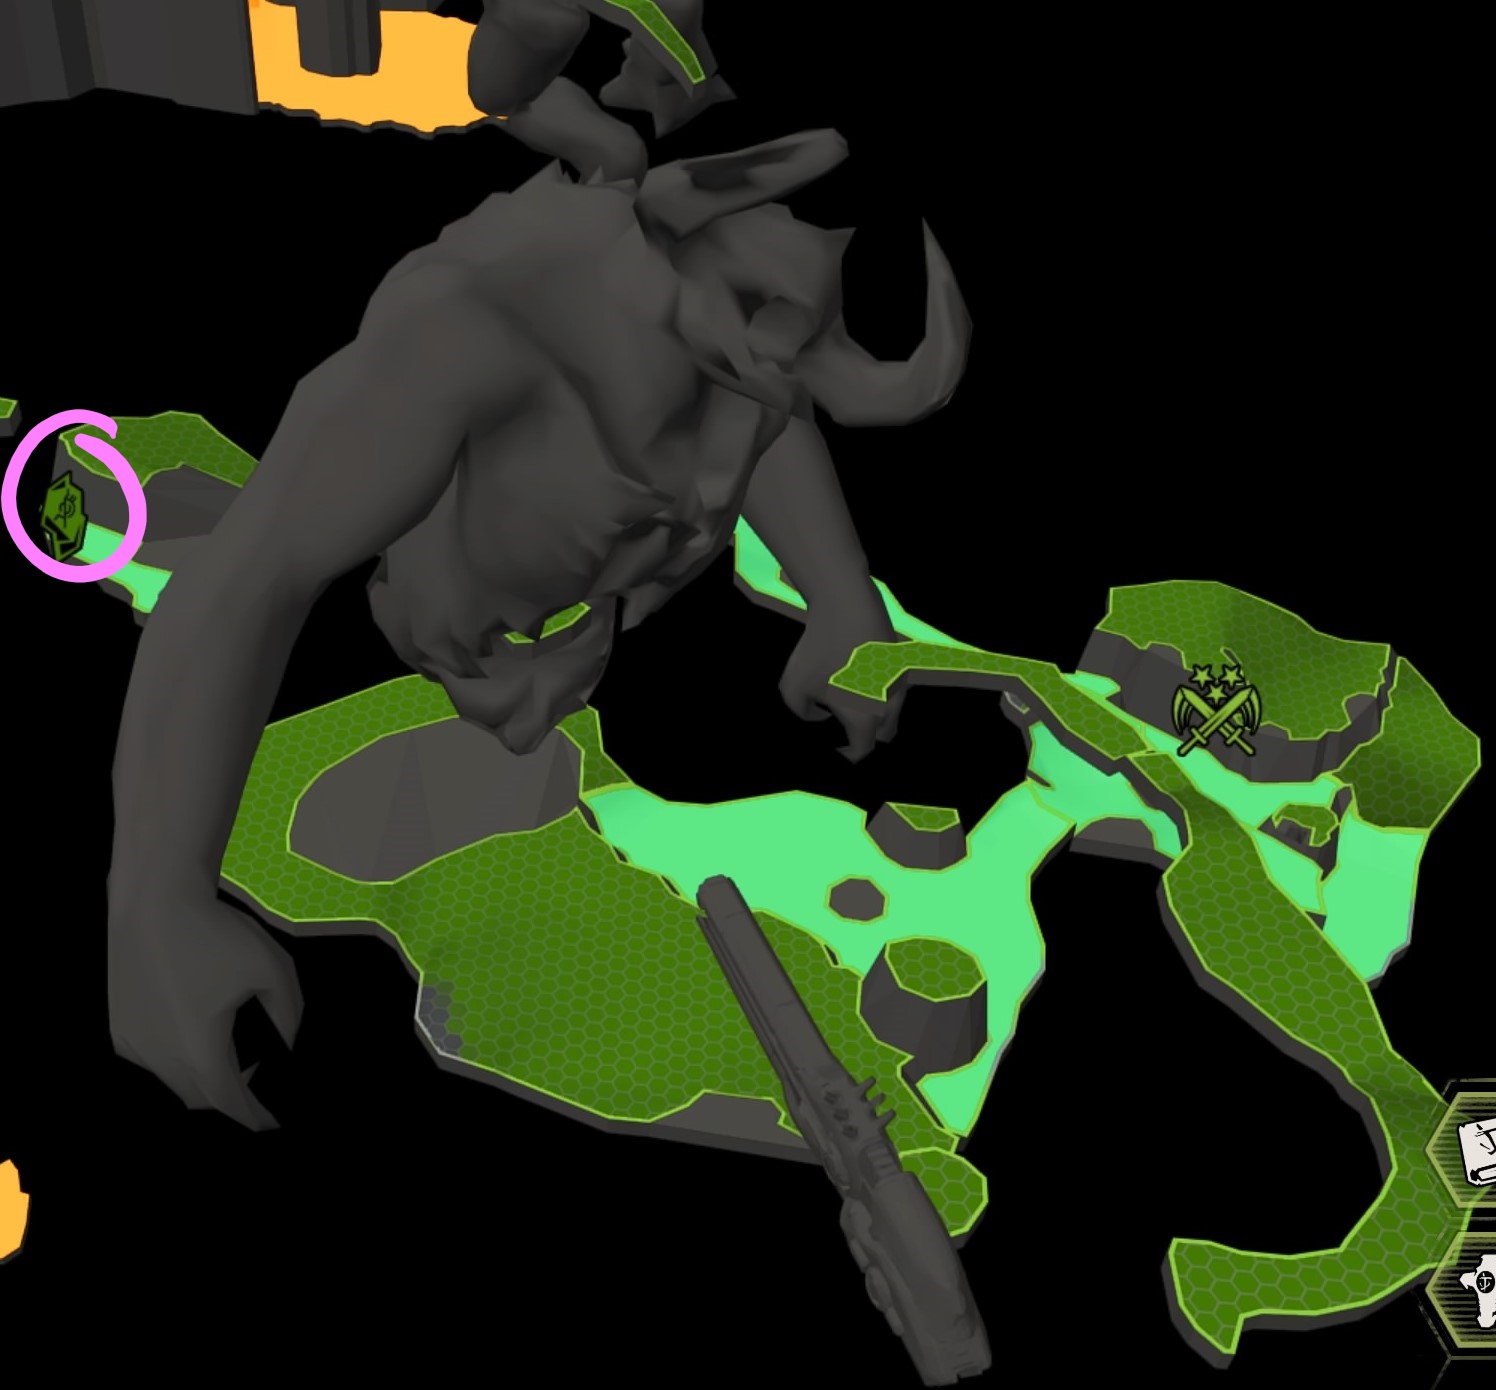
Album: DOOM – At Doom’s Gate
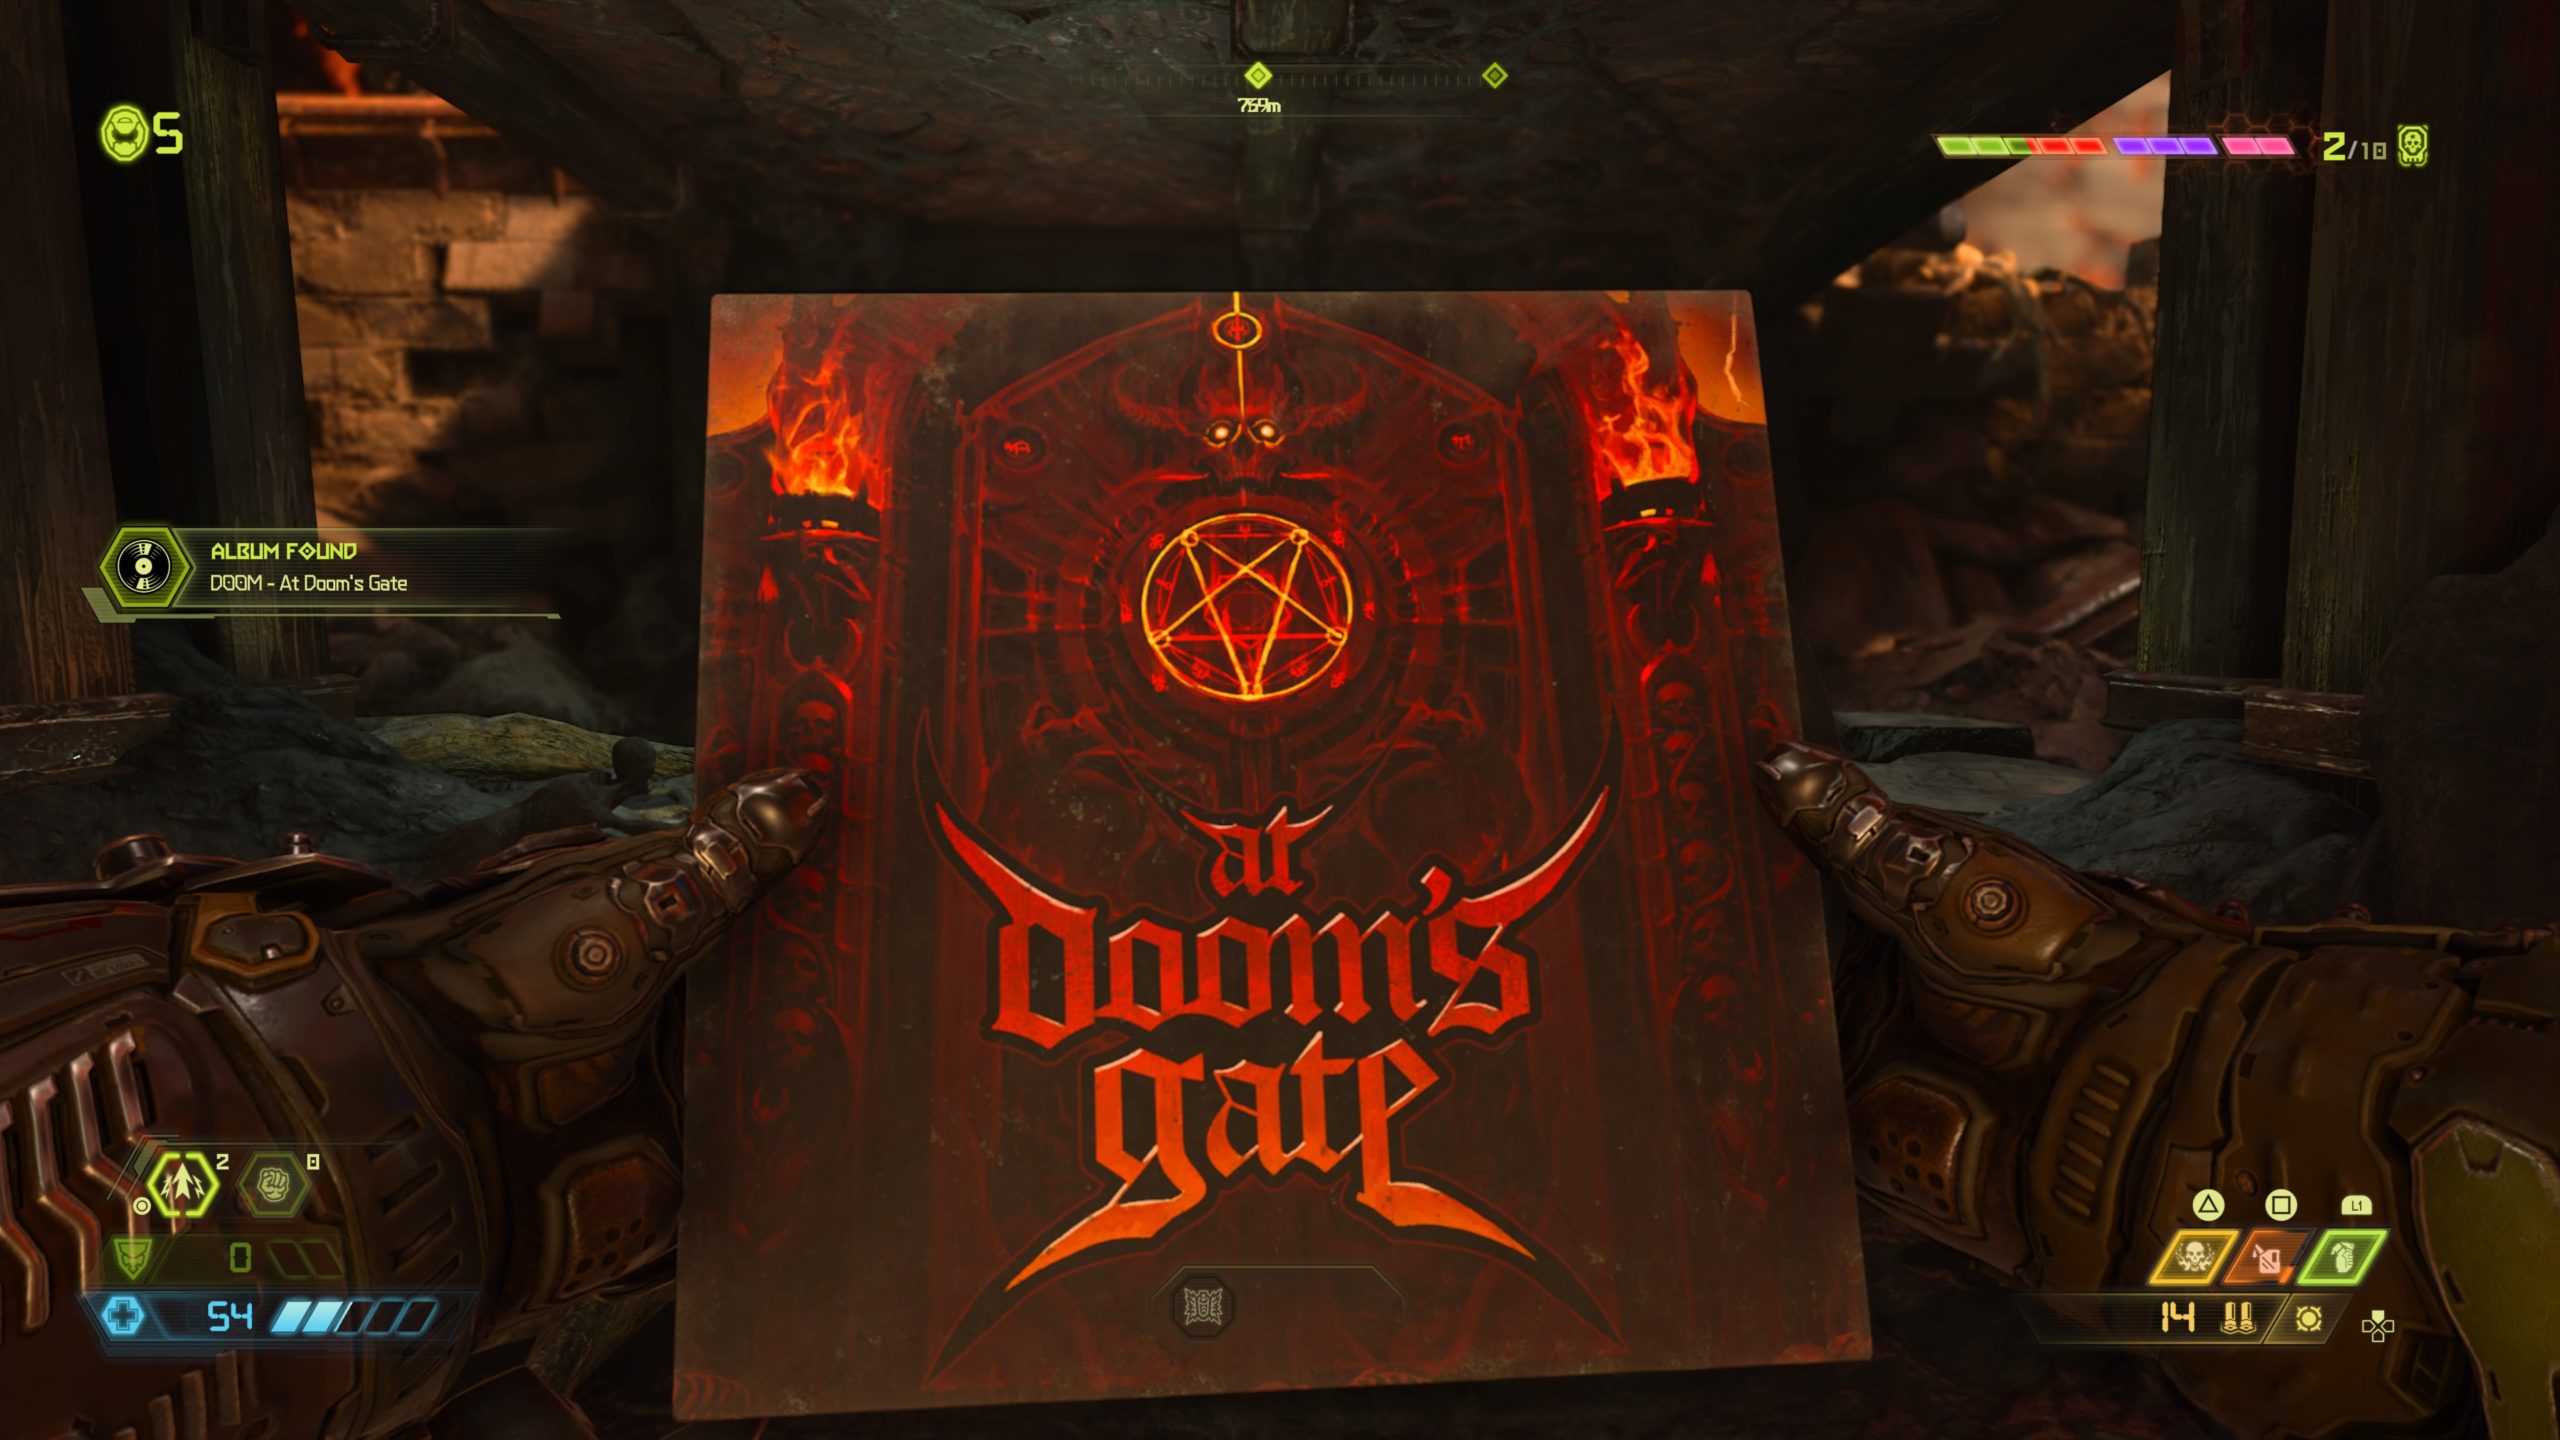
From the starting point in Hell, head down the stairs and keep moving forward passing by flaming demon skulls. Towards the end of the path, you will need to drop down to a lower level, which will lead you to an area with a giant robot hand. At the base of the ramp just before the hand, look immediately to the right to find a metal cube. Head to the other side of the cube and melee it to send the cube flying, revealing a secret underground tunnel. Head through the tunnel to locate the album.
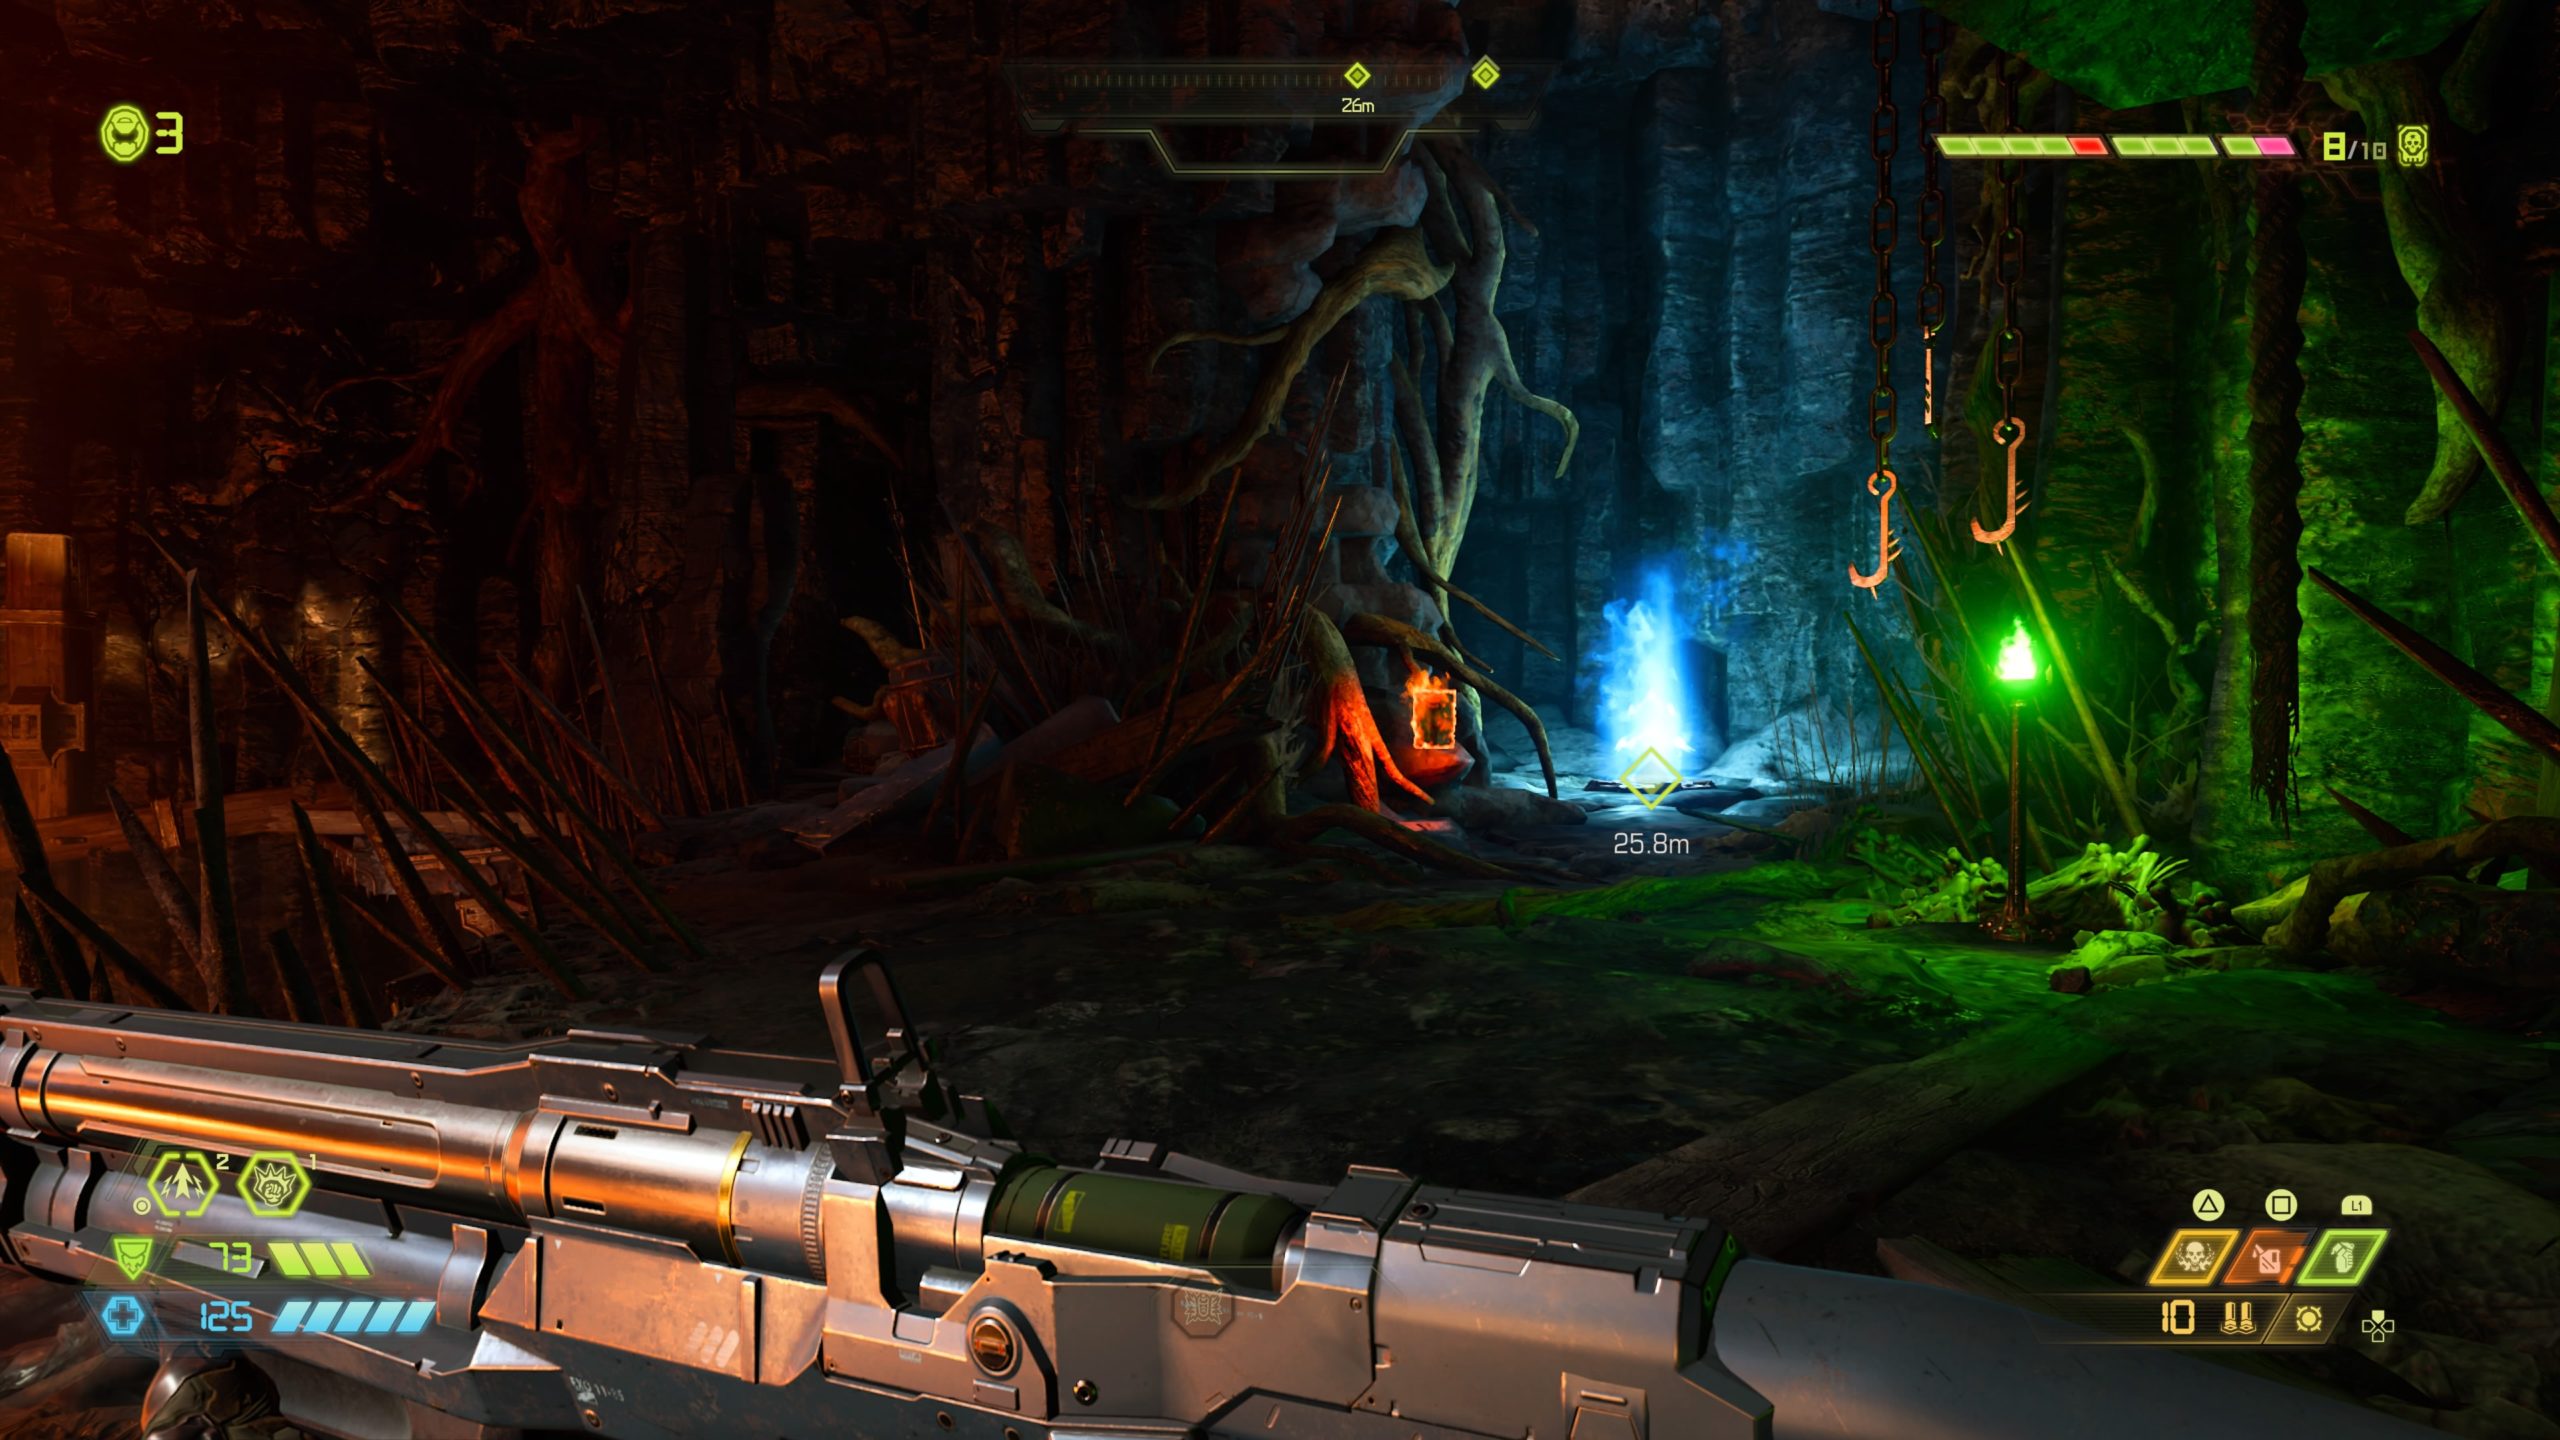
Modbot
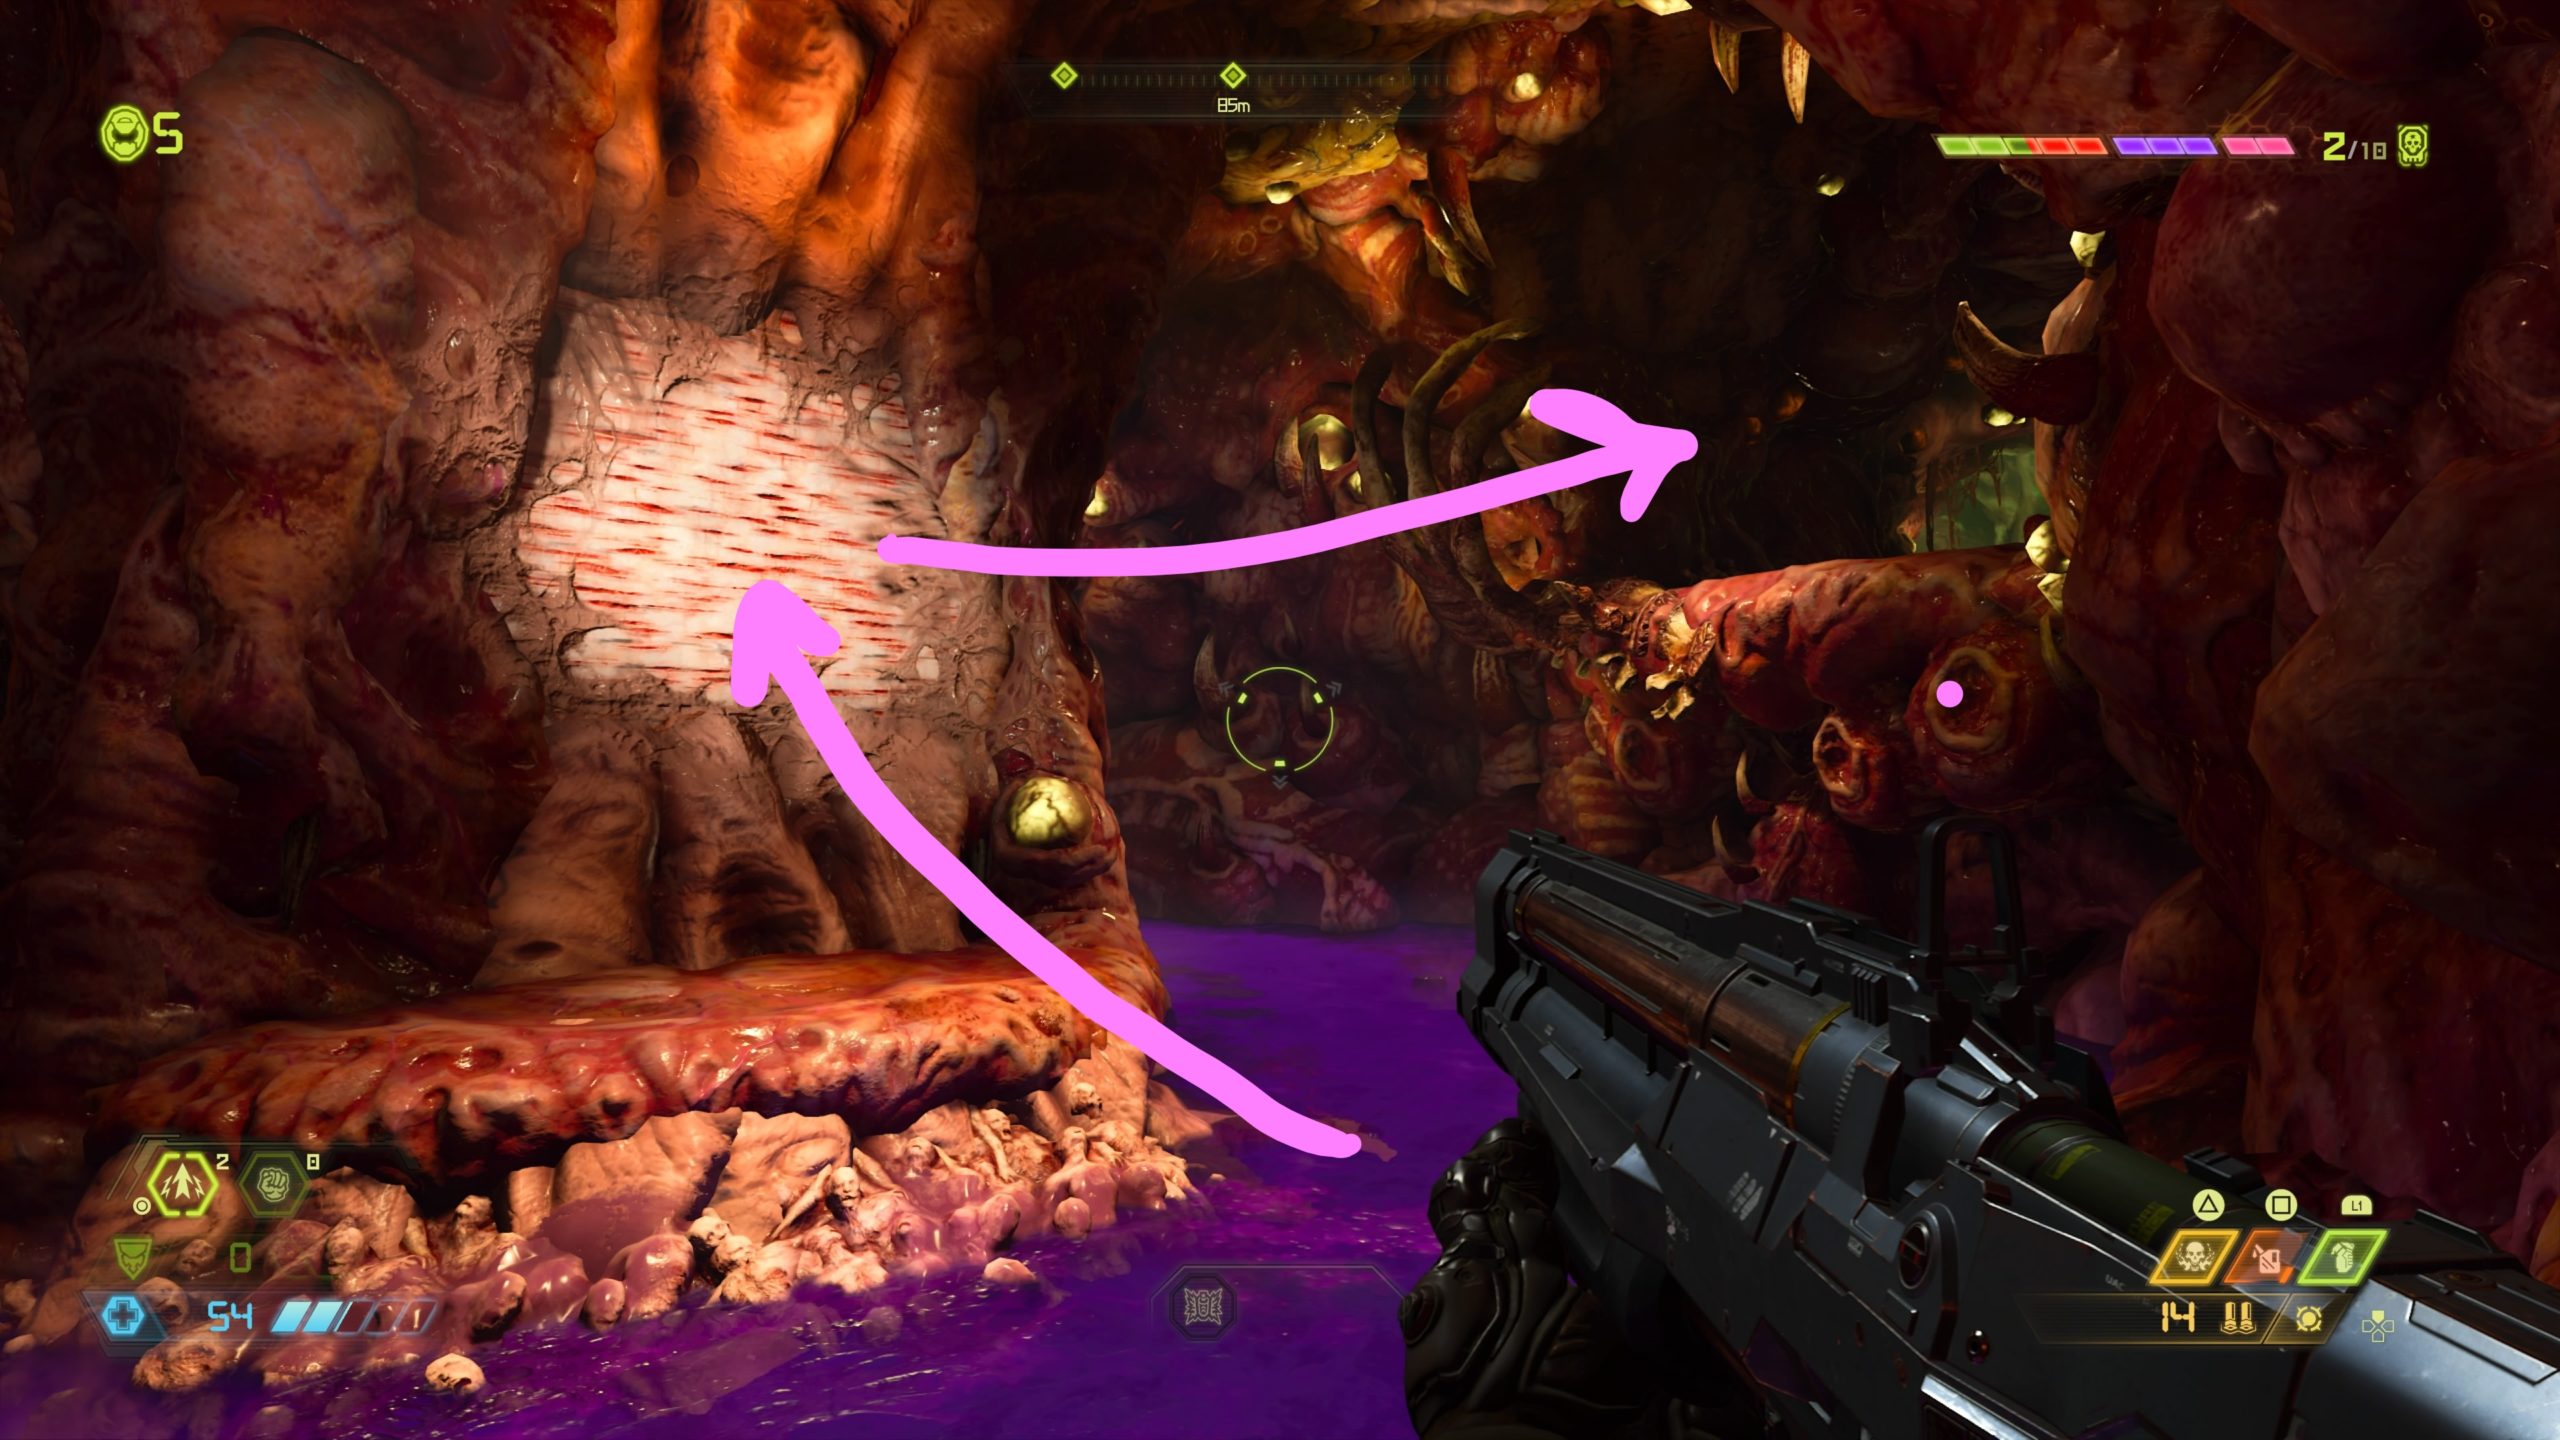
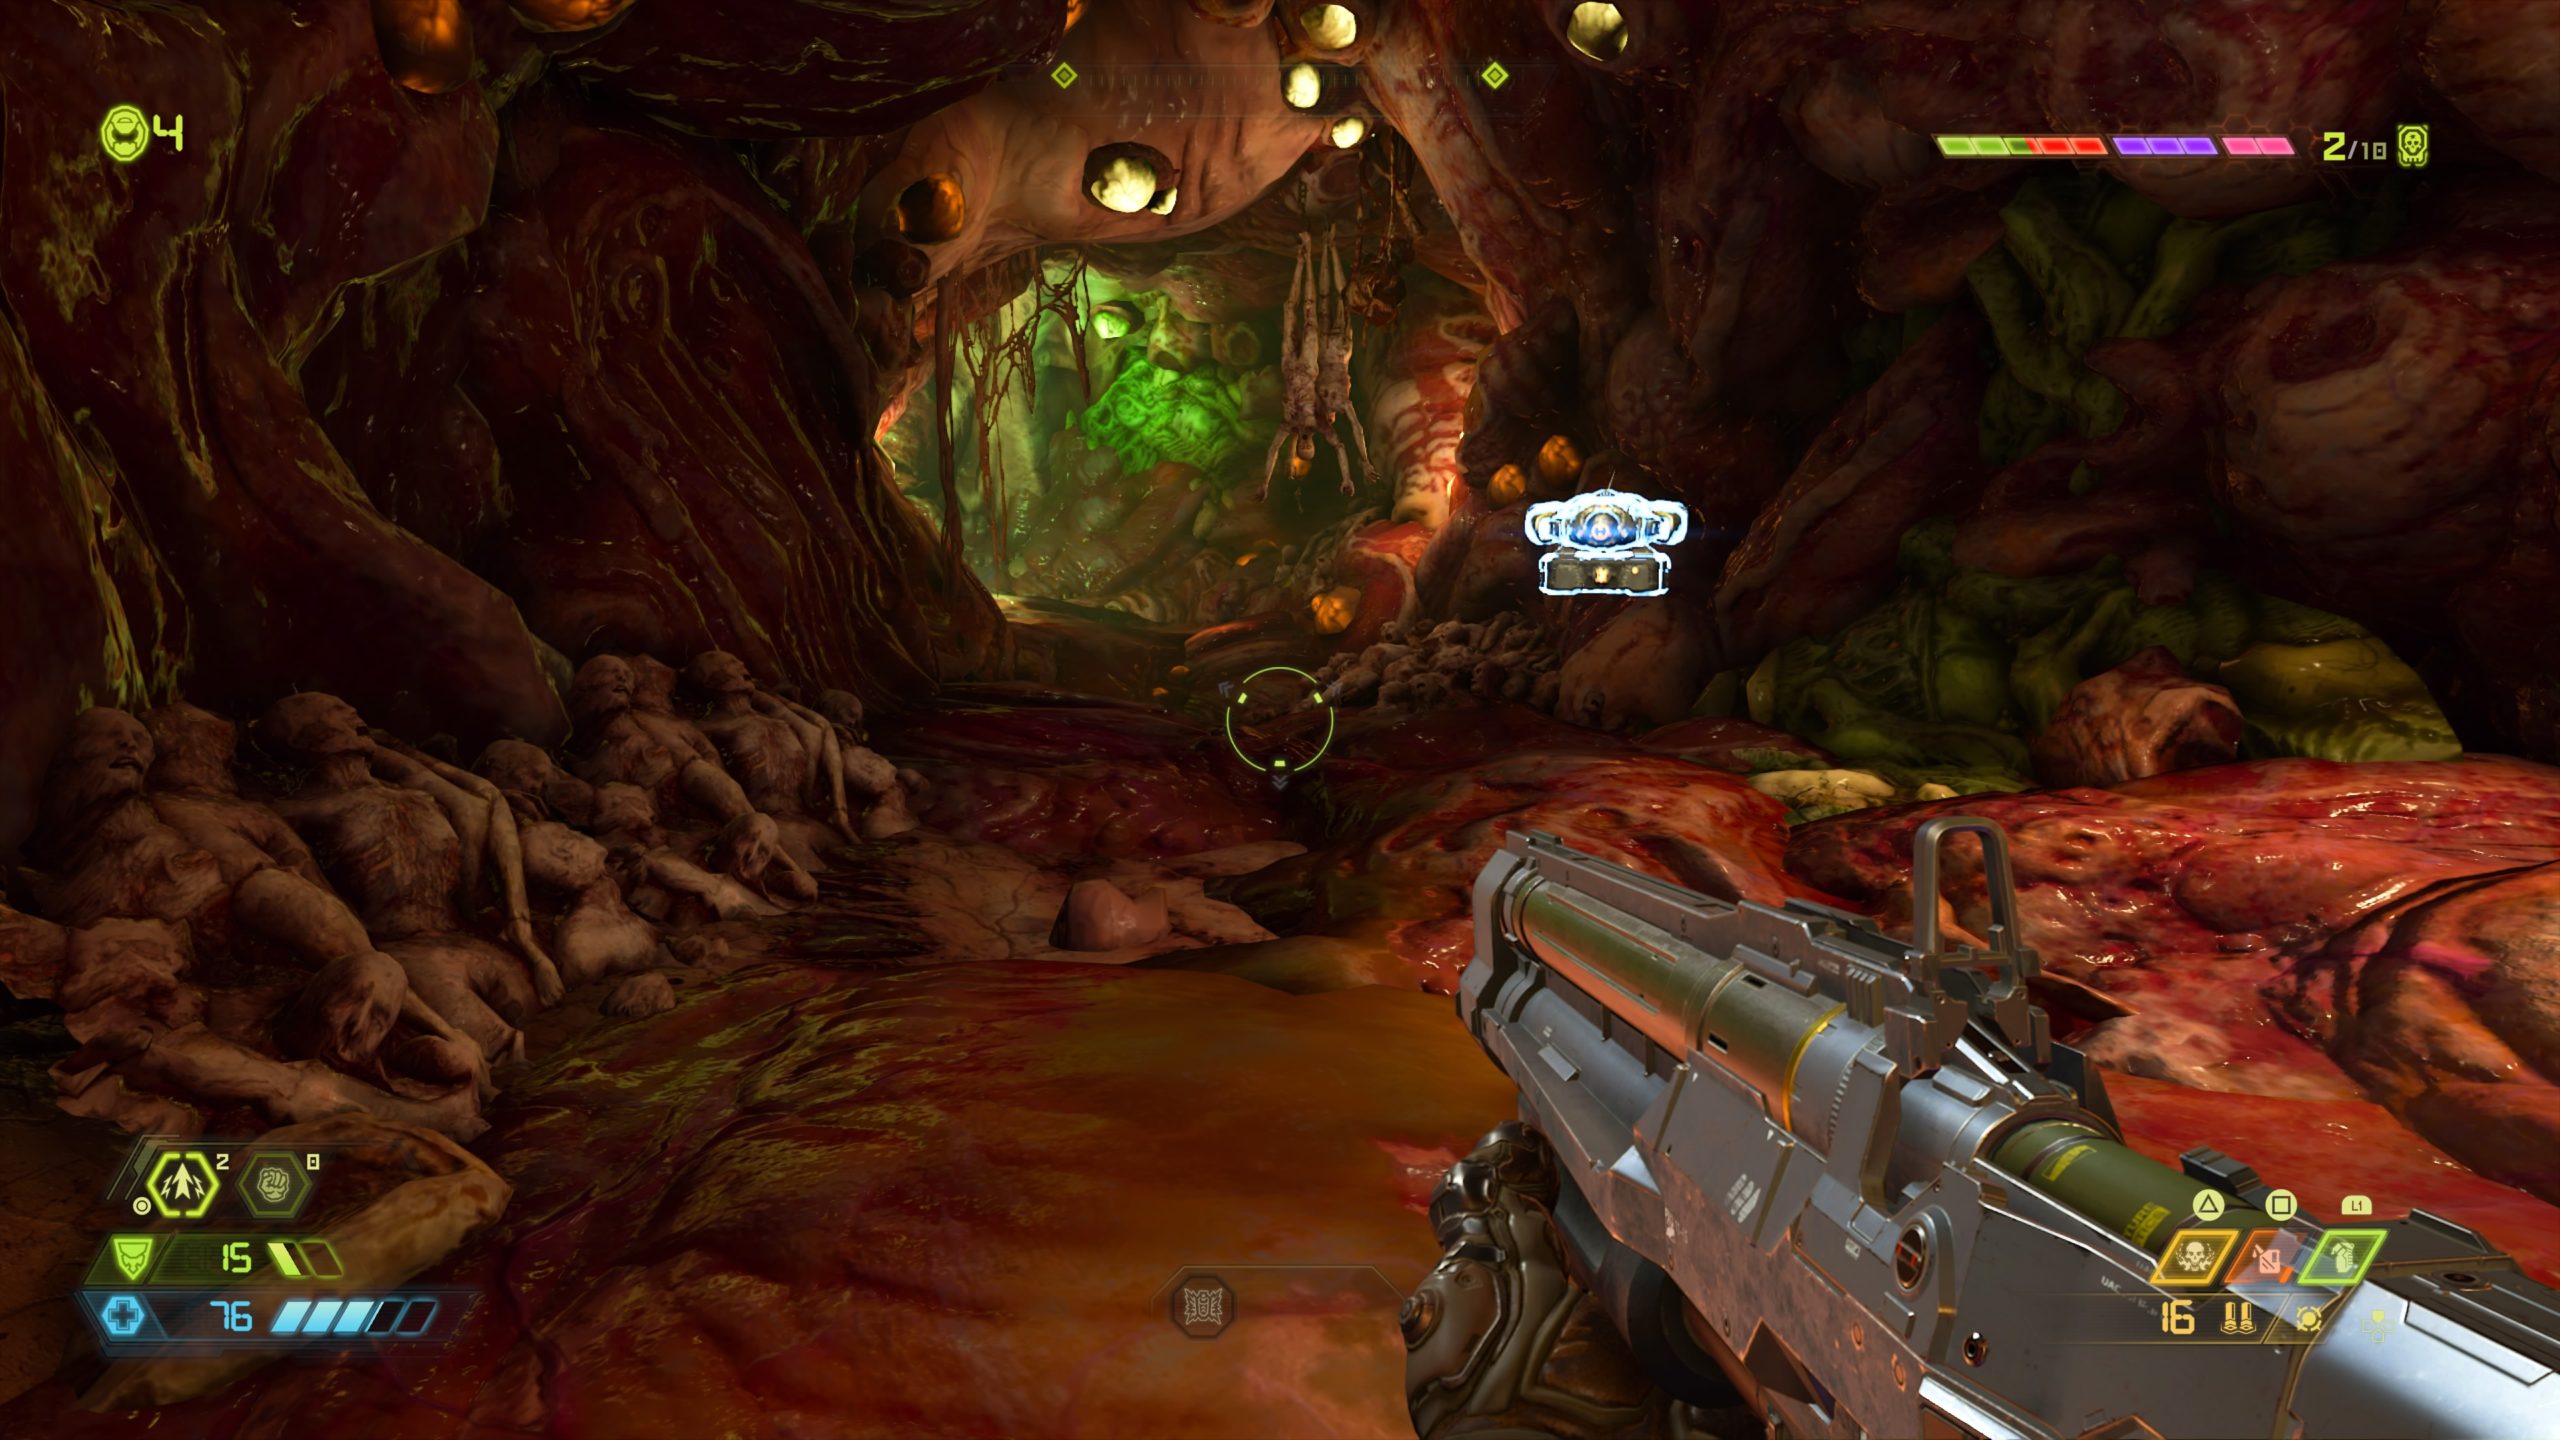
From the previous collectible, you will need to defeat all the enemies to unseal the entrance to the cave on the other side of the hand. Proceed into the cave with purple liquid on the ground. This liquid will reduce your movement speed and prevent you from jumping. Watch out for the tentacles in the liquid as you work your way through the cave until you find a pillar in the center of the cave that you can use to wall climb. Use the climbable wall to reach a higher level in the cave to find the weapon mod.
Codex: Story of the Sentinels: Sentinel History Part II
After blasting a hole in the wall with the giant robot hand, proceed forward into the area using a couple of wall climbing sections to reach a platform, which will contain the codex.
Hell (Travel Point: Dour Slough)
Sentinel Crystal
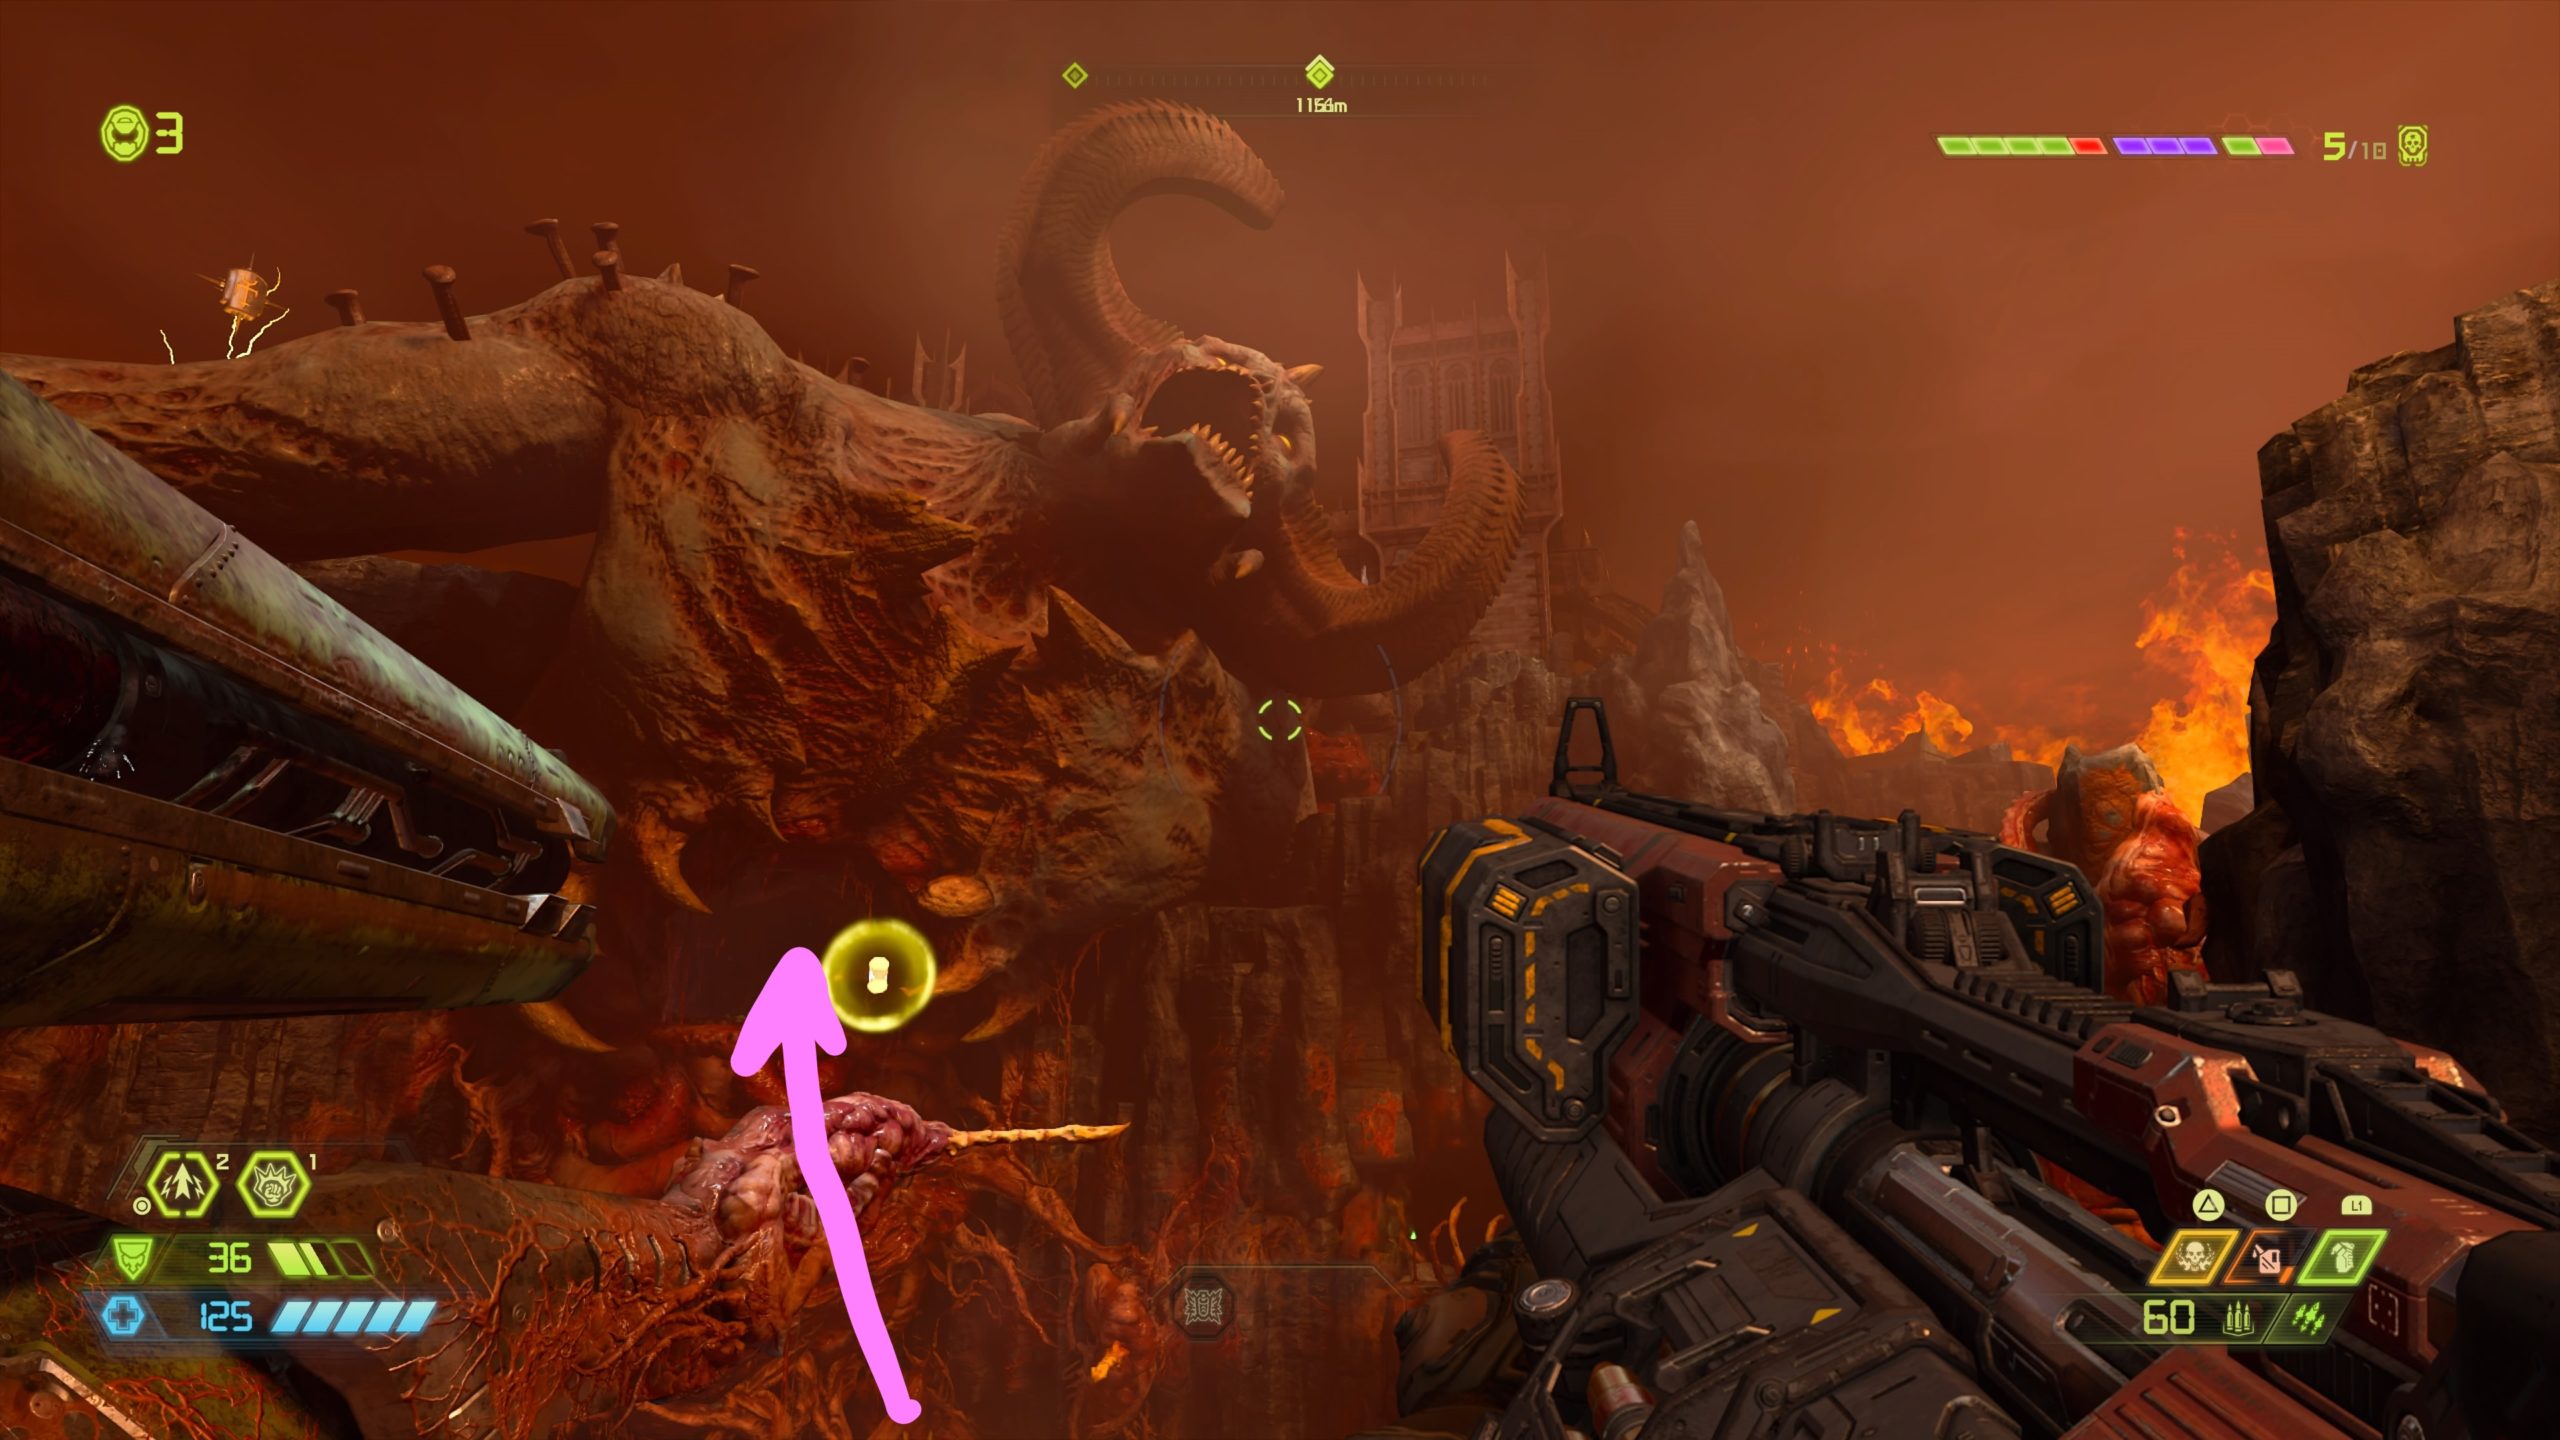

The crystal is locate inside the giant demon that you blasted a hole through. To find it, head forward a short way through the hole until you reach the pool of purple liquid. Follow the liquid left, minding the sneaky tentacles, to find the crystal.
Hell (Travel Point: Precipice of Recompense)
Codex: Story of the Sentinels – Sentinel History Part III
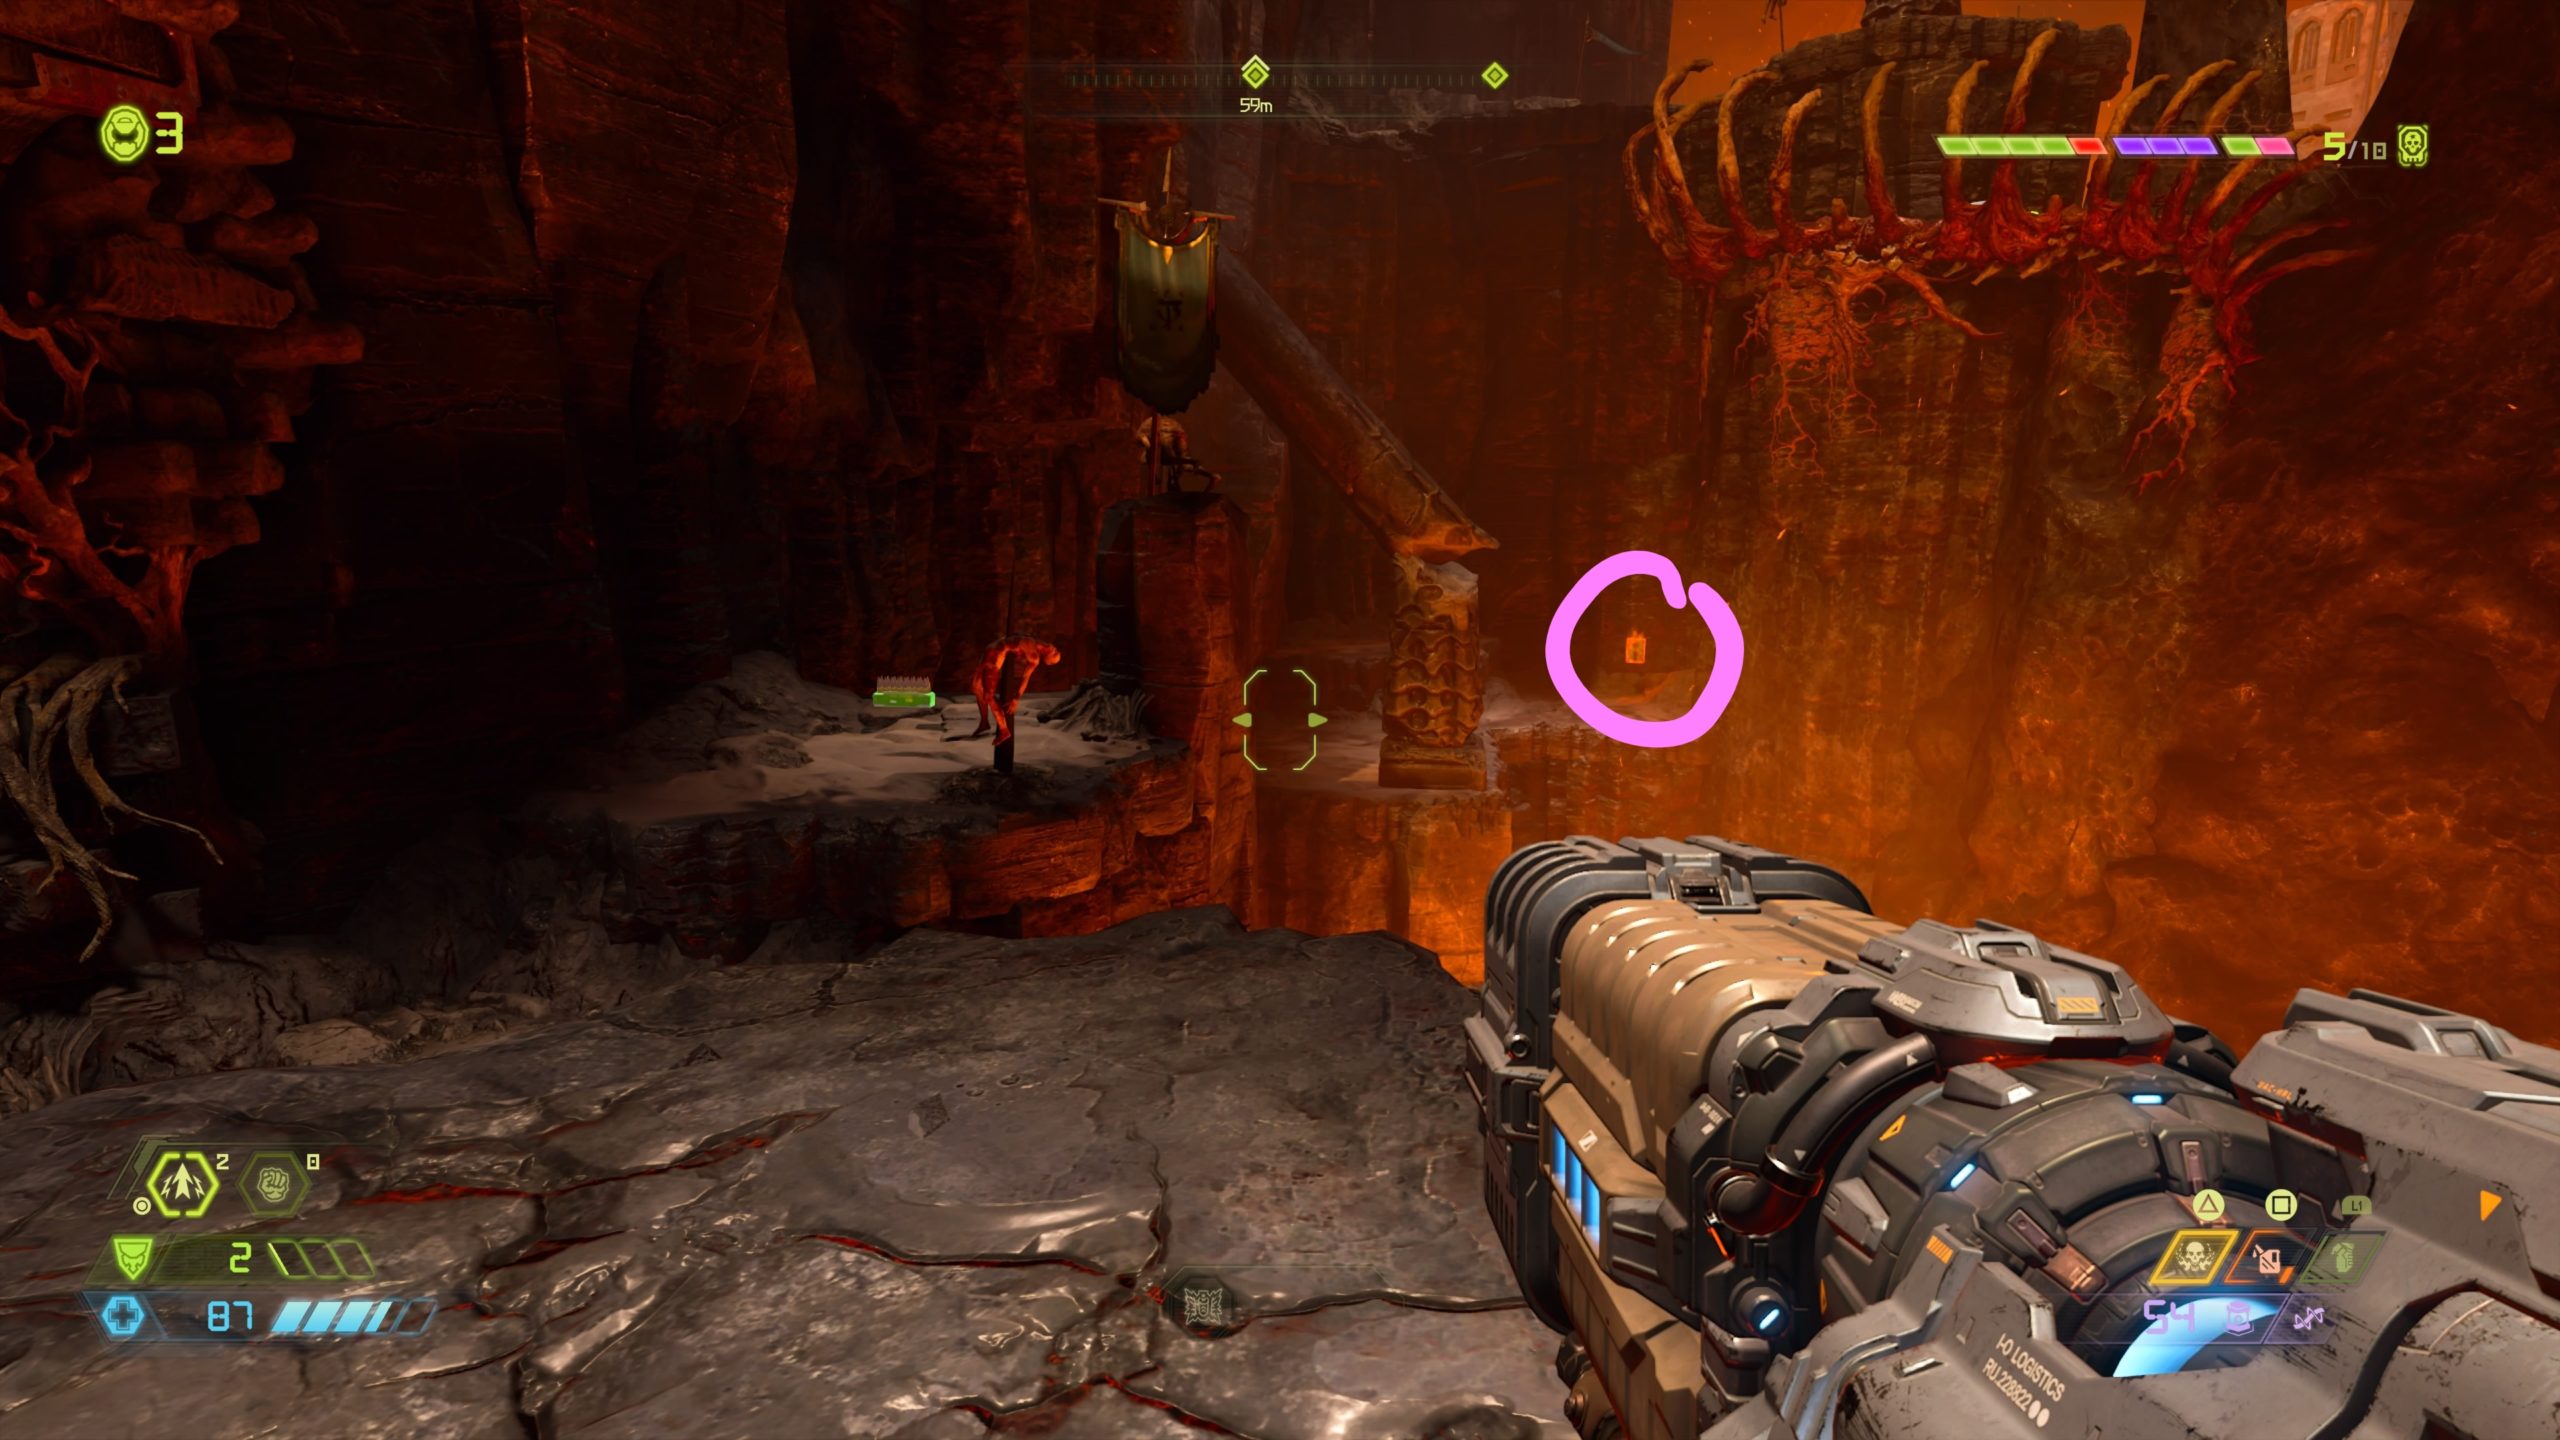
From the previous collectible, continue through the demon to emerge in an area with lava flowing below. Leap across the rock pillars to locate the codex.
Empyrean Key
The key is awarded for completing the first Slayer Gate.
Hell (Travel Point: Ichor’s Expanse)

Codex: Story of the Sentinels – The Betrayer
The codex is located in the upper level of the Betrayer’s lair.
Toy: Cacodemon

The toy can be found in the corner on a ledge at the top of the lava waterfall near the lair of the Betrayer. You can reach it by using the Double Jump and Dash abilities.