
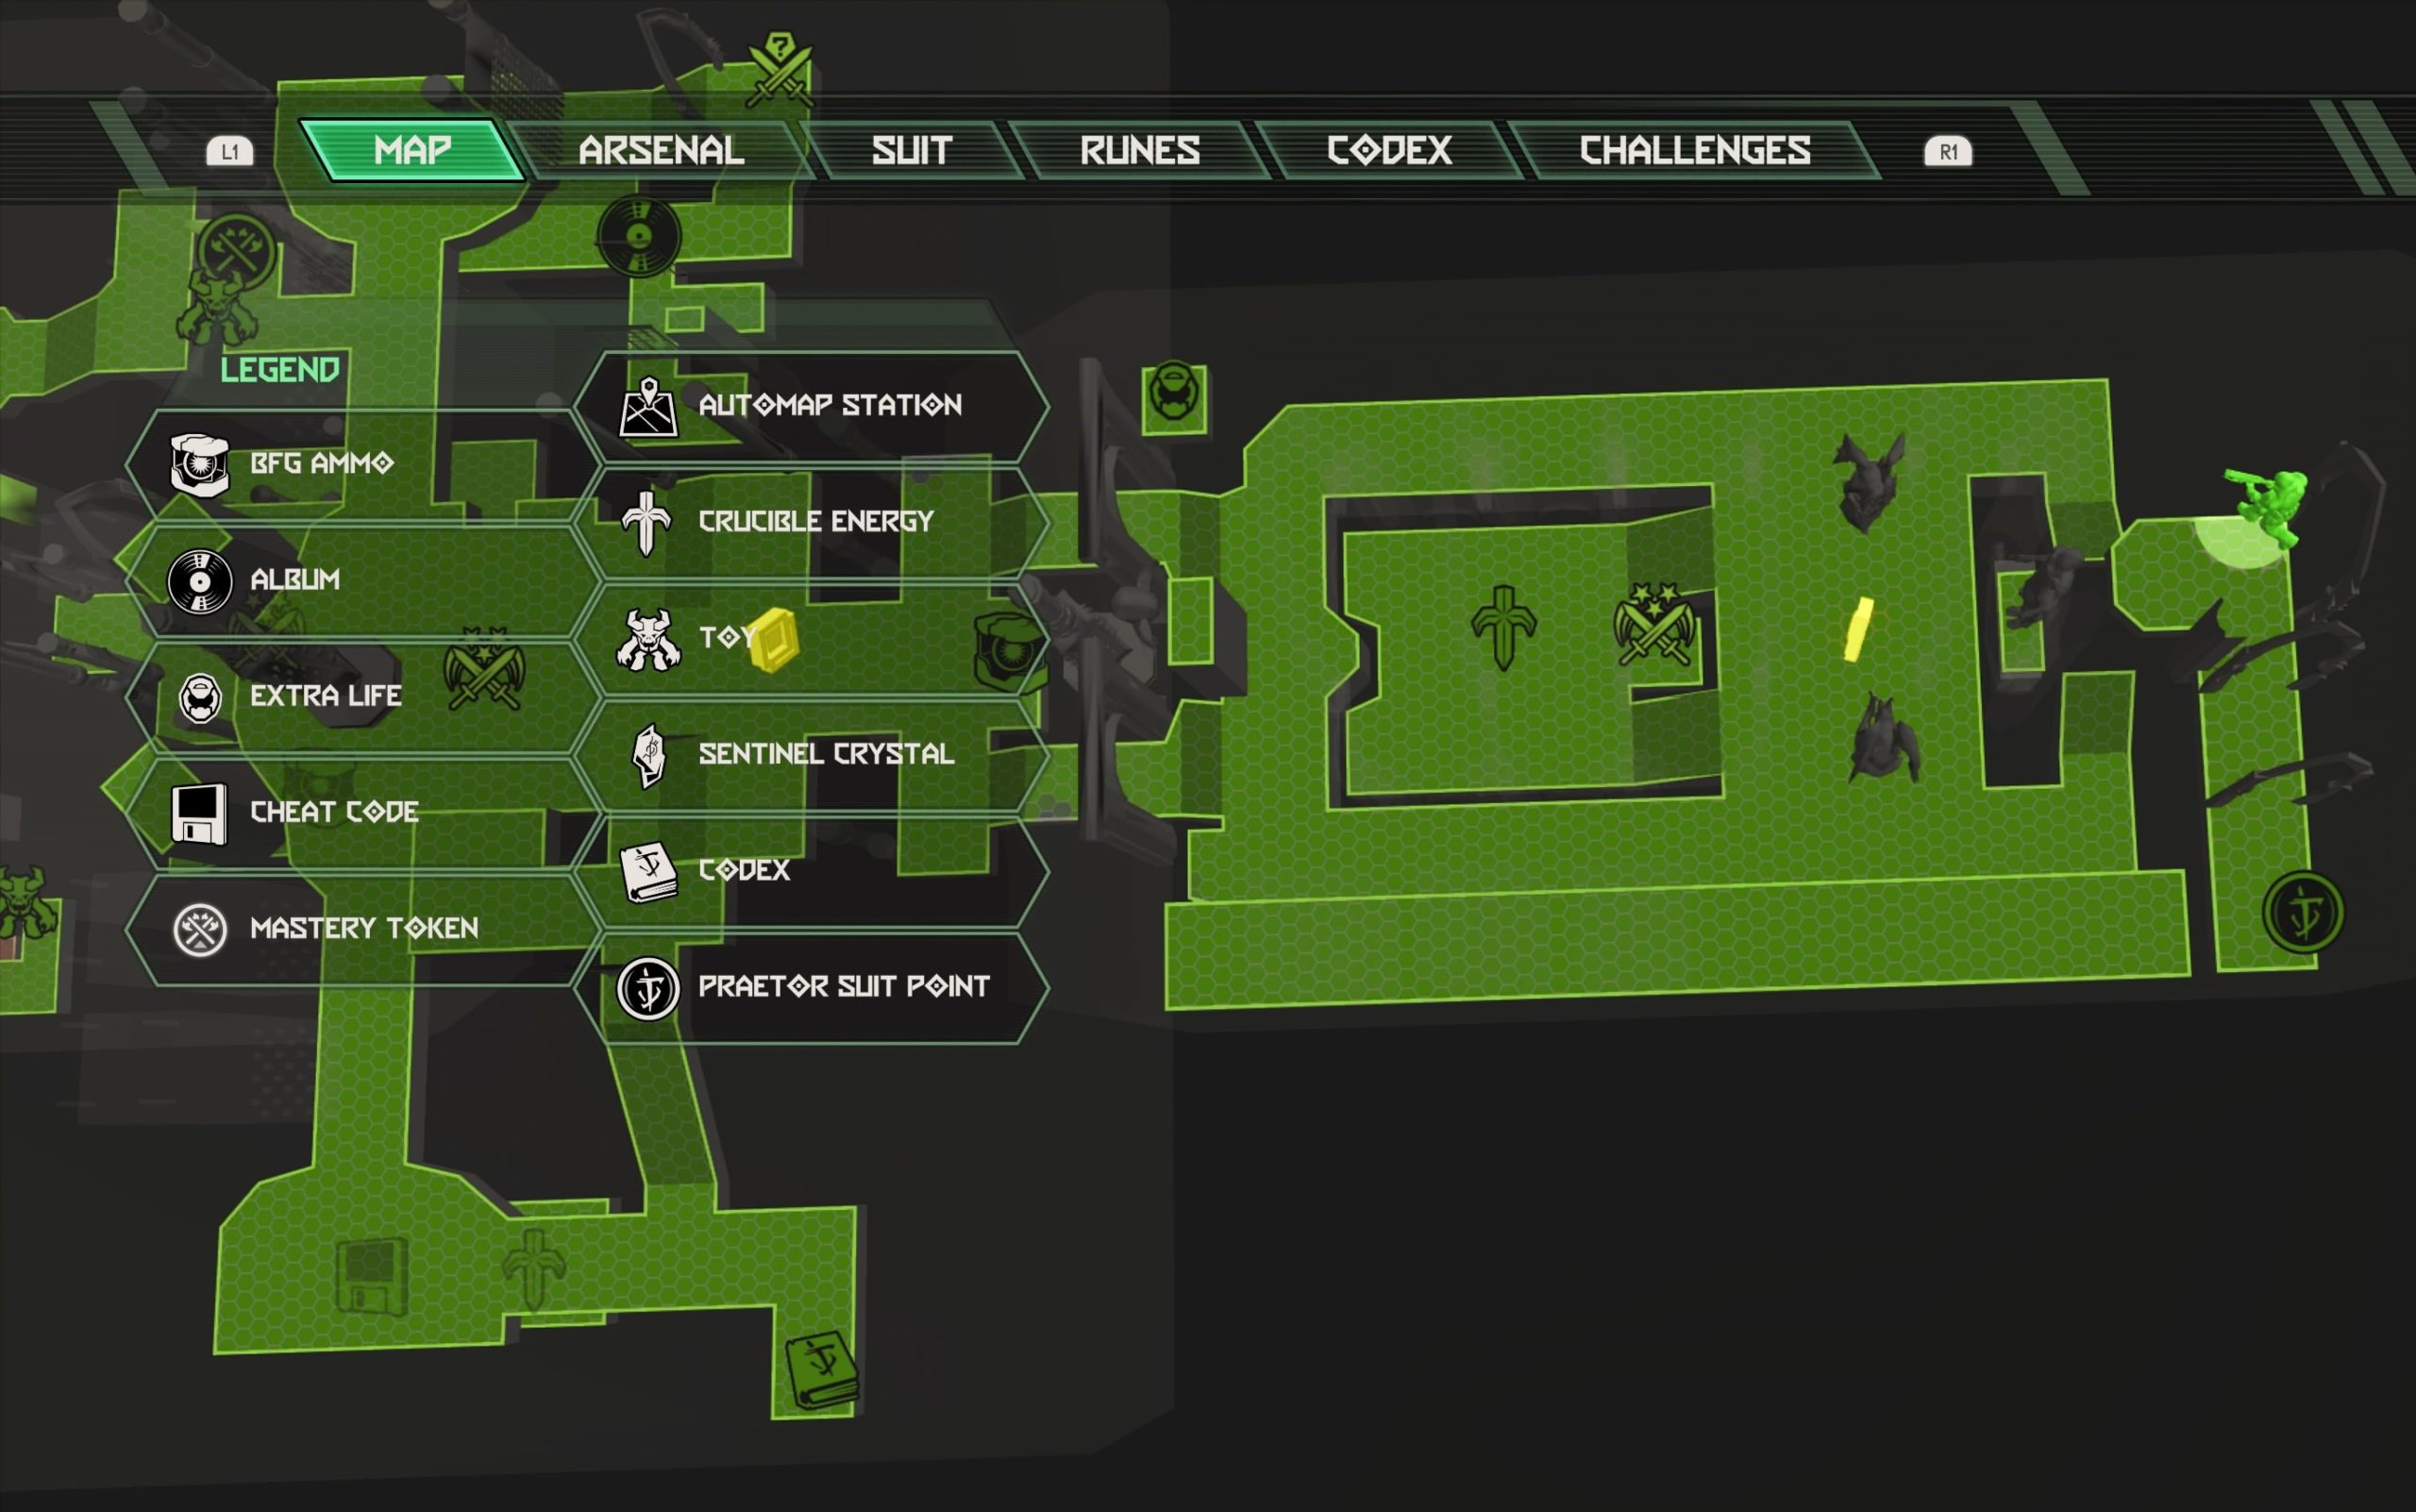
![]()
Pain’s Basin
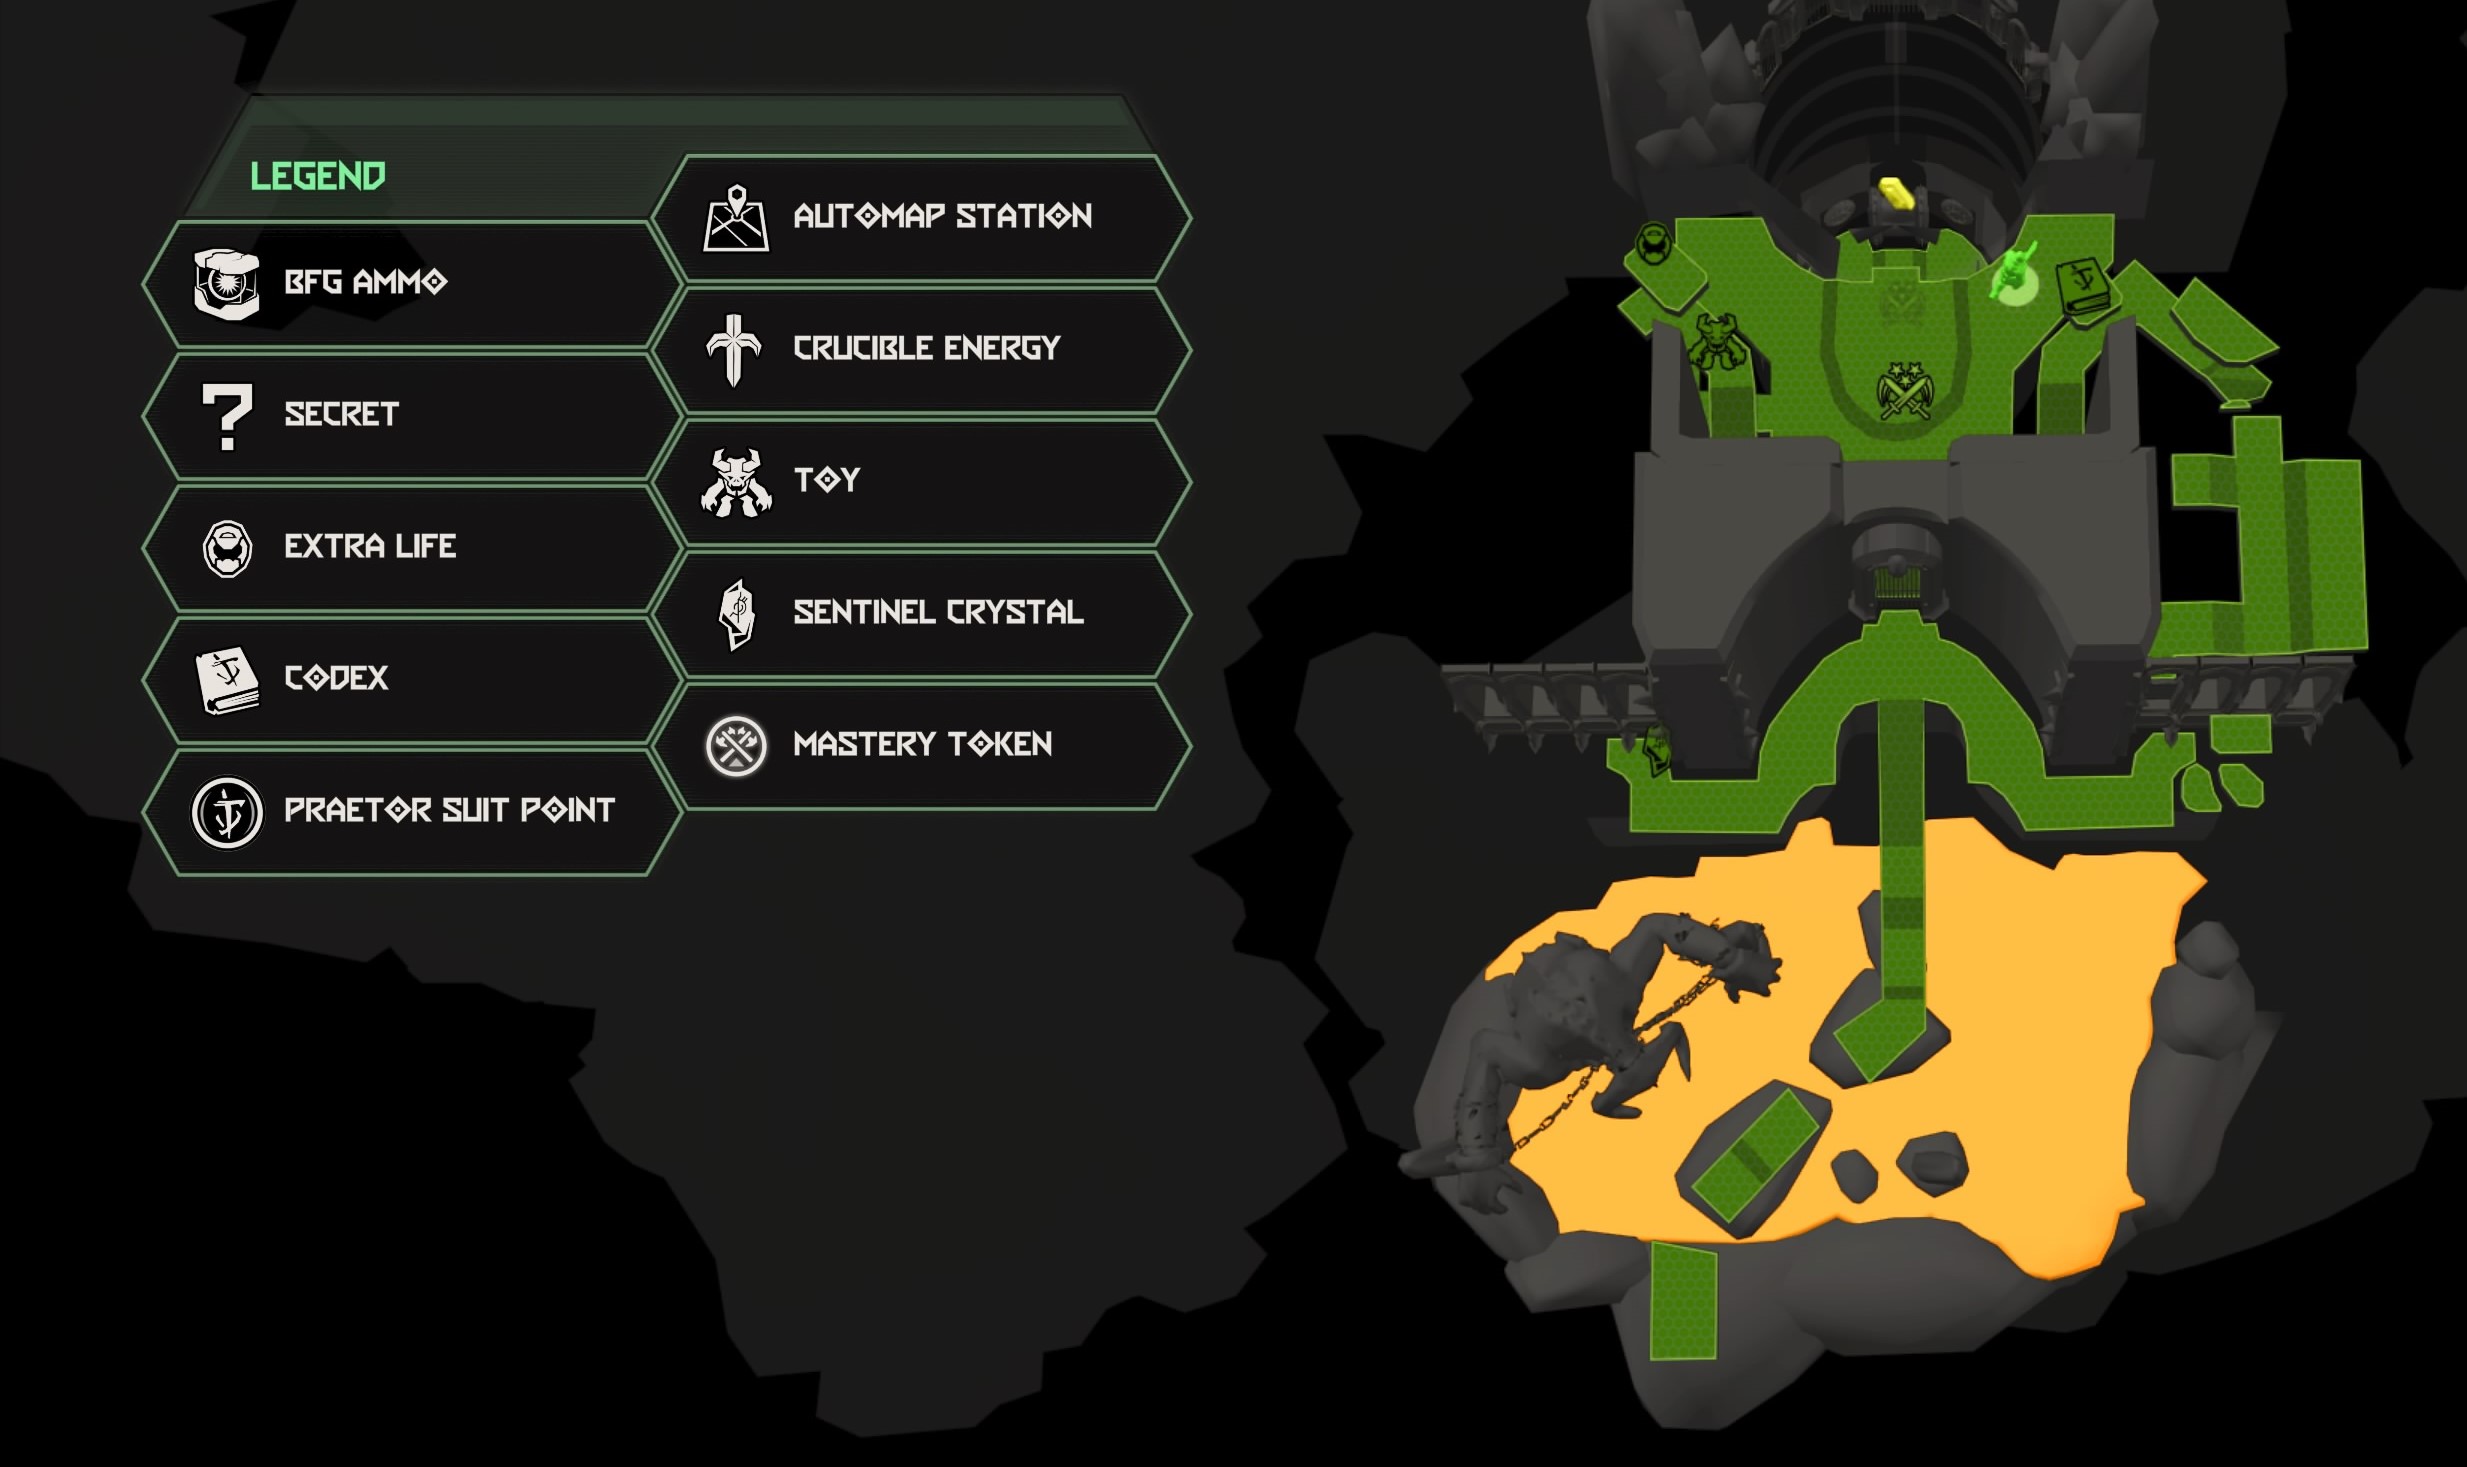
Sentinel Crystal
From the starting point, follow the broken walkway through the lava pit then climb the stairs at the end. Once at the top, take a left and follow the walkway around to find the Sentinel Crystal past the cannons shooting fireballs.
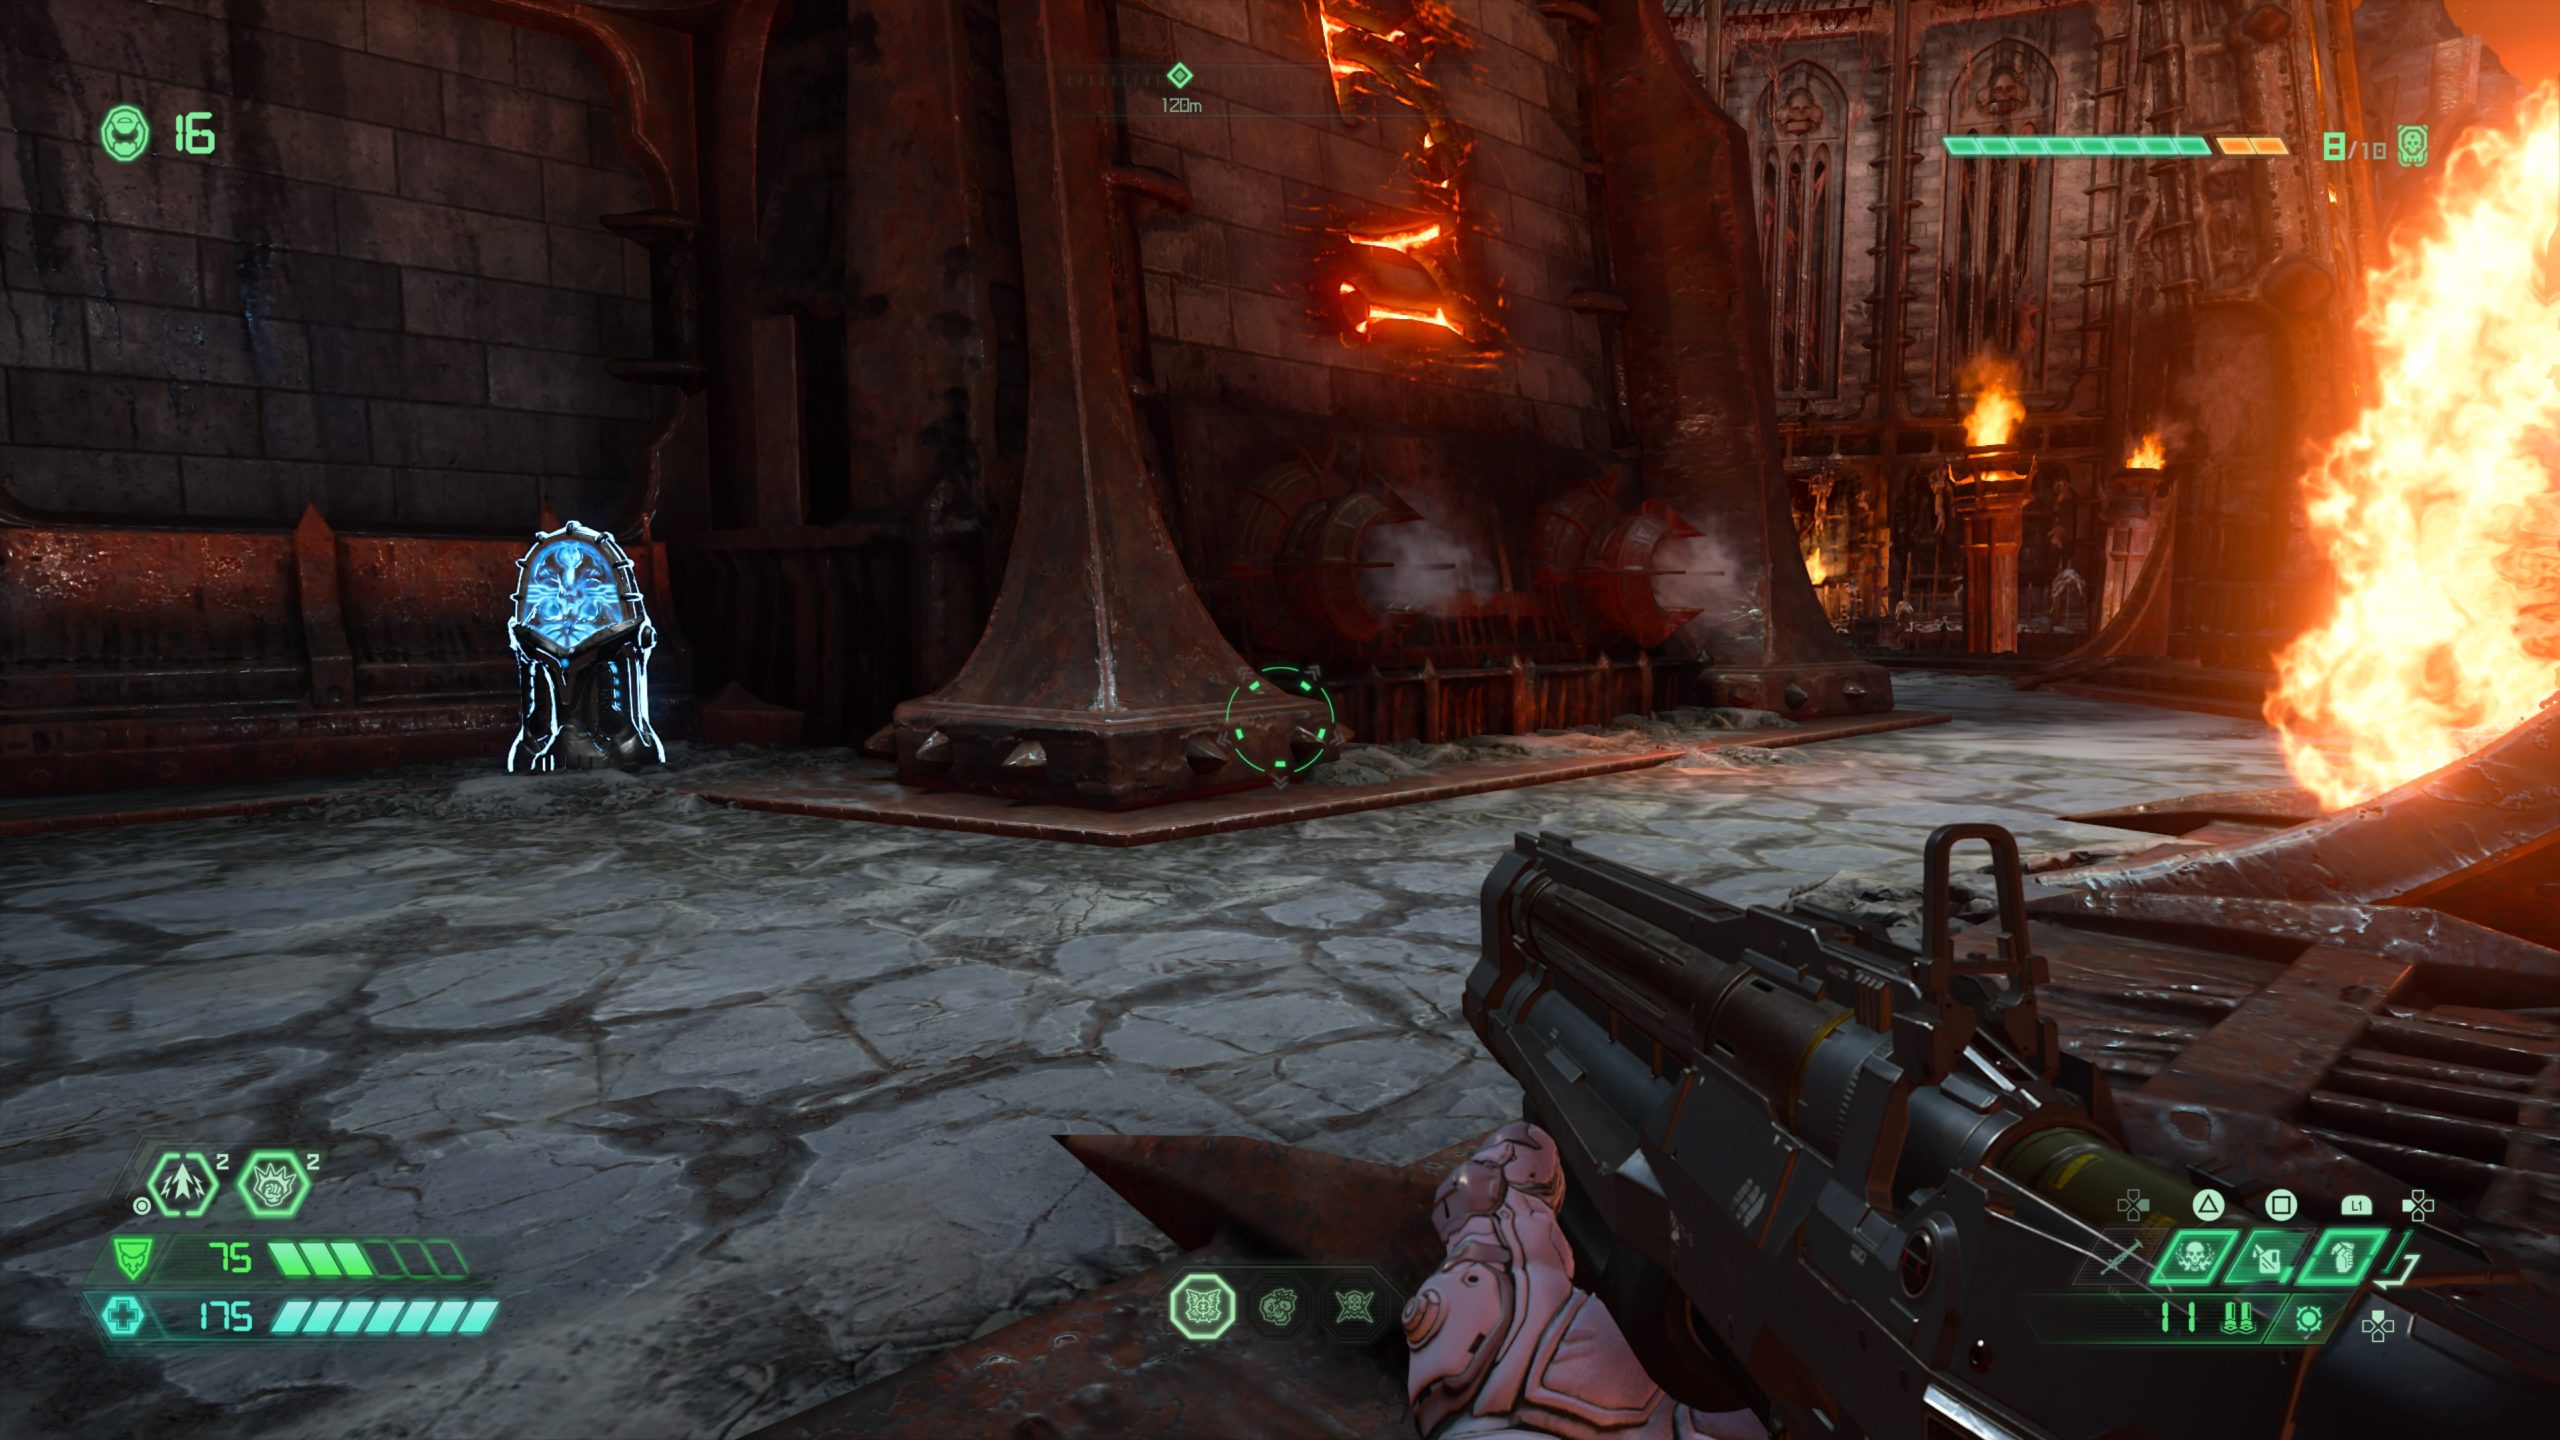
Codex: Story of Hell – Nekravol – Part I
From the Sentinel Crystal, follow the walkway around past the stairs to the other side. You’ll need to climb up a couple of rock ledges and use a spin bar to reach a climbable wall. Use the climbable wall to reach the inside of the structure. Head down the nearby stairs and take a left passing some columns to reach a gap at the end of the hallway. Jump across the gap then head forward to the end of the slab to reach another gap in the floor. Jump across the gap to the left to find the codex.
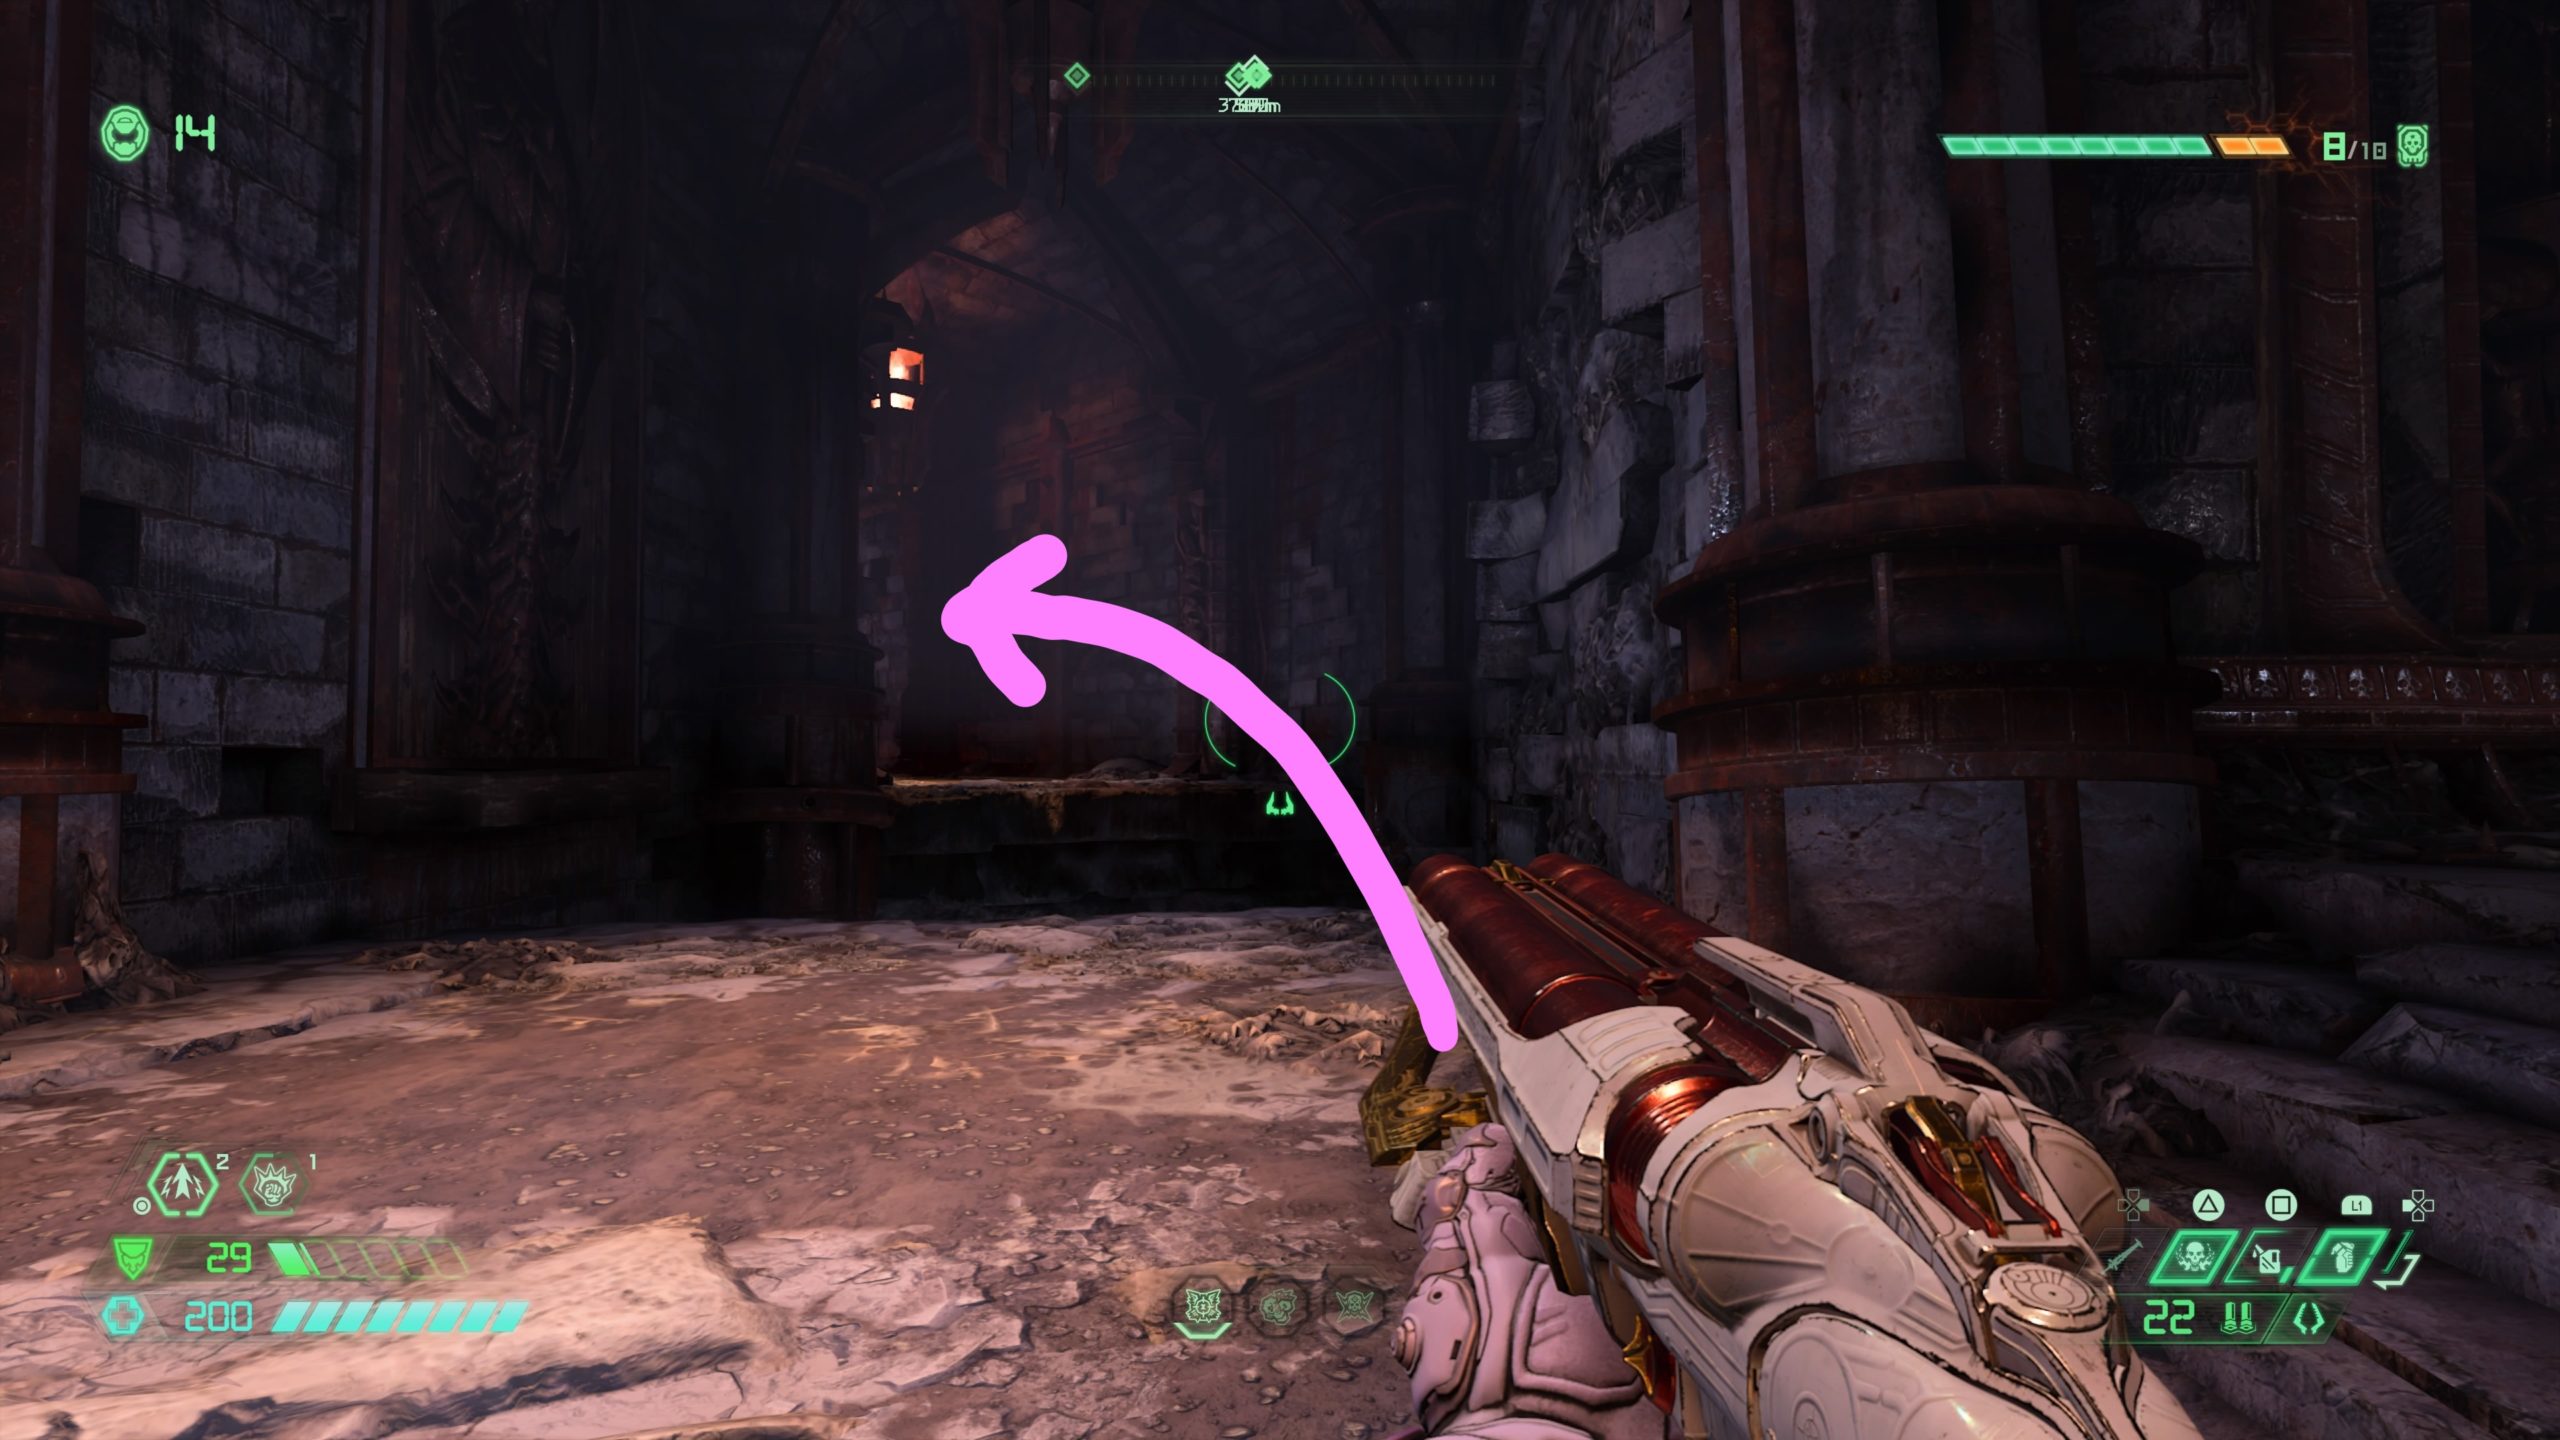
Toy: Barren of Hell
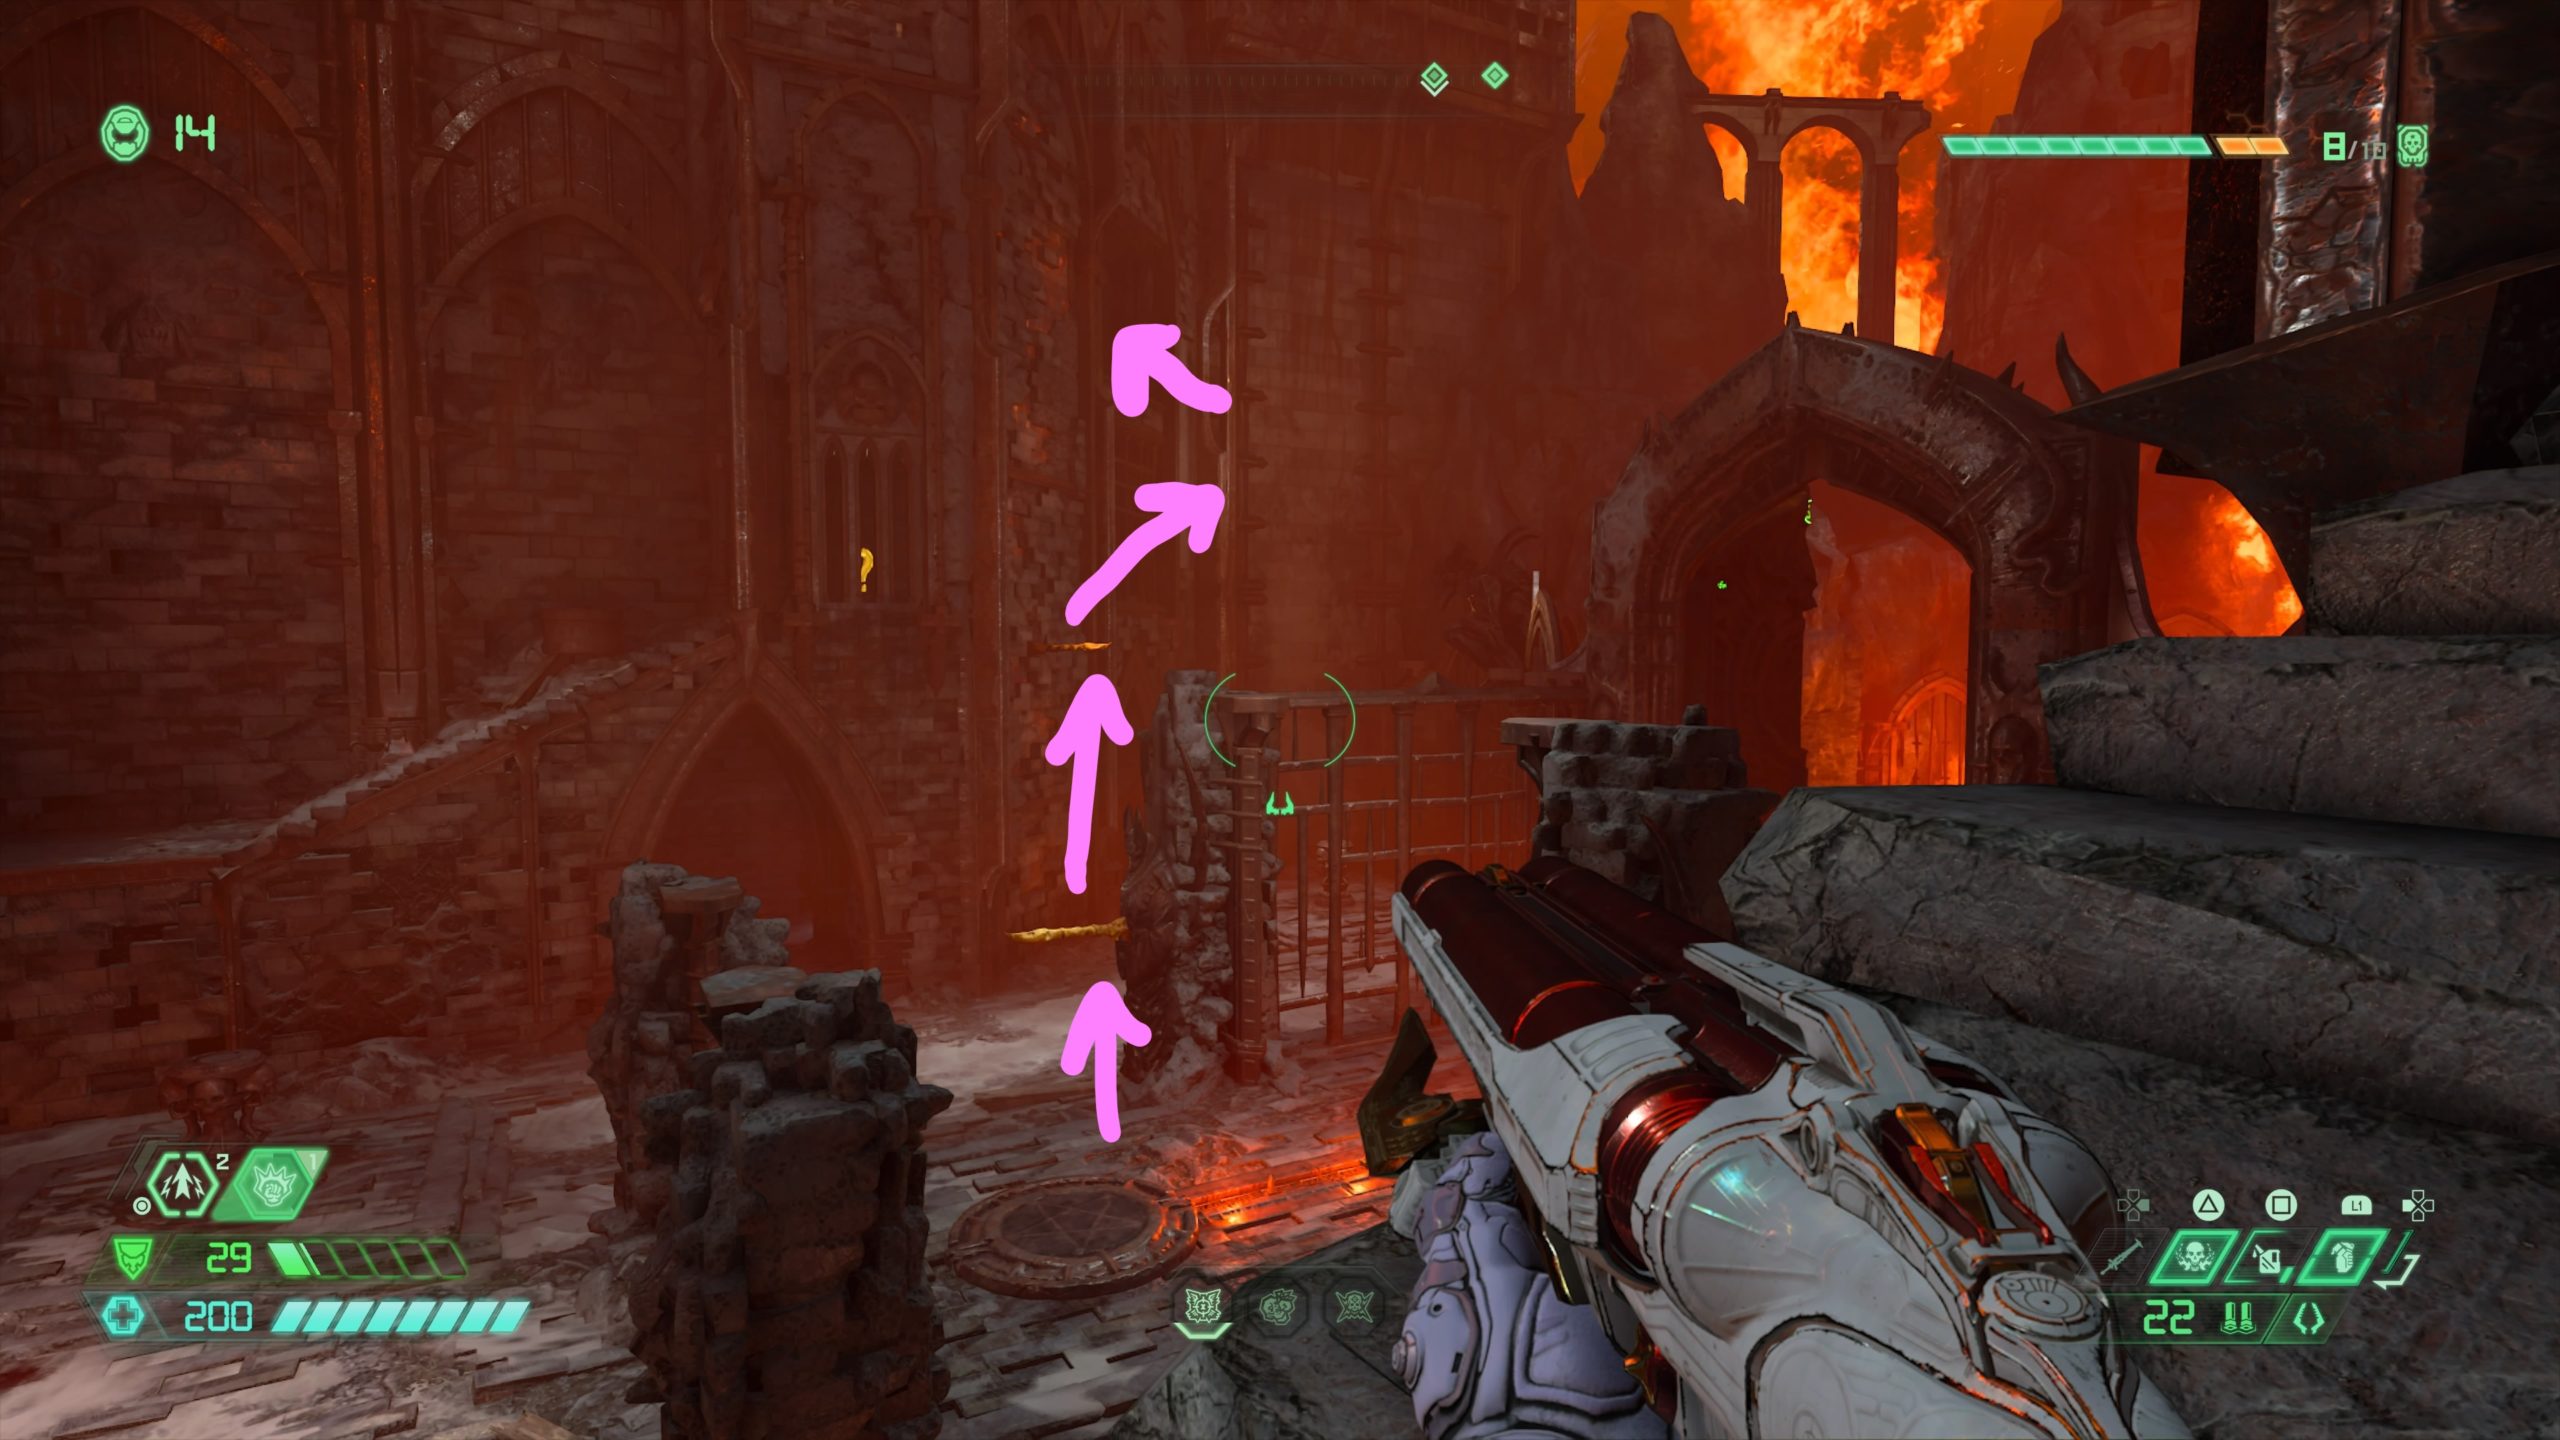
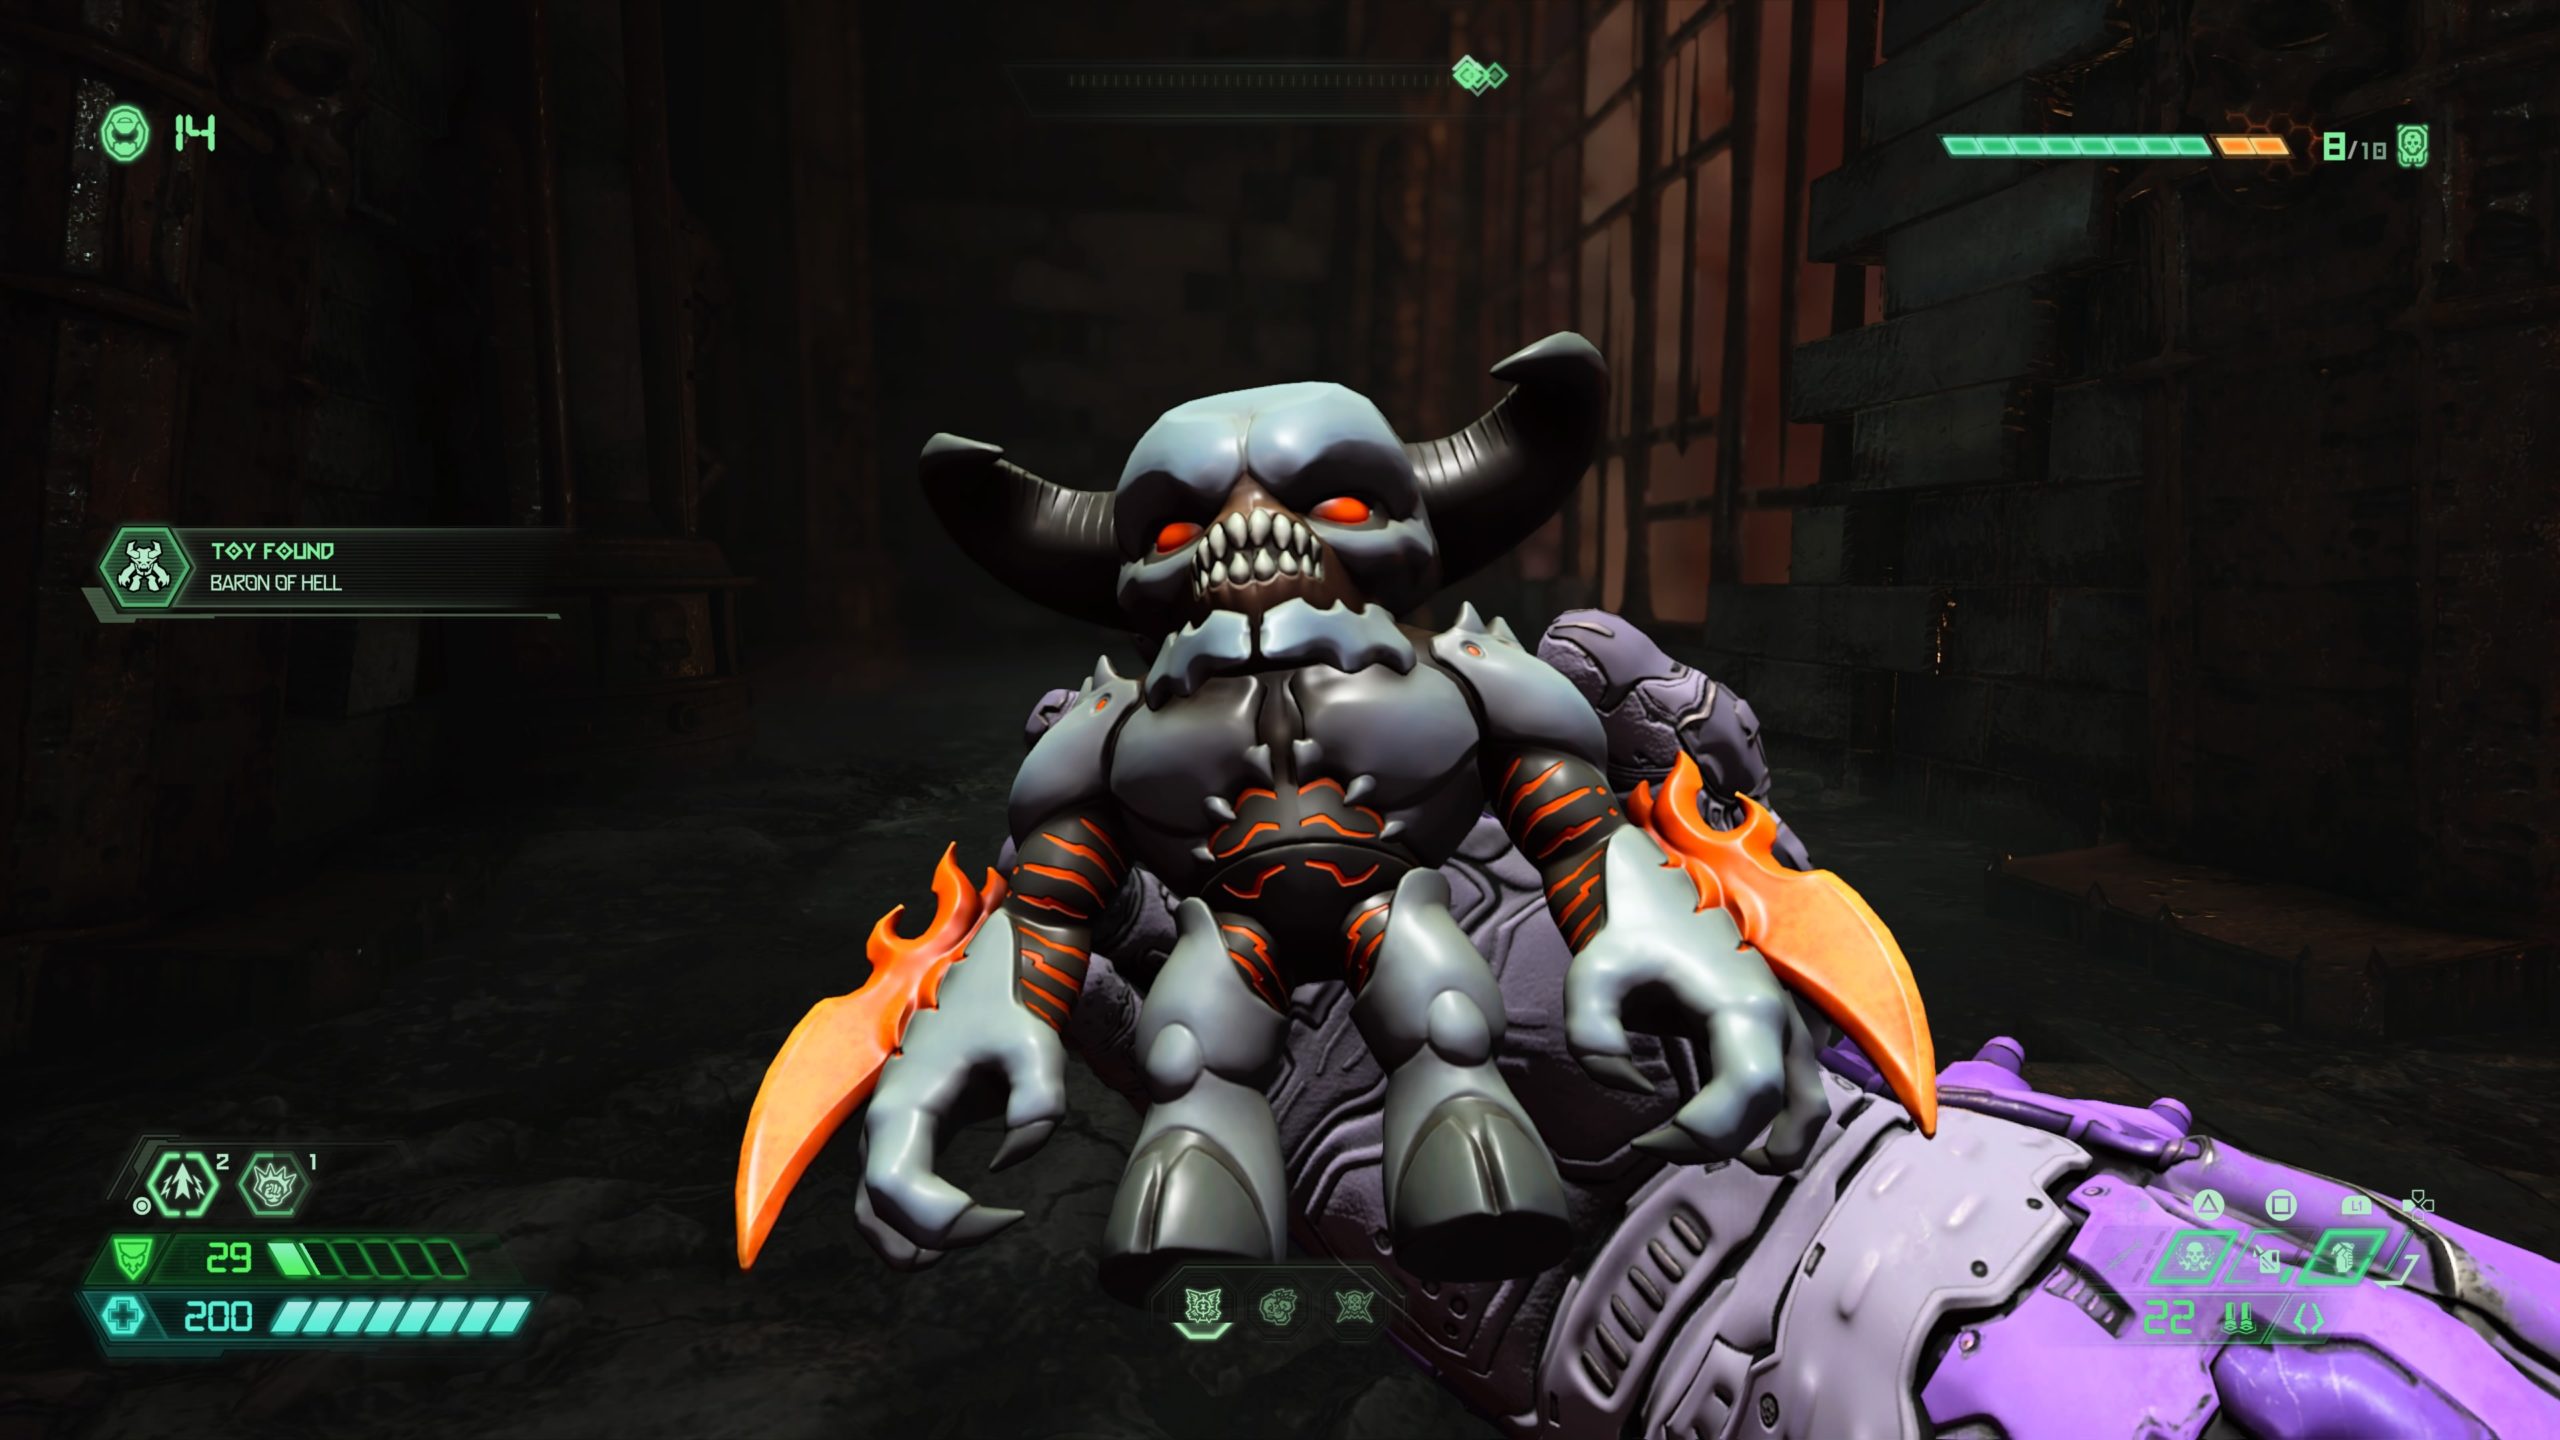
From the codex, drop down the nearby hole and head through the nearby doorway to reach a courtyard. To reach the collectible behind the bars on the other side of the courtyard, you will need to use the spin bar on the left section of the main gate to reach another spin bar on the adjacent wall. Use that bar to reach a climbable wall on the same side as the spin bar. Climb up to the top then jump into a small room and drop down the hole to reach the toy.
The Mill

Praetor Suit Point
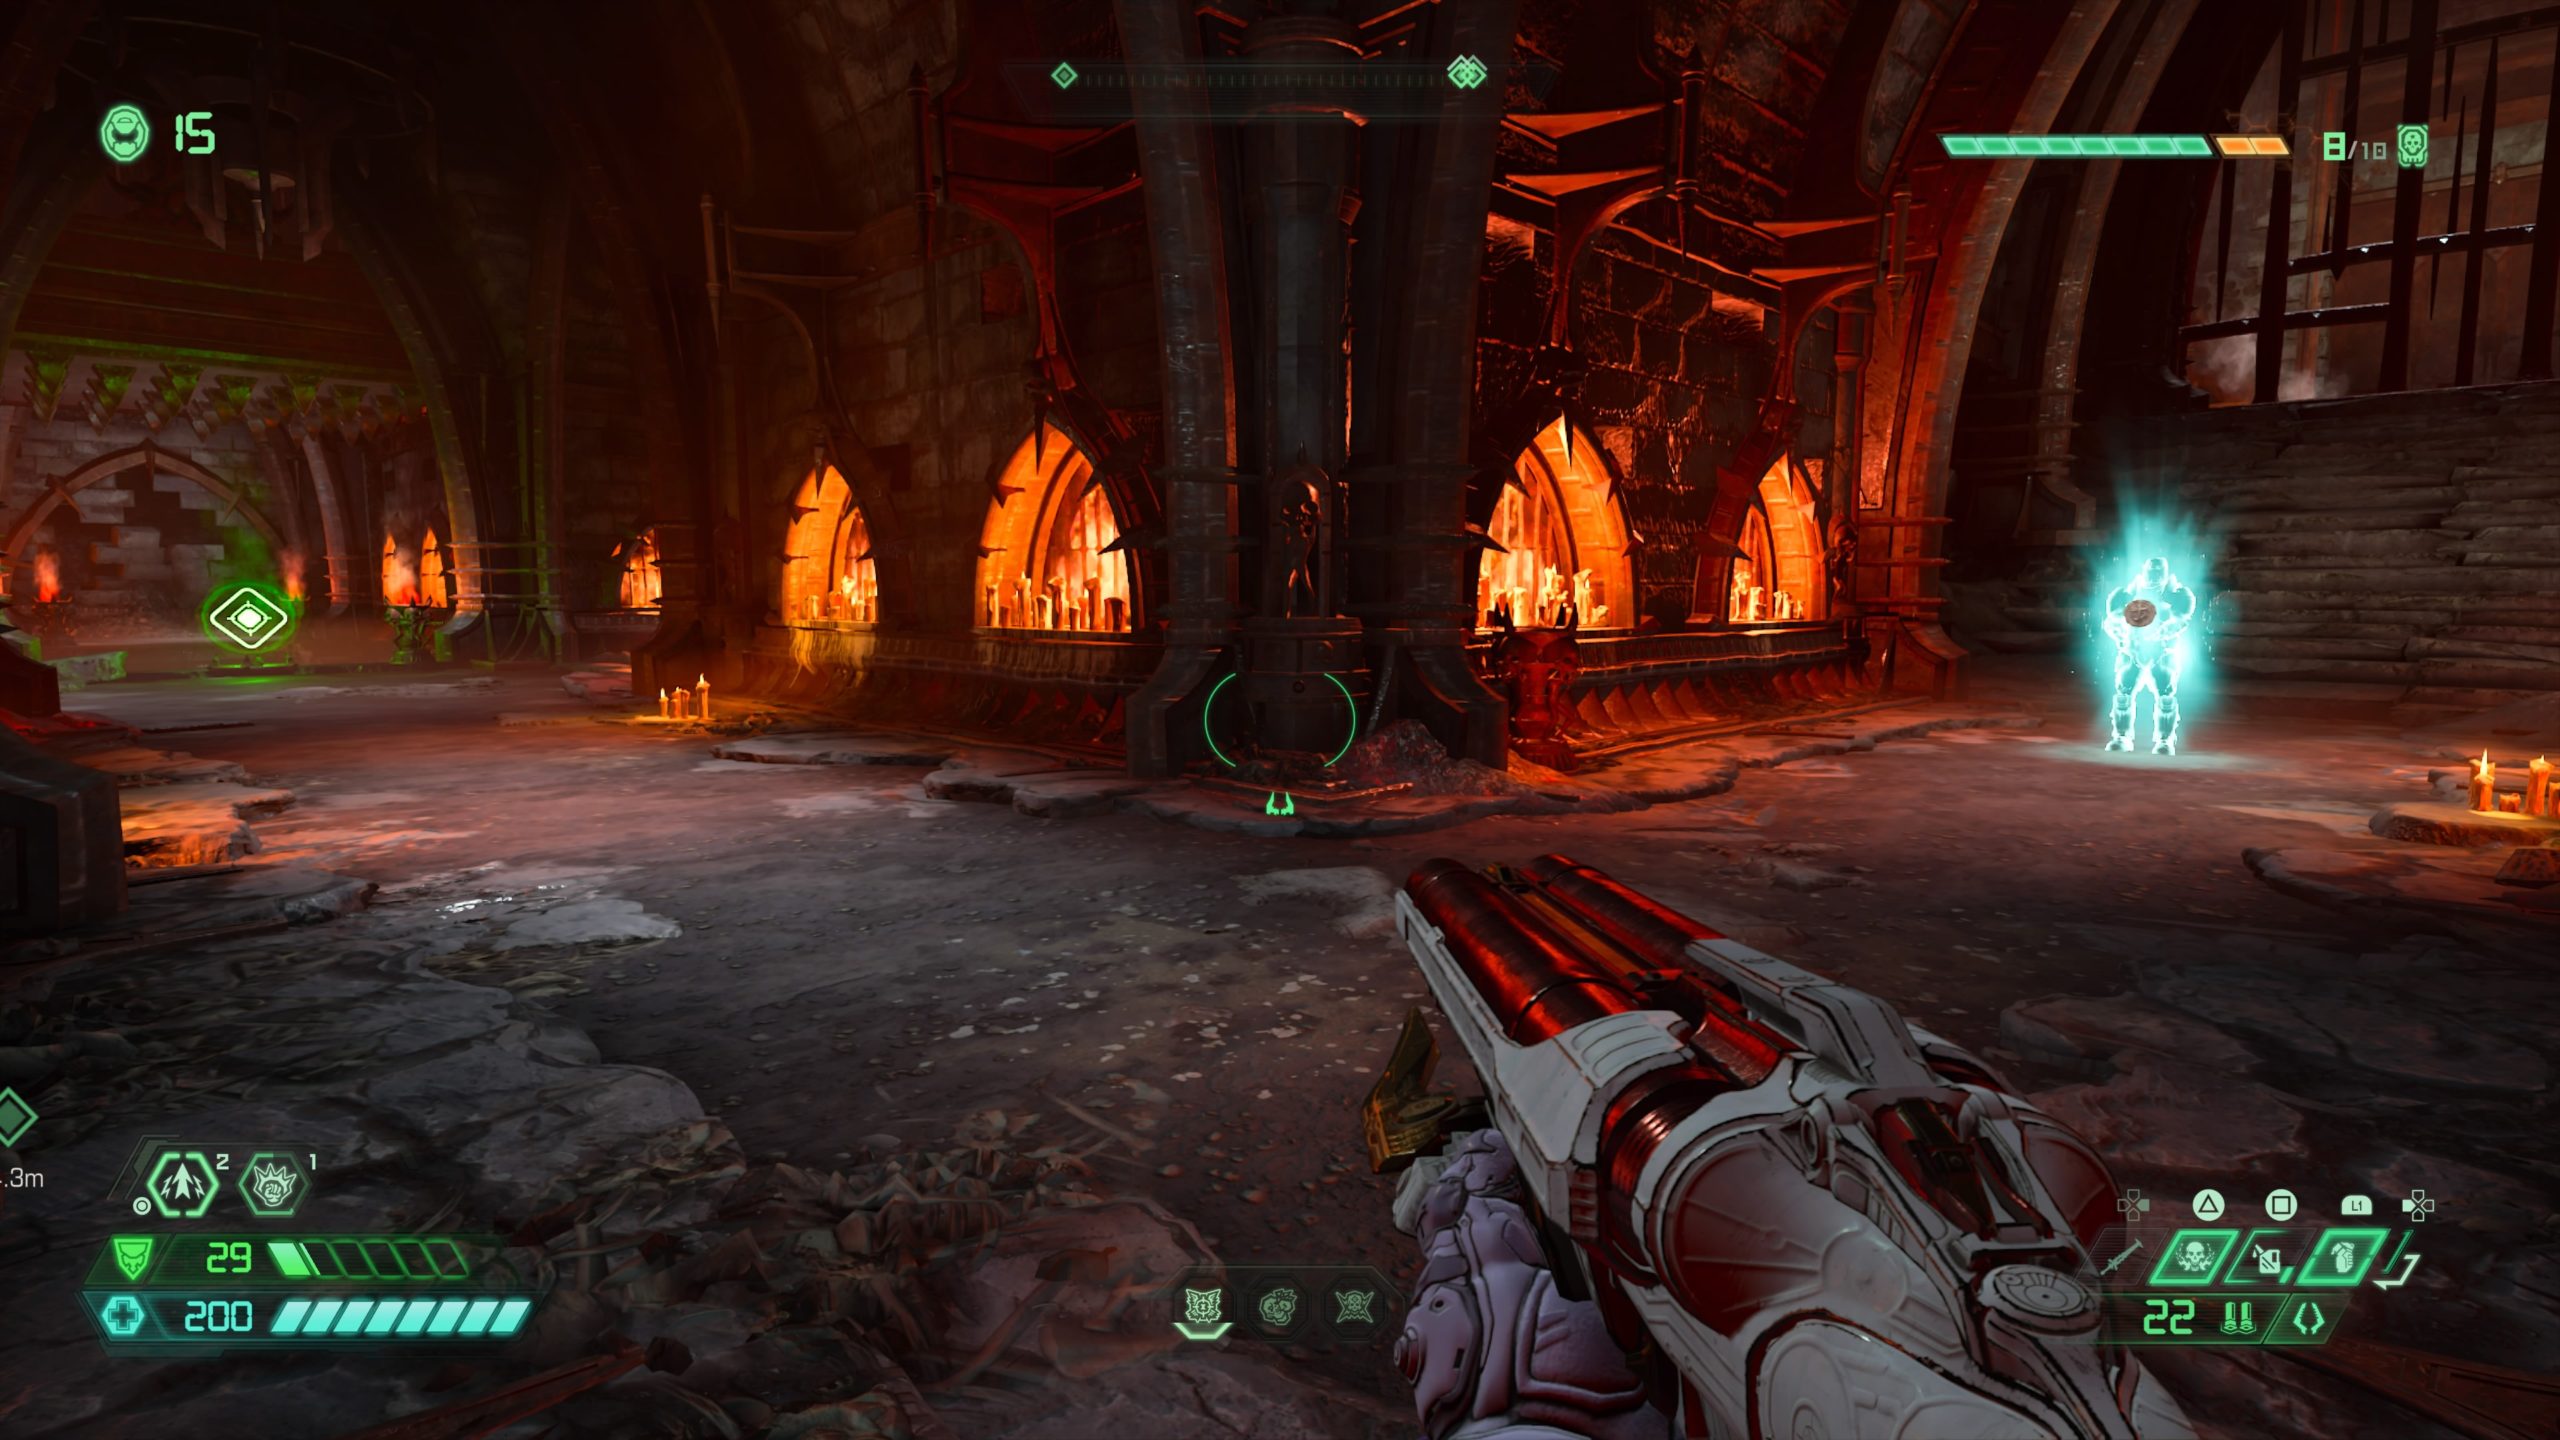
From the fast travel point, take a right and follow the path to the end to find the Sentinel holding the point.
Mastery Token

From the Praetor Suit Point, head left past the green diamond and under a spiked ceiling. After the spiked ceiling, take a right up a flight of stairs to find the mastery token on the other side of the room.
Praetor Suit Point
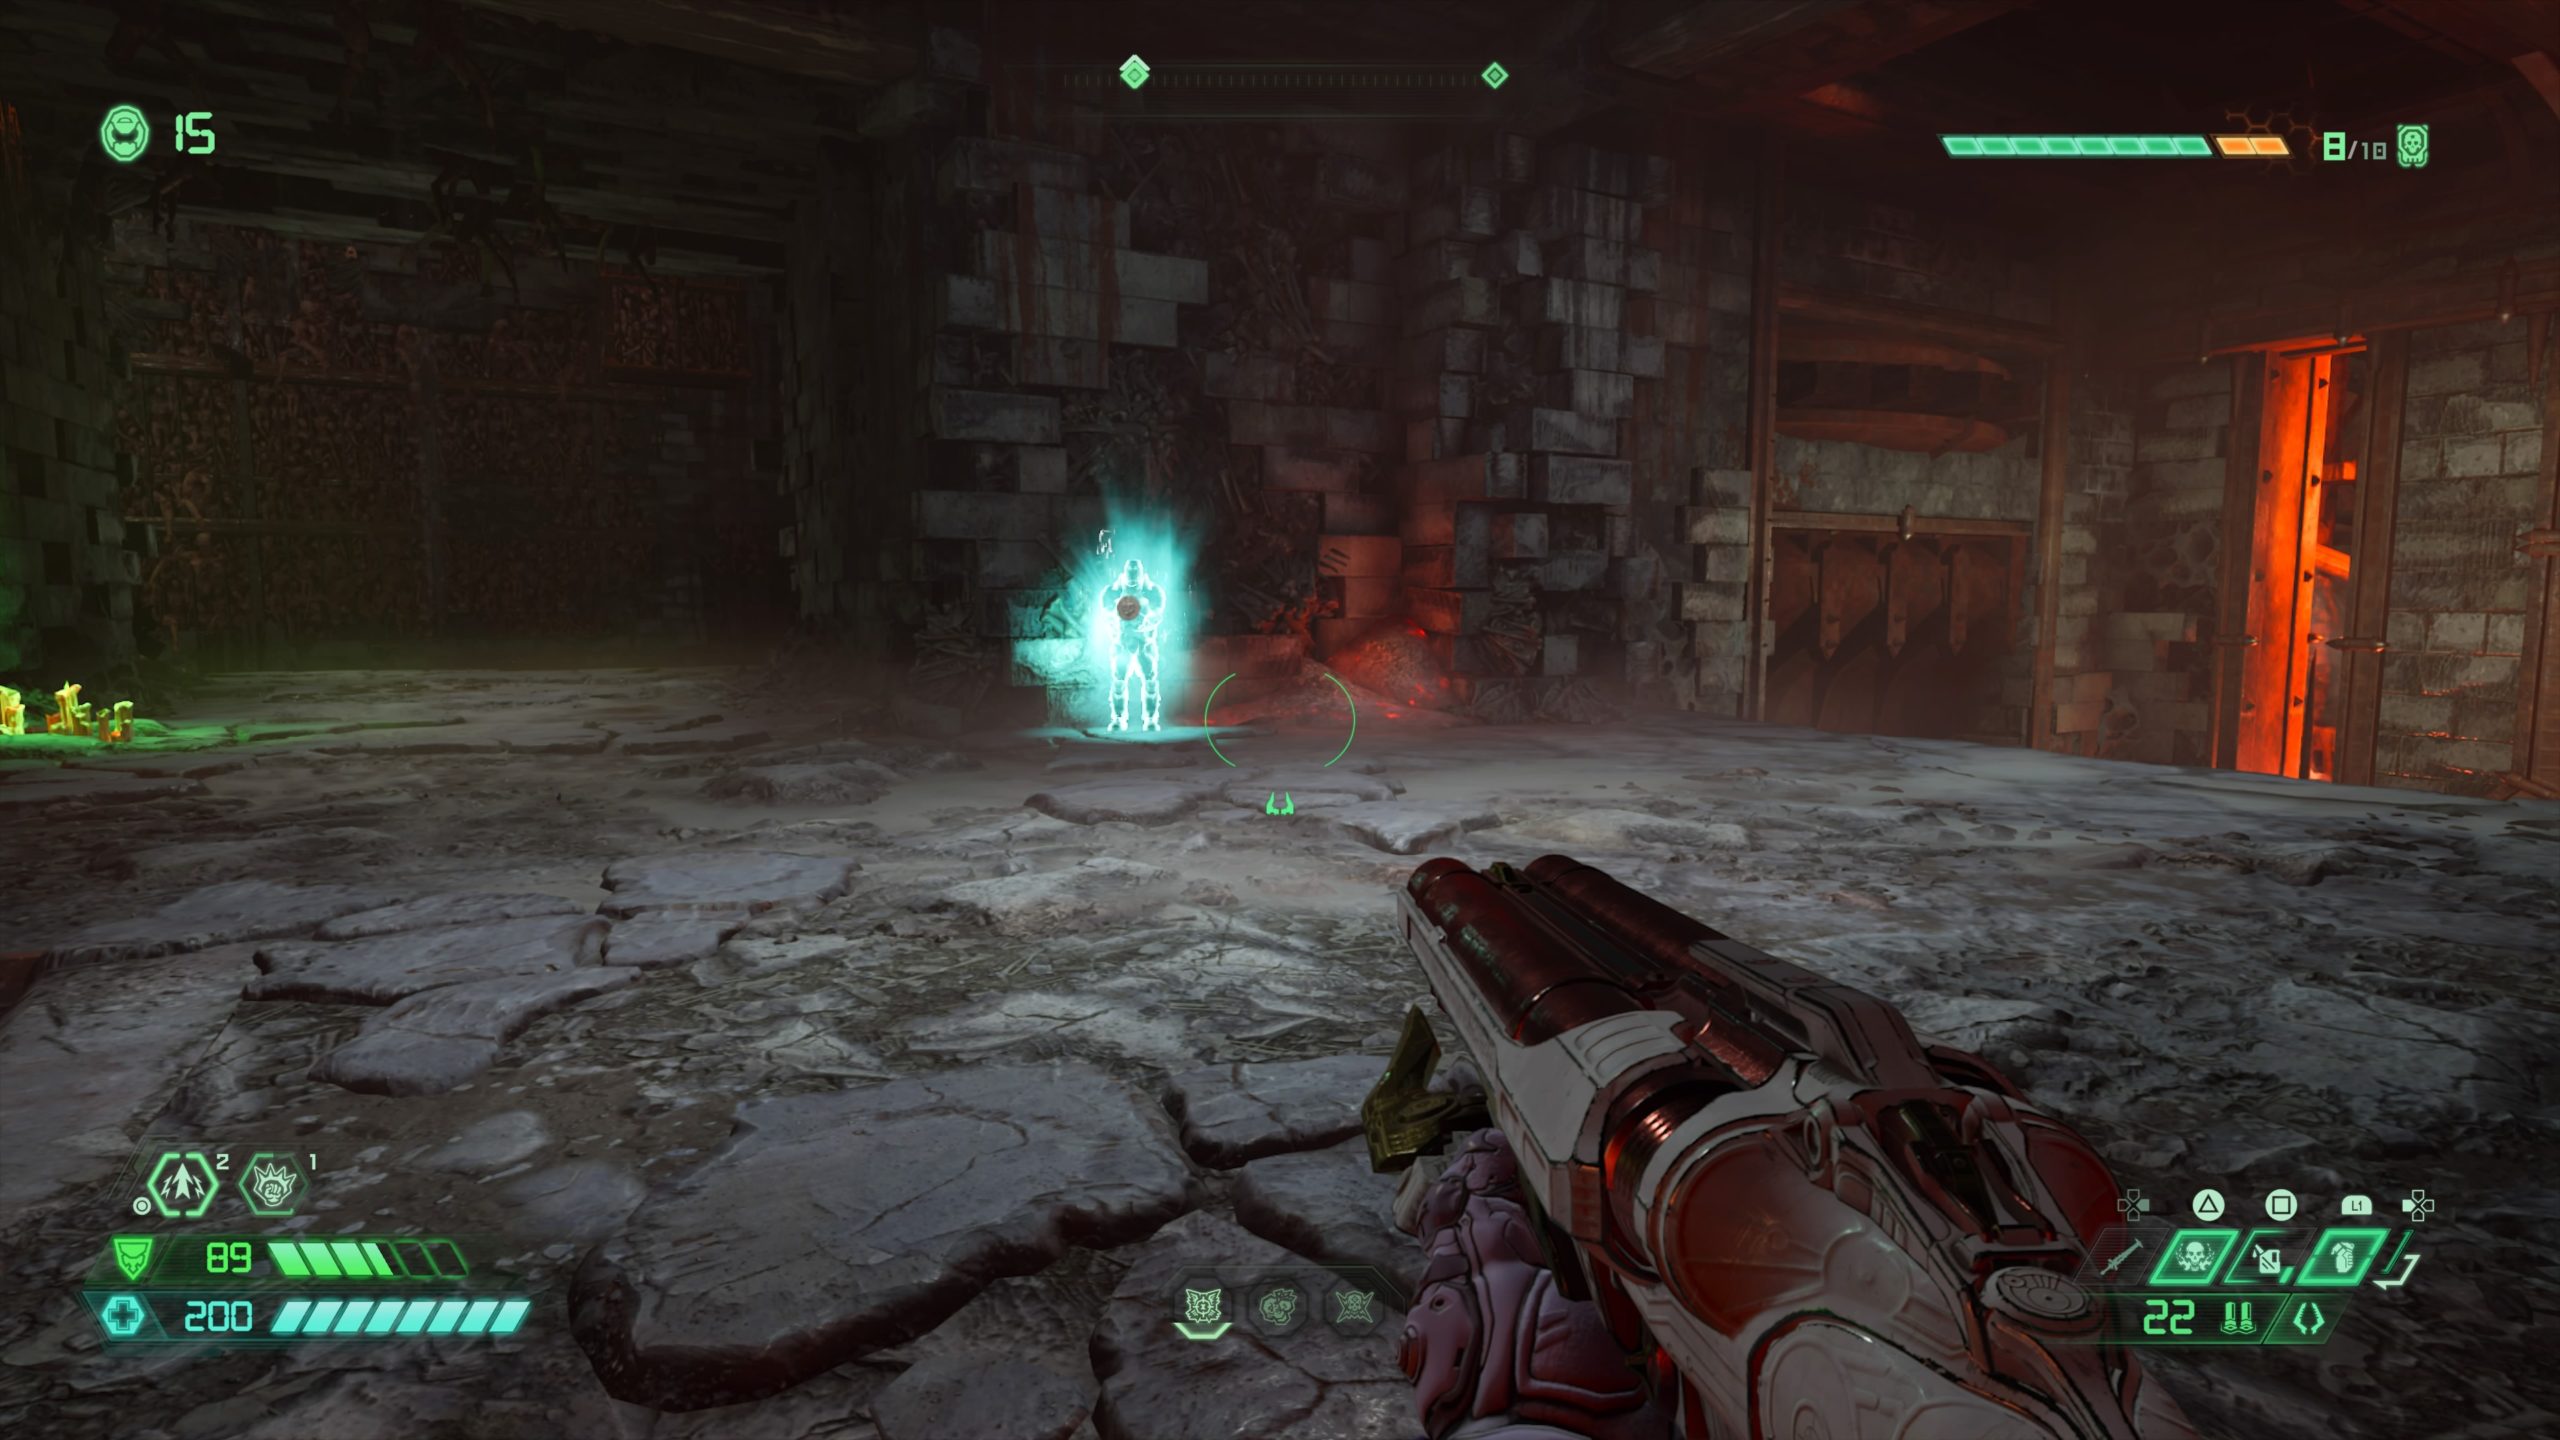
With your back to the mastery token, take the left doorway up a flight of stairs to find the Sentinel holding the point at the top.
Toy: Gladiator
 Facing the Sentinel, take the left path to the end of the ledge. Under the ledge there will be a small opening that you will need to head through. The easiest way to reach this is to walk off with your back towards the gap. Once you walk off, you’ll need to dash onto the ledge below. Follow the path past the secret encounter then climb up the wall at the end to enter a hidden room containing the toy.
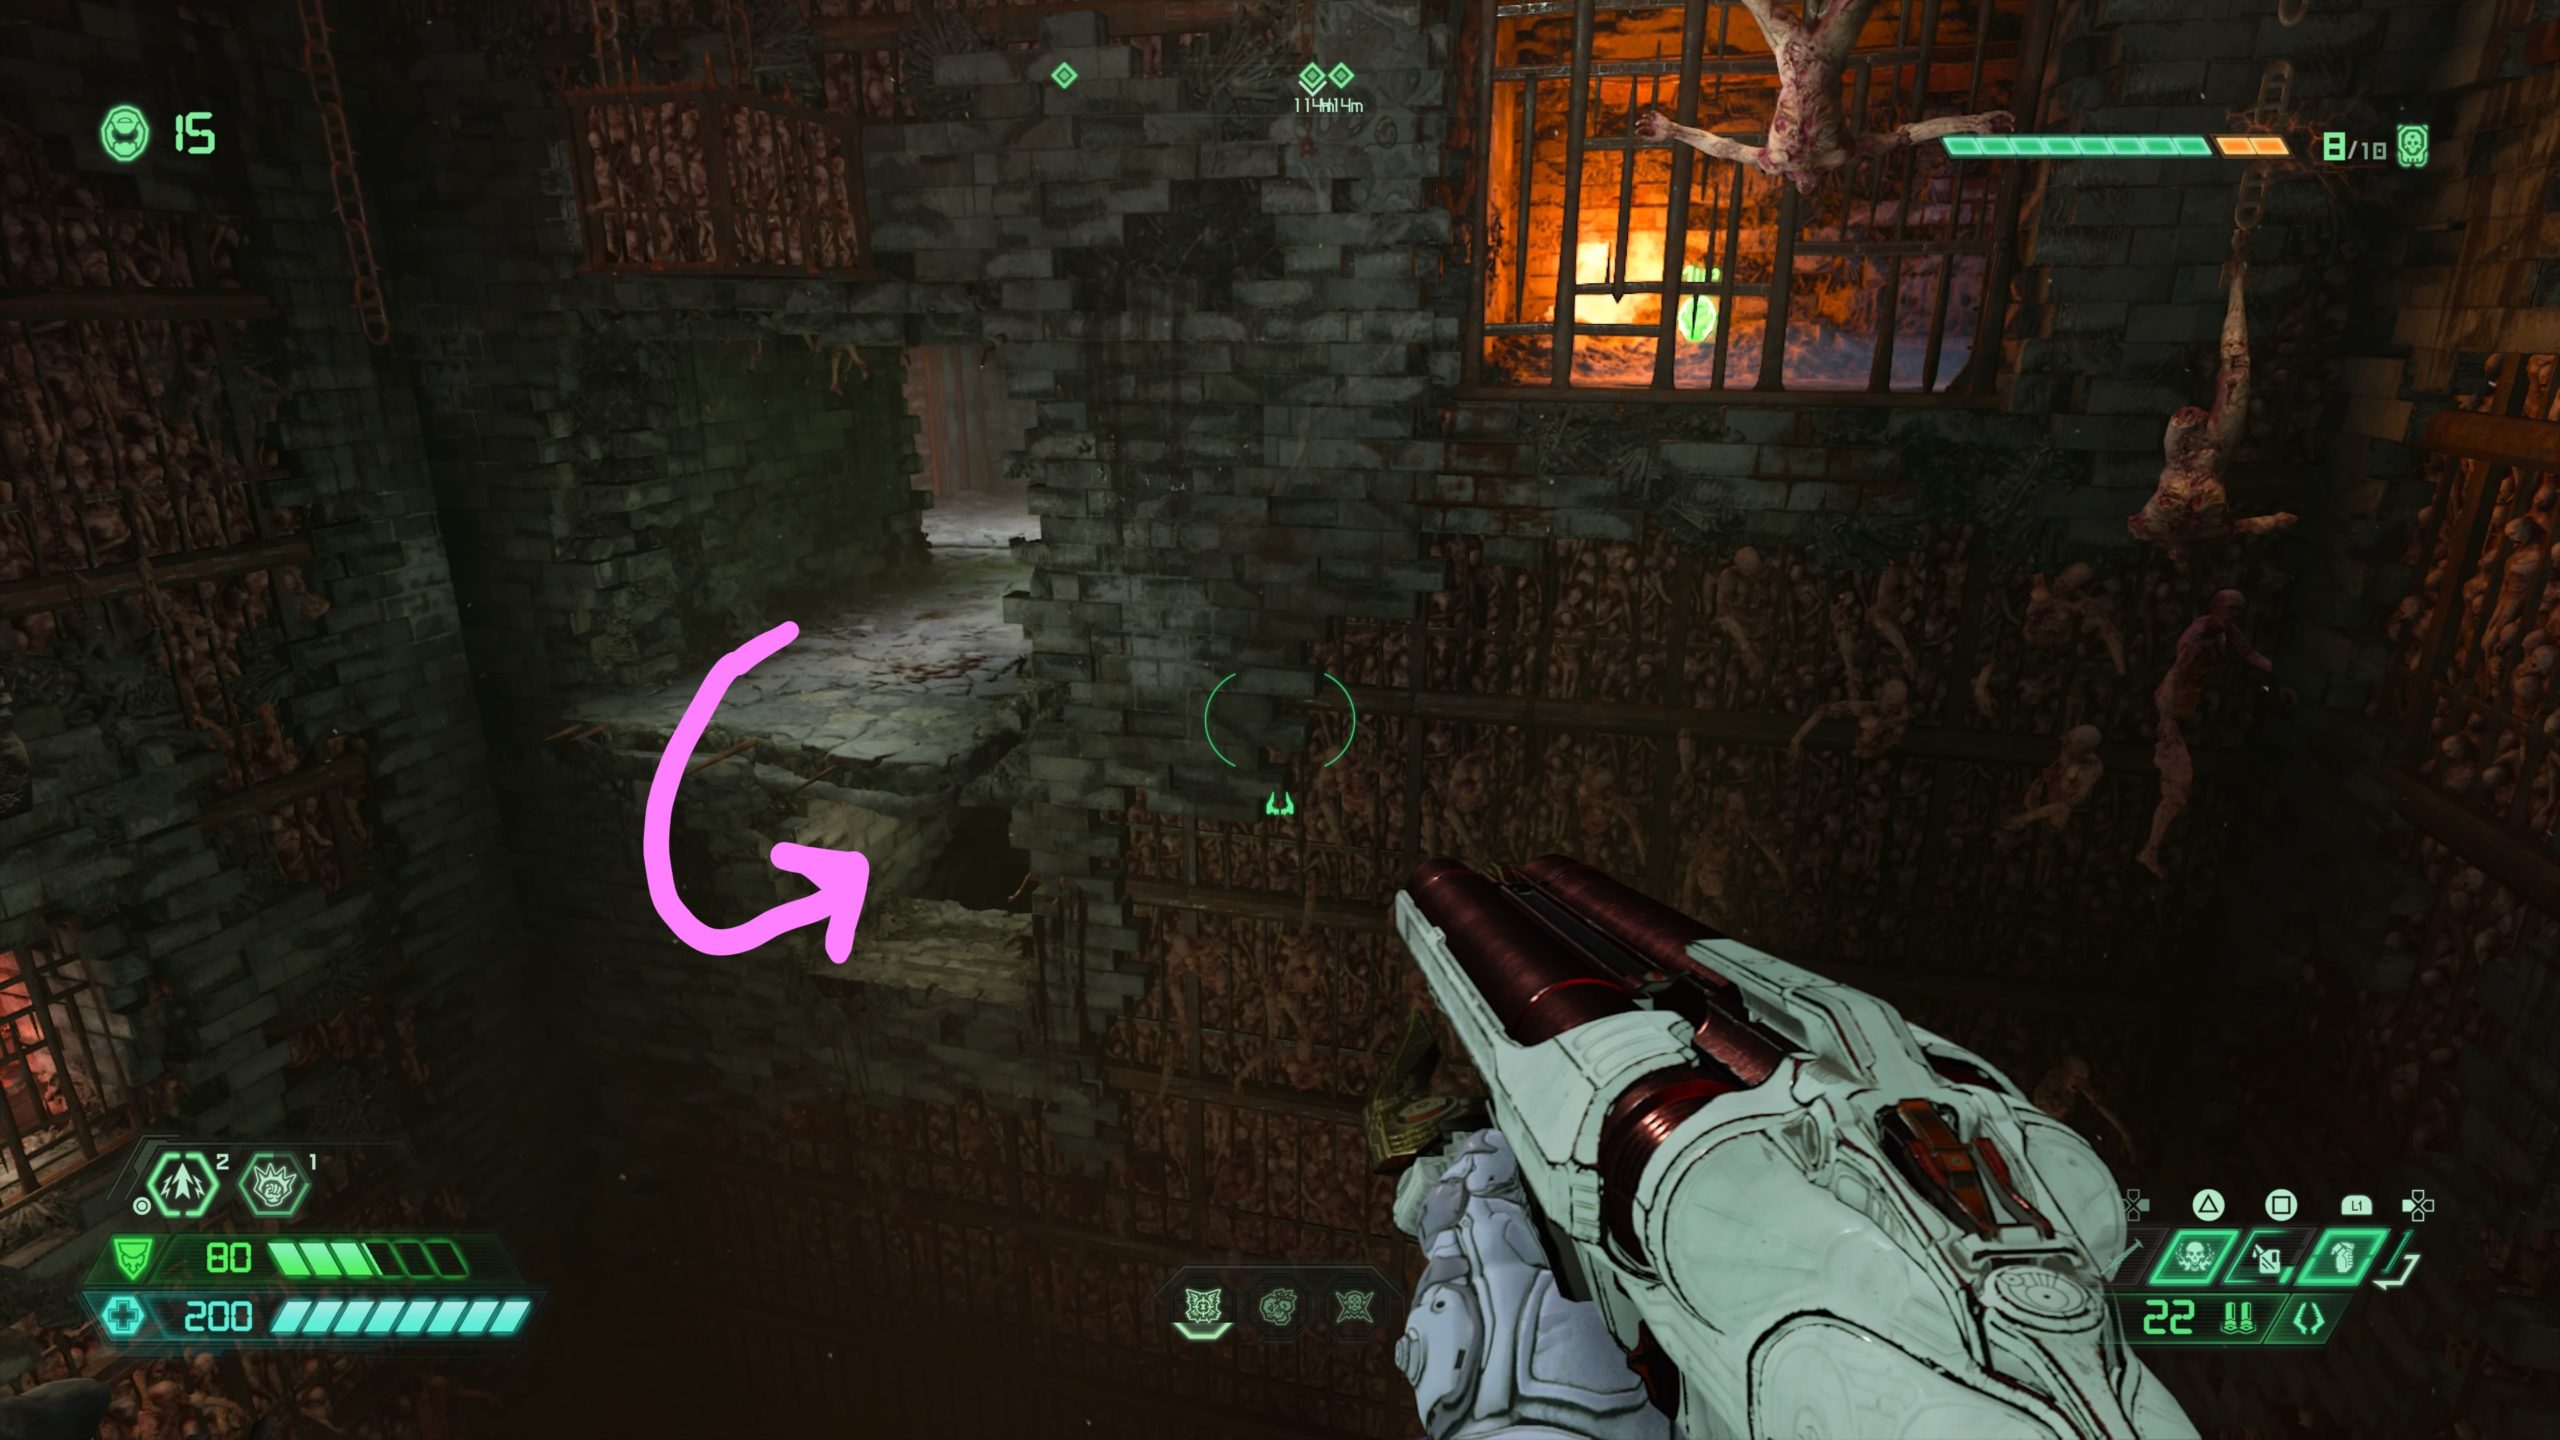
Passage of the Damned

Album: KEEN – You’ve Got to Eat Your Vegetables!

From the fast travel point, head right climbing a flight of bloody stairs. You will then need to head through the area with spinning fire column via the climbable walls then jump on top of the moving metal cages on the left side of the room to reach the room above. Head through the left doorway past the secret encounter to find the album.
Toy: Doom Hunter / Mastery Token
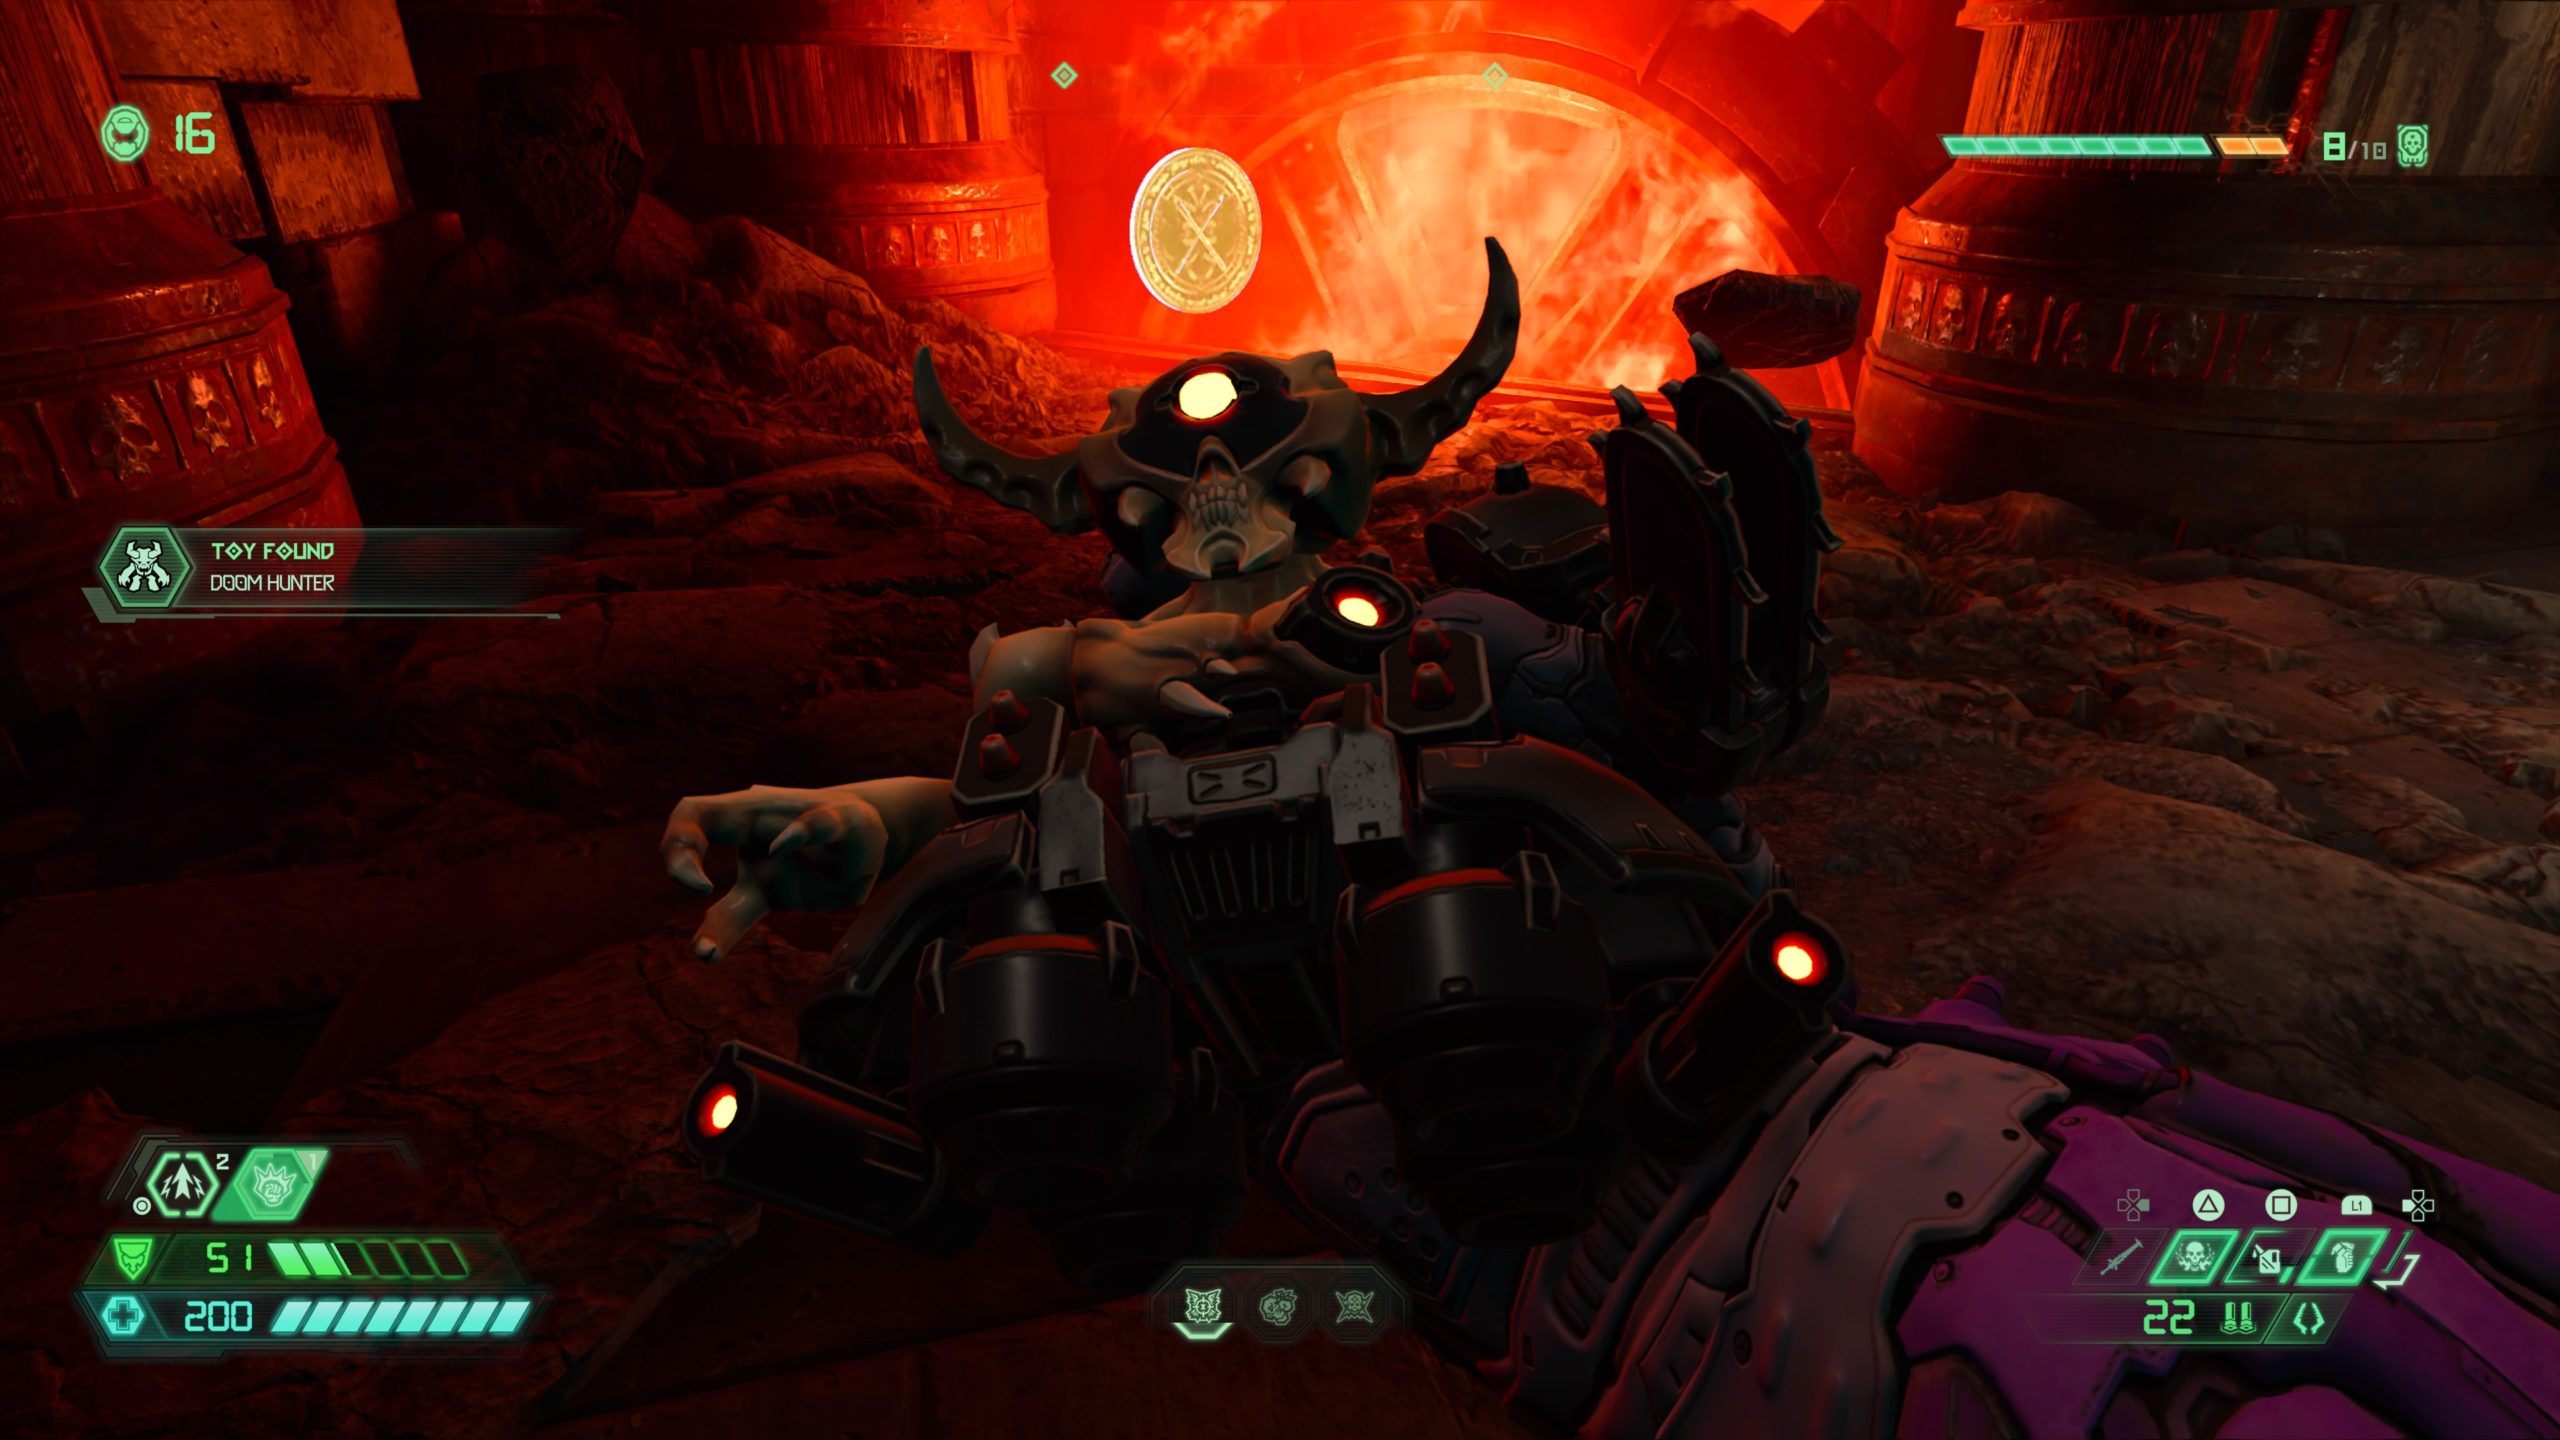
From the album, head back down the stairs then take a left under the moving press. Stay in the middle of the two moving presses to spot a cracked wall under the first press. Melee the wall to find these collectibles.
Cheat Code: Famine Mode

From the above collectibles, exit the room and head right to reach a big open room with a spinning rectangle with spikes in front of you. Head to the other side of the room past the spiked rectangle through the two moving presses. In the next room you will need to drop down under the moving crates to reach a hidden area below containing the cheat code.
Codex: Story of Hell – Fuel the Eternal Flame Part I
From the cheat code, ride the cage up to the floor above then head down the hallway that does not have the moving presses to find the codex at the end on the right.
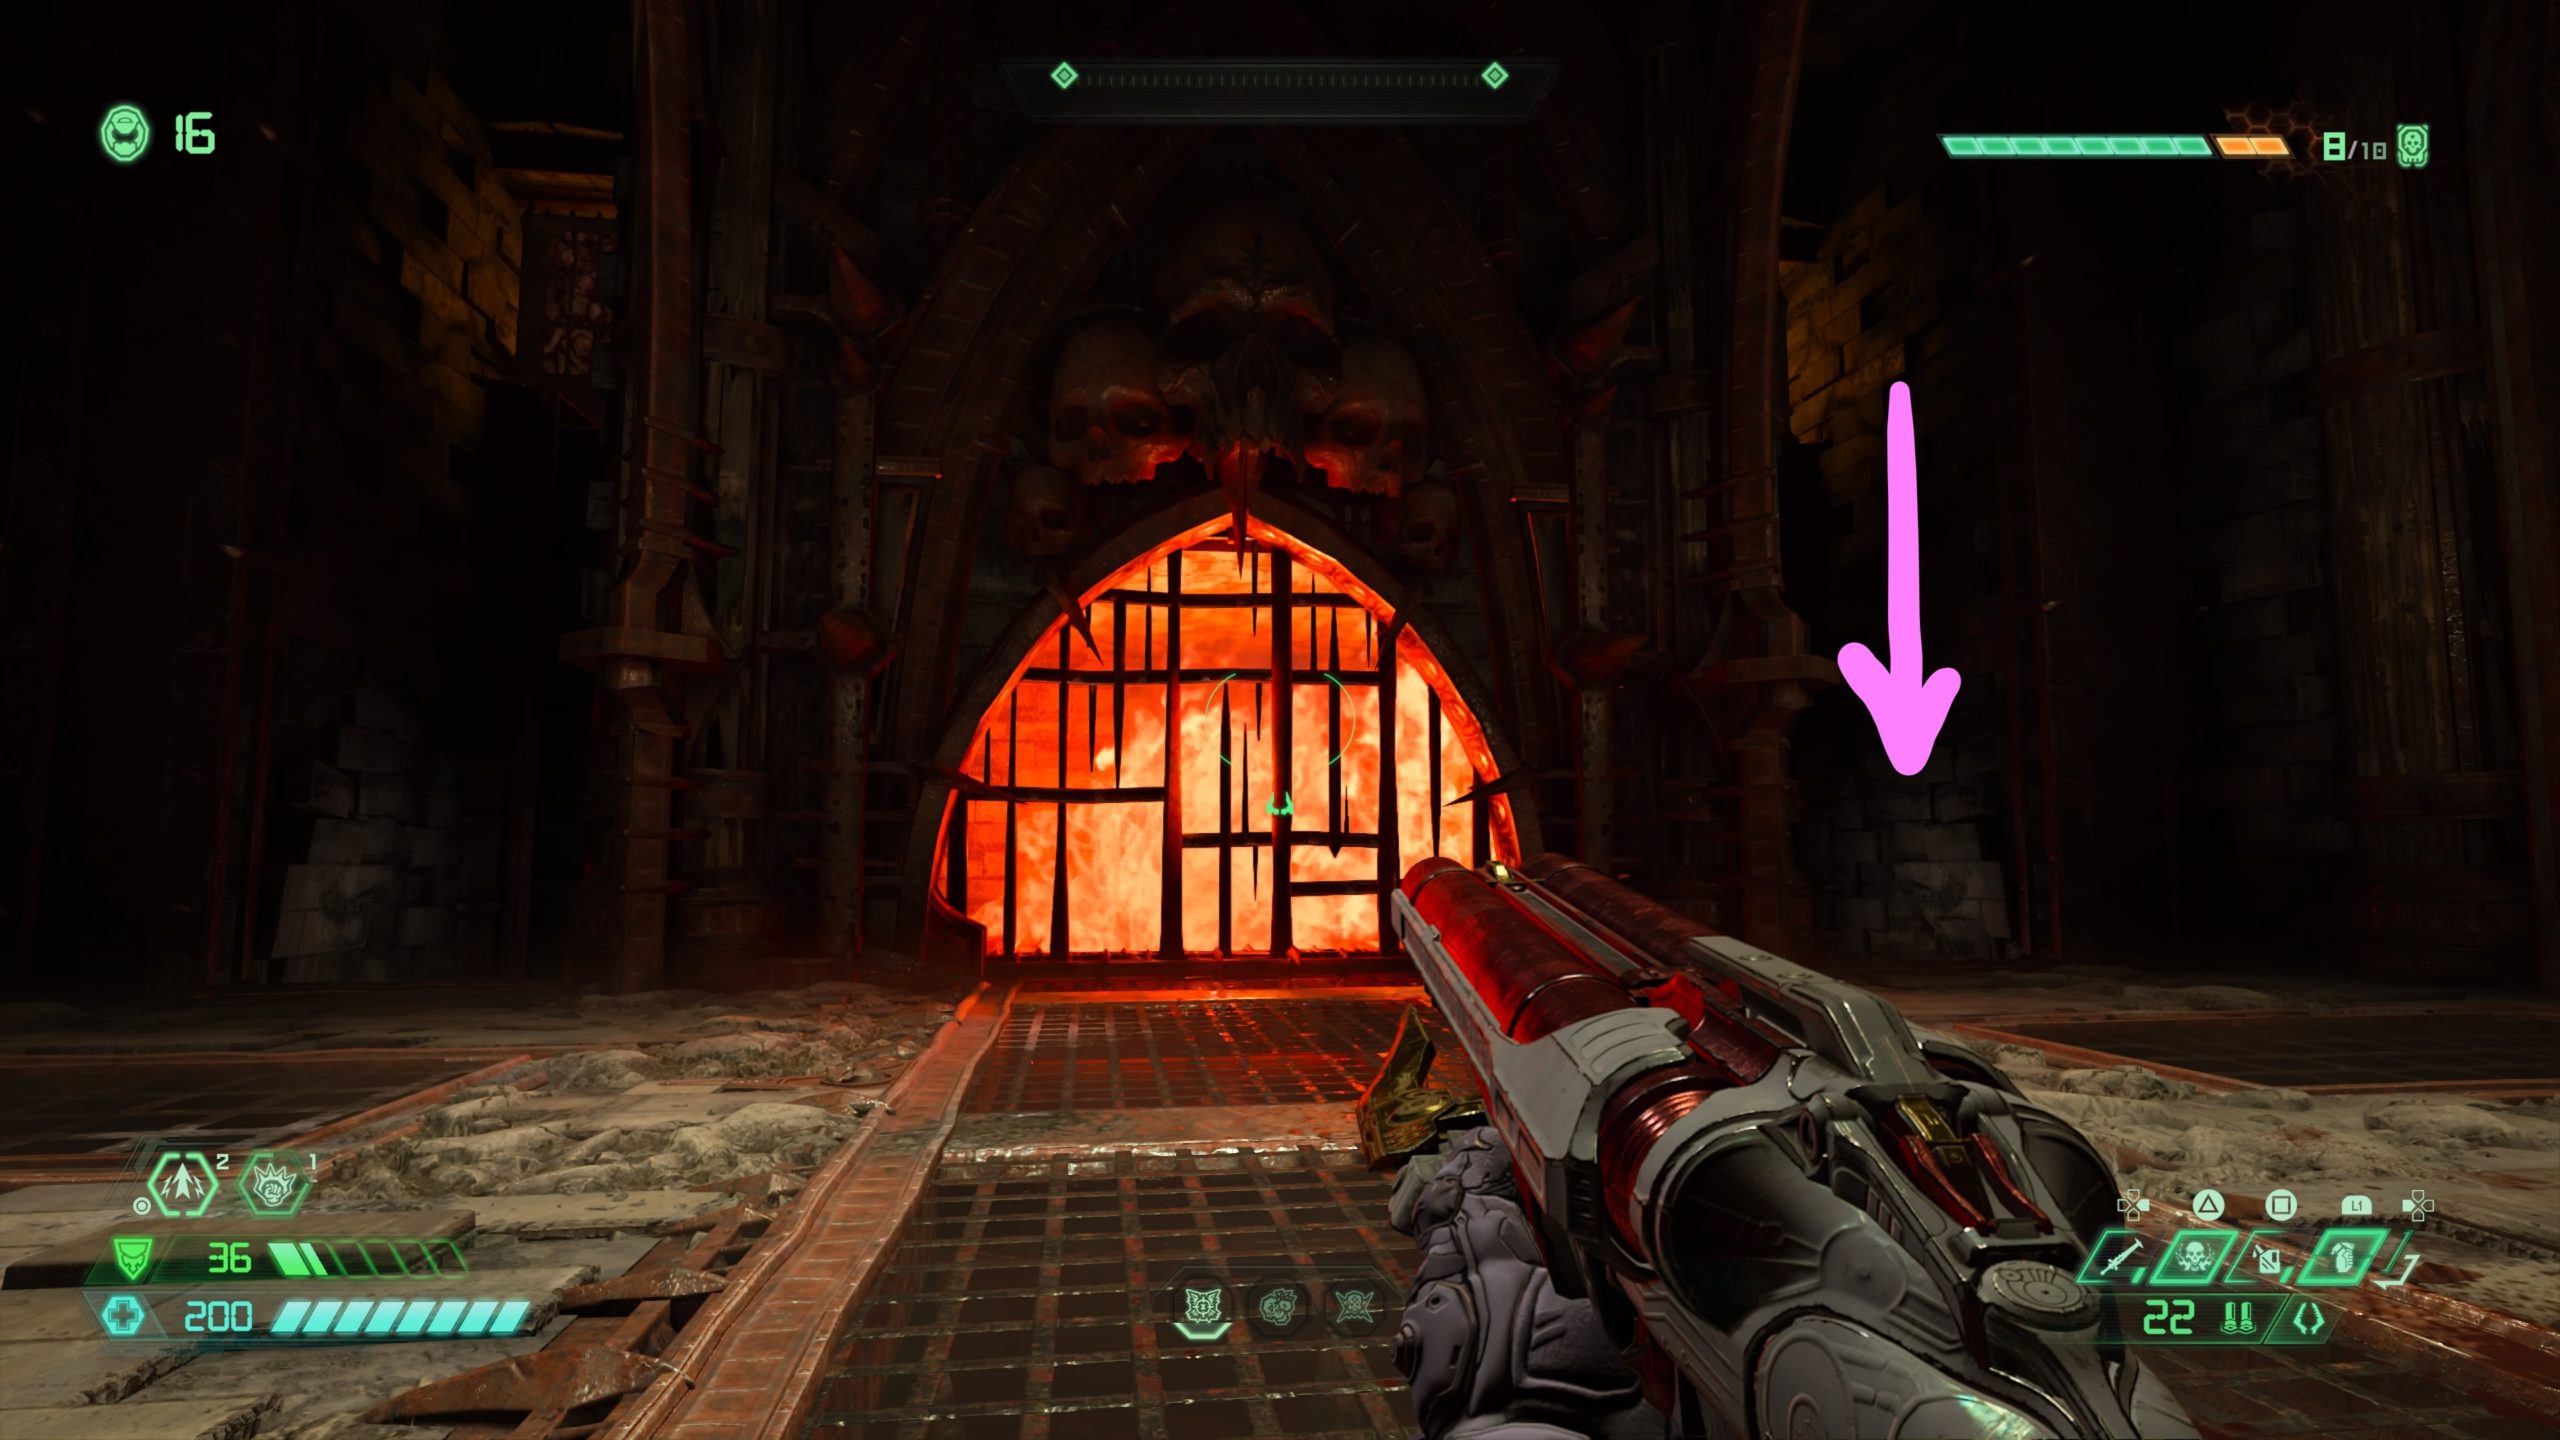
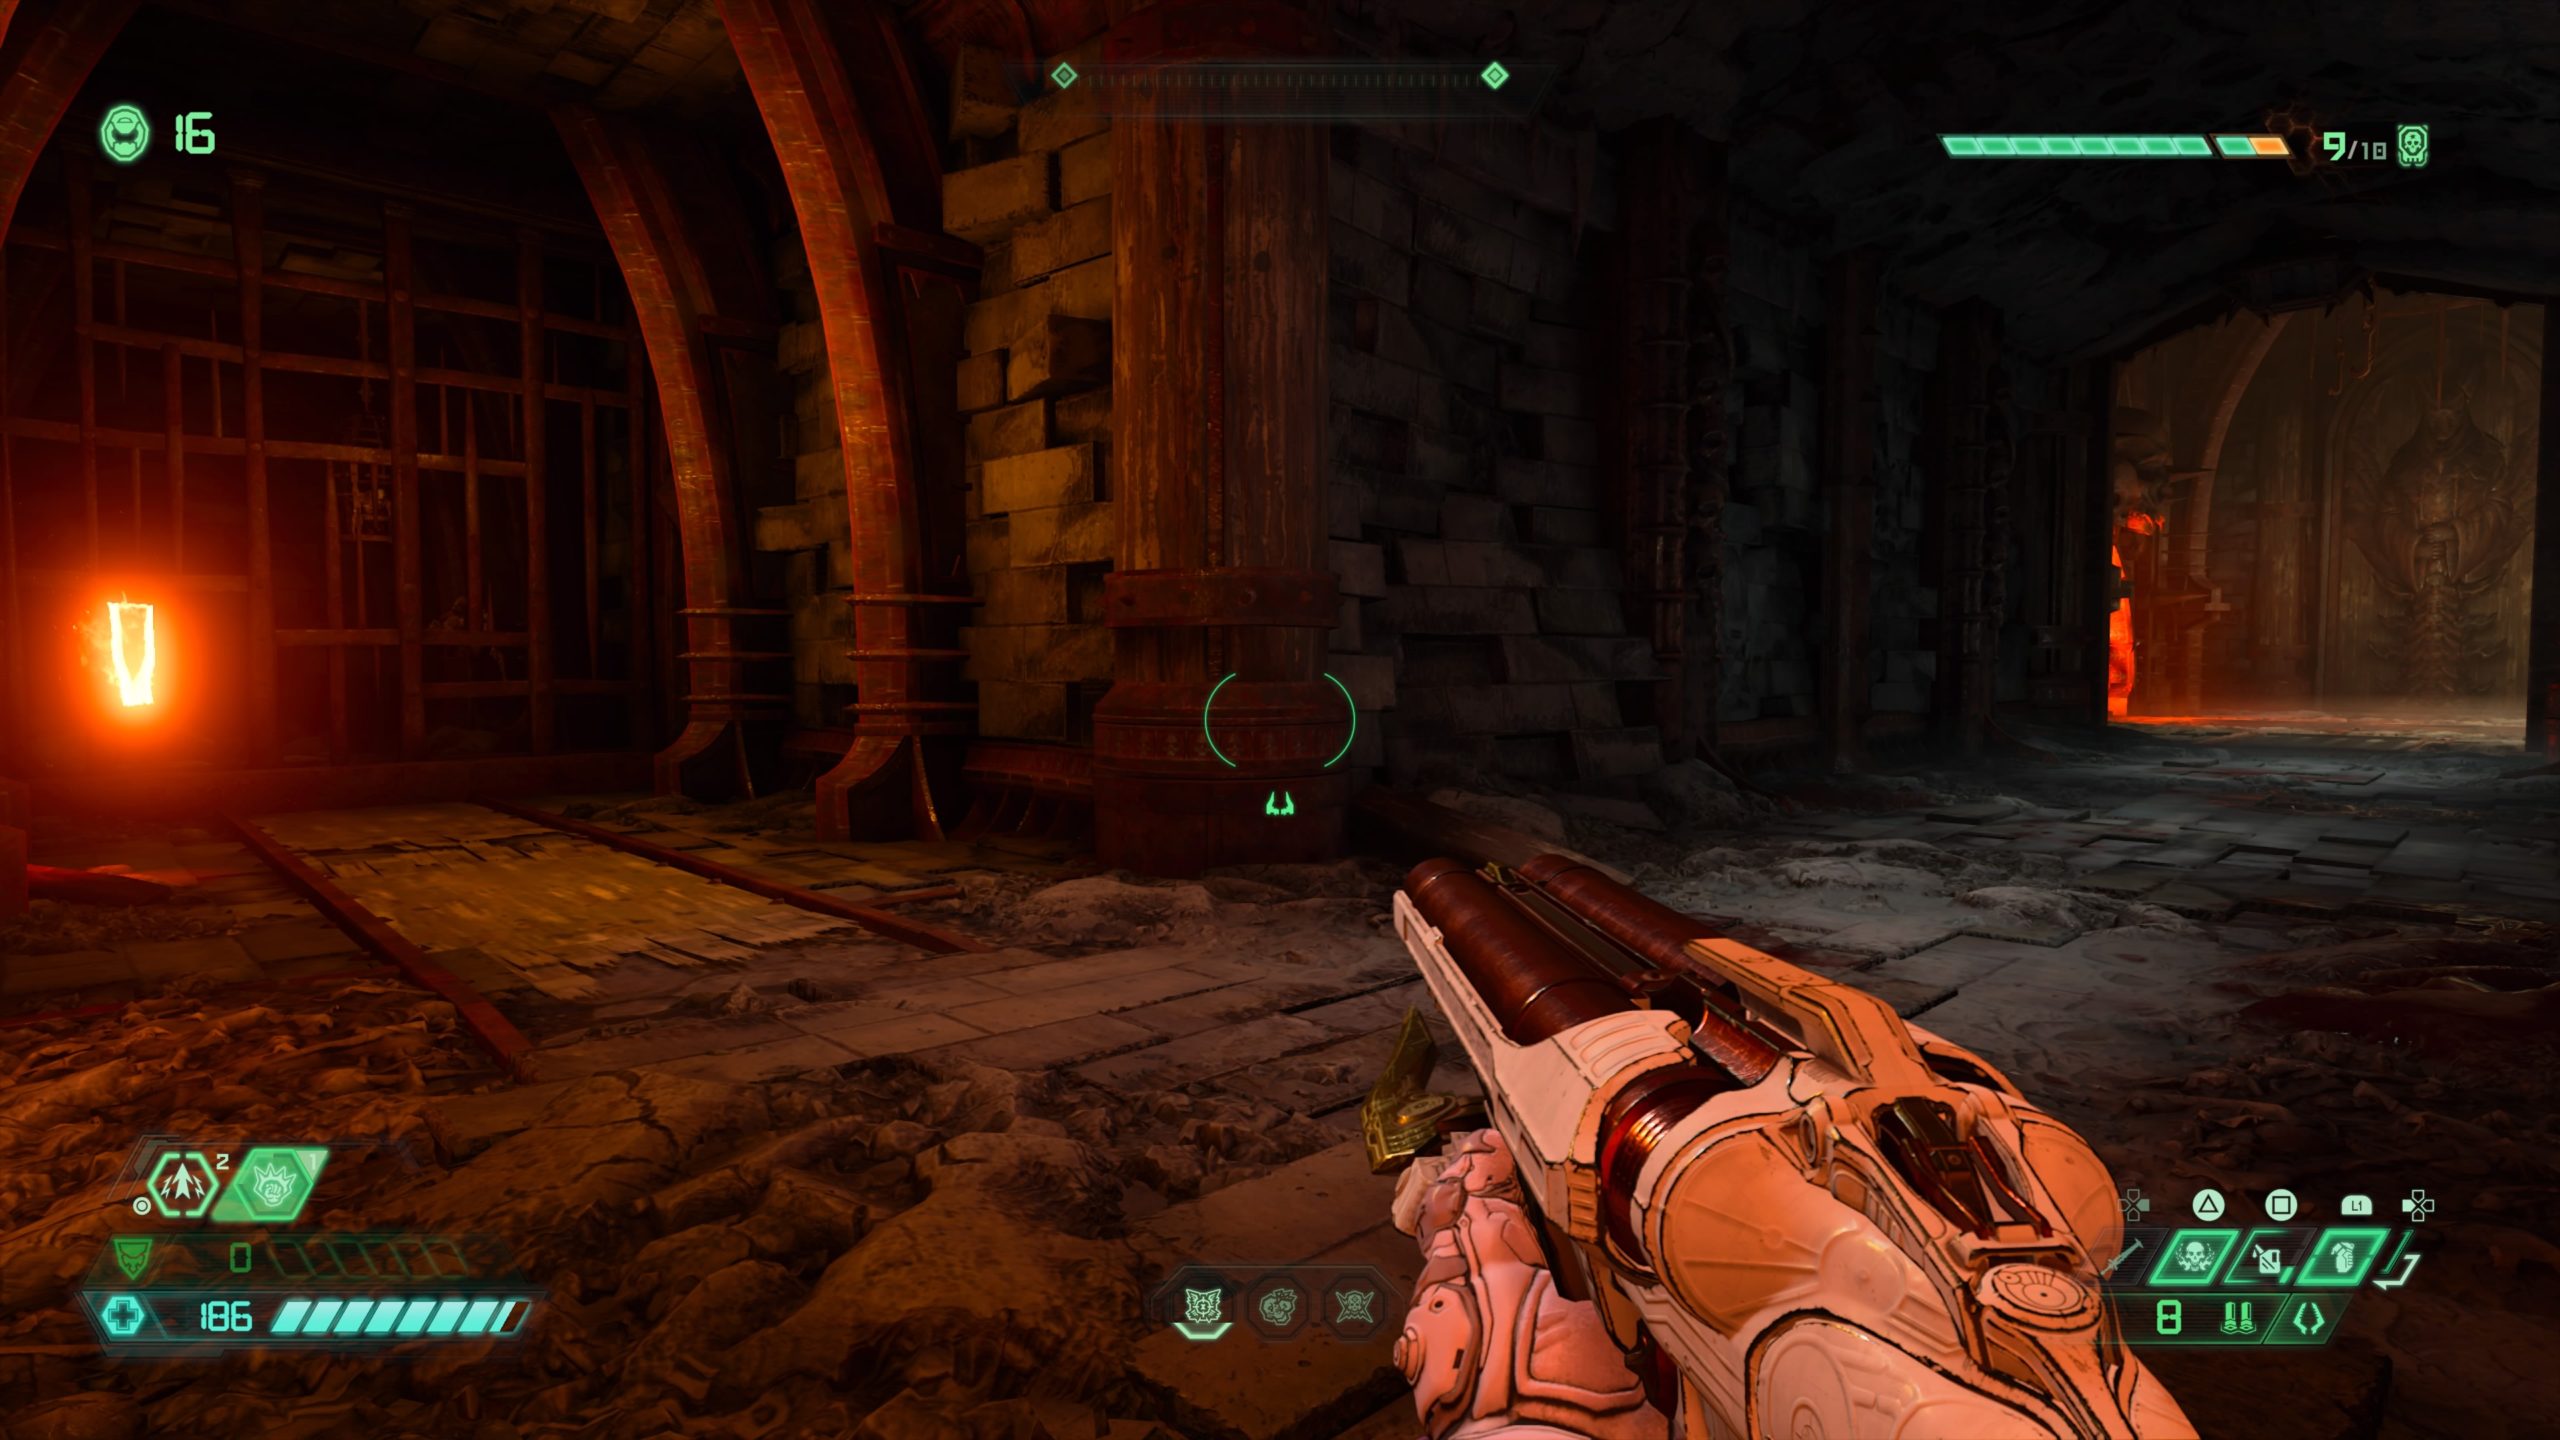
Halls of Torment
Praetor Suit Point

From the fast travel point, head to the other side of the room and turn around. Use the first gold spin bar to reach the higher gold spin bar. Use that spin bar to reach the ledge above the fast travel point with a green skull (see above).

Facing the skull, jump to the ledge on the left and work your way through the hall of presses and fire to find the Sentinel holding the point at the end.