Below is a walkthrough for Chapter 7: Dark Emblem in Fire Emblem Engage!
Skirmish
Location: Florra Mill Town
Once you travel to the World Map, a tutorial will introduce skirmishes. These optional skirmishes will now show up at places you’ve already been. If you choose to complete them, you’ll be able to level up your units. Post battle explore the area speaking with your units, picking up items and adopting any helpless animals!
Paralogue: Mysterious Merchant
Location: Bandits’ Hideout
Travel to the Bandits’ Hideout for a dialogue event on what a bad day the bandits are having. For this battle, your units will be divided into two teams of four where you’ll need to assault the hideout. You’ll want to head straight for the treasure to catch the thieves before they can escape with the valuables. While there, use Alear to speak with Anna to get her to join the group and then defeat the boss to win the battle. Make sure to explore the area afterwards for additional items and pets to adopt.
Item
Obtained
1,000 G
Dropped by an enemy
1,000 G
Dropped by an enemy
Master Seal
In a chest / dropped by the thief that nabbed it
Strength Tonic
In a chest / dropped by the thief that nabbed it
Grand Crossing
Location: The Grand Crossing
When you’re ready to continue with the main story, travel to Grand Crossing for a dialog event. You’ll then need to take on Hortensia and her army to defend your rings. Alcryst, Citrinne and Lapis will join your group to help with this endeavor. After taking her down, make sure to explore the area and adopt any animals before heading out.
Item
Obtained
Iron Greataxe
Dropped from an enemy
Master Seal
Dropped from Hortensia
Steel Axe
Dropped from Rosado
Steel Sword
Dropped from Goldmary
Intermission: The Somniel
There’s not really anything new at the Somniel. You can return to stock up on supplies, grab any items and speak with allies. When you’re ready to proceed with the story, leave the Somniel.
Below is a walkthrough for Chapter 7: Demon Pilgrimage Capriccio in Digimon Story Cyber Sleuth: Complete Edition.
Broadway 4F
When you regain control of the sleuth, head up to Broadway 4F and speak with Medal Man outside of K-Cafe. He’ll mention a medal seller in Kowloon Lv. 4 so return to the Detective Agency and use the access point to travel to Kowloon Lv.3. Use the Wall Crack Lv. 3 Hacking Skill to get past the firewall then travel to Kowloon Lv. 4.
Kowloon Lv.4
From the Kowloon Lv. 4 starting area, head north to the next area. Take a left and go up the stairs. Use the yellow platform to reach a higher level and speak with the guy wearing a green hoodie with a ! above his head. After the conversation, head north into the next area then make your way to the center platform. From there, ride the left yellow platform up and speak with the guy wearing a red hoodie there to start a fight against his virus-type Cherrymon and Bakemon. After winning you’ll get 1,000 CSP and sent back to the agency.
Kowloon Lv. 4 Digimon
Gekomon
GoldNumemon
Guilmon
Impmon
Kabuterimon
Renamon
Sukamon
ToyAgumon
Broadway 2F/4F
Head up to Broadway 2F and speak with Nokia in front of Rainbow Turntable. After that, make your way up to 4F and talk with Ryota by the arcade. With intel gathered, return to Kyoko at the agency to report back.
Kowloon Lv. 4
Use an access point to travel to Kowloon Lv. 4 in EDEN then head further into the area until an event triggers. This leads to a fight against virus-type Gigadramon and Ogremon. After defeating the hacker, you’ll get the URL for the Demons’ Den. Before leaving, make sure to grab the medal to the right of the hacker. There are also three chests in the area you can grab. Two of them are protected by a tamer you’ll have to defeat. He’s using a Flamedramon. If you manage to win, you’ll also receive the Digi-Egg of Courage allowing you to make your own Flamdramon. One of the chests he’s guarding contains a memory up. When you’re ready to proceed, return to the Log Out pad and travel to the Demon’s Door in EDEN. Make sure you’re ready for a fight!
Demon’s Door
An event triggers as soon as you reach the URL. When it ends you’ll be thrown into a boss fight against three data Digimon. Two are SkullMeramon and one is a Boltmon. Take down everyone’s favorite rock star to trigger another event. This will lead to the end of the case and you’ll be awarded 1,000 CSP.
Detective Agency
Back at the agency, two new cases will become available for you to take on, The #1 Gamer and Home Security Guard. You can view guides on both cases here.
Broadway 1F
Exit the agency heading for the entrance to find the Gluttonous Lady near the entrance with an ! above her head. Speak with her to trigger an event then return to the agency to pick up a new case.
Detective Agency
Accept the Broadway Food Tour case from the board then complete the case. You can find a guide for it here. When you’re ready to progress the story, head to Shinjuku.
Shinjuku
Once you reach Shinjuku, make your way over to Shinjuku Downtown then head down the sidewalk. Interact with the digital drift in the middle of the path to trigger an event.
Detective Agency
Return to the detective agency to grab the new case, Broad Daylight. You can find a guide for it here. Complete the case to trigger an event leading to the next chapter.
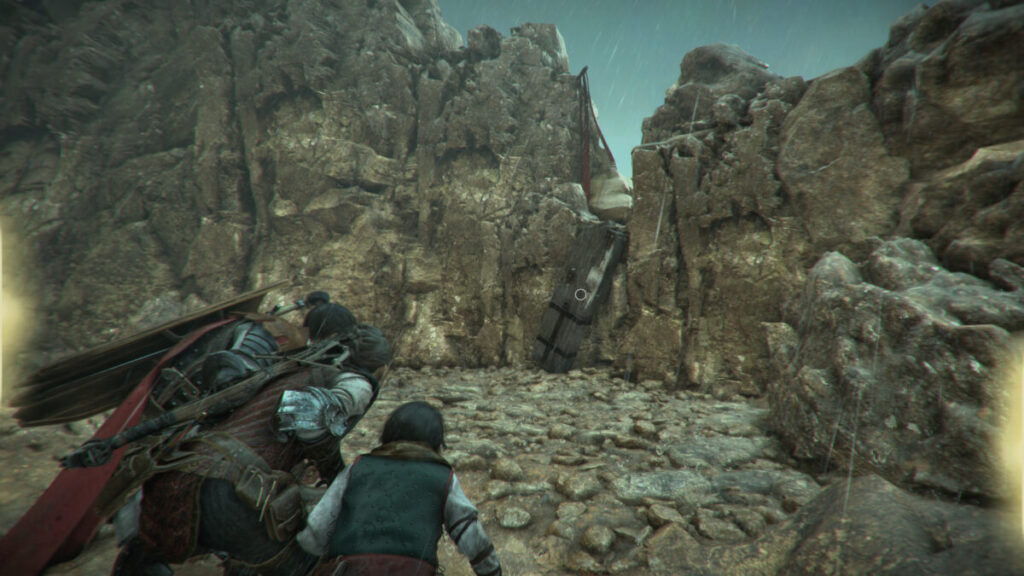
Below is a walkthrough for the collectibles found during Chapter VII: Felons in A Plague Tale: Requiem. In this chapter, you’ll find a feather for Hugo’s Collection, souvenirs and a secret chest. Make sure to always pick up a knife if you see one so you can open the secret chests!
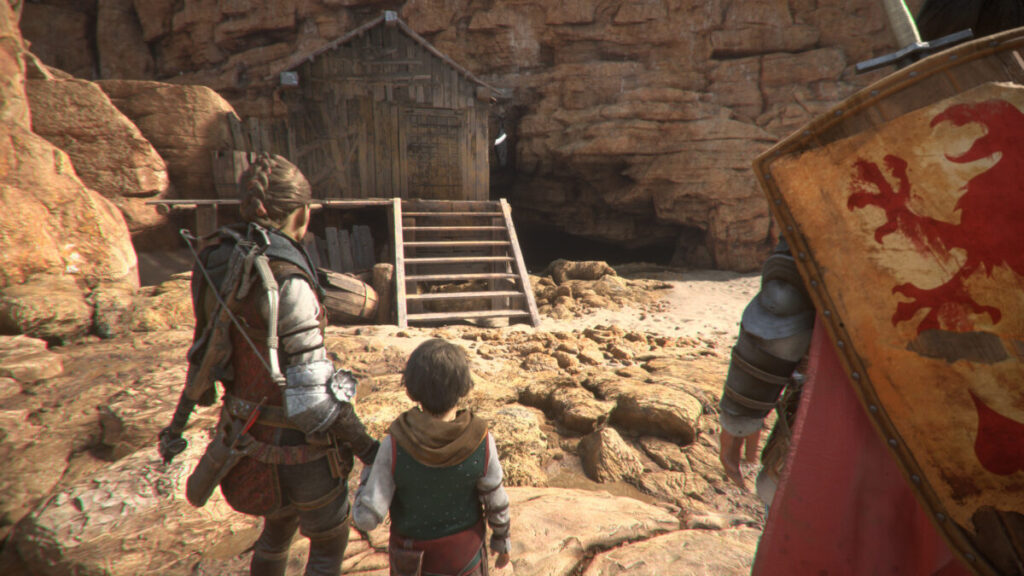
Hugo’s Collection: Black Headed Gull
Work your way through the level until you reach the beach. Just past the group of seagulls Hugo scares away there will be a wooden shack along the cliffs to the left.
Enter the shack then climb through the window on the left and follow the path to the dead end to find the feather on the ground.
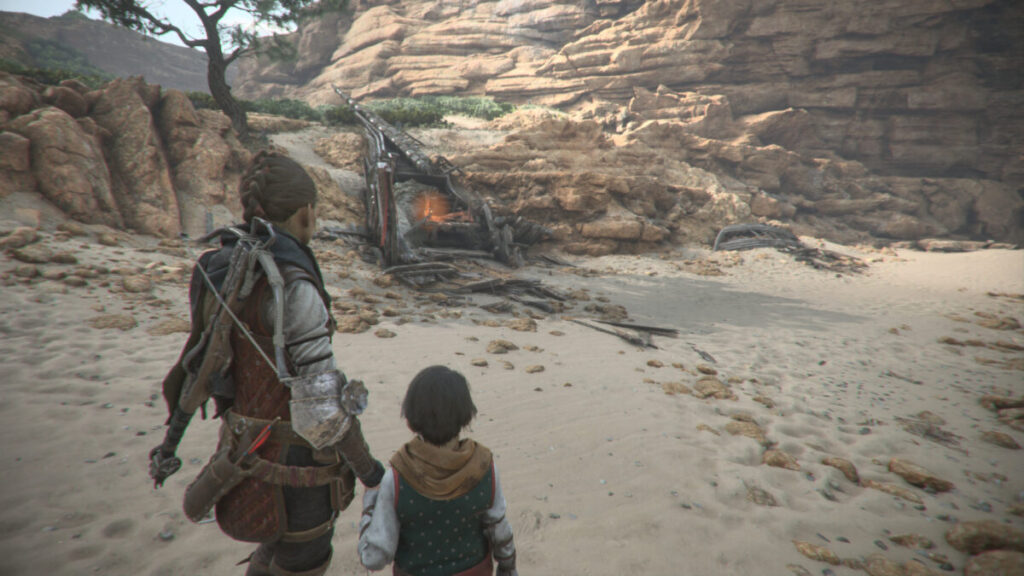
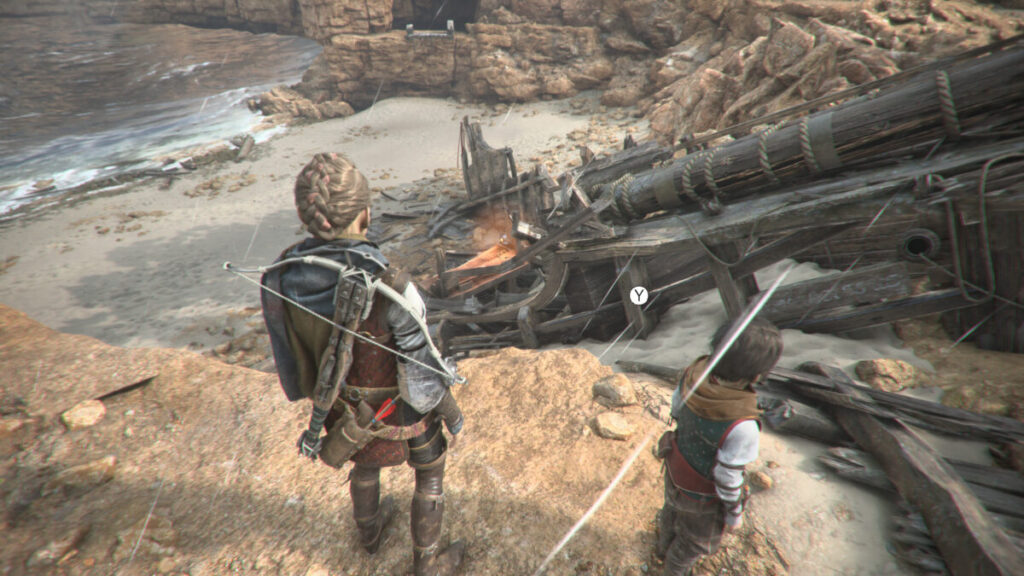
Souvenir: The Survivor
After emerging from the cave filled with rats, you’ll wind up back on the beach. On the left side you’ll find the remains of a ship.
Climb up on the rock ledge to the right of the ship and interact with the point to unlock the souvenir.
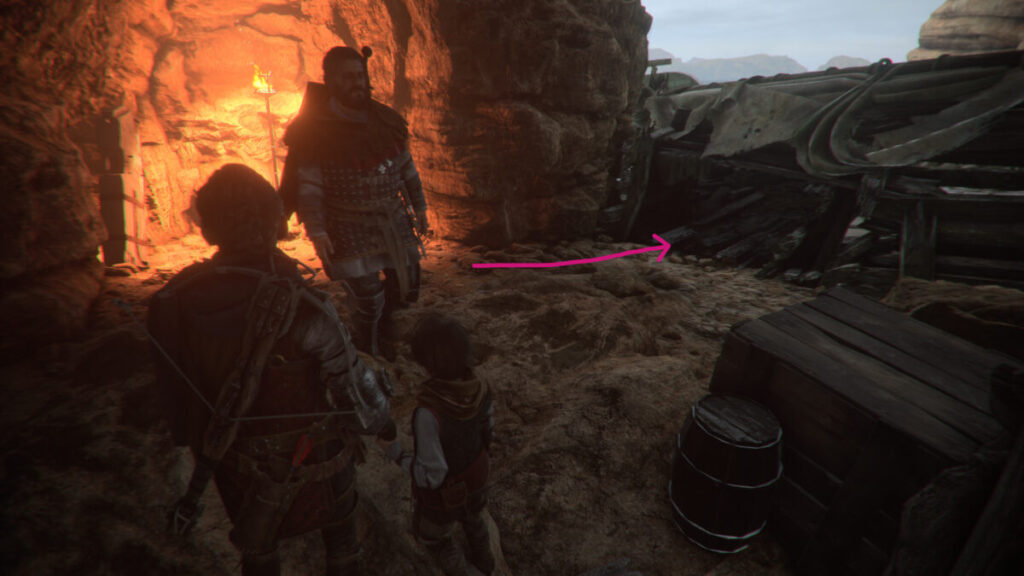
Secret Chest / Tool
After working your way through the cave with the rats and soldiers, you’ll jump down onto a broken wooden bridge. Head forward a short way to find a wooden board blocking the way forward next to a brazier.
Instead of moving the board, take a right and head through a ruined boat to find the chest. Open it to find a tool!
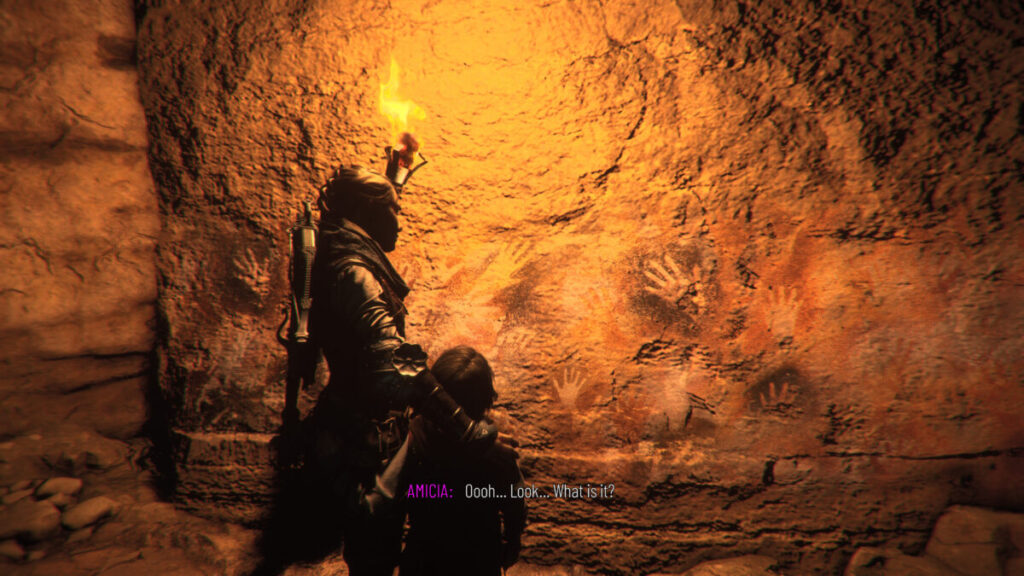
Souvenir: The First Men
After meeting Sophia, you’ll have to sneak past all the soldiers on the beach heading for her boat. Eventually, you’ll have to move a board and squeeze between two rocks.
Climb up on the ledge to your left and follow the cave to the end.
Interact with the handprints on the wall to receive the souvenir.
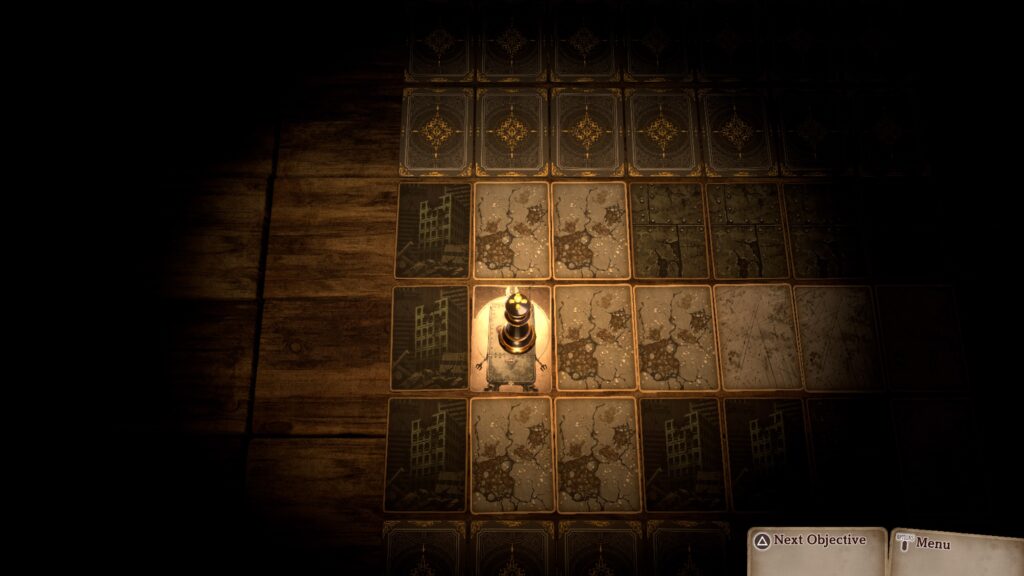
Below is a walkthrough for Chapter 7 in Voice of Cards: The Beasts of Burden.
Underground Passage
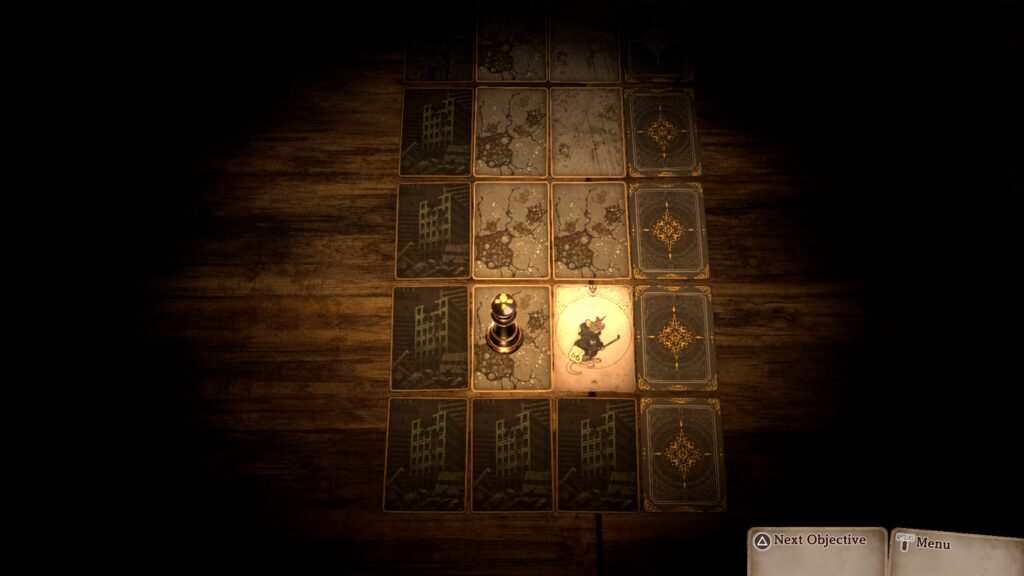
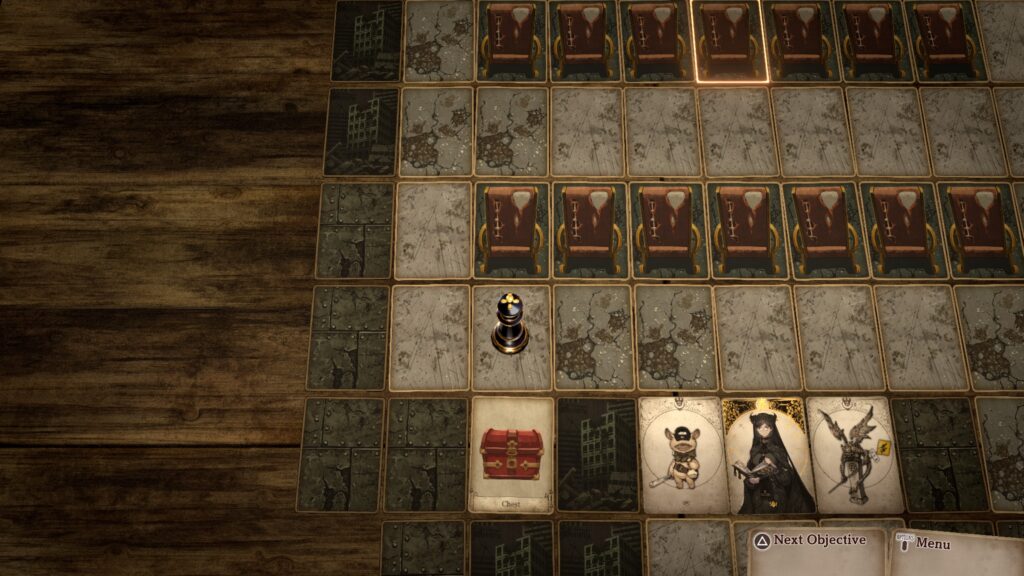
At the start of the chapter, head forward a short way to trigger a cutscene. When it concludes, continue forward to reach a set of stairs and take them to the Subsurface Ruins B2. Head forward a short way to trigger a fight against a monster. Defeat it. When prompted select “At the Endwall”. Explore the passage! Make sure to head to the very south to find a mouse monster. Interact with it to receive the Ring of Bravery!
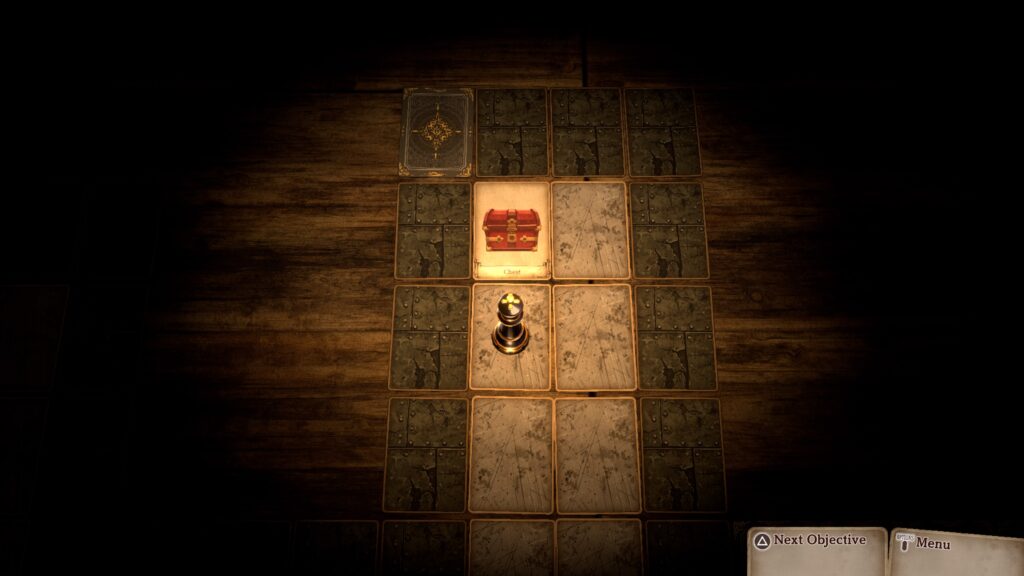
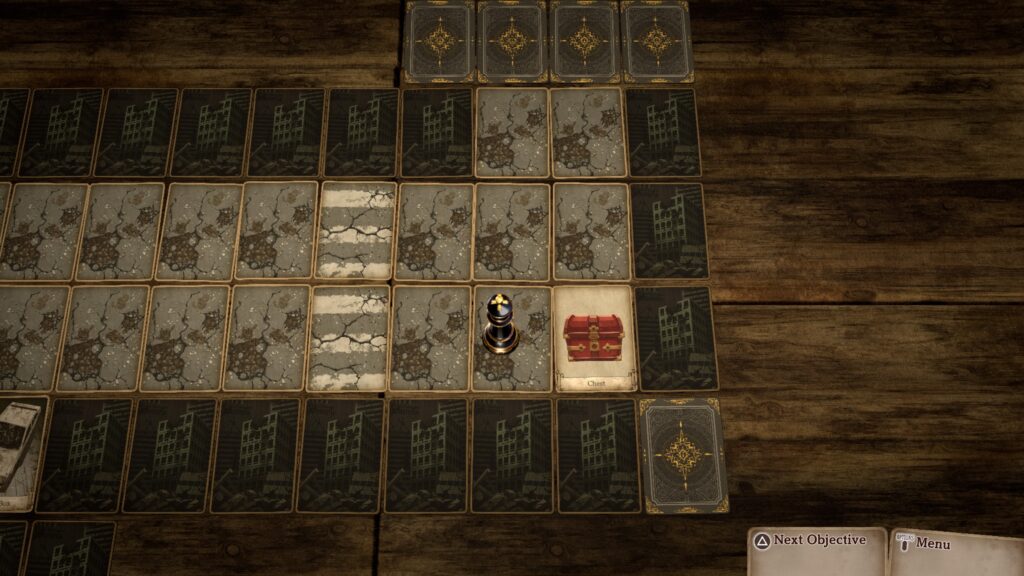
After collecting this ring, head to the far north and open the chest there to receive a Supreme Salve!
Make your way to the southeastern corner to find a set of stairs. Take them to reach Subsurface Ruins B3. Head east a short way to trigger a cutscene involving an Iron Figure. Defeat the creature with 35 attack, 120 health and 20 defense. Afterwards, head to the southeastern corner of the area to find a chest with the Godsguide!
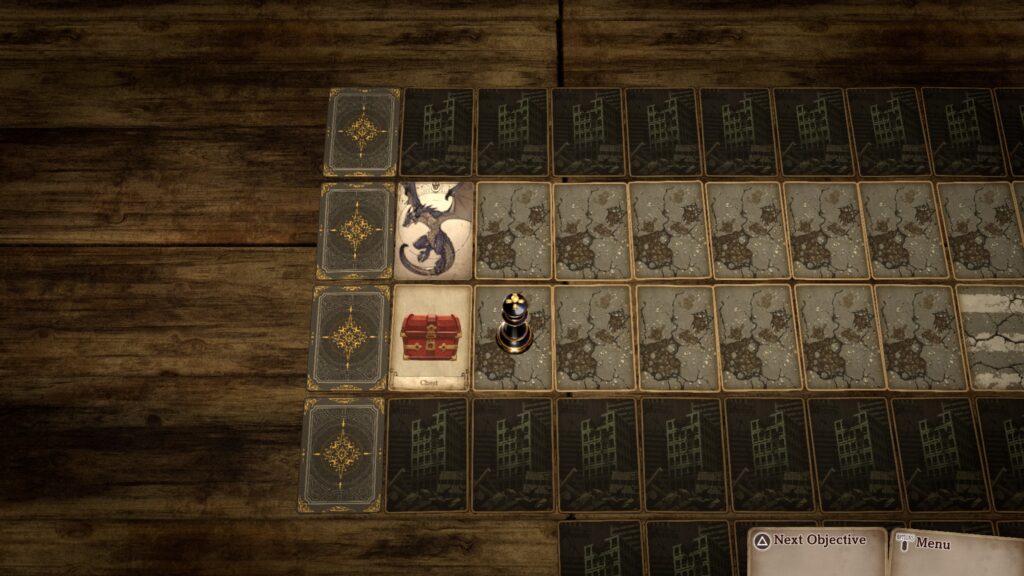
Next, make your way around the northeastern side to reach a keypad. Approach it to trigger a fight against 3 Voltwasp. Defeat them then return to the Iron Figure near the start of this level! Once you’ve spoken to it, interact with the nearby elevator. When the cutscene ends, head directly south and follow the path east to the southeastern corner of the area where you’ll find a chest containing the Shepherd’s Lament!
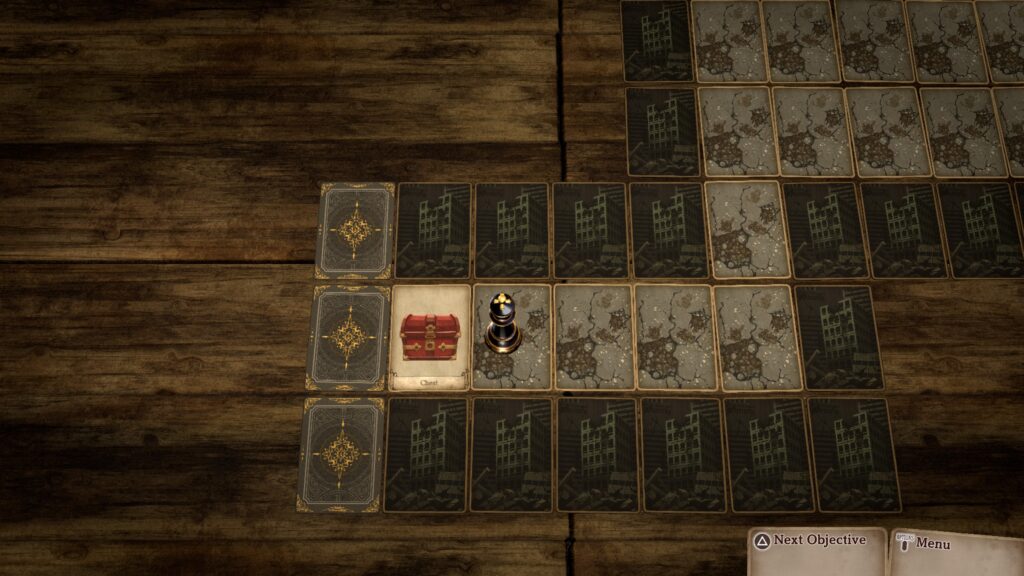
As you explore the area, you’ll find another robot on the far western side of the map.
This one will offer you Canned Goods. Choose to eat the contents to gain HP! From the robot, head north as there is nothing to its south. Work your way to the northeastern corner to find another elevator. Step inside to reach Subsurface Ruins B5. Head directly north to find a robot. As you approach it, a cutscene will trigger followed by a fight. Defeat the 3 monsters to trigger another cutscene. When it concludes, enter the elevator again to return to Subsurface Ruins B5. Interact with the monsters blocking the door to begin a battle with them. After you defeat them, enter through the door to reach Subsurface Ruins – Urbania. Once in this new area, follow the creatures north. When the path forks, head east to find a chest containing an Omnipanacea!
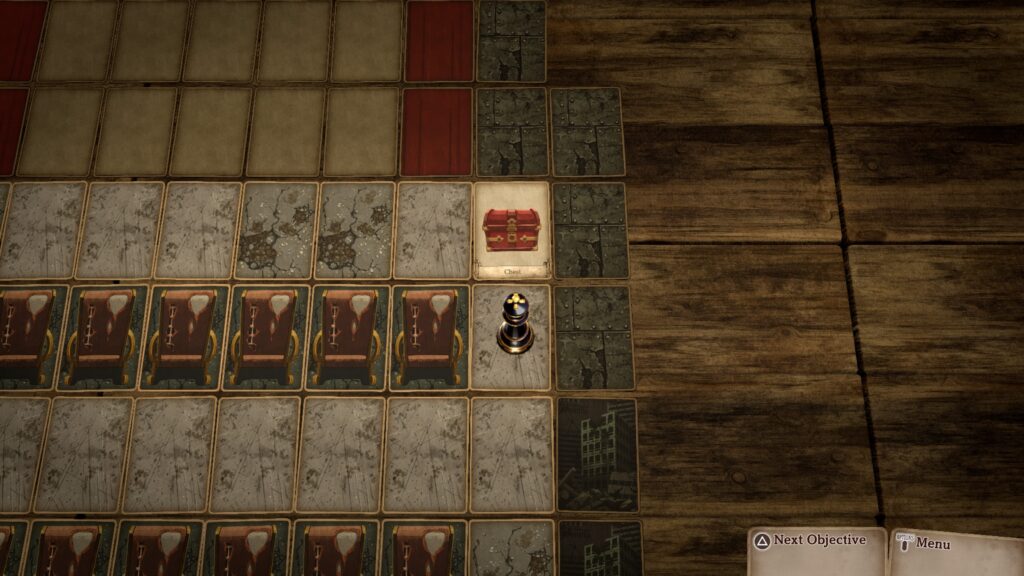
Head north then go past the TV. Once past the TV, make your way to the west to find a chest containing 3,000G!
Continue following the path forward. You’ll head past another TV. Again, continue following the path. When you reach the far western side again you’ll come across another chest. This one will contain a Dark Honor!
From this chest, continue heading north. When the path forks, take a left to find this chest containing a Large Soothstone!
Backtrack to the fork then continue east. At the next fork, take the northern path to find a chest containing a Supreme Inspirilixir!
Once you collect this chest, continue east to run across another TV. Follow the linear path to reach a door. Enter the door to reach Subsurface Ruins Cinema. Head forward as short ways and interact with the woman to trigger a cutscene. Before you take a seat, grab the two chests in this room. The southwestern one contains a Ring of Evasion.
The northeastern one contains a Flashpoint!
When you’re ready, take a seat. Defeat the three monsters using the unknown man. After you’ve defeated them, interact with the 3 villagers then make way for the Meeting Place in the north. After the revelation, speak with Mizar then speak with her 2 monsters. Once you’ve done that, speak with Mizar again then pursue her. Before you speak with your friends, make sure to have your party set up accordingly. For the next fight, you’ll only be able to use Tralis and Al’e. In addition, Al’e will not be able to use her monsters. When you’re ready, speak with all of your friends then the fight with the 2 monsters. The Proto-Yeti has 34 attack, 64 health and 17 defense. The Proto-Gargoyle has 37 attack, 40 health and 26 defense. After dealing some damage, the fight will stop and you’ll have to pursue Mizar again. Head west to find the Roving Market!!
Roving Market
Before spending any money here, there is a way to get your items 10% off. If you wish to do this, please see the below section entitled CLEANUP!
Shops
Armorer
Steel Blades
Mercenary’s Blades
Hawksblade
Mercenary’s Sword
Mistralblade
Evilsbane
Magic Staff
Thunderstaff
Sage’s Staff
Tamer’s Whip
Femme Fatale’s Whip
Dragontwist Whip
Knight’s Armor
Frostmail
Darkmail
Steel Breastplate
Knight’s Chainmail
Warrior’s Mail
Adventurer’s Attire
Martialist’s Garb
Spangle Dancewear
Firestay Ring
Waterstay Ring
Lightningstay Ring
Windstay Ring
Lightstay Ring
Darkstay Ring
Poisonstay Ring
Numbstay Ring
Freezestay Ring
Bindstay Ring
Cursestay Ring
Ring of Life
Ring of Compassion
Ring of Evasion
Gemstone Ring
Item Shop
Salve
Quality Salve
Supreme Salve
Omnisalve
Quality Omnisalve
Antidote
Curative
Defroster
Unsealer
Dispeller
Pepper-Upper
Serum
Panacea
Omnipanacea
Inspirilixir
Bomb
Invigorant
Protectorant
Soothstone
Oil Pot
Corrosive
Destruct-o-Box
Zapsmoke
Smoke Bomb
Bellwether
Bill of Good Fortune
Bill of Godly Fortune
Pet Shop
Wraith
Slime
Iron Tortoise
Lesser Troll
Orc Child
Centaur
Wererat
Ogre
Red Fungo
Skull Soldier
Dryad
Voltwasp
Gargoyle
Venomslime
Magma Tortoise
Salamander
Death Crawler
Ice Tortoise
Snowy Treant
Lost Soul
Ghost
Devilwasp
Orc Wildling
Wyvern
Darktoad
Undine
Gold Fungo
Aquarock
Fearock
When you’re done shopping, exit the market.
CLEANUP
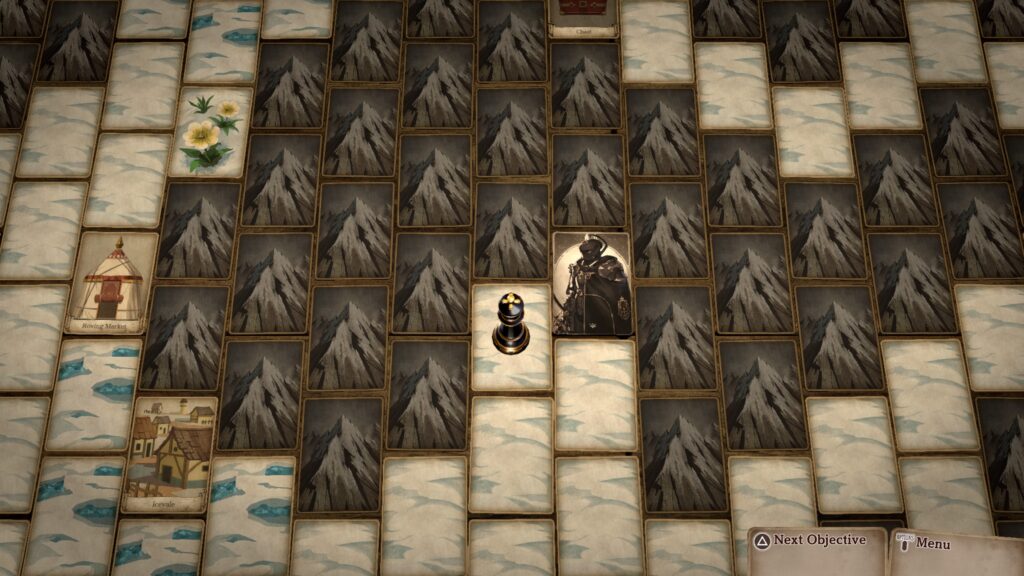
To any trophy hunters out there, this is the clean up point. Do not interact with the elevator doors as that is the point of no return. Instead, exit this area via jumping to the point in the southeastern corner of the area. Select that you want to leave. From there, use a Bellwether to exit the dungeon. Once out of the dungeon, exit Monster Town and travel to the Roving Market a short way to the west. Speak with the Wandering Merchant to trigger an event. You’ll then be able to show him a Seastone of any rank to receive a Ring of Omnipotence and the Legendary Monster Tamer Certificate. The Antique Collector trophy will pop and you’ll receive 10% off at the Roving Market. If you speak with the Wandering Merchant again, it will trigger an event where he’ll show you the regions that each monster inhabits. Next travel to the Black Knight near Icevale in the Snowfield to trigger an event.
Fight him! He has 45 attack, 200 health and 20 defense. After you defeat him, you’ll receive Wild God’s Breastplate and the Dark Warrior trophy will trigger!
FINAL BATTLE
When you’re ready to begin your final battle, interact with the elevator doors west of the Roving Market in the Underground Passage. Once the cutscene concludes, defeat the 2 waves of monsters then approach Mizar to begin the final fight. She has 42 attack, 300 health and 25 defense. When we got her health down to 50, a cutscene triggered. Approach her again to find more monsters standing in your way. Defeat the 4 monsters. Next up you’ll face the primals. Therefore, if they were in your skill set you’ll need to readjust it! Once you’re ready, interact with the primal cards to start the fight!
Defeat them then you’ll have to face off against the transformed Mizar.
You’ll need to take care of the two outer cards as the middle card has a barrier until the others have been destroyed. The middle card is resistant to ice attacks. Defeat her then approach her card to listen to her final moments. You thought the game was over! Ha! Steelborough townsfolk are next up to bat. Defeat the 4 villagers to trigger another cutscene. When you retain control, speak with your party members then step on the glowing card to the east to continue on. Approach the monster to trigger a cutscene. Congratulations! You beat the game!
Post Game
Exit the Underground Passage to trigger a cutscene when you reach Monster Town. Exit Monster Town as well then make way for the southern map transition. Select “Desert” then travel to the Subterranean Village. Once in the village, head to your old house on the western side. This will reveal a staircase. Take the stairs then venture into The Depths! Head directly north then interact with a monster to trigger a cutscene followed by a fight. This monster has 42 attack, 300 health and 22 defense. Defeat the Forebearer to begin round 2. This time you’ll be against 4 of them with the following stats:
Dark
45 attack
340 health
20 defense
Lightning
42 attack
350 health
19 defense
Ice
40 attack
325 health
18 defense
Light
39 attack
380 health
23 defense
Pay attention to which cards have the barrier. You will not be able to attack those cards even though they can attack you, and they do switch during the battle. Good luck in defeating all the enemies!
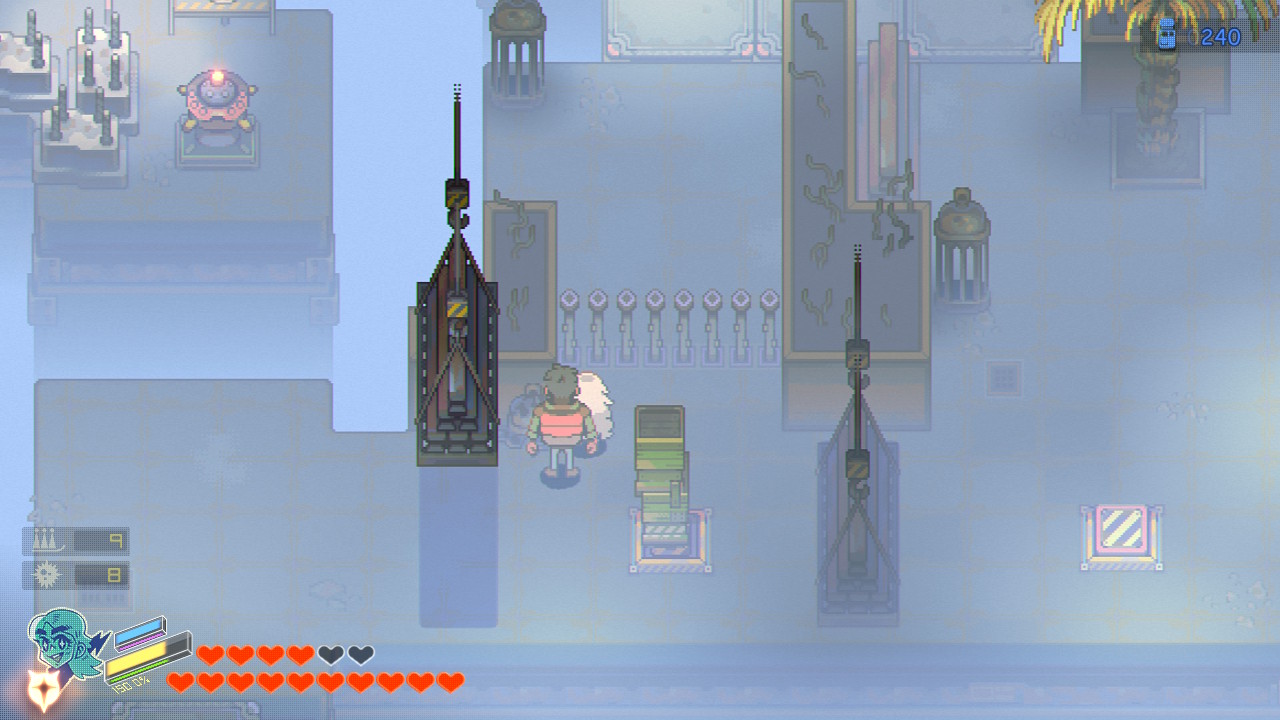
Below is a walkthrough for The Eternal Tower Chapter 7 quest in Eastward.
Enter the Eternal Tower
Head down to the dock and interact with the door on the building there to trigger a dialog event. When you gain control of John, head for the Eternal Tower north of the Train Graveyard to trigger a dialog event. When you gain control of John, head through the door to reach the Eternal Tower. If you return to the Iron Carbine in the Train Graveyard, you’ll get a dialog event with William and Daniel leading to an upgrade for Sonic Punk.
Head north through the tower and take the elevator up using Sam’s ability. In the next room, you’ll have to quickly make it to the other side of the room before time runs out. You’ll want to use the remote explosives to blow the creates up faster. When you get to the other side of the room, shoot the bubble with Sam’s fully charged attack. Head through the next room and turn on the switch. Return to the entrance and use the newly activated elevator to head up to Eternal Tower Platform #2.
Head northeast to the next area then use Sam’s attack on the bubble on the left side of the room to reveal a chest containing 100 salt. Take the platforms to the east side of the area. In the next area, separate Sam and John. Send Sam through the tunnel to stand on the floor switch. Head east with John and move the column under the raised crane to enable Sam to pass through. Step on the moving platform and follow the path to the next area. Head west across the moving platform then destroy the boxes. Hit a remote bomb to the spin lever then take the moving platform to the south to reach the gate. Blow the remote bomb to lower the gate and proceed to the next area. Quickly make your way across the platforms, picking up timers as you go, to make it to the end of the area before time runs out. In the middle, hit the target with a remote bomb to lower the gate around the beacon. Shoot the beacon to lower the gate then hit the bubble at the end with Sam’s fully charged attack.
In the next area, activate the switch then return to the elevator. Follow the path northwest to the next area. Shoot the rail with Sam’s ability to cause the platform to appear. Step on the platform then defeat the enemies that attack. Again, shoot the rail (this time to the west) with Sam’s ability to cause the platform to move. Step on it then continue west into the next area. Head south and defeat the enemies in that room. When you’re able, continue following the path to the moving platform and take it across to the west. Send a remote bomb on the platform and wait for it to reach the wooden crates blocking the northern path then detonate it. Head north to the newly opened path to find a chest at the end containing an advanced gear part. Return to the platform then head west to the next area.
Once in this area, take the platform straight ahead to the tunnel entrance. Separate Sam and John by sending Sam through the tunnel. Follow the path forward, dodging the projectile balls. When you get to the end, shoot the rail using Sam’s ability to bring the platform to you. Blow up the crates in the way with John’s bombs. Defeat the enemies that spawn then use Sam’s fully charged attack on the bubble to find a chest containing 100 salt. Head south and into the room at the bottom to find a closet containing a key. Shoot the beacon in the middle of the area then hit the rail to summon the platform. Step on the platform and head back to the locked door at the beginning of the area. Use the key to unlock the door. This next room is a timed room. Separate John and Sam. Use Sam’s ability to shoot the rail, summoning the platform. Have John stand on the platform and send Sam through the tunnel next to it. Hit the rail on the other side to bring John down. Use John to break the crates to find a time extension. You’ll then need to alternate between Sam and John to stand on the floor switches to unlock the way forward. When you reach the other side, take the platform across the room then send Sam through the tunnel. When you get to the end of the path, use her fully charged ability to destroy the bubble. Afterwards, head to the next area and activate the switch. Return to the elevator and take it up to Eternal Tower Platform #3. Beware! There is a mini-boss in the next room!
After defeating the mini-boss, follow the path east to reach the next area. Head to the platform in the northern part of the area and ride it south. You’ll need to use a bomb to destroy the crates on the left allowing you to shoot the beacon with Sam. This will lower the gate allowing you to reach the next area. Follow the path to reach the next area where you’ll find a chest with 3 lettuce. Take the platform north where you’ll have to fight a couple of waves of enemies to head to the next area.
This next area is a timed room. You’ll want to put John on the platform then head through the southern tunnel with Sam. Hit the rail with Sam’s power to bring John to you and use your flamethrower to burn the boxes out of Sam’s way. Head north with her using John to burn the second set of boxes out to her way. Head to the lever with John to be locked in with two enemies. Defeat them then hit the lever. This will allow you to hit the bubble with a charged-up attack from Sam. Head to the next room and press the switch then return to the elevator.
From the elevator room, follow the path west to the next area. If you head through the southern area, you’ll reach a room leading to a Heart Orb. Return to the previous room and take the platform west then follow the path south to reach the next area. When you reach the pillar, push the pillar off of the floor switch and place Sam there. Move the pillar onto the floor switch near the gate then head to the west side of the area and lob a remote bomb next to the spin lever. Head back to Sam’s switch and put John there. Switch back to John, blow the bomb then change back to Sam and head through the gate. Shoot the beacon with her ability to open the way to the next area. Work your way through the area using the platforms to reach a room that seals you in. Defeat the enemies then head north to reach the next area. This area is a timed room. You’ll just need to reach the bubble using the platform and shoot it with Sam’s charged attack. Head to the next area and press the switch there then return to the elevator and take it up to Eternal Tower Platform #4.
The area on the 4th floor is a timed room. Send Sam through the tunnel and hit the northeastern rail with her ability to cause the platform to move. Quickly grab the time extension and walk onto the platform as it reaches the western side of the middle area. Once the platform stops, use John to hit the spin switch to lower the gate blocking the bubble. Switch to Sam and hit the rail south of you then get off as you reach the bubble and blast it. Head to the next area and open the chest to receive 3 pumpkins. Work your way to the next area where you’ll be greeted by a vending machine and save point. When you step on the platform, it will move and you’ll have to deal with enemies while destroying bubbles covering beacons to keep moving forward. When you reach the end, you’ll have to shoot 4 bubbles with Sam’s charged-up ability while fighting off waves of enemies. Destroying the last one will trigger a dialog event.
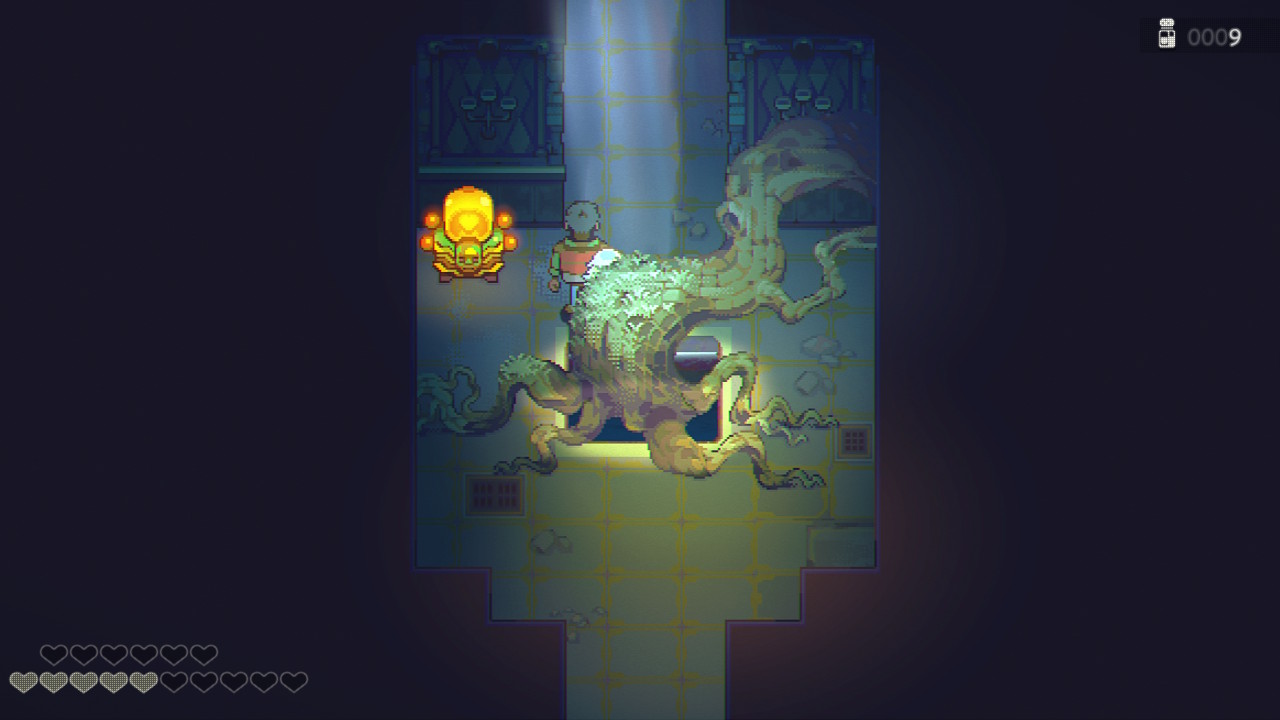
When you regain control of John, save and stock up on items then head into the tower when you’re ready. Grab the chest containing the Heart Orb then head forward to trigger a dialog event leading to a boss fight. For this battle, the boss will drop icicles onto the field. You’ll need to destroy them while hitting the boss with Sam’s ability. After hitting him 3 times, he will be stunned in the middle of the platform for you to damage. Do this 3-4 times to bring him down. After the 1st time, he will start summoning electric icicles that will electrocute you. When he’s defeated, a dialog event will trigger. When it concludes, keep heading north to trigger another dialog event.
Below is a guide on where to find the Heart Orbs in Chapter 7 of Eastward.
Grave
This Heart Orb can be found in the 1st area of the Grave behind a cracked wall just before transitioning to the next area. You’ll need to use a bomb to break the wall allowing you to reach it. This will be during the quest Blast from the Past.
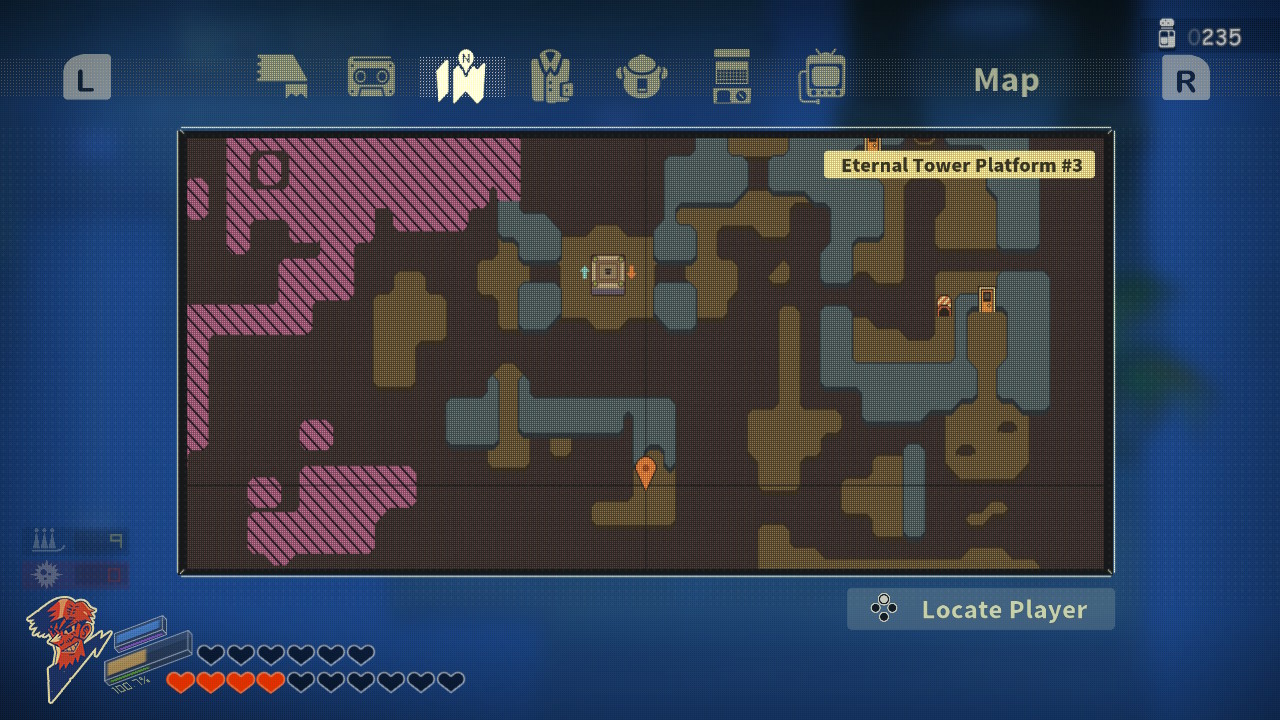
Eternal Tower Platform #3
This Heart Orb can be found south of the first western area from the Elevator. You’ll need to ride the 1st platform down then shoot the rail of the second platform to move it down also. Head back up on your platform then shoot the second rail to move the other platform. Climb on as it passes by then use it to reach the chest with the Heart Orb.
Eternal Tower
The chest containing this Heart Orb can be found at the entrance to the real Eternal Tower after ending the illusion.
Below is a walkthrough for the Blast from the Past Chapter 7 quest in Eastward.
Find Thomas
Head down near the dock and work your way east until you find Thomas’ house which will trigger a dialog event. Along the way, you should find chests containing an advanced gear part, gear part and 3 octopi.
Take the Boat to Ester City
Before returning to the boat, follow the path from Thomas’ house southwest to reach some water-covered rocks. Shoot the nearby beacon with Sam’s ability then keep shooting the new ones that pop up. Eventually, this will lead you to a cavern. Work your way through the cavern by shooting the diamonds in the correct order. This can be found by interacting with a console near the puzzles. When you reach the bottom, you’ll be trapped in a room while fighting a couple of waves of enemies. After defeating them, you’ll be able to upgrade all of Sam’s abilities. When you’re ready, return to the dock to head back to the city.
Deliver the Letters for Thomas
Make your way to Wisdom Street then enter the Ester Hotel and go to the 3rd floor. Interact with room 302 to deliver the letter to Ivan. Next head to the Red Rock Repair (east of William and Daniel) to deliver the 2nd letter to Guy. Finally, head to the Abandoned Tracks by taking the stairs on the southwestern part of Wisdom Street. Follow the northwestern path to reach the Train Graveyard to deliver the final letter to Frank.
Find Thomas at the Docks
Return to Dock #5 and enter the Cap’n’s building for a dialog event.
Head to the Eternal Tower
Return to the Train Graveyard then head north to reach the tower for a dialog event.
Track Down Isabel’s Messages
Head to the locations below to find the messages left by Isabel.
Wisdom Street – Near the Goose Van
Wisdom Street – Ivan’s room at the Ester Hotel
Dock #5 – House north of the entrance
Pleasure Bay – The area outside of Dogbee Grocery to the left
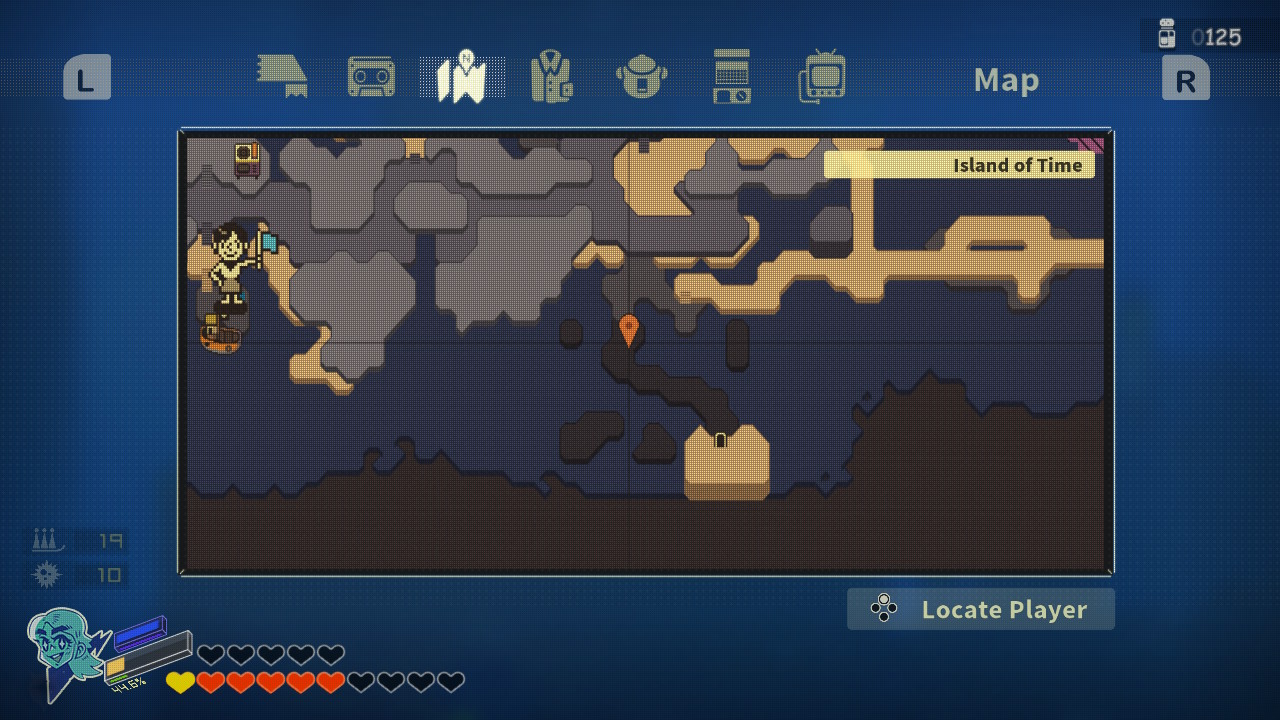
Return to Time Island
Head to the Abandoned Trainyard to trigger a dialog event.
Find the Flame of Time
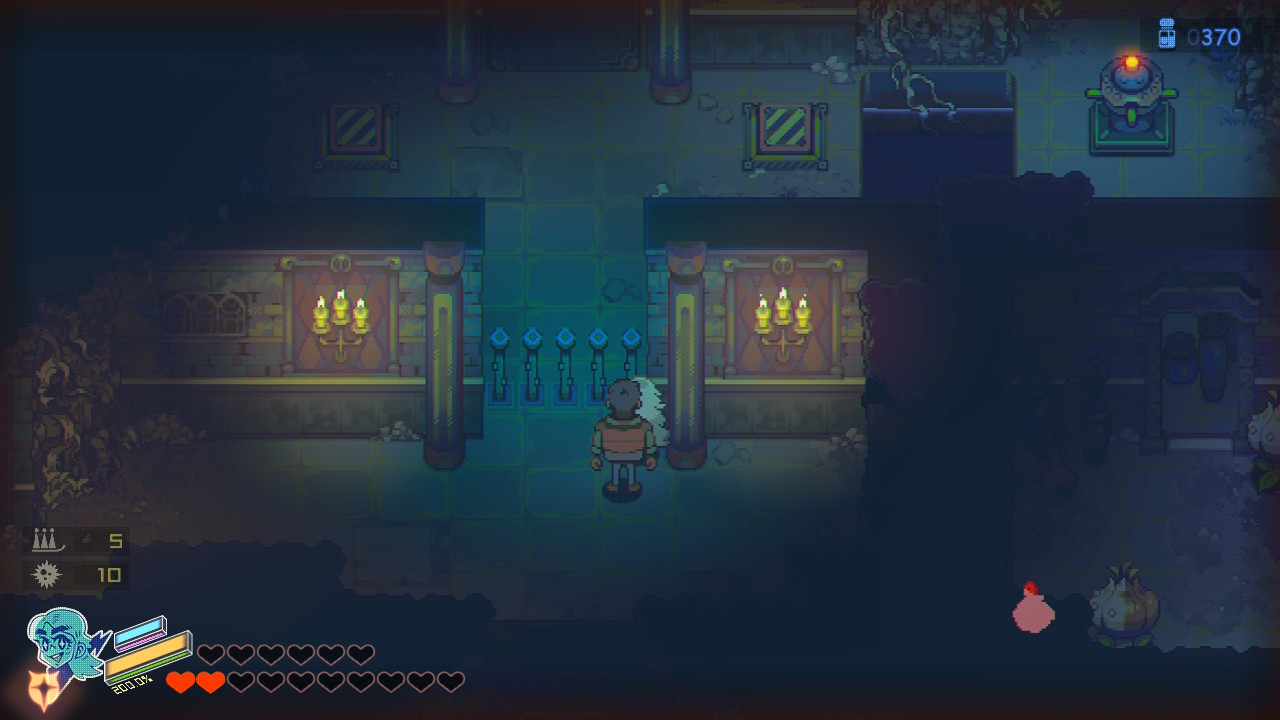
Head down the stairs and follow the past east to reach the Grave. Keep heading east to reach the next area. Before actually moving to the next area, blow up the wall directly north of the map transition to find a chest with a Heart Orb. Head south to reach the Island of Time then follow the path to reach the Grave. Along the way, you should come across chests with 150 salt, an advanced gear part, and 3 octopi. Work your way through the right side of the room and locate the spin lever. Drop a remote bomb there then head to the gated-off area. Blow the bomb then head through and place Sam and John each on a platform. You’ll then be able to grab a key from the cabinet. Lob a bomb over to spin lever then head for the locked door and open it. Head through the door then work your way east. This will bring you to giant bubbles. Hit them with a fully charged attack from Sam to dispel them then take the Flame of Time.
This site uses cookies. By continuing to use this website, you are giving consent to cookies being used. For more information on cookies, view our Privacy Policy.OkPrivacy Policy