Below is a walkthrough for The Eternal Tower Chapter 7 quest in Eastward.
Enter the Eternal Tower
Head down to the dock and interact with the door on the building there to trigger a dialog event. When you gain control of John, head for the Eternal Tower north of the Train Graveyard to trigger a dialog event. When you gain control of John, head through the door to reach the Eternal Tower. If you return to the Iron Carbine in the Train Graveyard, you’ll get a dialog event with William and Daniel leading to an upgrade for Sonic Punk.
Head north through the tower and take the elevator up using Sam’s ability. In the next room, you’ll have to quickly make it to the other side of the room before time runs out. You’ll want to use the remote explosives to blow the creates up faster. When you get to the other side of the room, shoot the bubble with Sam’s fully charged attack. Head through the next room and turn on the switch. Return to the entrance and use the newly activated elevator to head up to Eternal Tower Platform #2.
Head northeast to the next area then use Sam’s attack on the bubble on the left side of the room to reveal a chest containing 100 salt. Take the platforms to the east side of the area. In the next area, separate Sam and John. Send Sam through the tunnel to stand on the floor switch. Head east with John and move the column under the raised crane to enable Sam to pass through. Step on the moving platform and follow the path to the next area. Head west across the moving platform then destroy the boxes. Hit a remote bomb to the spin lever then take the moving platform to the south to reach the gate. Blow the remote bomb to lower the gate and proceed to the next area. Quickly make your way across the platforms, picking up timers as you go, to make it to the end of the area before time runs out. In the middle, hit the target with a remote bomb to lower the gate around the beacon. Shoot the beacon to lower the gate then hit the bubble at the end with Sam’s fully charged attack.

In the next area, activate the switch then return to the elevator. Follow the path northwest to the next area. Shoot the rail with Sam’s ability to cause the platform to appear. Step on the platform then defeat the enemies that attack. Again, shoot the rail (this time to the west) with Sam’s ability to cause the platform to move. Step on it then continue west into the next area. Head south and defeat the enemies in that room. When you’re able, continue following the path to the moving platform and take it across to the west. Send a remote bomb on the platform and wait for it to reach the wooden crates blocking the northern path then detonate it. Head north to the newly opened path to find a chest at the end containing an advanced gear part. Return to the platform then head west to the next area.
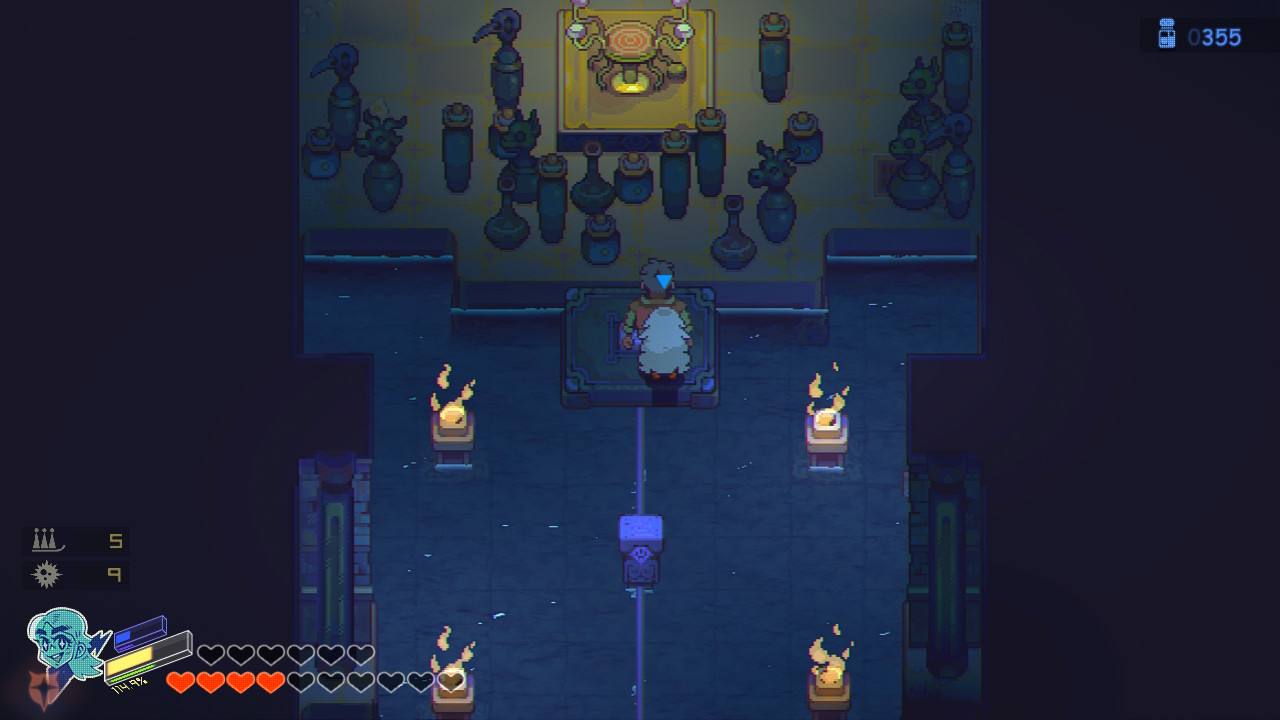
Once in this area, take the platform straight ahead to the tunnel entrance. Separate Sam and John by sending Sam through the tunnel. Follow the path forward, dodging the projectile balls. When you get to the end, shoot the rail using Sam’s ability to bring the platform to you. Blow up the crates in the way with John’s bombs. Defeat the enemies that spawn then use Sam’s fully charged attack on the bubble to find a chest containing 100 salt. Head south and into the room at the bottom to find a closet containing a key. Shoot the beacon in the middle of the area then hit the rail to summon the platform. Step on the platform and head back to the locked door at the beginning of the area. Use the key to unlock the door. This next room is a timed room. Separate John and Sam. Use Sam’s ability to shoot the rail, summoning the platform. Have John stand on the platform and send Sam through the tunnel next to it. Hit the rail on the other side to bring John down. Use John to break the crates to find a time extension. You’ll then need to alternate between Sam and John to stand on the floor switches to unlock the way forward. When you reach the other side, take the platform across the room then send Sam through the tunnel. When you get to the end of the path, use her fully charged ability to destroy the bubble. Afterwards, head to the next area and activate the switch. Return to the elevator and take it up to Eternal Tower Platform #3. Beware! There is a mini-boss in the next room!

After defeating the mini-boss, follow the path east to reach the next area. Head to the platform in the northern part of the area and ride it south. You’ll need to use a bomb to destroy the crates on the left allowing you to shoot the beacon with Sam. This will lower the gate allowing you to reach the next area. Follow the path to reach the next area where you’ll find a chest with 3 lettuce. Take the platform north where you’ll have to fight a couple of waves of enemies to head to the next area.
This next area is a timed room. You’ll want to put John on the platform then head through the southern tunnel with Sam. Hit the rail with Sam’s power to bring John to you and use your flamethrower to burn the boxes out of Sam’s way. Head north with her using John to burn the second set of boxes out to her way. Head to the lever with John to be locked in with two enemies. Defeat them then hit the lever. This will allow you to hit the bubble with a charged-up attack from Sam. Head to the next room and press the switch then return to the elevator.
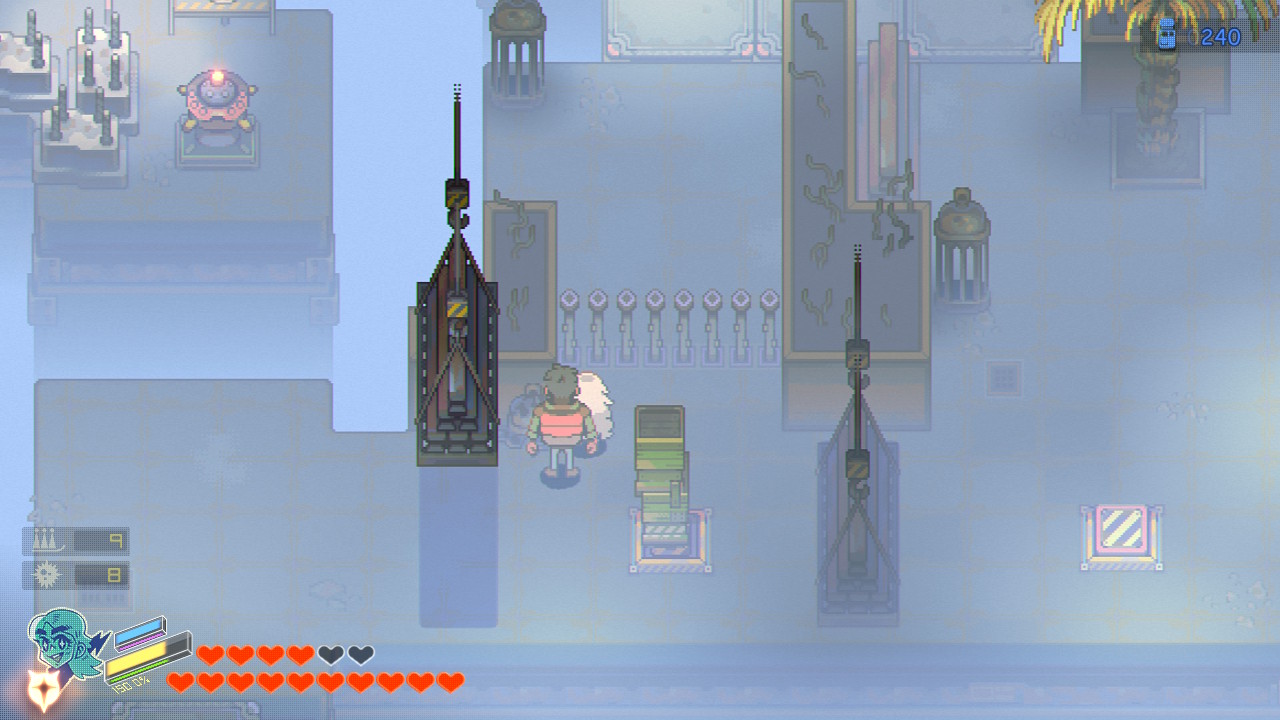
From the elevator room, follow the path west to the next area. If you head through the southern area, you’ll reach a room leading to a Heart Orb. Return to the previous room and take the platform west then follow the path south to reach the next area. When you reach the pillar, push the pillar off of the floor switch and place Sam there. Move the pillar onto the floor switch near the gate then head to the west side of the area and lob a remote bomb next to the spin lever. Head back to Sam’s switch and put John there. Switch back to John, blow the bomb then change back to Sam and head through the gate. Shoot the beacon with her ability to open the way to the next area. Work your way through the area using the platforms to reach a room that seals you in. Defeat the enemies then head north to reach the next area. This area is a timed room. You’ll just need to reach the bubble using the platform and shoot it with Sam’s charged attack. Head to the next area and press the switch there then return to the elevator and take it up to Eternal Tower Platform #4.
The area on the 4th floor is a timed room. Send Sam through the tunnel and hit the northeastern rail with her ability to cause the platform to move. Quickly grab the time extension and walk onto the platform as it reaches the western side of the middle area. Once the platform stops, use John to hit the spin switch to lower the gate blocking the bubble. Switch to Sam and hit the rail south of you then get off as you reach the bubble and blast it. Head to the next area and open the chest to receive 3 pumpkins. Work your way to the next area where you’ll be greeted by a vending machine and save point. When you step on the platform, it will move and you’ll have to deal with enemies while destroying bubbles covering beacons to keep moving forward. When you reach the end, you’ll have to shoot 4 bubbles with Sam’s charged-up ability while fighting off waves of enemies. Destroying the last one will trigger a dialog event.
When you regain control of John, save and stock up on items then head into the tower when you’re ready. Grab the chest containing the Heart Orb then head forward to trigger a dialog event leading to a boss fight. For this battle, the boss will drop icicles onto the field. You’ll need to destroy them while hitting the boss with Sam’s ability. After hitting him 3 times, he will be stunned in the middle of the platform for you to damage. Do this 3-4 times to bring him down. After the 1st time, he will start summoning electric icicles that will electrocute you. When he’s defeated, a dialog event will trigger. When it concludes, keep heading north to trigger another dialog event.
Click here for the Charon quest guide!