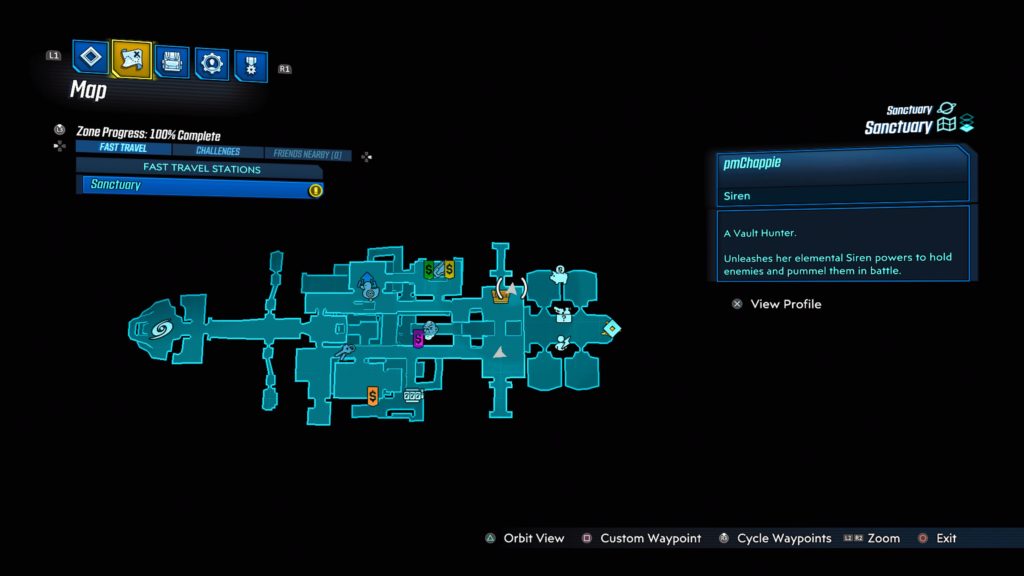
Guides

Borderlands 3 – Baby Dancer

by Chappie in


Location: Sanctuary

Obtained: Talk to Claptrap on Sanctuary after the First Vault Hunter main mission

Objective(s):

  • Meet Claptrap in Devil’s Razor
  • Follow Claptrap
  • See if Baby is Home
  • Rind Doorbell
  • Meet Baby
  • Dance!
  • Turn on Music
  • Talk to Claptrap


Meet Claptrap in Devil’s Razor

Travel to Roland’s Rest in Devil’s Razor and make your way east to meet up with Claptrap in Dusty Acres.


Follow Claptrap

Follow Claptrap to up to the house.


See if Baby is Home

Wait for Claptrap to do his thing.


Ring Doorbell

Ring the doorbell next to the door.


Meet Baby

Talk to Baby.


Dance!

Do something.


Turn on Music

Turn on the radio to the right of Baby.


Talk to Claptrap

Speak with the master of dance to complete the mission.


Guides

Borderlands 3 – Kill Tarantella

by Chappie in


Location: Sanctuary

Obtained: From a bounty poster after completing Blood Given main mission

Objective(s):

  • Kill Tarantella


Kill Tarantella

Head to The Splinterlands to find Tarantella.  From the Chop Shop fast travel station, head north into the search area.  Princess Tarantella II will be easy to spot as she is so big.


Guides

Borderlands 3 – Pandora’s Next Top Mouthpiece

by Chappie in


Location: Sanctuary

Obtained: Talk to Ellie on Sanctuary after completing the Cold as the Grave main mission.

Objective(s):

  • Find Entry Requirements
  • Steal Hammerclan Banner
  • Get Trophy from War Pig
  • Bring Trophies to Holy Broadcasting Center
  • Deposit Trophies
  • Stop Pandora’s Next Top Mouthpiece
  • Kill (Brand New) Mouthpiece
  • Play Mouthpiece’s Organ
  • Find the Secret Stash
  • Return to Ellie


Find Entry Requirements

Travel to Ascension Bluff on Pandora and make your way to the Children on the Vault billboard that is located southeast from the fast travel station. Grab the information echo attached to it.


Steal Hammerclan Banner

Head to the Ascension Bluff Broadcast Tower site (The Sty) can climb up to the top of it. The banner will be hanging on the front of the tower on the other side of the broadcast satellite.


Get Trophy from War Pig

Follow the objective to War Pig and take him out to get the trophy.


I Dunno, Loot Puttergunk’s Strongbox

Head to Puttergunk’s Perch northwest of the Spit Respite Typhon Log and locate the shack at the objective. Follow the cable from the power box to locate a target and shoot it. This will open the door allowing you to enter and loot the strongbox.


Bring Trophies to Holy Broadcasting Center

Go to the Holy Broadcasting Center.


Deposit Trophies

Put the trophies into the deposit box.


Stop Pandora’s Next Top Mouthpiece

Eliminate all of the bandits in the Holy Broadcast Center.


Kill (Brand New) Mouthpiece

Eliminate the new Mouthpiece.


Play Mouthpiece’s Organ

Head to the Organ in the back of the room and interact with it.


Find the Secret Stash

Enter the newly opened door to the right of the organ to find the secret stash.


Return to Ellie

Head back to Sanctuary and talk with Ellie to complete the mission.


Guides

Borderlands 3 – Raiders of the Lost Rock

by Chappie in


Location: Sanctuary

Obtained: Talk to Claptrap in the Cargo Bay after completing the Going Rouge main mission

Objective(s):

  • Talk to Miles Brown
  •  Track Thief
  • Follow the Trail
  • Kill Jabbers
  • Collect 139.377 Brownrocks
  • Kill King Gnasher
  • Collect “Abigail”


Talk to Miles Brown

Head to Reliance in Floodmoor Basin on Eden-6 and talk to Miles Brown by the vending machines.


Track Thief

Head to the Ambermire entrance near the fast travel station and locate the 139.377 Brownrock near the small set of steps. Pick it up.


Follow the Trail

Keep following the path until you reach the vending machines. You will come across another 139.377 Brownrock to collect. Keep following the rock trail, collecting them as you go. Eventually, you will arrive at the central eastern part of the region in Curltail Warren.


Kill Jabbers

When the door opens, eliminate the Jabbers.


Collect 139.377 Brownrocks

Follow the path to locate the rocks on pedestals. Collect all four of them.


Kill King Gnasher

Eliminate King Gnasher and his followers.


Collect “Abigail”

Collect the rock that King Gnasher drops.


Return to Miles Brown

Head back to Miles and talk with him to complete the mission.


Guides

Borderlands 3 – The Kevin Konundrum

by Chappie in


Location: Sanctuary

Obtained: Talk to Claptrap at Sanctuary after completing the Hammerlocked main mission

Objective(s):

  • Investigate the Commotion
  • Take Freeze Gun
  • Freeze Kevin
  • Pick Up Kevin
  • Freeze and Capture Kevins
  • Dispose of Kevins


Investigate the Commotion

Follow Claptrap out of the room.


Take Freeze Gun

Grab the cryo weapon from the locker in the corner of the room.


Freeze Kevin

Equip Kevin’s Chilly and shoot Kevin until he’s frozen.


Pick Up Kevin

Collect the frozen Kevin.


Freeze and Capture Kevins

Head around the ship collecting the Kevins. We found them in the areas below.

  • Down the hall across from the golden key chest
  • Two by Marcus’ shop
  • In front of the infirmary
  • Sir Hamerlock’s Room
  • Top level at the back of the ship.


Dispose of Kevins

Put the Kevins in the trash shoot in the room to the right of the infirmary to complete the mission.


Guides

Borderlands 3 – Invasion of Privacy

by Chappie in


Location: Sanctuary

Obtained: Talk to Ava on Sanctuary after completing the Impending Storm main mission

Objective(s):

  • Go to Athenas
  • Retrieve Stuff
  • Retrieve More of Ava’s Stuff
  • Get Diary
  • Find Beans
  • Seriously, Find Beans
  • Not Kidding, Find Bean, It’s Super Important
  • Kill Beans
  • Find Hide-a-Key
  • Open Weapons Cache
  • Return to Sanctuary
  • Go to Ava’s Room
  • Return Ava’s Belongings
  • Talk to Ava


Go to Athenas

Head to Athenas to update the objective.


Retrieve Stuff

Follow the path forward to enter Stormhaven Square until you come to the first structure with vending machines in it. Collect Ava’s stuff from the trash pile.


Retrieve More of Ava’s Stuff

Keep following the path north to until you reach the first set of buildings leading into a small village. Collect Ava’s stuff that is lying on the ground.


Get Diary

Head through the village, dealing with the Maliwan soldiers as you go. Pass the bell to enter Windward Plaza and head up the small set of stairs. At the top, take a right and open the safe under a tree.


Find Beans

Keep following the path forward heading through another village filled with enemies. Pass another bell exiting the town to arrive in a search area. Look for a ripped page from Ava’s diary sitting on a couch and pick it up.


Seriously, Find Beans

Keep working your way down the path until you come to the part of Windward Plaza with a giant pipe running through it and part of the plaza will be submerged by water. Head through the water to reach the other side and up a flight of stairs. At the top of the stairs, take a right to find a really embarrassing page from Ava’s diary on a picnic table with a pink umbrella.


Not Kidding, Find Bean, It’s Super Important

Head to the Storm Brewin brewery located in the north-central area of the map. The next diary page is located on a table across from the bar counter.


Kill Beans

Go to the cemetery in Dido’s Remorse located east of the brewery to find Beans then take him out.


Find Hide-a-Key

Collect the key located on the east side of the cemetery next to an old run-down building along a fence.
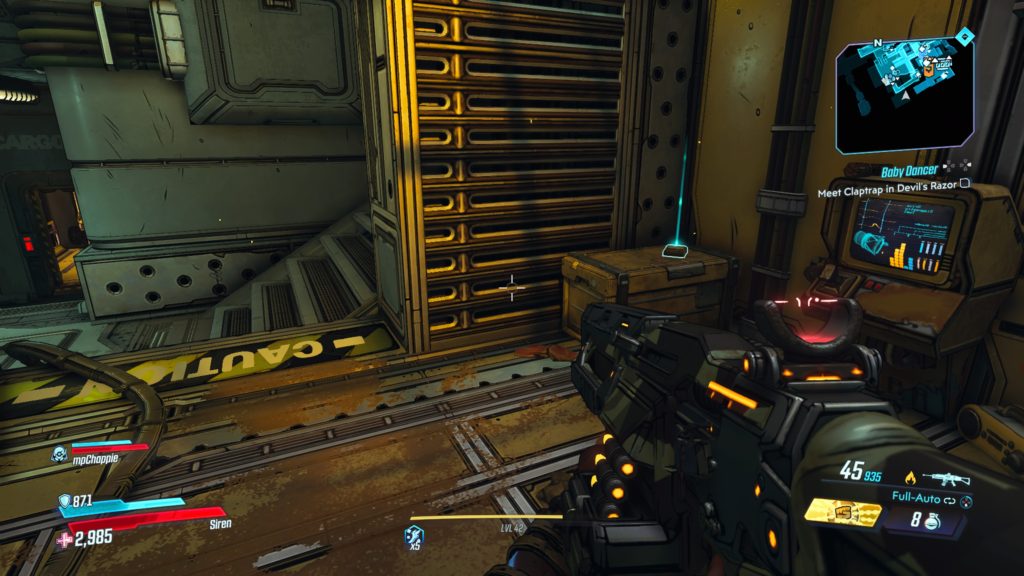
 

Open Weapons Cache

Head south following the fence until you reach a lit wooden sign pointing to the Academic District. Head behind the sign and follow the rocky path to reach the cache. Open the cache.


Return to Sanctuary

Fast travel back to Sanctuary.


Go to Ava’s Room

Once at Sanctuary, head to Ava’s room near the bridge of the ship.


Return Ava’s Belongings

Place Ava’s stuff in their spots in her room.


Talk to Ava

Talk to Ava to complete the mission.


Borderlands 3
Guides

Borderlands 3 – Sanctuary Echo Log Locations

by Chappie in


One More Mission

This log is located on the lower floor on a table in a small room near Marcus.  From Marcus’ location, turn around and head into a hallway, taking a left through a door.  Once through the door, take the first right to find the small room containing the log.


Reborn

This log is located on a table in Moxxxi’s bar.


Get In Line

This log is located on the top floor of the ship above the golden chest. See the map below for the exact location.


Morning Tea

The log is located on the south side of the ship in a storage room connected to the stairway leading to the cargo bay. See the map below for the exact location.


Guides

Borderlands 3 – Just a Prick

by Chappie in


Location: Sanctuary

Obtained: Talk to Tannis in the Infirmary of Sanctuary after completing the Hostile Takeover main mission

Objective(s):

  • Collect Empty Hypos
  • Return Hypos to Tannis’ Lab


Collect Empty Hypos

Work your way around the ship collecting the hypos for Tannis.

  • Near the right terminal across from the entrance of the Infirmary on a pipe
  • On the bar in Moxxxi’s near a lamp
  • Stuck in a poster near some bunks down the hall from the golden chest
  • In a gas pump near the Quick Change Station
  • Sticking out of the eye of a statue in Sir Hammerlock’s room
  • On a dart board behind a screen to the left of the door leading to the bridge
  • Under the stairs in front of Crazy Earl’s shop being used as a TV antenna
  • In Claptrap’s head


Return Hypos to Tannis’ Lab

Head back to Tannis in the Infirmary and talk with her to hand over the needles.


Borderlands 3
Game Guides

Borderlands 3 Guides

by Chappie in


Below are guides and walkthroughs for Borderlands 3.


Psycho Krieg and the Fantastic Fustercluck DLC


Bounty of Blood DLC


Guns, Love and Tentacles DLC


Moxxi’s Heist of the Handsome Jackpot DLC


Borderlands 3

Collectibles


Crew Challenges


Side Missions

Pandora – The Droughts


Pandora – Ascension Bluff


Promethea – Meridian Outskirts


Promethea – Meridian Metroplex


Promethea – Lectra City


Sanctuary


Promethea – Skywell-27


Promethea – Atlas HQ


Eden-6 – Floodmoor Basin


Eden-6 – The Anvil


Eden-6 – Jakobs Estate


Eden-6 – Voracious Canopy


Eden-6 – Ambermire


Pandora – Devil’s Razor


Pandora – The Splinterlands


Pandora – Carnivora


Pandora – Konrad’s Hold


Nekrotafeyo – Desolation’s Edge


Finished with the game but still want more? Check out our gift guide for Borderlands 3 here!


Astral Chain
Game Guides

Astral Chain Guides

by Chappie in

Below are guides and walkthroughs for Astral Chain.


Collectibles


Blue Side Cases

  • File 01 [Startup]
    • Highway Rescue
  • File 02 [Awaken]
    • Training with Jin
    • Can’t Be Too Careful
    • Crime Prevention
    • Civilian Unrest
    • Gate Disposal
  • File 03 [Link]
    • Down and Nerdy
    • Meet the New You
    • High Maintenance
    • Staying Healthy
    • Take a Load Off
    • Sanctuary
    • Winging It
    • Malfunctioning Robot
    • Quiz Kids
    • Quiz Kid Shuffle
    • A Drone’s Fate
    • Soccer Dreams
    • Locked In
    • Unknown Signal
    • Gate Disposal
  • File 04 [Siege]
    • Find the Perp
    • Stop the Bomb!
    • No Sense of Direction
    • Lost Cat
    • The Woman in White
    • Officer Rescue
    • A Helping Hand
  • File 05 [Accord]
    • Lappy’s Lament
    • Shocking!
    • The Escape Artist
    • The Best Medicine
    • Pickpocket Prevention
    • No Photography
    • Out from the Smoke
  • File 06 [Complicit]
    • Stay Informed
    • Graffiti Bust
    • The Lost Balloon
    • We All Scream
    • Lost Child
    • A Valuable Lesson
    • The Injured Lookout
    • Missing Dog
    • Lunchbox Delivery
    • Out to Dry
    • Berserk Drone
    • Child’s Play
    • Sector V Specialty
    • Buried Treasure
    • Re-Routing Power
    • Smells Like Trouble
    • Rubble Rescue
  • File 07 [Wild]
    • Joey’s Struggle
    • Lappy’s Regards
    • Brenda’s Concern
    • Technically, A Gift
    • Tabuchi’s Woe
    • Gate Disposal
    • Gate Disposal
    • Gate Disposal
    • Gate Disposal
    • Rubble Rescue
    • Gate Disposal
  • File 08 [Peace]
    • Graffiti Master
    • Back In The Day 1
    • Back In The Day 2
    • Back In The Day 3
    • Lappy’s Ultra Quiz
    • Picture Perfect
    • Gate Disposal
    • Gate Disposal
  • File 09 [Salvation]
    • Technical Difficulties
    • A Thief In Neuron?!
    • Gate Disposal
    • Little Lost Boy
  • File 10 [Madness]
    • Staying Informed
    • Olive’s Admirer
    • Fresh Air
    • Measuring Up
    • Special Delivery
    • Gate Disposal
    • Drifting Apart
    • Bad Medicine
  • File 11 [Reckoning]
    • Energy Drink
    • Legion Tricks
    • In Love Again