Talk to a guy with brown hair wearing a brown vest in Keynes’ Bookstore
Character Profiles
Elliot
Loves Music – Complete Elliott’s Bonding Event
Nicholas
Family Man – Complete the quest Substitute Tutor
Lotte
Cooking – Talk to Lotte in front of the upper class dorms after obtaining the recipe book
Fish
Swordtail
Trista Pond (behind Thors Academy)
Trista River (on a dock near the bridge connecting Thors to Trista)
Old Schoolhouse – Floor 2
Gray Crab
Trista Pond (behind Thors Academy)
Old Schoolhouse – Floor 2
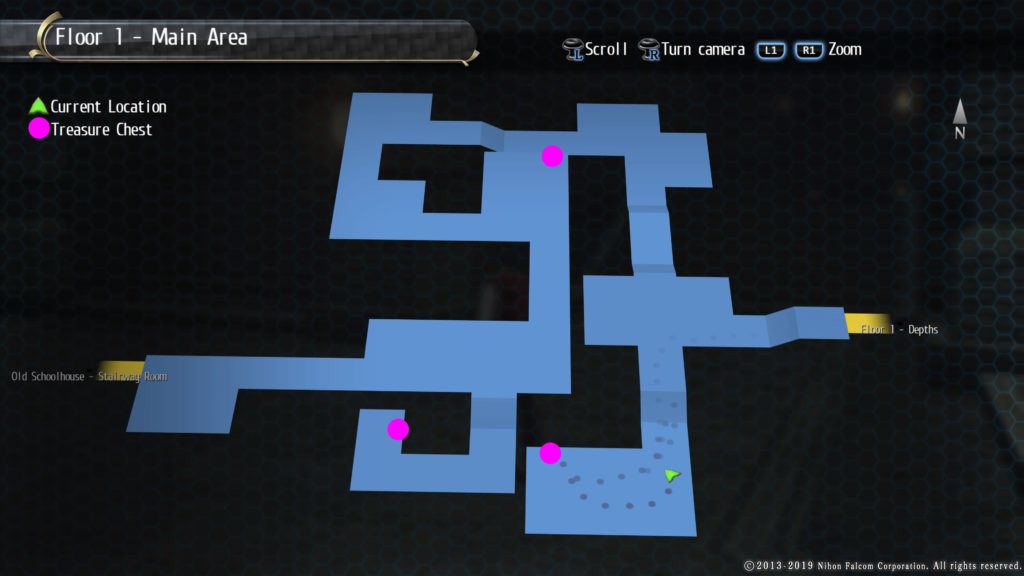
Monsters & Treasure Chests
Old Schoolhouse Floor 1 – Main Area
Monsters
Coin Beetle
Dastardly Amalgam
Dissolution Slug
Grass Drome
Pom
Treasure Chests
100 of Each Sepith
Curia Balm
White Glasses
Recipes
Simple Omelet
Reward during the required quest Orbal Delivery
Quests
Old Schoolhouse Mystery
Objective: Investigate the Old Schoolhouse
Head into the Old Schoolhouse to start the investigation
Defeat the Minos Demon
Return to the entrance and end the investigation
Reward: Seal
Old Schoolhouse Floor 1 – Depths
*Hard Mode Stats
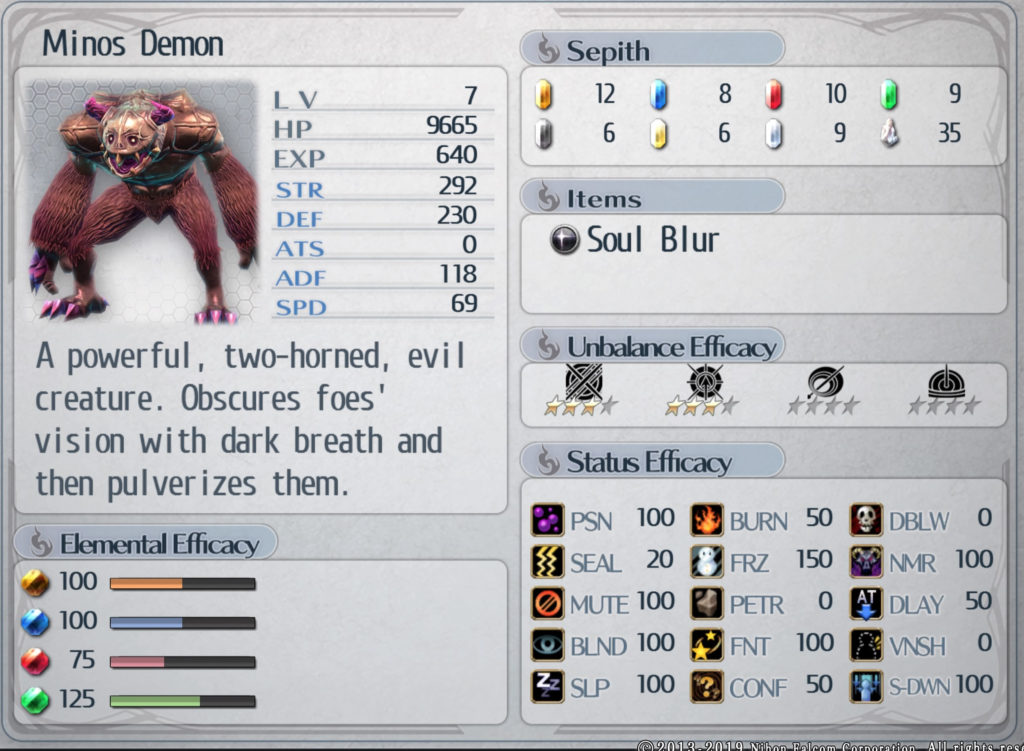
Boss
Minos Demon
Attacks
Dark Breath
A sweeping attack that can infect the blind status on anyone hit by it
Swipe Attack
Deals damage to the targeted party member
For this fight, I positioned Rean and Gaius on the left and right sides of the Minos Demon and let Elliot hang back where he started the fight. The strategy here is to let the monster focus on Gaius and Rean while they chip away at his health leaving Elliot to heal and deal damage using arts from a distance. I went into the fight with each party member having 200 CP. That allowed for Rean to buff his and Gaius’ attack using the Motivate Craft while Elliot kept using his Resounding Beat on Rean and Gaius for increased defense and a health regen each turn. The only real thing to watch out for is the Dark Breath attack that can blind one of your party members. Outside of that, this should be an easy routine fight.
Orbal Delivery
Objective: Talk to George in the Academy Engineering building
Deliver 3 orbal products for George
Orbal scale in Cooking Club
Give the scale to Nicholas in the Home Economics Room in Main Building 2F at Thors Academy
Received Recipe Book / Simple Omelet
Antique orbal lamp
Give the lamp to Micht at the Pawn Shop in the southeast part of the central shopping district
Received Blade Deck
Orbal wristwatch
Give the wristwatch to Michael at Radio Trista in the southwest part of the central shopping district
Talk to the receptionist at Radio Trista to have her call Michael
Reward: Orbal Radio
A Noteworthy Loss
Objective: Find the missing student notebook
Talk to Colette in the Student Union Building on the first floor.
Search Main Building 2F
The notebook is located in a sitting area near the stairs on the third couch.
You may need to stand behind the couch the notebook is on to be able to pick it up
Return to Colette
Head back to the Student Union Building and talk with Colette to complete the quest
Reward: Silver Chain
Story of Seasoning (Hidden Quest)
This quest can be found at Kirsche’s Cafe & Inn in Trista after completing the other 3 quests
Objective: Find some passion leaves for Fred
Talk to Fred
Head to the Home Ec Room at Thors Military Academy Main Building 2F
Talk to Nicholas
Head to the cafeteria in the Student Union Building
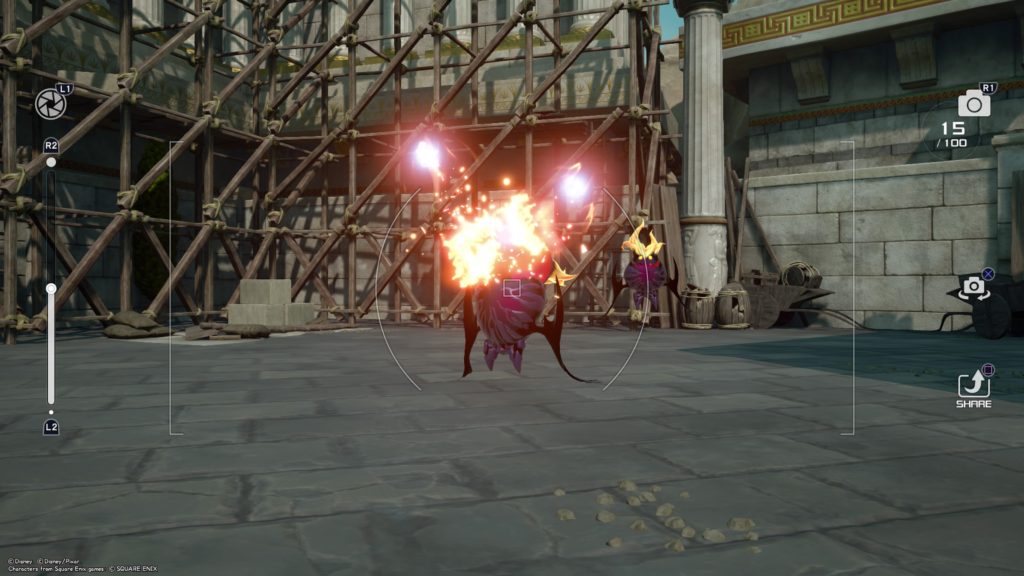
The Flame Core can be found in the Thebes / Overlo0k area of Olympus
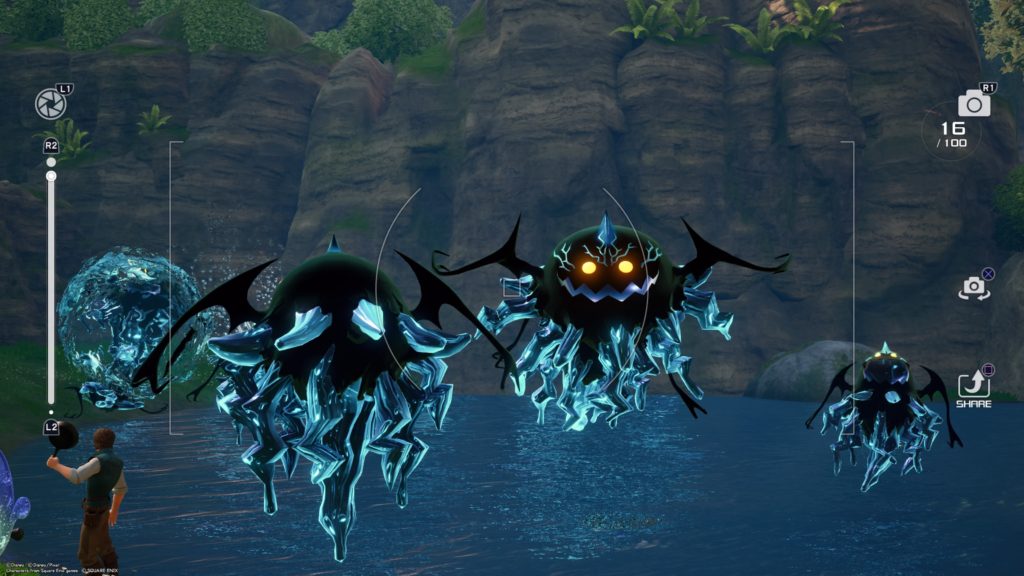
Take a photo of a Water Core (Kingdom of Corona)
From the Forest / Hills save point in the Kingdom of Corona, head to the giant pond to the north. Water Cores will spawn there.
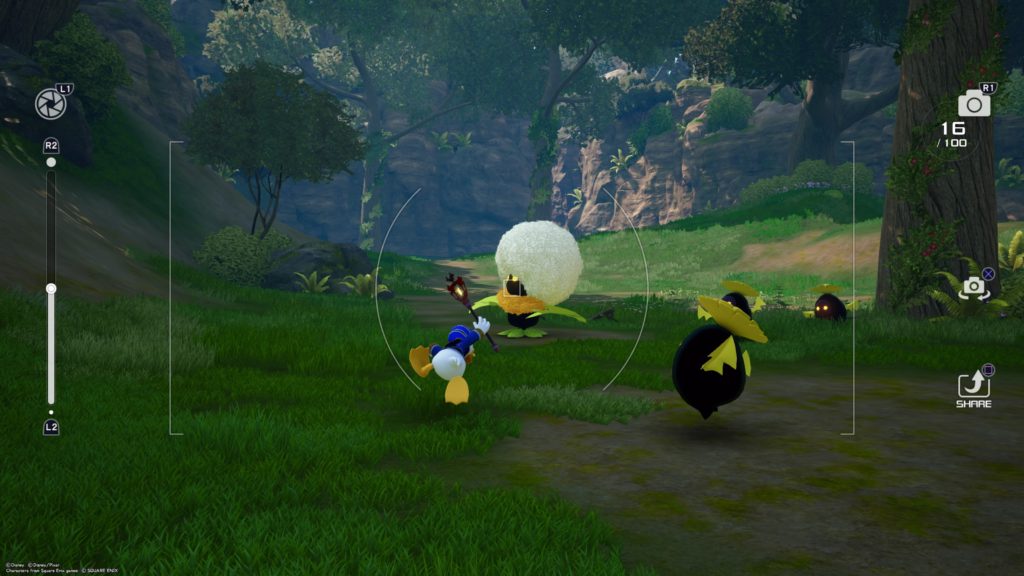
Take a photo of a Chief Puff (Kingdom of Corona)
From the Forest / Hills save point in the Kingdom of Corona, head north following the path to Corona. The Chief Puff will spawn around there.
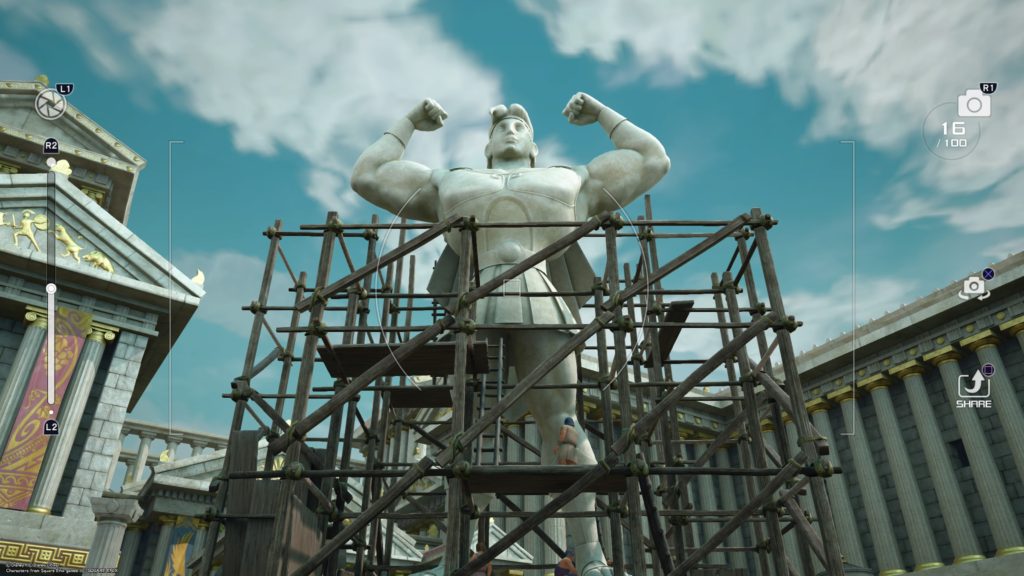
Take a photo of the Statue of Hercules (Olympus)
From the Thebes / Agora save point, head southeast into the middle of the courtyard to find the Hercules statue.
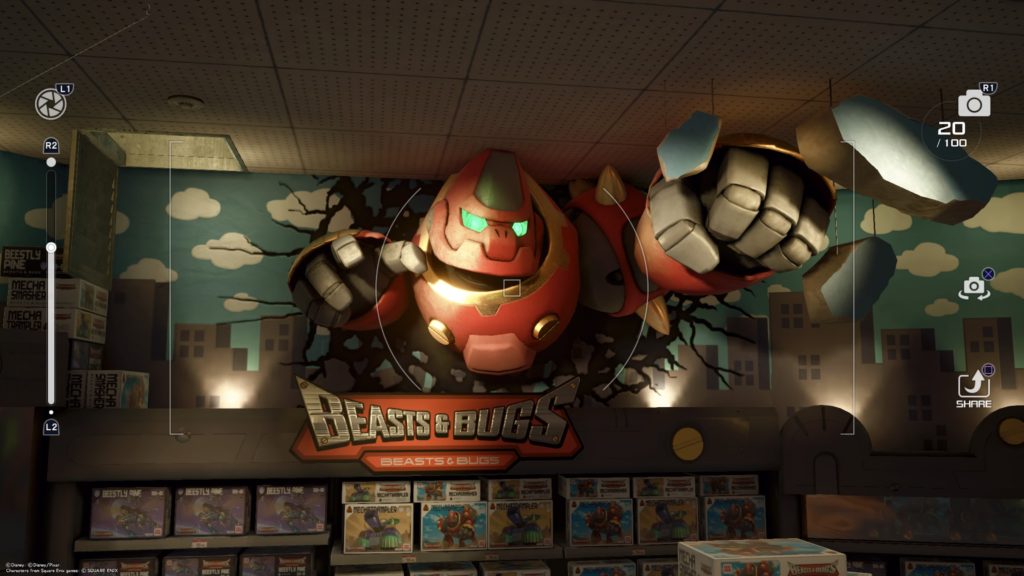
Take a photo of the big Beats & Bugs wall display (Toy Box)
From the Galaxy Toys / Rest Area save point, head to the north side of the 2nd floor to find the Action Figures store and enter it. The Beasts and Bugs wall display will be in the back right of the room (robot punching out of a wall).
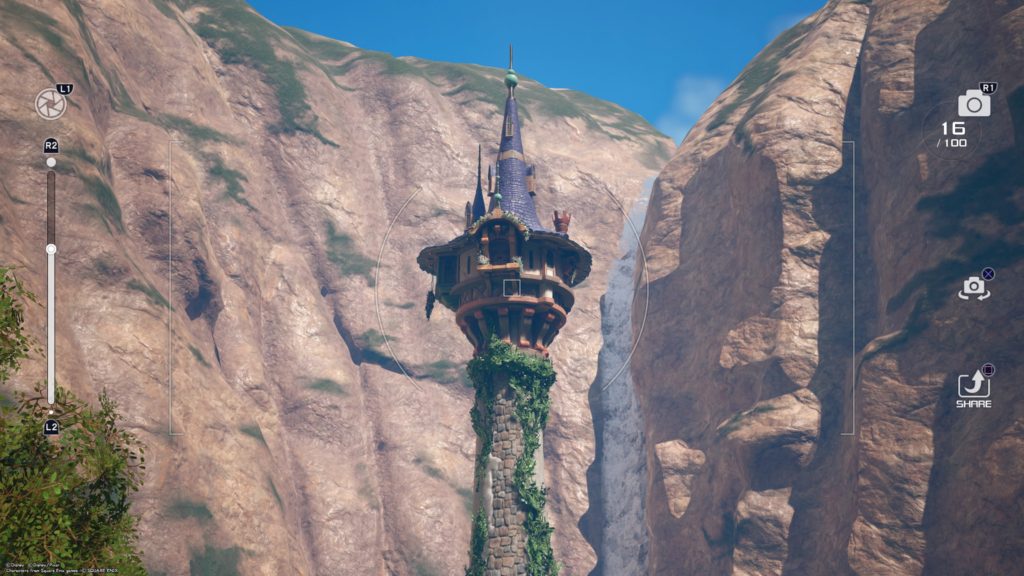
Take a photo of Rapunzel’s Tower (Kingdom of Corona)
From the Forest / Tower save point, head straight ahead (south) to find Rapunzel’s Tower.
Take a photo of the Festival (Kingdom of Corona)
From the Kingdom / Thoroughfare save point, head north down the market street to reach the plaza containing the portrait of the Royal Family. Take a picture of some of the citizens in the plaza.
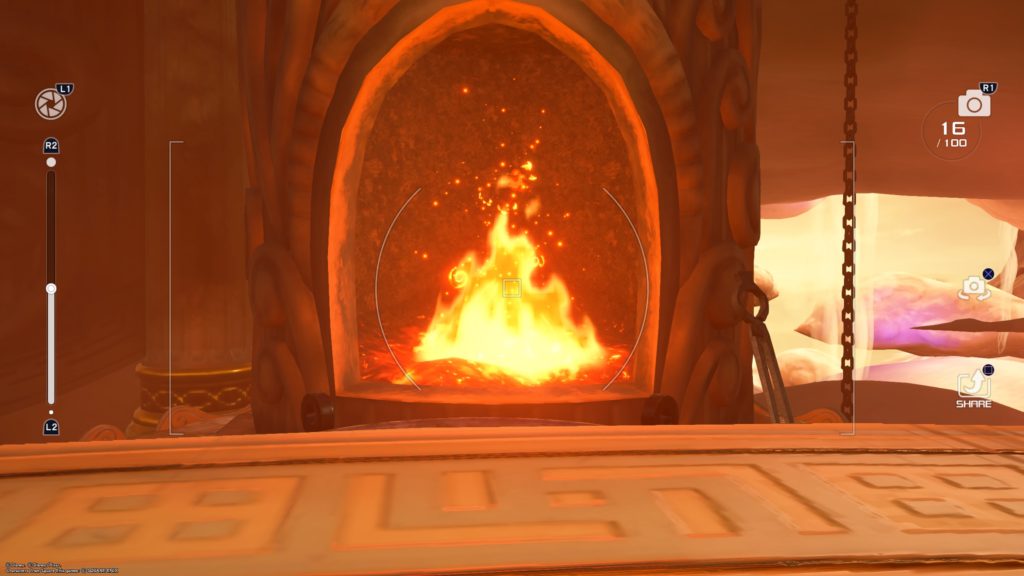
Take a photo of the fire in the Secluded Forge (Olympus)
From the Realm of the Gods / Corridors save point, head north up the stairs across from the save point and keep right. Pass the two pillars then take another flight of stairs up (you will pass a lucky emblem and a chest). Grind on the water stream / follow the hallway to come to a wider stream of flowing water heading southeast. Follow it to the edge and jump off into the clouds below to reach the secluded forge. The fire will be to the right of the forge in the middle of the room.
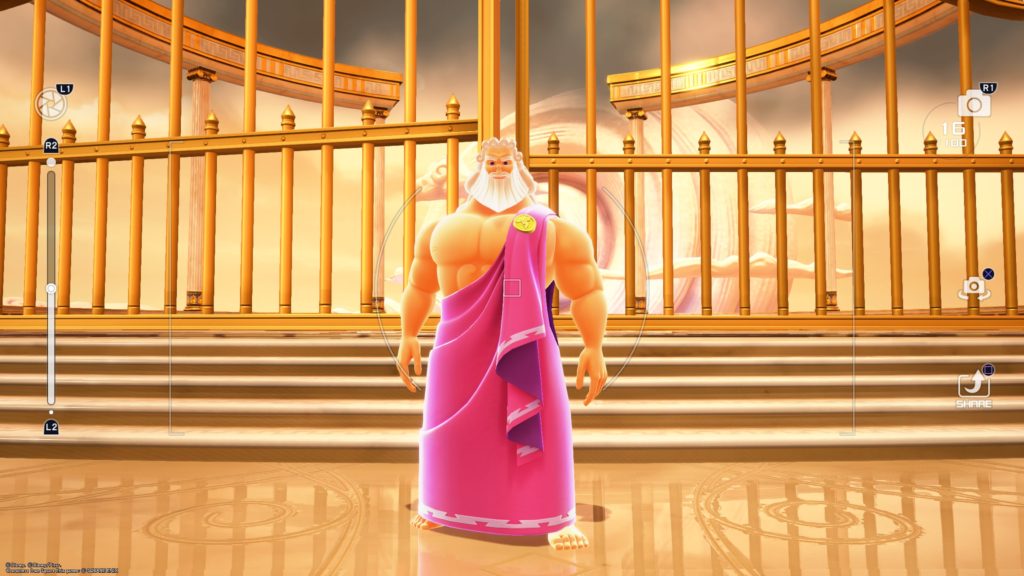
Take a photo of Zeus (Olympus)
From the Realm of the Gods / Apex save point head north to find Zeus in front of the Golden Gates.
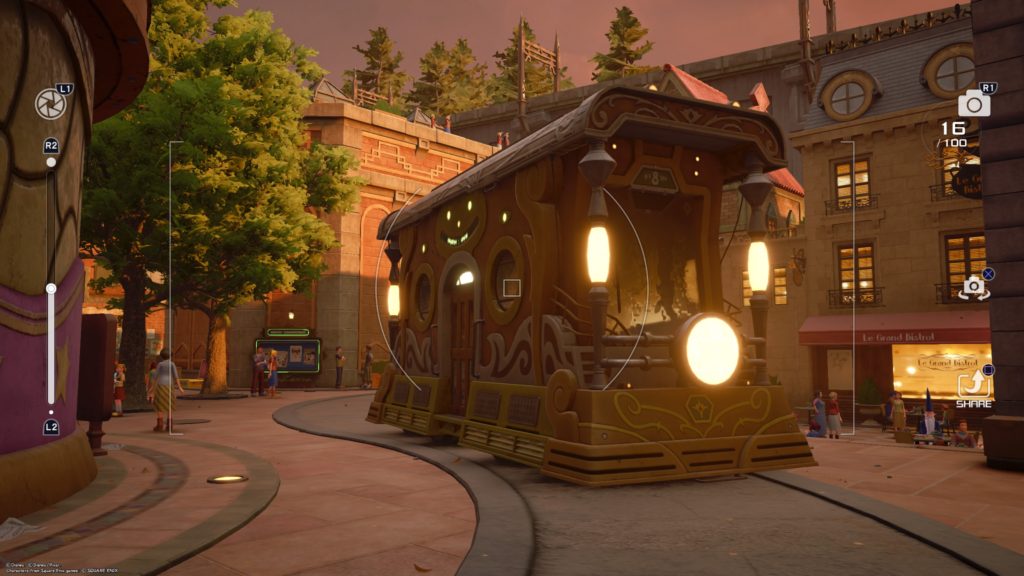
Take a photo of the Tram (Twilight Town)
From the Neighborhood / Tram Common save point, look around town for the Tram to snag a picture of it.
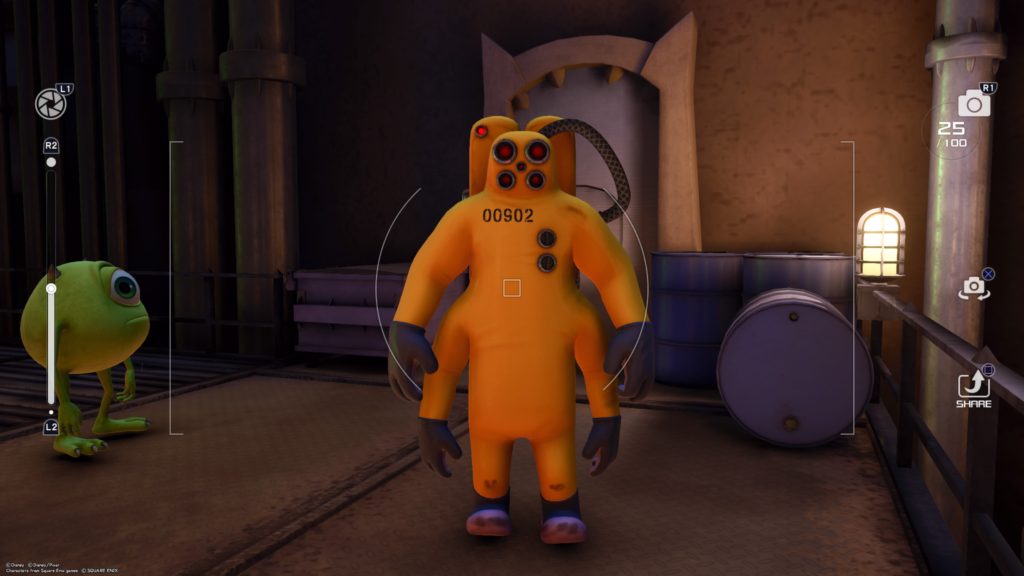
Take a photo of the CDA Agent (Monstropolis)
From The Door Vault / Service Area save point, head east to the Power Plant Vault Passage then up the stairs on the left. The CDA agent will be at the top.
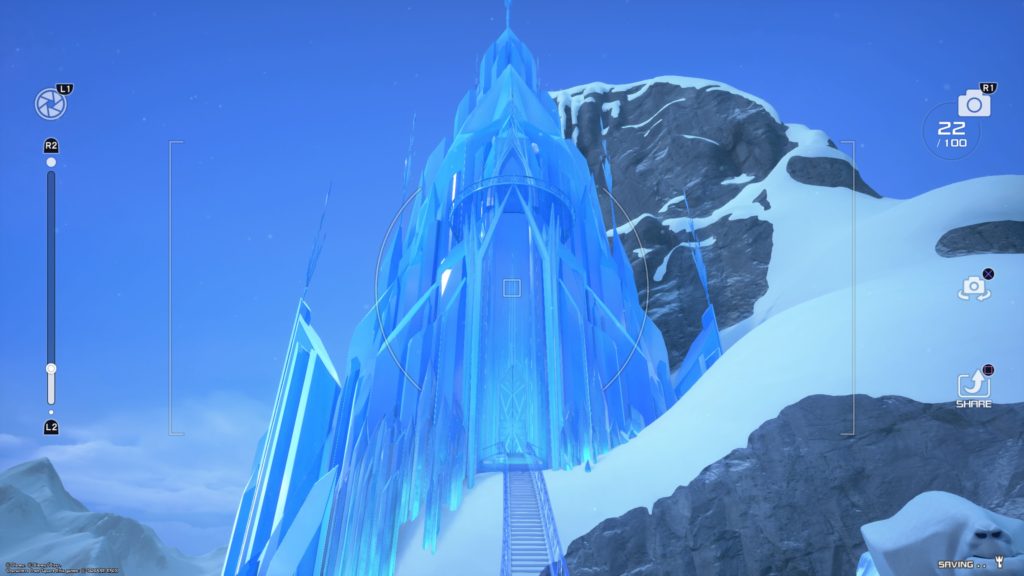
Take a photo of the Ice Palace (Arendelle)
From the North Mountain / Mountain Ridge save point, head straight (north) to snap a picture of the Ice Palace.
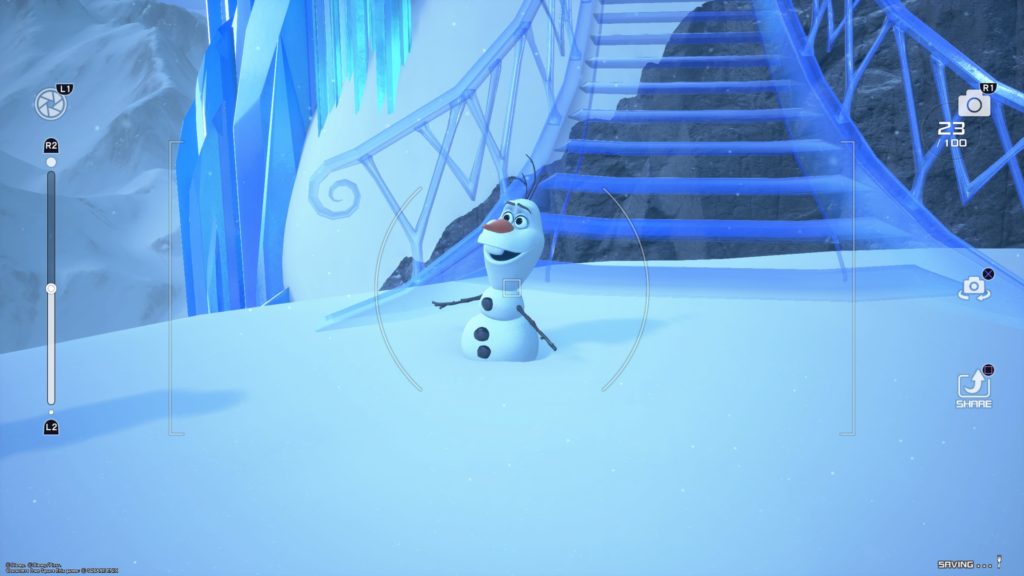
Take a photo of Olaf (Arendelle)
From the North Mountain / Mountain Ridge save point, head to the stairs leading up to the Ice Castle to find Olaf.
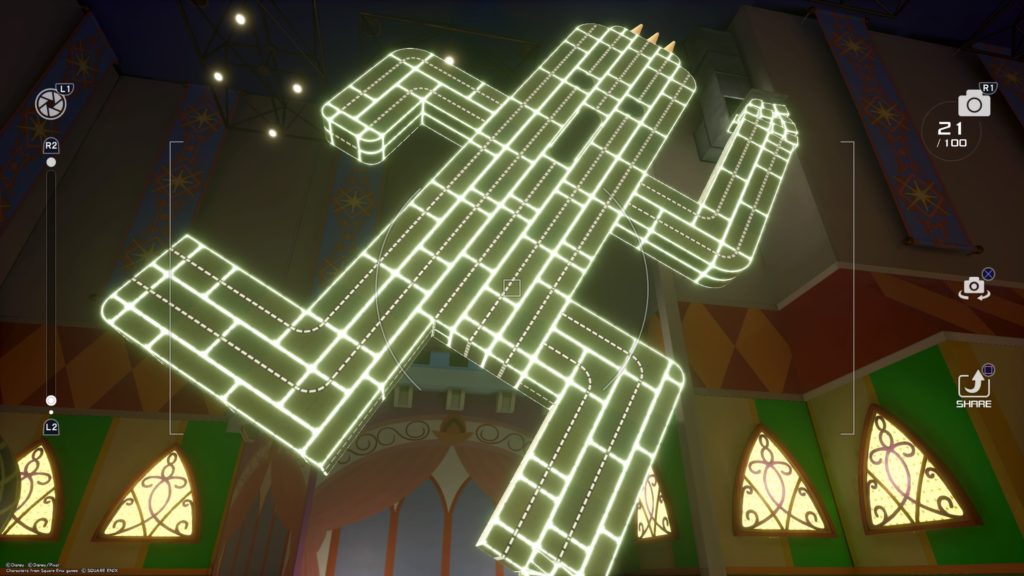
Take a photo of the Big Green Cactuar (Toy Box)
From the Galaxy Toys / Main Floor: 3F save point, head into the Kid Korral via the Play Place to find the Big Green Cactuar on top of the ball pit.
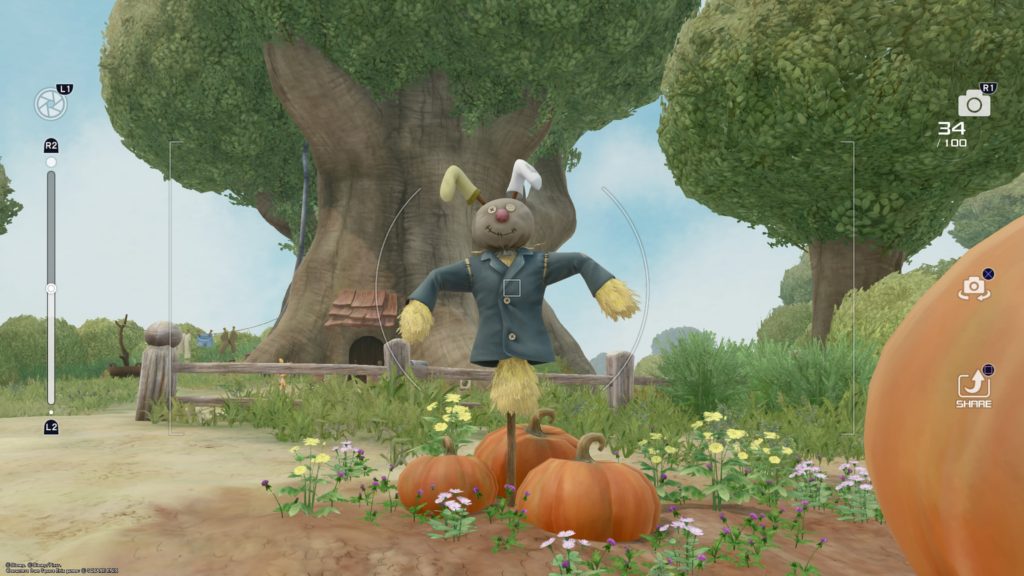
Take a photo of the Scarecrow in the fields (Hundred Acre Wood)
After entering the Hundred Acre Wood, follow the path to Rabbit’s Howse to find the scarecrow on the right next to a giant pumpkin.
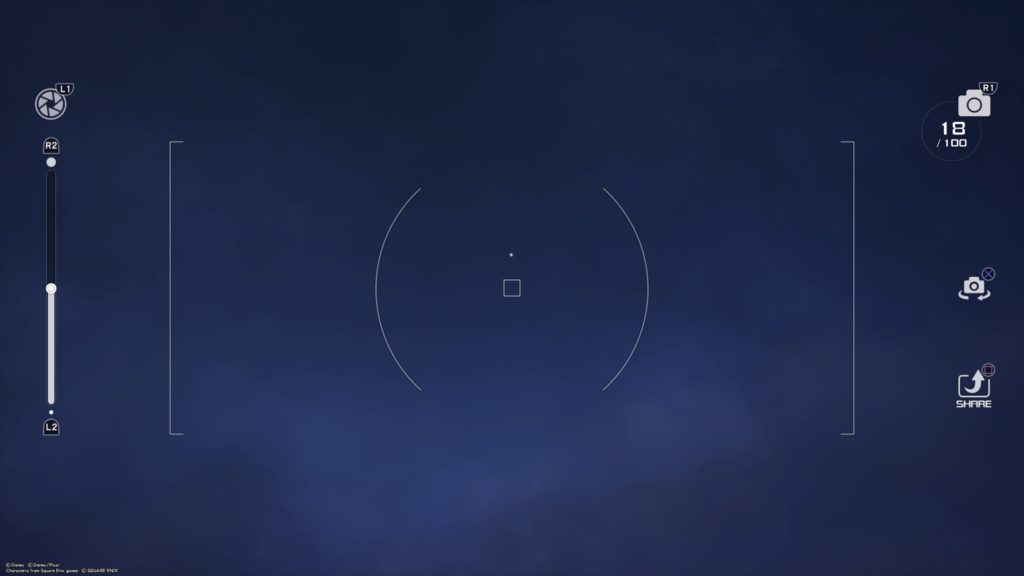
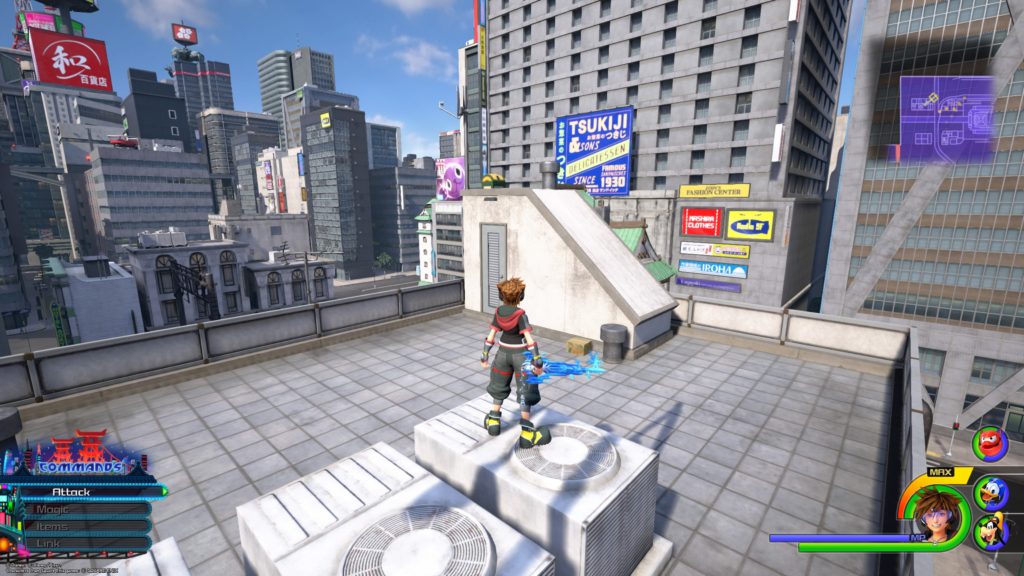
Take a photo of the Evening Star (San Fransokyo)
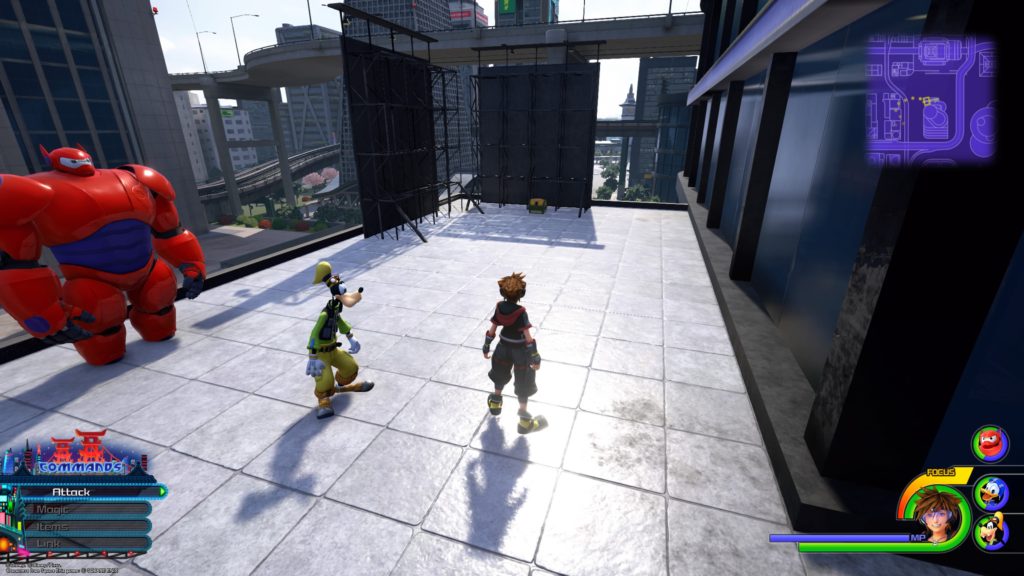
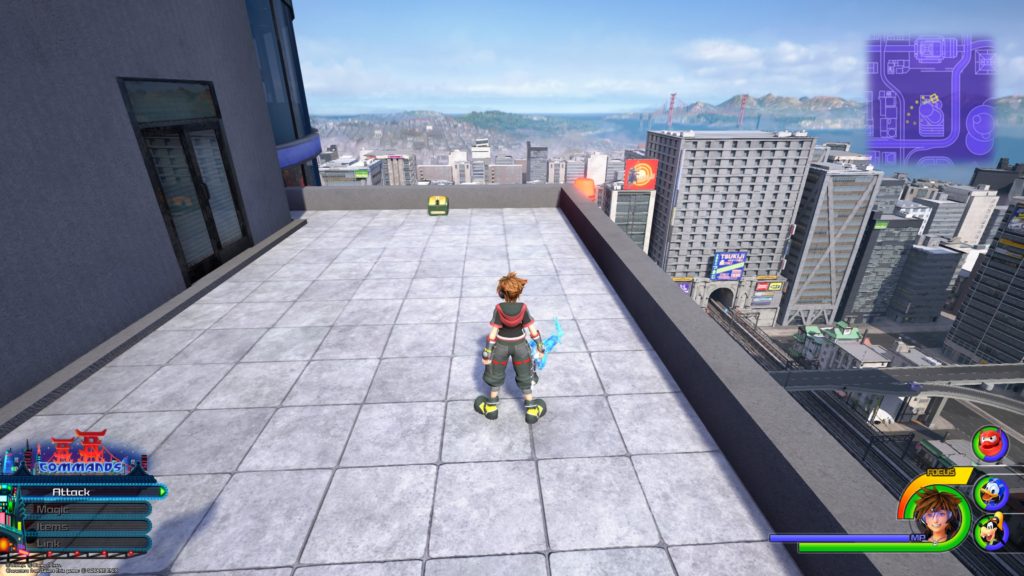
Head to one of the San Fransokyo save points at night and climb up to the rooftop of a tall building. Look up in the sky towards the northwest side of the map to find the evening star.
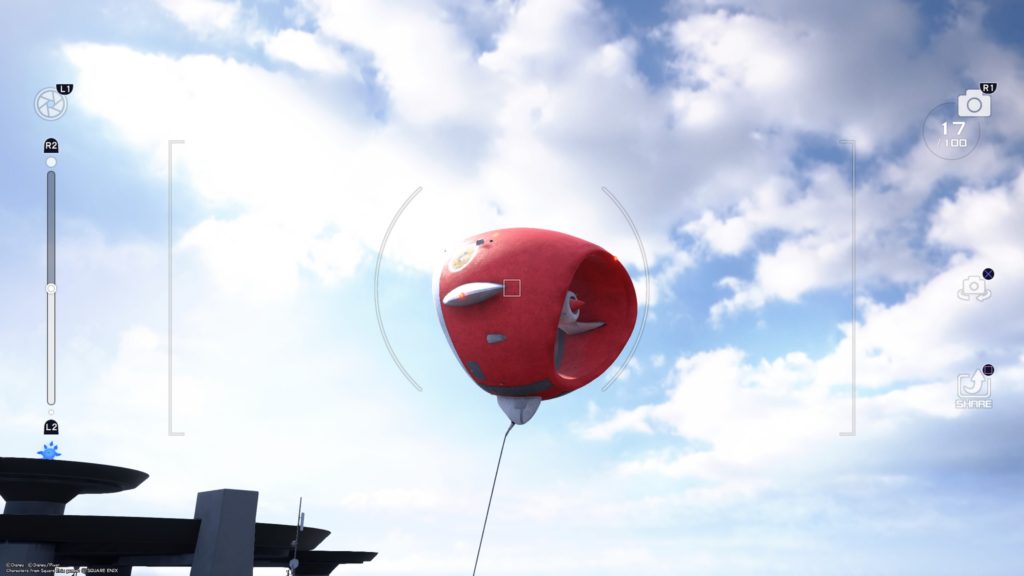
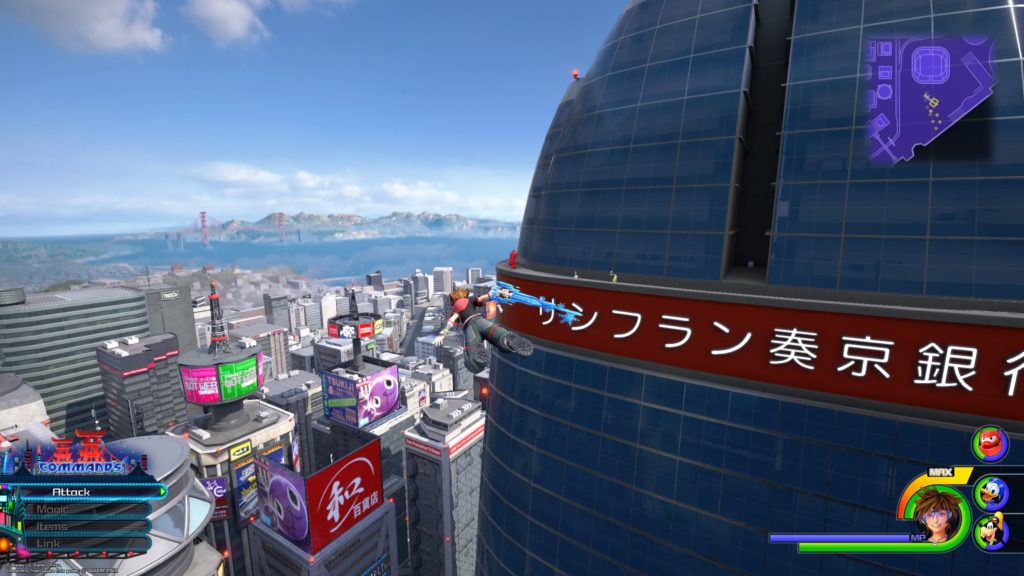
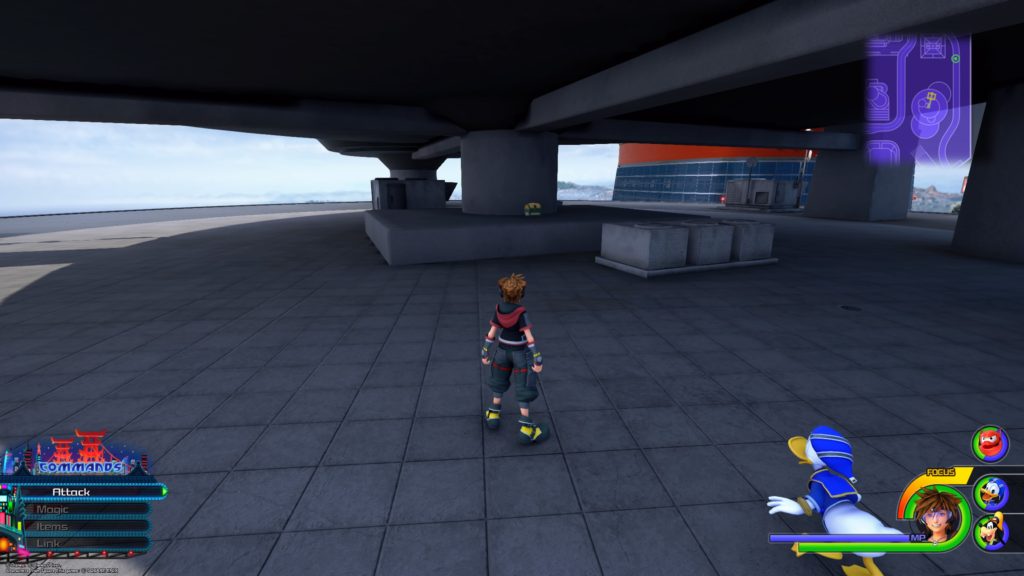
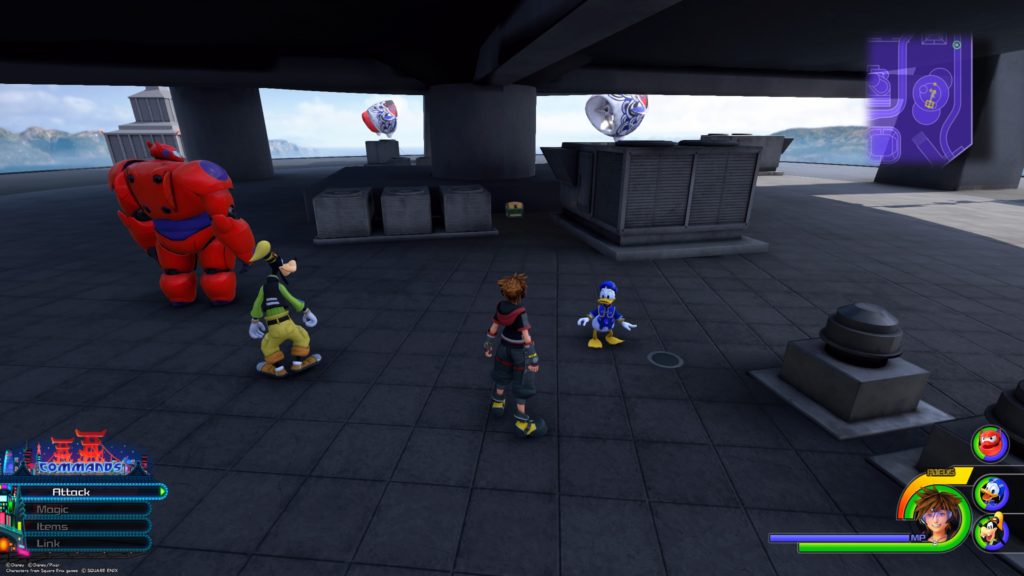
Take a photo of the Fish-Shaped Wind Socks in broad daylight (San Fransokyo)
Head to one of the San Fransokyo save points during the day and climb up to the rooftop of a tall building. Look for one of the floating red or white/blue fans and take a picture of it.
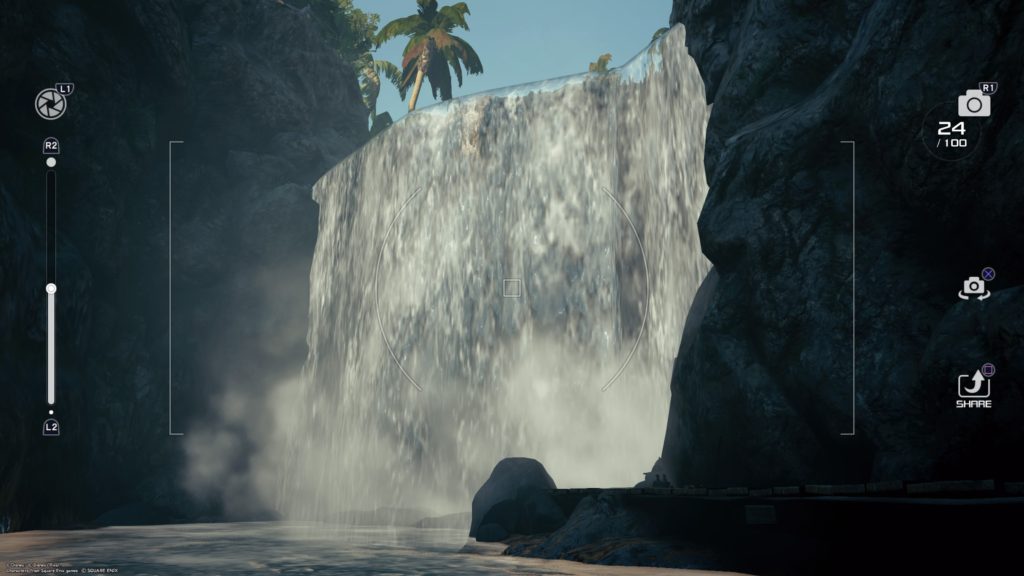
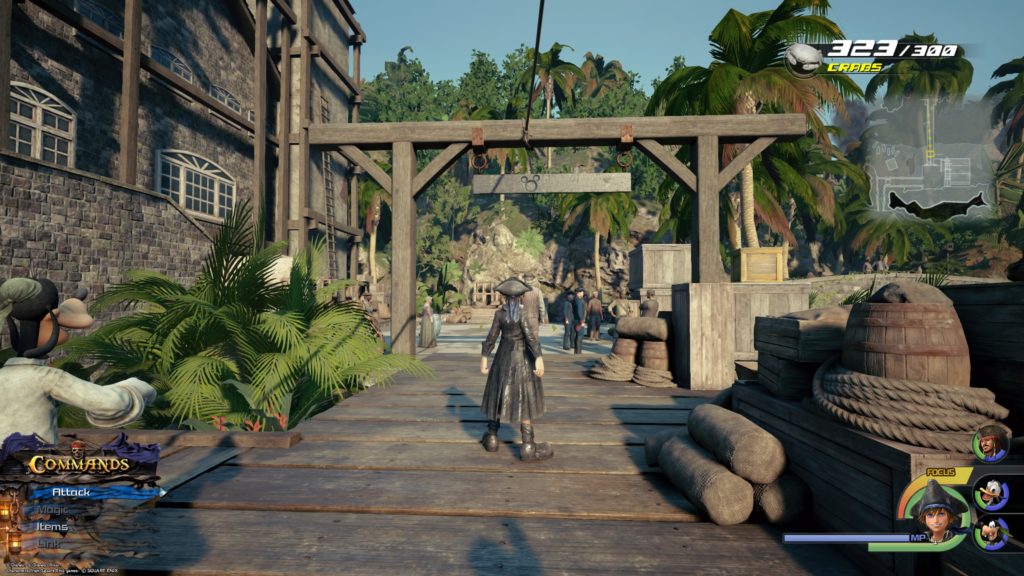
Take a photo of the waterfall in Port Royal (The Caribbean)
From the Port Royal Settlement save point, head south to the seaport and head east towards the fort. When you reach the bridge on the outskirts of the seaport, jump over the right (south) side of it and follow the stream to the waterfall.
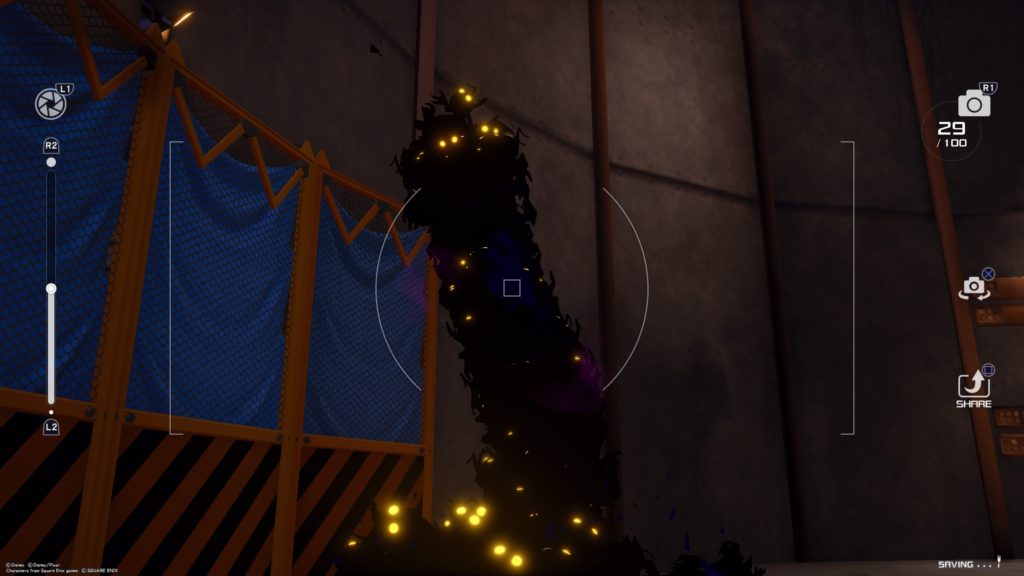
Take a photo of a Demon Tower (Monstropolis)
From The Door Vault / Service Area save point, head east to the Power Plant Vault Passage then keep heading east, taking a left when you get to the end. Climb out the climbable wall and into the hole leading to the Tank Yard. Activate Battlegate 8 to get the Shadow Wall to spawn.
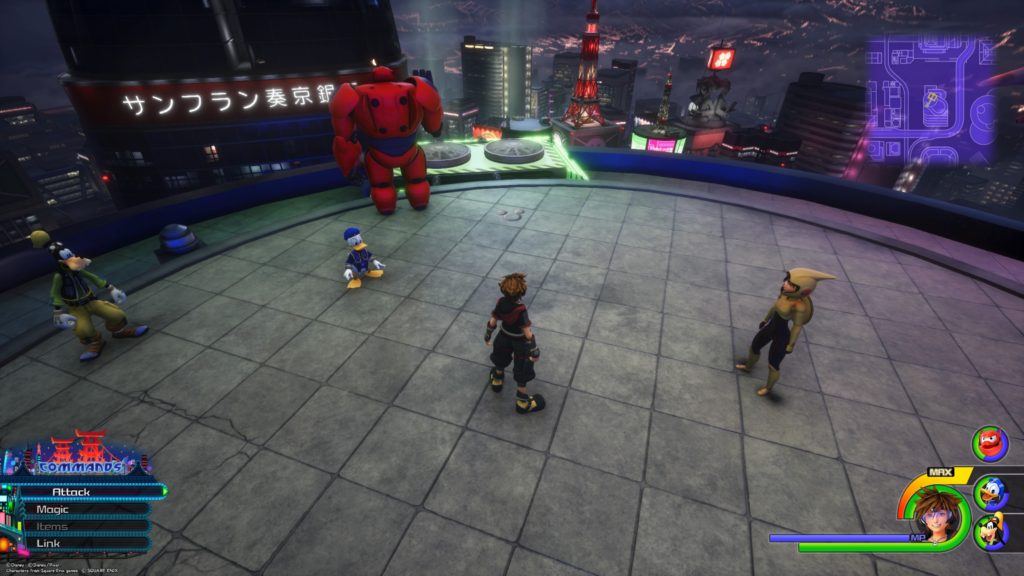
Take a photo of Sora’s Teammates (All the worlds)
To complete this mission, you will need to take a photo of each member of Sora’s party listed below.
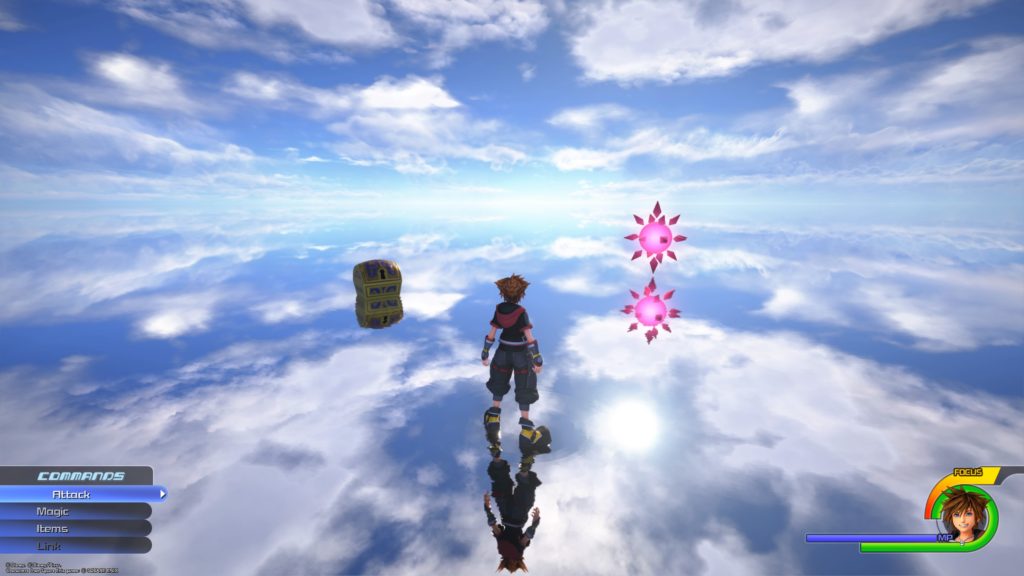
Head to the Keyblade Graveyard / The Badlands and use the red spiky sphere there to travel to The Final World. The chest will be in front of you next to another red spiky ball.
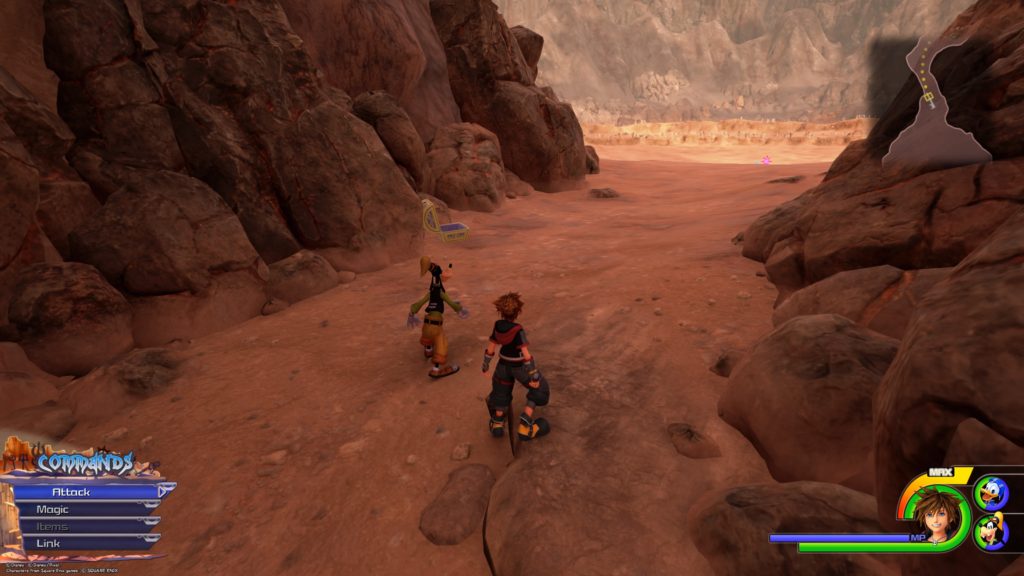
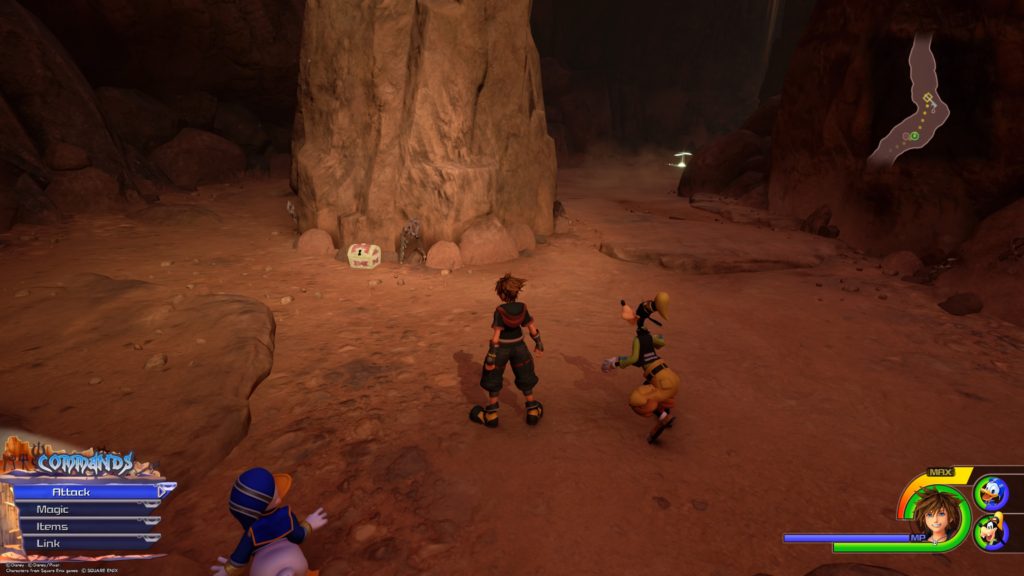
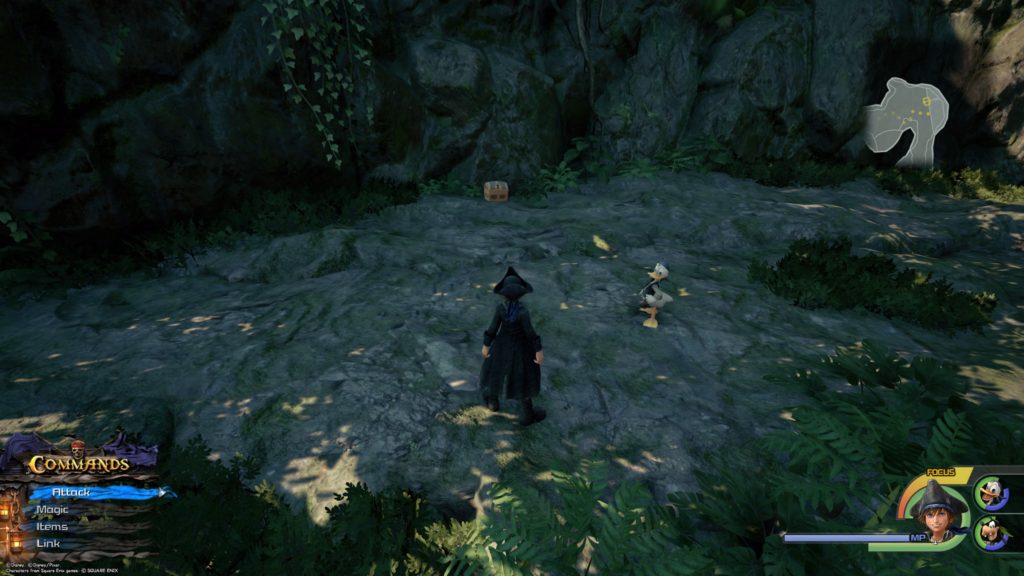
From the Badlands save point, head south to find the chest at the entrance of the cave on the left.
Cosmic Belt
From the Badlands save point, head north to find the chest on the other side of the large pillar.
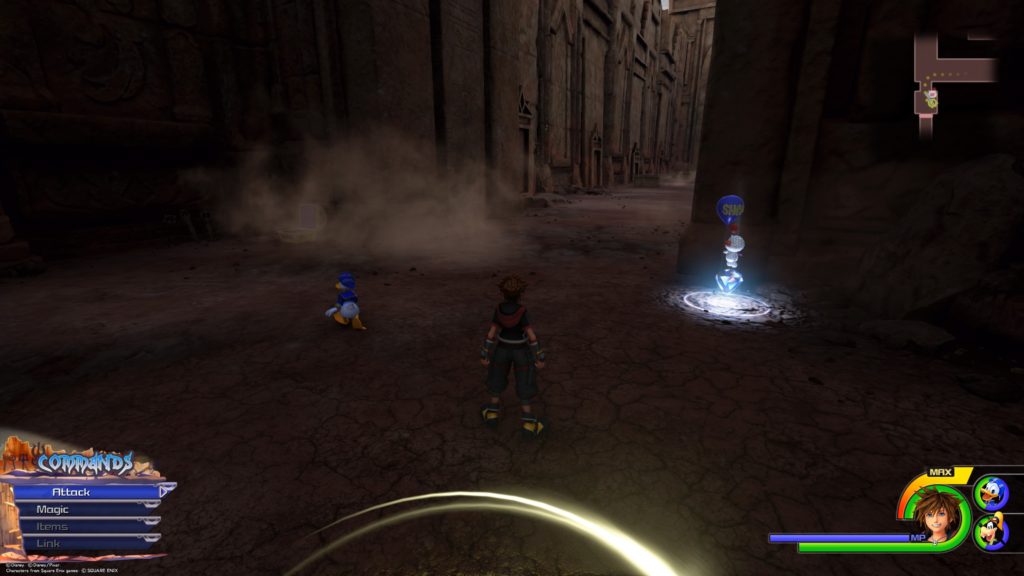
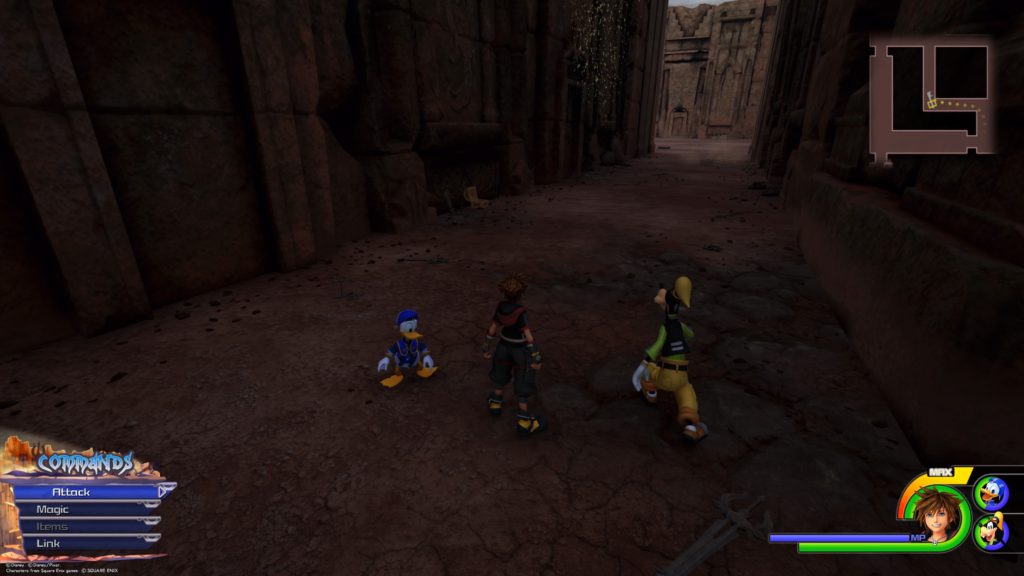
The Skein of Severance / Trail of Valediction
Map: The Skein of Severance
This chest is located across from the Trail of Valediction save point near a stone doorway.
Megalixir
From the Trails of Valediction save point, head north through the doorway and take a right. Follow that path down into an open room. From there, swing left and take the top left path. Follow it to find the treasure chest.
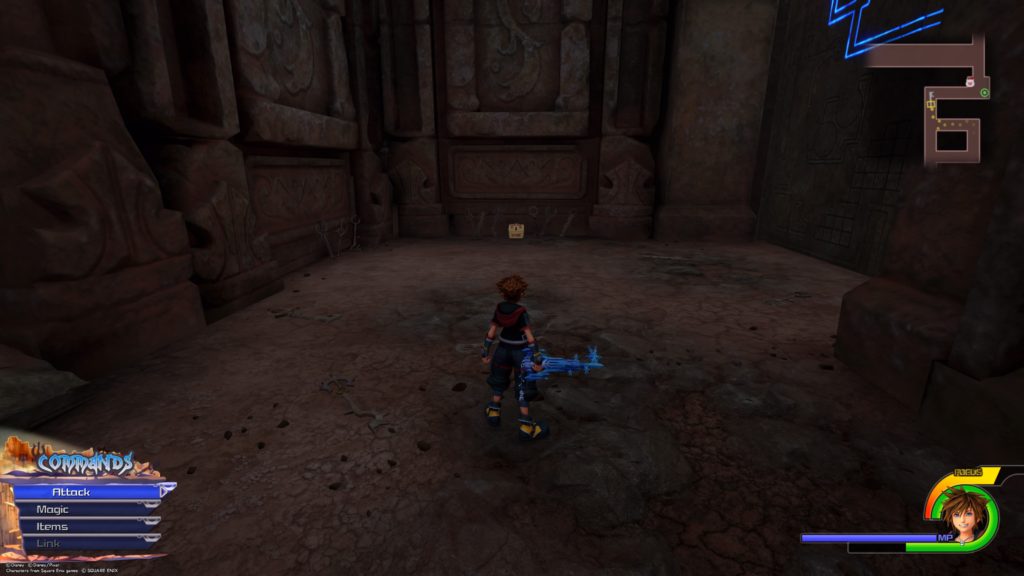
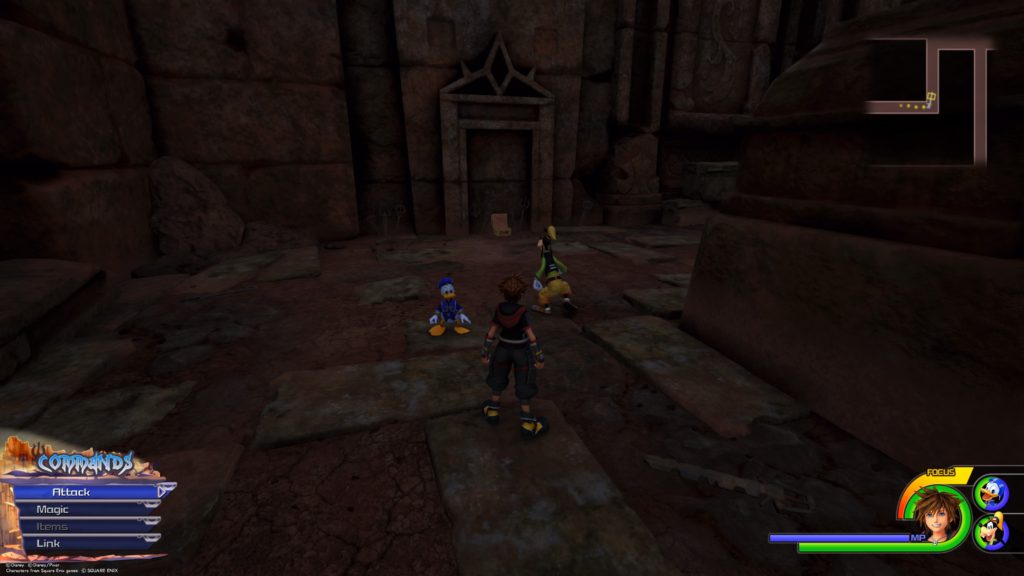
The Skein of Severance / Twist of Isolation
Mega-Potion
This chest is west of the Twist of Isolation save point.
Mega-Ether
From the Twist of Isolation save point, head north through the doorway and keep heading north into the next main area where you helped Kairi and Axel. Turn left and take the other tunnel south to find the chest straight ahead.
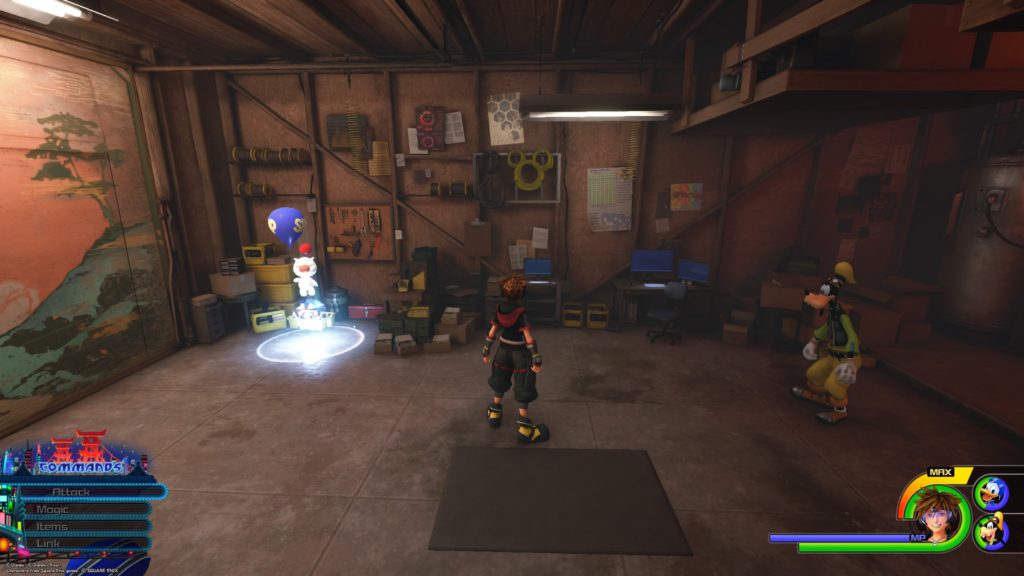
The emblem is made out of a yellow cord hanging on the wall to the right of the Moogle shop.
The City / South District
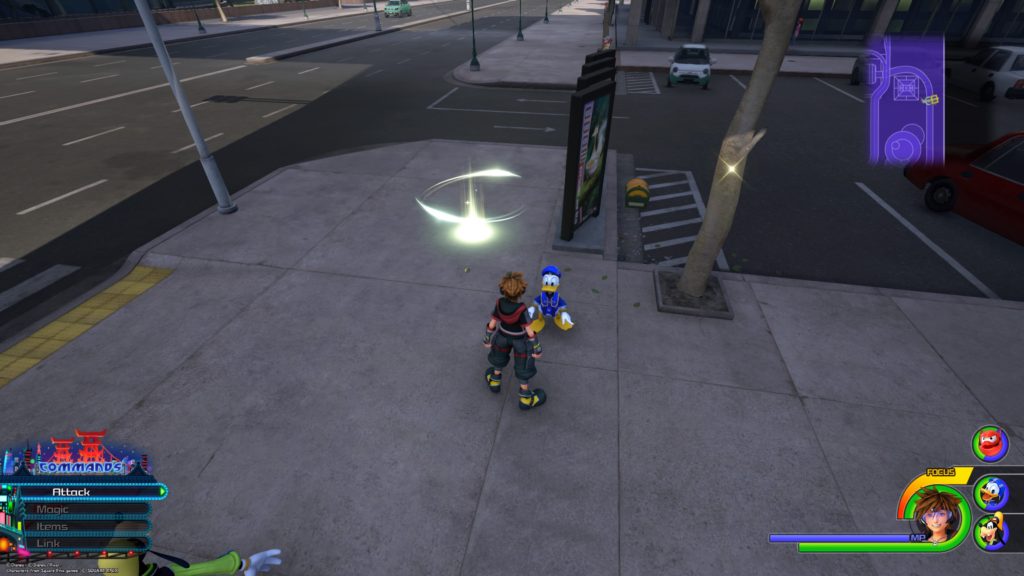
Lucky Emblem 2
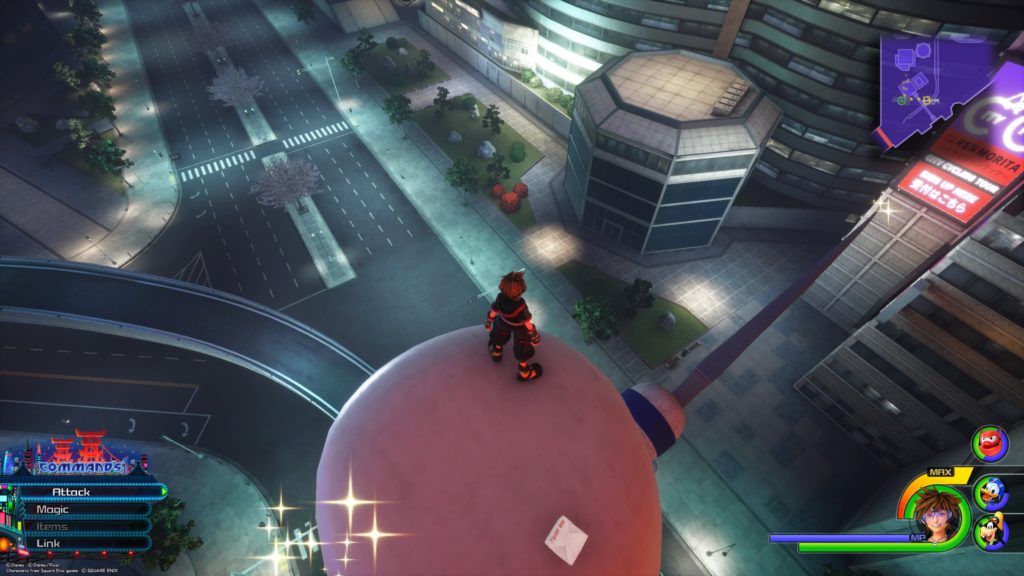
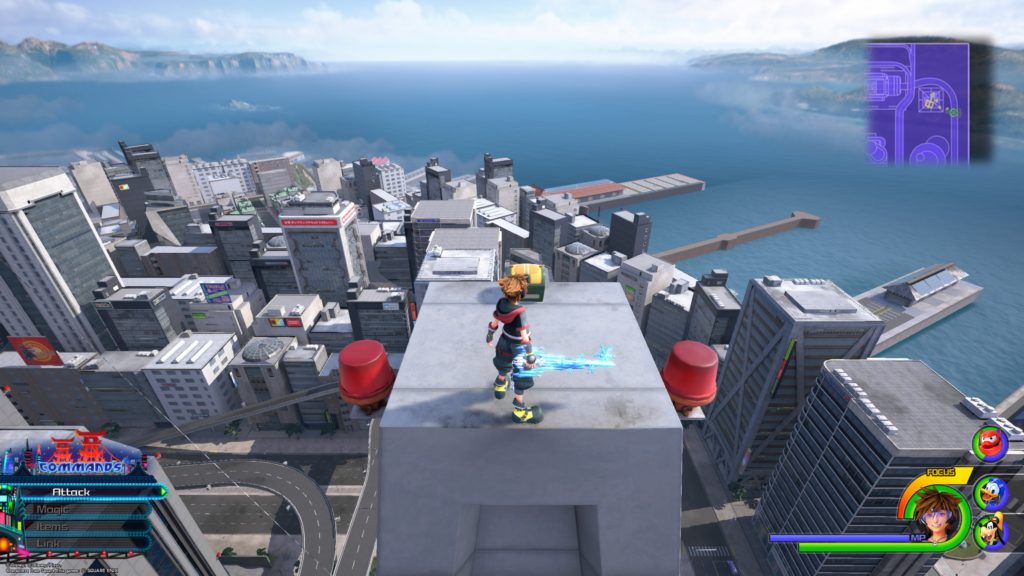
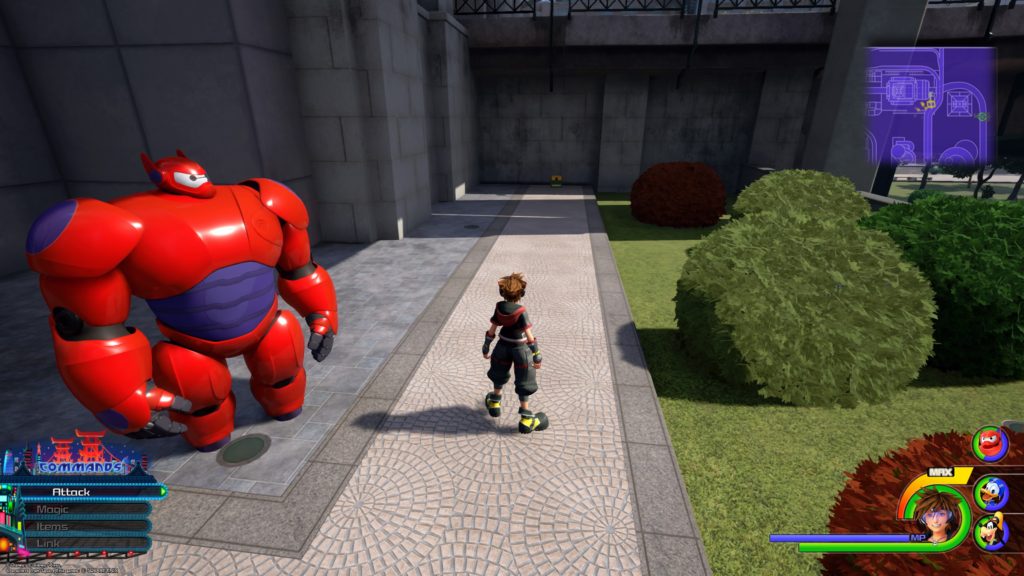
From the South District save point, take the ramp to the nearby highway until you reach the giant chef. Climb up to the chef’s hat and look east to find the emblem on the ground formed by three red bushes.
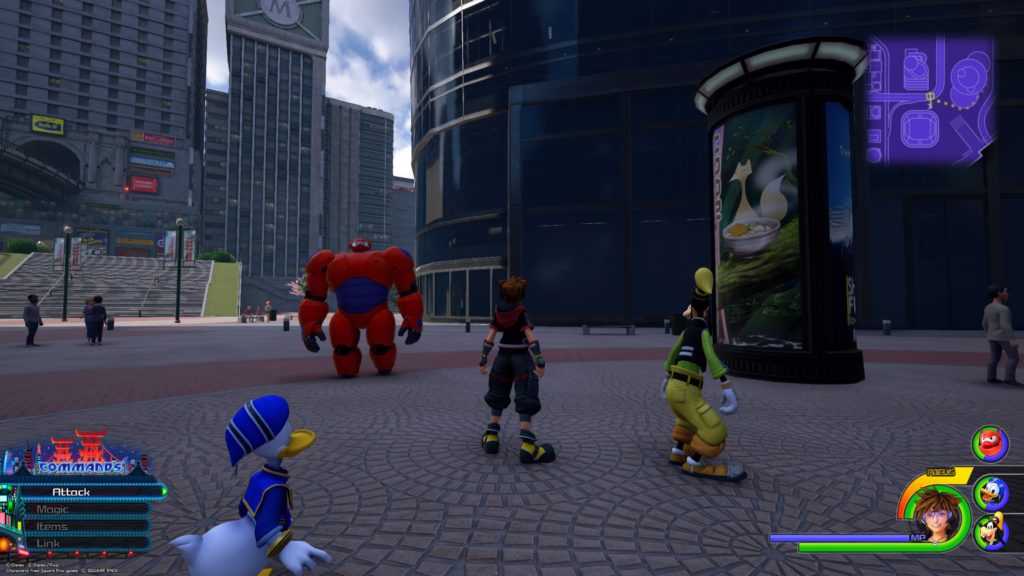
Lucky Emblem 3
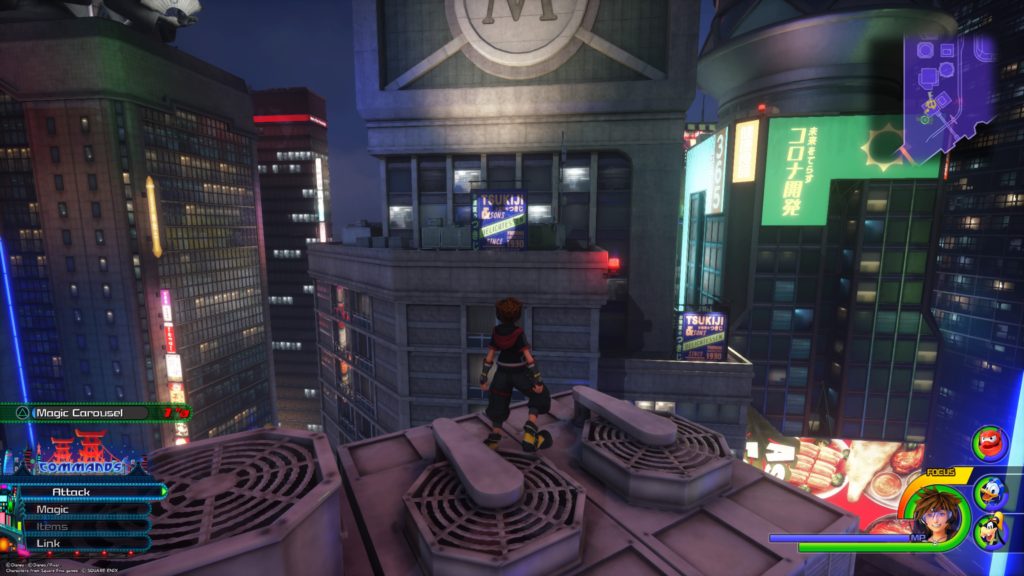
Note: This emblem is only reachable at night. From the South District save point, climb up the wall and look at the building across the street (north) with a giant M on it. The emblem will be a blue advertisement projected onto the building.
Lucky Emblem 4
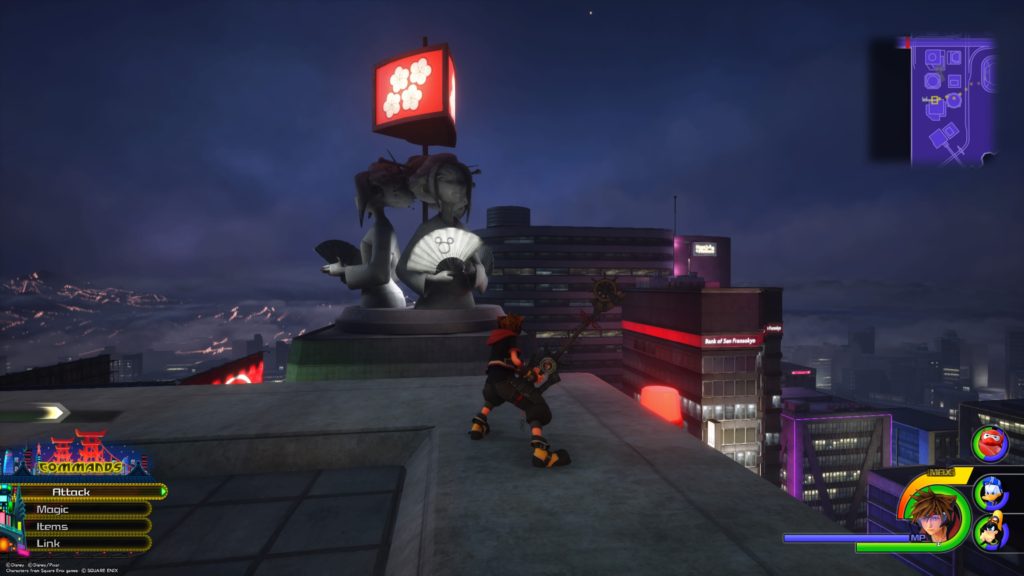
Head to the rooftops north of the South District save point in the South District and look for the giant statue of the three ladies holding folding fans. The emblem is on one of the fans.
The City / North District
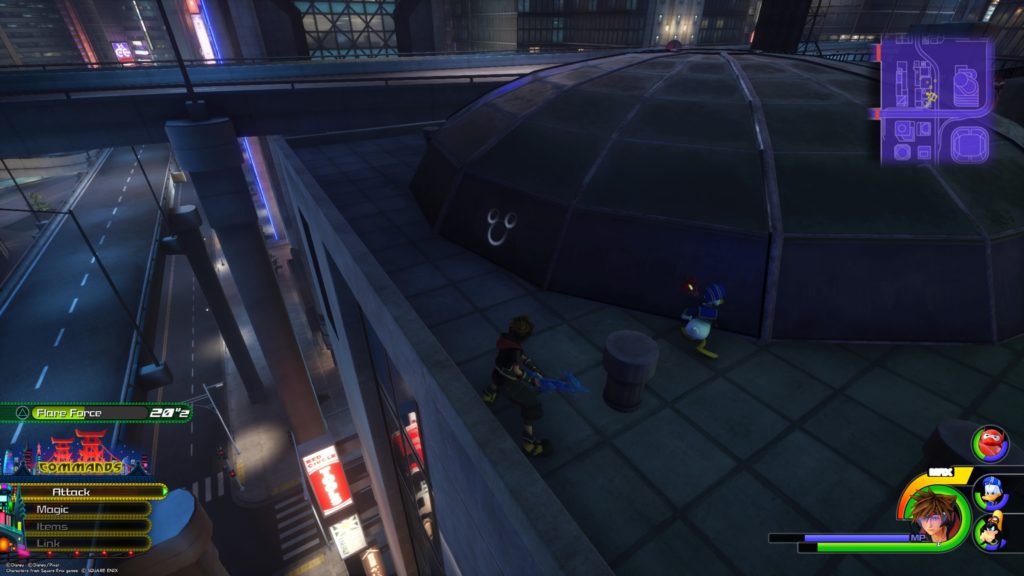
Lucky Emblem 5
From the building with the metro running through it, head to the roof of the building across from it (south). Jump off the west end of the building, aiming for the domed roof across the street. The emblem will be on the side of the dome.
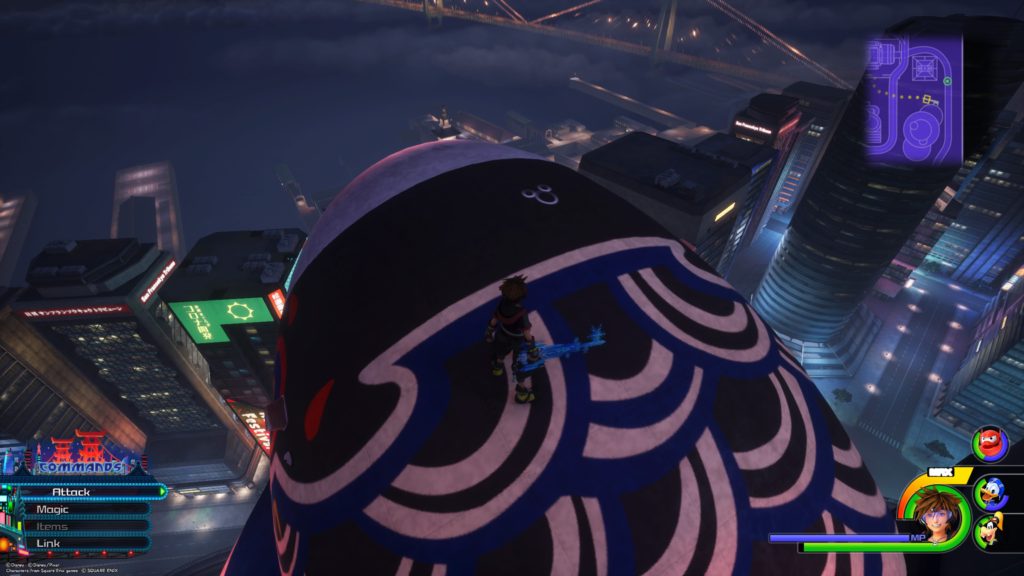
Lucky Emblem 7
The emblem is way up in the sky on top of the blue fan slightly southwest of the North District save point.
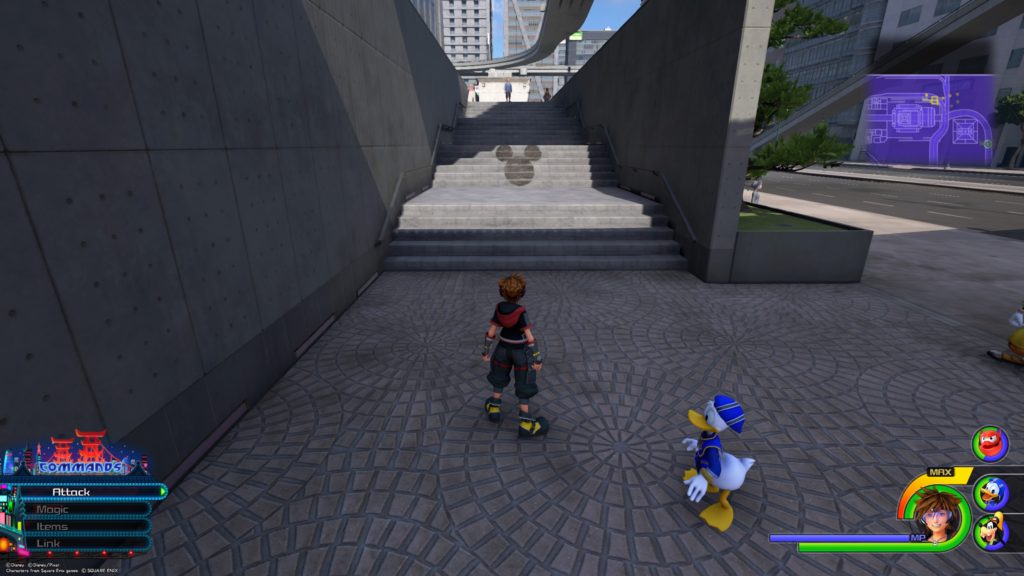
Lucky Emblem 8
The emblem is located on the stairs of the building with the metro tracks running through it.
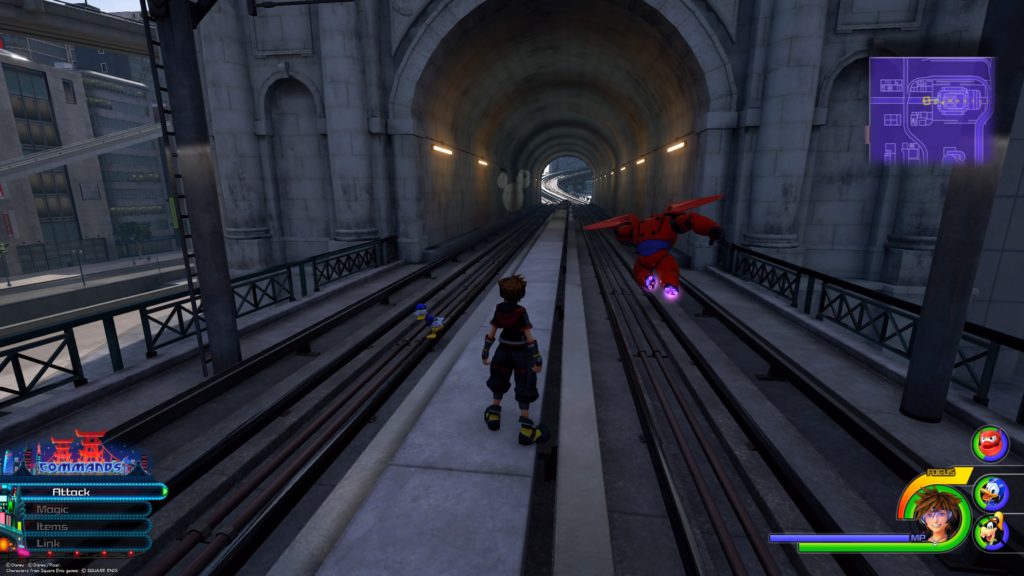
Lucky Emblem 9
The emblem is a shadow in the metro tunnel of the second building northeast of the North District save point.
Lucky Emblem 10
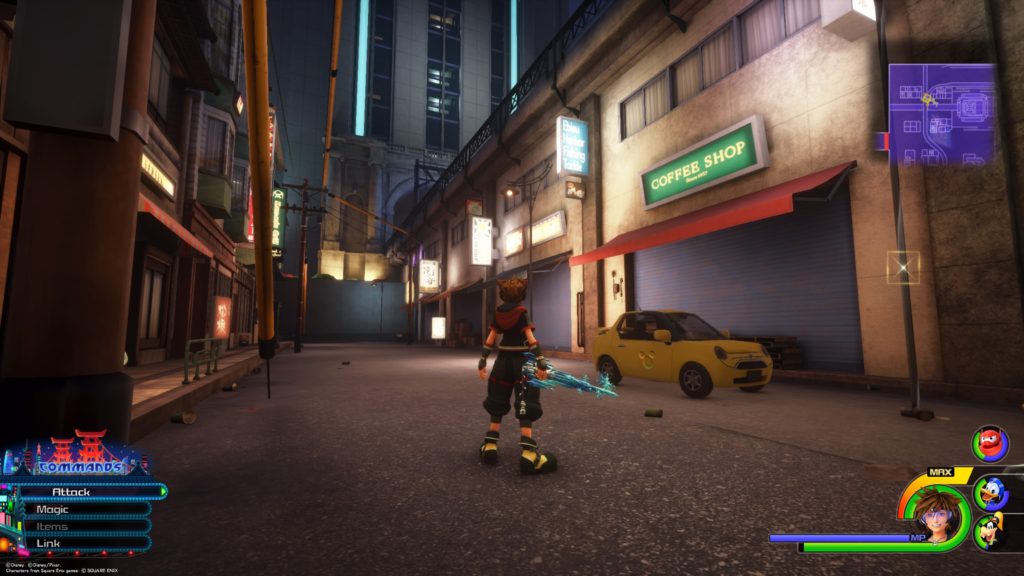
The emblem is located on the side of the yellow car parked in front of a Coffee Shop next to the metro tracks in the northwest most corner of the map.
Lucky Emblem 11
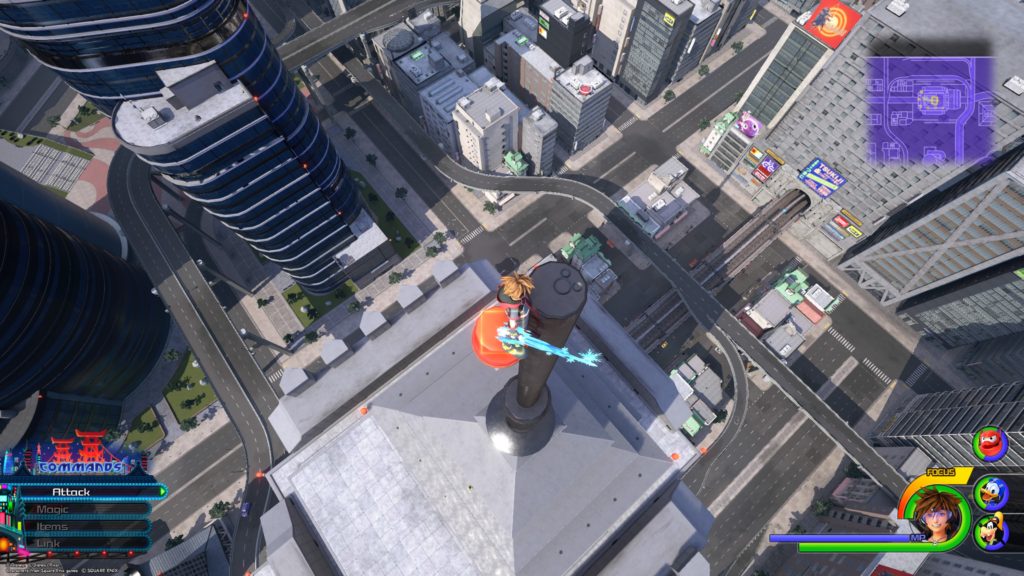
This emblem is located at the very top of the antenna/point of the building with the metro running through it.
The City / Central District
Lucky Emblem 6
The emblem can be found in the roof tiles located at the very top of the tall building south of the building with the metro running through it.
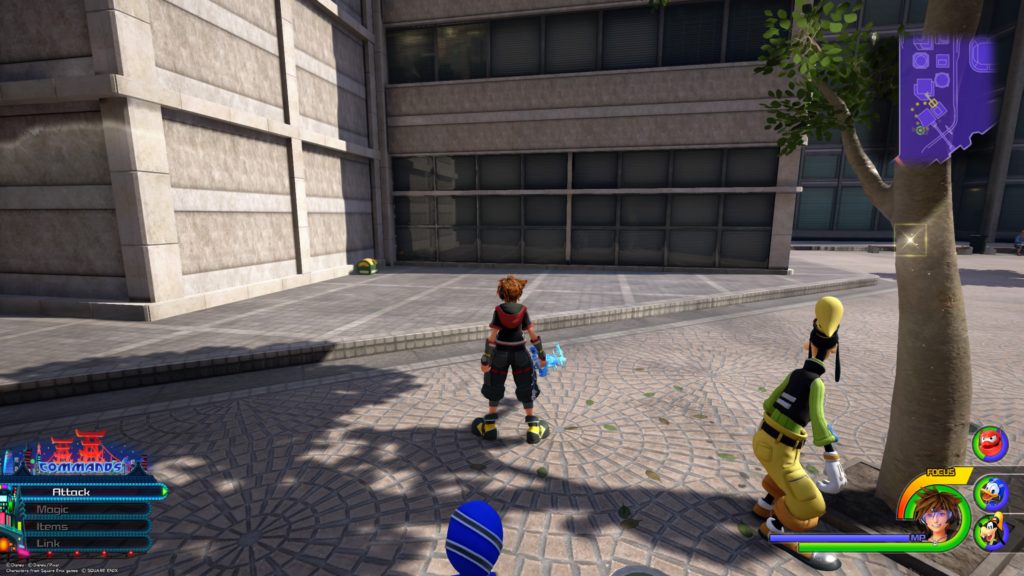
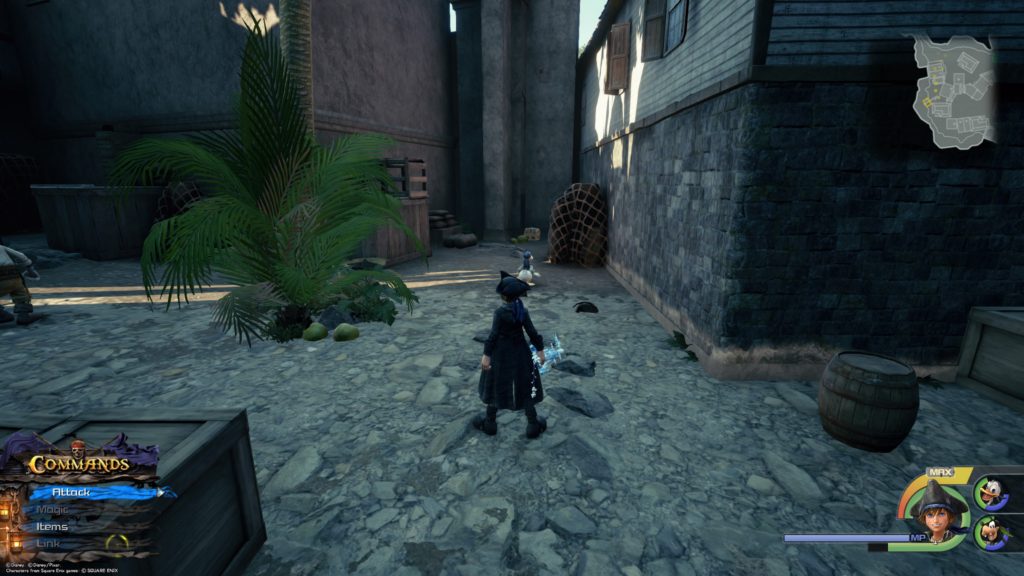
From the South District save point, head north following the road. Take a right when you reach the sidewalk containing benches on both sides and a tree in the middle. Keep following the sidewalk until you reach the second tree in the middle. Turn left between the second and third trees to enter an alleyway. Keep heading straight from here to find the chest along the second building on the right in the alleyway.
Damascus
From the South District save point, head north following the road. Take a right when you reach the sidewalk containing benches on both sides and a tree in the middle. Keep following the sidewalk until you reach the second tree in the middle. Turn left and this chest will be along the wall of a building.
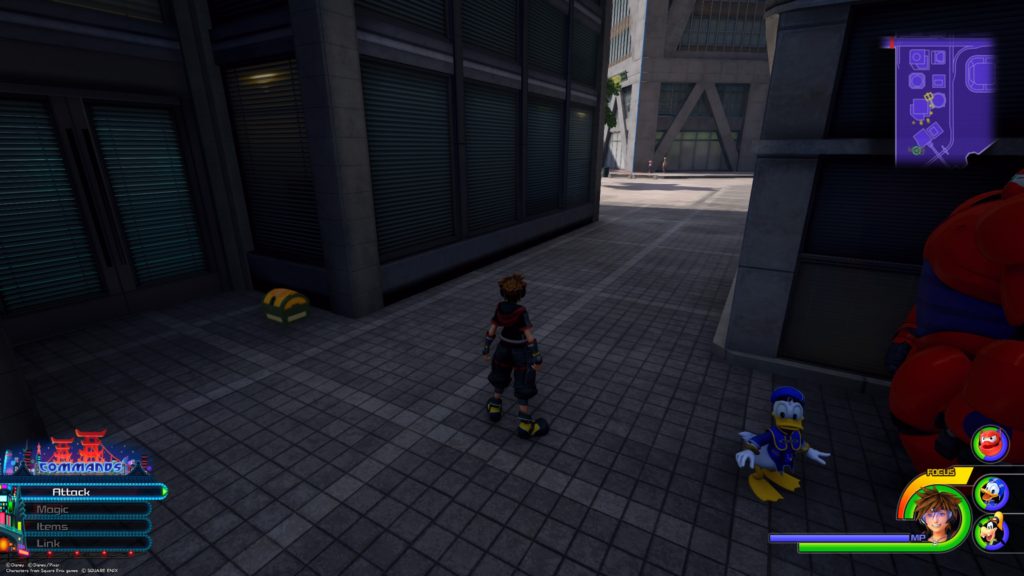
Phantom Ring
From the South District save point, head north following the road. Take a right when you reach the sidewalk containing benches on both sides and a tree in the middle. Keep following the sidewalk until you reach the second tree in the middle. Turn left between the second and third trees to enter an alleyway. This chest will be in the middle of the first building on the right.
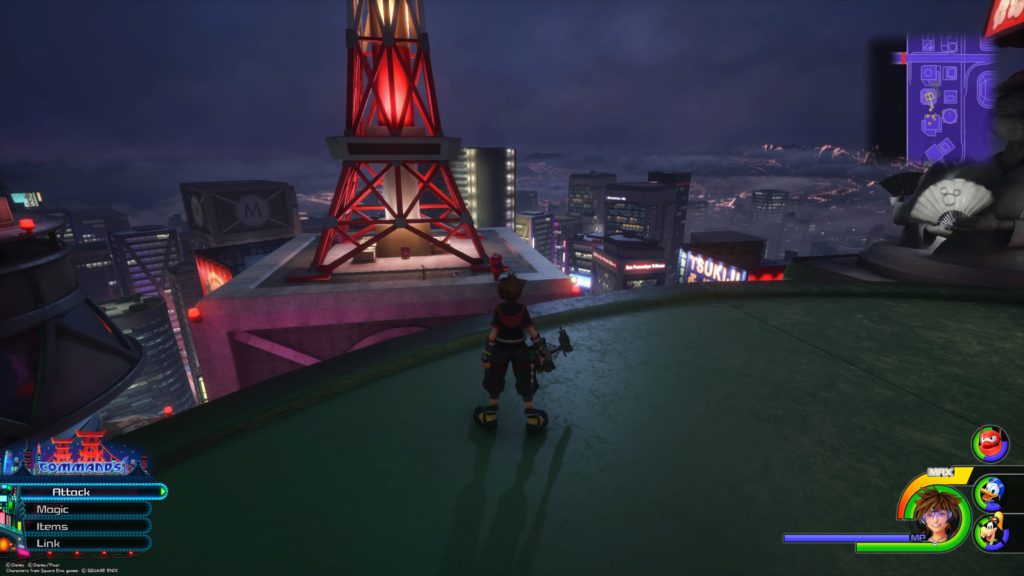
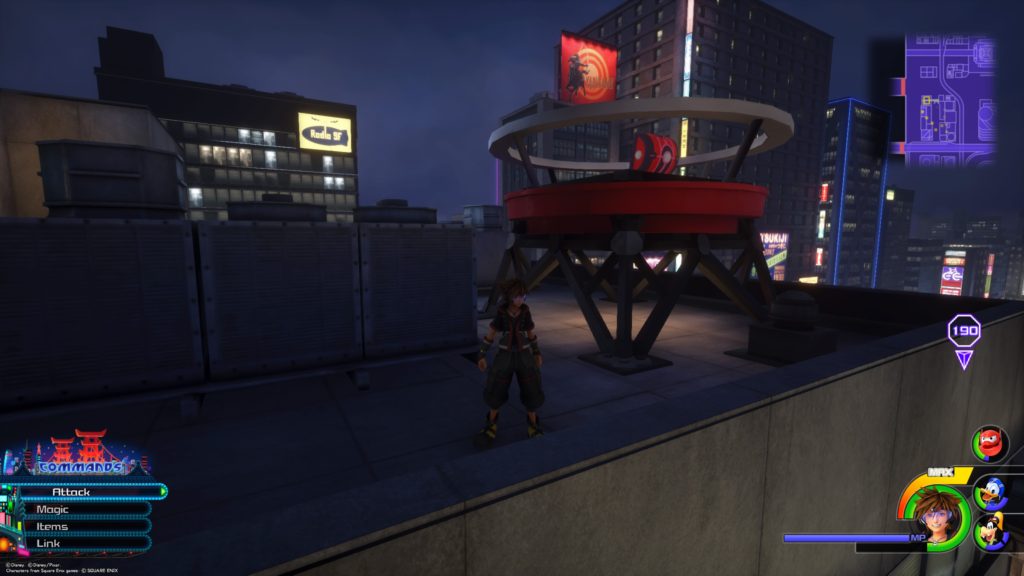
How to Play Baseball
Head to the rooftop of the second building north of the South District save point. It should have a giant red and white antenna tower on it. This chest will be located at the tower’s base.
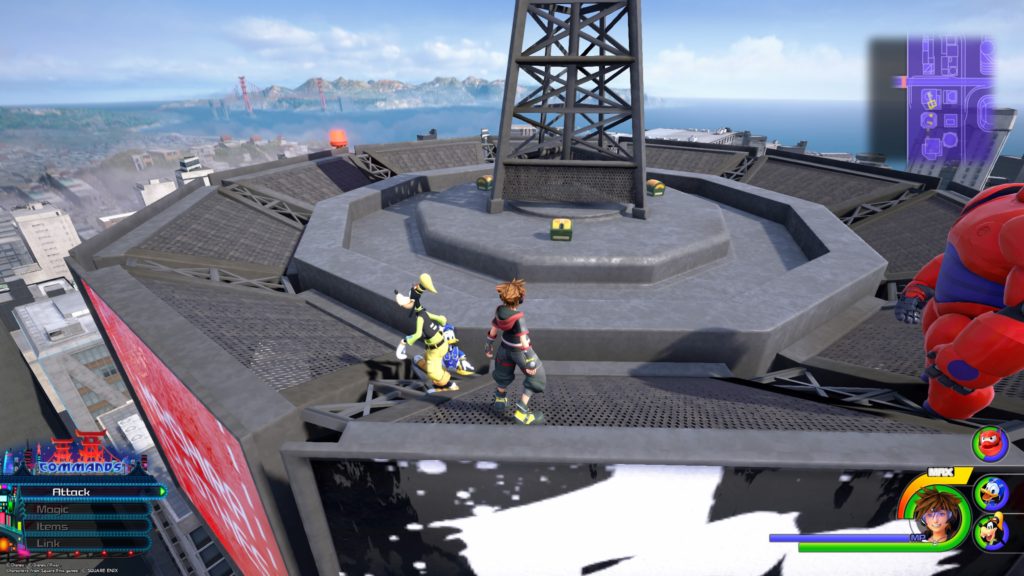
Thundaga Trinket / Mega-Ether / Mega-Potion
Head to the rooftop of the fourth building north of the South District save point near the highway. These three chests will be at the very top. You will need to use flowmotion or have double flight and glide to reach them. The Mega-Ether is located on the left, the Thundaga Trinket is located in the middle and the Mega Potion is located on the right.
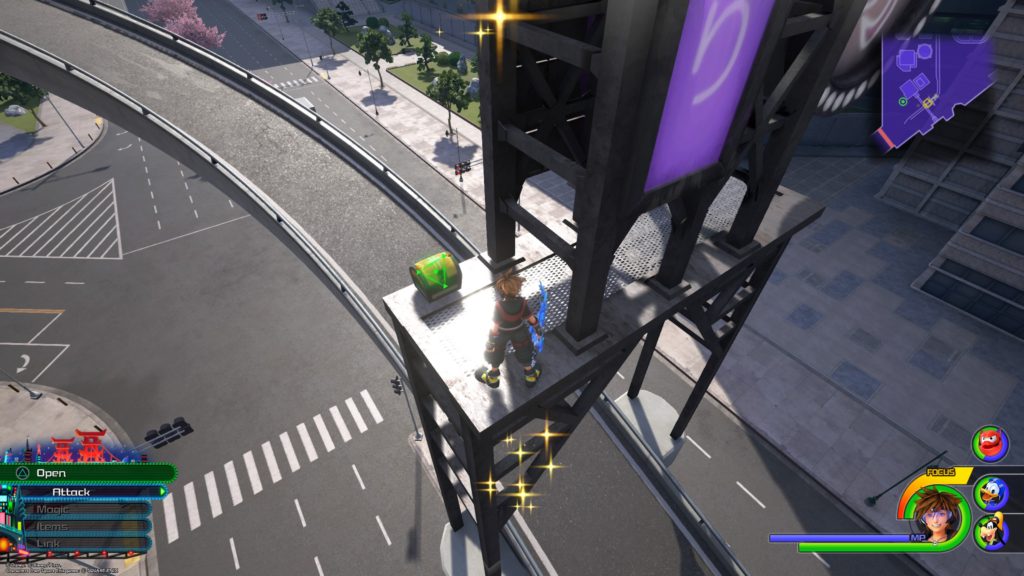
Skill Ring+
Head to the east side of the South District and look for the tall building with all the windows and a red banner near the top. This chest will be in a little alleyway just above the red banners on the south side of the building.
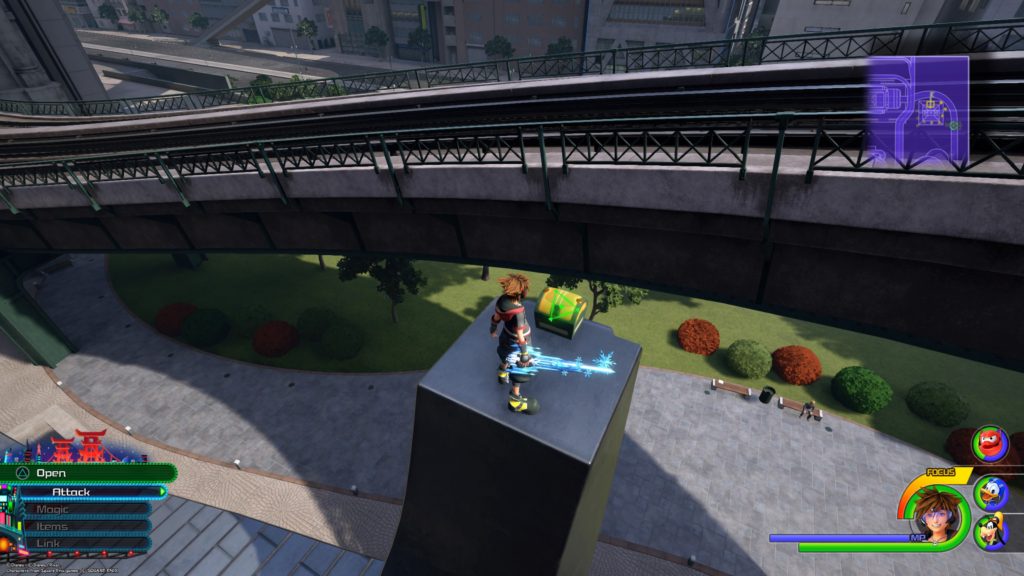
AP Boost
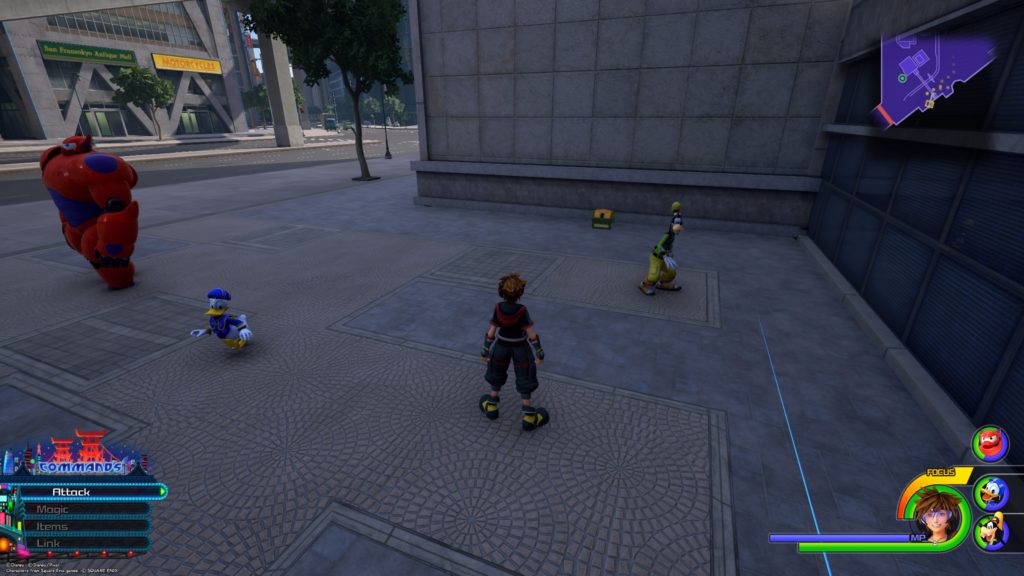
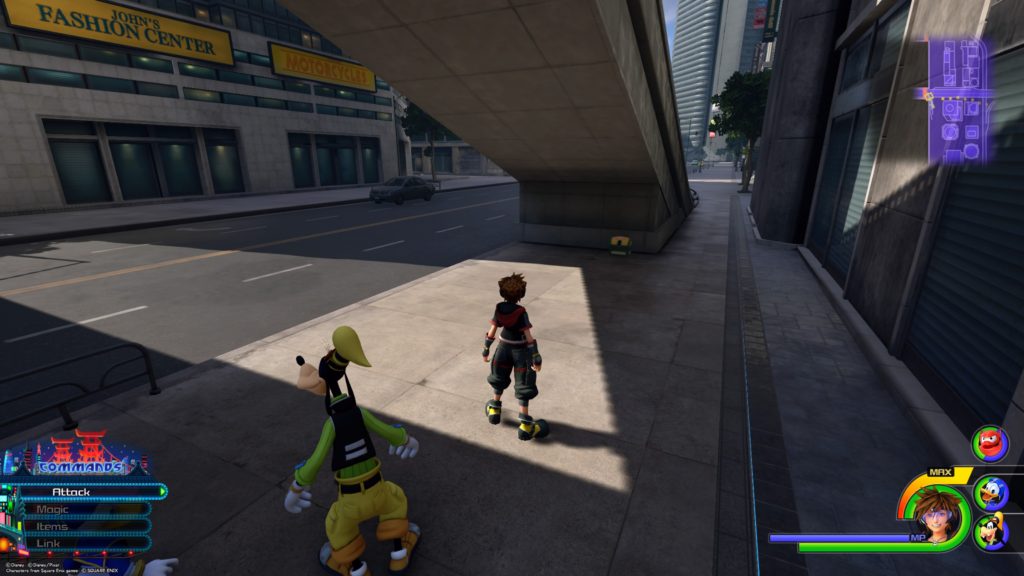
From the South District save point, head south across the street. The chest will be located on the ground next to a building on the other side of the overpass.
Mega-Potion
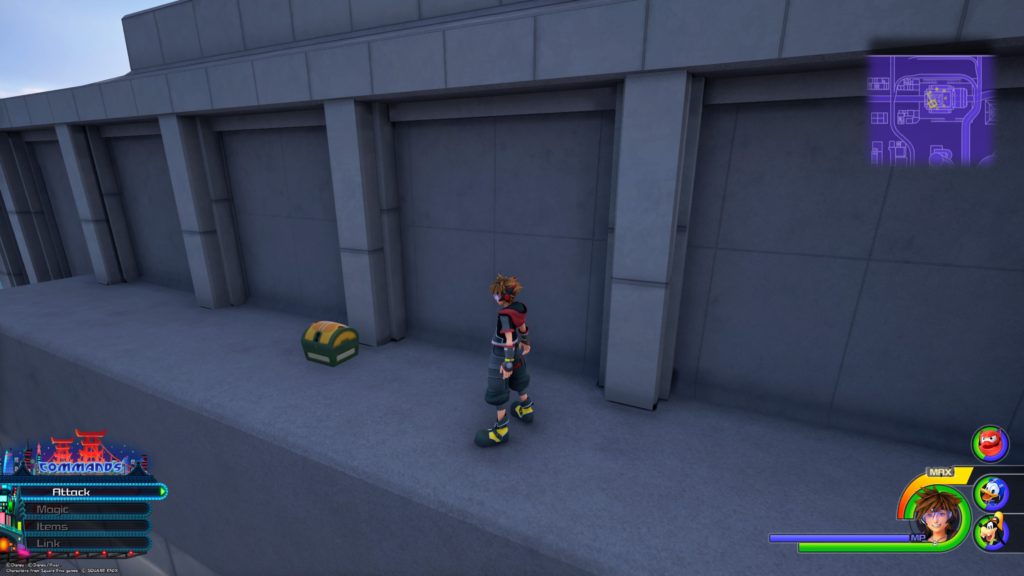
The chest is located on the roof of the second building right (east) of the South District save point behind the World of Grapes advertisement (huge purple billboard).
Buster Band
From the South District save point, take the ramp to the highway. The chest will be located on the giant chef platform over the highway.
Hi-Refocuser
From the South District save point, cross the street west and then turn right. Follow this sidewalk all the way down to the exit ramp near where the Central District and South District meet. The chest will be underneath this exit ramp on the sidewalk.
The City / Central District
Mickey’s Mechanical Man
This chest is located on a rooftop on the west side of the Central District across from the Radio SF sign just before the North District.
Aegis Chain
From the North District save point, head southwest to the circular building and climb up to the top. You will find this chest in the center of the rooftop at the base of the support beam for the concrete pad above it.
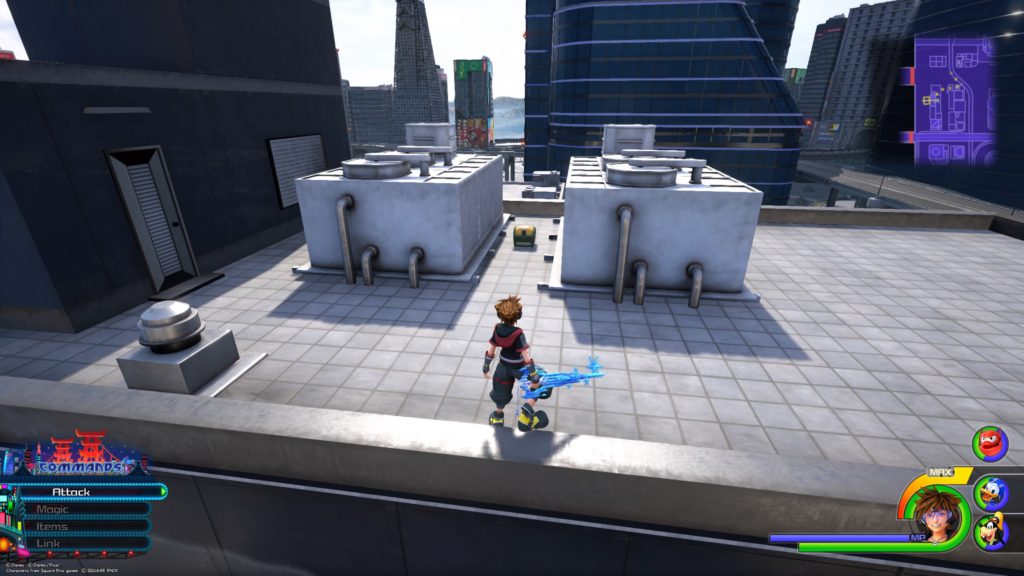
Midnight Anklet
From the North District save point, head southwest to the circular building and climb up to the top. You will find this chest in the center of the rooftop between some heating and cooling units at the base of the support beam for the concrete pad above it. (The other side of the support beam from the previous chest.)
Hi-Ether
From the farthest northwest exit to Hiro’s Garage head east into the city until you come to the white sign Pearls and Jewelry Toyotama. Climb up the building and the chest will be on the roof near the overpass.
AP Boost
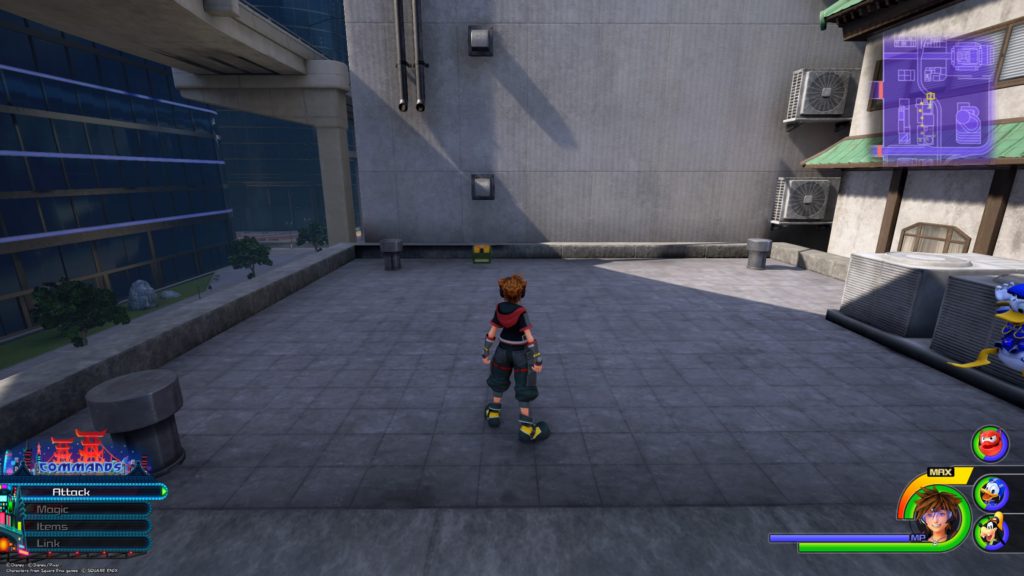
On the west side of the Central District across from the Radio SF sign just before the North District, head south to the dark grey building. The chest is on the roof between the AC units.
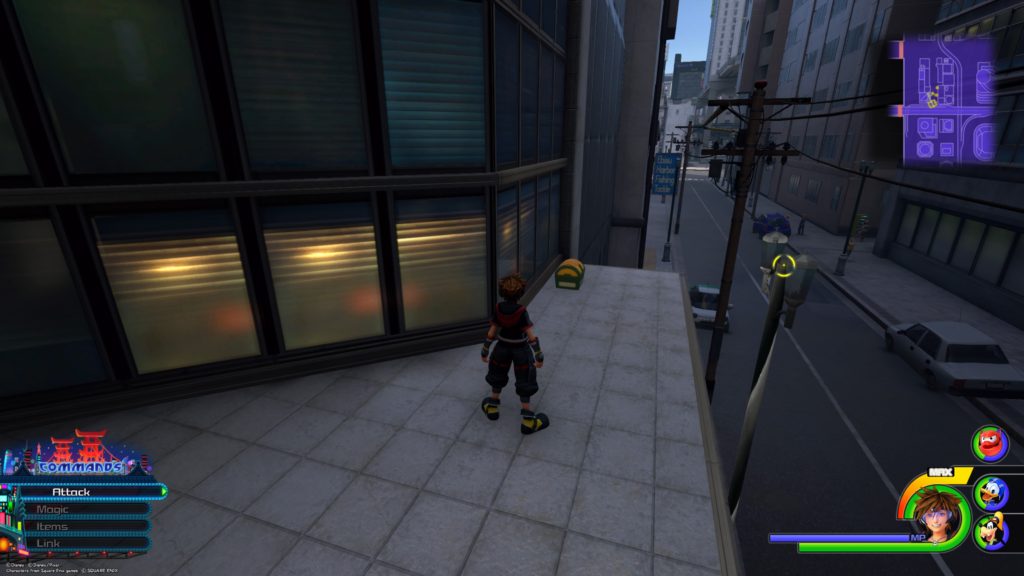
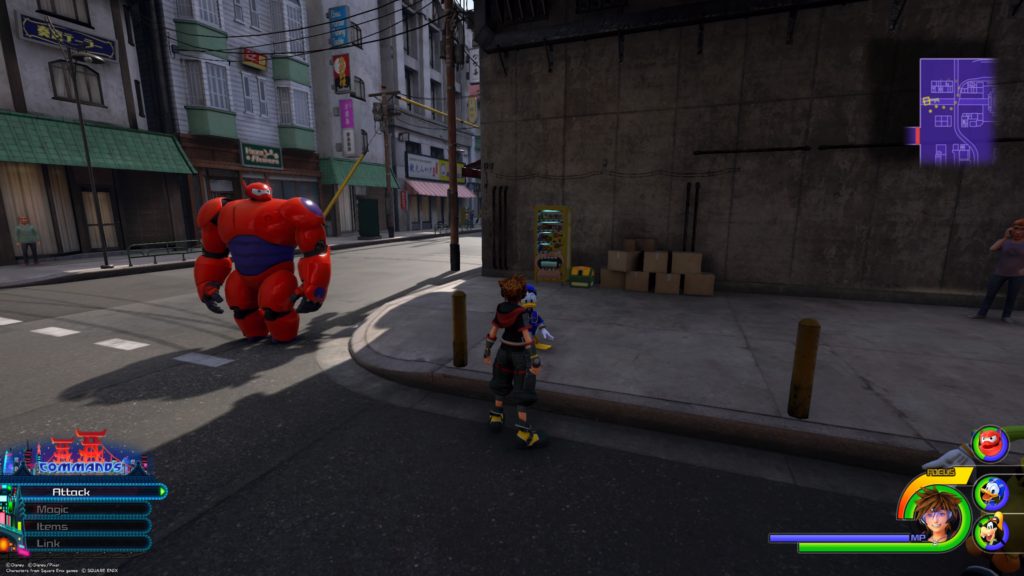
Electrum
From the Central District east side exit to Hiro’s Garage, head north across the street and turn right. Follow the sidewalk crossing the street and turn left. Head past the white sign Bank of San Fransokyo and take the first right into a dead end alleyway with a yellow vending machine to find the chest at the end.
Magic Boost
From the Central District east side exit to Hiro’s Garage, head north across the street and turn right. Follow the sidewalk crossing the street and turn left. Head past the white sign Bank of San Fransokyo and the chest will be on an overhang of the building to the right at the end of the block.
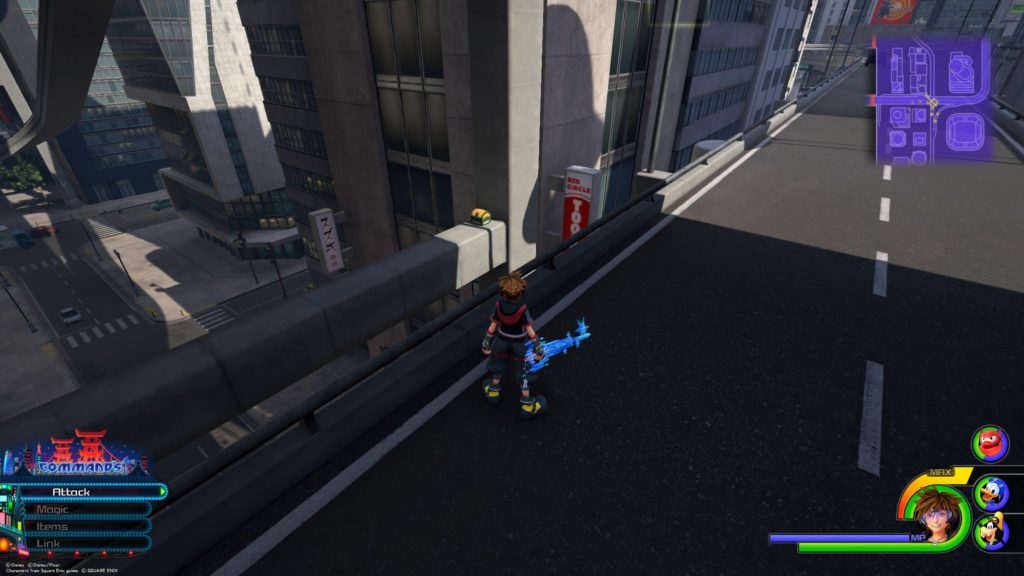
Star Charm
The chest is located on a support beam for the overpass near the Central District east exit to Hiro’s Garage.
Hi-Refocuser
Across (south) from the building with the metro running through it, the chest will be on the roof of the short part of the Iroha building behind the Tsukiji and Sons billboards.
Mega-Ether
Across (south) from the building with the metro running through it, the chest will be halfway up the large part of the Iroha building (the next level higher than the previous chest).
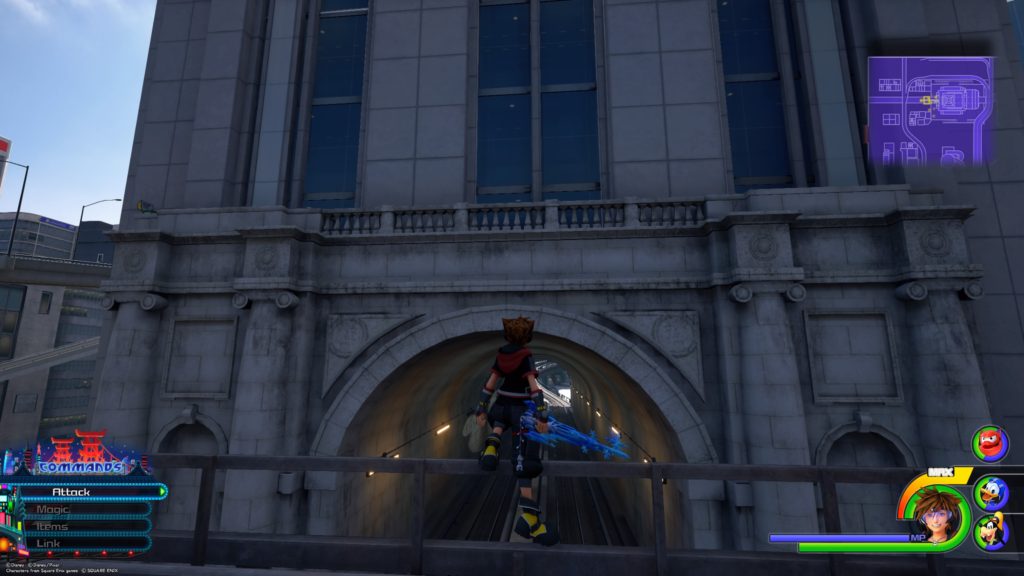
Mickey Steps Out
From the building with the metro running through it (North District), follow the highway above on ground level heading south until the road turns right. The chest will be located on the corner next to the building entrance in a cylinder advertisement. You will need to run up the nearby building to perform a falling strike on the advertisement to break it revealing the chest
Divine Bandanna
From the building with the metro running through it (North District), follow the highway above on ground level heading south until the road turns right. Take a right off the road to find the chest sandwiched between two yellow vending machines. This chest is north of the previous chest.
The City / North District
Adamantite
The chest is right next to the North District save point on the other side of the advertisements.
Nirvana+
The chest is at the top of the extremely tall building directly in front (northwest) of the North District save point.
Adamantite
The chest is located on the ground level of the second building northeast of the North District save point next to the bushes. The metro runs through this building.
AP Boost
This chest is located on the ledge near the top of the west side of the building that has the metro running through it.
AP Boost
From the northwest corner of the map, head to the second cluster of buildings going to the middle of the map. The chest is located on the roof next to the AC unit of the white building that has the coral and white awning.
Storm Fan
From the northwest corner of the map, head to the first cluster of buildings. The chest is located on the roof next to the satellite dish.
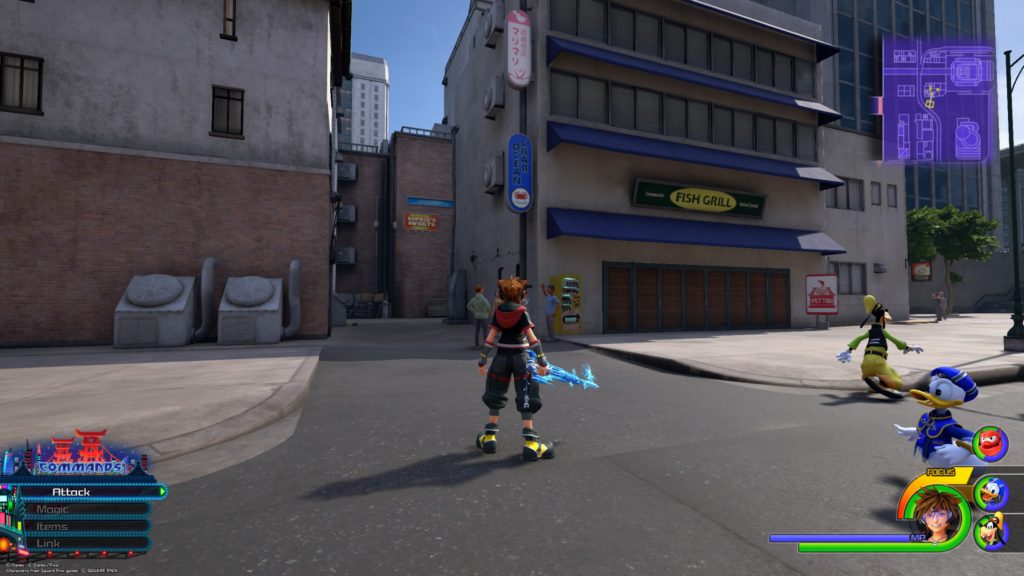
Strength Boost / Damascus
From the northwest corner of the map, head to the building across from the second cluster of buildings that has the coral and white awning. Both chests are located in the alleyway to the left of the Fish Grill. The Strength Boost is straight ahead behind the stack of cardboard boxes. The Damascus is located at the end of the alley.
Electrum
The chest is located directly northeast of the North District save point on an overhang on the north side next to the metro tracks.
Elixir
The chest is located between a yellow vending machine and a stack of cardboard boxes on the ground underneath the metro tracks across from the first cluster of buildings on the northwest side of the map.
Magic Boost
The chest sits on a ledge directly above the tracks on the west side of the building with the metro running through it.
AP Boost
From the building with the metro running through it, drop down to the market on the southwest side to find the chest behind a stack of cardboard boxes and pallets.
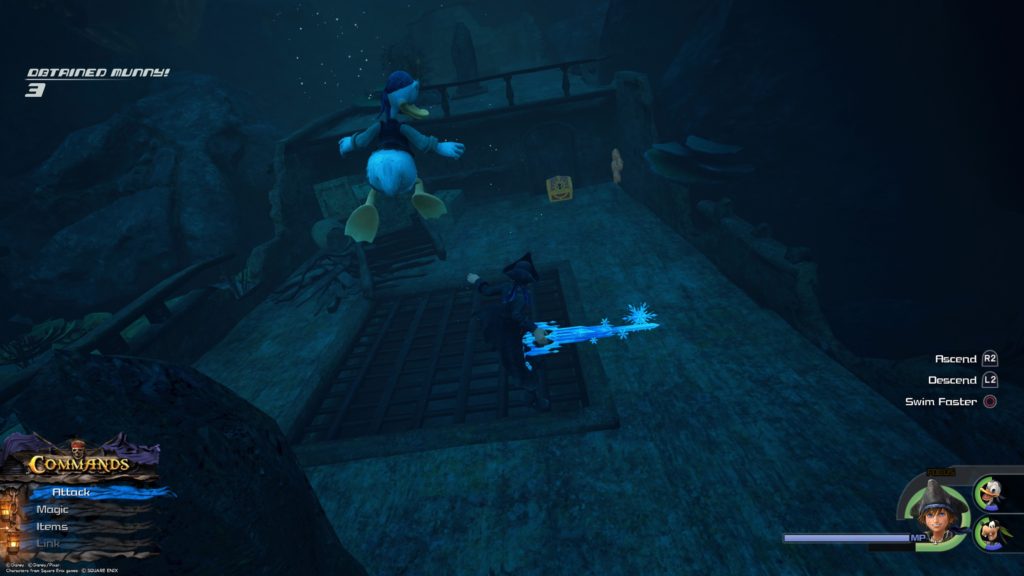
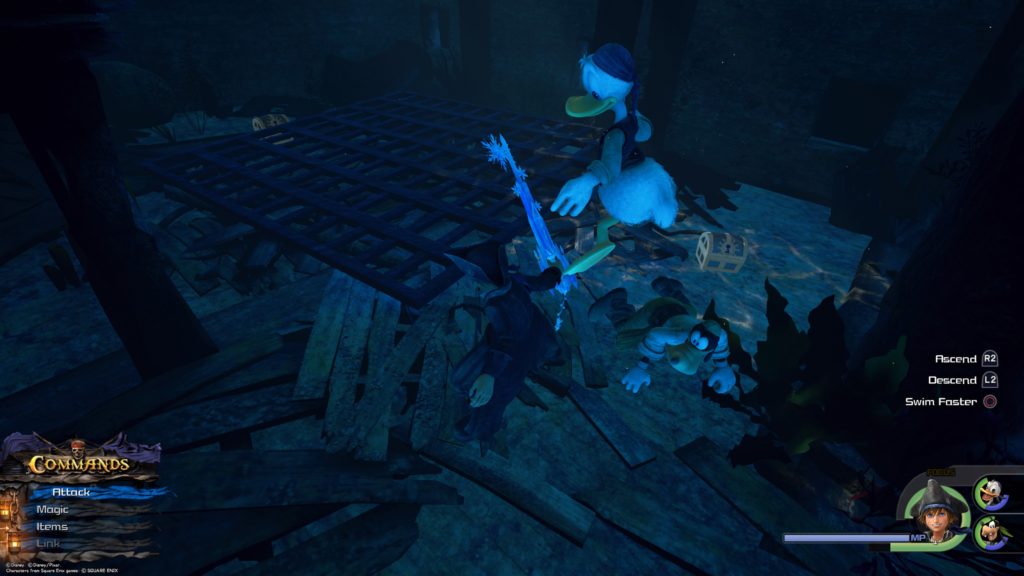
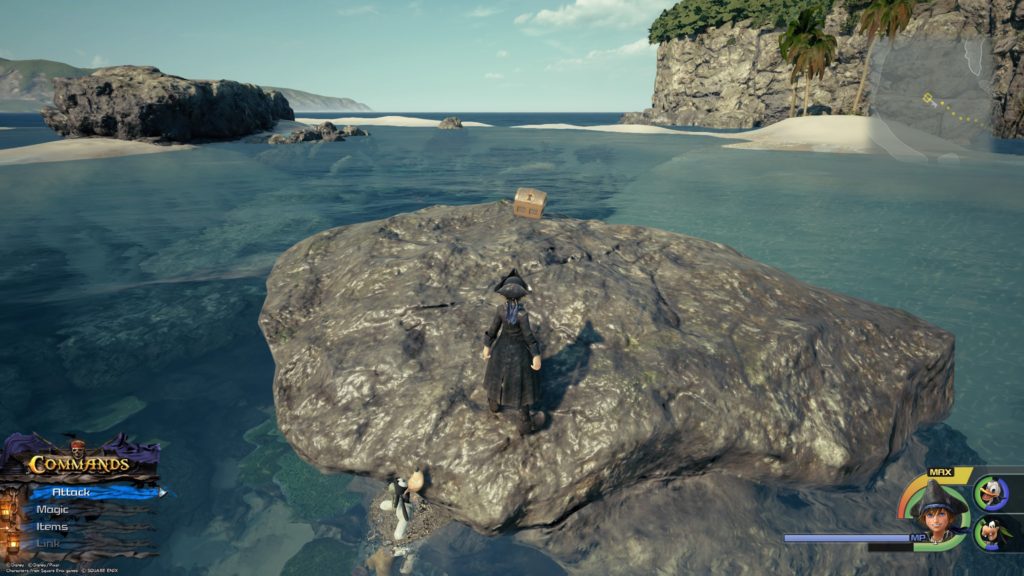
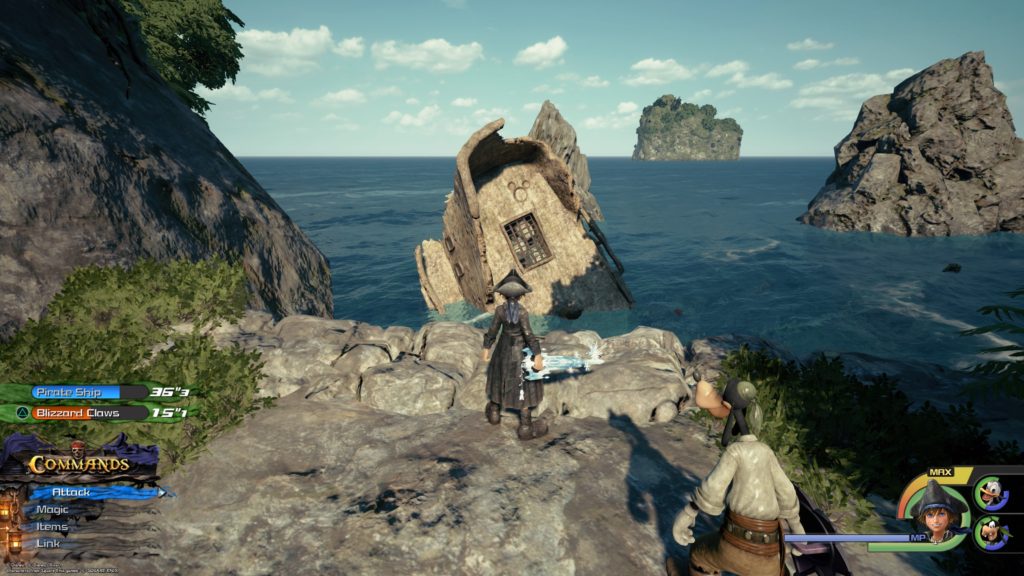
This chest is located south of the Huddled Isles save point.
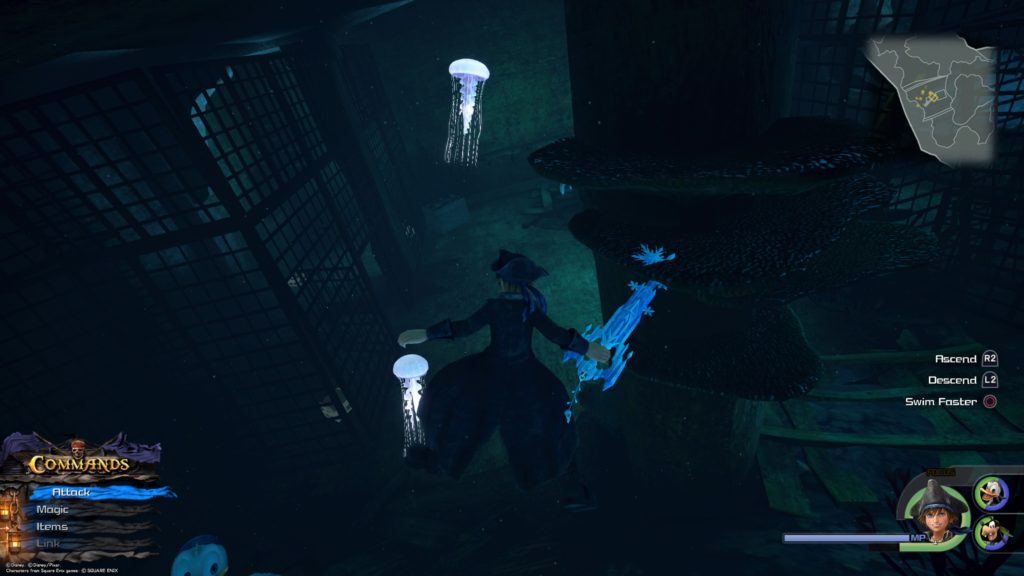
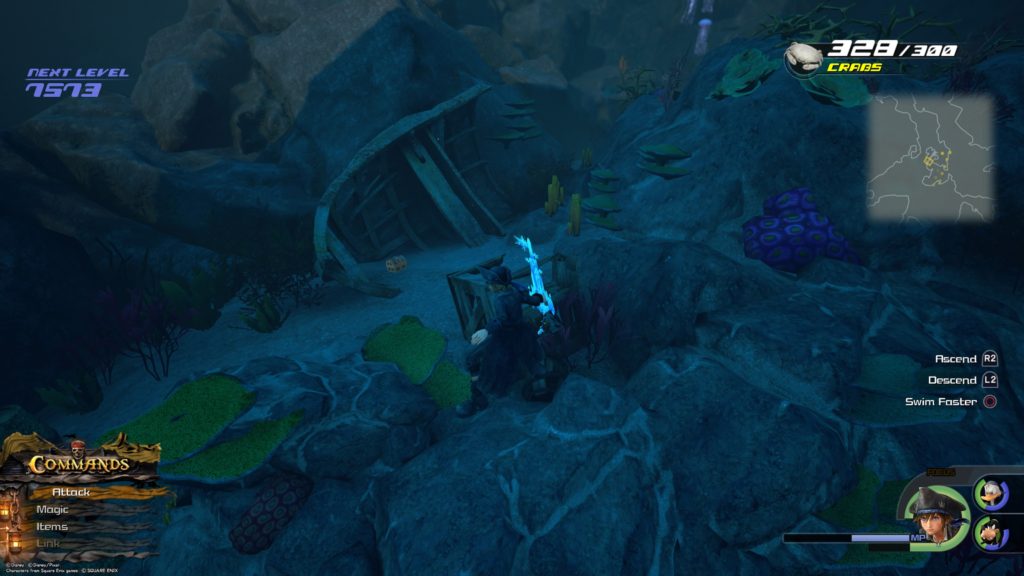
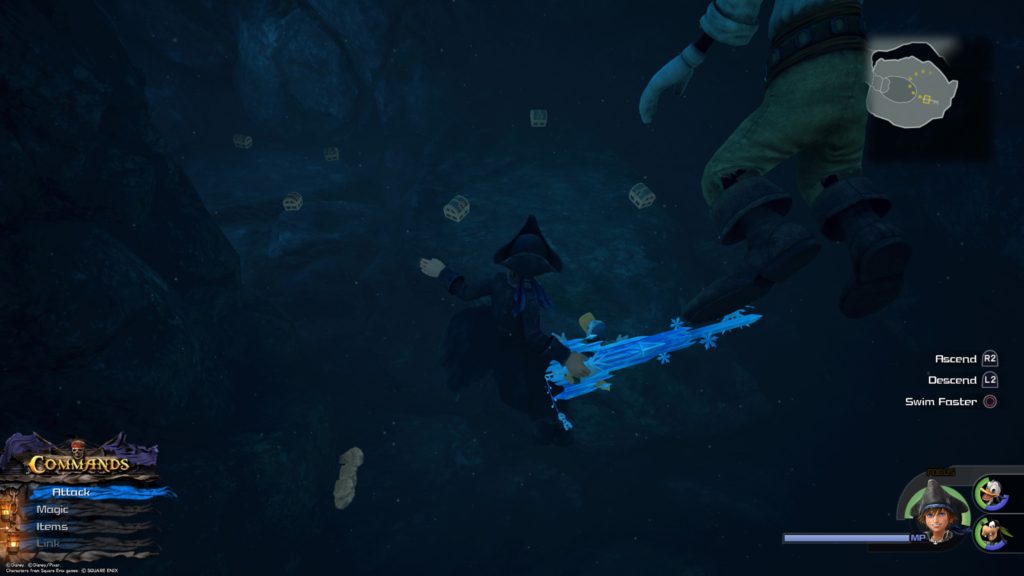
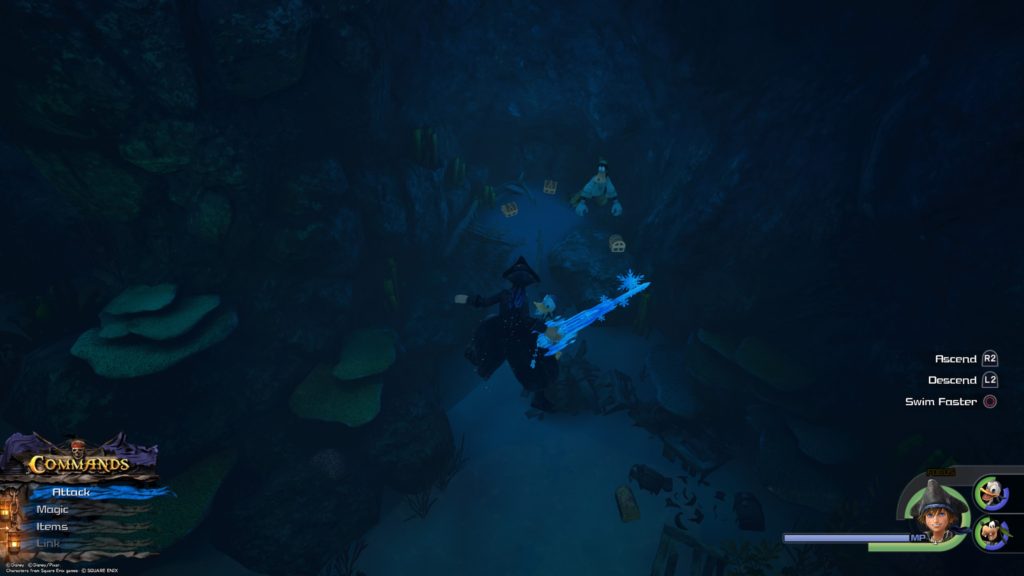
Mega-Potion / Panacea / Mater’s Ring
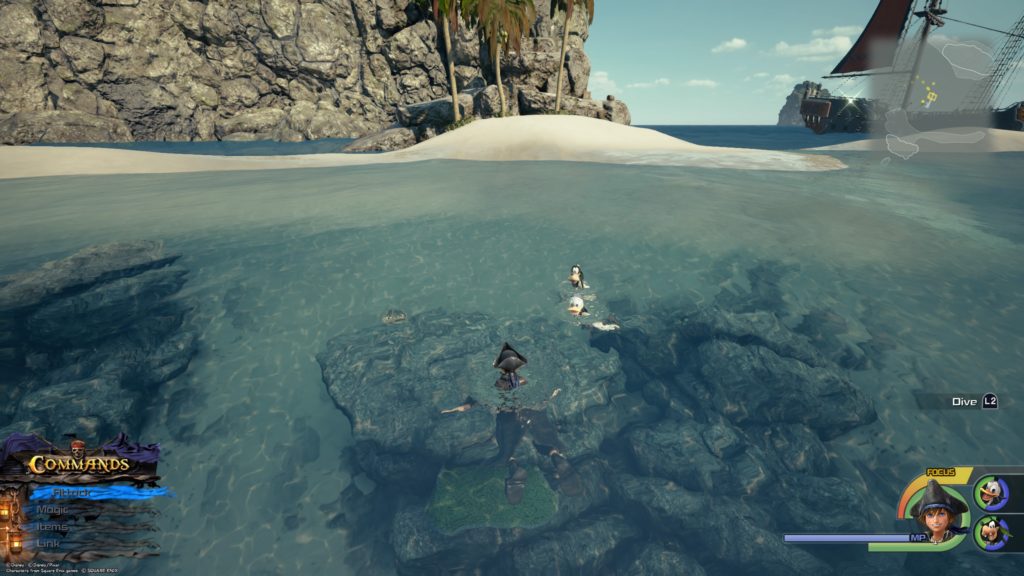
From the Huddled Isles save point, head south and dive into the water. Head through the underwater tunnel and into the bigger area on the other side. Swim past the horizontally sitting sunken ship and down into the side of a broken ship under some jellyfish. From there, take a left through the broken gate and make a right into the center of the ship filled with more jellyfish. Enter the gated section on the right to find all three of these chests.
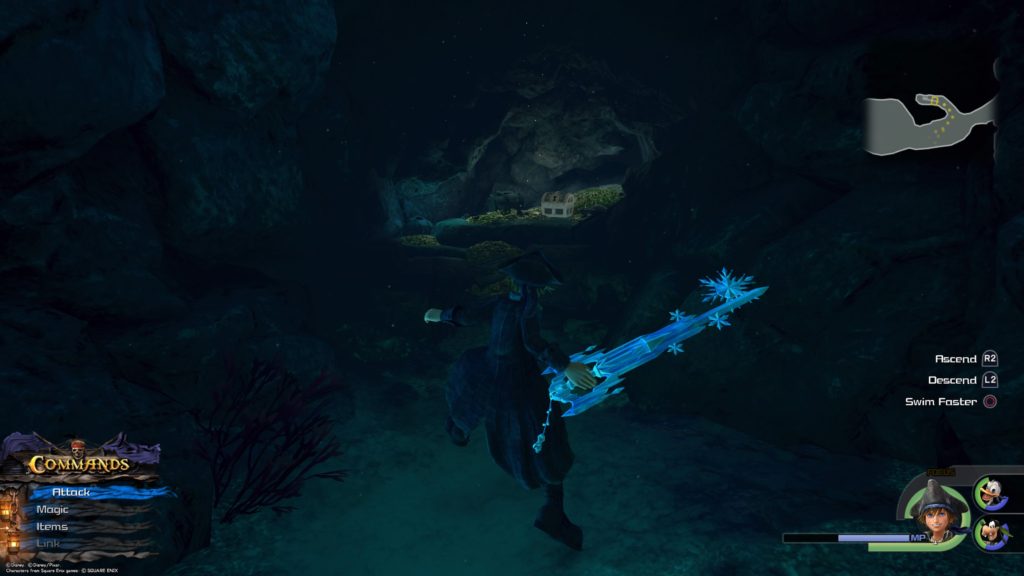
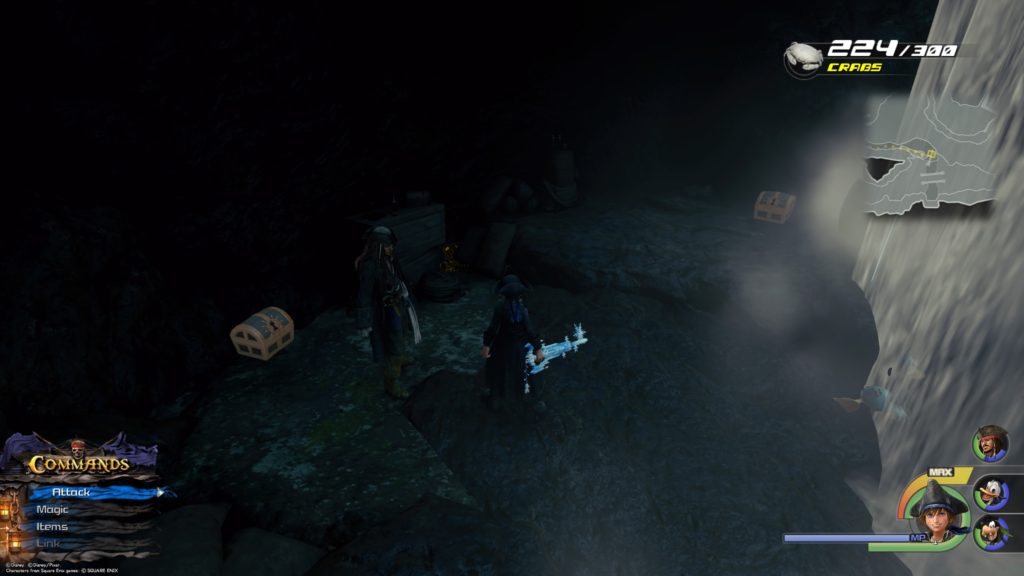
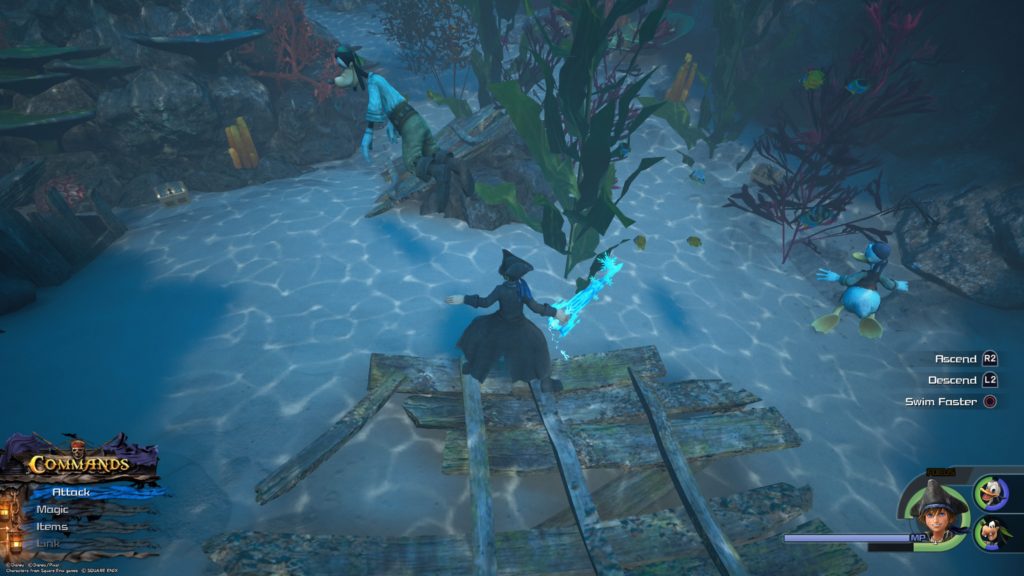
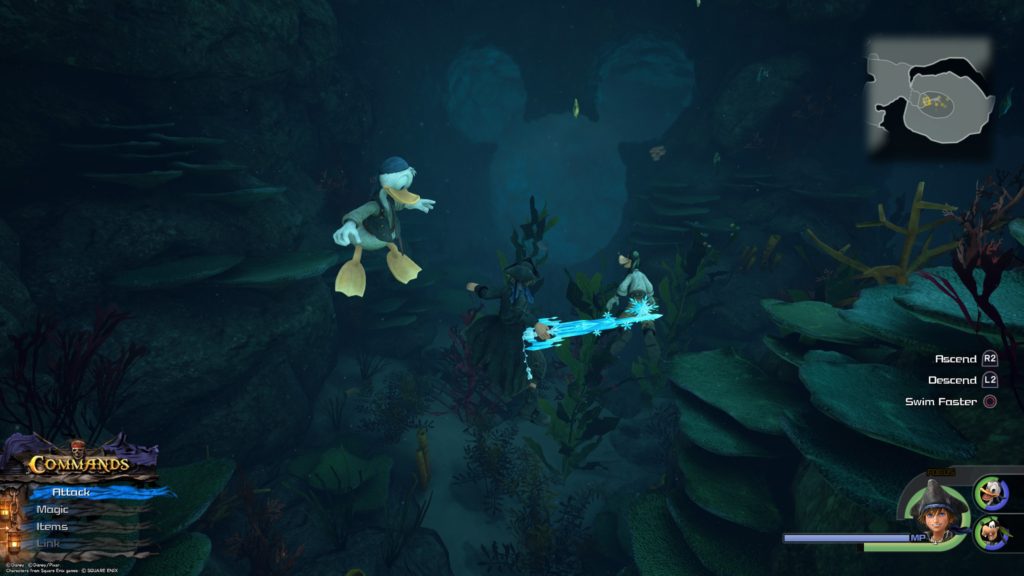
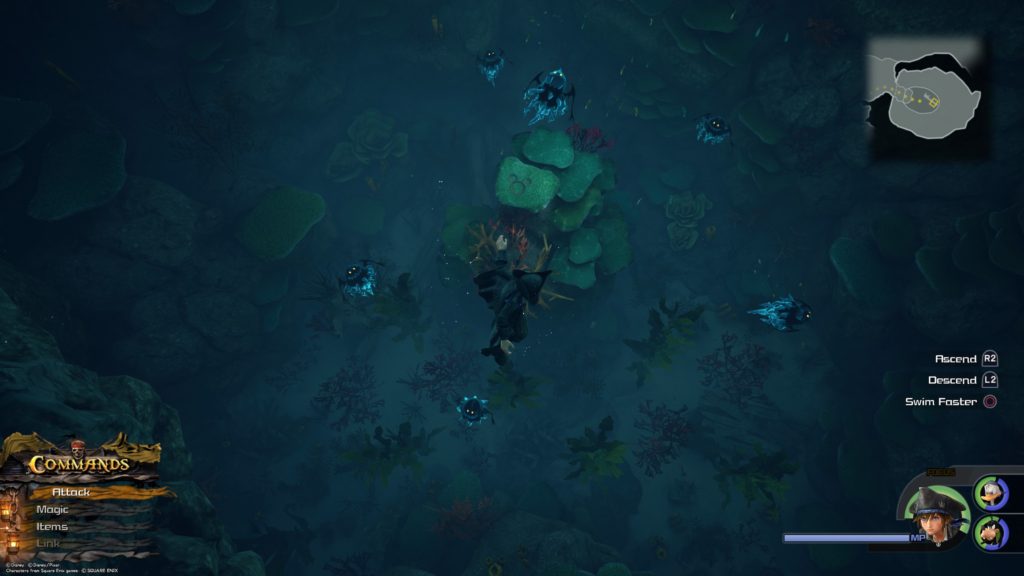
The High Seas / Undersea Cavern
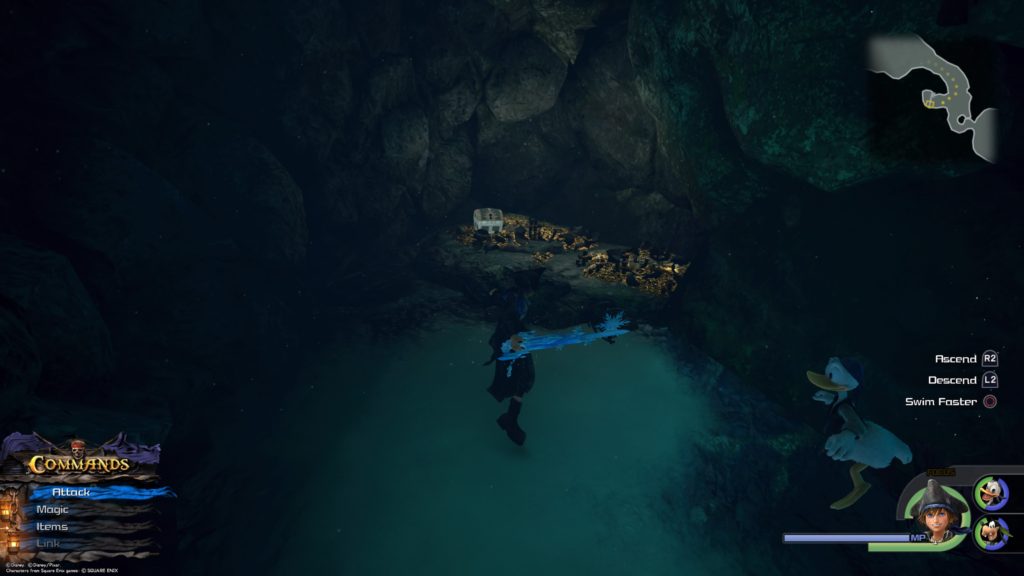
Adamantite
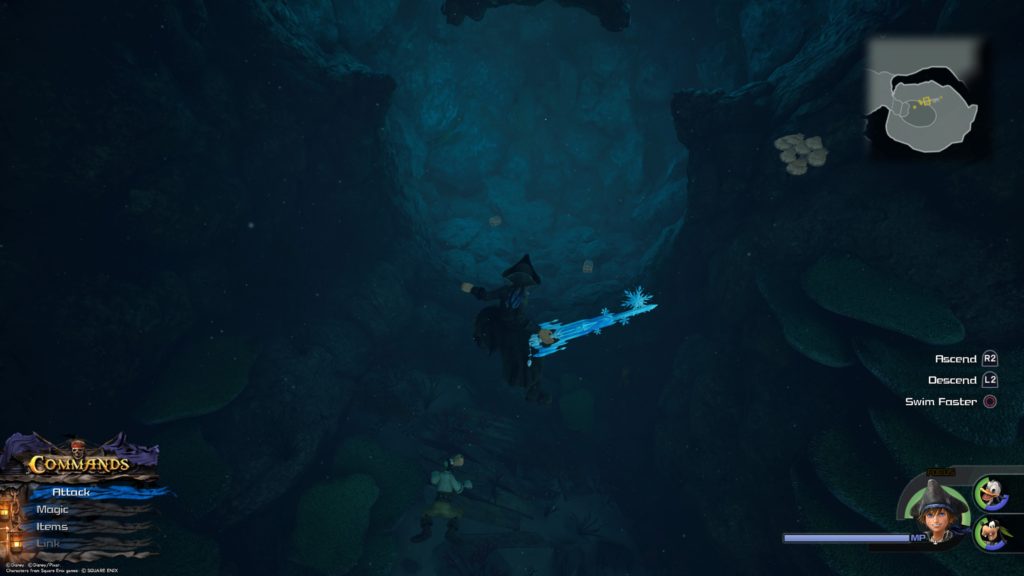
From the Huddled Isles save point, head south and dive into the water. Head through the underwater tunnel and into the bigger area on the other side. Swim past the horizontally sitting sunken ship to reach the Undersea Cavern. From there, keep following the path straight (east) until you come to a cavern entrance blocked by a stack of barrels on the right. Destroy the barrels and head into the cavern to find the chest sitting on a pile of gold coins.
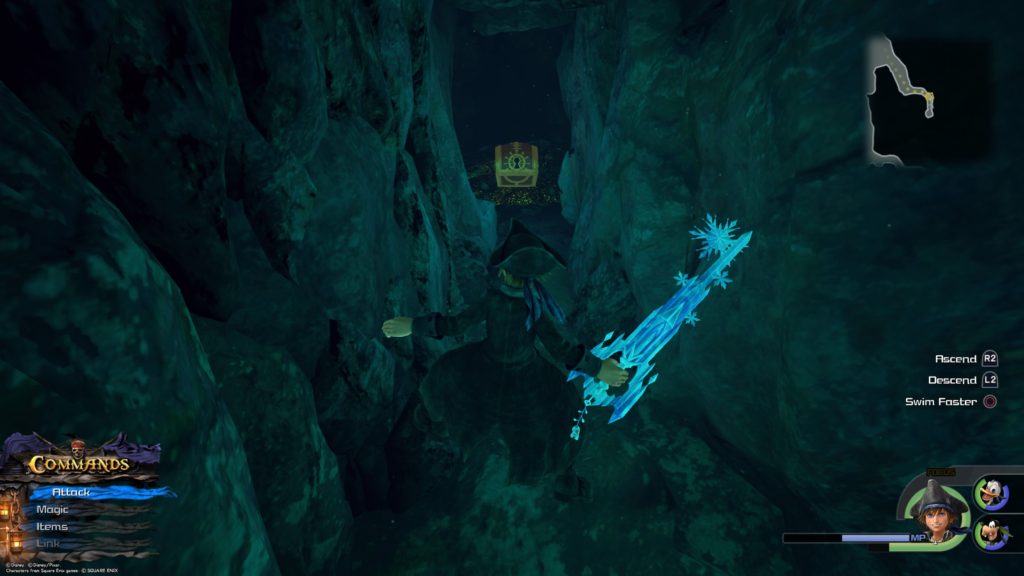
Orichalcum
From the Huddled Isles save point, head south and dive into the water. Head through the underwater tunnel and into the bigger area on the other side. Swim past the horizontally sitting sunken ship to reach the Undersea Cavern. Keep following the path straight (east) until you come to a tunnel filled with jellyfish. Use magic to clear out the jellyfish and take the tunnel to the left to find this chest.
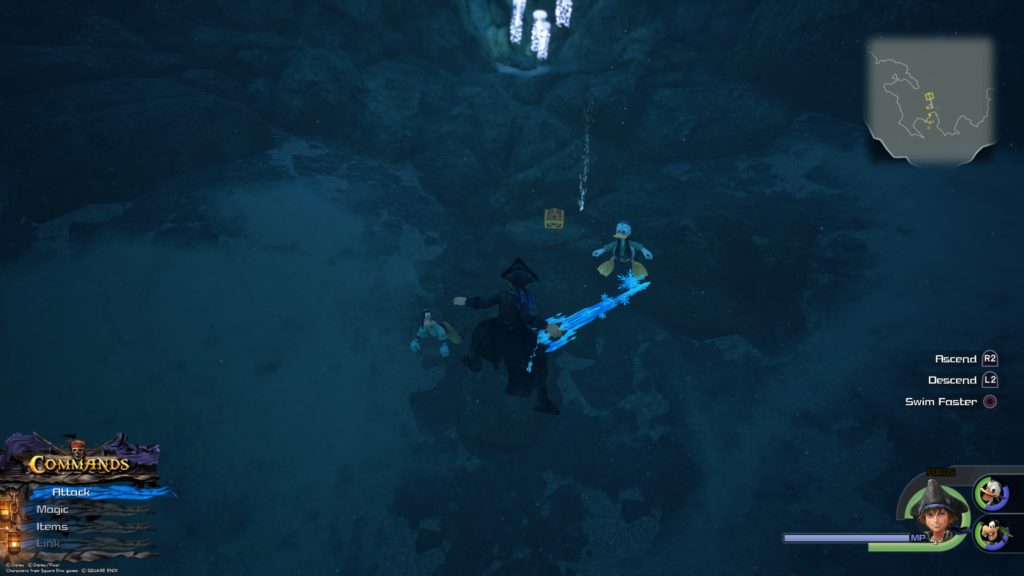
Fishin’ Frenzy
From the Huddled Isles save point, head south and dive into the water. Head through the underwater tunnel and into the bigger area on the other side. Swim past the horizontally sitting sunken ship to reach the Undersea Cavern. Keep following the path straight (east) until you come to a tunnel filled with jellyfish. Use magic to clear out the jellyfish and keep heading straight (north). After some Water Cores and more jellyfish, you will come to a dead end containing the chest.
Ocean Heartbinder
From the Undersea Cavern save point, continue heading south into a big open room to find the chest near the back of the room.
The High Seas / The Leviathan
Celestriad
Use flowmotion near the mast of the ship to climb up to the lookout station to find this chest.
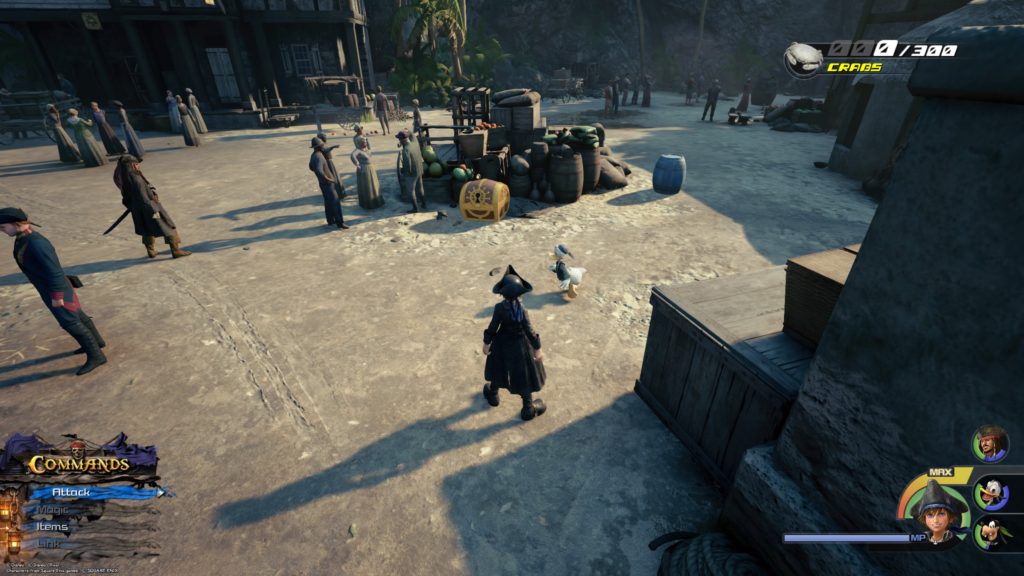
Port Royal / Docks
Map: Port Royal Waters
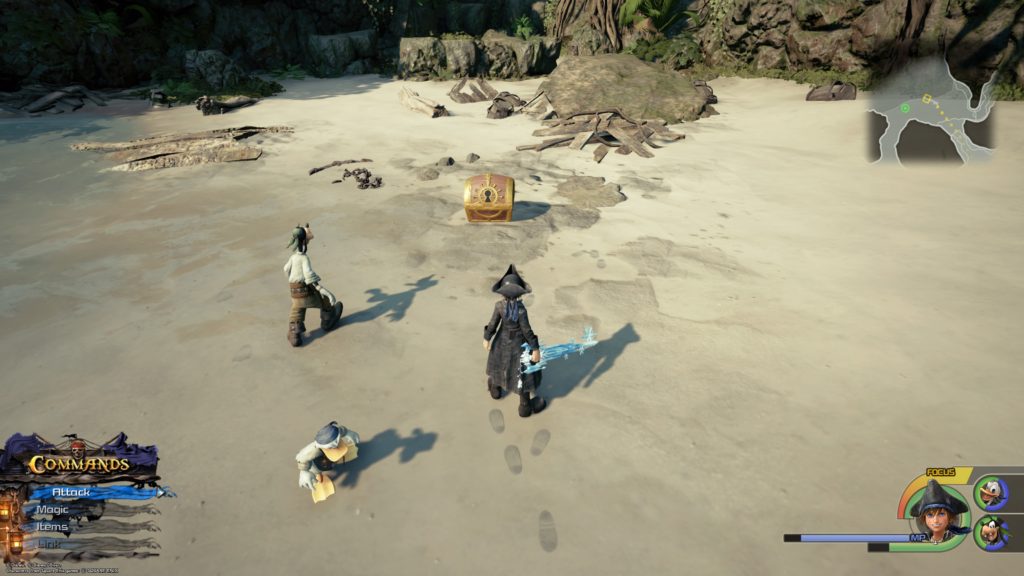
The chest is right in front of you as soon as you exit the Docks next to the barrels and food.
Hi-Ether
Turn left from the dock at the Docks heading south along the ocean. At the dead end, turn right to find the chest beside a house.
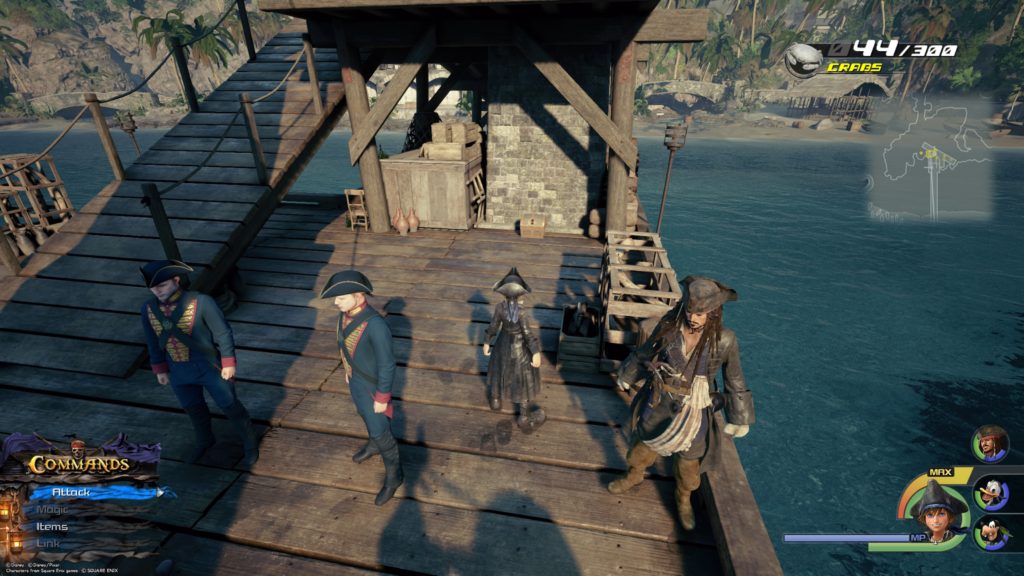
Port Royal / Seaport
Hi-Potion
The chest is located south of the Leviathan at the end of the dock connected to the Seaport.
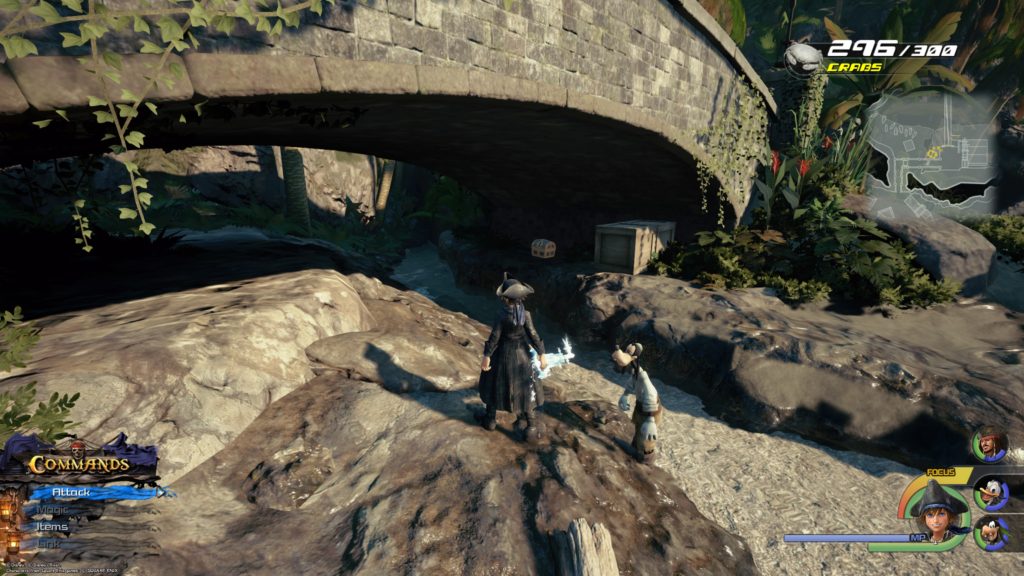
Sorcerer’s Ring / Ether
Before crossing the bridge leading to the Fort, jump to the right into the water and walk against the stream southeast to find a waterfall. The two chests will be located behind the waterfall. The Sorcerer’s Ring is on the left and the Ether is on the right.
Mega-Ether
The chest is located under the bridge southeast of the shack leading to the Settlement.
Elixir
Jump off the end of the long wooden dock and swim northeast towards the jellyfish. The chest will be in a sunken rowboat underneath where the jellyfish are swimming.
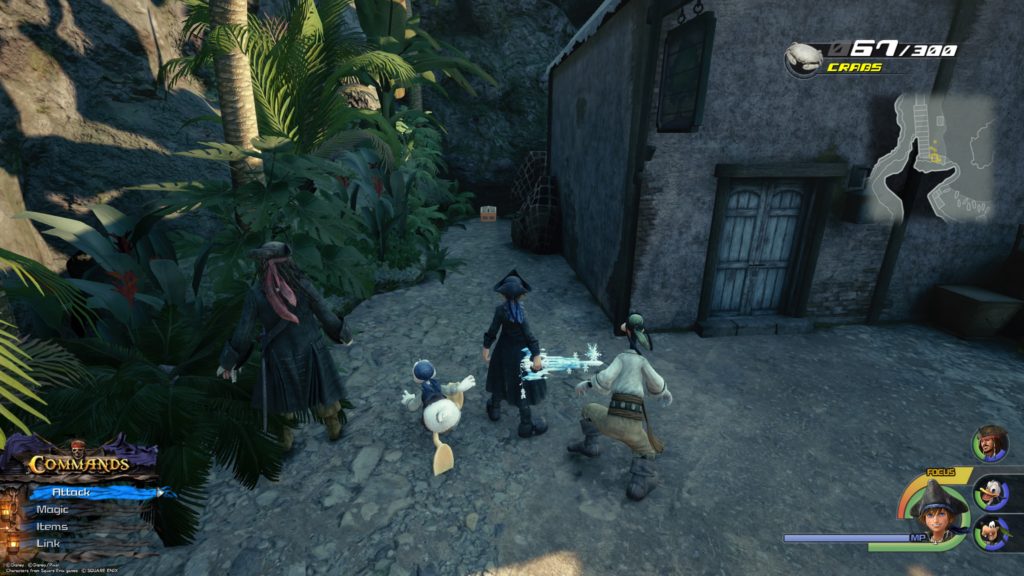
Port Royal / Settlement
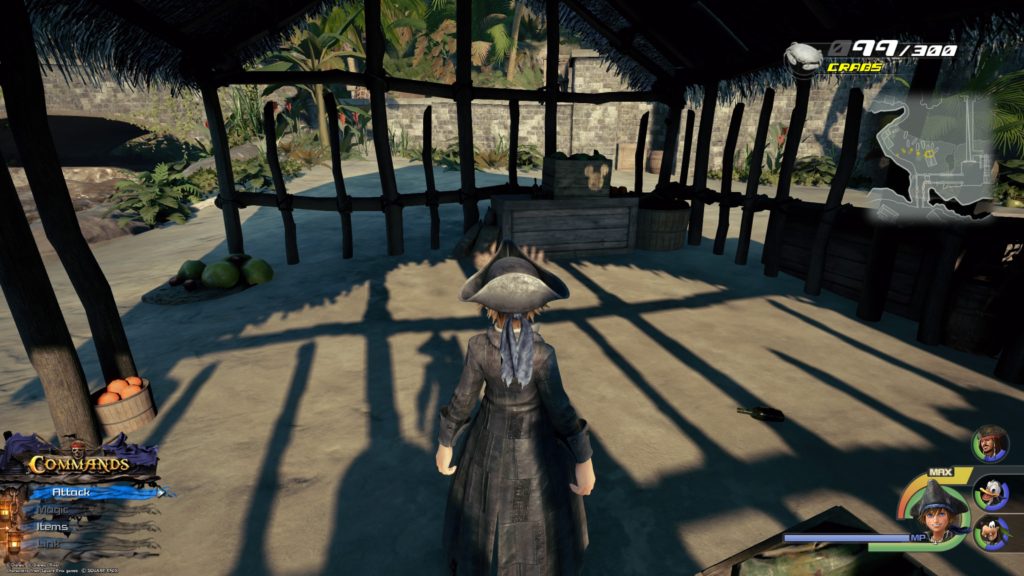
Mega-Potion
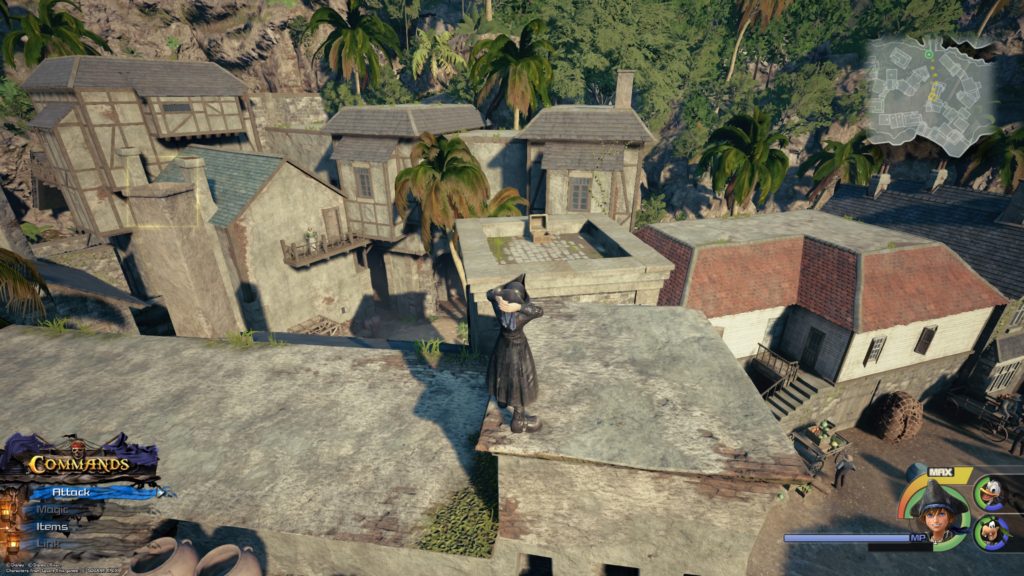
From the Settlement save point, take an immediate right to the west and follow the path along the rock wall. Before the last building, turn left and scale the building at the dead end. Walk straight across the steep roof and jump down on the other side. The chest will be to your left behind the barrels and crates next to three green balls.
Tent
From the Settlement save point, head straight ahead to the building called R. Smith Pewterers and climb up it. Head straight across the roof to the opposite side. The chest will be on the right side.
Port Royal / Fort
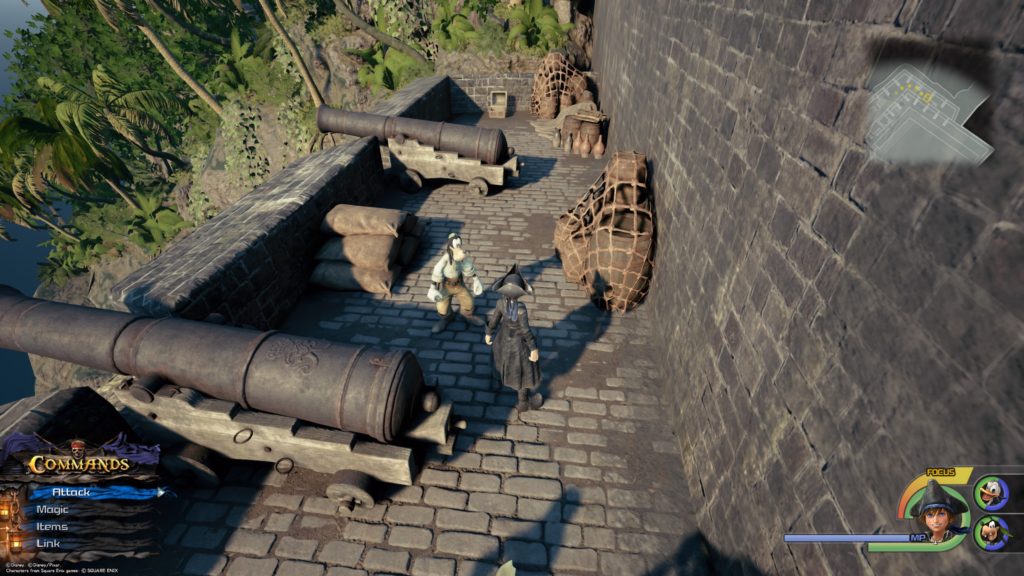
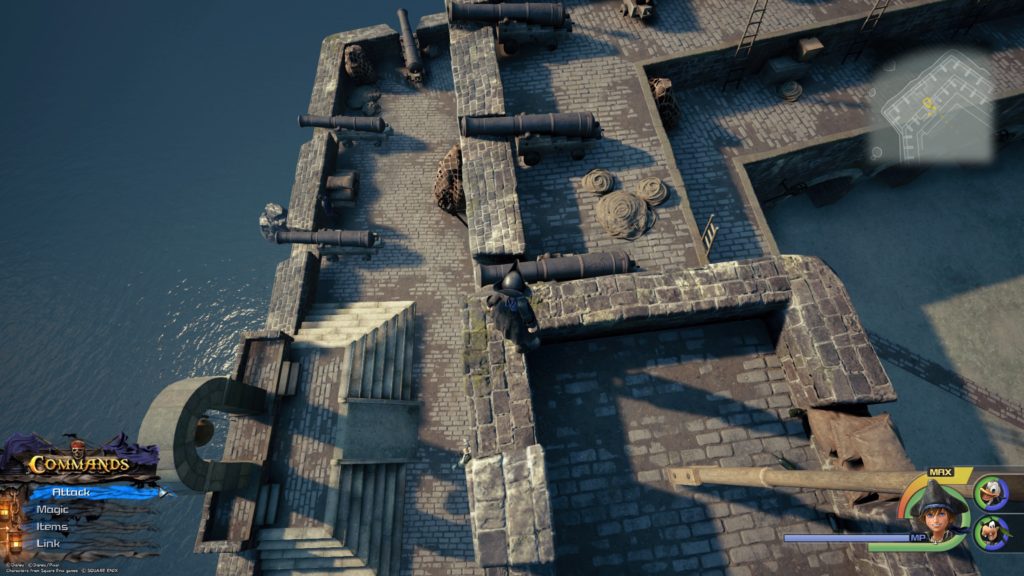
Hi-Refocuser
From the Fort save point, head northwest through the archway and cross the courtyard. Head up the stairs and cross under the archway. At the bell take a right and follow the path past the cannons. The chest will be at the dead end.
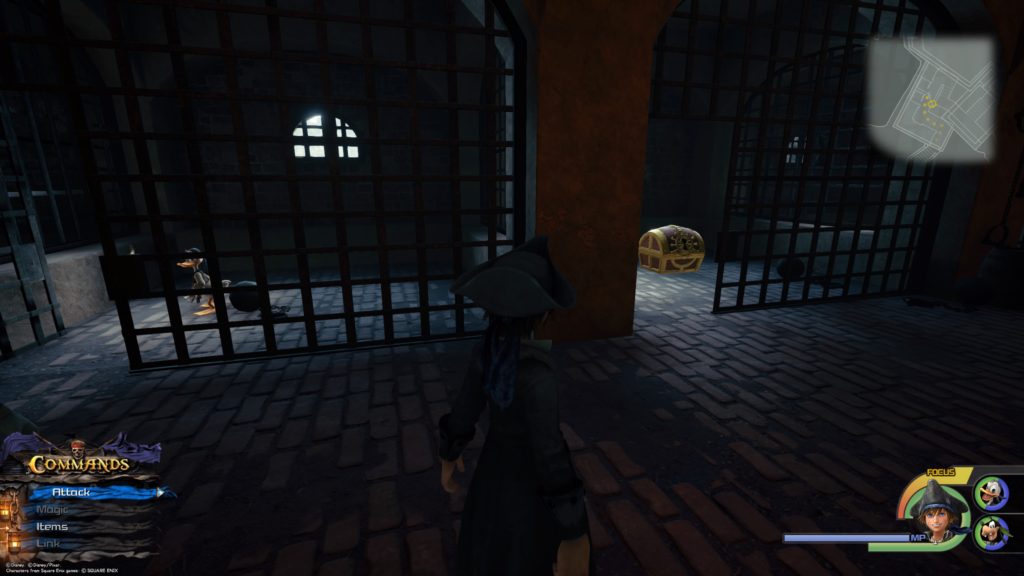
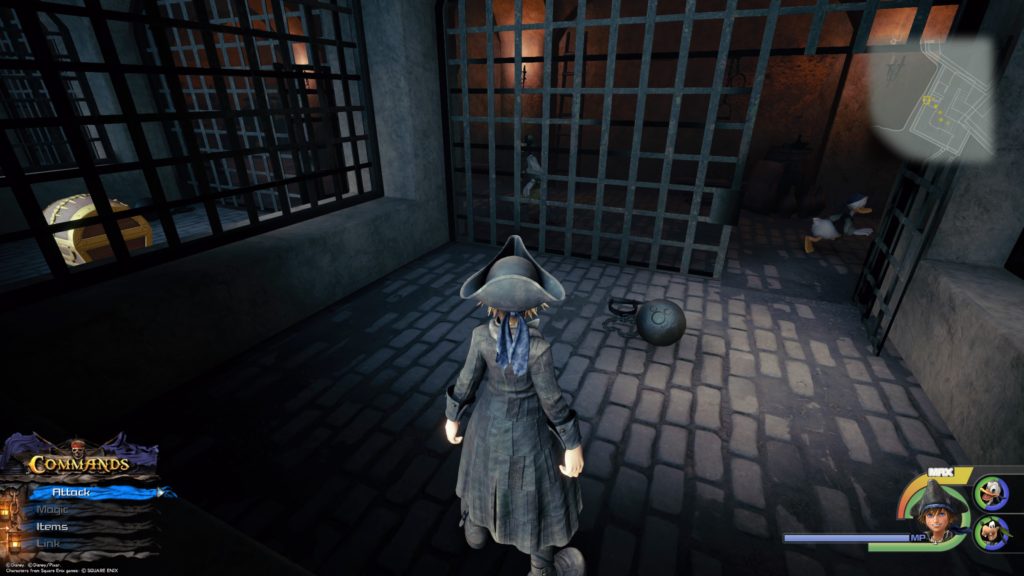
Mickey’s Prison Escape
Take the Seaport entrance into the Fort and continue to follow the path leading to the prison. The chest will be in the third prison cell. Alternatively, from the Fort save point head left (southwest) down the stairs and then turn right (northwest) to continue deeper inside the fort. Follow the path until you reach the prison. The chest will be in the third prison cell.
The High Seas / Southern Waters
Map: Ship’s End
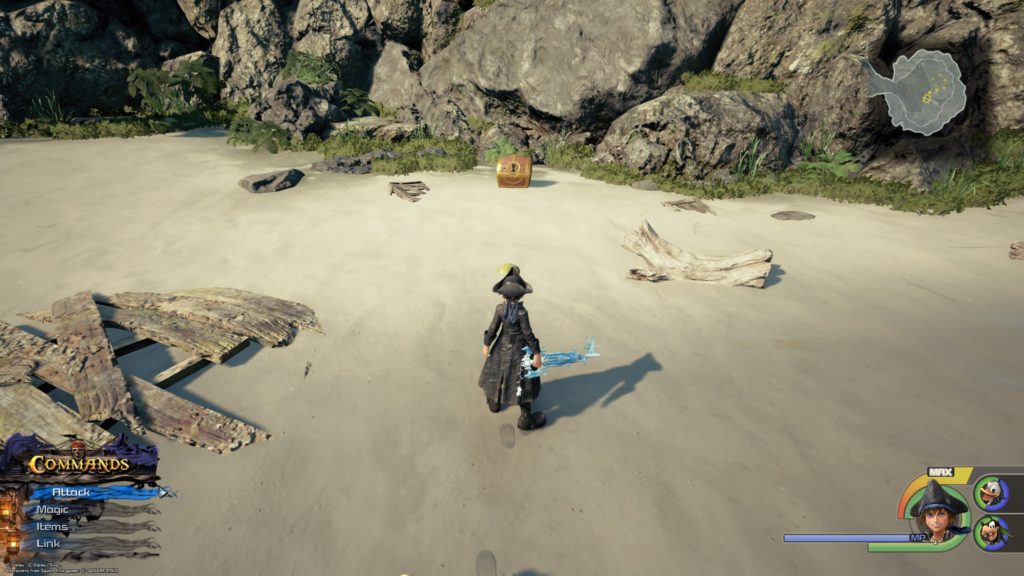
Sail to the Southern Waters location Ship’s End (southeast of Exile Island) and dock there. Swim to shore and follow the path (will pass a wrecked ship on the right side of the beach) to the end. You will spot the Lucky Emblem straight ahead on a sunken ship sticking out of the water. Dive down and swim to the bow (front) of the ship to find an underwater cavern. Above the cavern is another sunken ship. Swim up to the deck of that ship to find this chest.
Mega-Ether / Cosmic Arts
Sail to the Southern Waters location Ship’s End (southeast of Exile Island) and dock there. Swim to shore and follow the path (will pass a wrecked ship on the right side of the beach) to the end. You will spot a lucky emblem straight ahead on a sunken ship sticking out of the water. Dive down and swim to the bow (front) of the ship to find an underwater cavern leading under the island. Follow that cavern, passing through one sunken ship to reach the inside of a second ship (the one on the beach) containing these two chests.
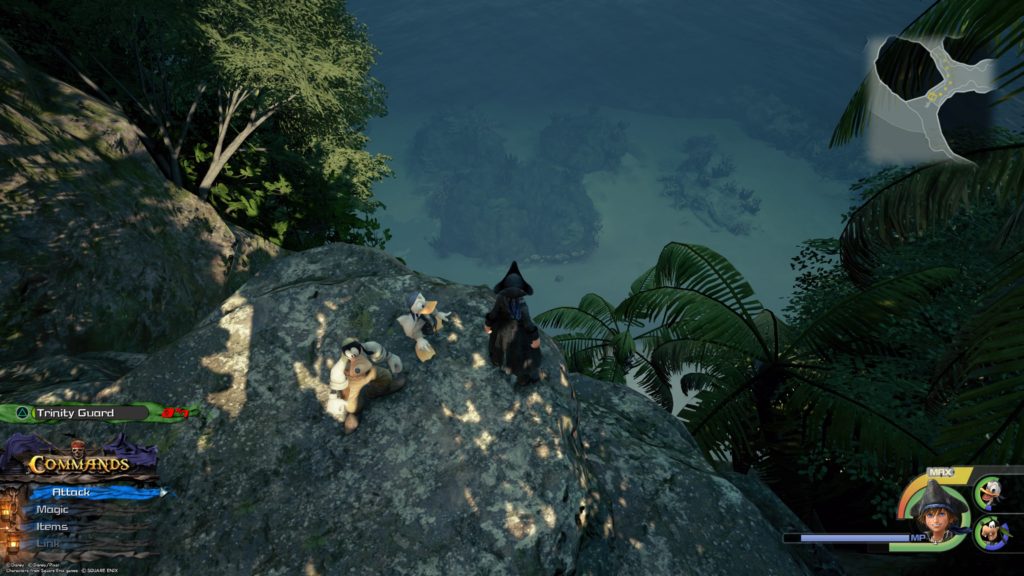
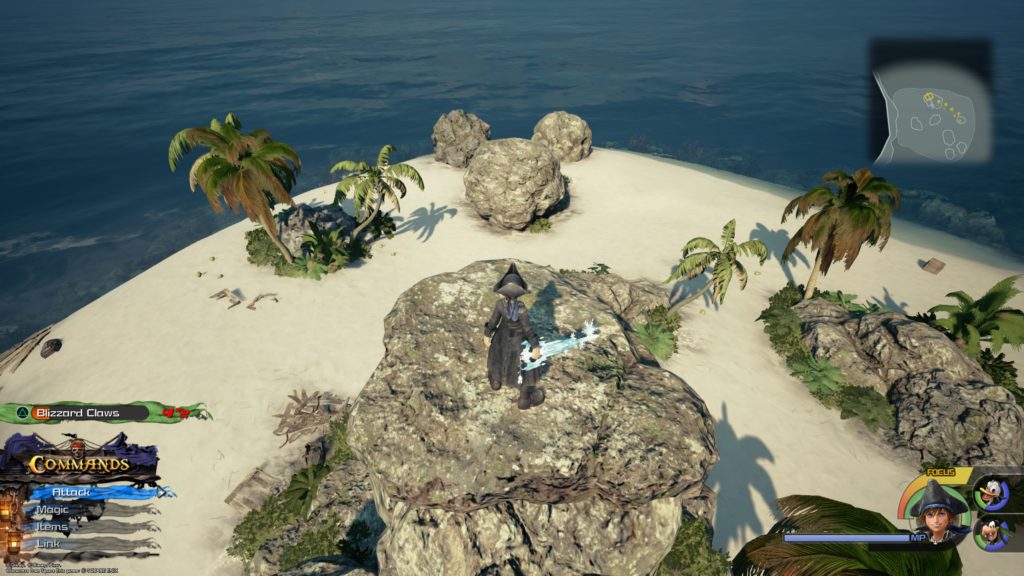
The High Seas / Sandbar Isle
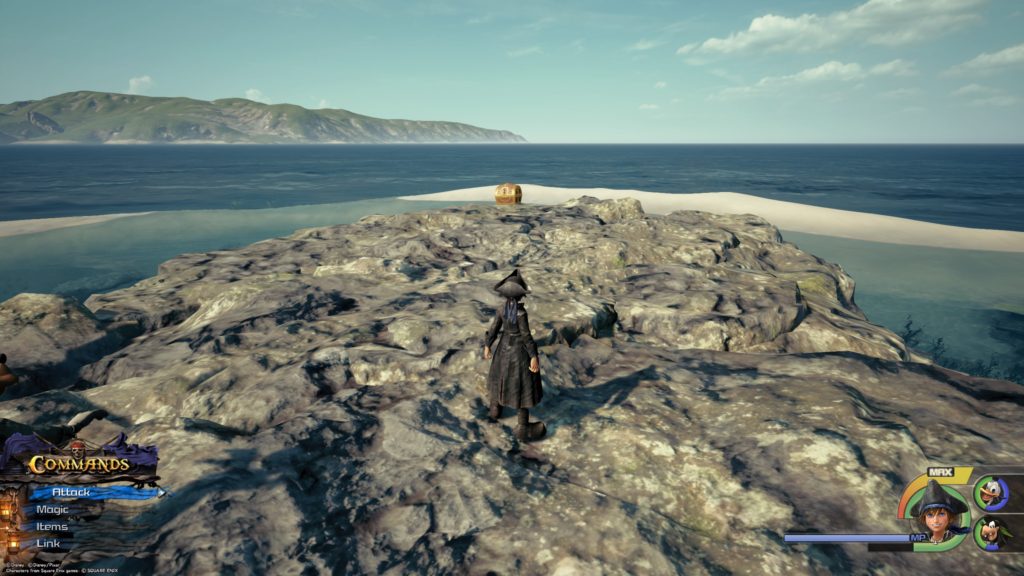
Map: Sandbar Isle
This chest is located on the giant rock in the middle of the Sandbar Isle sand circle (or doughnut if we’re going by Donald’s description).
Adamantite
This chest is sitting on a small rock west of the giant rock in the middle of Sandbar Isle.
Orichalcum / Damascus
These chests are located underwater in the middle of Sandbar Isle on the southwest side of the giant rock in the middle.
Hungry Crystal
This chest is located underwater north of the giant rock in the middle of Sandbar Isle in the wreckage of a small boat (there will be a lone anchor to the east of it).
Adamantite
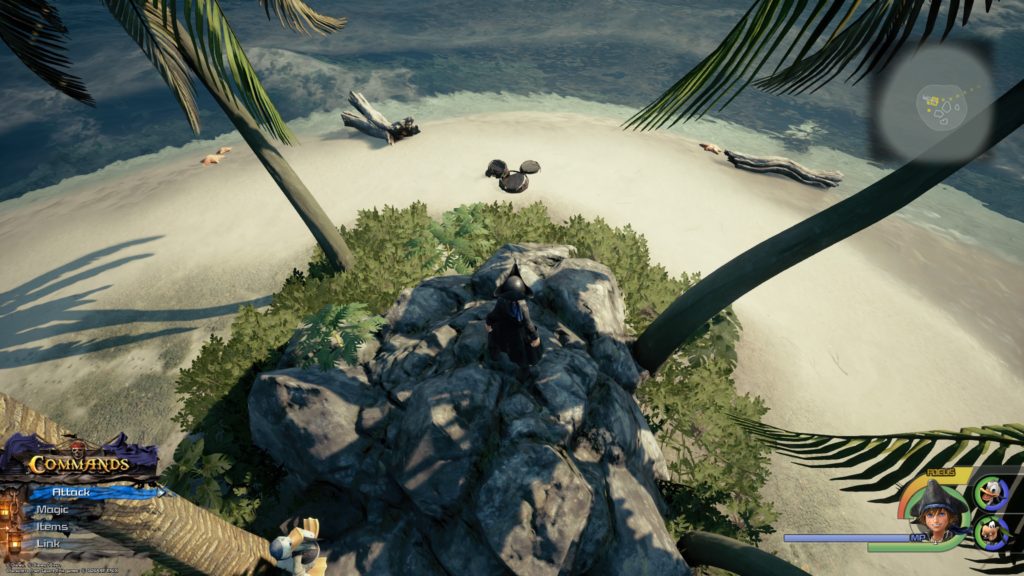
From the giant rock in the middle of Sandbar Isle, head southwest towards the three palm trees on the beach. This chest will be on a rock underwater just before the trees.
Electrum
Jump up onto the rock pillars behind the three palm trees on the south side of the isle to head towards the larger island. Head southeast to find an enclosed area with a subterranean lake. Dive into the lake to find the chest on the side of the rock structure in the center.
Adamantite / Electrum
Jump up onto the rock pillars behind the three palm trees on the south side of the isle heading towards the larger island. Head southeast to find an enclosed area with a subterranean lake. Dive into the lake to find the chests inside the tunnel formed by Lucky Emblem 12 to the left of the center rock structure. The Adamantite is on the right and the Electrum is on the left.
Jump up onto the rock pillars behind the three palm trees on the south side of the isle heading towards the larger island. Head southeast to find an enclosed area with a subterranean lake. Dive into the lake and head through the tunnel right of the lucky emblem tunnel to find the chests.
The High Seas / Southern Waters (Exile Island)
Orichalcum+
The chest is located in a secluded section in the dead center of the island surrounded by palm trees and rocks.
The High Seas / Northern Waters (Horseshoe Island)
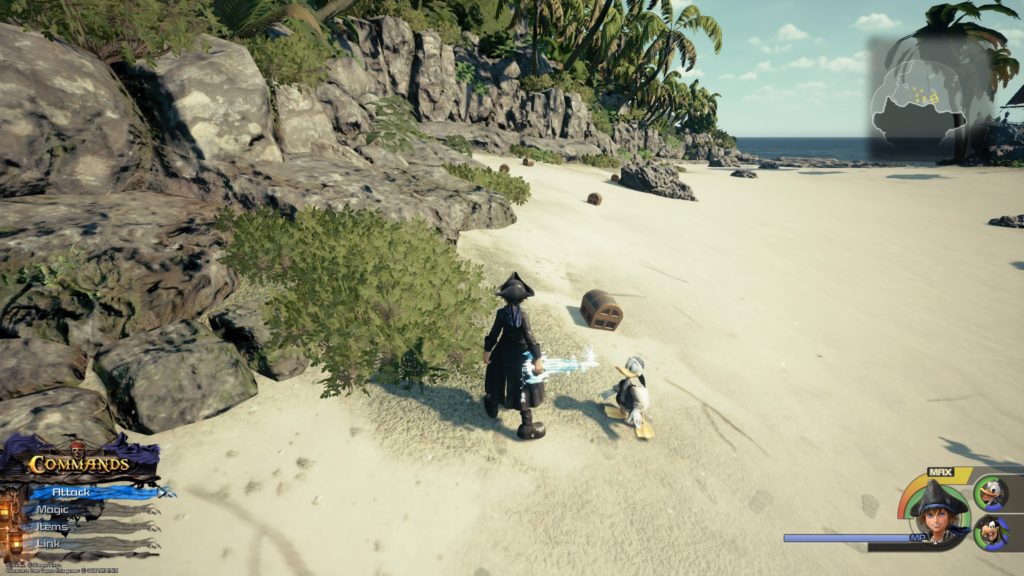
The chests are located in the middle of the island on the beach near a rock wall.
The High Seas / Isla de los Mastiles
Silver Necklace
The chest is located in a giant crate with an x on the top. Climb up two climbable walls in order to be able to jump down and break the crate.
Damascus / Insulator Rosette / Adamantite
Climb up the climbable walls at the beach and follow the path jumping across the stone pillars along the way. When you reach the dead end, jump down into the water below to find the chests in an underwater cavern.
Map: Isla de los Mastiles
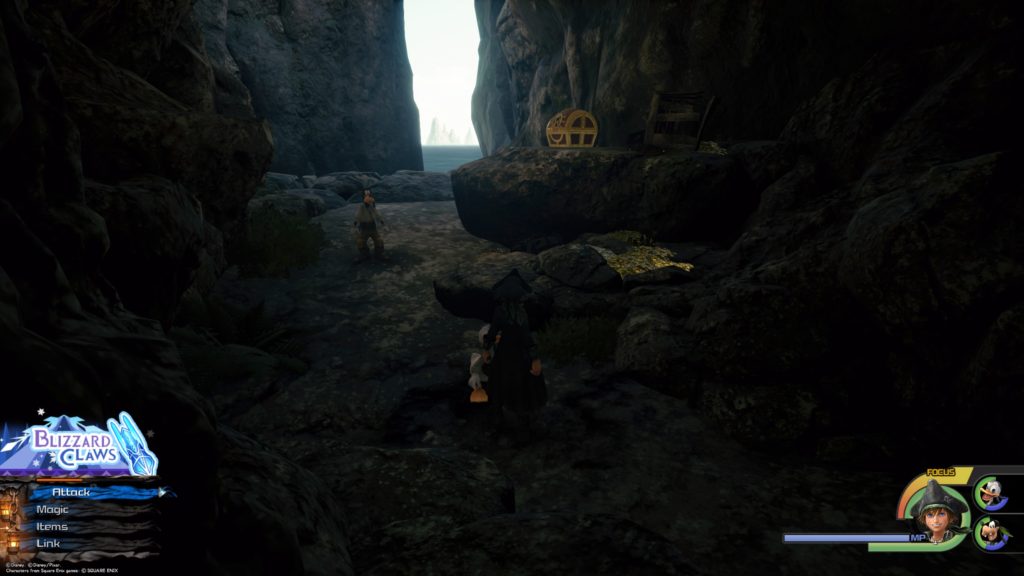
Head into the cave on the southeast side of the beach and follow the cavern to the end. The chest will be on the right on a rock platform.
The High Seas / Port Royal Waters (Gateway of Regret)
Yin-Yang Cufflink
The chest is located on a ledge near the water on the small stone archway in the ocean with a wooden sign suspended between the pillars.
The High Seas / Northern Waters (Confinement Island)
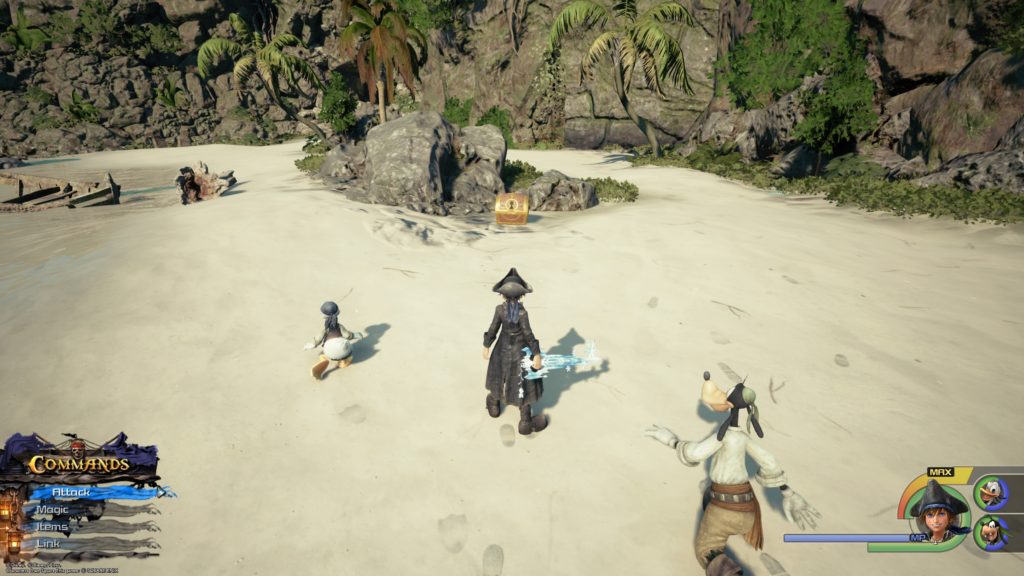
Beach Party
Swim to the beach passing through a stone archway. The chest will be located in the center of the beach surrounded by crates and barrels.
The High Seas / Isla Verdemontana
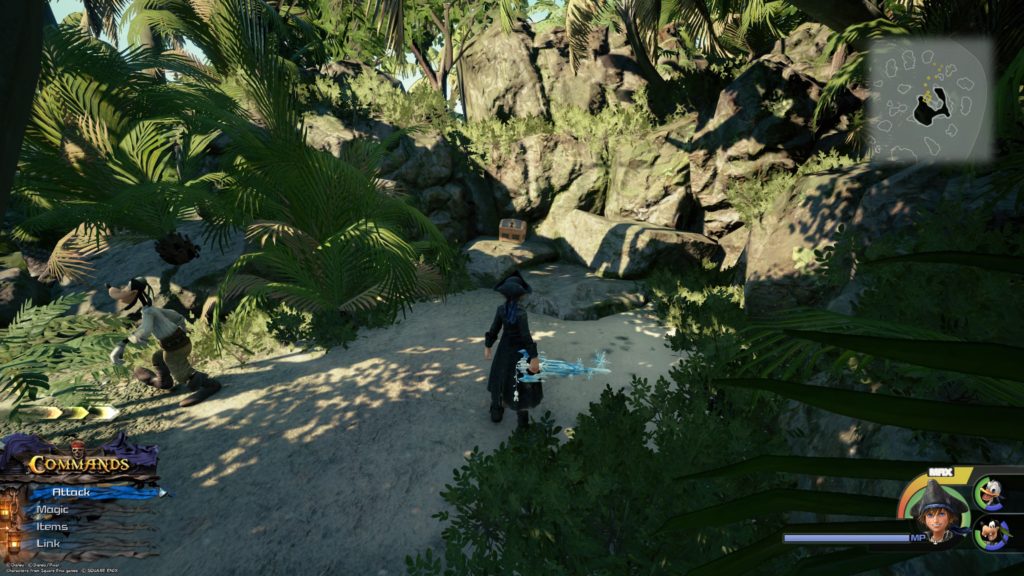
Electrum
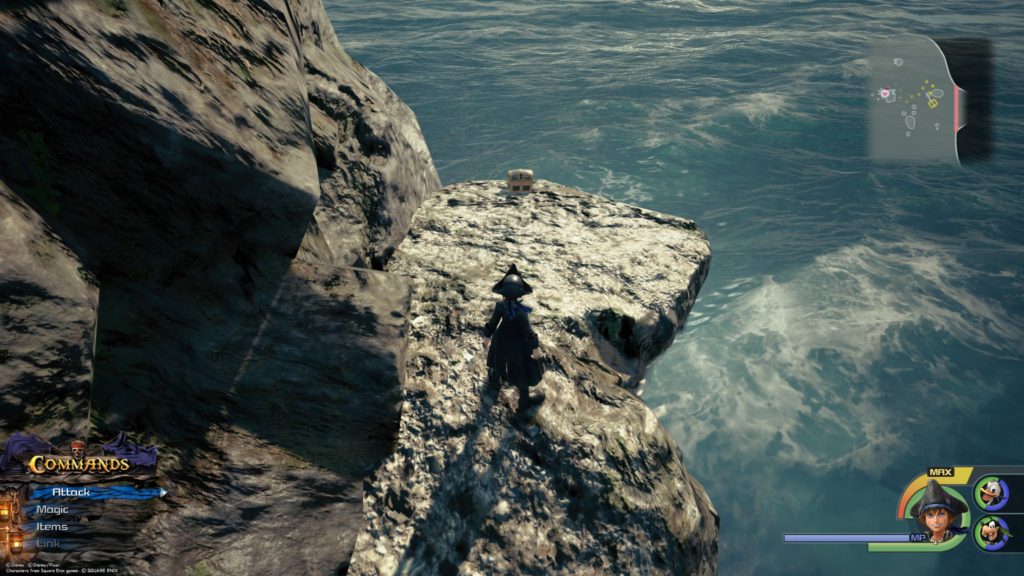
From the Isla Verdemontana save point, head east along the beach and jump up the rocks to proceed further into the isle. When you come to the open area, keep heading straight past the climbing wall on the right to reach another climbing wall in front of you. Climb up this wall to find the chest at the top.
Cast Out to Sea
From the Isla Verdemontana save point, head east along the beach and jump up the rocks to proceed further into the isle. When you come to the open area, keep heading straight past the climbing wall on the right to reach another climbing wall in front of you. Turn right at this climbing wall to keep following the path to arrive at a third climbing wall (you will know you’re at the right place when all the Powerwilds spawn). Head to the top of the wall and keep following the path. Take a right when the path forks and jump off the cliff towards the wooden crate with the x on it to break it revealing the chest.
Orichalcum
From the Isla Verdemontana save point, head east along the beach and jump up the rocks to proceed further into the isle. When you come to the open area, keep heading straight past the climbing wall on the right to reach another climbing wall in front of you. Turn right at this climbing wall to keep following the path to arrive at a third climbing wall (you will know you’re at the right place when all the Powerwilds spawn). Head to the top of the wall and swing left to find the chest next to a rock wall with vines hanging down from it.
Swim or jump to the lone rowboat next to the Docks on the north side. The emblem is inside the rowboat.
Lucky Emblem 2
Turn left from the dock at the Docks heading south along the ocean. The lucky emblem will be on a pillar under a building with a ladder.
Port Royal / Seaport
Lucky Emblem 3
In a shack on the west side of the Seaport. The emblem is located on the side of a crate.
Lucky Emblem 4
The lucky emblem is on the back of the East India Trading Company sign hanging over the wooden dock.
Port Royal / Fort
Lucky Emblem 5
From the Fort save point, head northwest through an archway and cross the courtyard. Climb up the archway and continue to the top tower containing the British flag. Look to the right (north) to find the emblem made out of ropes on the next level down.
Lucky Emblem 6
Take the Seaport entrance into the Fort and continue to follow the path leading to the prison. The emblem will be on the backside of the ball and chain in the second prison cell. Alternatively, from the Fort save point head left (southwest) down the stairs and then turn right (northwest) to continue deeper inside the fort. Follow the path until you reach the prison. The emblem will be on the backside of the ball and chain in the second prison cell.
The High Seas / Southern Waters
Lucky Emblem 11
Sail to the Southern Waters location Ship’s End (southeast of Exile Island) and dock there. Swim to shore and follow the path (will pass a wrecked ship on the right side of the beach) to the end. You will spot the lucky emblem straight ahead on a sunken ship sticking out of the water.
The High Seas / Sandbar Isle
Lucky Emblem 12
Jump up onto the rock pillars behind the three palm trees on the south side of the isle heading towards the larger island. Head southeast to find an enclosed area with a subterranean lake. Dive into the lake to find the lucky emblem tunnel east of the rock structure in the center.
Lucky Emblem 13
Jump up onto the rock pillars behind the three palm trees on the south side of the isle heading towards the larger island. Head southeast to find an enclosed area with a subterranean lake. Dive into the lake to find the emblem on top of the rock structure in the center.
The High Seas / Isla Verdemontana
Lucky Emblem 7
From the Isla Verdemontana save point, head east along the beach and jump up the rocks to proceed further into the isle. When you come to the open area, keep heading straight past the climbing wall on the right to reach another climbing wall in front of you. Turn right at this climbing wall and keep following the path to arrive at a third climbing wall (you will know you’re at the right place when all the Powerwilds spawn). Head to the top of the wall and keep following the path. Take a left when the path forks and jump on the rock at the end. Look down into the ocean to see the lucky emblem (you should be facing southwest).
The High Seas / Northern Waters (Isle of Luck)
Lucky Emblem 8
After docking near the Isle of Luck, swim to the beach and climb the tallest rock there (not the mountain behind the beach). Once at the top, look to the southeast to find this lucky emblem.
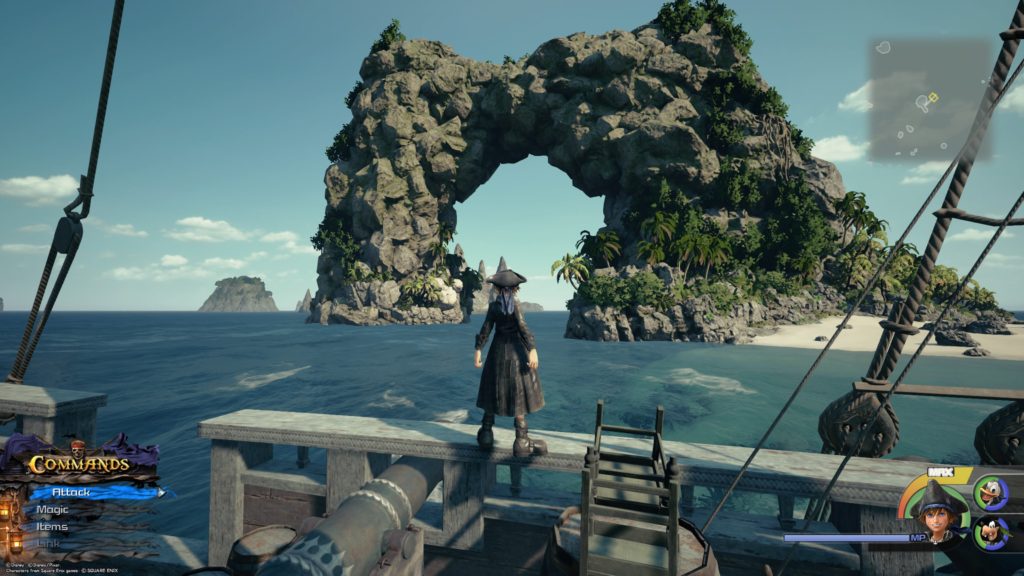
The High Seas / Northern Waters (Horseshoe Island)
Lucky Emblem 9
The lucky emblem is on the left (south) side of the gigantic rock archway of Horseshoe Island. You will need to be on your ship to take the picture.
The High Seas / Port Royal Waters
Lucky Emblem 10
This emblem is on a Small island off the west of Isla de los Mastiles. Stand on the rock surrounded by palm trees on the west side of the island to find the emblem made out of a broken barrel in the sand.
Below you will find the list of items rewarded for collecting Lucky Emblems throughout your adventures in Kingdom Hearts III. The number on the left is how many emblems you need to unlock the reward on the right. There are a total of 90 Lucky Emblems over the course of the game.
Rewards
01 – AP Boost
03 – Mega-Potion
05 – Expert’s Ring
10 – Thundara Trinket
15 – Moon Amulet
20 – Magic Boost
25 – Star Charm
30 – Ribbon
35 – Buster Band+
40 – Strength Boost
45 – Master’s Necklace
50 – Wisdom Ring
55 – Defense Boost
60 – Orichalcum Ring
65 – Cosmic Belt+
70 – Royal Ribbon
80 – Orichalcum+
90 – Mickey Clasp
Search
This site uses cookies. By continuing to use this website, you are giving consent to cookies being used. For more information on cookies, view our Privacy Policy.OkPrivacy Policy