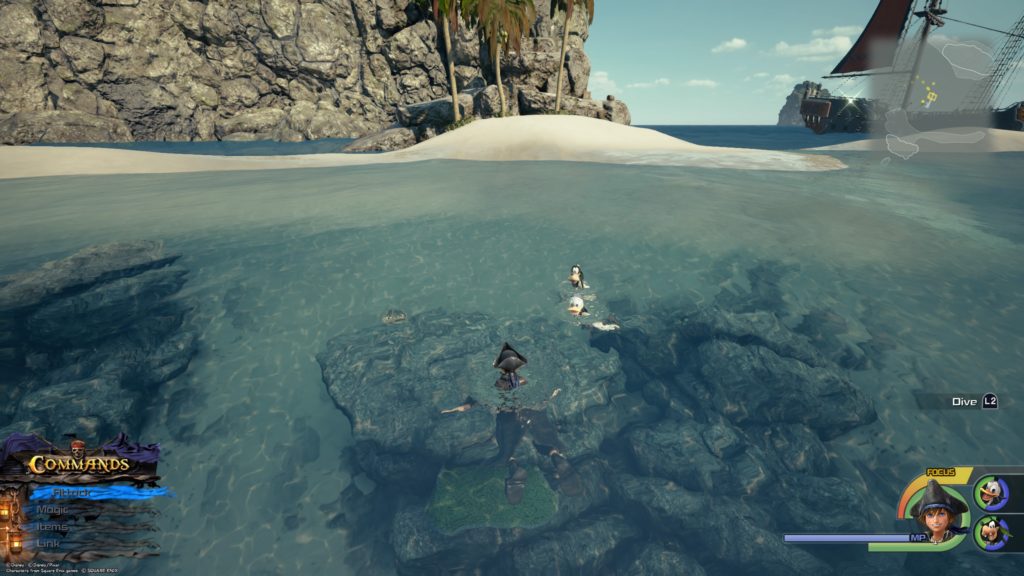
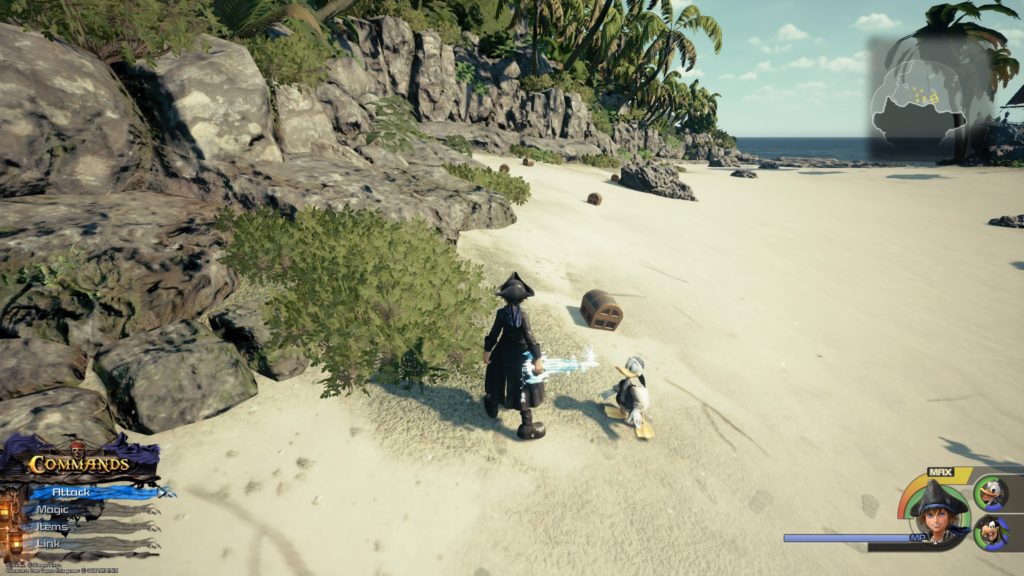
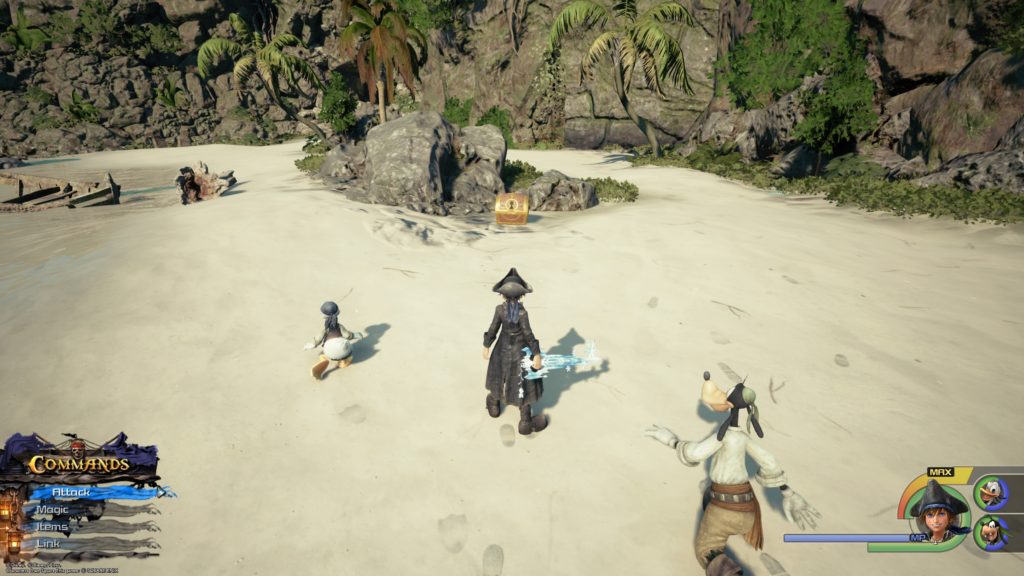
This chest is located south of the Huddled Isles save point.
Mega-Potion / Panacea / Mater’s Ring
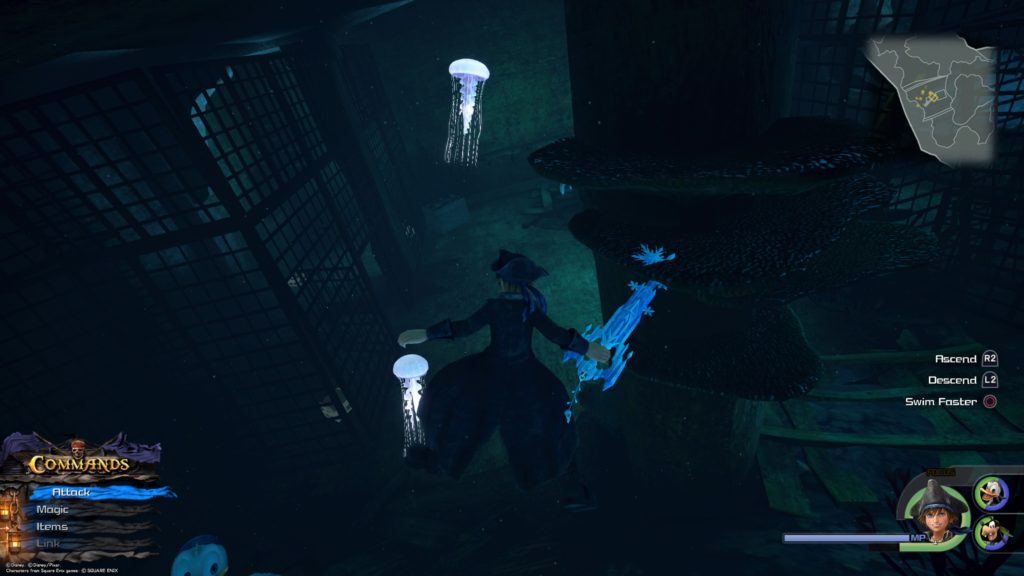
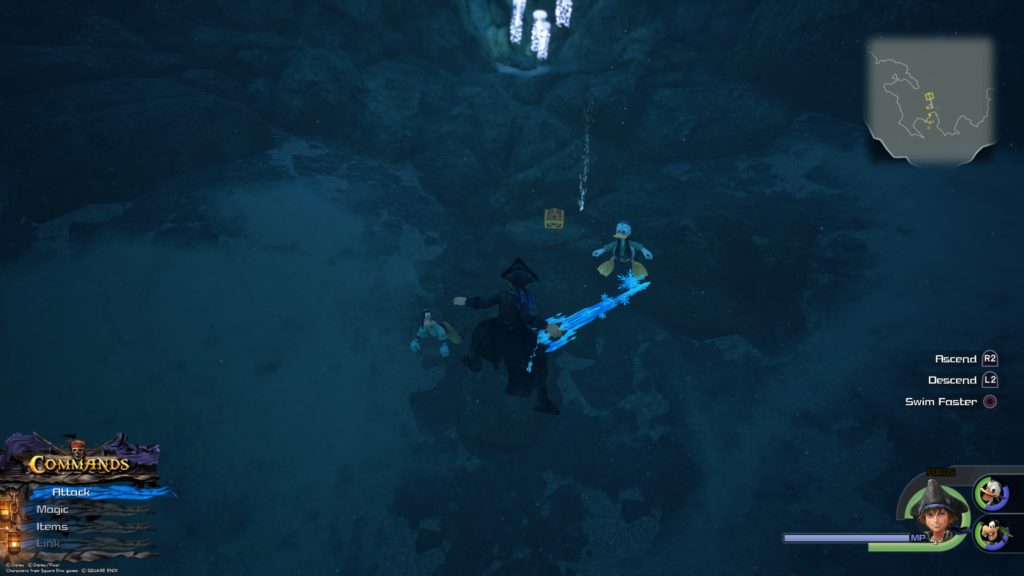
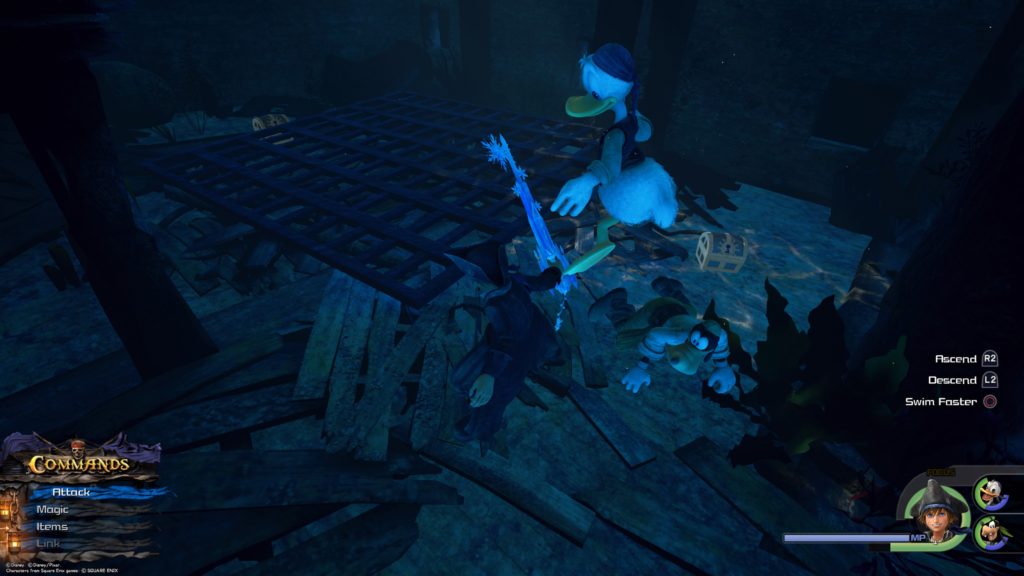
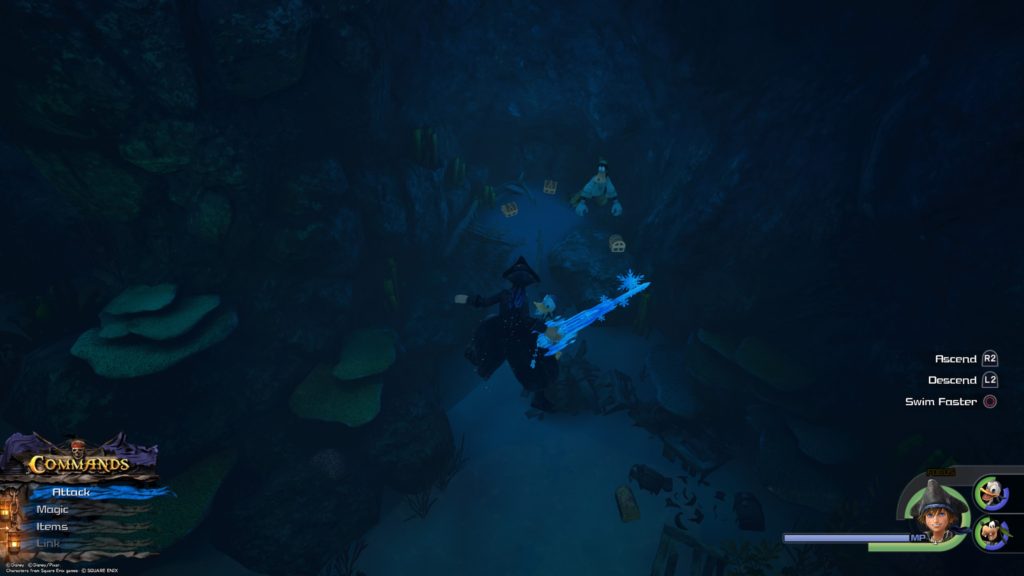
From the Huddled Isles save point, head south and dive into the water. Head through the underwater tunnel and into the bigger area on the other side. Swim past the horizontally sitting sunken ship and down into the side of a broken ship under some jellyfish. From there, take a left through the broken gate and make a right into the center of the ship filled with more jellyfish. Enter the gated section on the right to find all three of these chests.
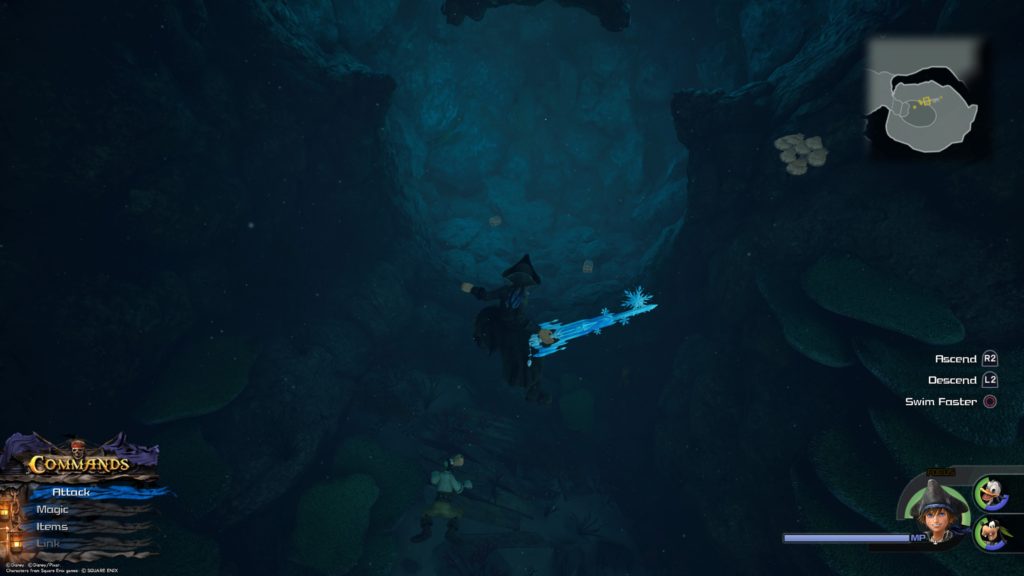
The High Seas / Undersea Cavern
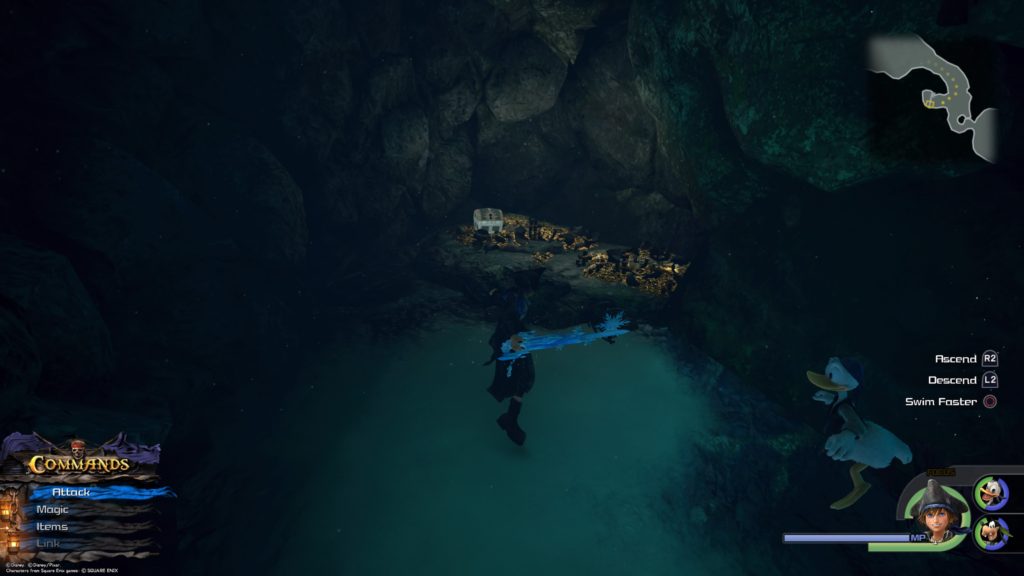
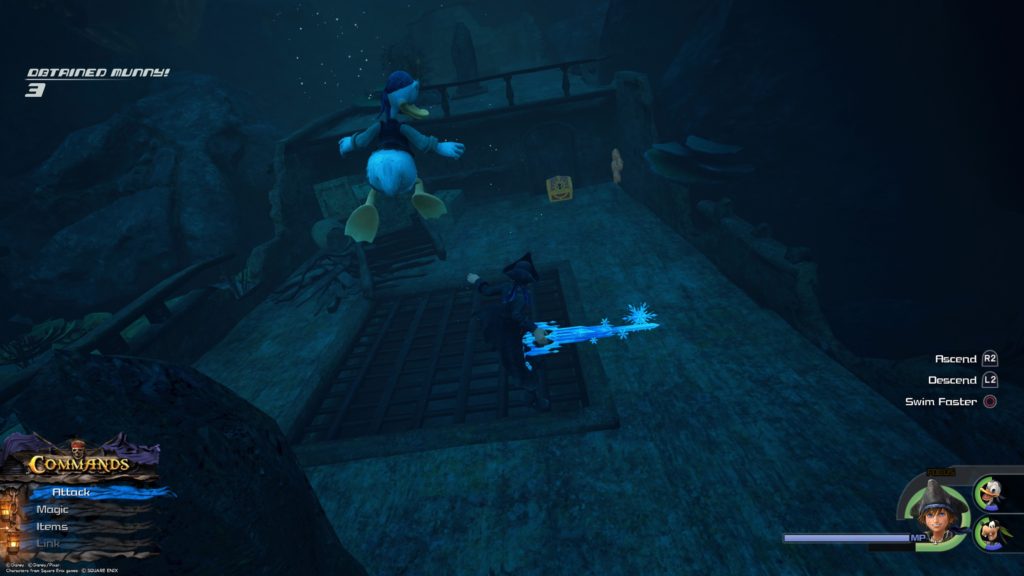
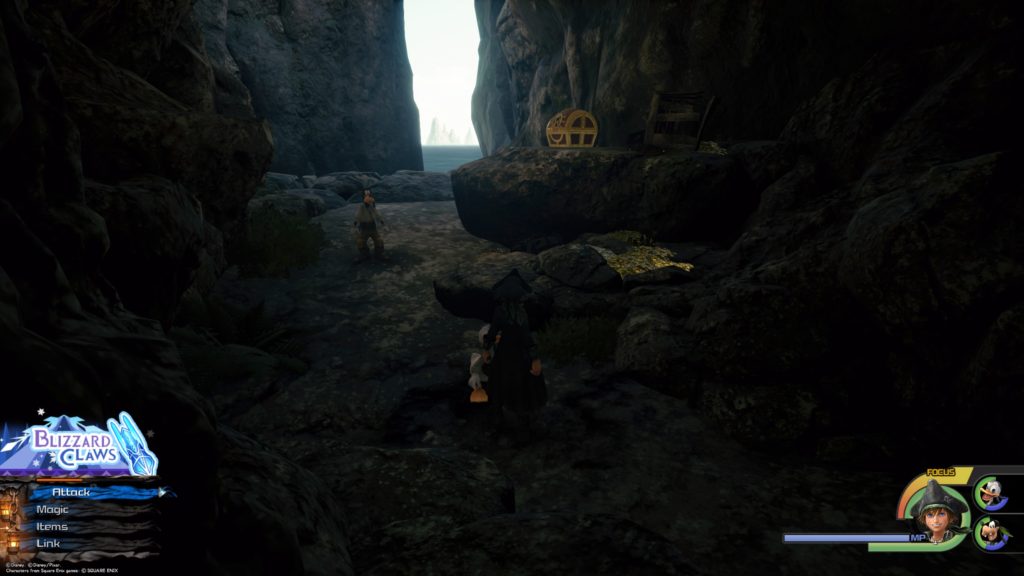
Adamantite
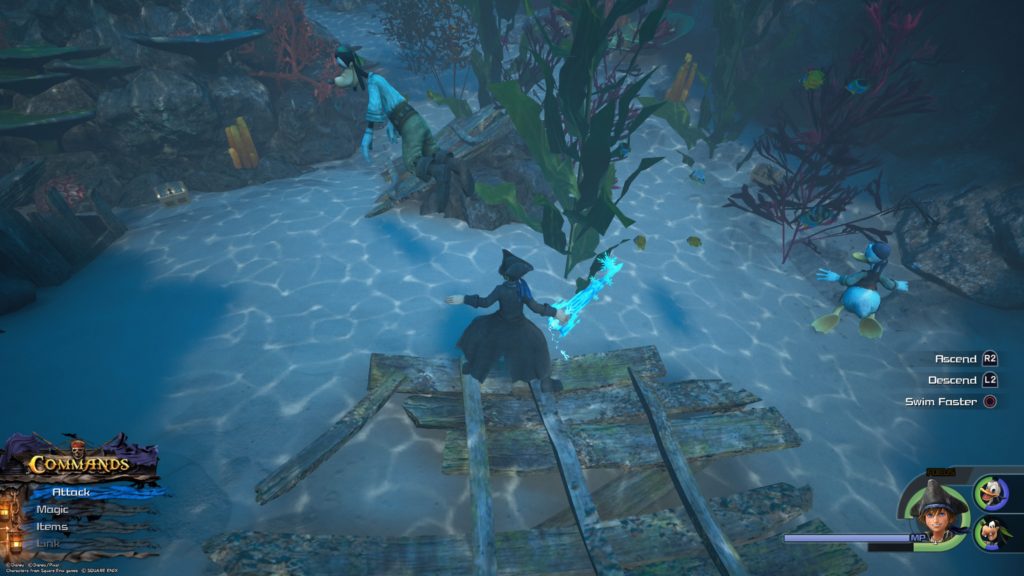
From the Huddled Isles save point, head south and dive into the water. Head through the underwater tunnel and into the bigger area on the other side. Swim past the horizontally sitting sunken ship to reach the Undersea Cavern. From there, keep following the path straight (east) until you come to a cavern entrance blocked by a stack of barrels on the right. Destroy the barrels and head into the cavern to find the chest sitting on a pile of gold coins.
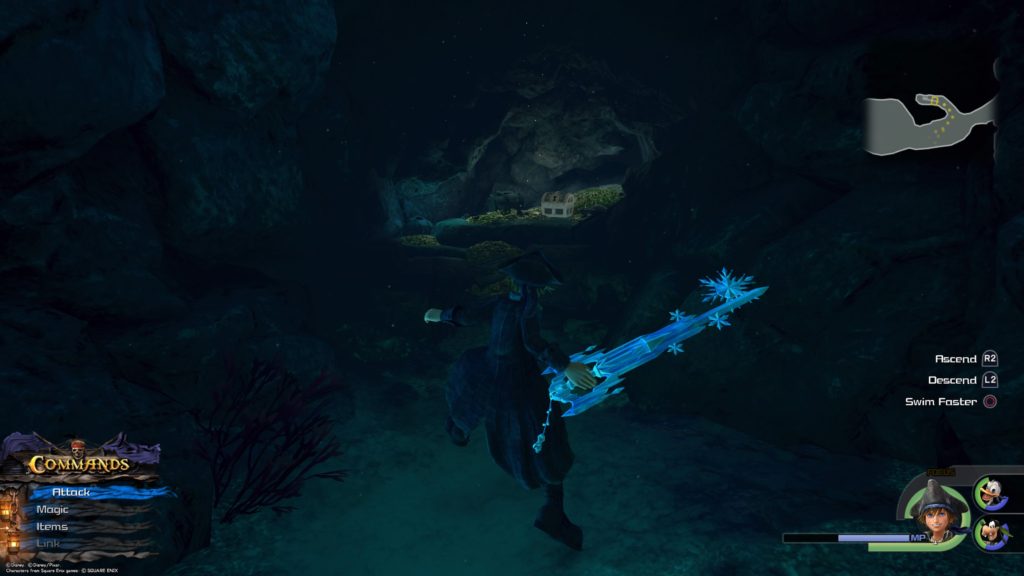
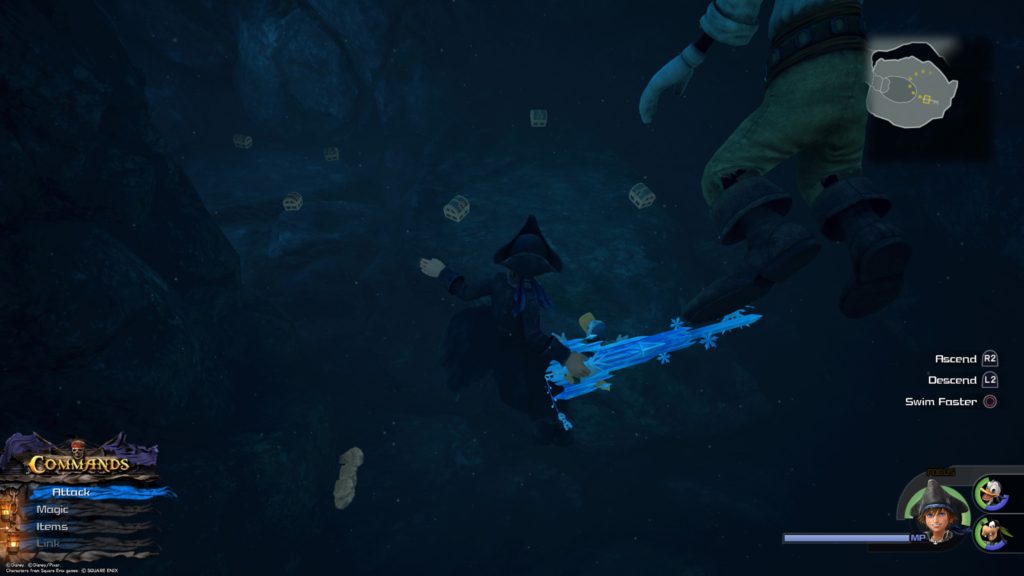
Orichalcum
From the Huddled Isles save point, head south and dive into the water. Head through the underwater tunnel and into the bigger area on the other side. Swim past the horizontally sitting sunken ship to reach the Undersea Cavern. Keep following the path straight (east) until you come to a tunnel filled with jellyfish. Use magic to clear out the jellyfish and take the tunnel to the left to find this chest.
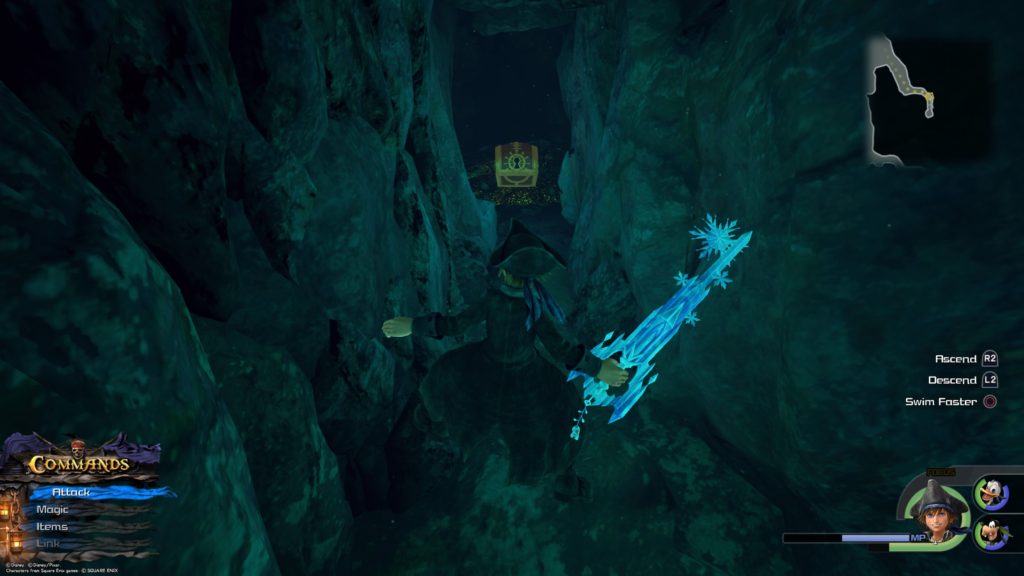
Fishin’ Frenzy
From the Huddled Isles save point, head south and dive into the water. Head through the underwater tunnel and into the bigger area on the other side. Swim past the horizontally sitting sunken ship to reach the Undersea Cavern. Keep following the path straight (east) until you come to a tunnel filled with jellyfish. Use magic to clear out the jellyfish and keep heading straight (north). After some Water Cores and more jellyfish, you will come to a dead end containing the chest.
Ocean Heartbinder
From the Undersea Cavern save point, continue heading south into a big open room to find the chest near the back of the room.
The High Seas / The Leviathan
Celestriad
Use flowmotion near the mast of the ship to climb up to the lookout station to find this chest.
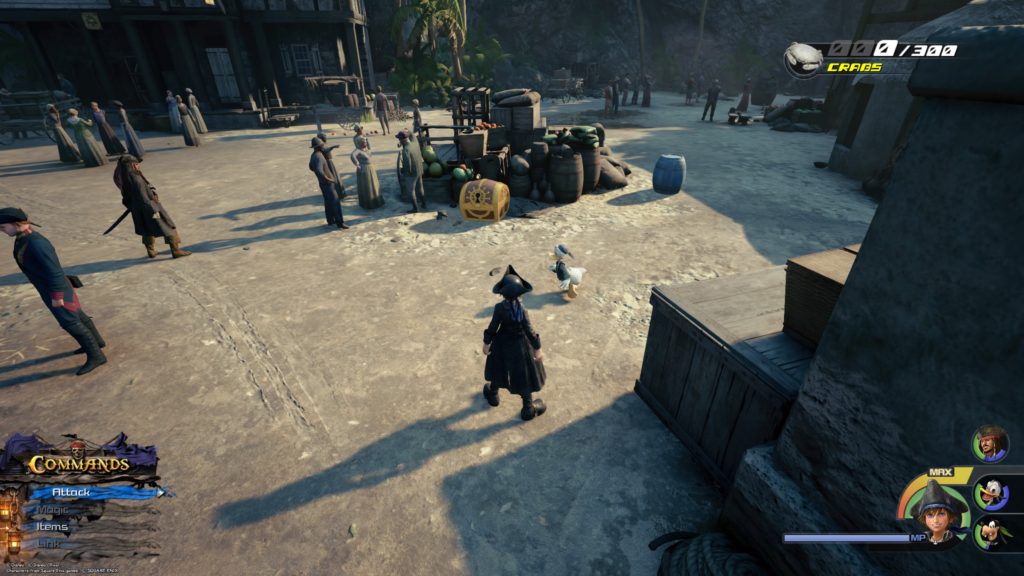
Port Royal / Docks
Map: Port Royal Waters
The chest is right in front of you as soon as you exit the Docks next to the barrels and food.
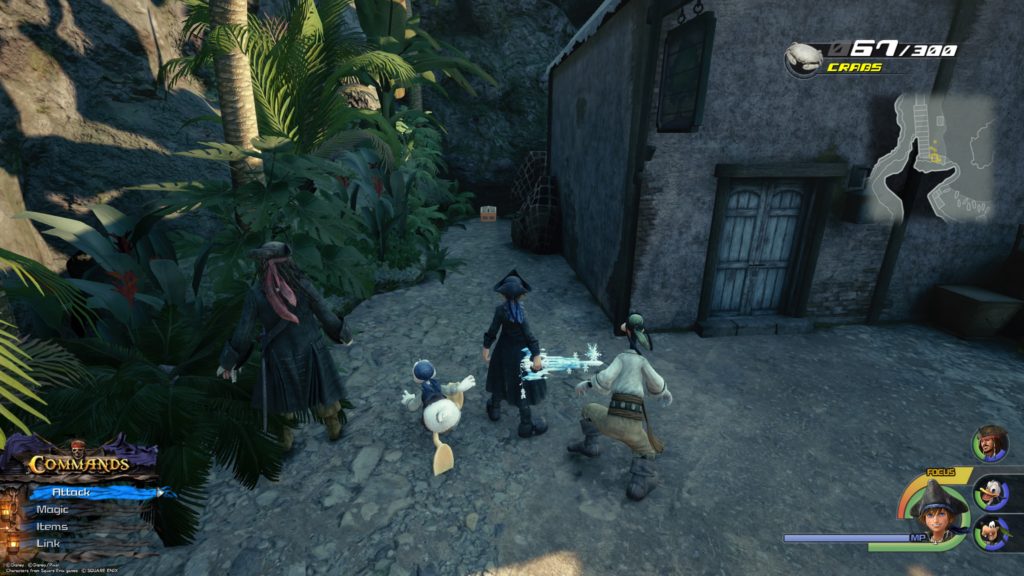
Hi-Ether
Turn left from the dock at the Docks heading south along the ocean. At the dead end, turn right to find the chest beside a house.
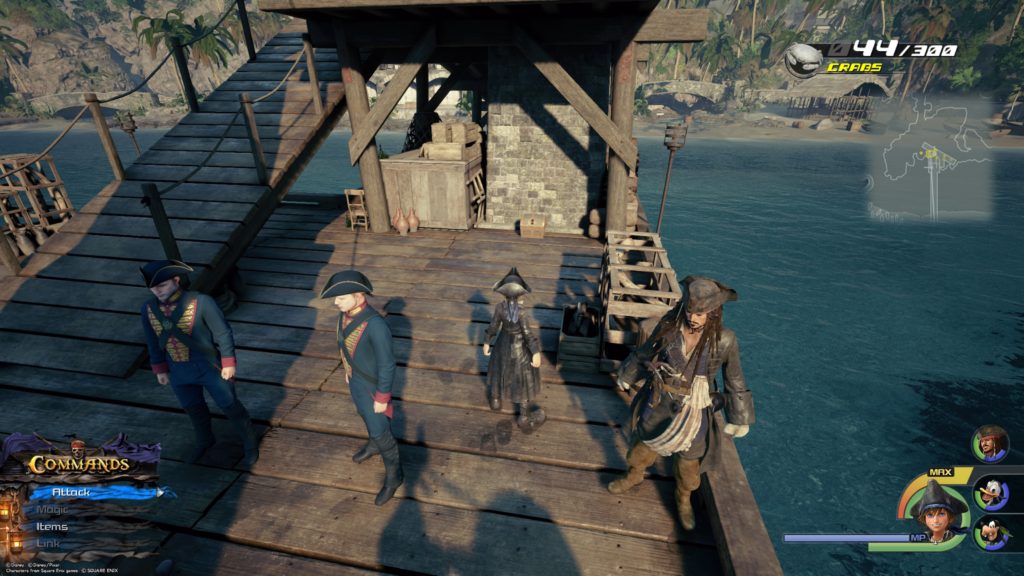
Port Royal / Seaport
Hi-Potion
The chest is located south of the Leviathan at the end of the dock connected to the Seaport.
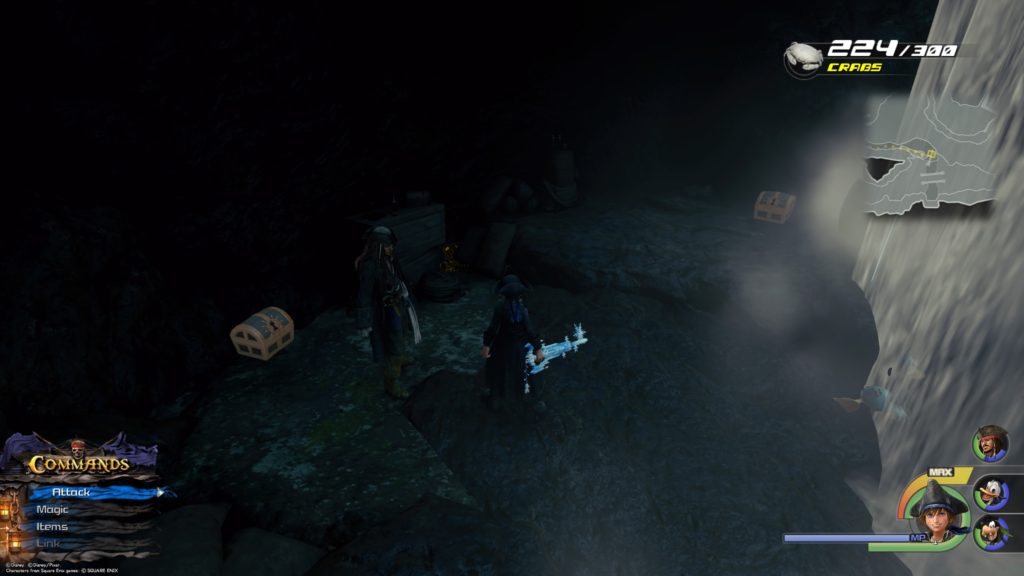
Sorcerer’s Ring / Ether
Before crossing the bridge leading to the Fort, jump to the right into the water and walk against the stream southeast to find a waterfall. The two chests will be located behind the waterfall. The Sorcerer’s Ring is on the left and the Ether is on the right.
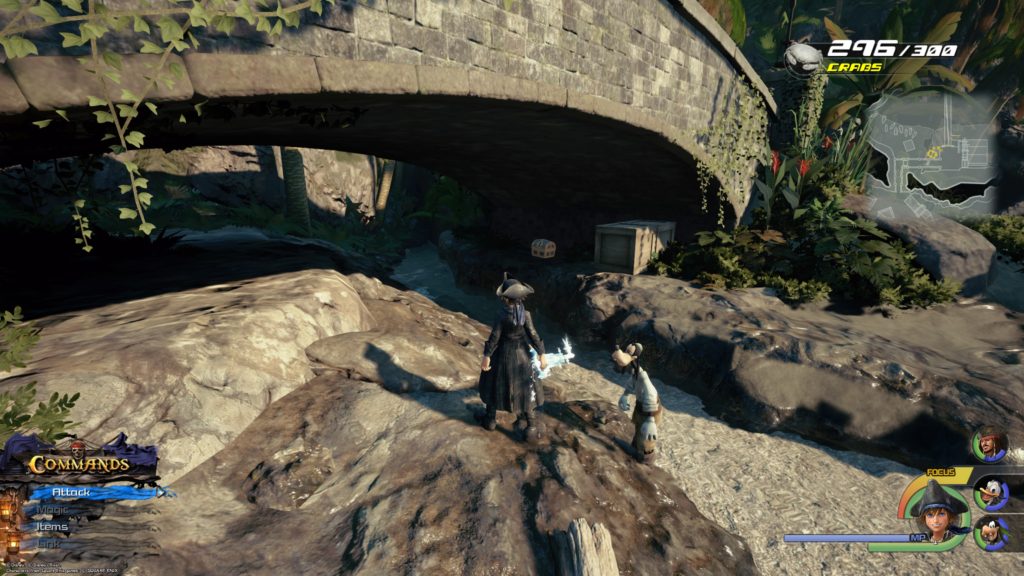
Mega-Ether
The chest is located under the bridge southeast of the shack leading to the Settlement.
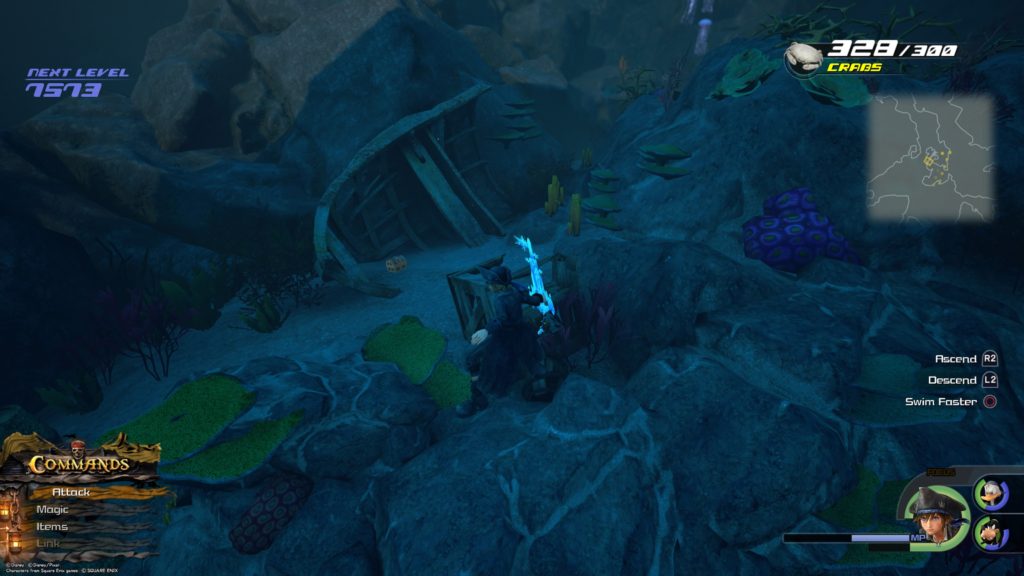
Elixir
Jump off the end of the long wooden dock and swim northeast towards the jellyfish. The chest will be in a sunken rowboat underneath where the jellyfish are swimming.
Port Royal / Settlement
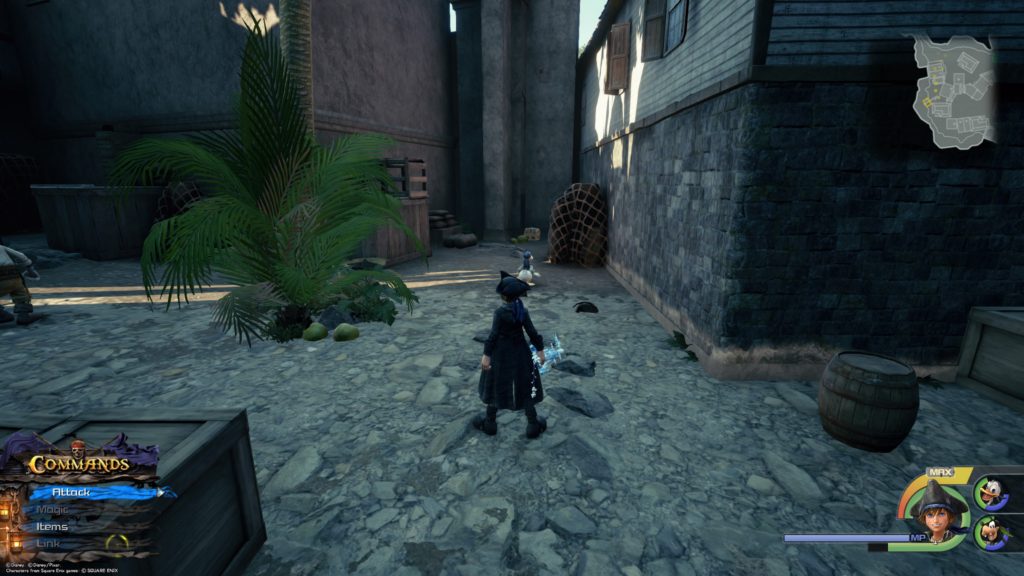
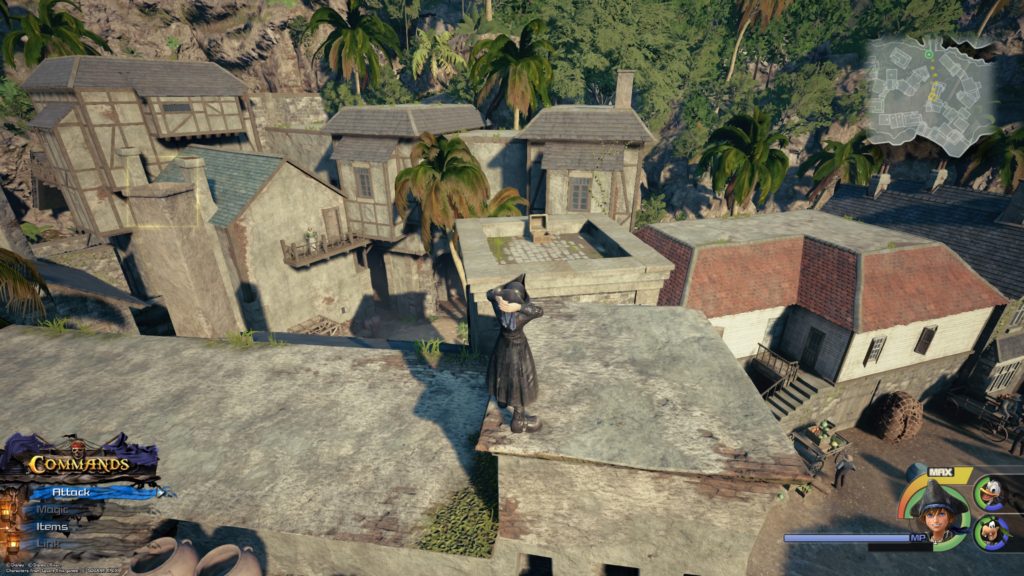
Mega-Potion
From the Settlement save point, take an immediate right to the west and follow the path along the rock wall. Before the last building, turn left and scale the building at the dead end. Walk straight across the steep roof and jump down on the other side. The chest will be to your left behind the barrels and crates next to three green balls.
Tent
From the Settlement save point, head straight ahead to the building called R. Smith Pewterers and climb up it. Head straight across the roof to the opposite side. The chest will be on the right side.
Port Royal / Fort
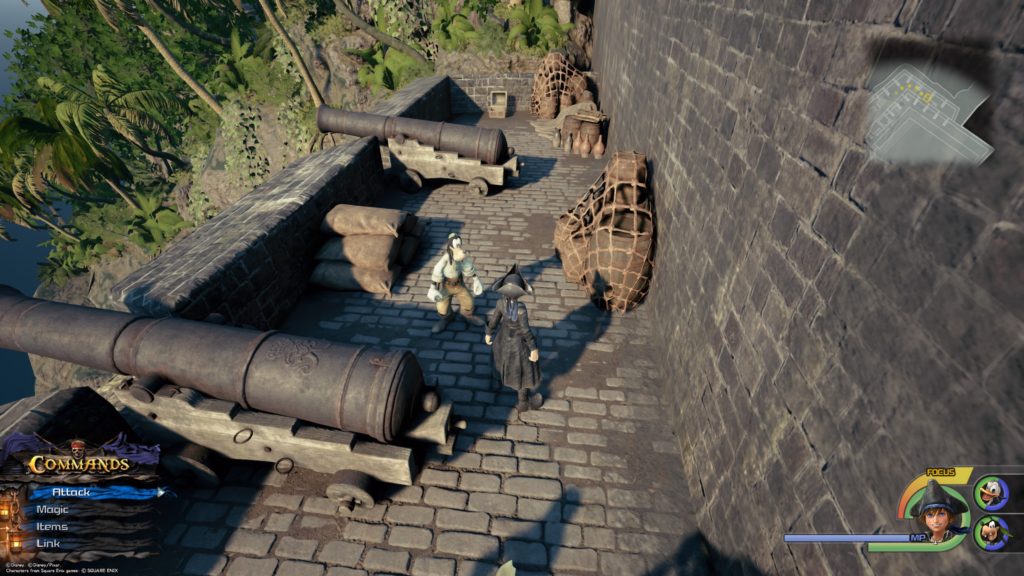
Hi-Refocuser
From the Fort save point, head northwest through the archway and cross the courtyard. Head up the stairs and cross under the archway. At the bell take a right and follow the path past the cannons. The chest will be at the dead end.
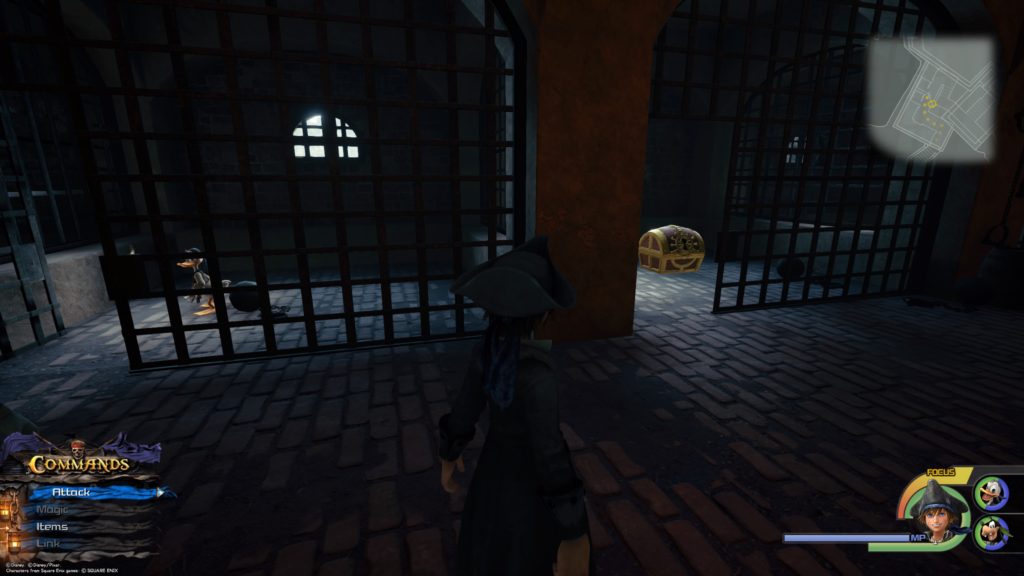
Mickey’s Prison Escape
Take the Seaport entrance into the Fort and continue to follow the path leading to the prison. The chest will be in the third prison cell. Alternatively, from the Fort save point head left (southwest) down the stairs and then turn right (northwest) to continue deeper inside the fort. Follow the path until you reach the prison. The chest will be in the third prison cell.
The High Seas / Southern Waters
Map: Ship’s End
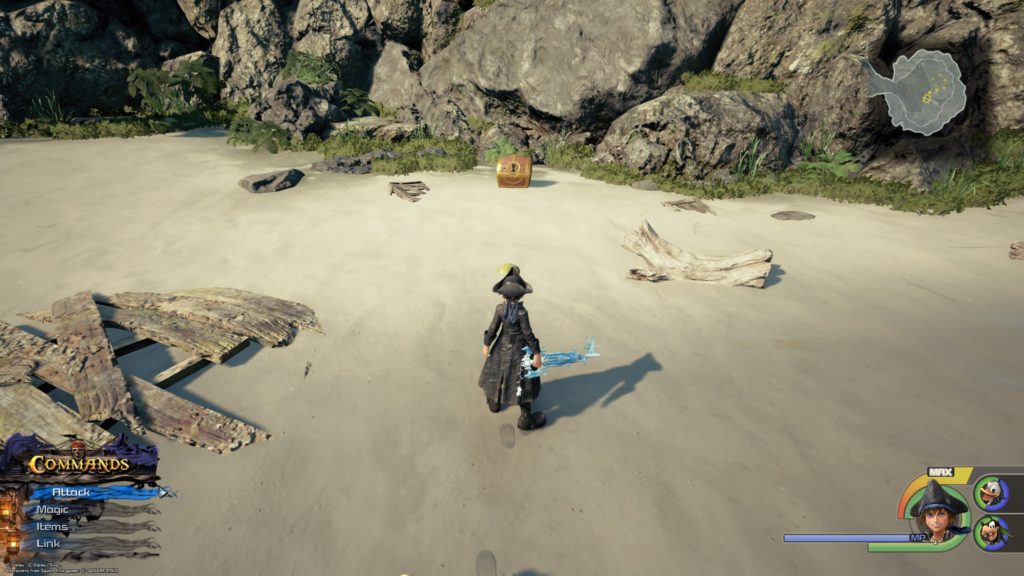
Sail to the Southern Waters location Ship’s End (southeast of Exile Island) and dock there. Swim to shore and follow the path (will pass a wrecked ship on the right side of the beach) to the end. You will spot the Lucky Emblem straight ahead on a sunken ship sticking out of the water. Dive down and swim to the bow (front) of the ship to find an underwater cavern. Above the cavern is another sunken ship. Swim up to the deck of that ship to find this chest.
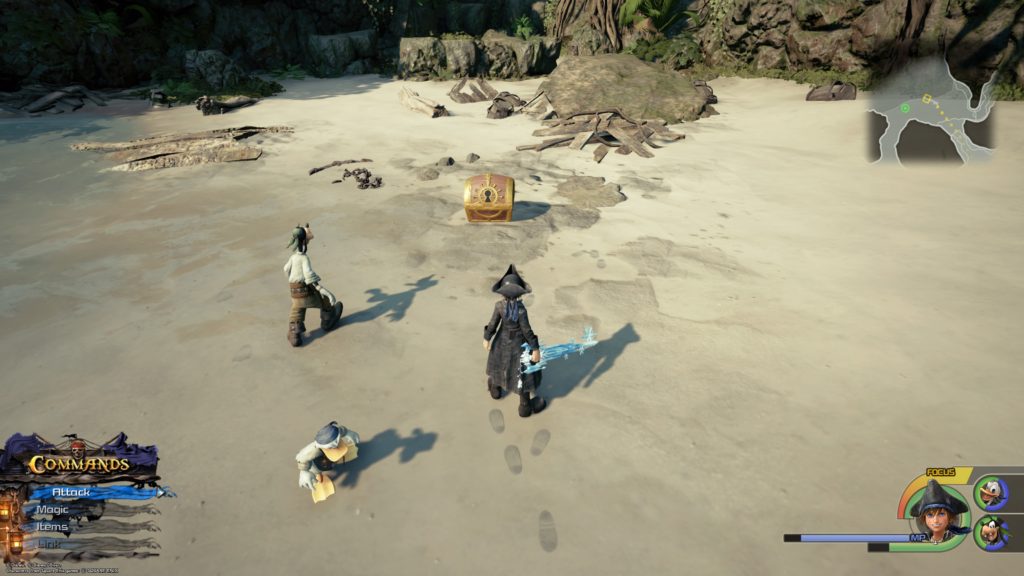
Mega-Ether / Cosmic Arts
Sail to the Southern Waters location Ship’s End (southeast of Exile Island) and dock there. Swim to shore and follow the path (will pass a wrecked ship on the right side of the beach) to the end. You will spot a lucky emblem straight ahead on a sunken ship sticking out of the water. Dive down and swim to the bow (front) of the ship to find an underwater cavern leading under the island. Follow that cavern, passing through one sunken ship to reach the inside of a second ship (the one on the beach) containing these two chests.
The High Seas / Sandbar Isle
Map: Sandbar Isle
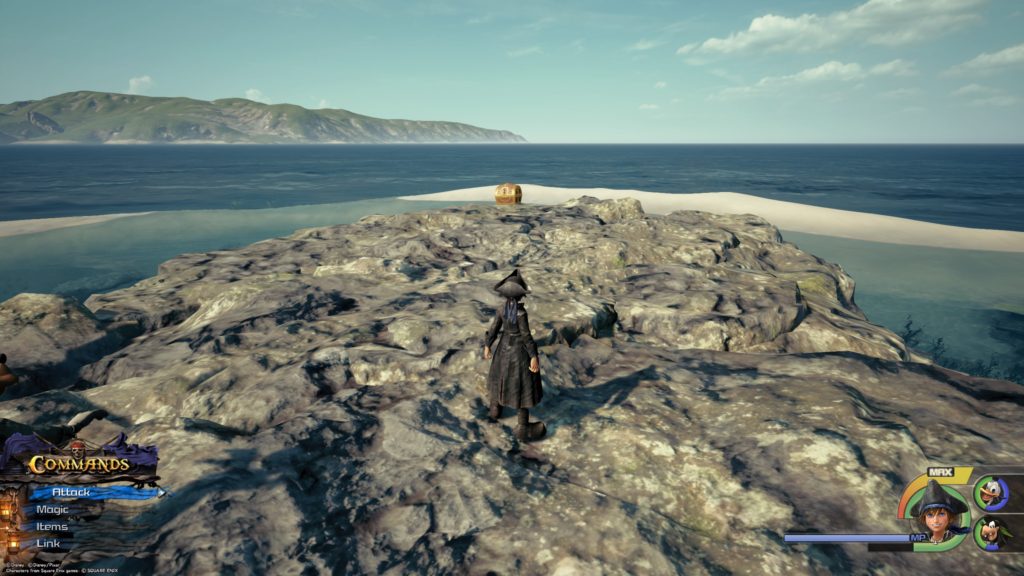
This chest is located on the giant rock in the middle of the Sandbar Isle sand circle (or doughnut if we’re going by Donald’s description).
Adamantite
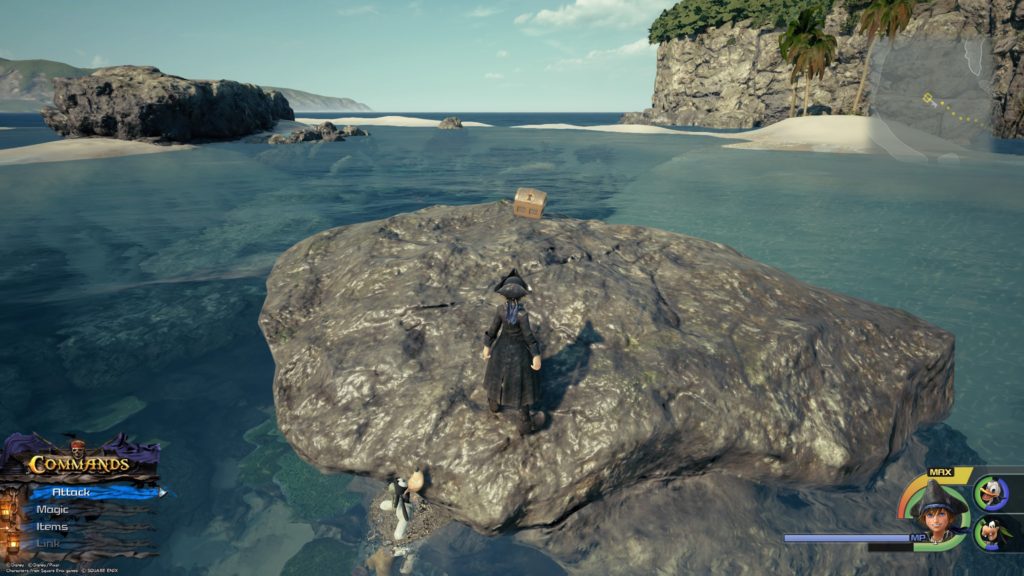
This chest is sitting on a small rock west of the giant rock in the middle of Sandbar Isle.
Orichalcum / Damascus
These chests are located underwater in the middle of Sandbar Isle on the southwest side of the giant rock in the middle.
Hungry Crystal
This chest is located underwater north of the giant rock in the middle of Sandbar Isle in the wreckage of a small boat (there will be a lone anchor to the east of it).
Adamantite
From the giant rock in the middle of Sandbar Isle, head southwest towards the three palm trees on the beach. This chest will be on a rock underwater just before the trees.
Electrum
Jump up onto the rock pillars behind the three palm trees on the south side of the isle to head towards the larger island. Head southeast to find an enclosed area with a subterranean lake. Dive into the lake to find the chest on the side of the rock structure in the center.
Adamantite / Electrum
Jump up onto the rock pillars behind the three palm trees on the south side of the isle heading towards the larger island. Head southeast to find an enclosed area with a subterranean lake. Dive into the lake to find the chests inside the tunnel formed by Lucky Emblem 12 to the left of the center rock structure. The Adamantite is on the right and the Electrum is on the left.
Jump up onto the rock pillars behind the three palm trees on the south side of the isle heading towards the larger island. Head southeast to find an enclosed area with a subterranean lake. Dive into the lake and head through the tunnel right of the lucky emblem tunnel to find the chests.
The High Seas / Southern Waters (Exile Island)
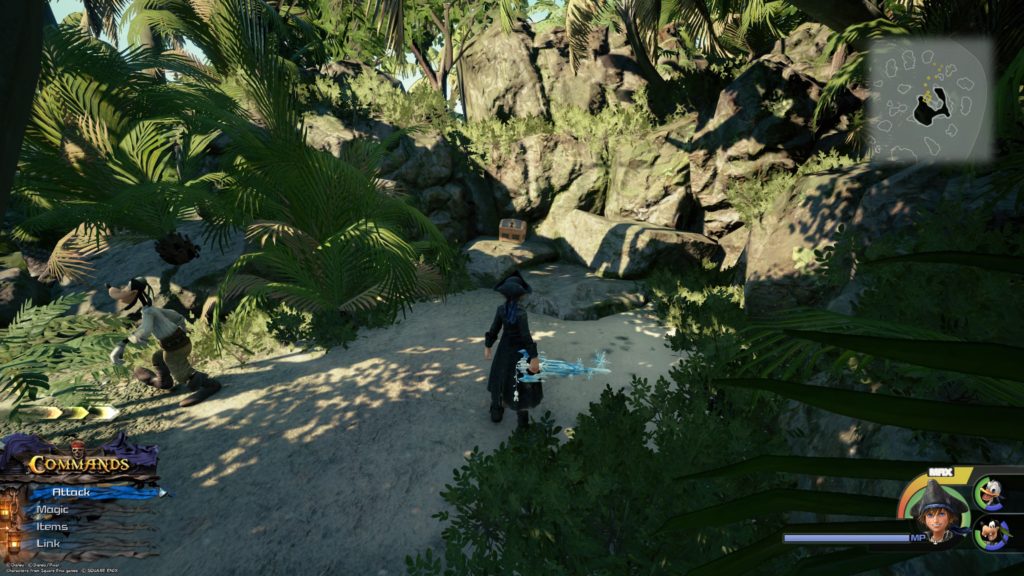
Orichalcum+
The chest is located in a secluded section in the dead center of the island surrounded by palm trees and rocks.
The High Seas / Northern Waters (Horseshoe Island)
The chests are located in the middle of the island on the beach near a rock wall.
The High Seas / Isla de los Mastiles
Silver Necklace
The chest is located in a giant crate with an x on the top. Climb up two climbable walls in order to be able to jump down and break the crate.
Damascus / Insulator Rosette / Adamantite
Climb up the climbable walls at the beach and follow the path jumping across the stone pillars along the way. When you reach the dead end, jump down into the water below to find the chests in an underwater cavern.
Map: Isla de los Mastiles
Head into the cave on the southeast side of the beach and follow the cavern to the end. The chest will be on the right on a rock platform.
The High Seas / Port Royal Waters (Gateway of Regret)
Yin-Yang Cufflink
The chest is located on a ledge near the water on the small stone archway in the ocean with a wooden sign suspended between the pillars.
The High Seas / Northern Waters (Confinement Island)
Beach Party
Swim to the beach passing through a stone archway. The chest will be located in the center of the beach surrounded by crates and barrels.
The High Seas / Isla Verdemontana
Electrum
From the Isla Verdemontana save point, head east along the beach and jump up the rocks to proceed further into the isle. When you come to the open area, keep heading straight past the climbing wall on the right to reach another climbing wall in front of you. Climb up this wall to find the chest at the top.
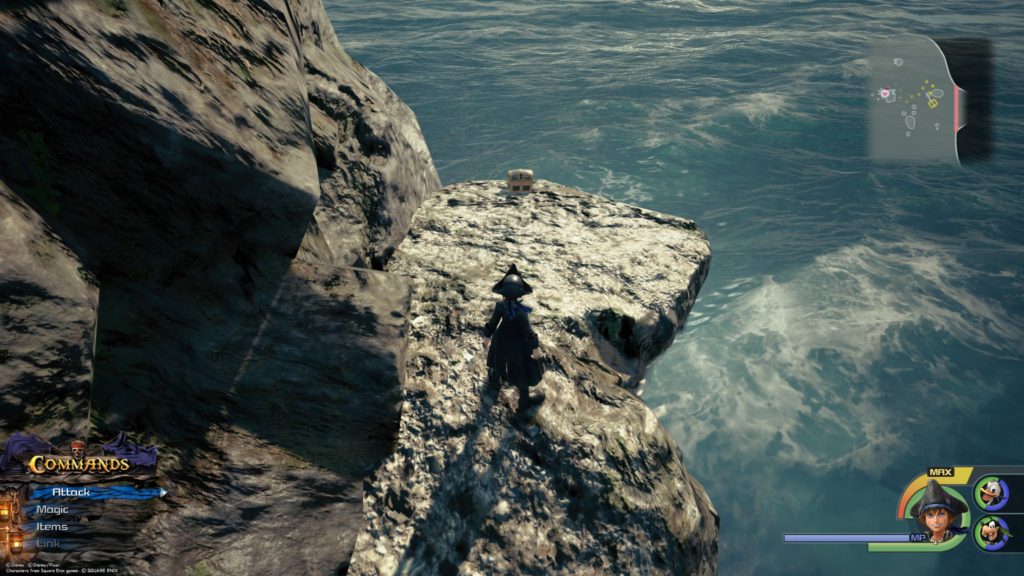
Cast Out to Sea
From the Isla Verdemontana save point, head east along the beach and jump up the rocks to proceed further into the isle. When you come to the open area, keep heading straight past the climbing wall on the right to reach another climbing wall in front of you. Turn right at this climbing wall to keep following the path to arrive at a third climbing wall (you will know you’re at the right place when all the Powerwilds spawn). Head to the top of the wall and keep following the path. Take a right when the path forks and jump off the cliff towards the wooden crate with the x on it to break it revealing the chest.
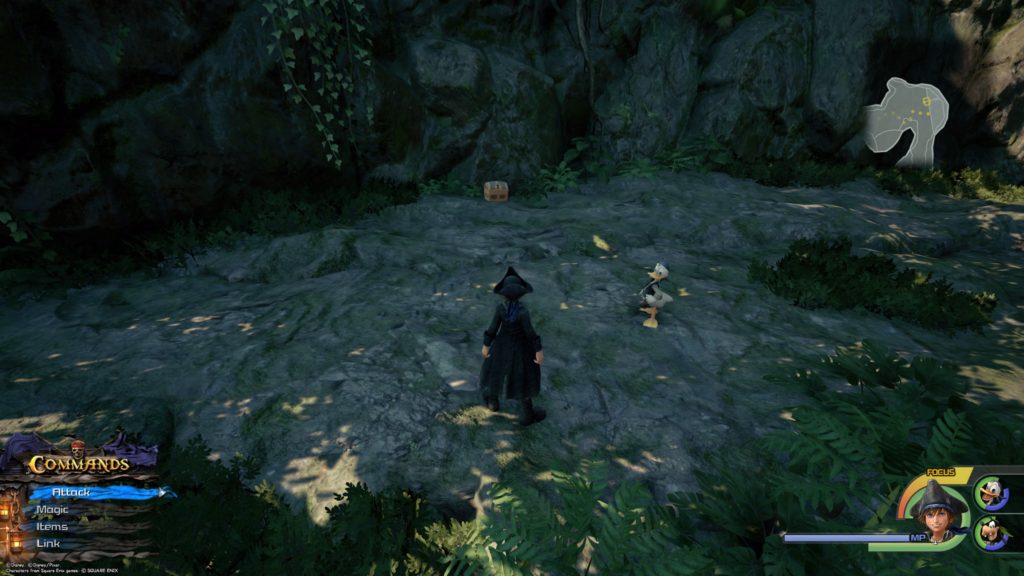
Orichalcum
From the Isla Verdemontana save point, head east along the beach and jump up the rocks to proceed further into the isle. When you come to the open area, keep heading straight past the climbing wall on the right to reach another climbing wall in front of you. Turn right at this climbing wall to keep following the path to arrive at a third climbing wall (you will know you’re at the right place when all the Powerwilds spawn). Head to the top of the wall and swing left to find the chest next to a rock wall with vines hanging down from it.
This site uses cookies. By continuing to use this website, you are giving consent to cookies being used. For more information on cookies, view our Privacy Policy.OkPrivacy Policy