Welcome to NGH and our Call to Action main quest walkthrough for Unicorn Overlord. Here we’ll cover what you need to know in order to complete this main quest! We’ll also cover a couple of introductory main quests that occur during the Call to Action Intermission.
Intro
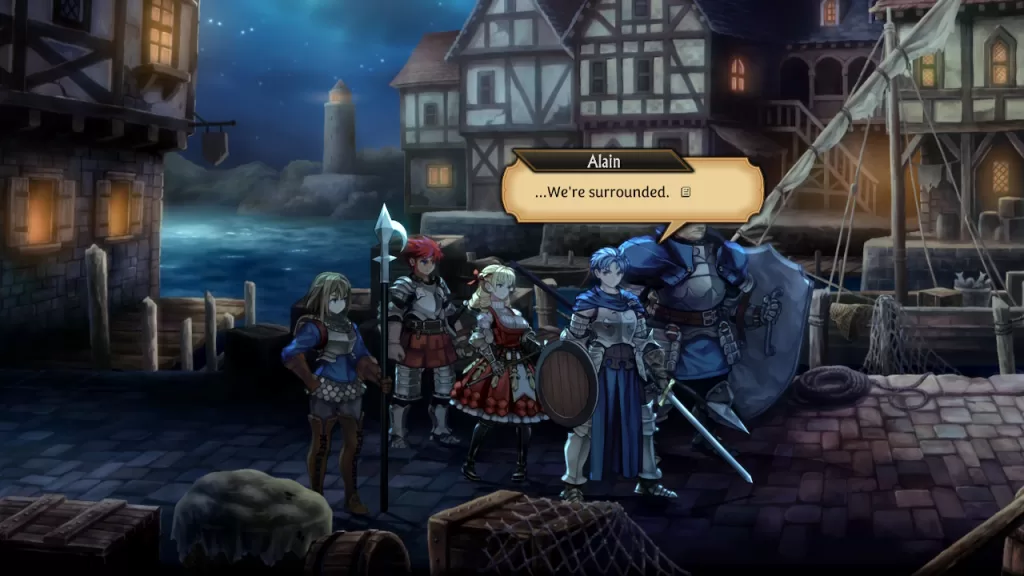
Chapter 2 starts off with a cutscene where we’ll meet another previous knight of the queen, Renault, who shows up to kidnap Scarlett for Emperor Galerius. He leaves the rest of his soldiers behind to keep the party occupied. Before things can escalate, Josef arrives with Clive in tow to help us escape back to his base. There, the group will go over what to do next while formally introducing Clive and his spymaster, Travis. In order to pursue Scarlett, we’ll have to take care of the mercenaries that are preventing us from giving chase. When the cutscene ends, the Battle Stage will start.
Call to Action Battle Stage
- Victory Conditions
- Defeat Aubin
- Defeat Conditions
- The Liberation’s command post is captured
- The time limit expires
For this battle, we mainly used two units, Clive and Josef. We teamed up Alain with Clive and Hodrick with Josef. Lex and Chloe were on standby in case any enemy units got past the others to attack the Liberation’s Command Post.
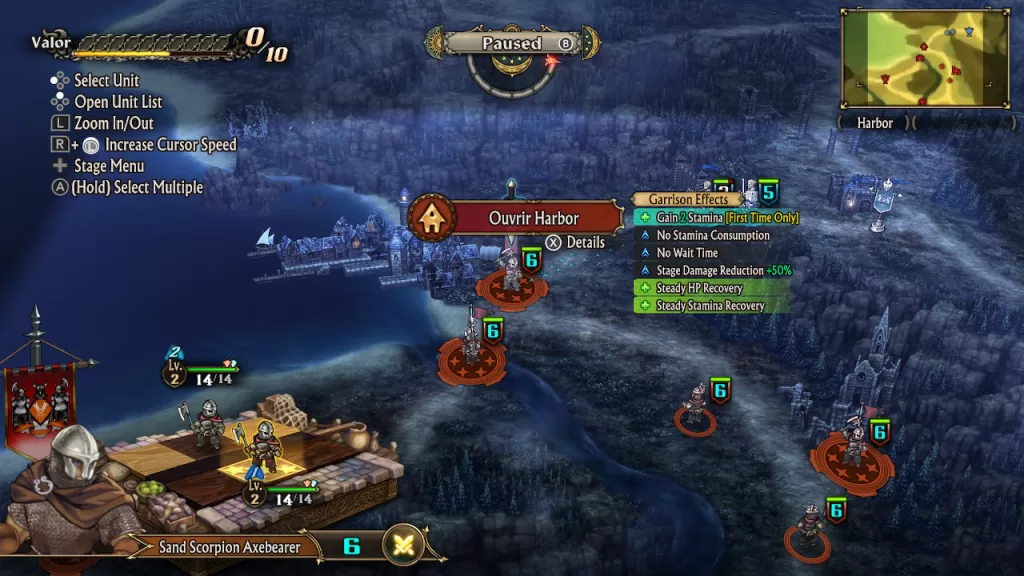
At the start of the stage, when you deploy your units, Clive will suggest switching them up a bit. This triggers the Unit Formation tutorial, where Josef explains class mechanics. You can then adjust the unit formations and deploy them. Your initial goal is to free Ouvrir Harbor. As you near it, the game teaches you about Enemy Reinforcements spawning from enemy garrisons, and how Stamina functions after capturing the Ouvrir Harbor Garrison. You’ll also get a Revival Orb (S) from the harbor’s townspeople.
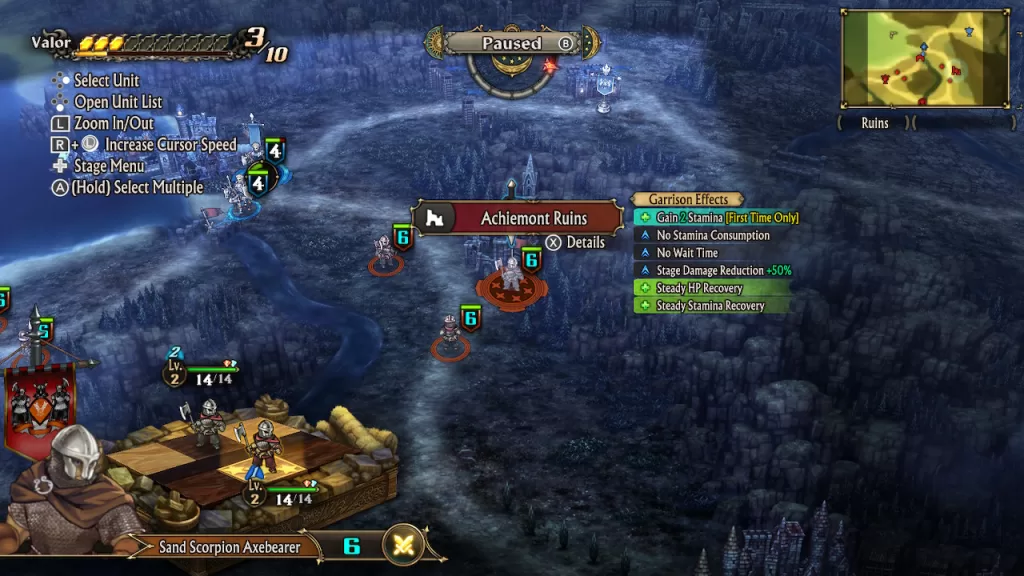
Next, you’ll want to handle the enemies on the bridge and taking control of it. As you approach the bridge, you’ll learn about Piercing Attacks. We assigned Josef to secure the bridge since he was partnered with Hodrick. After accomplishing that, more enemies started attacking the bridge, triggering the tutorial for garrison effects. Position the unit you used to capture the bridge there to repel the assault. While that’s happening, select another unit to free the Achiemont Ruins. As you get closer to the ruins, another tutorial will explain how you can discover items after liberating areas of interest. Once you capture the ruins, you’ll receive a Dew of Strength.
Continue your assault by moving the unit from the ruins to the southern bridge. You may need to rest to recharge your stamina along the way. After you have both bridges under your control, it’s time to make one final push to take down Aubin’s Unit at the Command Post. As you near him, you’ll get two more tutorials covering Enemy Strength and saving before bigger battles. After you attack him once, you’ll get another tutorial teaching you about Valor Skills. Utilize them to take down Aubin once and for all. You’ll receive a Vitality Talisman triggering the Stage Clear and initiate a cutscene where you’ll be able to construct your own personalized Heraldry (aka banner).
Call to Action Intermission
At the start of Intermission, you’ll be introduced to quests and then set free to explore the area. Here are the next couple of main quests will introduce you to some additional game mechanics.
MAin Quest: Expanding a Unit (2-3)
The first quest the game gives you involves expanding one of your unit slots to allow for a third character to be assigned. To do this, visit the nearby Fort Soligie to trigger a tutorial on Forts. After reading it, choose “Expand Units” from the menu. This action will take you to the Expand Units menu where the game will teach you about expanding units and Honors. You can then pick one of the three available unit slots to upgrade. There are a total of 10 unit slots, and each one can be upgraded multiple times. Select one, then use 10 of the Honors you earned from the previous fight to increase its maximum size to 3. Close the menu and exit the fort to complete the quest. Lastly, the game will explain how Rapport between units functions.

Rewards
- Novice Military Treatise x1
- Honors x2
- War Funds of 500g
Main Quest: A Change of Clothes
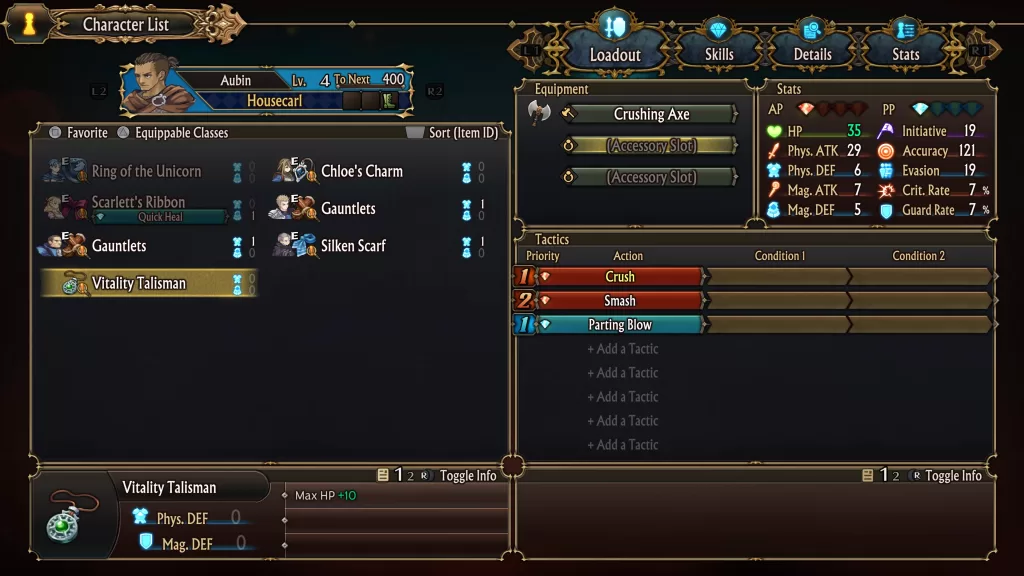
After finishing the Expanding a Unit (2-3) main quest, you’ll begin the A Change of Clothes main quest. Pause the game, open the Overworld Menu, and select Character List. From there, choose a character to equip the Vitality Talisman in one of the accessory slots. Once you’ve done that, exit both the Character List and Overworld Menu to finish the quest.
Rewards
- Novice Military Treatise x1
- Honors x2
- War Funds of 500g
Main Quest: A Quick Supply Run
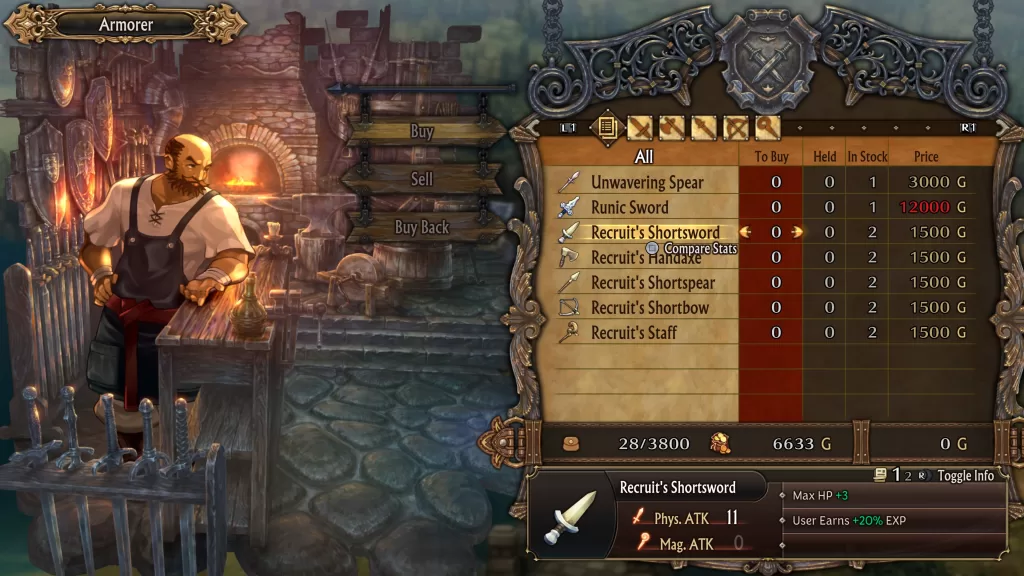
After completing the “A Change of Clothes” main quest, Chloe will take you to the nearest town to buy supplies. Interact with Ouvrir Harbor to learn more about towns. Once you finish the tutorial, buy something from the Armorer or Provisioner. We suggest getting one of the Recruit’s weapons as they boost the EXP earned by the wearer by 20%. Once you make a purchase, exit the town to finish the quest.
Rewards
- Novice Military Treatise x1
- Honors x2
- War Funds of 500g
Unicorn Overlord Guides and Walkthroughs
For more Unicorn Overlord guides and walkthroughs, click here!