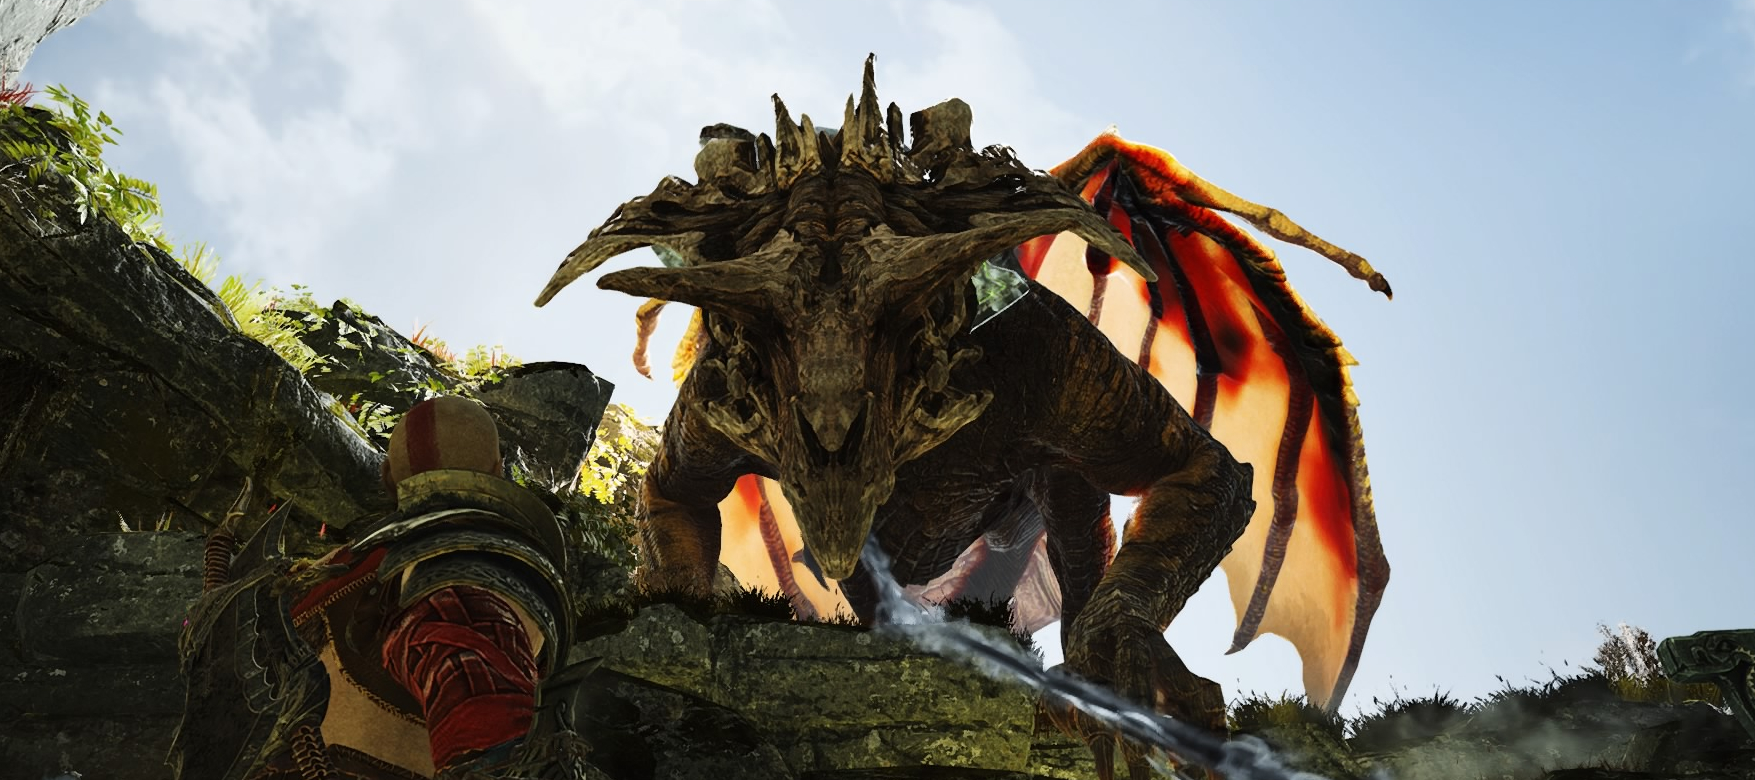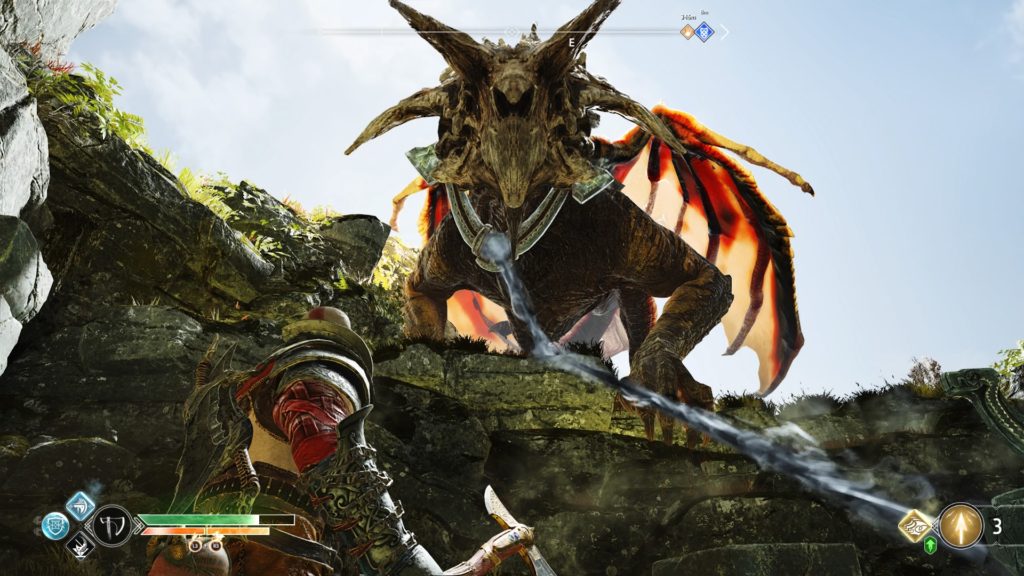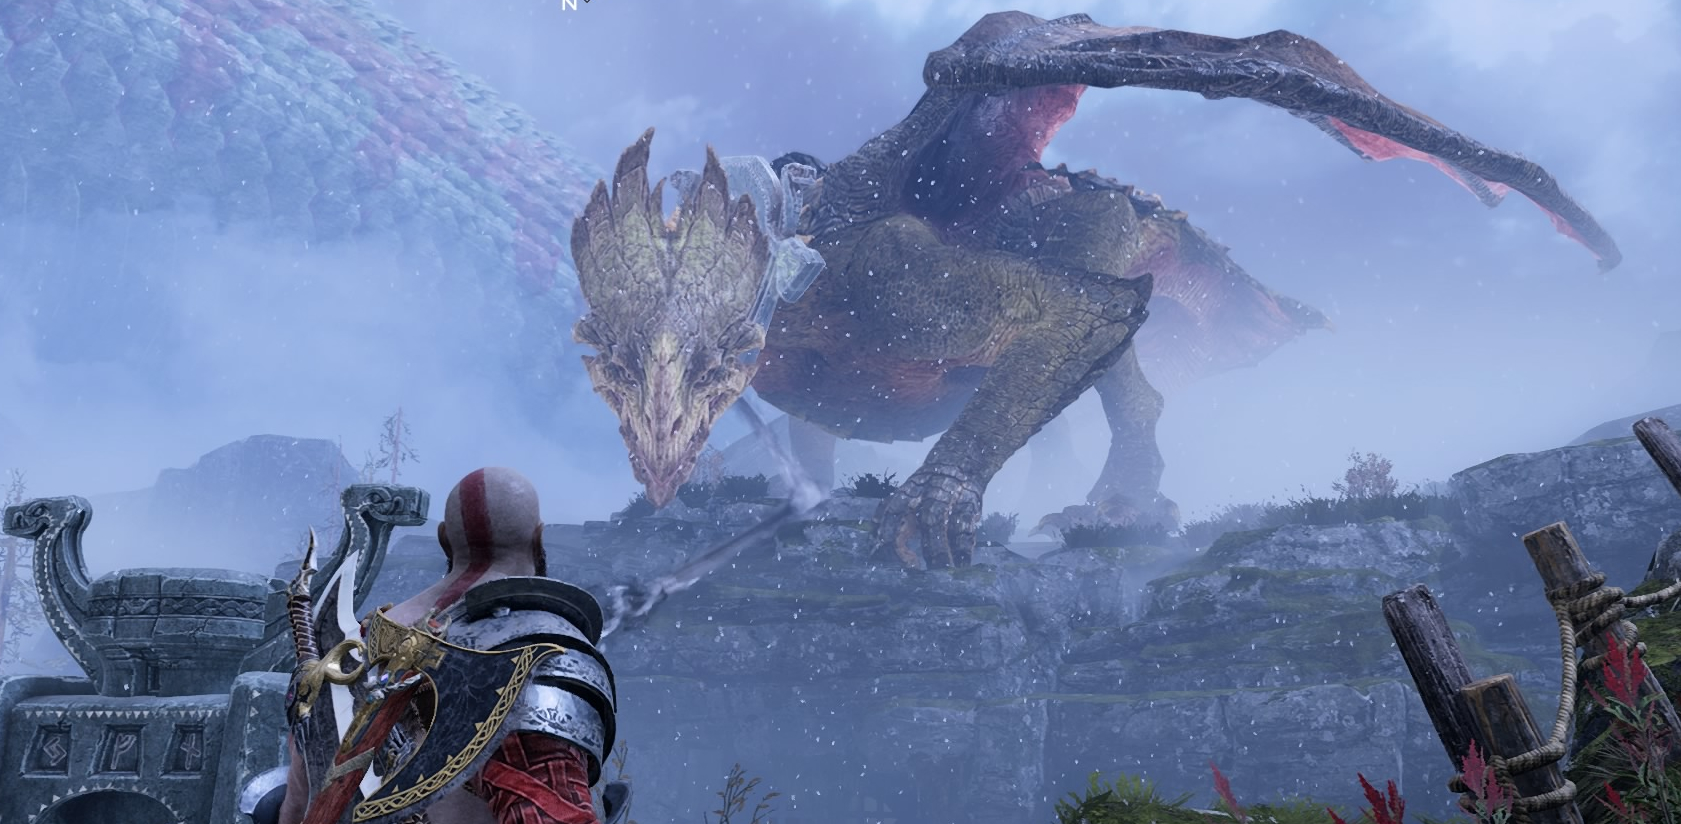
Favor Giver: Head to the area the dragon is located in during the Hail to the King favor.
Summary: Free the dragon Reginn from the magic chains that bind him. This is best done while working on the Hail to the King favor for Brok and Sindri. He is located on the north side of Konunsgard.
Objective(s):
- Destroy shrines binding Reginn
- Return to the Anchor
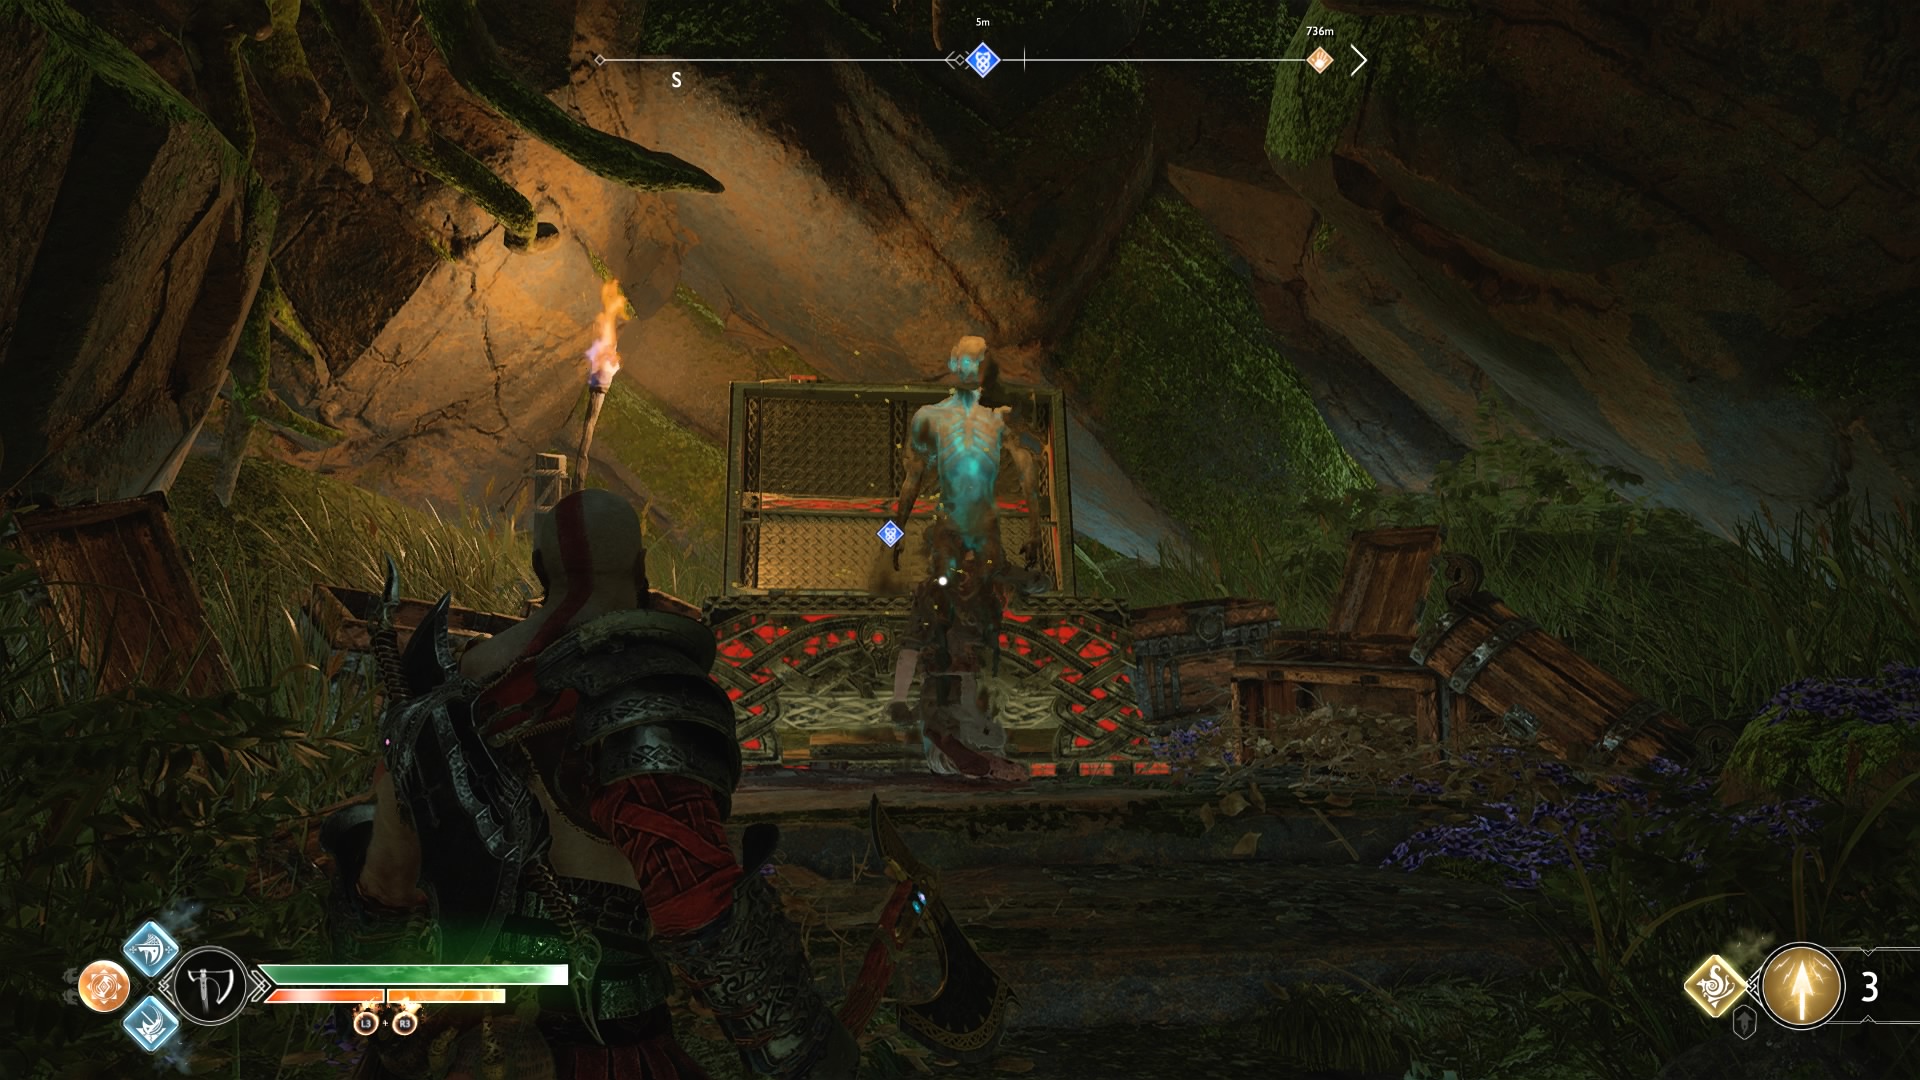
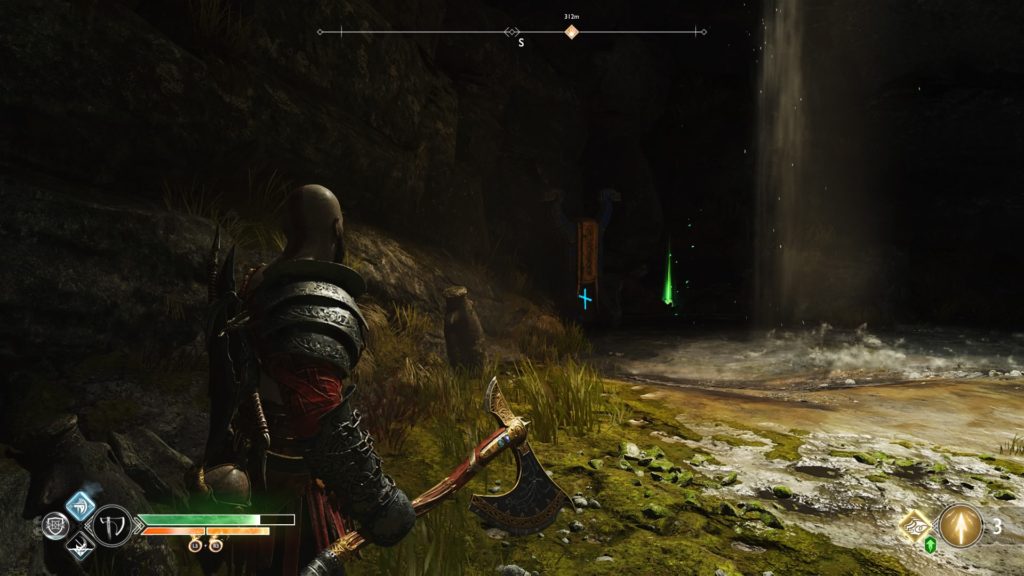
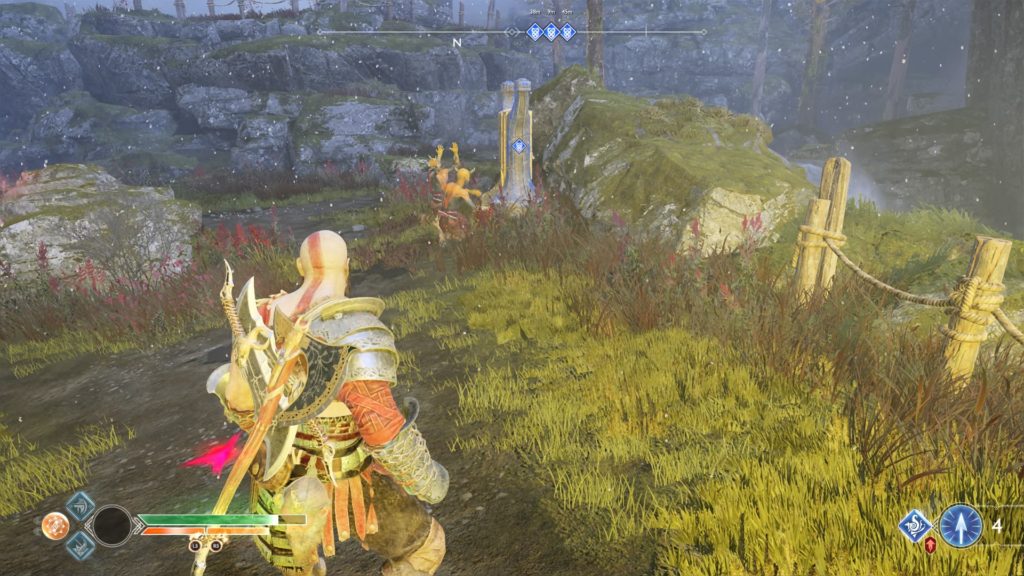
Shrine 1
From the start of the area, follow the path down past the anchor, jumping over a broken bridge to reach the first shrine off to the right. Defeat the enemies and destroy the shrine while dodging the attacks from the dragon.
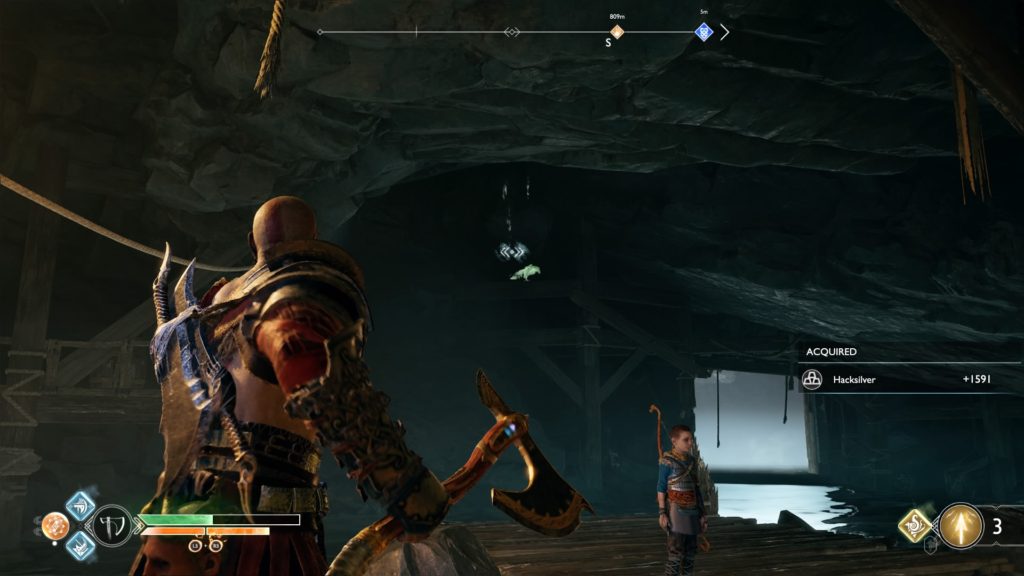
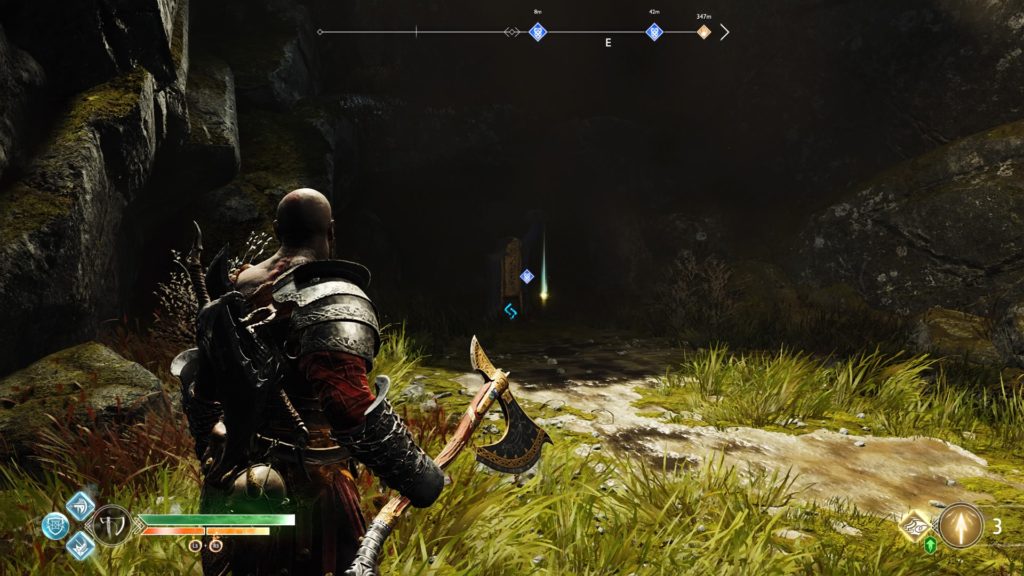
Shrine 2
Start heading northeast (straight and right to the last shrine pic) to a cave located under the dragon to find the second shrine.

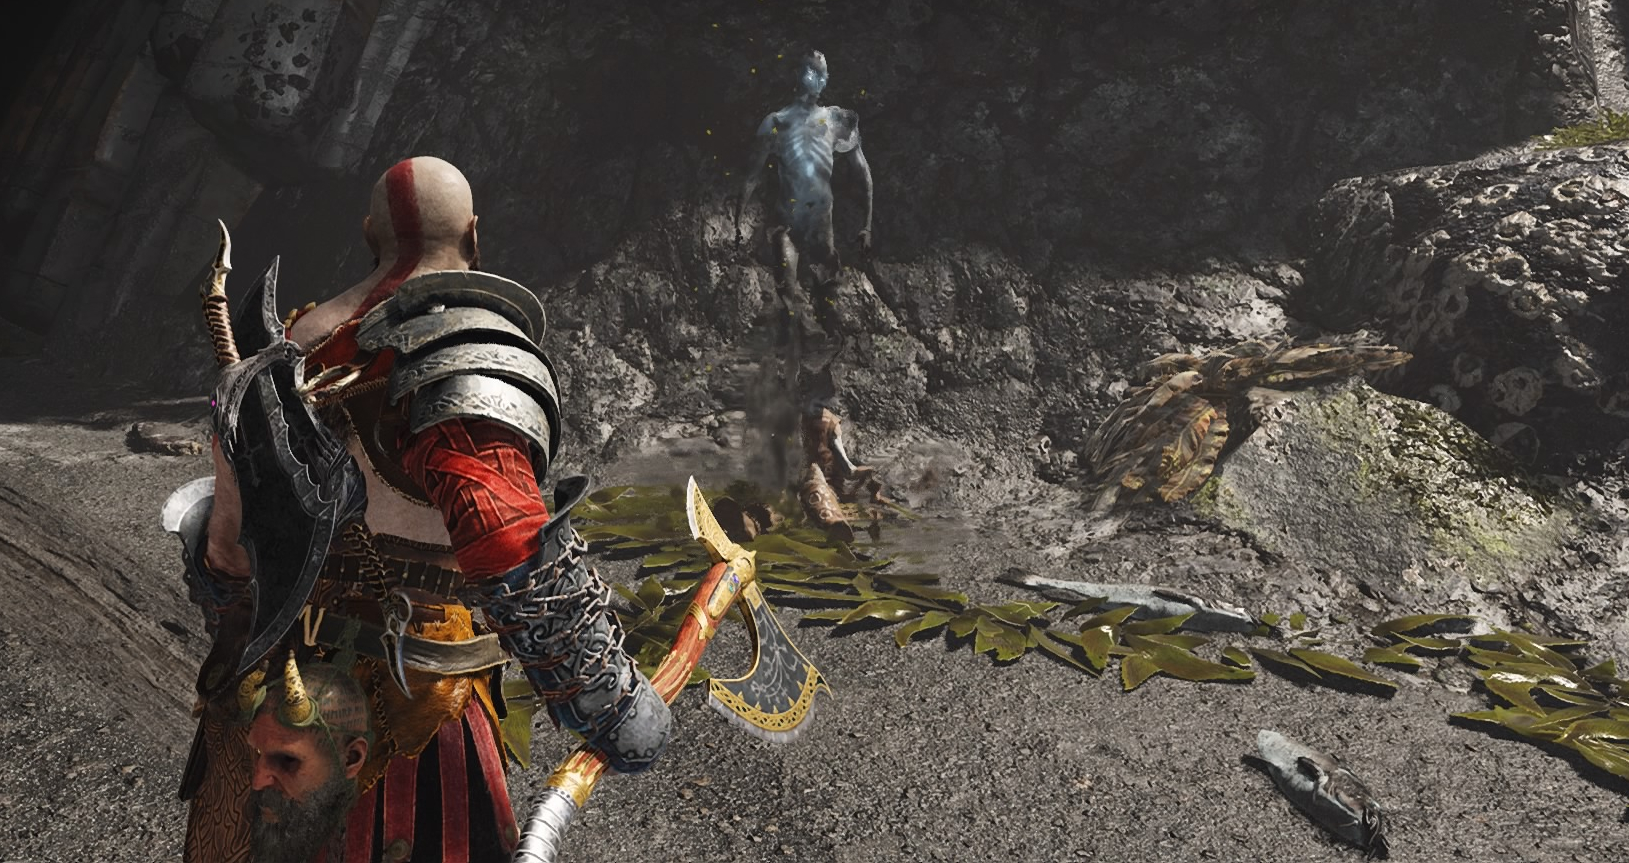
Shrine 3
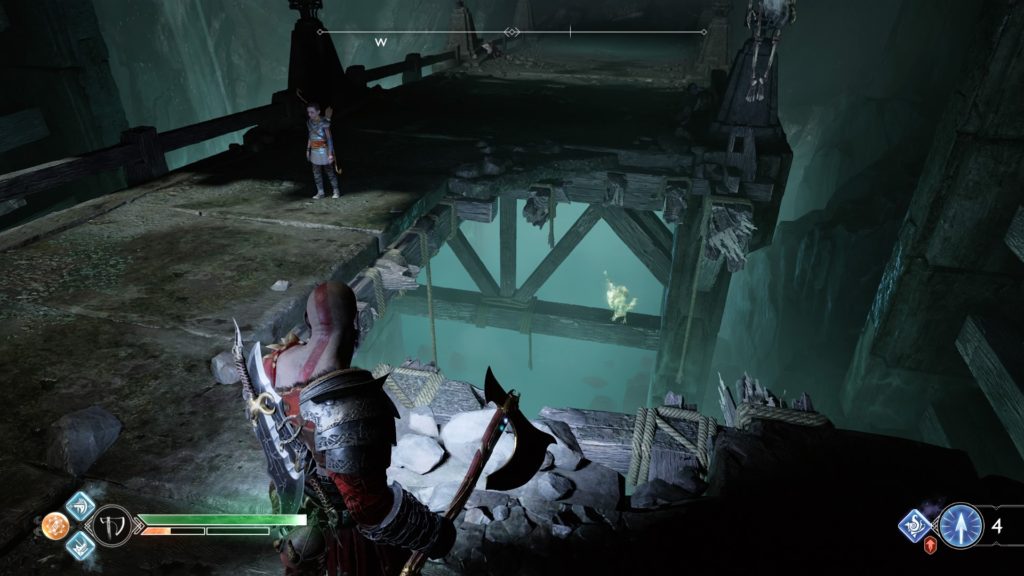
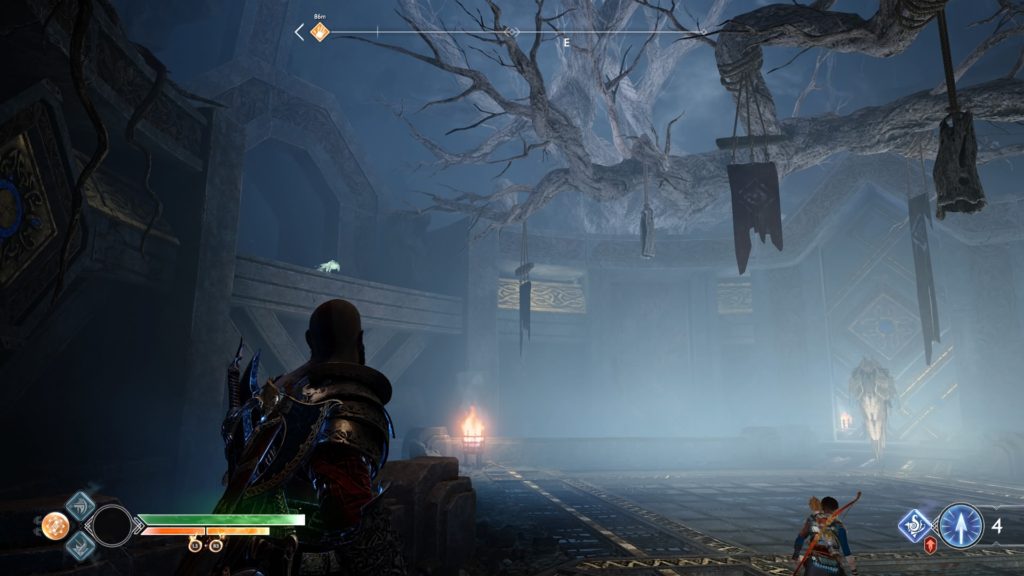
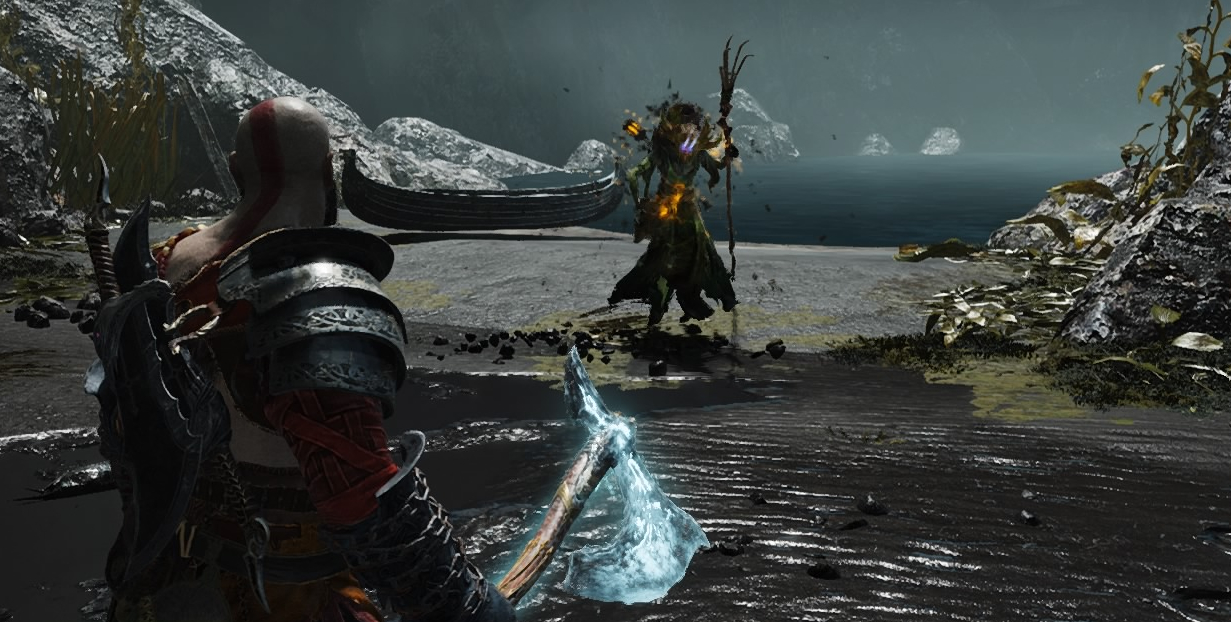
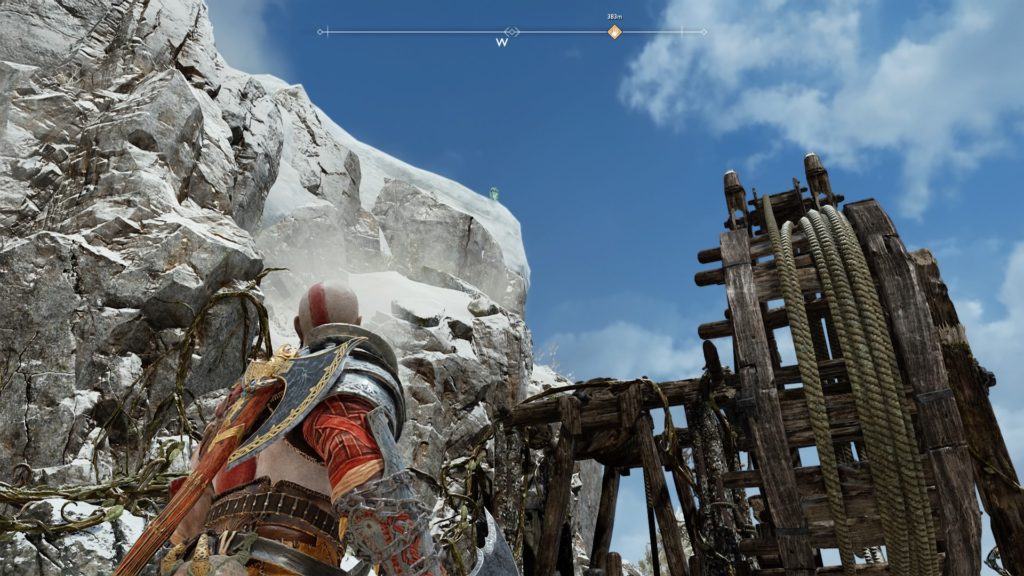
Head back to where the first shrine was and make your way to the northwest end of the area. There you will find a rune door that needs to be open. Shoot the sap on the right side of the door to free one of the rune bells. Next, you will need to take some sap from the tree stump on the right and throw on the rock between the two runes on the right. Have Atreus shoot that sap hitting both rune bells while throwing Kratos’ axe at the other to unlock the rune door. Head through the door and follow the path. You will have to lift a metal gate, lower a wooden bridge, and jump across a broken bridge along the way to reach the last shrine. It will be protected by a dark elf and a couple of tatzelwurms. Defeat them and destroy the shrine.

Return to the Anchor
Head back to the anchor using the zipline near the last shrine to get there faster. Destroy the mask to free the dragon completing the quest.