Stellar Blade Logo
Guides

Stellar Blade Fallen Angel Mission Guide

by NightlyGamingBinge in

Welcome to NGB and our Stellar Blade guide for the Fallen Angel mission. Here we will cover where to start the mission, how to complete it and the rewards you’ll receive for all of your efforts.

How to Start the Fallen Angel Mission

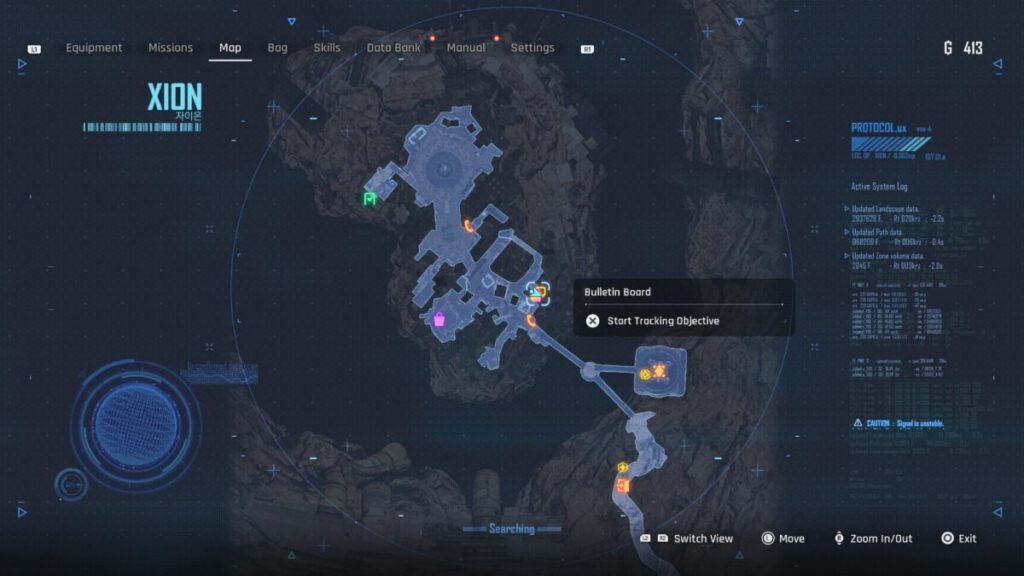
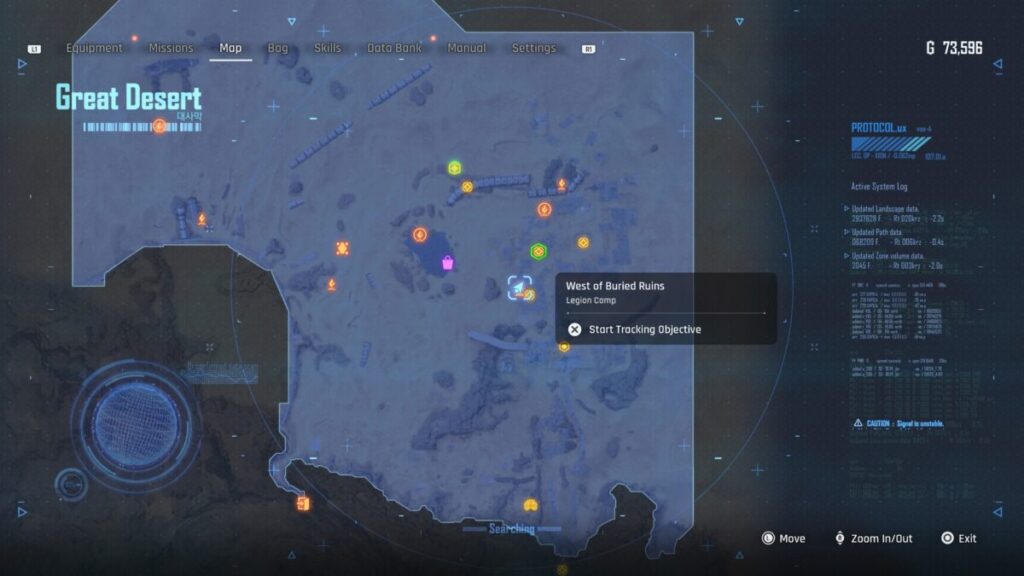
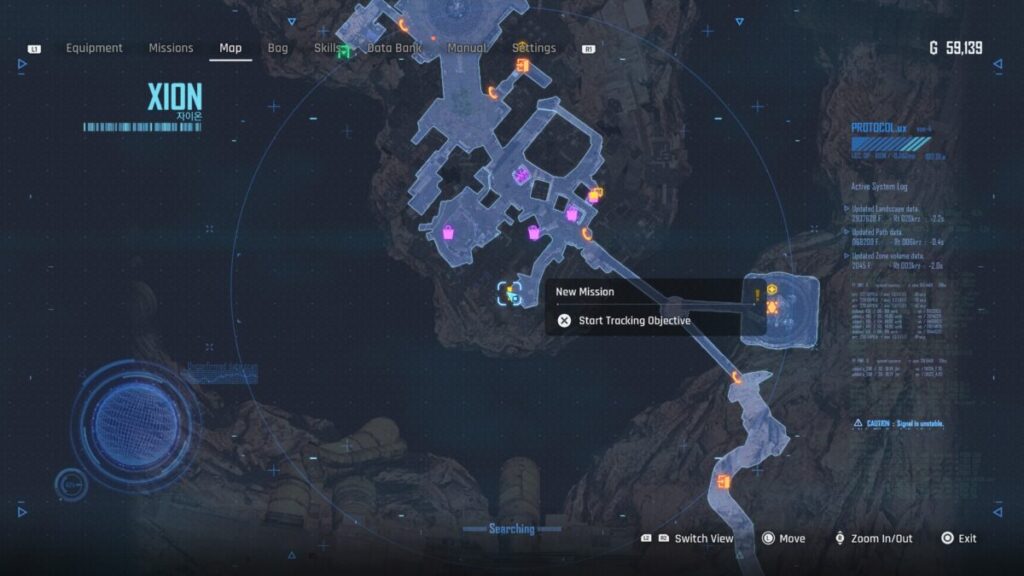
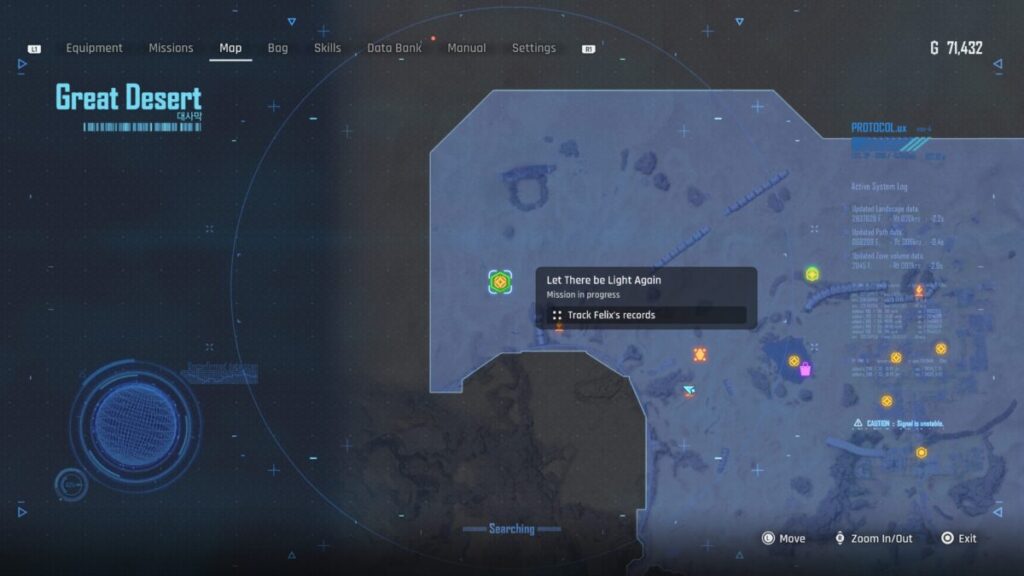
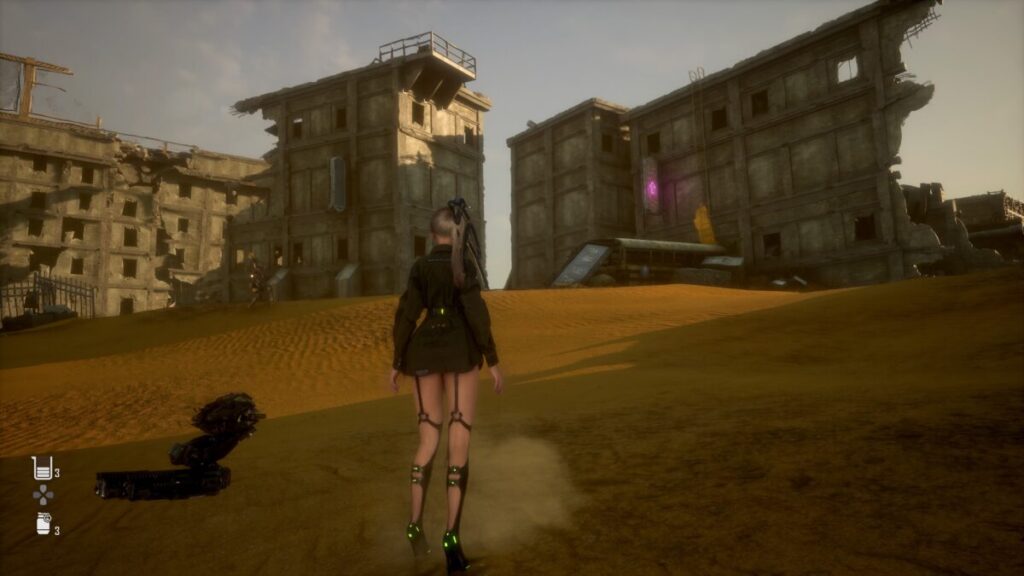
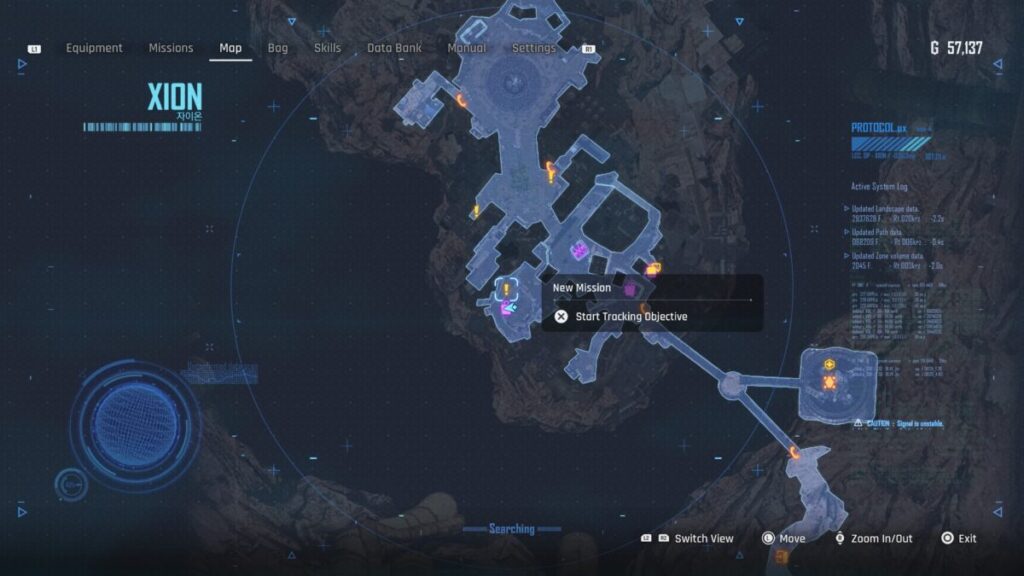
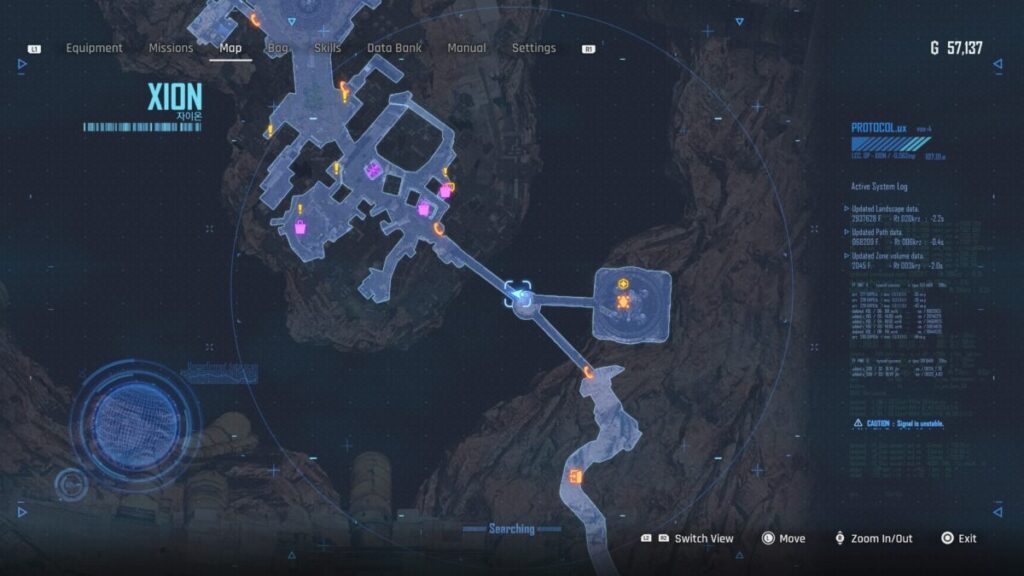
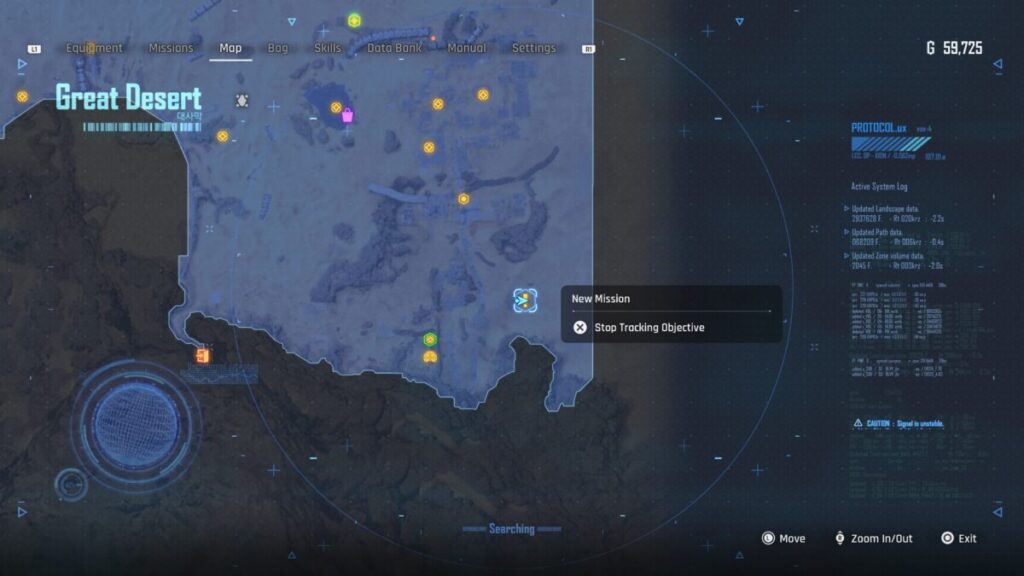
This mission becomes available after reaching the Great Desert. Travel to the southeastern part of the area (east of the Solar Tower) to find a person hiding behind some wooden crates next to a giant rock. As you approach him, you’ll be attacked by some Naytiba. Defeat them then speak with Griffin. He’ll tell EVE that he saw another Angel in need of saving nearby at the collapsed tunnel. EVE thanks him for the info and sets out to find the Angel.

Where to start the Stellar Blade Fallen Angel Mission

How to Complete the Fallen Angel Mission

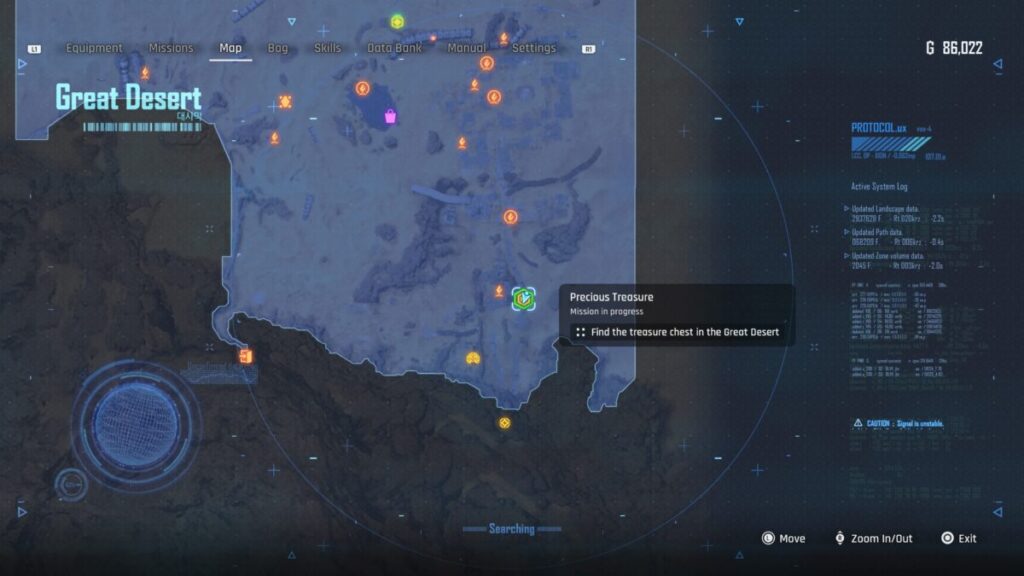
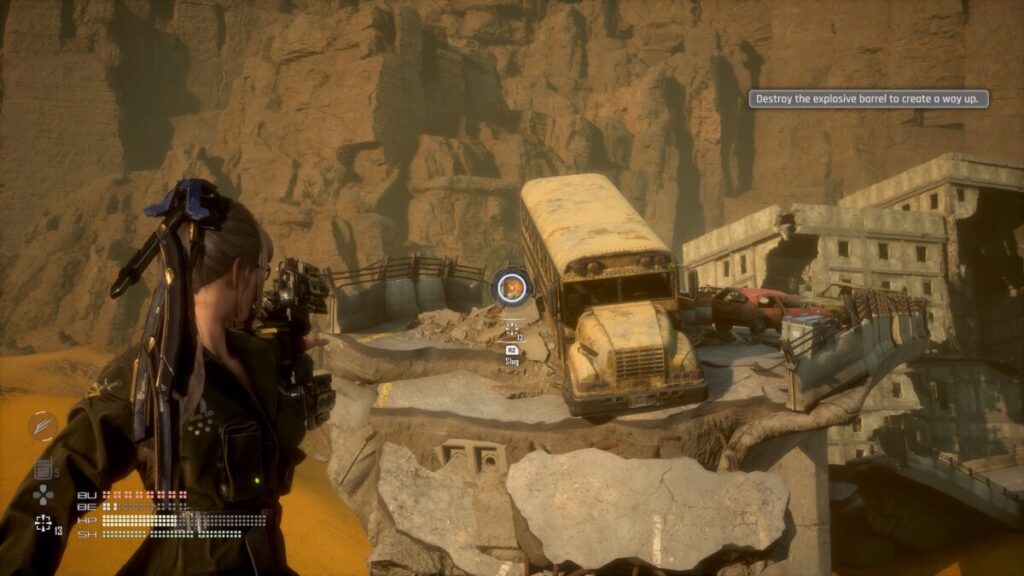
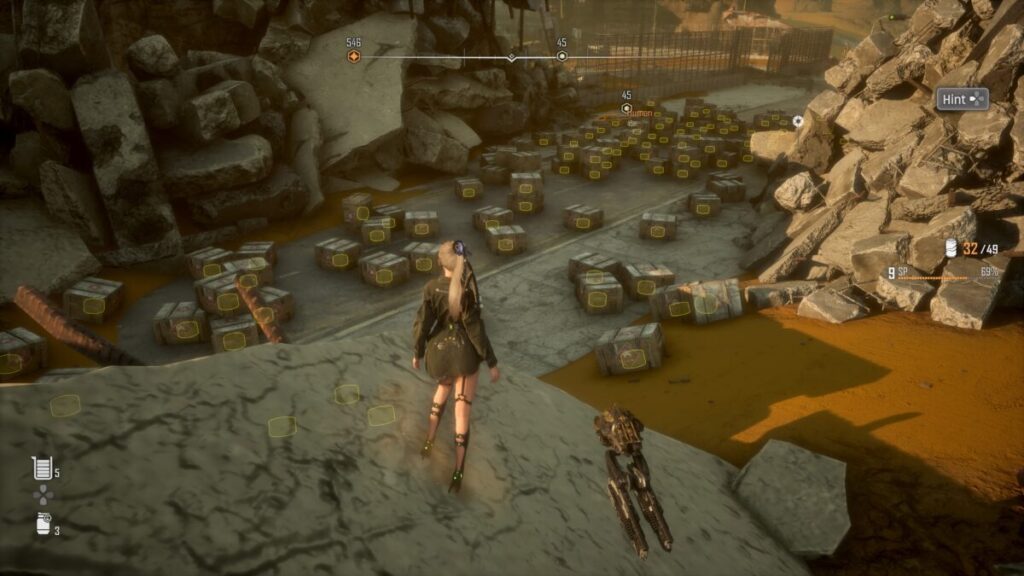
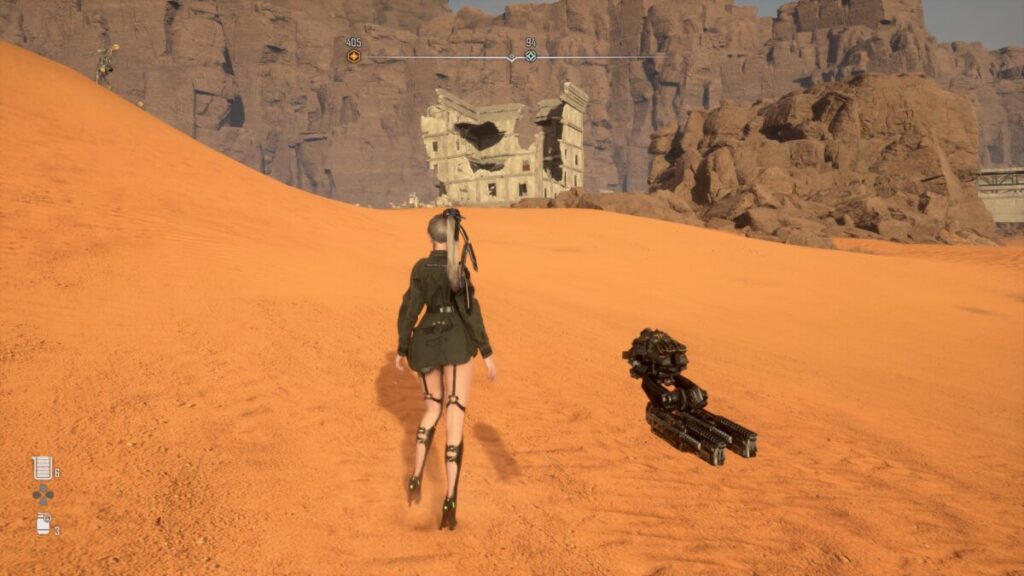
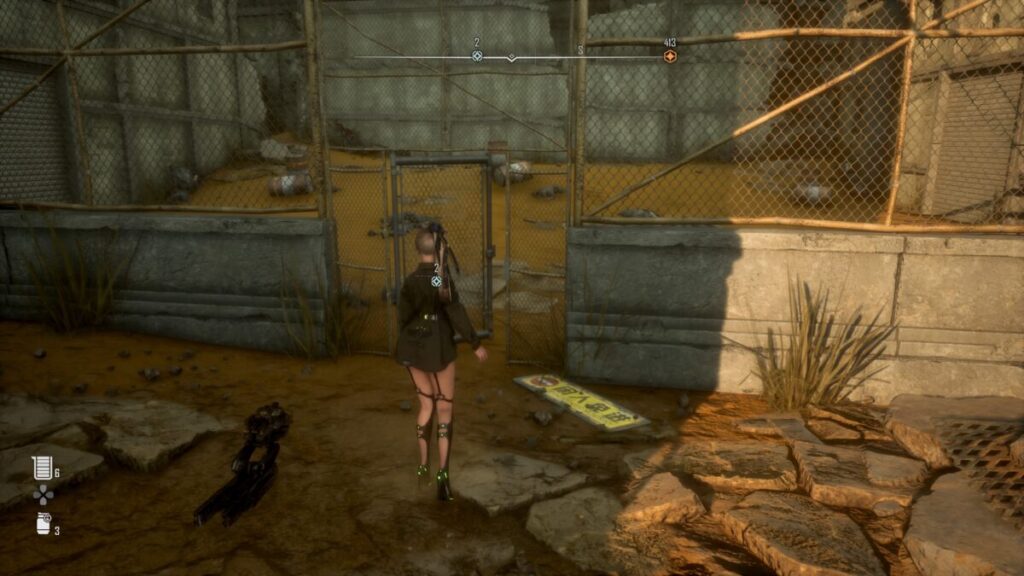
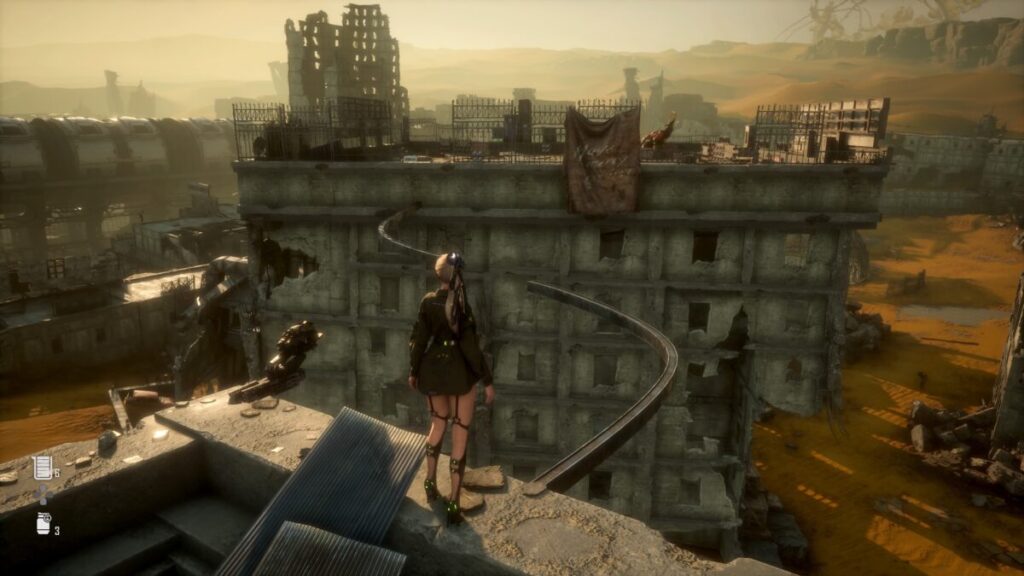
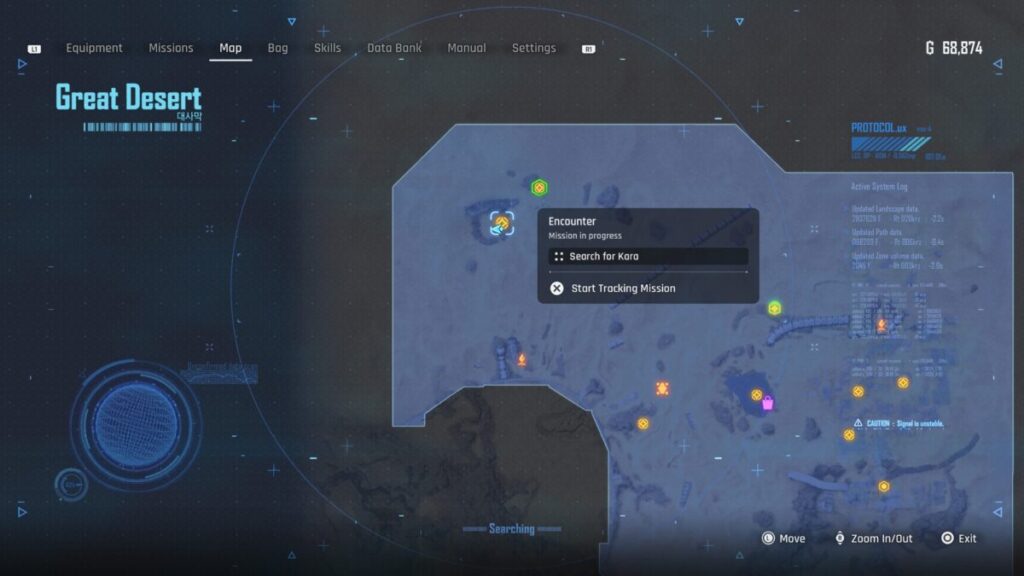
To reach this mission, travel to the southeastern corner of the map past the Solar Tower following along the overpass. Head into the tunnel on the left side leading into the mountain while doing the turret’s shot.

Stellar Blade Fallen Angel Mission Overpass

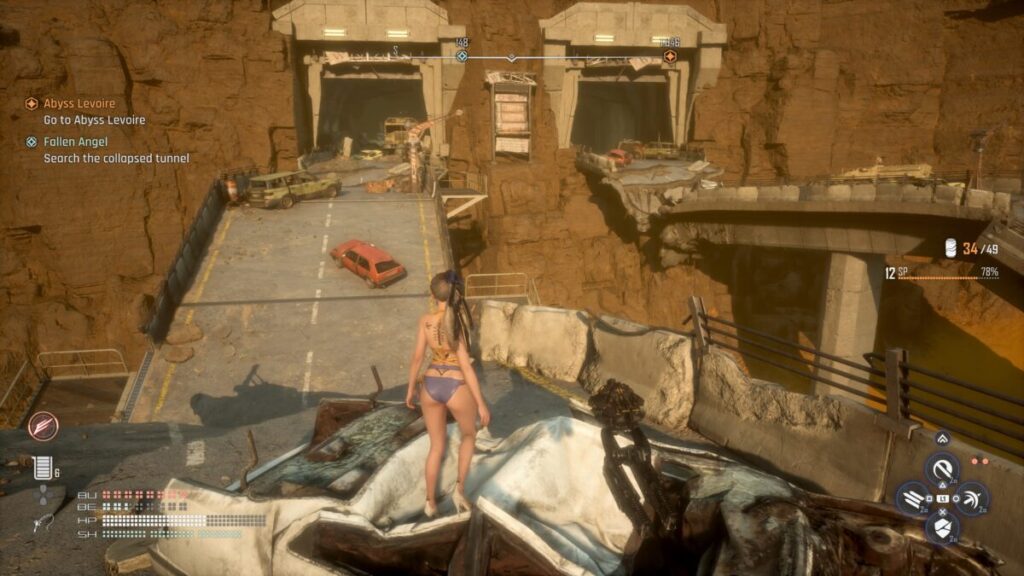
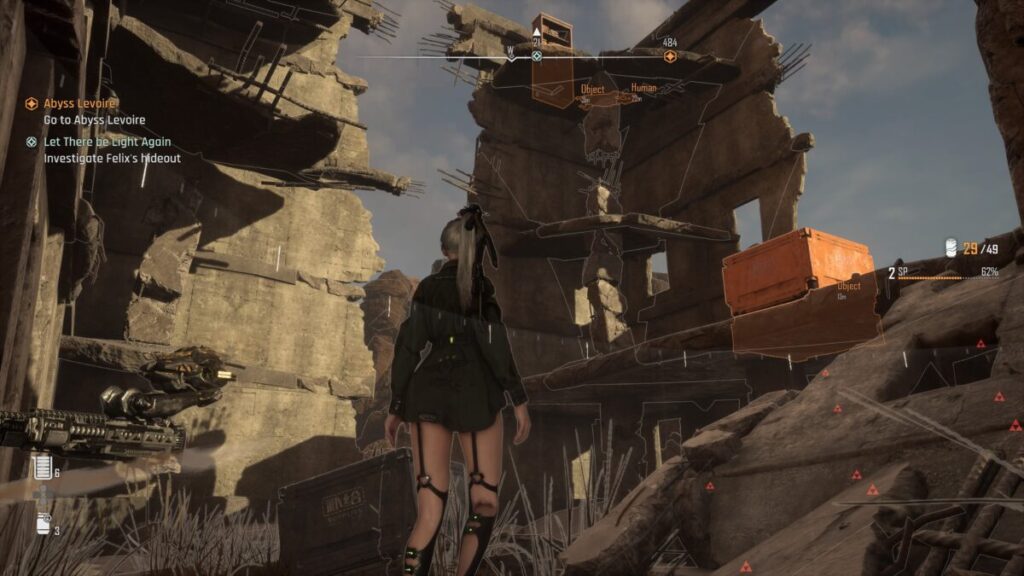
Inside part of the road will fall into the ground making a ramp you’ll want to walk down. Follow the tunnel at the bottom to reach the angel. Approach her to trigger an event then interact with her when prompted to complete the mission.

Mission Rewards

Once you’ve completed the mission you’ll be rewarded with the items in the list below.

  • SP
  • Extreme Nano Element x5
  • Advanced Nano Element x25
  • Nano Element x35

Stellar Blade Guides and Walkthroughs

For more Stellar Blade guides and walkthroughs, click here!

Stellar Blade Logo
Guides

Stellar Blade An Unforgettable Fish Dish Request Guide

by NightlyGamingBinge in

Welcome to NGB and our Stellar Blade guide for the An Unforgettable Fish Dish request. Here we will cover where to start the request, how to complete it and the rewards you’ll receive for all of your effort.

How to Start An Unforgettable Fish Dish Request

This request can be accepted on the bulletin board in Xion. In order for it to show up in the list, you’ll need to complete the Looking Glass mission to receive the fishing rod and then complete the Wife’s Water Tank request.

Where to Start the Stellar Blade An Unforgettable Fish Dish Request

How to Complete An Unforgettable Fish Dish Request

The requestor will ask EVE to bring them a Channel Catfish so that they can cook the fish the way their father taught them. To do this, travel to the cave leading to the Wasteland in Xion and fish there. The Channel Catfish likes Wriggling Insect bait, so using that will give you a better chance to land one. You can purchase that from Clyde at Oasis in the Great Desert with the points you earn from fishing. We caught ours using the Small Shrimp that we got from completing Barry’s mission. Either way, it might take a while to snag one. Once you do, return to the bulletin board to complete the request and receive your rewards.

Stellar Blade An Unforgettable Fish Dish Request Channel Catfish

Request Rewards

Once you’ve completed the request you’ll be rewarded with the items in the list below.

  • 3,000 Gold

Stellar Blade Guides and Walkthroughs

For more Stellar Blade guides and walkthroughs, click here!

Stellar Blade Precious Treasure Request Guide

by NightlyGamingBinge in

Welcome to NGB and our Stellar Blade guide for the Precious Treasure request. Here we will cover where to start the request, how to complete it and the rewards you’ll receive for all of your efforts.

How to Start the Precious Treasure Request

This request can be accepted from the bulletin board in Xion during the main mission, Abyss Levoire. In order for it to show up in the list, we had to complete a couple of other requests first.

Where to start the Stellar Blade Precious Treasure Request

How to Complete the Precious Treasure Request

The requestor of this request has gone to sleep in the Cradel, but before doing that they hid their most precious treasure in a box. The clue given for the box was to find the abandoned yellow bus on the Collapsed Overpass in the Great Desert.

Stellar Blade Precious Treasure Request West of Buried Ruins Legion Camp

Travel to the Great Desert then head southeast to the West of Buried Ruins Legion Camp then head south from there. When you reach the end of the buildings, take a left over the bridge then a right along a narrow path between two rock walls. After exiting the path on the other side you can head east until you reach the road littered with explosives then go south there to reach the Debris-filled Entryway Supply Camp. Alternatively, if you have the Debris-filled Entryway Supply Camp unlocked, travel there. At the camp, head south along the collapsed overpass to reach the bus.

Stellar Blade Precious Treasure Request School Bus Map Location

The chest we are looking for is on that section of the overpass behind the bus. To reach it, you’ll need to shoot the explosive barrel on the left of the bus. This will knock it down allowing you to cross over it and reach the chest. Open it to receive a Nano suit then return to the bulletin board to complete the request and receive your rewards.

Stellar Blade Precious Treasure Request Making a Path to the Chest

Request Rewards

Once you’ve completed the request/mission you’ll be rewarded with the items in the list below.

  • 1,000 Gold

Stellar Blade Guides and Walkthroughs

For more Stellar Blade guides and walkthroughs, click here!

Stellar Blade Logo
Guides

Stellar Blade Where’s the Item Request Guide

by NightlyGamingBinge in

Welcome to NGB and our Stellar Blade guide for the Where’s the Item request. Here we will cover where to start the request, how to complete it and the rewards you’ll receive for all of your effort.

How to Start the Where’s the Item Request

This request becomes available during the main mission, Hidden Truth. Head to the bulletin board in Xion and interact with it to accept the request. If it’s not showing up, you may have to complete a couple of the requests to make it appear in the list.

Where to Start Stellar Blade Where's the Item Request

How to Complete the Where’s the Item Request

For this request, the requestor is asking for someone to retrieve the items that he requested Frank the Scavenger to since he’s probably Naytiba food by now. You’ll need to head to the Great Desert and travel southeast to reach the West of Buried Ruins Legion Camp. From there, head south and you’ll find a broken section of road on the left past a couple of ruined buildings. Cross over it then take a right following a narrow path between two rock walls.

Stellar Blade Where's the Item Request West of Buried Ruins Map Location

After exiting the path go left heading east to arrive on a road littered with crates containing explosives. The items we are after can be found in the middle of all of them. Use your scanner to find a safe path through then collect the bag. Return to the bulletin board to complete the request and receive your rewards.

Stellar Blade Where's the Item Request Road of Explosives

Request Rewards

Once you’ve completed the request you’ll be rewarded with the items in the list below.

  • 2,500 Gold
  • Vitcoin x4

Stellar Blade Guides and Walkthroughs

For more Stellar Blade guides and walkthroughs, click here!

Stellar Blade Logo
Guides

Stellar Blade Let There Be Light Again Mission Guide

by NightlyGamingBinge in

Welcome to NGB and our Stellar Blade guide for the Let There Be Light Again mission. Here we will cover where to start the mission, how to complete it and the rewards you’ll receive for all of your efforts.

How to Start the Let There Be Light Again Mission

This mission becomes available during the main mission, Abyss Levoire. Speak with Francis who heard from a Scavenger that his brother was seen alive recently. He’ll then ask if EVE will travel to a location in the Great Desert to verify if it’s true. You’ll need to have completed The Words of the Mother Sphere mission for this one to show up.

This mission didn’t show up for us until we traveled to the Great Desert and then returned to Xion.

Where to start Stellar Blade Let There Be Light Again Mission

How to Complete the Let There be Light AGain Mission

To kick off this mission, travel to the Great Desert then head slightly southwest from the Tetrapod to reach the North Great Desert Legion Camp. Enter the ruins and work your way up to the top level.

Stellar Blade Let There Be Light Again Mission Ruined Building

You’ll need to use the orange cube to reach the next level on the left side. From there swing off the metal bar sticking out of the wall grabbing onto a ledge beyond that. Next, climb up to the top level and jump across to the bookshelf. Interact with the body and then the bookshelf to receive the I Head It document.

Stellar Blade Let There Be Light Again Mission Ruined Building Parkour

After a brief event, Adam will notice that there are coordinates attached to the note. Travel west, past the Hypertude Legion Camp to find a drop pod half buried in the sand. Interact with it to view the I Saw It message.

Stellar Blade Let There Be Light Again Mission Drop Pod Map Location

Your next destination after this is the Abyss Leviore, specifically the long tube behind it. Climb on top of the tube to find another corpse you’ll need to investigate. Afterwards, interact with the device on the ground next to him. Return to Francis and deliver Felix’s Memorystick to complete the mission and claim your rewards.

Stellar Blade Let There Be Light Again Mission Felix's Map Location

Mission Rewards

Once you’ve completed the mission you’ll be rewarded with the items in the list below.

  • SP
  • WB Pump
  • 1,000 Gold
  • Nano Element x35

Stellar Blade Guides and Walkthroughs

For more Stellar Blade guides and walkthroughs, click here!

Stellar Blade Logo
Guides

Stellar Blade A Treasure with a Name Mission Guide

by NightlyGamingBinge in

Welcome to NGB and our Stellar Blade guide for the A Treasure with a Name mission! Here we’ll cover where to start this mission, how to complete it and the rewards you’ll receive at the end.

How to Start the A Treasure with a Name Mission

Speak with June in front of the liquor store near Gwen’s Hair Salon to receive this mission. It showed up during the Light of Hope main quest after we completed the Stolen Treasure mission. You may get this quest before reaching the Great Desert. Just keep pushing forward with the main story and you’ll get there eventually.

Where to start the Stellar Blade A Treasure with a Name Mission

How to Complete the A Treasure with a Name Mission

While speaking with June, she told EVE about her treasure and how she left some of it behind when the Naytiba attacked. Intrigued, EVE decided to head to the Great Desert to see if she could find this treasure. Once at the Great Desert, travel east to reach the Oasis then from there go slightly southeast to arrive at the West of Buried Ruins Legion Camp.

Stellar Blade A Treasure with a Name Mission Treasure Map Location

Open the gate to the left of the camp (when facing it) and take a right crossing the courtyard. Open the gate on the other side then head through. After a quick event, you’ll be amused by three Old Droid Naytibas followed by a couple of waves of Lurkers and Lesser Lurkers. You’ll know you’re almost done when the Lesser Behemoth busts through the wall.

Stellar Blade A Treasure with a Name Mission Site of the Treasure

After defeating all of the Naytiba, activate your scanner to tag 3 bodies in the area you’ll need to investigate. After doing that, return to June in Xion and speak with her. EVE will hand over the memorysticks completing the request and you’ll receive your rewards.

Mission Rewards

Once you complete this mission, you’ll be rewarded with the items listed below!

  • SP
  • Vitcoin x2
  • Sonic Grenade x2
  • Biotic Field Generator x2

Stellar Blade Guides and Walkthroughs

For more Stellar Blade guides and walkthroughs, click here!

Stellar Blade Logo
Guides

Stellar Blade Madama Machine Mission Guide

by NightlyGamingBinge in

Welcome to NGB and our Stellar Blade guide for the Madama Machine mission. Here we will cover where to start the mission, how to complete it and the rewards you’ll receive for all of your effort.

How to Start the Madama Machine Mission

This mission will become available after you complete the CnL – Communicate and Link mission for D1G-g2r which ends with him moving to Xion to study its people. Travel to the Safehouse then speak with Su and Enya there. Enya will talk about a droid who heard her singing and came into the bar to tell her that he knew about the song. They will then request you to track down the robot to ask about the song as it might be related to Enya’s missing memories.

This mission didn’t show up for us until we traveled to the Great Desert and then returned to Xion.

How to Start the Stellar Blade Madama Machine Mission

How to Complete the Madama Machine Mission

To start this quest, you’ll need to locate D1G-g2r which can be found on the left side of the road between Lyle’s General Store and Gwen’s Hail Salon. Speak with the droid and ask him about “Enya’s Information”. He’ll tell you he acquired the data on the song from an Opera House, now called the Buried Ruins in the Great Desert.

Stellar Blade Madama Machine Mission D1G-g2r Location

Make your way there then travel to the Crumbling Rooftop Supply Camp by heading through an opening in the debris near the West of Buried Ruins Legion Camp and working your way along the rooftops of the buildings there (a school bus under a yellow ladder next to a building with a sign pointing up will get you on the first roof).

Stellar Blade Madama Machine Mission Opera House Map Location

From the Crumbling Rooftop Supply Camp, you’ll jump down to a lower roof and then take a ladder there to reach the ground. This will get you past the quicksand surrounding the area. Now you’ll just need to look to the east to spot the dome building. That’s the opera house.

Stellar Blade Madama Machine Mission Opera House

Go there and enter the dome, using the droids working inside to descend to the ground level. Activate your scanner to tag the area and interact with the 7 highlighted objects. After doing that, return to Enya and inform her of what you learned. This will complete the mission and you’ll receive your rewards. You’ll also unlock the Beyond Fate trophy. Enya will also finally treat you to a performance.

Stellar Blade Madama Machine Mission Enya Singing

Mission Rewards

Once you’ve completed the mission you’ll be rewarded with the items in the list below.

  • SP
  • 3,000 Gold
  • Highly Concentrated Potion x2
  • Lingering Potion

Stellar Blade Guides and Walkthroughs

For more Stellar Blade guides and walkthroughs, click here!

Stellar Blade Logo
Guides

Stellar Blade Eye for an Eye, a Tooth for a Tooth Mission guide

by NightlyGamingBinge in

Welcome to NGB and our Stellar Blade guide for the Eye for an Eye, a Tooth for a Tooth mission. Here we will cover where to start the mission, how to complete it and the rewards you’ll receive at the end for all of your efforts.

How to Start the Eye for an Eye, a Tooth for a Tooth

This mission becomes available during the main mission, Hidden Truth. Speak with Min who will tell EVE that he abandoned his comrades in the Buried Ruins of the Great Desert when they got attacked by Naytiba. EVE offers to go there and put down the Naytiba to bring them peace.

Where to start the Stellar Blade An Eye for an Eye, a Tooth for a Tooth Mission

How to Complete the Eye for an Eye, a Tooth for a Tooth

Travel to the Great Desert then head east from the Tetrapod to reach the Oasis. From there, go southeast arriving at the West of Buried Ruins Legion Camp.

Stellar Blade An Eye for an Eye, a Tooth for a Tooth Mission Buried Ruins Map Location

Look northeast there to find a small opening between some fallen debris that you’ll want to pass through then take a right heading into the clearing between all of the buildings. From there, you want to look to the northwest to spot a school bus next to a building under a yellow ladder and a sign pointing up. Climb up that ladder then follow along all of the rooftops to reach the one with an Abaddon Naytiba.

Stellar Blade An Eye for an Eye, a Tooth for a Tooth Mission Yellow School Bus with Up Sign

This one likes to use a lot of attacks that you can’t parry, so make sure you get comfortable with that dodge button. After defeating it in glorious combat, it will drop several shards belonging to Min’s comrades. Collect them then bring the shards back to Min to complete the mission and receive your rewards.

Stellar Blade An Eye for an Eye, a Tooth for a Tooth Mission Abaddon Naytiba

Mission Rewards

Once you’ve completed the mission you’ll be rewarded with the items in the list below.

  • SP
  • 1,100 Gold
  • SP Initializer x3
  • Shock Grenade x2

Stellar Blade Guides and Walkthroughs

For more Stellar Blade guides and walkthroughs, click here!

Stellar Blade Logo
Guides

Stellar Blade Encounter Mission Guide

by NightlyGamingBinge in

Welcome to NGB and our Stellar Blade guide for the Encounter mission. Here we will cover where to start the mission, how to complete it and the rewards you’ll receive at the end for all of your efforts.

How to Start the Encounter Mission

This mission becomes available during the main mission, Hidden Truth. Speak with Kaya at her shop then choose to ask her about her request. She’ll finally request that EVE track down her sister and bring her back to Xion. EVE feeling sorry for her agree to help her out. You’ll also need to have completed her previous request, The Scavenger’s Story for this one to show up.

Where to start the Stellar Blade Encounter Mission

How to Complete the Encounter Mission

To kick off this mission, head west to reach the Hypertube Legion Camp then cut north towards the ring in the northwest corner of the map.

Stellar Blade Encounter Mission Kara Location

You’ll then need to enter the ring from the south side to trigger an event where the Behemoth Naytiba will make his grand entrance. Face and defeat this beast then head to the east side of the circle to find Kara. Interact with her then return to Kaya to complete the mission. This will also trigger the Sisterly Love trophy.

Mission Rewards

Once you’ve completed the mission you’ll be rewarded with the items in the list below.

  • SP
  • Gold 1000
  • Extreme Polymer Material x10
  • Advanced Polymer Material x20
  • Polymer Material x30
  • Sky Ace (Nano Suit)

Stellar Blade Guides and Walkthroughs

For more Stellar Blade guides and walkthroughs, click here!

Stellar Blade Logo
Guides

Stellar Blade I Won’t Forget You Mission Guide

by NightlyGamingBinge in

Welcome to NGB and our Stellar Blade guide for the I Won’t Forget You mission! Here we’ll cover where to start the mission, how to complete it and the rewards you’ll receive at the end.

How to Start the I Won’t Forget You Mission

This mission becomes available during the main mission, Hidden Truth. Speak with Beatrice just before the bridge leading to Xion. She’ll talk about jumping off then tell EVE how she left the person that she loved behind to be swallowed up by the desert. EVE will then offer to try and find his memory shard for her to have something to remember him by.

Where to start the Stellar Blade I Won't Forget You Mission Guide

How to Complete the I Won’t Forget You Mission

To start this mission, travel to the Great Desert then head east of the Tetrapod to arrive at the Oasis. When you get there, dive into the water and swim out towards the middle.

Stellar Blade I Won't Forget You Mission Guide Oasis

Dive down and use your scanner to pinpoint a body towards the bottom. Interact with it to receive the Lover’s Memorystick. Return to Xion and deliver it to Beatrice. This will complete the mission and you’ll receive your rewards.

Mission Rewards

Once you’ve completed the mission you’ll be rewarded with the items in the list below.

  • SP
  • 500 Gold
  • Strange Bait x10
  • Wriggling Insect x5

Stellar Blade Guides and Walkthroughs

For more Stellar Blade guides and walkthroughs, click here!