Stellar Blade Logo
Guides

Stellar Blade An Offer You Can’t Refuse Mission Guide

by NightlyGamingBinge in

Welcome to NGB and our Stellar Blade guide for the An Offer You Can’t Refuse mission. Here we will cover where to start the mission, how to complete it and the rewards you’ll receive at the end for all of your efforts.

How to Start the An Offer You Can’t Refuse Mission

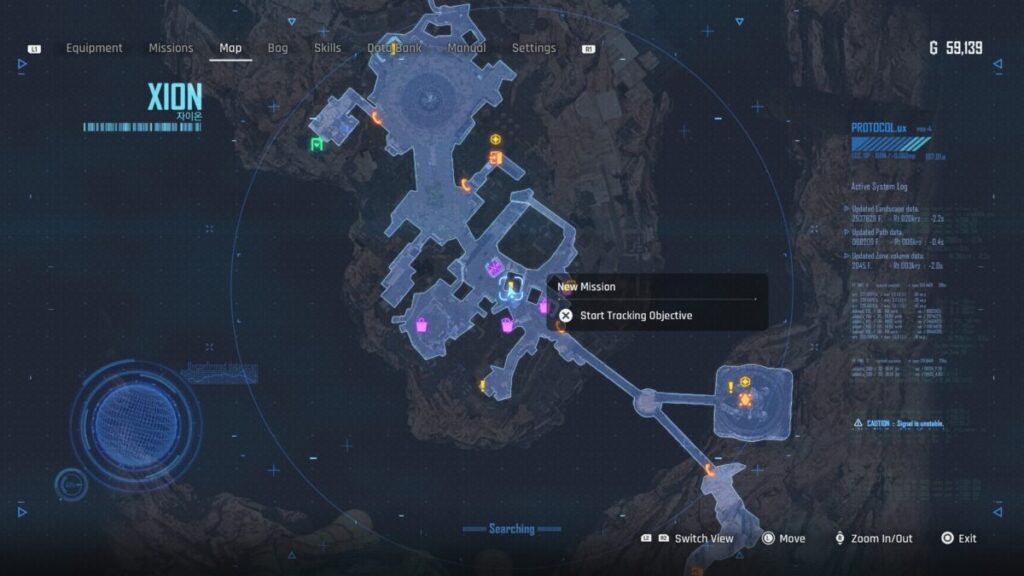
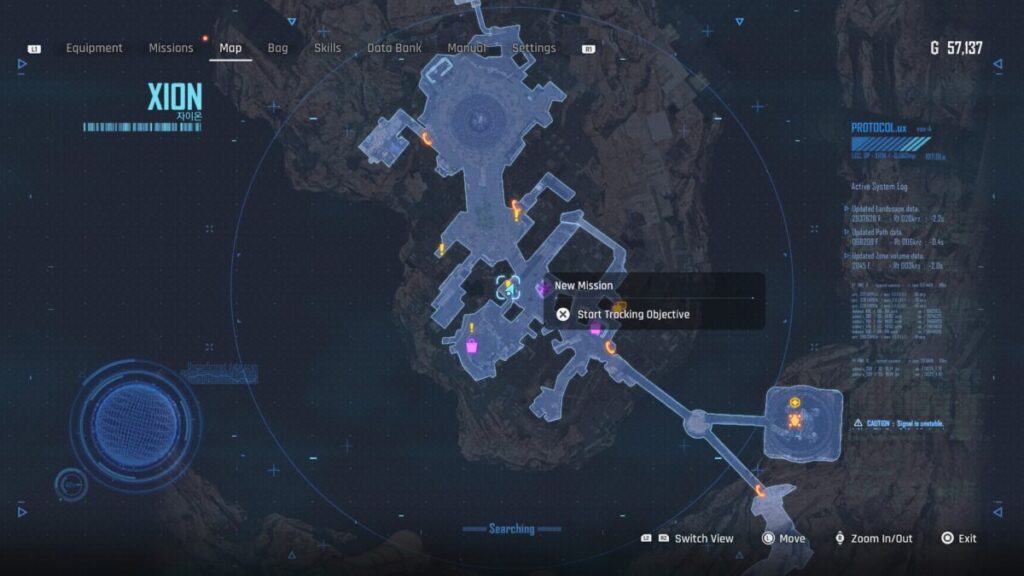
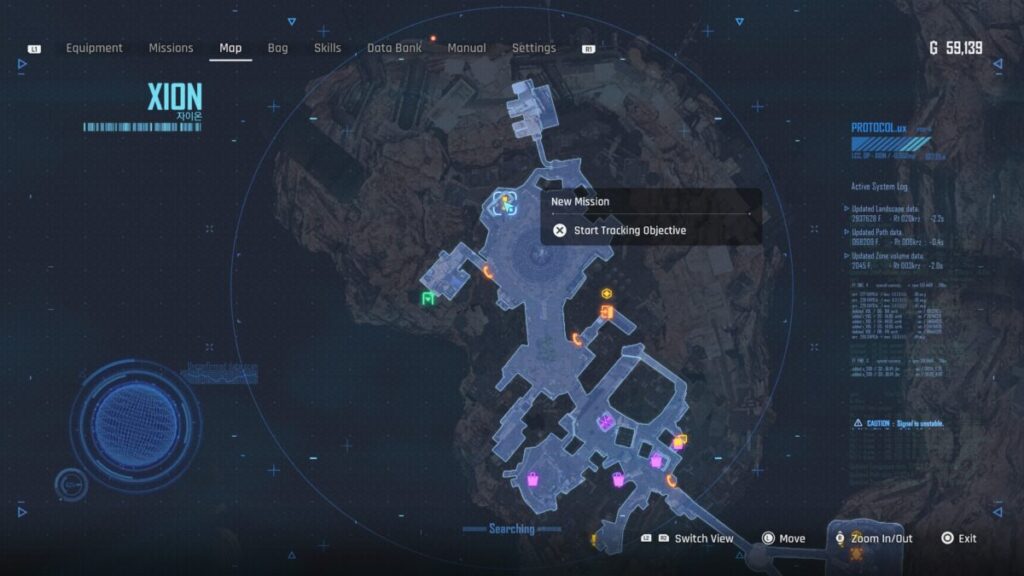
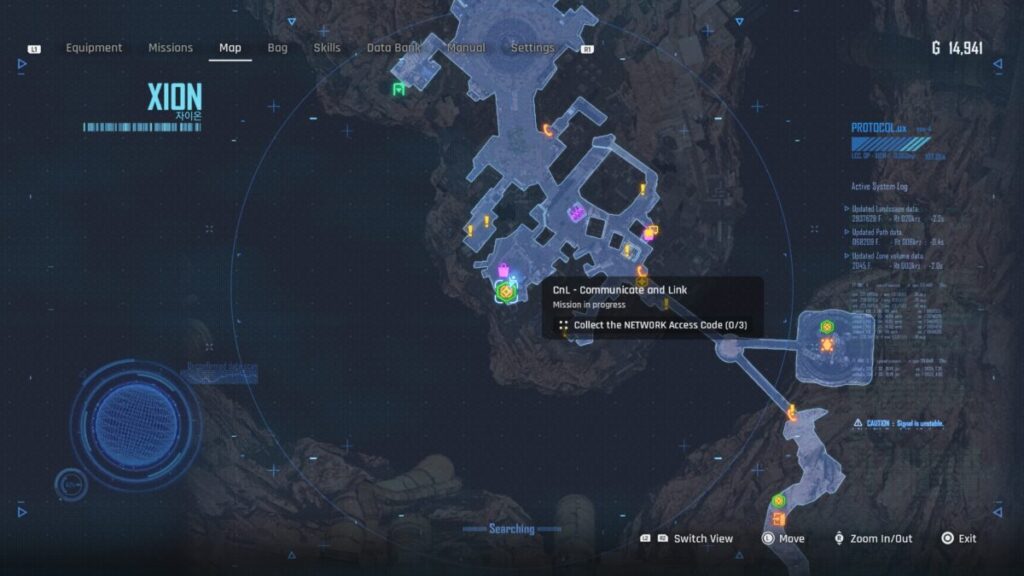
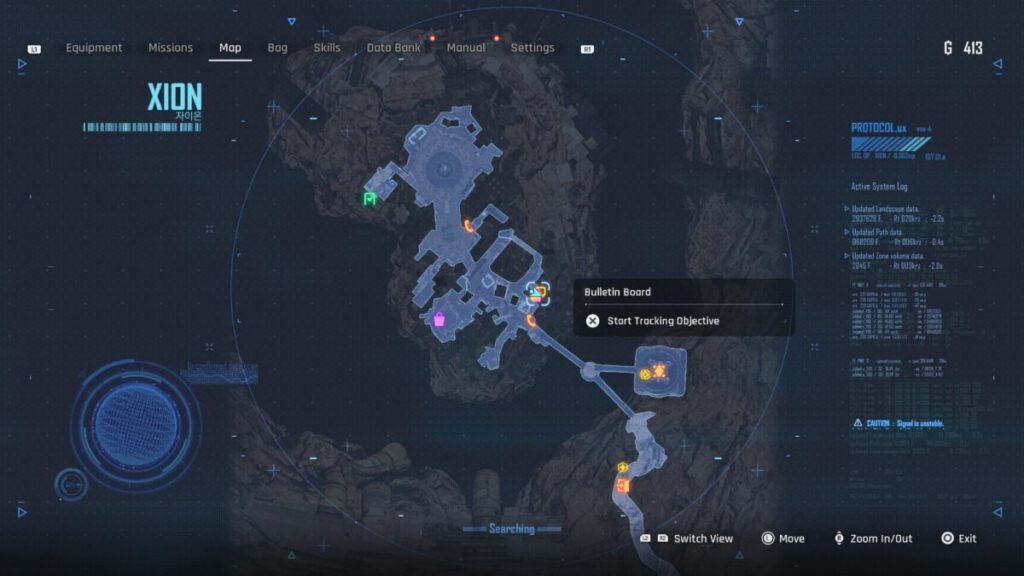
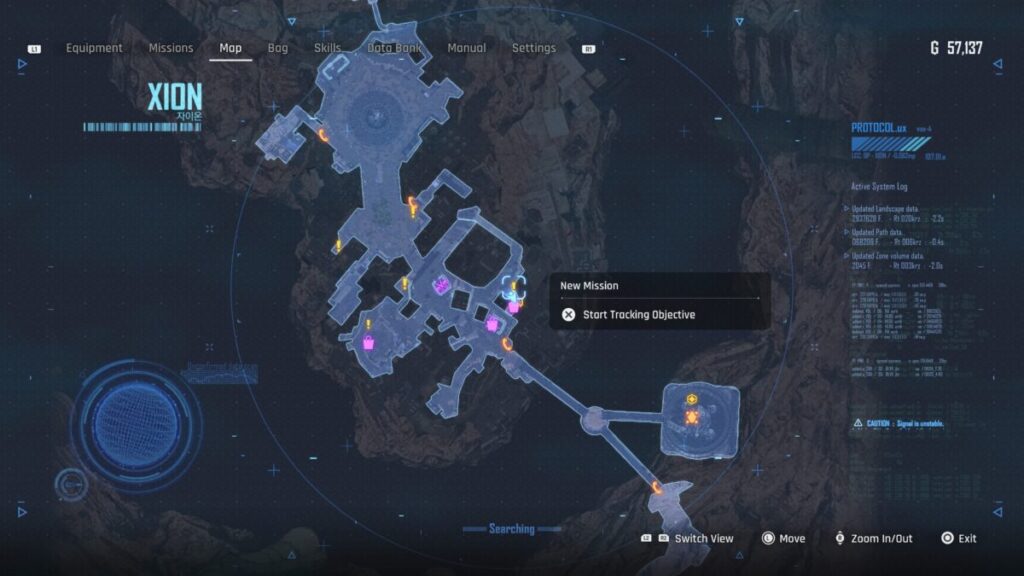
This mission becomes available during the main mission, Hidden Truth. Speak with Roxanne near the bulletin board in Xion who will ask EVE to help her rebuild a damaged Guard Turret to help defend the city. EVE will agree reluctantly to the promise of a new armor core.

Where to start the Stellar Blade An Offer You Can't Refuse Mission

How to Complete the An Offer You Can’t Refuse Mission

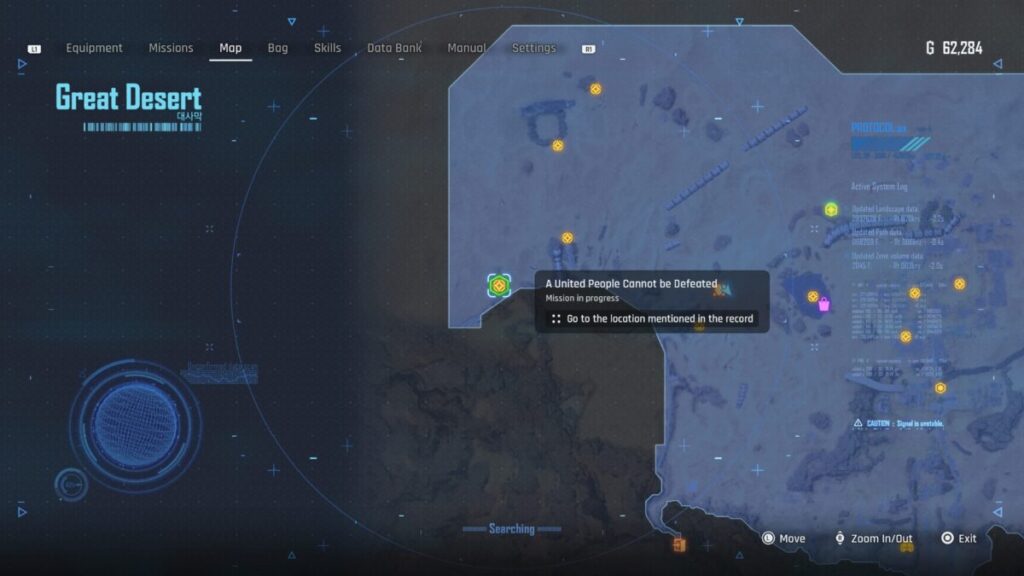
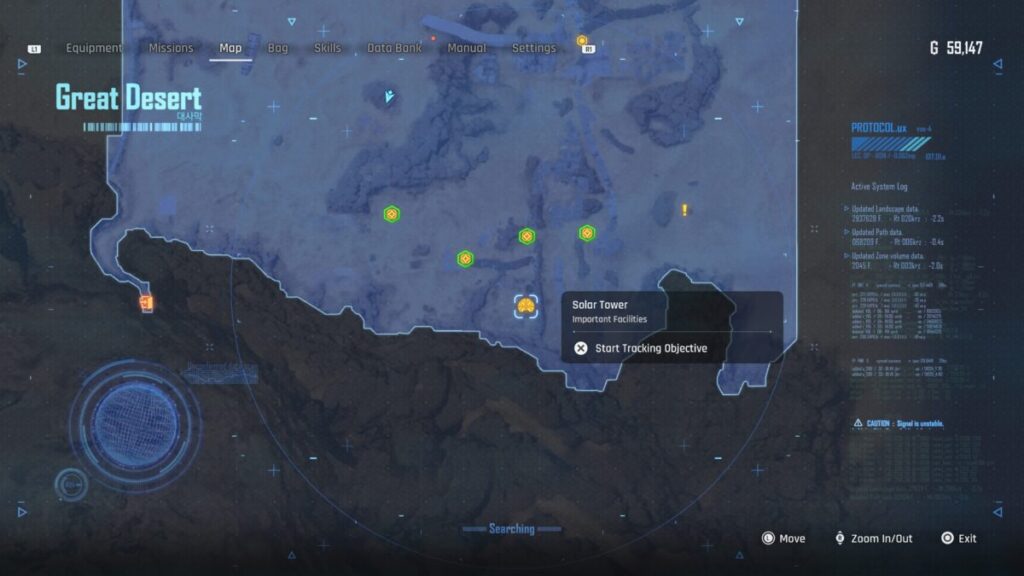
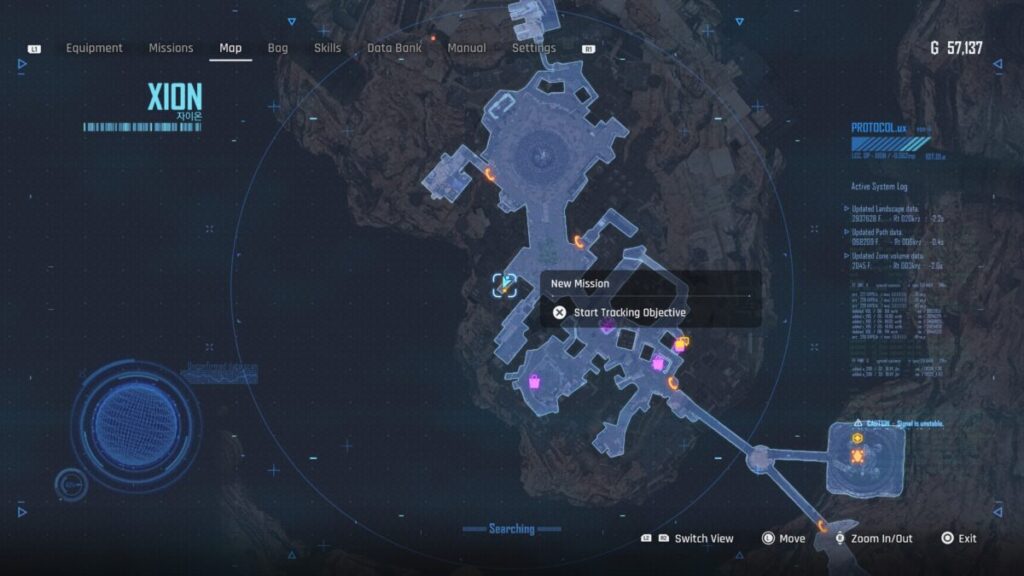
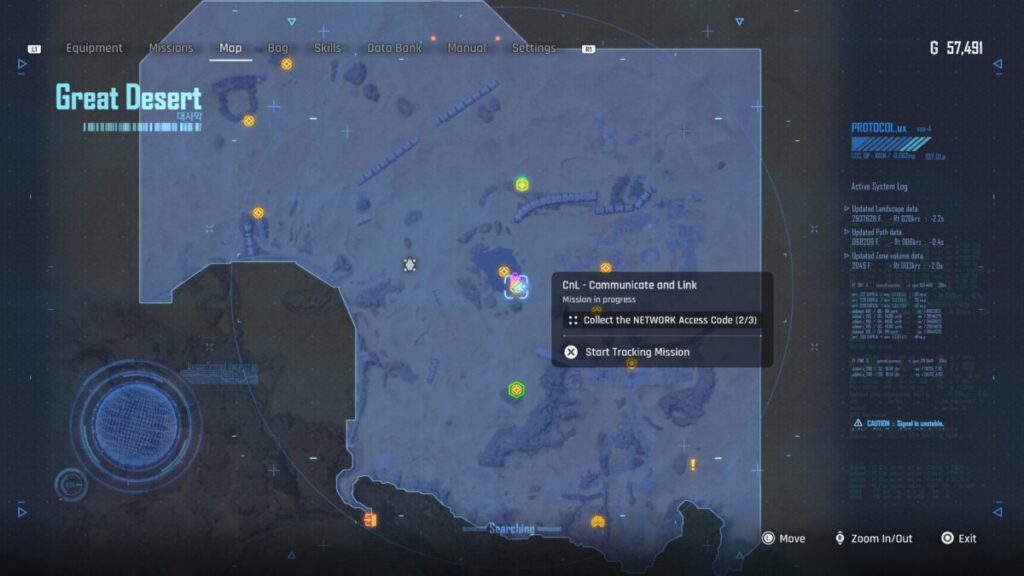
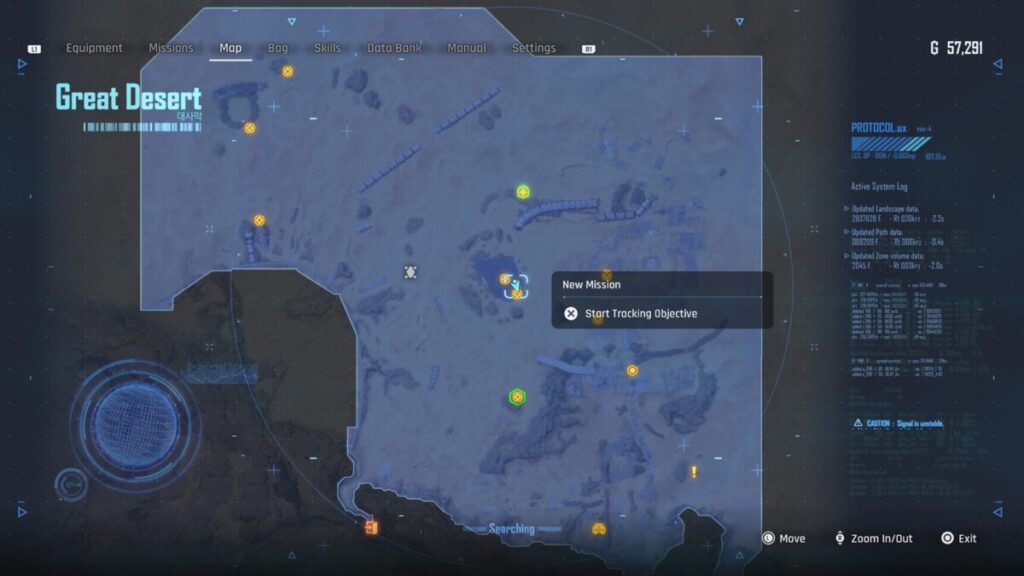
To kick off this mission, travel to the Great Desert and west to the Hybertube Legion Camp next to the Hypertube shooting out of the ground. From there cut north toward the ship but keep an eye on the large rock to its right. The Guard Turret we are here for is on top of that rock on the far east side.

Stellar Blade An Offer You Can't Refuse Mission Turret Map Location

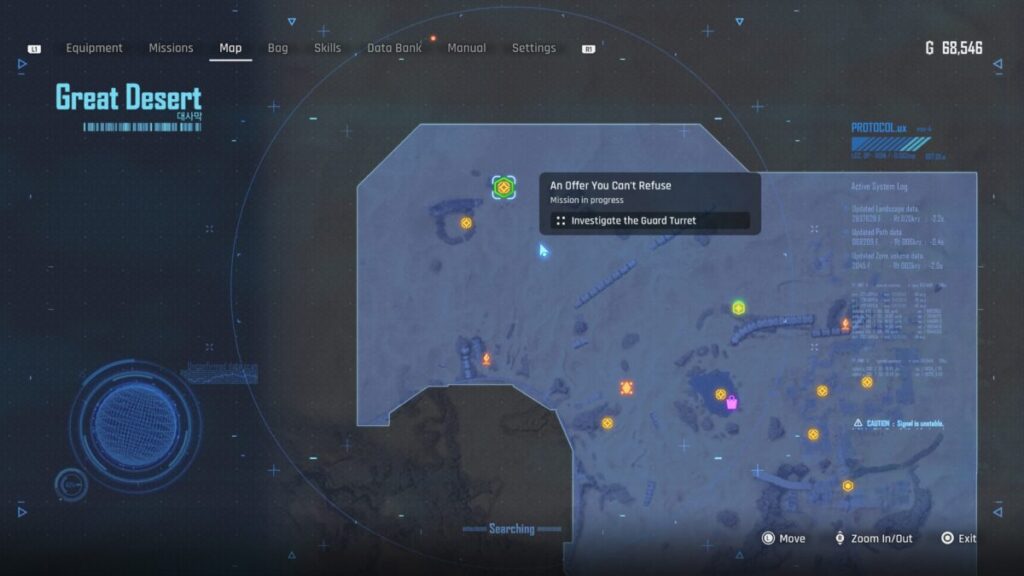
It will start trying to shoot you as you approach it. The missiles can also track a bit so keep that in mind when you’re pushing up. When you get close the first time, Adam makes a comment about using the junk south of the turret rock to block the shots, but I found that sticking closer to the ship and using the sand dunes was more forgiving and easier to keep an eye on the turret. You just have to watch for the Naytiba that tend to appear from the sand.

Stellar Blade An Offer You Can't Refuse Mission Turret

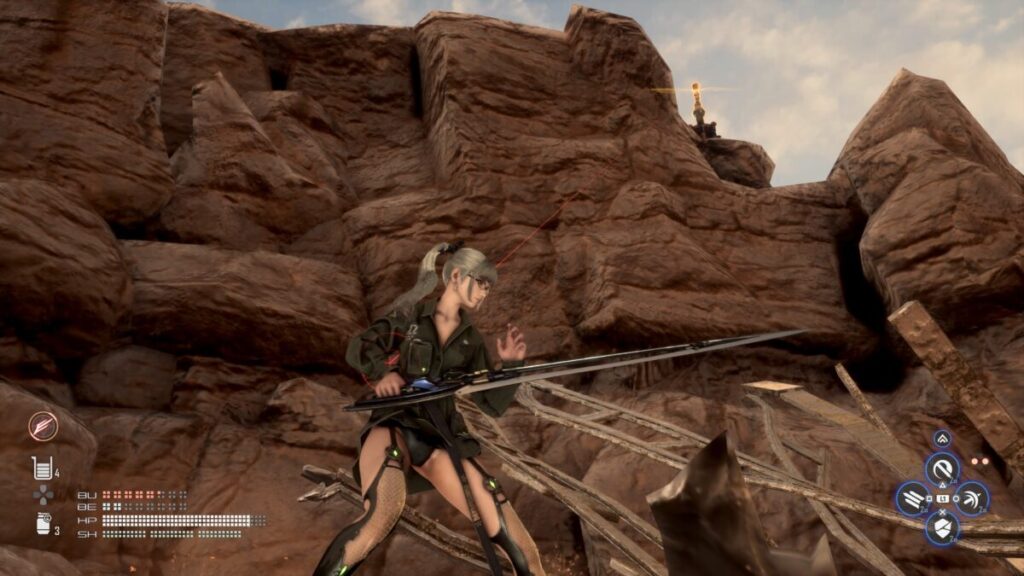
When you get up close to the Guard Turret, look behind it to spot some explosive barrels. Shoot them to make them explode, damaging the turret, then finish off any remaining health. When it’s destroyed, an Algorithm Chipset will drop to the ground. Collect it then bring it back to Roxanne to complete the mission and receive your rewards.

Mission Rewards

Once you’ve completed the mission you’ll be rewarded with the items in the list below.

  • SP
  • Body Core
  • Highly Concentrated Potion
  • Lingering Potion

Stellar Blade Guides and Walkthroughs

For more Stellar Blade guides and walkthroughs, click here!

Stellar Blade Logo
Guides

Stellar Blade A United People Cannot Be Defeated Mission Guide

by NightlyGamingBinge in

Welcome to NGB and our Stellar Blade guide for the A United People Cannot be Defeated mission. Here we will cover where to start the mission/request, how to complete it and the rewards you’ll receive at the end for all of your efforts.

How to Start the A United People Cannot Be Defeated Mission

This mission becomes available during the main mission, Abyss Levoire. Interact with the datapad on the counter of the stall behind Gwen’s Hair Salon to read a note from the Freedom Liberation Alliance. After a brief conversation with Adam, EVE decides it is worth looking into.

This mission didn’t show up until we traveled to the Great Desert and then returned to Xion.

Where to start the Stellar Blade  A United People Cannot be Defeated Mission

How to Complete the A United People Cannot Be Defeated Mission

Travel to the Great Desert then head west from the Tetrapod to the far western part of the map. You’ll want to locate the smaller Greek-looking statue past the Hypertyub. Defeat all the enemies around the area making sure to also grab both of the tentacles hiding in the sand. After that’s done, interact with the corpse on the ground to the right of the chair to receive Echo’s Memorystick.

Stellar Blade  A United People Cannot be Defeated Mission Record Location

EVE will then set out to look for the drones that Echo mentioned. Luckily they aren’t that far away. If you look to the north, you’ll spot them flying around near a sand dune. Shoot them down then loot the Truth of the Cradle and The Truth Under The City Of Xion.

Stellar Blade  A United People Cannot be Defeated Mission Two Drones

With both of them collected, return to the Restaurant in Xion and speak with the guy standing there. This will complete the mission and you’ll receive your reward.

Mission Rewards

Once you’ve completed the mission you’ll be rewarded with the items in the list below.

  • SP
  • Highly Concentrated Potion
  • Lingering Potion
  • 500 Gold

Stellar Blade Guides and Walkthroughs

For more Stellar Blade guides and walkthroughs, click here!

Stellar Blade Logo
Guides

Stellar Blade The King of the Tunnel Mission Guide

by NightlyGamingBinge in

Welcome to NGB and our Stellar Blade guide for the King of the Tunnel mission. Here we will cover where to start the mission, how to complete it and the rewards you’ll receive at the end for all of your efforts.

How to Start the King of the Tunnel Mission

This mission becomes available during the main mission, Hidden Truth. Speak with Cedric in a side alley off the merchant district (by Sisters’ Junk) who we’ll ask EVE to track down an energy source hidden in the Great Desert. EVE thinking it might be a good idea to look into this decides to help him out.

Stellar Blade The King of the Tunnel Mission Guide Map Location

How to Complete the King of the Tunnel Mission

Travel to the Great Desert then head west of the Tetrapod towards the giant tube sticking out of the ground. Make your way to the north side of it then jump into the tunnel to being a mini-game.

Stellar Blade The King of the Tunnel Mission Guide Tunnel

You’ll slide down the tube and have to avoid obstacles along the way to the bottom. Along the way, little orbs of light will appear that act as a guide for the path you should take to safely get through different sections. When you reach the end, you’ll drop into a body of water. Swim to the bottom to locate a chest and open to to receive the Old-Style Fusion Cell. Take it back to Cedric then interact with the Fusion Drive to trigger a cutscene leading to the completion of the mission.

Mission Rewards

Once you’ve completed the mission you’ll be rewarded with the items in the list below.

  • SP
  • Micro Coil x30
  • Micro Motor x60
  • Micro Drive x120

Stellar Blade Guides and Walkthroughs

For more Stellar Blade guides and walkthroughs, click here!

Stellar Blade Logo
Guides

Stellar Blade Reboot!!! Mission Walkthrough

by NightlyGamingBinge in

Welcome to NGB and our Stellar Blade guide for the Reboot!!! mission. Here we will cover where to start the mission, how to complete it and the rewards you’ll receive at the end for all of your efforts.

How to Start the Reboot!!! Mission

This mission will become available when you reach the Great Desert. After embarking from the ship, interact with the nearby camp to trigger an event where the team determines that the camps in the area are having power issues. This will conclude with Adam sending EVE to locate a Sentinel in the area to ask for help.

This quest shares a similar name to the Reboot! mission which was received in the Wasteland with a similar concept.

How to Complete the Reboot!!! Mission

To locate the Sentinel, head southeast from the Tetrapod to find him taking cover near a giant rock in that direction. Speak with him and he’ll tell EVE that she needs to locate and reactivate 4 service drones to get the Solar Tower up and running again.

Travel southeast to reach the Solar Tower then check your map for the location of each droid. They are mostly in plain sight and not too hard to reach.

Once all four service droids are activated, make your way to the Solar Tower. As soon as you enter through the main gate, you’ll be attacked by a Stalker Naytiba. Defeat it then scale the tower and interact with the Tower Control Panel to restore power to the Great Desert. Return to Sentinel Mu afterward to tell him that the Solar Tower has been activated to complete the mission and receive your rewards.

Mission Rewards

Once you’ve completed the mission you’ll be rewarded with the items in the list below.

  • SP
  • Micro Cell x30
  • Micro Motor x60
  • Micro Drive x120

Stellar Blade Guides and Walkthroughs

For more Stellar Blade guides and walkthroughs, click here!

Stellar Blade Logo
Guides

Stellar Blade Stubbornness Mission Guide

by NightlyGamingBinge in

Welcome to NGB and our Stellar Blade guide for the Stubbornness mission. Here we will cover where to start the mission, how to complete it and the rewards you’ll receive at the end for all of your efforts.

How to Start the Stubbornness Mission

This mission becomes available after completing the Looking Glass mission in the Great Desert and receiving the fishing rod. Return to Xion and speak with Barry at his shop in the northern part of the city. He’ll ask EVE to bring him some fish. It’s time to put your new fishing pole to work!

How to Complete the Stubbornness Mission

To complete this request, travel to a body of water and catch some fish! You can do this at the Oasis in the Great Desert, the cave leading to the Wastelands in Xion or at the hidden cavern in the Wasteland. When you have three, return to Barry and speak with him. Choose the “Shop” option then sell him the fish. Be mindful that when selling fish, it automatically selects the full quantity available for whatever fish you select to sell. Make sure you don’t oversell any fish you may need for other requests. After you sell him three, back out of the shop to trigger some dialog between the pair to complete the mission and receive your rewards.

Mission Rewards

Once you’ve completed the mission you’ll be rewarded with the items in the list below.

  • SP
  • 500 Gold
  • Fish Slice x3
  • Small Shrimp x12

Stellar Blade Guides and Walkthroughs

For more Stellar Blade guides and walkthroughs, click here!

Stellar Blade Logo
Guides

Stellar Blade Memories in the Doll Mission Guide

by NightlyGamingBinge in

Welcome to NGB and our Stellar Blade guide for the Memories in the Doll mission. Here we will cover where to start the mission, how to complete it and the rewards you’ll receive at the end for all of your efforts.

How to Start the Memories in the Doll Mission

This mission becomes available during the main mission, Hidden Truth. Speak with Jett in a room to the left of the stairs leading to Memory Square. He’ll mention that he lost his sister Jade long ago. While traversing the Great Desert to reach Xion, he hid her Memory Shard in a teddy bear that he lost when Naytiba attacked. EVE offers to track it down to bring him some peace.

Stellar Blade Memories in the Doll Mission Map Location

How to Complete the Memories in the Doll Mission

To start this mission, travel to Matrix 11 then use the telephone at the Matrix 11 Entrance Supply Camp to travel to the Rail Yard. From there, enter the sewers and proceed forward until you reach the abandoned living area. When you get there, take a left and head towards the yellow ladder in the far room. Climb up to then look to the left to spot the teddy bear on the tire swing next to the supply camp.

Stellar Blade Memories in the Doll Mission Matrix 11 Teddy Bear

Interact with it to find an object inside then take it back to Jett. After a little event, exit the building and speak with Jett once more near the stairs leading to Gwen’s Hair Salon to complete the mission, receiving your rewards.

Mission Rewards

Once you’ve completed the mission you’ll be rewarded with the items in the list below.

  • SP
  • Extreme Polyer Material x25
  • Advanced Polymer Material x25
  • Polymer Material x50
  • Fluffy Bear (Nano Suit)

Stellar Blade Guides and Walkthroughs

For more Stellar Blade guides and walkthroughs, click here!

Stellar Blade Logo
Guides

Stellar Blade – CnL – Communicate and Link Mission

by NightlyGamingBinge in

Welcome to NGB and our Stellar Blade walkthrough for the CnL – Communicate and Link! Here we’ll cover where you can start this mission, how to complete it and the rewards you’ll receive at its completion.

You’ll receive the CnL – Communicate and Link request from D1G-g2r at his scrap yard in the Wasteland after raising his affinity level to 2.

For this request, D1G-g2r will ask EVE to collect 3 NETWORK Access Codes so he can access the network in an effort to learn about his existence. In the subsection below, we’ll cover where you can find all three of the access codes. Once you have them, deliver them to D1G-g2r at his Scrap Yard in the Wasteland by interacting with him and selecting “Fantabulous Hypothesis”. After handing over the codes, operate the terminal behind him to get things underway. You’ll then need to solve a quick puzzle to trigger a cutscene. Once it concludes the mission will be completed and you’ll receive the Beep! trophy along with your rewards.

Stellar Blade CnL - Communicate and Link Connection Device Puzzle

Wasteland – Solar Tower

To collect the first access code, travel to the Solar Tower and head inside. There will be a terminal on the right just past the entrance you’ll want to interact with. Doing so will net you the access code.

Stellar Blade - CnL - Communicate and Link Solar Tower Map Location

Xion

The next access code can be found in Xion at Mawnhhoe, which is next to Sisters’ Junk. Head there and interact with the terminal inside to receive the access code.

Stellar Blade CnL - Communicate and Link Mission Xion Access Code Map Location

Great Desert – The Oasis

To reach the final access code, you’ll need to progress the story until Adam takes EVE to the Great Desert. After arriving, head to the Oasis which can be found to the east of the ship to find a small overhand next to Clyde’s bungalow. Interact with the terminal there to receive the access code.

Stellar Blade CnL - Communicate and Link Great Desert Map Location

Mission Rewards

Once you have completed the request, you’ll be rewarded with the items listed below!

  • SP
  • 700 Gold
  • Extreme Nano Element x5
  • Advanced Nano Element x25
  • Nano Element x50

Stellar Blade Guides and Walkthroughs

For more Stellar Blade guides and walkthroughs, click here!

Stellar Blade Logo
Guides

Stellar Blade Lurker Hunt Request Guide

by NightlyGamingBinge in

Welcome to NGB and our Stellar Blade guide for the Lurker Hunt request. Here we will cover where to start the request, how to complete it and the rewards you’ll receive at the end for all of your efforts.

How to Start the Lurker Hunt Request

This request becomes available during the main mission, Hidden Truth. Head to the bulletin board in Xion and interact with it to accept the request. If it’s not showing up, you may have to complete a couple of other requests to make it appear on the list.

Where to start the Lurker Hunt Request in Stellar Blade

How to Complete the Lurker Hunt Request

To hunt all of the Lurkers, you’ll need to travel to the Great Desert. Once you’re there, they can be found around through the map swimming through the sand. The below image shows what they look like, so make sure to keep an eye out for them.

Stellar Blade Lurker Hunt Request Lurker

Once all 10 have been defeated, return to the bulletin board in Xion to complete the request and claim your rewards.

Request Rewards

Once you’ve completed the request/mission you’ll be rewarded with the items in the list below.

  • 4,600 Gold

Stellar Blade Guides and Walkthroughs

For more Stellar Blade guides and walkthroughs, click here!

Stellar Blade Logo
Guides

Stellar Blade Wife’s Water Tank Request Guide

by NightlyGamingBinge in

Welcome to NGB and our Stellar Blade guide for the Wife’s Water Tank request. Here we will cover where to start the request, how to complete it and the rewards you’ll receive for all of your effort.

How to Start the Wife’s Water Tank Request

This request becomes available on the bulletin board after completing the Looking Glass and receiving the fishing rod. The requestor will ask EVE to catch a Porcupinefish to replace the one he lost.

How to Complete the Wife’s Water Tank Request

In order to catch a Porcupinefish, travel to the Oasis in the desert then equip your fishing pole and get to fishing. According to the intel on the fish in quest, it loves Small Shrimp, so theoretically you can use the Small Shrimp bait to have an increased chance of catching one. In our experience, it didn’t seem to matter what type of bait we used. Once you catch the fish, return to the bulletin board to deliver it and complete the request to receive your rewards.

Request Rewards

Once you’ve completed the request/mission you’ll be rewarded with the items in the list below.

  • 2000 Gold
  • Vitcoin x4

Stellar Blade Guides and Walkthroughs

For more Stellar Blade guides and walkthroughs, click here!

Stellar Blade Logo
Guides

Stellar Blade Looking Glass Mission Guide

by NightlyGamingBinge in

Welcome to NGB and our Stellar Blade guide for the Looking Glass mission. Here we will cover where to start the mission, how to complete it and the rewards you’ll receive at the end for all of your effort.

How to Start the Looking Glass Mission

This mission will be available after reaching the Great Desert. Travel to the Oasis which can be found east of the Tetrapod to find Clyde fishing off the dock of his desert hut. Speak with him to be completely ignored, thus starting the mission.

Stellar Blade Looking Glass Mission Map Location

How to Complete the Looking Glass Mission

After speaking to Clyde, interact with the nearby fishing pole resting in the holder. This will cause EVE to pick it up and receive a tutorial on how to fish. Equip the fishing pole then show Clyde what the perfect cast looks like and put the tutorial to use to catch the elusive Goldfish. To equip the fishing pole, hold down on the d-pad and select it from the menu that pops up. Once you have managed to snag one, speak with Clyde who will now talk to EVE about fishing. The mission will then be completed once the conversation is over.

Stellar Blade Looking Glass Mission Fishing Rod

Mission Rewards

Once you’ve completed the mission you’ll be rewarded with the items in the list below.

  • SP
  • 200 Gold
  • Fish Slice x3
  • Wriggling Insect x5

Stellar Blade Guides and Walkthroughs

For more Stellar Blade guides and walkthroughs, click here!