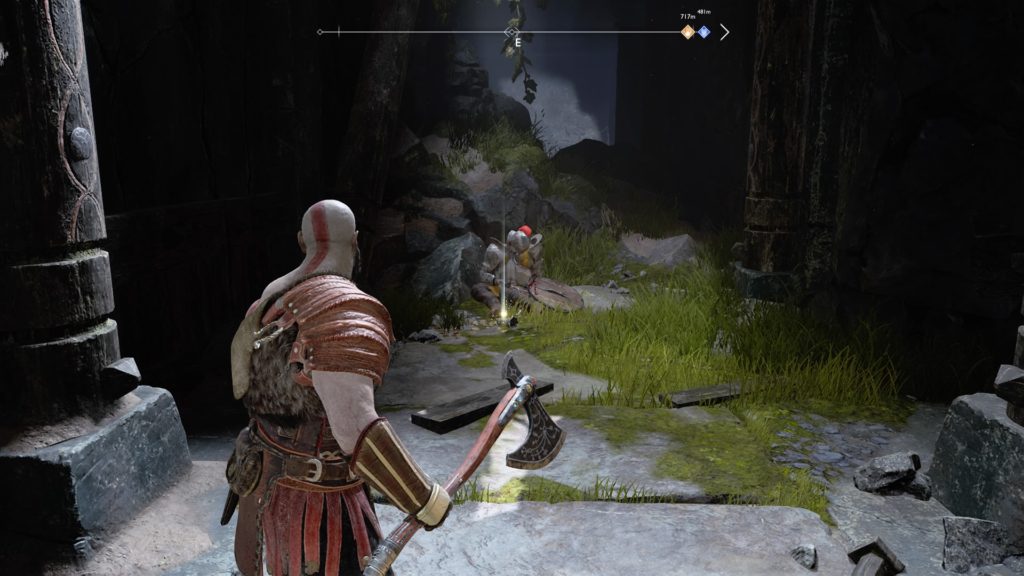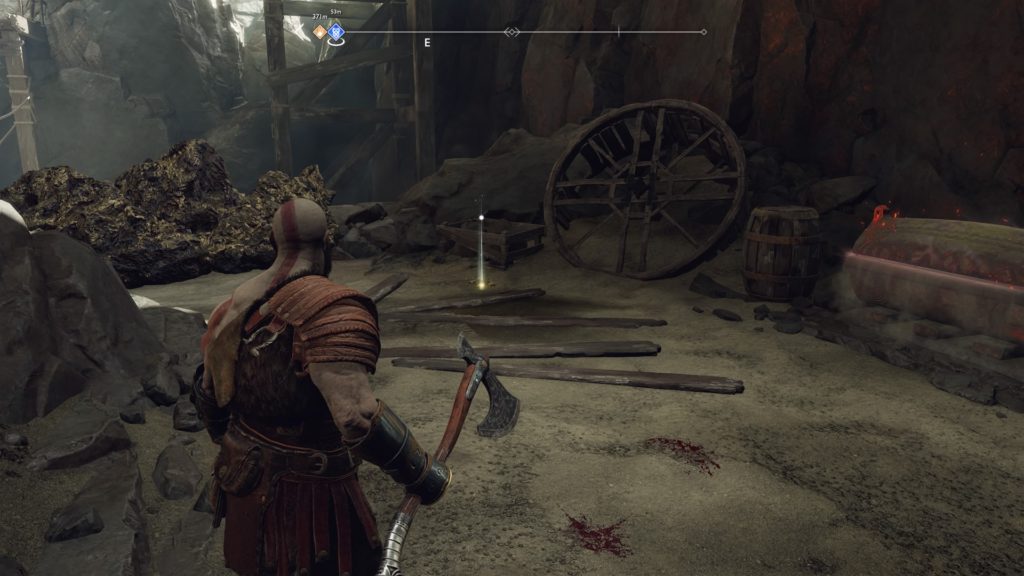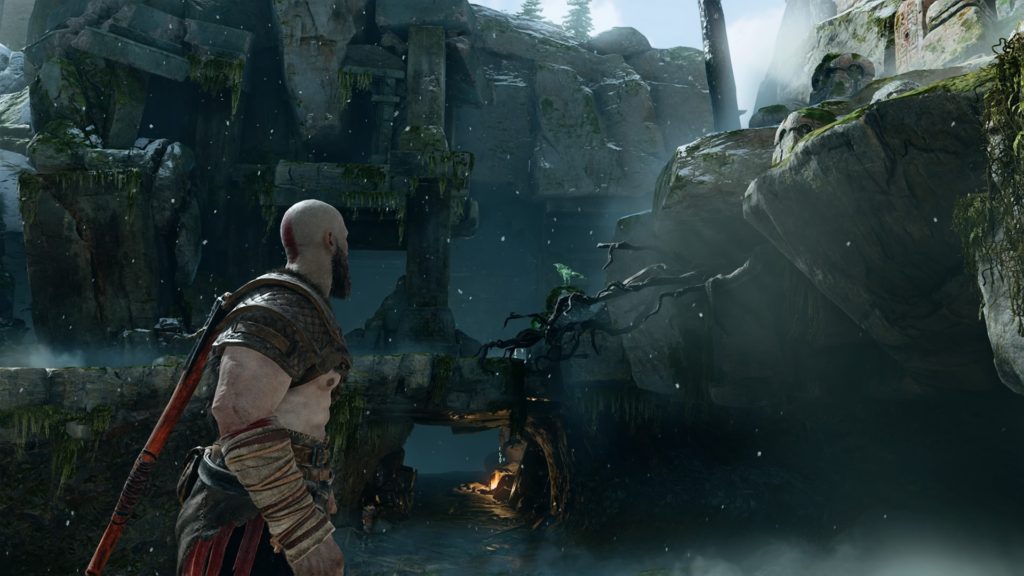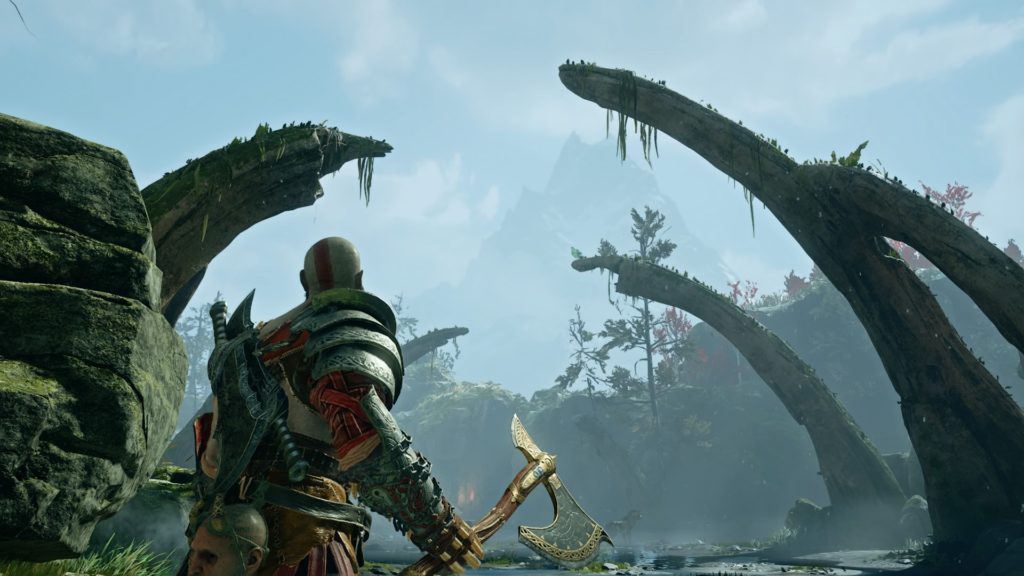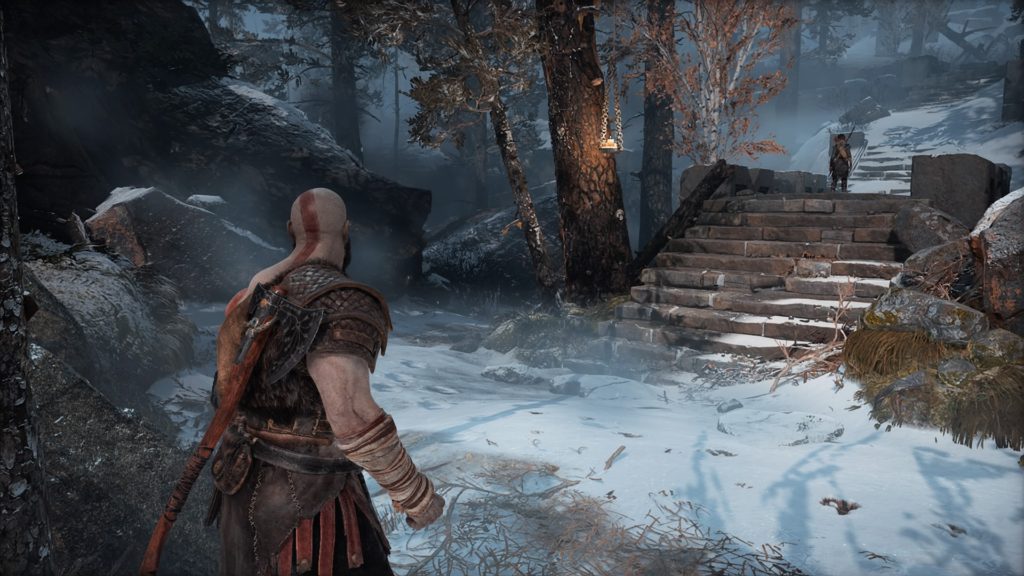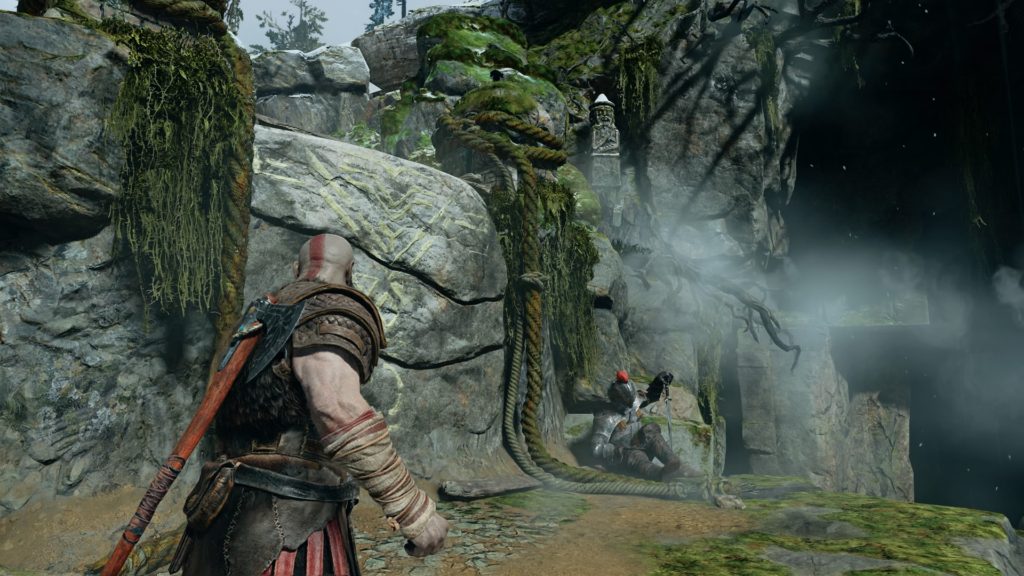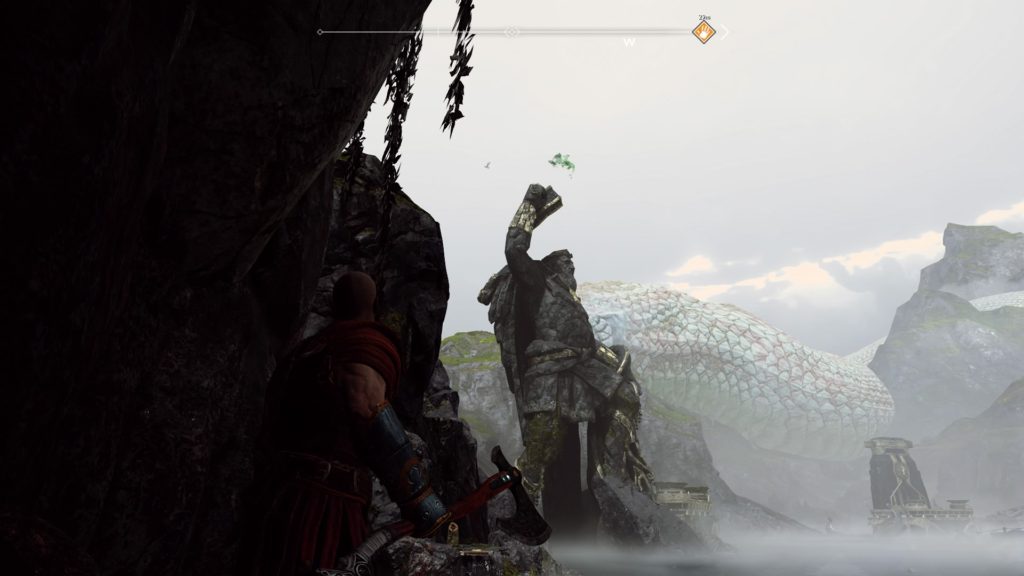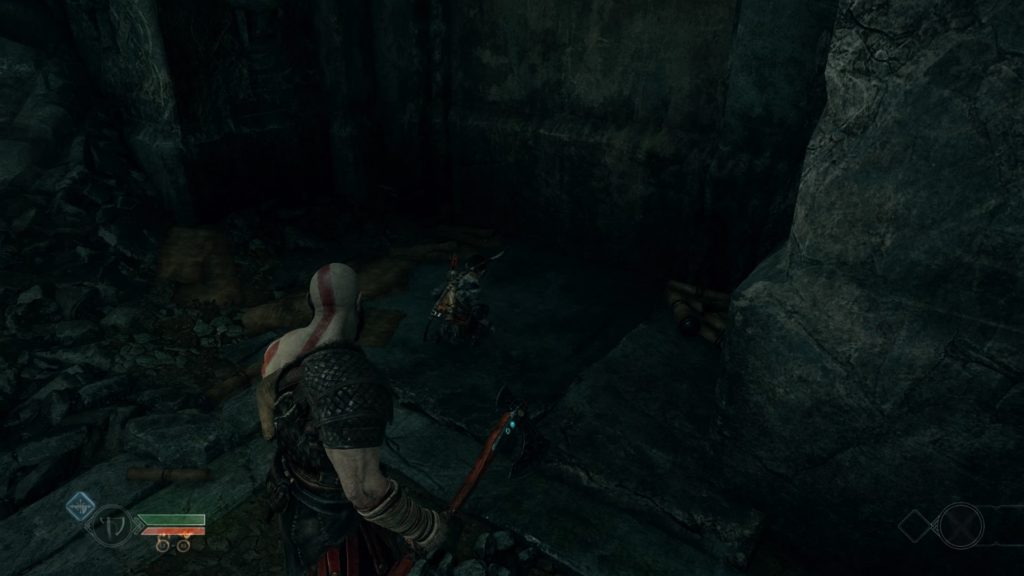
Horn 1
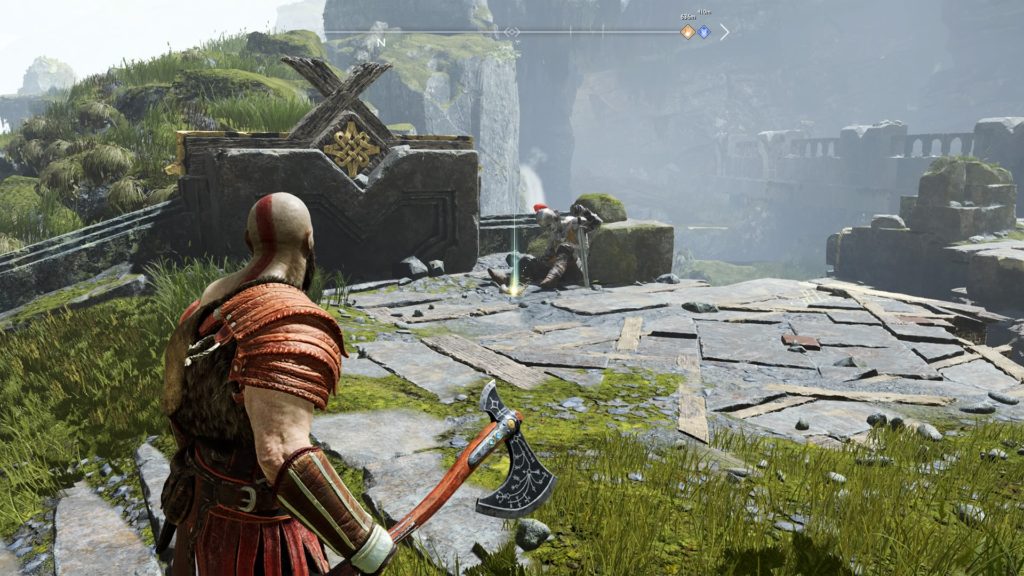
After docking the boat, head straight up the stairs leading to where the dragon is (or was) trapped. Turn left at the anchor and keep moving ahead until the path forks. Take the right path and head up the steps in from of the dwarven castle. The horn will be laying next to the corpse of a fallen warrior at the top of the stairs on the left.
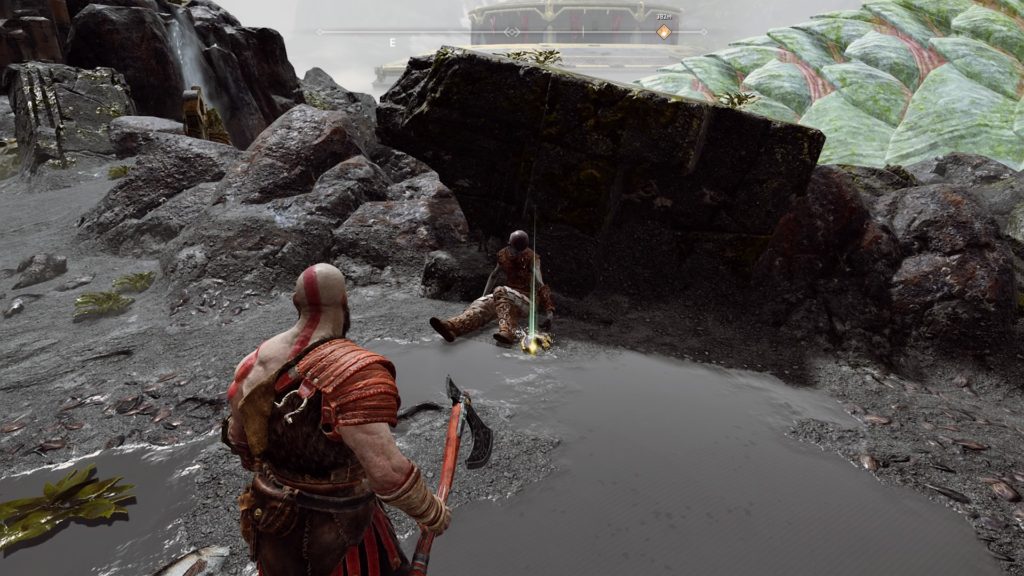
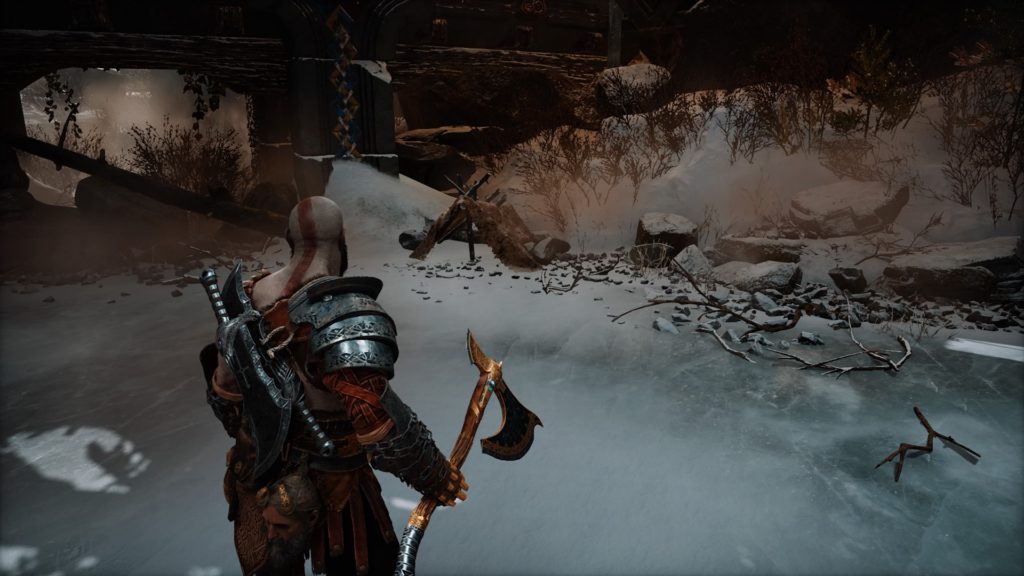
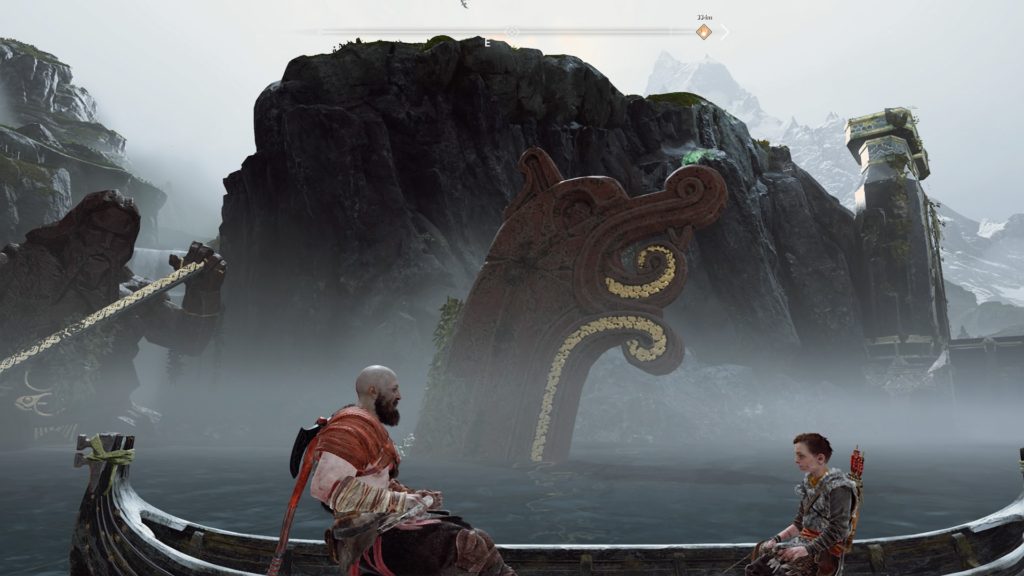
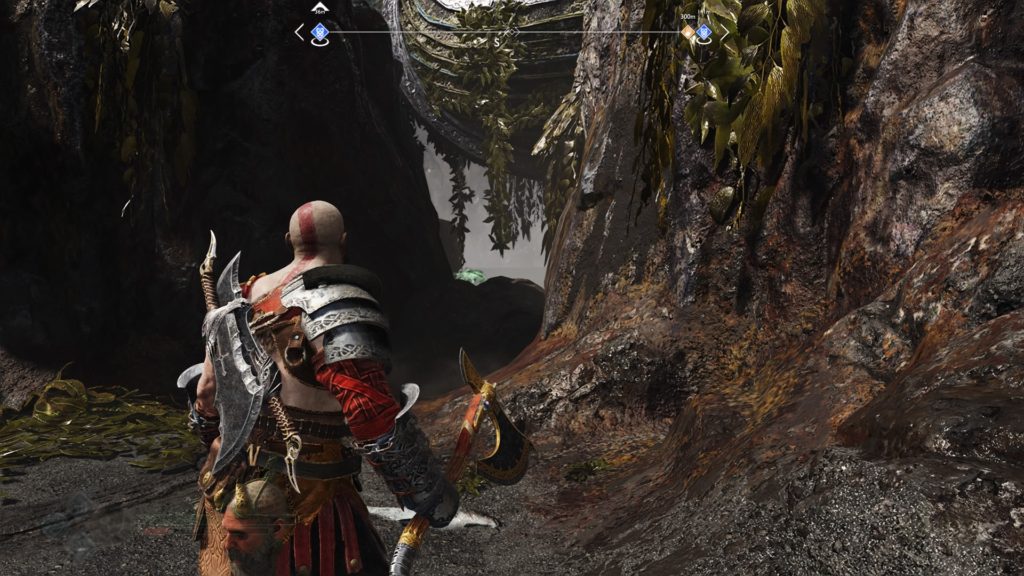
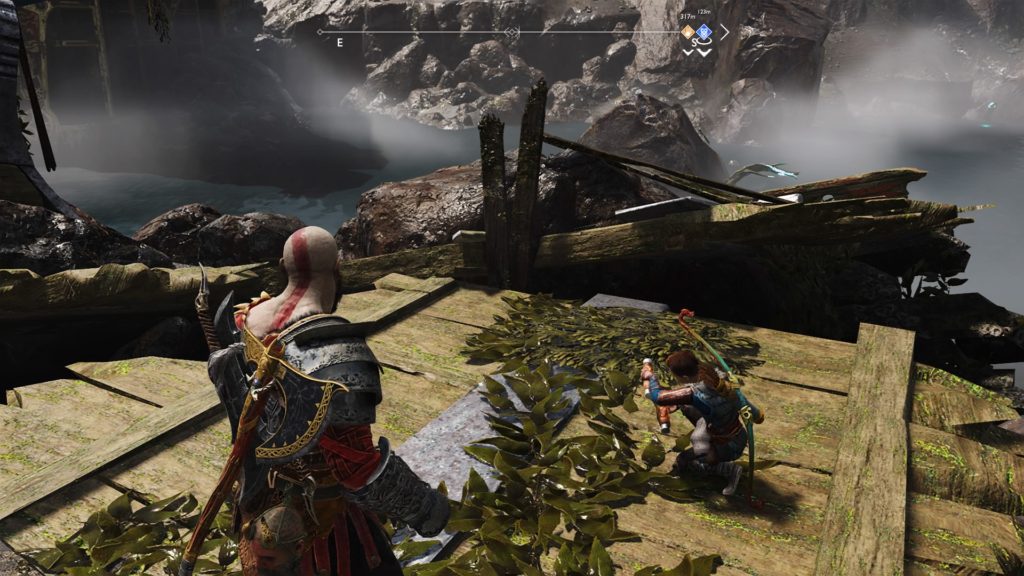
Horn 2
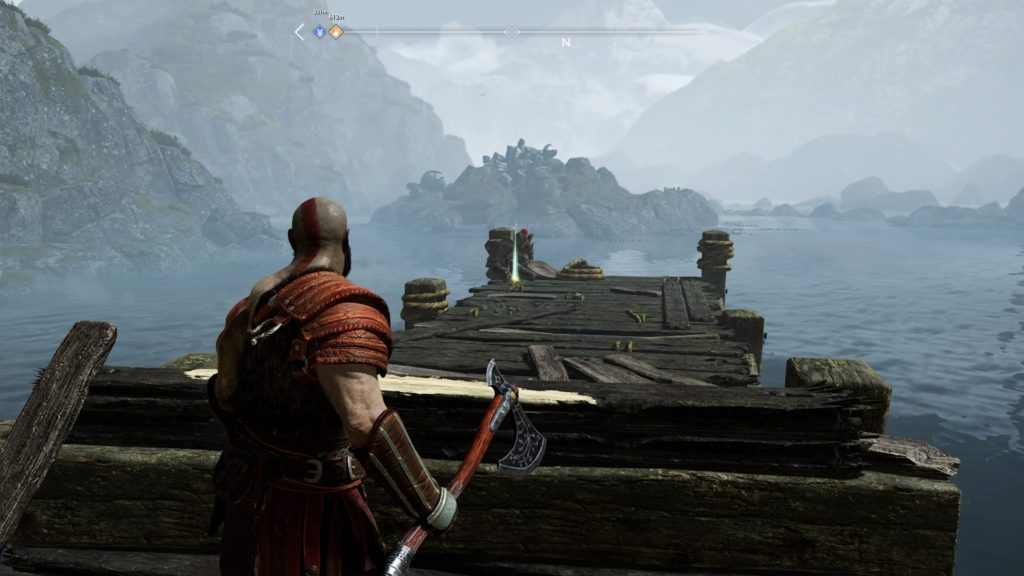
After docking the boat, swing to the left and head down the dock. Keep going straight jumping over the broken portion of the dock. Vault over the beam to reach the end of the dock where the horn is located near the corpse of a warrior.
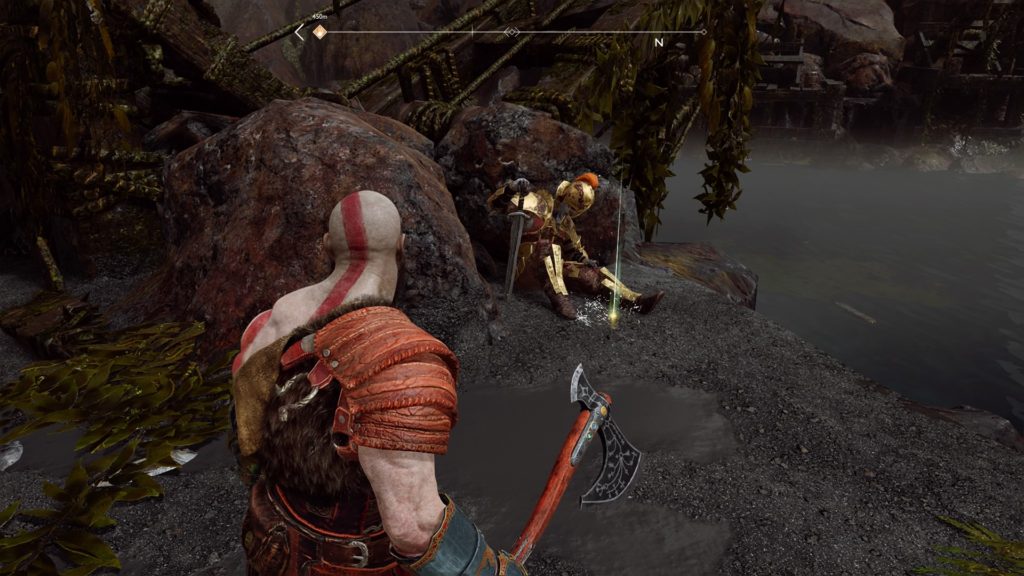
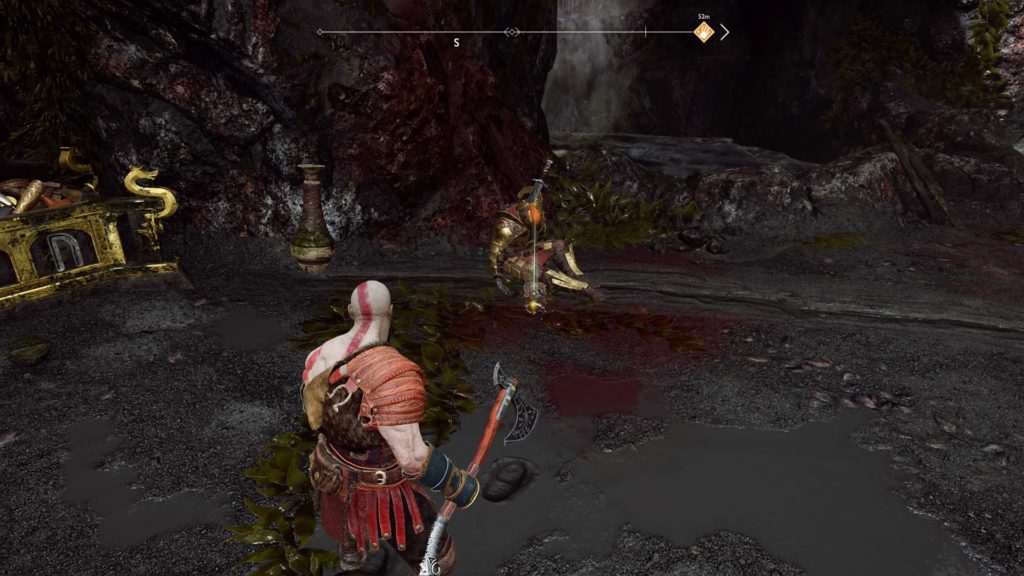
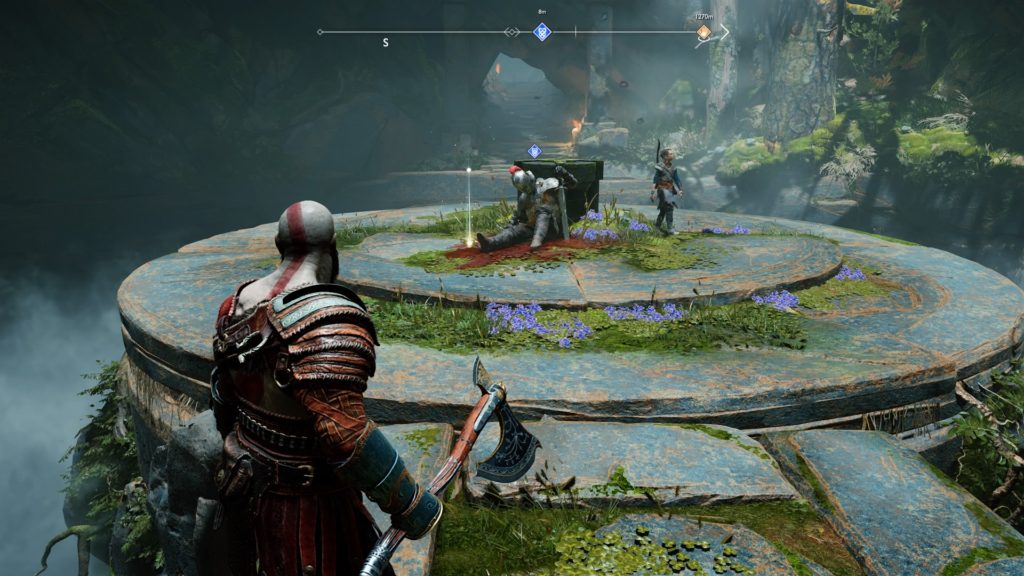
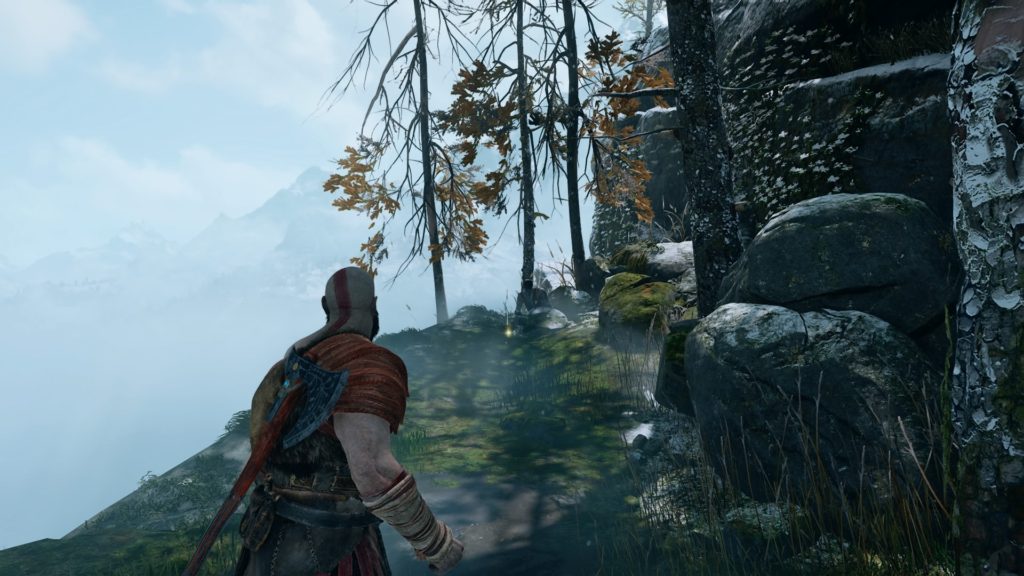
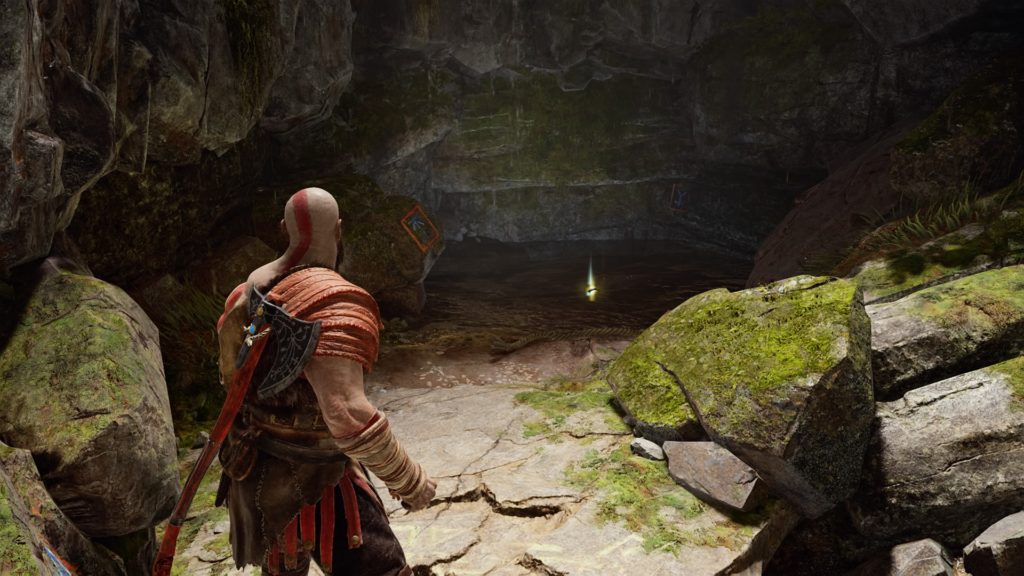
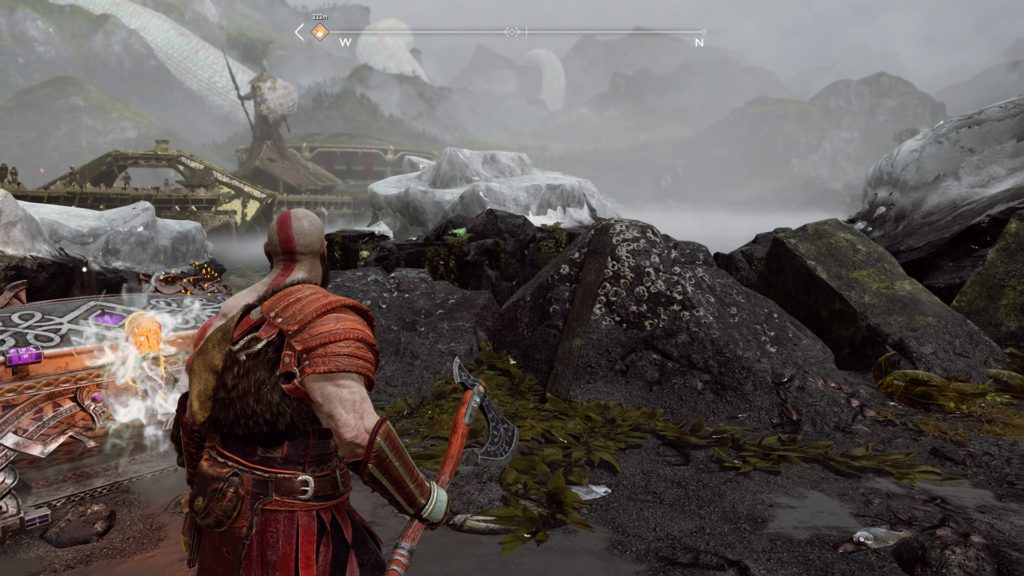
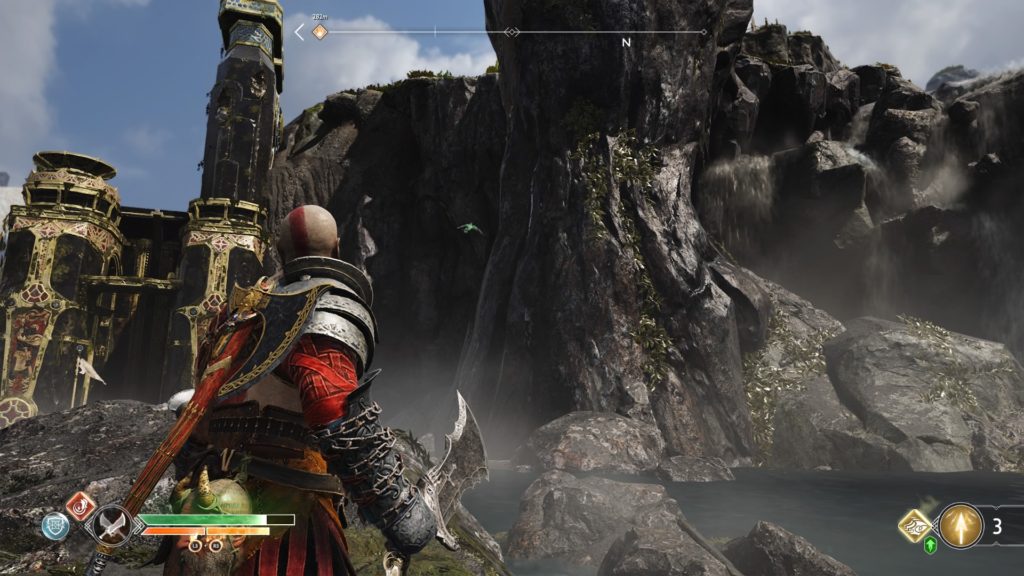
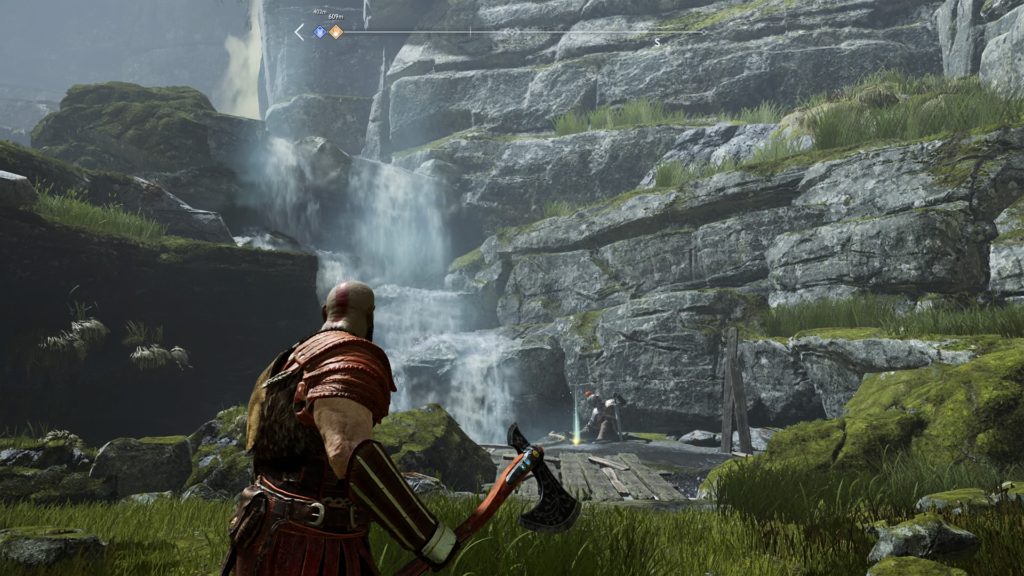
Horn 3
After docking the boat, head straight up the stairs leading to where the dragon is (or was) trapped. Turn left at the anchor in front of the dragon to find the horn next to a fallen warrior near the waterfall.
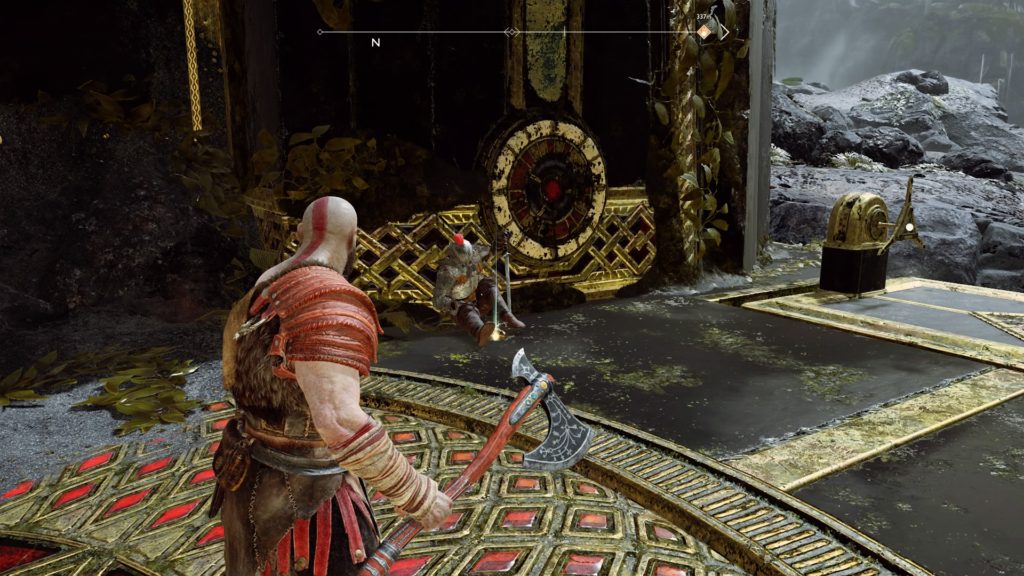
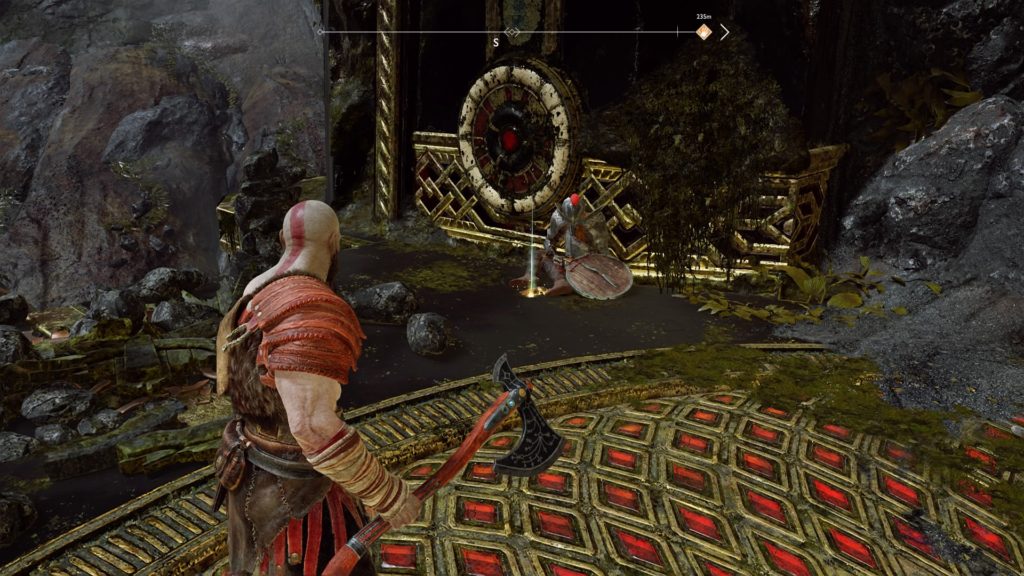
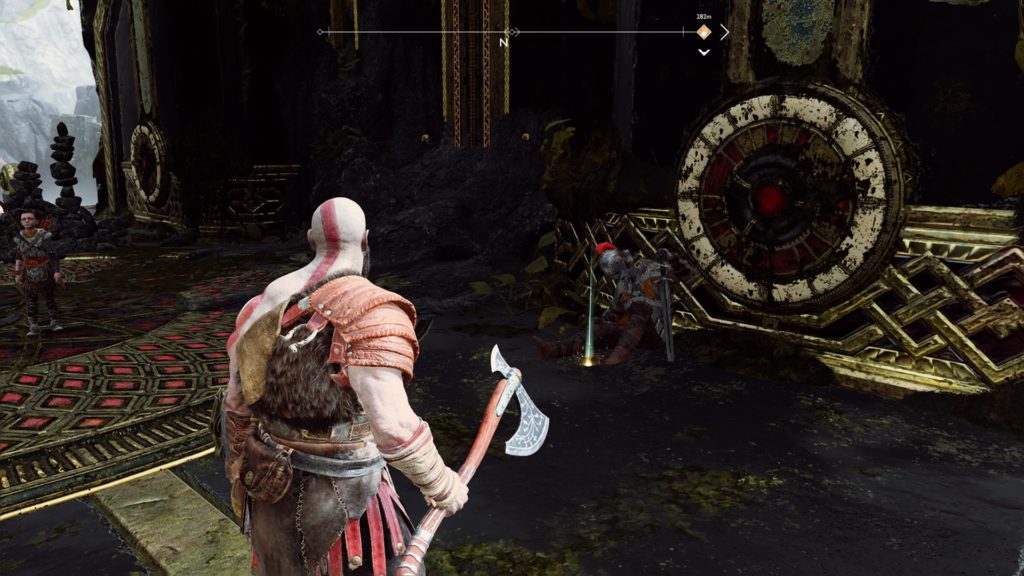
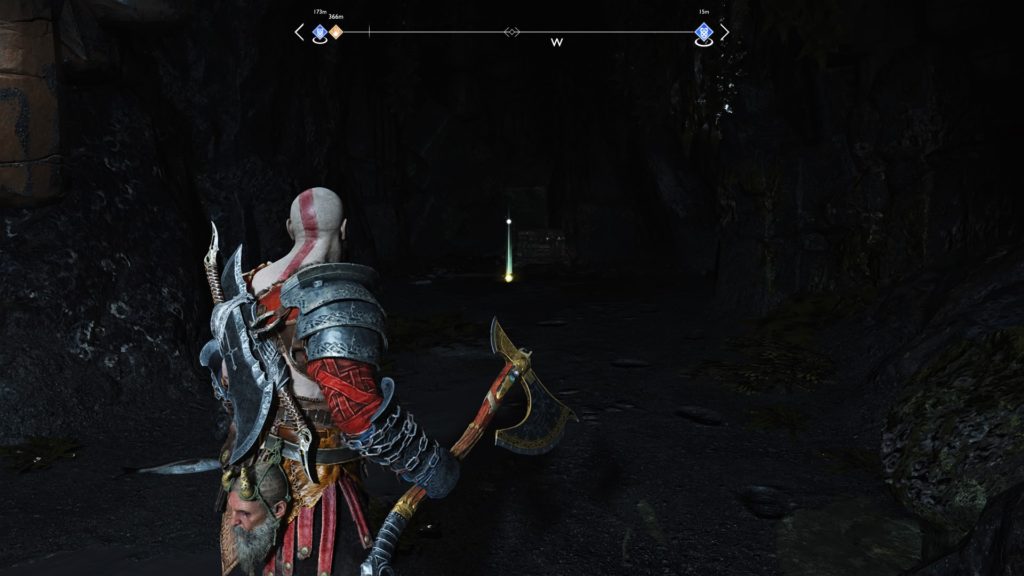
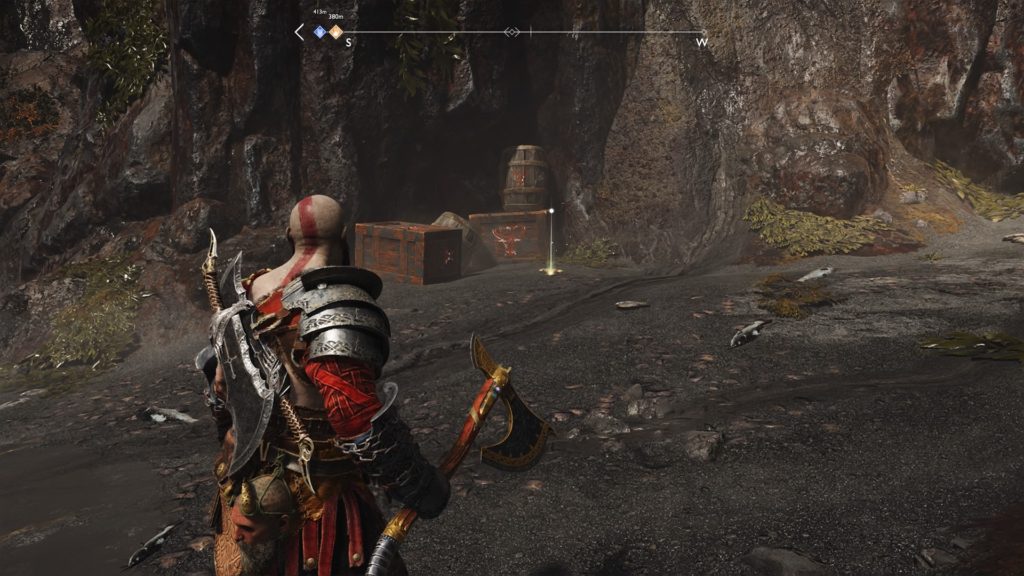
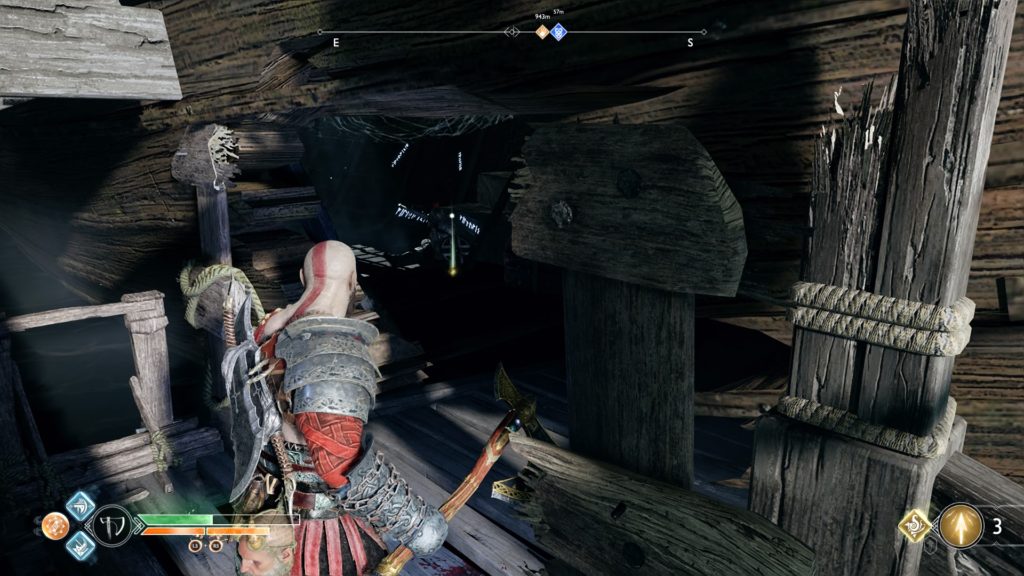
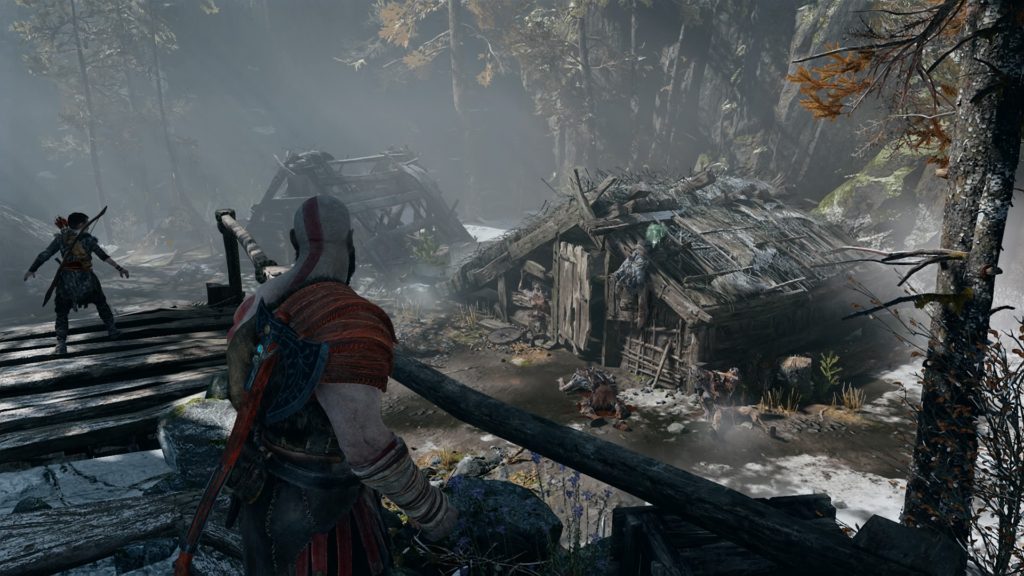
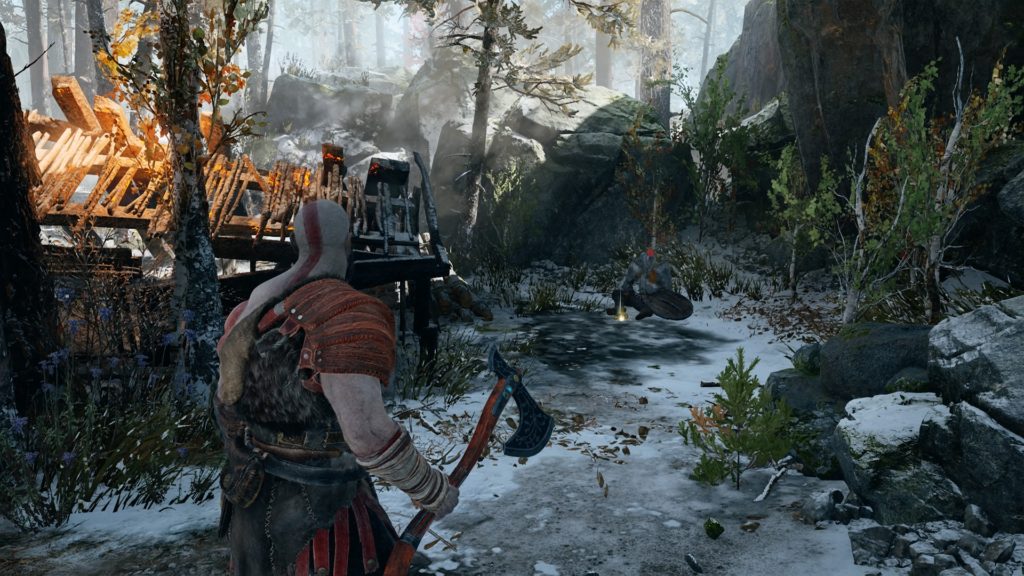
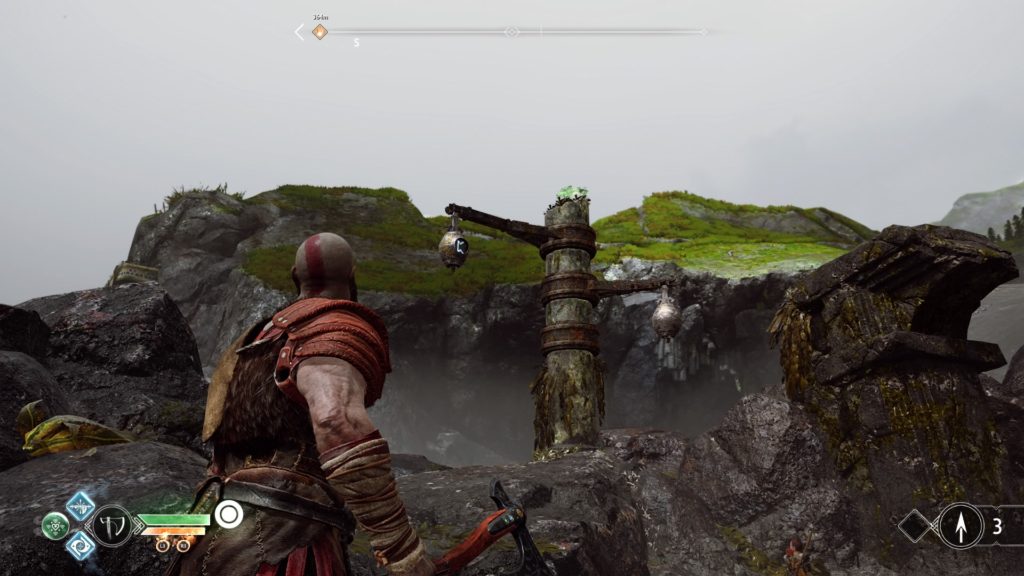
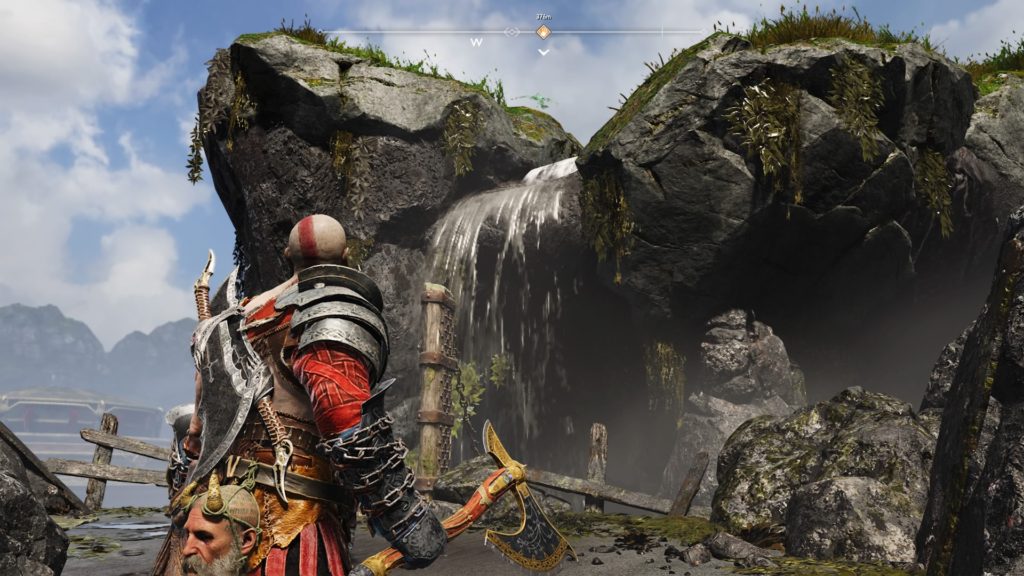
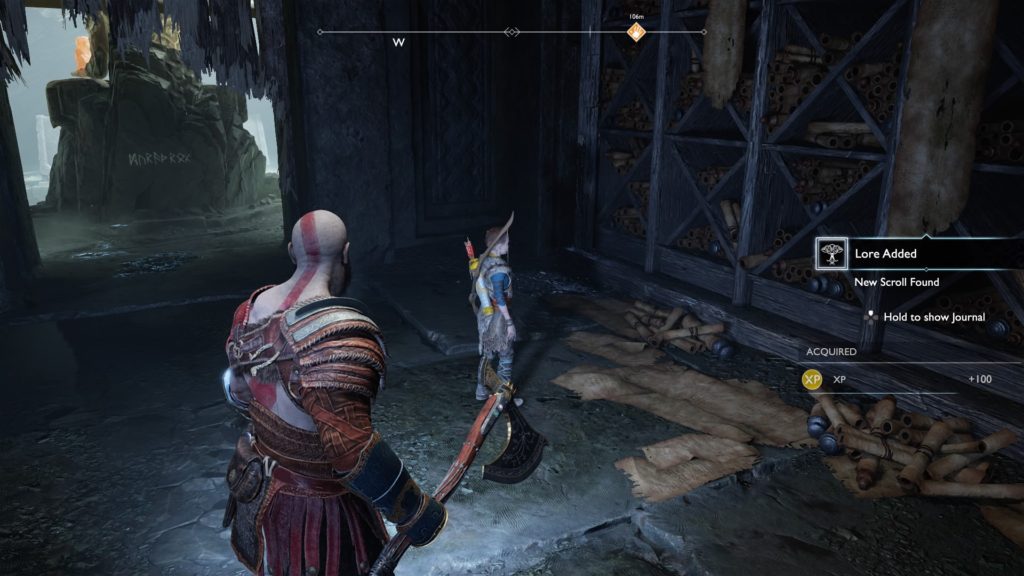
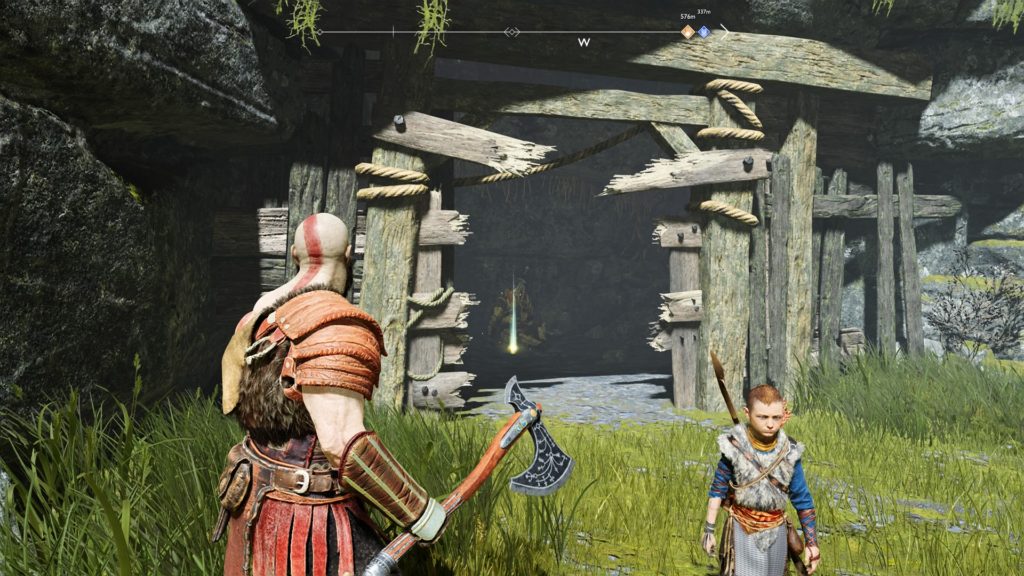
Horn 4
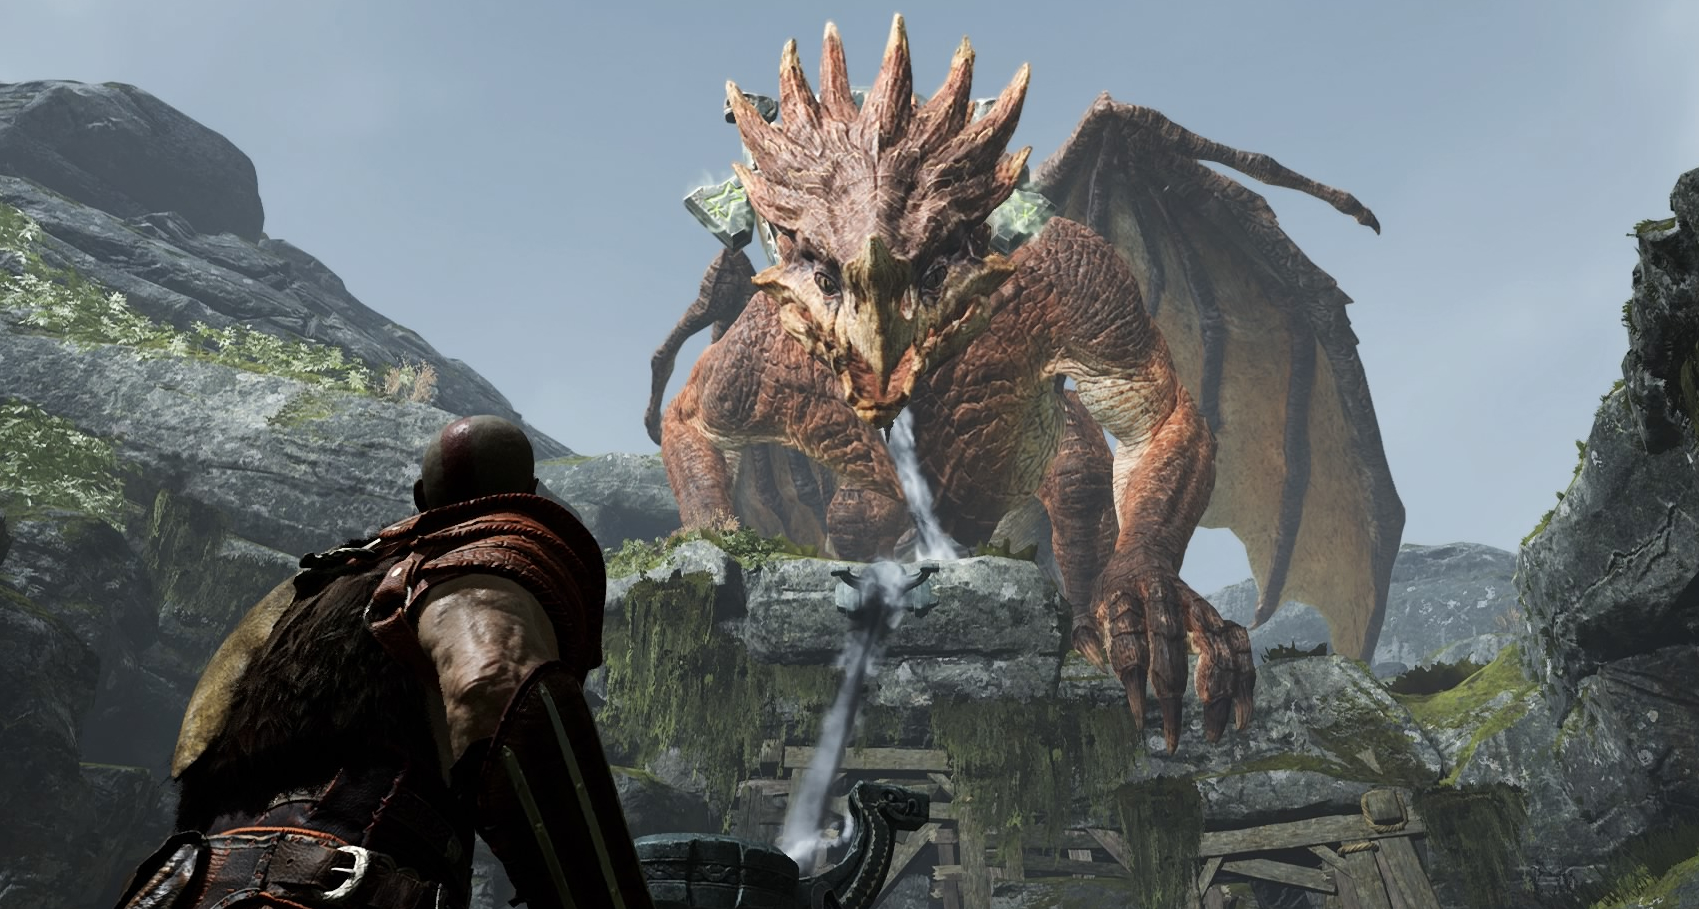
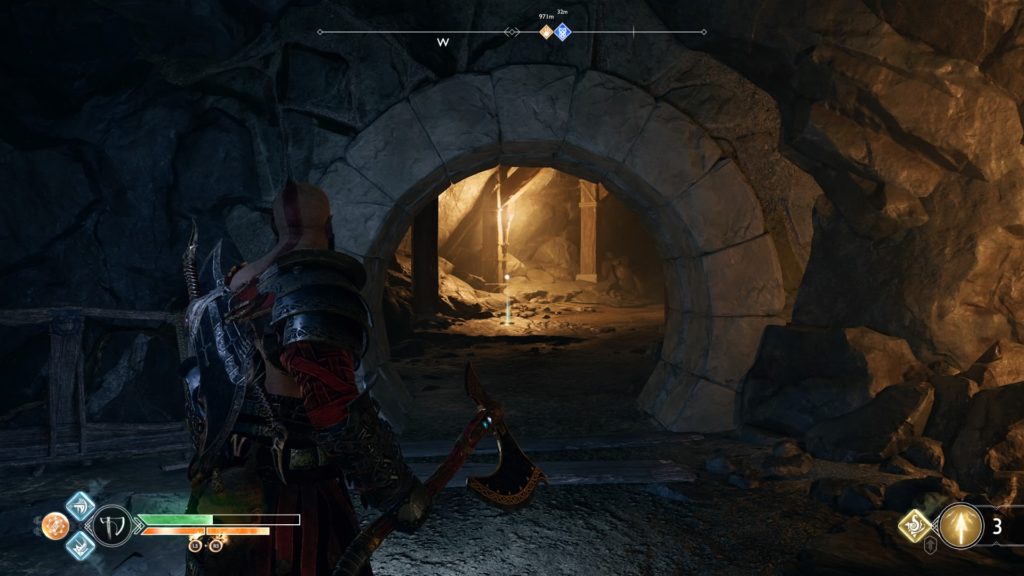
After you dock the boat near a ruined port with a dragon in the background swing to the right and hop over a log. Interact with the chain device to raise the gate and freeze the gear to the right to prevent the gate from falling. Hop back over the log, take an immediate right, climb up the wall where the gate previously was shut. Interact with the taller wall scaling it. Once at top turn right and jump down the ledge. Head to the right and break down the weak part of the wooden wall to find the horn next to the corpse of a deceased warrior.
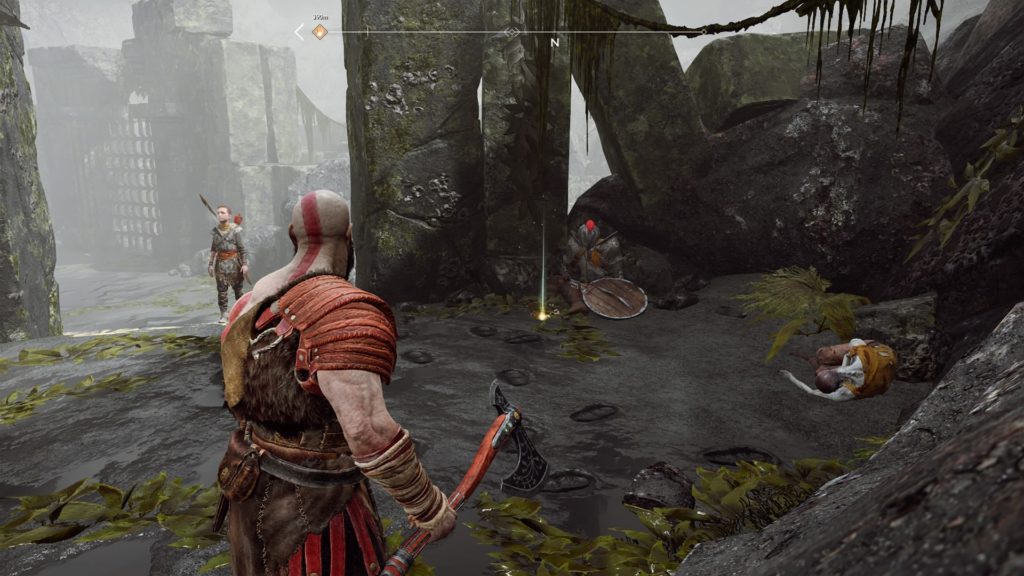
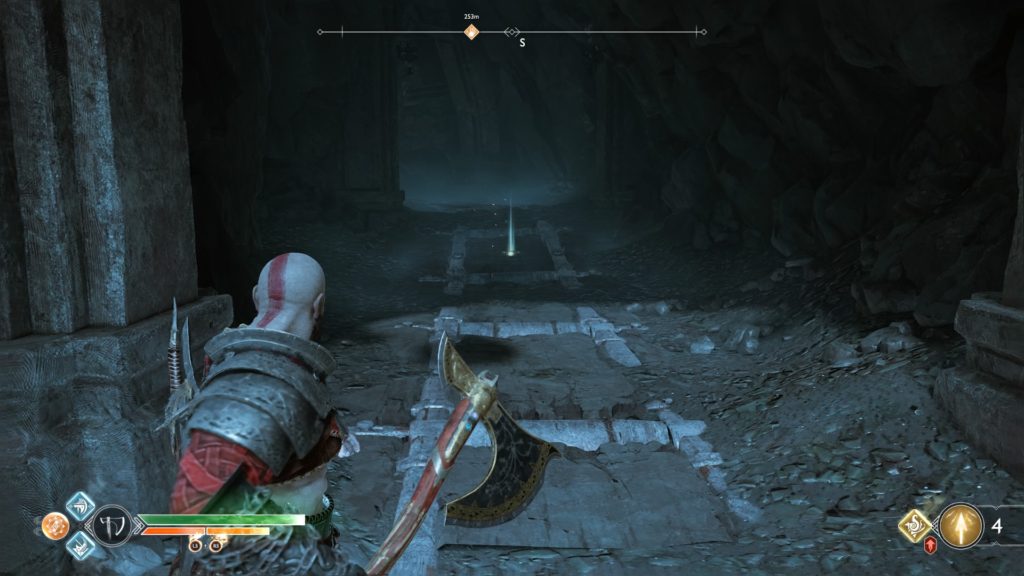
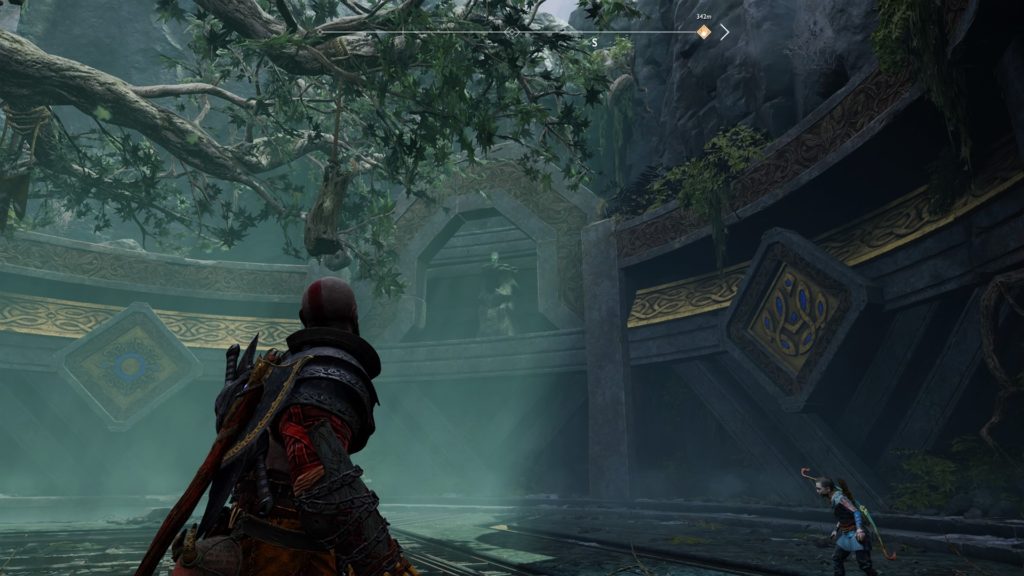
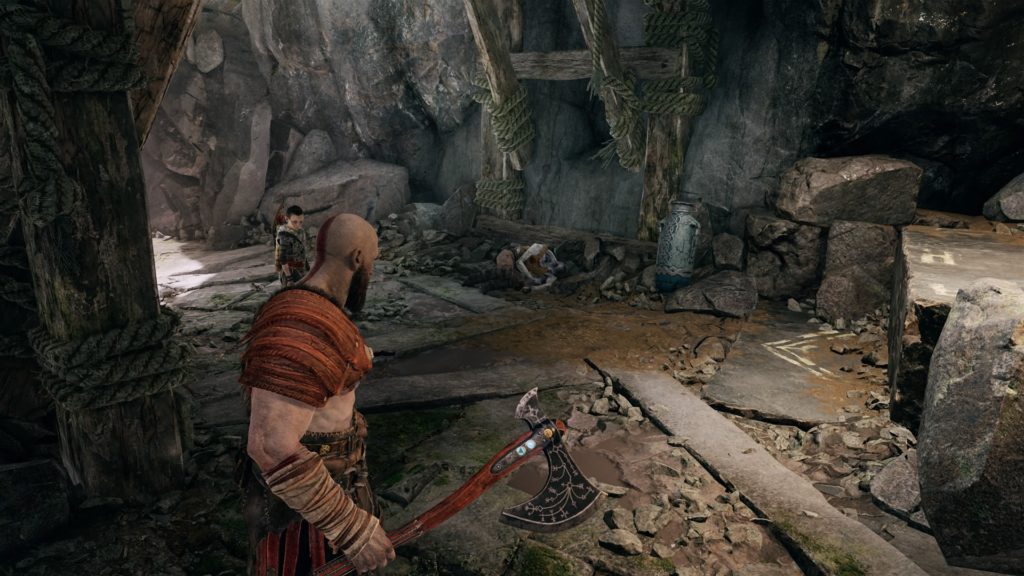
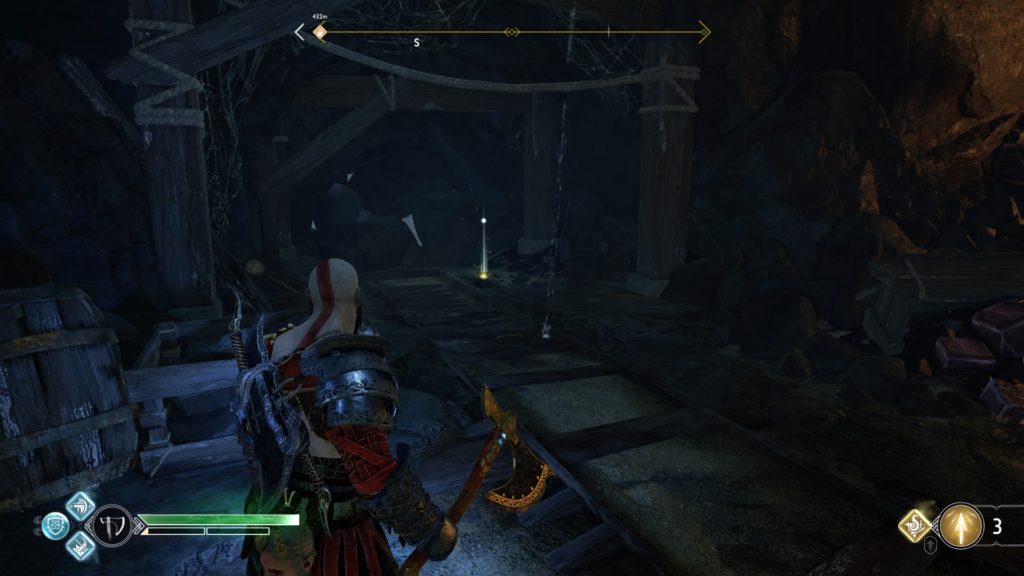
Horn 5
Make your way to the dwarven castle and head up the stairs into the castle. At the top of the stairs turn right and follow the hallway to a room with railing overlooking a flooded section of the castle. Turn the lever to release open a door releasing the water. This will reveal the horn. Head down the path to the left of the lever (facing the lever) to reach the area with the horn. It will be laying on the found next to a deceased warrior.

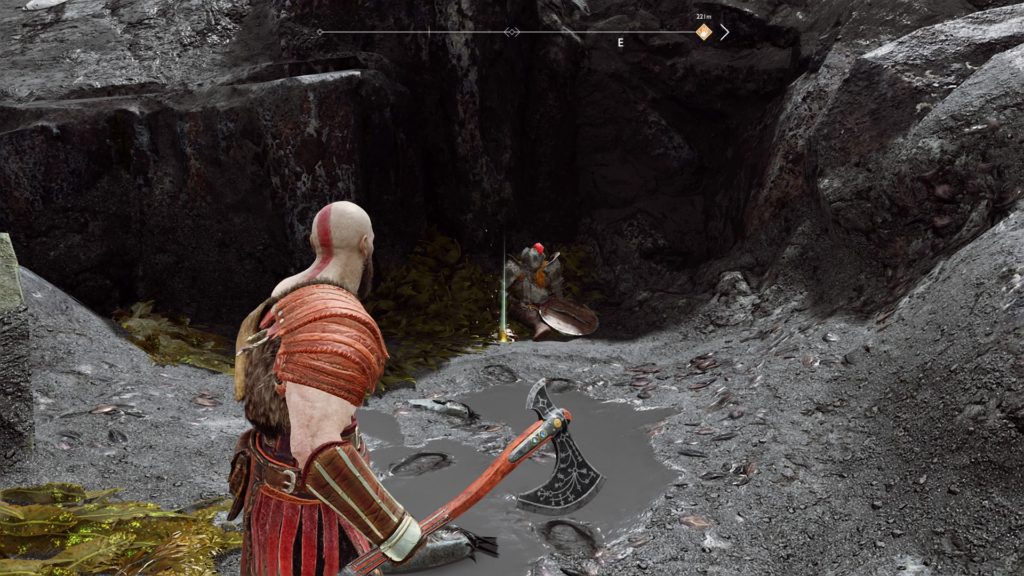
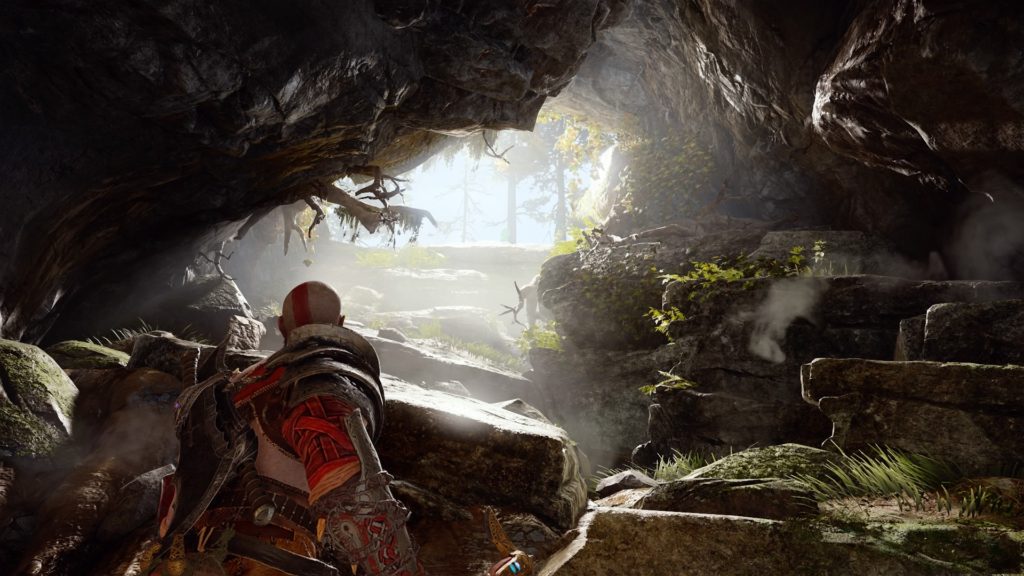
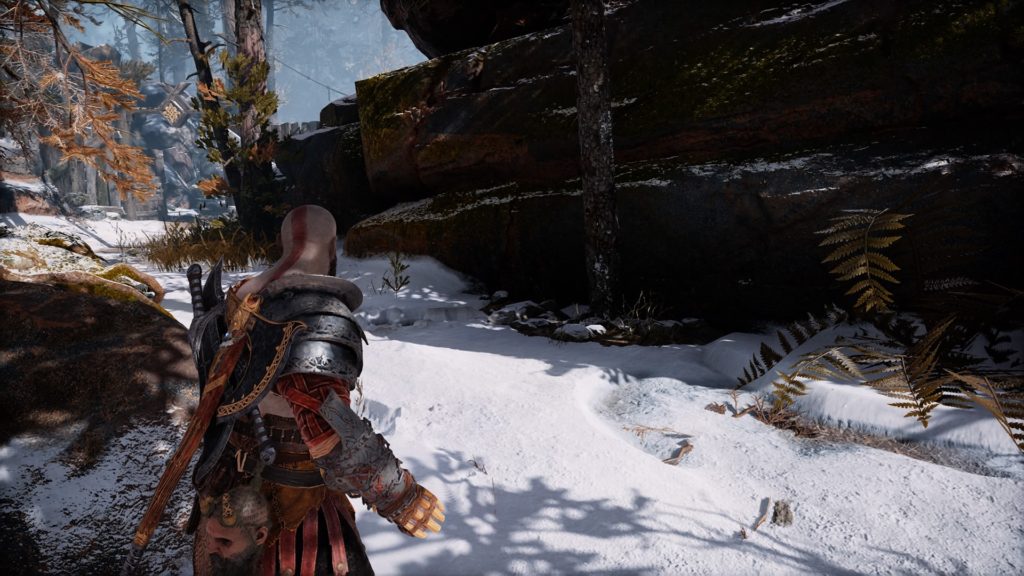
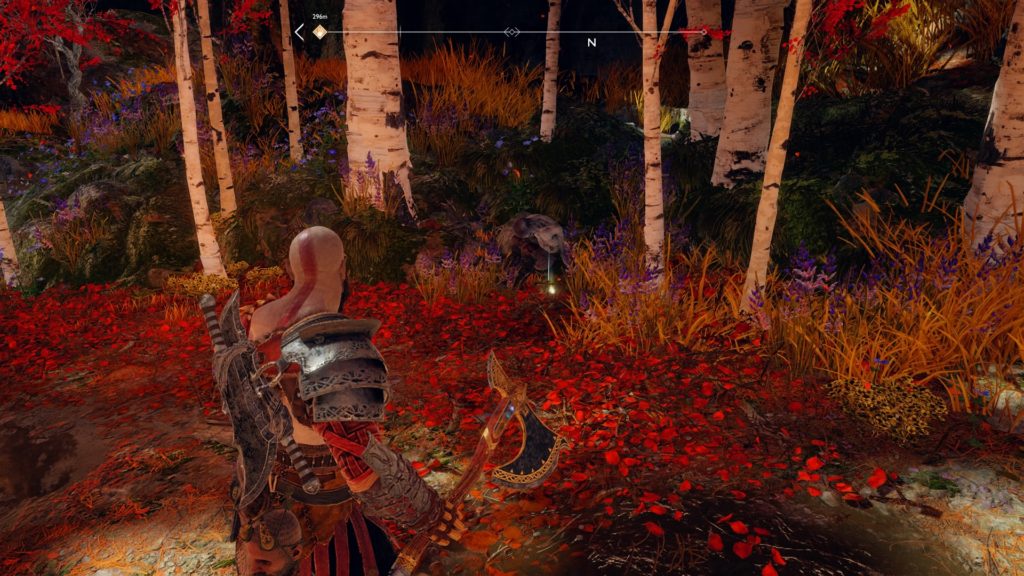
Horn 6
Make your way to the dwarven castle and head up the stairs into the castle. There will be another set of stairs to the left. At the top of those stairs, you will find the horn laying on the ground next to the corpse of a deceased warrior.