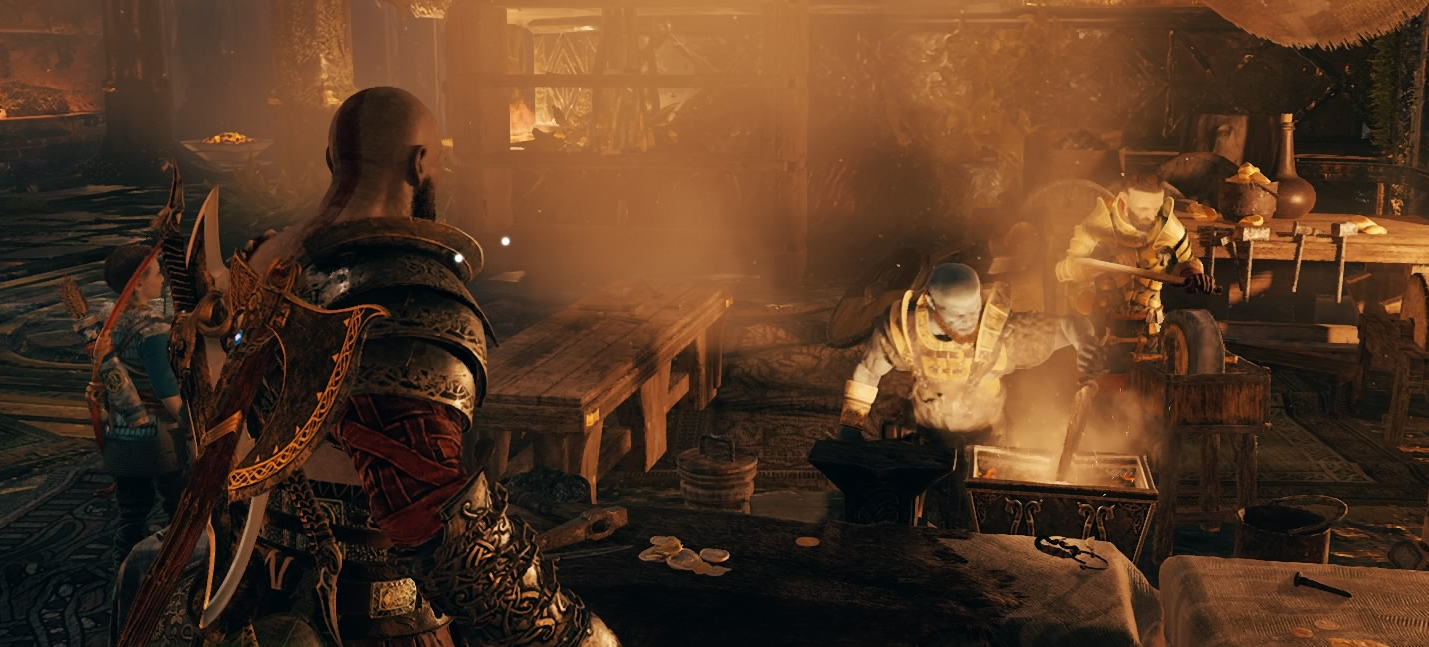
Favor Giver: Brok and Sindri – Tyr’s Temple Shop
Summary: Brok and Sindri want to use the hammer and whetstone to craft the Dwarven Armor of Legend. To do this we need to go to Konunsgard to learn about the items needed to craft the armor.
Objective(s):
- Go to the Konunsgard stronghold
- Collect keys to enter Stronghold
- Entry Stone 1
- Entry Stone 2
- Entry Stone 3
- Enter the Motsognir’s Stronghold
- Explore the Stronghold
- Return to Brok and Sindri’s Shop
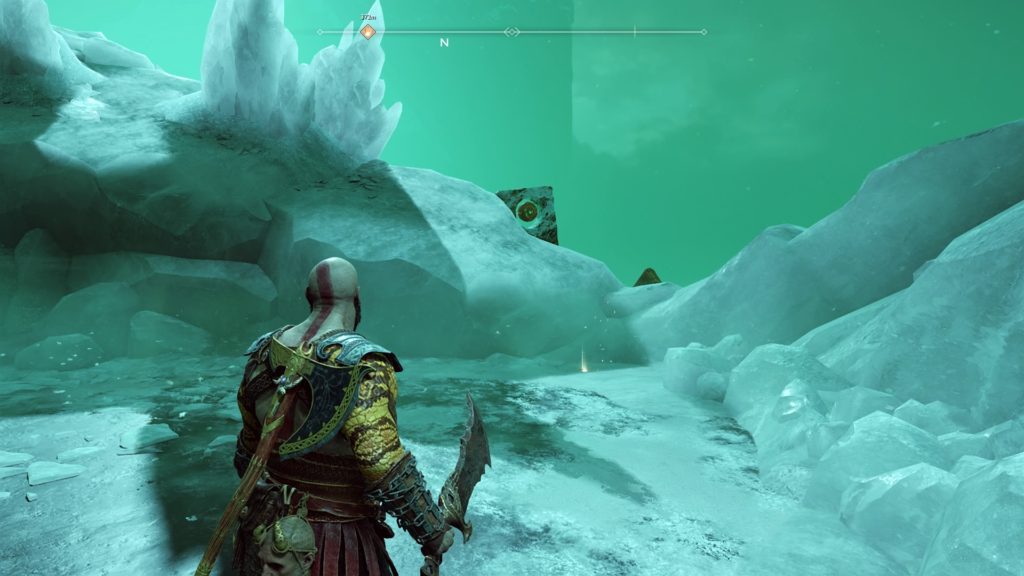
Go to the Konunsgard stronghold
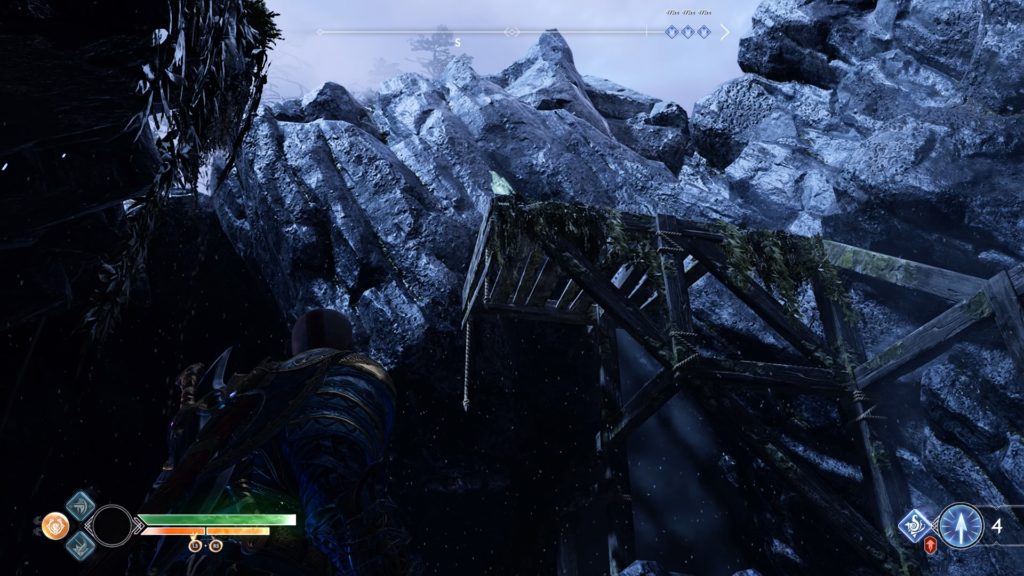
Head to the Konunsgard stronghold and use the keystone to gain entry. It is located in the Shores of Nine between the Ruins of the Ancient and the Light Elf Outpost. Follow the path into the stronghold to end up at a chain covered in vines. Used the Blades of Chaos do burn them away and climb down the chain to proceed. Head forward to a rock wall and climb up it. Keep following the path to end up at Sindir’s shop. Keep moving past Sindir’s shop on the path until it splits. Take the right path over a wooden bridge and keep moving forward. You will pass a Mystic Gateway off to the left of the next wooden bridge. Head over that bridge and passed the poison totem to find the front door of the stronghold.
Collect keys to enter Stronghold / Entry Stone 1
To open the door to the stronghold, you must find 3 entry stones. The first one is located next to the pedestal near the corpse of the fallen warrior.
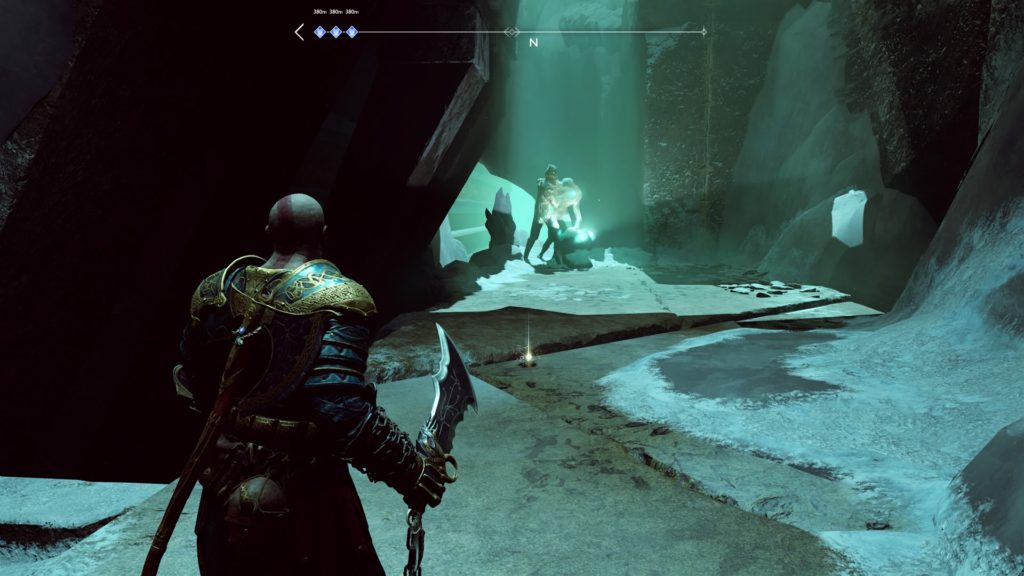
Entry Stone 2
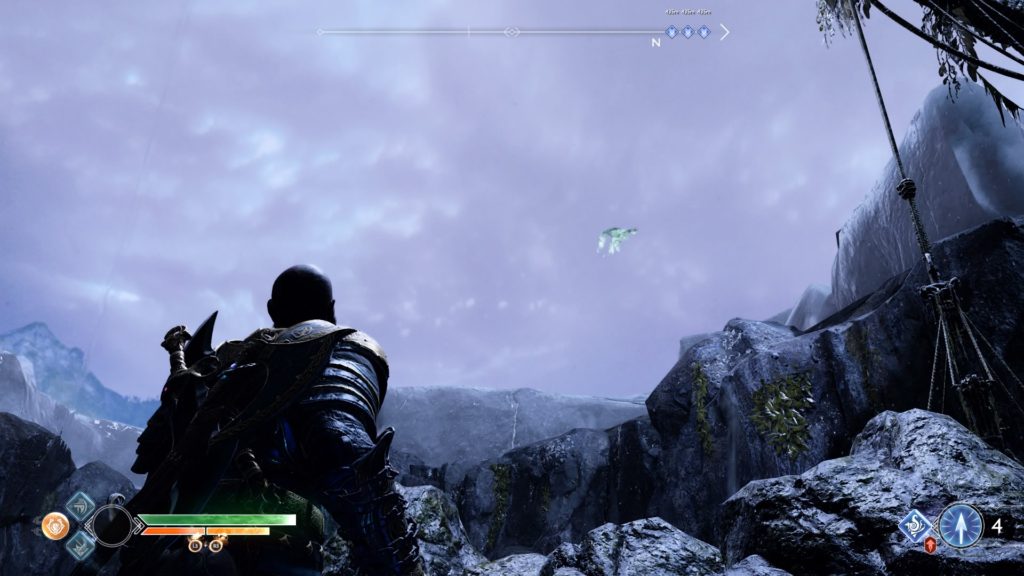
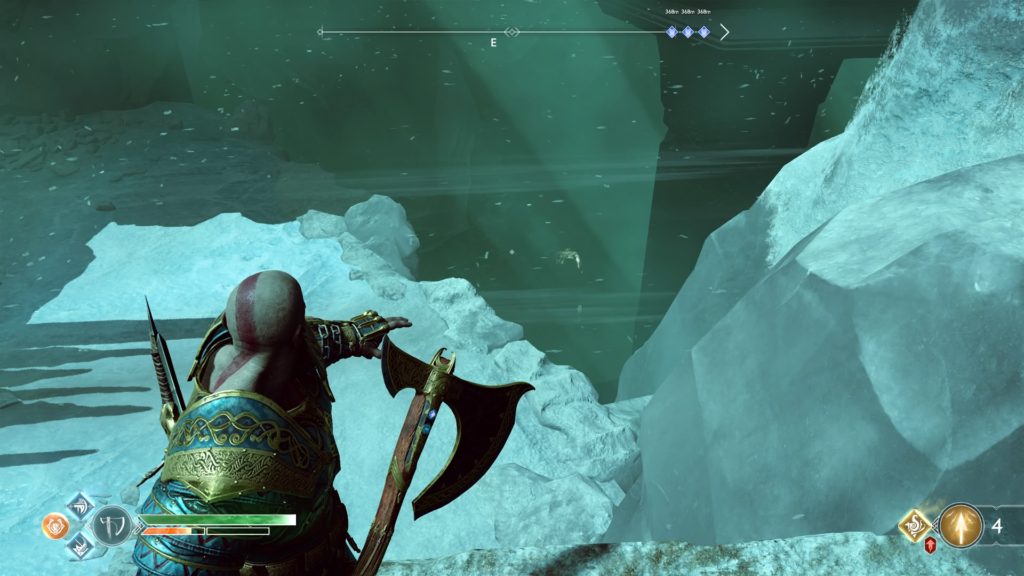
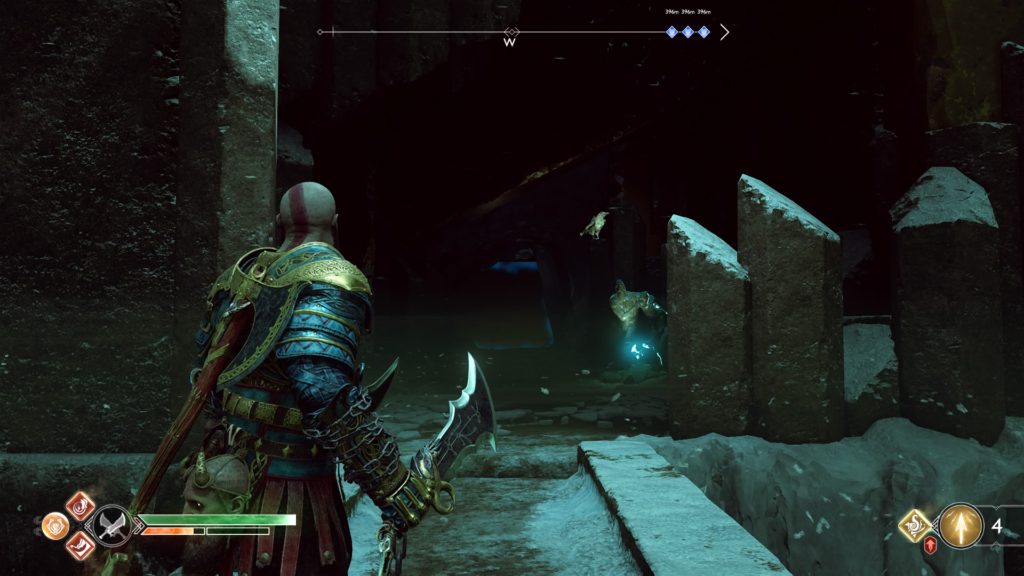
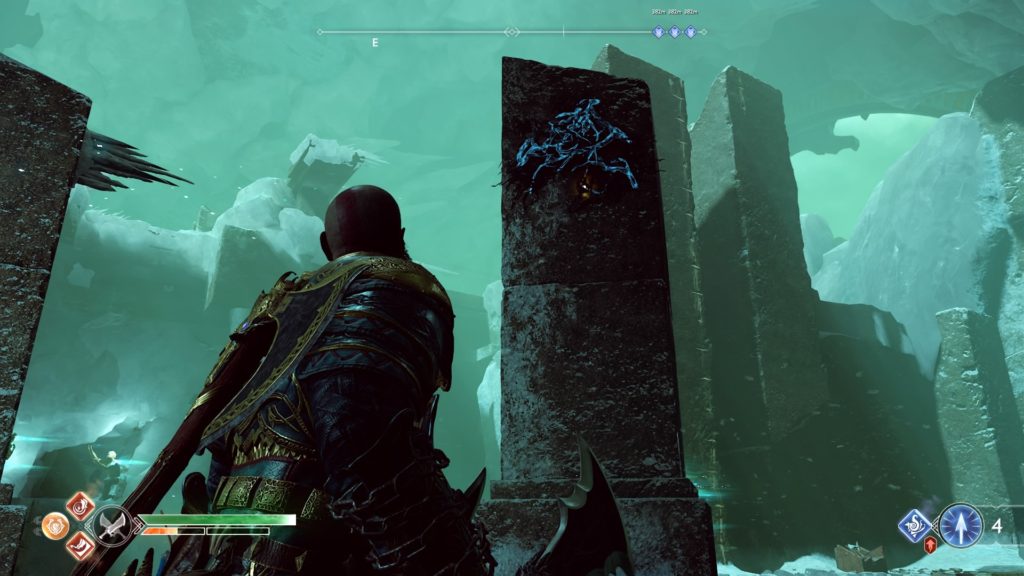
From there take the path to the left past the poison totem. Follow that path, burning the vines blocking your way and leaping across the pit in the floor to reach a pair of wulvers. Defeat them and keep pressing on to end up in a stonehenge like area with a soul devourer in the middle. Keep going ahead, walking along the edge of the cave wall up to the goat statue with a blue flame. Look across the river to see a crystal hanging in the air. Throw the axe at it and jump down the ledge near the goat statue to pick up the crystal. Take it back to the area you fought the to wulvers and place it in the crystal holder. Shoot the crystal with Atreus’ bow to create a light bridge above. Make your way back to the area where the soul devourer was and absorb the winds of hel into the Blades of Chaos. Take the wind to the green door passed the goat statue to open it. Head through the doorway and climb up the stone wall to reach the next entry stone at the end of the path.
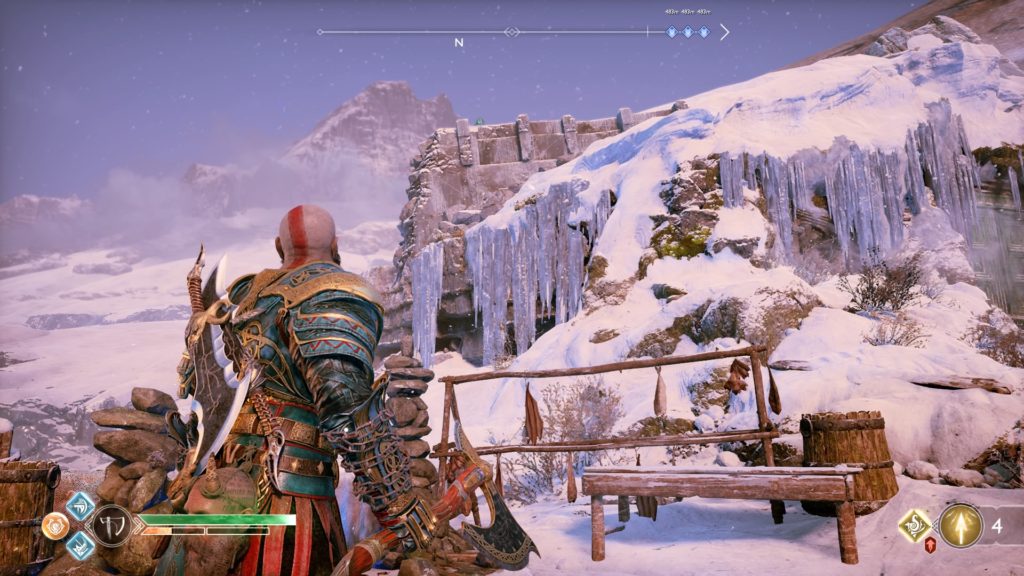
Entry Stone 3
Head back to the front of the stronghold, this time take the right path. Vault over the log blocking the path and keep moving forward. You will vault over another log, then cross a small wooden bridge bringing you to an ogre in the middle of a snack on the right. Defeat it and his ranged friends to proceed. At the end of the path, you will climb up a stone wall and then jump across a broken stone bridge to get to the other side. Head northeast towards the dragon activating the Fire of Reginn favor to free it. Make your way to the northwest of the area with the dragon to find a rune door. Open it and follow the path to the third entry stone one a stone pedestal. If you need help opening the rune door, check out the Fire of Reginn guide for the solution.
Enter the Motsognir’s Stronghold
Return to the pedestal in front of the stronghold and use the 3 entry stones to open the door. Enemies will spawn, so defeat them and make your way into the stronghold.
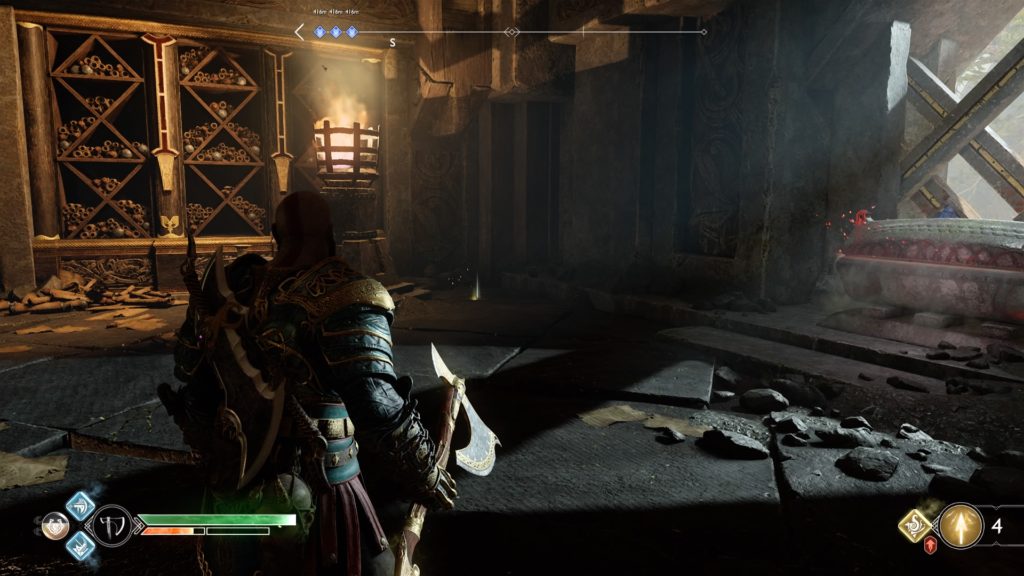
Explore the Stronghold
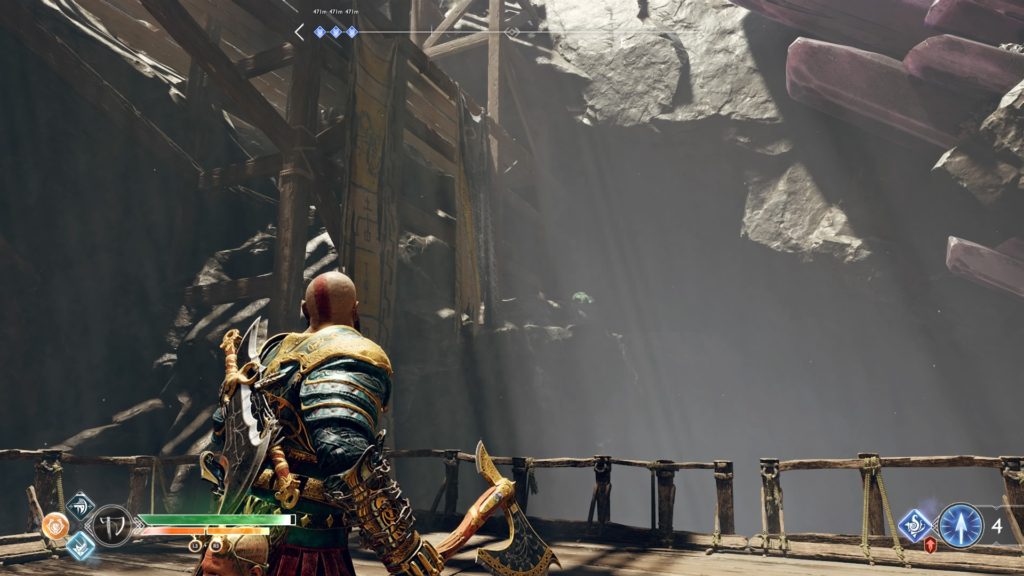
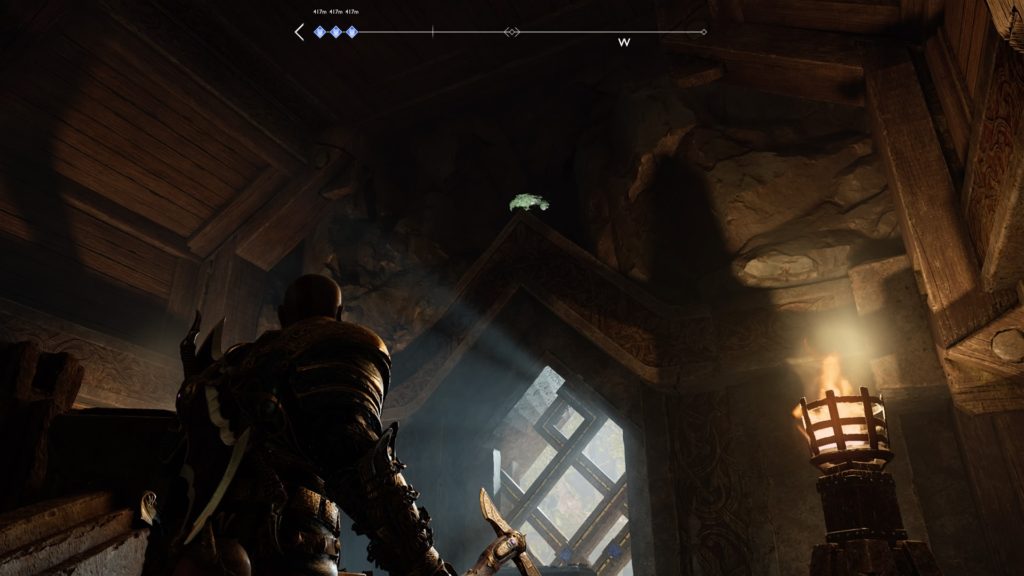
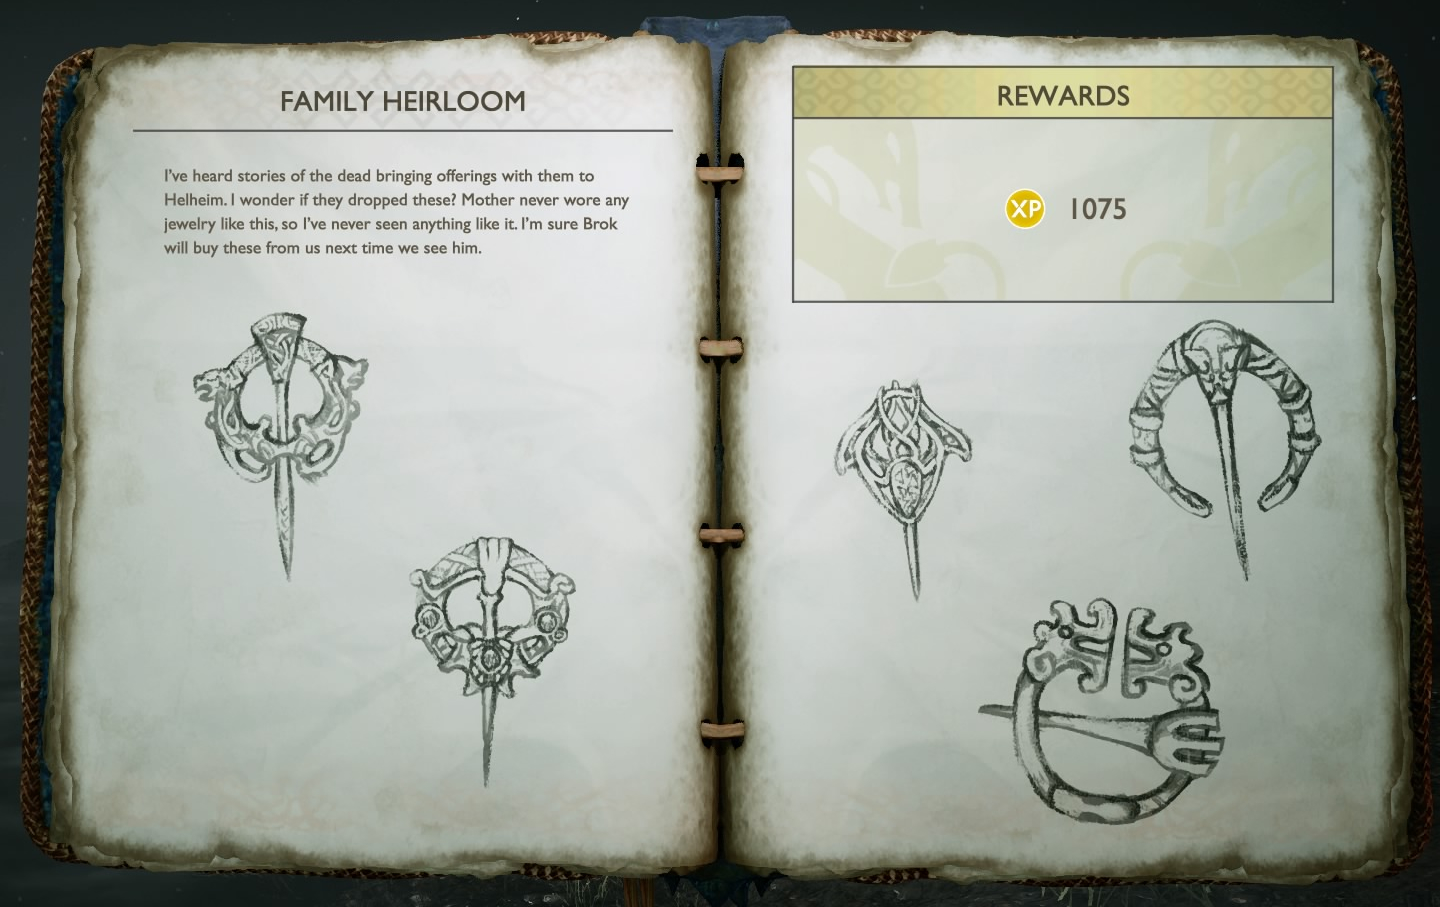
Head up the stairs of the stronghold and take the first left (a shrine is to the first right). Follow the path to a pair of wooden doors between two statues. Open the door to be greeted by a Traveler. Defeat him and his friends then head to the throne and move it out of the way to reveal a secret passage. A cutscene occurs and Kratos finds what Brok and Sindri are looking for.
Return to Brok and Sindri’s Shop
Follow the path with the king’s corpse to end up back at the Mystic Gateway. Take the gateway to Brok’s shop in Tyr’s Temple. Talk to Brok and Sindri to complete the quest.