Infiltrate Moonrise Towers is the first quest of Act II in Baldur’s Gate III. Having reached the Shadow-Cursed Lands, the party’s mission is to infiltrate the cult of the Absolute to learn more about them.
Objectives
- Reach Moonrise Towers
- Seek Protection from the Shadow Curse
- Resolve the Abduction
- Find Ketheric Thorm’s Relic
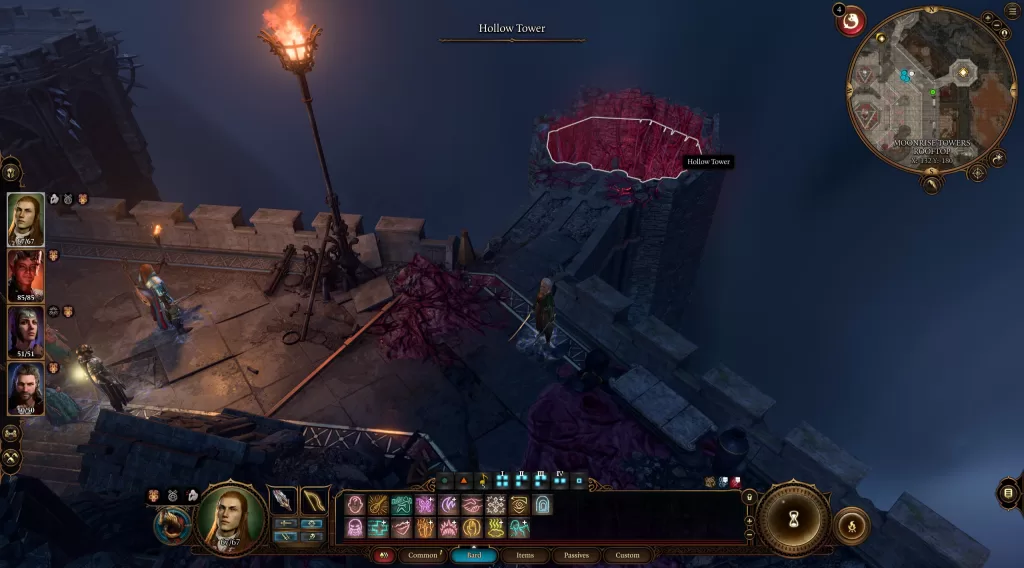
Reach Moonrise Towers
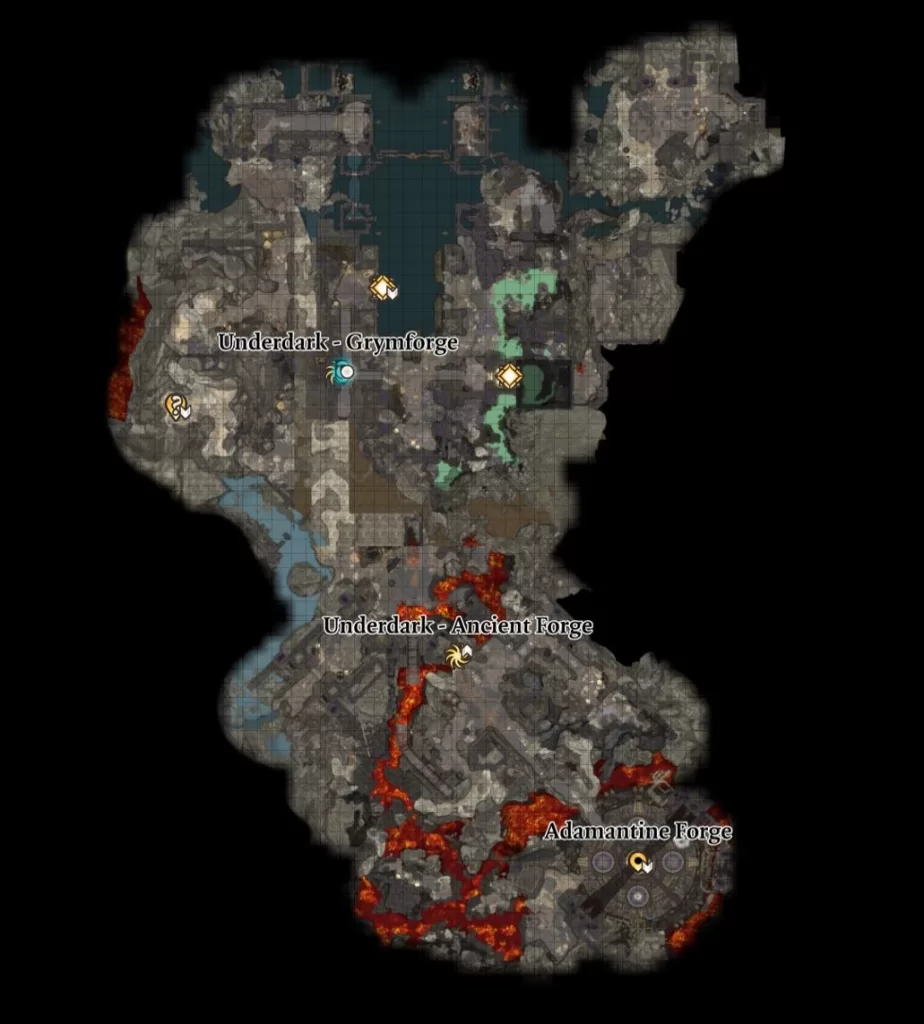
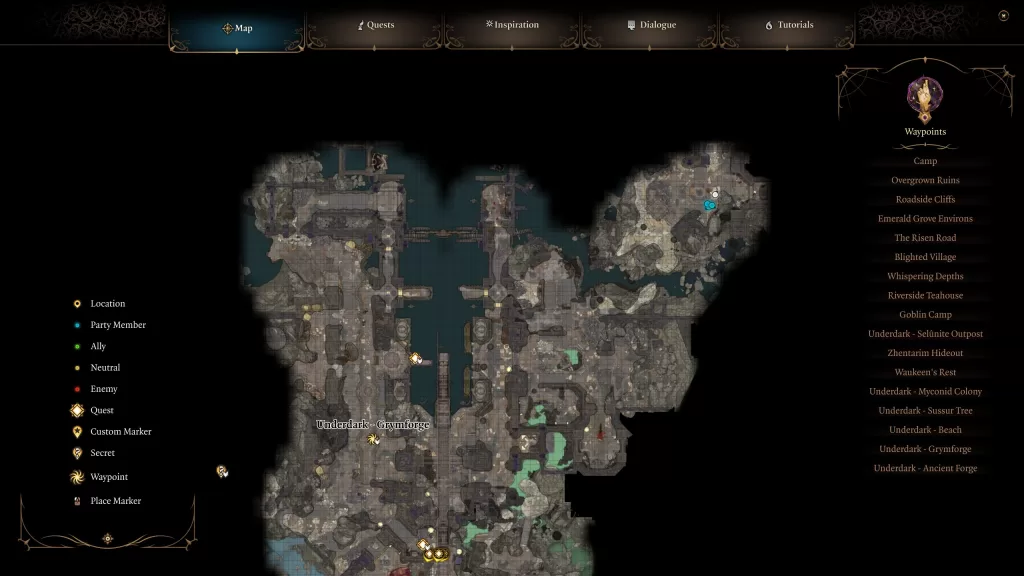
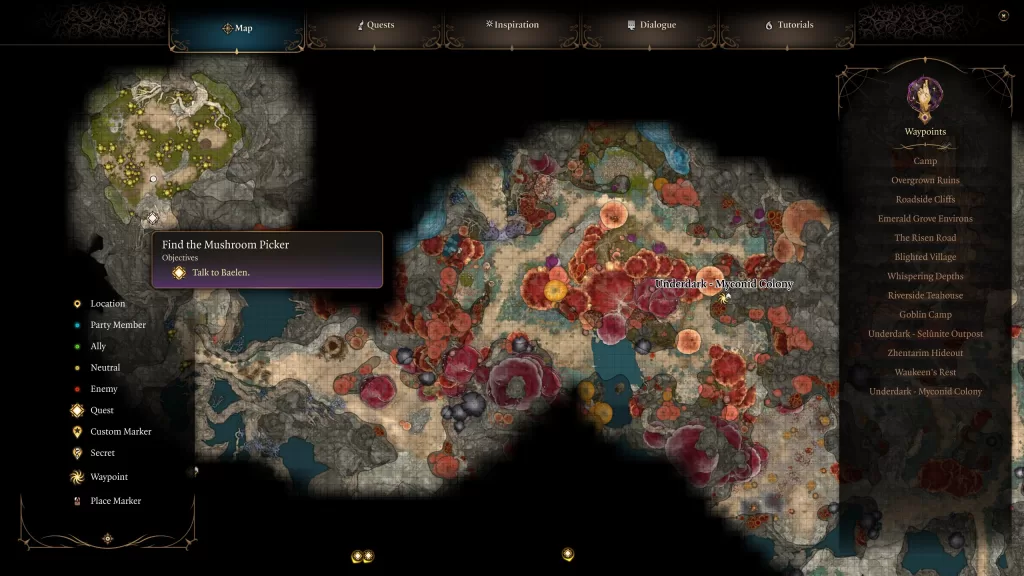
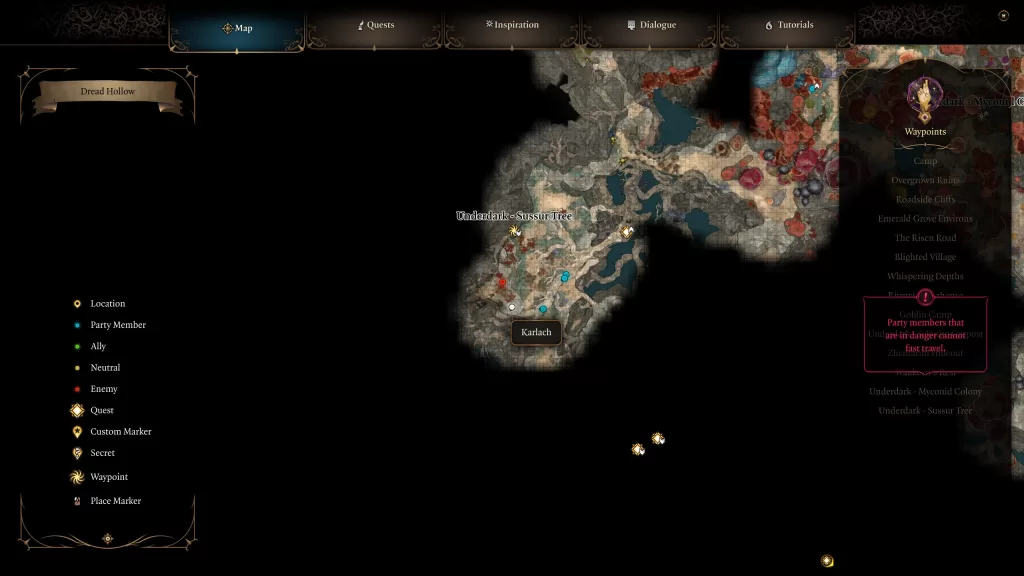
Coming from Underdark
For this section, we arrived in the shadow-cursed lands from the Underdark. Follow the main path until a cutscene with a group of Harper triggers. After a couple of dialog options, you’ll be thrown into a fight against a group of Shadows. Defeat them then one of the Harpers will mark Last Light Inn on your map as a place of refuge.
Seek Protection from the Shadow Curse
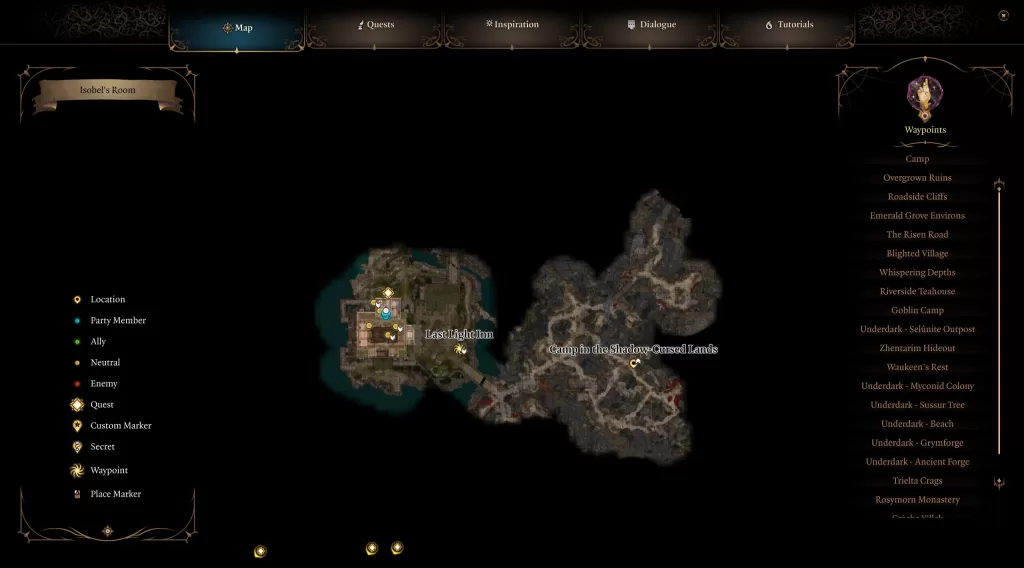
Make your way to the Last Light Inn which will be west from where you met the Harpers. As soon as you enter the town a cutscene will trigger and you’ll be interrogated. Mol will come to your rescue if you saved the grove (and will even bring up you saving her friends from the harpies and the snake… if you did). You’ll then have the option to show the artefact to your interrogator and tell her everything that’s happened. As long as you don’t attack her, you should be permitted to stay in the town. Feel free to look around and speak with the people there. When you’re ready to proceed with the story, locate Jaheira and speak with her. This will kick off a conversation where she toasts your health. If you pass a Medicine skill check, you’ll notice truth serum has been added to your drink. She’ll ask you to drink anyway but the choice is yours. If you comply, your whole party will disapprove. Refuse to drink and most of your party with approve. Jaheira will then ask if she can trust you. The choice is yours! (We said she could trust us). Toward the end of the conversation, she will send you upstairs to speak with Isobel. Make sure you are healed up first because this is going to lead to a fight. (See Resolve the Abduction below for more info).
After the fight, head to the entrance of the town and speak with the Harpers standing on the bridge. They will tell you about an ambush to get what the cultists are using to move through the shadows. Agree to meet them there, then set out for the ambush site south of the town.
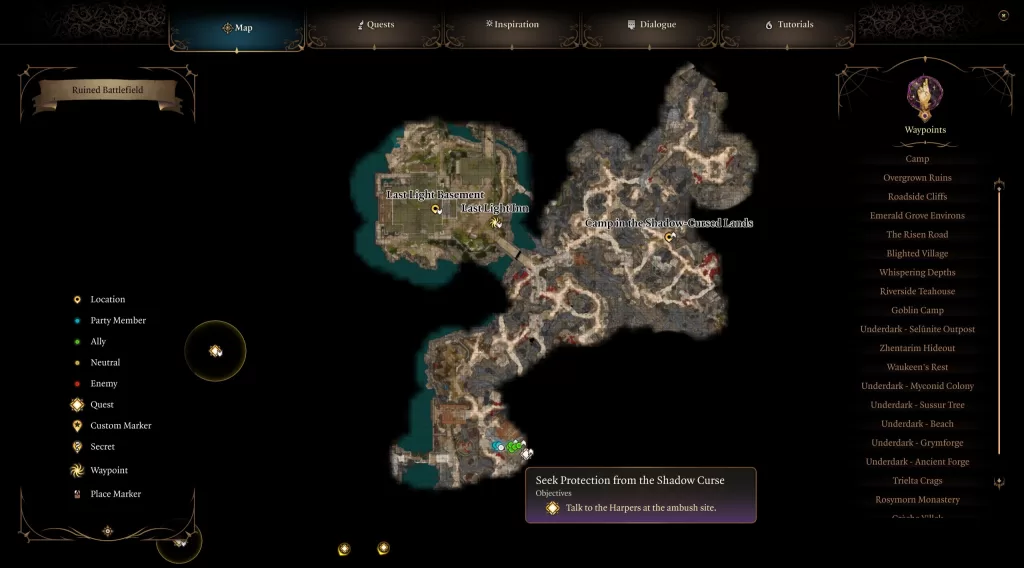
Approach them to trigger a cutscene with a group of enemies walking along with a lantern. One of them will notice you giving you the opportunity to attack them. You can also pass a series of skill checks to make them give you the lantern and bugger off (that’s what we did). Head over to the lantern and pick it up. Inside, causing it to glow is a pixie. She’ll say if you don’t free her, she’ll die. If you choose to keep her in the lantern she’ll be super salty and you’ll have safe passage through the shadow. If you release, you can ask her for help with the shadow curse. She will then give you a bell with a permanent blessing to ward it off. You’ll now be free to reach Moonrise Towers. Continue on with the Infiltrate the Cult of the Absolute objective below.
Resolve the Abduction
Enter Isobel’s room then head for the balcony to find her there. Speak with Isobel to being a cutscene leading to a conversation with the cleric. As the end of the conversation nears, someone shows up to kidnap her. You’ll have the choice to stand with Isobel or side with Marcus. For now, we are siding with Isobel. This leads to a fight against Marcus and a handful of Winged Horrors. You’ll need to defeat all of the enemies before they reduce Isobel’s health to 0. This will cause her to get knocked out and they will leave with her. Make sure she stays healed and take out the enemies as quickly as you can.
Infiltrate the Cult of the Absolute
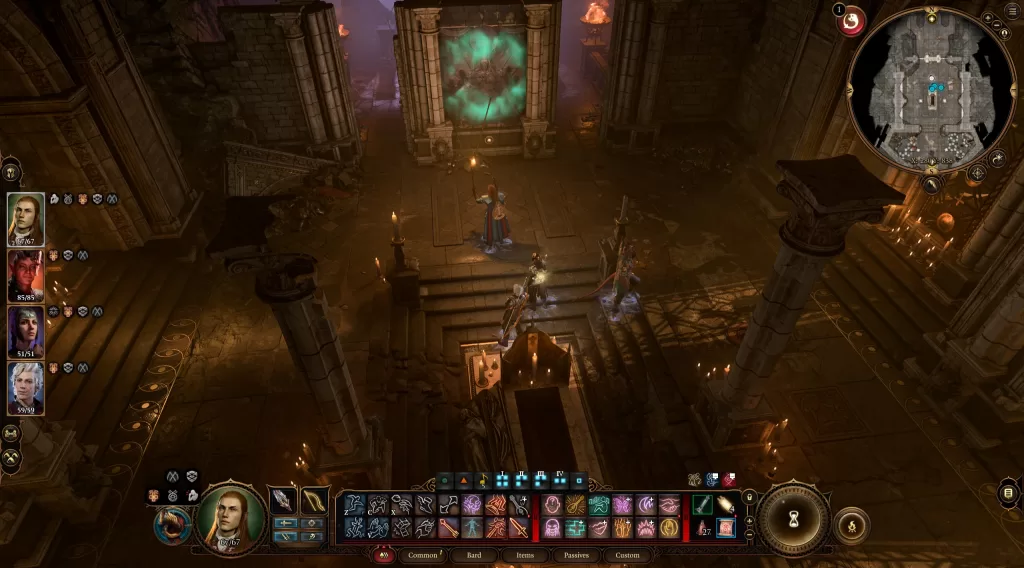
Once you reach Moonrise Towers, you’ll be greeted by another True Soul. As long as you don’t attack them you’ll be allowed entry. You can also sell out the Harpers but we aren’t doing that this playthrough. Head inside to reach the entrance hall then pass through the Absolute’s Door to trigger a cutscene. When prompted, do with the goblins what you will (note that Disciple Z’rell which check later) then head up the stairs behind the throne to find Z’rell and speak with her. After reviewing how you dealt with the goblins, she’ll assault your mind to see if you are a true believer of the Absolute. You’ll need to pass a skill check to distract her. She’ll then say she has a mission for you and sends you to the Mausoleum. (You also have the option to attack her here, but we are playing the role of spy for now).
Before heading off to the Mausoleum, head to Balthazar’s room past the library where Z’rell is and use the key she gave you to unlock the door. Head over to the bookshelf and look for the Protruding Book on the bottom right side. Interact with it to unlock the altar to the right of the bookshelf. Next loot the corpse in the room or Viscera’s pile of flex for a heart then interact with the altar and combine the heart with it. This will open a secret door behind the bookshelf. Head inside and read the Research Notes.

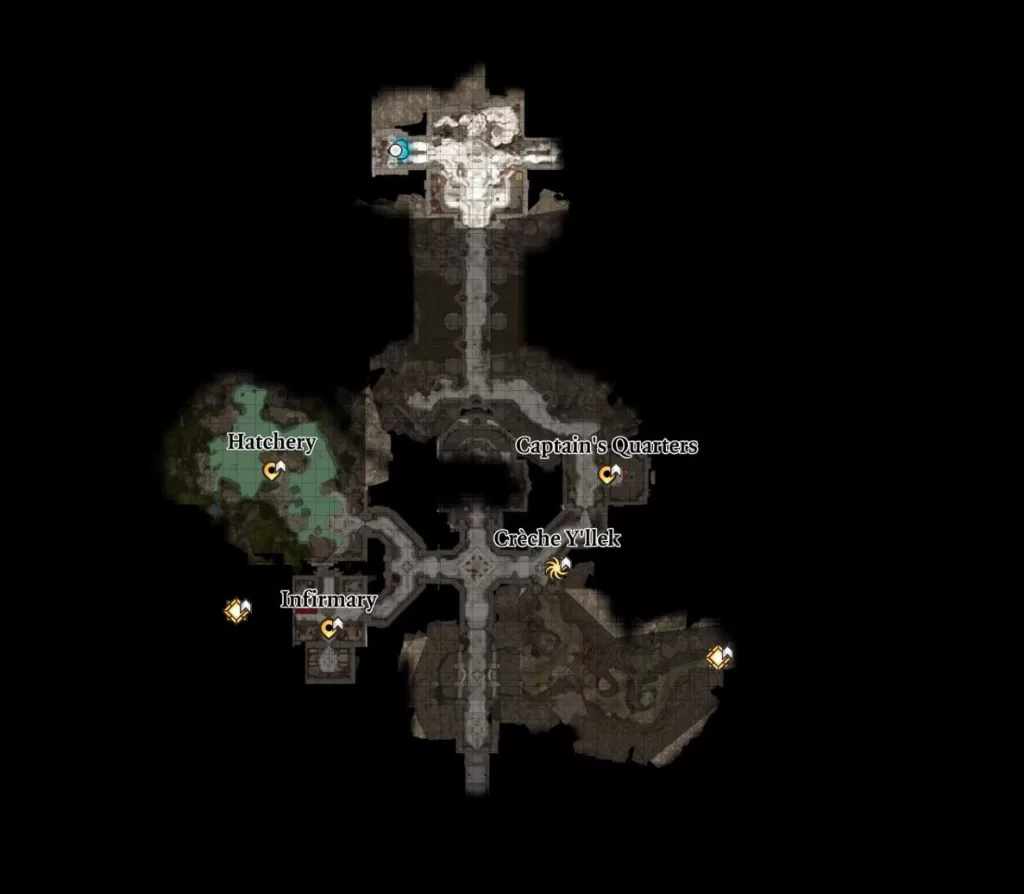
Investigate the Thorm Mausoleum
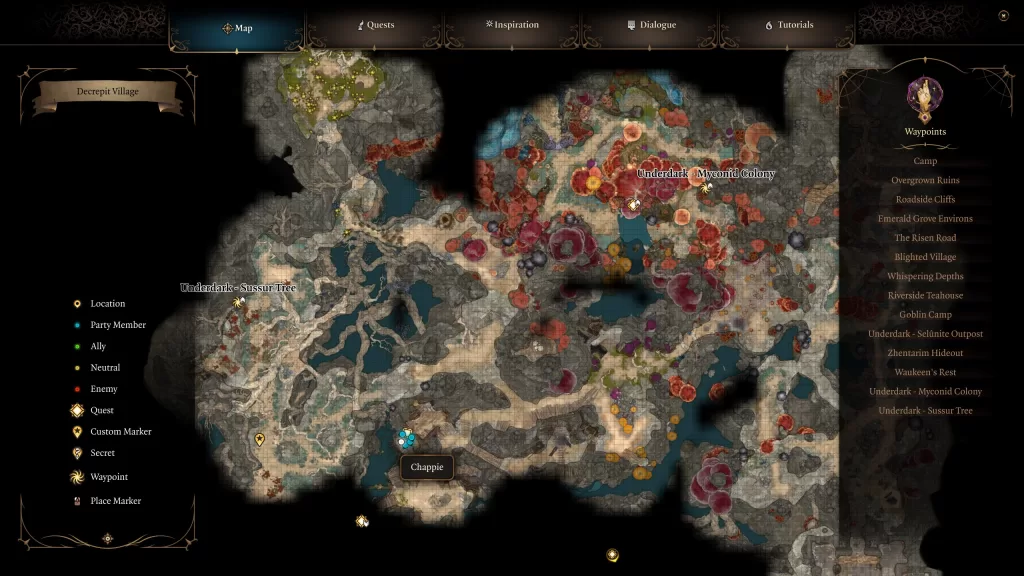
So there are a couple of ways you can start this objective. The first is by following the story and speaking with Disciple Z’rell who will send you here on your first mission. The other is by talking with the Brewer at the Waning Moon near Moonrise Towers and questioning him in a drinking game. Once you get this objective, make your way to the Mausoleum north of Moonrise Towers and head inside (if you haven’t been here yet, Raphael with waiting. Make sure you bring Astarion with you as it’s needed for his companion quest).
Once inside make your way to the northern part of the area to find a sarcophagus belonging to Isobel Thorm. There will be 3 portraits with buttons under them that you’ll need to push in the correct order. That order is SW (tower), SW (Thorm with wife) then N (Thorm sitting on Thorn). This will open a secret path in the northern wall. Follow the newly opened path and use the traversal gem at the end to reach the Gauntlet of Shar. (You also might want to have Shadowheart in your party as this is tied to her companion quest).
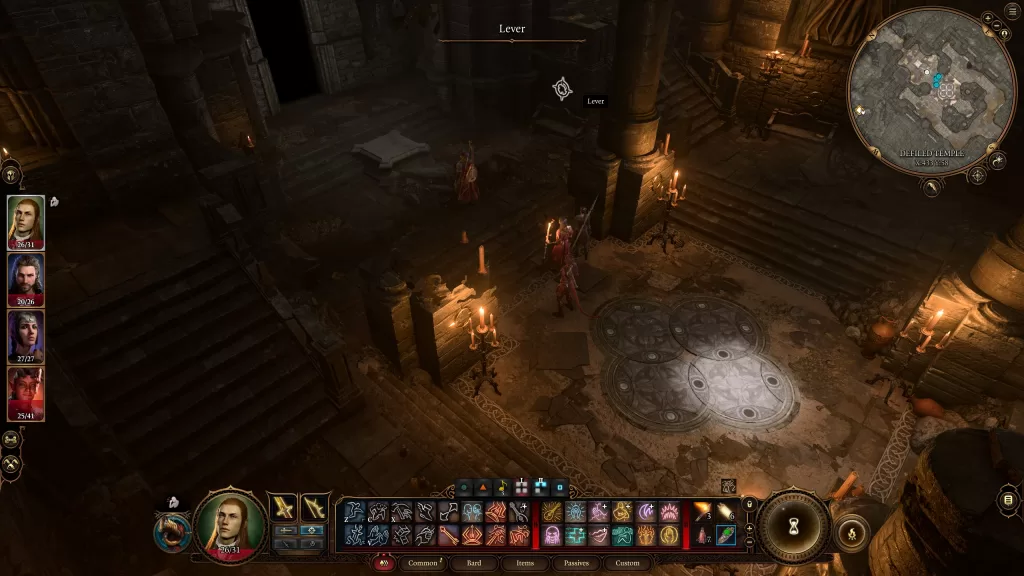
Follow the path north and through the doorway at the end to reach a room with a statue of Shar in the middle with a gem in front of it protected by an invisible barrier. There are also a ton of traps scattered around the room that you’ll need to watch out for. To pass forward, you’ll need to reach and interact with the gem. Start by heading to the four crypts (watch out for the floor traps in each one) on both sides of the statue then flip the levers in each one. This will lower 4 Mystyic Thuribles from the roof to surround the statue putting the total number of thruibles to 8. You’ll then need to interact with each one to put the flame out to cause the barrier to appear. You can now follow the path to reach the gem, but you’ll want to ungroup a single character and use them to do it.
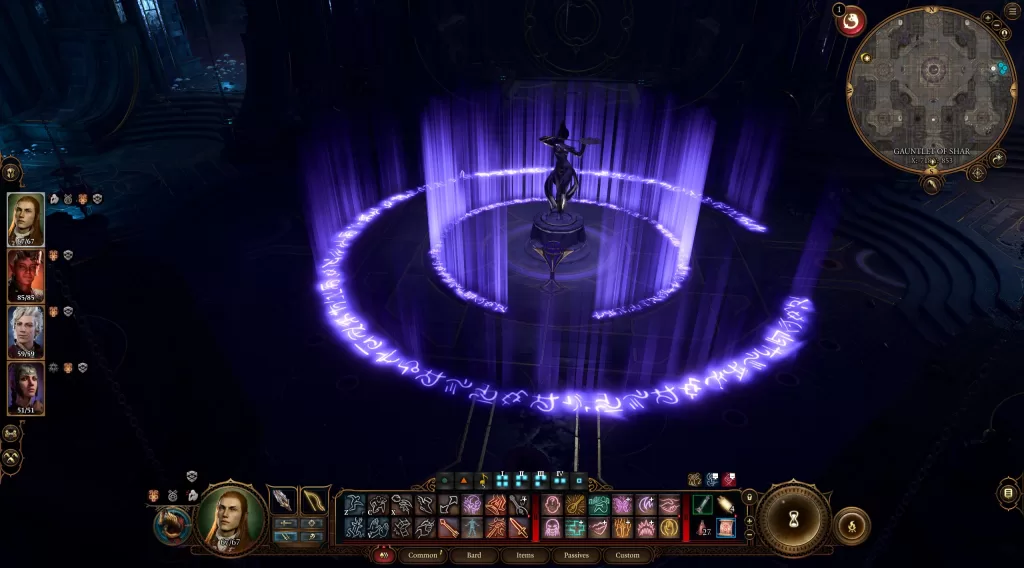
Please Note: If you have someone equipped with the Blood of Lathander mace, then the light it sheds will prevent the barrier from showing.
You can pass through the door north of the statue leading to a hallway. Head up the stairs and to the left to find a group of skeletons who will speak with you. After a couple of lines of dialog, you’ll be attacked by shadows. Focus on destroying all 3 Umbral Termors first to stop them from spawning in more skeletons then focus on the remaining enemies. After the battle, follow the path west past the Ancient Sigil Circle to find another group of skeletons. Approaching them will trigger an event leading to another battle with the dead. As before focus on the Umbral Tremors first, except this time a few more will spawn each turn for a few turns. Once that fight is done, the door the skeletons were guarding opens allowing you to speak with Balthazar.

During this conversation, you can either present yourself as an ally or take him out! For now, we chose to play along. He’ll send you to search for the Nightsong. To reach it, follow our Daughter of Darkness guide here as it relates to Shadowheart’s companion quest. Your choice with the Nightsong determines how the rest of the act plays out.
Assault Moonrise Towers (Saved Nightsong)
Having saved the Nightsong, the assault on Moonrise Towers has commenced. Beforehand, you can stop off at Last Light and speak with Isobel there to tell her what’s happening. After that, head to Moonrise Towers and enter the fray! Approach the tower to catch up with Jaheira via a cutscene where you’ll be able to tell her the plan of attack. You can also convince her to join your party as a secondary member if you want and you’ll also want to loot the dead to find a couple of tadpoles if you’re using their powers.
Head inside to start a battle with Disciple Z’rell, Glourik, a small army of zealots and Lann Tarv. If you freed the gnolls in the kitchen earlier, they will also join as allies. After the battle head up to the next level where you’ll have to face Radija and her undead minions. If you kill one, she’ll use an incubation spell that explodes and summons another one. Once they are dealt with, head through the Ornate Door.
You’ll now be face-to-face with Ketheric and dialog with ensue. No matter what choices you make, you’ll have to fight the boss man. He’ll also be joined by his faithful hound, Susdera and a handful of Necromites. When his health gets low, a cutscene will trigger where Ketheric will be teleported away. You’ll have to mop up any stragglers before you can pursue. Also, make sure to loot the Bone Key off of Susdera and use it to loot the chest near where Ketheric was. This quest will also be completed.
For more guides on Baldur’s Gate III, click here!