Trails from Zero Walkthroughs
Guides

Trails from Zero – Chapter 2 Walkthrough – Part 2

by MrsChappie in

Below is the second part of the walkthrough for Chapter 2 in The Legend of Heroes: Trails from Zero. In this guide, we’ll cover how to move through the objectives during this section of Chapter 2. In addition, we’ll point out all the enemies, treasure chests, recipes, books and support requests you can find as you make your way through Crossbell, Bellguard Gate, Ursula Road, Mainz Mountain Road, Geofront – B Sector and Stargazer’s Tower!

Crossbell

When you gain control at the start of the chapter, check out the terminal in the SSS building to find the below support request!

Complete these support requests then turn them in at the terminal in the SSS. With that out of the way, you can then explore Crossbell to find the below.

  • Books
    • Back Alley Doctor Glenn – Ch. 4 – Residential District – Speak with Helmer twice on the second level of the MacDowell Estate (Elie’s house)
  • Recipes
    • Sweet Cake – Residential District – MacDowell Estate (Elie’s house) – Interact with the bookshelf in the bedroom on the western side of the second floor

  • Fish
    • Harbor District
      • Azelfish (Feather Tackle, Red Flies)
      • Trout (Feather Tackle, Roe)
      • Salmon (Feather Tackle, Roe)

While exploring make your way to the Administrative District and enter the CPD building. Speak with Receptionist Rebecca behind the counter and show her your Combat Notebook to receive 500 mira and U-Material (if you’ve scanned everything so far!).

Bellguard Gate

Once you’re done exploring Crossbell, make your way to Bellguard Gate to find the below.

  • Books
    • Back Alley Doctor Glenn – Ch. 5 – Speak with Guardsman Brood who can be found in the first room to the left (south) of the second floor

Ursula Road

With your new pole, you’ll be able to fish up new fish at the fishing area near the entrance to Crossbell!

  • Fish
    • Kasagin (Feather Tackle, Red Flies)

Mainz Mountain Road

With your new pole, you’ll be able to fish up new fish at the fishing area near the entrance to Crossbell!

  • Fish
    • Rainbow Trout (Feather Tackle, Roe)

Crossbell

If you’ve gotten all of the fish, head over to the Fisherman’s Guild on East Street and speak with the Branch Manager to receive the 2nd Class Fisher Certificate and Luck quartz!

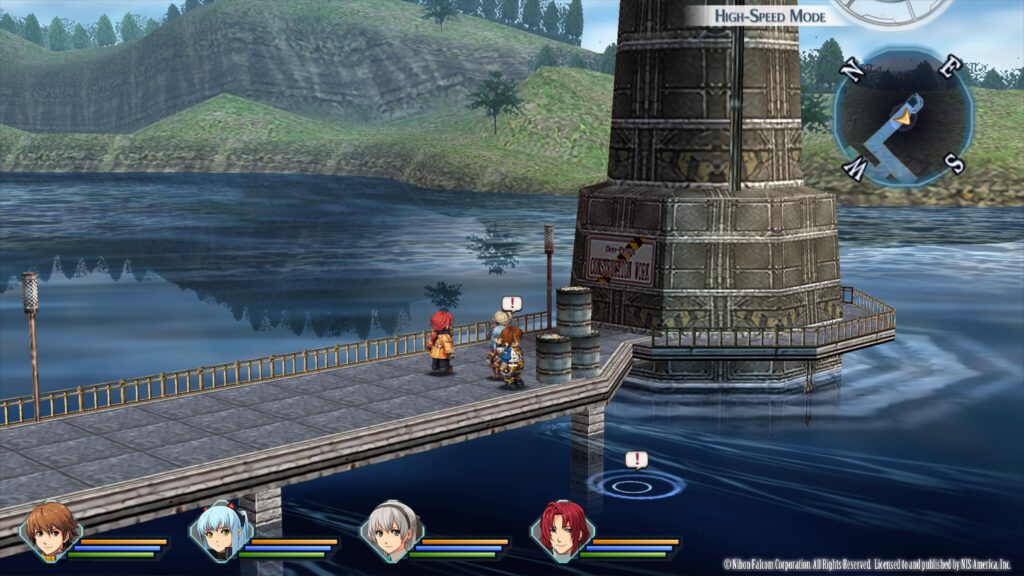
When you’re ready to progress the story, head to the IBC in the Harbor District to trigger a cutscene. When it ends, head inside the IBC and speak with Receptionist Lanfei at the information counter. She’ll give you the IBC ID Card. Next, enter the nearby elevator and head up to 1GF. Enter the office at the end of the hall to trigger a cutscene. Once it ends, enter the elevator. After you exit the elevator, head down the stairs and enter the terminal room. A cutscene will trigger. When it ends, exit the building then head to City Hall in the Administrative District. Once inside, speak with Receptionist Shion behind the desk to receive the Geofront B Key. Make way to the Residential District next and head down the stairs to reach a blocked off door.

Unlock this door using the Geofront B Key then head inside.

Geofront – B Sector

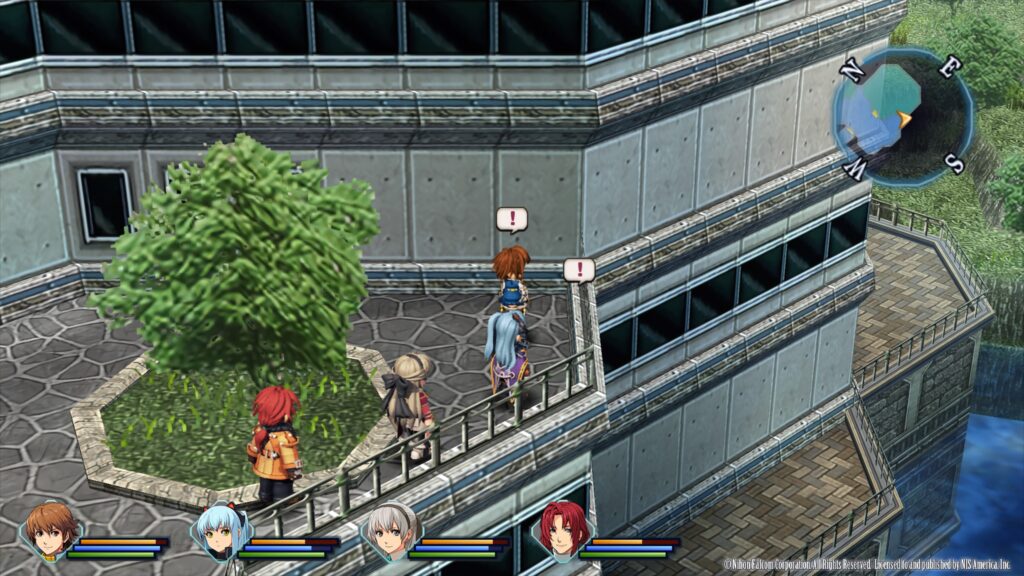
Explore this area to find the below!

  • Treasure Chests
    • Each Sepith x80
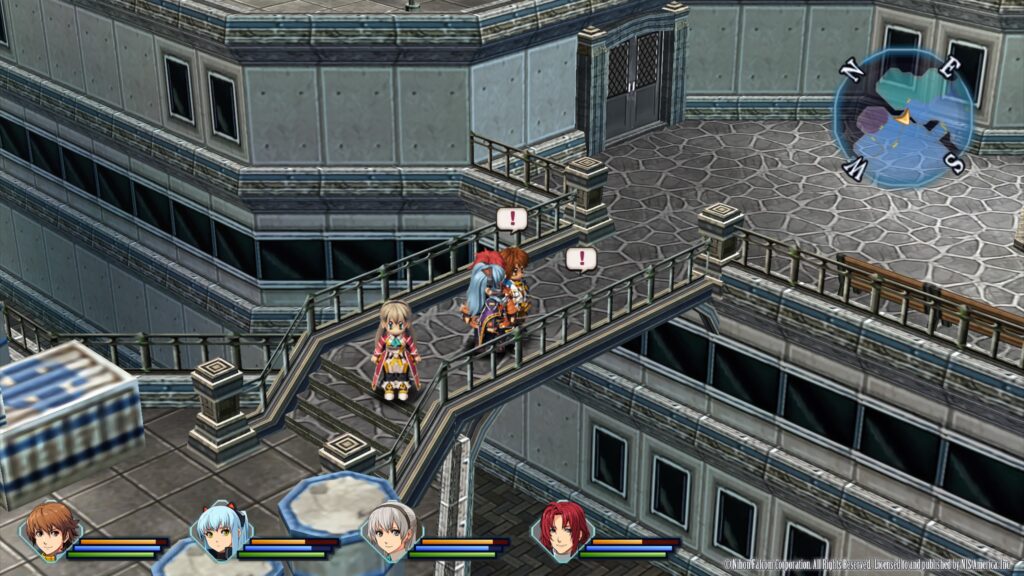
      • From the first area with all the water, head straight ahead (east) and follow the path to reach a chest on an outside balcony.

    • U-Material
    • EP Charge
    • Teara Balm
    • Monster Chest – Soldier Suit
    • Monster Chest – EP Cut 2 quartz
    • Curia Balm
  • Enemies
    • Blood Monad
    • Geenewna
    • Jet Tortoise
    • Torso B

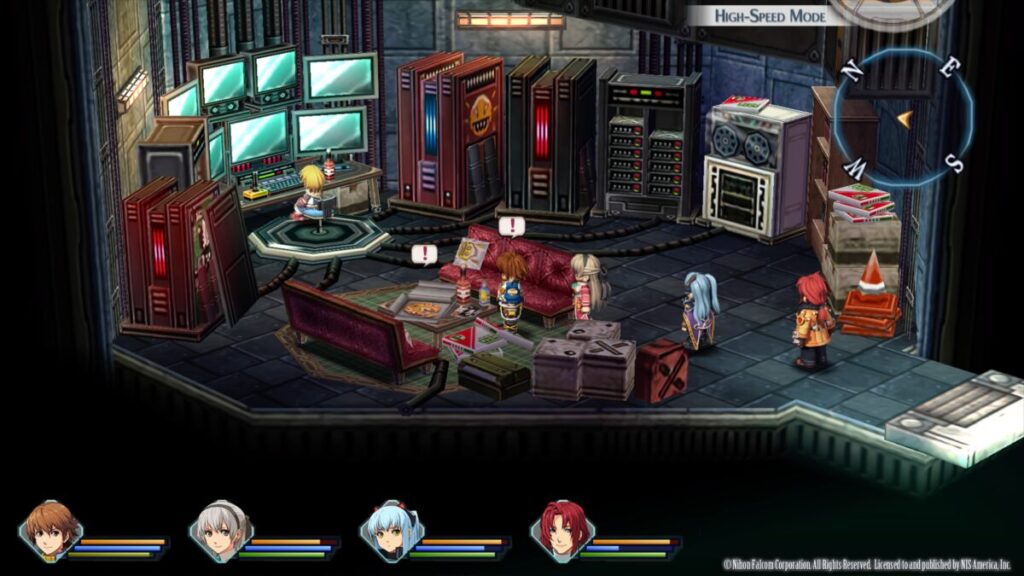
After the rest spot, a boss fight will trigger against Level 18 Torso Deluxe and its 4 Torso B companions. Defeat them all then continue forward to trigger a cutscene. Select to “Peer Inside” the door to trigger a lengthy cutscene. When it concludes, examine the pizza on the table to receive the below recipe!

  • Recipe
    • Melted Cheese Pizza

Afterwards, exit the Geofront via the ventilation shaft outside of Jona’s room and head to the CPD in the Administrative District. Speak with Vice Commissioner Pierre in the conference room to receive the below quest!

Complete this quest and make sure to report it to the terminal in the SSS!
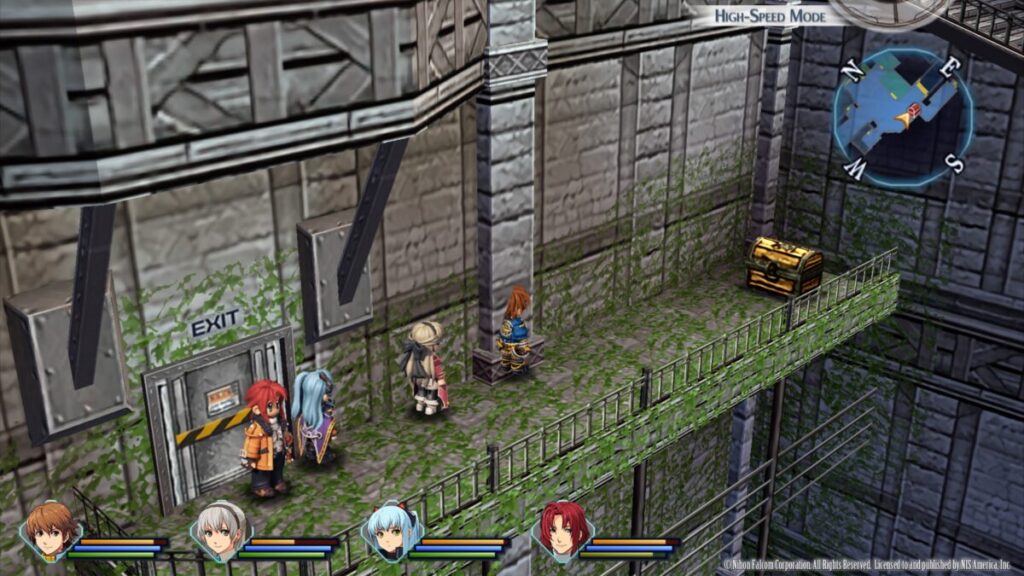
Ursula Road

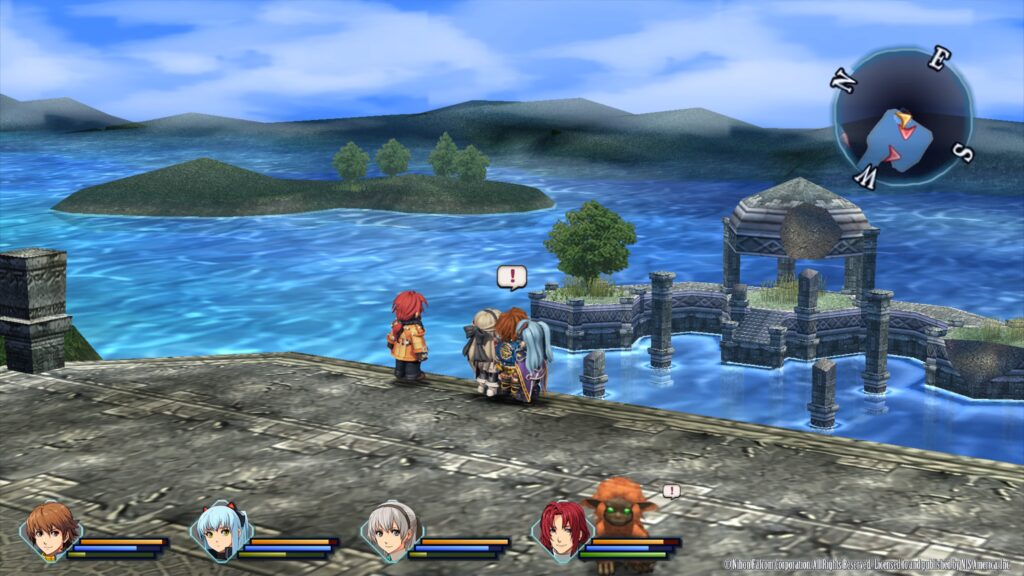
When you’re ready to progress with the story, head to Ursula Road. Once on Ursula Road, head to the second area and take the western path to Stargazer’s Tower. In this area you’ll find the below!

  • Treasure Chests
    • Monster Chest
      • 2 Level 25 Gordi Ossa
    • Teara Balm
    • Curia Balm
    • Cast quartz
  • Enemies
    • Baboon Monkey
    • Army Pineapple
    • Star Beetle
    • Blade Bananan
    • Gordian

Stargazer’s Tower

Once at Stargazer’s Tower, a brief cutscene will trigger. When it concludes, head towards the tower and approach Sergeant Major Seeker to trigger another cutscene. Afterwards, enter the tower! Head forward to the next area to trigger a cutscene against 2 Level 21 Living Armor. Defeat them both then continue forward exploring the area as you go to find the below.

  • Treasure Chests
    • Reviving Balm
    • Monster Chest – Stamp Jumpers
    • Proxy Puppet
    • Celestial Balm
    • Monster Chest – 3 Level 40 Iron Stark
    • EP 2
    • Curia Balm
    • Teara Balm
    • Monster Chest – Holy Chain
  • Enemies
    • Living Axe
    • Living Shield
    • Living Armor
    • Parrot Snake
    • Shadow Beast
    • Death Slugger

A rest spot will be on the 6th floor. Once you’ve rested, head up the stairs for the boss fight against Level 21 Yin. He’ll spawn a clone! Make sure to scan BOTH of the Yins! When fighting focus on the original Yin as he’ll just keep spawning clones if you defeat them. Once you’ve defeated Yin, you’ll be asked the following question:

  • What does Yin’s business with the SSS have to do with?
    • Arc en Ciel
    • Revache & Co.
    • The threat letter
  • What about the letter does Yin want to discuss?
    • The writing style
    • The author
    • The real purpose

Crossbell

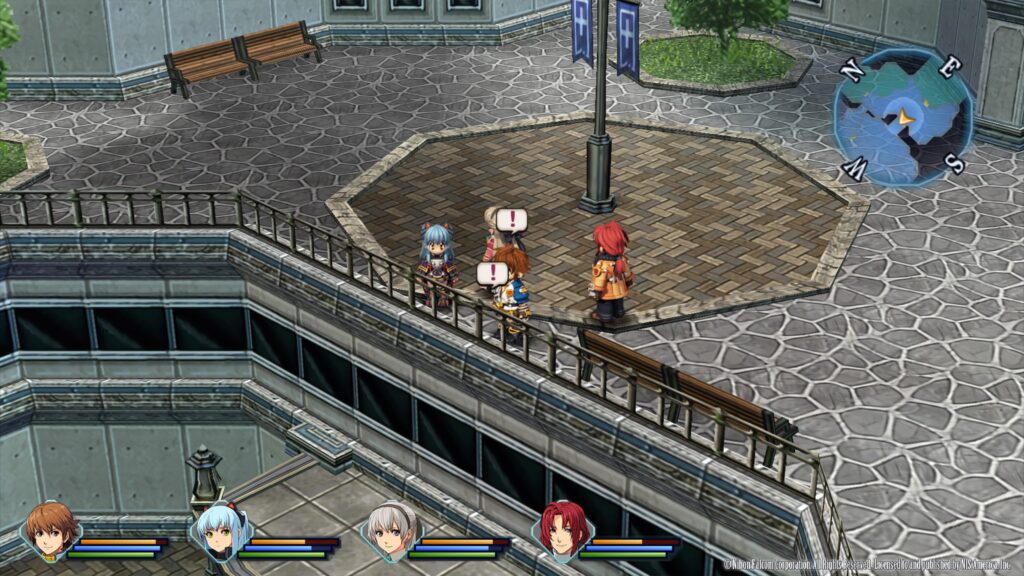
When you gain control, speak with the two people in the lobby then head up the stairs and enter the eastern door. Again, head up the stairs then peek inside the door at the top. Next, make your way back to the lobby. Look inside the golden double doors then head to the western door. Head up the stairs and look inside the door at the very top. Return to the lobby and enter the door on the southwestern side. Head into the two rooms in this area and speak with the lady in the southwestern room. Return to the lobby and a cutscene will trigger ending Act 1. You’ll need to do this same patrol 2 more times. During the final act, you’ll be tasked with checking on the attendee. Head up the stairs towards the golden double doors then enter the eastern door. Head up the stairs to trigger a LONG cutscene leading to the end of this chapter.

Trails from Zero Walkthroughs
Guides

Trails from Zero – Chapter 1 Walkthrough – Part 2

by MrsChappie in


Below is Part 2 of a walkthrough for the collectibles found during Chapter 1: Afternoon of the Wolves of The Legend of Heroes: Trails from Zero.


Crossbell

When you’re able to explore the city, stop by and feed the cat on the roof of the SSS building. We gave it a Tiger Rockfish that we caught in Armorica Village and were given an Attack 1.


Next up, head to West Street and make your way to the Bellheim Apartments. Once inside head downstairs then go into the middle apartment. Speak with Ryu to receive the below support request.


Complete this request and make sure to report it to the SSS terminal! Afterwards, head to the Administrative District and check in with Receptionist Rebecca at the C.P.D. Show her your Combat Notebook. If you’ve scanned all the monsters, you should receive 500 mira and U-Material.


Next, head on over to the Harbor District and fish off the dock near the lighthouse to receive the below fish.

  • Fish
    • Pearlglass (Novice Rod, Dumplings)
    • Gluttonous Bass (Novice Rod, Earthworm)
    • Amorican Carp (Novice Rod, Dumplings, Earthworm)
    • Eel (Novice Rod, Earthworm)


With some entries in your Fishing Notebook, head to East Street and enter the Fisherman’s Guild. Speak with the Branch Manager Cerdan behind the counter and select “Check your rank” twice. He will examine your notebook and if you caught all of the above fish, you’ll earn the Hobbyist Fisher title and the Straw Hat.


Now that you’ve done everything, head to Station Street and interact with the bus stop on the southern side of the city to trigger a cutscene. When it concludes, exit the city to Ursula Road!


Ursula Road

Once on Ursula Road, explore the area to find the below.


Area 1

  • Enemies
    • Racohm
    • Ocean Drome
    • Deathcargot
    • Long-Eared Monkey
    • Kesalan
  • Fish (First northern path you can take. Follow it to the end where there is a rectangular platform. Fish off of the northern side!)

    • Carp (Novice Rod, Dumplings or Earthworm)
    • Eel (Novice Rod, Earthworm)
    • Snow Crab (Novice Rod, Earthworm)


Area 2

  • Treasure Chests
    • Coral Ring
    • EP Charge
  • Enemies
    • Deathcargot
    • Grass Drome
    • Ocean Drome
    • Kesalan

When you reach the southern part of this area, a cutscene will trigger followed by a fight against 2 Gordian. Defeat both of them to continue with the cutscene. Once it concludes, speak with the bus driver again to heal then continue south.


Area 3

  • Enemies
    • Ocean Drome
    • Kesalan
    • Backlash
    • Mossimon
    • Tropical Archer
    • Racohm
  • Treasure Chests
    • Reviving Balm
    • When you open the different colored chest on the eastern side of this area, a fight against 8 Backlash will trigger. Defeat them all to receive a Rune Cloth!
    • Impede 1

Please note that when you’re in this area, you’ll be able to fulfill an objective for the Hunting for Ingredients support request.


Area 4

  • Enemies
    • Fire Beetle
    • Butterflier
    • Ocean Drome
    • Spineedler
  • Treasure Chests
    • Tinkle Earrings
    • EP Charge
    • Each Sepith x20


St. Ursula Medical College

Explore the St. Ursula Medical College to find the below!

  • Recipes
    • Deluxe Beef Stew – Le Lectier Inn – Speak with the guy behind the counter


Once you’re ready, enter the main building on the east side of the area to trigger a cutscene then speak with Receptionist Sera (the female) behind the counter. When the cutscene ends, head upstairs to the top level then enter the area on the southwestern side to find the roof. Approach the bridge to trigger another cutscene. Afterwards, exit the room and head up the stairs on the right. On the new level, turn left and follow the path all the way to the end where you’ll see a giant EXIT sign. Exit here to reenter the roof. Once on the roof, follow the path until a cutscene triggers. Now you’ll have to investigate. First, head right and check the railing overlooking the water.

Next, head left along the rail and inspect the rail in the middle of this area overlooking the overhang below. It will be across from the light post with the two banners.

Continue heading left along the railing and inspect the railing on the bridge.

Next, head left and check the railing behind the hanging sheets.

To investigate the area below, head through the nearby doors then take a right and head down the stairs. Once on the next level, enter through the door on the left. Follow this path to the far left. When you’re outside, interact with the boxes on the right side.

Tio points out the other boxes across from the ones above. Before heading back inside, interact with them.

Next, inspect the railing on the western side.

Afterwards, head inside and return all the way back to 2F where the Resident Lytton was. On this floor, speak with him then head to the Nurse Station to the northwest of Resident Lytton’s room. Speak with Nurse Philia. Instead of heading to the third floor to speak with Cecile, follow Martha into the room behind the Nurse Station and speak with her. A special scene with Martha and Tio will trigger. Exit this room to trigger another dialog event. Afterwards, head to 3F and enter room 304 to trigger a cutscene. When you’re ready to leave, interact with the bus stop and wait for the bus.


Click here for Part 3 of the Chapter 1 walkthrough for The Legend of Heroes: Trails from Zero!


Latest Gaming News

Pokemon Direct – 01/09/20

by MrsChappie in


https://youtu.be/o5afasEAiN0


Exciting information was announced at today’s Pokemon Direct that blew my socks right off! I don’t think I blinked once during that presentation!! It started off with an announcement of Pokemon Mystery Dungeon Rescue Team DX for the Switch, which will be available on March 6, 2020. A demo version will be available later today in the Nintendo eShop. You will be able to carry over your save data from the demo to the full version of the game.


Game Freak also announced an Expansion Pass with two new areas for Pokemon Sword and Shield that will be available for pre-purchase later today in the Nintendo eShop. There will be an Expansion Pass for each version that will cost you $29.99 each. If you pre-purchase an Expansion Pass, you will receive a special pre-order bonus of new clothing that will also be available later today after a new update. When released, you will be able to dive right into the new DLC using current save data from Sword and Shield. There will be new areas to explore, new Pokemon to catch, new gyms to battle, new trainers to meet, new character customizations and new Dynamax forms!! Each game will also get version exclusive Pokemon to catch. The first part of content is called The Isle of Armor and will be released in June 2020. The second is The Crown Tundra which is currently scheduled to release in Fall 2020.


The Isle of Armor focuses on a theme of growth where you will become a dojo apprentice to Mustard, who was the mentor of Leon. In Sword, your rival will be Klara (a poison-type user) and in Shield your rival will be Avery (a psychic-type user). After proving yourself to Mustard, he will hand over the new legendary fighting-type Pokemon, Kubfu. Kubfu will evolve into Urshifu, who will either use a single-strike style and be a fighting/dark-type or rapid-strike style making it a fighting/water-type. Urshifu also has a Gigantamax form that will be different based on the type of style it is! The Sword and Shield starters will also be receiving a Gigantimax form with new G-max moves. Lastly, new fashion items and new looks for the bike will also be added.


The Crown Tundra focuses on a theme of exploration where we will become the leader of an exploration team. There we will meet new Pokemon including Calyrex, a new legendary psychic/grass-type Pokemon. We will also be able to explore a strange temple and spy a mysterious tree that grows in a place it doesn’t seem to belong. A new co-op mode will allow us to enter and explore Pokemon dens that exist underground. Deep inside the dens we will see legendary Pokemon from past games, Dynamaxing before our very eyes, plus new legendary Pokemon!! New clothing items will be added and new battle challenges will be available after the whole area is completed. Lastly, The Crown Tundra will have max raid battles with new Pokemon that haven’t appeared in the Wild Area.


More than 200 Pokemon from previous games will appear in The Isle of Armor and The Crown Tundra!! Even if you don’t purchase the Expansion Pass, you can still obtain the new Pokemon via Link Trades. Players will also be able to bring over Pokemon (only ones that can be found in Sword and Shield) from Pokemon Let’s Go Pikachu and Eevee through a cloud service called Pokemon Home in February 2020. Starting today there is a more likely chance for you to run into Gigantamax Coalossal, Gigantamax Lapras and Gigantamax Flapple or Gigantamax Appletun in max raid battles throughout the Wild Area. Lastly, there will be a software update today.  Once you receive the update, you can head to Wedgehurst Station to encounter Klara (Sword only) or Avery (Shield only). You will then be able to catch a Galarian Slowpoke that has wandered into the station!!!!!!! This Galarian Slowpoke will be able to evolve into Galarian Slowbro if you use an item found in The Isle of Armor and into a Galarian Slowking if you use an item found in The Crown Tundra!


Here is a list of some returning Pokemon that showed up in the direct today:

  • Articuno
  • Aurorus
  • Azelf
  • Blastoise
  • Cresselia
  • Dedenne
  • Dialga
  • Entei
  • Galarian Slowbro
  • Garchomp
  • Giratina
  • Groudon
  • Heatran
  • Ho-oh
  • Kingdra
  • Kyogre
  • Landorus
  • Latias
  • Latios
  • Lugia
  • Lunala
  • Lycanroc
  • Mespirt
  • Mewtwo
  • Moltres
  • Necrozma
  • Nidorino
  • Palkia
  • Rayquaza
  • Regice
  • Regirock
  • Registeel
  • Reshiram
  • Rikou
  • Sealeo
  • Solgaleo
  • Suicune
  • Talonflame
  • Tapu Bulu
  • Tapu Fini
  • Tapu Koko
  • Tapu Lele
  • Thundurus
  • Tornadus
  • Uxie
  • Yveltal
  • Venusaur
  • Volcarona
  • Xerneas
  • Zapdos
  • Zekrom
  • Zygarde


If you haven’t been able to check out these awesome games yet, click here to purchase Pokemon Sword or Pokemon Shield from Amazon! If you want to try them both, you can also buy the dual pack by clicking here!


*NOTE: We are affiliates of Amazon meaning we make a small commission off of any purchases made through our site from Amazon.  This commission helps support our blog, and we greatly appreciate any purchases you make!  


Guides

Borderlands 3 – Do it for Digby (Part 2)

by Chappie in


Location: The Handsome Jackpot – The Spendopticon

Obtained: Talk to Digby again by the bar

Objective(s):

  • Find Crad
  • Ring Buzzer
  • Find the Mime
  • Tip the Mime
  • Play Emote
  • Beat up the Mime
  • Find Bloody G
  • Kill Bloody G
  • Get Delilah Back
  • Return to Digby
  • Give Delilah to Digby


Find Crad

Head to Lotto’s Grotto (northwest of Casa de Timothy) to find Crad’s Pad.


Ring Buzzer

Interact with doorbell to the left of the door under the Rock Bottom sign.


Find the Mime

Head to the Vice District near the Velvet Turtle to find the Mime.


Tip the Mime

Put the tip in the hat.


Play Emote

Hold down the Options button on your controller to use an Emote.


Beat up the Mime

Shoot him a couple of times.


Find Bloody G

Head to the Velvet Shuffle in the Vice District to find Bloody G under the Drinks neon sign.


Kill Bloody G

Kill him!


Get Delilah Back

Loot Delilah.


Return to Digby

Head back and talk to Digby where you originally met him.


Give Delilah to Digby

Hand over Delilah.


Guides

Borderlands 3 – The Homestead (Part 2)

by Chappie in


Location: Pandora – The Splinterlands

Obtained:  Talk to Ma at the Homestead after completing The Homestead side mission.

Objective(s):

  • Go to Spring
  • Kill Vermilingua
  • Revive Pa
  • Search Poop for Explosives
  • Place Explosives
  • Return to Ma


Go to Spring

Head to the western part of The Homestead and press the button near the gate door to open it. Head through the gate and follow the path until you reach the spring.


Kill Vermilingua

Eliminate the enemy.


Revive Pa

Help Pa up.


Search Poop for Explosives

Search the poop piles looking for dynamite.


Place Explosives

Place the explosive near the blockage.


Detonate Explosives

EXPLOSIONS!


Return to Ma

Return to Ma back at The Homestead and talk with her to complete the mission.


Borderlands 3
Game Guides

Borderlands 3 Guides

by Chappie in


Below are guides and walkthroughs for Borderlands 3.


Psycho Krieg and the Fantastic Fustercluck DLC


Bounty of Blood DLC


Guns, Love and Tentacles DLC


Moxxi’s Heist of the Handsome Jackpot DLC


Borderlands 3

Collectibles


Crew Challenges


Side Missions

Pandora – The Droughts


Pandora – Ascension Bluff


Promethea – Meridian Outskirts


Promethea – Meridian Metroplex


Promethea – Lectra City


Sanctuary


Promethea – Skywell-27


Promethea – Atlas HQ


Eden-6 – Floodmoor Basin


Eden-6 – The Anvil


Eden-6 – Jakobs Estate


Eden-6 – Voracious Canopy


Eden-6 – Ambermire


Pandora – Devil’s Razor


Pandora – The Splinterlands


Pandora – Carnivora


Pandora – Konrad’s Hold


Nekrotafeyo – Desolation’s Edge


Finished with the game but still want more? Check out our gift guide for Borderlands 3 here!