Below is a walkthrough for the collectibles found during Chapter II: Newcomer in A Plague Tale: Requiem.
Souvenir: Best Player
During the Walk to the House objective, head through the town, passing the crier, to make it to the market. After exiting the pavilion crowded with merchants, Hugo will run up to a flower stall. Down the path to the left of the flower stall you’ll see a fish stall. At the fish stall, take a right and follow the path to the end to find a game stall. Win the game to find the Souvenir: Best Player
Souvenir: Be at Peace
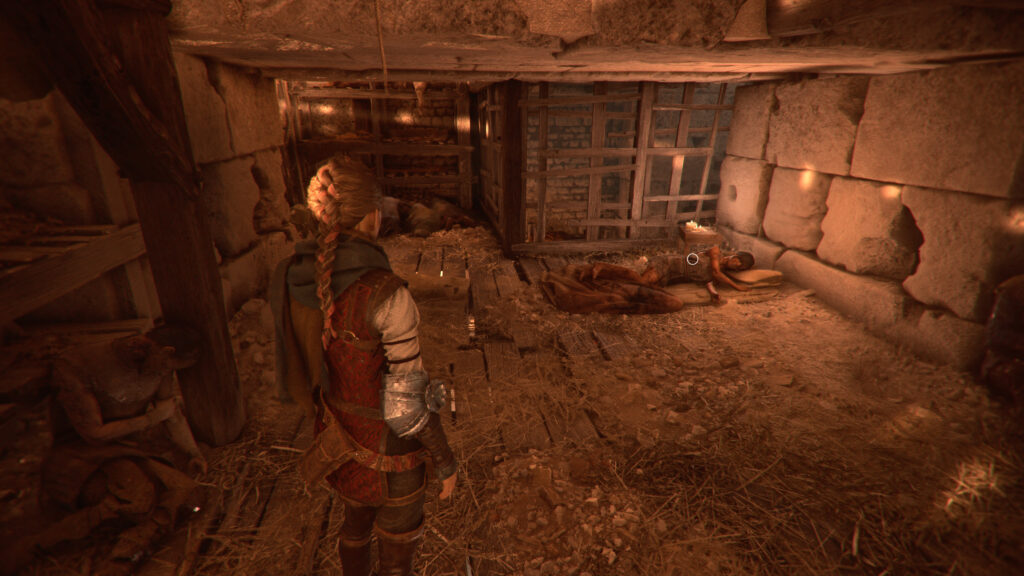
During the Follow the Order’s symbols objective, you’ll reach a large open outdoor area. A quick event where an archer shoots a dead body and another guard comments about it will trigger. You’ll need to sneak through this area and enter a doorway with a symbol above it just past the archer. Head through the building until you reach a set of stairs. Head up the stairs and take the right path.
Follow it to the end to find a woman still alive laying on a bed on the ground.
Interact with her to receive the Souvenir: Be at Peace.
Hugo’s Collection: Arrowhead
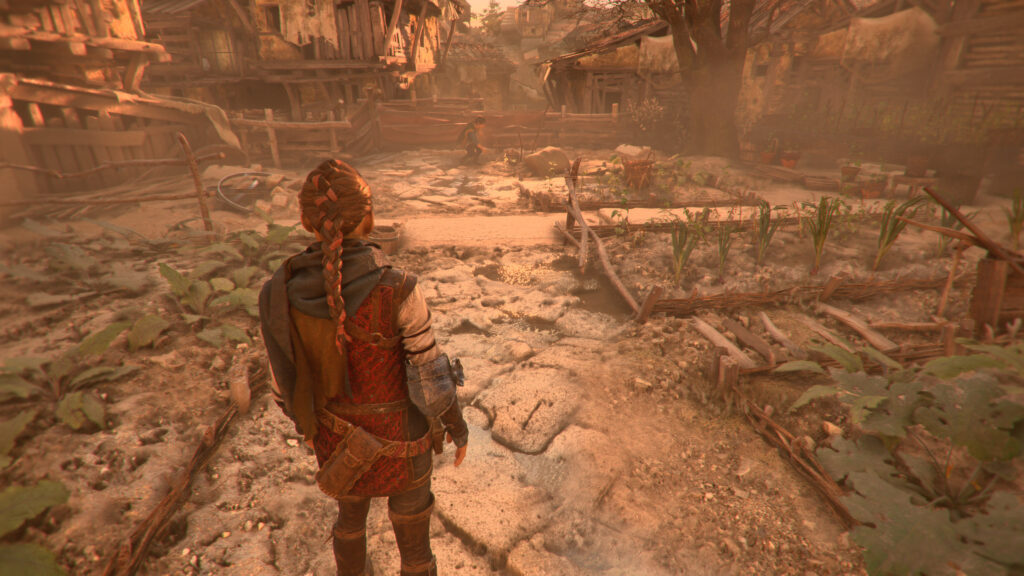
After exiting the underground arena, your objective will update to Reach the South Tower. Follow the path a short way to reach a vegetable garden. The garden will be under the tree. Lucas will bend down and point it out.
Below are our guides and walkthroughs for A Plague Tale: Requiem.
Collectible Walkthroughs
Below are walkthroughs for the collectibles found during each chapter. These collectibles include feathers and flowers for Hugo’s Collection, souvenirs, secret chests and tools!
This guide is a walkthrough of Chapter II The Vetira Incident in Astria Ascending.
Disturbance in Vetira
Floor 165 – Council Room
This chapter starts off with a tutorial on the J-Ster where Ulan will be challenged by Arpajo. Play the match, but don’t be too bummed if you lose since Arpajo is a grandmaster at the game. When you’re done, head west to reach the elevator and take it to F295 – Arcadium.
Floor 295 – Arcadium
Head east to reach the Arcadium and speak with Yuno for a cutscene.
J-Ster
Before heading to Vetira there are a couple of beginner level J-Ster opponents you can challenge throughout various areas listed below. In case you didn’t read the tutorial, if you lose a match you can lose 1 to all 5 of the tokens used in the match.
Floor 165 – Council Room
Armig
Harmonia Guard
Floor 295 – Arcadium
Filmig
Central Plaza
Dayle
United Town – Uptown
Loe
Marketplace – Guild
Thora
Residential Area
Forden
Awisi Woods
Zalika
Ohon
Zeft Heights
Ulfhrafn
Arktan Valley
Yenny
Quinn
Chagan
Peyska Spring
Vaipoe
Samoanna
Side Quests
These are the side quests you should have access to at this point in the game. Some of them can be completed while most of them require you to push farther into the story.
Speak with Senna to start the Tender Heart side quest
Hunt
If you visit the Guild in the Marketplace, you’ll be able to pick up Hunt 001 – Every Night and slay the monster.
Floor 165 – Council Room
When you’re ready, ride Fedorah at the Haevelion Port east of the Council Room to travel to Vetira.
Explore Vetira
Head west to trigger a cutscene.
Find Pisces Temple in the Swamps
Exit Vetira on the west side to reach the swamps. Keep working your way through the Swamps to reach the temple. In the second area of the Swamp, you can find a chest with an Evalach shield for Ulan and another with 3 Stat Orbs. The third area contains a chest with a Meryan Robe and area 4 has a chest with a Koeia and another with a Circlet. When you reach the temple, a cutscene triggers.
Investigate Anun’s Statue
Approach the statue to trigger another dialog event leading to a boss battle with Anun, The Pisces Astrae. You’ll want to make sure someone has the Confuse Guard Ring (preferably Eko who should also know Clear) as Anun uses a move called Rolling Mine that confuses the whole party. This makes the fight tougher as you party with attack each other or even heal Anun. He also uses Omni-water which can also deal water damage to the active part. The boss is also weak to Lightning element attacks and susceptible to being poisoned. When the boss goes down, a cutscene triggers and you’ll gain the ability to summon Piscus in battle.
Explore Pisces Temple
Work your way through the temple heading for the final room at the temple to the far west. Around the middle, you’ll run into a Motherfana mini-boss fight where she’ll be accompanied by a handful of Mizufana. Deal with the adds then focus on the boss. When all of the adds have been defeated, she will start storing focus points to summon more. She will also heal the adds and uses water-based attacks. The easiest (albeit slowest) way to defeat her was to summon the Pisces. It absorbs water elemental attacks so you’ll be getting healed by the boss and her minions while focusing on the boss. Once the Motherfana has been taken care of, mop up the rest of the enemies. While you’re exploring, keep an eye for chests containing an Ancient Artifact, Water Ore x3, Cebes weapon for Alassia and Wizard Hat.
At the end of the temple, you’ll have to fight a Noise mimicking Anun. For the 1st phase, it will have the same attacks. The 2nd phase starts after you reduce its health to zero the first time. It will then transform into a school of fish and gain a new move called Fish Rain that hits the active party and has a chance to confuse. When you defeat the boss, exit the temple to trigger a cutscene leading to the end of the chapter.
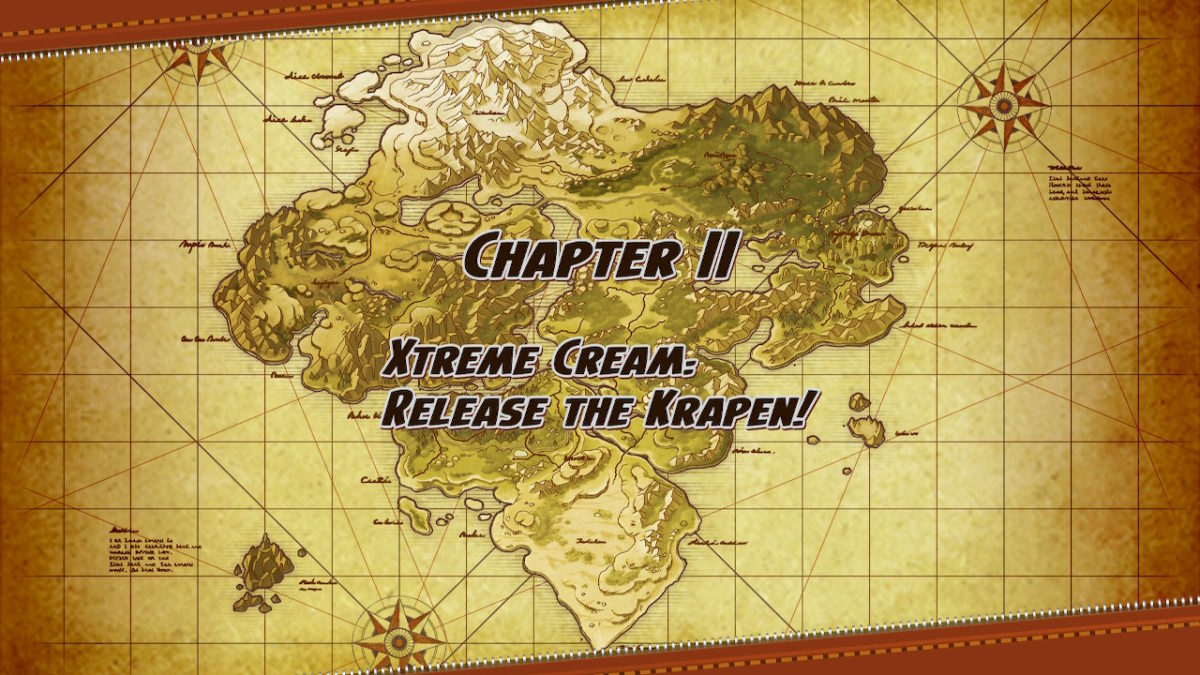
Chapter 2 of Snack World The Dungeon Crawl Gold contains 8 story quests with the ultimate goal of releasing the Krapen. Below you will find guides for all 8 quests so grab your Jaras and get ready for a snack attack! Let the dungeon crawl begin!
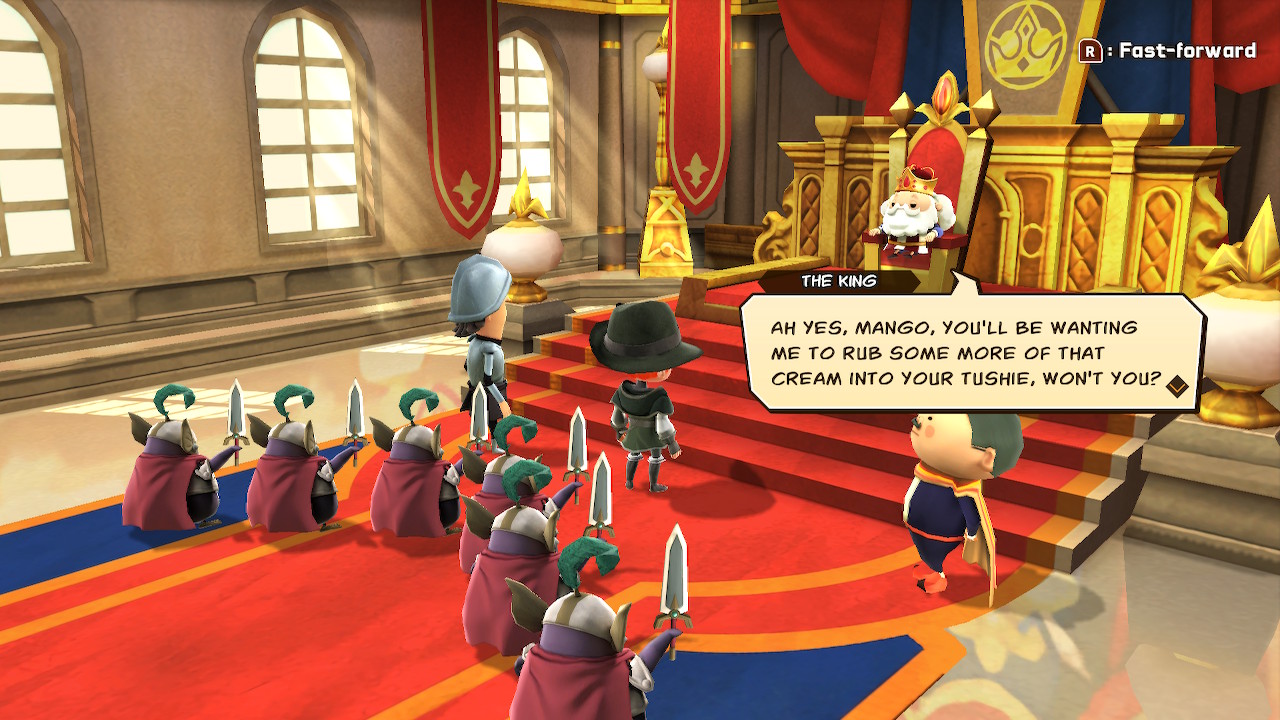
Release the Krapen
Quest Giver: The King
Objective: Locate the Krapen in the desert!
Head towards the oasis in Succotash Sands to search for the Krapen. When you arrive, you’ll be attacked by a couple of Merman. Defeat them to complete the quest.
Go Get the Golden Lamp!
Quest Giver: Penne (after talking with Sam Witch the fortune teller)
Objective: Catch Alfredo the thief!
Pursue Alfredo to the Falafel Flats: South and head for the bridge on the west side of the map to trigger a brief cutscene. Following the cutscene, defeat 15 Alfredos to make the true Alfredo spawn on the sandbar by the river in the middle of the map. Defeat him to complete the request.
Glean the Moisturizing Cream!
Quest Giver: The King (after completing Go Get the Golden Lamp! story quest)
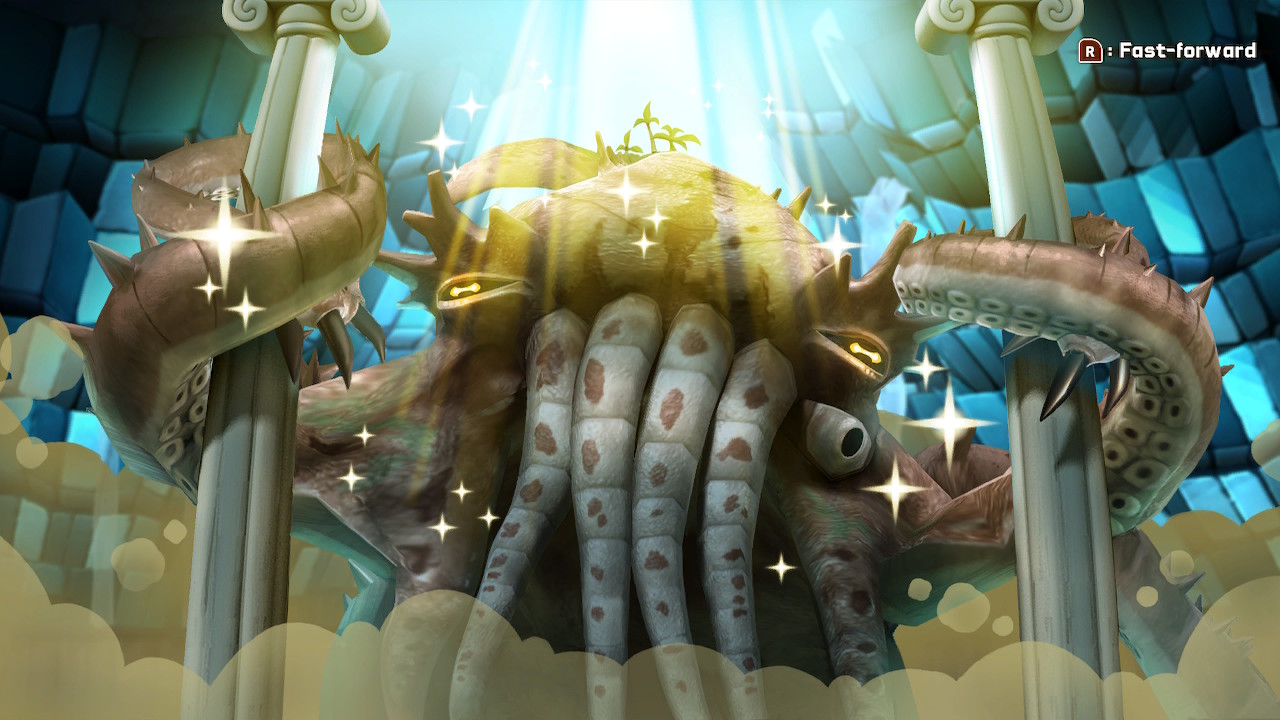
Objective: Defeat the Krapen!
This quest takes you to Gumbo Grotto! Head through the grotto in search of the illustrious Cavern of Calm. Once you find it, head through its doors to face the Krapen in battle. This battle takes place on a circular landmass surrounded by water. Throughout the fight, the Krapen will submerge underwater then spring up in a new location to attack from all angles. For its long-ranged attacks, the Krapen will shoot bubbles and spikes all over the arena. For close combat, it slams its tentacles down, crushing everything in its path. The Krapen also has a moved called Fully Loaded Lavage in which it shoots water from its mouth and does a massive amount of damage. Try to avoid that attack at all cost! About halfway through, the Krapen will jump onto the arena and move in a circle with its tentacles stretched out. You will need to run with it to avoid the tentacles much like how you would move with a revolving door. When the Krapen’s health drops down to around 1/3, he gets a buff that makes increases his stats. Defeat the Krapen to trigger a cutscene completing the quest.
Hotpot Hooley
Quest Giver: Crock Ness (in a plaza on the west side of Tutti-Frutti, south of the armor store)
Objective: Gather rapeseed buds!
For this quest, you’ll head to The Falafel Flats: South in search of 3 rapeseed buds. Follow the “!” on the mini map to locate them. Once you have all 3, head back up to the northern part of the map where you started to encounter the Valkyrie. Defeat her to complete the quest.
Journey for a Journal
Quest Giver: Maskmelon (in Covfefe Cafe)
Objective: Find the secret journal!
Follow the marker on the mini map and search the area to spawn the Spinx who has the missing journal. After you battle her, she will flee to a different part of the area. You will need to search for her and engage in combat with her for a total of 3 times. When fighting the Spinx, try and keep your distance as her attacks do a lot of damage and can reduce your party’s HP to 0 really quick.
The Gatling’s Gone
Quest Giver: Cdr. Ciderfella (speak with her in her house after talking to Sam Witch)
Objective: Catch the thief that grabbed the gun!
For this quest, you’ll traverse the Gorgonzola Ruins in search of the Madusa Gate on a lower floor. Once you find it, pass through the gate to encounter a boss fight with a group of Bats. Once you defeat the Bats, Gladiatasaur will spawn. Defeat him to trigger an interesting cutscene and complete the quest.
The Key to Questing
Quest Giver: Ms. Yamamoto (speak with her in the inn after completing the Go Get the Golden Lamp! story quest)
Objective: Catch the thief that grabbed the gun!
For this quest, Ms. Yamamoto has you scouring Gumbo Grotto looking for some tasty shrimp for her to cook. Work your way down to level 3 of the grotto to find the “shrimp”. Defeat the group of enemies that show up to complete the quest.
Crowd Control
Quest Giver: Mermaido! (speak with her near the fountain in the town square after completing the Go Get the Golden Lamp! story quest)
Objective: Protect the mermaido!!
Head on over to Gumbo Grotto and make your way to the Cavern of Calm, which should be around the third floor. After you’re all healed up, head through the doors leading to a boss battle with 3 Merman. Defeat them all to spawn a Landshark. Defeat it to complete the quest!
This site uses cookies. By continuing to use this website, you are giving consent to cookies being used. For more information on cookies, view our Privacy Policy.OkPrivacy Policy