Guides

Rain Code – Chapter 4 Requests Guide

by NightlyGamingBinge in

While working to solve the mystery that is Kanai Ward’s Ultimate Secret in the Master Detective Archives: Rain Code, Yuma will come across people in need of help indicated by a green question mark above their head. Speak with them to accept and complete their request to earn additional Detective Points. Requests can only be accepted and finished in the chapter they appear so make sure to complete them as you come across them. This guide will walk you through where to find requests and how to complete them in Chapter 4 – The Imperfect Insider.

No. 13 Her Name Is Fubuki, the Legendary Waitress!

Location: Ginma District – Golden Path Cafe

Client: Passionate Man

Speak with the Passionate Man near the bus stop in the Ginma District at the beginning of Chapter 4. He’ll ask you several questions.

QuestionAnswer
Fubuki’s hair was…Tied back
Fubuki’s right ear has how many piercings…3
What was her name?Fubuki

Afterwards, you’ll be given the final task of finding an item that would make Fubuki happy. Travel to Kamasaki District in search of this item. You’ll find it in the Underground Sector at the Variety Store on the west side. Now that you have the item, return to the Passionate Man to complete the No. 13 Her Name is Fubuki, The Legendary Waitress! quest. As a reward, you’ll receive 100 Detective Points!

No. 14 Lending the Church a Hand Again

Location: Church

Client: Nun

You can speak with the Nun at the beginning of Chapter 4. She’ll want you to listen to the resident’s woes again and give them advice!

PersonLocationAdvice
Worried ManKanai Tower (Entrance Front)A book
Woman Who Hates Being Hit OnAetheria AcademyLeave it to me
Woman with Stage FrightClocktowerI think things are okay as they are

After speaking with all the people, return to the Nun at the Church to complete the No. 14 Lending the Church a Hand Again request. As a reward, you’ll receive 100 Detective Points!

No. 15 Lost in the Rain

Location: Clocktower

Client: Iruka

You can speak with Iruka at the beginning of Chapter 4. You’ll notice that she is depressed so encourage her! Head to the Kamasaki District in search of someone who can cheer her up.

Once in the Kamasaki District, visit the Gyoyu-do Antique Shop next to the bus stop. Before Margulaw will help you, you’ll have to help him first. Travel to the Mysterious Hut in the Dohya District and deliver the package to Servan. Afterwards, return to Margulaw then Iruka.

The No. 15 Lost in the Rain request will then complete and you’ll receive 100 Detective Points!

No. 16 The Fortune Teller Sees All

Location: Marunomon District

Client: Suspicious-Sounding Man

You can speak with the Suspicious-Sounding Man at the start of Chapter 4, however, you’ll have to huff it there as the bus stop is not working for this district. After you speak with him, head south to the bank where you’ll find a Dignified Fortune Teller. Agree to listen to his story then head up the stairs near the fortune teller to trigger an event. Afterwards, cross the bridge then head to the left to trigger another event at the bottom of the stairs. Now that the quest has officially been accepted, speak with the following people in the Marunomon District:

  • Indignant Man – Northeastern side of area
  • Fortune-Telling Addict – Northern side of the area on the upper walkway
  • Disappointed Woman – Western side of the area
  • Man on a Hot Streak – Southwestern side of the area

After you’ve spoken to everyone, return to the fortune teller to complete the request. As a reward, you’ll receive 100 Detective Points.

For more guides on Master Detective Archives: Rain Code, click here!

Fire Emblem Engage Logo
Guides

Fire Emblem Engage – Chapter 4 Walkthrough

by NightlyGamingBinge in

Below is a walkthrough for Chapter 4: A Land in Bloom of Fire Emblem Engage.

At the start of Chapter 4, you’ll be able to explore the Somniel. Speak with everyone and pick up the items as you won’t be able to do anything else here just quite yet. When you’re ready, interact with the portal to leave. Afterwards, a fight will trigger. Make your preparations then begin the battle. After a brief cutscene, Celine, Louis and Chloe will join your group. This will also be the first time you can collect Spirits of the Fallen during battle if you’re connected to the network. If you wait on a space with yellow spirits, you’ll earn EXP and bond EXP. Purple spirits will give you items. With everything all set, wipe out the enemies in the town. After you start battling enemies, you’ll receive a tutorial about Visiting. In warning the houses of danger, you’ll receive items or gold as a reward. Continue the battle to receive a tutorial about the Draconic Time Crystal. Please note that during this battle you can receive the below items!

ItemsObtained
2,000 GVisit house near Chloe and Louis on the northeastern side of map
Hand AxeDropped from a defeated enemy
JavelinVisit house near where units start on the southwestern side of map

After the battle, you’ll receive a tutorial for Animals. You’ll also find yourself in the peaceful town of Florra Mill. Explore the town, speaking with the people, collecting items and adopting animals. When you’re ready, leave! Durthon and Anisse will set up shop at your base and you’ll receive 10,000G from Vander! The World Map tutorial will also trigger. Before heading off to the next chapter, check in at the Somniel.

Intermission: Somniel

Once at the Somniel, you’ll find the armory and item shop are now open. You can also interact with the bulletin board and make donations now that you have money. As usual, speak with all the people you can and collect the items. Make sure to head to the shrine in the southern part of the area to meet your guardian spirit. You can feed, pet and dress up this creature to receive items! In the northeastern corner of the area, approach Etie to learn that Strength Training is now available! You can do a round to earn some rewards. Once you’re ready to progress the story, leave the area then head to Firene Castle.

Click here for the next walkthrough on Chapter 5 in Fire Emblem Engage!

Guides

Digimon Story Cyber Sleuth – Chapter 4 Walkthrough

by NightlyGamingBinge in

Below is a walkthrough for Chapter 4: The Shinjuku Underground Labyrinth Incident in Digimon Story Cyber Sleuth: Complete Edition.

Shinjuku

Head right to trigger an event.

Shinjuku ???

When you gain control of your sleuth, follow the path deeper into the subway to trigger a battle with some Digimon. Afterwards, Arata will join you as a Guest Character. As you approach the transition to the next area, another event with Arata triggers. The path is pretty straightforward forward so keep working your way forward, fighting the Digimon then viewing the cutscenes. Eventually, you’ll reach an area with a map on the wall above a few ticket machines. Follow the path right to find a Shellmon Medal (which is south of the right chest) and 2 chests containing HP Capsule B x3 and Memory UP. When you’re ready, interact with the floating orb to trigger a fight with 2 Gotsumon. Defeat them to receive an IC Card then return to the ticket machines and use the card on the gates to the left to continue pressing on. In the next area, there will be an access point that you can use to reach the DigiLab to heal up. At the other end of the hall past the phone, you’ll encounter an Eater. Defeat it to trigger a cutscene.

Shinjuku ??? Digimon

  • Dorumon
  • Gotsumon
  • Kuramon
  • Lopmon
  • Tsumemon

Detective Agency

When you gain control, interact with the whiteboard to receive the following cases:

Shibuya

After completing the case (or not), head to Shibuya then enter the crossing and speak with the Pitiful High School Girl standing in the middle of the road for an event. You can then make your way back to the detective agency.

Detective Agency

Interact with the whiteboard in the agency then accept the Scramble Pentagram case. Complete the case to progress the story.

EDEN Entrance

Use the TV in the detective agency to travel to EDEN Entrance then take the stairs all the way up. At the top take a left and speak to the Mother with the ! above her head then interact with the data behind her daughter in the corner of the building.

Detective Agency

Return to the detective agency and interact with the whiteboard. Start the Nightmare Eater case and complete it for another event to progress the story. You’ll need to head up to K Cafe on Broadway 4F to pick up some more coffee beans from the owner behind the counter. This will start an event leading to Chapter 5 and kicking off another case.

Click here for the next walkthrough on Chapter 5: The Search Continues: Yuuko Kamishino in Digimon Story Cyber Sleuth: Complete Edition.

A Plague Tale Requiem Walkthrough
Guides

A Plague Tale: Requiem – Chapter 4 Collectible Walkthrough

by MrsChappie in


Below is a walkthrough for the collectibles found during Chapter IV: Protector’s Duty in A Plague Tale: Requiem. Make sure to always pick up a knife if you see one so you can open the secret chests!


Hugo’s Collection – Gentian

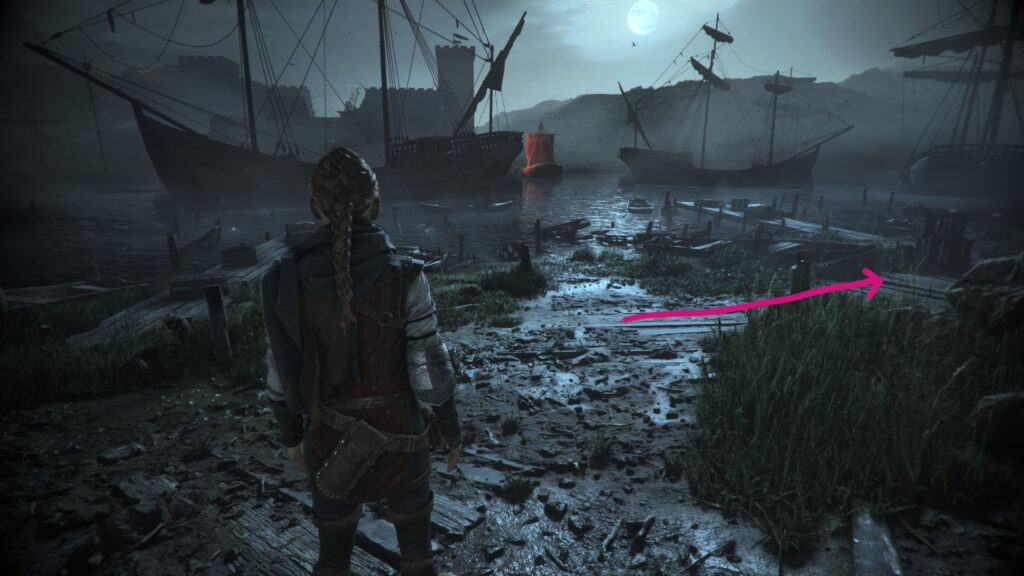
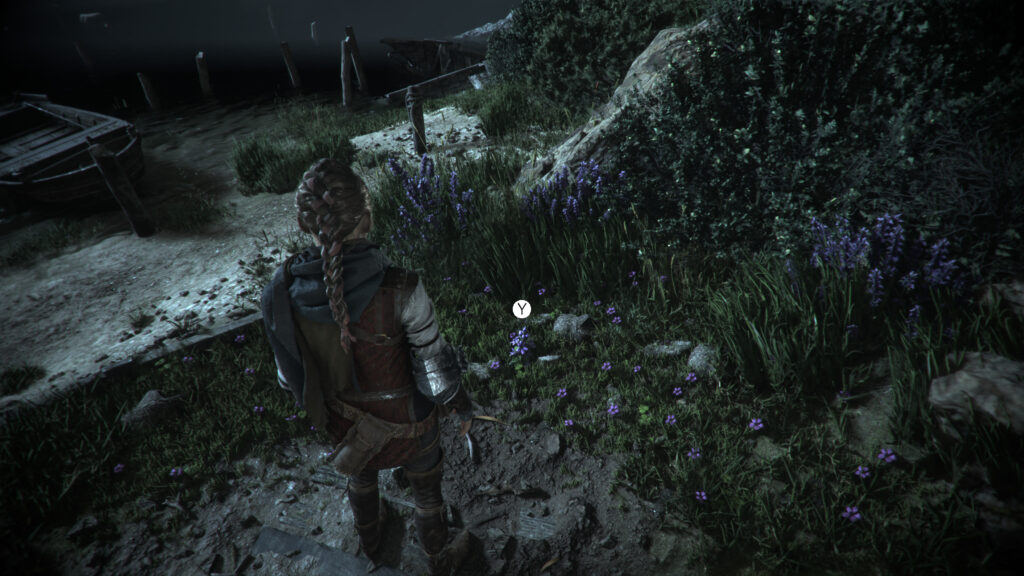
When you reach the docks with all the boats, the path will fork. Head right to find the flower on the ground.


Souvenir: Silk Treasure

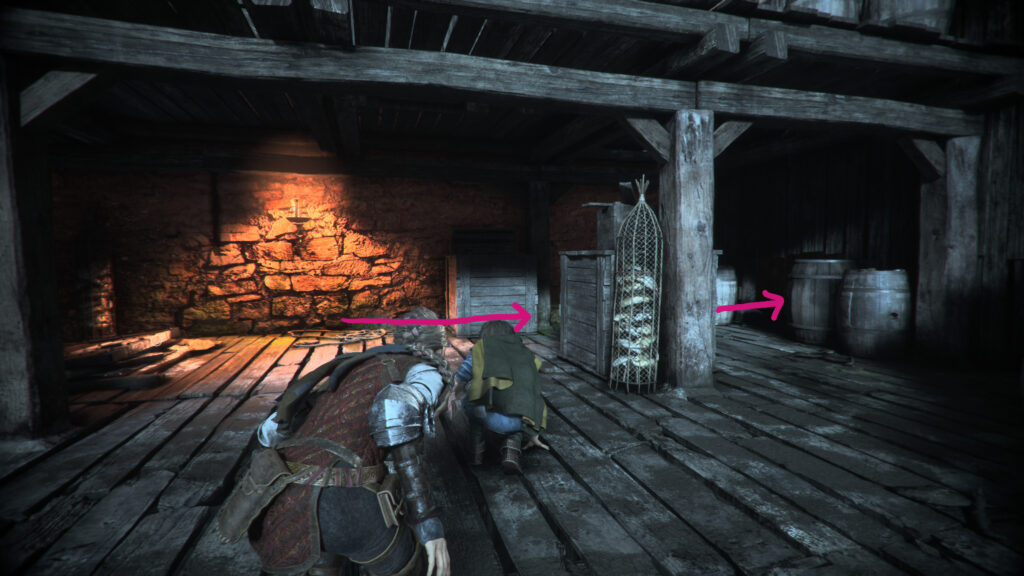
As you sneak through the docks, you’ll slip between 2 crates and climb up a ladder. Keep following the path until you reach a hatch in the floor near a lit scone. DO NOT go through this door. Instead, head right and through the opening between two barrels to reach a secret room.

Use the cart in this room to reach a higher ledge. Climb up to the ledge to find a souvenir on the ground.


Secret Chest / Tool

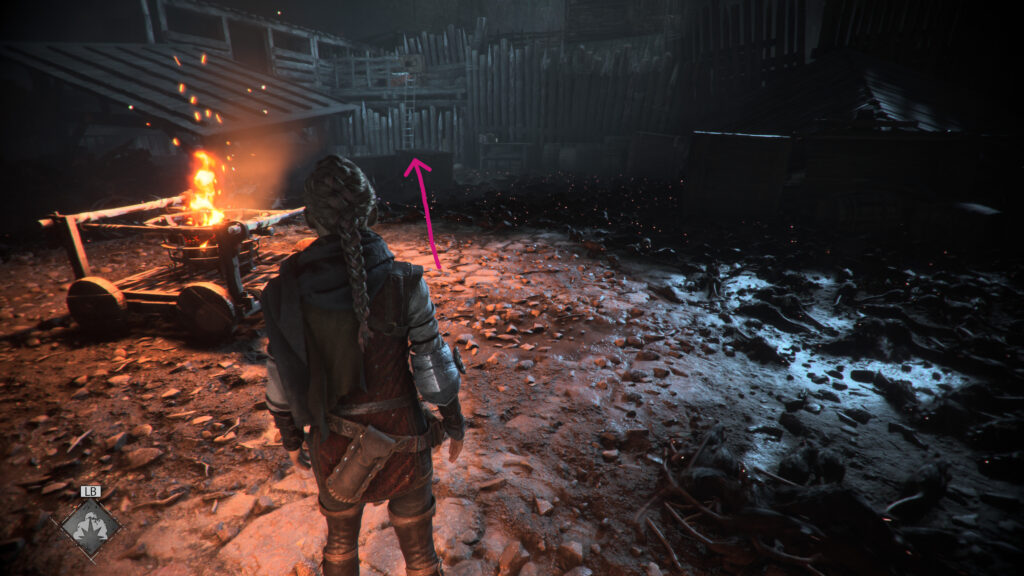
When you have to push the brazier on the cart, push it towards the ladder leading against a wall.

Climb up the ladder to reach a secret chest! Open it to receive a tool.


Tool

In the tar workshop, before exiting the building, head up the ladder where Lucas was at. Follow the path to the other side of the moving platform with the alcohol barrel. On the other side, loot the chest to receive the tool.


Souvenir: A Grain of Sand

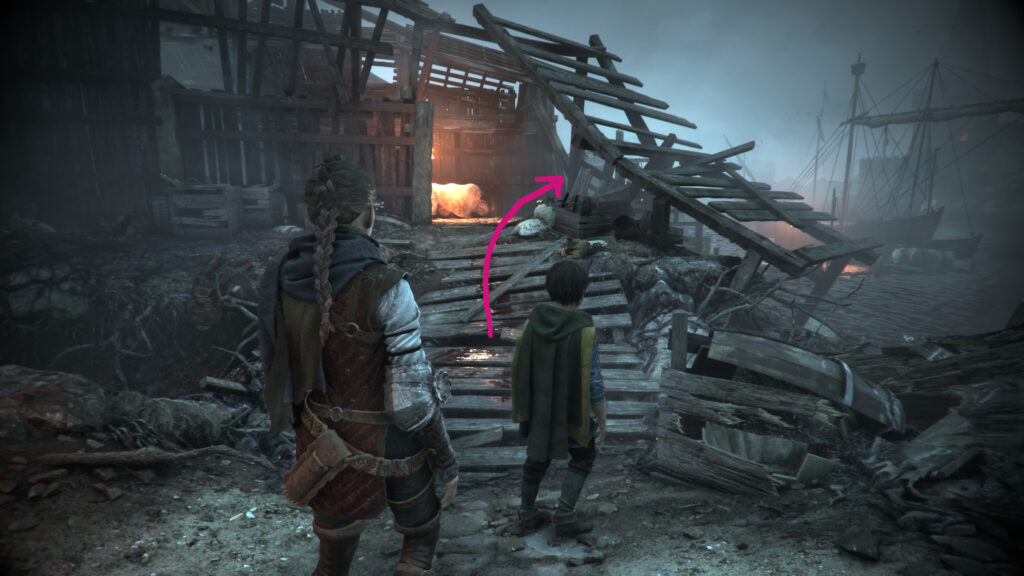
After you exit the tar workshop, cross the wooden boards.

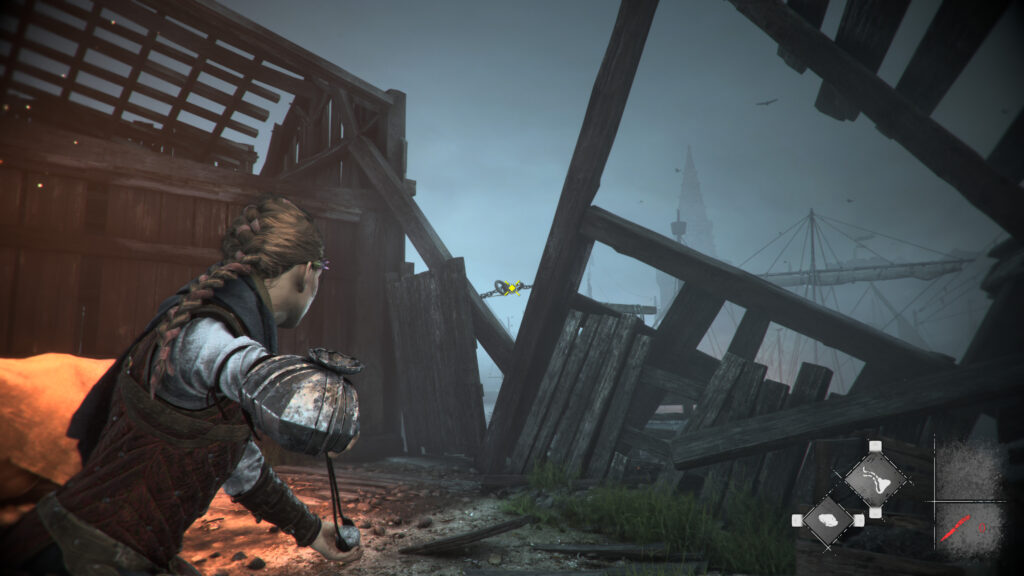
This will bring you to a doorway on the left with a brazier next to it. Look to the right to find a wooden board held up with a chain.

Hit the chain with your slingshot causing it to break. Follow the path along the dock to find the souvenir at the end.


Click here for the next walkthrough on Chapter 5 in A Plague Tale: Requiem.


Guides

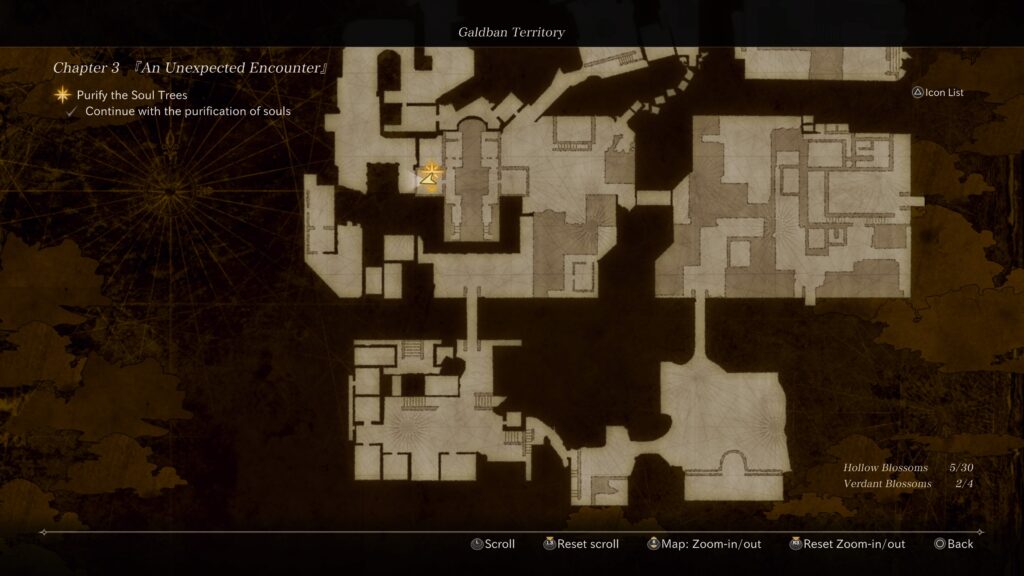
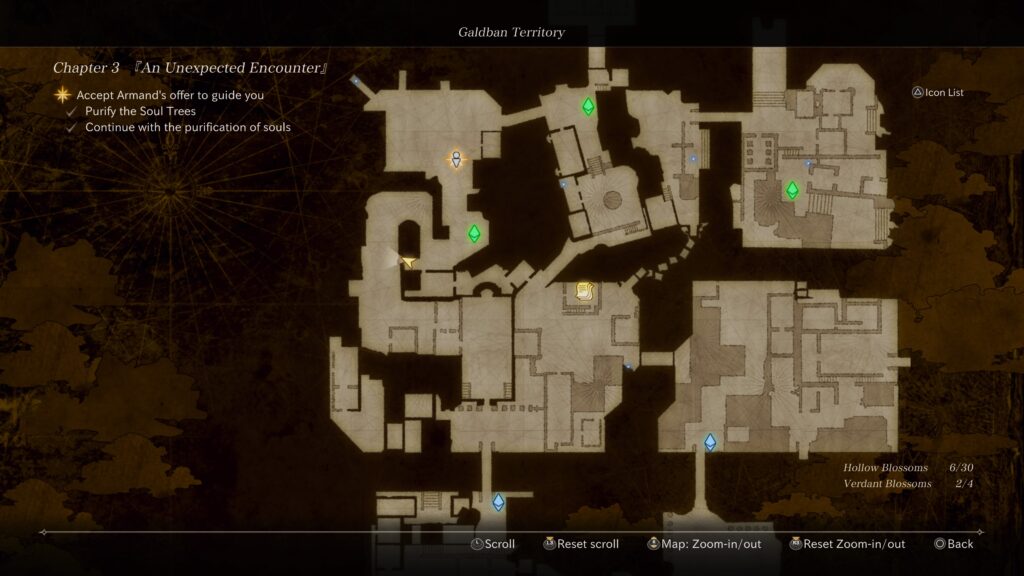
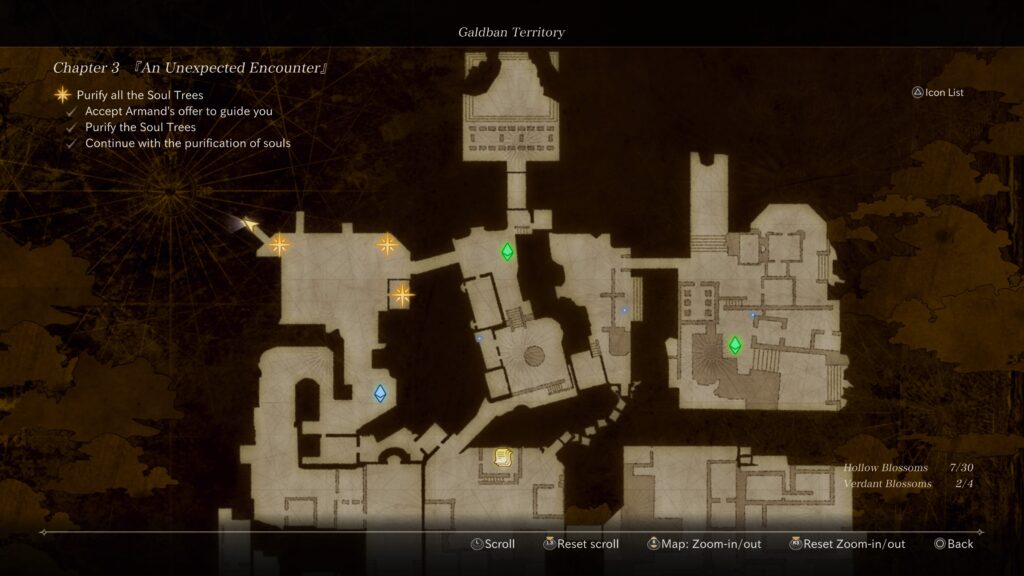
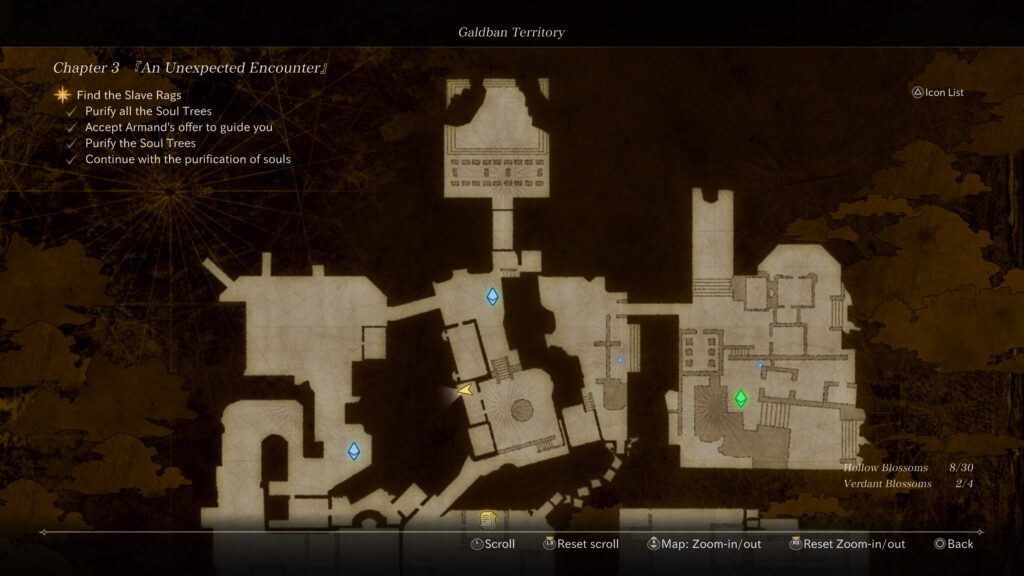
Valkyrie Elysium – Galdban Territory Hollow and Verdant Blossoms

by Chappie in


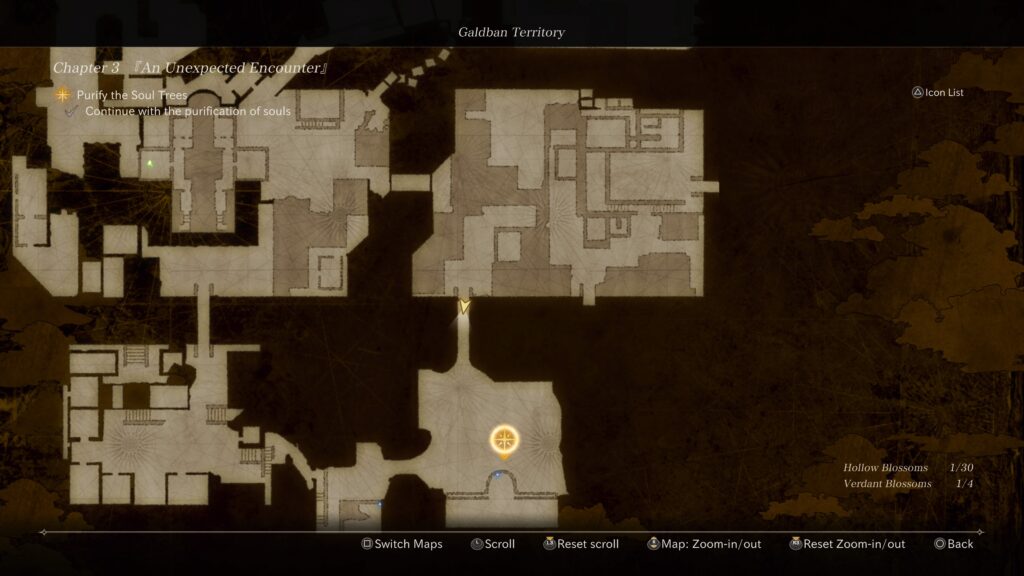
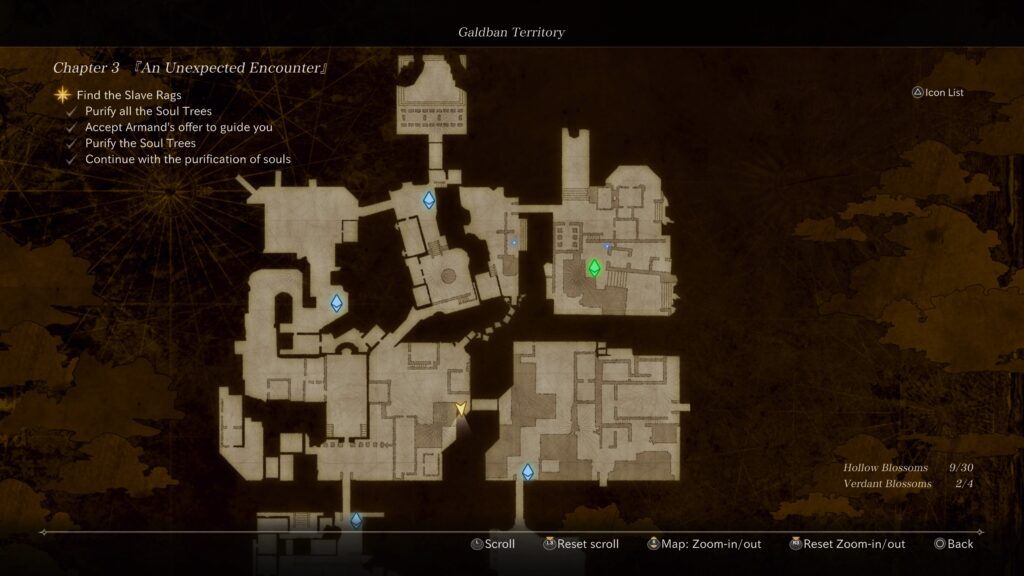
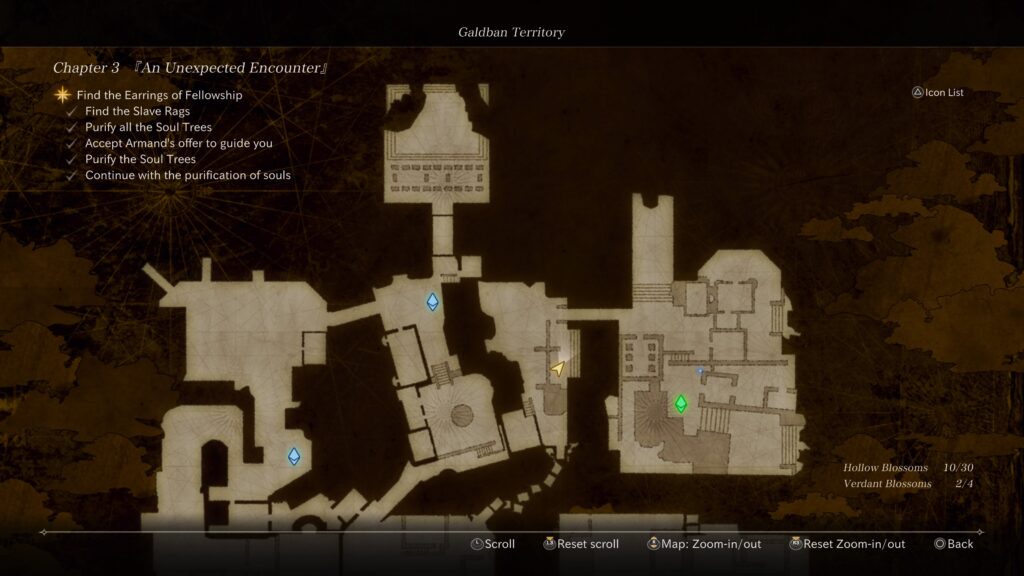
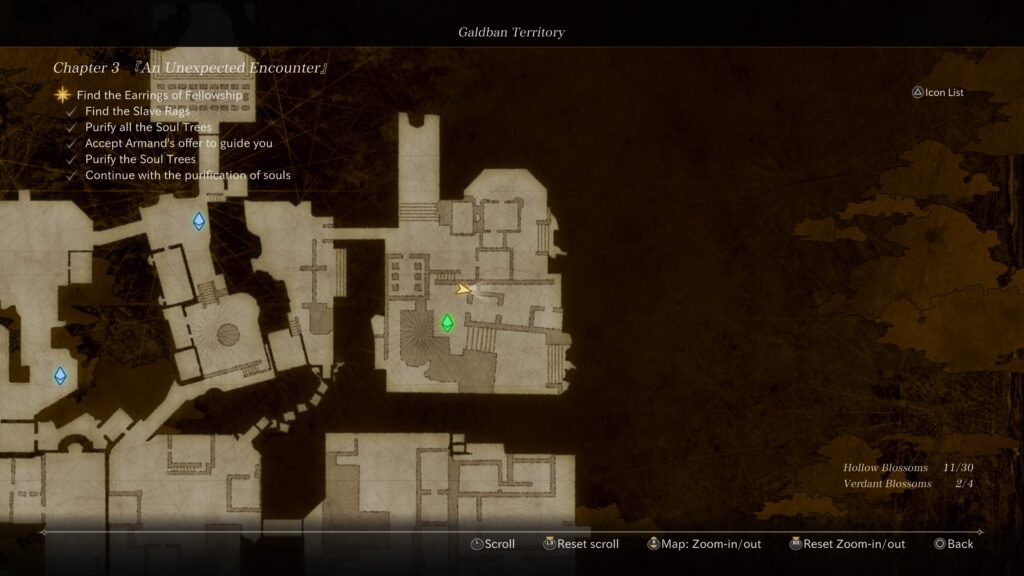
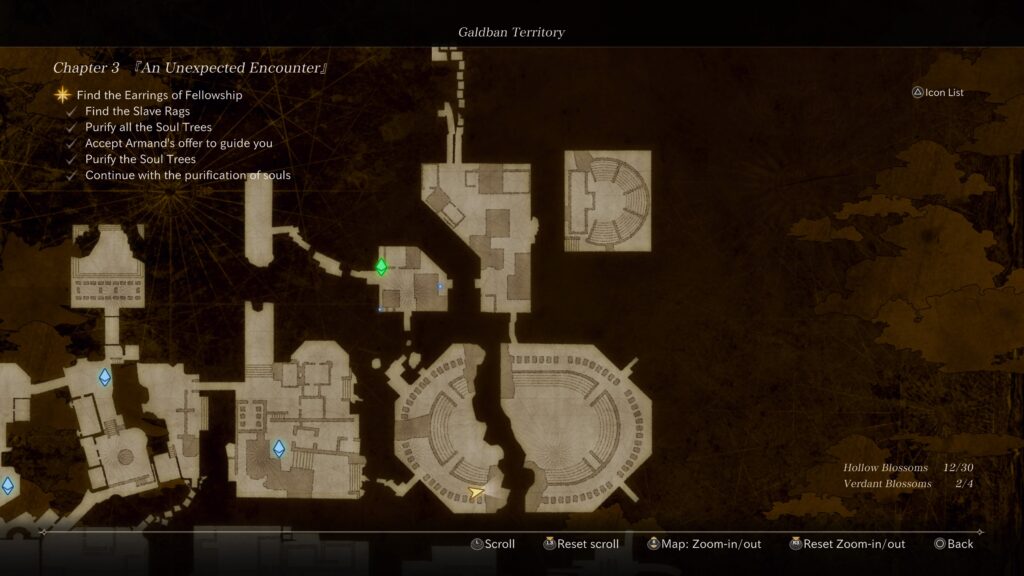
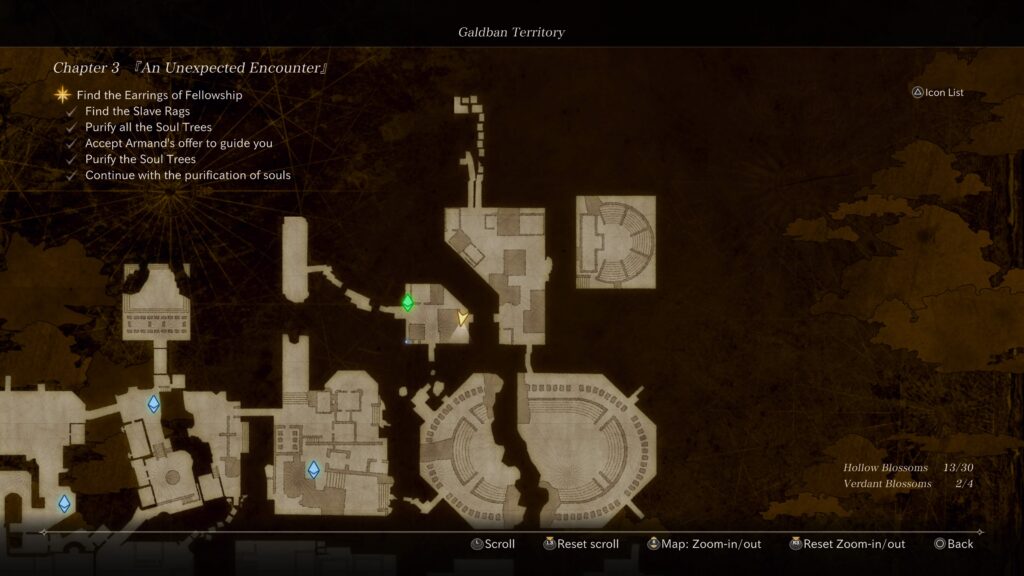
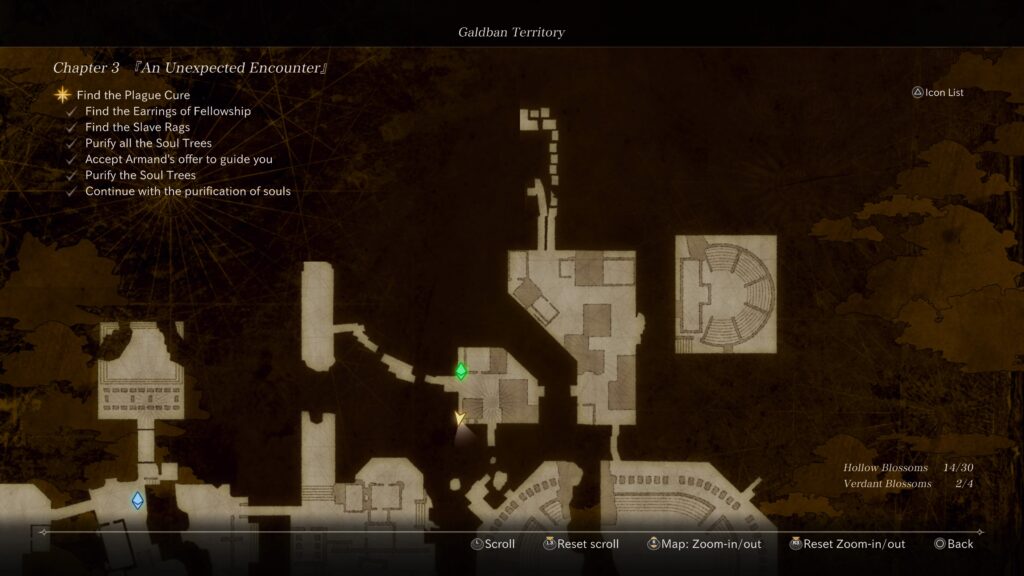
Below is a guide on where to find the hollow and verdant blossoms around the Galdban Territory in Valkyrie Elysium. For the purpose of this guide, all of the blossoms were obtained during the Chapter 3: An Unexpected Encounter and Chapter 4: Victim of the Gods main quests.


Chapter 3: An Unexpected Encounter

Well-Informed Strategist

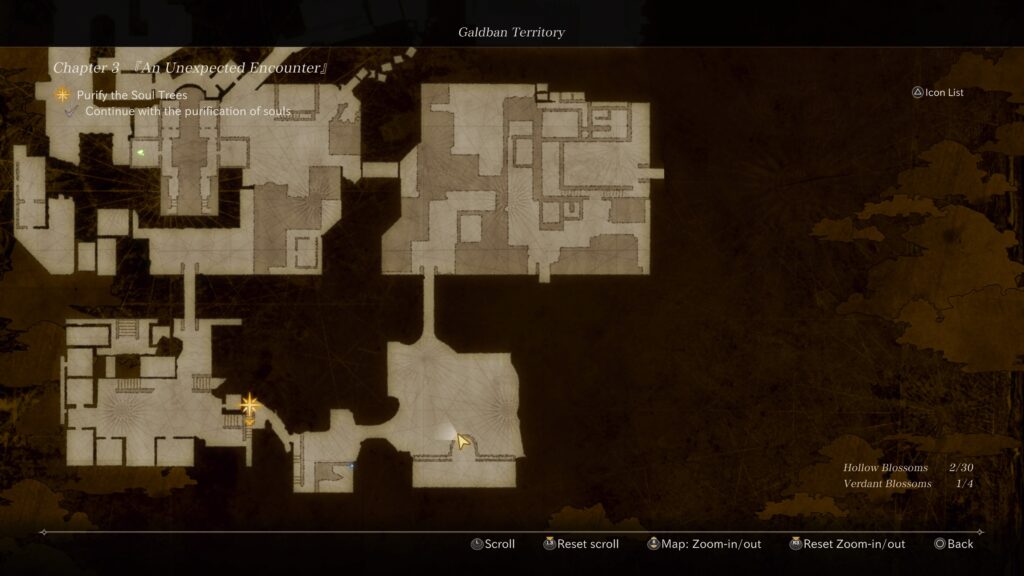
This blossom can be found along the building immediately to the left of the starting area past the railing.


Verdant Blossom

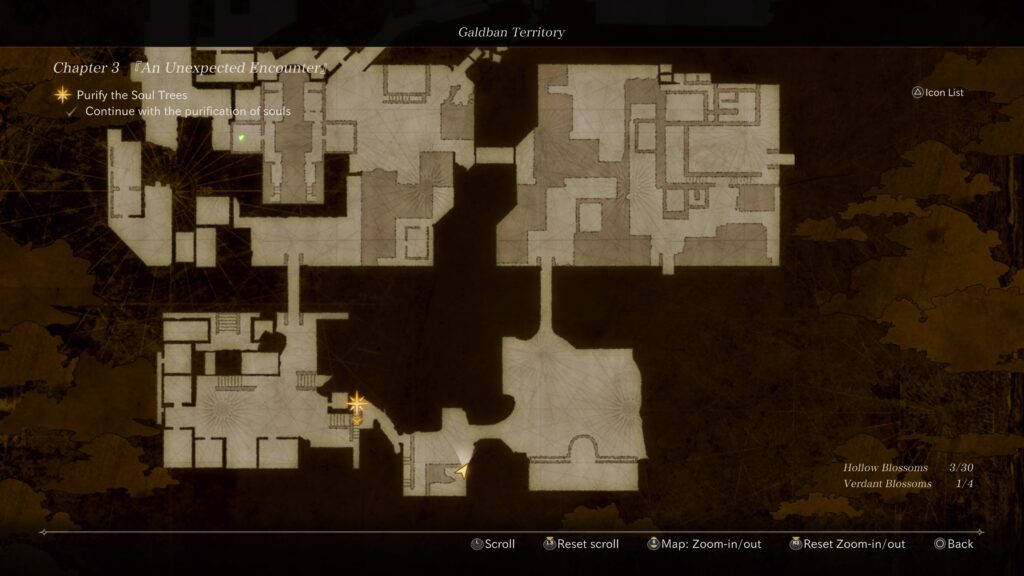
This blossom can be found on a bridge just past the first Storage Camp.


Young Stable Boy

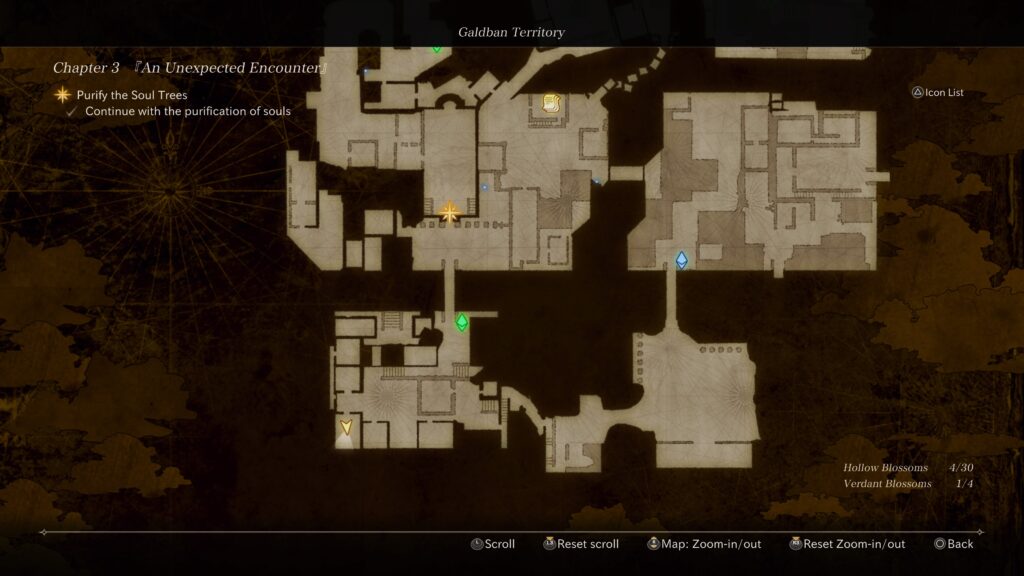
This blossom can be found on a balcony overlooking the second Soul Tree you come across just past the first Storage Camp.


Arrogant Noble

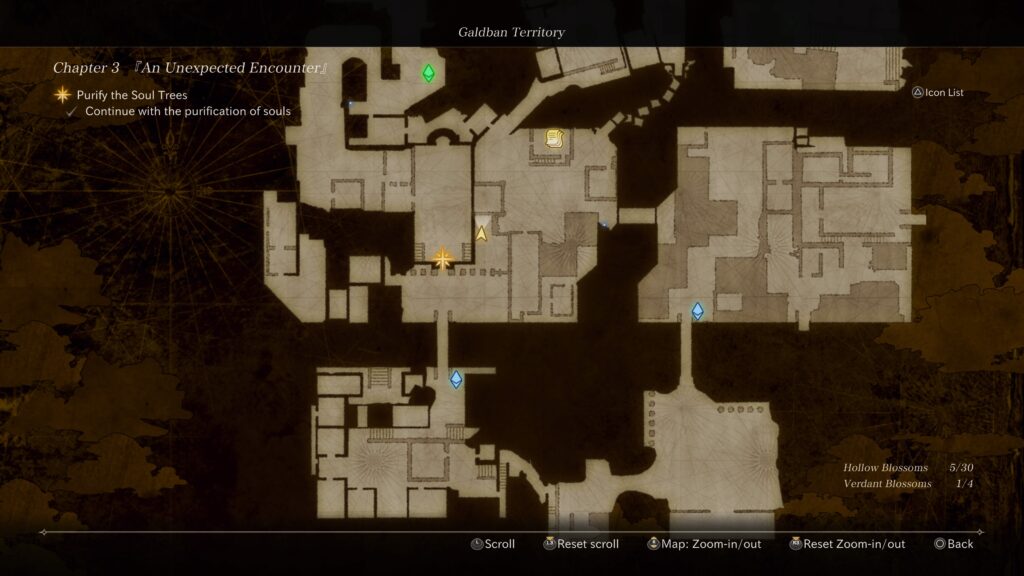
This blossom can be found in the southcentral part of the map.


Girl Who Believed in the Future

This blossom can be found in the southwest building near a Soul Tree.


Suspicious Jeweler

This blossom can be found over the bridge from the second Storage Camp in a room on the right side.


Verdant Blossom

This blossom can be found on the upper level of the church on the left side.


Boastful Wife

This blossom can be found just before the third Storage Camp next to the columns of a building.


People-Loving Prince

This blossom can be found on the northwestern side of the large area just past the third Storage Camp on a dock.


History Buff Jester

This blossom is located in a building up the stairs south of the fourth Storage Camp.


Weak-Willed Carpenter

This blossom is located near the drawbridge south of the fourth Storage Camp.


Brave General

This blossom is found after the fourth Storage Camp near the bridge leading to the fifth Storage Camp.


Backroad Sage

This blossom can be found next to the fifth Storage Camp.


New Recruit Fitz

This blossom can be found in the area between the fifth and sixth Storage Camp.


Stubborn Fortune Teller

This blossom is located east of the sixth Storage Camp.


Solitary Jailer

This blossom can be found directly south of the sixth Storage Camp.


Large Man with Wounded Cheek

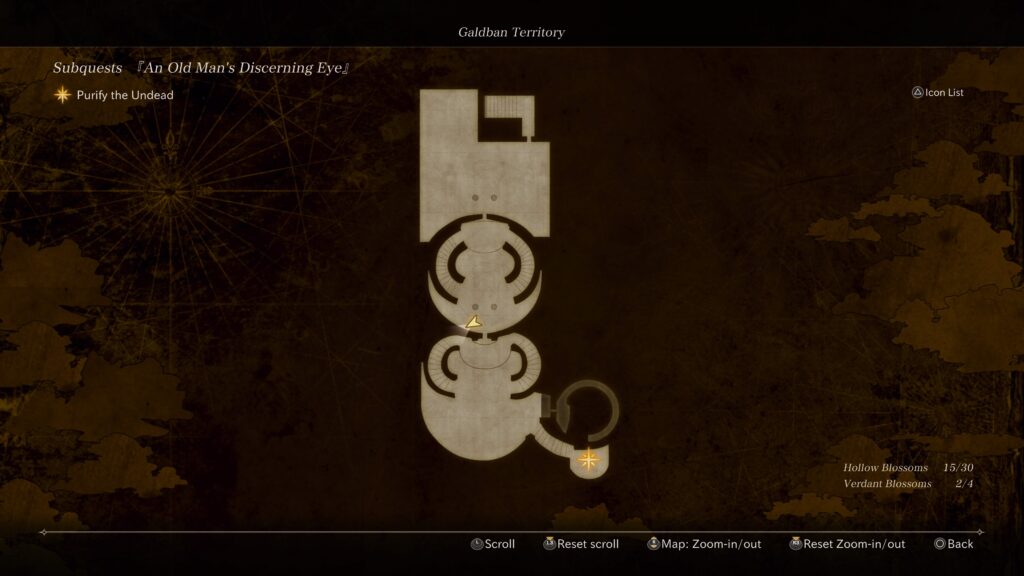
This blossom is tricky to reach and can be found on an interior platform with a chest across from a grand staircase in the palace during An Old Man’s Discerning Eye subquest. To reach it, equip the Baleygr spear. Stand on either side of the stairs (about 5 steps up from the bottom) then double jump towards the platform with the chest. At the tallest point of the second jump, hit the regular attack button followed by the heavy attack button. With the spear, this will cause you to lunge up onto the platform. It took us multiple tries before we finally made it but it is possible!


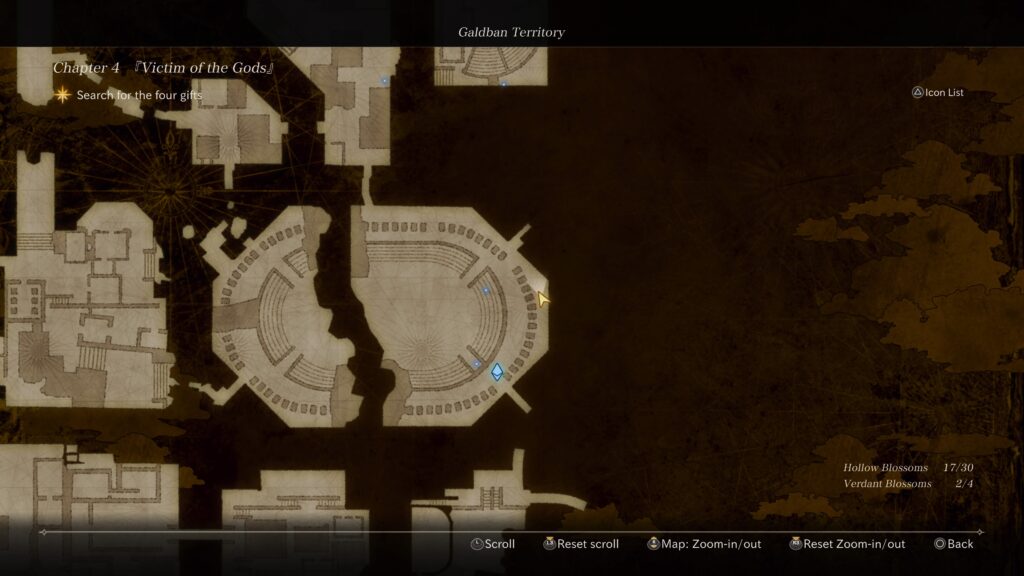
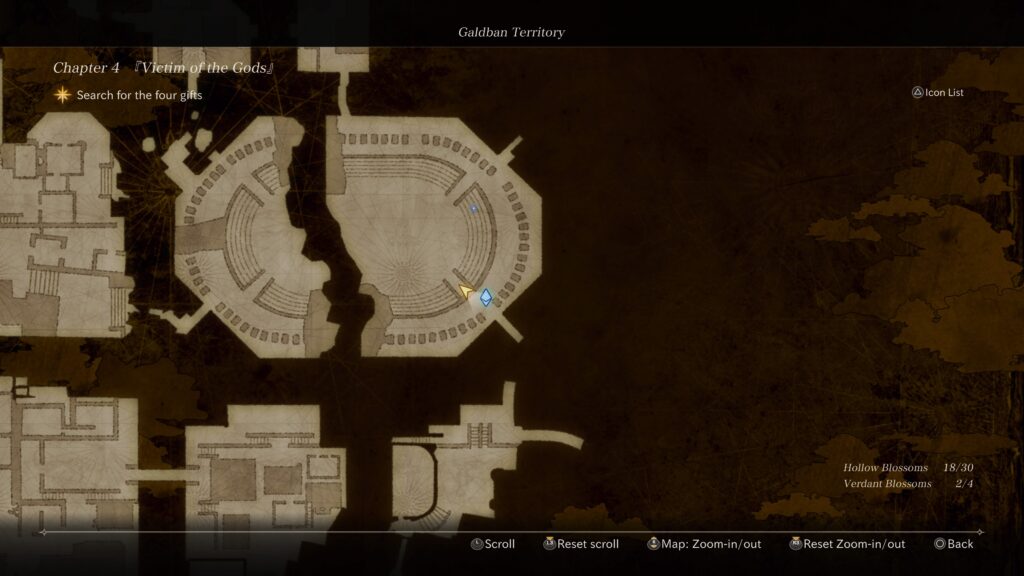
Chapter 4: Victim of the Gods

Unkept Bearded God

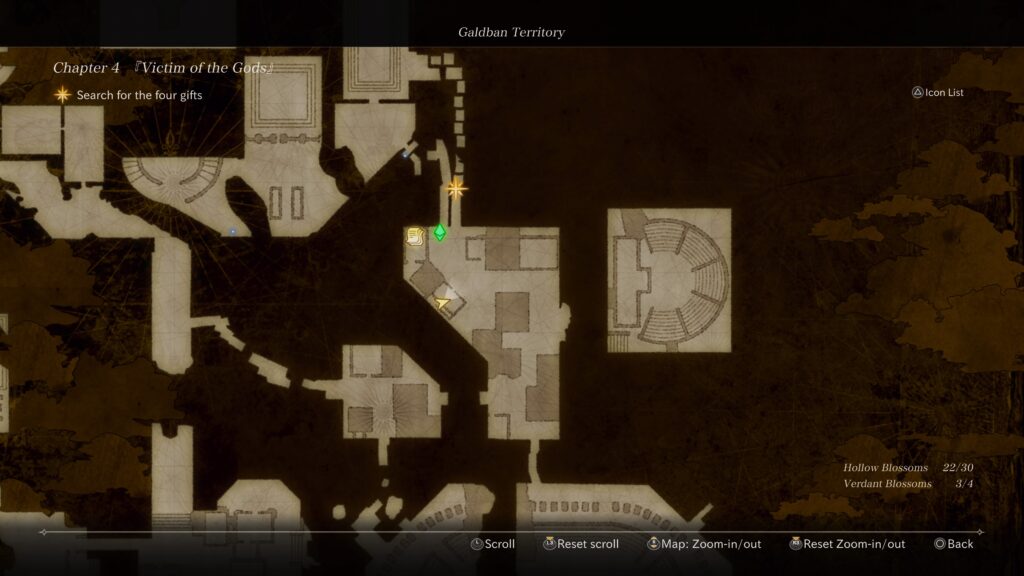
At the start of the chapter, head directly west up flight of stairs to find it on a balcony.


Frigid Wind Storyteller

From the first Storage Camp, head right to find it along the railing overlooking the water.


Servant Einar

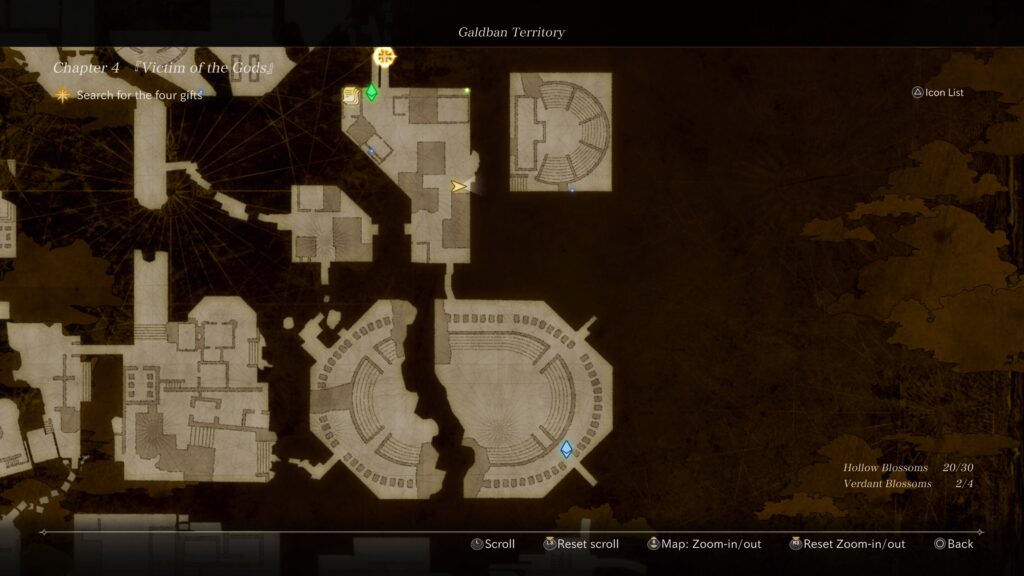
This blossom can be found in the stadium near the first Storage Camp.


Dusty Broker

This blossom can be found near the above blossom in the stands.


Theologian Fredrick

This blossom can be found southeast of the second Storage Camp.


Old Lodgings Landlady

This blossom can be found on the outside of the amphitheater east of the second Storage Camp.


Verdant Blossom

This blossom can be found directly east of the second Storage Camp.


High-Spirited Girl

This blossom can be found on a second level of the building directly south of the second Storage Camp.


Troubled Clergyman

This blossom can be found on a higher wooden platform north of the second Storage Camp. You’ll need to use a Soul Chain to reach it.


Big-Town Haberdashery

This blossom is located under the stairs next to the third Storage Camp just after the Hilde boss fight.


Girl Who Believed in the Future

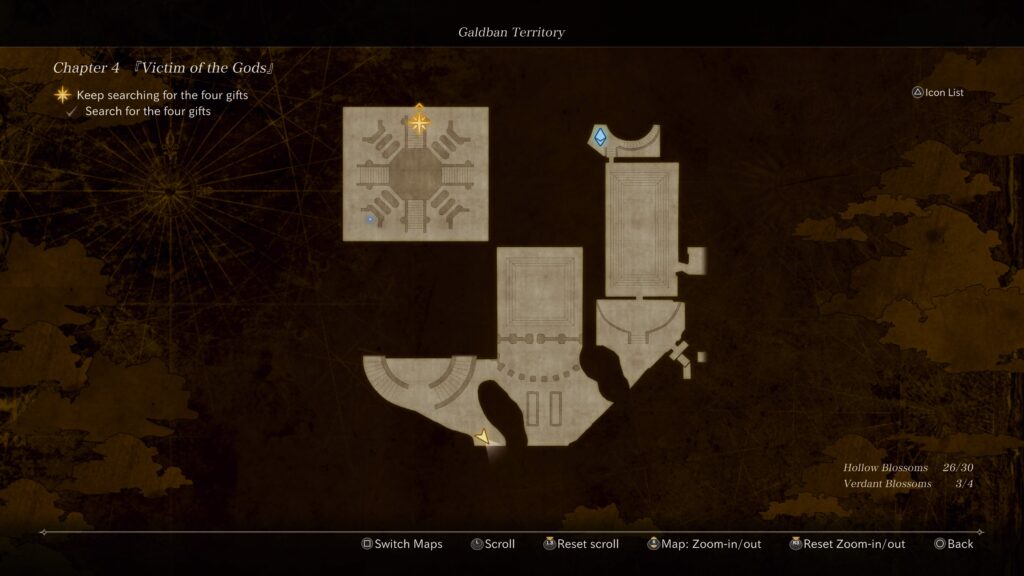
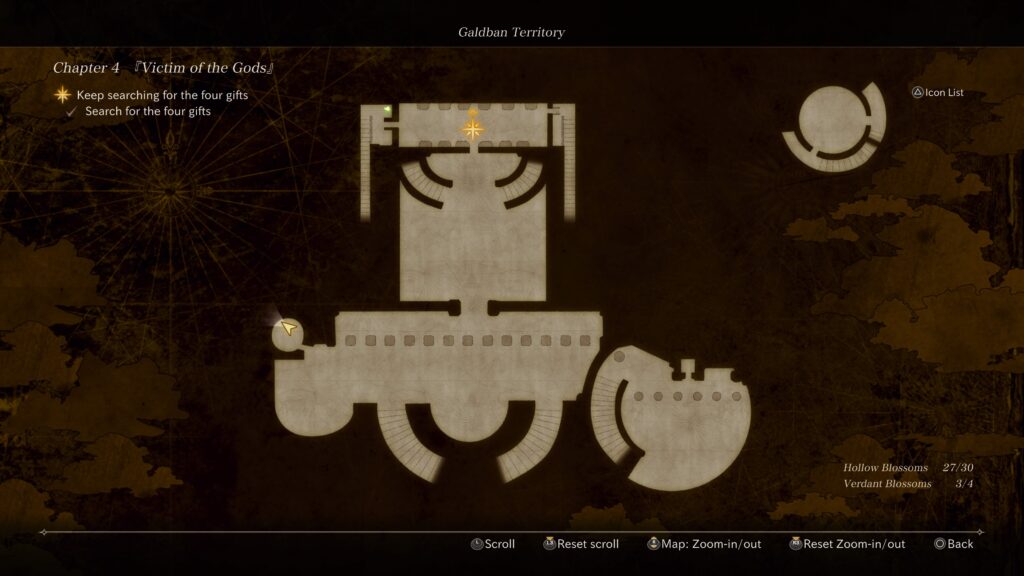
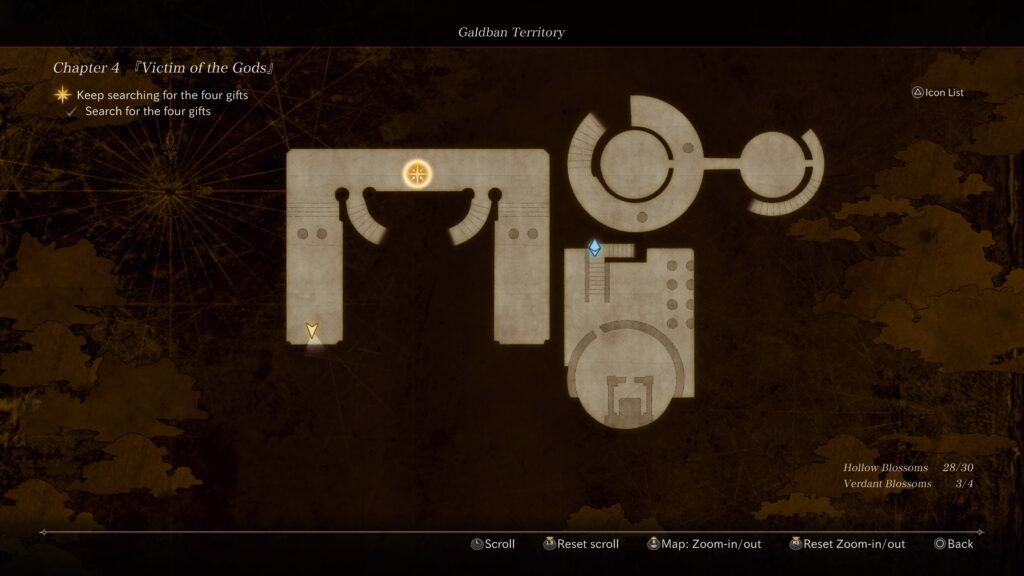
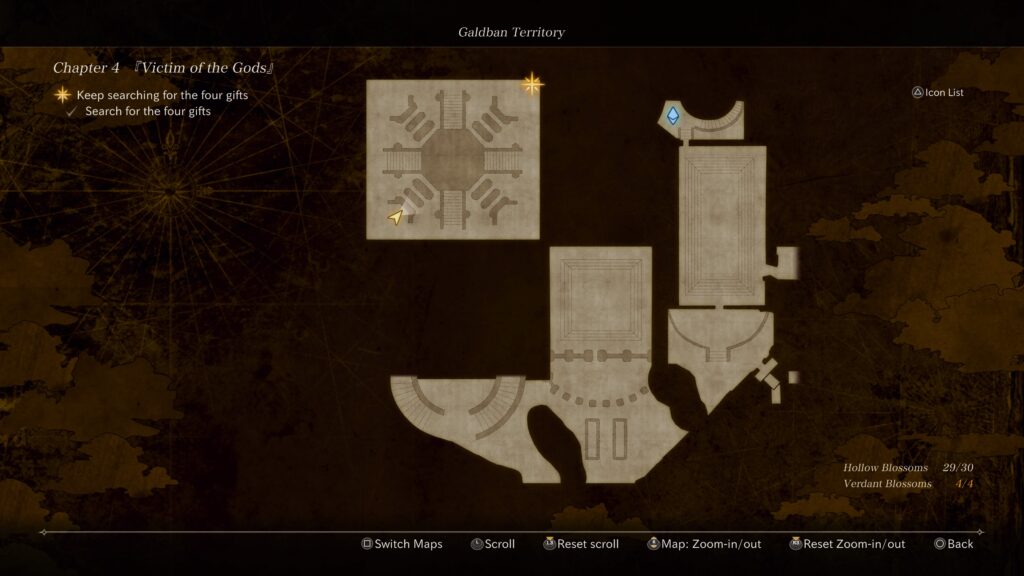
From the fourth Storage Camp, head down the stairs and enter the building at the end. Ride the elevator down. Exit the elevator and turn right. Head down the stairs and keep following the room, ignoring the exit to the right, to find the blossom.


Mountain Pass Asbjorn

From the previous blossom, exit the building and take a right. Head down the stairs on the left. At the bottom of the stairs, take a left and the blossom will be on the right between some debris.


The Red Scale’s Head Accountant

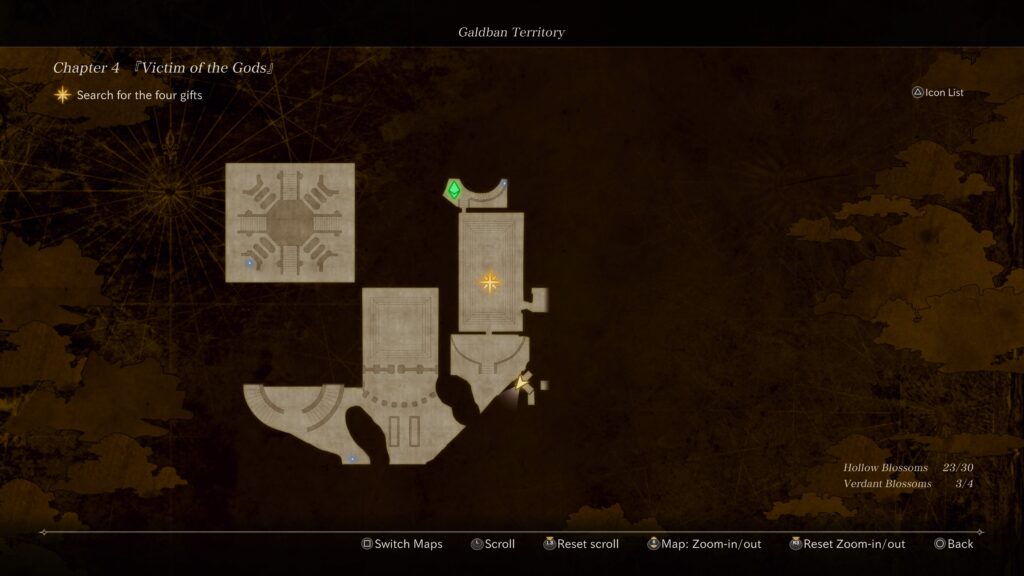
From the doors of the banquet hall, head south to exit this building then take a right. Head west to find another doorway. The blossom will be in this room behind a wooden table.


A Certain High-Level God

When facing the door of the banquet hall, head up the left set of stairs then follow the hallway left to find it at the end.


Verdant Blossom

When you enter the banquet hall, take a right and head down a small flight of stairs then a bigger flight of stairs. At the bottom of the stairs, follow the room to the right, keeping along the wall. This will bring you to another set of stairs on the west side of the room. Head up the stairs to find the item.


Dark Slate Faerie

This blossom can be found on the lower level of the banquet hall.


Crowned Battle Maiden

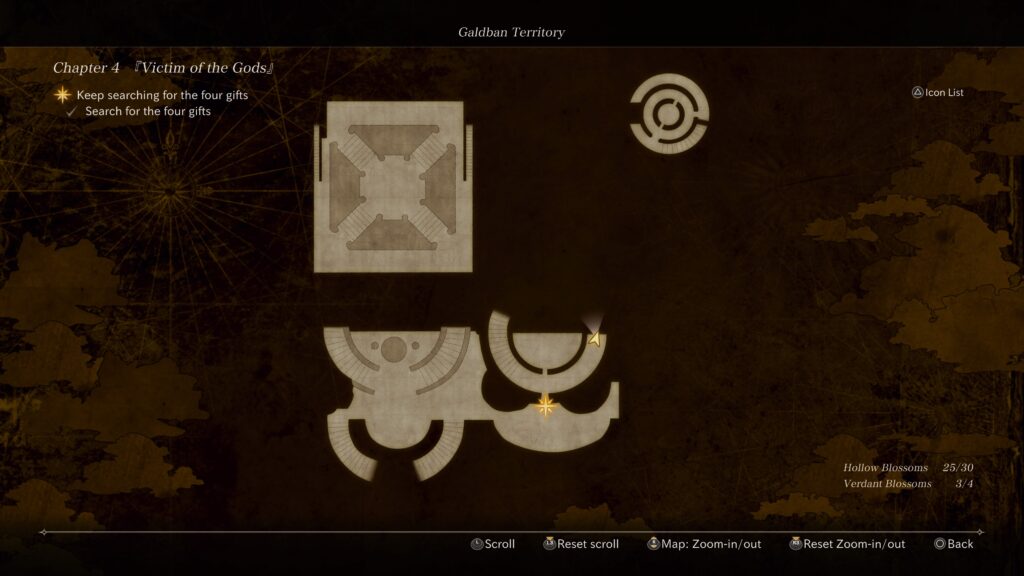
This blossom can be found after taking the elevator in the banquet hall down to the Underground Shrine of the palace.


Click here for the next guide on the location of the blossoms in the Lucardan Territory of Valkyrie Elysium!


Voice of Cards: The Beasts of Burden
Guides

Voice of Cards: The Beasts of Burden – Chapter 4 Walkthrough

by MrsChappie in


Below is a walkthrough for Chapter 4 in Voice of Cards: The Beasts of Burden.


Wasteland

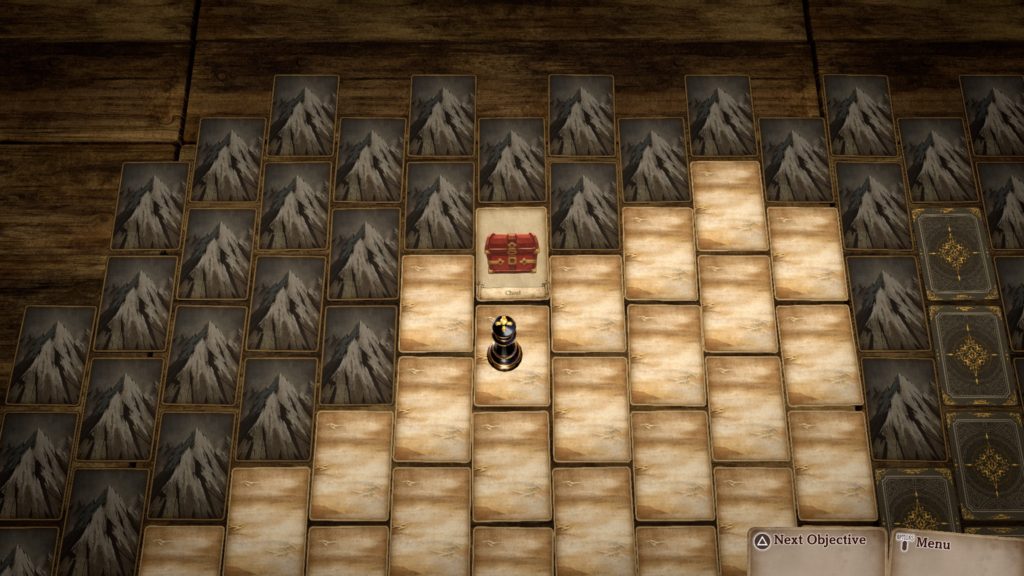
Once you gain control at the beginning of the chapter, head to the glowing sand card just southeast of the Lake of Fire. Cross the bridge then loot the chest to receive a Soothstone!

When you progress into the desert, a cutscene will trigger. Propose to remodel it! You’ll then have to check in with someone. Make your choice! We chose the female protagonist (Al’e) first. Head directly north to find an oasis. Interact with it then reflect on all your party members. A monster will show up! Select to fight him alone as it has a long, sturdy-looking pole that Pulche needs. Defeat the creature then select who you want to check in on next. We chose L’gol for this one. You’ll need to select where to search for the wheels. The correct answer is the Mine near Steelborough.


Mine

Once you’re teleported to the mine, follow the path to the mine cart and interact with it to trigger a fight. Defeat the monsters then select to check in on your last party member.


Wasteland

For us, it was Tralis. She was tasked with finding some durable cord. Head along the cards directly south of her until a cutscene triggers. You’ll be asked “What now?”. Select to “Look in Tralis’s Things”. With all three things gathered, return to Pulche to hand them over. He’ll turn the sandskiff into the Sandskiff Mk.II, which can traverse the rocky wasteland. When the cutscene concludes, continue west until another cutscene triggers! Select that the mysterious man is from the Circus! Ask him if there is somewhere to rest. Once he enters, head into the Roving Market.


Roving Market

Once in the Roving Market, speak with the Wandering Merchant to trigger an event. He’ll want to see a wolf with at least 2 stars. Choose to accept his request. We thankfully had one on us. Please note that the card cannot be equipped! If you don’t have one, keep fighting the wolf enemies until you obtain one from an after battle chest! As a reward, he’ll give you a Bill of Godly Fortune and an Apprentice Monster Tamer Certificate. This will earn you the Apprentice Tamer trophy! Next, he’ll want you to bring him an orc child with 2 stars or above. These monsters can be found in the Mine northwest of Steelborough. As a reward, you’ll receive the Numbstay Ring and the Rookie Monster Tamer Certificate! This will earn you the Rookie Tamer trophy!


While your in the market, check out the below shops!

  • Armorer
    • Steel Blades
    • Mercenary’s Sword
    • Magic Staff
    • Tamer’s Whip
    • Knight’s Armor
    • Steel Breastplate
    • Adventurer’s Attire
    • Ring of Protection
    • Firestay Ring
    • Waterstay Ring
    • Lightningstay Ring
    • Windstay Ring
    • Poisonstay Ring
    • Numbstay Ring
  • Item Shop
    • Salve
    • Quality Salve
    • Antidote
    • Curative
    • Defroster
    • Unsealer
    • Dispeller
    • Pepper-Upper
    • Serum
    • Inspirilixir
    • Bomb
    • Invigorant
    • Protectorant
    • Smoke Bomb
    • Bellwether
    • Bill of Good Fortune
  • Pet Shop
    • Slime
    • Iron Tortoise
    • Lesser Troll
    • Orch Child
    • Centaur
    • Wererat
    • Ogre


Wasteland

Explore the area to find the below!


Events

  • Pull the vines?
    • Heck yeah, I’m hungry!
      • With all my might
        • Receive Windstay Ring!
      • Easy does it
        • Receive Windstay Ring!
    • Nope, that sounds like work.
  • Treasure Map
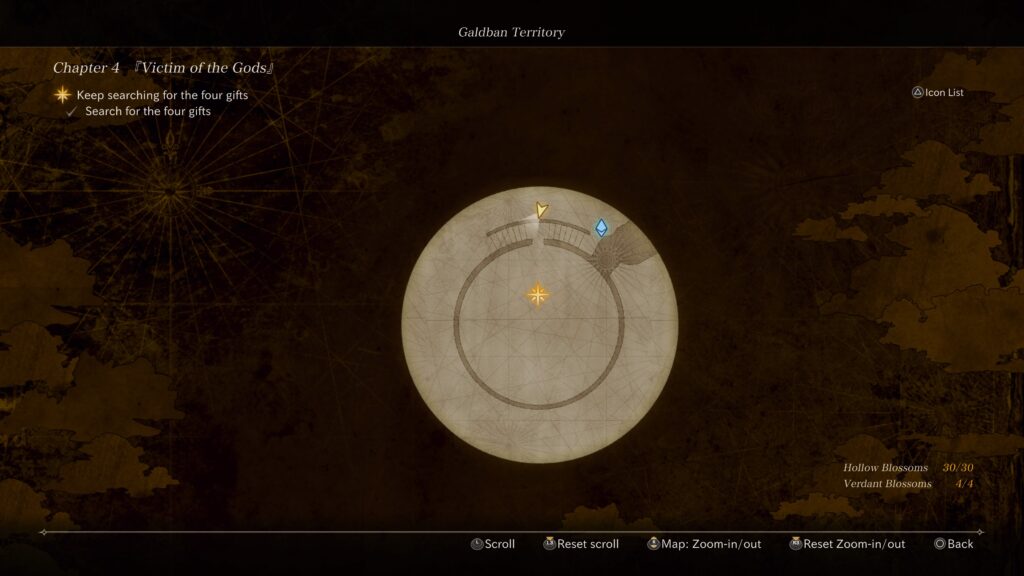
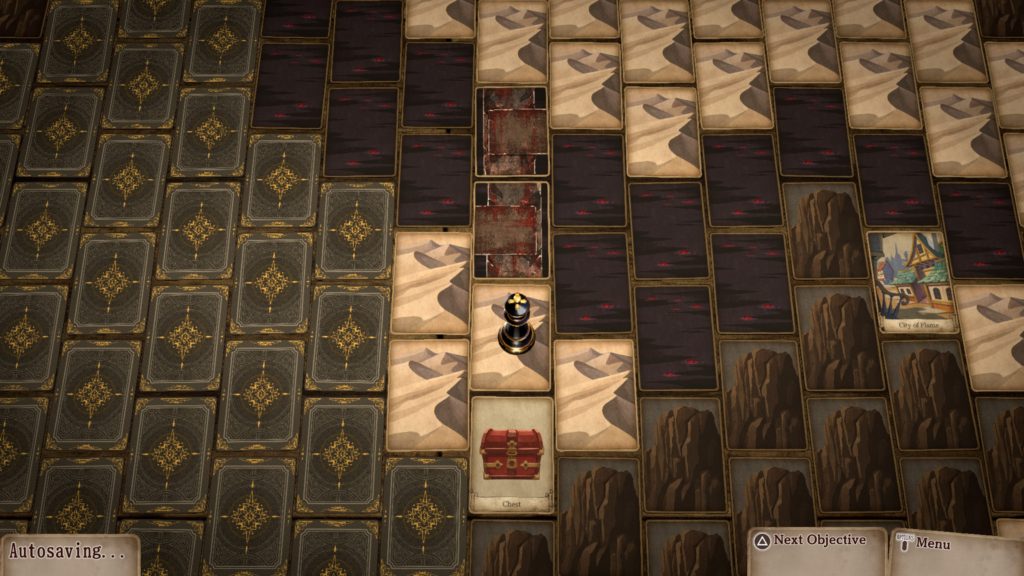
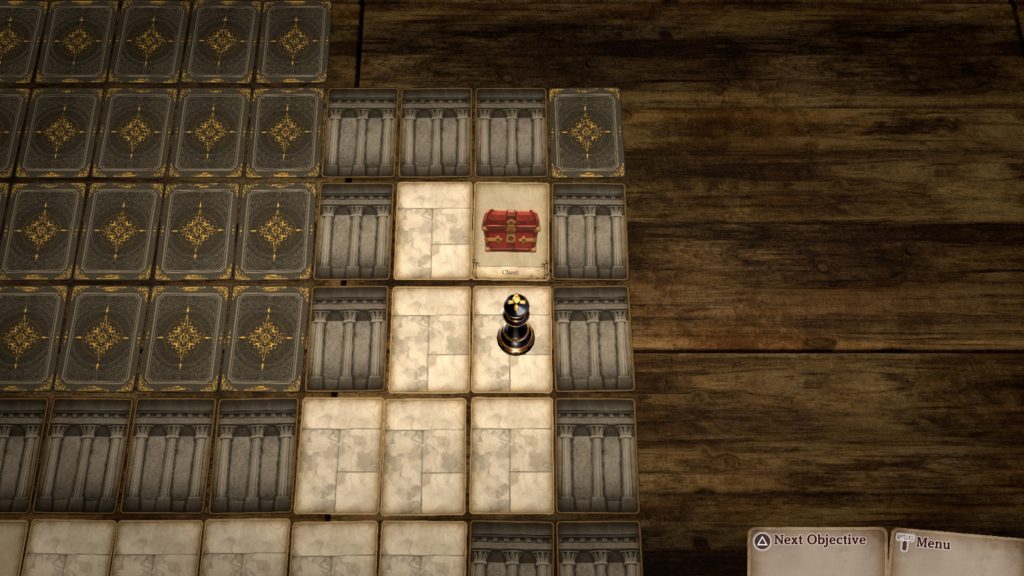
    • Head to the card as shown in the image below just northwest of the Village of Light to find the location of the hidden treasure. (The Treasure Map was previously obtained in Chapter 3 at the Lake of Flame. For a guide on where to find this item, click here!) You’ll receive the Ring of Compassion!

  • Spot monster (2 red, black and white balls) through a telescope. It’s a Wererat!
    • Attack
      • Receive 500G
    • Sneak up on it
      • Triggers fight with Wererat
    • Ignore it
  • Spot monster (Voltwasp) through a telescope.
    • Attack
    • Sneak up on it
      • Enemy takes off
    • Ignore it


Chests

  • 1200G
    • Southwest of the Roving Market along the cliffs

  • Quality Omnisalve
    • North of the Village of Light along the map’s northern edge

  • Chunky Gold Nugget
    • Southeast of the Ruined Edifice


Village of Light

Once you’re done exploring the Desert, attempt to enter the Village of Light to trigger a cutscene followed by a fight with 3 monsters. Defeat them then enter the village once more. Select either option first as you’ll have to eventually select both to progress the cutscene. Now that you can explore the town, do so to find the below!


Characters

  • Boy in Flower Crown’s flipside story
  • Mature Woman’s flipside story
  • Amicable Old Man’s flipside story


When you’re ready to progress, speak with the Amicable Old Man on the north side of the village then head south and exit the town to trigger a cutscene. Afterwards, head to the Shrine of Light on the north side of town. When speaking with the Mysterious Girl, select that a Guru is a teacher. We chose that Tralis is a friend to be treasured! Before leaving check on Tralis. When you’re ready, exit the town and head north to find the Ruined Edifice.


Ruined Edifice

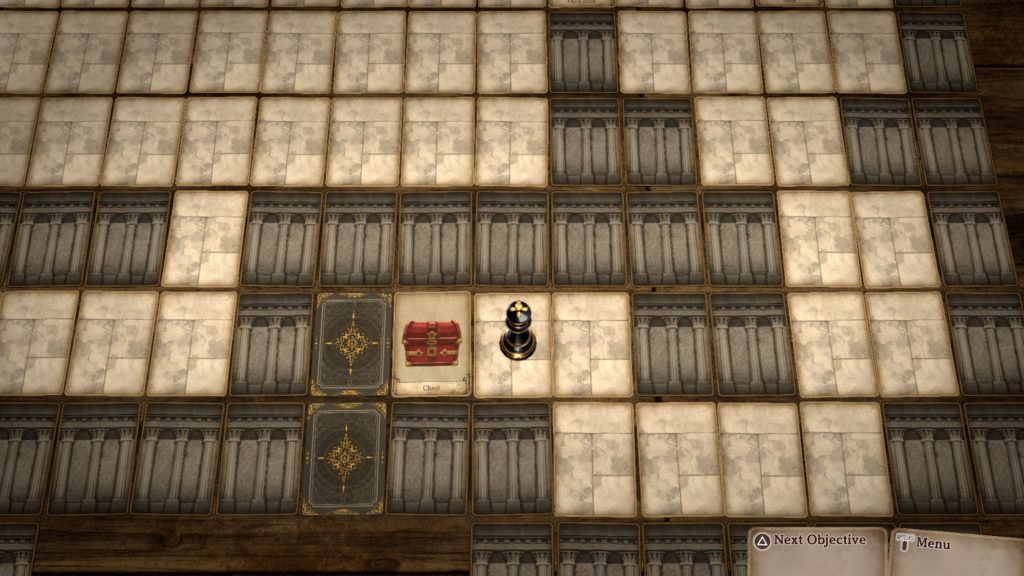
Enter the ruins then make your way all the way to the northeastern corner to find a chest containing an Omnisalve.

Afterwards, head to the northwestern side of the room to find a set of stairs leading to Ruined Edifice 2F.

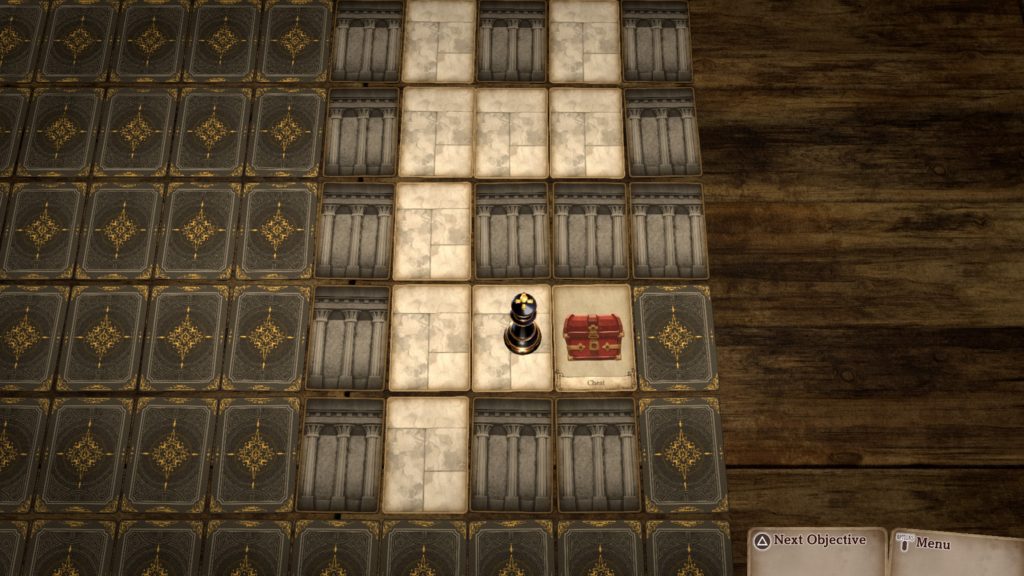
Take the stairs then work your way around the room by first heading south. When you approach the area with three arrows on the floor, you’ll have to interact with the arrows to move the statue onto the empty pedestal. You won’t be able to move the same arrow twice in a row so keep that in mind when you reach the top. You’ll have to go up to get to the last row then go right then left then up. With the door now open, head on through. In this new area, head south to find a chest containing a Lightningstay Ring.

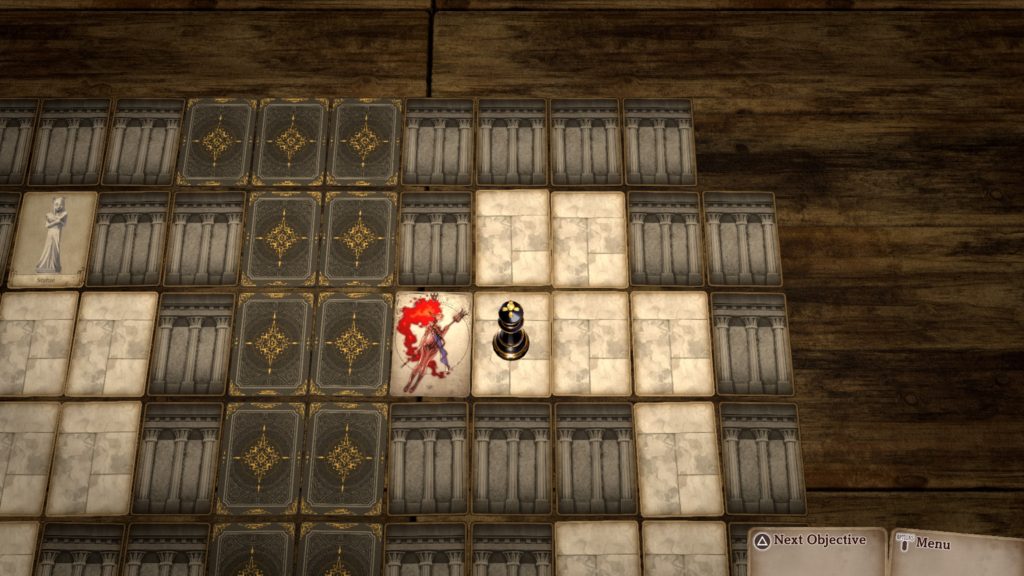
Afterwards, head north to find the way forward. You’ll need to interact with the monster card blocking the stairs to trigger a fight then defeat the monsters.

Once clear, head up the stairs to reach Ruined Edifice 3F. Follow the path to reach a chest on the eastern side of the area containing 1500G.

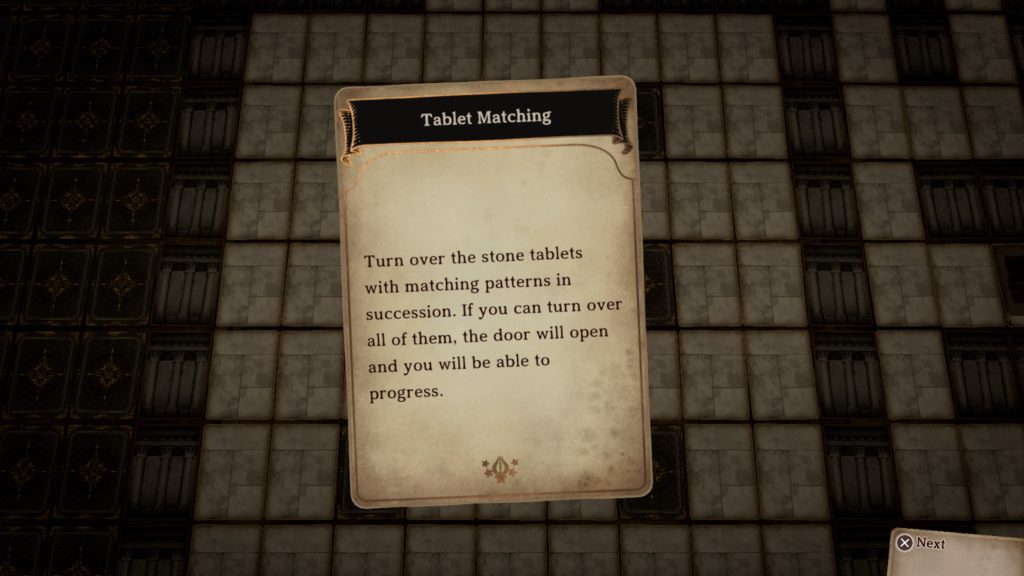
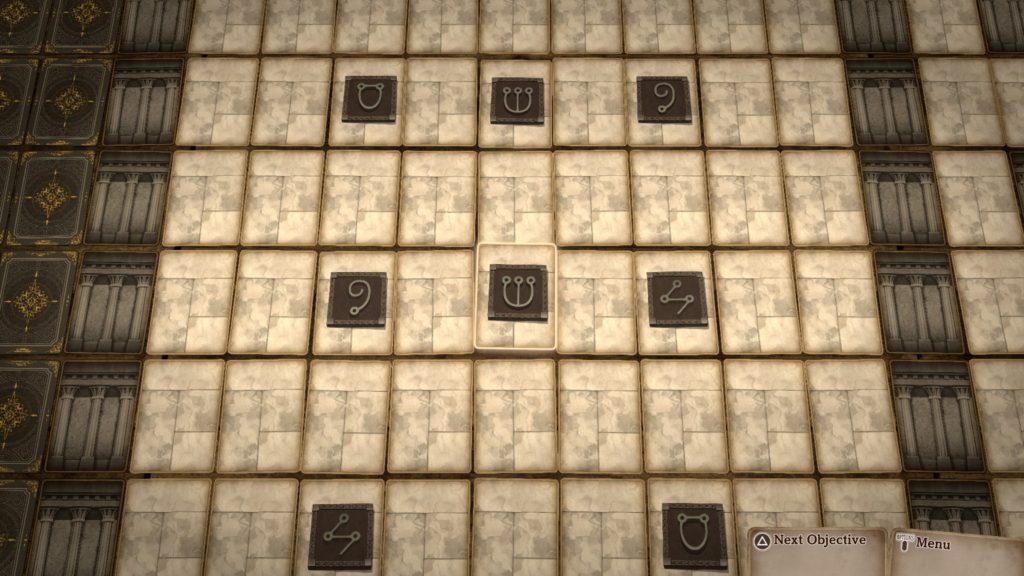
As you follow the path, you’ll reach the Tablet Matching mini game in the center of the area.

For us, this was where the stone tablets move to.

After you’ve successfully matched all the tablets, proceed through the door and continue following the path until you eventually reach a set of stairs on the western side. Take them to Ruined Edifice 4F as there are no other chests on this floor. On this floor, head south then follow the path directly east, going past the statues. At the end, curve up to the north to find a chest containing a Lightstay Ring.

Return to the 2 statues and head north between them. Approach the glowing card to trigger a fight with a monster that has 20 Attack, 220 HP and 15 Defense. It’s weak to fire and has a move that will deal lightning damage to all allies. Defeat it then leave to Ruined Edifice and return to the Village of Light!


Village of Light

Once in the village, enter the Shrine of Light and speak with the Guru. After speaking with her, leave the shrine then interact with all the bodies. Afterwards, rush back to the Shrine of Light to complete the chapter.


Click here for the next walkthrough for Chapter 5 in the Voice of Cards: The Beasts of Burden!


Fire Emblem Warriors Three Hopes
Guides

Fire Emblem Warriors: Three Hopes – Scarlet Blaze: Ch. 4 Support Points

by MrsChappie in


In Fire Emblem Warriors: Three Hopes, support points signify the strength of a bond between two units. Units gain support points by giving appropriate answers in conversations, performing actions that make the other happy, or heading into battle together. The options that grant support points during the Scarlet Blaze: Part I – Chapter 4 – The Struggle Commences are shown below in this pinky purple color. Please note that we chose the Black Eagles House for this playthrough. For guides on other houses, click here!
 

Cutscene – After start of act

Monica

  • Accept the offer enthusiastically.
  • Hesitate.


Camp

Jeritza

  • Express surprise.
  • Say you had a feeling.


Petra

  • N/A


Bernadetta

  • Say she was guided by her heart.
  • Try to comfort her.


Ferdinand

  • Tell him you’ll do your best together.
  • Stare at him in confusion.


Manuela

  • Say you find that reassuring.
  • Tell her that sounds a bit dodgy.


Caspar

  • Share in his bloodlust.
  • Claim you’re not interested.


Monica / Linhardt

  • Side with Monica. (increases Monica)
  • Side with Linhardt. (increases Linhardt)


Dorothea

  • Say that they were only acquaintances.
  • Empathize with her plight.


Hubert

  • N/A


Edelgard

  • N/A


Cutscene – After major battle at the end of the chapter

Arval

  • Nod in agreement.
  • Scold Arval.


Click here for the next walkthrough for Scarlet Blaze: Part I – Chapter 5 – Skirmish in the Fog in Fire Emblem Warriors: Three Hopes!


Eastward
Guides

Eastward – Chapter 4 Heart Orb Locations

by Chappie in


Below is a guide on where to find the Heart Orbs in Chapter 4 of Eastward.


Lower Dam

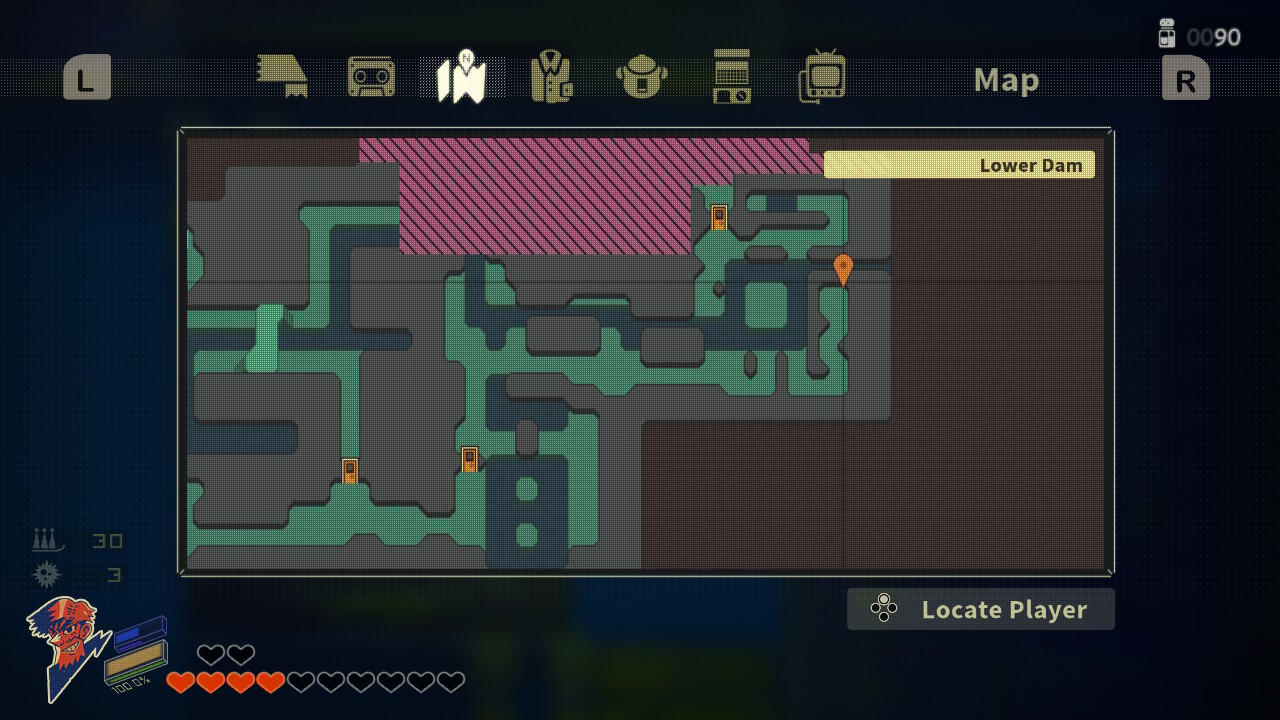
This Heart Orb can be found in a room containing a central platform surround by water and a raft that moves around it. You’ll come here during the Second Wave quest. You’ll need to take the raft to the southeastern part of the room to reach the chest with the orb.


Eastward
Guides

Eastward – Second Wave Walkthrough

by Chappie in


Below is a walkthrough for the Second Wave Chapter 4 quest in Eastward.


Deliver Lunch to Alva and Isabel

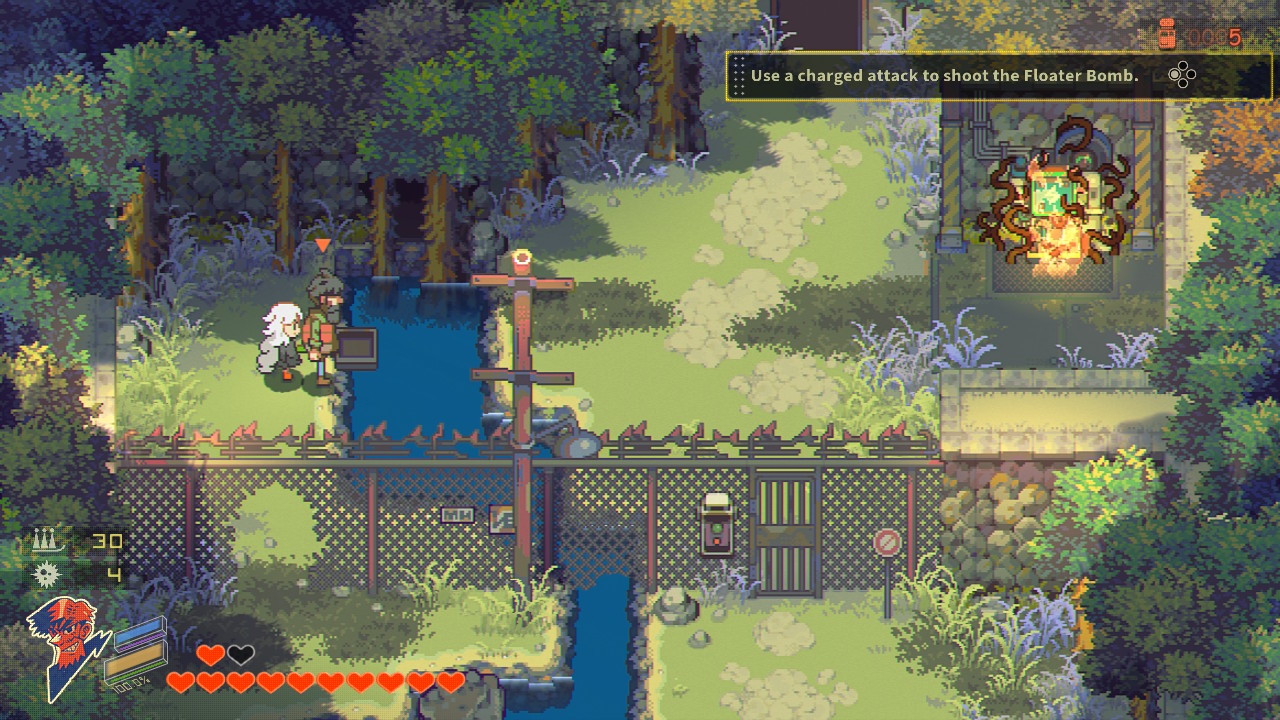
Exit Rocket Mansion and head to the Wind Shrine for a dialog event. When it concludes, make your way to the City Outskirts south of New Dam City then follow the path right to reach the next area. Head north up the stone steps to trigger a dialog event ending with you receiving the Floater Bomb. Use the western path heading through the broken section of the chainlink fence then use your charged attack to hit the floater bombs at the generator (the bombs are not the most cooperative, so it may take a couple of tries to get it close enough). Now head through the newly opened gate and proceed to the next area for a dialog event.


Hurry to the Control Room

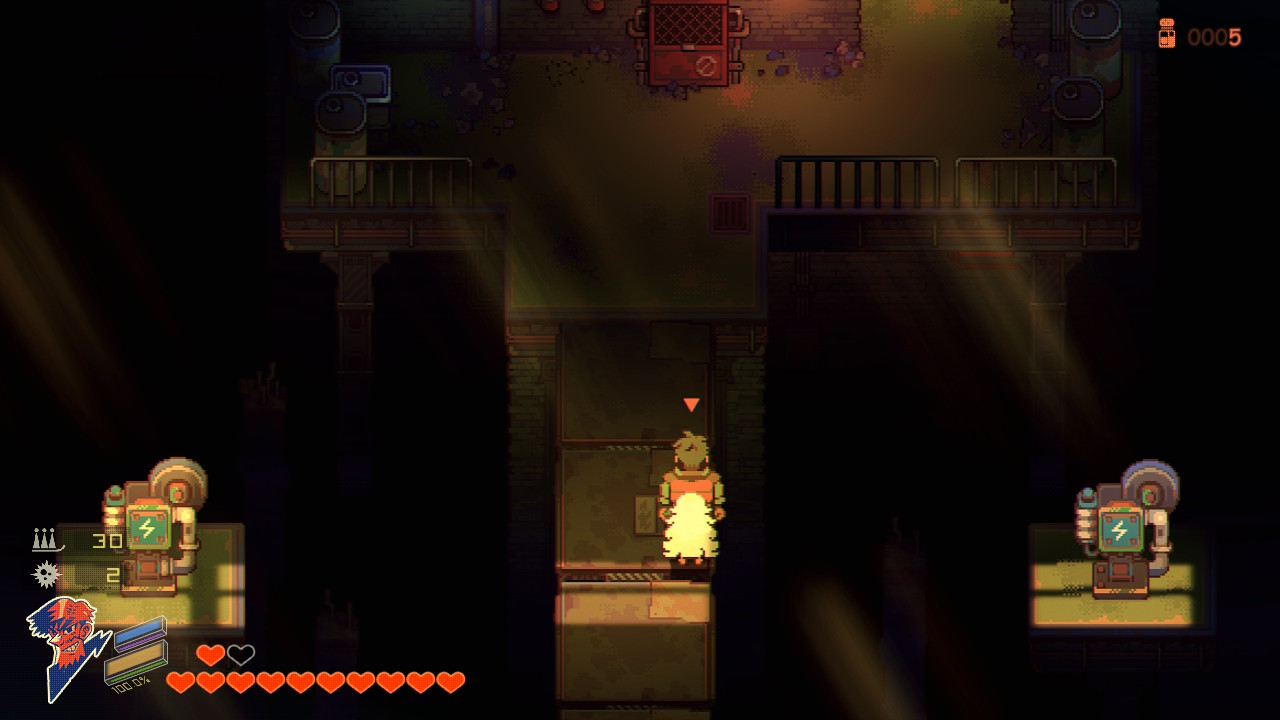
When you gain control of John and Sam, head through the door then use your floating bombs to burn the vines on the two generators. This will raise a bridge allowing you to cross. In the next area, head through the northern doorway to find some barrels you can smash. Return to the previous room and take the elevator down. Go west to reach the next area then head through the doorway for a quick dialog event. When it’s over, use Sam to take out the turrets and head into the next area.

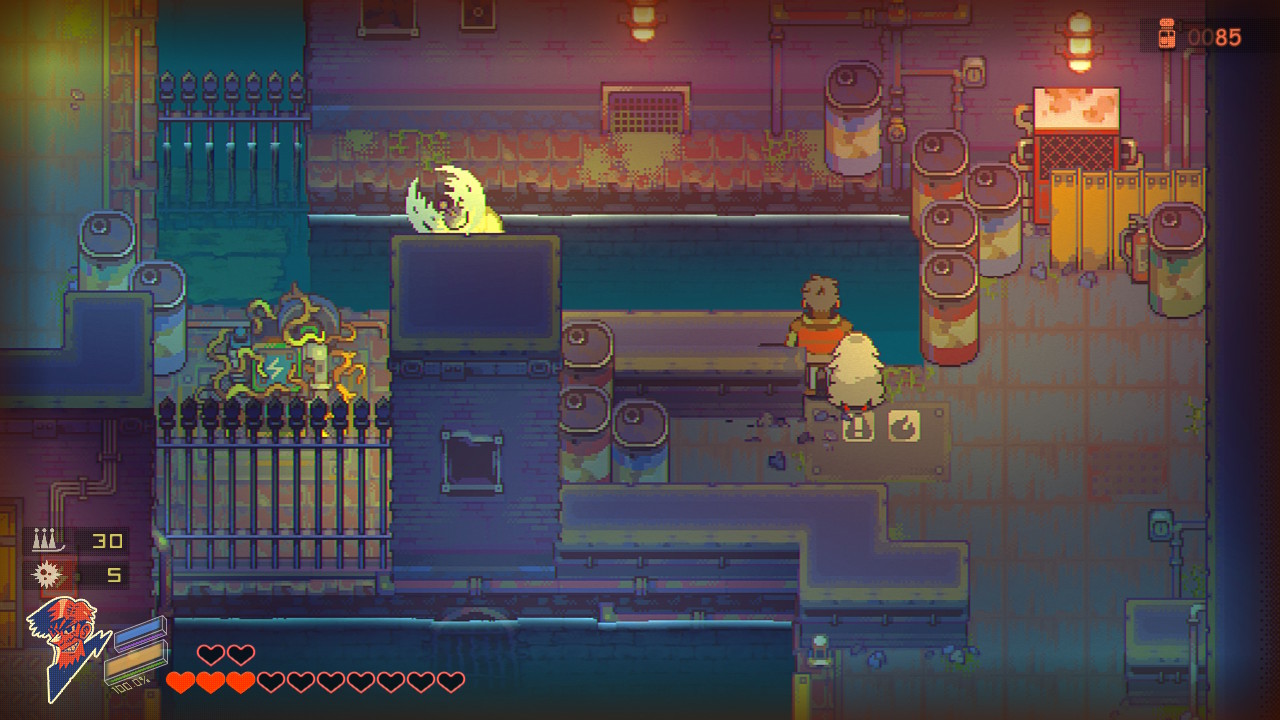
In this room, you’ll need to separate Sam and John using one to operate the elevator while the other rides it. Repeat this until both of them are at the top then head through the doorway.  In the next room, turn on the light switch then head to the eastern side of the room. Use Sam to operate the switch. This will cause a bridge to appear. Cross it as John then hit the switch with Sam. Go down the nearby stairs with John to open a chest containing a gear part. Head back up the stairs, flip the switch with Sam and bring her over to John. You can then head north to reach the next area. Use a floating bomb to burn the vines off of the generator on the right side of the room. Continue working towards the next area to trigger a dialog event.

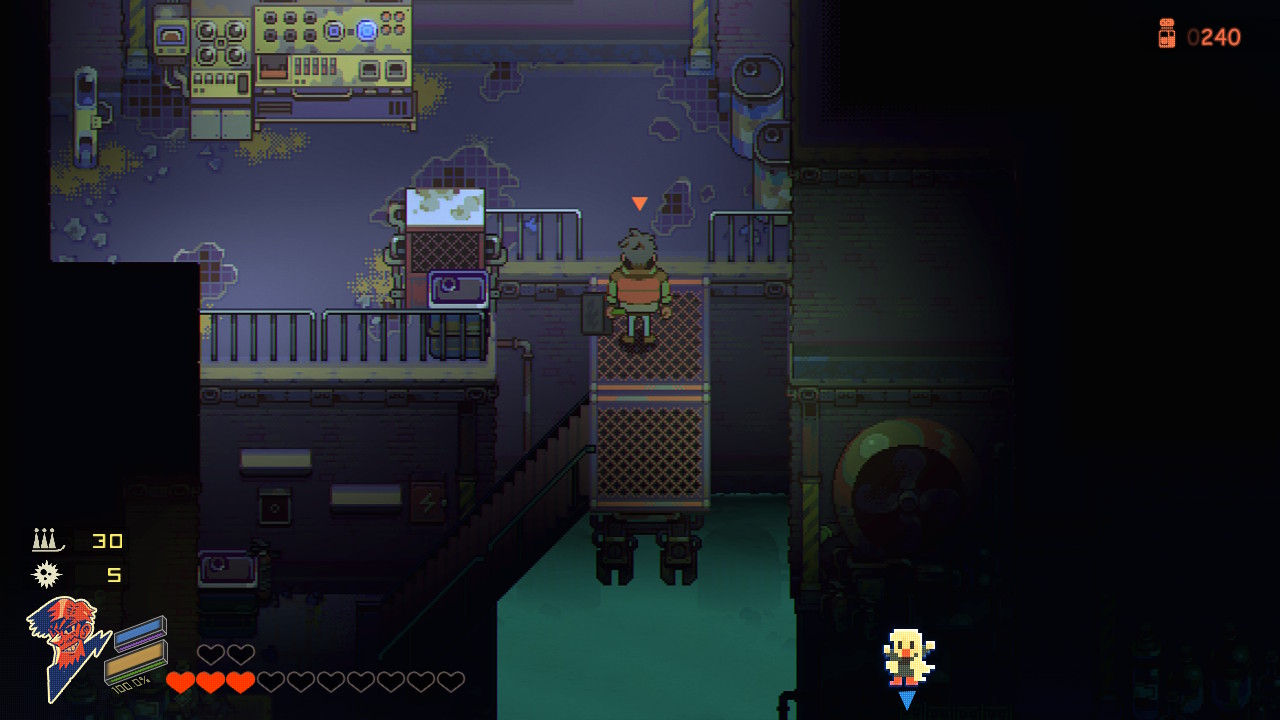
Follow the left path to reach the Lower Dam. Take the elevator down then head to the east side of the room. Flip the switch there to cause a raft to show up allowing you to cross the water. Use the southern doorway to reach the next area. Deal with the enemies in here then head east to the next area. Hop on the raft and use it to reach the other side of the room. Activate the switch to drop the dam then use the raft to reach the northeastern dock. Drop and hit a floating bomb along the water to take out the vines on the generator. Now use the raft to reach the northwestern dock and head through the door. Work your way through the next two areas to reach a room with a platform in the middle surrounded by water. Sperate Sam and John, placing John on the raft and use Sam to activate the switch on the platform. When John reaches the northwestern corner, exit the raft and destroy the creates on the left side with a regular bomb. Then work the switch there to get Sam over her. Let Sam take over with the switch and move John back to the raft. Send John to the northeastern corner, then use a floating bomb to burn the vines on the generator. Head back on the raft and flip the switch with Sam. This should put you along the southeastern part of the room. Exit the raft and follow the path to find a chest with a Heart Orb. Move John back to Sam, then head through the newly unlocked doorway.

In the next area, when you reach the middle of the room, you’ll be ambushed by enemies. Take care of them then head to the next area looting the chest with 3 onions on your way out. When you reach the next area, push the big red button then exit through the southern door. Follow the path backtracking to the Central Sluice. When you reach the cart with creates stacked on it, pull it back to find a hidden path on the other side leading to a chest with 100 salt.


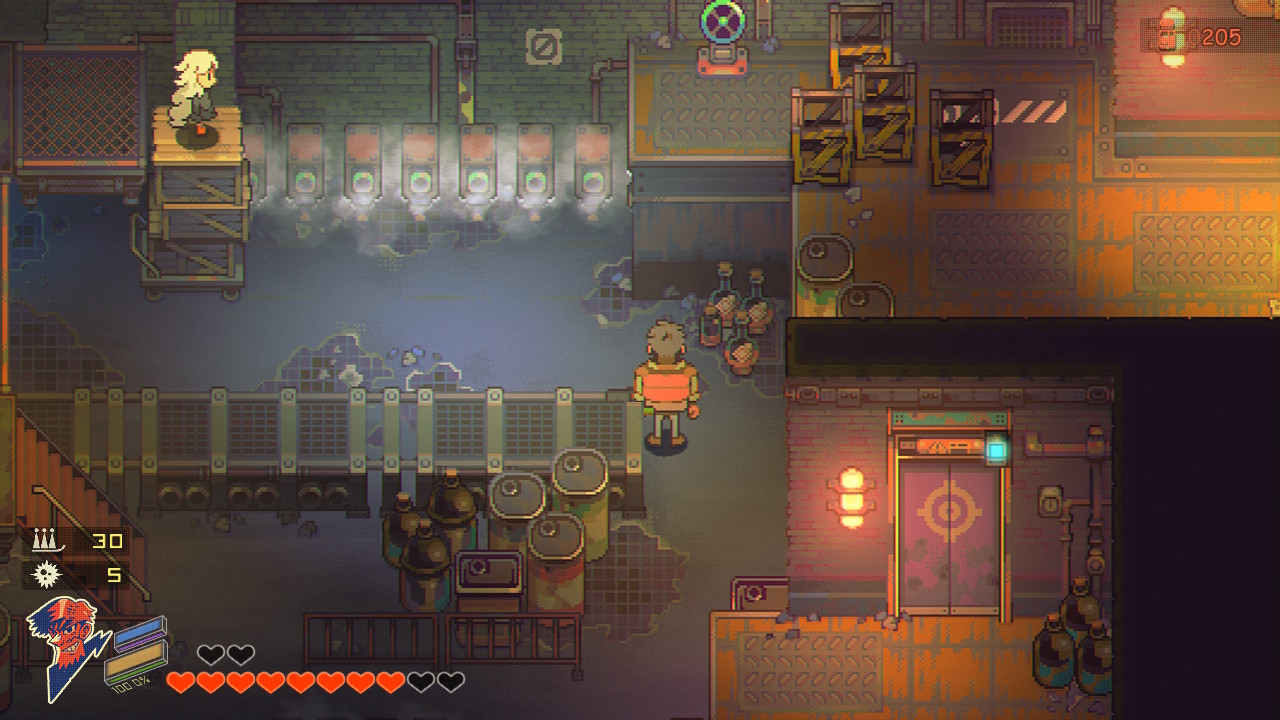
When you reach the Central Sluice, follow the right path to arrive at the Upper Dam. Take the elevator to reach the next area. Dodge the steam to reach the row of steam jets in the back of the room. Separate John and Sam then take Sam up the stairs and placing her on top of the cart. Push her to the other side with John, then use Sam to turn off the steam. You can now bring John through the door on the eastern side of the room and head to the next area. Work your way through the next three rooms coming to a big open room. When you enter it you’ll have to face a mini-boss. Defeat it then head to the next room and push the big red button. Return to the Central Sluice grabbing the chest with 3 daikons on the way.

Head through the Central Sluice doorway and going up the stairs to reach the Dam Central Core. Follow the path west until you reach the dark-covered room with the two red switches. You’ll want to send John down the stairs then head north up the dam. Use the stairs to go up then switch to Sam and have her activate the red switch on the right. Cross over the dam with john and head up the stairs to reach a switch. Press the switch to fill part of the dam with water. Return to Sam and make sure the switch is green. Follow the path south to reach the next area. Cross over the dam then flip another switch to open the Central Sluice. This will trigger a dialog event.

Head through the newly opened door then take the stairs up. Use Sam to get the past turrets then take the elevator in the next room up. Head through the door at the top reach the area just outside the control room. Use this time to heal up and save then enter the control room for a dialog event. Head through the northern door of the control room for another dialog event leading to a boss fight! There are two phases to this boss. The first involves the boss charging up then punching you. Your goal here will be to shoot it with Sam’s power to stun it then push it off the ledge using John’s frying pan. After doing this a couple of times, the balloons on its arms will pop starting phase two where the boss will start shooting lasers from its eyes. You’ll need to dodge them until its eyes turn green, then hit it with Sam’s power. After a couple of times, you’ll stun the boss and be able to take him out. Throughout the fight, the boss will spawn ads that explode as they approach you, so do your best to dodge them. When the boss is defeated a dialog event triggers.


Click here for The Aftermath quest guide!


Eastward
Guides

Eastward – The Wind God Walkthrough

by Chappie in


Below is a walkthrough for The Wind God Chapter 4 quest in Eastward.


A Bad Dream

Head through the village talking with the villagers as you go. When you’re finished, exit the village and head south to trigger a dialog event.


Head to the Wind Shrine

Leave Rocket Mansion and head to Princess Avenue for a dialog event. Make your way to the Wind Shrine west of Princess Avenue and enter the building for another dialog event. You’ll now want to head to the control room, but feel free to save and stock up on healing items along the way. When you enter the Dam Control Room, a dialog event will trigger.


To the Coin Palace

Leave the Wind Shrine and head for the Coin Palace. Speak with the Dorkus and Malorkus to learn that Jasper is missing and could still be in the park.


Track Down Jasper

Go to Central Park west of Uptown for a dialog event then defeat the enemies there.


Back to the Coin Palace

Return to the Coin Palace for another dialog event.


Track Down the Two Brothers

Head to the Dragon Market for a couple of dialog events. You’ll also have to face a couple of enemies during the dialog events as well.


Back to the Control Room

Make your way back to the control room at the Wind Shrine. When you reach Princess Avenue, a dialog event triggers. After it concludes, head to the control room for another dialog event.


Click here for the Second Wave quest guide!