Below is a walkthrough for Chapter 4 in Voice of Cards: The Beasts of Burden.
Wasteland
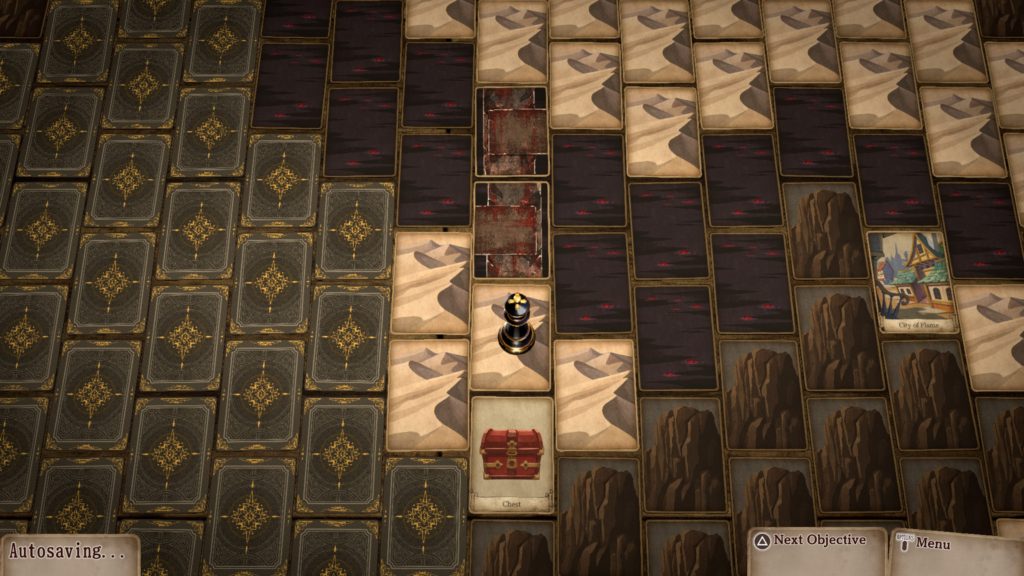
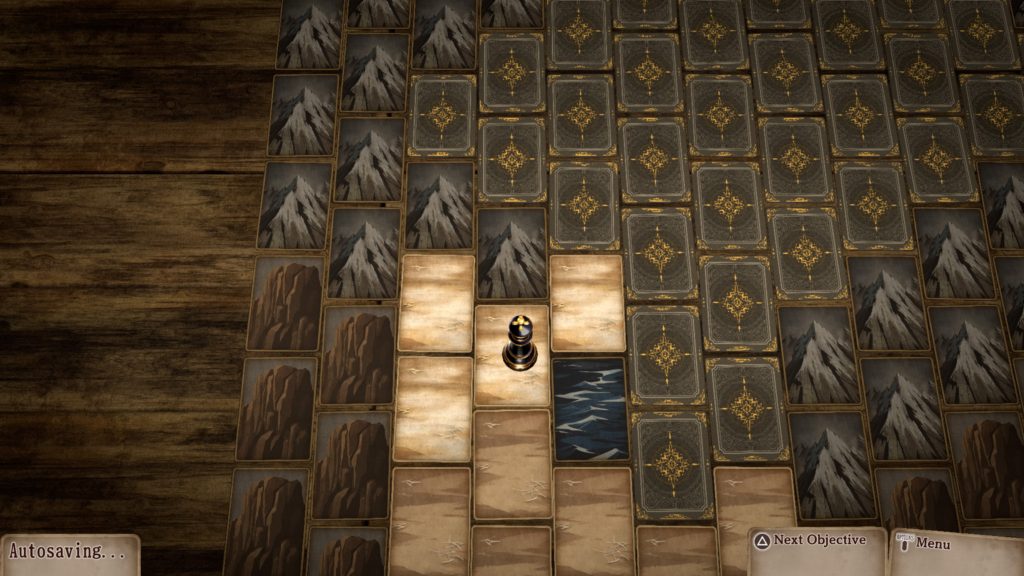
Once you gain control at the beginning of the chapter, head to the glowing sand card just southeast of the Lake of Fire. Cross the bridge then loot the chest to receive a Soothstone!
When you progress into the desert, a cutscene will trigger. Propose to remodel it! You’ll then have to check in with someone. Make your choice! We chose the female protagonist (Al’e) first. Head directly north to find an oasis. Interact with it then reflect on all your party members. A monster will show up! Select to fight him alone as it has a long, sturdy-looking pole that Pulche needs. Defeat the creature then select who you want to check in on next. We chose L’gol for this one. You’ll need to select where to search for the wheels. The correct answer is the Mine near Steelborough.
Mine
Once you’re teleported to the mine, follow the path to the mine cart and interact with it to trigger a fight. Defeat the monsters then select to check in on your last party member.
Wasteland
For us, it was Tralis. She was tasked with finding some durable cord. Head along the cards directly south of her until a cutscene triggers. You’ll be asked “What now?”. Select to “Look in Tralis’s Things”. With all three things gathered, return to Pulche to hand them over. He’ll turn the sandskiff into the Sandskiff Mk.II, which can traverse the rocky wasteland. When the cutscene concludes, continue west until another cutscene triggers! Select that the mysterious man is from the Circus! Ask him if there is somewhere to rest. Once he enters, head into the Roving Market.
Roving Market
Once in the Roving Market, speak with the Wandering Merchant to trigger an event. He’ll want to see a wolf with at least 2 stars. Choose to accept his request. We thankfully had one on us. Please note that the card cannot be equipped! If you don’t have one, keep fighting the wolf enemies until you obtain one from an after battle chest! As a reward, he’ll give you a Bill of Godly Fortune and an Apprentice Monster Tamer Certificate. This will earn you the Apprentice Tamer trophy! Next, he’ll want you to bring him an orc child with 2 stars or above. These monsters can be found in the Mine northwest of Steelborough. As a reward, you’ll receive the Numbstay Ring and the Rookie Monster Tamer Certificate! This will earn you the Rookie Tamer trophy!
While your in the market, check out the below shops!
- Armorer
- Steel Blades
- Mercenary’s Sword
- Magic Staff
- Tamer’s Whip
- Knight’s Armor
- Steel Breastplate
- Adventurer’s Attire
- Ring of Protection
- Firestay Ring
- Waterstay Ring
- Lightningstay Ring
- Windstay Ring
- Poisonstay Ring
- Numbstay Ring
- Item Shop
- Salve
- Quality Salve
- Antidote
- Curative
- Defroster
- Unsealer
- Dispeller
- Pepper-Upper
- Serum
- Inspirilixir
- Bomb
- Invigorant
- Protectorant
- Smoke Bomb
- Bellwether
- Bill of Good Fortune
- Pet Shop
- Slime
- Iron Tortoise
- Lesser Troll
- Orch Child
- Centaur
- Wererat
- Ogre
Wasteland
Explore the area to find the below!
Events
- Pull the vines?
- Heck yeah, I’m hungry!
- With all my might
- Receive Windstay Ring!
- Easy does it
- Receive Windstay Ring!
- With all my might
- Nope, that sounds like work.
- Heck yeah, I’m hungry!
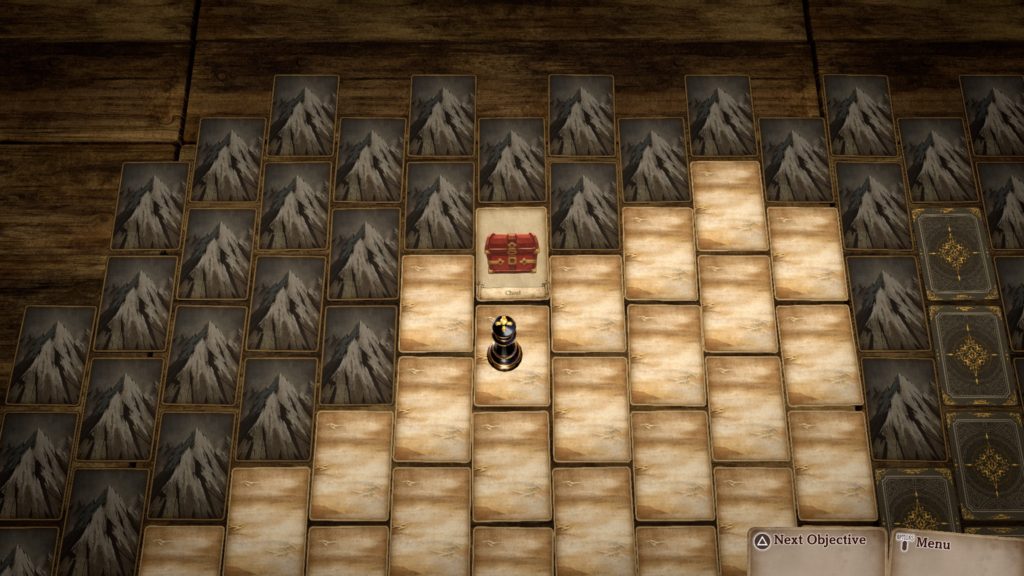
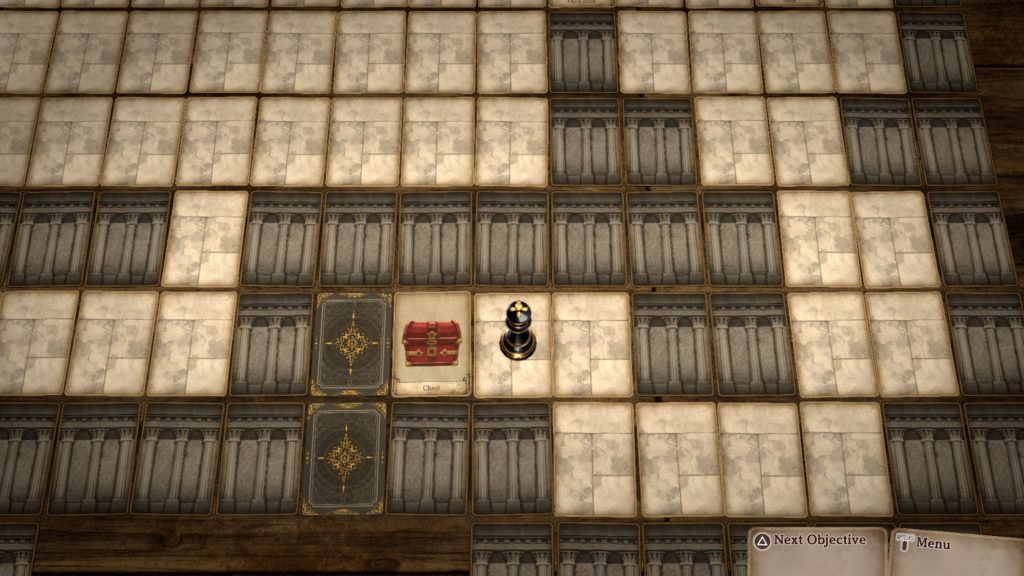
- Treasure Map
- Head to the card as shown in the image below just northwest of the Village of Light to find the location of the hidden treasure. (The Treasure Map was previously obtained in Chapter 3 at the Lake of Flame. For a guide on where to find this item, click here!) You’ll receive the Ring of Compassion!
- Spot monster (2 red, black and white balls) through a telescope. It’s a Wererat!
- Attack
- Receive 500G
- Sneak up on it
- Triggers fight with Wererat
- Ignore it
- Attack
- Spot monster (Voltwasp) through a telescope.
- Attack
- Sneak up on it
- Enemy takes off
- Ignore it
Chests
- 1200G
- Southwest of the Roving Market along the cliffs

- Quality Omnisalve
- North of the Village of Light along the map’s northern edge
- Chunky Gold Nugget
- Southeast of the Ruined Edifice

Village of Light
Once you’re done exploring the Desert, attempt to enter the Village of Light to trigger a cutscene followed by a fight with 3 monsters. Defeat them then enter the village once more. Select either option first as you’ll have to eventually select both to progress the cutscene. Now that you can explore the town, do so to find the below!
Characters
- Boy in Flower Crown’s flipside story
- Mature Woman’s flipside story
- Amicable Old Man’s flipside story
When you’re ready to progress, speak with the Amicable Old Man on the north side of the village then head south and exit the town to trigger a cutscene. Afterwards, head to the Shrine of Light on the north side of town. When speaking with the Mysterious Girl, select that a Guru is a teacher. We chose that Tralis is a friend to be treasured! Before leaving check on Tralis. When you’re ready, exit the town and head north to find the Ruined Edifice.
Ruined Edifice
Enter the ruins then make your way all the way to the northeastern corner to find a chest containing an Omnisalve.

Afterwards, head to the northwestern side of the room to find a set of stairs leading to Ruined Edifice 2F.

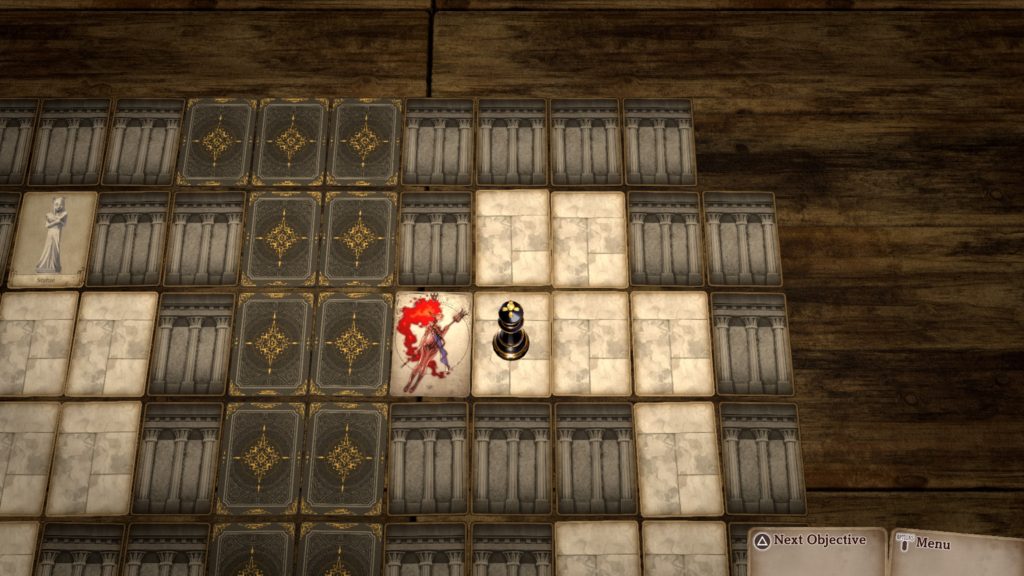
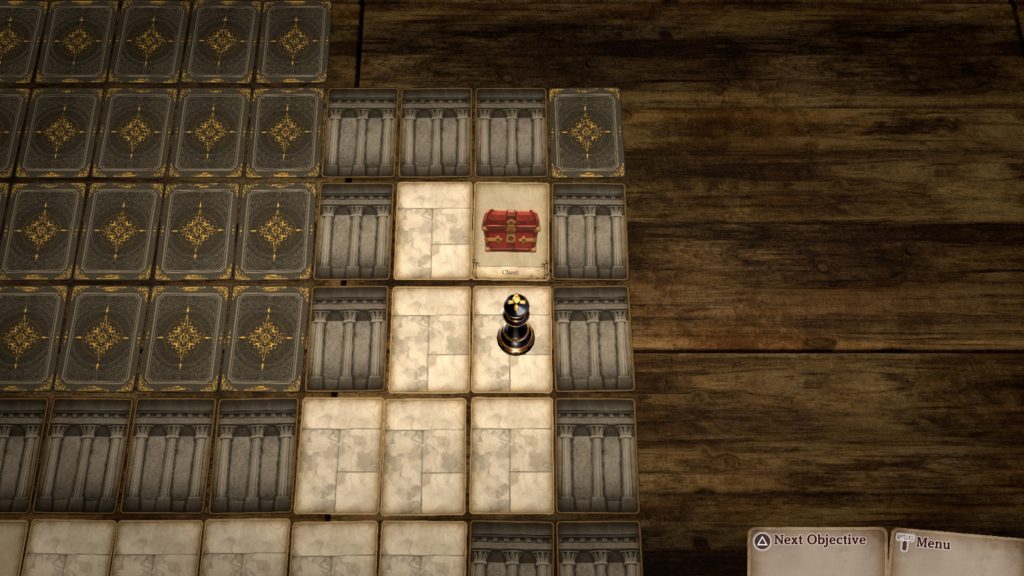
Take the stairs then work your way around the room by first heading south. When you approach the area with three arrows on the floor, you’ll have to interact with the arrows to move the statue onto the empty pedestal. You won’t be able to move the same arrow twice in a row so keep that in mind when you reach the top. You’ll have to go up to get to the last row then go right then left then up. With the door now open, head on through. In this new area, head south to find a chest containing a Lightningstay Ring.
![]()
Afterwards, head north to find the way forward. You’ll need to interact with the monster card blocking the stairs to trigger a fight then defeat the monsters.
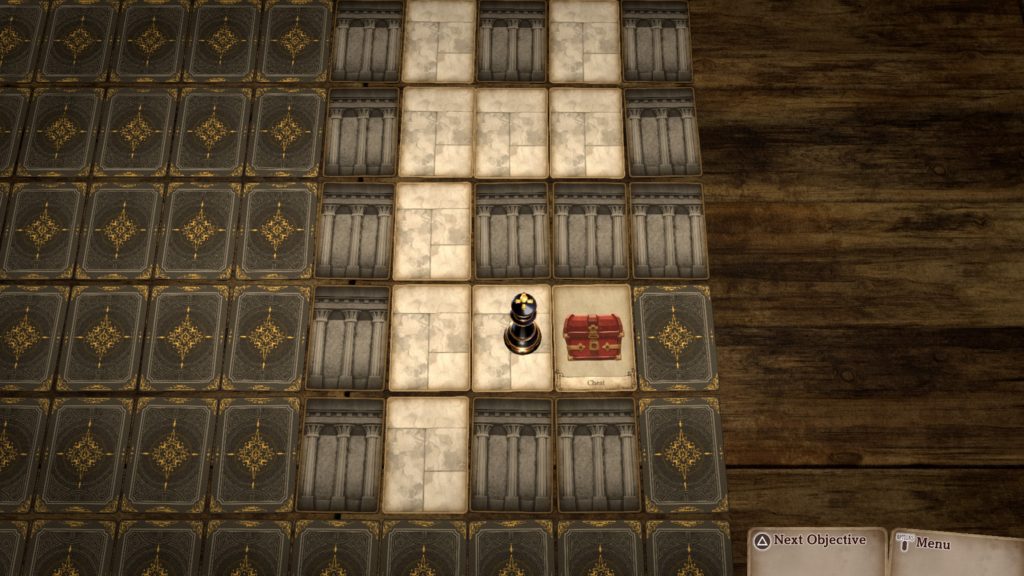
Once clear, head up the stairs to reach Ruined Edifice 3F. Follow the path to reach a chest on the eastern side of the area containing 1500G.
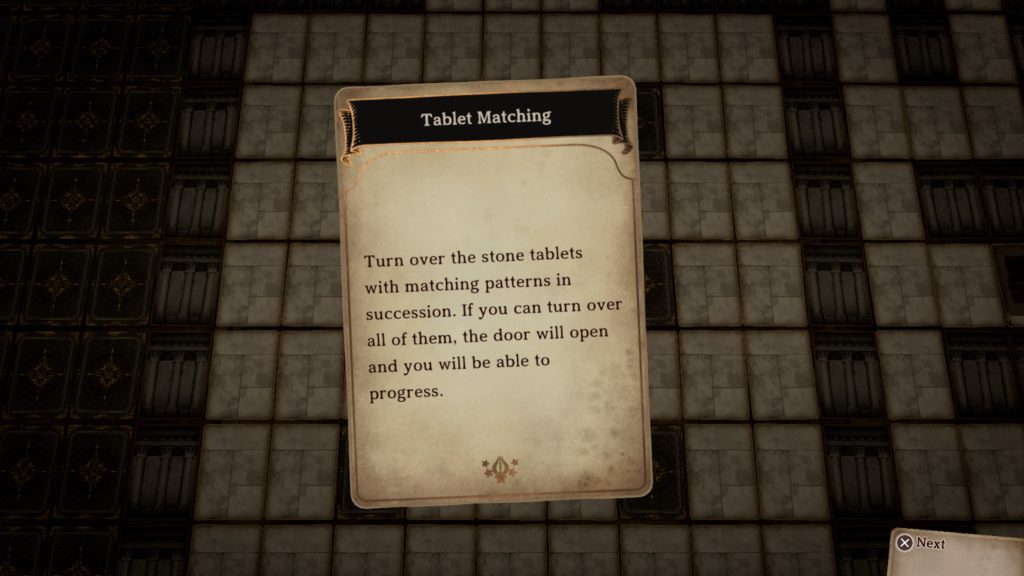
As you follow the path, you’ll reach the Tablet Matching mini game in the center of the area.
For us, this was where the stone tablets move to.
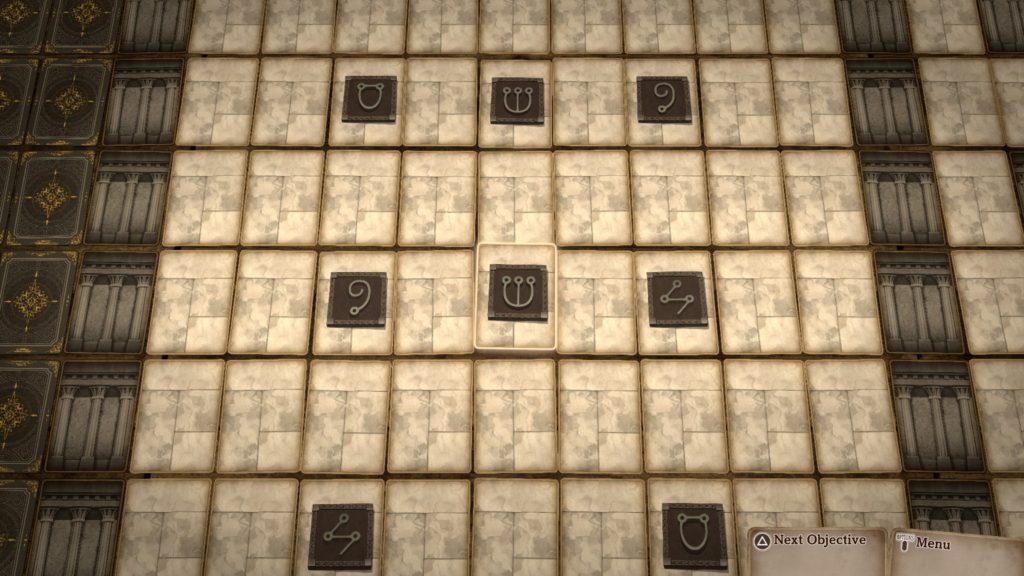
After you’ve successfully matched all the tablets, proceed through the door and continue following the path until you eventually reach a set of stairs on the western side. Take them to Ruined Edifice 4F as there are no other chests on this floor. On this floor, head south then follow the path directly east, going past the statues. At the end, curve up to the north to find a chest containing a Lightstay Ring.
Return to the 2 statues and head north between them. Approach the glowing card to trigger a fight with a monster that has 20 Attack, 220 HP and 15 Defense. It’s weak to fire and has a move that will deal lightning damage to all allies. Defeat it then leave to Ruined Edifice and return to the Village of Light!
Village of Light
Once in the village, enter the Shrine of Light and speak with the Guru. After speaking with her, leave the shrine then interact with all the bodies. Afterwards, rush back to the Shrine of Light to complete the chapter.
Click here for the next walkthrough for Chapter 5 in the Voice of Cards: The Beasts of Burden!