Below is a walkthrough for the Second Wave Chapter 4 quest in Eastward.
Deliver Lunch to Alva and Isabel
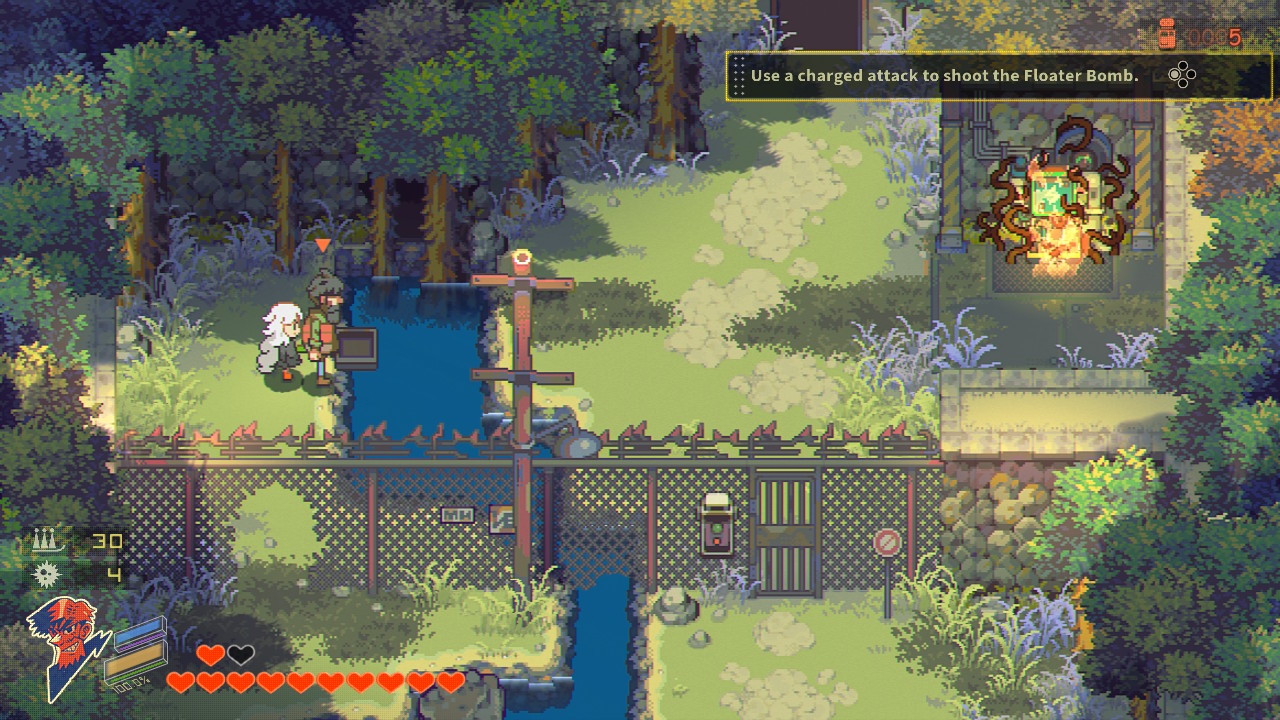
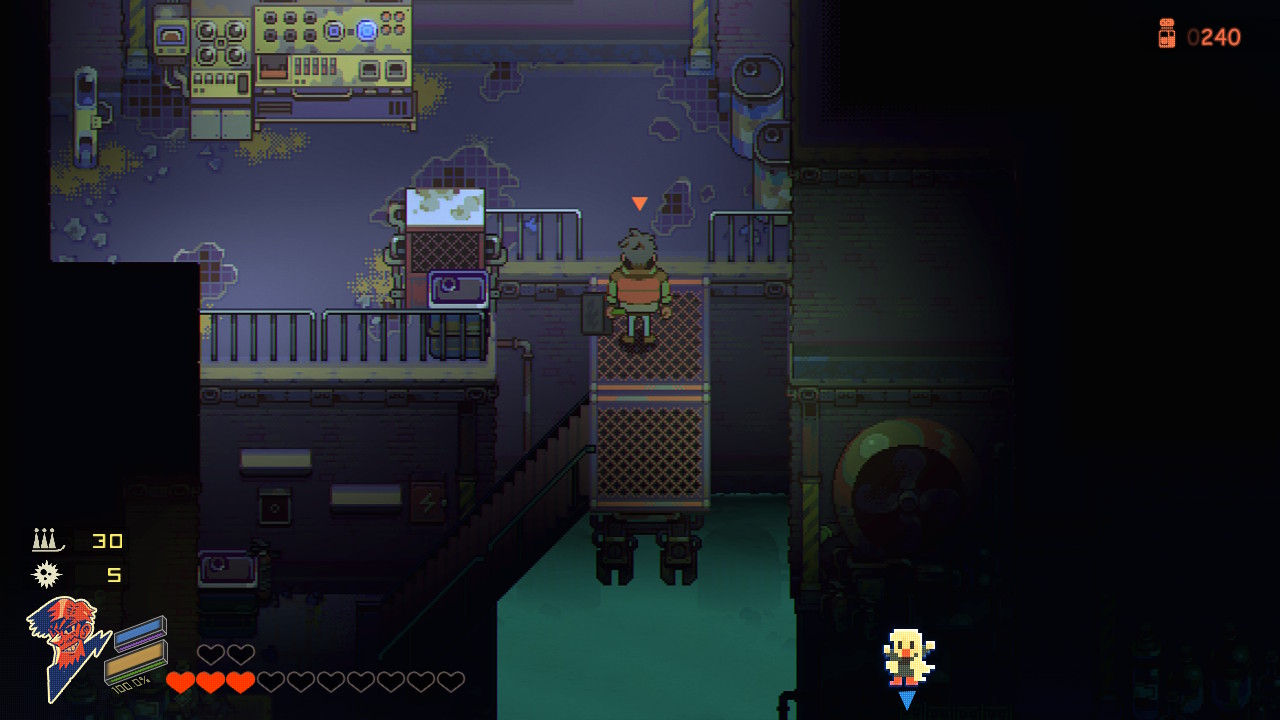
Exit Rocket Mansion and head to the Wind Shrine for a dialog event. When it concludes, make your way to the City Outskirts south of New Dam City then follow the path right to reach the next area. Head north up the stone steps to trigger a dialog event ending with you receiving the Floater Bomb. Use the western path heading through the broken section of the chainlink fence then use your charged attack to hit the floater bombs at the generator (the bombs are not the most cooperative, so it may take a couple of tries to get it close enough). Now head through the newly opened gate and proceed to the next area for a dialog event.
Hurry to the Control Room
When you gain control of John and Sam, head through the door then use your floating bombs to burn the vines on the two generators. This will raise a bridge allowing you to cross. In the next area, head through the northern doorway to find some barrels you can smash. Return to the previous room and take the elevator down. Go west to reach the next area then head through the doorway for a quick dialog event. When it’s over, use Sam to take out the turrets and head into the next area.
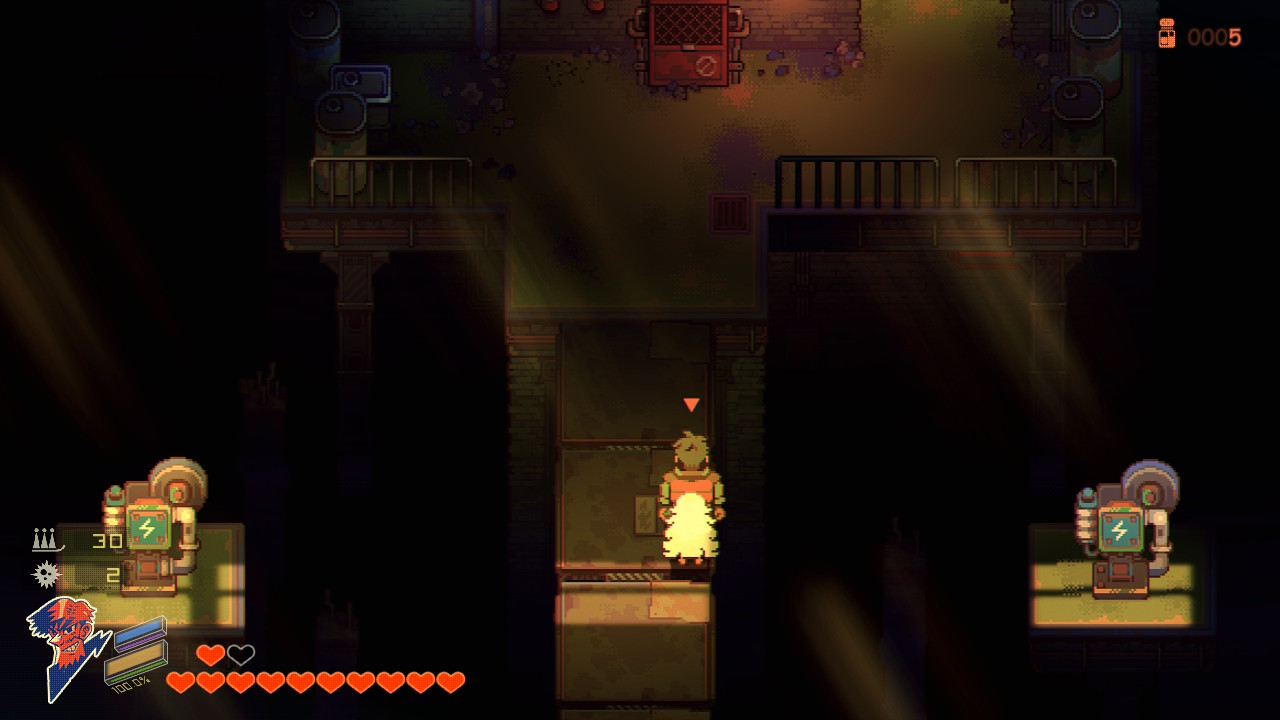
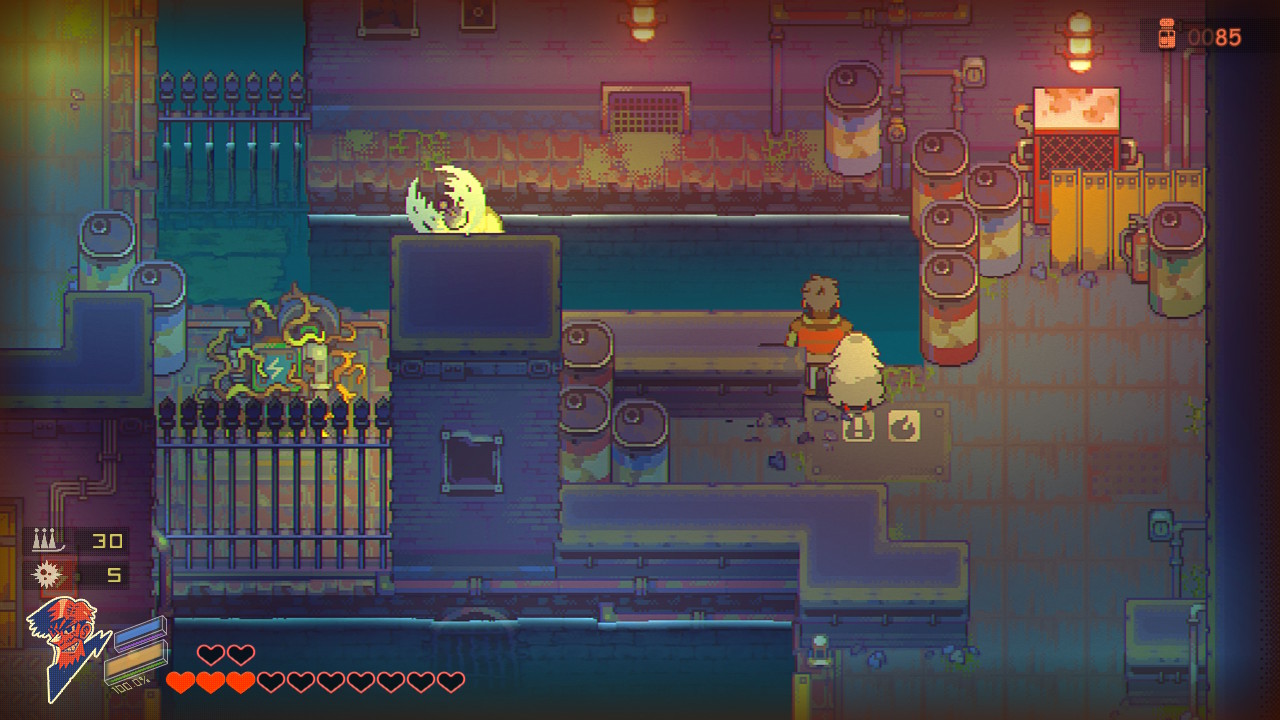
In this room, you’ll need to separate Sam and John using one to operate the elevator while the other rides it. Repeat this until both of them are at the top then head through the doorway. In the next room, turn on the light switch then head to the eastern side of the room. Use Sam to operate the switch. This will cause a bridge to appear. Cross it as John then hit the switch with Sam. Go down the nearby stairs with John to open a chest containing a gear part. Head back up the stairs, flip the switch with Sam and bring her over to John. You can then head north to reach the next area. Use a floating bomb to burn the vines off of the generator on the right side of the room. Continue working towards the next area to trigger a dialog event.
Follow the left path to reach the Lower Dam. Take the elevator down then head to the east side of the room. Flip the switch there to cause a raft to show up allowing you to cross the water. Use the southern doorway to reach the next area. Deal with the enemies in here then head east to the next area. Hop on the raft and use it to reach the other side of the room. Activate the switch to drop the dam then use the raft to reach the northeastern dock. Drop and hit a floating bomb along the water to take out the vines on the generator. Now use the raft to reach the northwestern dock and head through the door. Work your way through the next two areas to reach a room with a platform in the middle surrounded by water. Sperate Sam and John, placing John on the raft and use Sam to activate the switch on the platform. When John reaches the northwestern corner, exit the raft and destroy the creates on the left side with a regular bomb. Then work the switch there to get Sam over her. Let Sam take over with the switch and move John back to the raft. Send John to the northeastern corner, then use a floating bomb to burn the vines on the generator. Head back on the raft and flip the switch with Sam. This should put you along the southeastern part of the room. Exit the raft and follow the path to find a chest with a Heart Orb. Move John back to Sam, then head through the newly unlocked doorway.

In the next area, when you reach the middle of the room, you’ll be ambushed by enemies. Take care of them then head to the next area looting the chest with 3 onions on your way out. When you reach the next area, push the big red button then exit through the southern door. Follow the path backtracking to the Central Sluice. When you reach the cart with creates stacked on it, pull it back to find a hidden path on the other side leading to a chest with 100 salt.
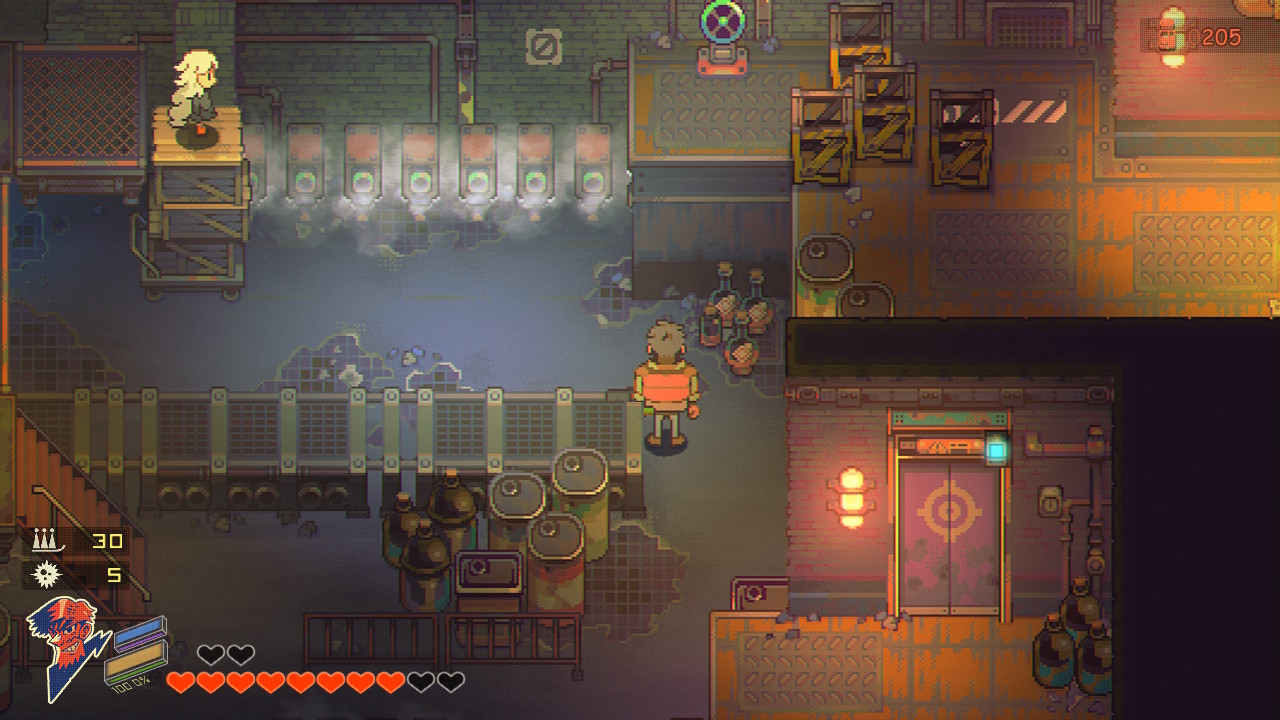
When you reach the Central Sluice, follow the right path to arrive at the Upper Dam. Take the elevator to reach the next area. Dodge the steam to reach the row of steam jets in the back of the room. Separate John and Sam then take Sam up the stairs and placing her on top of the cart. Push her to the other side with John, then use Sam to turn off the steam. You can now bring John through the door on the eastern side of the room and head to the next area. Work your way through the next three rooms coming to a big open room. When you enter it you’ll have to face a mini-boss. Defeat it then head to the next room and push the big red button. Return to the Central Sluice grabbing the chest with 3 daikons on the way.
Head through the Central Sluice doorway and going up the stairs to reach the Dam Central Core. Follow the path west until you reach the dark-covered room with the two red switches. You’ll want to send John down the stairs then head north up the dam. Use the stairs to go up then switch to Sam and have her activate the red switch on the right. Cross over the dam with john and head up the stairs to reach a switch. Press the switch to fill part of the dam with water. Return to Sam and make sure the switch is green. Follow the path south to reach the next area. Cross over the dam then flip another switch to open the Central Sluice. This will trigger a dialog event.
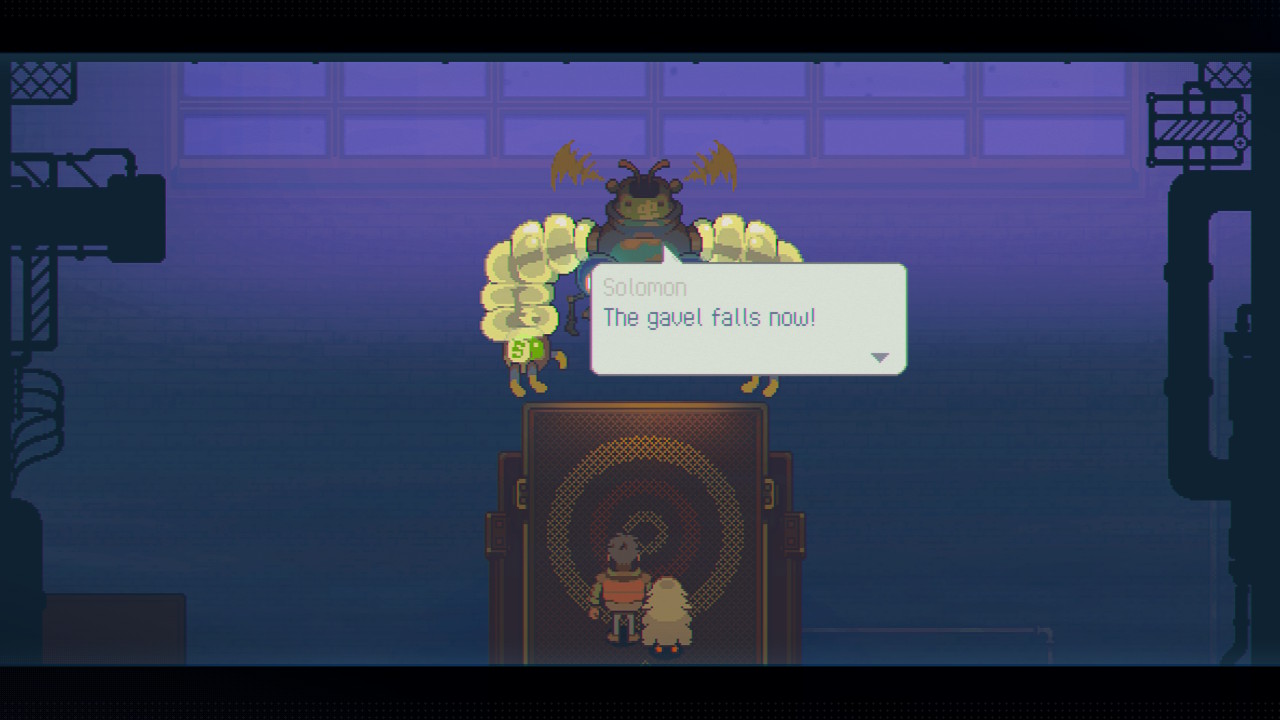
Head through the newly opened door then take the stairs up. Use Sam to get the past turrets then take the elevator in the next room up. Head through the door at the top reach the area just outside the control room. Use this time to heal up and save then enter the control room for a dialog event. Head through the northern door of the control room for another dialog event leading to a boss fight! There are two phases to this boss. The first involves the boss charging up then punching you. Your goal here will be to shoot it with Sam’s power to stun it then push it off the ledge using John’s frying pan. After doing this a couple of times, the balloons on its arms will pop starting phase two where the boss will start shooting lasers from its eyes. You’ll need to dodge them until its eyes turn green, then hit it with Sam’s power. After a couple of times, you’ll stun the boss and be able to take him out. Throughout the fight, the boss will spawn ads that explode as they approach you, so do your best to dodge them. When the boss is defeated a dialog event triggers.
Click here for The Aftermath quest guide!