Praetor Suit Points unlock the Praetor Suit Perks, which are needed in order to receive the platinum trophy in Doom Eternal. If you complete a Praetor Suit Perk category in a single save slot, you will unlock This One’s my Favorite trophy. You can unlock They’re ALL my Favorite trophy by purchasing all Praetor Suit Perks in a single save slot. The guide below describes the locations of all the Praetor Suit Points!
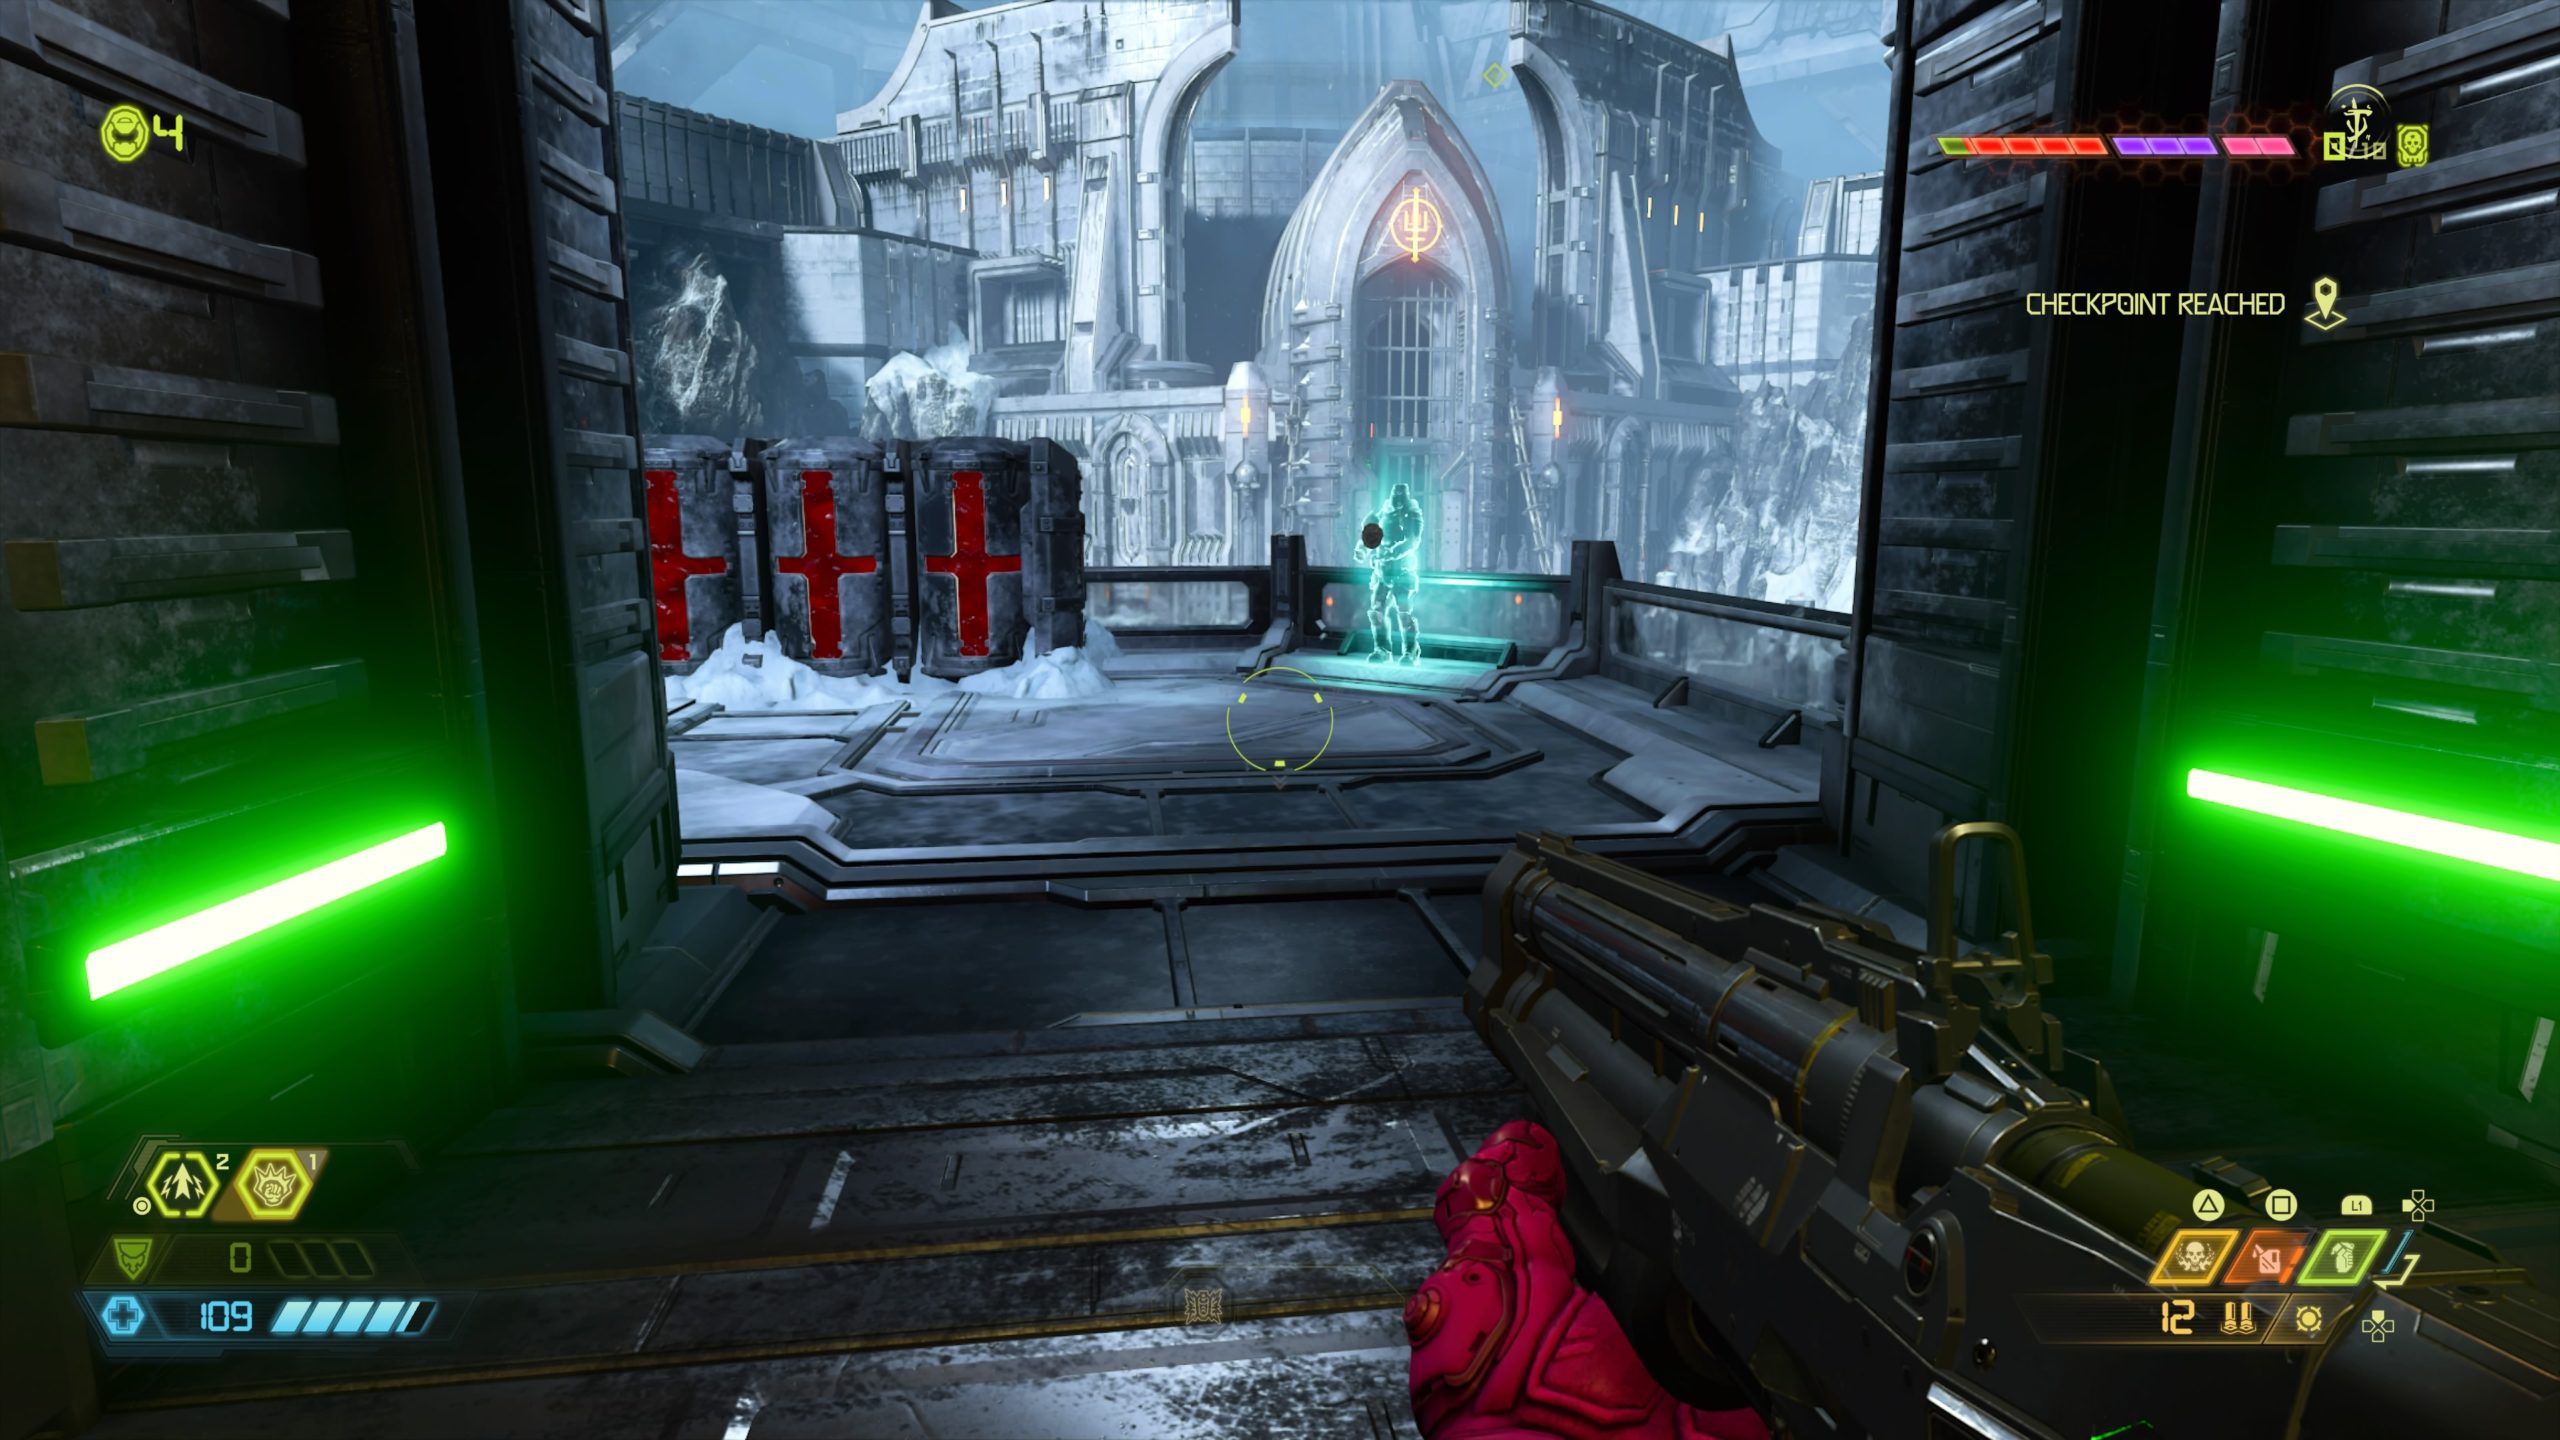
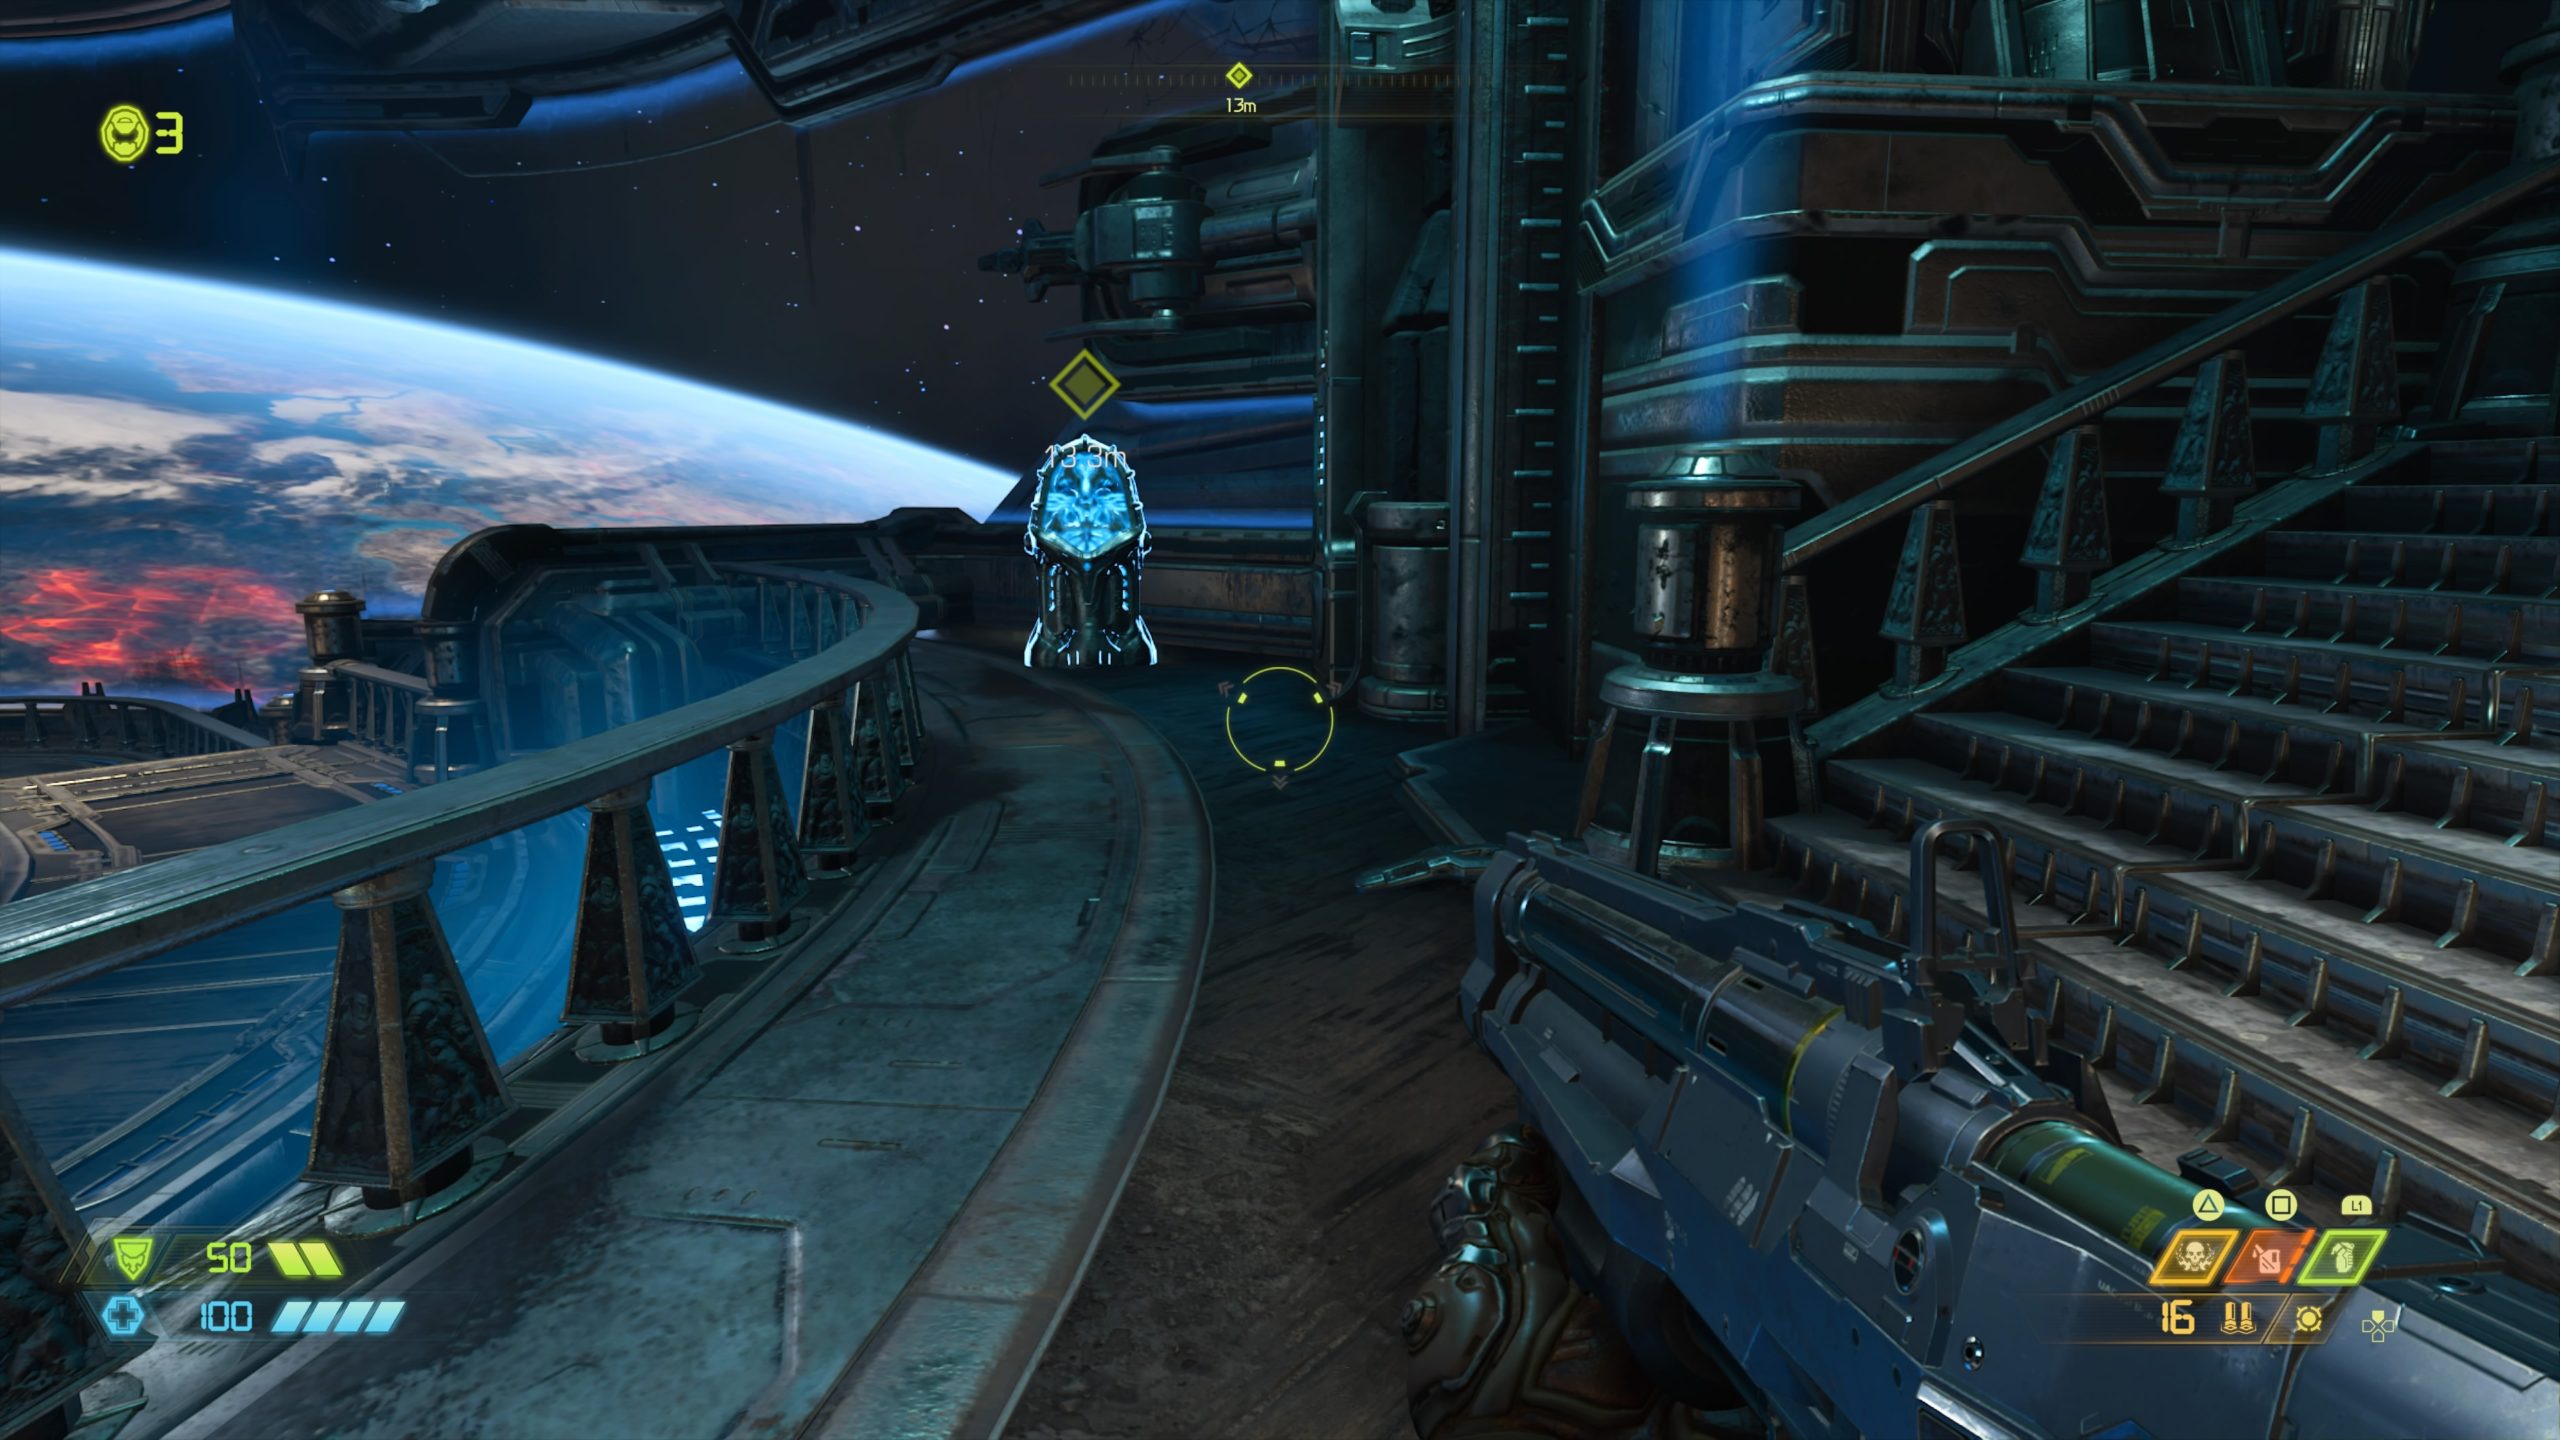
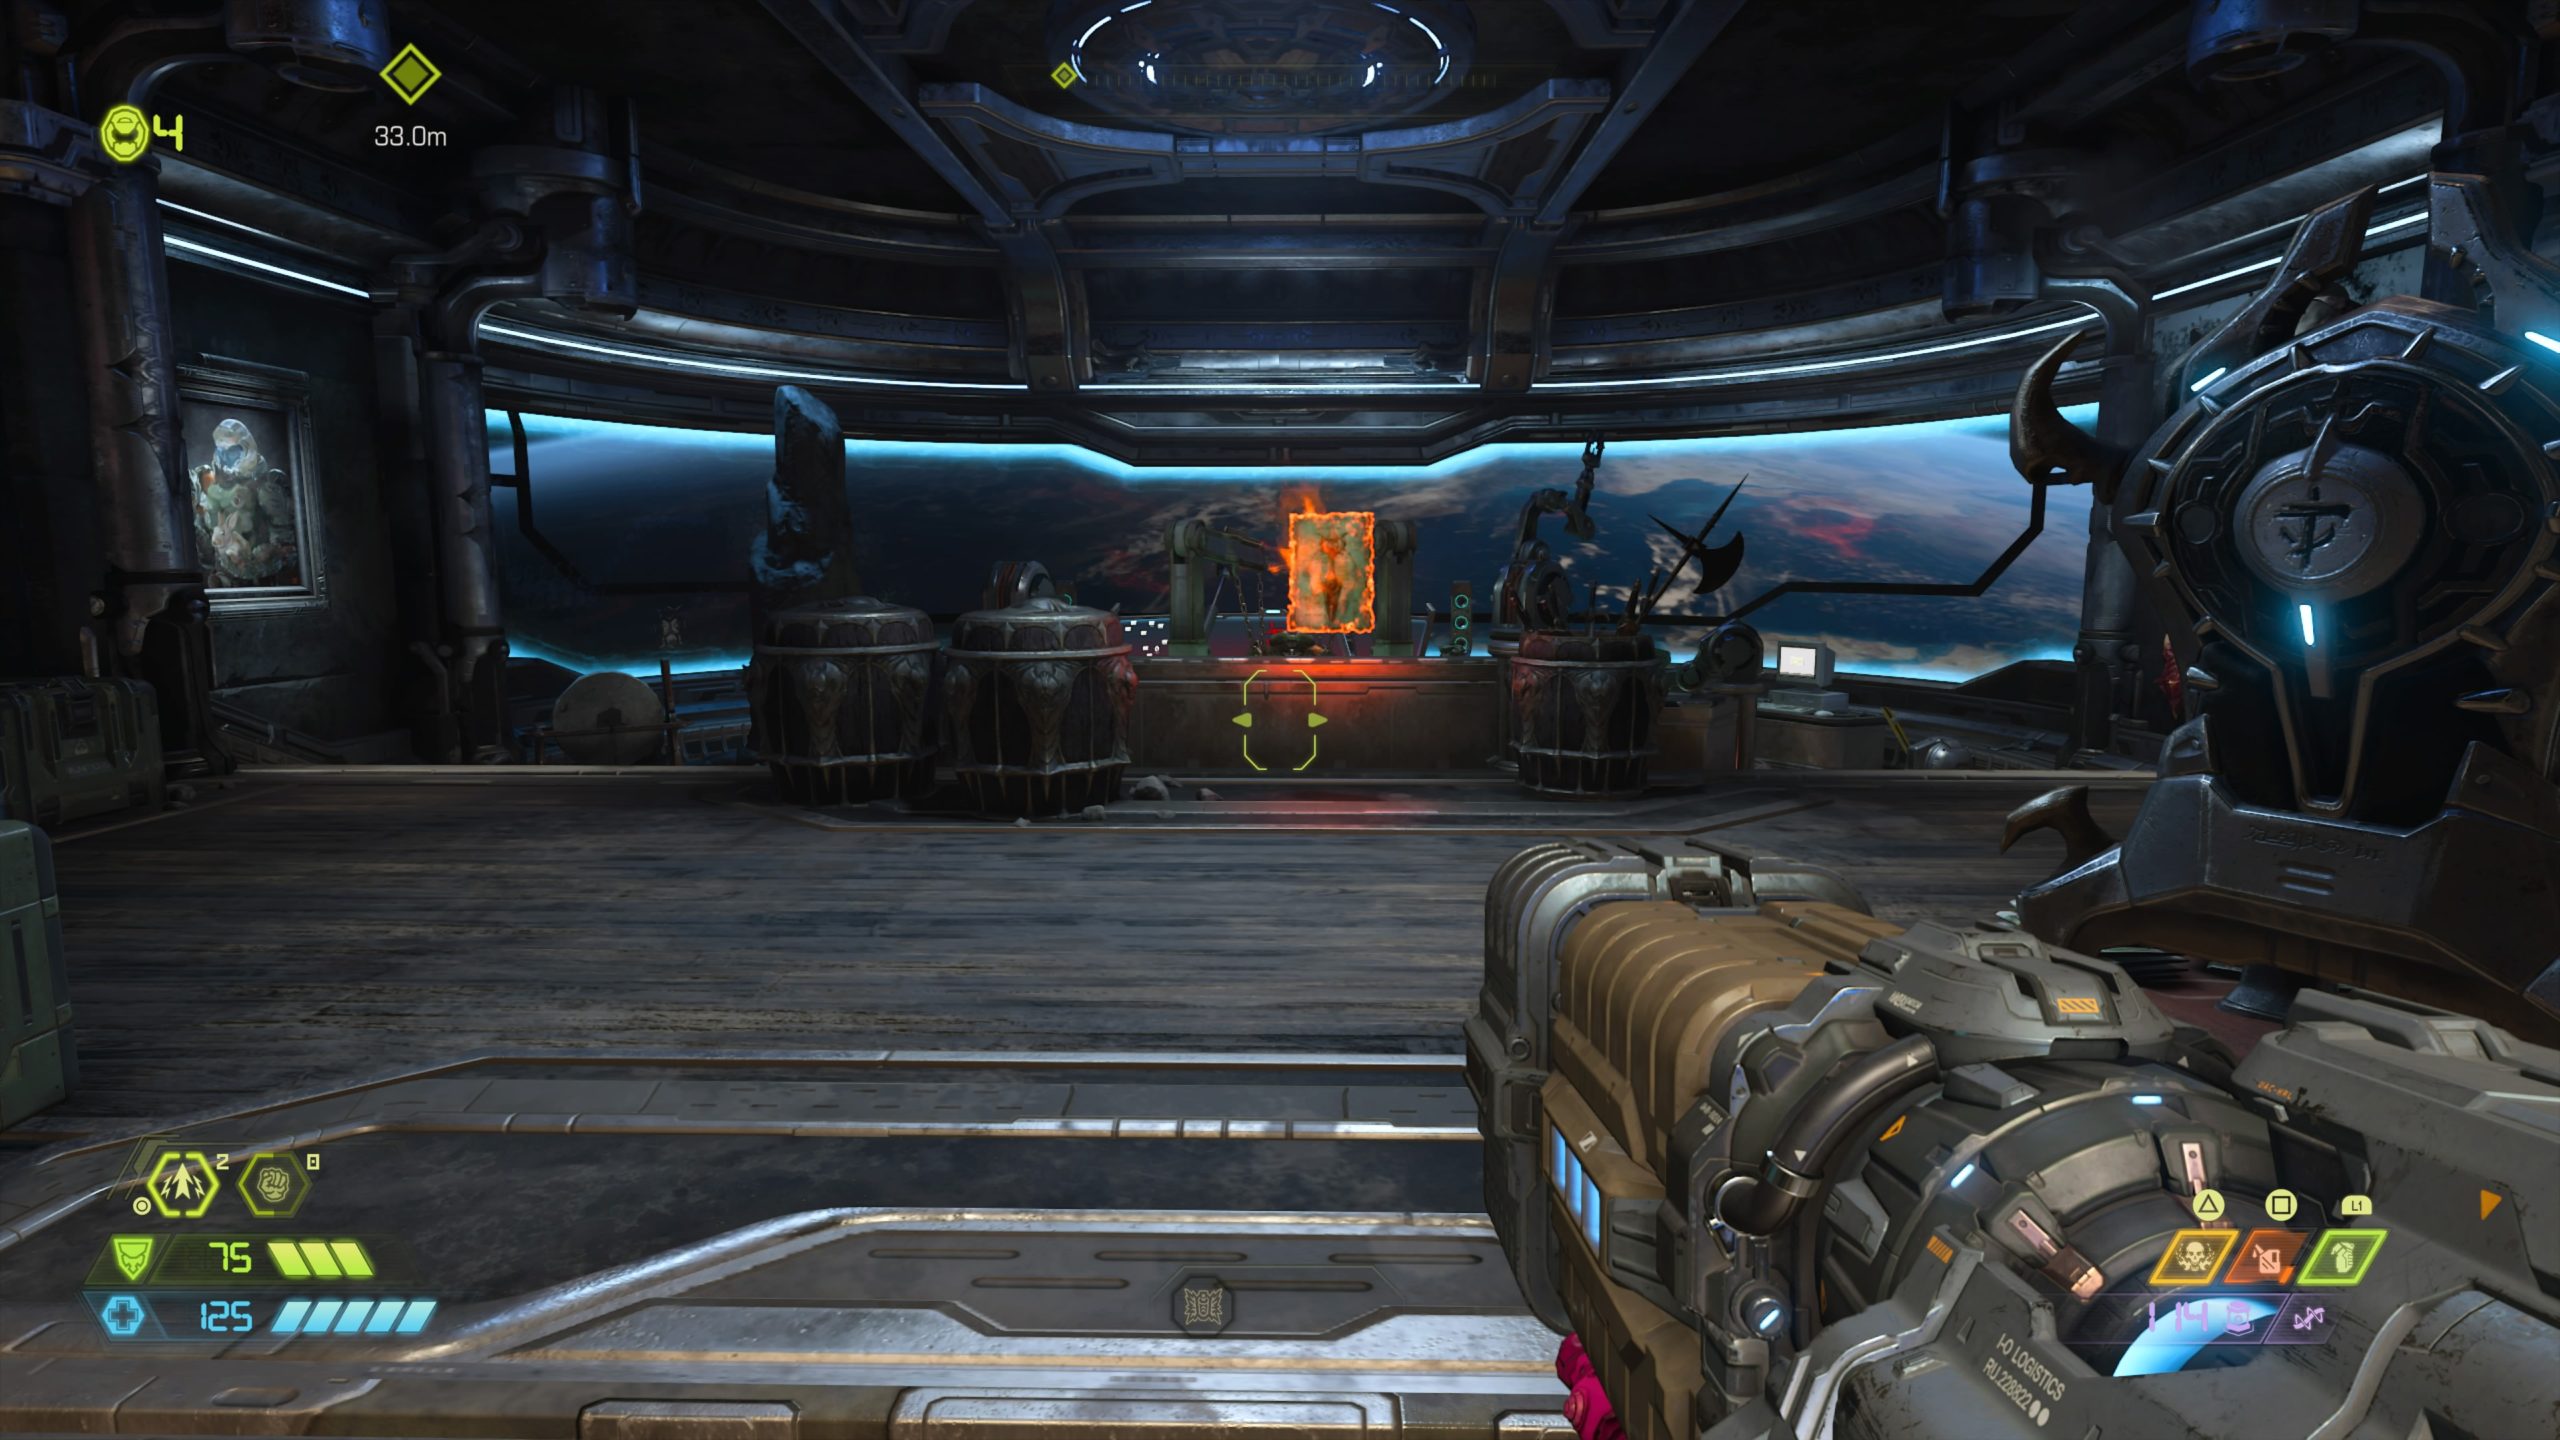
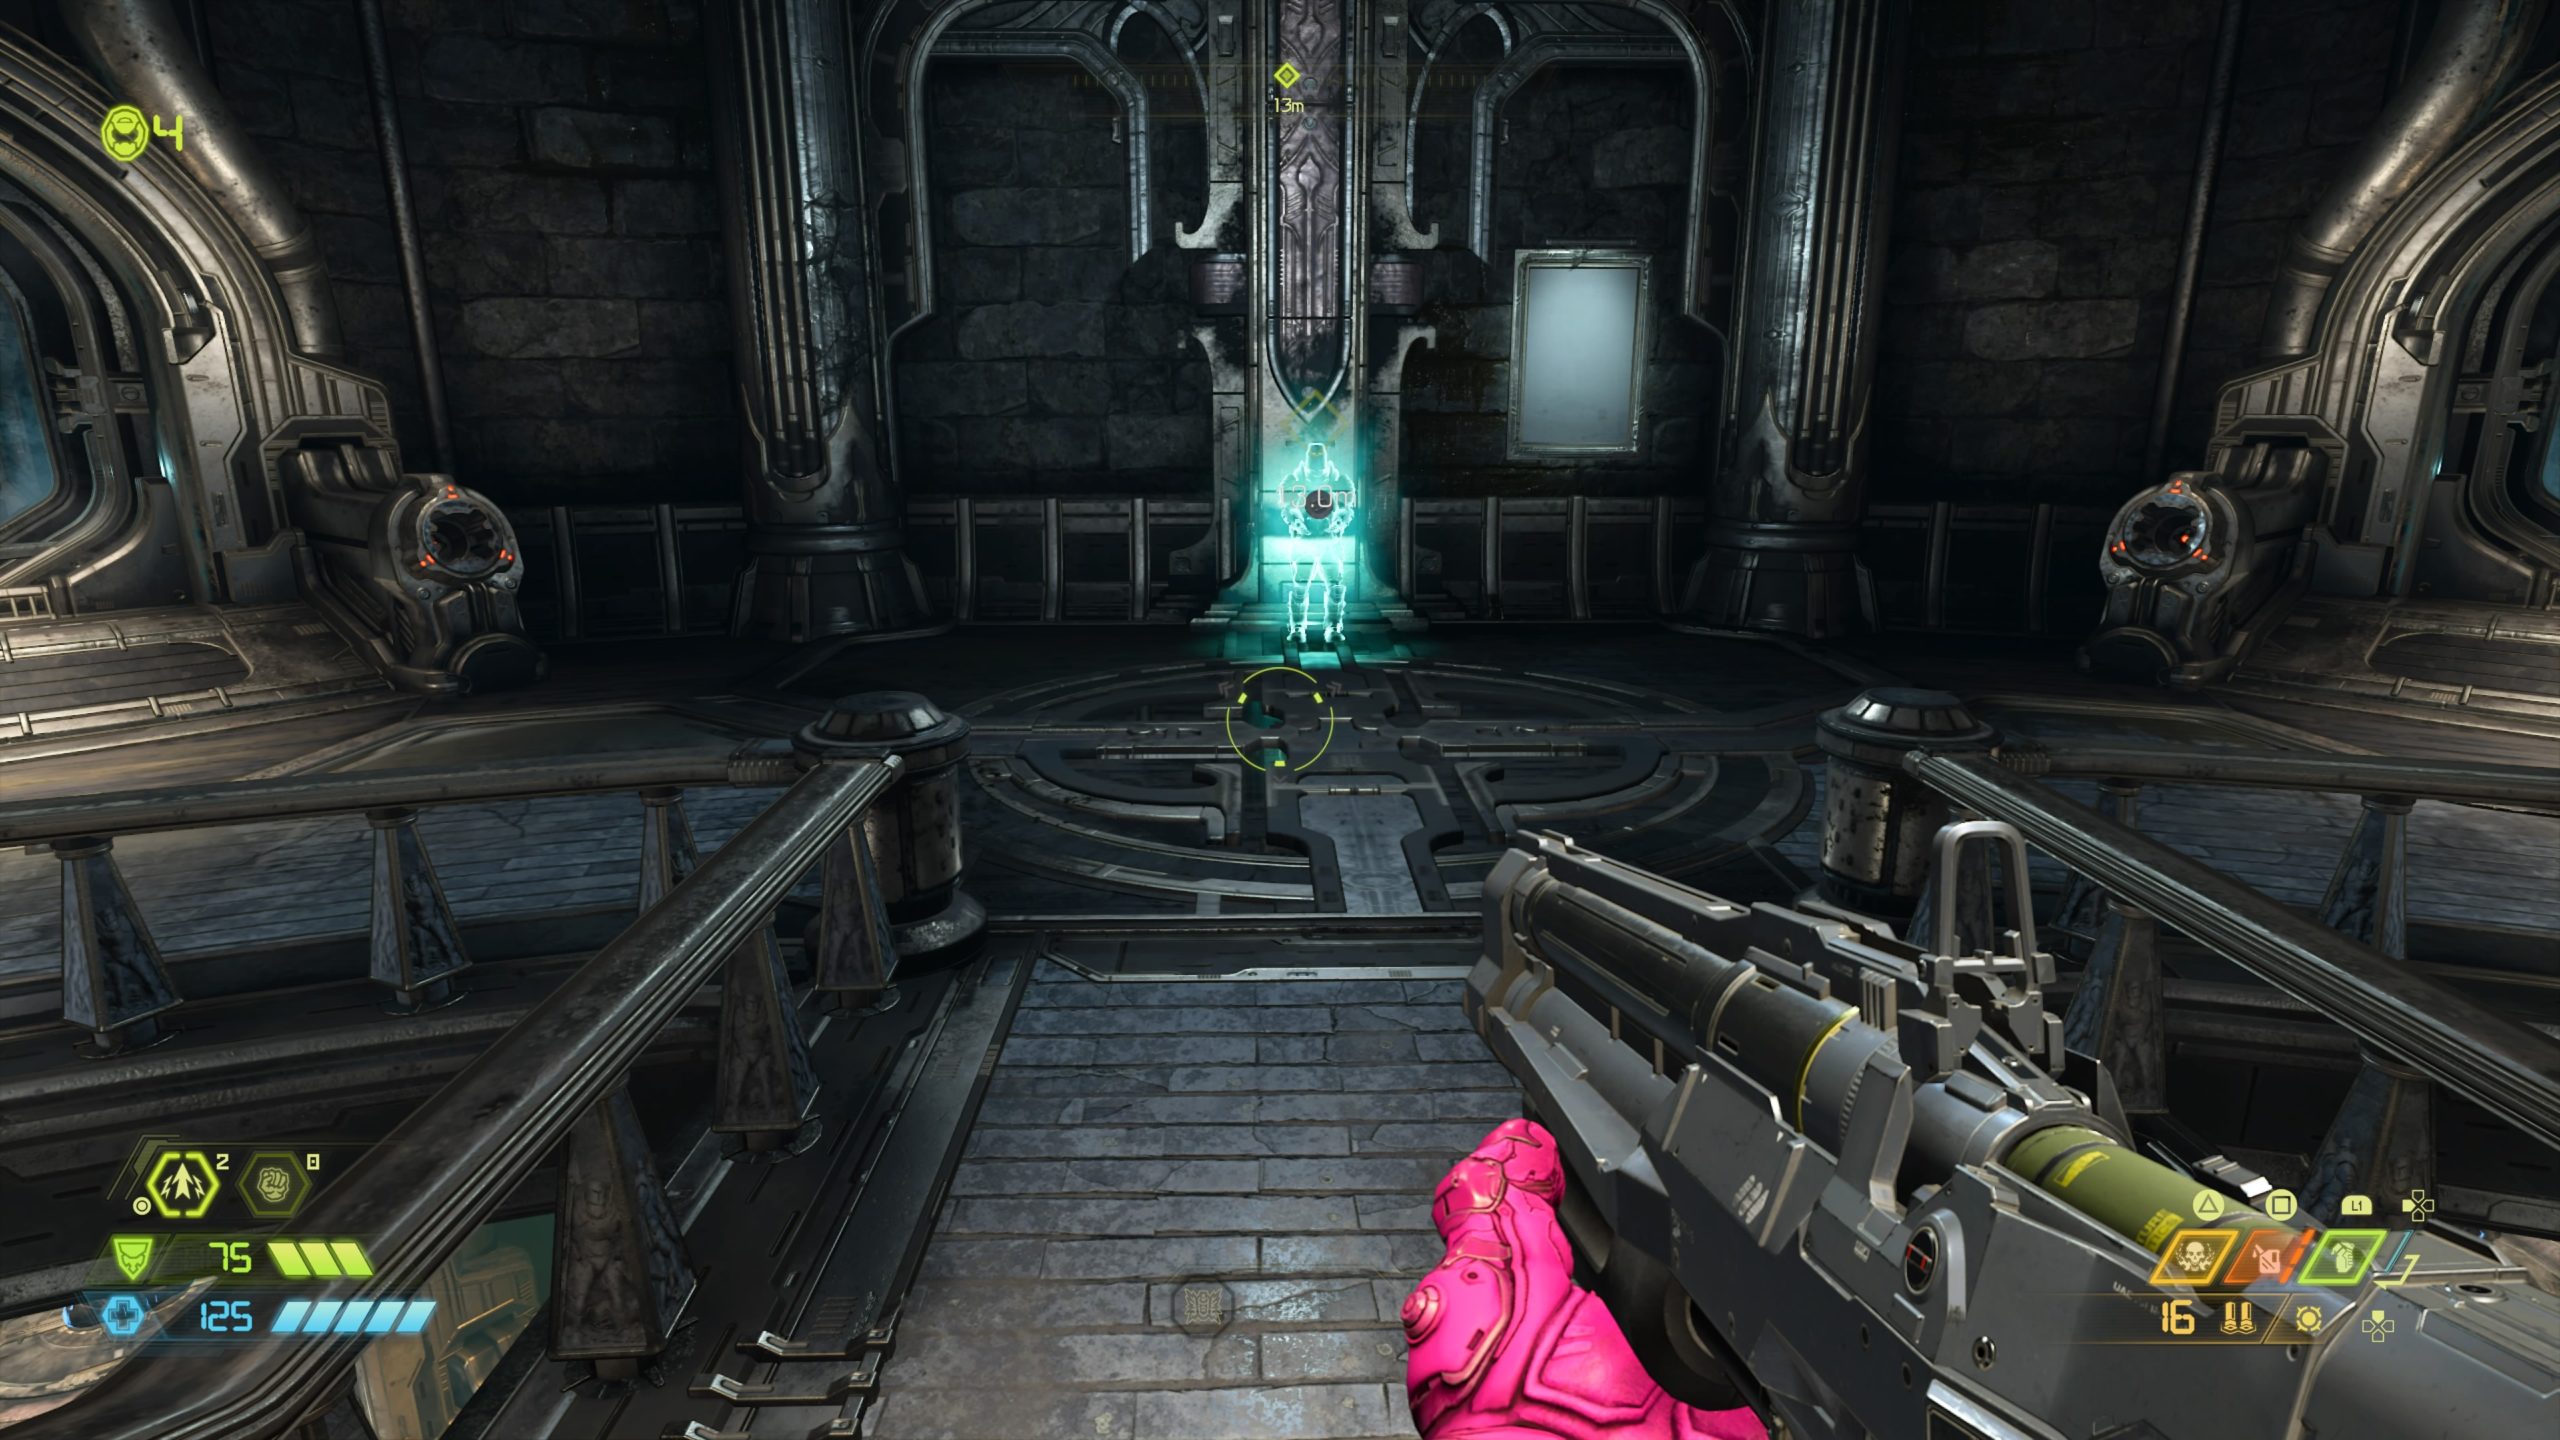
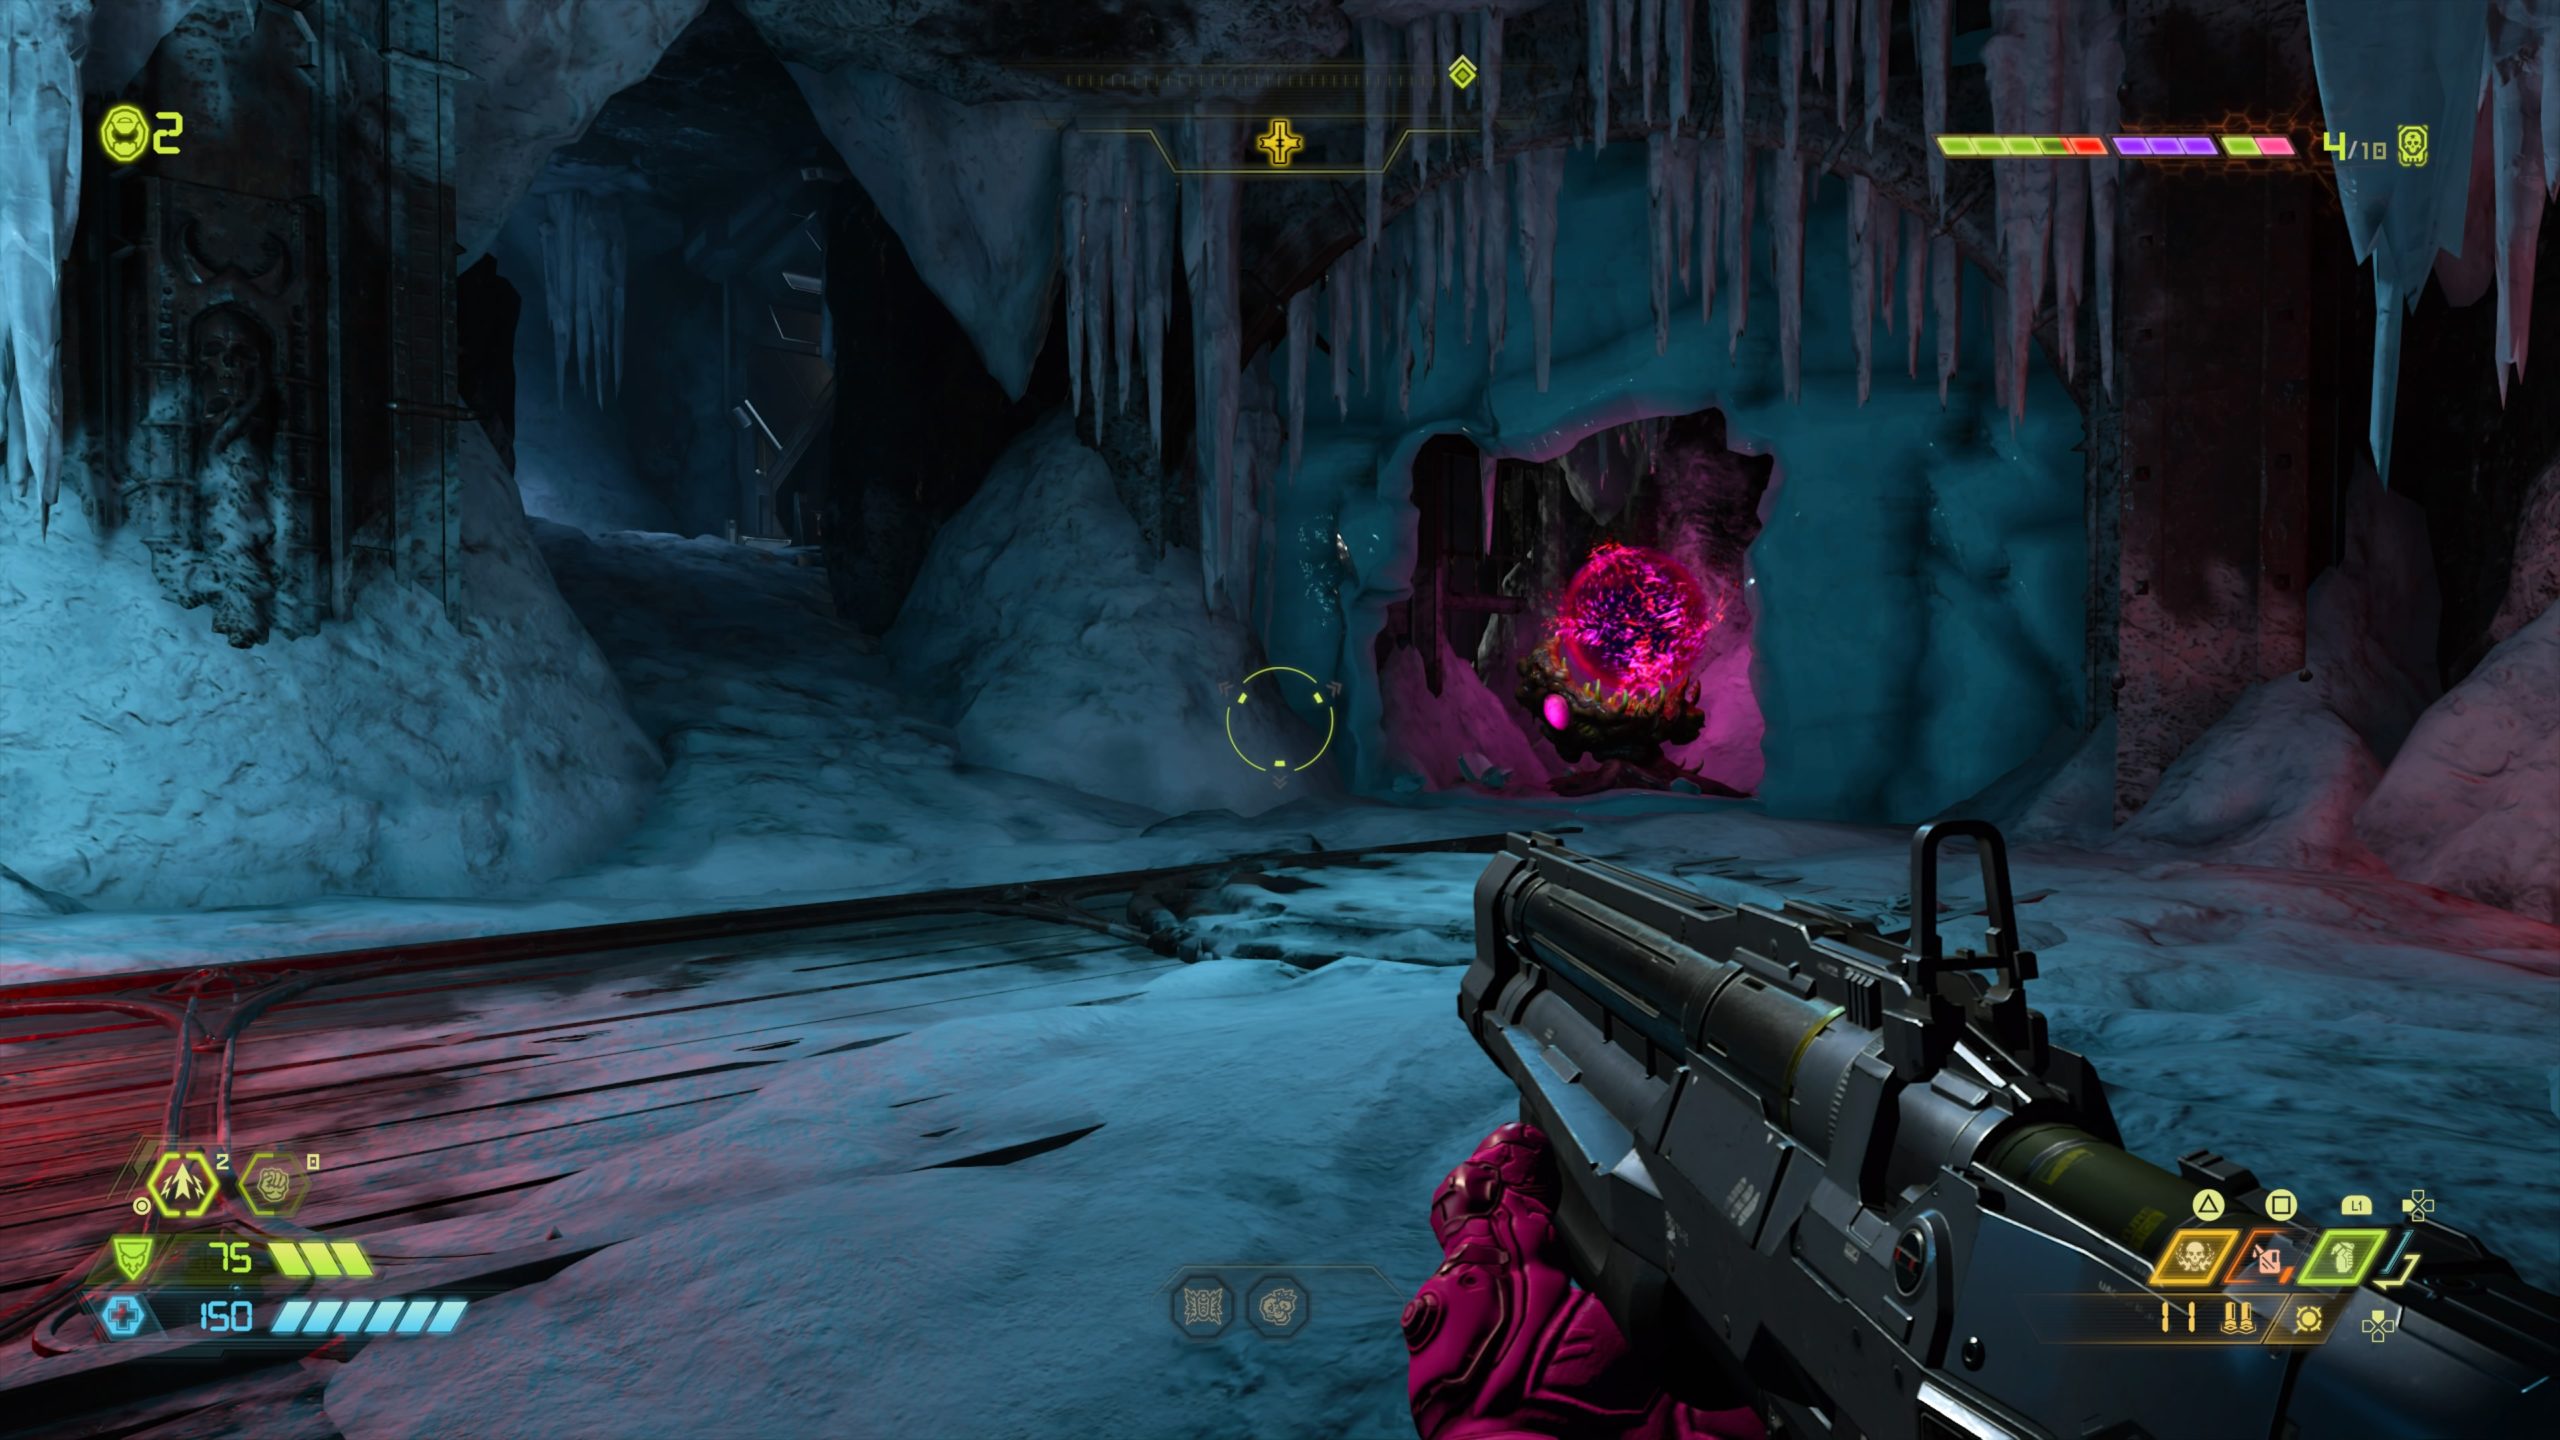
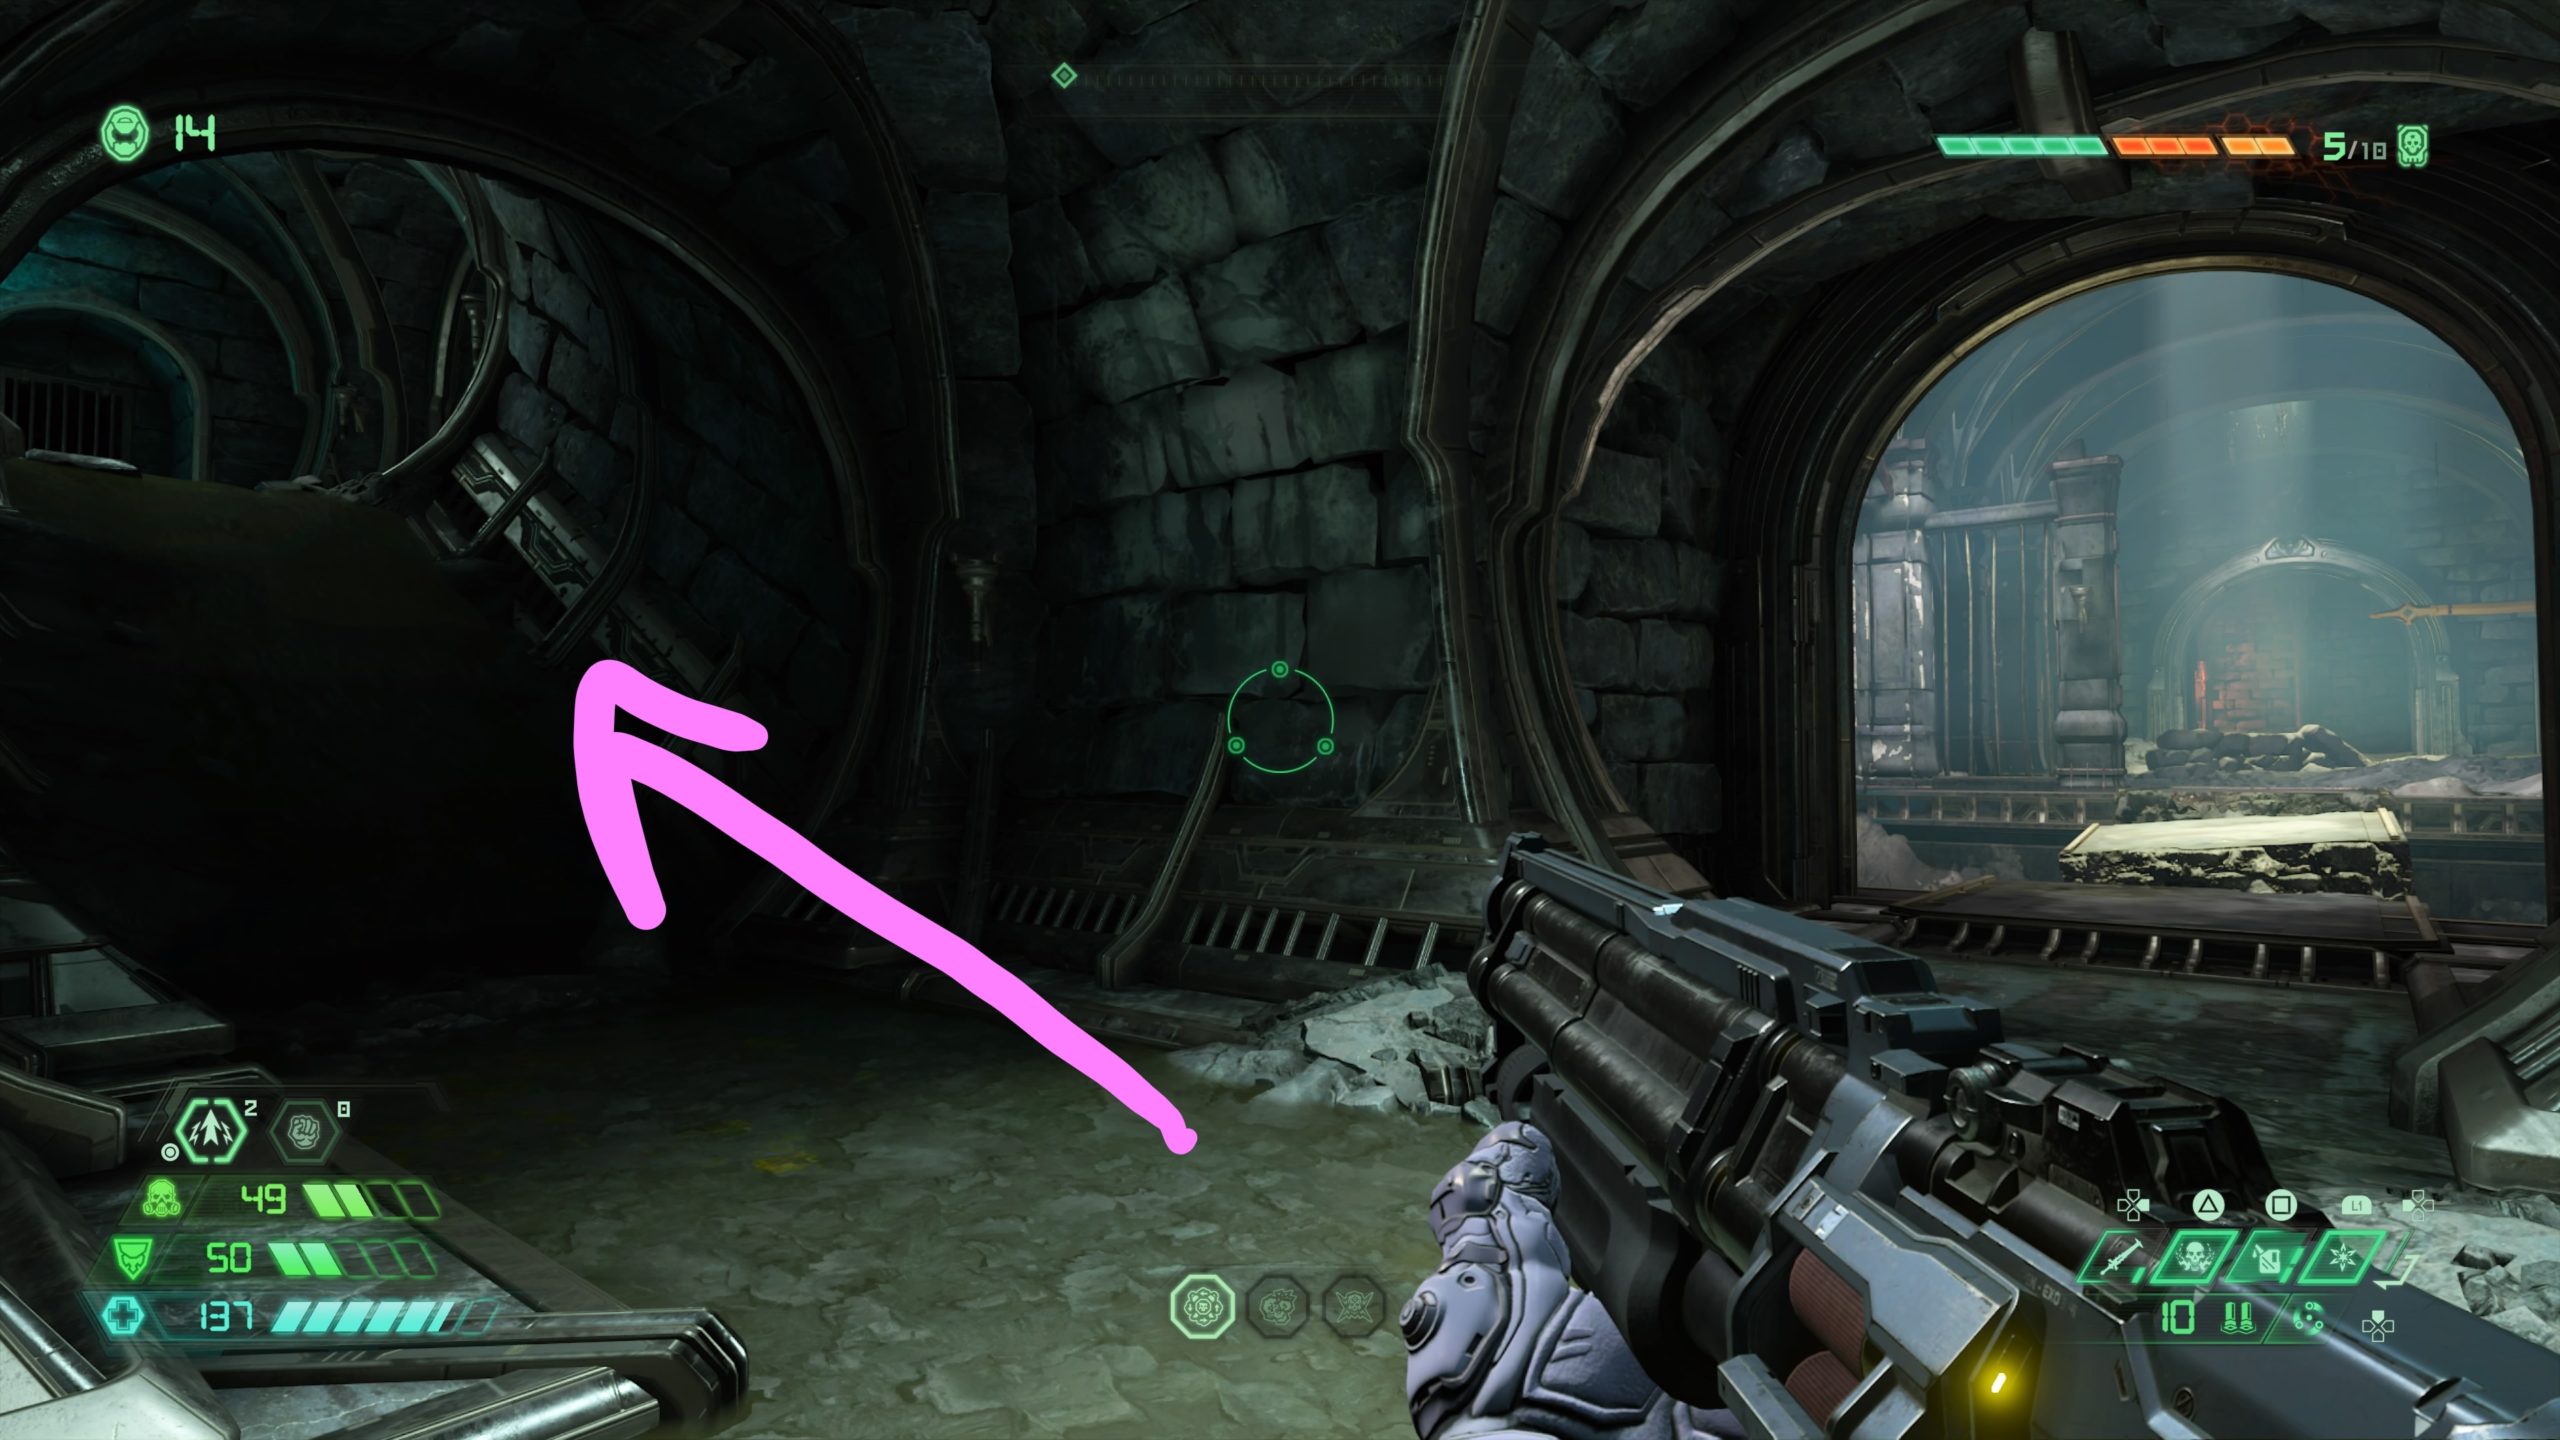
Mission 3: Cultist Base
Praetor Suit Point 1
The first Praetor Suit Point is obtained through the story in the Fortress of Doom after completing the second mission.
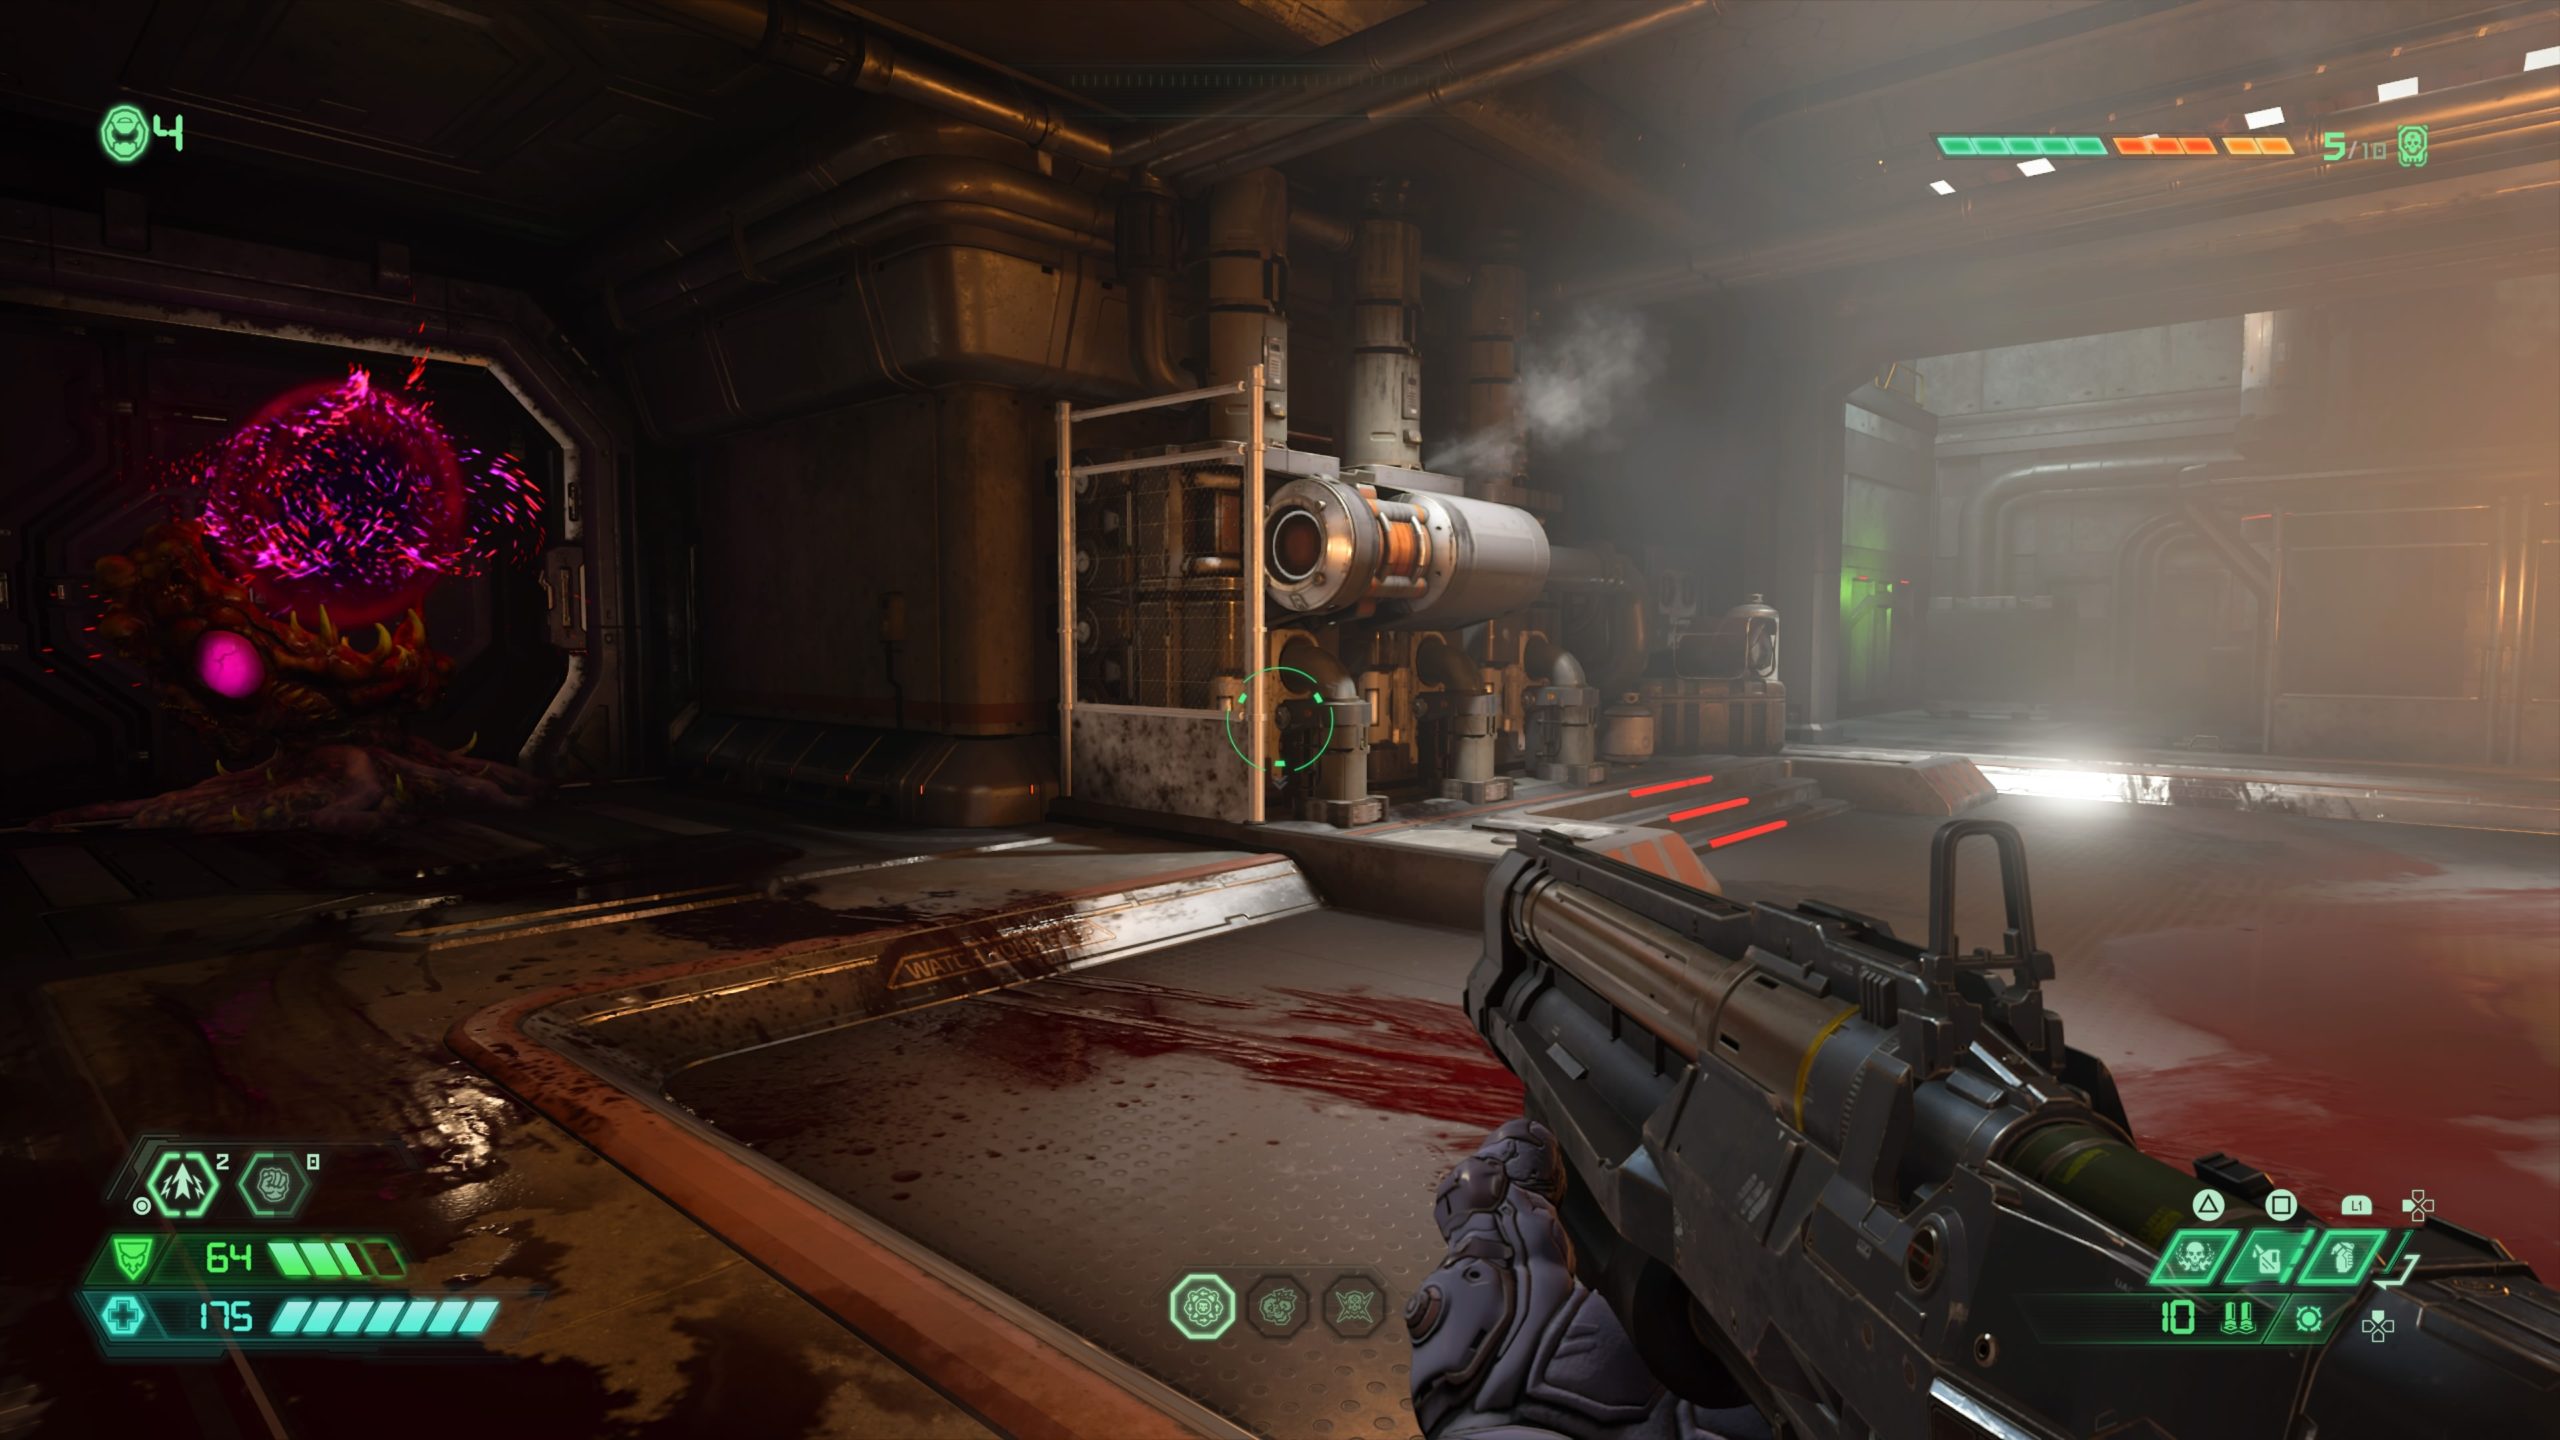
Praetor Suit Point 2
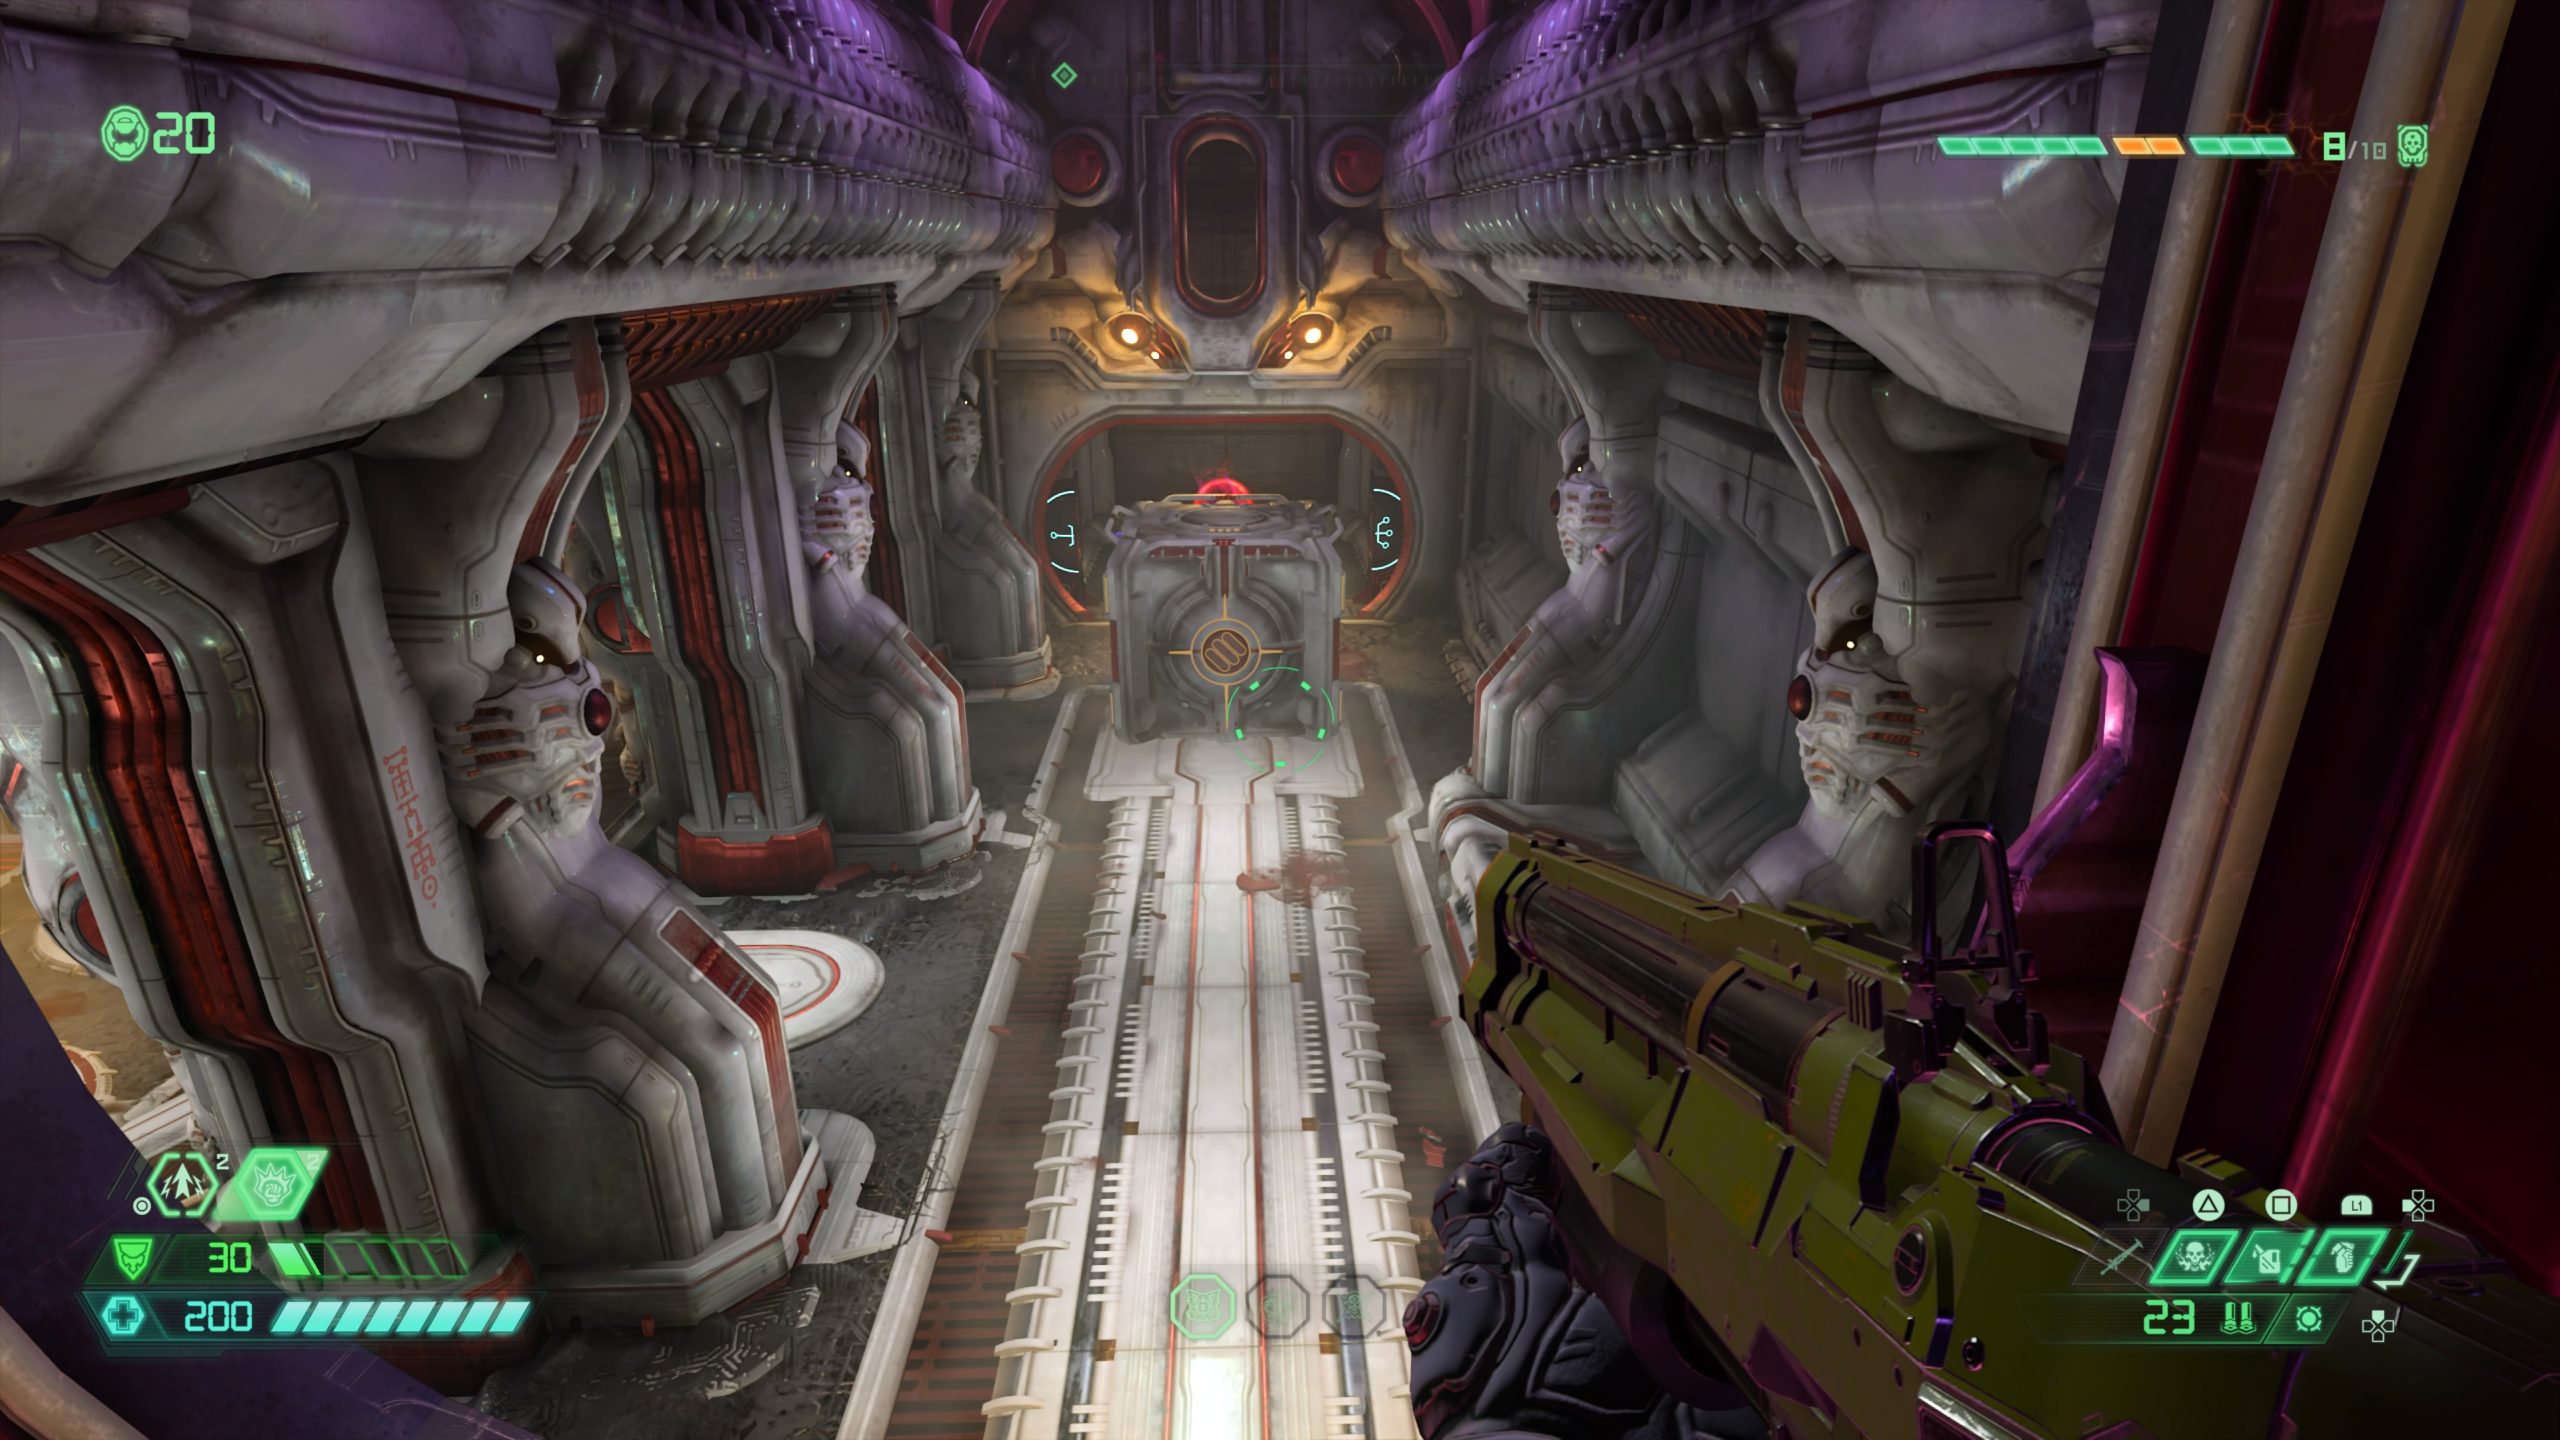
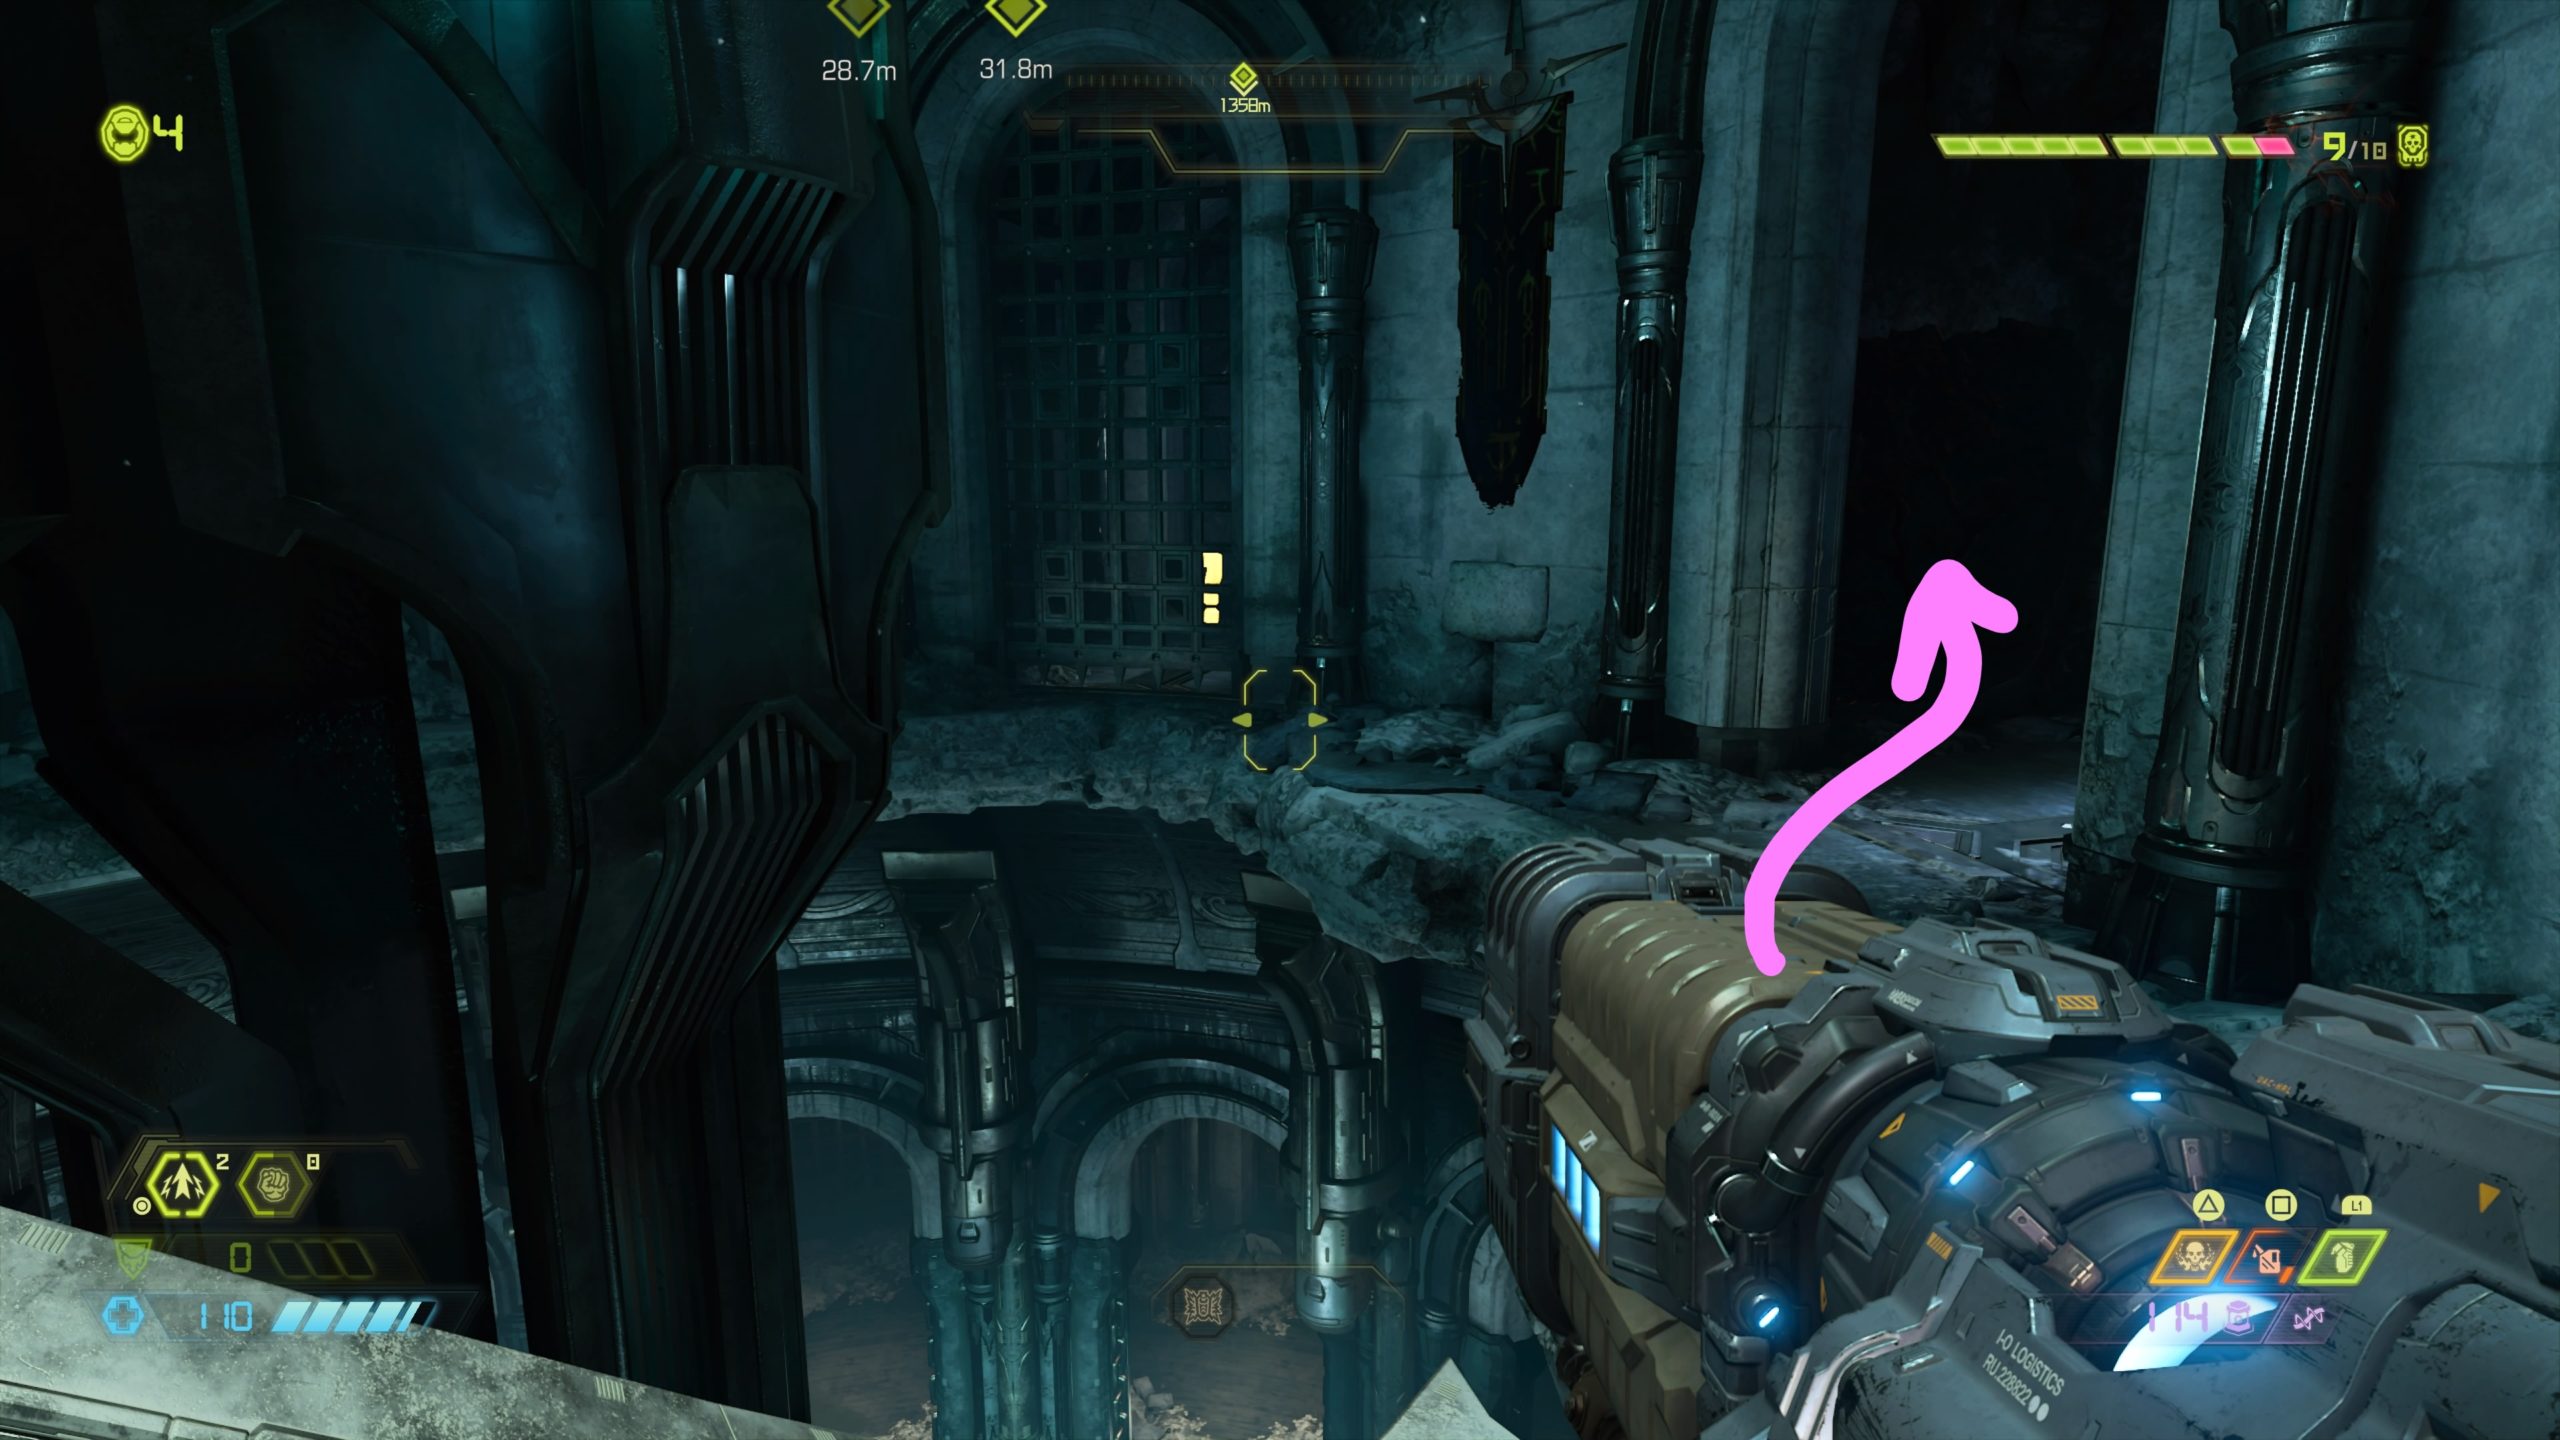
During the mission, you will walk across a yellow bridge to arrive in a long hallway of death. Activate the terminal straight ahead to trigger a fight that introduces the Mancubus. After you defeat all the enemies, head to the end of the hallway where the cultist key is located and take a right to find a Sentinel holding the point.
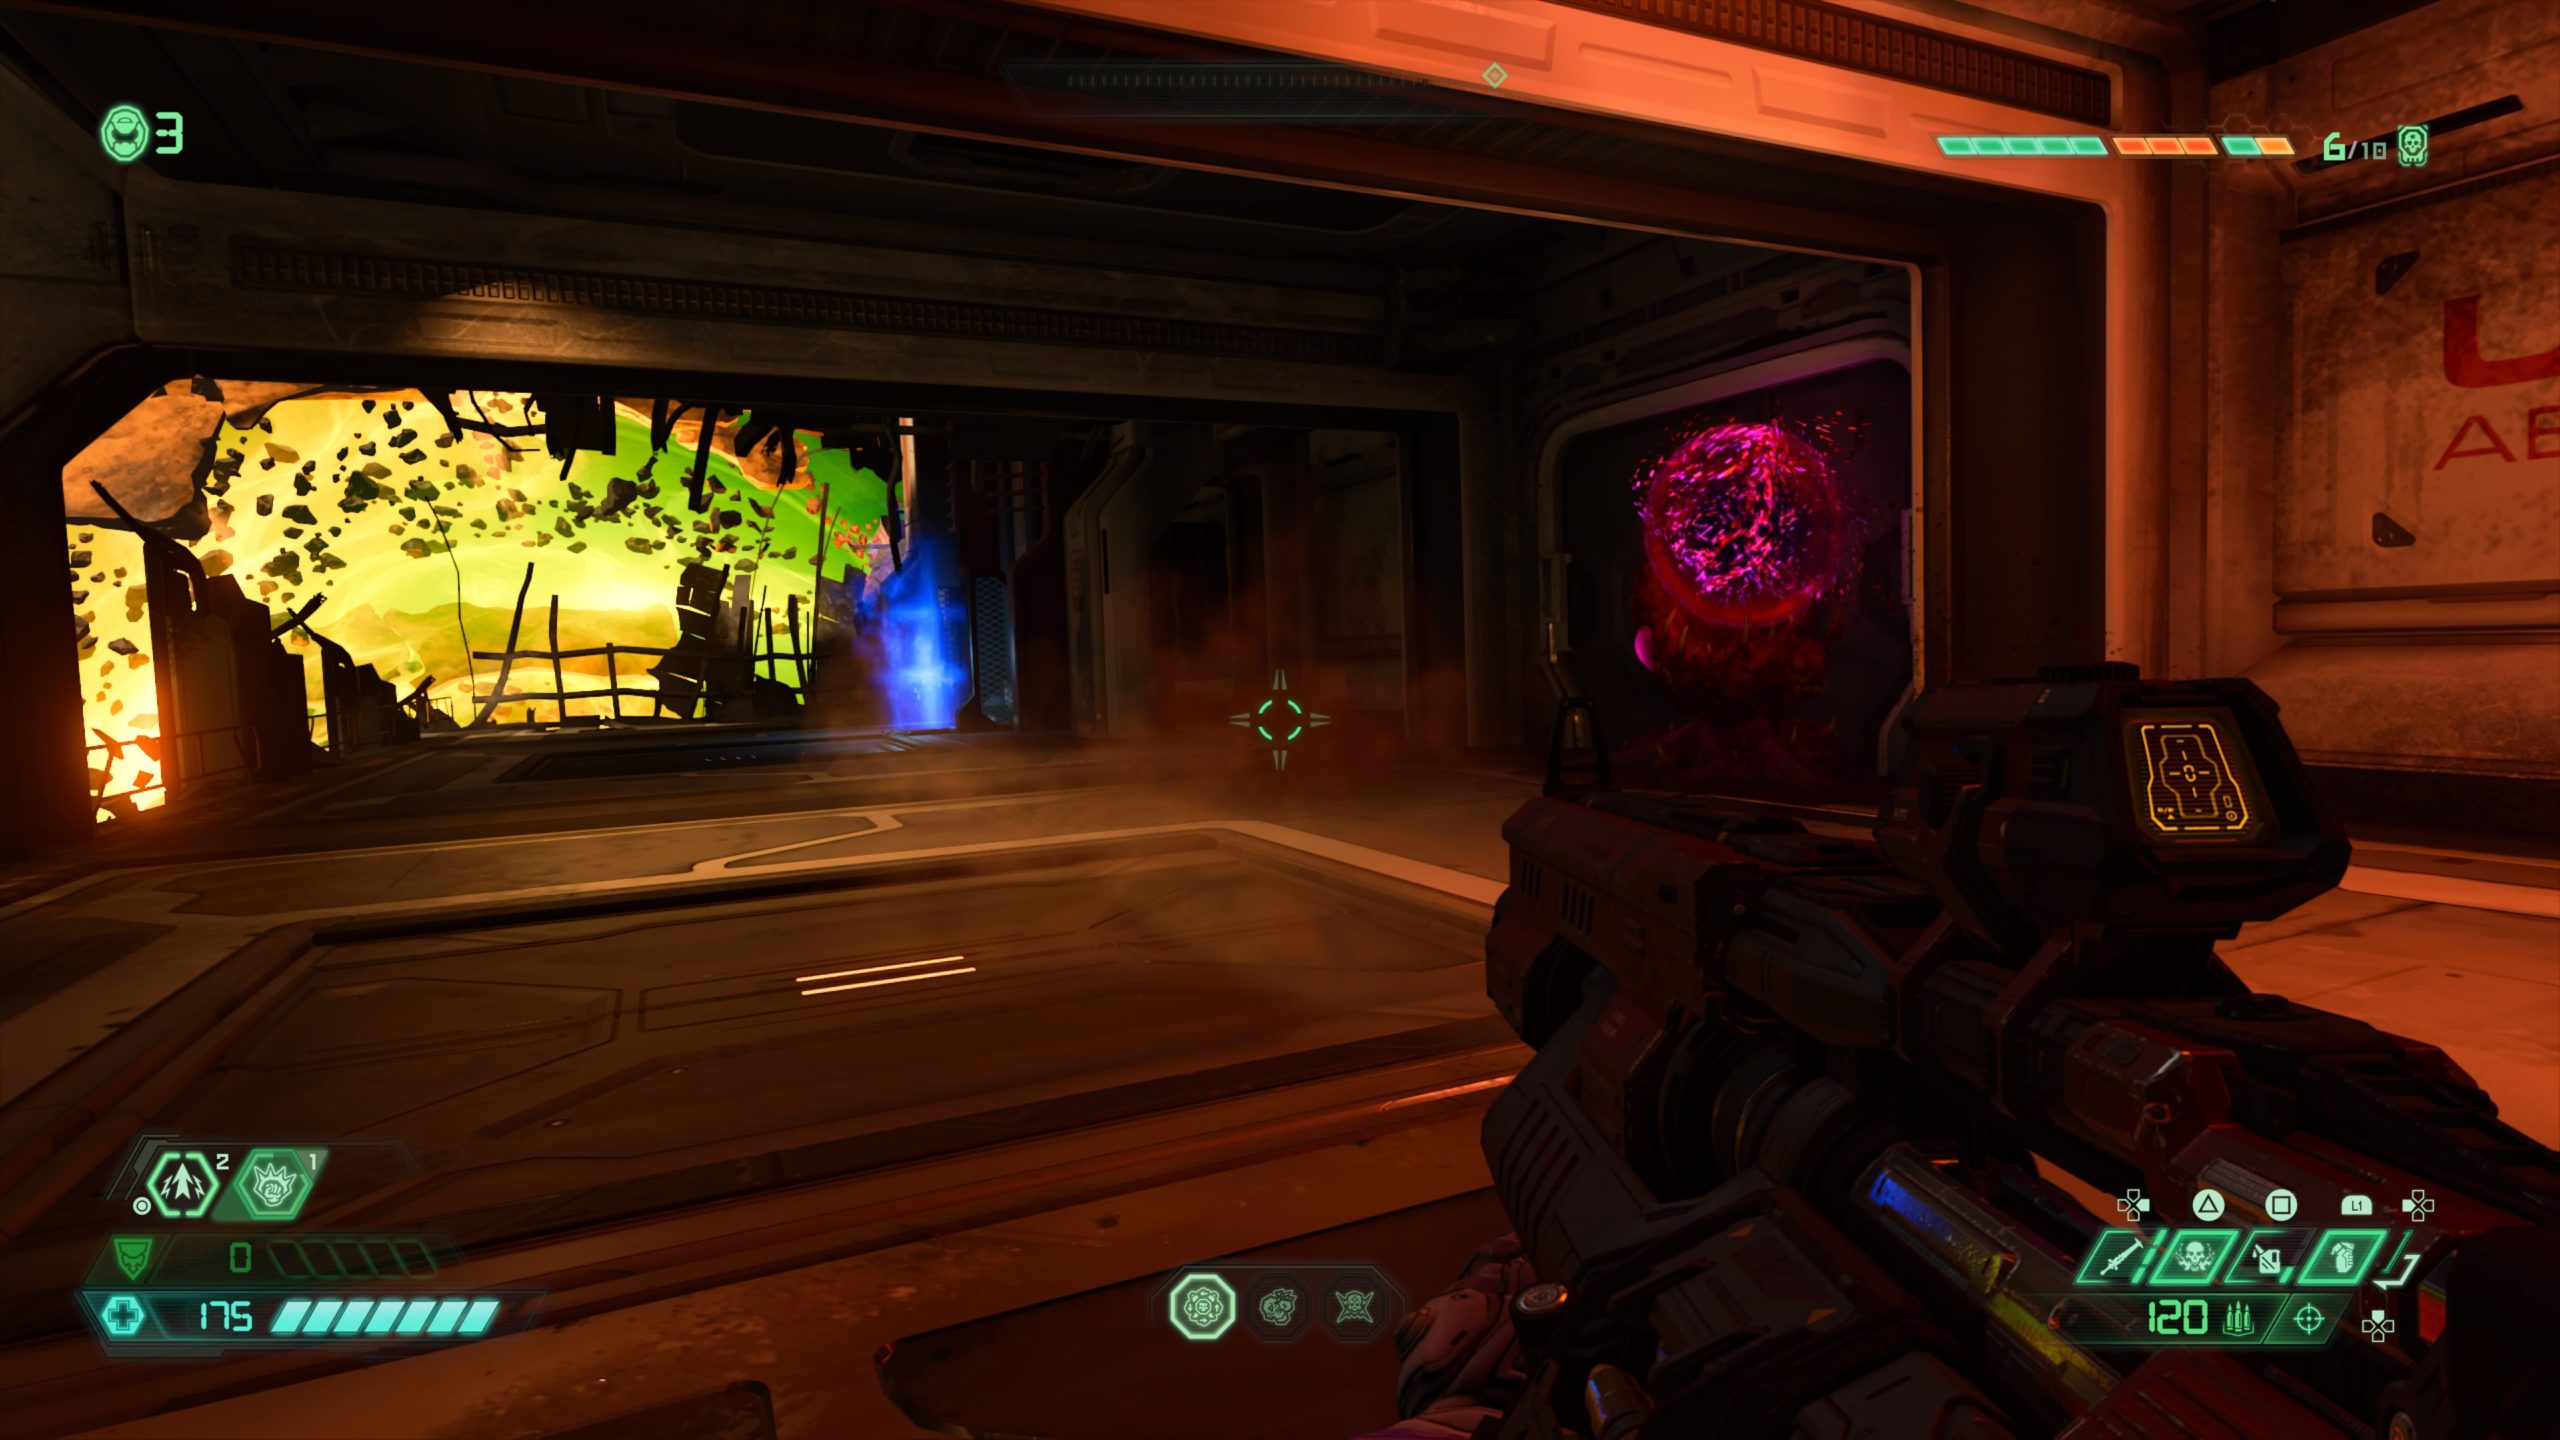
Praetor Suit Point 3
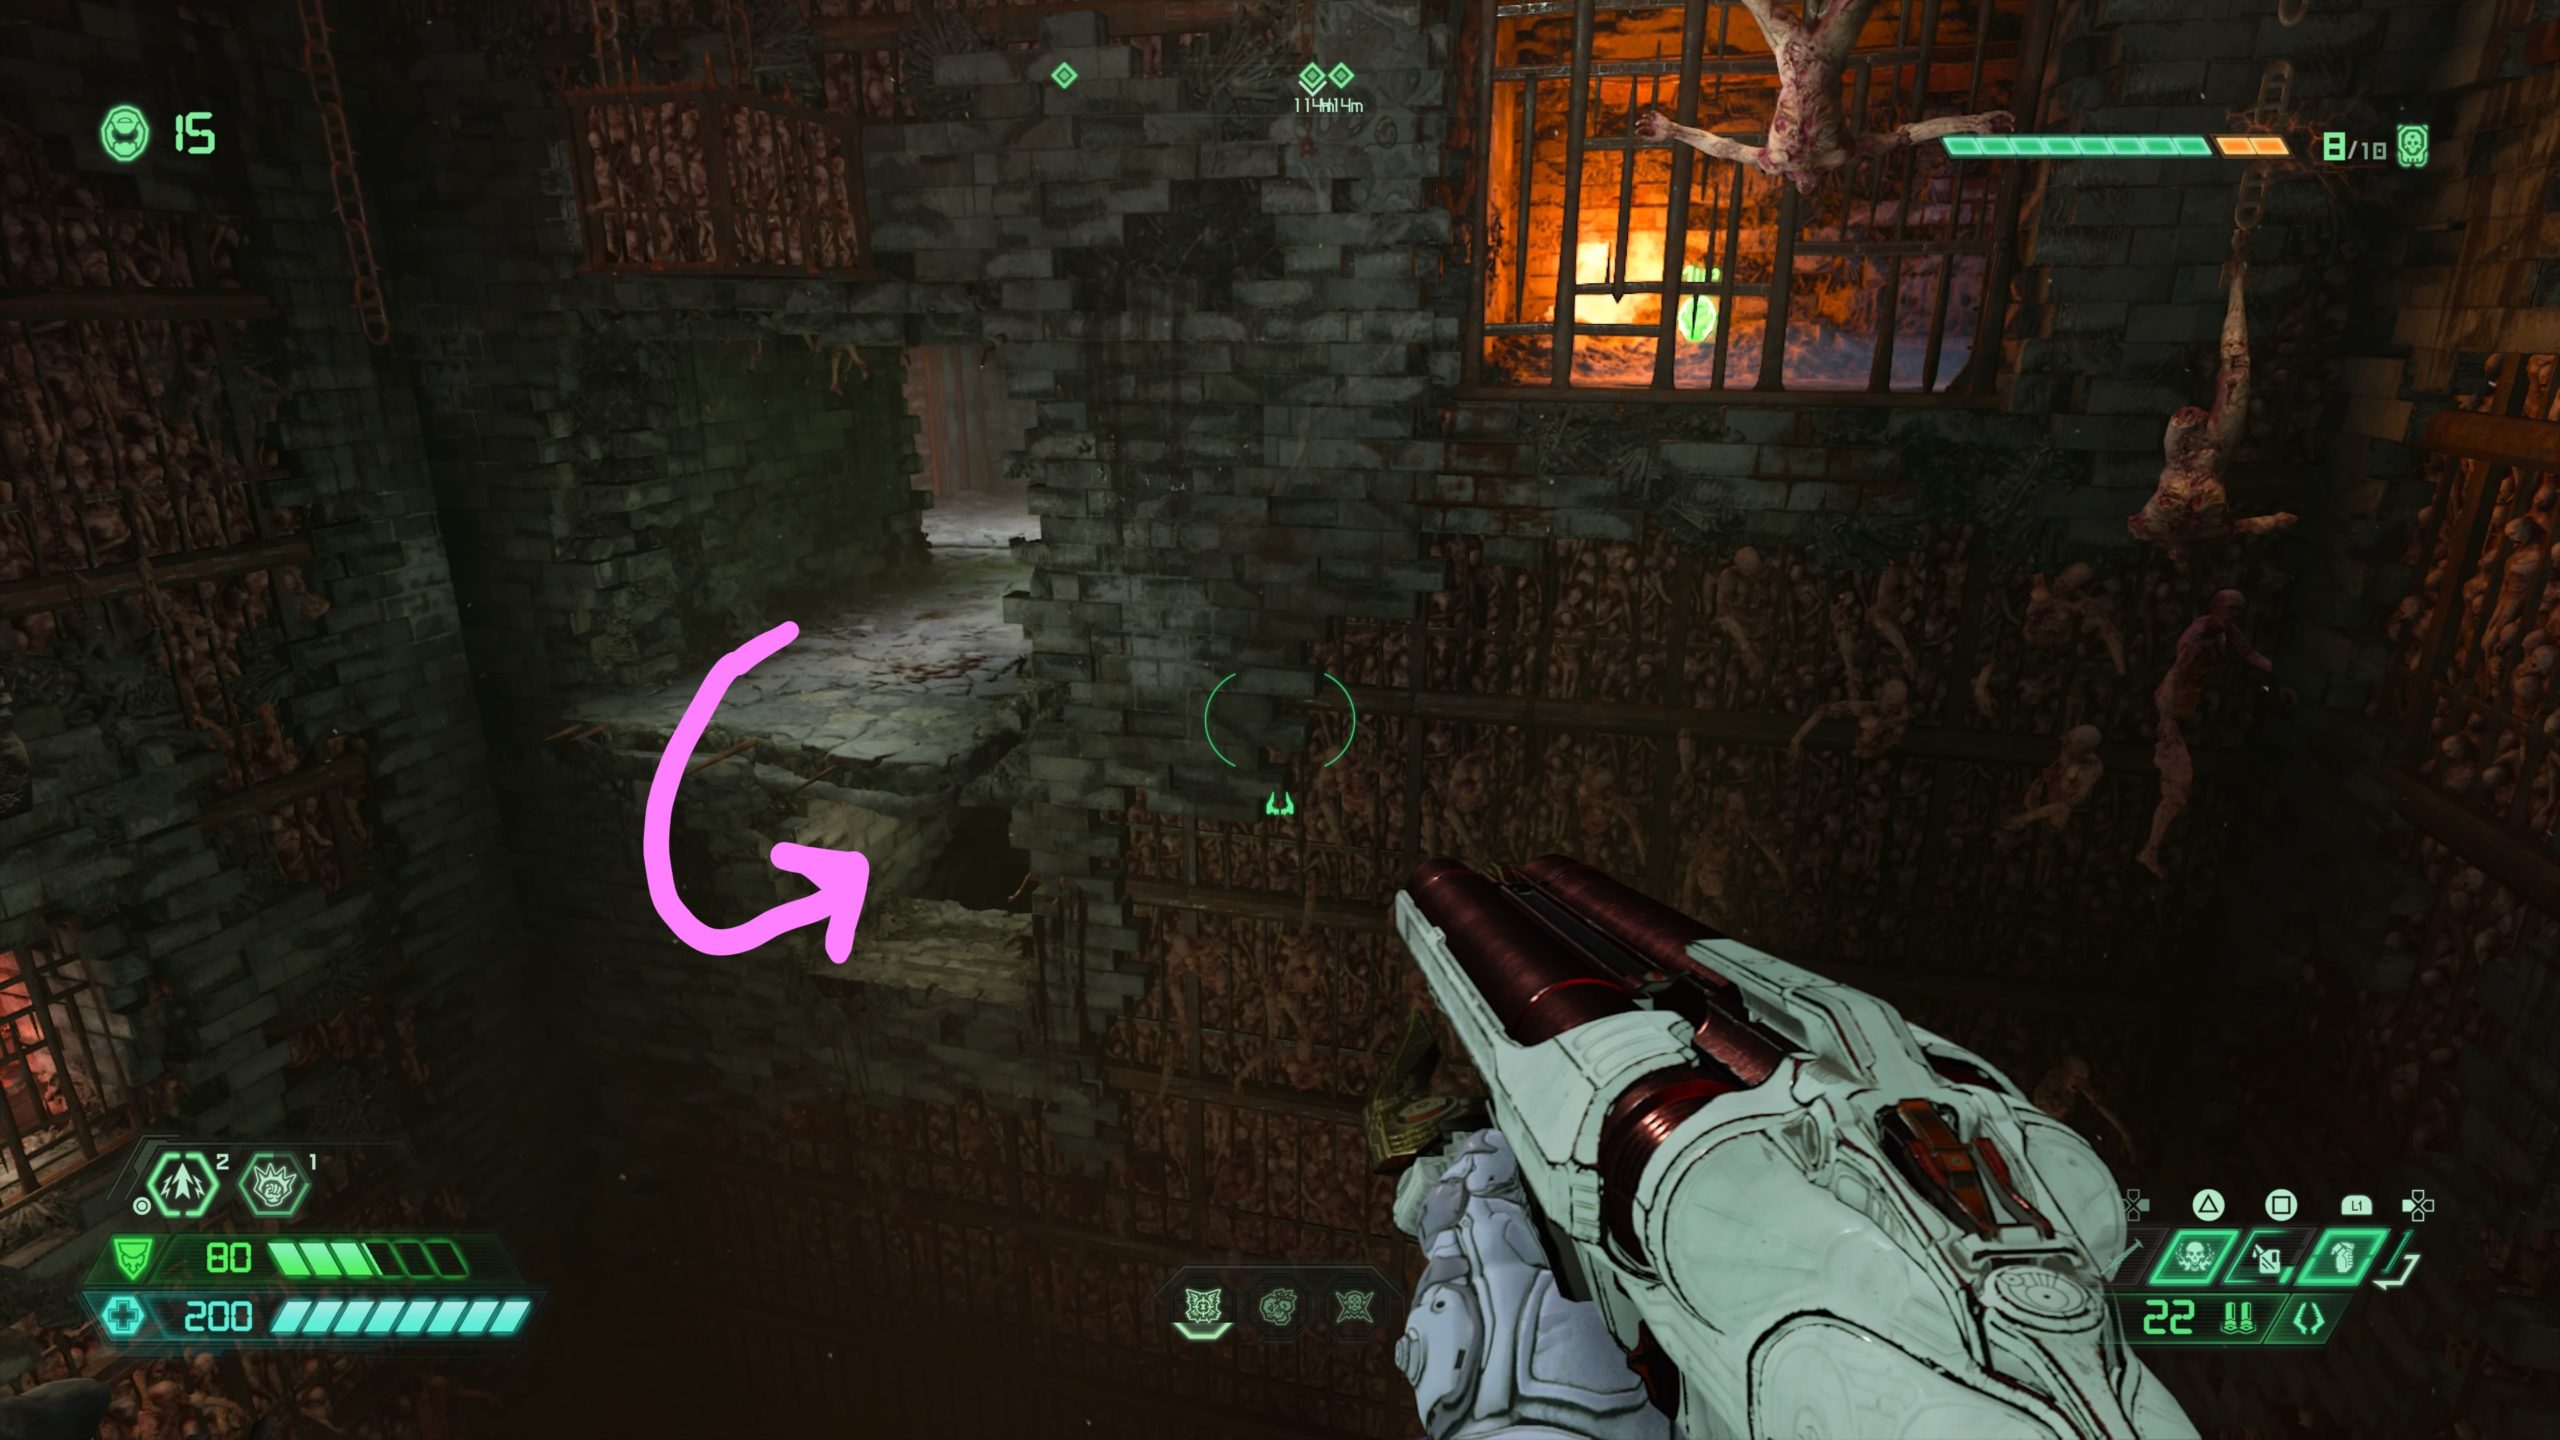
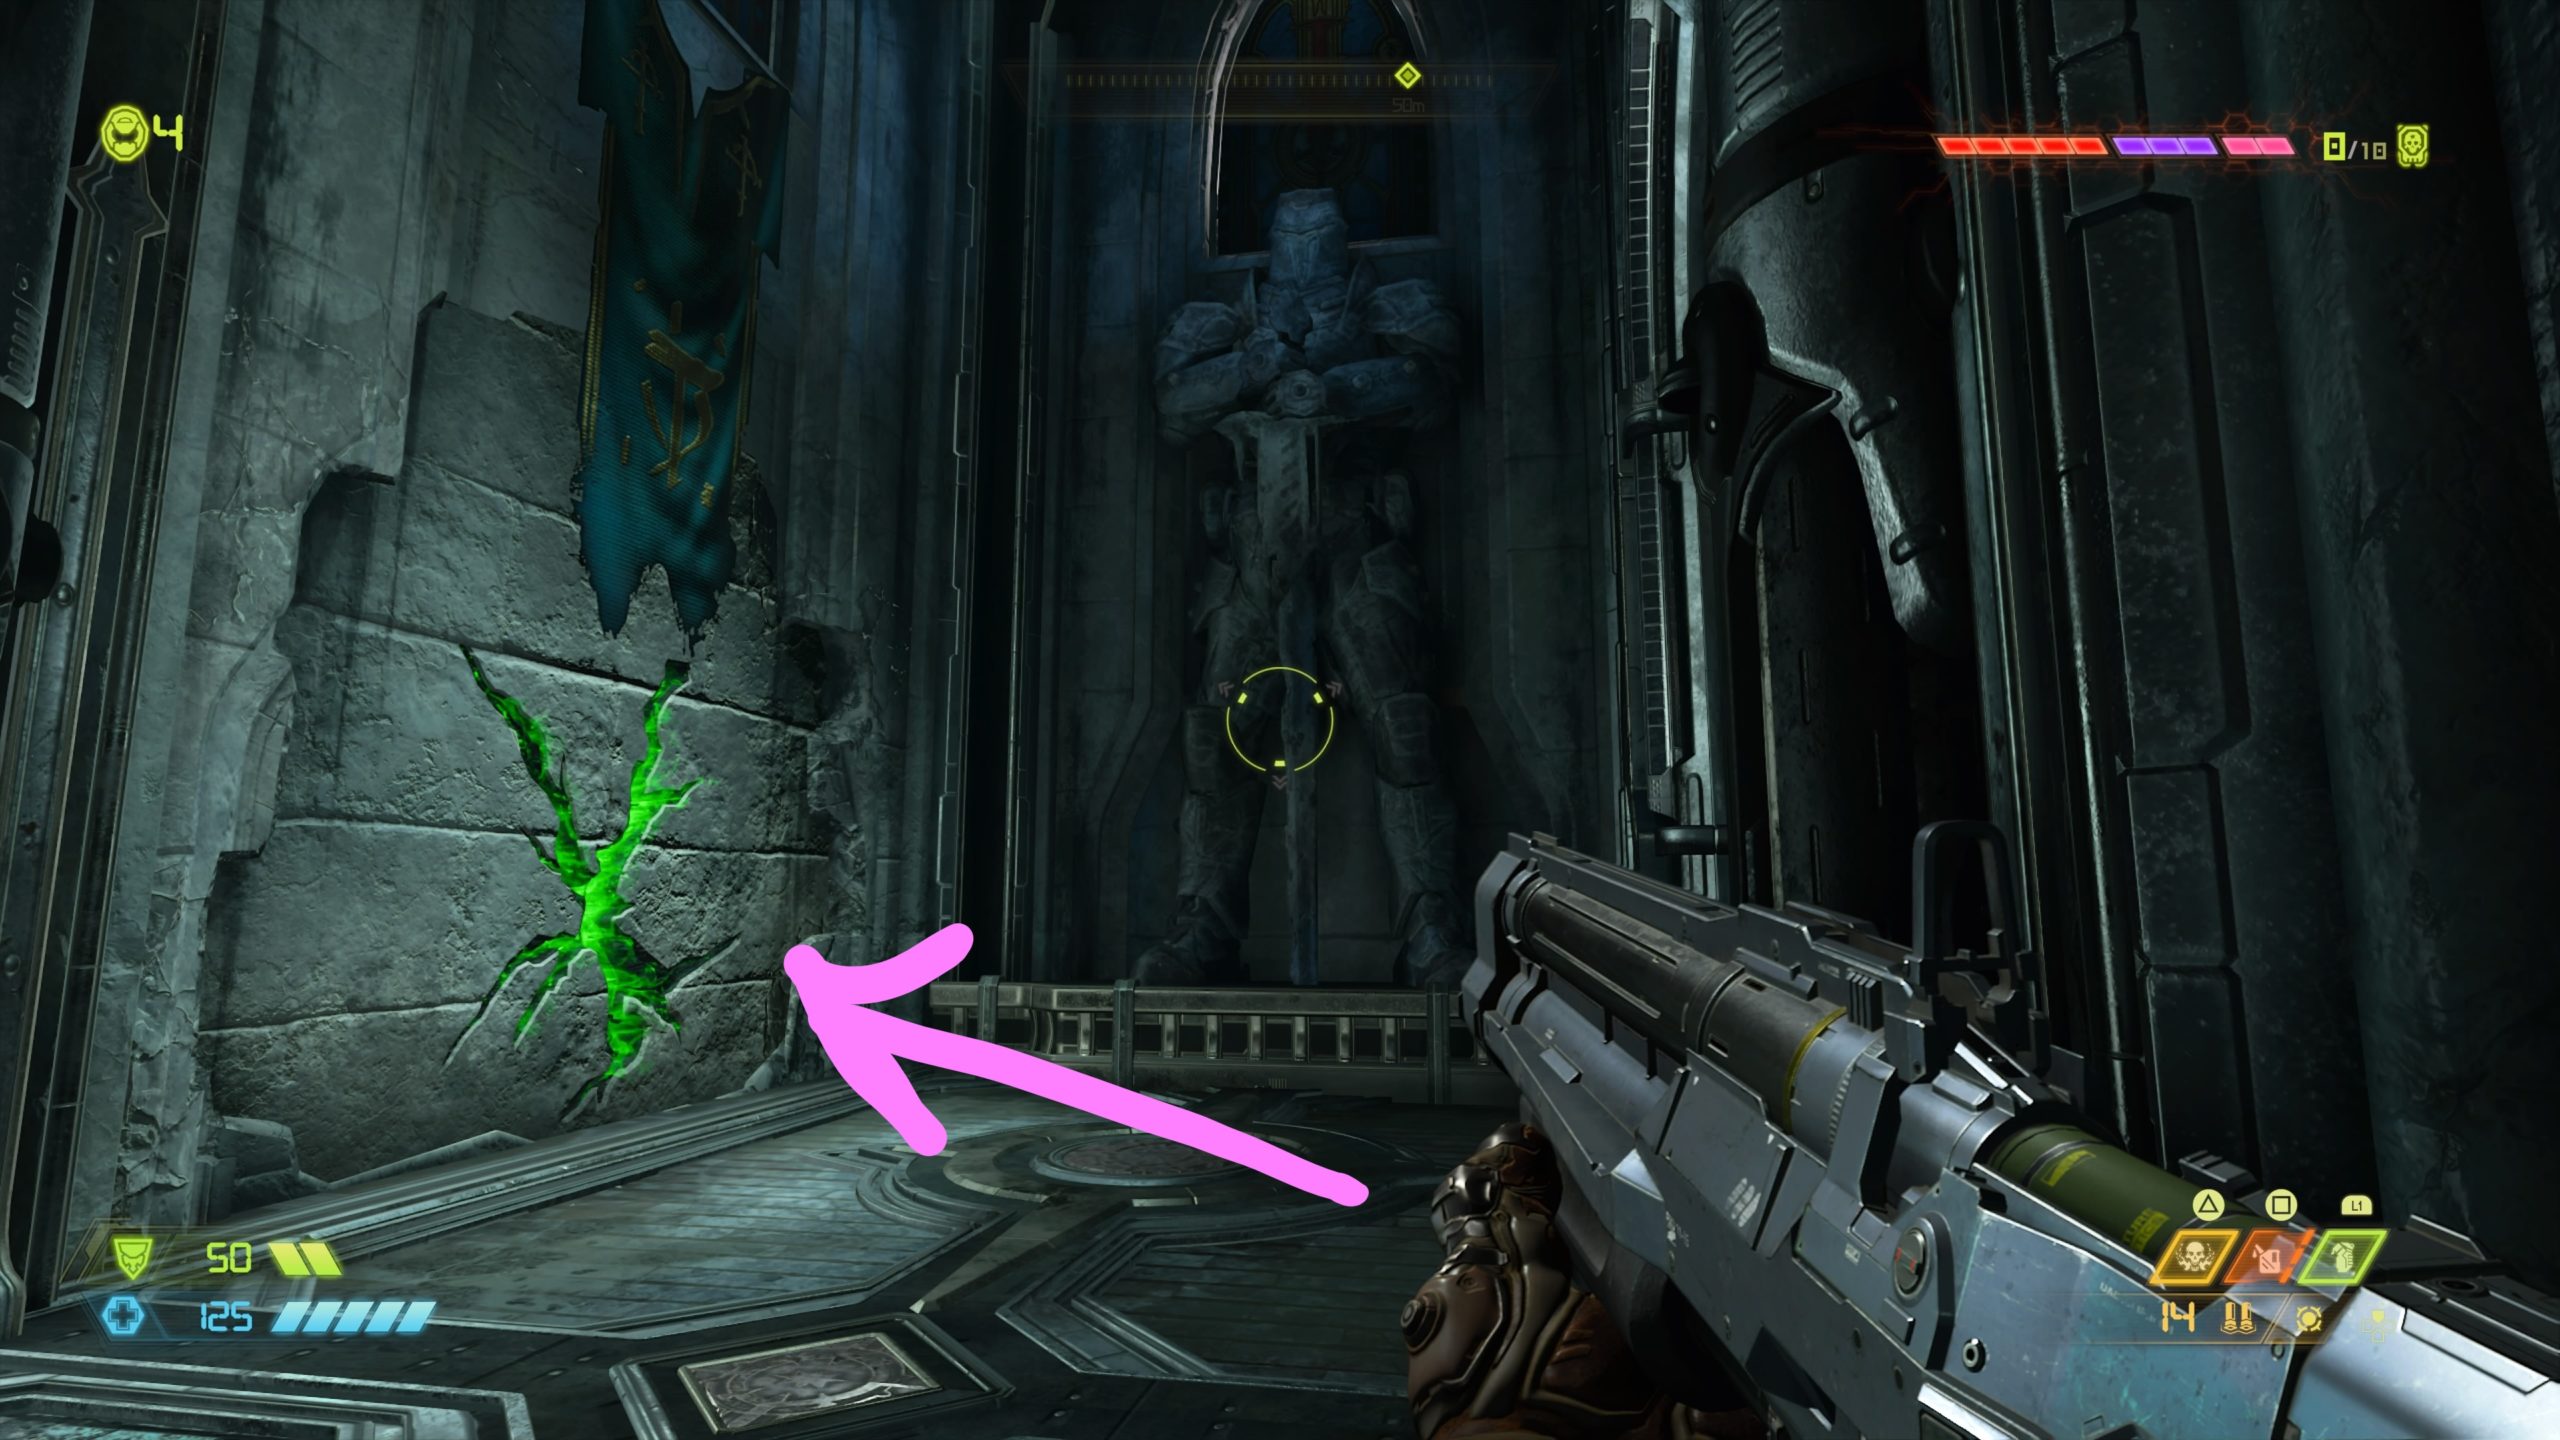
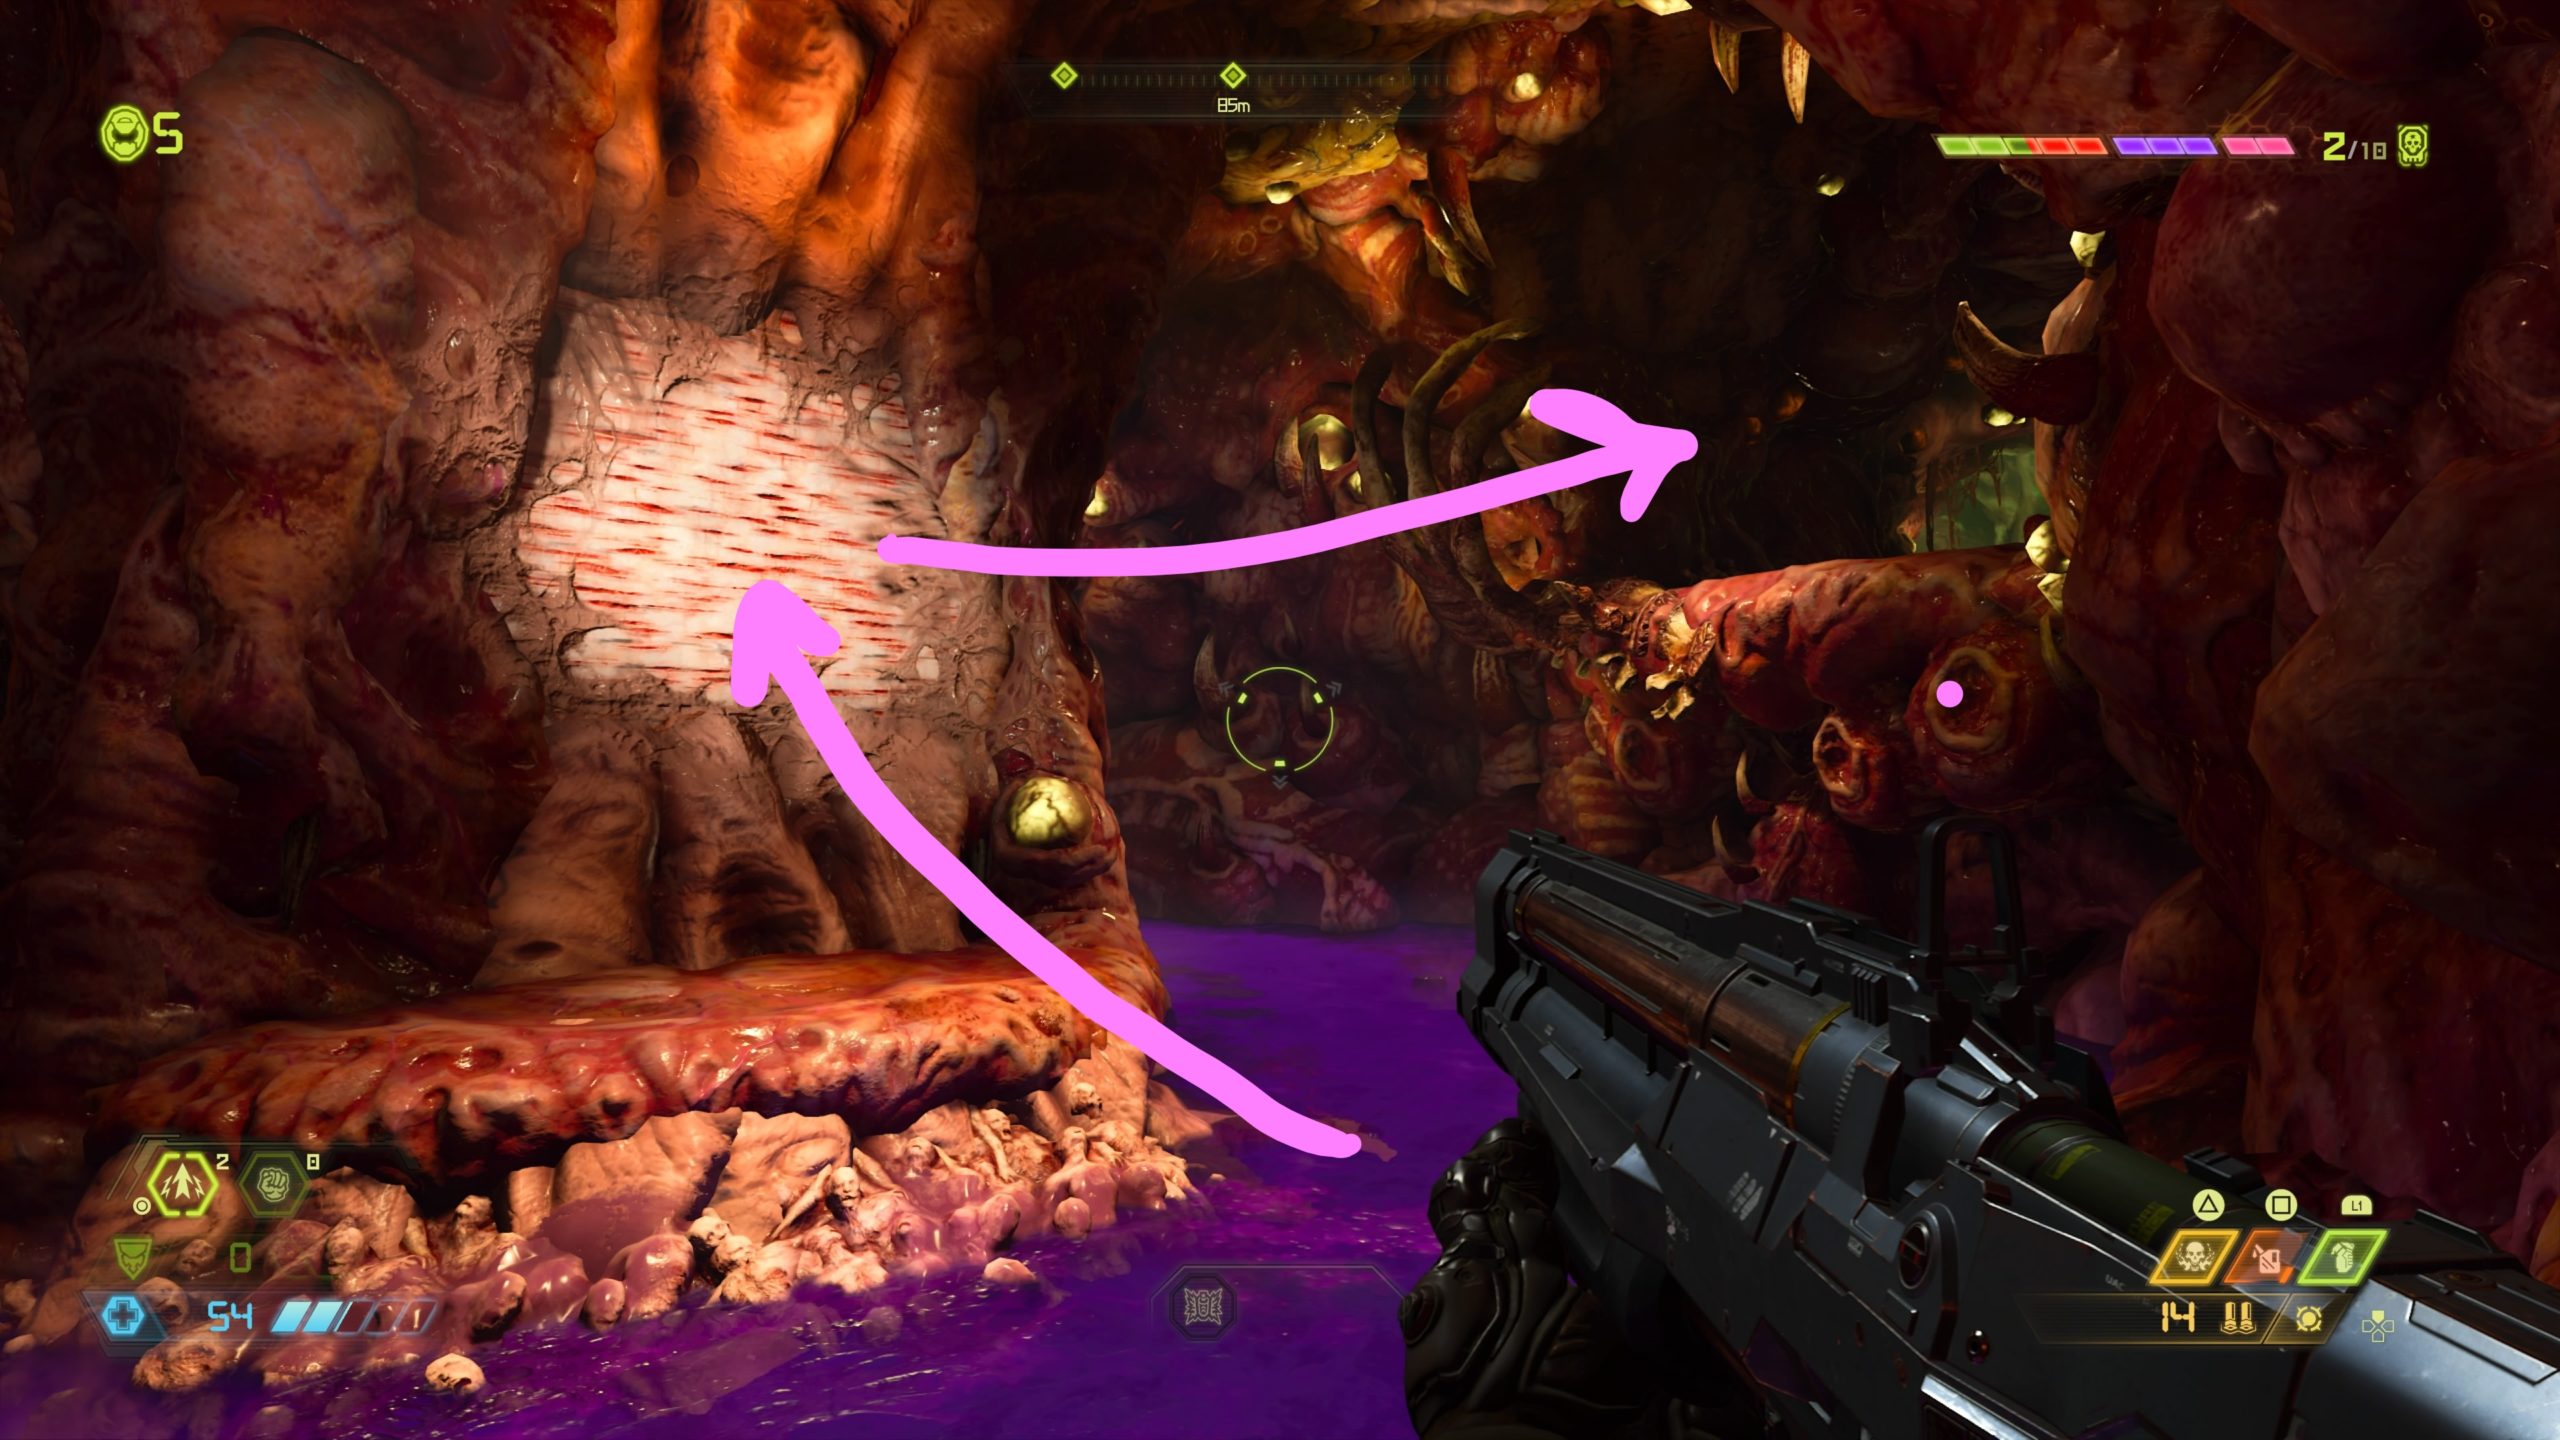
As you progress through the story, you will eventually use a skull switch to unseal a gate, which will enable you to return to a previously visited courtyard. Defeat the enemies then stand on the green platform in the middle of the area to unseal the gate. Head inside then turn left down the tunnel. Just before the doorway there will be a cracked section of wall on the left side of the tunnel. Melee it then drop down into a room below containing the Praetor Suit Point.
Praetor Suit Point 4
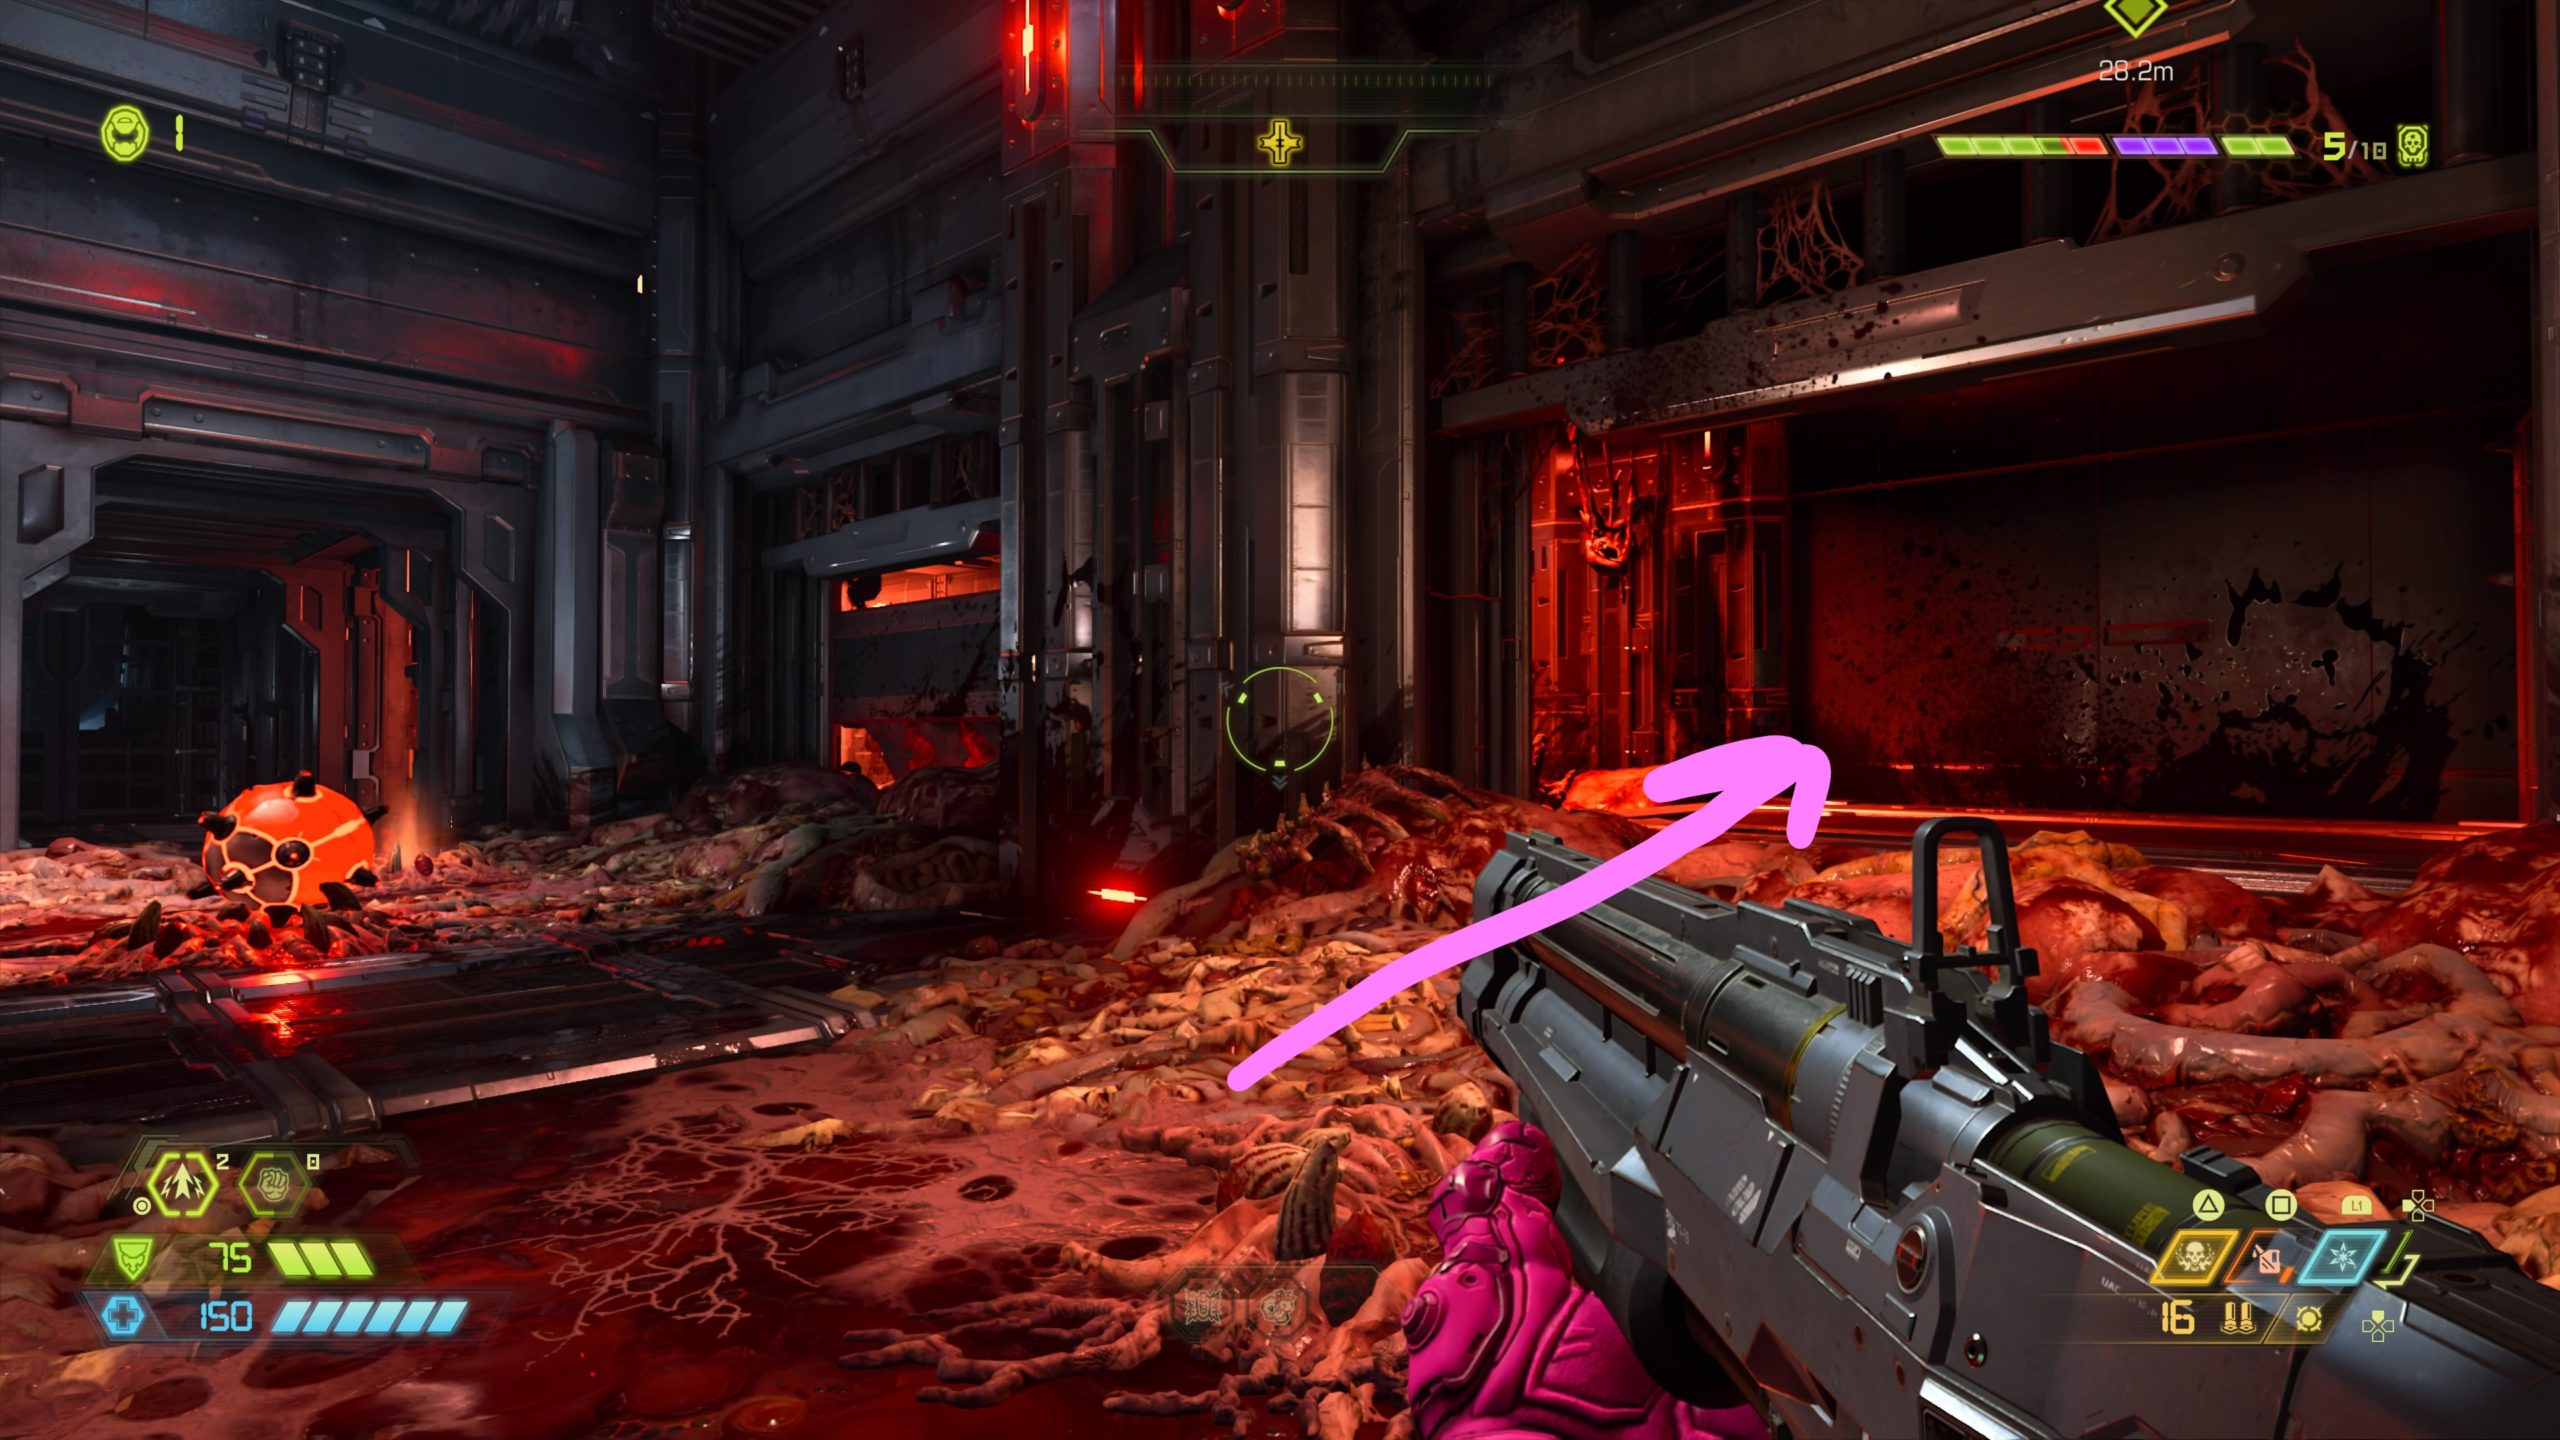
During the objective to obtain the Super Shotgun, you’ll head into the next room with two moving columns. Enter the moving column on the left and take it down to the next level. Exit the column and follow the metal walkway until you reach a metal cube. Jump over the cube and continue along the walkway to reach the collectible.
Praetor Suit Point 5
During the story, you’ll pass through a guillotine hallway and enter a large circular room with a skull slab in the middle. Use the spin bars to reach the top then dash to the area that contains the Sentinel holding the Praetor Suit Point.
Praetor Suit Point 6
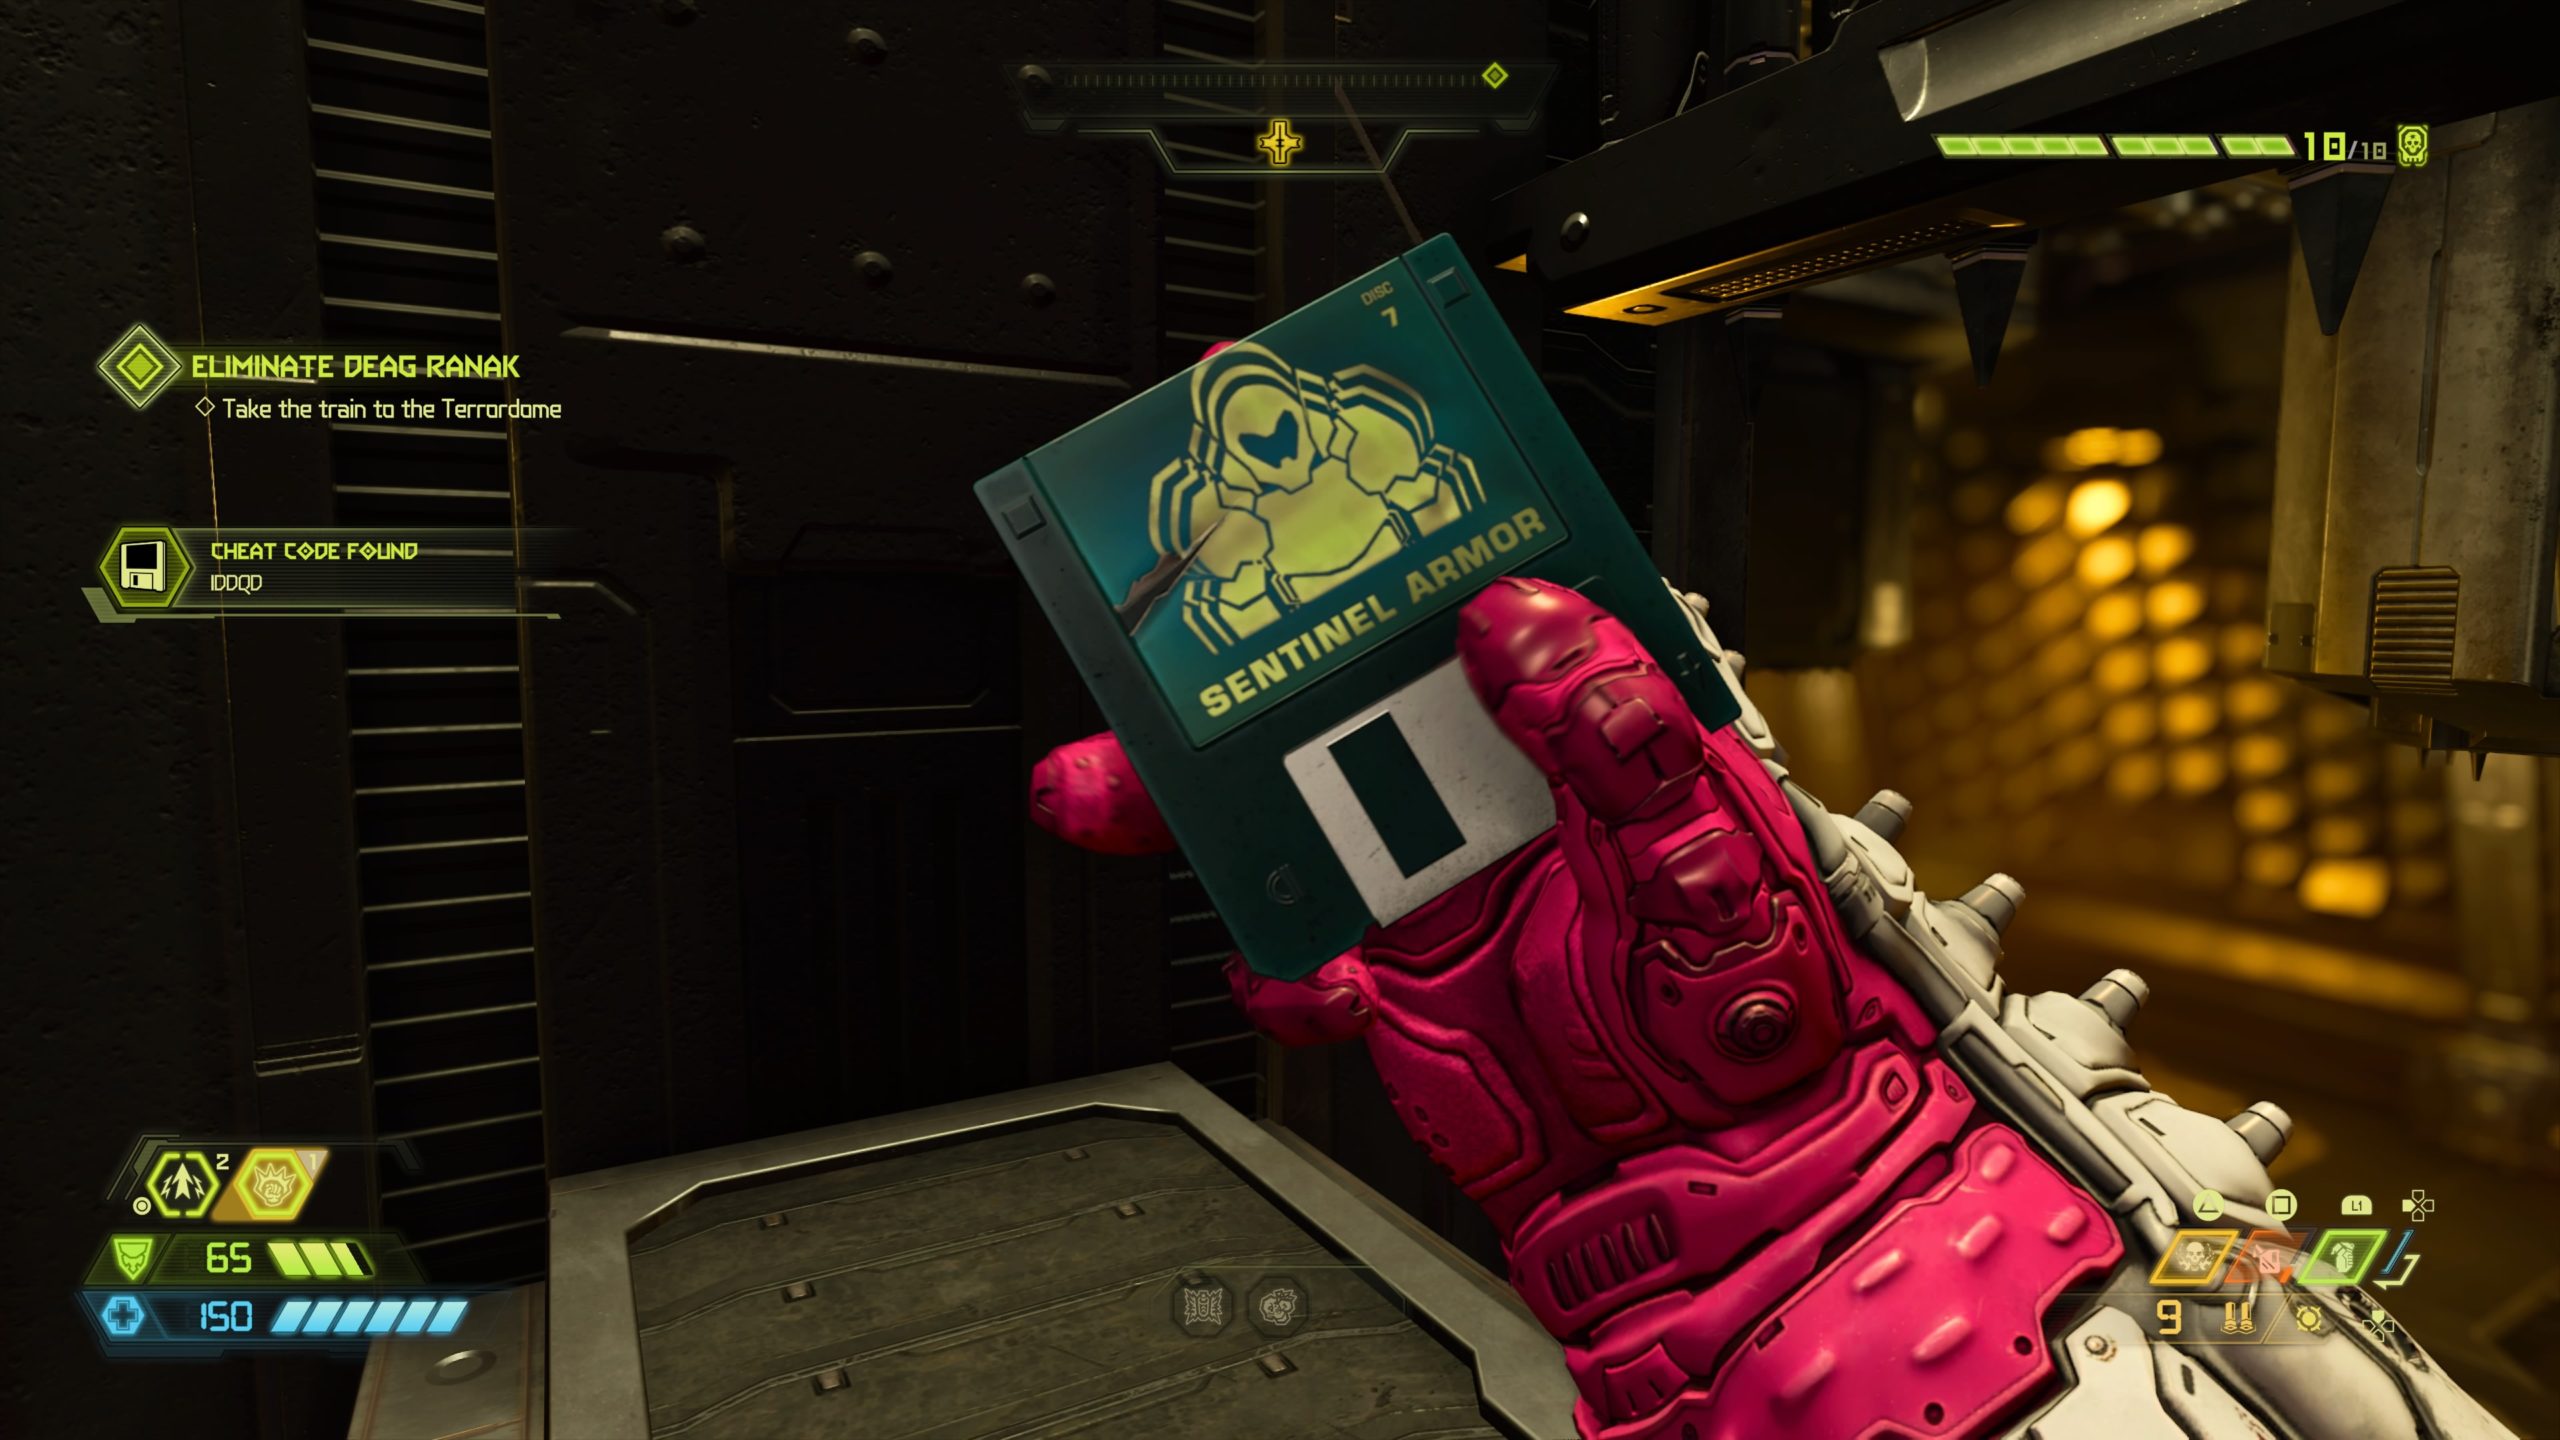
You can find this point near the entrance of the Terrordome.
Mission 4: Doom Hunter Base
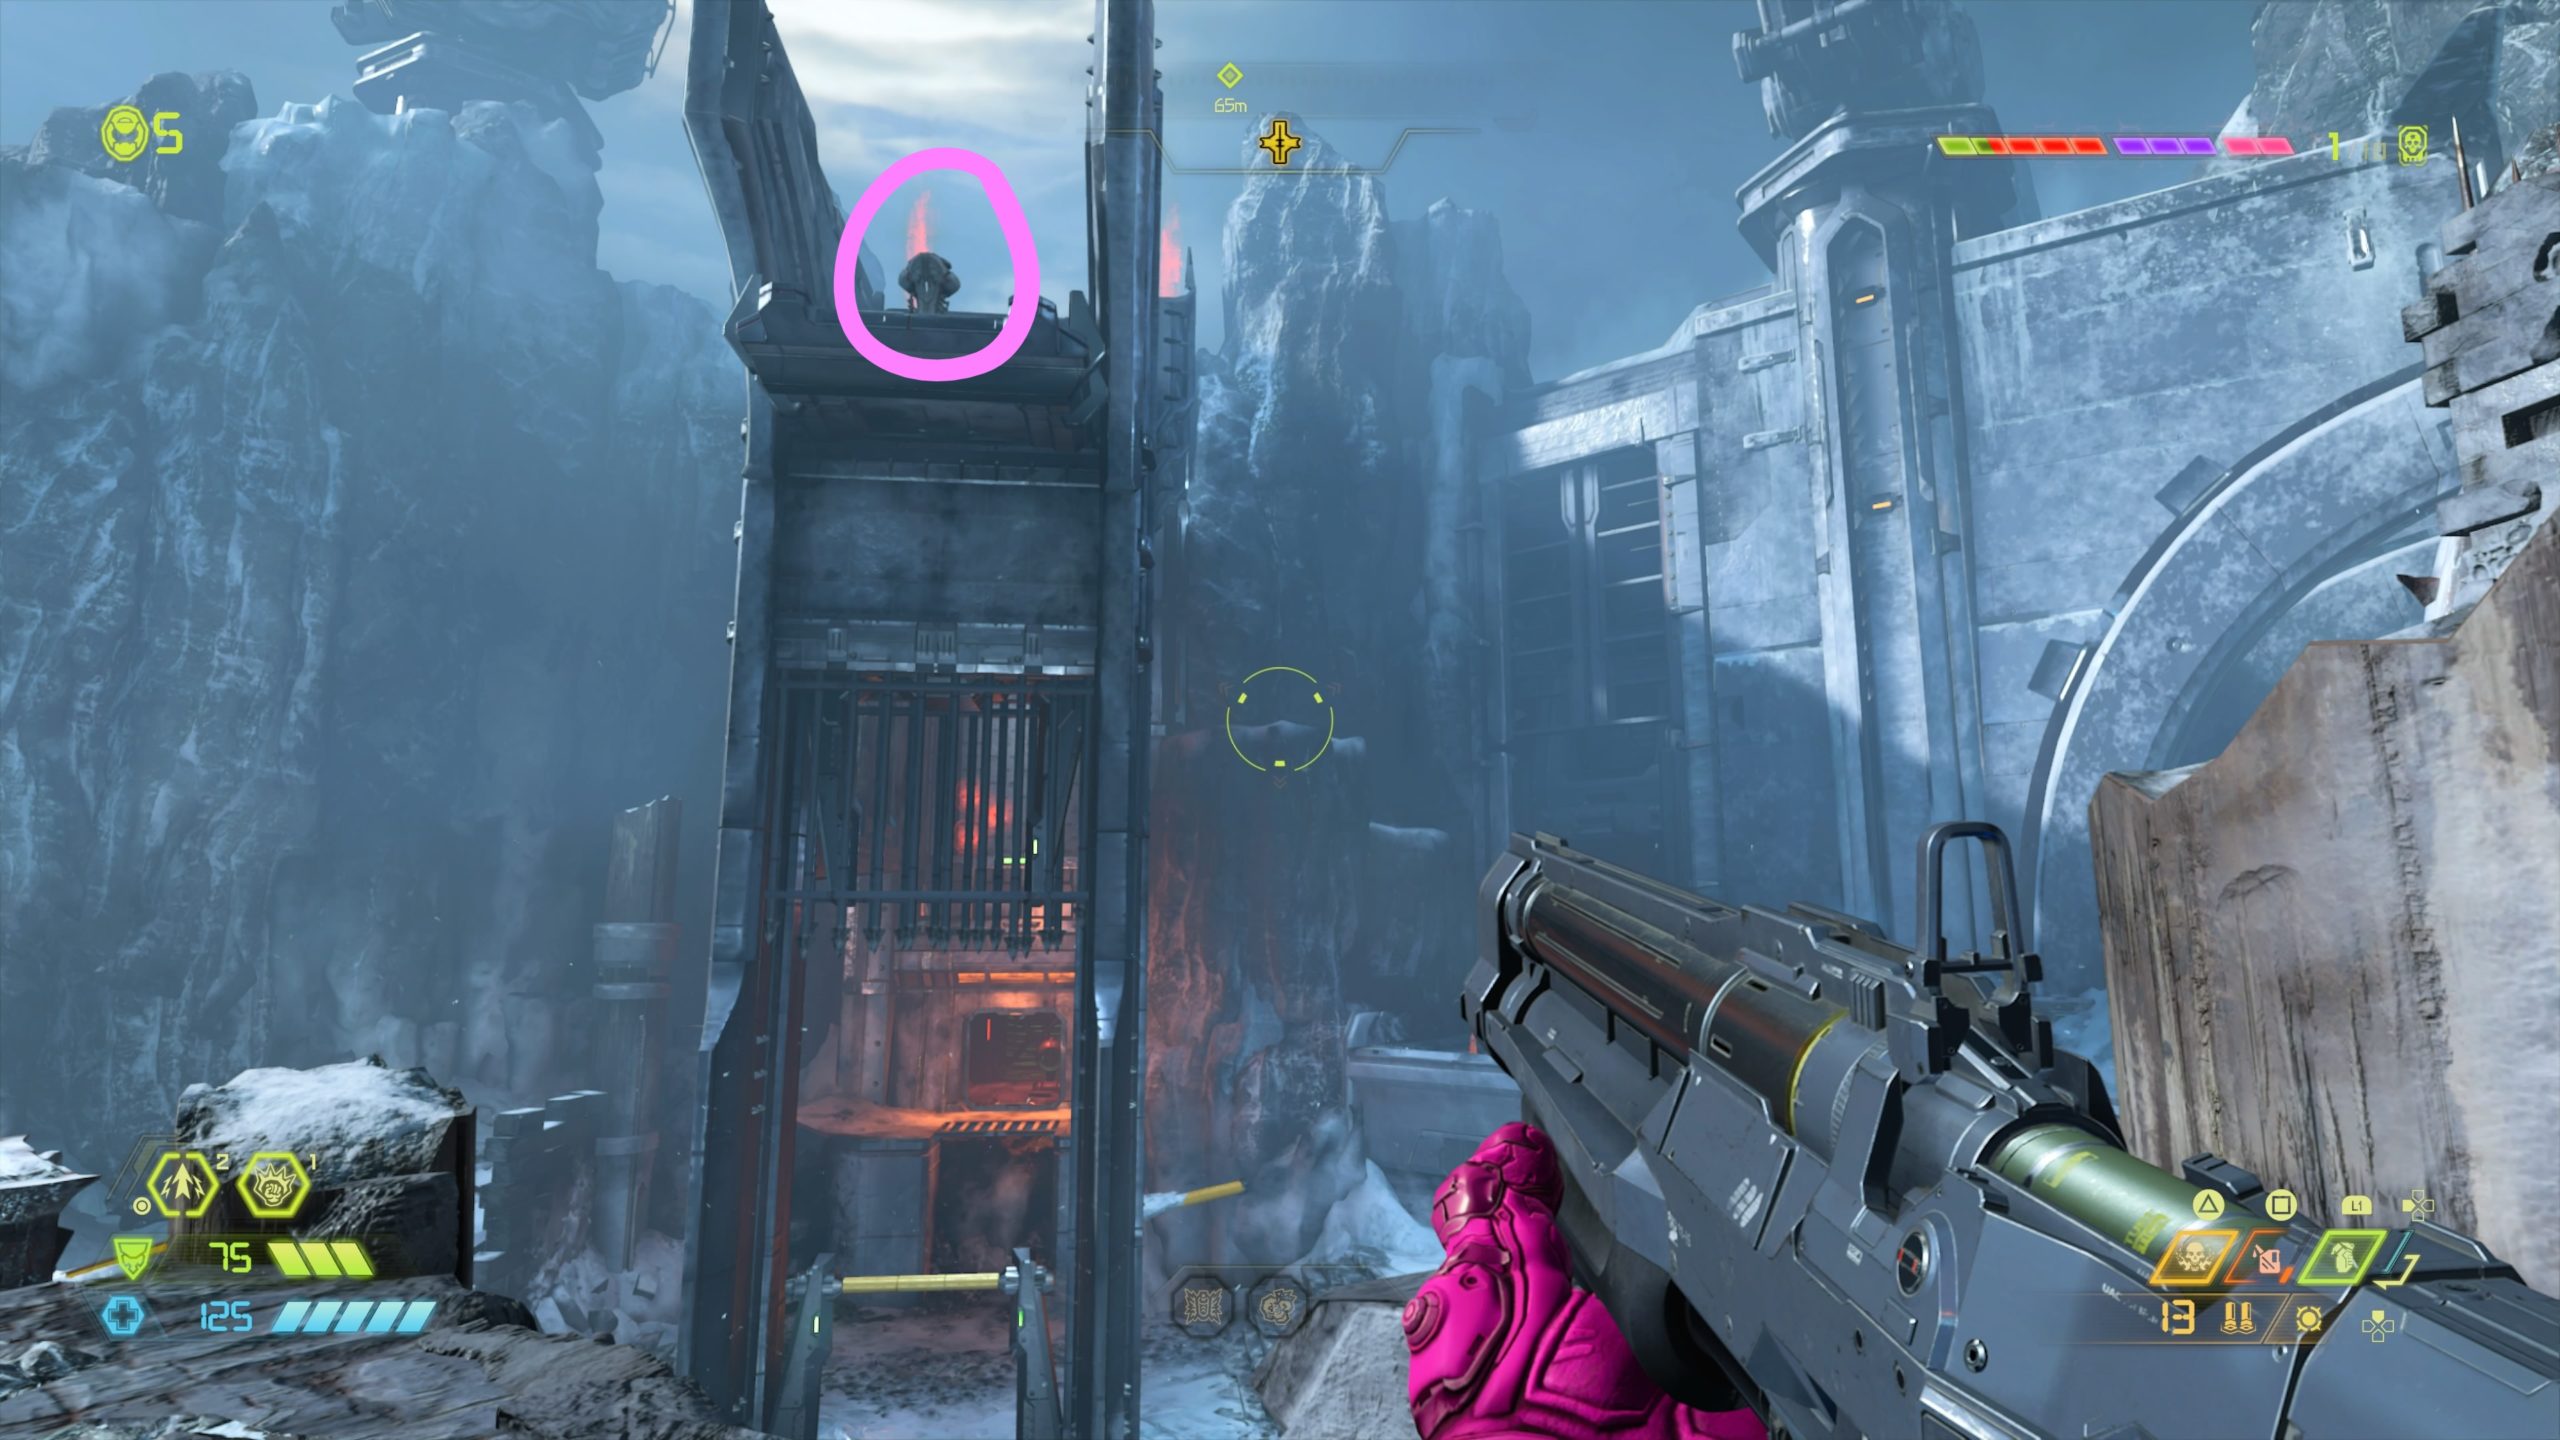
Praetor Suit Point 7
The Praetor Suit Point is located on a ledge above the starting area. To reach it, head to the platform on the other side of the red barrier then jump towards the metal skull that shoots fire. Once on that platform, head to the other side and climb up the wall to reach another climbable wall on the other side of the room. At the top of the wall, take a left facing the entrance where you came from to spot a gold spin bar. Use the gold spin bar to reach the climbable wall on a bridge. At the top of the bridge, the sentinel holding the point will be straight ahead on the ledge to the right. You’ll need to use double jump and dash to reach it.
Praetor Suit Point 8
This point is located under the coffin that was unsealed (coffin in a sealed cylinder in middle of room). To reach it, exit the room and jump to a circular walkway then use the climbable walls to reach a top level where you can press the skull switch. From here jump to the cylinder and use the climbable wall to reach the top where you will be able to jump into the cylinder via a hole to find the point.
Praetor Suit Point 9
During the story, you’ll enter the red access door then follow the ramp down continuing through a hallway towards a stream of fire. Take the stairs at the end of the hallway up. At the top of the stairs, head through the right doorway with horizontal red laser beams. The Sentinel holding the point can be located in a shaft above the doorway. You can reach it by jumping on the nearby crates.
Praetor Suit Point 10
From the previous Praetor Suit Point, melee the crack in the wall then jump across the hanging climbable walls to reach a narrow ledge. Stay as far away from the lasers shooting along the wall as you can and defeat the enemies. The Sentinel holding the point will be at the end of the ledge near a climbable wall.
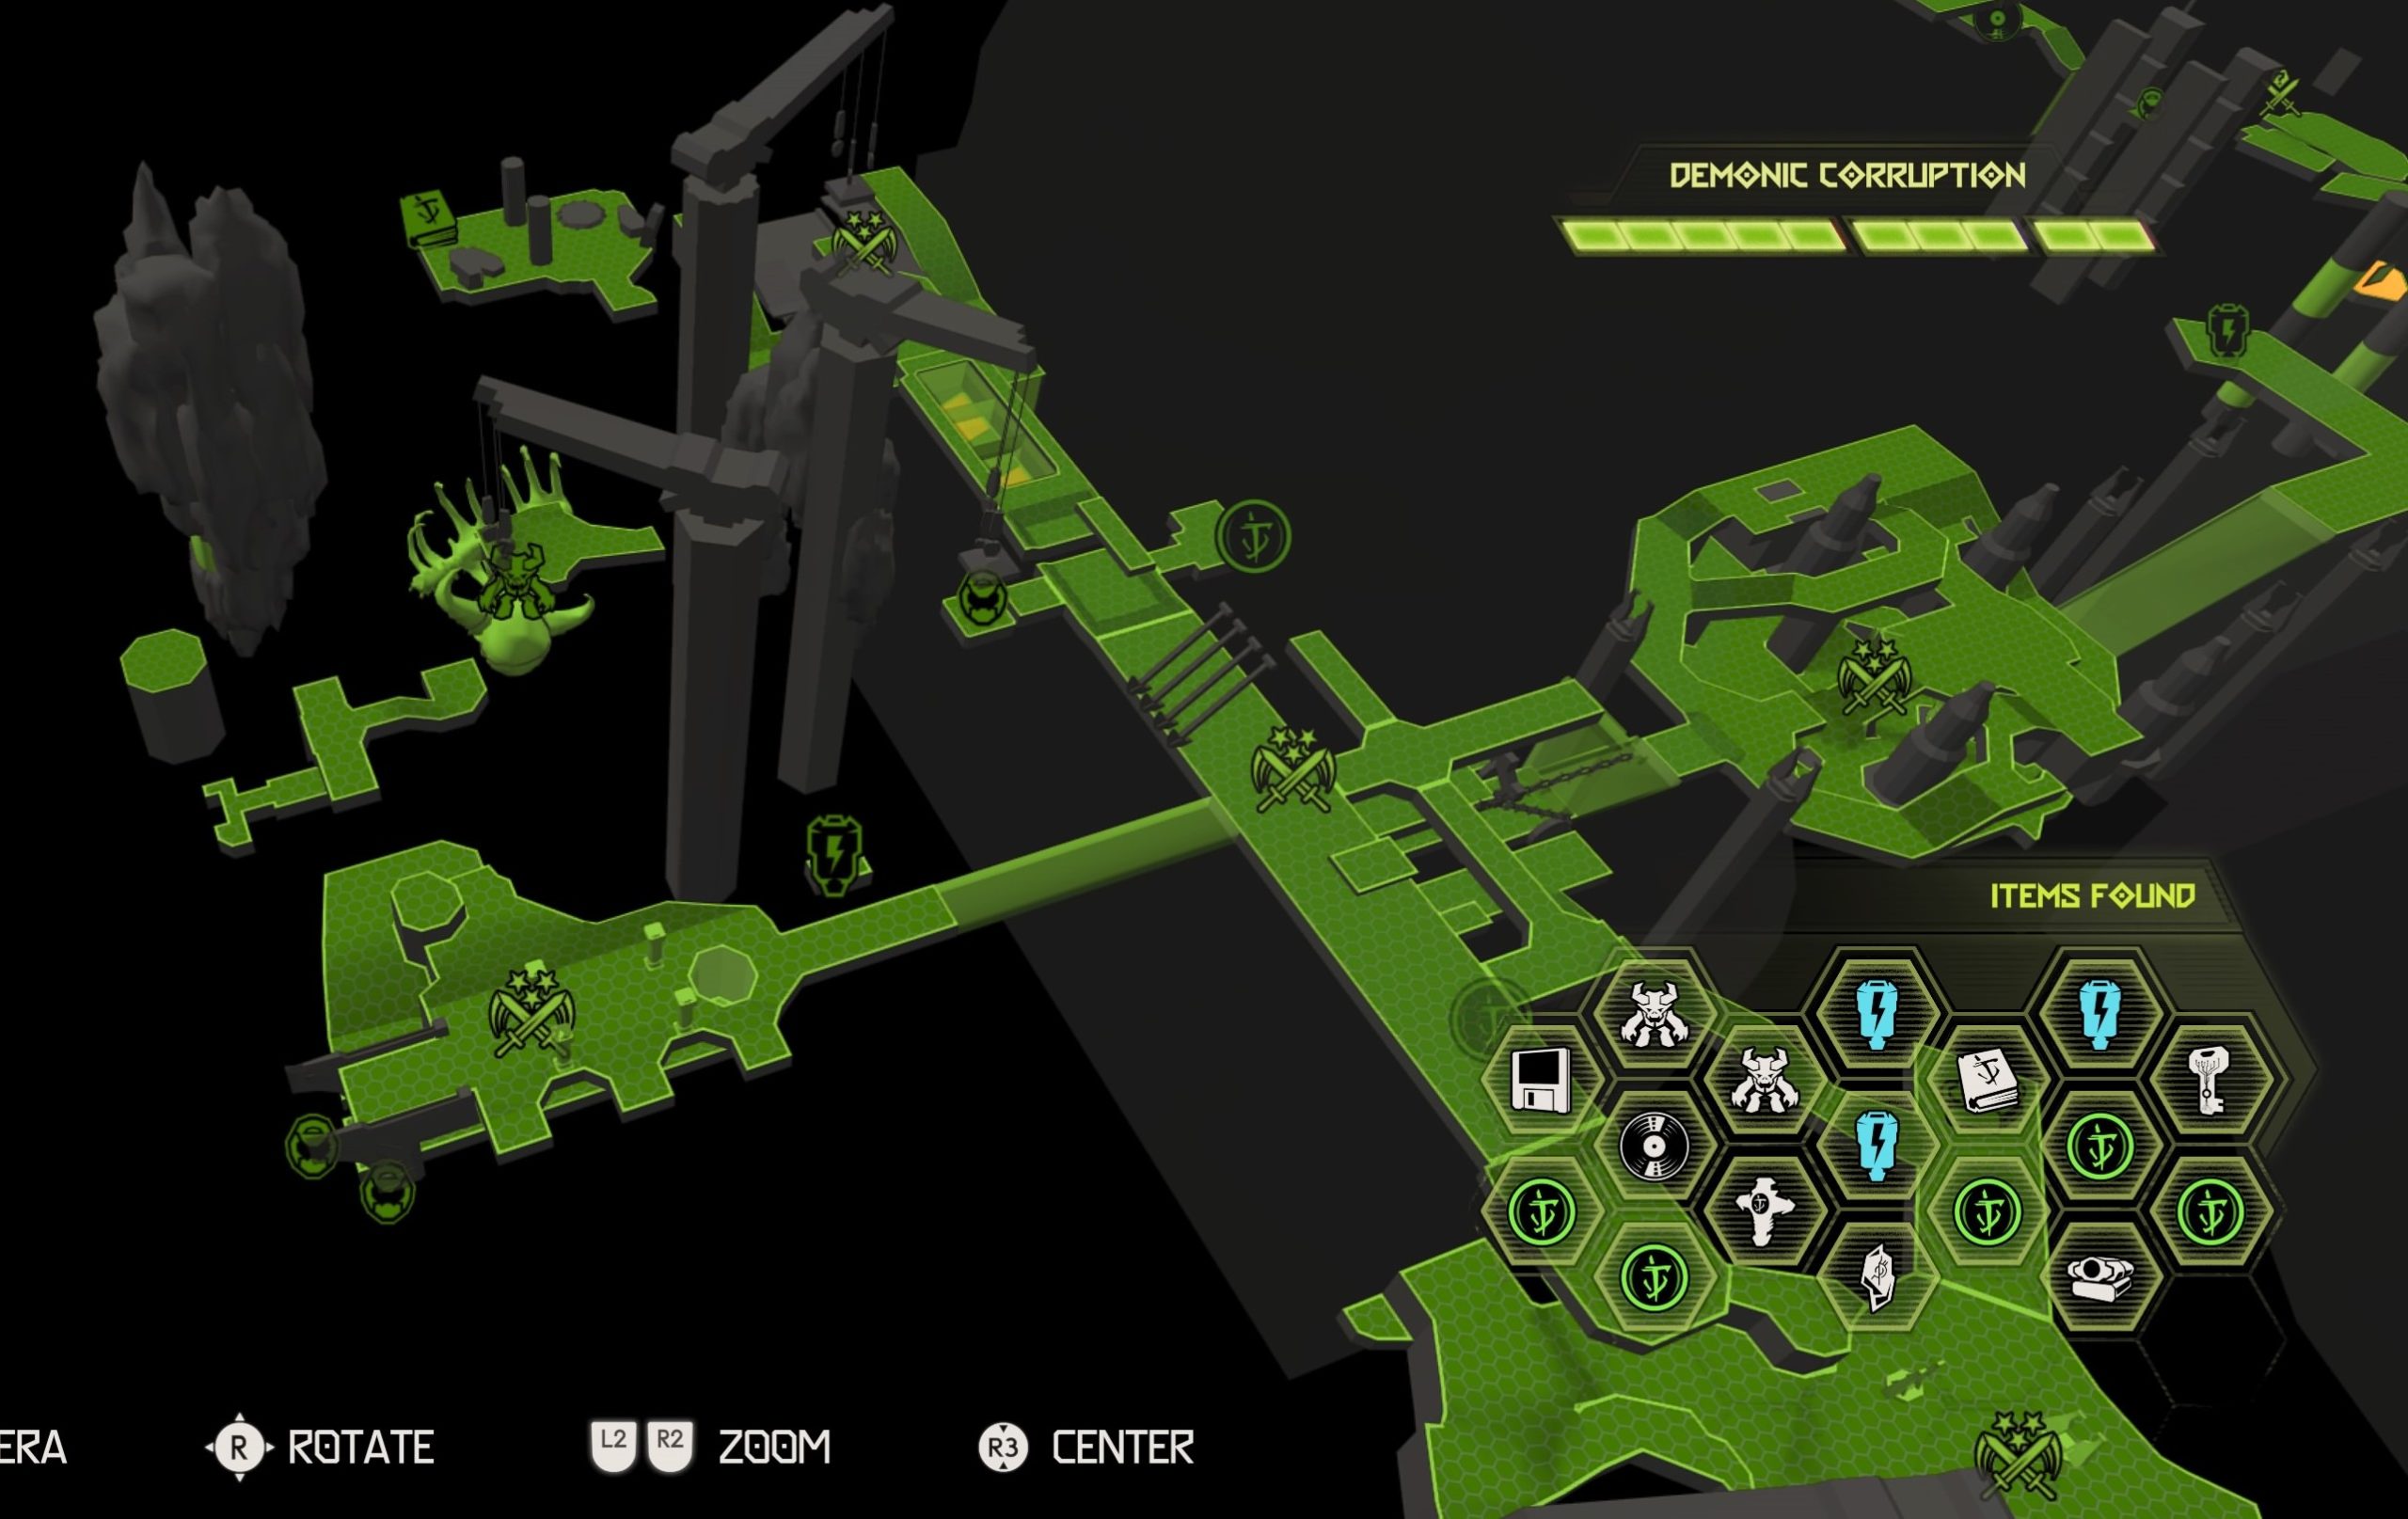
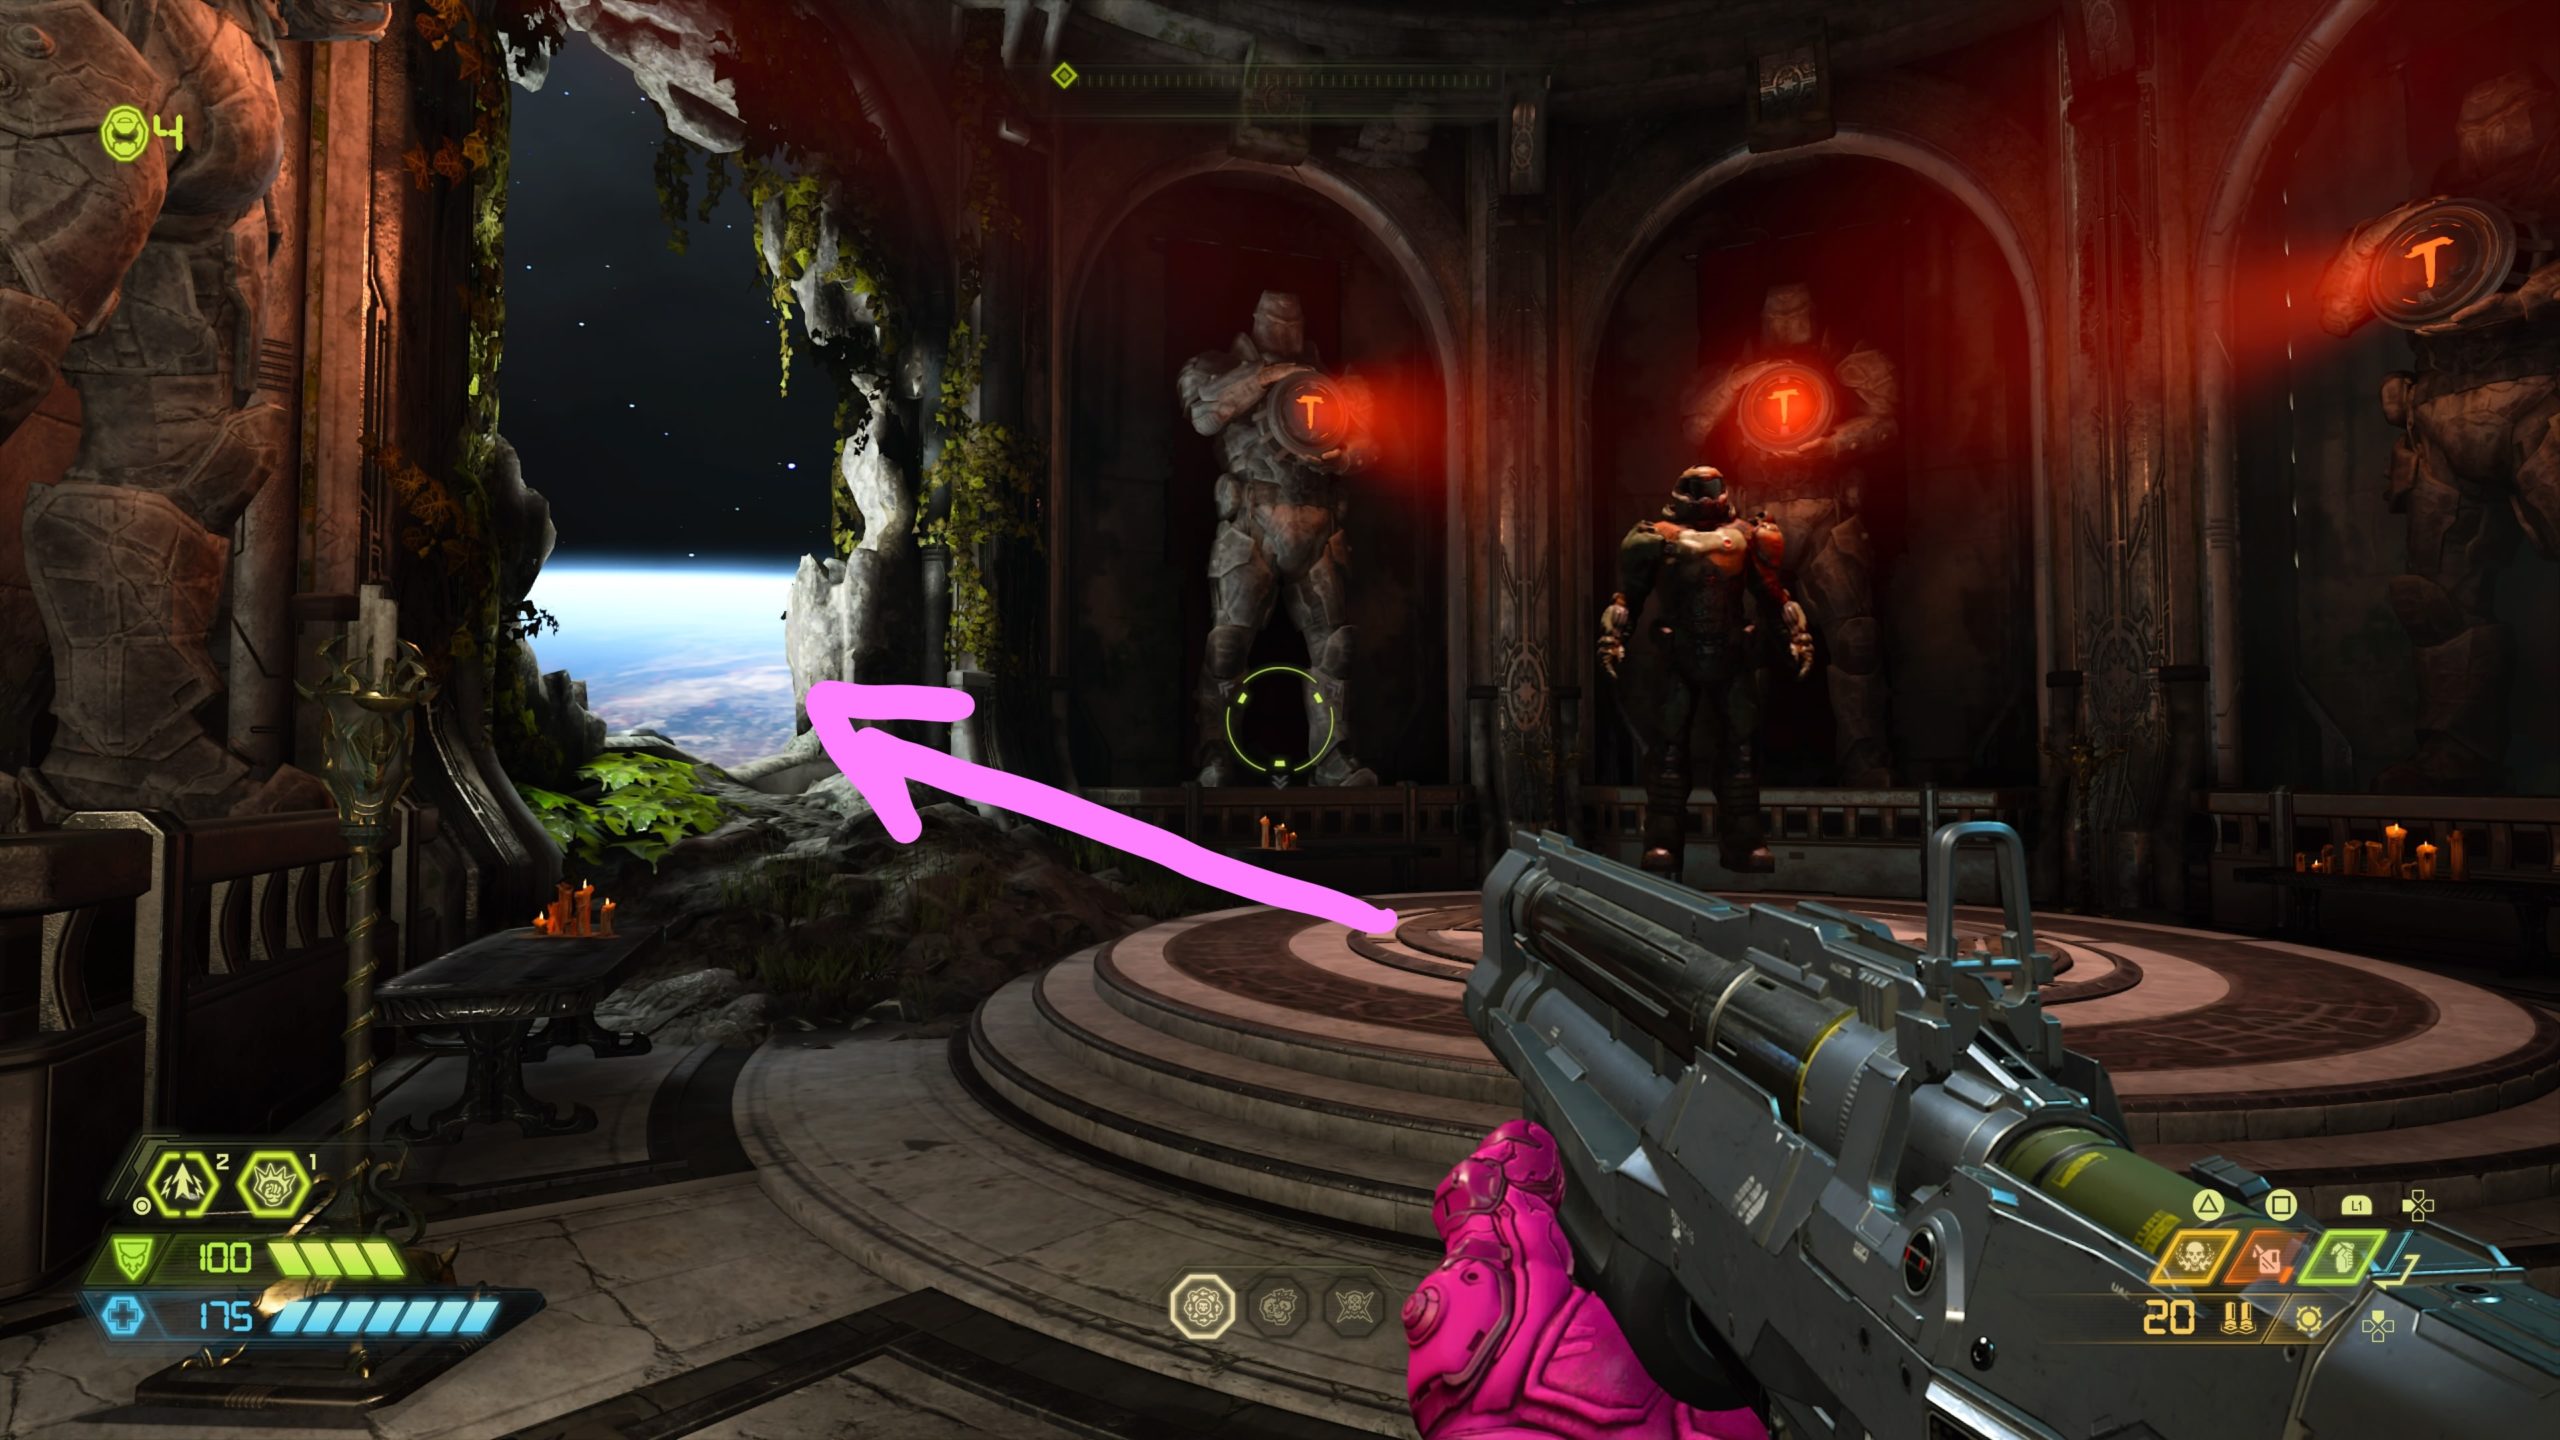
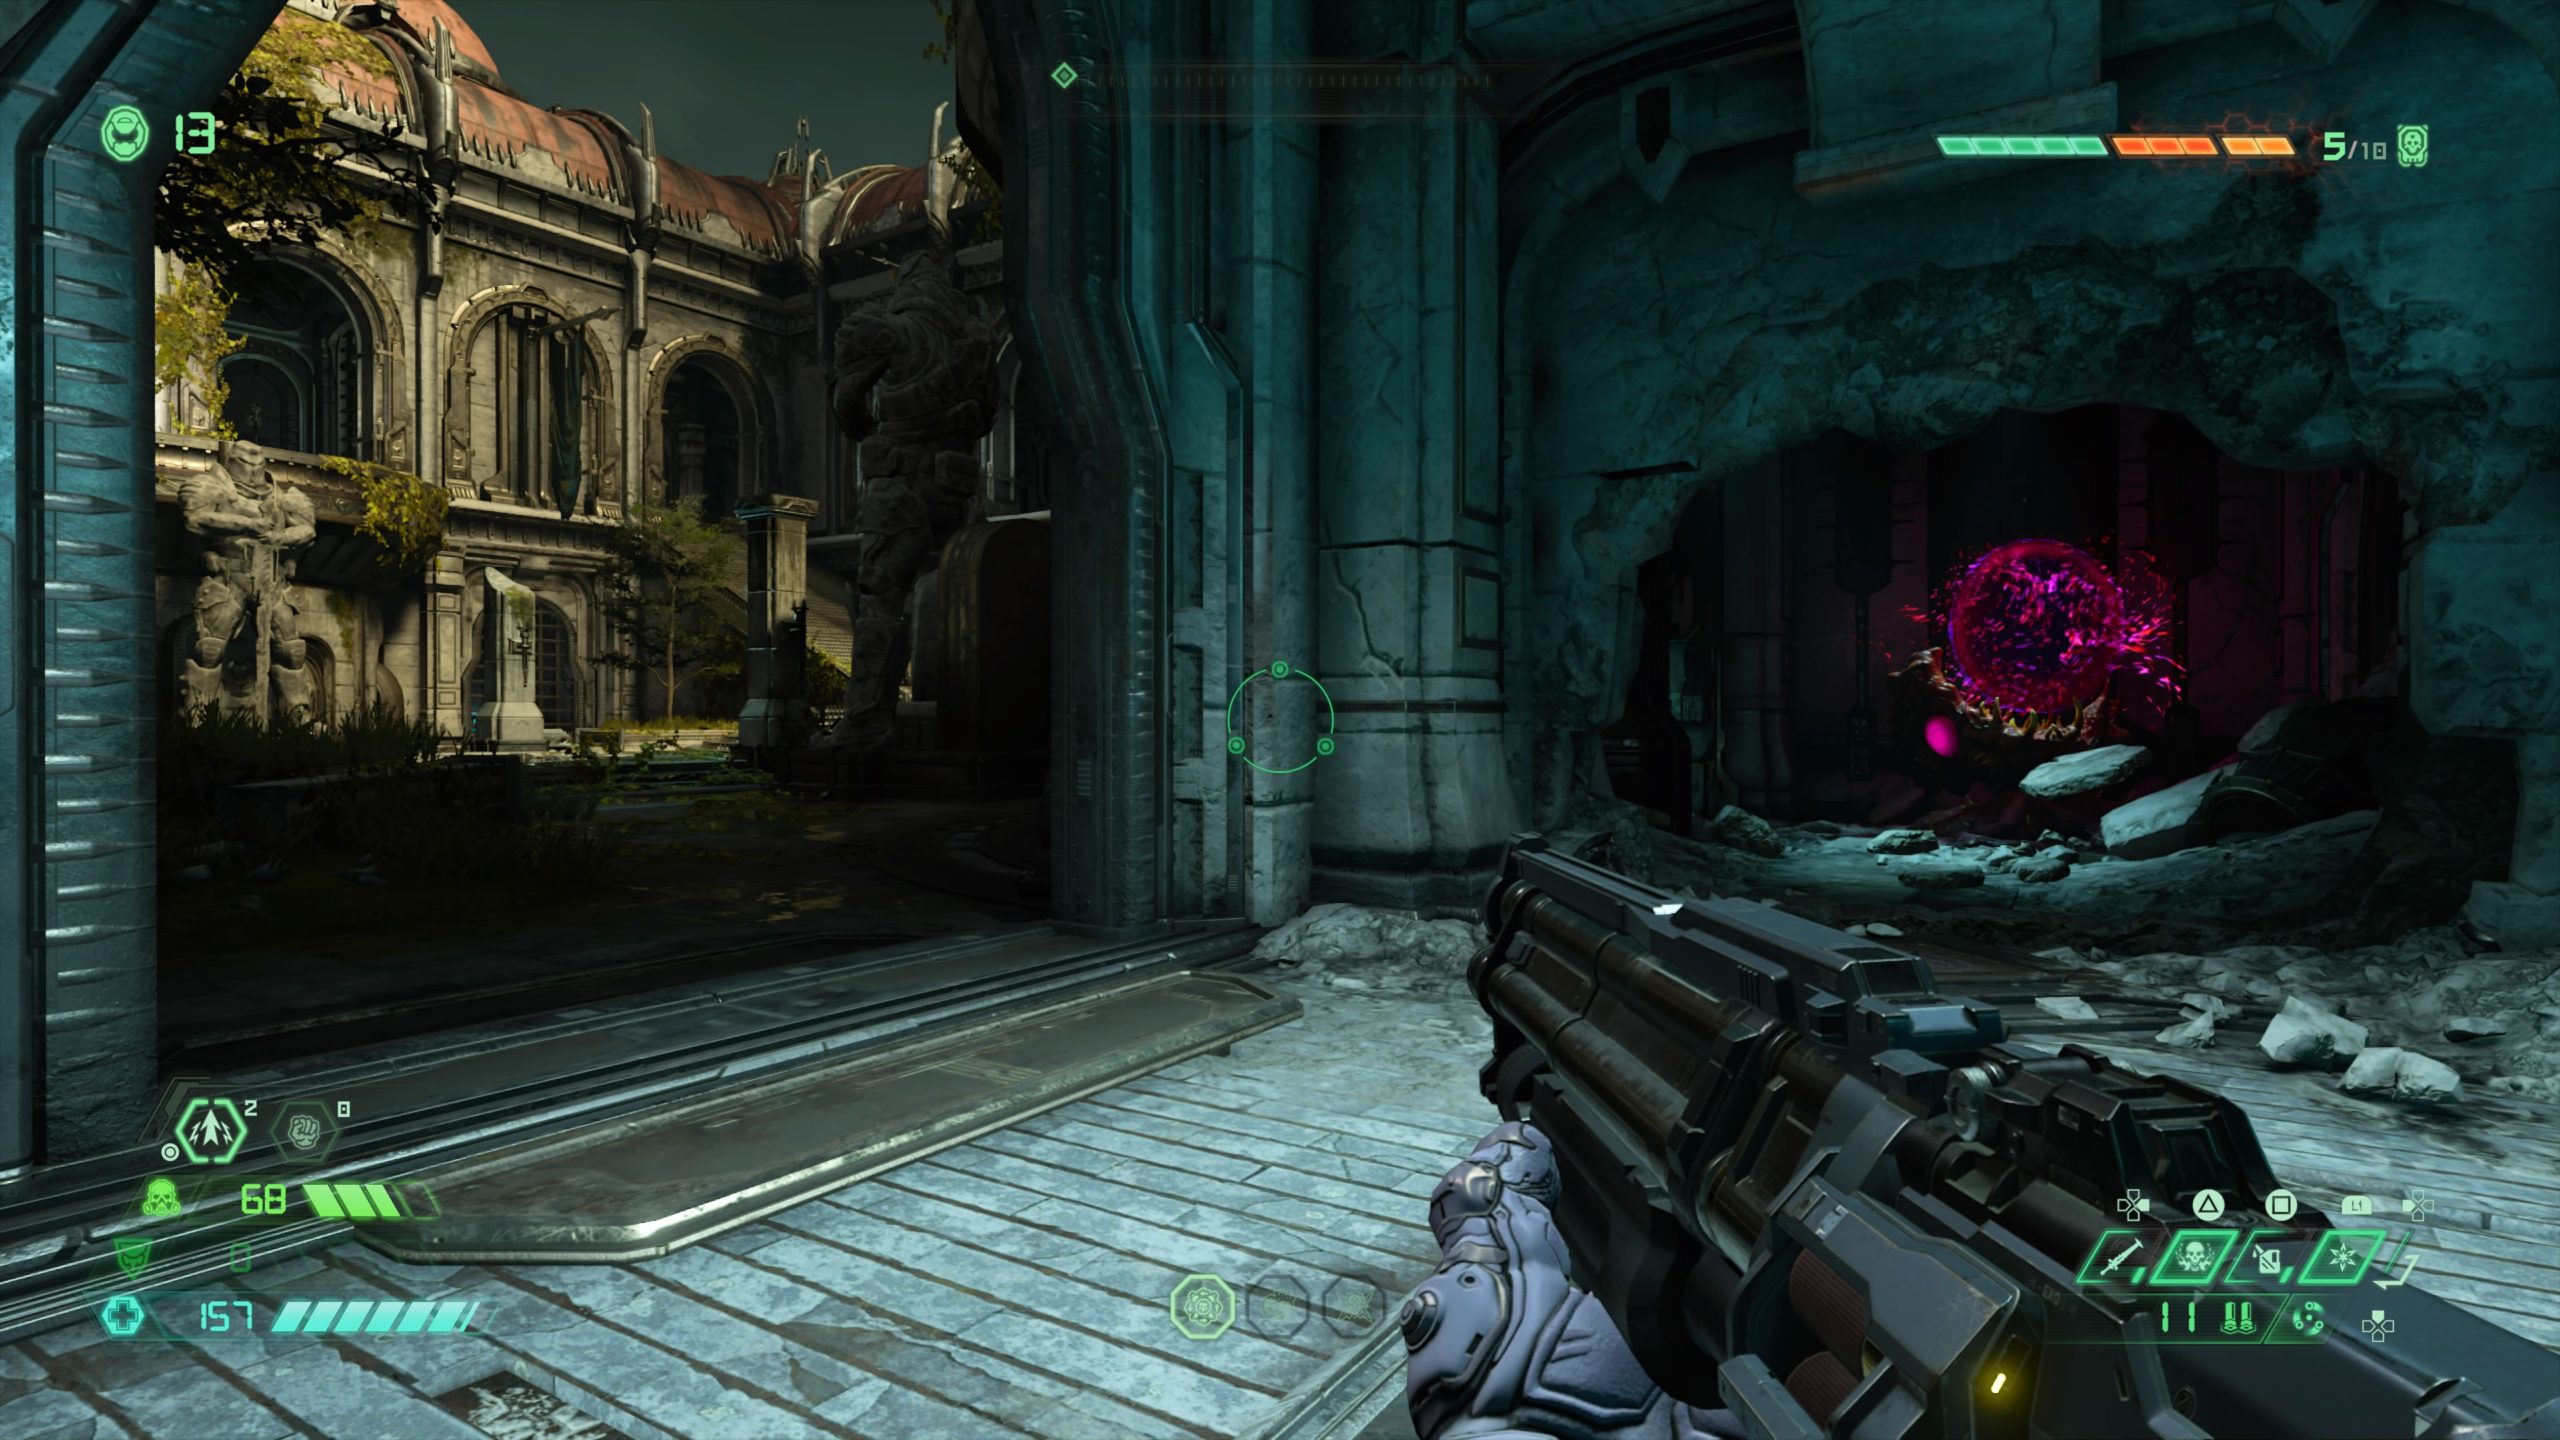
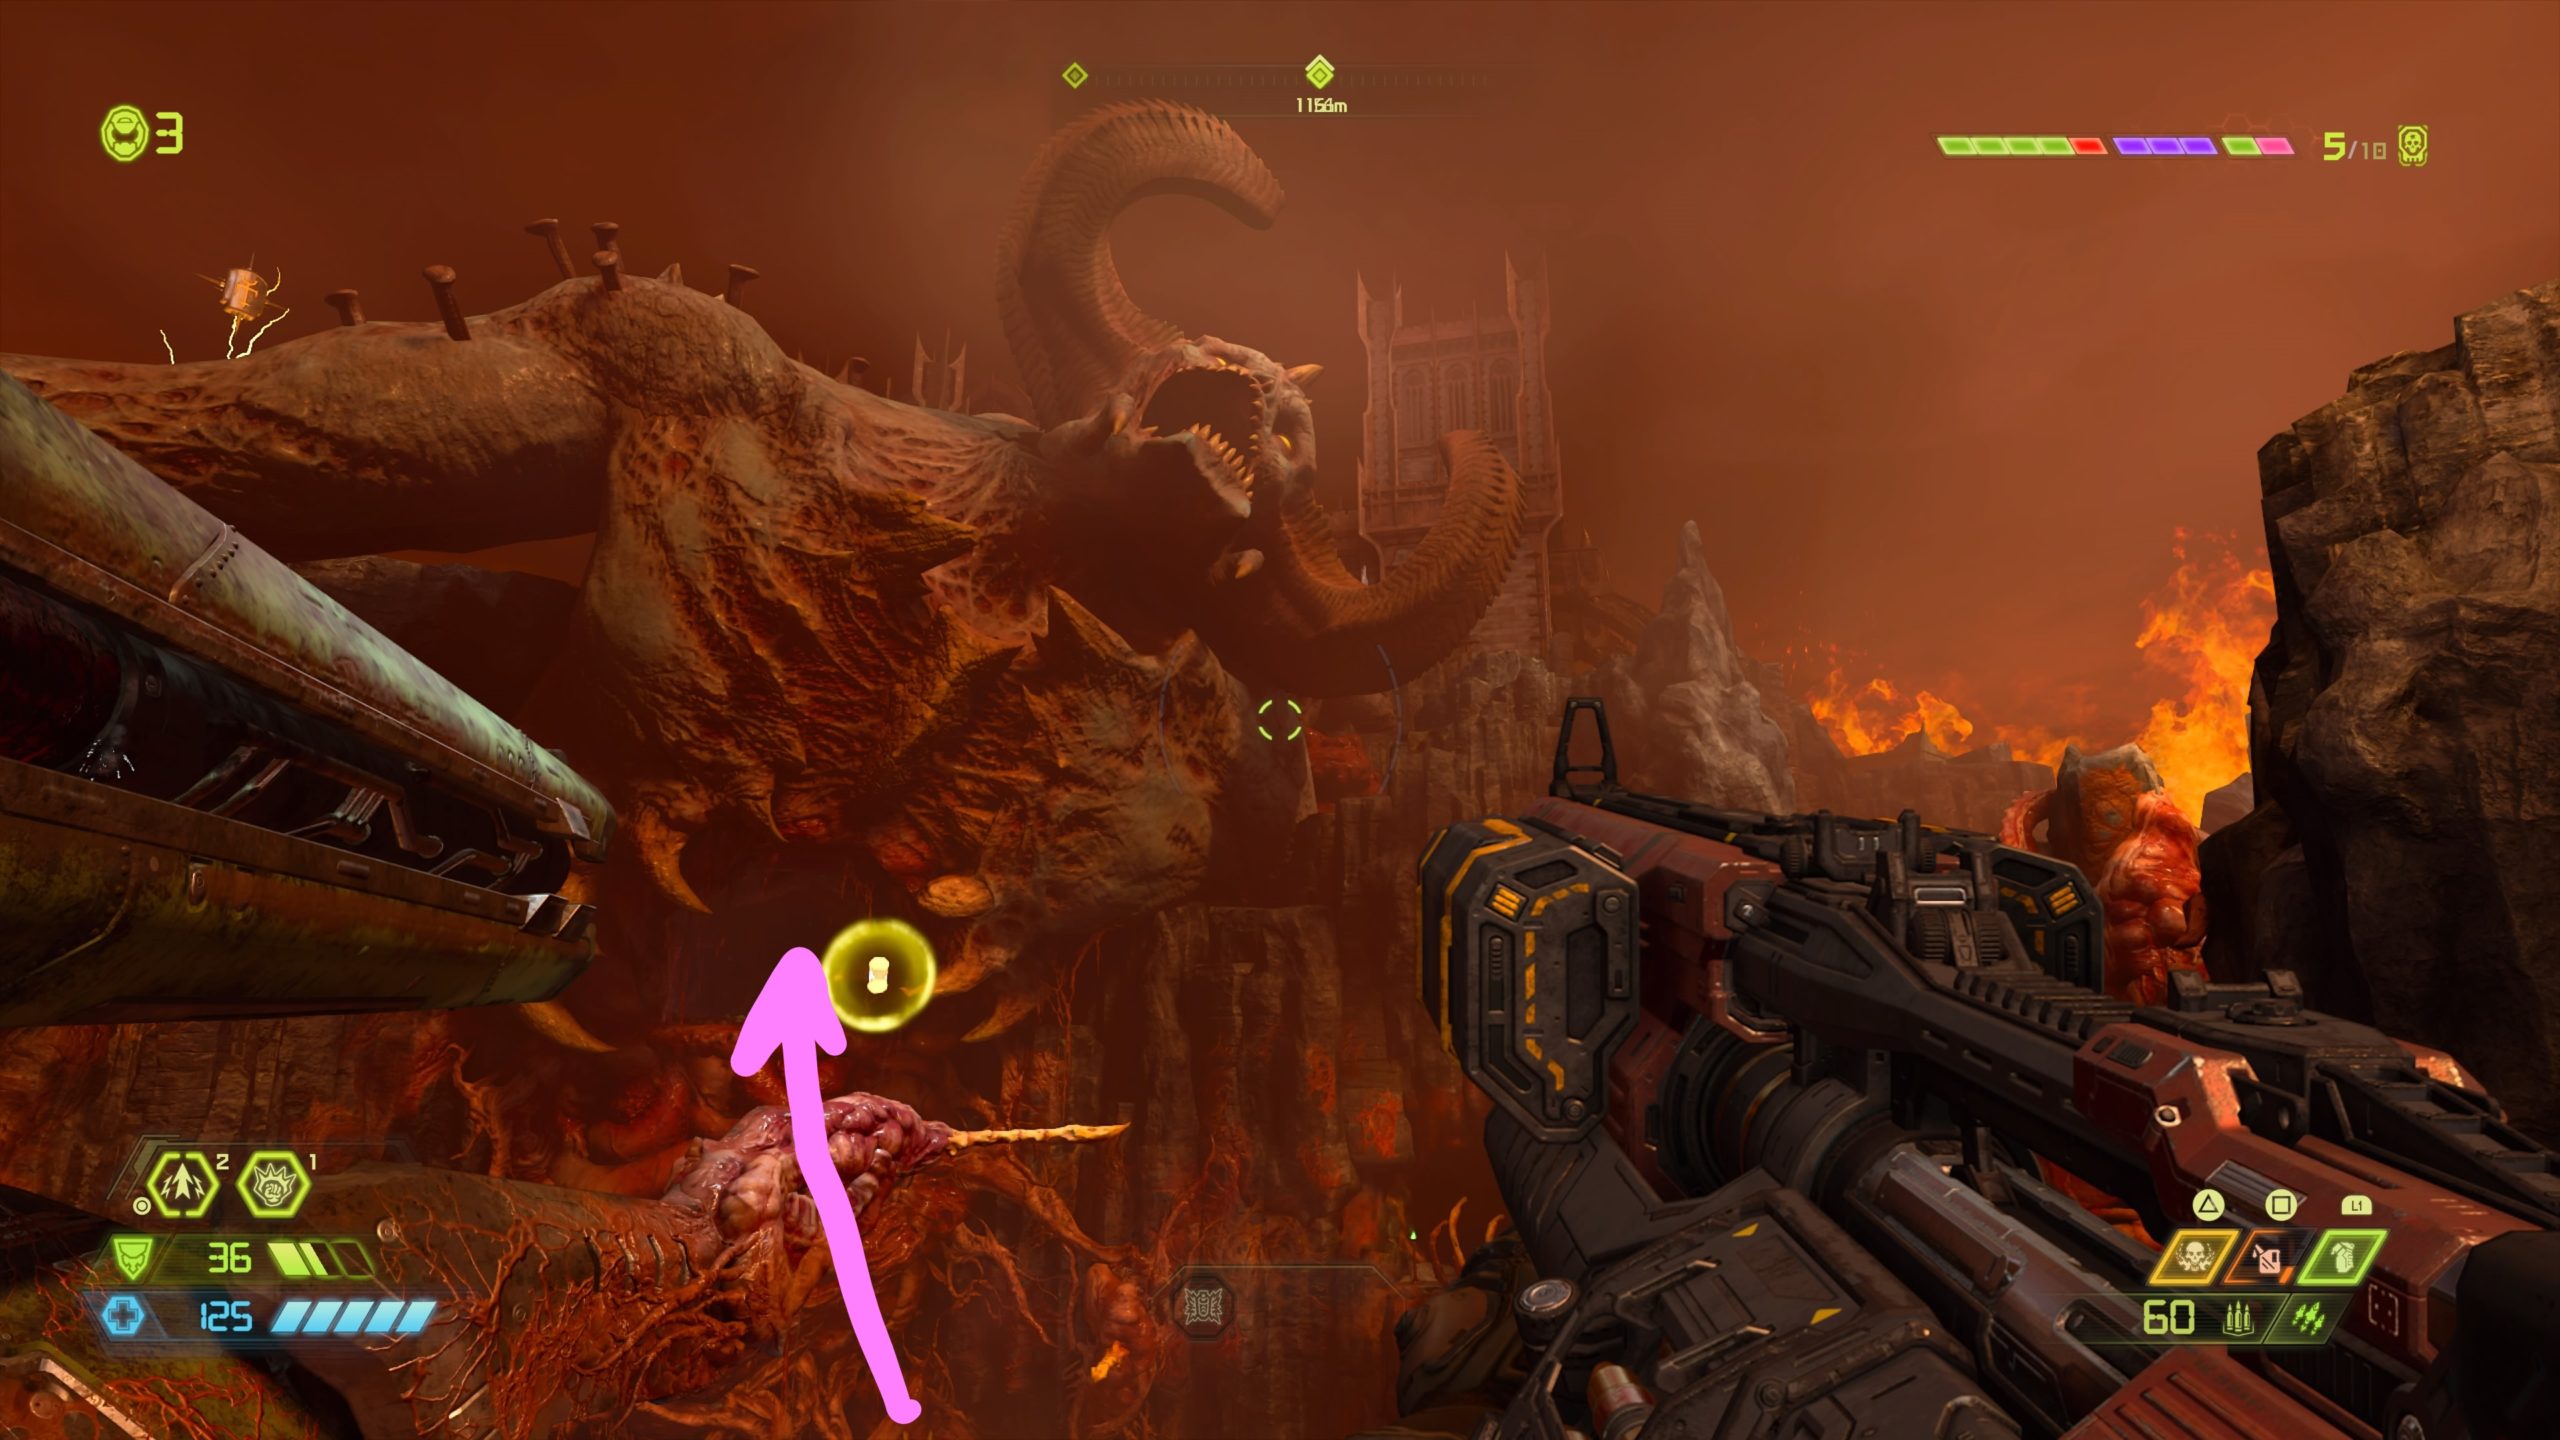
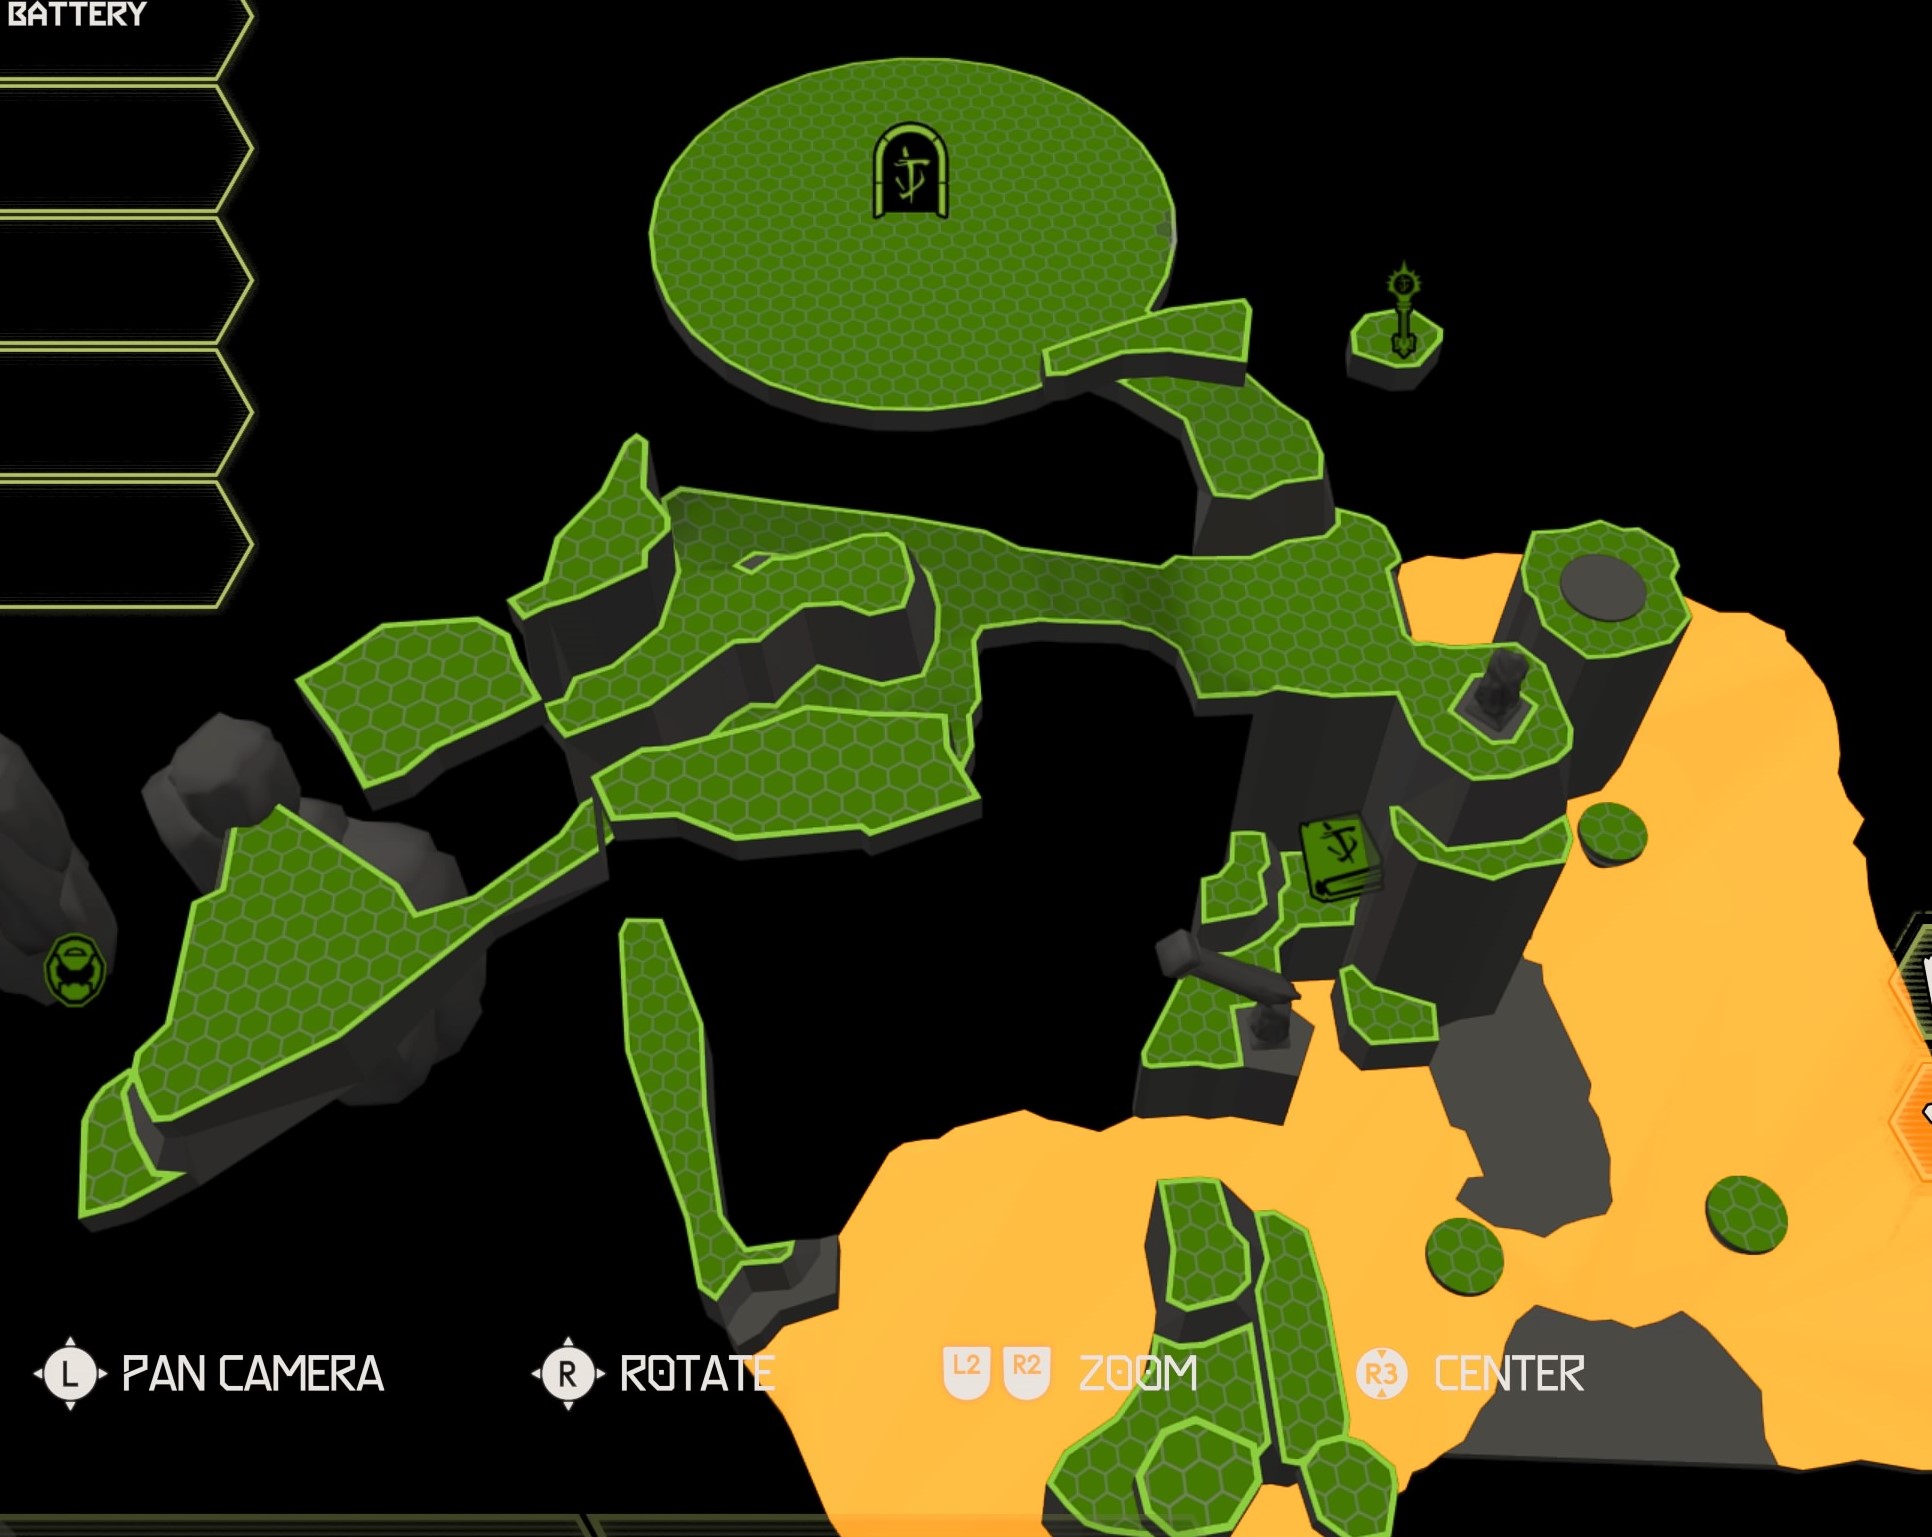
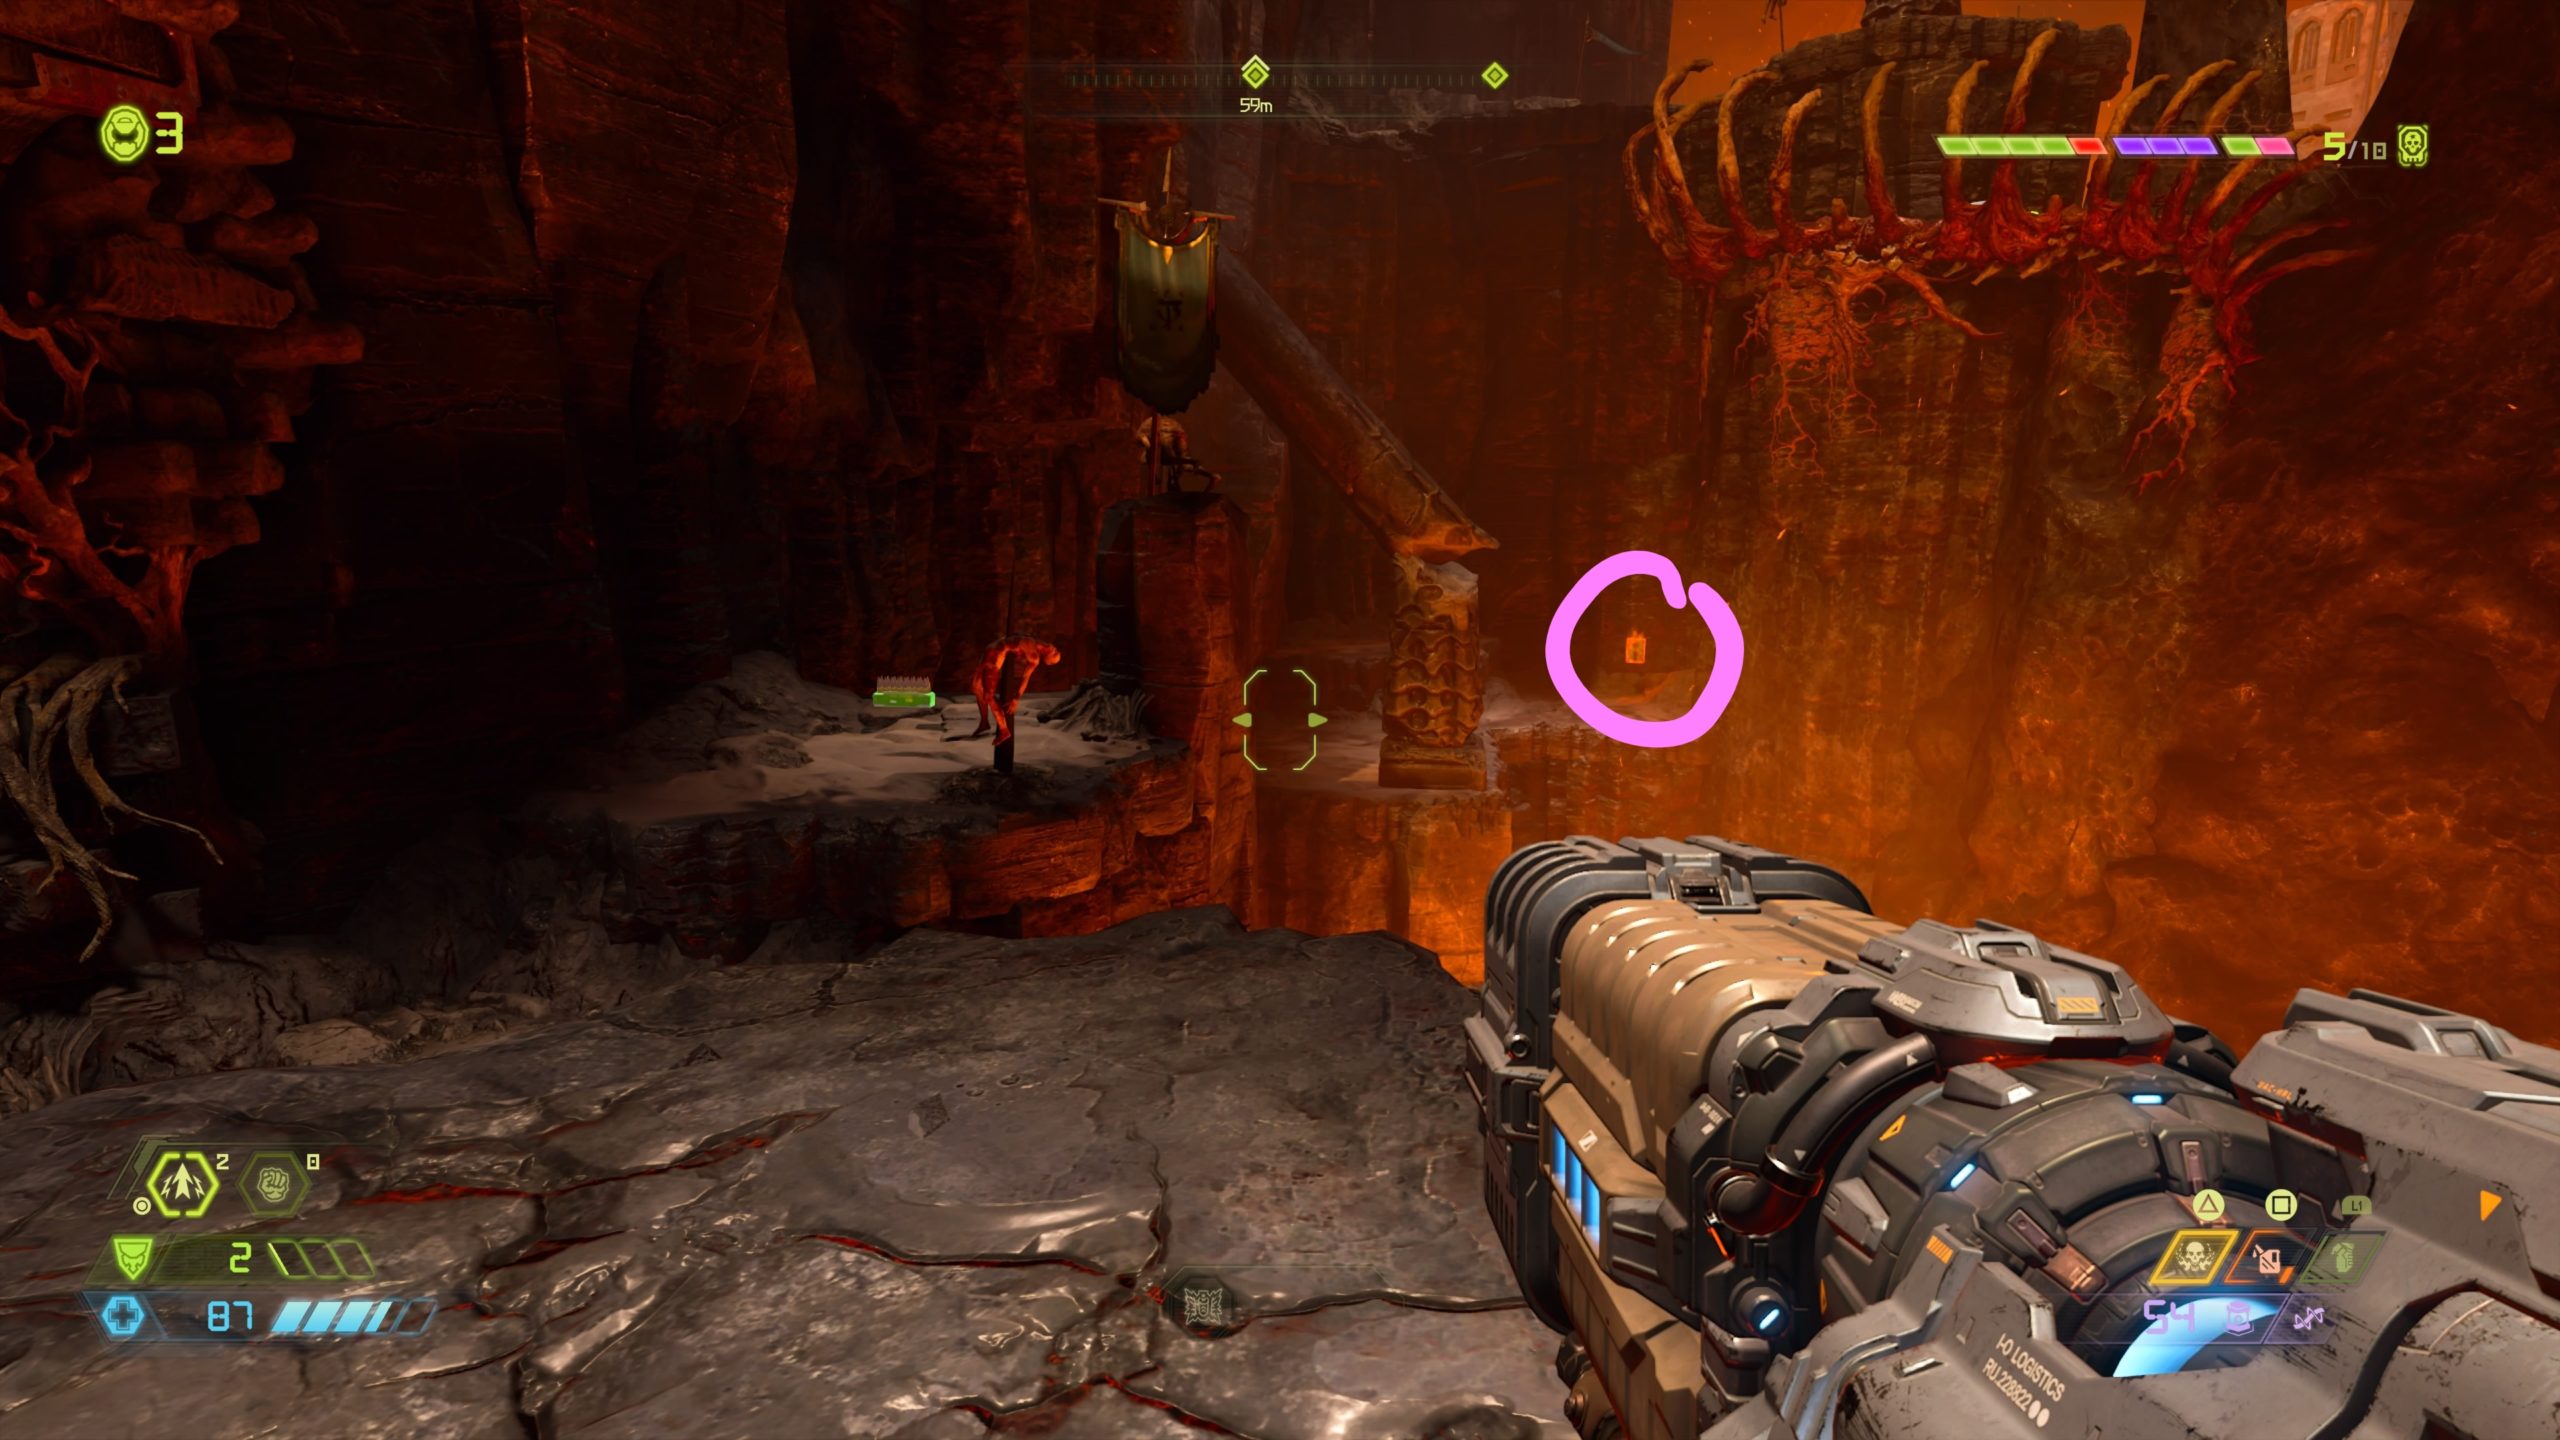
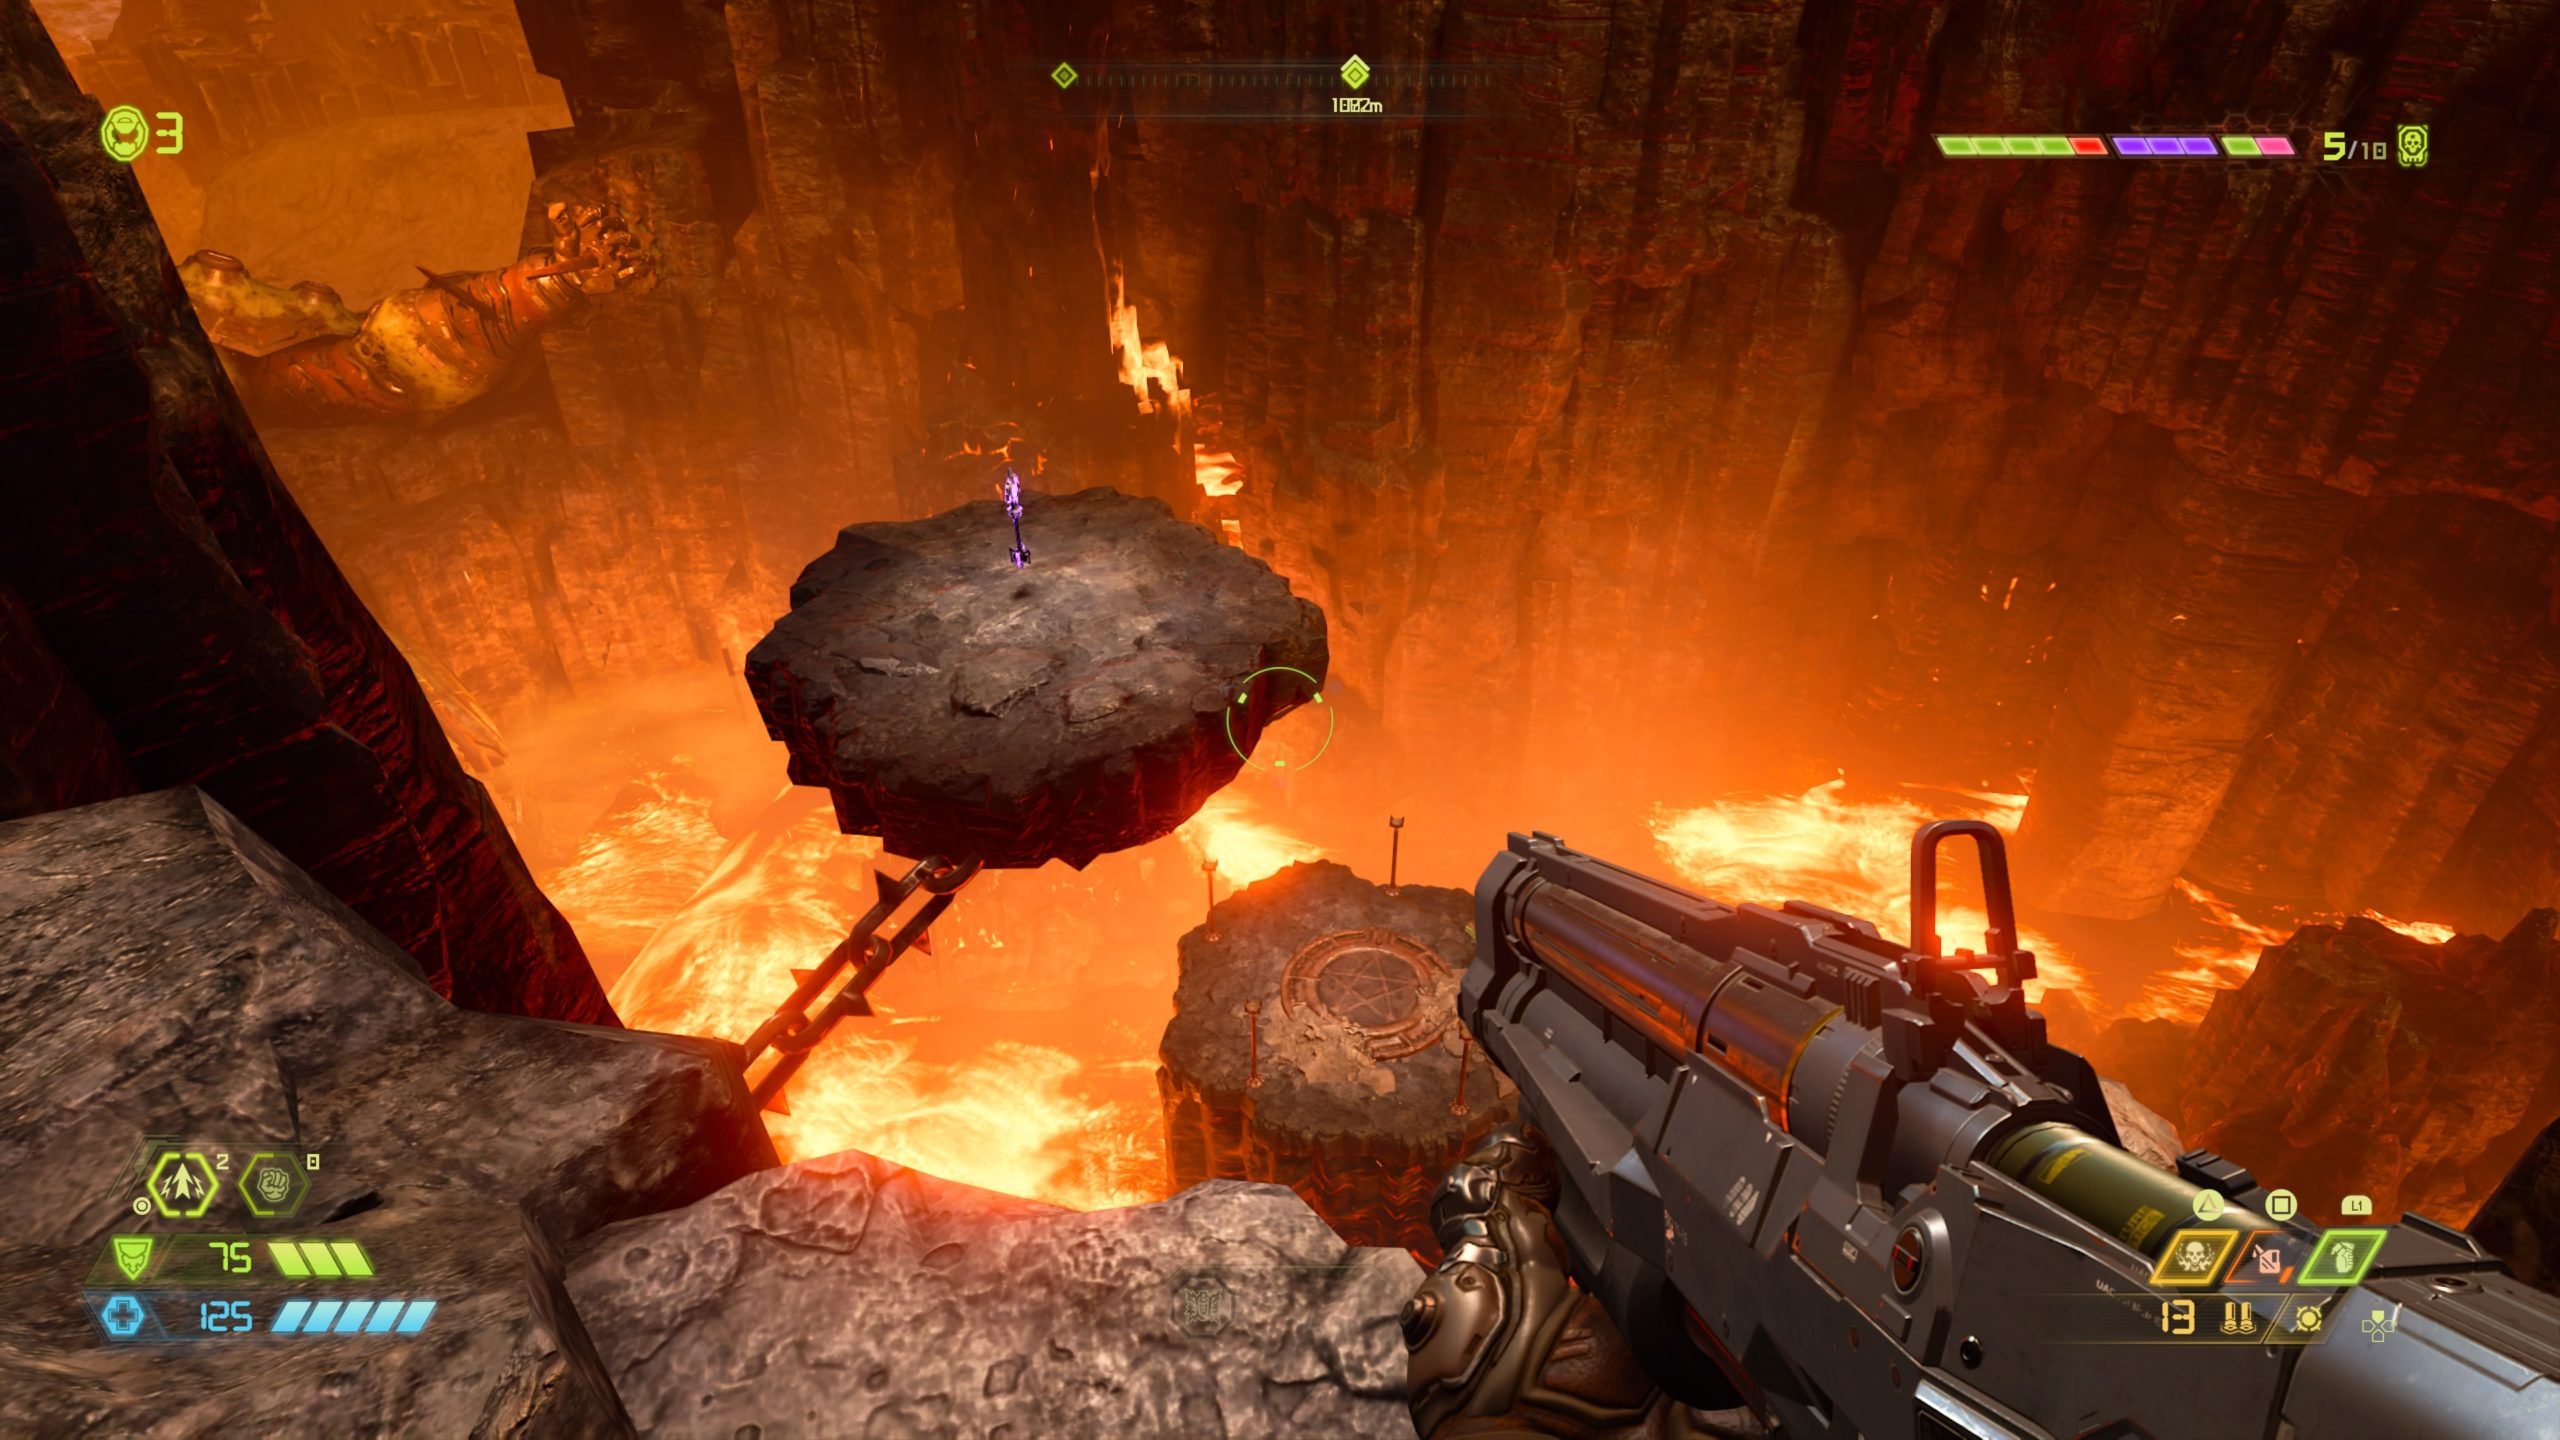
Mission 5: Super Gore Nest
Praetor Suit Point 11
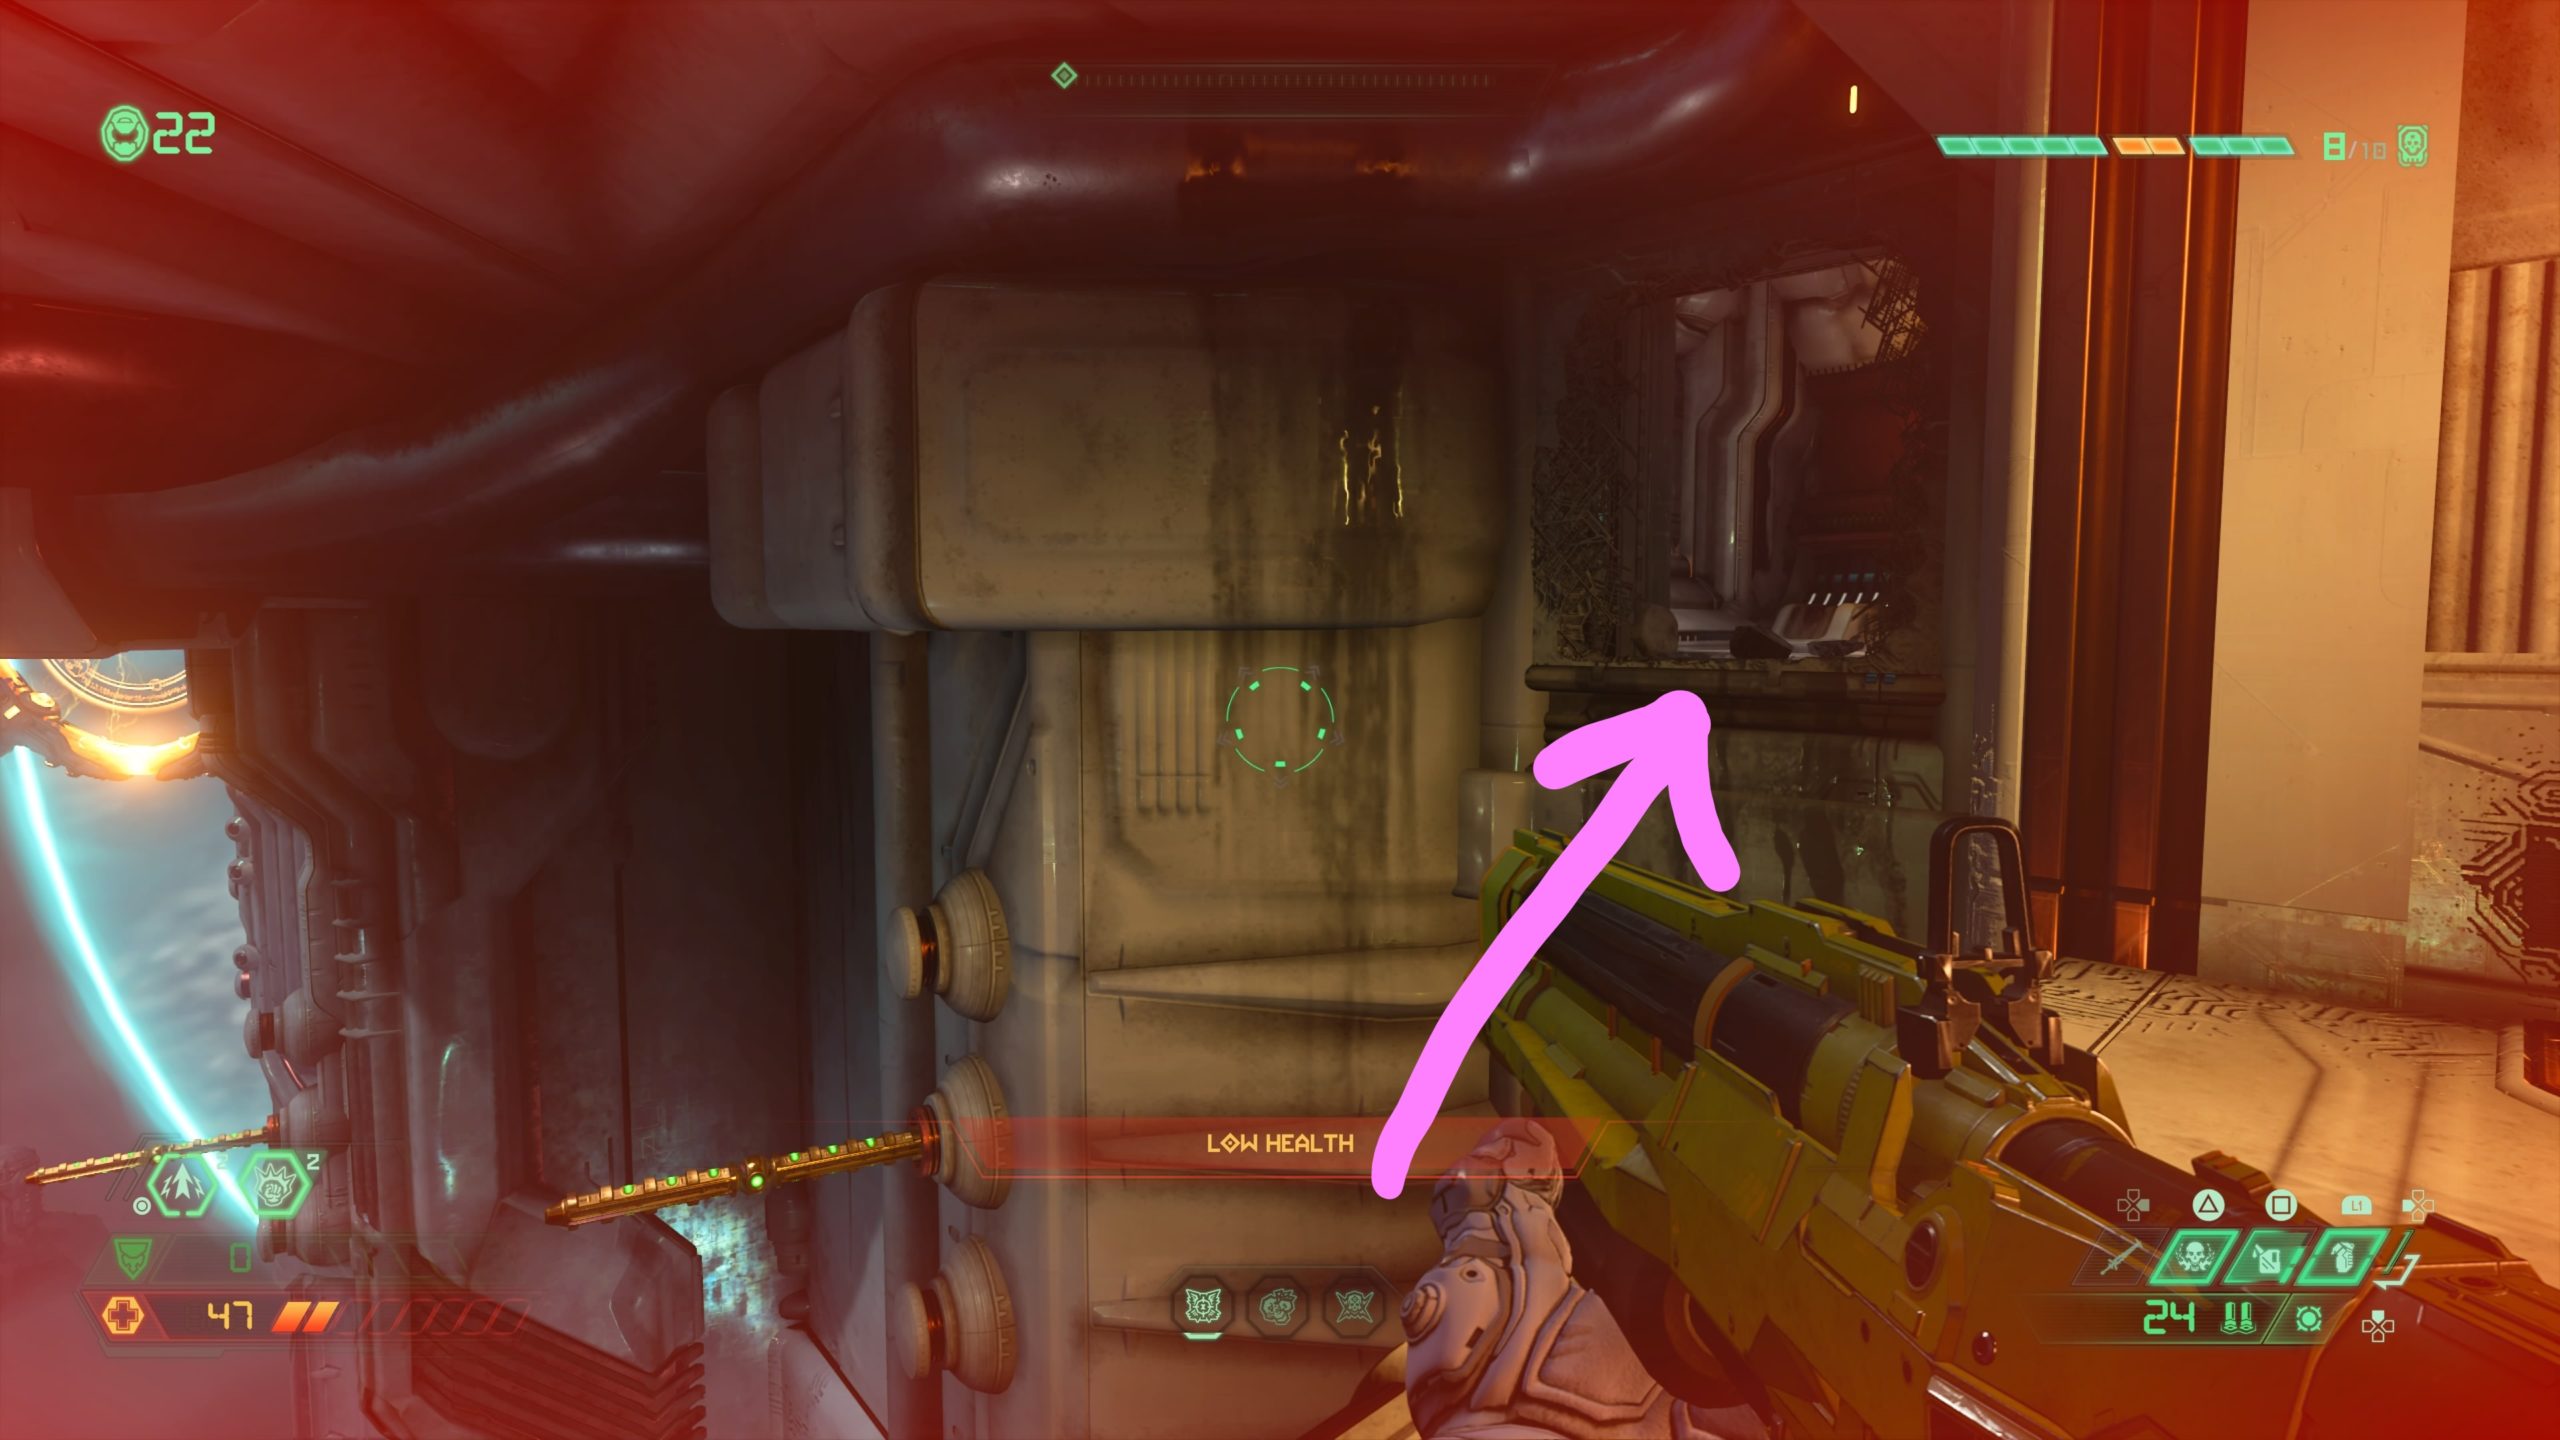
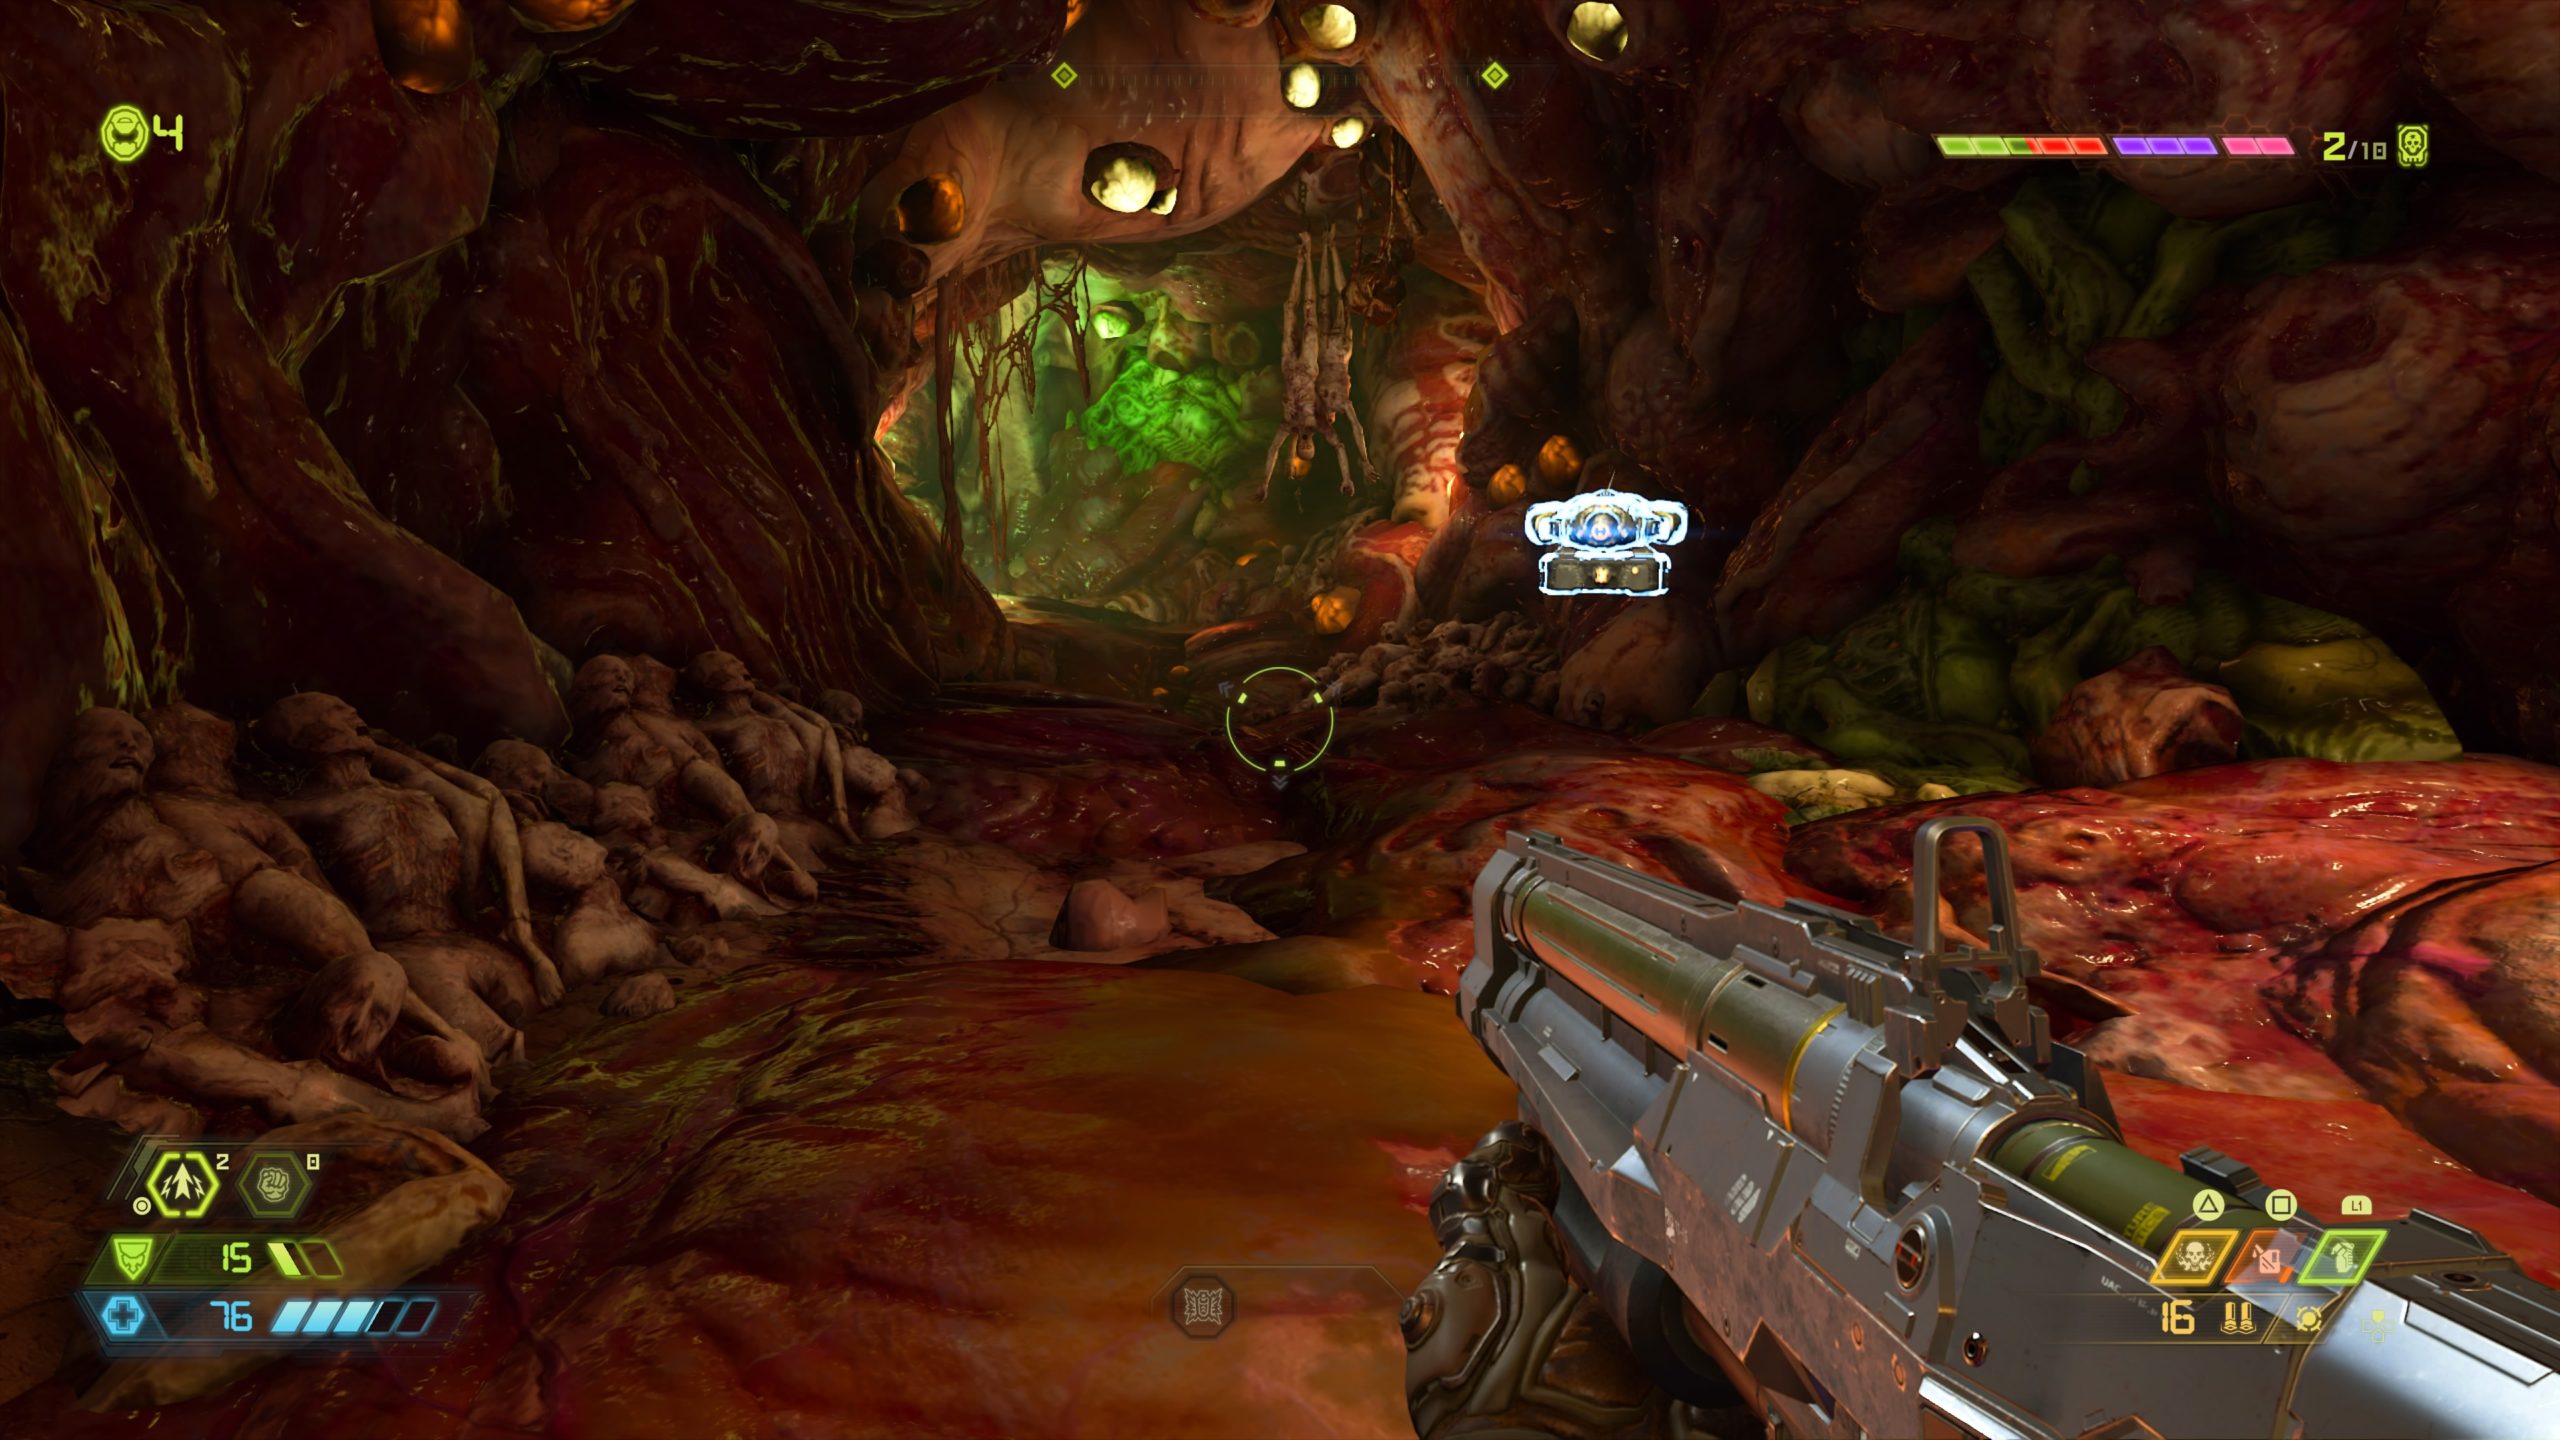
*NOTE: In order to reach this point, you must first collect the extra life from the gunk covered pillar. From the Upper Area – Mixom Square fast travel point, head straight forward and take a right just before the gunk covered column. Proceed to the room at the end with a gunk covered pillar. Use the gold spin bar on the pillar to reach the second level. Look for a crack in the wall then melee the wall to reveal the extra life. Use double jump and dash to reach the extra life on the gunk covered column. When you land on the pillar, the pillar will go down, causing a door to open revealing the Sentinel holding the Praetor Suit Point.
Praetor Suit Point 12
From the Upper Area – Star Mall fast travel point, head to the center of the room with the moving gunk press. Head past the press and use the green portal to arrive in a gunk covered room. Head to the side of the room with three openings behind you. Take the left ramp up and turn left at the top to find the Sentinel holding the point.
Praetor Suit Point 13
From the Upper Area – Vorus Medical Plaza fast travel point, turn around heading into the green lit room and follow the hallway down a flight of stairs. Jump through the hole in the window straight ahead to land on a giant concrete slab with lava in the middle. Head to the square structure to find the Sentinel holding the point along the back of it.
Praetor Suit Point 14
From the Upper Area – Vorus Medical Plaza fast travel point, head forward through the teeth guarded doorway and follow the hallway to the end. Work your way through the toxic room using the climbable walls. When you go past the fire spinning chain, jump to the climbable wall just beyond it then head to the wall across the way and turn around to find the room with the Sentinel holding the point.
Praetor Suit Point 15
From the Lower Area – Toxin Refinery fast travel point, jump down into the green toxic liquid and follow the path right through a doorway to find the Sentinel holding the point at the end.
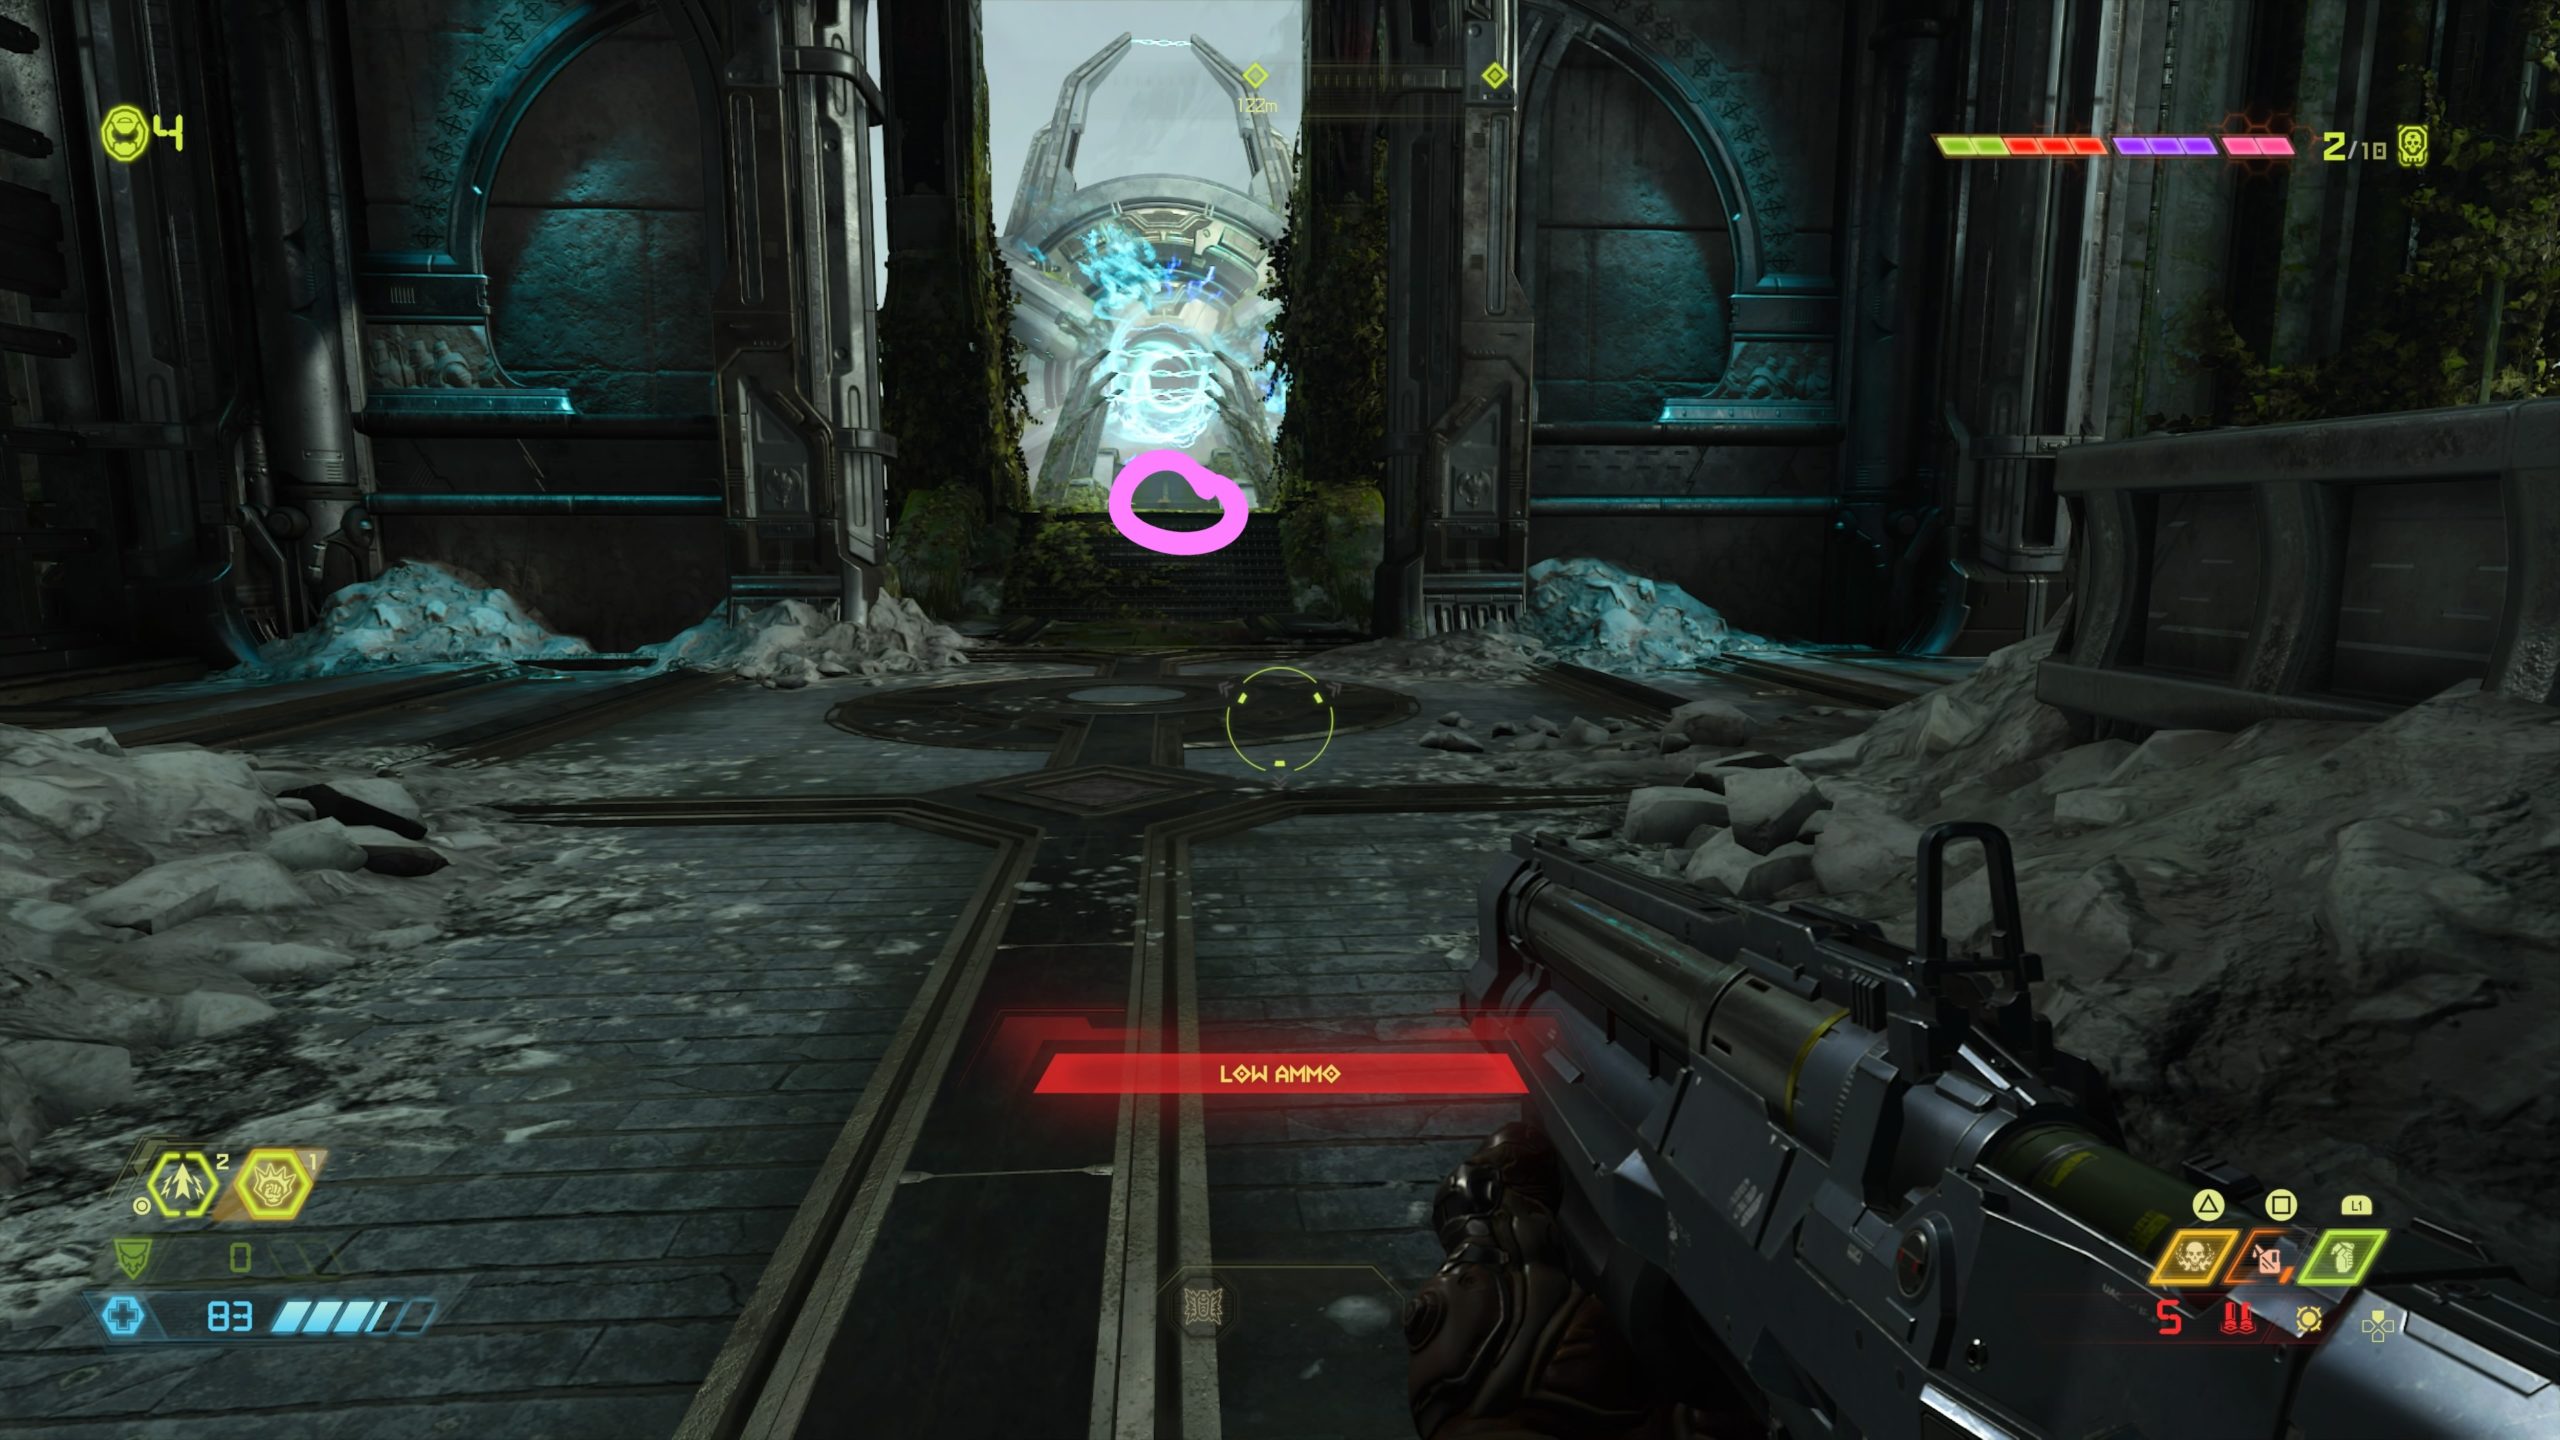
Mission 6: Arc Complex
Praetor Suit Point 16
From the Emerson fast travel point, head up the stairs past the flaming debris and follow the hallway to the end. When you reach the broken window, jump through it to reach the hotel lobby. Look for the Emerson logo behind the check-in desk. When you find it, head down the hallway to left of it. This will bring you to an open room with some couches and chairs scattered about and a UAC Spokesperson hologram near the a window. Facing the hologram, head to the left side of the room to find a hole in the floor leading to a lower level. Jump down this hole and the one in the next room to arrive in a hallway. Take the nearby steps down then swing right to find the point in front of an elevator.
Praetor Suit Point 17
From the start travel point, head down the hallway and through the door at the end. Pass the A9 Security room and head down the nearby stairs. Keeping heading passed the UAC Spokesperson hologram and into an elevator. Take the elevator down and exit it into a hallway. Follow the hallway, jumping over the hole in the floor. Next, take a left through the hole in the wall near some burning debris followed by a right heading through the room. At the end of the room, take a right through a hole in the wall. On the other side of the hole, look to the right to spot the Praetor Suit Point.
Praetor Suit Point 18
From the Atrium Offices fast travel point, jump out the window to the building across the way. Once in the other building, turn left and jump over the fallen debris to find a cracked wall. Melee the wall then head up the stairs to find a hole in the middle of the stairwell. Go through the hole then turn right and break the boarded wall then head into the room beyond it. Go past the golden plane and head out the broken window to the left of the room, using a series of gold spin bars and climbable walls to reach the top level of the building. Once inside, follow the hallway taking a left through a broken wall into an elevator shaft. Climb up the elevator, exiting on the right near a UAC Spokesperson hologram. The Praetor Suit Point will be located in this room.
Praetor Suit Point 19
From the Moring Aeronautics fast travel point, head right into the interior portion of the building to locate a set of stairs. Head up two flights of stairs then take a left. Follow the hallway to the end then jump across the way to the other side to find the Praetor Suit Point.
Praetor Suit Point 20
From the Convention Parking fast travel area, turn around heading into the parking lot. Pass the bus on the right side and enter the room on the right to find the Praetor Suit Point.
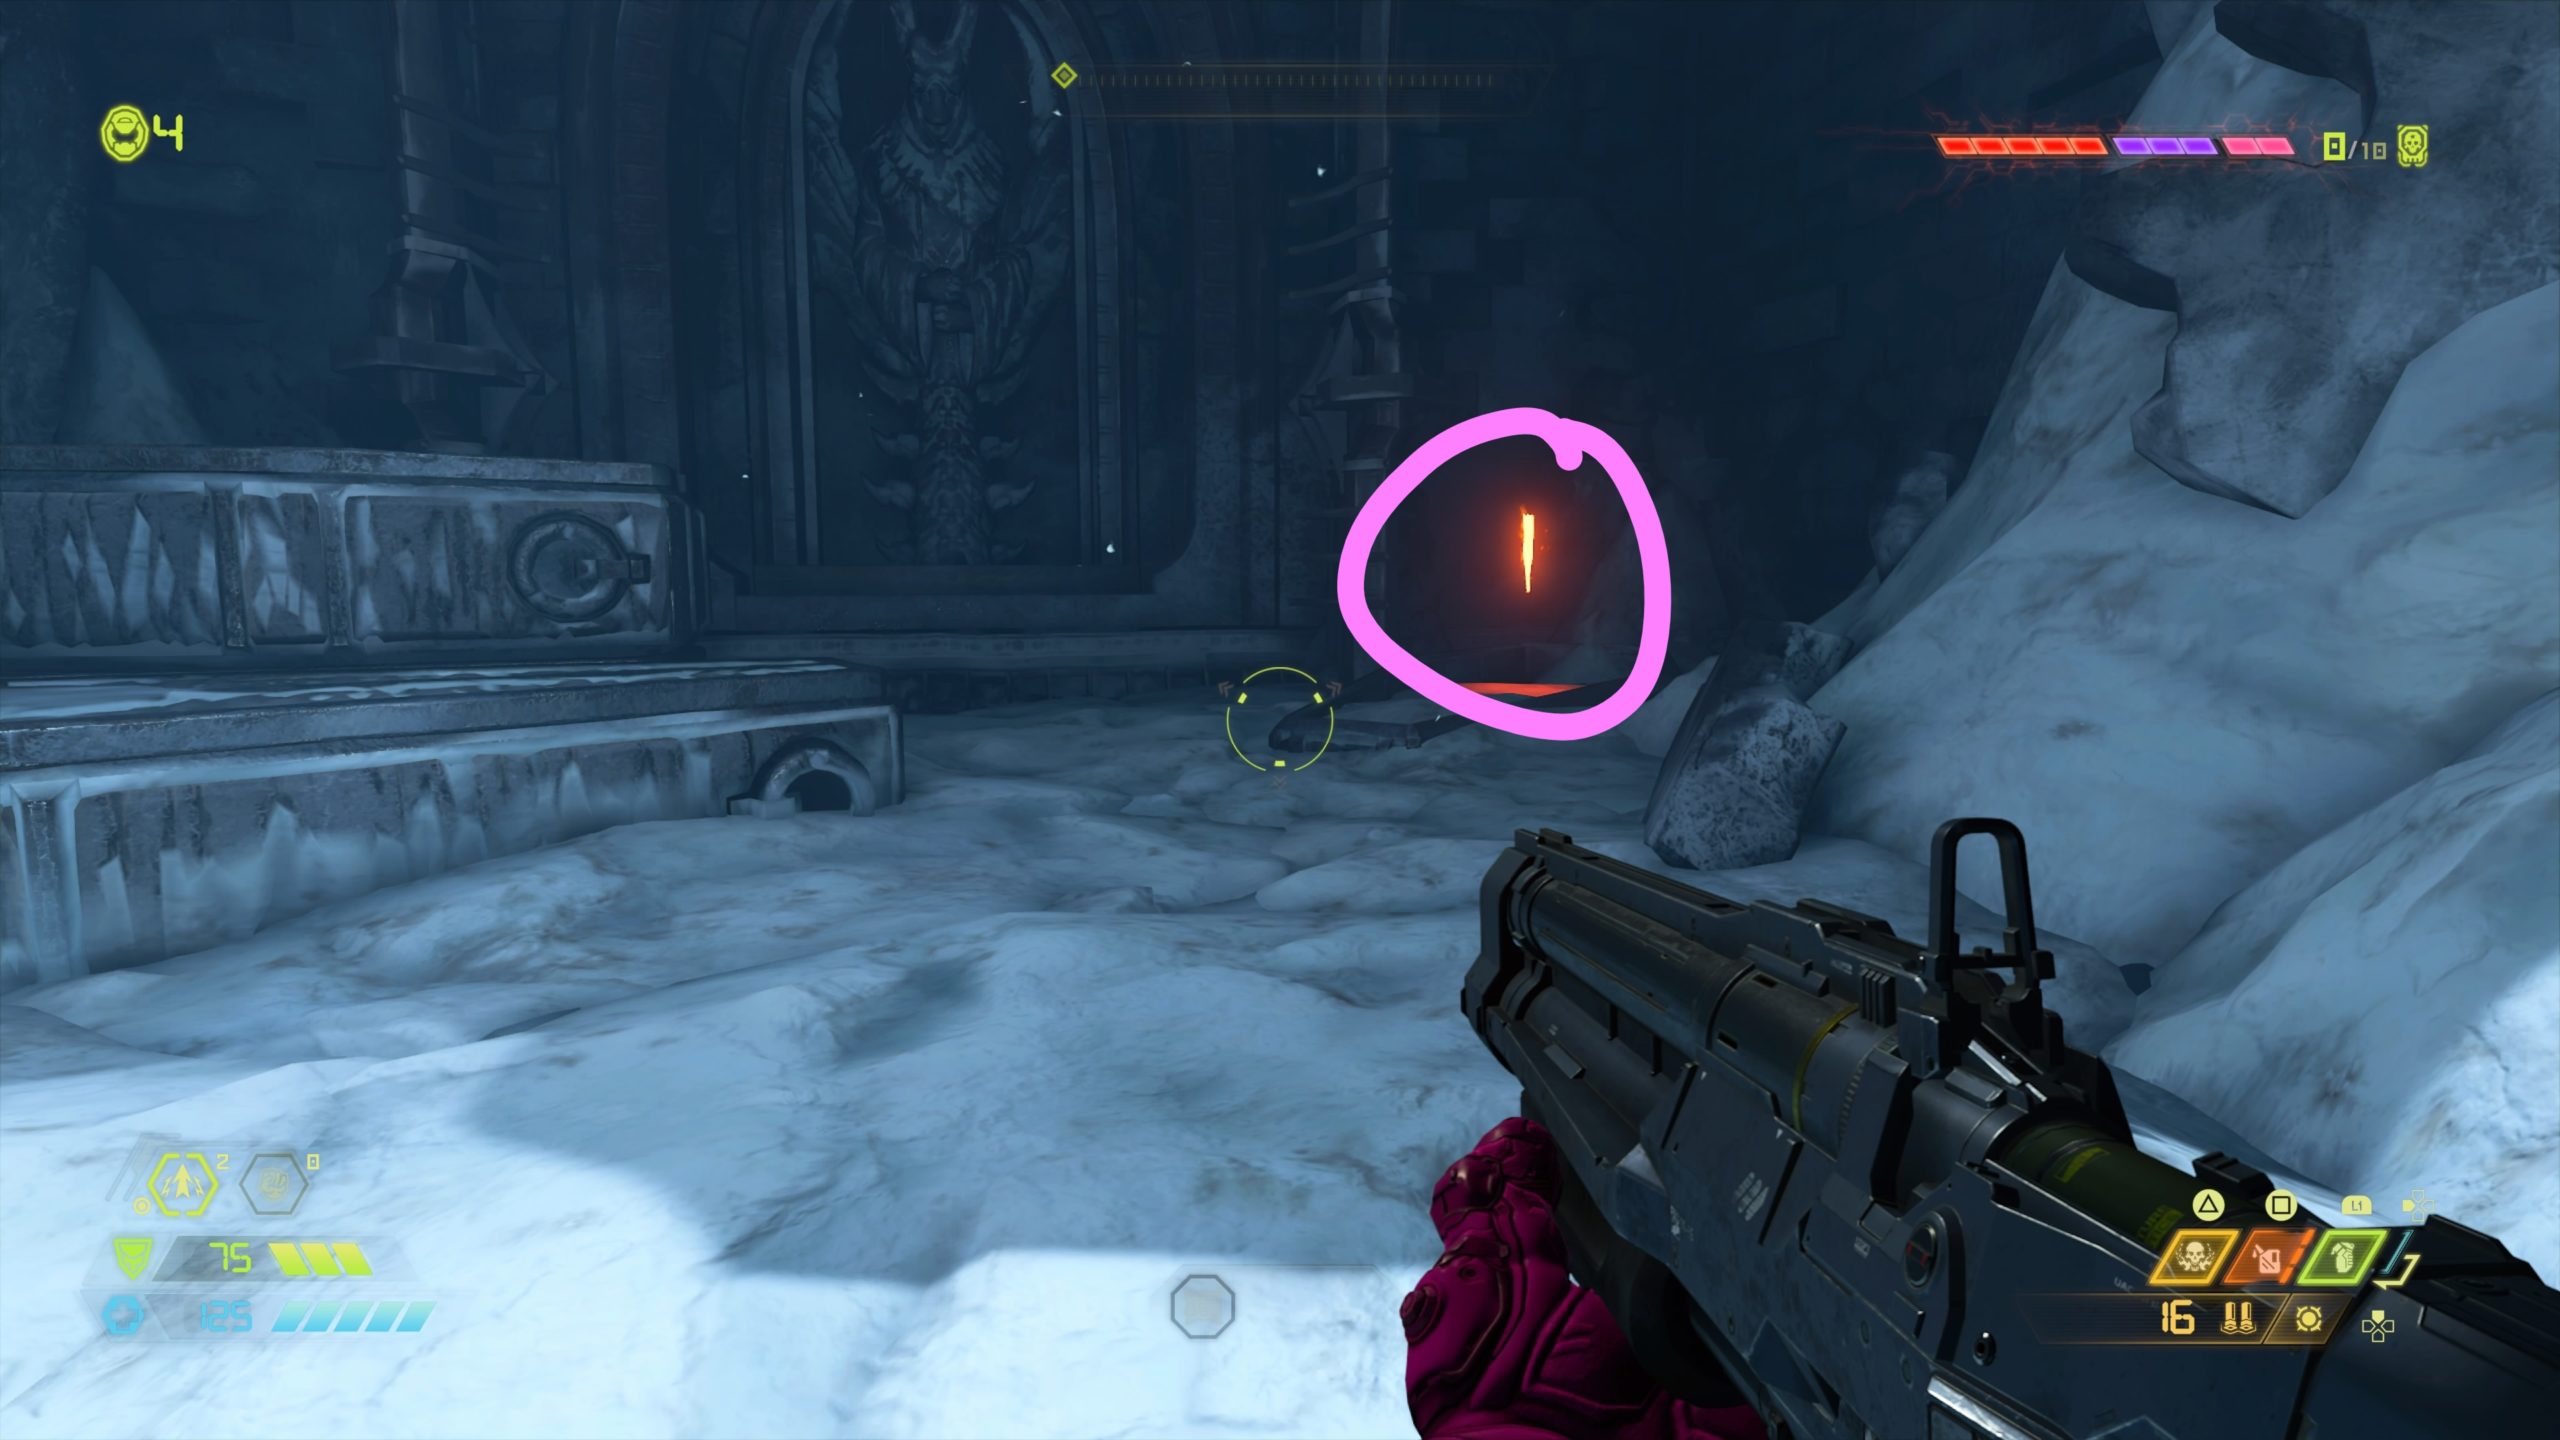
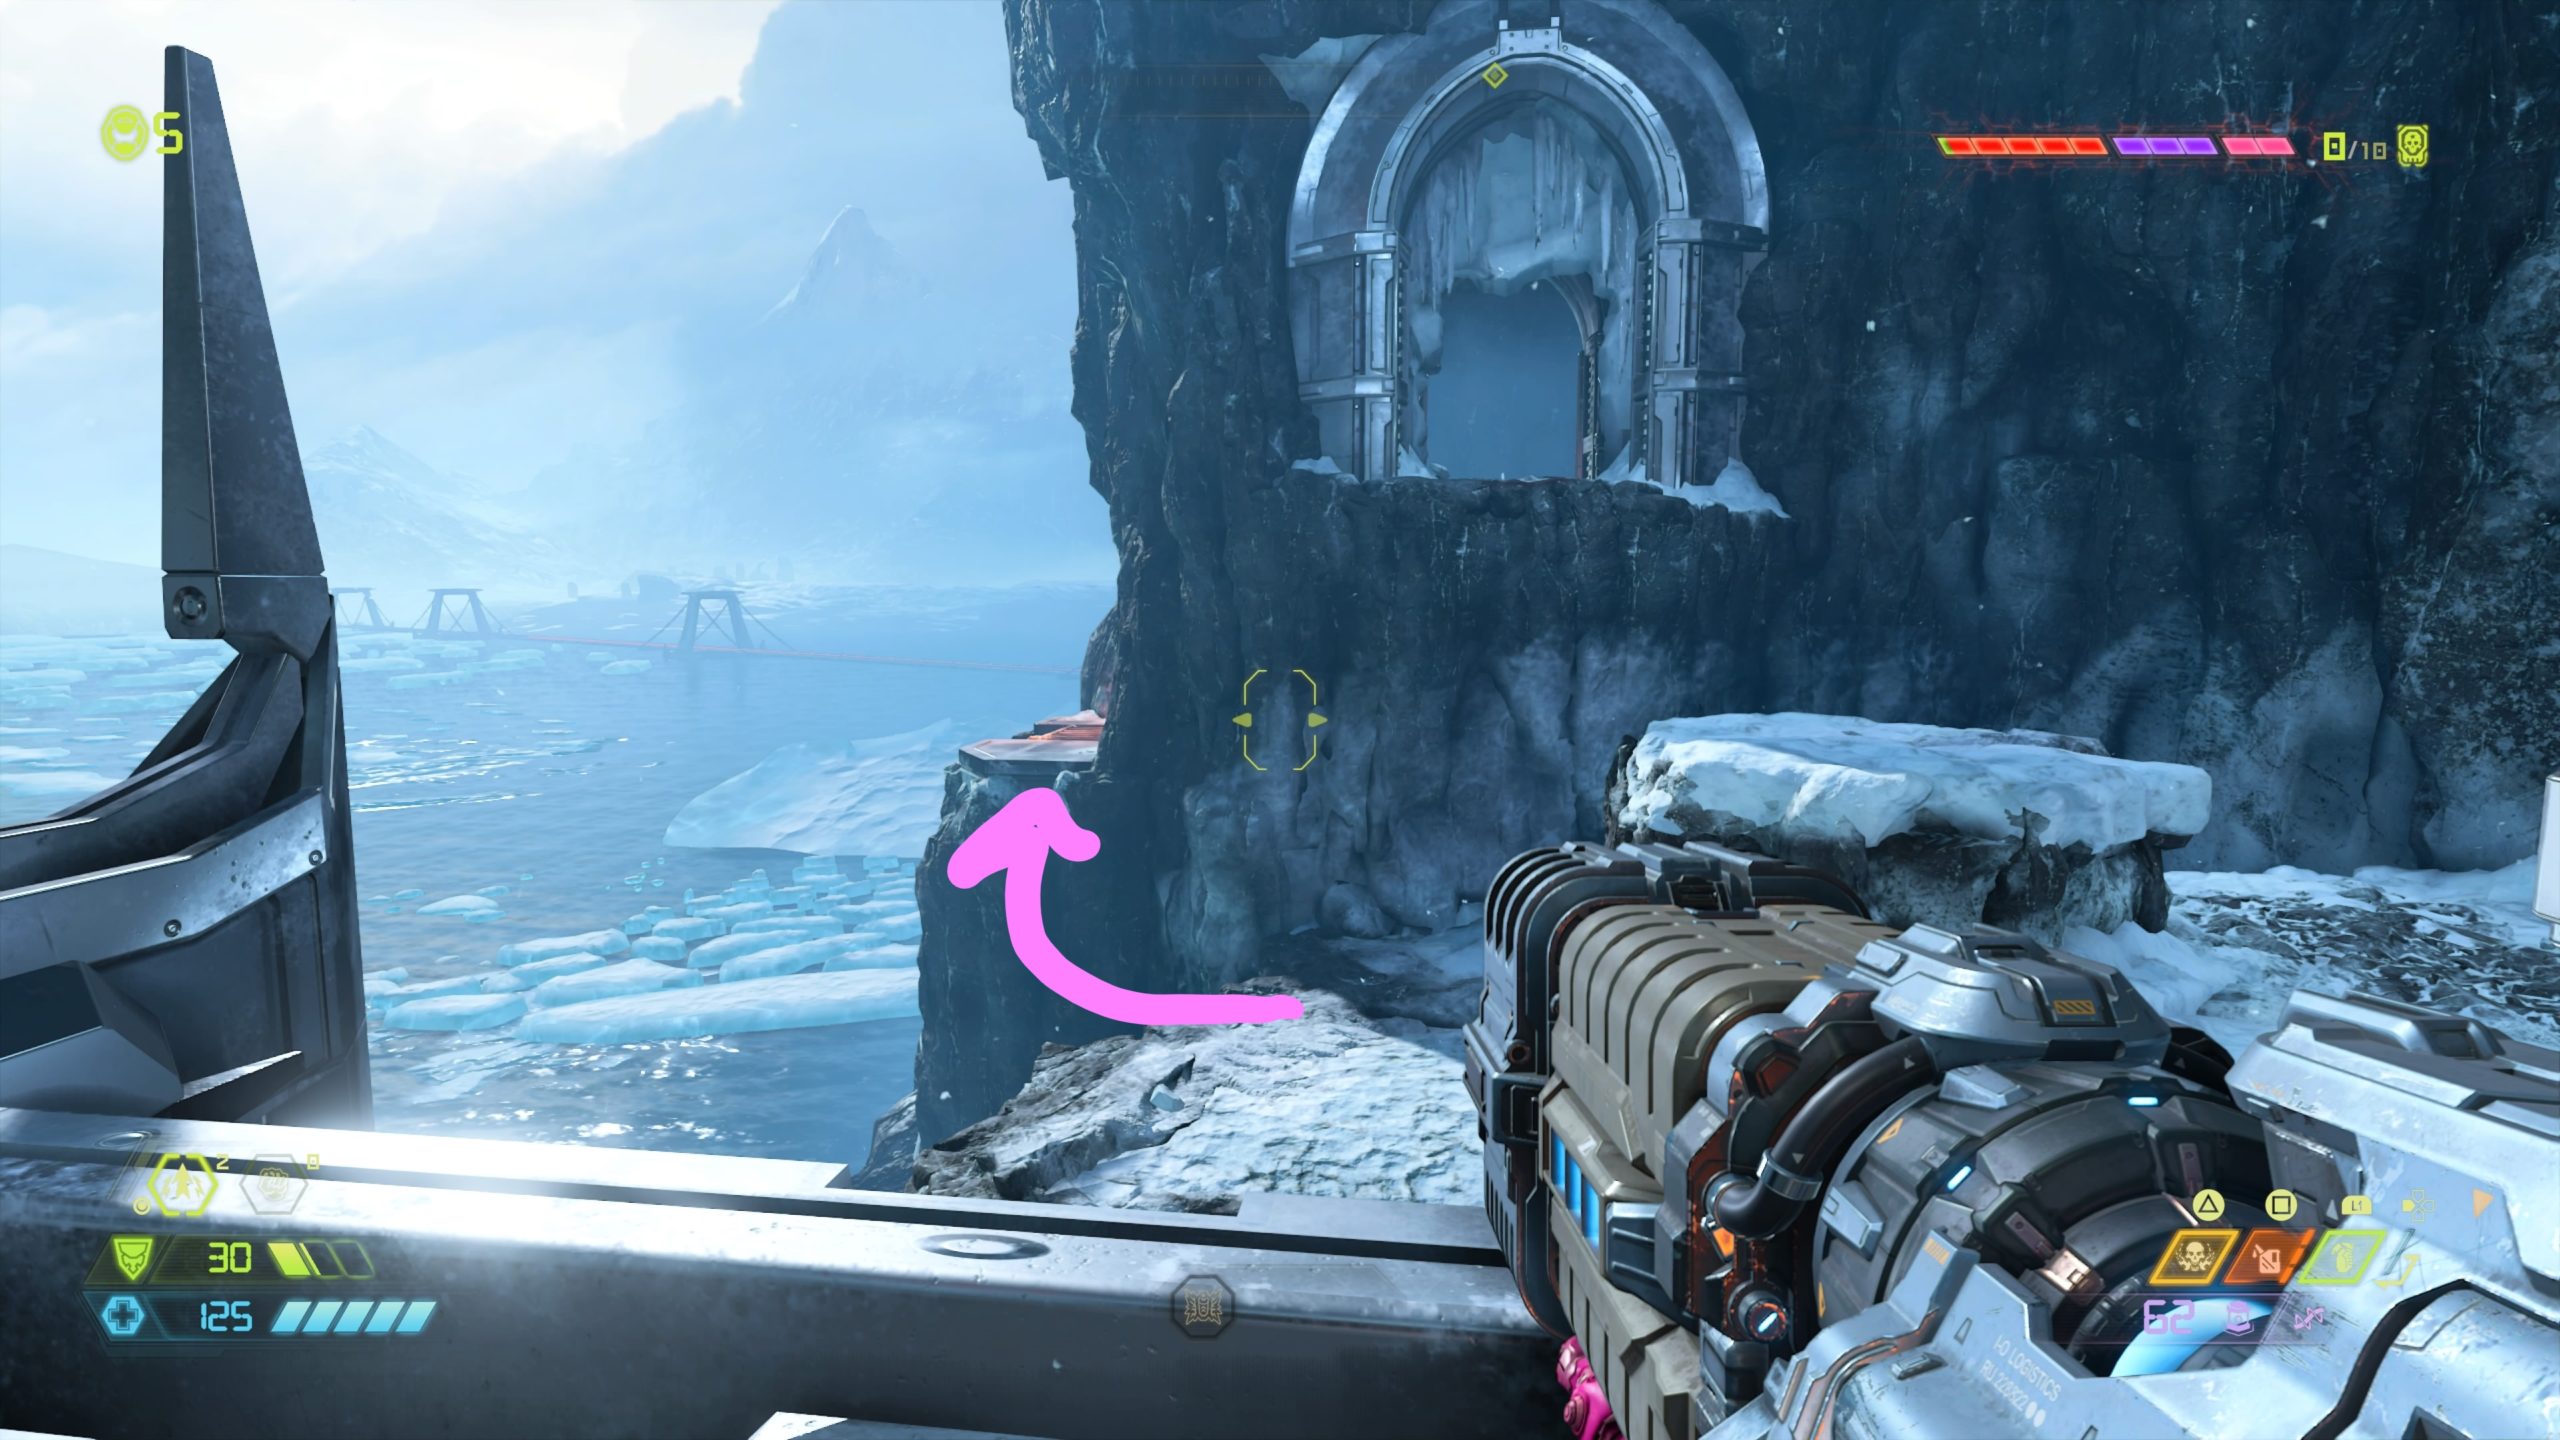
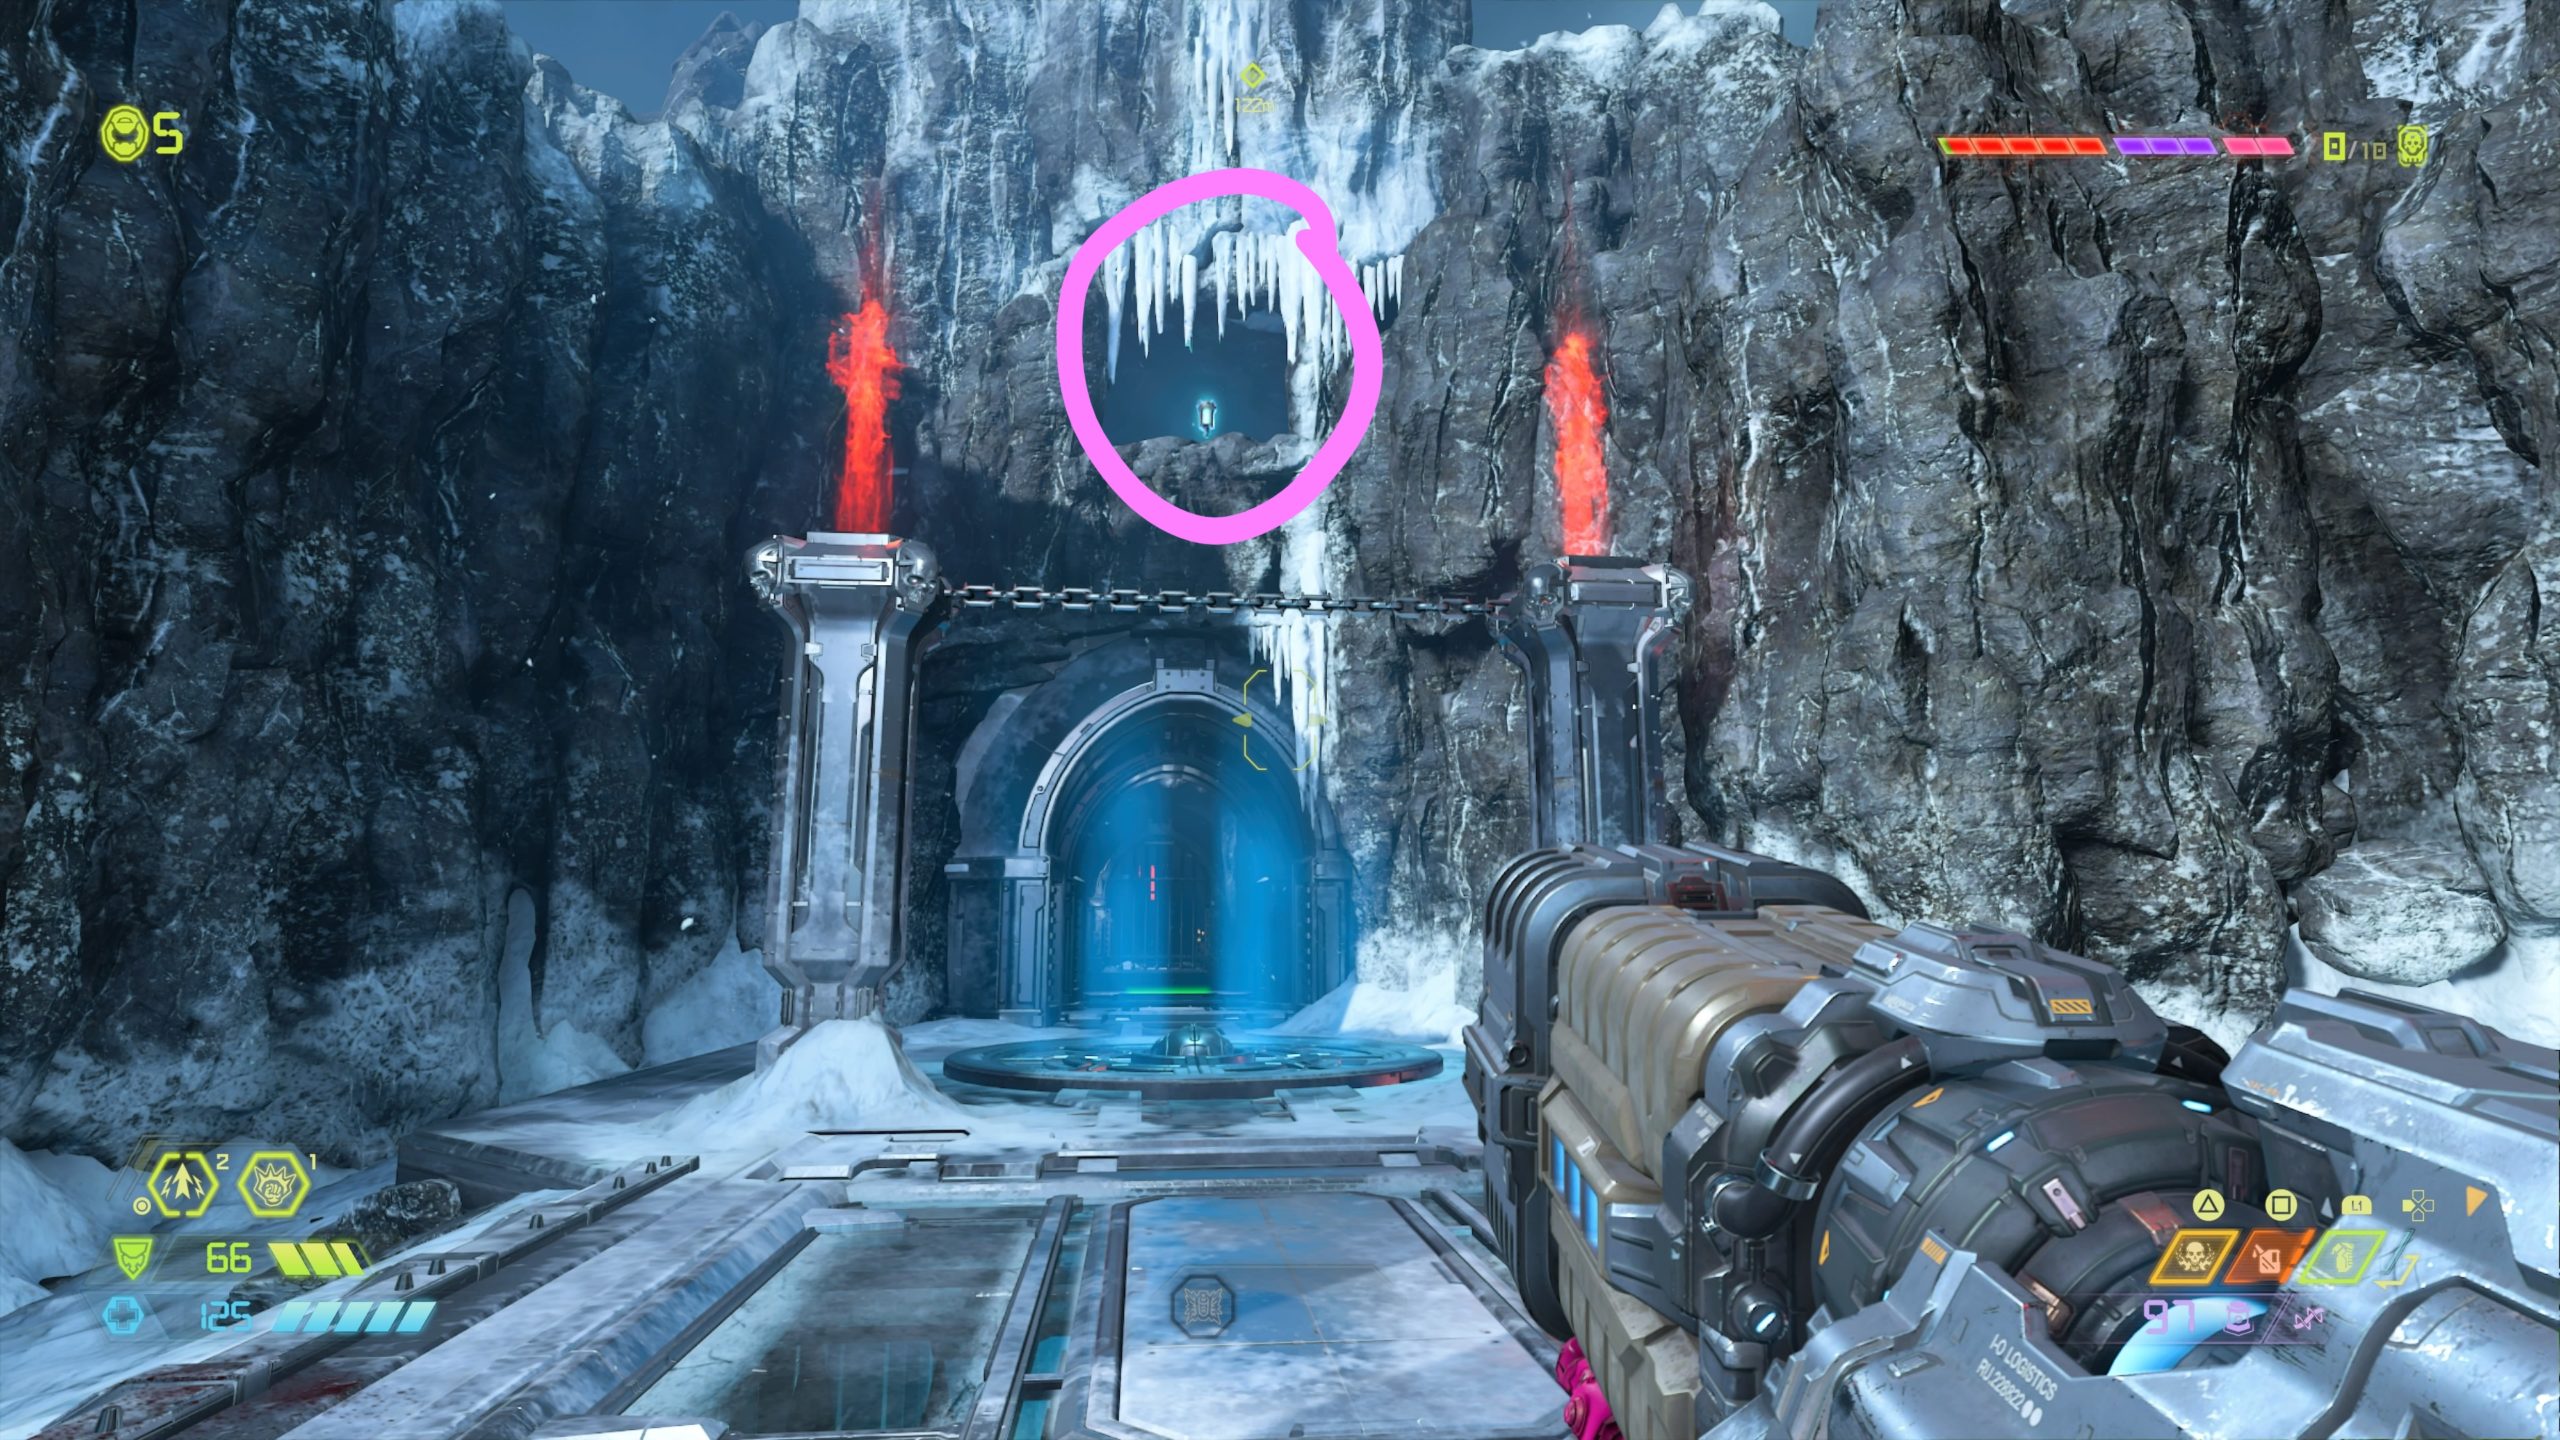
Mission 7: Mars Core
Praetor Suit Point 20
From the Phobos – BGF-10000 Ventilation fast travel point, head forward through an opening near the tiny pistons. This will bring you to a room with four giant moving cylinders. Use the cylinders to reach the platform on the top left of the room to locate the Sentinel with the point.
Praetor Suit Point 21
From the UAC – UAC Outpost LD fast travel point, drop down onto the platform below and head to the walkway across from the portal near the edge of the platform. Drop down the hole under the walkway to locate the hallway leading further into the level. To left of it will be a wall with a crack in it. Melee the wall, but don’t head through yet. Look down to the right to see a doorway. Jump to the doorway to see the Sentinel with the point at the top of some stairs.
Praetor Suit Point 22
From the Meteor – Alpha Labs fast travel point, head for the stairs leading the monitors that say “SYSTEM CRITICAL”, but don’t go up them. Instead, drop down to lower level by the green light to the left of them. Take the first left in the hallway and use the lift pad to reach the room above. From there, head through the nearby hole in the wall then cross the room to the doorway on the other side. Go through the doorway then take a left climbing up the fallen crate to reach the vent shaft. Climb up to the top to find the Sentinel with the point.
Praetor Suit Point 23
From the Meteor – UAC Transmission Tower fast travel point, head forward towards the three floating pillars with climbable walls. Jump to the floating rock just before them then use that rock to reach the third rock. The Sentinel will be at the top with the point.
Praetor Suit Point 24
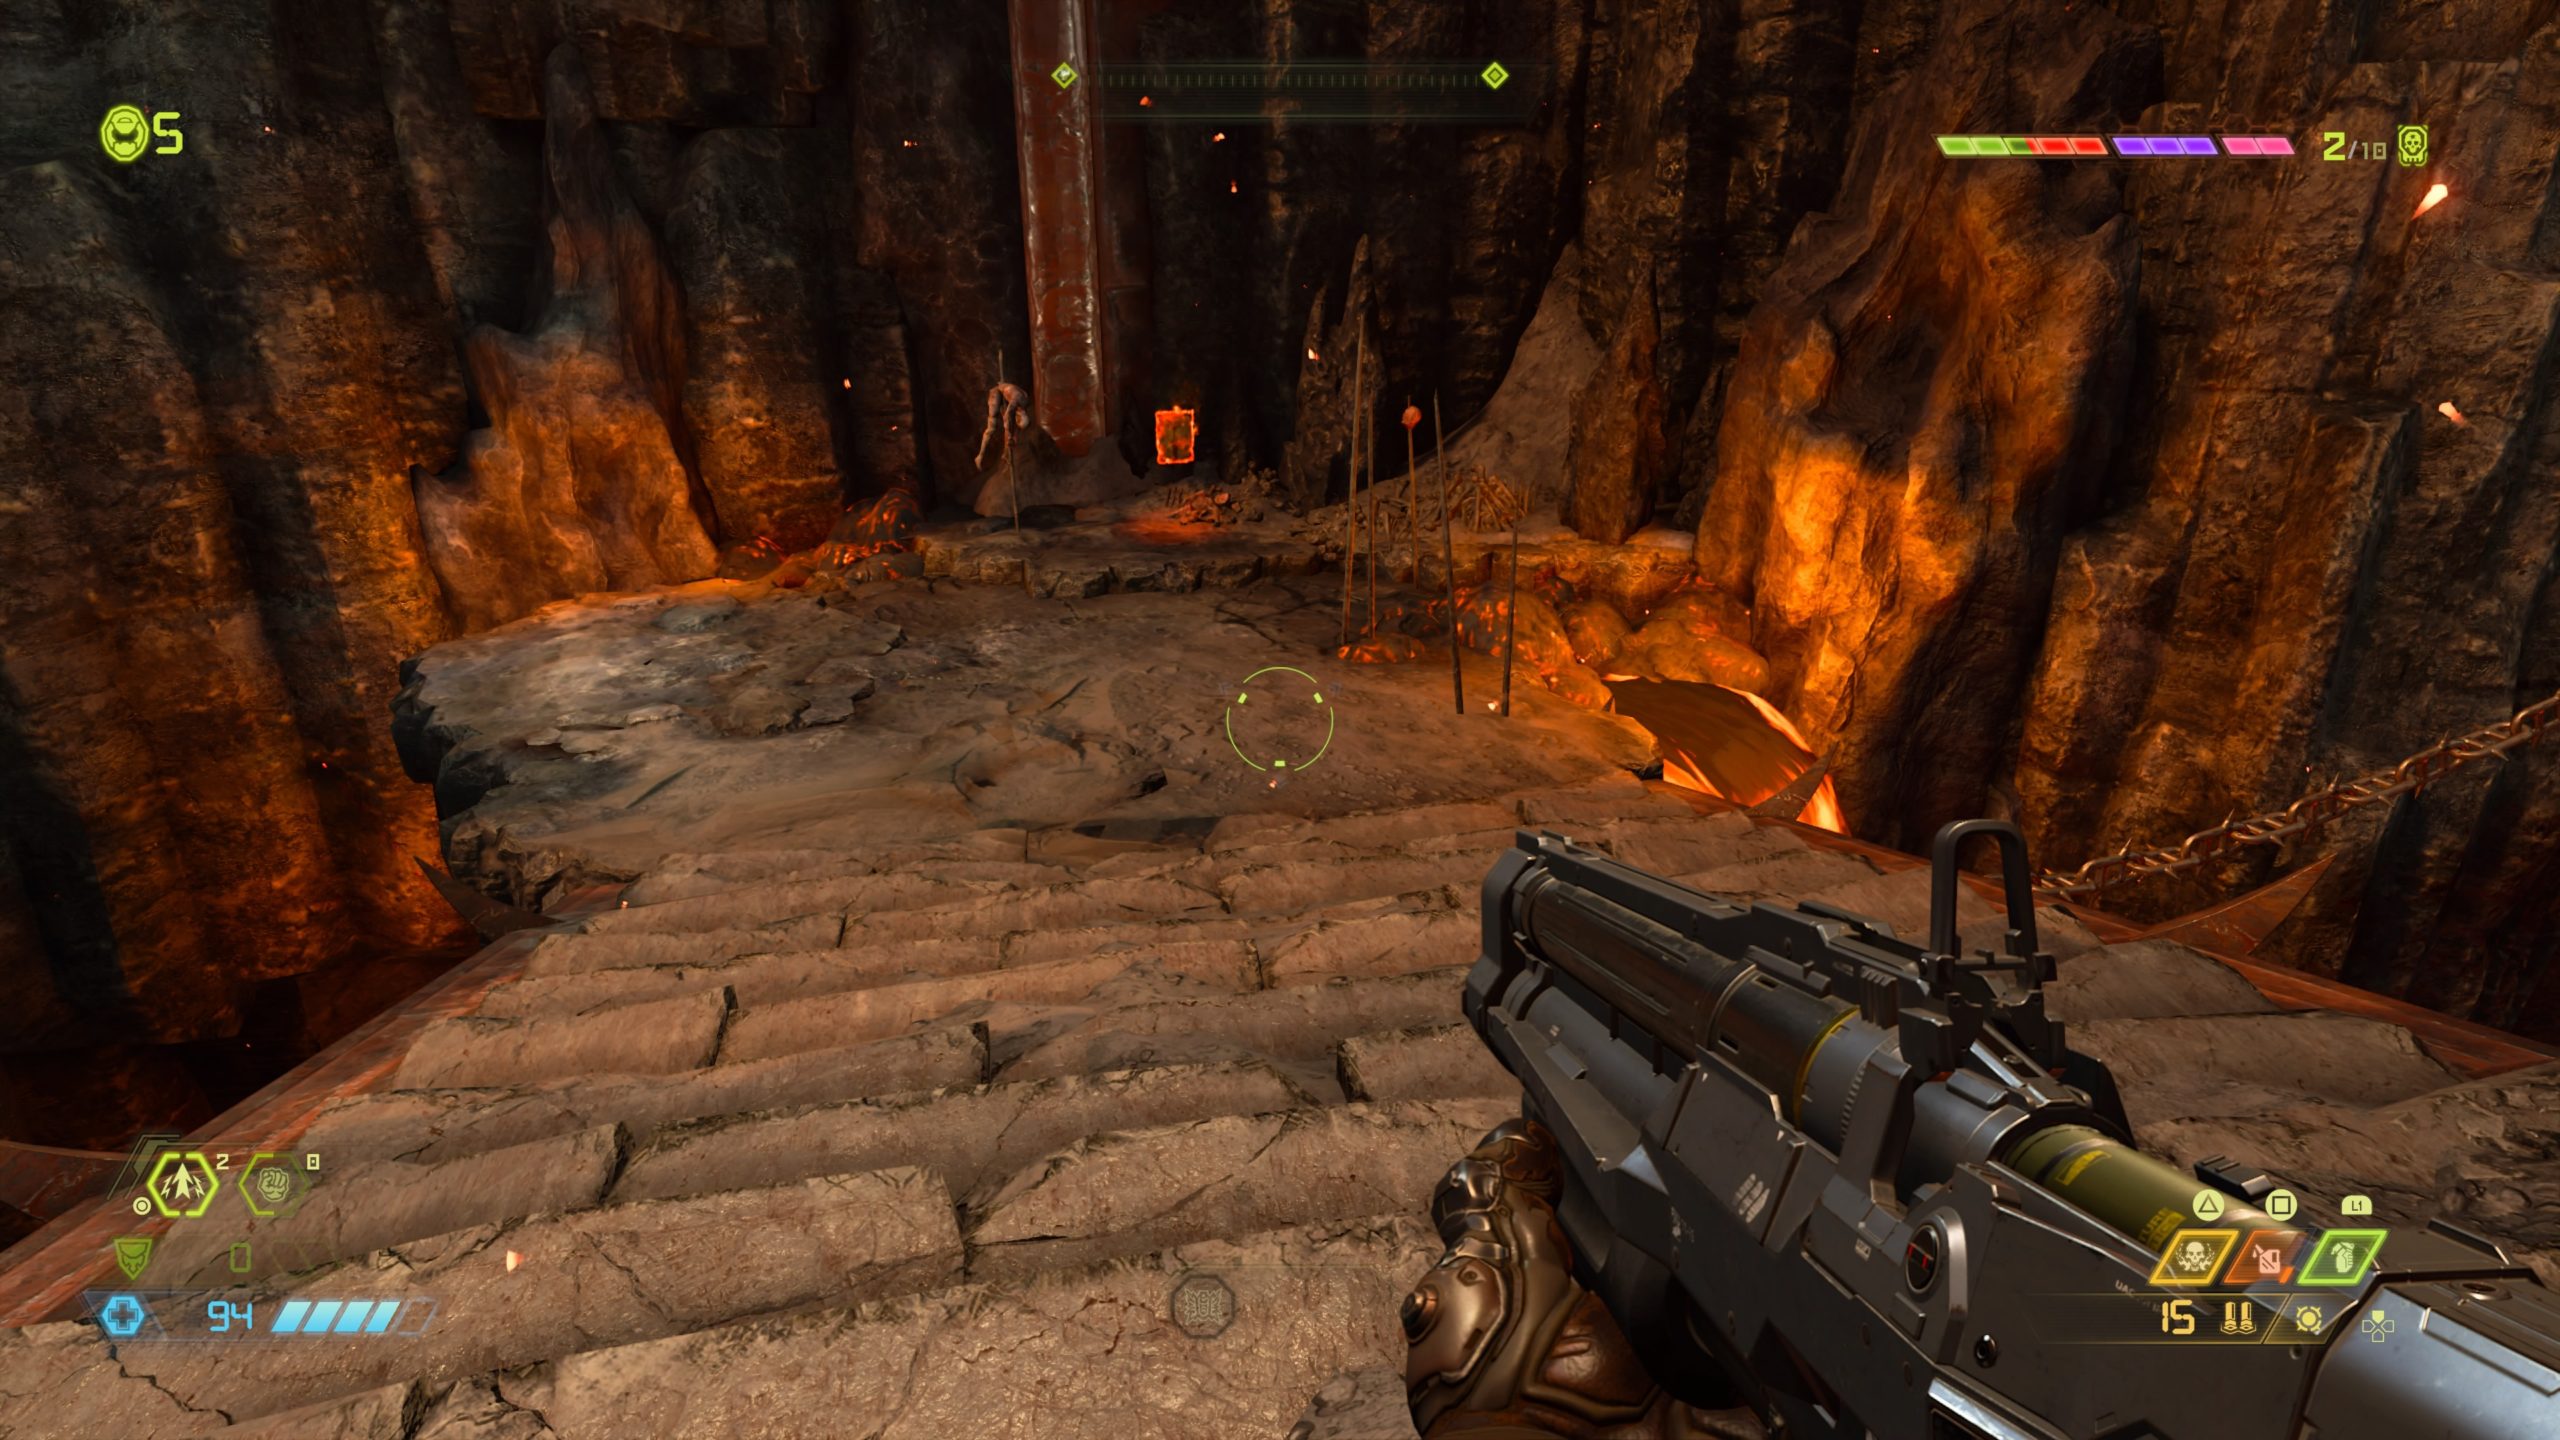
From the Hell – Temple of Sin fast travel point, follow the path forward dropping down off the ledge at the end. Turn right then head down the nearby steps. Take a left and head to the end to find the Sentinel in a small room to the right.
Mission 8: Sentinel Prime
Praetor Suit Point 25
From the Training Hall fast travel point, take the stairs up to the top. Once there take a right and follow the walkway to the end. Across from you will be another walkway containing the Sentinel holding the point.
Mission 9: Taras Nabad
Praetor Suit Point 26
From the Atrium Plaza fast travel point, enter the doorway in front of you and take a left to find the Sentinel holding the point.
Praetor Suit Point 27
From the Slayer Creation Chamber fast travel point, turn around and head down the stairs. Once at the bottom of the stairs, head through the doorway on the right then take a right to follow the hallway to the end. The Sentinel holding the point will be on the left.
Praetor Suit Point 28
From the Fallen Titan fast travel point, head forward and climb over the titan’s legs to find the Sentinel holding the point to the left of the titan’s body.
Praetor Suit Point 29
From the Skyline fast travel point, head right and take the stairs up to find the Sentinel standing behind a column with a spin bar.
Praetor Suit Point 30
From the Throne Room fast travel point, drop down the hole in front of the throne. Head down the stairs then drop into another hole. The Sentinel will be located on the far side of this room.
Mission 10: Nekravol – Part I
Praetor Suit Point 31
From The Mill fast travel point, take a right and follow the path to the end to find the Sentinel holding the point.
Praetor Suit Point 32
From the above Praetor Suit Point, head left passing the green diamond and under a spiked ceiling. After the spiked ceiling, take a right up a flight of stairs then head through the doorway on the right side of the room to go up a flight of stairs. The Sentinel holding the point will be at the top.
Praetor Suit Point 33
From the Halls of Torment fast travel point, head to the other side of the room and turn around. Use the first gold spin bar to reach the higher gold spin bar. Use that spin bar to reach the ledge above the fast travel point with a green skull. Facing the skull, jump to the ledge on the left and work your way through the hall of presses and fire to find the Sentinel holding the point at the end.
Mission 11: Nekravol – Part II
Praetor Suit Point 34
From the Soul Ascent fast travel point, look to the left to locate a cracked wall underneath the sliding gate. Dash through the wall to reach the Sentinel holding the point.
Praetor Suit Point 35
From the Soul Converter fast travel point, head forward up the small flight of stairs and follow the path left or right to find the Sentinel holding the point.
Praetor Suit Point 36
From the Argent Transmitter fast travel point, turn around and jump down the long shaft backwards then dash forward to reach a hidden area containing the Sentinel holding the point.
Mission 12: Urdak
Praetor Suit Point 37
From the Abyss of Sanctuary fast travel point, head to the right side of the room past the open doorway. In the next room proceed through the door and head through a hallway to reach an outdoor area. Step on the green switch straight ahead to trigger the warp gates. Jump to the warp gate and follow the path right along the structure. You will need to use the outside stack on the right of the structure to reach the ledge on the inside containing the crackable wall. Melee the wall to reach the Sentinel holding the point.
Praetor Suit Point 38
From the Perse Harmonizer fast travel point, head into the structure to find the Sentinel holding the point behind the elevator.