Below is a walkthrough for Chapter 5 in Voice of Cards: The Beasts of Burden.
Village of Light
At the beginning of the chapter, speak with your companions then leave the town.
Roving Market
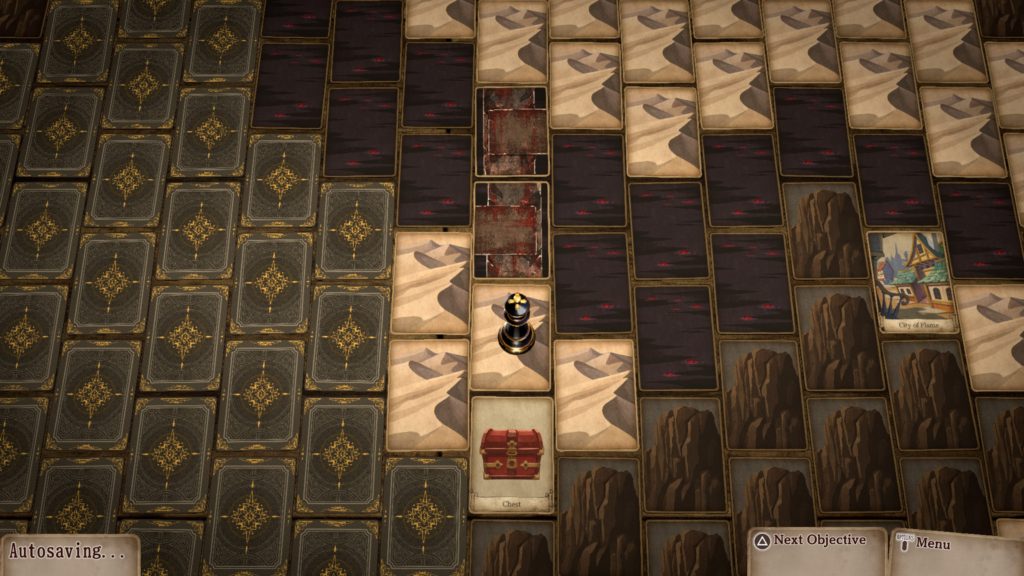
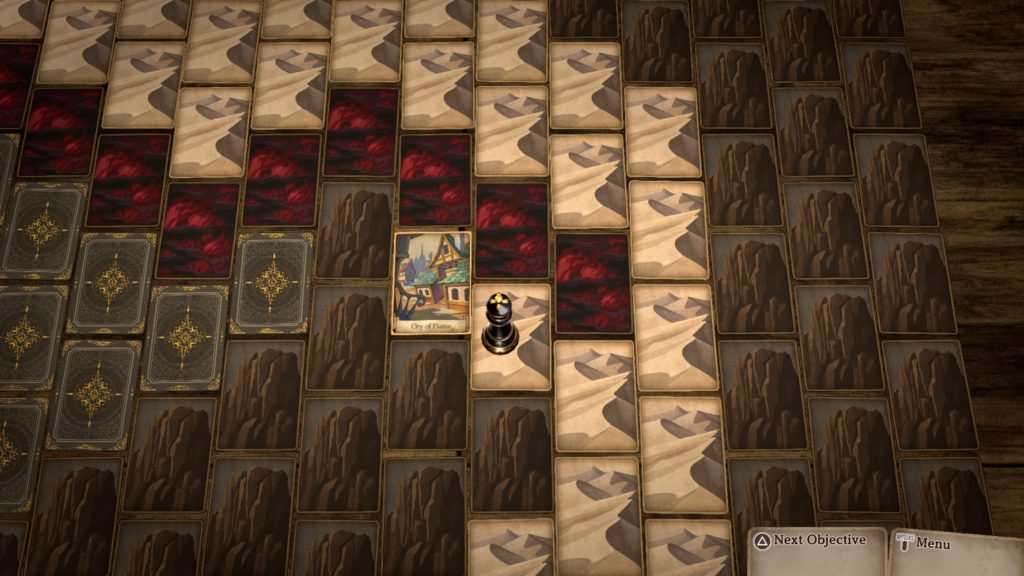
Head north to the new location of the Roving Market and enter it. Once inside, speak with the Wandering Merchant to trigger an event. This time he will want to see a Venomslime at least 2 stars or above. If you do not already have this card, the Venomslime can be found in the Lake of Fire and Desert. As a reward, you’ll receive a Quality Omnisalve and the Established Monster Tamer Certificate. The Established Tamer trophy will also trigger!
Speak with the Wandering Merchant again to trigger another event. This time he will want a Gargoyle with at least 2 stars. If you do not have this card, the Gargoyle can be found in the Ruined Edifice. As a reward, you’ll receive a Freezestay Ring and the Skilled Monster Tamer Certificate. The Skilled Tamer trophy will also pop!
Wasteland
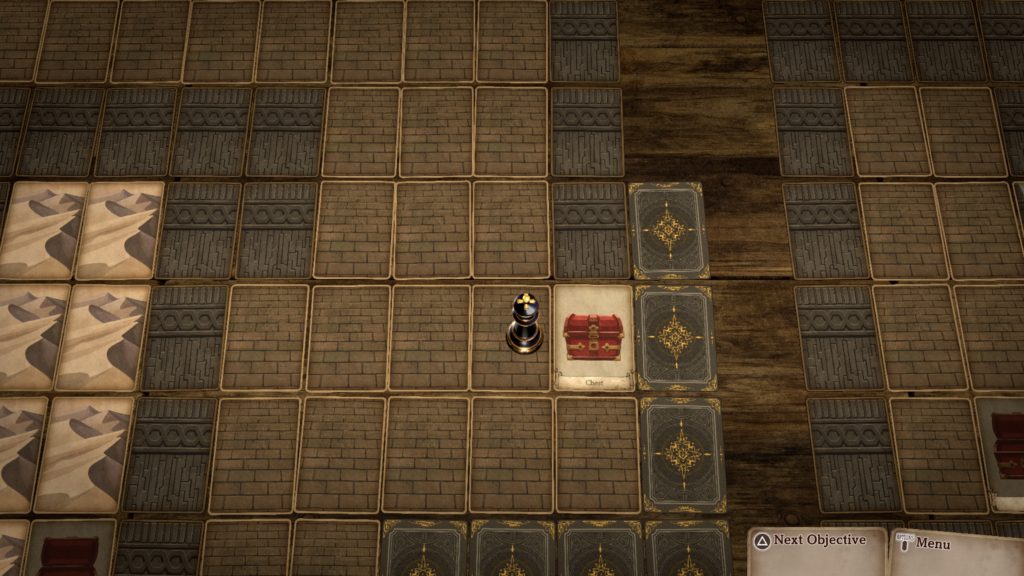
Make your way northeast to the glowing card. To clear the snow away, let the Flame Primal at it! Afterwards, proceed to the Cave and enter the Snowfield.
Snowfield
Once in the Snowfield, head forward a short way to trigger a quick cutscene. Afterwards, head forward again to trigger another cutscene. Select that you’d “Better make it snow-worthy!” then “Steel Primal”. Sandskiff Mk.III is now up and running!
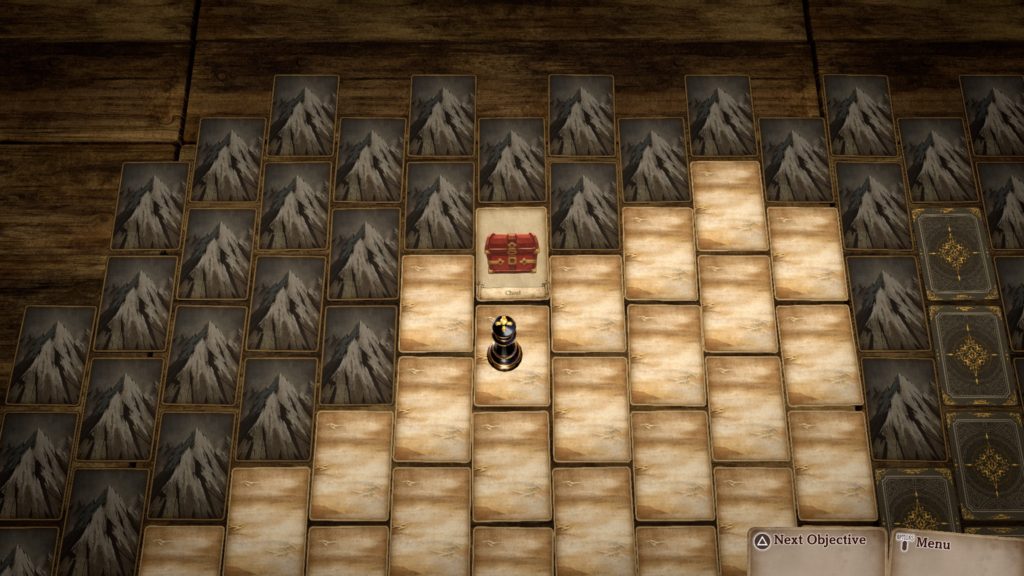
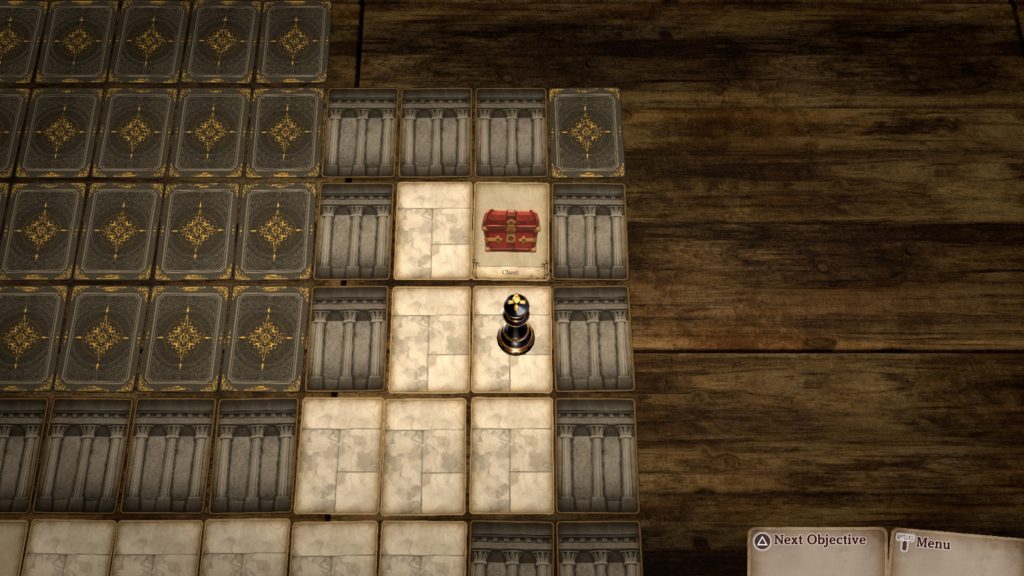
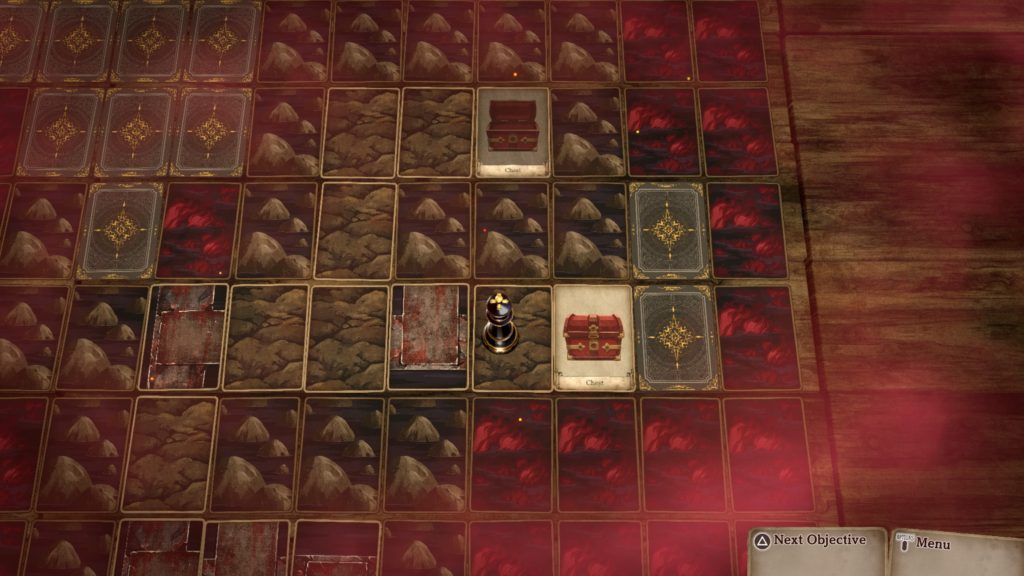
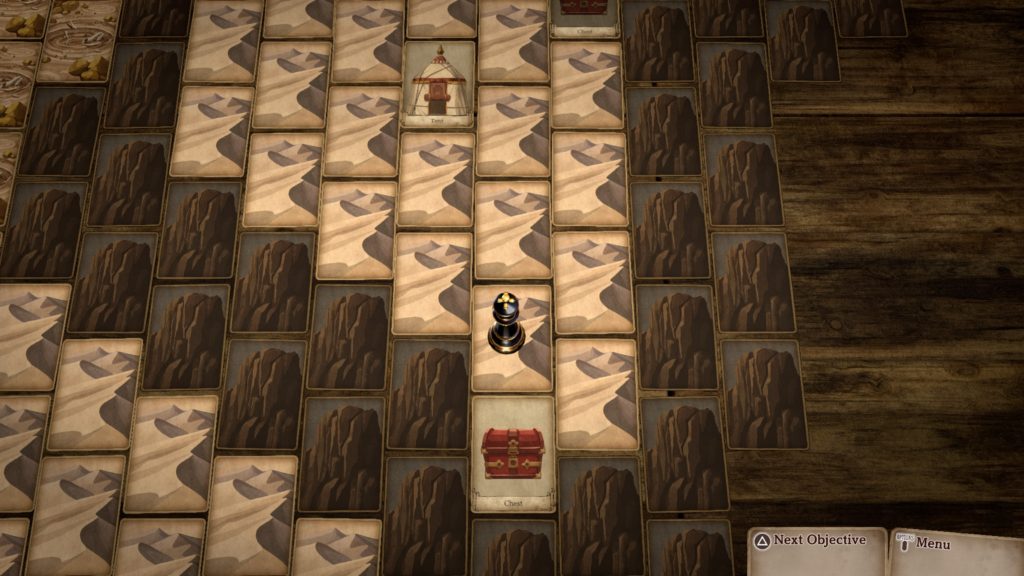
Chests
- 1500G
- Western edge of area

- Bill of Godly Fortune
- Southeastern corner of area
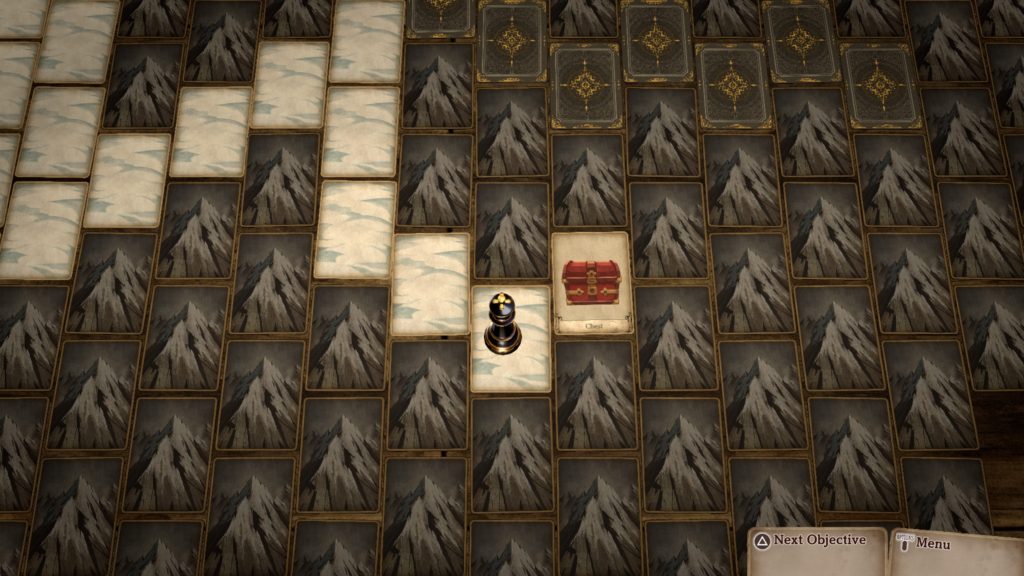
- Chunky Gold Nugget
- Eastern edge of area
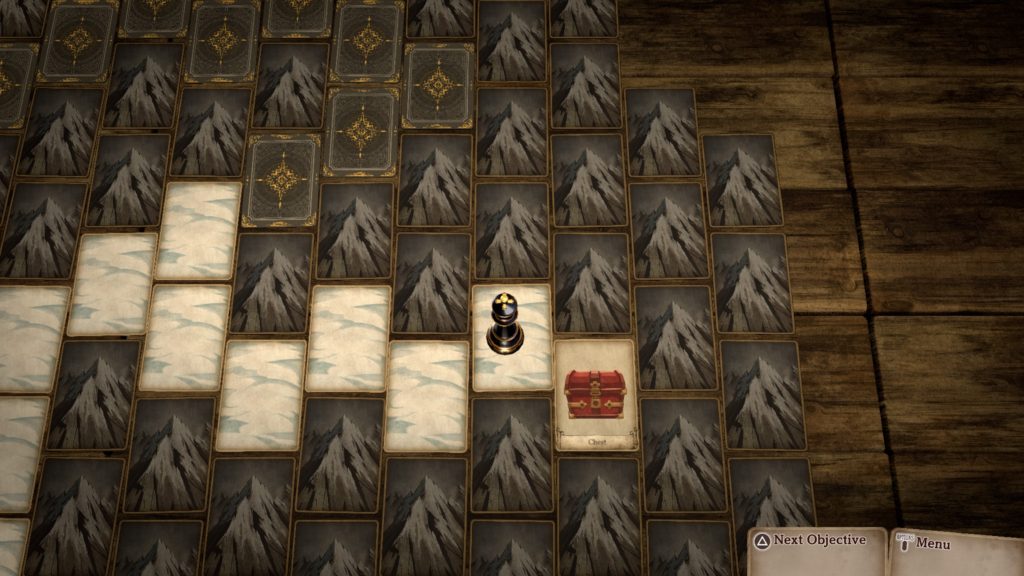
- Supreme Inspirilixir
- North central part of the area

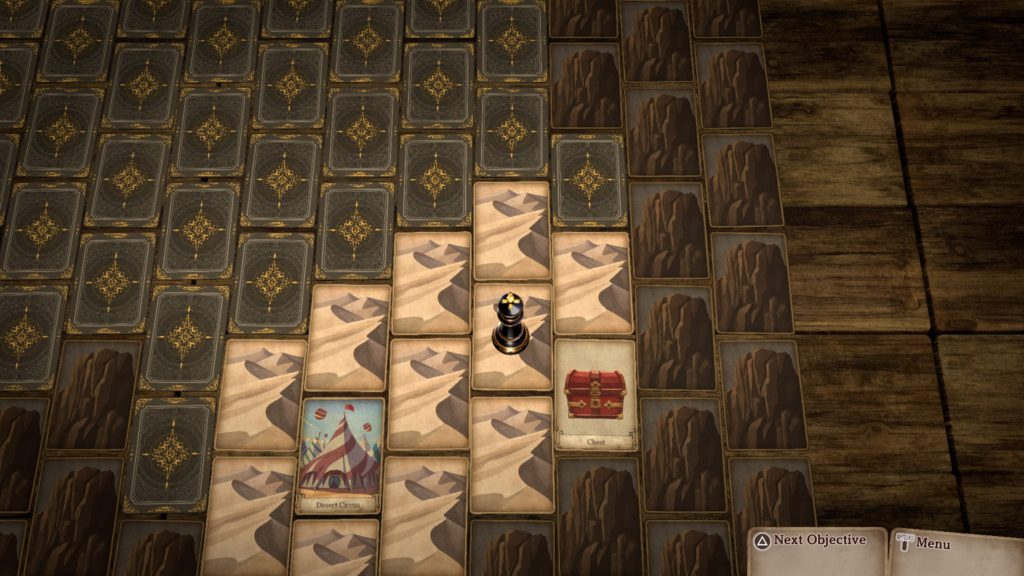
Events
- Open-Air Stall
- Stop by
- Roll the dice to determine at which price you can sell your items
- Keep Walking
- Stop by
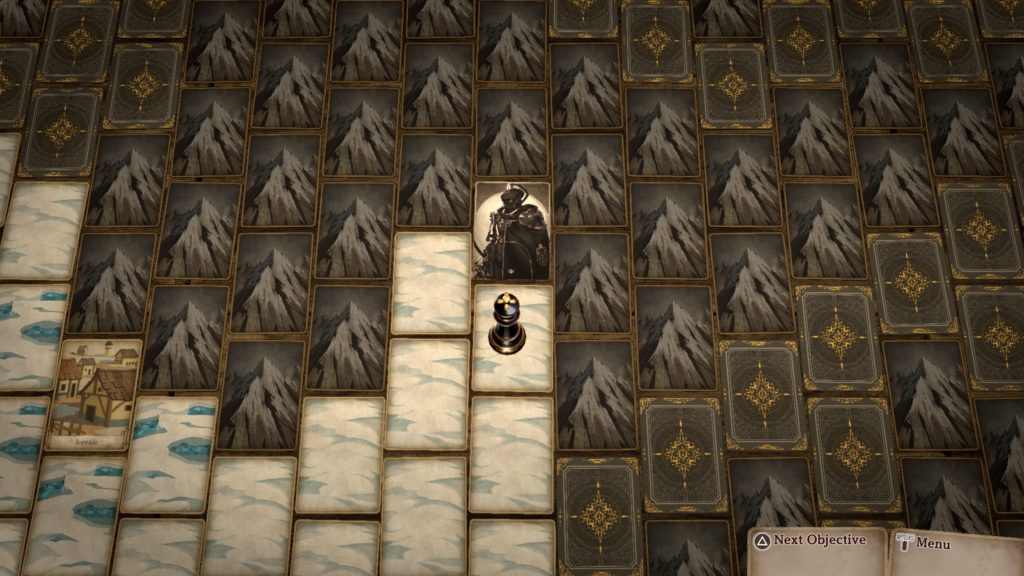
- Dark Warrior – Northeast of Icevale
- You can fight him if your strong enough! (We were not strong enough yet!)
Endwall
Once you’re done exploring Snowfield, interact with the Endwall card up in the northeast.
Icevale
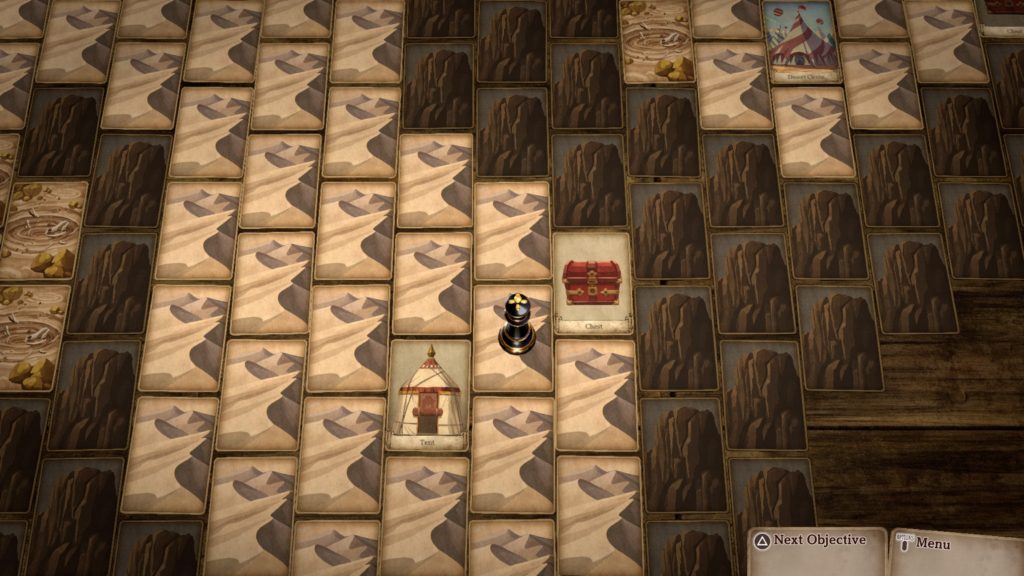
When the cutscene concludes, you’ll be be in Icevale. Speak with the Old Woman. After the cutscene concludes, head up to the Cabin. Choose whoever you’d like to help the Old Woman as she will suggest you get her a flower. Exit the town.
Snowfield
Head directly north of town to find the Solnivea flower card. Once you have it, return to Icevale.

Icevale
Enter the cabin. The next day you’ll have to make a choice about what to do. Select “Attempt to Scale the Endwall”. Afterwards, return to the cabin to check on the Old Woman. Next, interact with the glowing card on the southeastern side of the town. When the cutscene concludes, exit town.
Snowfield
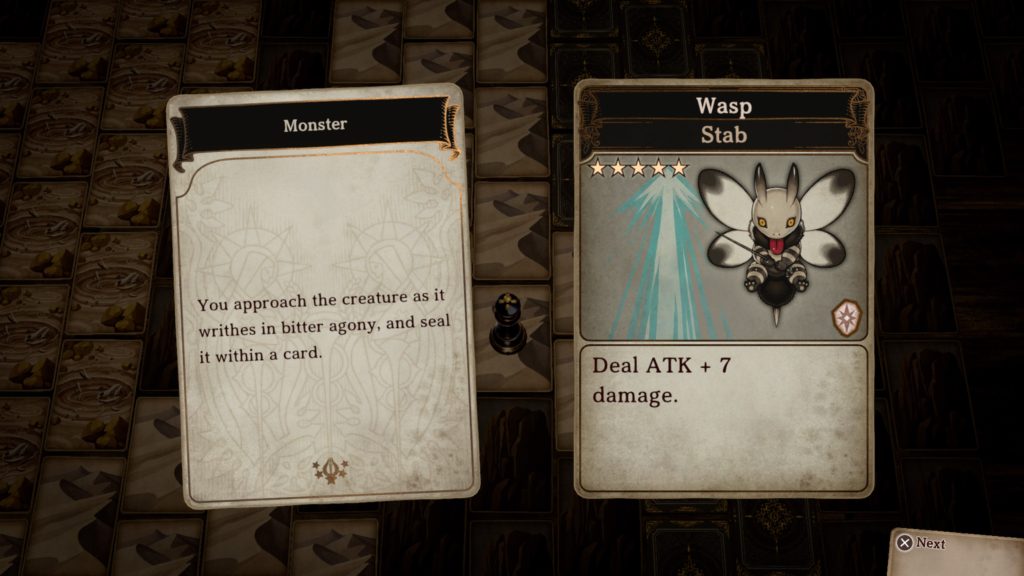
Wander around Snowfield fighting enemies until you come across the Treant. We found ours on the second encounter with an enemy so it shouldn’t take you too long! Defeat the creature then Pulche will want you to defeat 5 more. Again, set out in search of them. Once you defeat all of them, return to where you previously picked the flower and pick another one. Afterwards, return to Icevale. When the cutscene ends, exit the village to trigger a cutscene.
Endwall
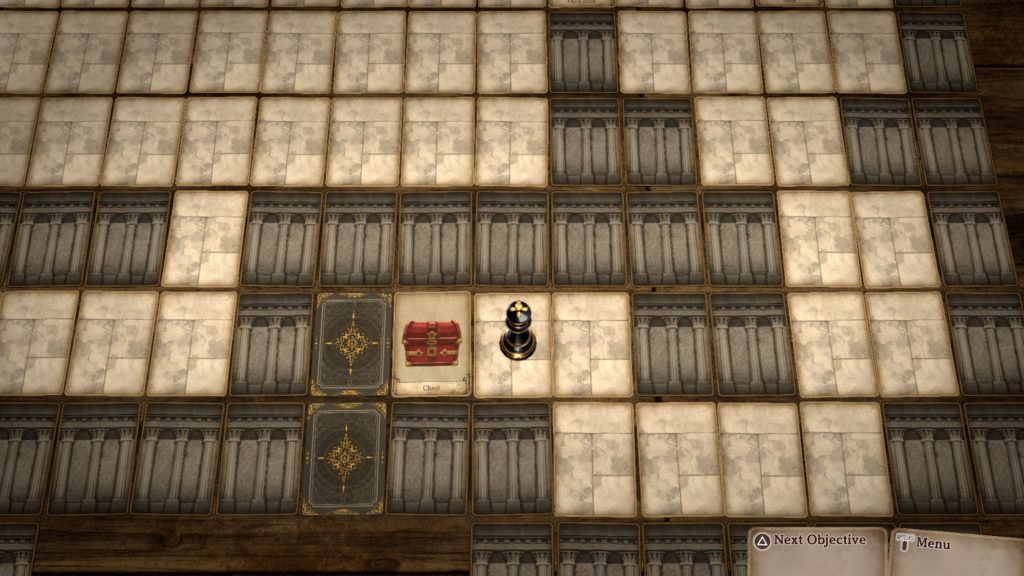
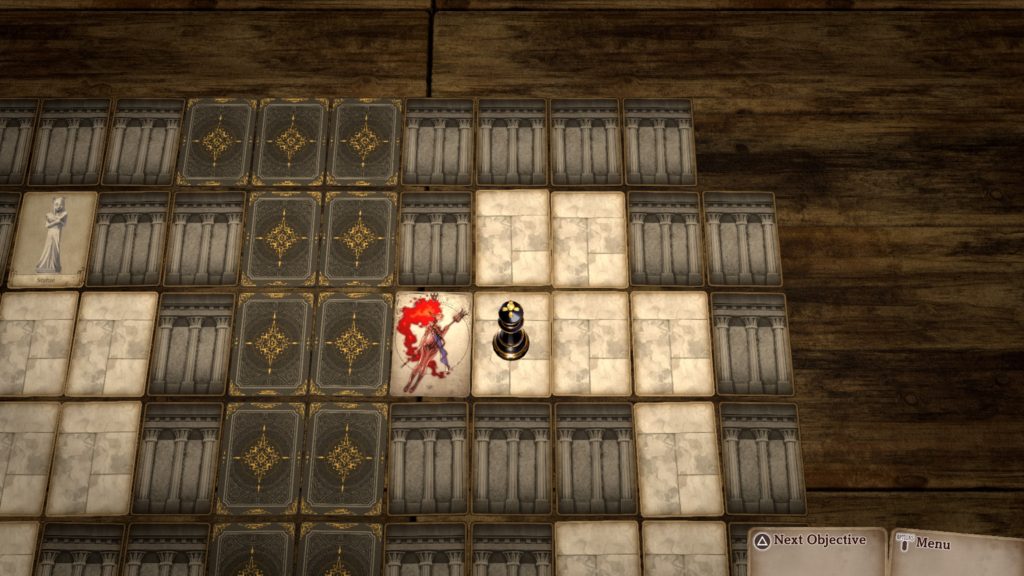
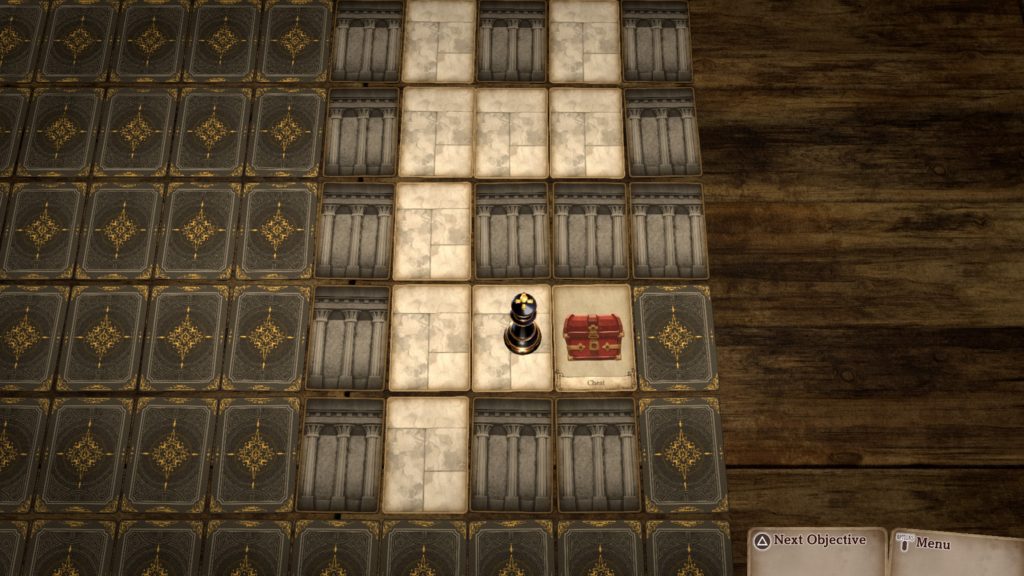
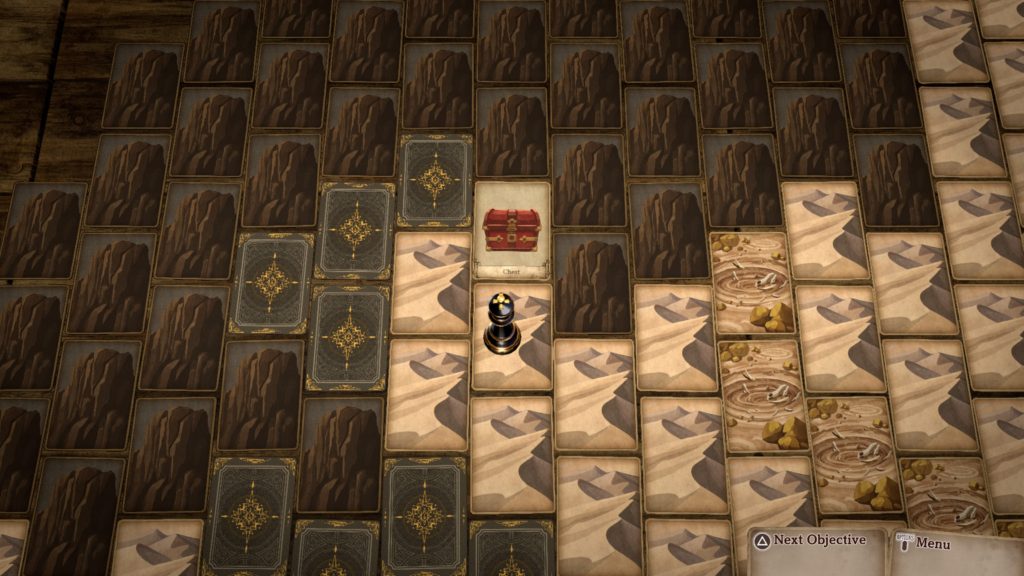
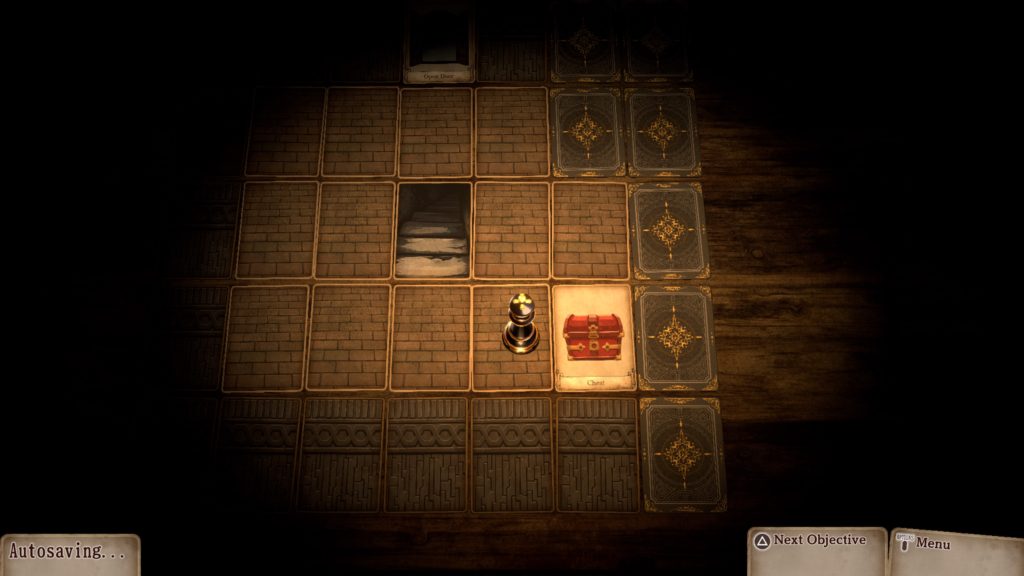
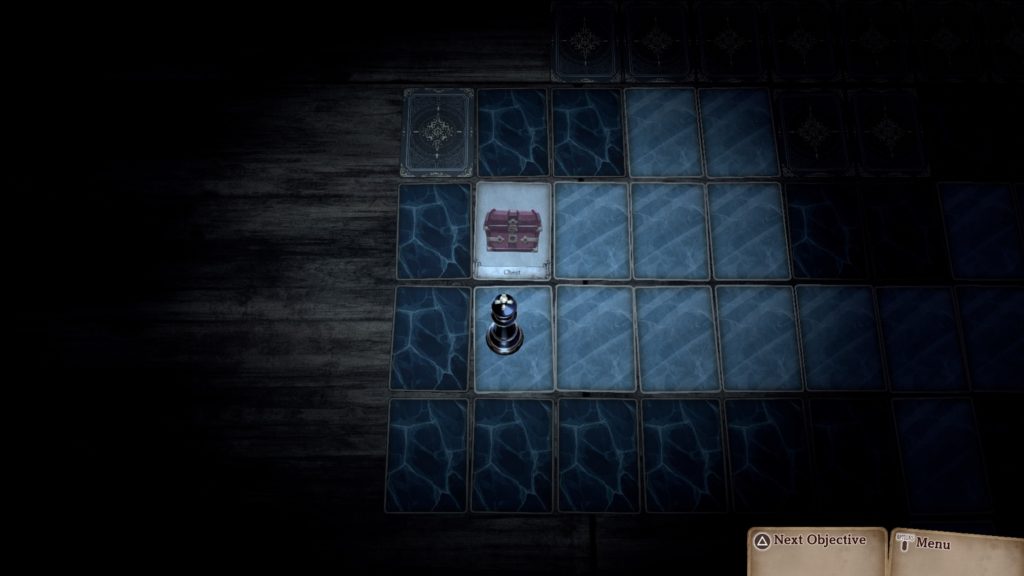
Once in the Snowfield, make your way to the Endwall. For how to scale it, select “Upgrade the Sandskiff!” to turn the sandskiff into Sandskiff Mk.IV! When the cutscene concludes, head forward and enter Endwall 44F. On the western side of the area sits a chest containing a Quality Omnisalve.
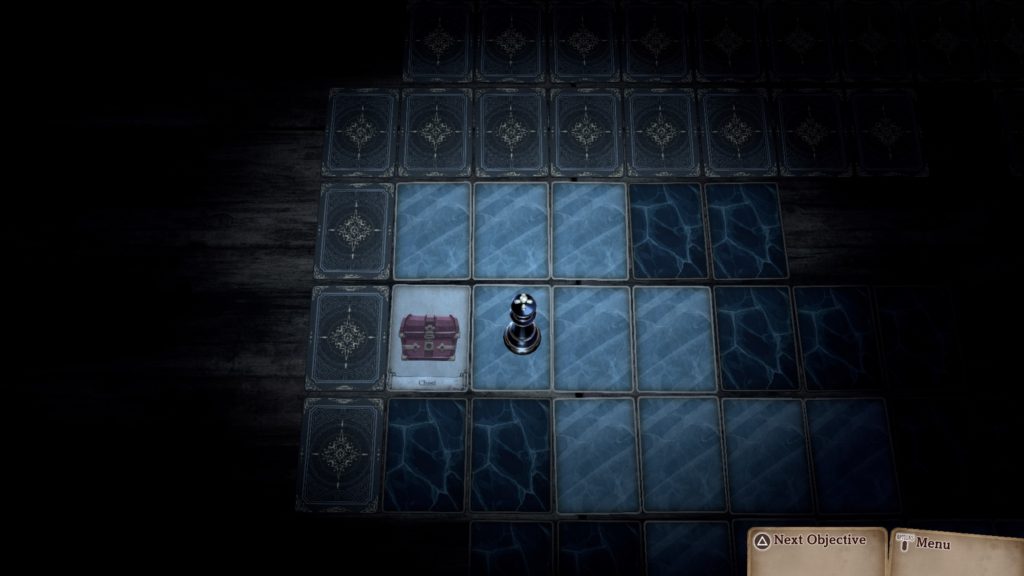
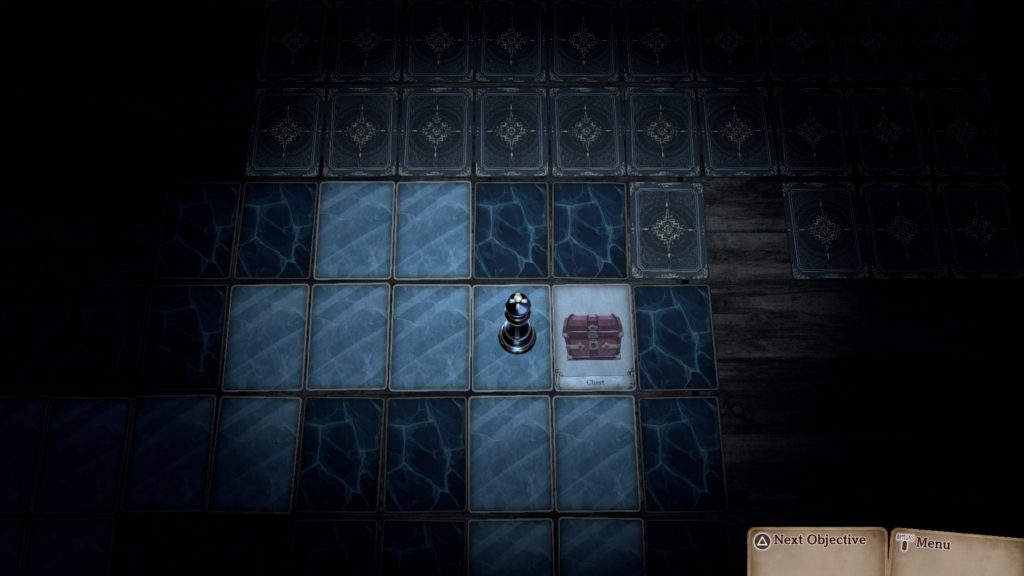
Continue north then swing around to the center of the northern area. Head up the path to the very north to find a chest containing a Gemstone Ring.
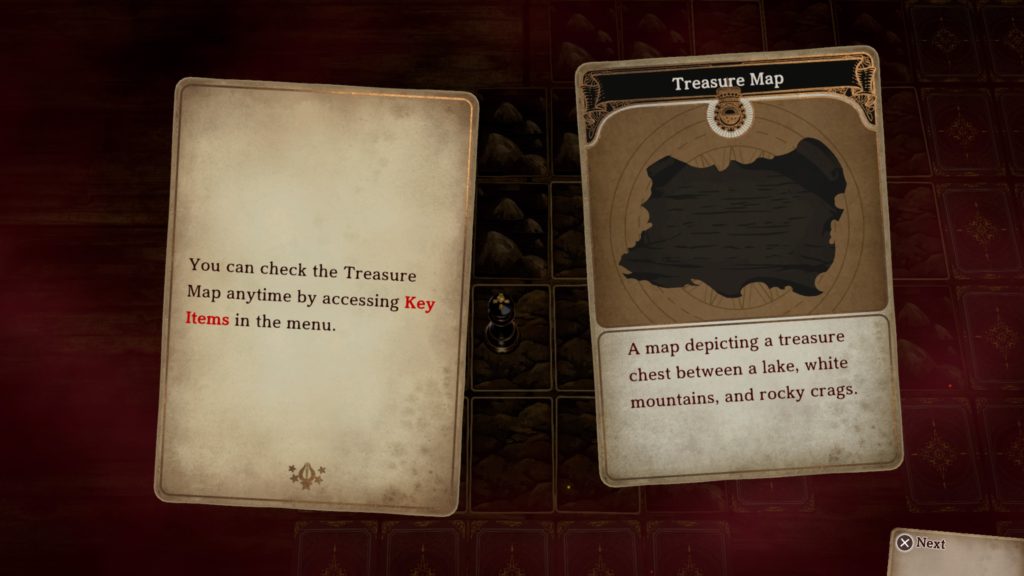
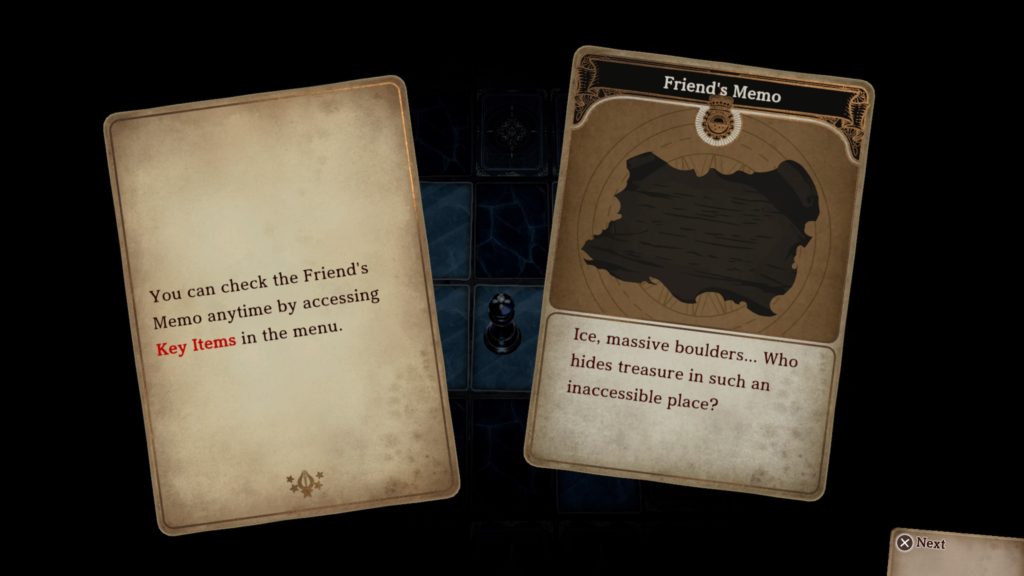
Once you collect the chest, follow the path east to trigger an event. You’ll receive the Friend’s Memo key item, detailing the location of a treasure.
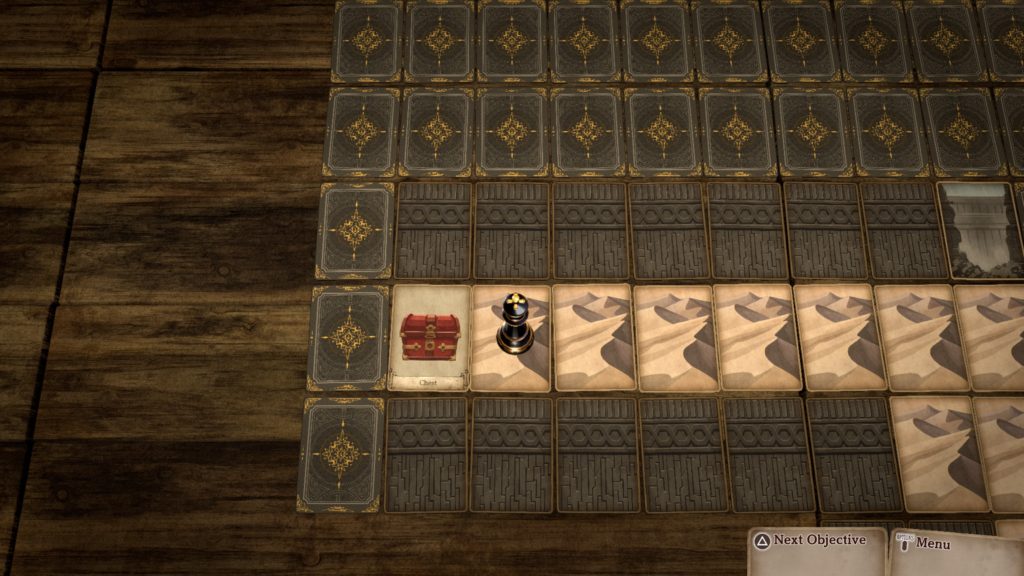
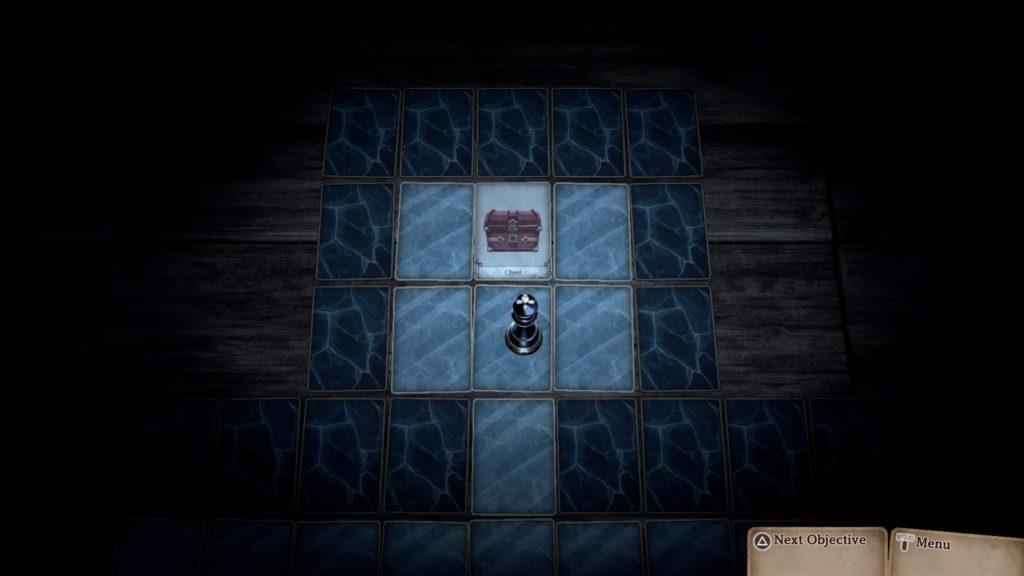
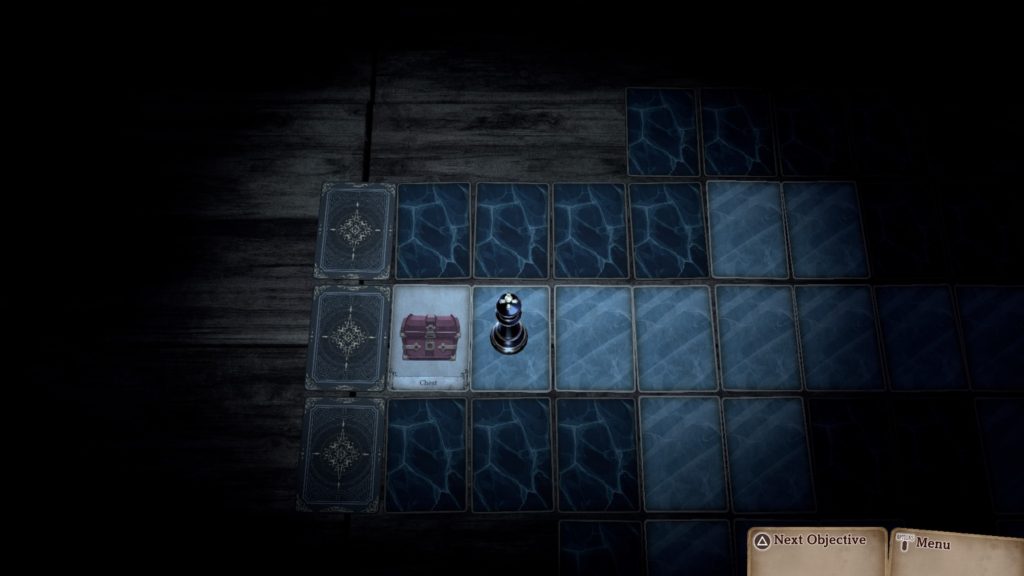
Head to the very northeastern corner to find a set of stairs leading to Endwall 45F. Take them then head directly south to find a chest containing Omnipanacea.
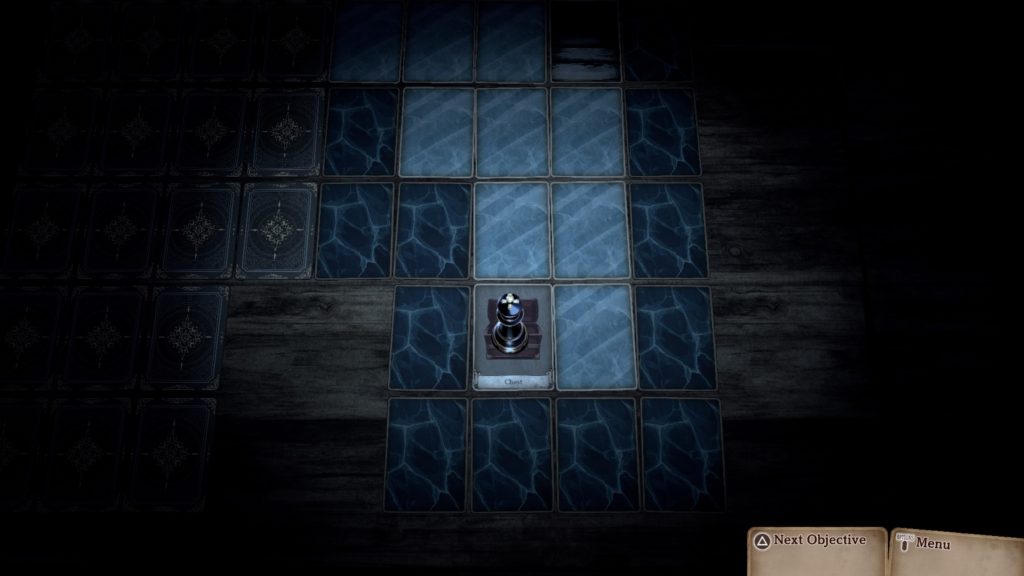
Afterwards, back track to the north then continue following the path to trigger a cutscene with a Fairy. After the cutscene concludes, a fight with two monsters will trigger. Defeat them then continue forward to reach the Endwall – Midpoint. Once at the Midpoint, follow the linear path up then enter Endwall 72F. Travel west to find a chest with a Bill of Godly Fortune inside.
In the center of the area, you’ll find a chest with a Soothstone.
Keep heading through the area until you trigger a cutscene with a Fairy warning you of the Frost Primal. When it concludes, you’ll be attacked by some monsters. Defeat them then continue heading forward and enter the Endwall – Upper Reaches. Avoid the snowballs as you make your way north to Endwall 99F. A chest on the northwestern side of this area contains a Ring of Sharpness.
When you’re ready, make your way to the southwest side to reach the stairs leading to Endwall – Top. Enter this area to trigger a cutscene. Select that “They’re both acting funny…” Afterwards, a fight will trigger. Defeat both of the enemies using only Al’e and L’gol. After you defeat them, head directly north to encounter the Frost Primal. It has 34 attack, 280 HP and 18 defense. It uses a move that restores it HP by 20 periodically so it was a LONG fight. Please note that it is weak to fire! Defeat it then head north to the glowing card to trigger a cutscene that finishes this chapter.
Click here for the next walkthrough for Chapter 6 in Voice of Cards: The Beasts of Burden!