Voice of Cards: The Beasts of Burden
Guides

Voice of Cards: The Beasts of Burden – Chapter 7 Walkthrough

by MrsChappie in


Below is a walkthrough for Chapter 7 in Voice of Cards: The Beasts of Burden.


Underground Passage

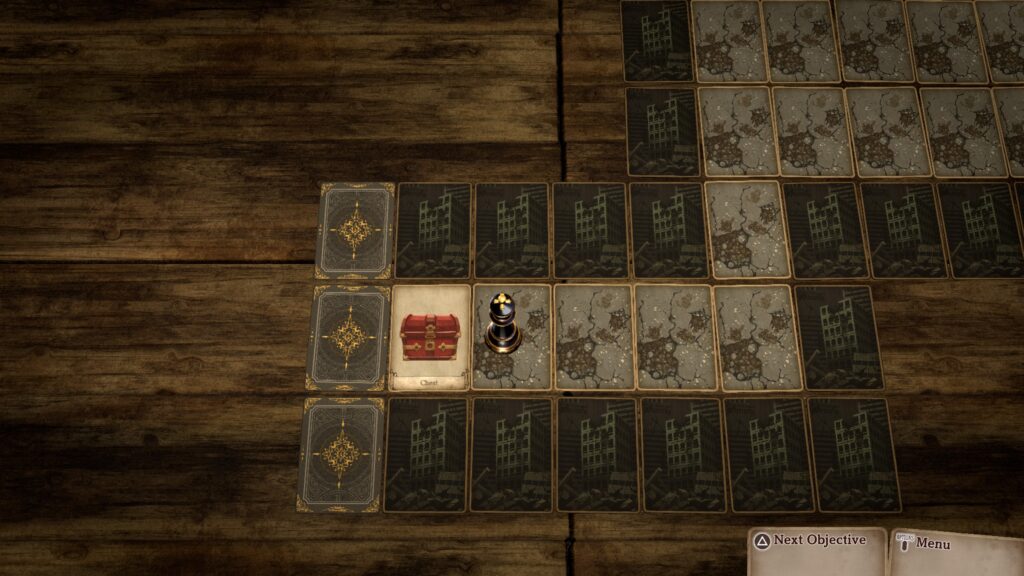
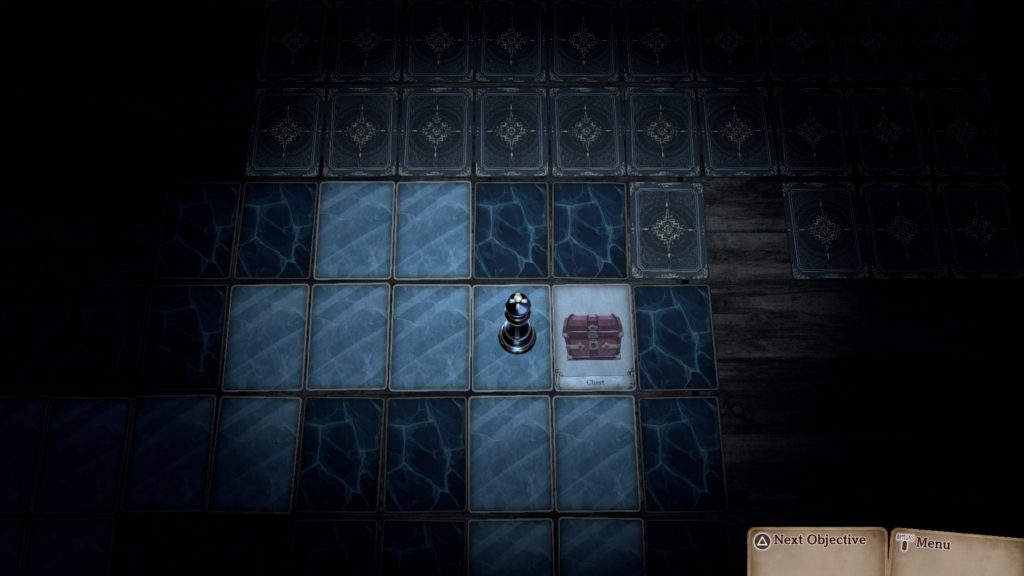
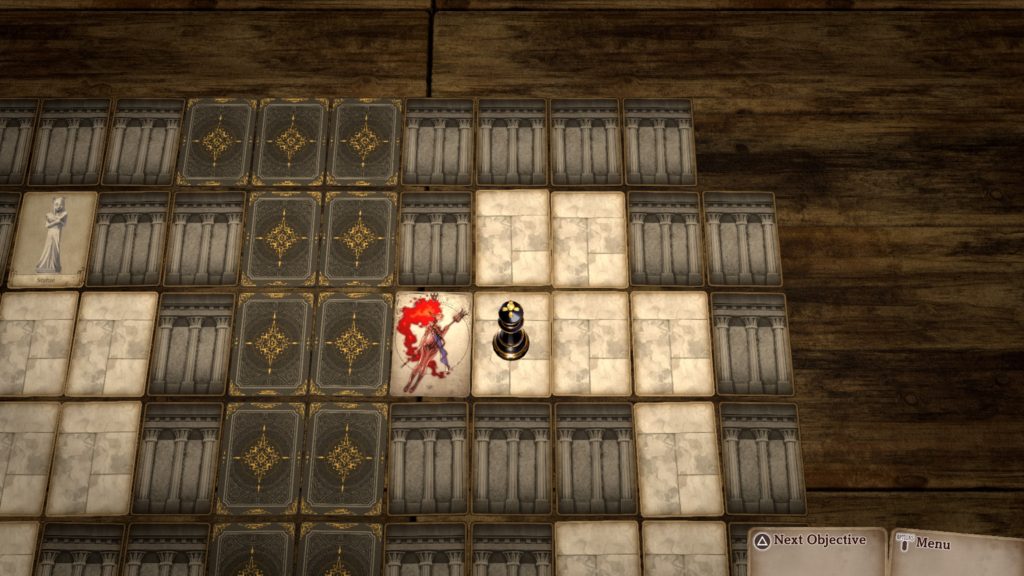
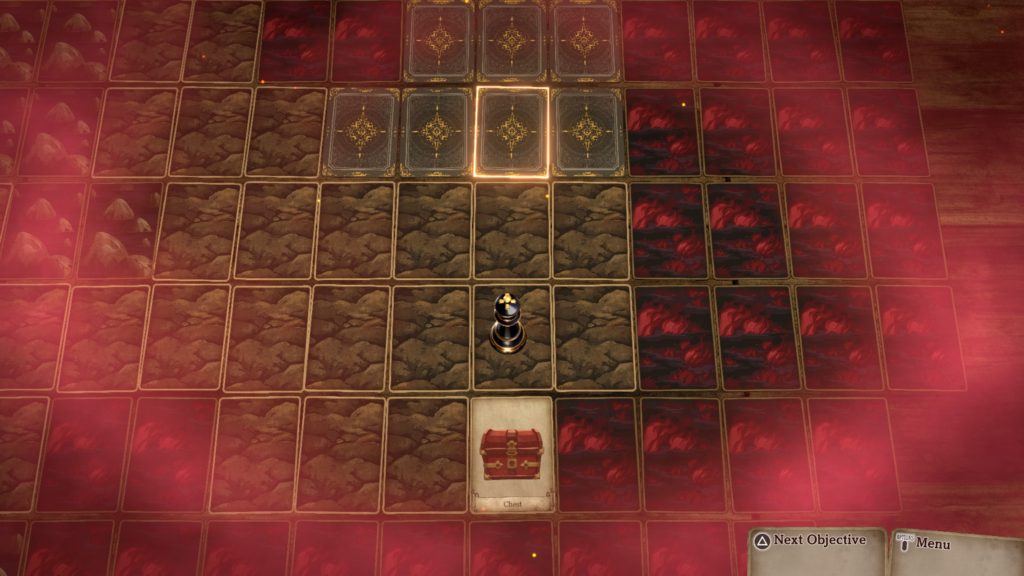
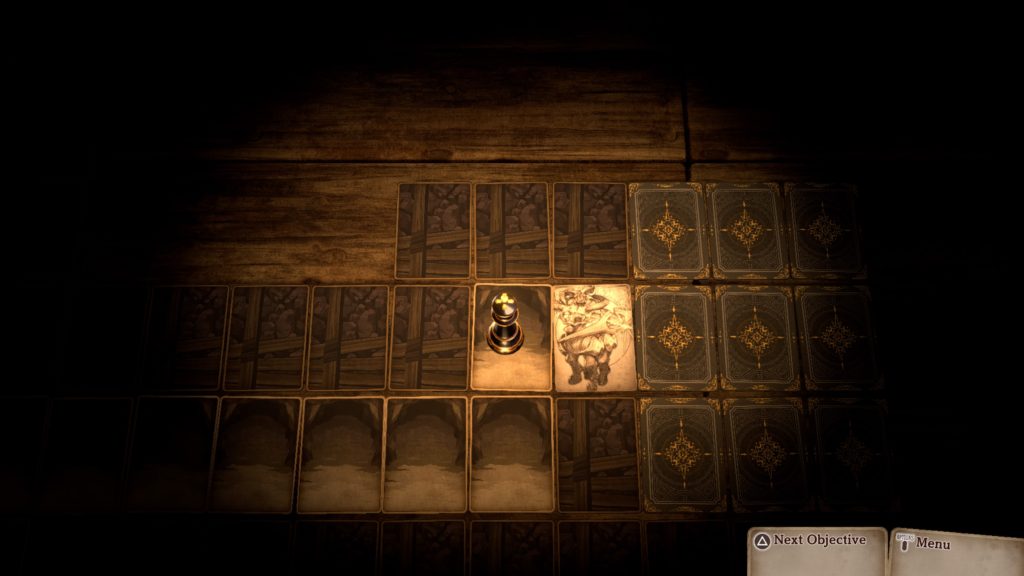
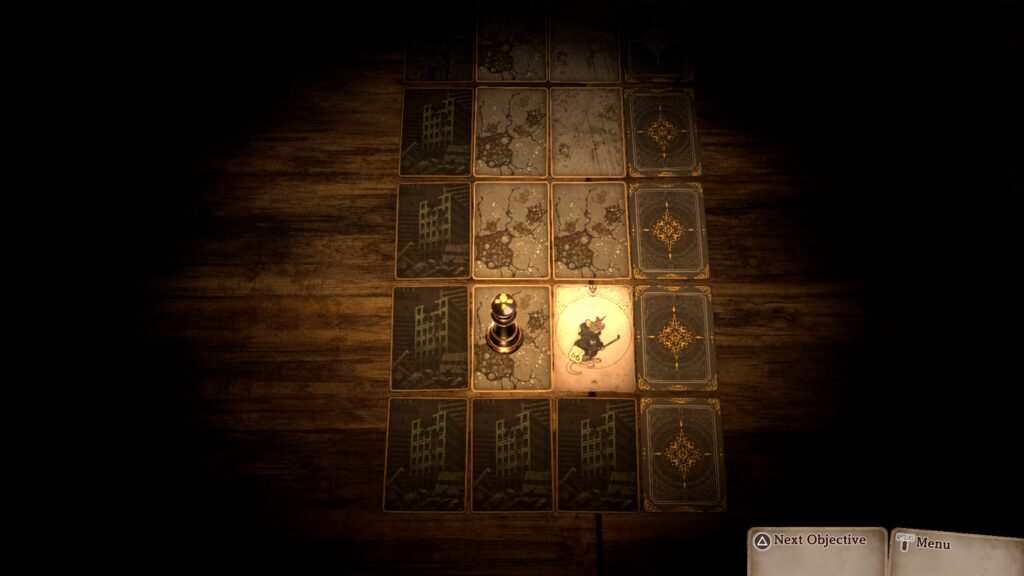
At the start of the chapter, head forward a short way to trigger a cutscene. When it concludes, continue forward to reach a set of stairs and take them to the Subsurface Ruins B2. Head forward a short way to trigger a fight against a monster. Defeat it. When prompted select “At the Endwall”. Explore the passage! Make sure to head to the very south to find a mouse monster. Interact with it to receive the Ring of Bravery!

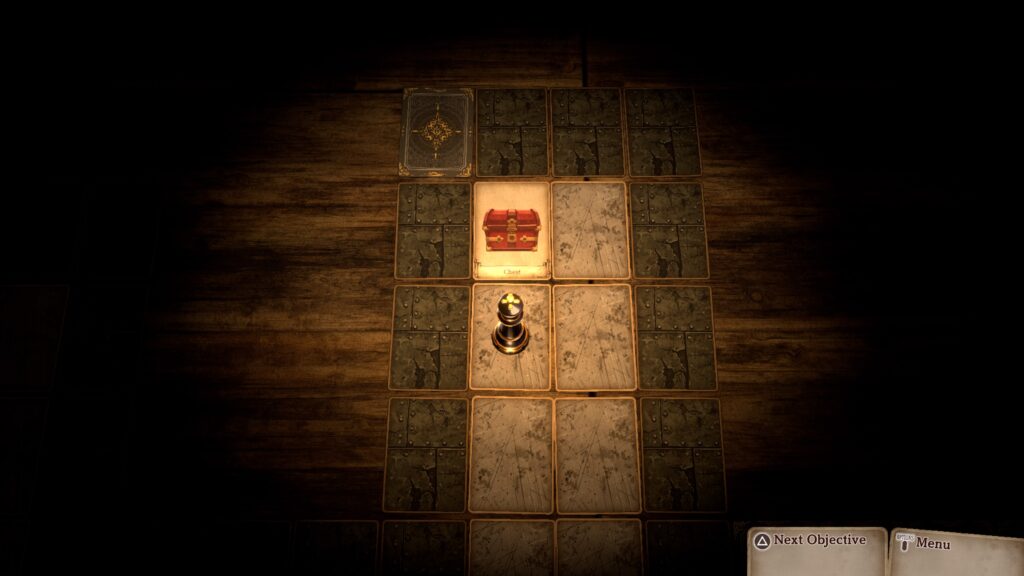
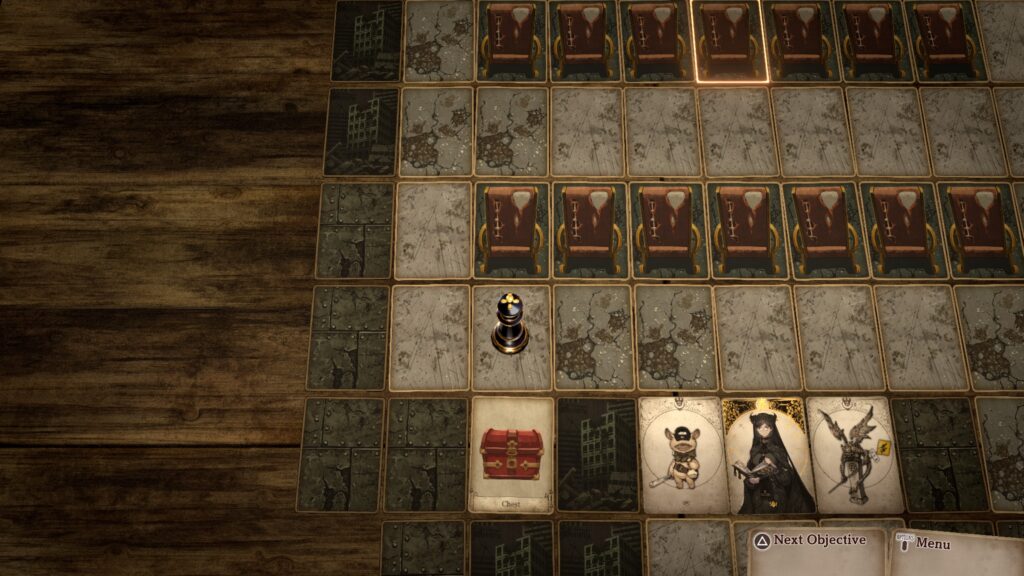
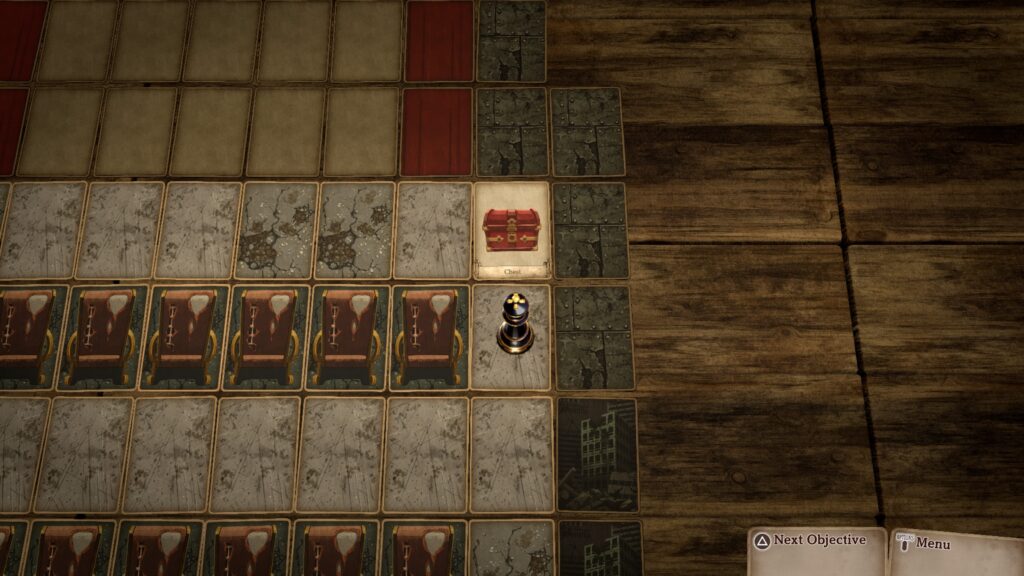
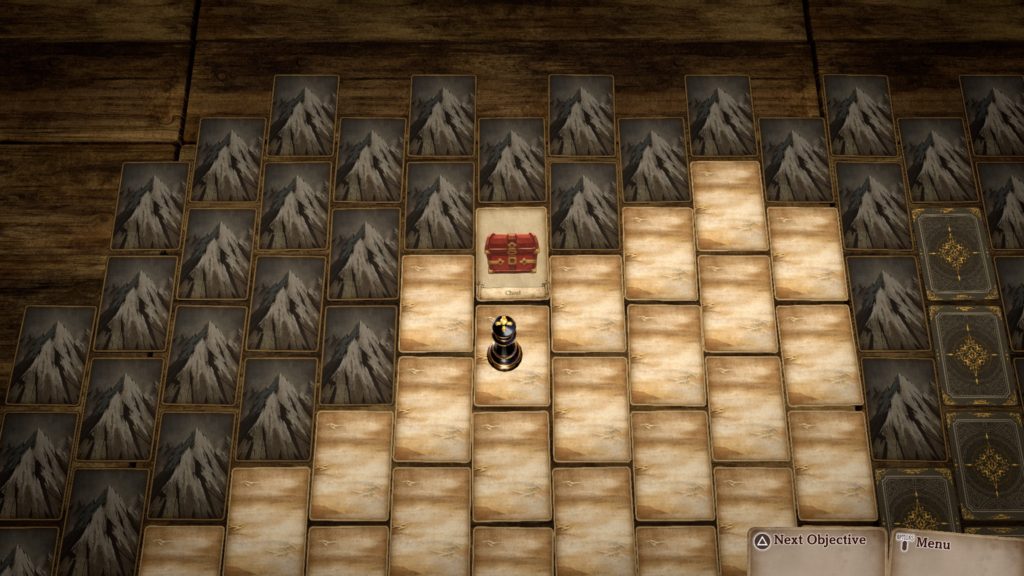
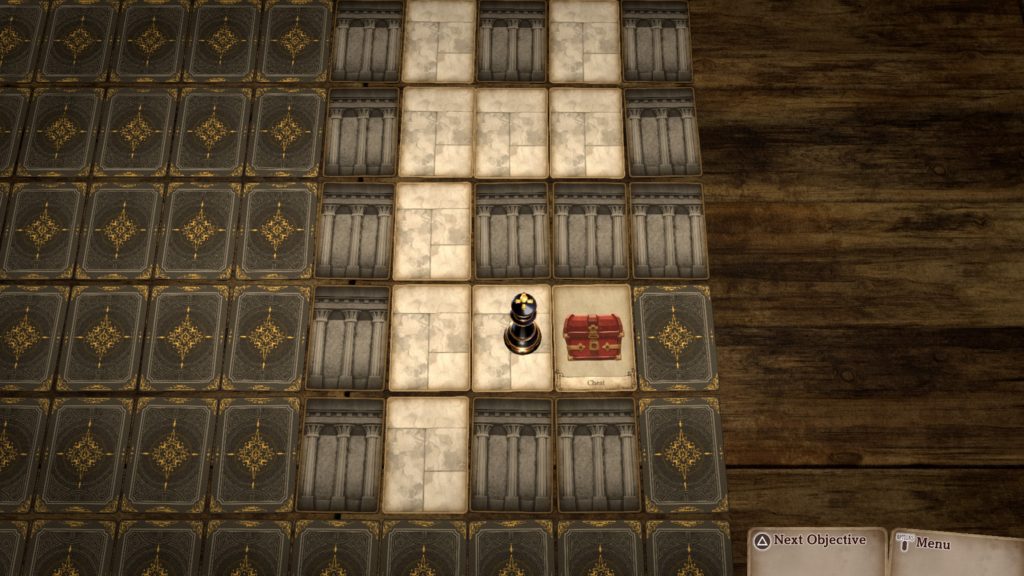
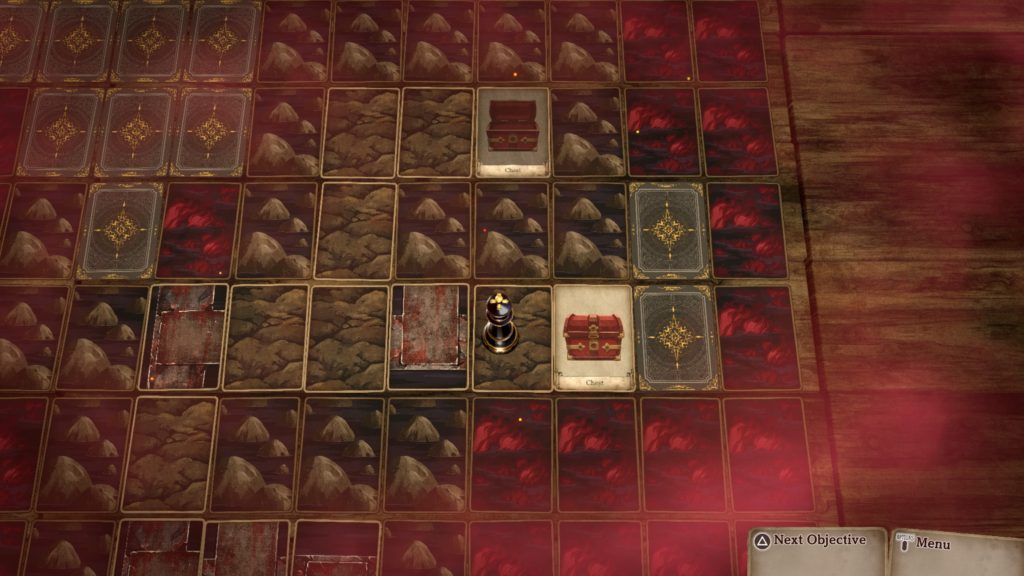
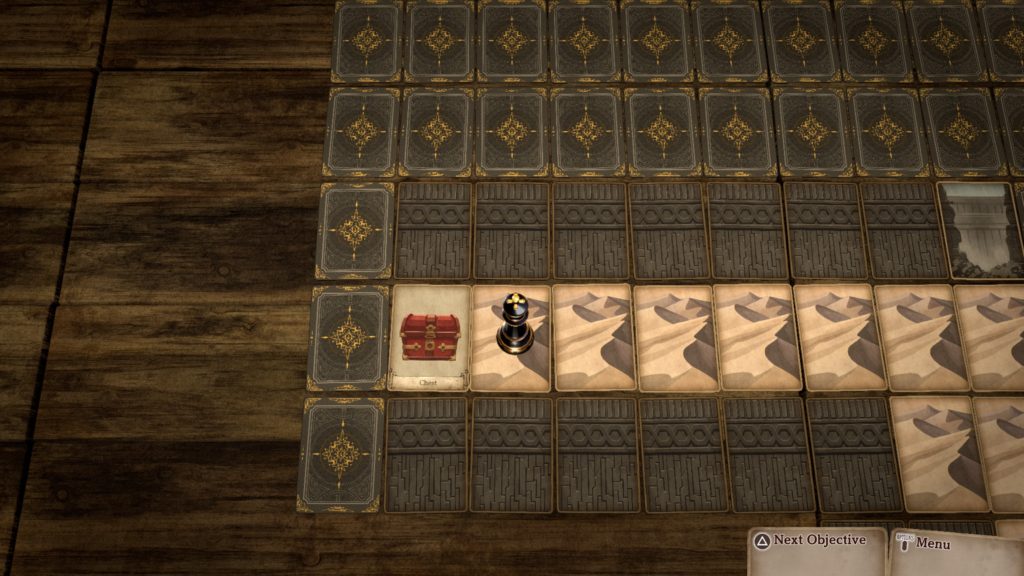
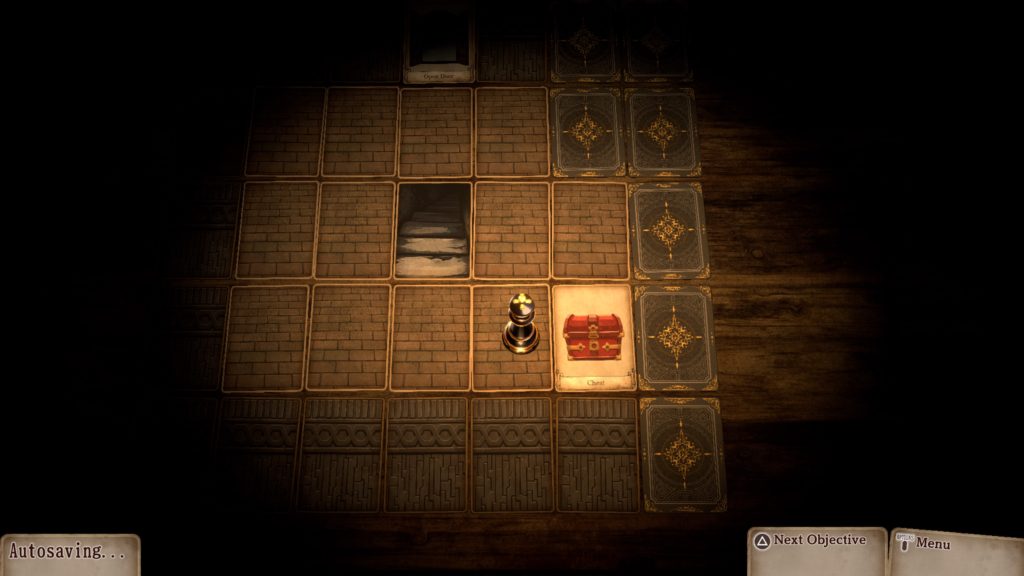
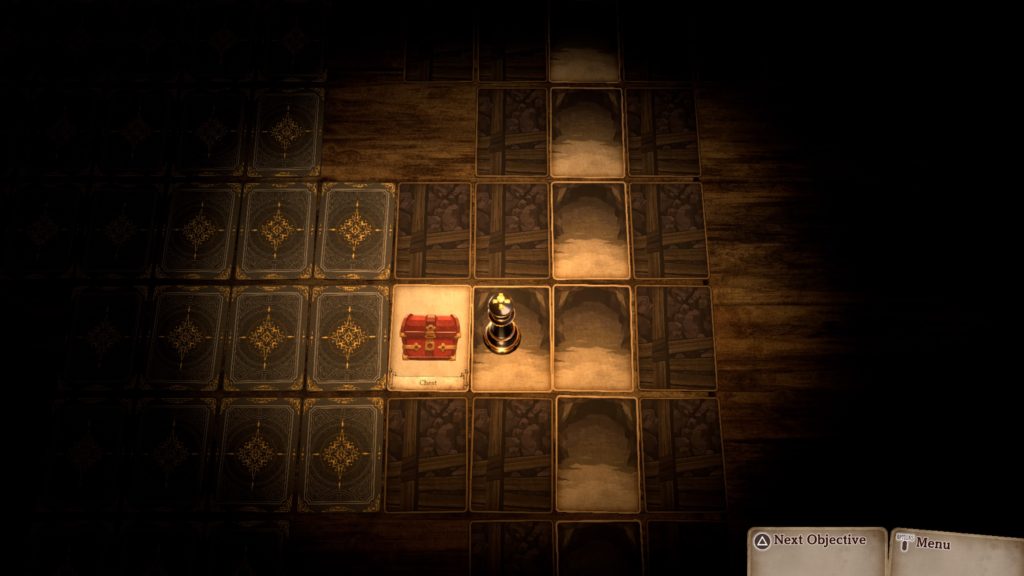
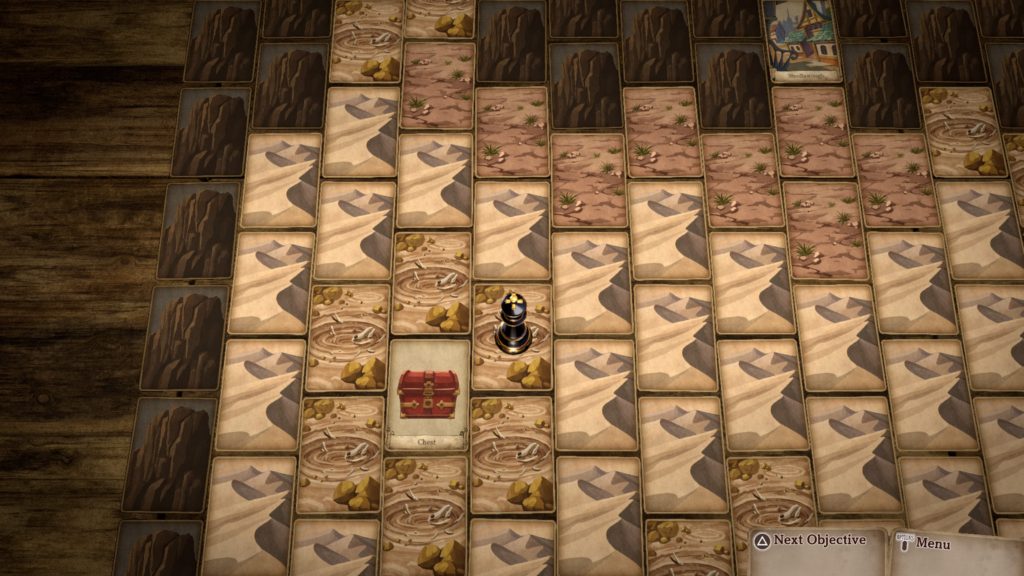
After collecting this ring, head to the far north and open the chest there to receive a Supreme Salve!

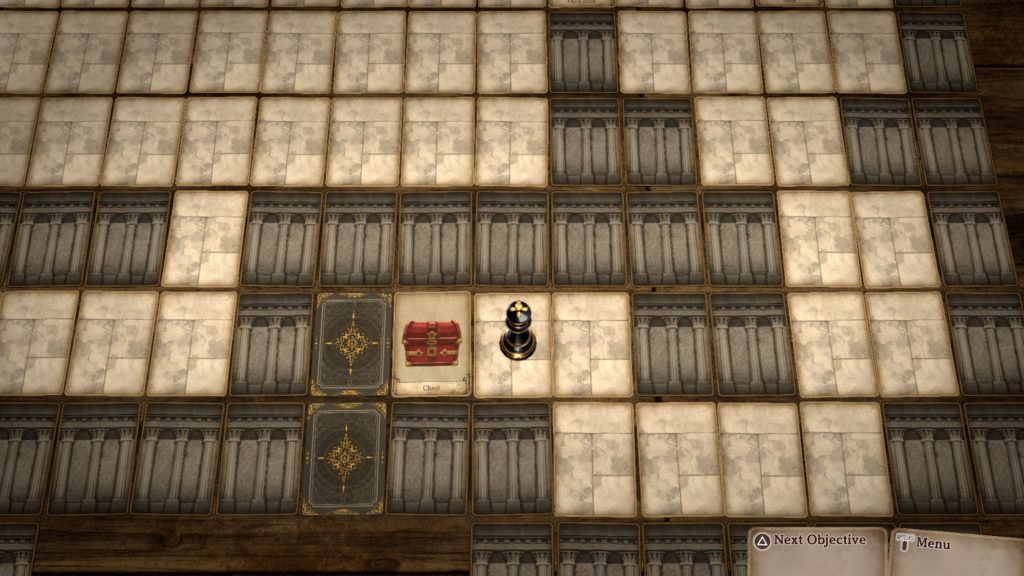
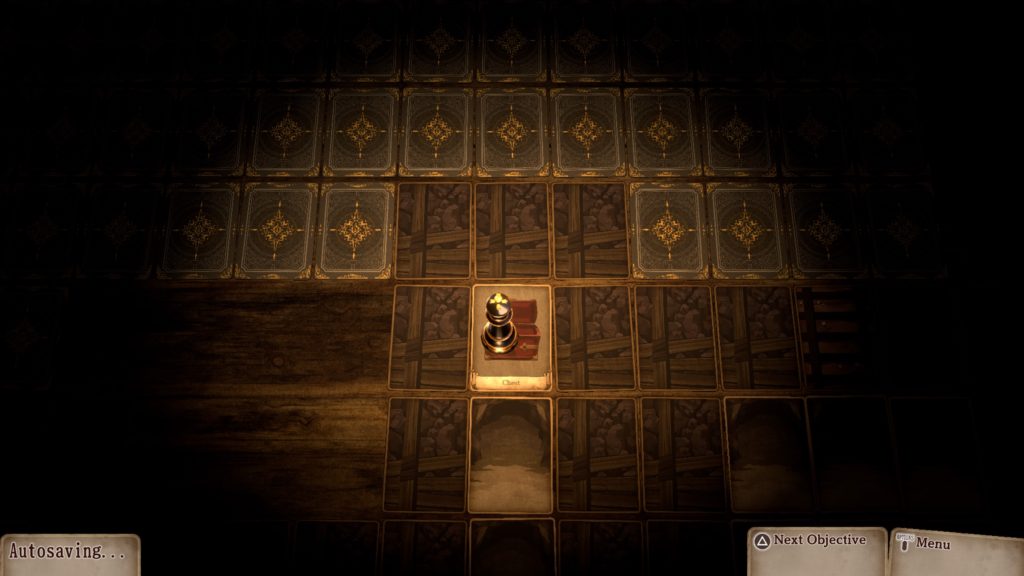
Make your way to the southeastern corner to find a set of stairs. Take them to reach Subsurface Ruins B3. Head east a short way to trigger a cutscene involving an Iron Figure. Defeat the creature with 35 attack, 120 health and 20 defense. Afterwards, head to the southeastern corner of the area to find a chest with the Godsguide!

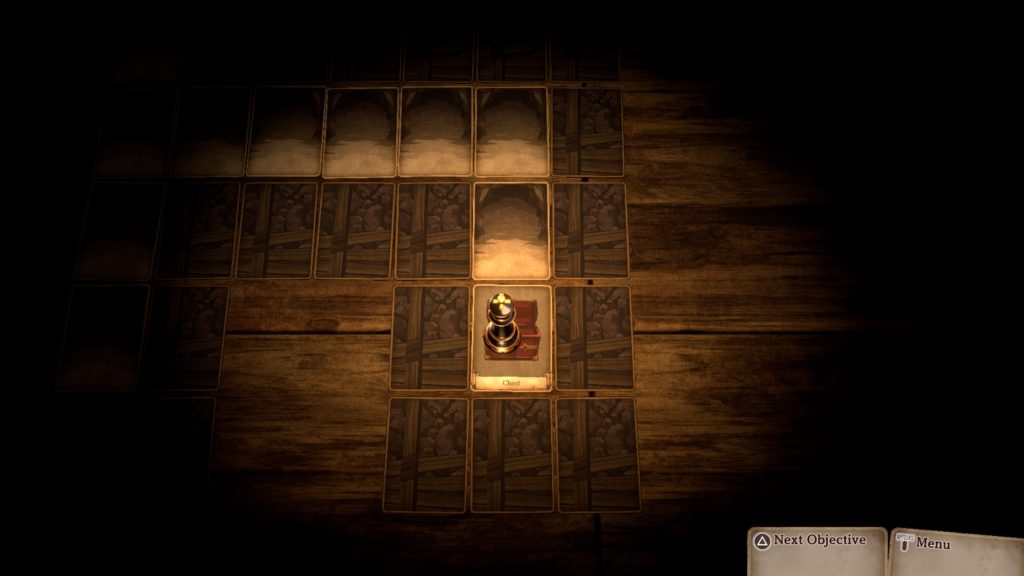
Next, make your way around the northeastern side to reach a keypad. Approach it to trigger a fight against 3 Voltwasp. Defeat them then return to the Iron Figure near the start of this level! Once you’ve spoken to it, interact with the nearby elevator. When the cutscene ends, head directly south and follow the path east to the southeastern corner of the area where you’ll find a chest containing the Shepherd’s Lament!

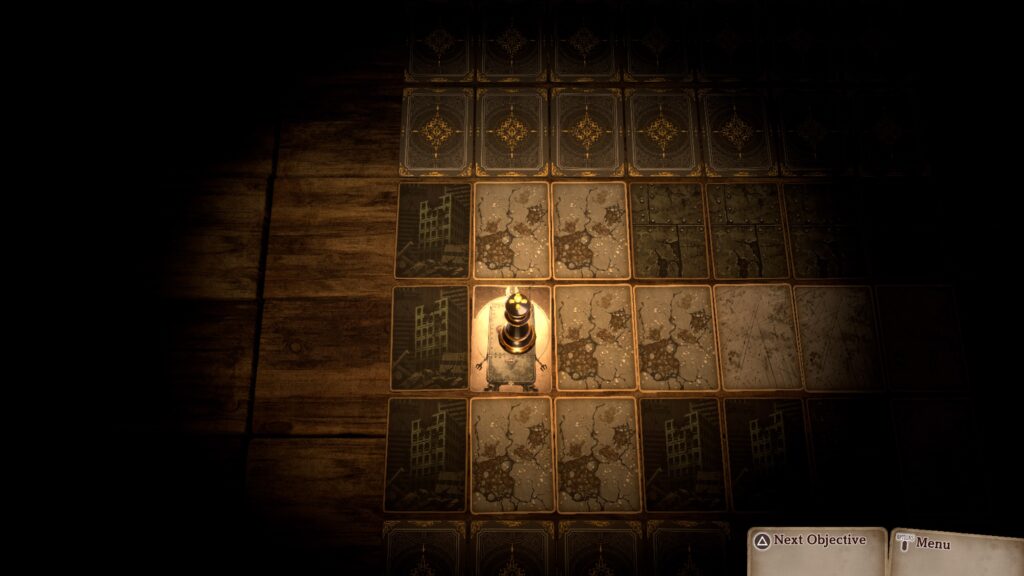
As you explore the area, you’ll find another robot on the far western side of the map.

This one will offer you Canned Goods. Choose to eat the contents to gain HP! From the robot, head north as there is nothing to its south. Work your way to the northeastern corner to find another elevator. Step inside to reach Subsurface Ruins B5. Head directly north to find a robot. As you approach it, a cutscene will trigger followed by a fight. Defeat the 3 monsters to trigger another cutscene. When it concludes, enter the elevator again to return to Subsurface Ruins B5. Interact with the monsters blocking the door to begin a battle with them. After you defeat them, enter through the door to reach Subsurface Ruins – Urbania. Once in this new area, follow the creatures north. When the path forks, head east to find a chest containing an Omnipanacea!

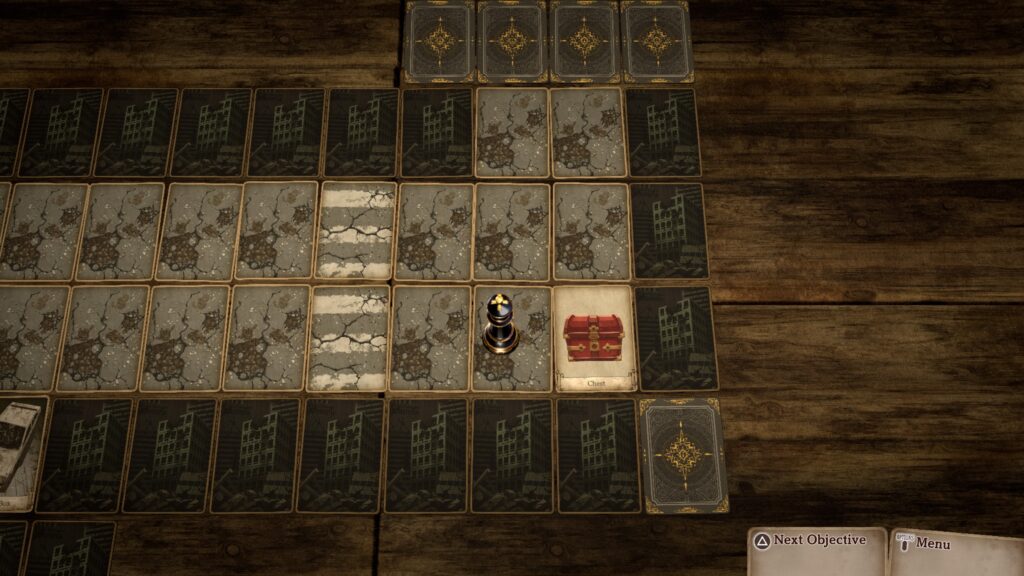
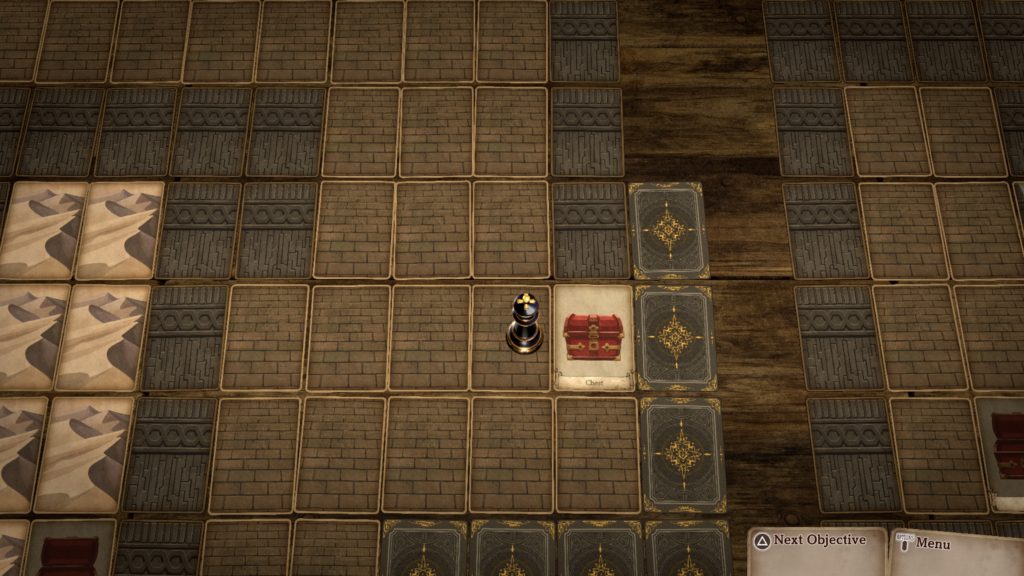
Head north then go past the TV. Once past the TV, make your way to the west to find a chest containing 3,000G!

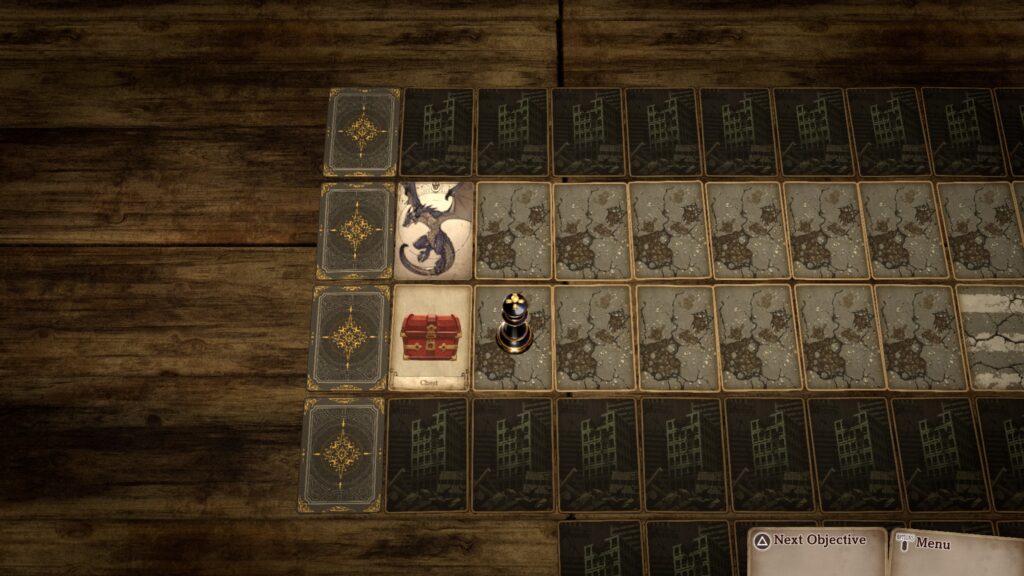
Continue following the path forward. You’ll head past another TV. Again, continue following the path. When you reach the far western side again you’ll come across another chest. This one will contain a Dark Honor!

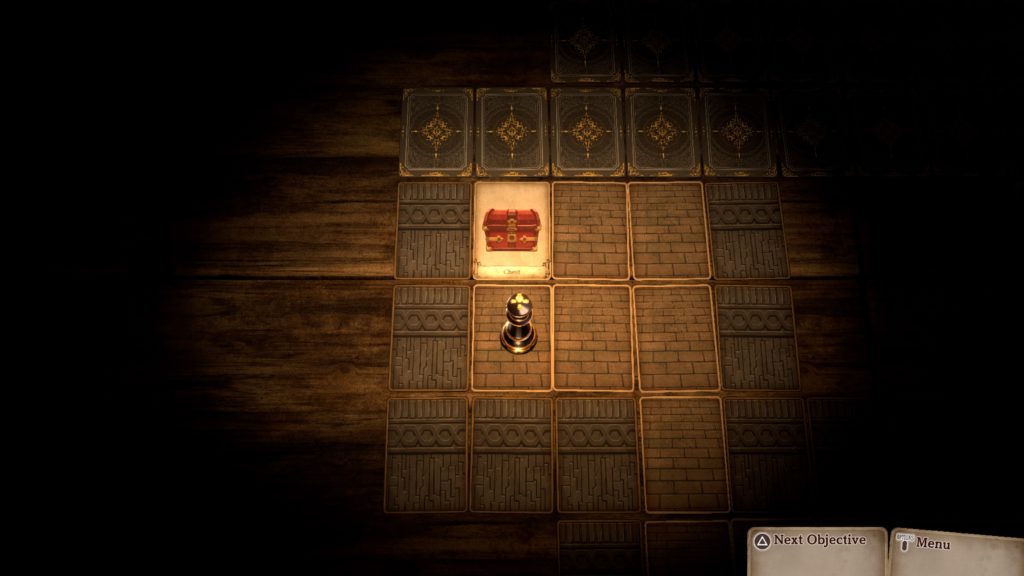
From this chest, continue heading north. When the path forks, take a left to find this chest containing a Large Soothstone!

Backtrack to the fork then continue east. At the next fork, take the northern path to find a chest containing a Supreme Inspirilixir!

Once you collect this chest, continue east to run across another TV. Follow the linear path to reach a door. Enter the door to reach Subsurface Ruins Cinema. Head forward as short ways and interact with the woman to trigger a cutscene. Before you take a seat, grab the two chests in this room. The southwestern one contains a Ring of Evasion.

The northeastern one contains a Flashpoint!

When you’re ready, take a seat. Defeat the three monsters using the unknown man. After you’ve defeated them, interact with the 3 villagers then make way for the Meeting Place in the north. After the revelation, speak with Mizar then speak with her 2 monsters. Once you’ve done that, speak with Mizar again then pursue her. Before you speak with your friends, make sure to have your party set up accordingly. For the next fight, you’ll only be able to use Tralis and Al’e. In addition, Al’e will not be able to use her monsters. When you’re ready, speak with all of your friends then the fight with the 2 monsters. The Proto-Yeti has 34 attack, 64 health and 17 defense. The Proto-Gargoyle has 37 attack, 40 health and 26 defense. After dealing some damage, the fight will stop and you’ll have to pursue Mizar again. Head west to find the Roving Market!!


Roving Market

Before spending any money here, there is a way to get your items 10% off. If you wish to do this, please see the below section entitled CLEANUP!


Shops

  • Armorer
    • Steel Blades
    • Mercenary’s Blades
    • Hawksblade
    • Mercenary’s Sword
    • Mistralblade
    • Evilsbane
    • Magic Staff
    • Thunderstaff
    • Sage’s Staff
    • Tamer’s Whip
    • Femme Fatale’s Whip
    • Dragontwist Whip
    • Knight’s Armor
    • Frostmail
    • Darkmail
    • Steel Breastplate
    • Knight’s Chainmail
    • Warrior’s Mail
    • Adventurer’s Attire
    • Martialist’s Garb
    • Spangle Dancewear
    • Firestay Ring
    • Waterstay Ring
    • Lightningstay Ring
    • Windstay Ring
    • Lightstay Ring
    • Darkstay Ring
    • Poisonstay Ring
    • Numbstay Ring
    • Freezestay Ring
    • Bindstay Ring
    • Cursestay Ring
    • Ring of Life
    • Ring of Compassion
    • Ring of Evasion
    • Gemstone Ring
  • Item Shop
    • Salve
    • Quality Salve
    • Supreme Salve
    • Omnisalve
    • Quality Omnisalve
    • Antidote
    • Curative
    • Defroster
    • Unsealer
    • Dispeller
    • Pepper-Upper
    • Serum
    • Panacea
    • Omnipanacea
    • Inspirilixir
    • Bomb
    • Invigorant
    • Protectorant
    • Soothstone
    • Oil Pot
    • Corrosive
    • Destruct-o-Box
    • Zapsmoke
    • Smoke Bomb
    • Bellwether
    • Bill of Good Fortune
    • Bill of Godly Fortune
  • Pet Shop
    • Wraith
    • Slime
    • Iron Tortoise
    • Lesser Troll
    • Orc Child
    • Centaur
    • Wererat
    • Ogre
    • Red Fungo
    • Skull Soldier
    • Dryad
    • Voltwasp
    • Gargoyle
    • Venomslime
    • Magma Tortoise
    • Salamander
    • Death Crawler
    • Ice Tortoise
    • Snowy Treant
    • Lost Soul
    • Ghost
    • Devilwasp
    • Orc Wildling
    • Wyvern
    • Darktoad
    • Undine
    • Gold Fungo
    • Aquarock
    • Fearock


When you’re done shopping, exit the market.


CLEANUP

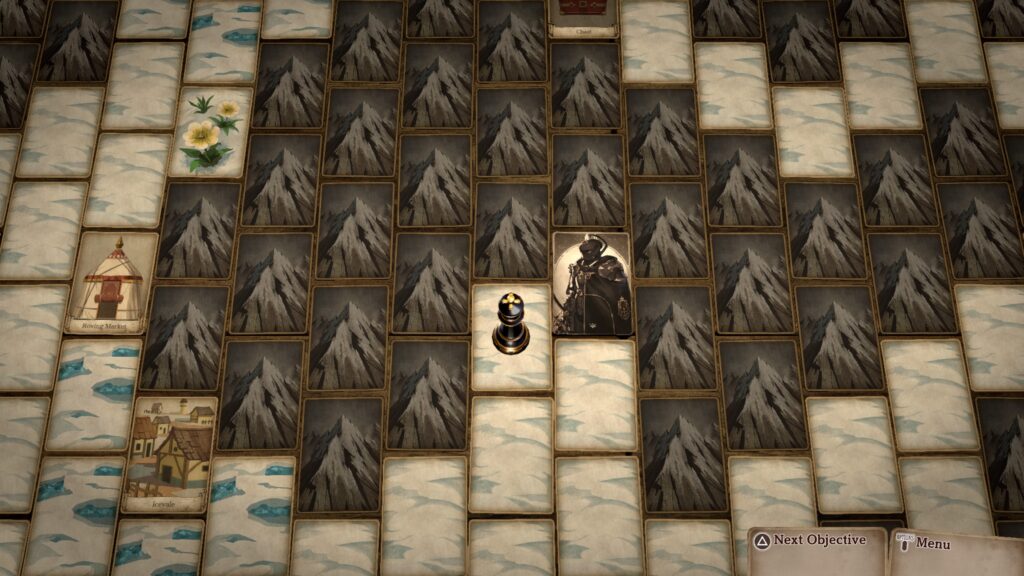
To any trophy hunters out there, this is the clean up point. Do not interact with the elevator doors as that is the point of no return. Instead, exit this area via jumping to the point in the southeastern corner of the area. Select that you want to leave. From there, use a Bellwether to exit the dungeon. Once out of the dungeon, exit Monster Town and travel to the Roving Market a short way to the west. Speak with the Wandering Merchant to trigger an event. You’ll then be able to show him a Seastone of any rank to receive a Ring of Omnipotence and the Legendary Monster Tamer Certificate. The Antique Collector trophy will pop and you’ll receive 10% off at the Roving Market. If you speak with the Wandering Merchant again, it will trigger an event where he’ll show you the regions that each monster inhabits. Next travel to the Black Knight near Icevale in the Snowfield to trigger an event.

Fight him! He has 45 attack, 200 health and 20 defense. After you defeat him, you’ll receive Wild God’s Breastplate and the Dark Warrior trophy will trigger!


FINAL BATTLE

When you’re ready to begin your final battle, interact with the elevator doors west of the Roving Market in the Underground Passage. Once the cutscene concludes, defeat the 2 waves of monsters then approach Mizar to begin the final fight. She has 42 attack, 300 health and 25 defense. When we got her health down to 50, a cutscene triggered. Approach her again to find more monsters standing in your way. Defeat the 4 monsters. Next up you’ll face the primals. Therefore, if they were in your skill set you’ll need to readjust it! Once you’re ready, interact with the primal cards to start the fight!

Defeat them then you’ll have to face off against the transformed Mizar.

You’ll need to take care of the two outer cards as the middle card has a barrier until the others have been destroyed. The middle card is resistant to ice attacks. Defeat her then approach her card to listen to her final moments. You thought the game was over! Ha! Steelborough townsfolk are next up to bat. Defeat the 4 villagers to trigger another cutscene. When you retain control, speak with your party members then step on the glowing card to the east to continue on. Approach the monster to trigger a cutscene. Congratulations! You beat the game!


Post Game

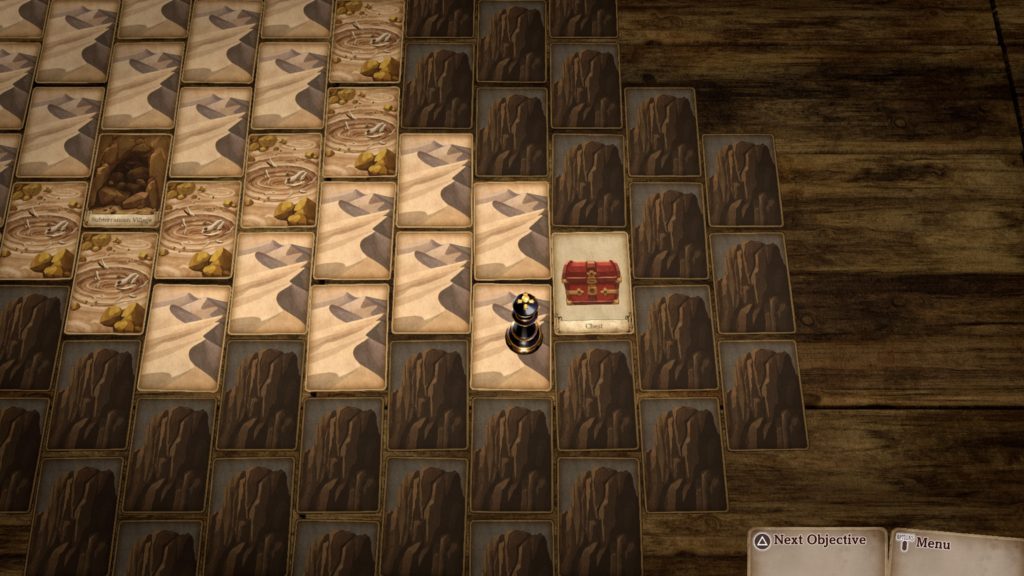
Exit the Underground Passage to trigger a cutscene when you reach Monster Town. Exit Monster Town as well then make way for the southern map transition. Select “Desert” then travel to the Subterranean Village. Once in the village, head to your old house on the western side. This will reveal a staircase. Take the stairs then venture into The Depths! Head directly north then interact with a monster to trigger a cutscene followed by a fight. This monster has 42 attack, 300 health and 22 defense. Defeat the Forebearer to begin round 2. This time you’ll be against 4 of them with the following stats:

  • Dark
    • 45 attack
    • 340 health
    • 20 defense
  • Lightning
    • 42 attack
    • 350 health
    • 19 defense
  • Ice
    • 40 attack
    • 325 health
    • 18 defense
  • Light
    • 39 attack
    • 380 health
    • 23 defense

Pay attention to which cards have the barrier. You will not be able to attack those cards even though they can attack you, and they do switch during the battle. Good luck in defeating all the enemies!


Voice of Cards: The Beasts of Burden
Guides

Voice of Cards: The Beasts of Burden – Chapter 6 Walkthrough

by MrsChappie in


Below is a walkthrough for Chapter 6 in Voice of Cards: The Beasts of Burden.


Newterra

Once in Newterra, head east until a cutscene triggers. When asked who’s opinion will you ask, select Pulche. He noticed a village to the northeast and you’ll all agree to head for it. Make your way directly to Silent Village as there are no chests along the way.


Silent Village

Once in the village, investigate the following:

  • Claw-Marked Ruin
  • Weapon Shop Ruin
  • Inn Ruin
  • Eerie Ruin
  • Apothecary Ruin
    • You’ll receive a Supreme Salve!
  • Sturdy Building


During the cutscene, arrange the three scraps of paper in order to receive the Newterra Map.

The cutscene will immediately lead into a fight. Defeat the creature that has 30 attack, 150 HP and 15 defense. Afterwards, you’ll have to make a choice of fighting through the unknown creatures or the Steelborough soldiers. Make your choice as it doesn’t matter. You’ll be fighting the creatures either way! Interact with the monster card to your right. Instead of fighting the monsters, you’ll be up against the two soldiers. They both have 26 attack, 80 HP and 12 defense. Defeat them then leave the village!


Newterra

Upon leaving the village, you’ll need to consult with your friends about what to do next. Select to ask Pulche. Afterwards, explore the area to find the below! When you’re ready to press forward, head to the northeastern corner of the area to find Monster Town. Upon getting near the town a cutscene will trigger. Choose to flee then select Fairy Dust.


Chests

  • 2000G
    • East of Silent Village

  • Ring of Perseverance
    • Southwestern corner of area

  • Supreme Salve
    • Northwestern corner of area

  • 2500G
    • Northern part of area


Events

  • Bloodied Doll

    • Find the owner
      • Keep it! See event below under the Silent Village section!!
    • Pretend you never saw it
  • Monster through telescope (Magemoth)
    • Attack!
    • Sneak up on it
      • Monster runs off
    • Ignore it


Roving Market

Speak with the Wandering Merchant! He will want an Ice Tortoise with 3 stars or above. The Ice Tortoise can be found in Snowfield and Newterra. As a reward, you’ll receive an Omnipanacea and the Seasoned Monster Tamer Certificate! This will pop the Seasoned Tamer trophy!


Speak with the Wandering Merchant again. This time he will want a Tailtoad with at least 3 stars. Tailtoads can be found in Endwall. As a reward, you’ll receive a Cursestay Ring and the Expert Monster Tamer Certificate! This will pop the Expert Tamer trophy!


Speak with the Wandering Merchant yet again. This time he will want a Magemoth with at least 3 stars. Magemoths can be found in Newterra. As a reward, you’ll receive a Supreme Inspirilixir and the Master Monster Tamer Certificate! This will pop the Master Tamer trophy!


For his last, most difficult request, speak with the Wandering Merchant to learn that he wants you to bring him a Seastone of any star ranking, which can be found in the Underground Passage.

As you do not have access to this creature yet, you’ll have to wait on this request. You can also visit the shops here to find the following:

  • Armorer
    • Steel Blades
    • Mercenary’s Blades
    • Hawksblade
    • Mercenary’s Sword
    • Mistralblade
    • Magic Staff
    • Thunderstaff
    • Sage’s Staff
    • Tamer’s Whip
    • Femme Fatale’s Whip
    • Knight’s Armor
    • Frostmail
    • Steel Breastplate
    • Knight’s Chainmail
    • Warrior’s Mail
    • Adventurer’s Attire
    • Martialist’s Garb
    • Firestay Ring
    • Waterstay Ring
    • Lightningstay Ring
    • Windstay Ring
    • Lightstay Ring
    • Darkstay Ring
    • Poisonstay Ring
    • Numbstay Ring
    • Freezestay Ring
    • Bindstay Ring
    • Cursestay Ring
    • Ring of Life
    • Ring of Compassion
  • Item Shop
    • Salve
    • Quality Salve
    • Omnisalve
    • Quality Omnisalve
    • Antidote
    • Curative
    • Defroster
    • Unsealer
    • Dispeller
    • Pepper-Upper
    • Serum
    • Panacea
    • Inspirilixir
    • Bomb
    • Invigorant
    • Protectorant
    • Soothstone
    • Oil Pot
    • Corrosive
    • Destruct-o-Box
    • Zapsmoke
    • Smoke Bomb
    • Bellwether
    • Bill of Good Fortune
  • Pet Shop
    • Slime
    • Iron Tortoise
    • Lesser Troll
    • Orc Child
    • Centaur
    • Wererat
    • Ogre
    • Red Fungo
    • Skull Soldier
    • Dryad
    • Voltwasp
    • Gargoyle
    • Venomslime
    • Magma Tortoise
    • Salamander
    • Death Crawler
    • Ice Tortoise
    • Snowy Treant
    • Lost Soul
    • Ghost
    • Devilwasp
    • Orc Wildling
    • Wyvern
    • Darktoad
    • Undine

Snowfield

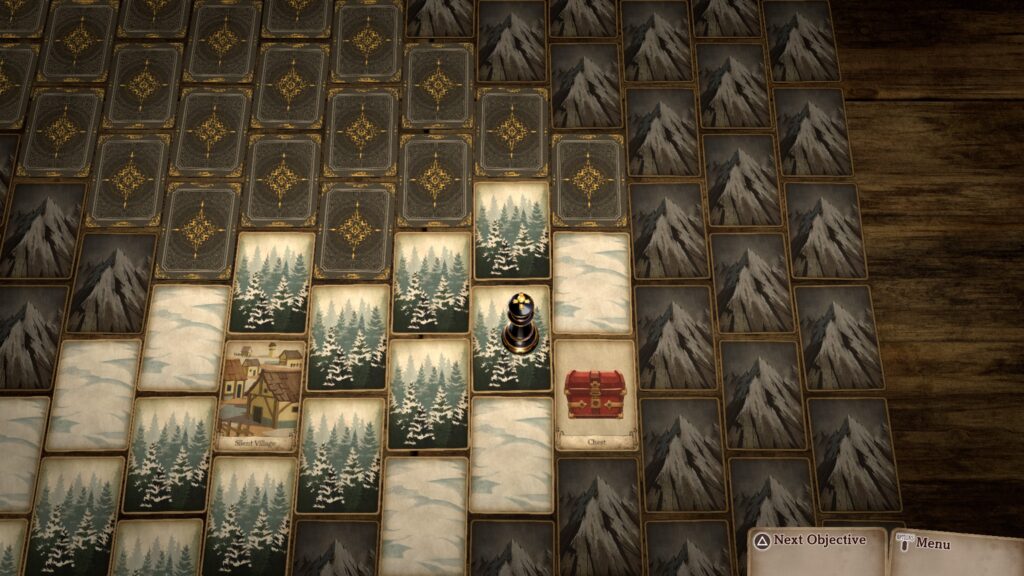
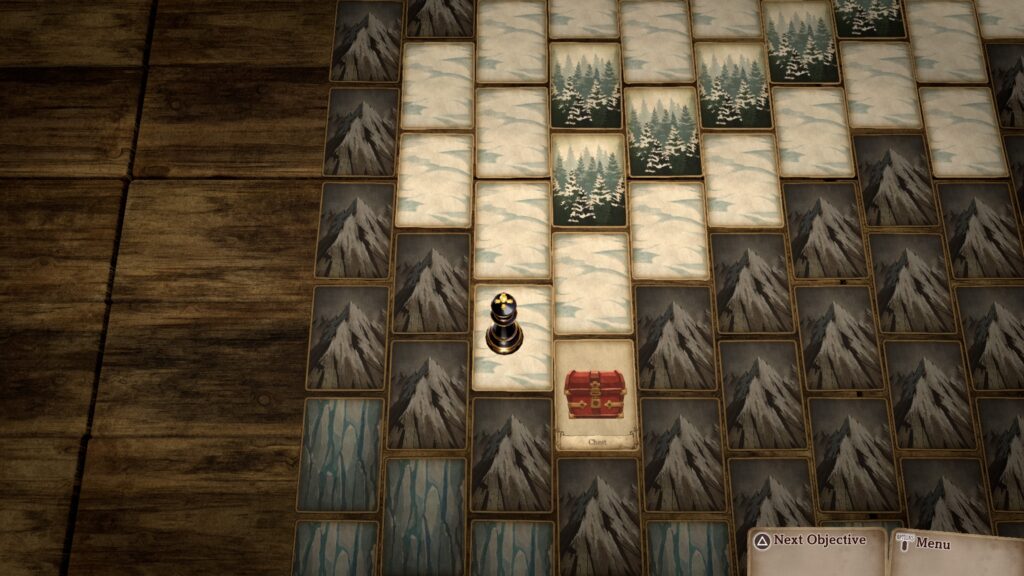
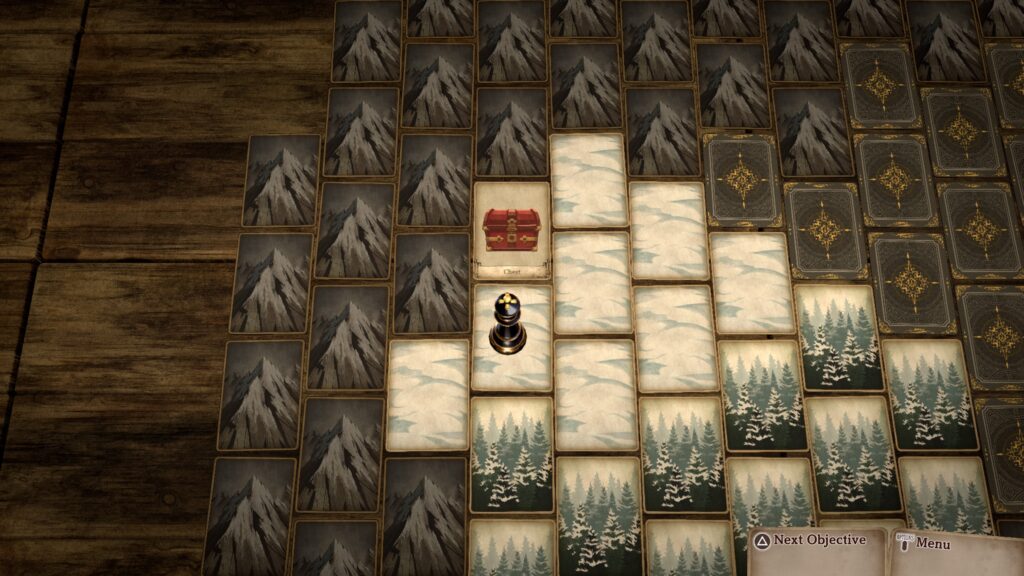
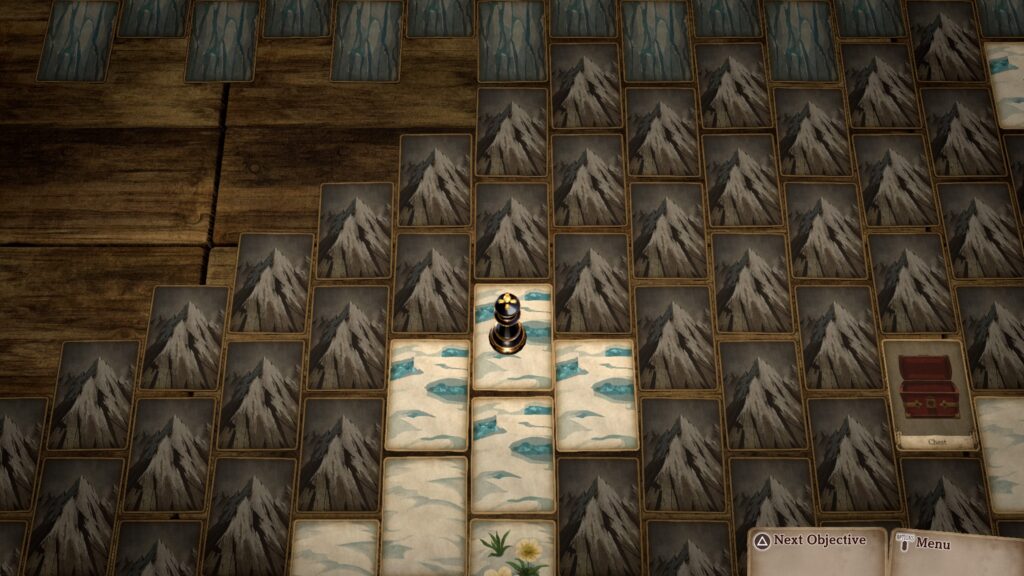
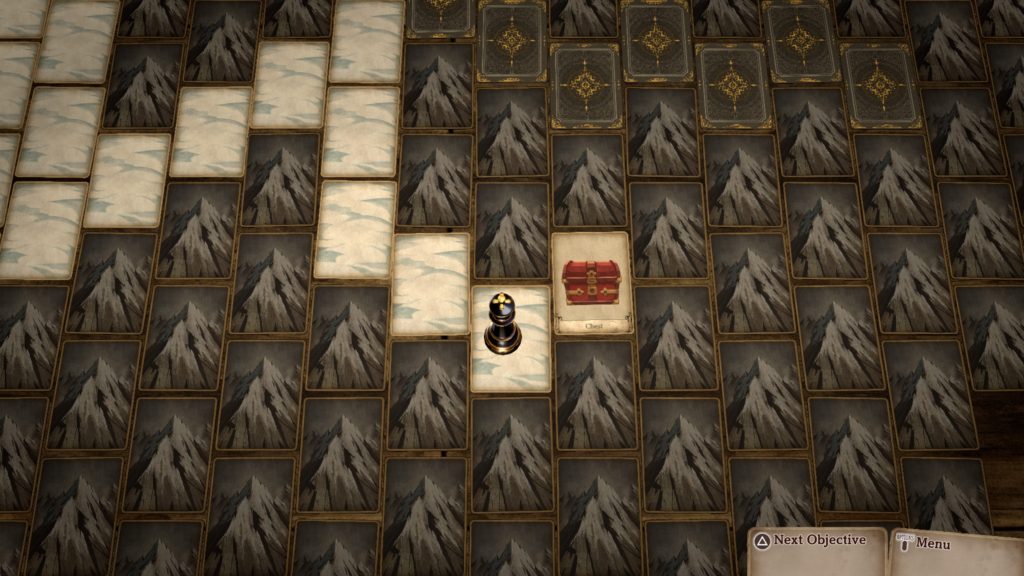
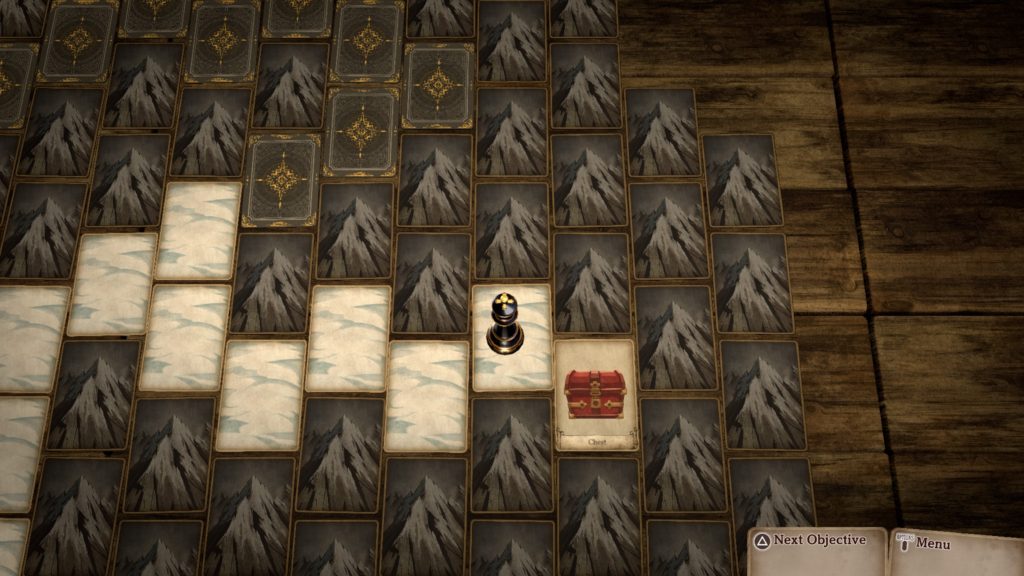
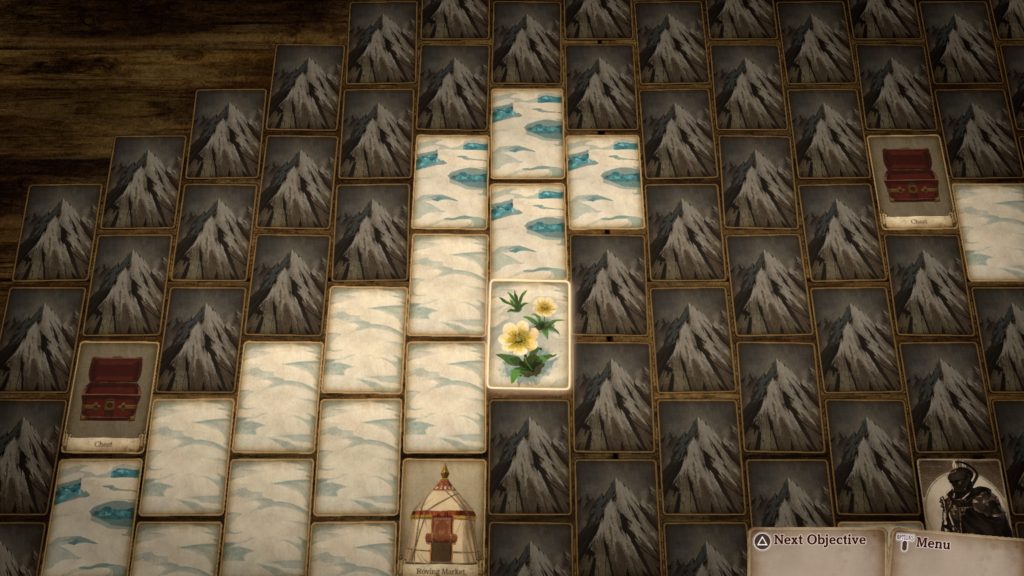
While you’re out exploring for the Wandering Merchant’s event monsters, make your way to Snowfield. In Chapter 5, you should have received a treasure map in Endwall. Click here for the Chapter 5 walkthrough on where to find it! Make your way to the icy cards north of the flower card to find a chest containing the Stardust Raiment!


Monster Town

After entering the town, you’ll be given the opportunity to explore it to find the below! For story progression, interact with the Pet Shop. You’ll then be tasked with finding a plate in the Silent Village.


Characters

  • Wolf Villager
    • We chose to throw a Bill of Fortune and were given a Supreme Inspirilixir.
  • Mayor’s Residence
    • You’ll receive a Thunderstaff!


Shops

  • Armorer
    • Hawksblade
    • Evilsbane
    • Sage’s Staff
    • Dragontwist Whip
    • Darkmail
    • Warrior’s Mail
    • Spangle Dancewear
    • Firestay Ring
    • Waterstay Ring
    • Lightningstay Ring
    • Windstay Ring
    • Lightstay Ring
    • Darkstay Ring
    • Poisonstay Ring
    • Numbstay Ring
    • Freezestay Ring
    • Bindstay Ring
    • Cursestay Ring
    • Ring of Life
    • Ring of Compassion
    • Ring of Evasion
    • Gemstone Ring
  • Item Shop
    • Salve
    • Quality Salve
    • Supreme Salve
    • Omnisalve
    • Quality Omnisalve
    • Antidote
    • Curative
    • Defroster
    • Unsealer
    • Dispeller
    • Pepper-Upper
    • Serum
    • Panacea
    • Omnipanacea
    • Inspirilixir
    • Bomb
    • Invigorant
    • Protectorant
    • Soothstone
    • Oil Pot
    • Corrosive
    • Destruct-o-Box
    • Zapsmoke
    • Smoke Bomb
    • Bellwether
    • Bill of Good Fortune
    • Bill of Godly Fortune


Silent Village

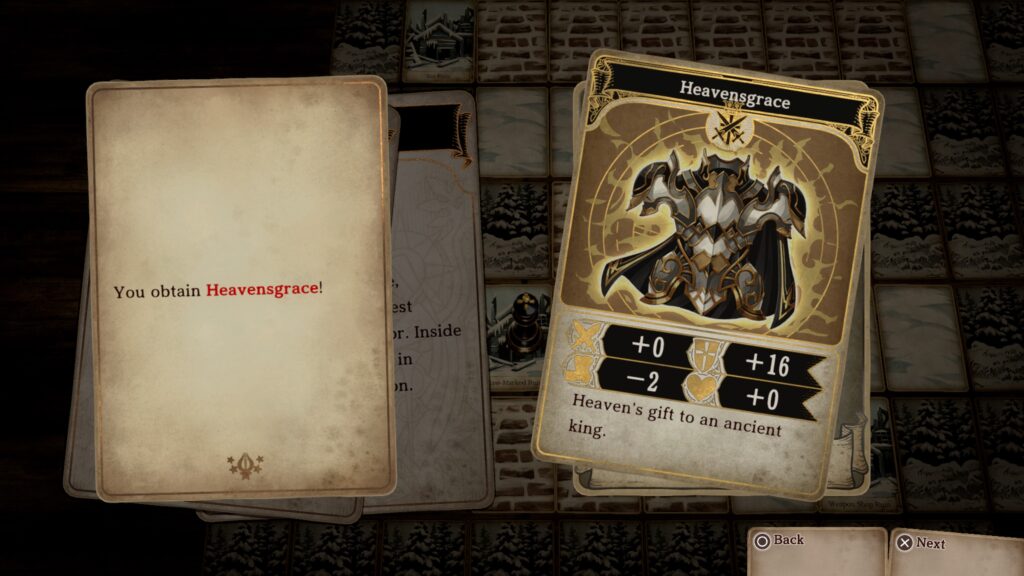
Return to Silent Village. Interact with the Claw Marked Ruin to trigger an event with the Bloodied Doll (if you previously picked it up!). You’ll receive the Heavensgrace! You’ll also receive the Smeared in Blood trophy!

To find the plate, interact with the Sturdy Building. Once you’ve gotten the Wooden Plate, exit this town and return to Monster Town.


Monster Town

Once in Monster Town, hand the plate over to the Pet Shop owner. If you have finished exploring the town, select “Save the Humans!” to trigger a fight against the monster. Defeat it then defeat all the monsters in town! Once everyone has been defeated, a boss fight will trigger! This monster has 42 attack, 280 HP and 25 defense. Defeat it to get your revenge!


Afterwards, we chose to listen to what the mayor said first instead of just killing him. He gave us the Mayor’s Residence Key. You’ll then have to decide whether or not to kill him. Since he wished to die to join his friend, we granted him that request and he thanked us. If you don’t, he seems sad to be alive and mumbles that he guesses his friend will just have to wait a little longer. Either way it does not impact the completion of Chapter 6. When you’re ready, enter the Mayor’s Residence to finish the chapter!


Click here for the next walkthrough on Chapter 7 in the Voice of the Cards: The Beasts of Burden!


Voice of Cards: The Beasts of Burden
Guides

Voice of Cards: The Beasts of Burden – Chapter 5 Walkthrough

by MrsChappie in


Below is a walkthrough for Chapter 5 in Voice of Cards: The Beasts of Burden.


Village of Light

At the beginning of the chapter, speak with your companions then leave the town.


Roving Market

Head north to the new location of the Roving Market and enter it. Once inside, speak with the Wandering Merchant to trigger an event. This time he will want to see a Venomslime at least 2 stars or above. If you do not already have this card, the Venomslime can be found in the Lake of Fire and Desert. As a reward, you’ll receive a Quality Omnisalve and the Established Monster Tamer Certificate. The Established Tamer trophy will also trigger!


Speak with the Wandering Merchant again to trigger another event. This time he will want a Gargoyle with at least 2 stars. If you do not have this card, the Gargoyle can be found in the Ruined Edifice. As a reward, you’ll receive a Freezestay Ring and the Skilled Monster Tamer Certificate. The Skilled Tamer trophy will also pop!


Wasteland

Make your way northeast to the glowing card. To clear the snow away, let the Flame Primal at it! Afterwards, proceed to the Cave and enter the Snowfield.


Snowfield

Once in the Snowfield, head forward a short way to trigger a quick cutscene. Afterwards, head forward again to trigger another cutscene. Select that you’d “Better make it snow-worthy!” then “Steel Primal”. Sandskiff Mk.III is now up and running!


Chests

  • 1500G
    • Western edge of area

  • Bill of Godly Fortune
    • Southeastern corner of area

  • Chunky Gold Nugget
    • Eastern edge of area

  • Supreme Inspirilixir
    • North central part of the area


Events

  • Open-Air Stall
    • Stop by
      • Roll the dice to determine at which price you can sell your items
    • Keep Walking
  • Dark Warrior – Northeast of Icevale
    • You can fight him if your strong enough! (We were not strong enough yet!)


Endwall

Once you’re done exploring Snowfield, interact with the Endwall card up in the northeast.


Icevale

When the cutscene concludes, you’ll be be in Icevale. Speak with the Old Woman. After the cutscene concludes, head up to the Cabin. Choose whoever you’d like to help the Old Woman as she will suggest you get her a flower. Exit the town.


Snowfield

Head directly north of town to find the Solnivea flower card. Once you have it, return to Icevale.


Icevale

Enter the cabin. The next day you’ll have to make a choice about what to do. Select “Attempt to Scale the Endwall”. Afterwards, return to the cabin to check on the Old Woman. Next, interact with the glowing card on the southeastern side of the town. When the cutscene concludes, exit town.


Snowfield

Wander around Snowfield fighting enemies until you come across the Treant. We found ours on the second encounter with an enemy so it shouldn’t take you too long! Defeat the creature then Pulche will want you to defeat 5 more. Again, set out in search of them. Once you defeat all of them, return to where you previously picked the flower and pick another one. Afterwards, return to Icevale. When the cutscene ends, exit the village to trigger a cutscene.


Endwall

Once in the Snowfield, make your way to the Endwall. For how to scale it, select “Upgrade the Sandskiff!” to turn the sandskiff into Sandskiff Mk.IV! When the cutscene concludes, head forward and enter Endwall 44F. On the western side of the area sits a chest containing a Quality Omnisalve.

Continue north then swing around to the center of the northern area. Head up the path to the very north to find a chest containing a Gemstone Ring.

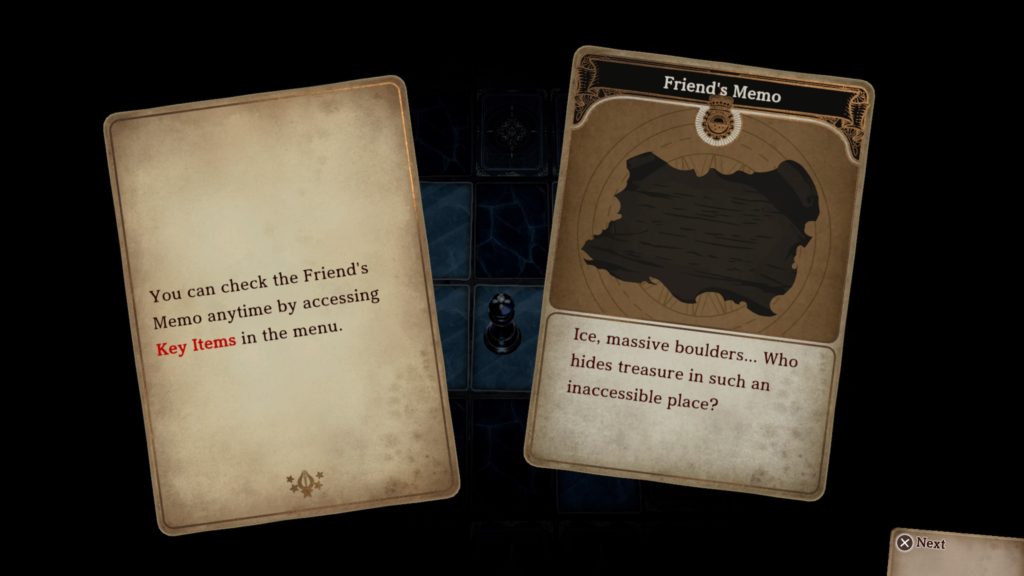
Once you collect the chest, follow the path east to trigger an event. You’ll receive the Friend’s Memo key item, detailing the location of a treasure.

Head to the very northeastern corner to find a set of stairs leading to Endwall 45F. Take them then head directly south to find a chest containing Omnipanacea.

Afterwards, back track to the north then continue following the path to trigger a cutscene with a Fairy. After the cutscene concludes, a fight with two monsters will trigger. Defeat them then continue forward to reach the Endwall – Midpoint. Once at the Midpoint, follow the linear path up then enter Endwall 72F. Travel west to find a chest with a Bill of Godly Fortune inside.

In the center of the area, you’ll find a chest with a Soothstone.

Keep heading through the area until you trigger a cutscene with a Fairy warning you of the Frost Primal. When it concludes, you’ll be attacked by some monsters. Defeat them then continue heading forward and enter the Endwall – Upper Reaches. Avoid the snowballs as you make your way north to Endwall 99F. A chest on the northwestern side of this area contains a Ring of Sharpness.

When you’re ready, make your way to the southwest side to reach the stairs leading to Endwall – Top. Enter this area to trigger a cutscene. Select that “They’re both acting funny…” Afterwards, a fight will trigger. Defeat both of the enemies using only Al’e and L’gol. After you defeat them, head directly north to encounter the Frost Primal. It has 34 attack, 280 HP and 18 defense. It uses a move that restores it HP by 20 periodically so it was a LONG fight. Please note that it is weak to fire! Defeat it then head north to the glowing card to trigger a cutscene that finishes this chapter.


Click here for the next walkthrough for Chapter 6 in Voice of Cards: The Beasts of Burden!


Voice of Cards: The Beasts of Burden
Guides

Voice of Cards: The Beasts of Burden – Chapter 4 Walkthrough

by MrsChappie in


Below is a walkthrough for Chapter 4 in Voice of Cards: The Beasts of Burden.


Wasteland

Once you gain control at the beginning of the chapter, head to the glowing sand card just southeast of the Lake of Fire. Cross the bridge then loot the chest to receive a Soothstone!

When you progress into the desert, a cutscene will trigger. Propose to remodel it! You’ll then have to check in with someone. Make your choice! We chose the female protagonist (Al’e) first. Head directly north to find an oasis. Interact with it then reflect on all your party members. A monster will show up! Select to fight him alone as it has a long, sturdy-looking pole that Pulche needs. Defeat the creature then select who you want to check in on next. We chose L’gol for this one. You’ll need to select where to search for the wheels. The correct answer is the Mine near Steelborough.


Mine

Once you’re teleported to the mine, follow the path to the mine cart and interact with it to trigger a fight. Defeat the monsters then select to check in on your last party member.


Wasteland

For us, it was Tralis. She was tasked with finding some durable cord. Head along the cards directly south of her until a cutscene triggers. You’ll be asked “What now?”. Select to “Look in Tralis’s Things”. With all three things gathered, return to Pulche to hand them over. He’ll turn the sandskiff into the Sandskiff Mk.II, which can traverse the rocky wasteland. When the cutscene concludes, continue west until another cutscene triggers! Select that the mysterious man is from the Circus! Ask him if there is somewhere to rest. Once he enters, head into the Roving Market.
 

Roving Market

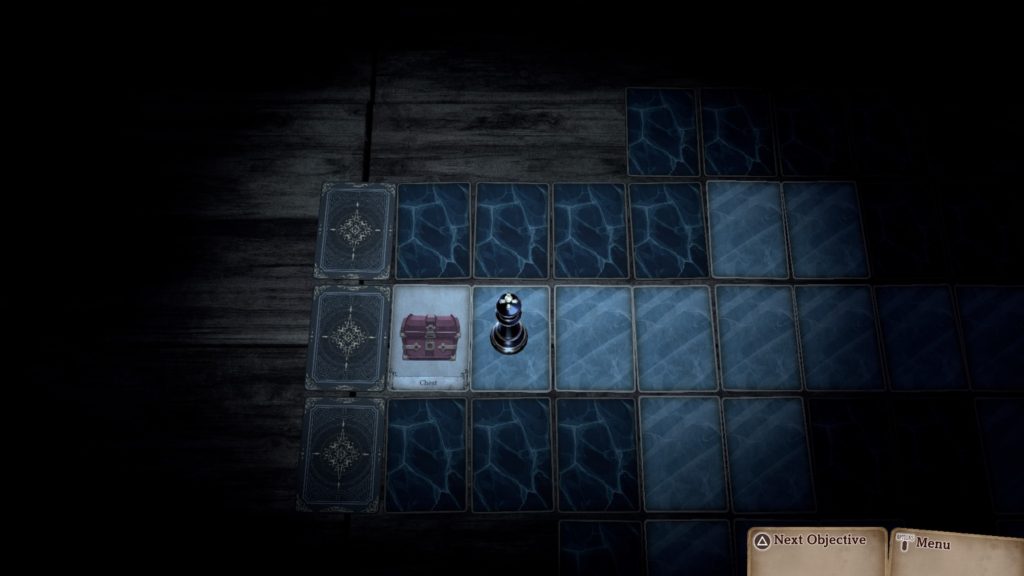
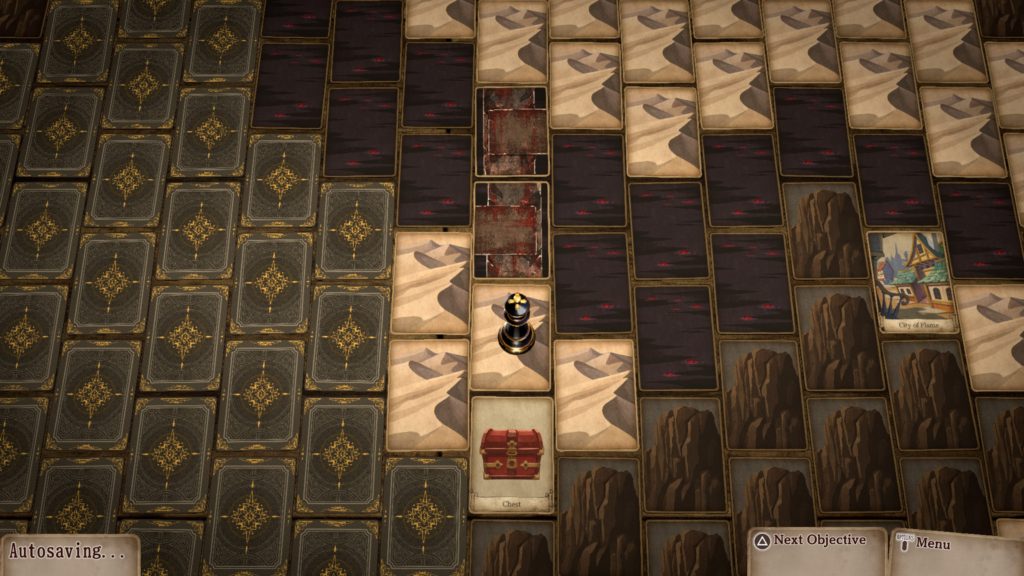
Once in the Roving Market, speak with the Wandering Merchant to trigger an event. He’ll want to see a wolf with at least 2 stars. Choose to accept his request. We thankfully had one on us. Please note that the card cannot be equipped! If you don’t have one, keep fighting the wolf enemies until you obtain one from an after battle chest! As a reward, he’ll give you a Bill of Godly Fortune and an Apprentice Monster Tamer Certificate. This will earn you the Apprentice Tamer trophy! Next, he’ll want you to bring him an orc child with 2 stars or above. These monsters can be found in the Mine northwest of Steelborough. As a reward, you’ll receive the Numbstay Ring and the Rookie Monster Tamer Certificate! This will earn you the Rookie Tamer trophy!


While your in the market, check out the below shops!

  • Armorer
    • Steel Blades
    • Mercenary’s Sword
    • Magic Staff
    • Tamer’s Whip
    • Knight’s Armor
    • Steel Breastplate
    • Adventurer’s Attire
    • Ring of Protection
    • Firestay Ring
    • Waterstay Ring
    • Lightningstay Ring
    • Windstay Ring
    • Poisonstay Ring
    • Numbstay Ring
  • Item Shop
    • Salve
    • Quality Salve
    • Antidote
    • Curative
    • Defroster
    • Unsealer
    • Dispeller
    • Pepper-Upper
    • Serum
    • Inspirilixir
    • Bomb
    • Invigorant
    • Protectorant
    • Smoke Bomb
    • Bellwether
    • Bill of Good Fortune
  • Pet Shop
    • Slime
    • Iron Tortoise
    • Lesser Troll
    • Orch Child
    • Centaur
    • Wererat
    • Ogre


Wasteland

Explore the area to find the below!


Events

  • Pull the vines?
    • Heck yeah, I’m hungry!
      • With all my might
        • Receive Windstay Ring!
      • Easy does it
        • Receive Windstay Ring!
    • Nope, that sounds like work.
  • Treasure Map
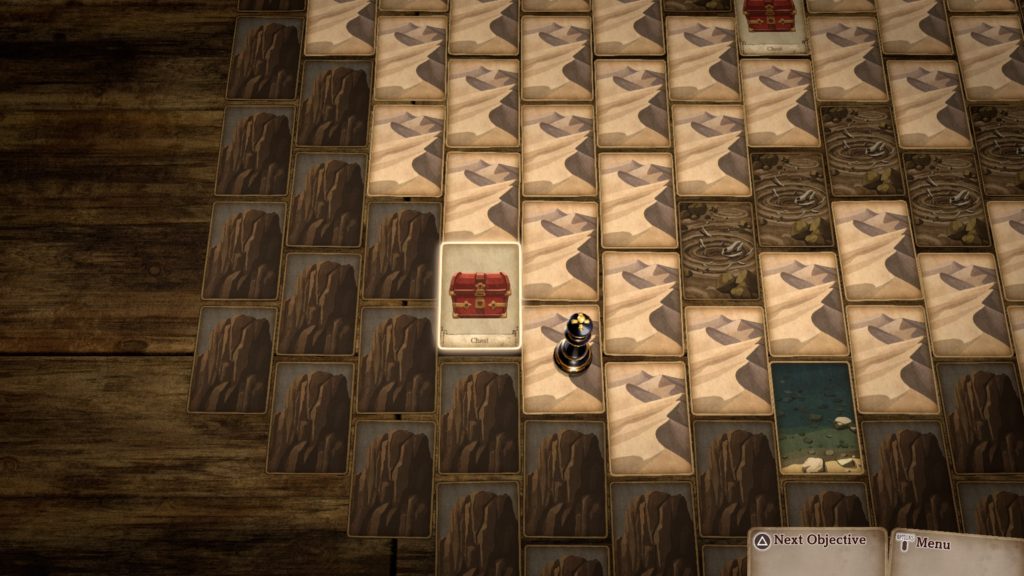
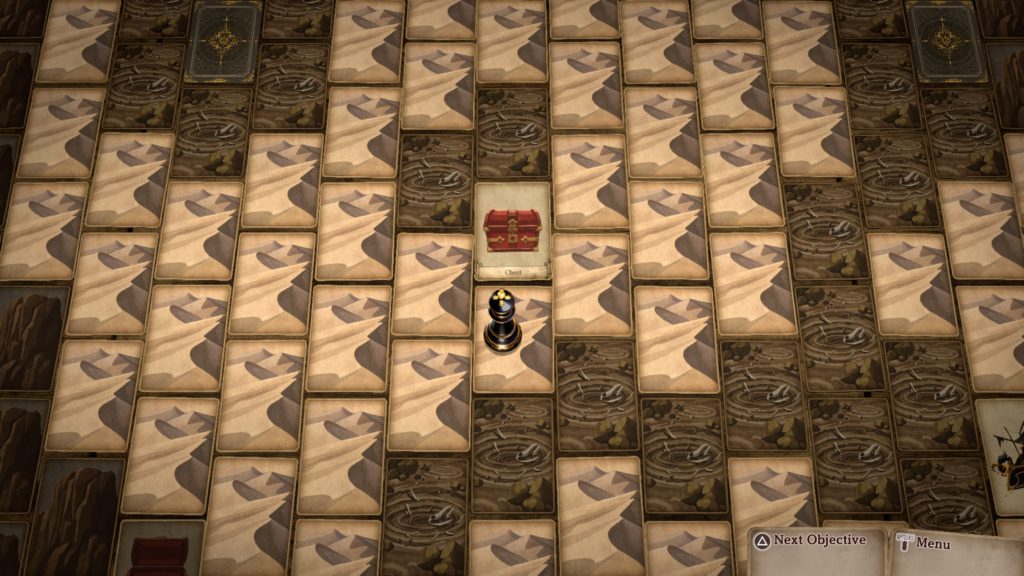
    • Head to the card as shown in the image below just northwest of the Village of Light to find the location of the hidden treasure. (The Treasure Map was previously obtained in Chapter 3 at the Lake of Flame. For a guide on where to find this item, click here!) You’ll receive the Ring of Compassion!

  • Spot monster (2 red, black and white balls) through a telescope. It’s a Wererat!
    • Attack
      • Receive 500G
    • Sneak up on it
      • Triggers fight with Wererat
    • Ignore it
  • Spot monster (Voltwasp) through a telescope.
    • Attack
    • Sneak up on it
      • Enemy takes off
    • Ignore it


Chests

  • 1200G
    • Southwest of the Roving Market along the cliffs

  • Quality Omnisalve
    • North of the Village of Light along the map’s northern edge

  • Chunky Gold Nugget
    • Southeast of the Ruined Edifice


Village of Light

Once you’re done exploring the Desert, attempt to enter the Village of Light to trigger a cutscene followed by a fight with 3 monsters. Defeat them then enter the village once more. Select either option first as you’ll have to eventually select both to progress the cutscene. Now that you can explore the town, do so to find the below!


Characters

  • Boy in Flower Crown’s flipside story
  • Mature Woman’s flipside story
  • Amicable Old Man’s flipside story


When you’re ready to progress, speak with the Amicable Old Man on the north side of the village then head south and exit the town to trigger a cutscene. Afterwards, head to the Shrine of Light on the north side of town. When speaking with the Mysterious Girl, select that a Guru is a teacher. We chose that Tralis is a friend to be treasured! Before leaving check on Tralis. When you’re ready, exit the town and head north to find the Ruined Edifice.


Ruined Edifice

Enter the ruins then make your way all the way to the northeastern corner to find a chest containing an Omnisalve.

Afterwards, head to the northwestern side of the room to find a set of stairs leading to Ruined Edifice 2F.

Take the stairs then work your way around the room by first heading south. When you approach the area with three arrows on the floor, you’ll have to interact with the arrows to move the statue onto the empty pedestal. You won’t be able to move the same arrow twice in a row so keep that in mind when you reach the top. You’ll have to go up to get to the last row then go right then left then up. With the door now open, head on through. In this new area, head south to find a chest containing a Lightningstay Ring.

Afterwards, head north to find the way forward. You’ll need to interact with the monster card blocking the stairs to trigger a fight then defeat the monsters.

Once clear, head up the stairs to reach Ruined Edifice 3F. Follow the path to reach a chest on the eastern side of the area containing 1500G.

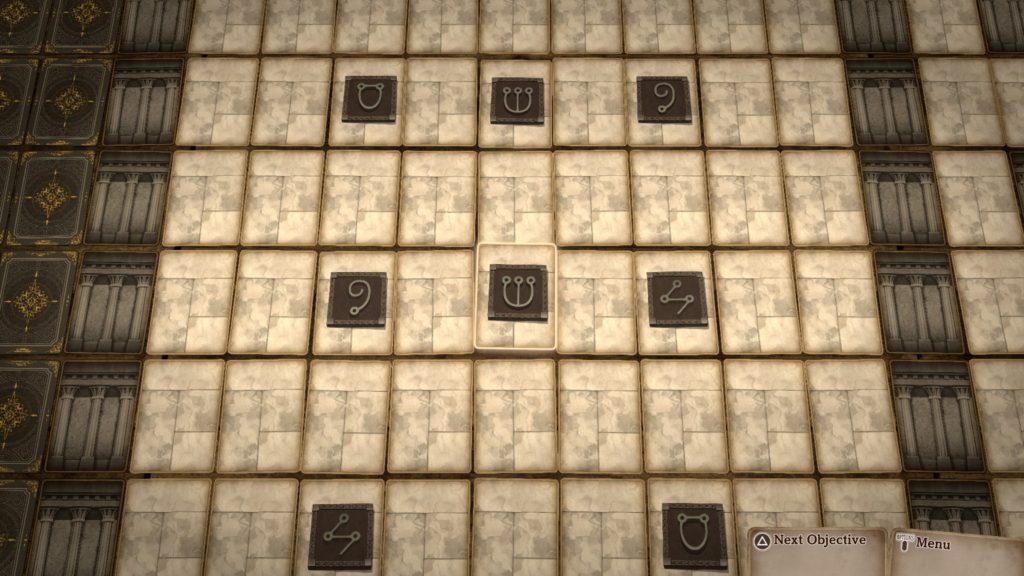
As you follow the path, you’ll reach the Tablet Matching mini game in the center of the area.

For us, this was where the stone tablets move to.

After you’ve successfully matched all the tablets, proceed through the door and continue following the path until you eventually reach a set of stairs on the western side. Take them to Ruined Edifice 4F as there are no other chests on this floor. On this floor, head south then follow the path directly east, going past the statues. At the end, curve up to the north to find a chest containing a Lightstay Ring.

Return to the 2 statues and head north between them. Approach the glowing card to trigger a fight with a monster that has 20 Attack, 220 HP and 15 Defense. It’s weak to fire and has a move that will deal lightning damage to all allies. Defeat it then leave to Ruined Edifice and return to the Village of Light!


Village of Light

Once in the village, enter the Shrine of Light and speak with the Guru. After speaking with her, leave the shrine then interact with all the bodies. Afterwards, rush back to the Shrine of Light to complete the chapter.


Click here for the next walkthrough for Chapter 5 in the Voice of Cards: The Beasts of Burden!


Voice of Cards: The Beasts of Burden
Guides

Voice of Cards: The Beasts of Burden – Chapter 3 Walkthrough

by MrsChappie in


Below is a walkthrough for Chapter 3 in Voice of Cards: The Beasts of Burden.


Desert

At the beginning of this chapter, head north to the glowing card to trigger a cutscene followed by a fight. Defeat the low level slime. After everyone joins your party again, return to where the glowing card was in the north. Once there, select someone to break the rocks. We chose L’gol and it worked! Proceed to the newly opened path.


Wasteland

Head to the glowing card to find the City of Flame.


City of Flame

Enter the city then explore it to find the below.


Characters

  • Overheated Man near the Game Parlor to obtain his flipside story
  • Knowledgeable Old Woman south of the Armorer to obtain her flipside story


Shops

  • Pet Shop
    • Slime
    • Iron Tortoise
    • Lesser Troll
    • Orc Child
    • Centaur
    • Wererat
    • Ogre
  • Item Shop
    • Salve
    • Quality Salve
    • Antidote
    • Curative
    • Defroster
    • Unsealer
    • Dispeller
    • Pepper-Upper
    • Serum
    • Inspirilixir
    • Bomb
    • Invigorant
    • Protectorant
    • Smoke Bomb
    • Bellwether
    • Bill of Good Fortune
  • Armorer
    • Steel Blades
    • Mercenary’s Sword
    • Magic Staff
    • Tamer’s Whip
    • Knight’s Armor
    • Steel Breastplate
    • Adventurer’s Attire
    • Ring of Protection
    • Firestay Ring
    • Waterstay Ring
    • Lighteningstay Ring
    • Windstay Ring
    • Poisonstay Ring
    • Numbstay Ring


When you’re ready to progress, speak with the young man next to the Armorer then head to the mystery card just north of the Pet Shop to find Pulche. Afterwards, interact with the children’s card between the Pet Shop and Armorer. To help the orphans, you’ll have the following options:

  • Give Food
  • Do a Cheerful Dance
  • Ask Aristocrat for Help

The correct answer is to “Ask Aristocrat for Help”. If you don’t pick that one first, you can view the responses for the other options. Eventually, you’ll have to pick the correct answer. For the next task, head to the Manor in the southwestern corner of town. To persuade him, leave it to Pulche. You’ll then need to select the cause of the poisoning, which is a monster! Afterwards, leave the town.


Wasteland

In the northeastern corner of this area, you can find a chest containing 1000G!

Just west of the chest you can find the Lake of Fire and enter the area.


Lake of Fire

In the northern part of this area, a chest contains a Firestay Ring!

Make your way south and head counterclockwise to reach the center of the area where you’ll find a chest containing an Omnisalve.

On the card in the southwestern corner of the area as shown in the picture below, an event involving a scrap of paper will trigger.

You’ll receive the Treasure Map key item! This treasure can be found in the Desert on the western side. Please see our Chapter 4 Walkthrough for the exact location.

In the southern part of the map, interact with the monster card to trigger a fight. Defeat the enemies to have a chance to obtain their cards!

Head north to find a chest containing a Panacea!

In the southeastern corner of the area, a chest contains a Bill of Godly Fortune!

From the previous chest, head directly north to trigger a cutscene. Build bridges to make it across the fiery water! A chest containing a Firestay Ring can be found on the northeastern side of the area.

A chest containing a Bridge Part can be found just below the above chest!

Continue north towards the next glowing card. Interact with it to trigger a fight with the Flame Primal! It has 20 Attack, 150 HP and 12 Defense. The Firestay Rings will help immensely with this fight as it deals fire damage! As you almost defeat it, you’ll be given the option to dodge left or right. We dodged left and fell. Tralis jumped in the way and took the hit to save us. Afterwards, the whole team sealed away the monster! Head to the glowing card where the boss was to trigger another cutscene. With everything taken care of, return to the City of Flame.


City of Flame

Once in the City of Flame, a brief cutscene will trigger. When it does, head to the Manor in the southwestern corner of the area. In response to the aristocrat, tell them either choice as it does not matter. As for the solution, ask the Aristocrat. Newterra is a place! After the cutscene concludes, you’ll receive the Aristocrat’s flipside story. When you’re ready, head up to the orphans just north of the Pet Shop. We told them “You shouldn’t…” but they didn’t care. Next, speak with the Overheated Man, Ardent Woman, Orphaned Boy, Ambitious Lad and Knowledgeable Old Woman. You’ll then be tasked with leaving the city, however, it is warned that once you leave you’ll never be able to return. As such, make sure to take care of any business here before heading out! Once you exit the city, the chapter will complete!


Click here for the next walkthrough on Chapter 4 in the Voice of Cards: The Beasts of Burden!


Voice of Cards: The Beasts of Burden
Guides

Voice of Cards: The Beasts of Burden – Chapter 2 Walkthrough

by MrsChappie in


Below is a walkthrough for Chapter 2 in Voice of Cards: The Beasts of Burden.


Desert

At the start of the chapter, ignore the chest and oasis as they have nothing and head east to find a person. Interact with them and select whichever dialog option you’d like then defeat the 2 weak monsters.


Desert Circus

When you awaken, make your way to the Stall. Next, head up to the man in the north near the tent and interact with him. Once the cutscene concludes, defeat the 2 wolves and 2 wasps. After the battle concludes, agree to help the man and Pulche will join your party. For the next objective, you’ll be tasked with finding the stray circus members in the desert. Before you set out, explore the below.


Shops

  •  Pet Shop
    • Slime
    • Iron Tortoise
    • Lesser Troll
    • Orc Child
    • Centaur
  • Item Shop
    • Salve
    • Antidote
    • Curative
    • Defroster
    • Unsealer
    • Dispeller
    • Pepper-Upper
    • Serum
    • Inspirilixir
    • Bomb
    • Smoke Bomb
    • Bellwether
    • Bill of Good Fortune
  • Armorer
    • Steel Blades
    • Mercenary’s Sword
    • Sacred Staff
    • Magic Staff
    • Iron Armor
    • Simple Breastplate
    • Traveler’s Apparel
    • Adventurer’s Attire
    • Ring of Protection
    • Firestay Ring
    • Waterstay Ring
    • Lightningstay Ring
    • Windstay Ring


When you’re ready, exit the town!


Desert

Once you’re in the desert, head east to find a chest containing 800G!

Next, travel to the southwest to the card shown below to trigger an event involving Buzzing Wings.

Select “Revenge Shall Be Mine” to start a battle with the Wasp that has 15 Attack, 40 Health and 8 Defense. After you defeat it, you’ll earn the 5 Star Wasp card!

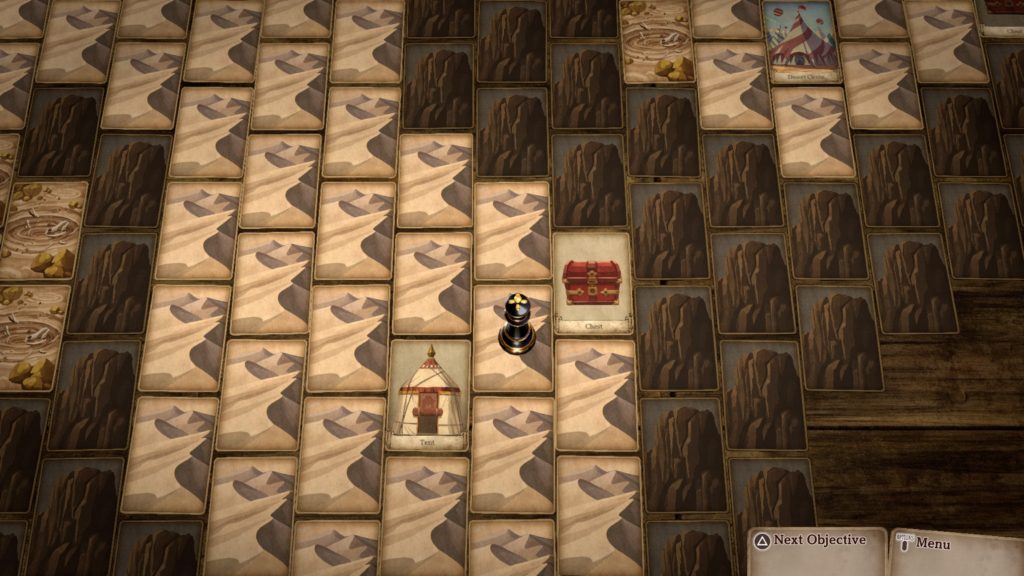
Travel between the above card and the Desert Circus to find a chest containing an Inspirilixir near a Tent.

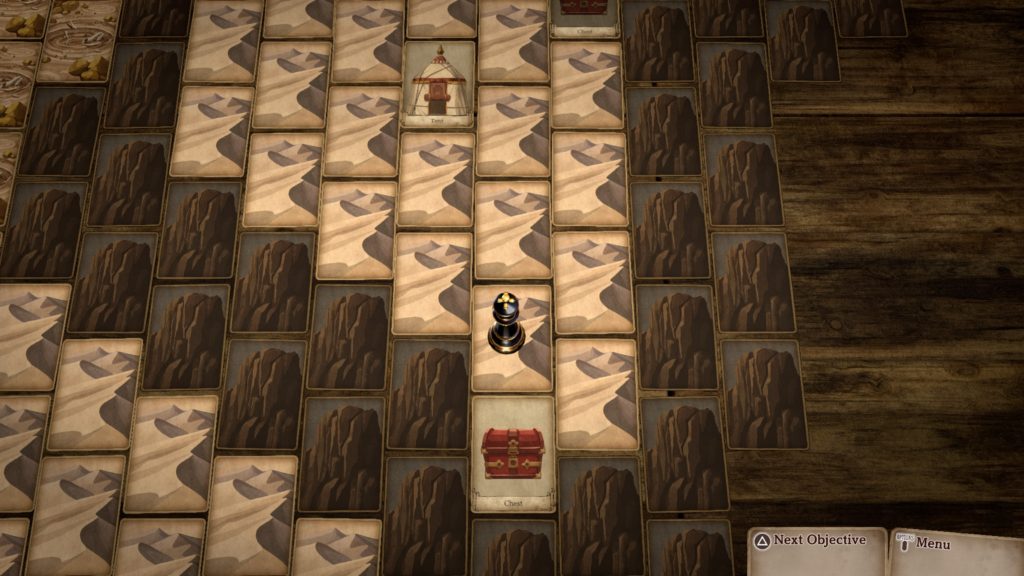
Next, interact with the Tent. You’ll unlock the Burly Boy’s flipside story! Afterward, travel to the chest that has appeared to the south of the Tent.

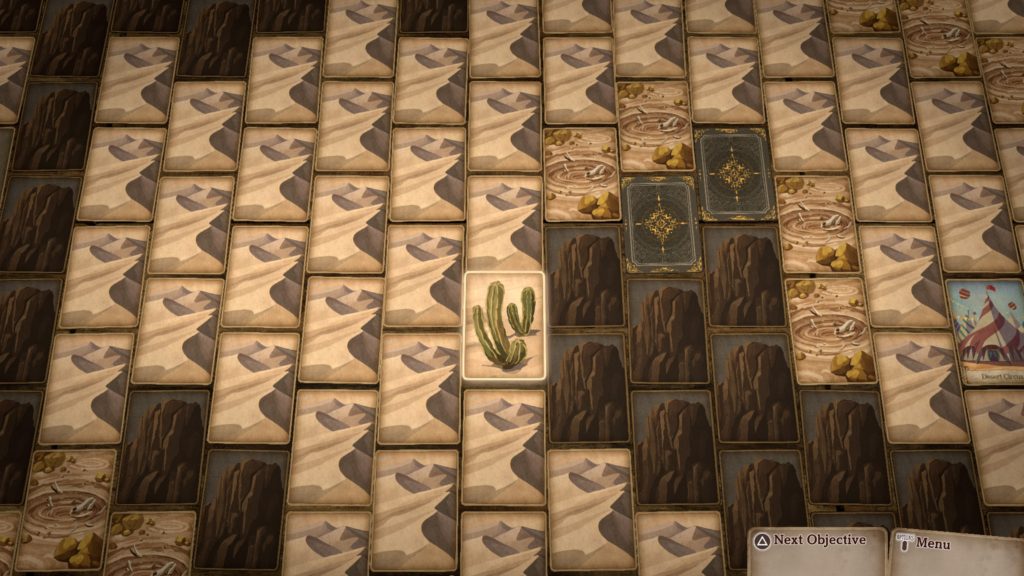
Interact with it to unlock the Clown’s flipside story. You’ll then need to travel north to the cactus that has appeared.

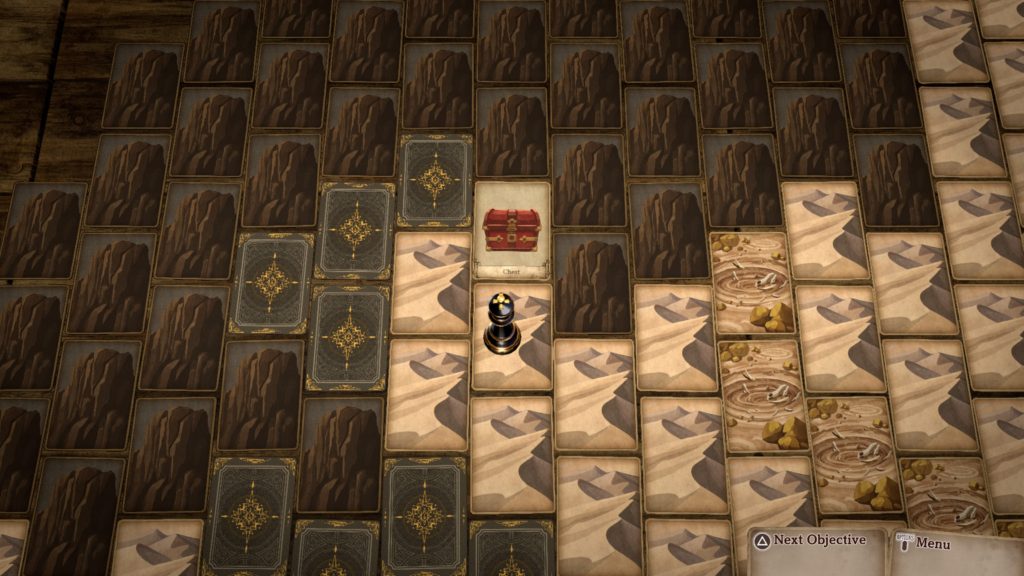
Again, interact with this card to unlock the Acrobat’s flipside story. To progress the story, head northwest of the Desert Circus to find a chest containing a Poisonstay Ring!

As shown in the picture above, make sure to step on the card with the Avatar (card just south of the chest) as we found an event involving a Tarnished Bangle on this card. Select to keep it for an event described further down involving the Sandprowler Czar! Next, interact with the Sand Ruins just west of the above chest. You’ll then be tasked with finding the girl’s companion in the Sand Ruins!


Sand Ruins

After you enter the Sand Ruins, head north and take the first path on the left to find a chest at the end containing a Bellwether.

From there, make your way to the northeast to find a chest containing a Darkstay Ring!

When you’re ready to progress through this floor, head to the northwest. After the brief scene, make your way into the hidden chamber where you’ll find a chest containing 1200G!

Afterwards, continue north and around the hidden chamber to find another chest. This one has a Quality Salve.

With this floor successfully explored, head southwest from the previous chest to find the stairs leading to Sand Ruins B1. Take them down. On the western side of this area, you’ll find a chest containing a Panacea.

We looped around the north of this area then some dialog triggered saying there might be a breakable wall somewhere. Head directly east of the stairs to find this breakable wall and interact with it. Enter the hidden passage then head south to find a chest and interact with it. This will trigger a fight against 3 monsters. Defeat them all to receive the Simple Key. Afterwards, head directly north to find a Weathered Stela.

Interact with the card to trigger an event. Insert the Tarnished Bangle to trigger a fight against a Skeleton that has 16 attack, 50 HP and 8 Defense. Defeat it to receive a Ring of Life! You’ll also receive A Memory in Sand trophy for defeating the Sandprowler Czar sealed within the Sand Ruins.


Now that you’re ready to continue forward, head directly south of the stairs to find a door. Interact with it then insert the Simple Key. Before heading down the stairs, interact with the chest in the southeastern corner to receive an Omnisalve.

Afterwards, head down the stairs to reach Sand Ruins B2. Continue directly north to run across a mysterious card.

Interact with it to begin a fight against a serpent monster with 23 Attack, 100 HP and 10 Defense. Defeat it then leave the Sand Ruins.


Desert Circus

After you exit the Sand Ruins, return to the Desert Circus to trigger a cutscene. When it concludes, interact with the scantily clad woman near a monster to obtain the Mild-mannered Woman’s flipside story. Afterwards, speak with L’gol. Once you’ve spoken to everyone, head to the Circus Tent in the middle of the town to begin the show! You’ll get to choose from one of the following rewards:

  • Inspirilixir
  • 900G
  • Numbstay Ring

After a bit more dialog, a fight against a dragon monster with 20 Attack, 50 HP and 10 Defense will trigger. Defeat it to gain Tralis as a party member! Next, interact with L’gol and wake him. Leave the town to trigger a cutscene ending the chapter.


Click here for the next walkthrough for Chapter 3 in the Voice of Cards: The Beasts of Burden!


Voice of Cards: The Beasts of Burden
Guides

Voice of Cards: The Beasts of Burden – Chapter 1 Walkthrough

by MrsChappie in


Below is a walkthrough for Chapter 1 in Voice of Cards: The Beasts of Burden.


Desert

At the start of this chapter, you’ll be located in the desert. Head directly west and interact with the Mysterious Boy. Afterwards, continue heading west, hugging the southern edge of the map to find a water card. Interact with it then explore the desert as you make your way north to find the following treasure chests:


Quality Salve – West of the oasis in the southwestern corner of the area


300G – Directly north of the oasis


When you’re done exploring, enter Steelborough.


Steelborough

Make your way to the Mysterious Boy, and interact with him to trigger an event. Next, speak with the three Senators. After speaking with the Senators, accept their request to subdue the Steel Primal. Defeat the monster they bring before you then explore the town to find the below.


Character Cards

  • Boy in Flower Crown
  • Man
  • Mature Woman
  • Soldier
  • Mysterious Woman


Shops

  • Pet Shop
    • ?
  • Item Shop
    • Salve – 20G
    • Antidote – 40G
    • Curative – 40G
    • Defroster – 40G
    • Unsealer – 60G
    • Dispeller – 60G
    • Pepper-Upper – 60G
    • Inspirilixir – 800G
    • Bomb – 40G
    • Smoke Bomb – 100G
    • Bellwether – 100G
    • Bill of Good Fortune – 40G
  • Armorer
    • Guardian’s Blades – 100G
    • Steel Blades – 700G
    • Iron Sword – 100G
    • Mercenary’s Sword – 500G
    • Iron Armor – 200G
    • Simple Breastplate – 150G
    • Traveler’s Apparel – 100G
    • Ring of Protection – 300G


After you visit all the establishments, an event will trigger with the Mysterious Boy. When you’re ready to proceed, speak with the Soldier on the northwestern side of town then proceed to exit via the newly revealed path behind him.


Desert

Before heading to the mine northwest of Steelborough, explore the desert to find the following treasure chests:


300G – North of Steelborough


When you’re ready, enter the Mine.


Mine

Once in Mine 1F, head east and board the mine cart. At the end of the line, you’ll find a treasure chest containing an Omnisalve!


The stairs leading forward can be found in the far southwestern corner of the area. A shortcut to this area can be found by taking the mine cart on the left side. Instead of doing this, head south until you come across a path on the west side. Take this path to find a chest containing a Ring of Protection.


With all the chests found, head to the southwestern stairs and enter Mine B1. Once on this level, travel west until you see a path open up to the north. Take the path to find a chest containing an Invigorant.


When you’re ready to progress, travel north of the stairs. Board the mine cart to the north. Follow the path to the end to find a Medium Gold Nugget.


Return to the mine cart and board it. Head down the narrow path immediately east of you to find a monster card.


Interact with it then defeat the 3 enemies. Afterwards, interact with the lever just east of where the enemies were. Move the lever then return to the northern mine cart that you previously rode to reach the Medium Gold Nugget chest. Again board the mine cart. It will now take you further north! Upon exiting the cart, continue north and take the stairs to reach Mine B2. Head directly north and interact with the glowing card to trigger a fight against the Steel Primal. It has 16 attack, 80 health and 8 defense. Defeat it then leave the mines and return to Steelborough!


Steelborough

Once in Steelborough, head to Steel Hall. We then chose not to give them the card. They of course do not like this and had the Mysterious Boy retrieve it. You’ll then attempt to get it back by interacting with his card. Interact with the Mysterious Boy’s card where the exit to Steel Hall is. After the event, flee to a Sandskiff on the southern side of the town. Two guards will attack so defeat them! Afterwards, interact with both of the remaining Sandskiffs to eliminate them.


Desert

Once in the desert, you can explore to find the below treasure chests. Keep in mind that you can heal at the oasis in the southwestern part of the area!


Omnisalve – Southwest of Steelborough


Bill of Godly Fortune – East of Subterrean Village


When you’re ready to progress the story, head east across the quicksand. Eventually, a cutscene will trigger. Select “… See the Stars” to finish the chapter.


Click here for the next walkthrough on Chapter 2 in the Voice of Cards: The Beasts of Burden!


Voice of Cards: The Beasts of Burden
Guides

Voice of Cards: The Beasts of Burden – Chapter 0 Walkthrough

by MrsChappie in


Below is a walkthrough for Chapter 0 in Voice of Cards: The Beasts of Burden.


Subterranean Cave

After defeating the first monster, head down the stairs as you are unable to go anywhere else to reach Subterranean Cave B4. Again, head directly south to reach a set of stairs leading to Subterranean Cave B5. After you take these stairs, make your way to the southwest to reach the stairs leading to the Subterranean Village. Select to enter the village!


Subterranean Village

Once in the village, you’ll be tasked with returning to your home on the west side of the village. Make a beeline to your house first as the character cards to not matter until you first interact with your house. After interacting with your house, speak with the below people.


Characters

  • Elderly Man
  • Girl
  • Young Man
  • Old Woman


You’ll earn their character cards! Once you’ve spoken to everyone, return to your house. Afterwards, head to the northern part of the village and take the stairs to Subterranean Cave B5.


Subterranean Cave

Once in Subterranean Cave B5, press forward to Subterranean Cave B4 to trigger a fight against 3 monsters. Defeat them then head on up to Subterranean Cave B3. Again, a fight will trigger. Defeat the 2 monsters then return to the village.


Subterranean Village

Upon entering the village, enter your house. When the cutscene concludes, exit the village via the northern stairs.


Subterranean Cave

In the cave, work your way all the way to Subterranean Cave B3. Once there, head to the southwestern corner and take the stairs to Subterranean Cave B2. The stairs to Subterranean Cave B1 can be found on the northeastern side of this area. When you arrive in B1, head directly south to trigger an event leading to the end of Chapter 0.


Click here for the next walkthrough for Chapter 1 in the Voice of Cards: The Beasts of Burden!


Voice of Cards: The Beasts of Burden
Guides

Voice of Cards: The Beasts of Burden – Monster / Enemy Cards

by MrsChappie in


Below is a guide for the monster / enemy cards in Voice of Cards: The Beasts of Burden. If you collect all these cards, you’ll earn the Master of Monsters trophy!


Page 1

  1. Slime – First enemy you fight during the story
  2. Venomslime – Lake of Fire, Desert, Underground Passage
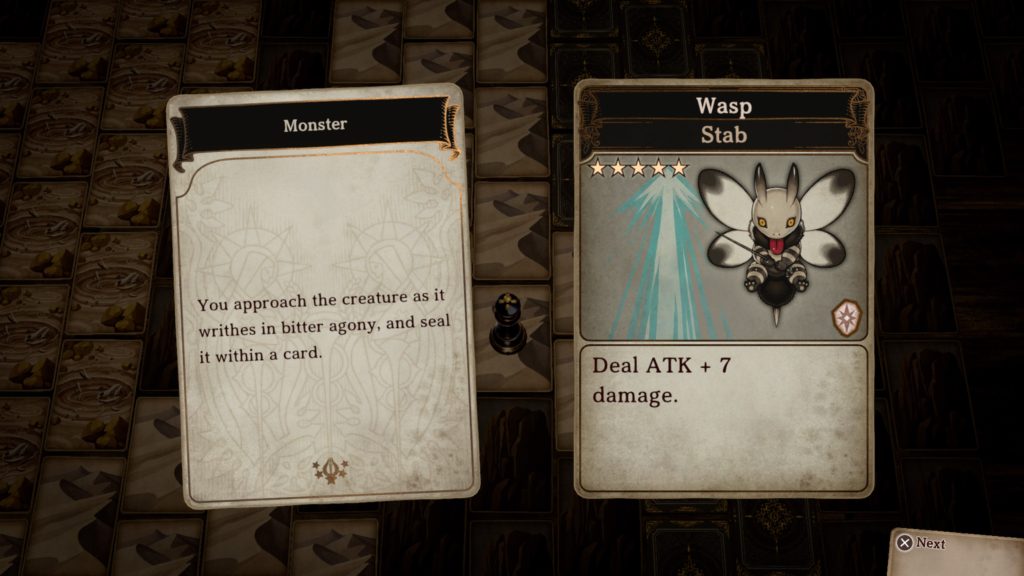
  3. Wasp – Obtained as part of the story in Chapter 0
  4. Voltwasp – Sand Ruins, Endwall
  5. Devilwasp – Endwall
  6. Wolf – Obtained as part of the story in Chapter 0, Snowfield
  7. Garm – Underground Passage
  8. Iron Tortoise – Obtained as part of the story in Chapter 0
  9. Magma Tortoise – Lake of Fire, Underground Passage
  10. Ice Tortoise – Snowfield, Newterra


Page 2

  1. Furball – Obtained as part of the story in Chapter 0, Newterra
  2. Mouthy Furball – Snowfield, Underground Passage
  3. Lesser Troll – Mine northwest of Steelborough, Underground Passage
  4. Troll – Obtained as part of the story in Chapter 1, Underground Passage
  5. Proto-Troll – Underground Passage
  6. Centaur – Mine northwest of Steelborough, Underground Passage
  7. Red Fungo – Sand Ruins, Lake of Fire, Underground Passage
  8. Gold Fungo – Endwall, Newterra, Underground Passage
  9. Orc Child – Mine northwest of Steelborough, Snowfield, Underground Passage
  10. Orc Wildling – Endwall, Underground Passage


Page 3

  1. Skull Soldier – Sand Ruins, Ruined Edifice
  2. Lost Soul – Ruined Edifice, Underground Passage
  3. Proto-Skull Soldier – Obtained as part of the story during Chapter 7, Underground Passage
  4. Wererat – Lake of Fire, Desert (other side of bridge at start of Chapter 4), Ruined Edifice
  5. Proto-Wererat – Underground Passage
  6. Dryad – Sand Ruins, Newterra
  7. Salamander – Lake of Fire, Desert, Ruined Edifice, Underground Passage
  8. Undine – Newterra, Underground Passage
  9. Sprite – Fought as part of the story during Chapter 6, Underground Passage
  10. Ghost – Ruined Edifice, Underground Passage


Page 4

  1. Tailtoad – Lake of Fire, Endwall
  2. Darktoad – Newterra, Underground Passage
  3. Proto-Darktoad – Underground Passage
  4. Orge – Lake of Fire, Desert (other side of bridge at start of Chapter 4), Ruined Edifice, Underground Passage
  5. Death Crawler – Obtained as part of the story in Chapter 2, Ruined Edifice, Underground Passage
  6. Gargoyle – Ruined Edifice, Underground Passage
  7. Living Statue – Obtained as part of the story in Chapter 4, Underground Passage
  8. Proto-Gargoyle – Underground Passage
  9. Snowy Treant – Endwall, Newterra
  10. Wraith – Obtained as part of the story in Chapter 4


Page 5

  1. Seastone – Underground Passage
  2. Yeti – Fought as part of the story in Chapter 6
  3. Proto-Yeti – Underground Passage
  4. Magemoth – Newterra, Underground Passage
  5. Wyvern – Obtained as part of the story in Chapter 2, Endwall, Underground Passage
  6. Aquarock – Endwall
  7. Fearock – Obtained from an event at Newterra in Chapter 6
  8. Fury Aberrant – Silent Village (after visiting Monster Town), Underground Passage
  9. Malice Aberrant – Silent Village (after visiting Monster Town), Underground Passage
  10. The Forebear – Post game boss


Page 6

  1. Frost Primal – Obtained as part of the story during Chapter 5
  2. Steel Primal – Obtained as part of the story during Chapter 1
  3. Flame Primal – Obtained as part of the story during Chapter 3
  4. Fused Mizar – Obtained as part of the story during Chapter 7