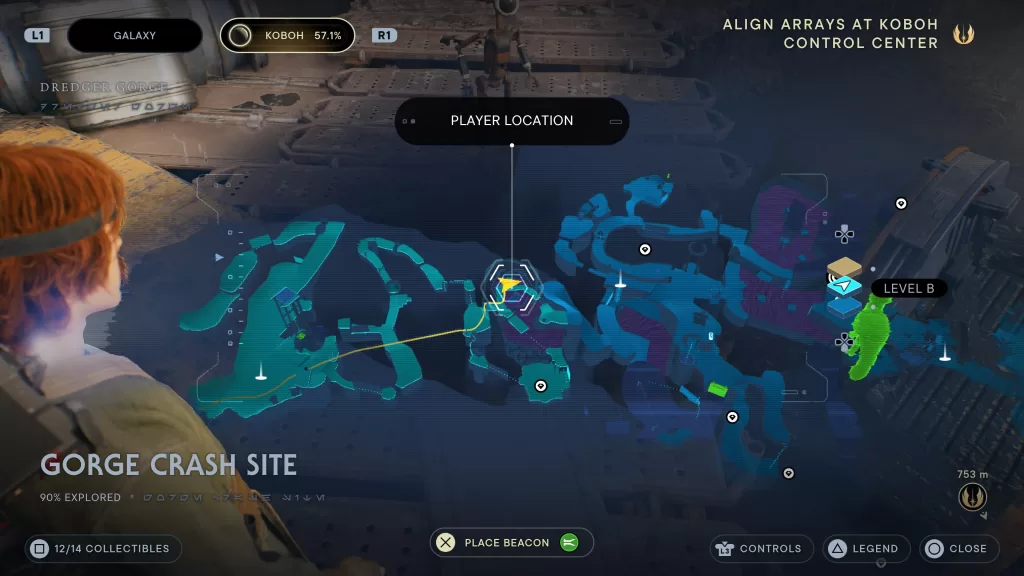
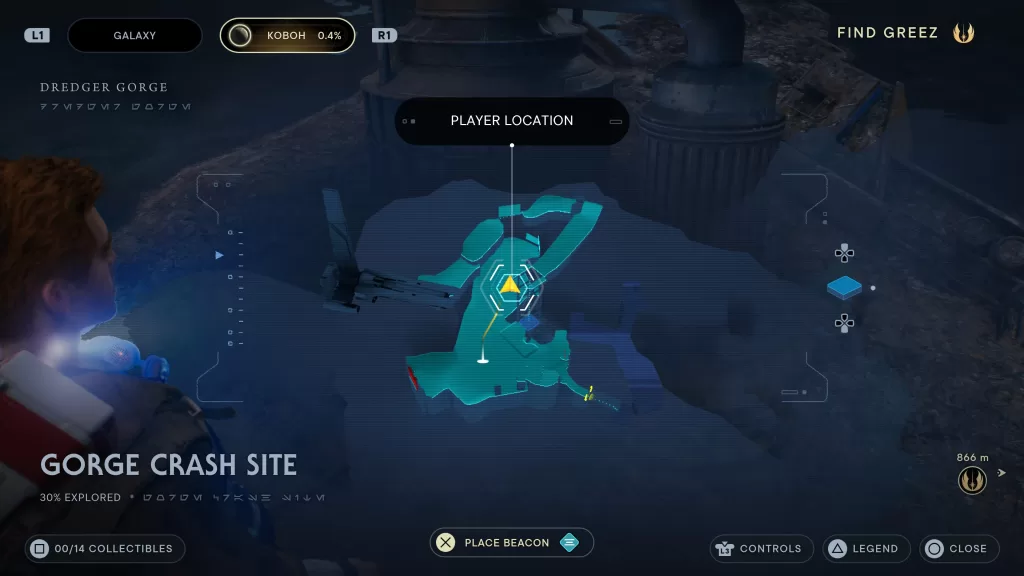
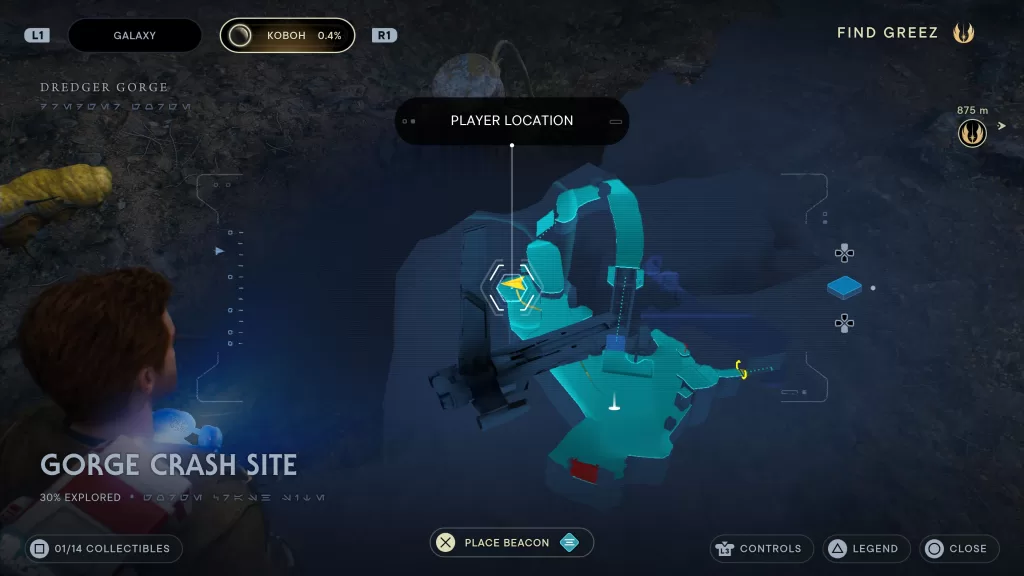
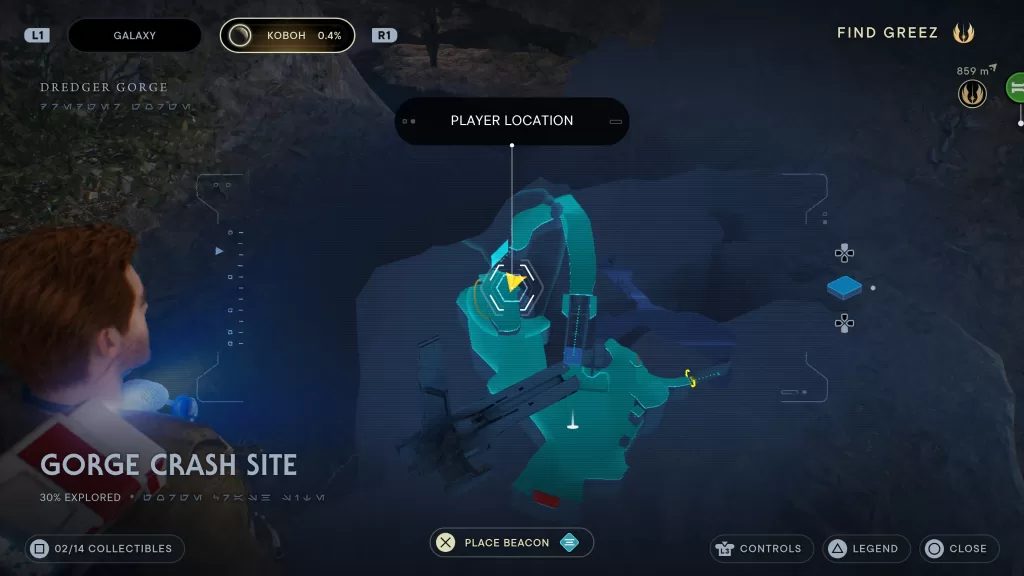
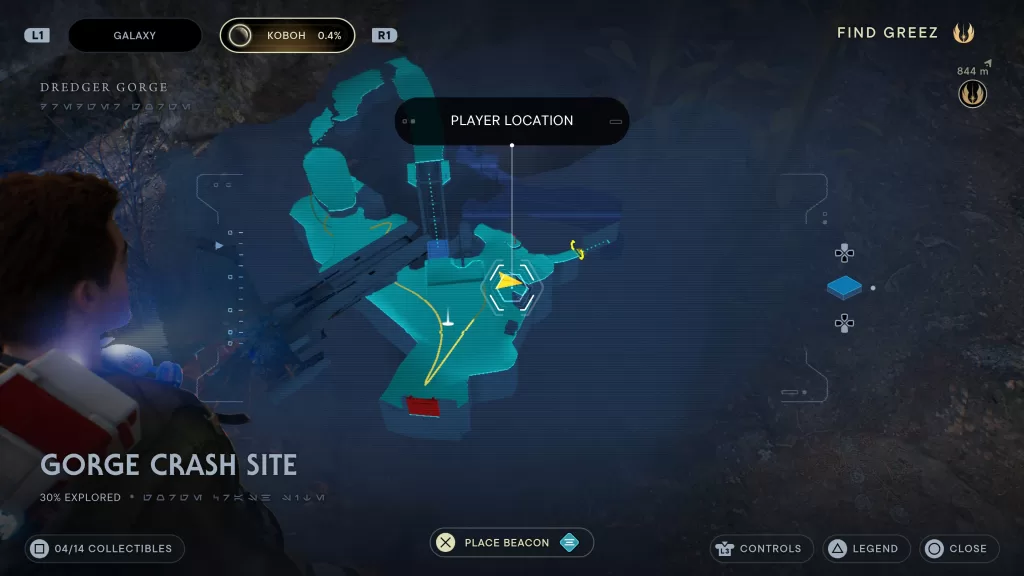
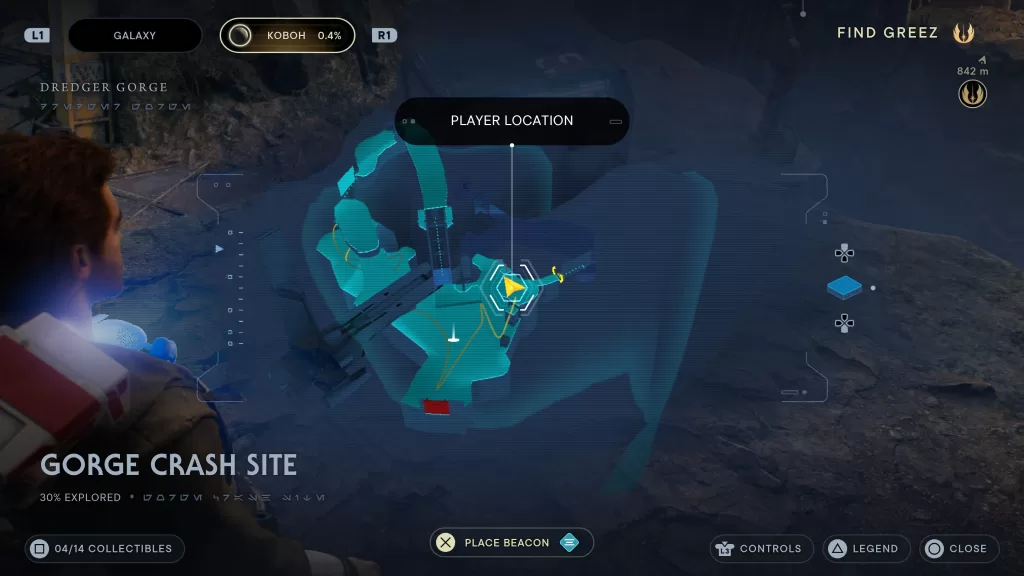
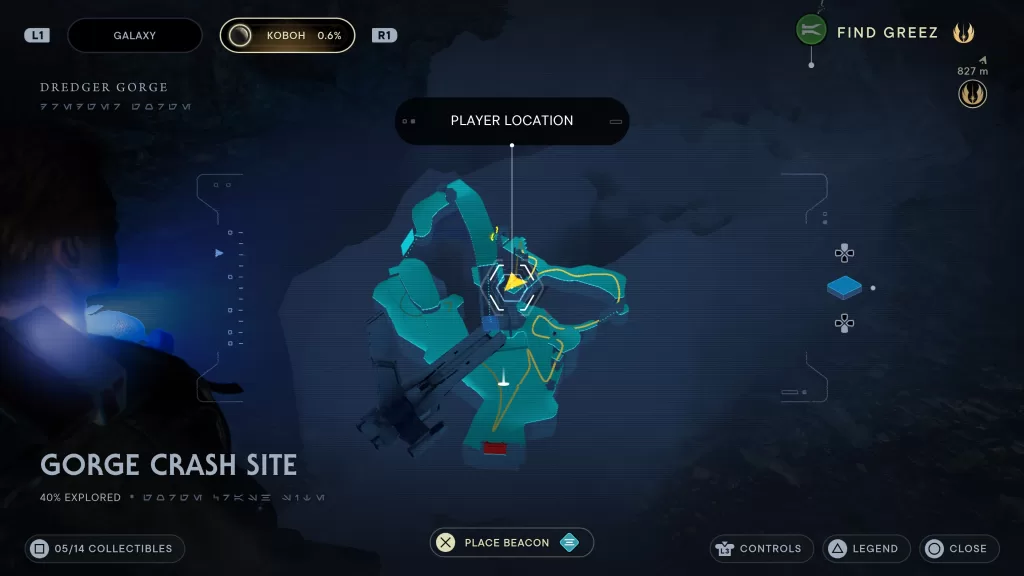
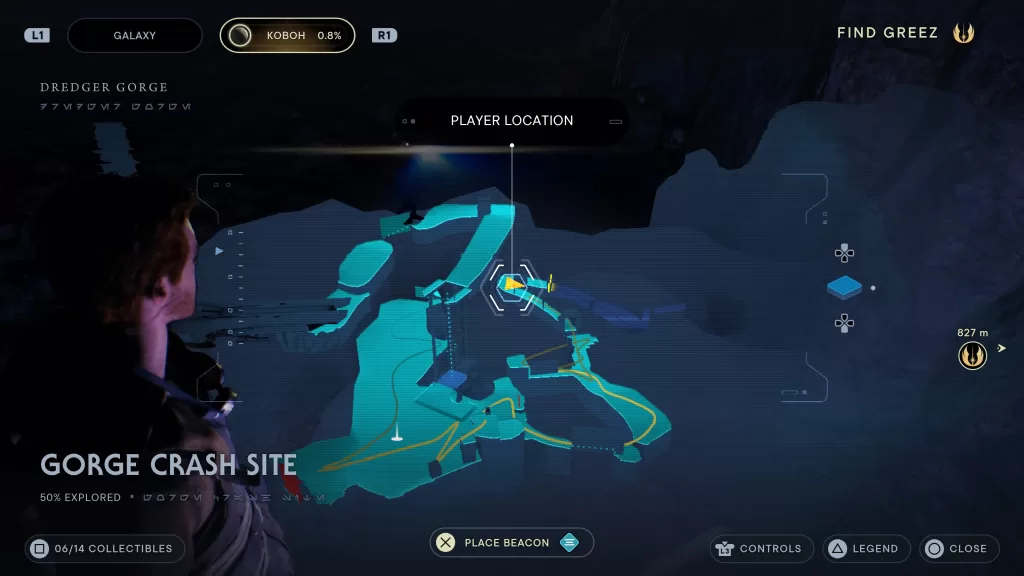
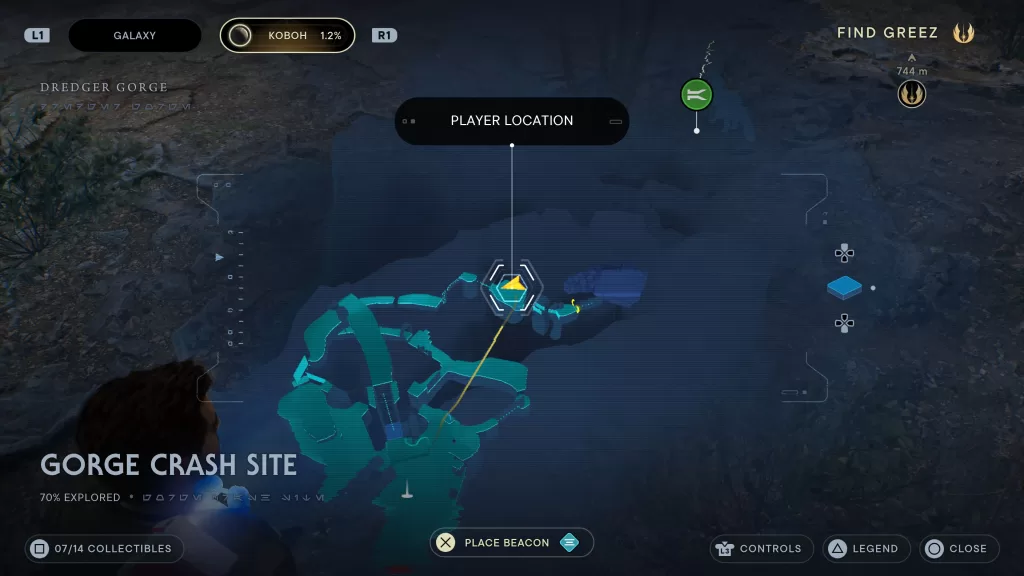
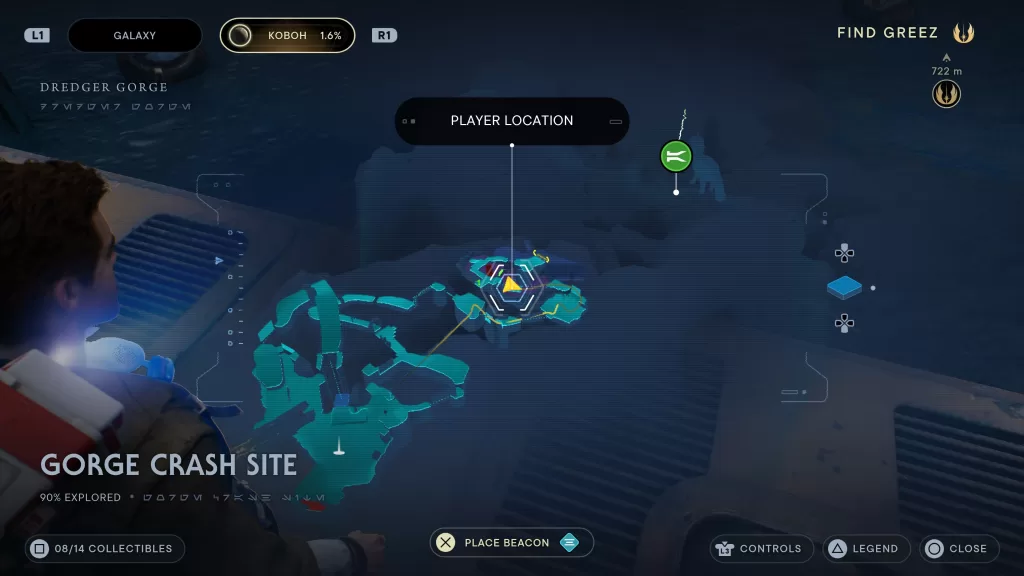
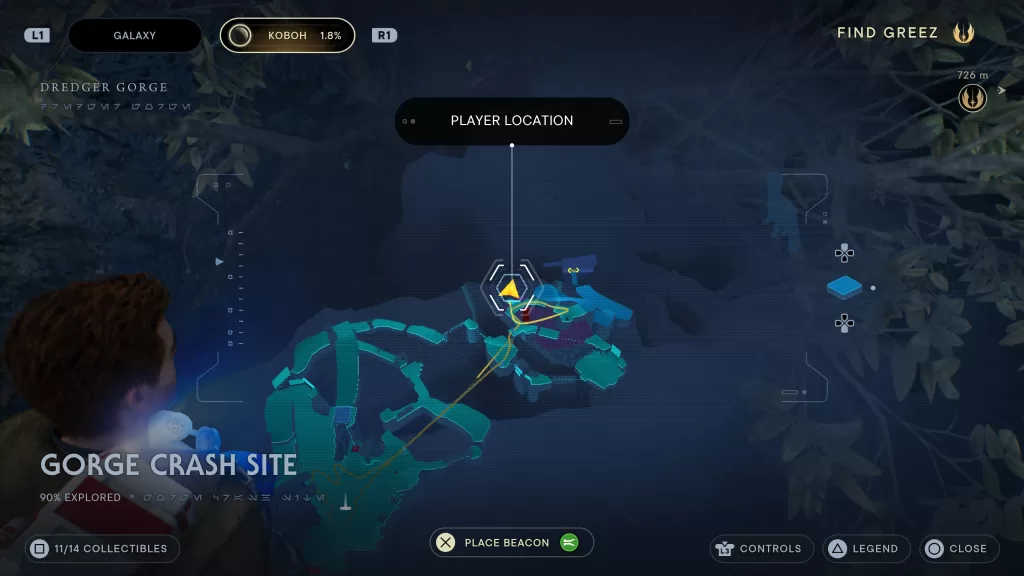
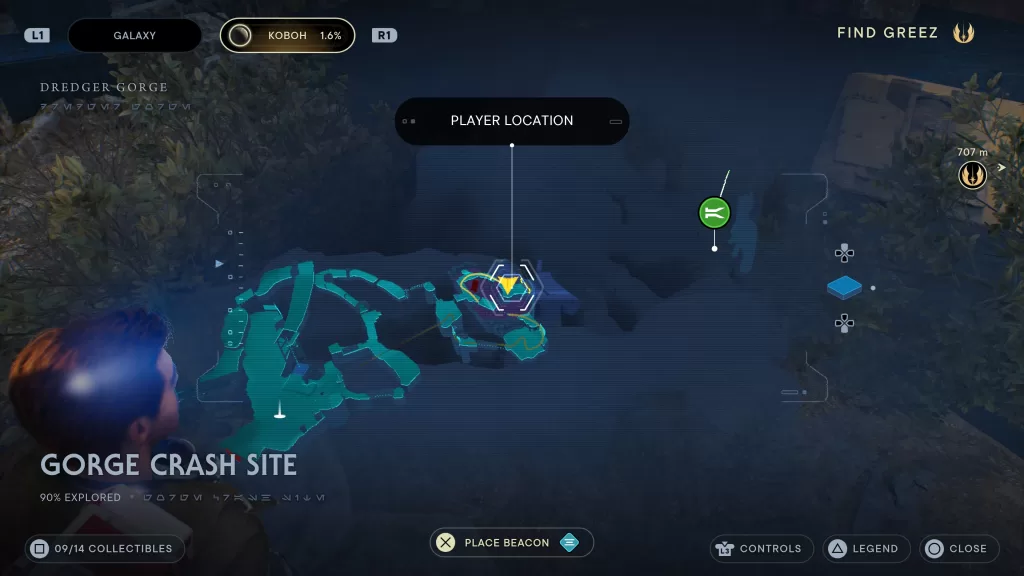
Need help finding the collectibles in the Gorge Crash Site on Koboh? Check out our Koboh Gorge Crash Site collectibles guide below!
Seed Pod – Fire Pineapple: Nabooan Green
When facing the elevator from the Meditation Point, it is to the left of the elevator on the other side of the tree by the rock.
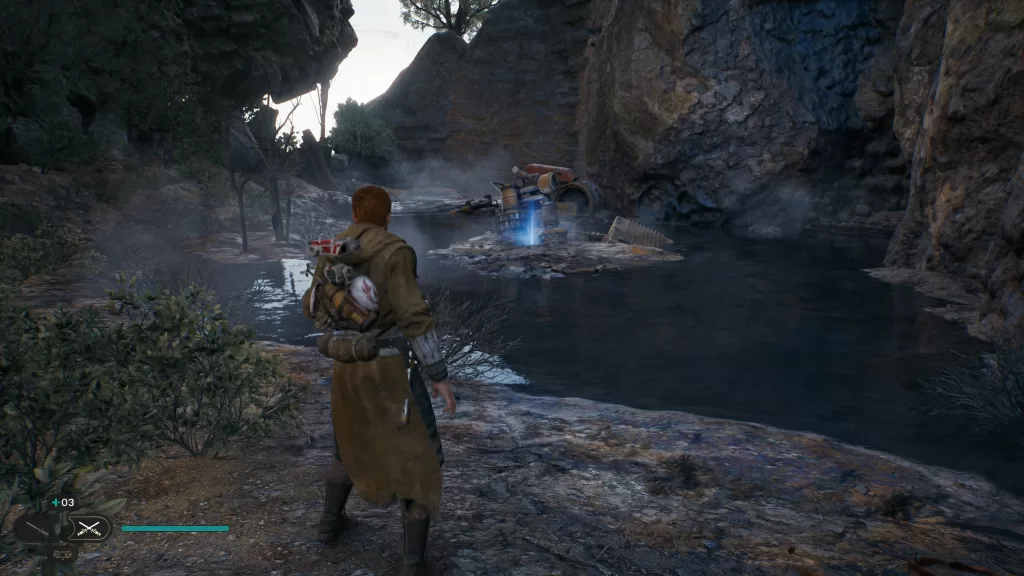
Databank – Broken Dredging Machine
When facing the elevator from the Meditation Point, follow the path left to find this collectible on an island in the water.
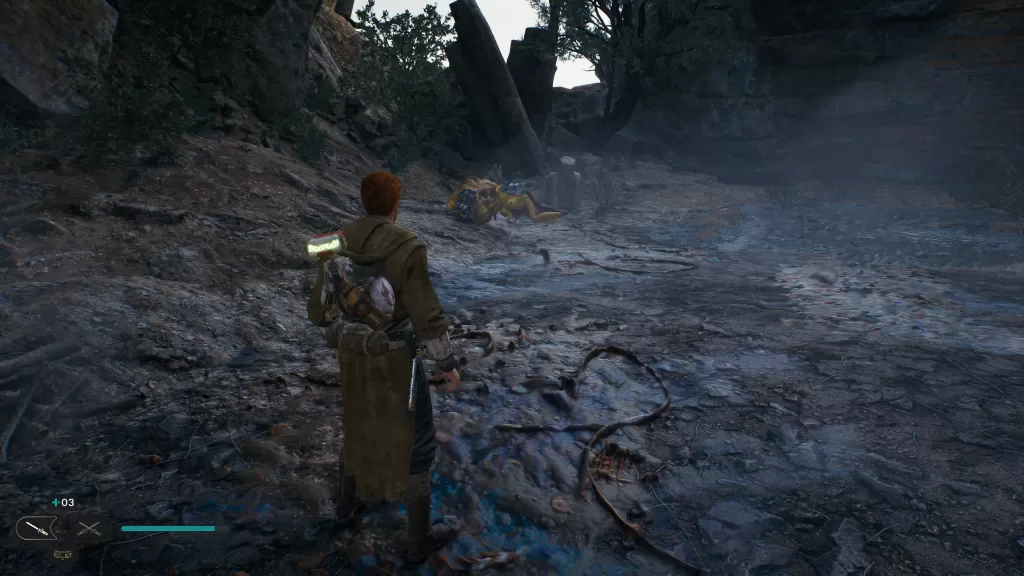
Databank – Broken Mining Droid
From the previous collectible, head past it to find the scannable broken down droid.
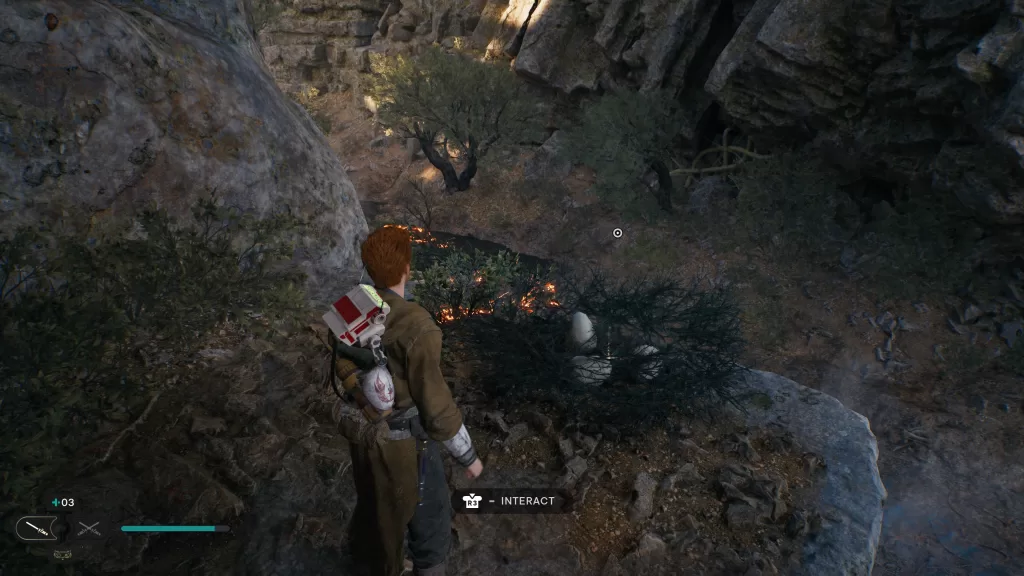
Treasure – Priorite Shard
Facing the previous collectible, look to the right to find a wall you can jump up. Do so to find a ledge containing a nest.
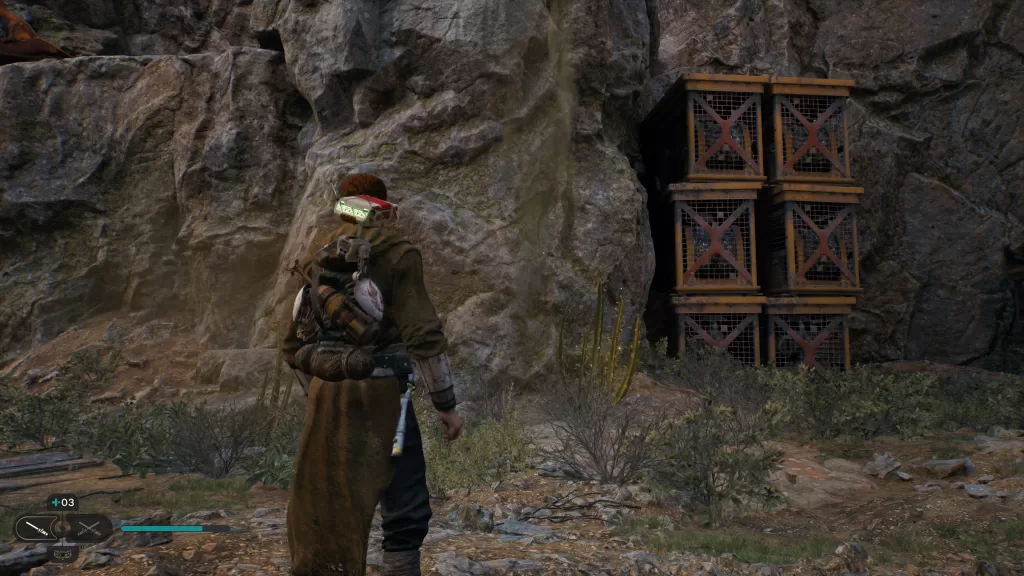
Seed Pod – Cactus Ball
Facing the elevator while standing on the Meditation Point, head to the right and look for a group of metal crates. Hit the plant in front of them with your lightsaber.
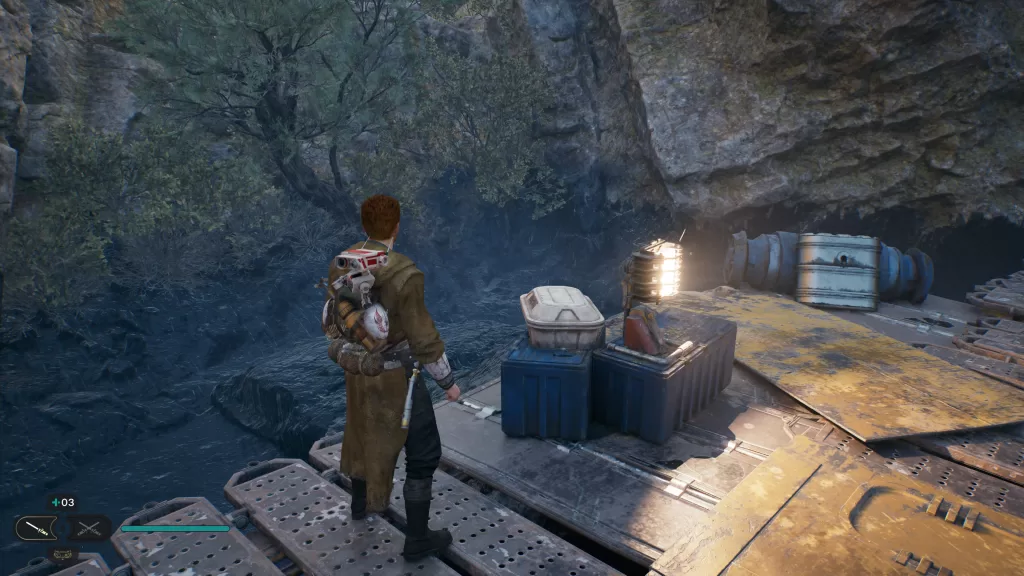
Chest – Photoreceptors: Scrayard
From the previous collectible, head to the side of the stacked metal crates and use your grapple to reach them. This will bring you to a stone rock containing the chest.
Treasure – Priorite Shard
This shard can be found near where you find the first group of Battle Droids near the crash site. After defeating the droids, head into the cavern. Immediately take a left to find a side tunnel with a wall you can run jump on. Do that to reach a ledge containing the shard.
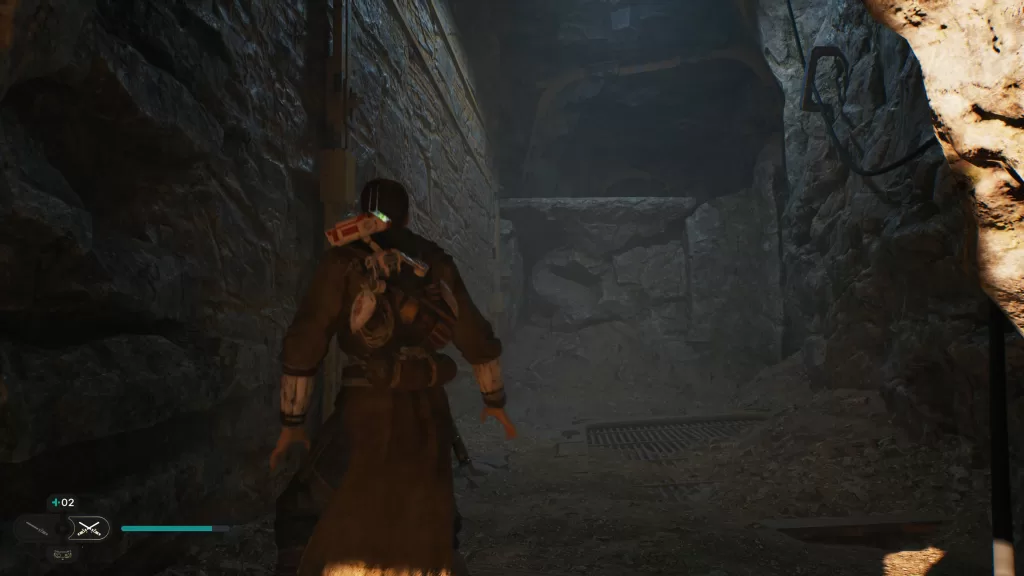
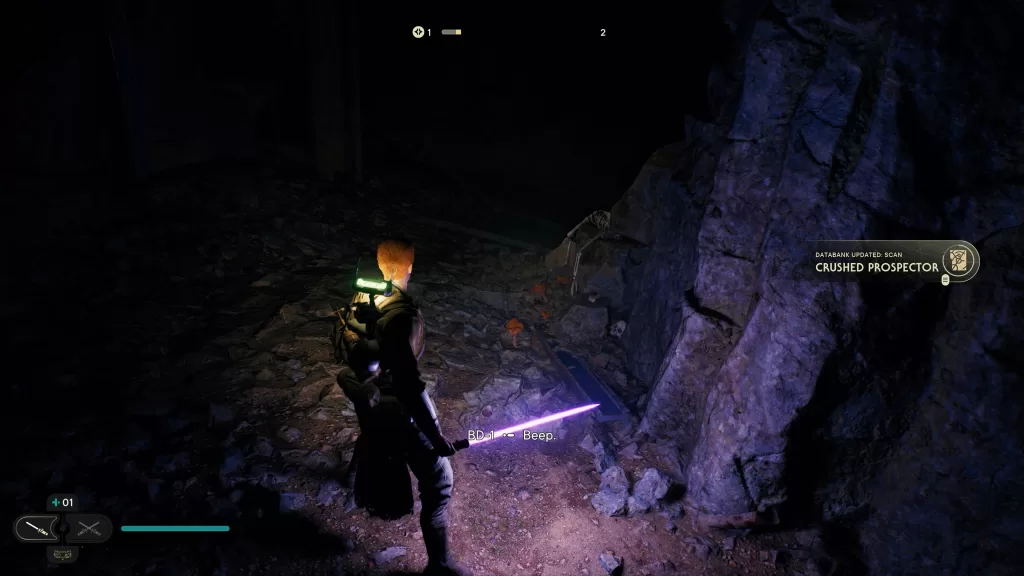
Databank – Crushed Prospector
Along the main path after defeating the first Raider Grunt in the tunnel.
Seed Pod – Cactus Ball
Near the shortcut zip line that leads back to the Meditation Point. Use the lightsaber to cut it down.

Databank – Koboh Tar
In a tar pit along the main path just after using the zip line shortcut from the Meditation Point
Seed Pod – Fire Pineapple
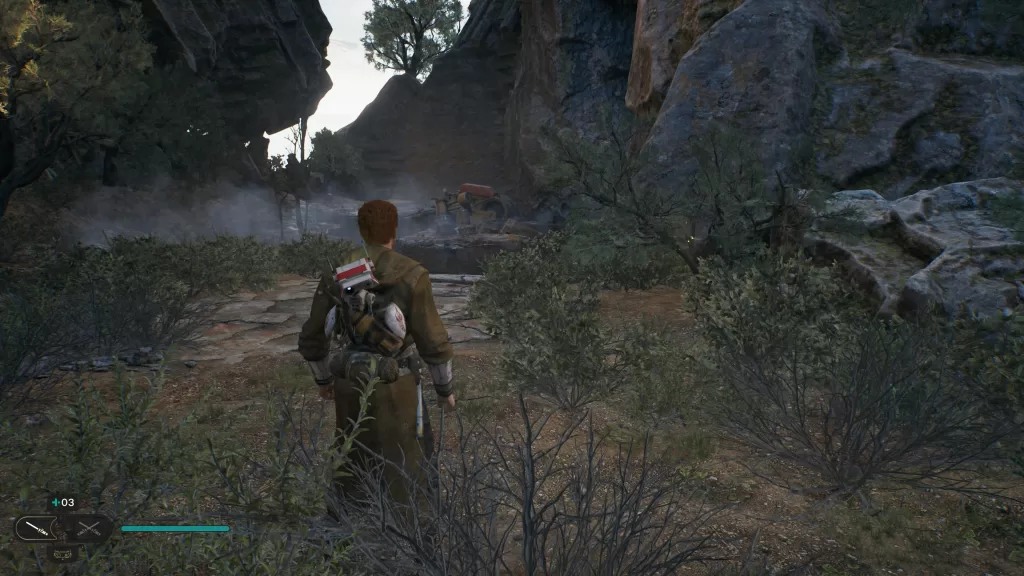
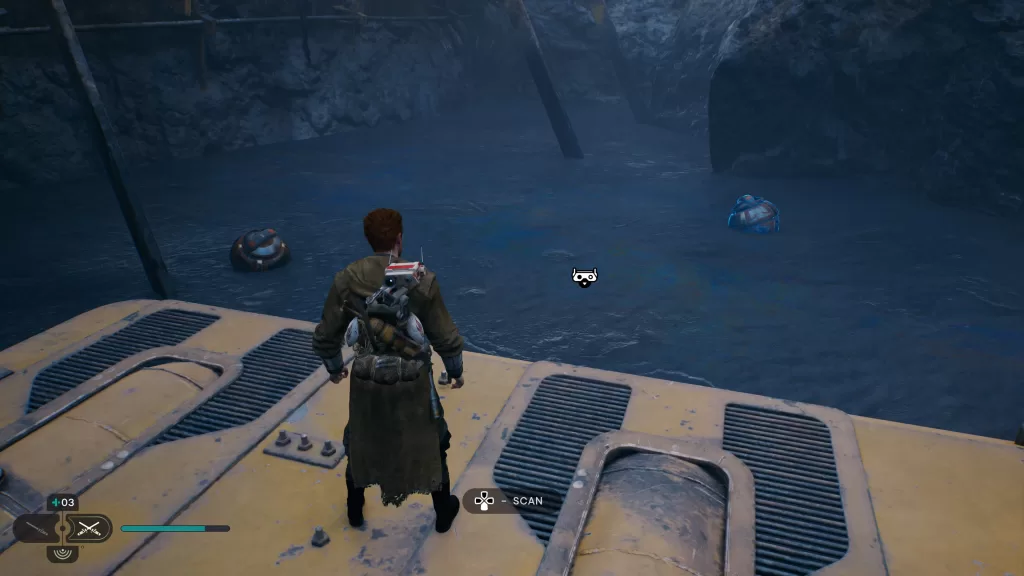
Head to the ship trapped in tar. Once there look for the droid then head down the path behind him to face a rock wall. Cut the brush on the right to receive the seed.
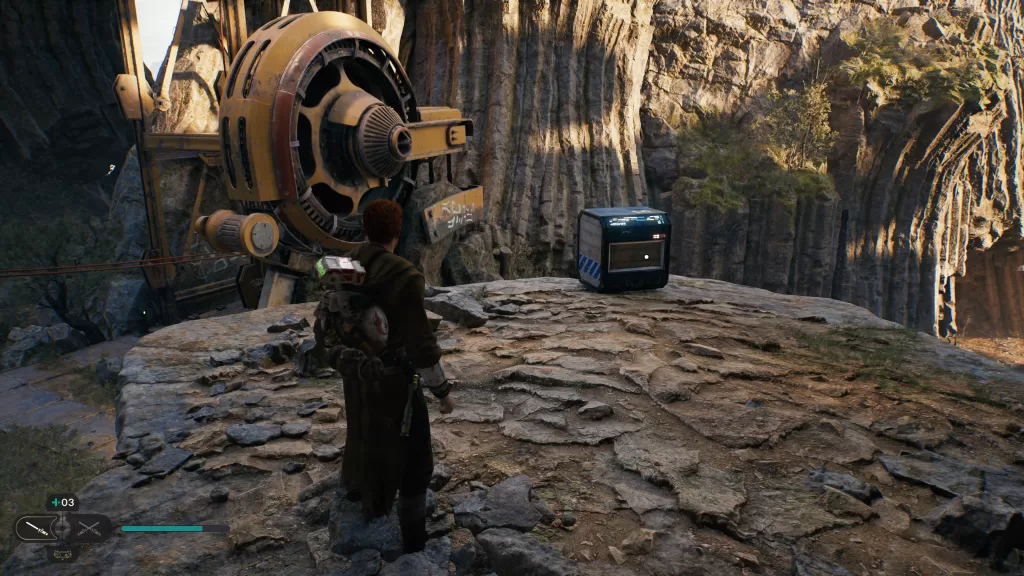
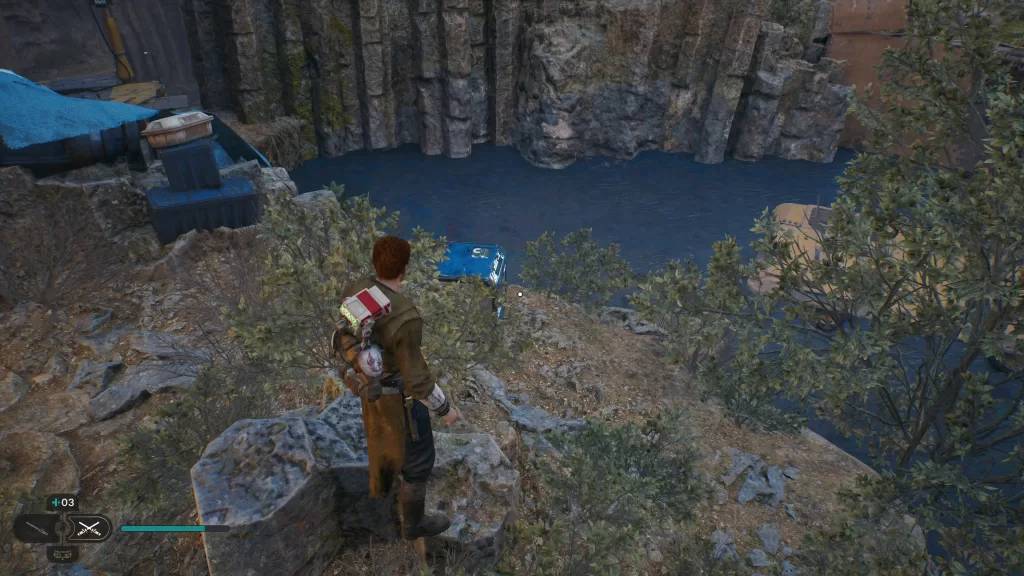
Chest – Short Beard
On a cliff overlooking the tar pit near the second shortcut
**The below collectibles become available after you unlock the ability to open doors with the Force.**
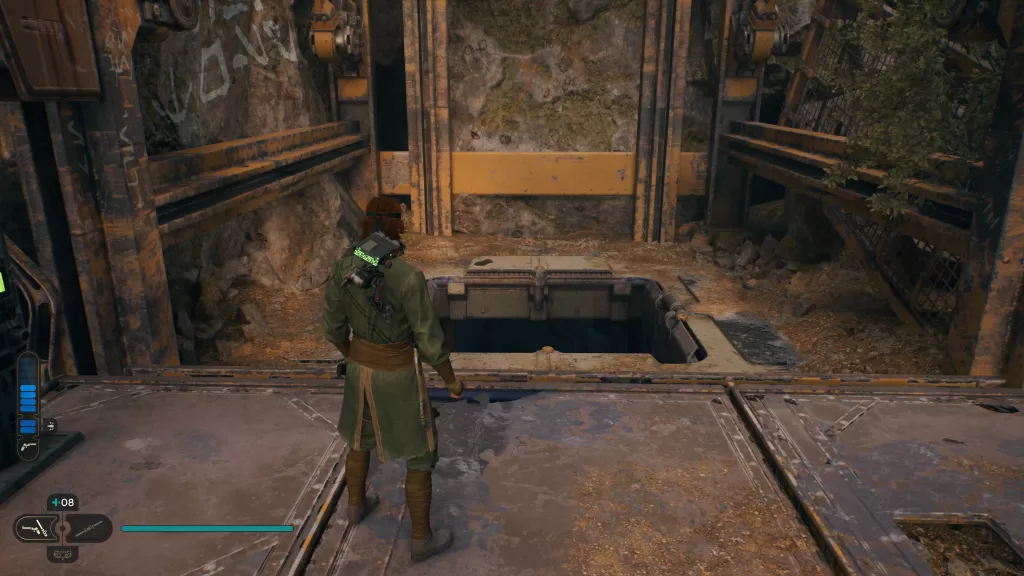
Force Tear
Start at the Meditation Point and send the elevator up (don’t ride it!). Under it you’ll find a hatch you can open. Drop down to find the Force Tear at the end.

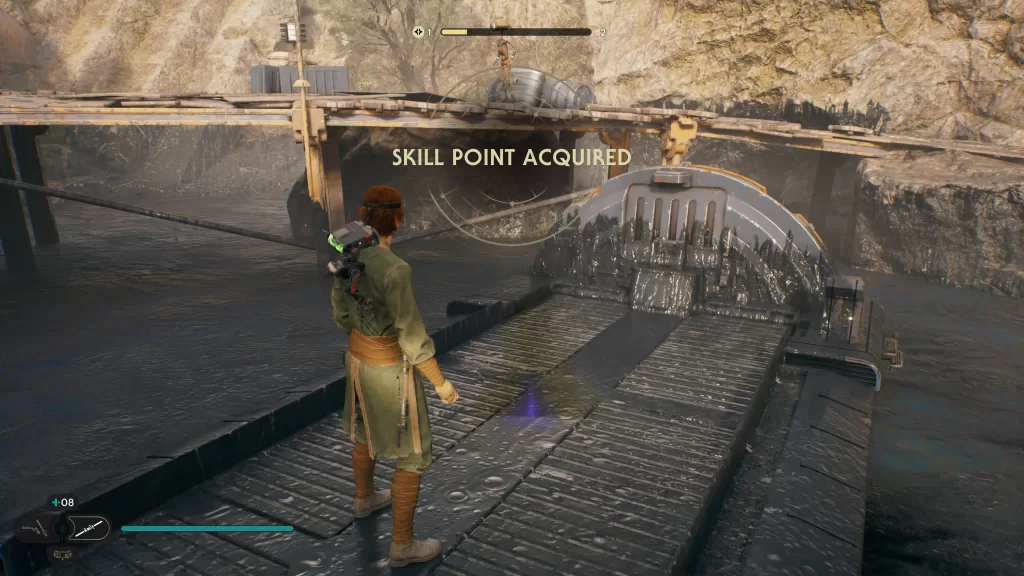
Essence: Skill Point
Near the end of the area in the tar pit right before Derelict Dam. There will be a crashed ship that you must use the Force to raise out of the tar. The essence can be found on this ship.