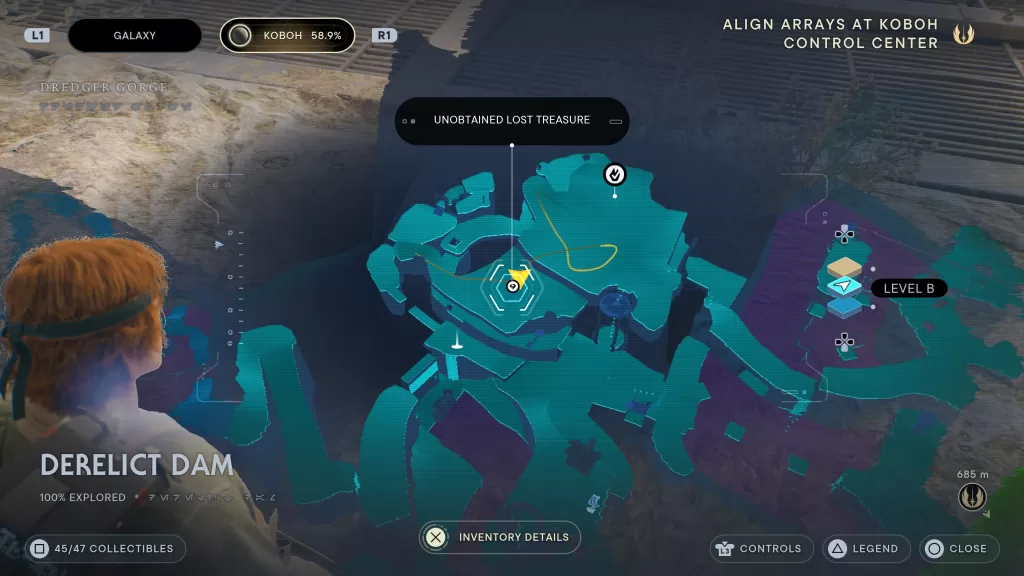
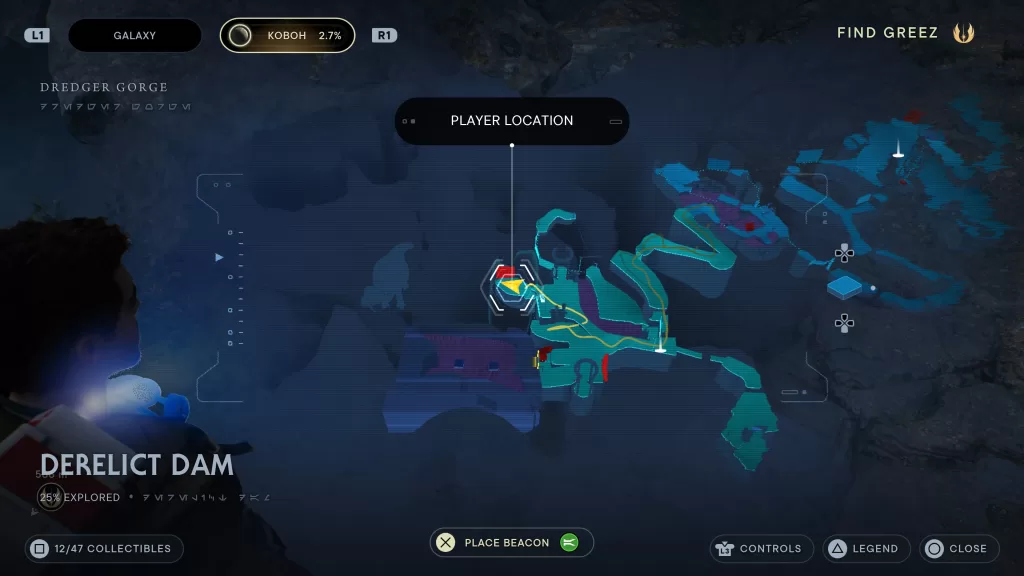
Need help finding the collectibles in the Derelict Dam on Koboh? Check out our Koboh Derelict Dam collectibles guide below!
Databank – Murdered Prospecter
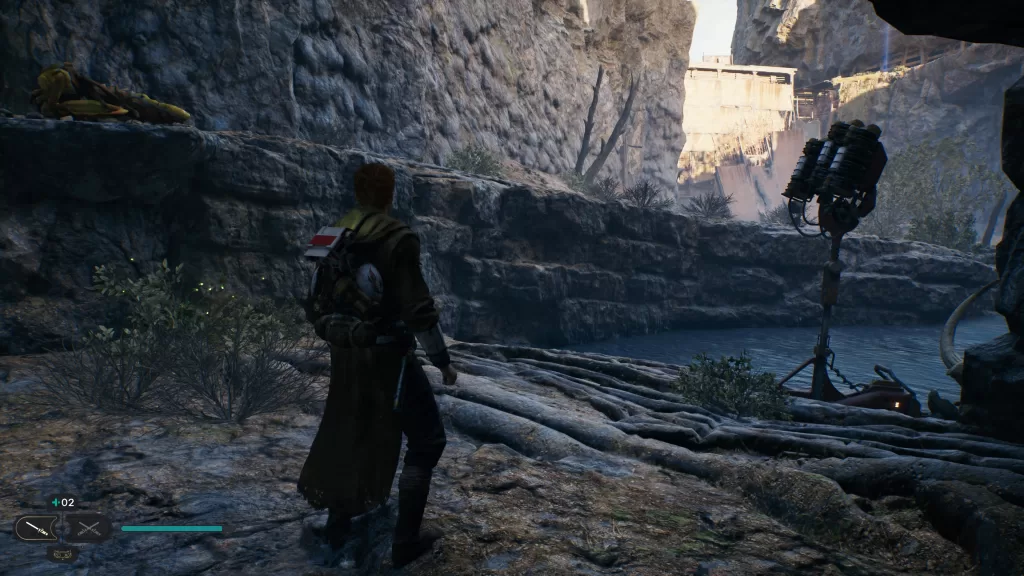
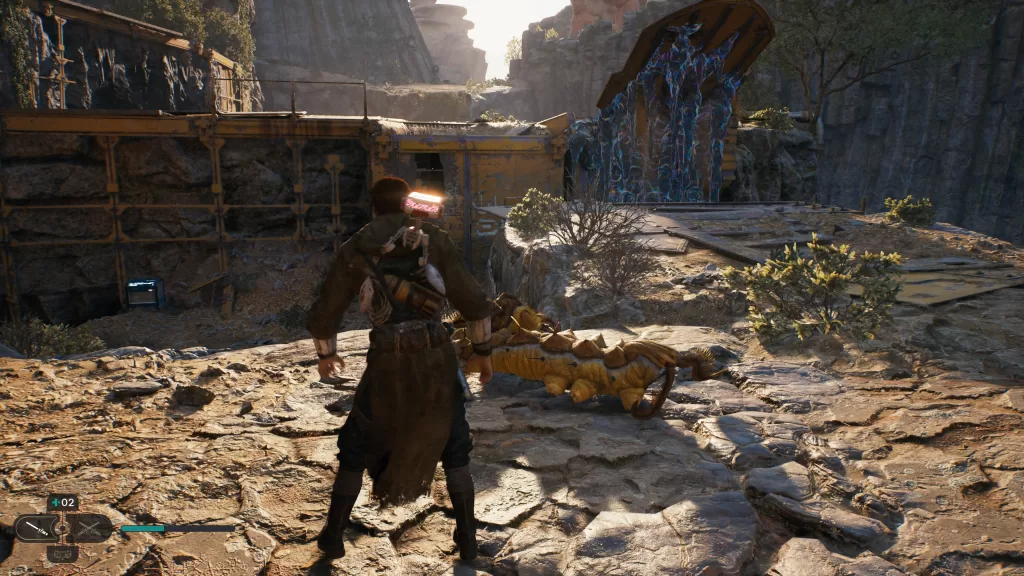
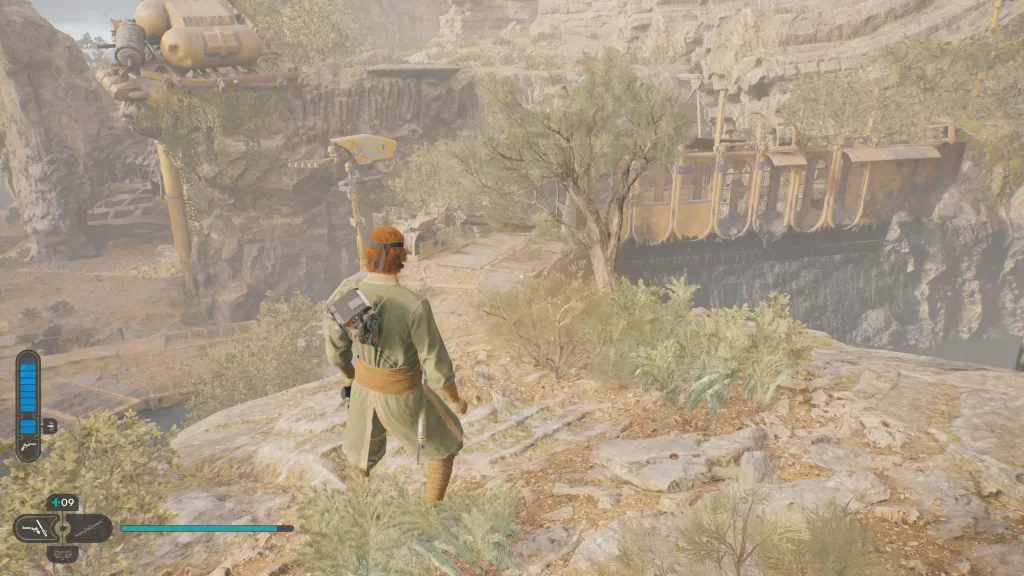
From the Meditation Point, look to the path leading back to the Gorge Crash Site. You’ll need to jump onto and walk across the broken bridge. You’ll then find a corpse leaning against a yellow light post.
Databank – Gorocco Nest
From the Meditation Point facing the broken bridge, head right crossing a metal bridge with a gap. Follow the path to a dead end then use the Force to lower a section of wall to make a ramp. Climb up the ledge to find the databank.

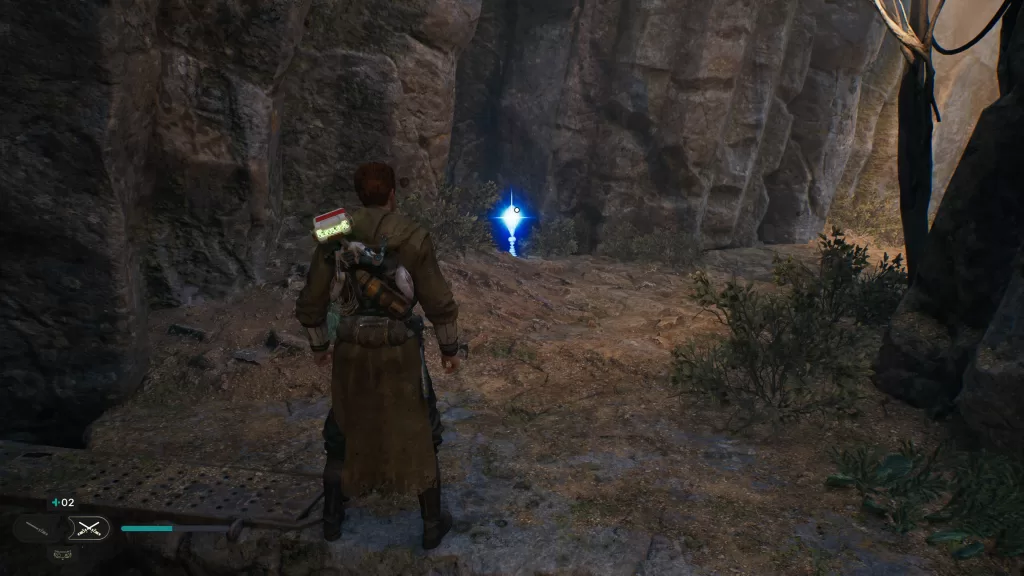
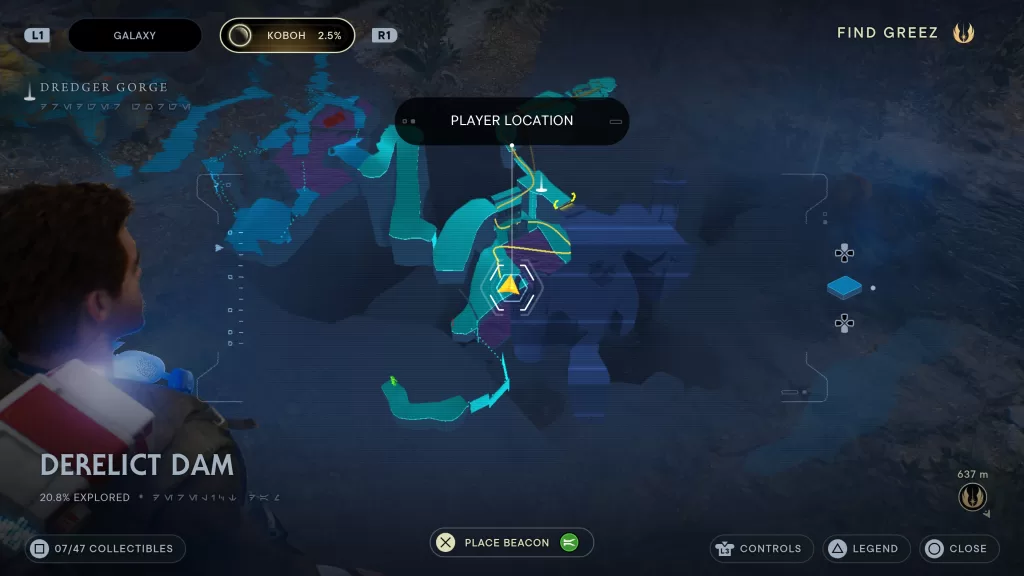
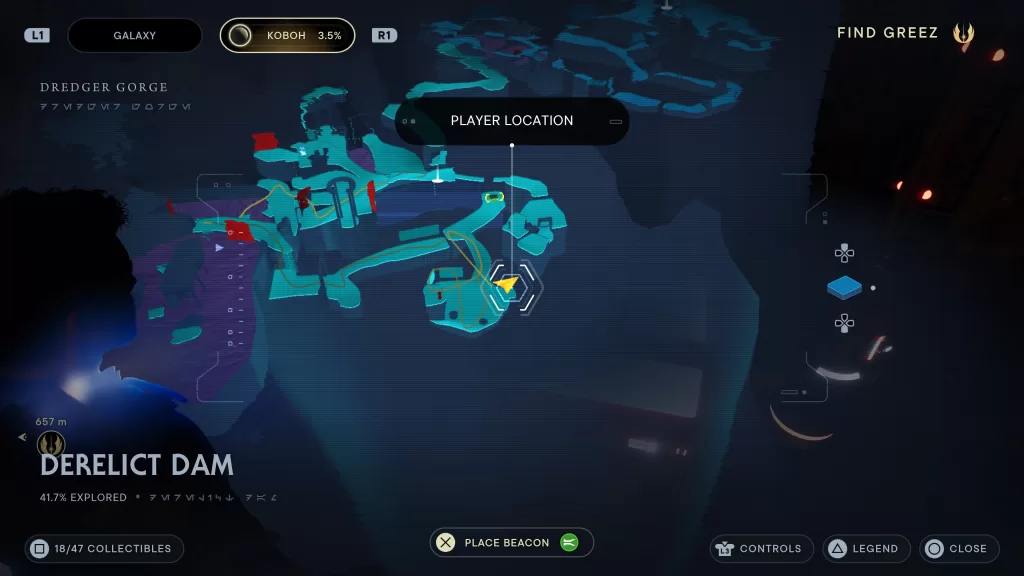
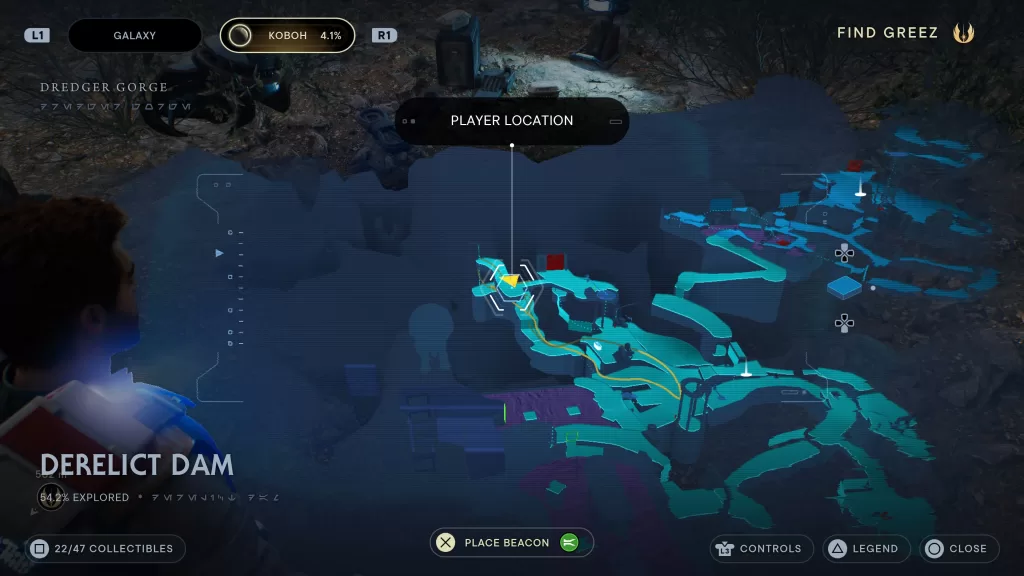
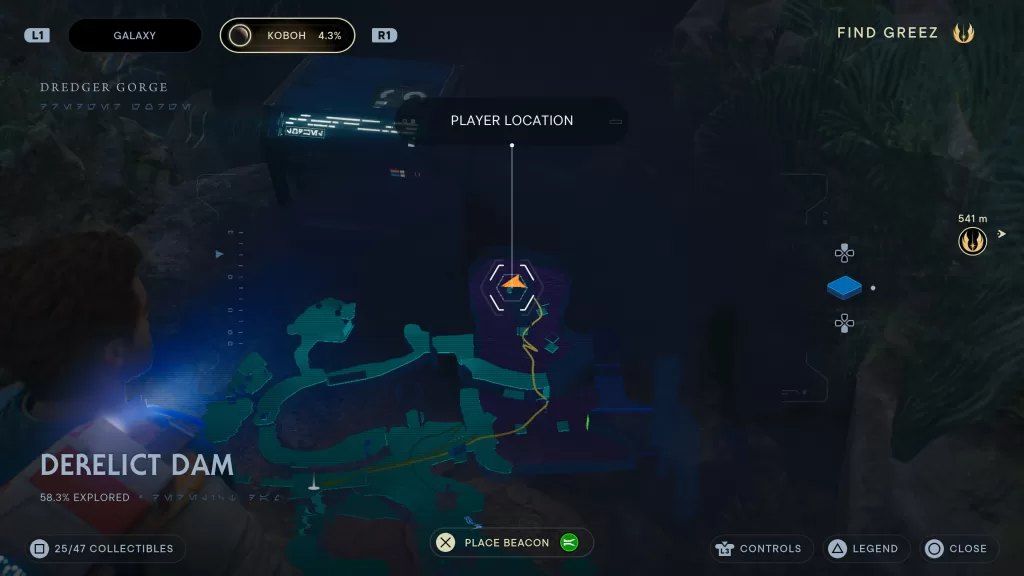
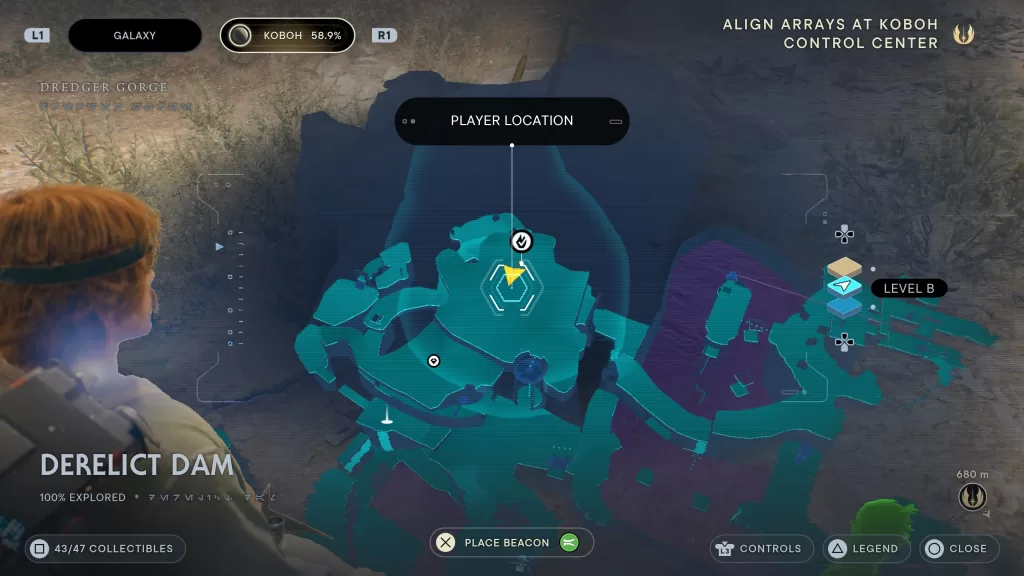
Essense – Health
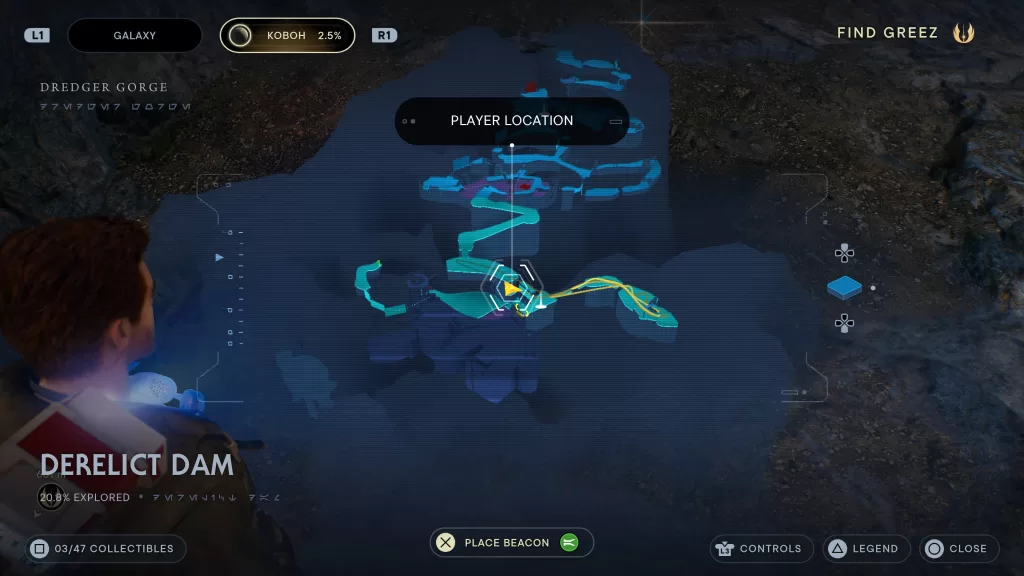
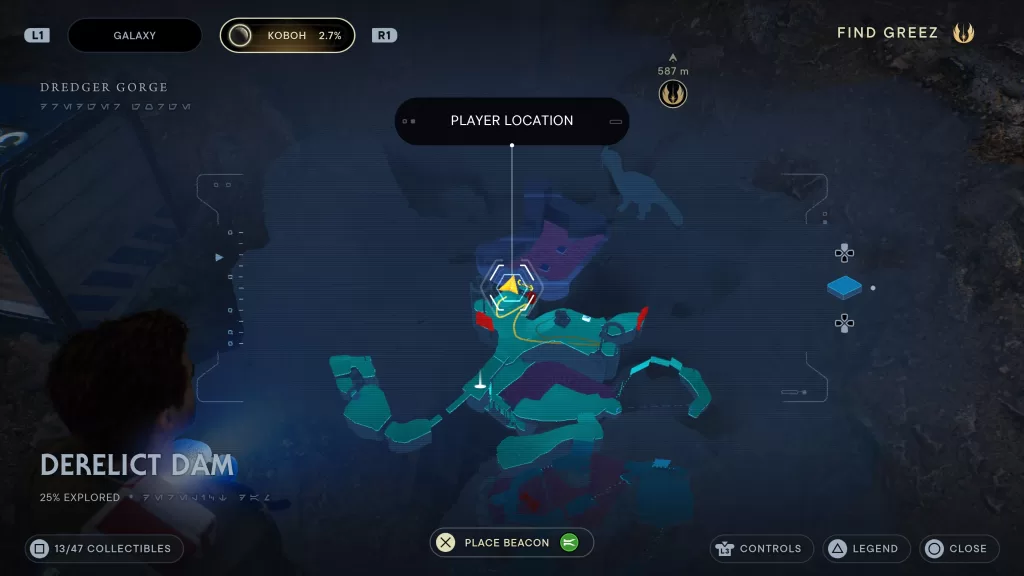
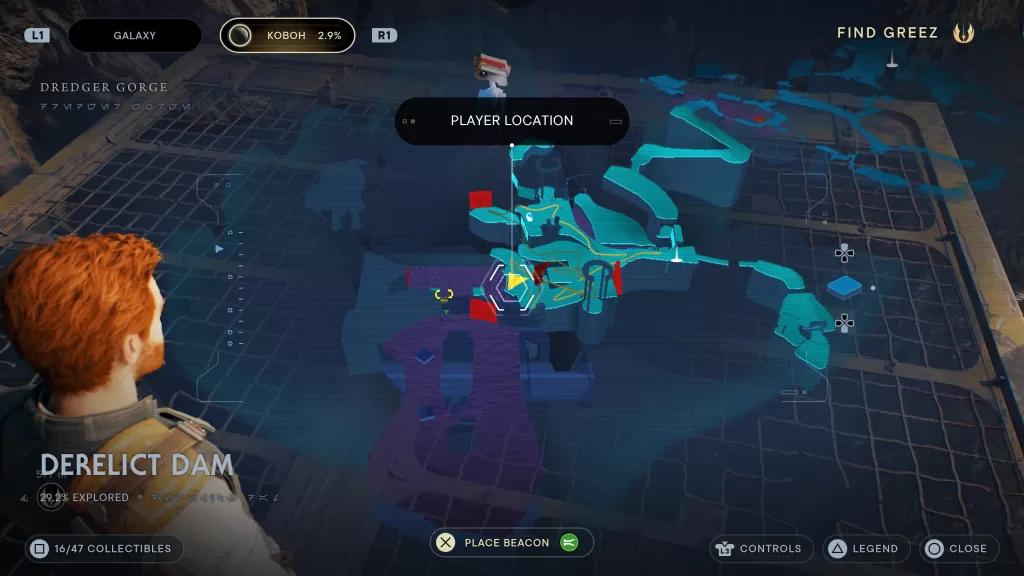
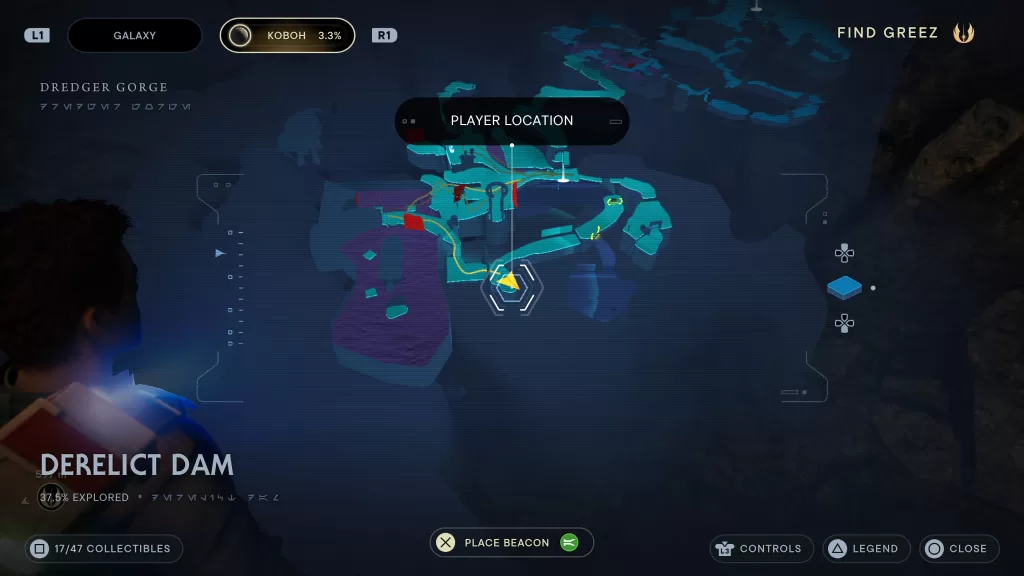
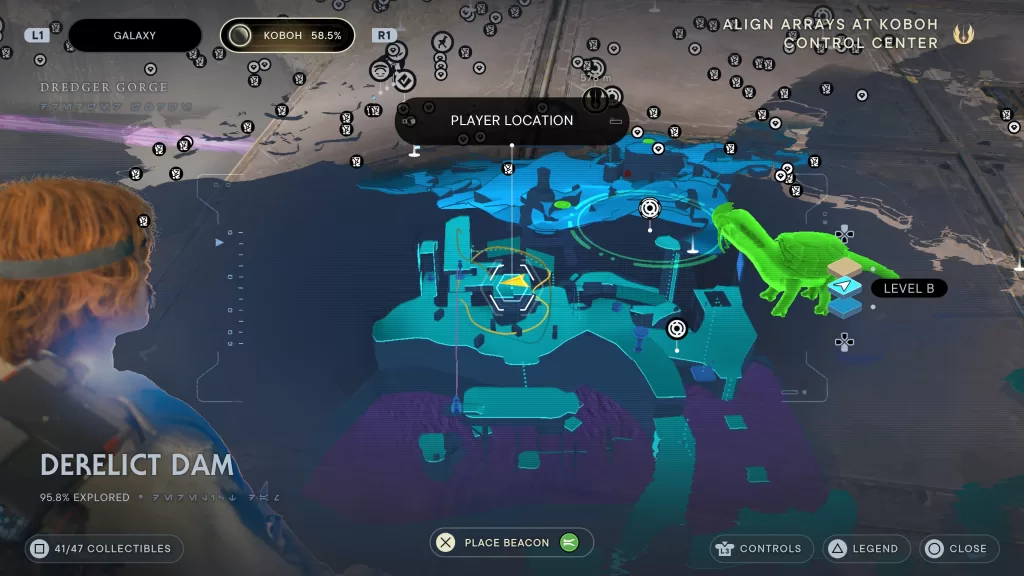
When facing the above collectible, it can be found to the right after climbing up a small ledge (see above map picture).
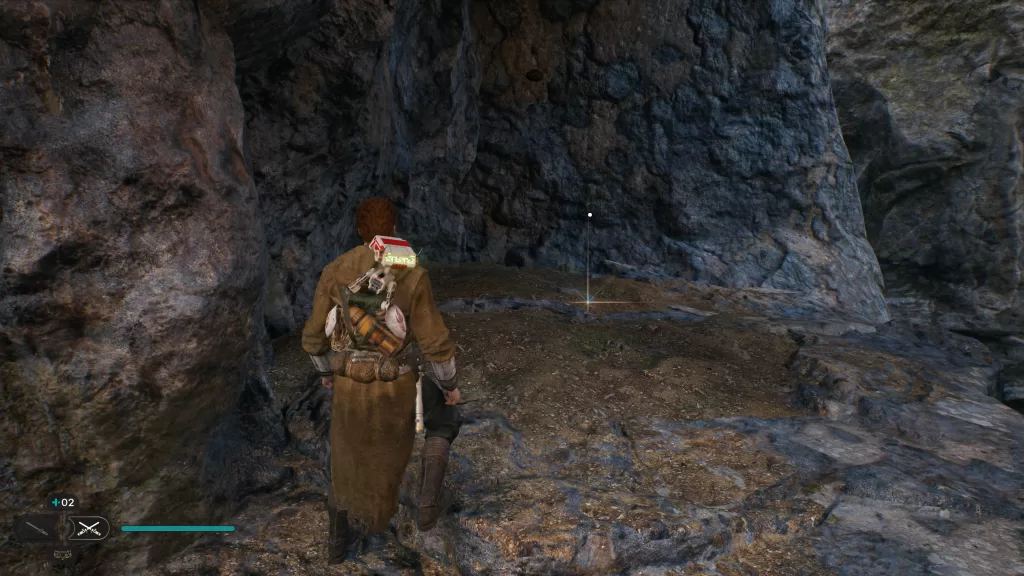
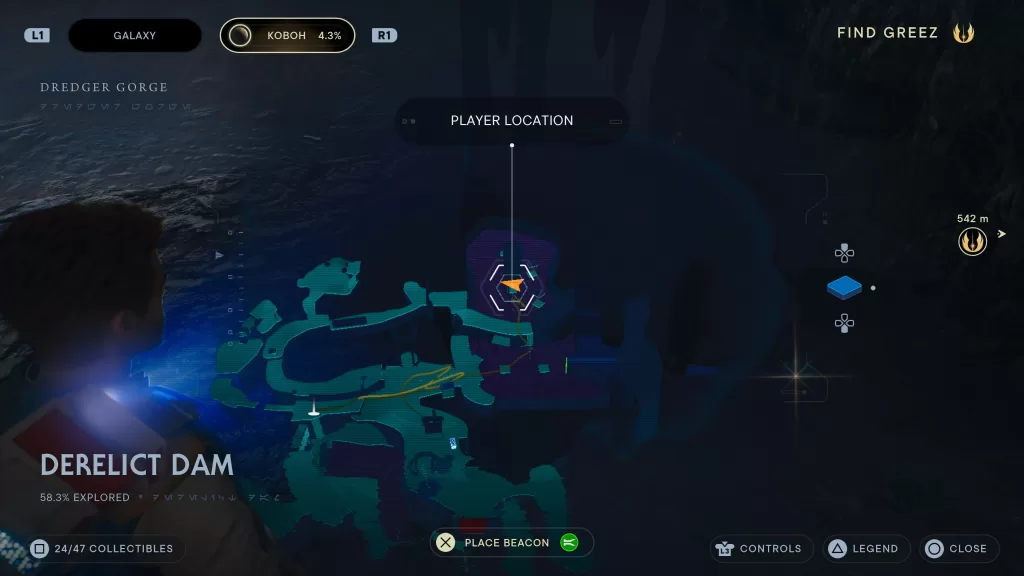
Treasure – Priorite Shard
From the Mediation Point, jump to the middle platform of the broken bridge then head on down to find the treasure on a ledge.
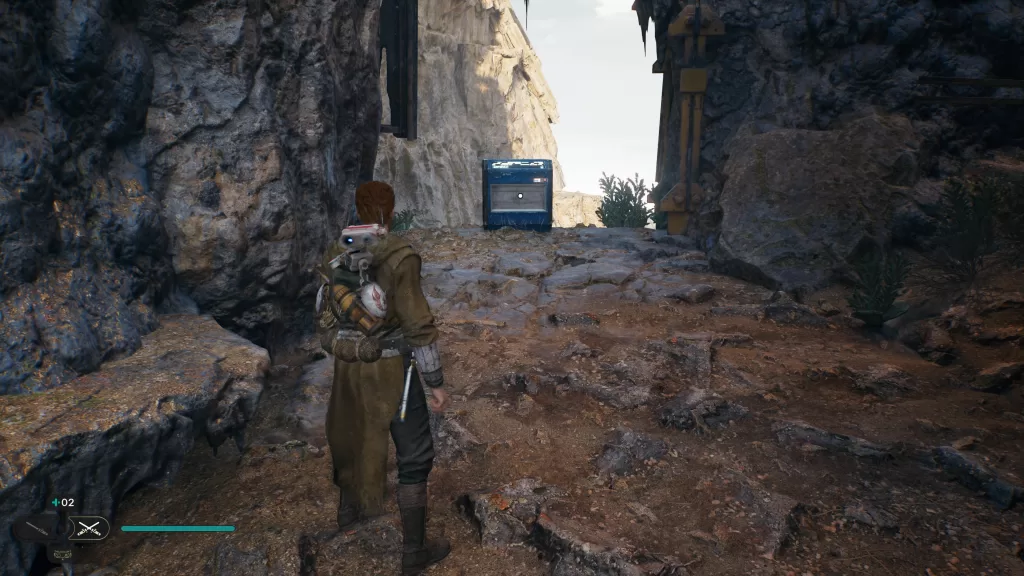
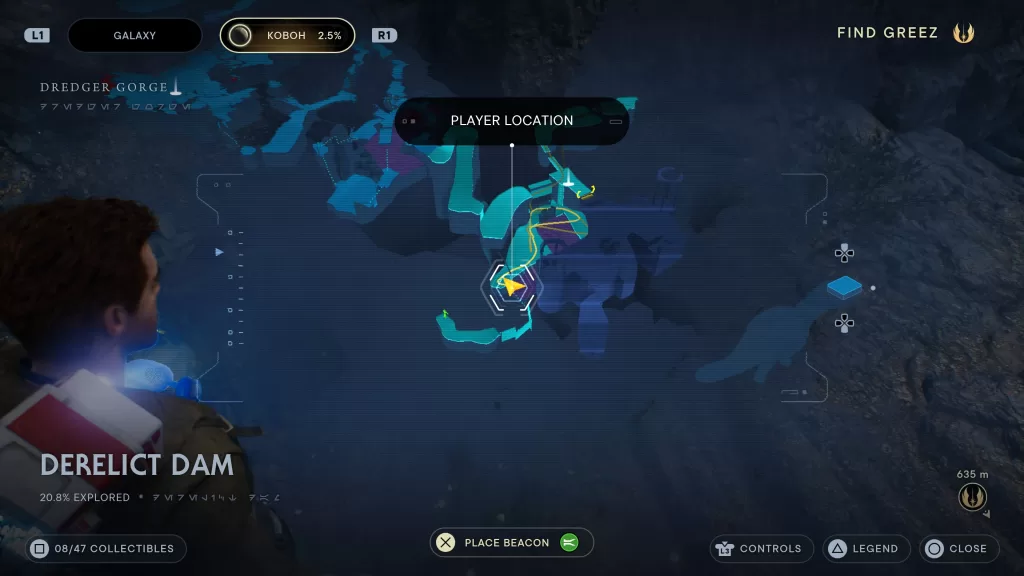
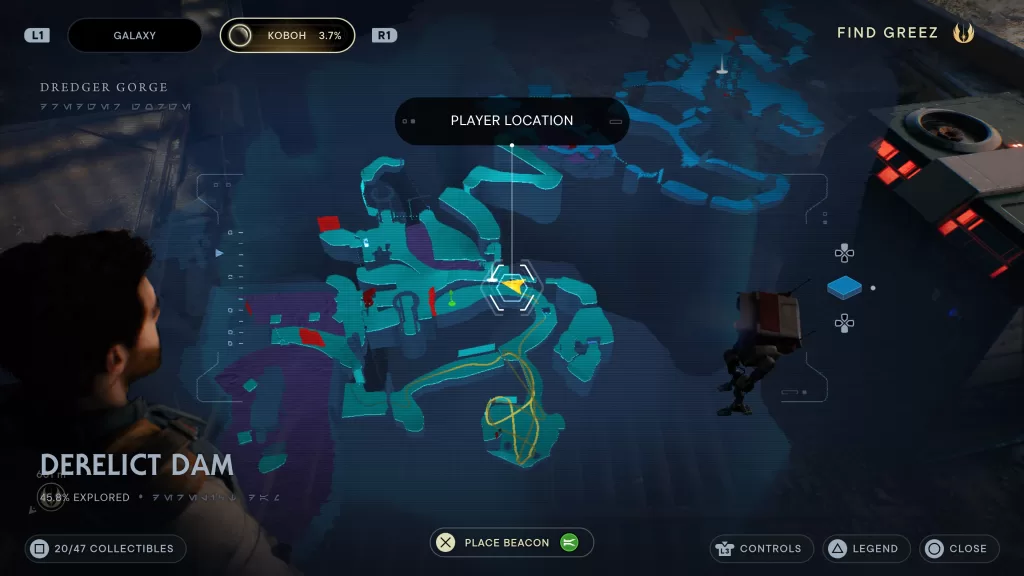
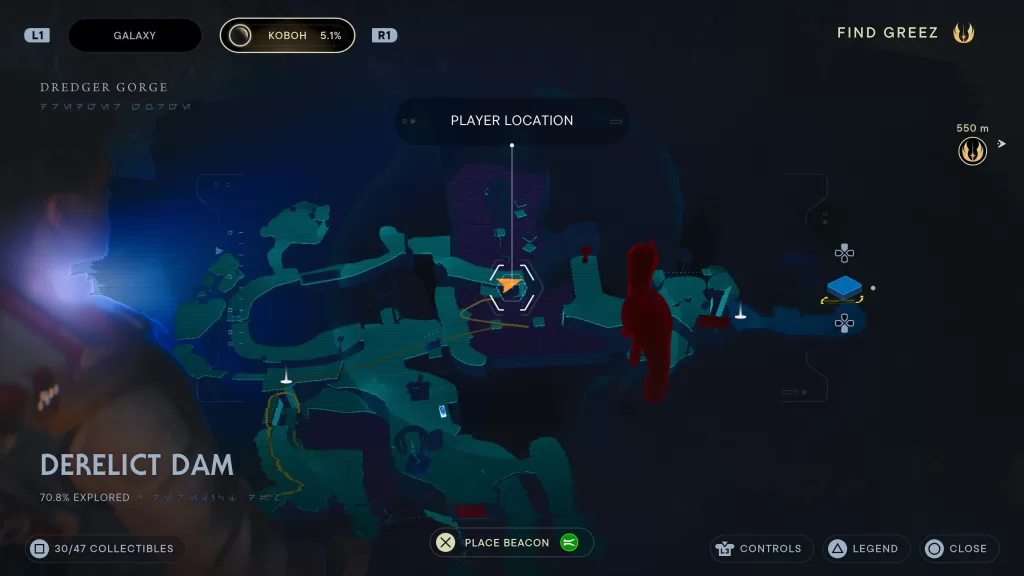
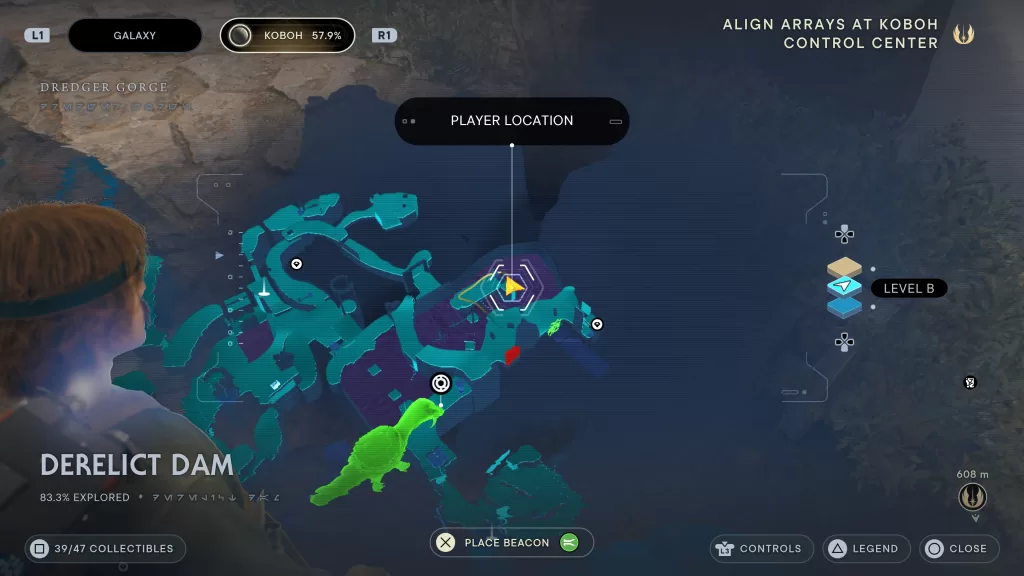
Chest – Body: Scrapyard
From the previous collectible drop down to find the chest (see above map picture).
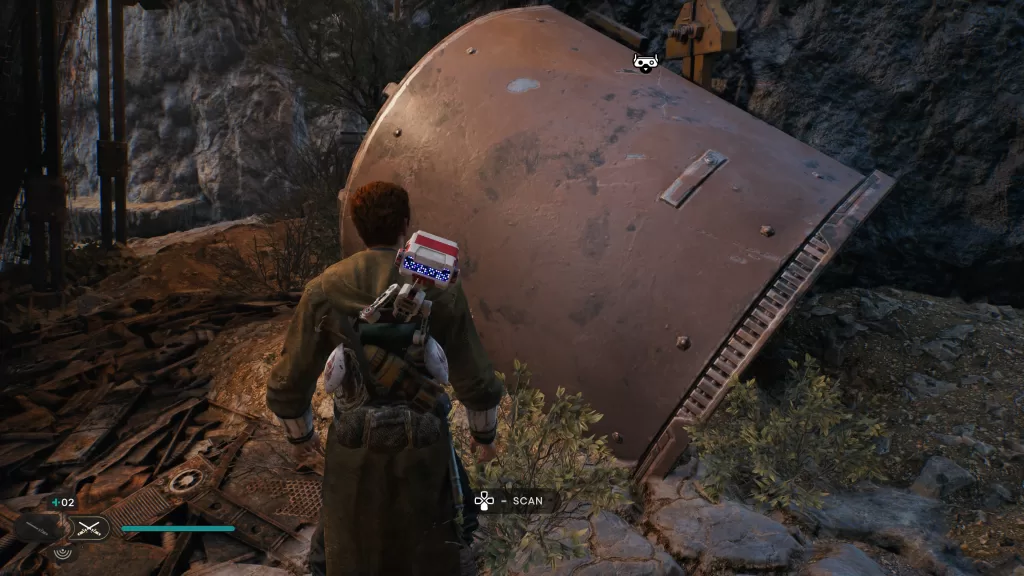
Databank – Destroyed Dam
Facing the above chest, head right to find this collectible just before the climbable vines.

Seed Pod – Cactus Ball: Felucian Yellow
From the previous collectible, look at the hanging vines then head right to find the plant along the tar.
Databank – Drowned Prospector
From the above collectible, swing around to the other side of the tar to find this corpse next to a bush.

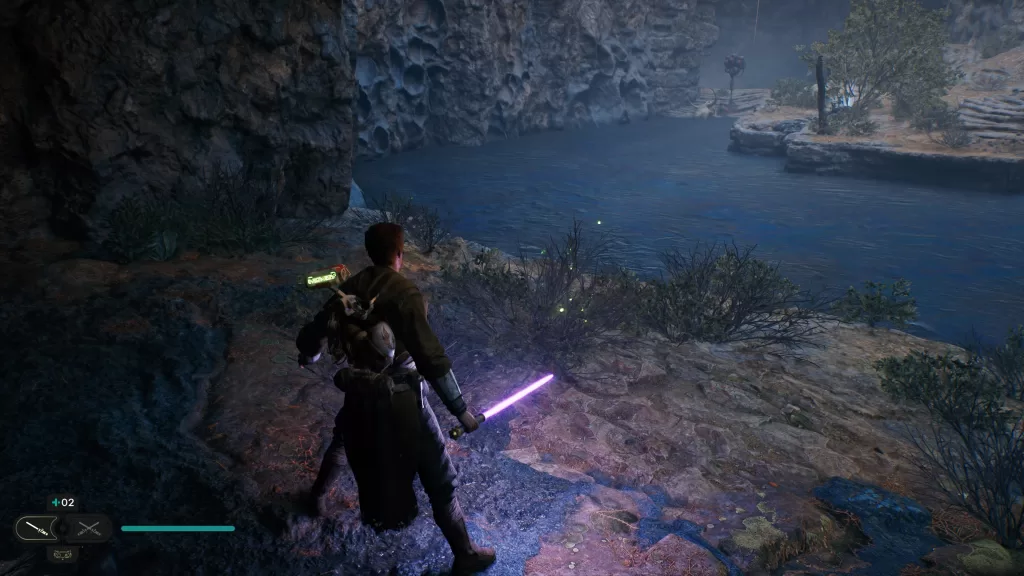
Seed Pod – Cactus Ball
From the above collectible, keep following along the tar until you find a rope you can swing on. Instead of swinging on it, drop down to find the plant.
Essence – Skill Point
From the above collectible, use the rope to swing over to a runnable wall. Get as high as you can to reach the high ledge containing this collectible.

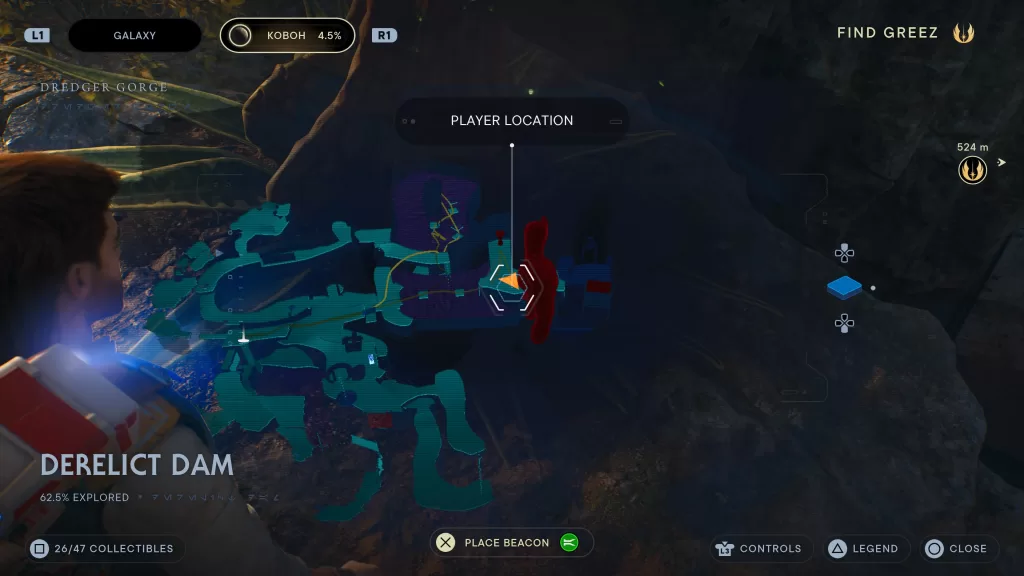
Databank – Dead Bedlam Raider
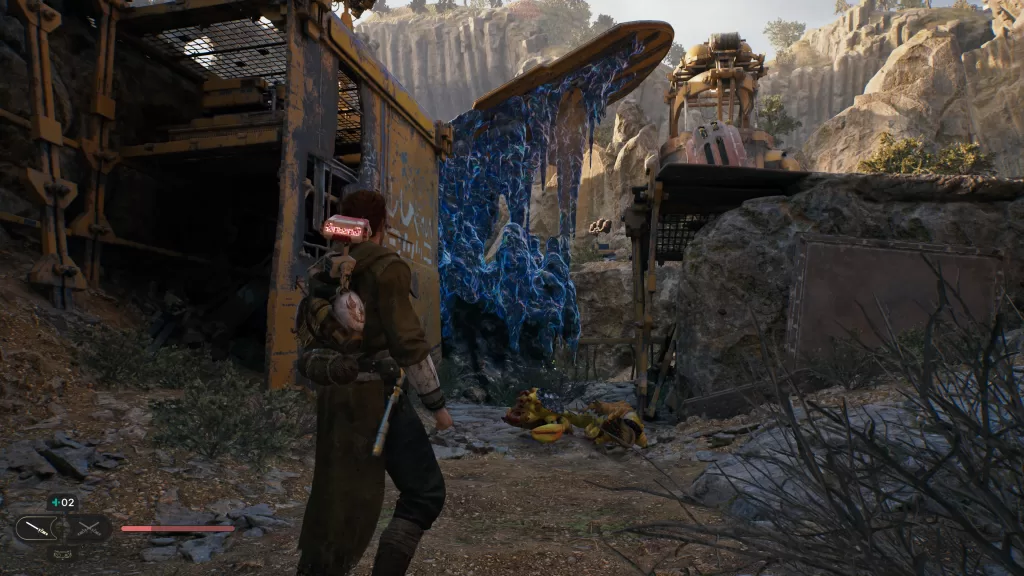
From the Meditation Point face the grates in the wall then follow the path to the right. Jump down then continue straight going down a short ways to find this collectible.

Seed Pod – Cactus Ball
This collectible can be found across the above collectible (see above pictures).
Treasure – Priorite Shard
Facing the workbench, head down the path to the right then jump down. You’ll find this treasure here.
Chest – Weapon Material: Light Metal
From the Meditation Point, face the grates in the wall then follow the path to the right, jump down then take a left. Head down the slope to find the chest.
Seed Pod – Fire Pineapple: Felucian Yellow
Next to the above collectible under some crystalized tar.
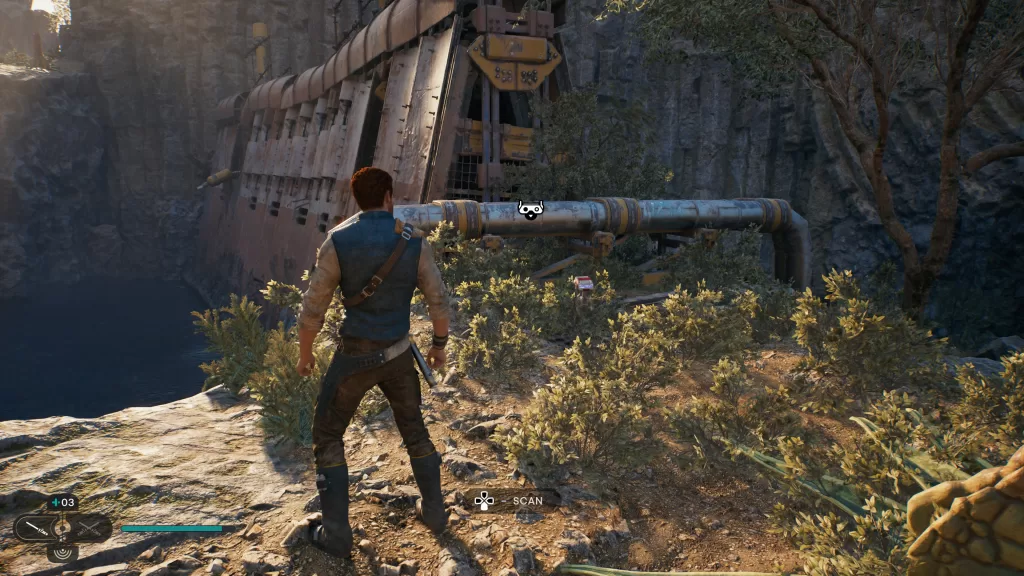
Databank – Dam Flow Pipes
From the above collectible, head up the slight hill then take a left. Jump across the gap on to a metal ledge next to the crystalized tar then head right. The databank will be at the end of the path.

Databank – CRumbling Dam Wall
From the above pipes, turn around and follow the path in the opposite direction looking for the tar coming out the side of a cliff. Walk over to the edge of the metal walkway to reach the scan point.

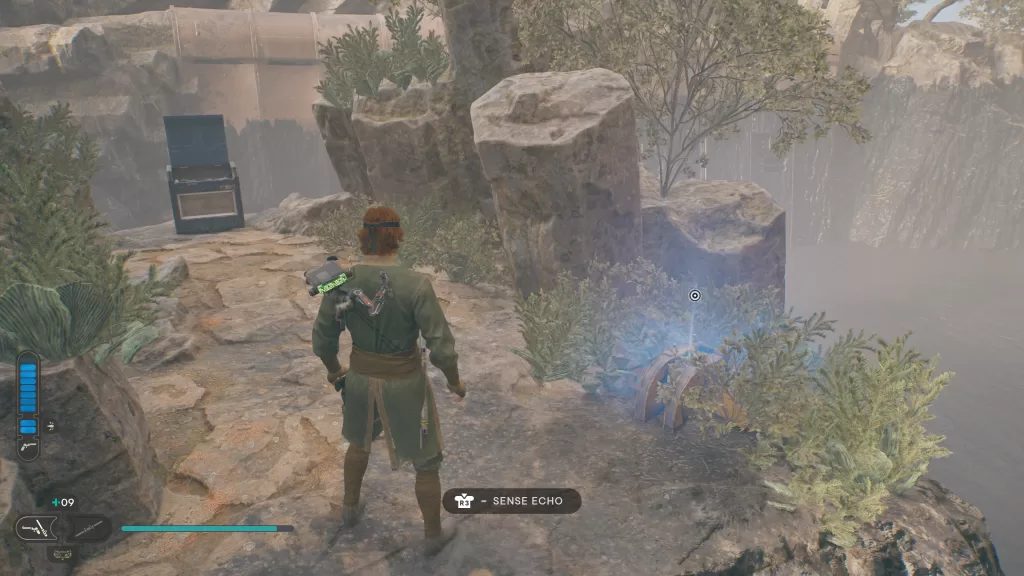
Databank – A Desperate Escape
Starting at the Crumbling Dam Wall, drop down into the tar pit below then head for the platform. From there, use your grapple to reach some vines. Climb up to the top and follow the path left. When you reach the mines, take a right in side to spot the echo.
Chest – Weapon Materials: Two-Toned Metal
From the above databank, head further into the mine where you’ll encounter the first BX Droid. Climb up the ledge past it then take a right to reach a big open room with a lit brazier in it. The chest will be on the left side of the room across from the brazier. You won’t be able to open it until you progress further in the game after you obtain the electro dart. Please note that after we opened this chest we got jumped by Vashtan Wolfe.

Chest – BD-1 Materials: Anodized Metal
Still in the same room as the above chest, look for the runnable wall on the other side. Use it to reach a ledge containing the next chest.

Treasure – Priorite Shard
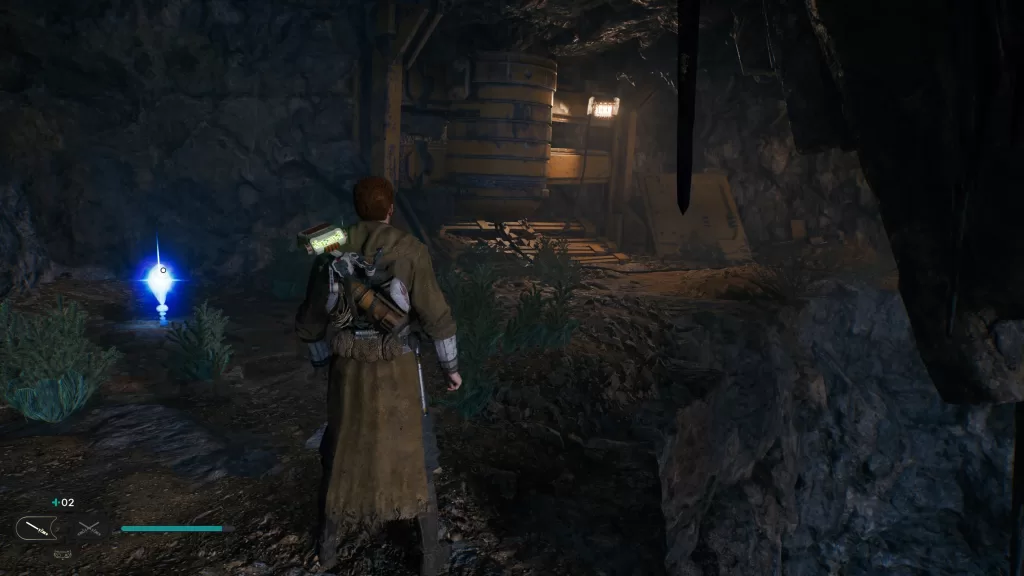
Again, we are still in the same room as the two above chests. This shard can be found in the unlit brazier.

Chest – Jacket: Tactical
From the above collectible, exit the room and take a right follow the path deeper through the tunnel. You’ll then drop through a hole in the ground and keep following the path to find this chest next to a window on the right overlooking the meditation point.
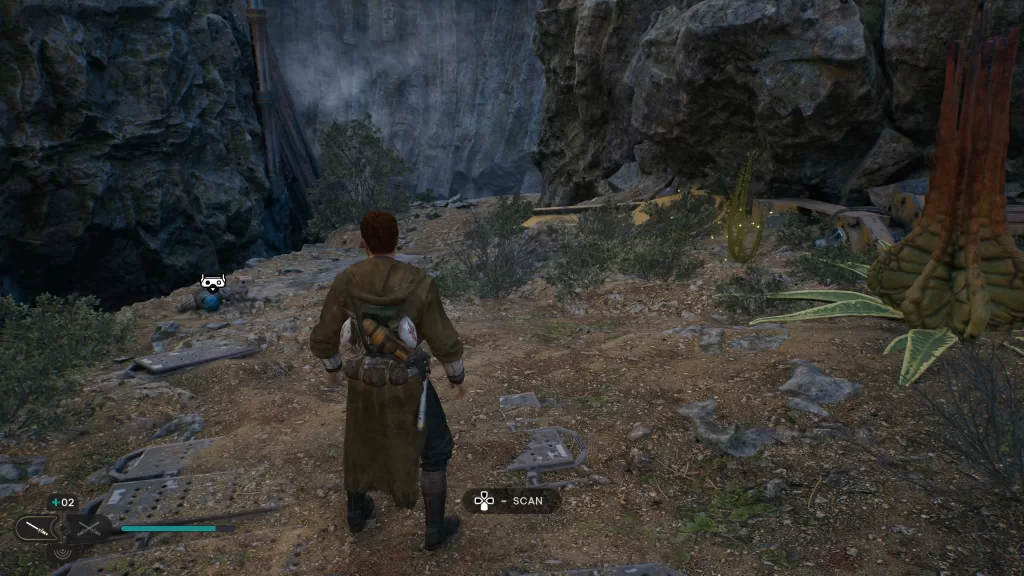
Databank – Creature Bones
After gaining access to the Roller Mine spawn in the room behind the meditation point, lead one down the path to the right of the workbench and throw it at the crystalized tar on the ledge below. Follow the newly revealed path to a rope and scant the bones in the wall behind it.


Treasure – Priorite Shard
Climb up the rope near the Creature Bones. Look to the left of the light pole to find a small rock bridge you can jump down to. It will be at the end of this bridge in some grass.

Databank – Abandoned Encampment
Head back up to the main path then follow it until the path winds left. It will be on the ground at the curve.

Seed Pod – Cactus Ball
This plant can be found right behind the above collectible.
Essence – Force Essence
From the above collectible, follow that path left then take a right towards the elevator to locate the essence.


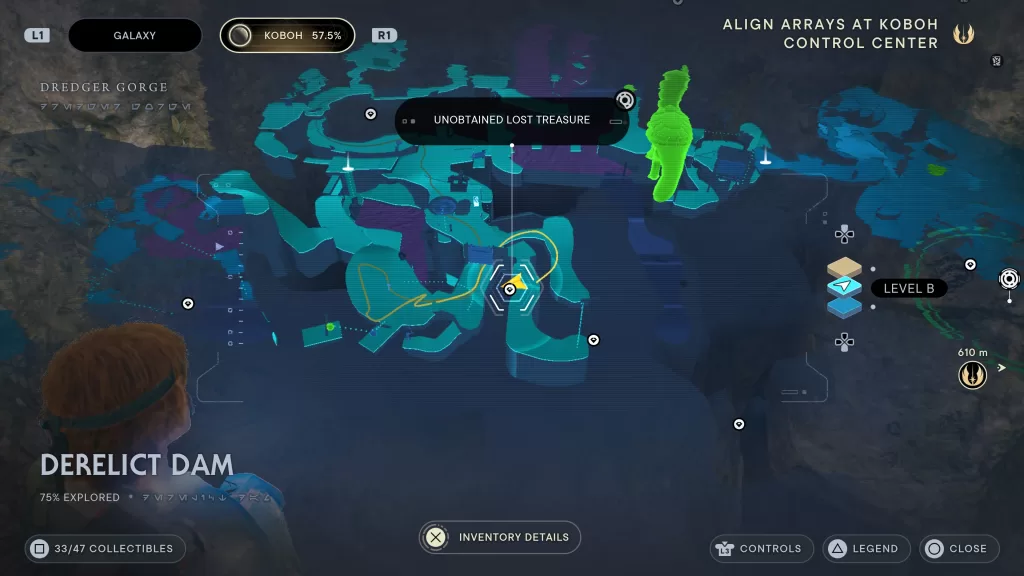
Obtainable after destroying the crumbling dam wall and raising the tar level
Treasure – Priorite Shard
Under the crumbling dam after blowing it up. There will be a cave under it on the right side. To have enough time to reach the cave, jump out into the tar.
Treasure – Priorite Shard
From the Meditation Point facing the grate windows in the wall, head right and jump down. Keep going straight up the metal ramp. From there jump onto a platform in the tar. Make your way to the vines on the side of the cliff on the left. Climb up to the top and deal with the 2 enemies there. Look for a pipe you can jump onto straight ahead. Follow the pipes, drop hanging under the rock to continue to the collectible.

Chest – Hair: Mullet
From the above collectible, face the giant rock and look to the right to spot platform in the tar. Head to it then look to the left to find a climbable wall. Head to the top to find the chest.

Databank – The Dredger Run
This echo can be found in the grass just before the above chest. You may need to progress in the story for it to show up.
Seed Pod – Fire Pineapple
From the Meditation Point, face the grated windows and head right. Jump down then continue heading straight over the metal ramp. When you reach the tar pit, jump on both platforms to reach the vines at the other end of the tar pit. Climb up onto the ledge then head forward a short way to find the plant under our new big friend.

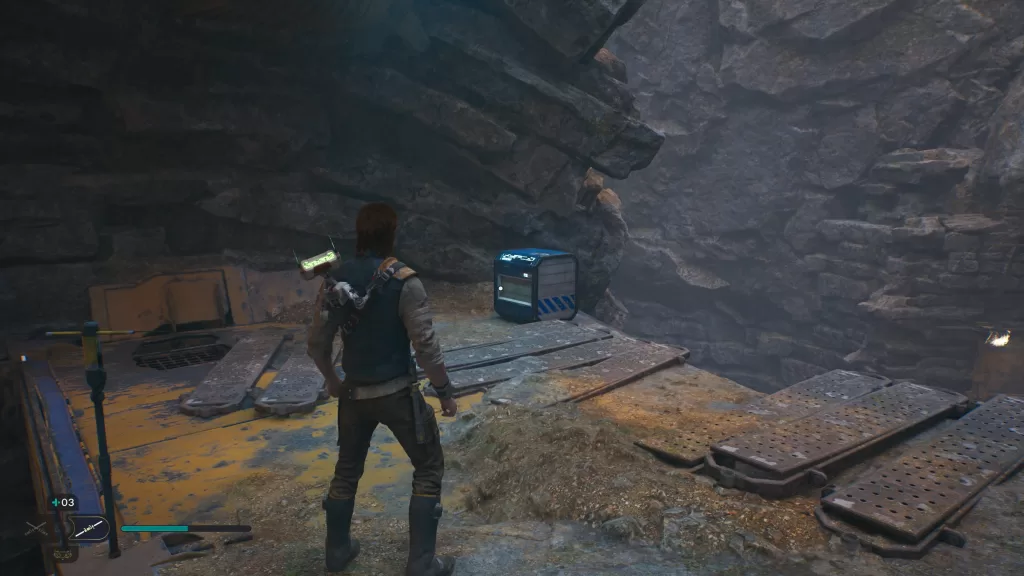
Chest – Head: Scrapyard
After dropping down the elevator, follow the path around to reach a small area where you’ll fight a handful of droids. You’ll find a giant metal cube here. Use it to reach a running wall on the other side of the area. Do so then use the running wall to reach the chest.

Treasure – Priorite Shard
From the Southern Reach Meditation Point, look towards the elevator shaft then wall jump to the top of the shaft to reach the shard.


After Unlocking Opening Doors with the Force and Floating Grapple Points
Chest – Max Stims Increased
Starting at the workbench, take the shortcut elevator near it up. At the top, follow the path to reach a giant yellow door. Use the Force to open it then follow the path. You’ll need to fight a Gorocco Matriarch. If you look at the ledge facing the elevator, you’ll find a chest.

Seed Pod – Fire Pineapple x3 / Treasure – Priorite Shard / Essence – Skill Point
From the chest, turn around and locate the floating grapple points. Use them to reach the other side. Climb up to the top where you’ll find multiple collectibles. At the top of the ledge, hug the right wall to find 3 Seed Pods. If you follow the ledge to the left of the seed pods, there will be a tree with a Priorite Shard at its base. On the other side of the tree, you’ll find the essence.
Seed Pod – Fire Pineapple: Alderaanian Blue
Near the giant dinosaur looking thing there will be a lift you need to use the Force to lower. Once you do, jump on top of it to reach the higher ledge. At the top, follow the path to the left to find this pod at the end on the right.
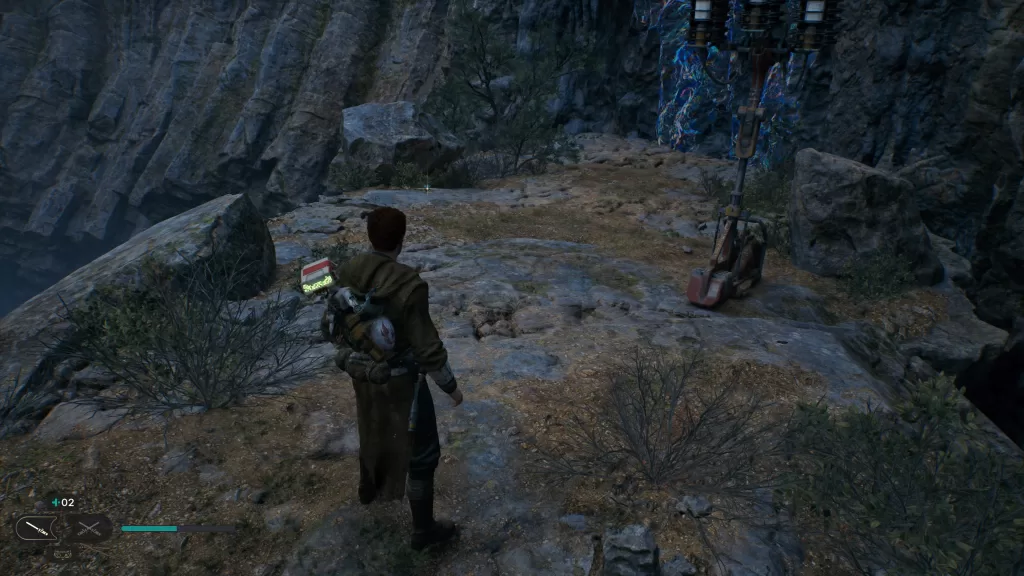
Treasure – Priorite Shard
From the above collectible, head back up the path heading towards the lift. Take a left at the end of the path and keep heading straight. When you reach the light post, look to the right to find an orb on a pedestal between two rock walls. Climb up the wall to reach the treasure.

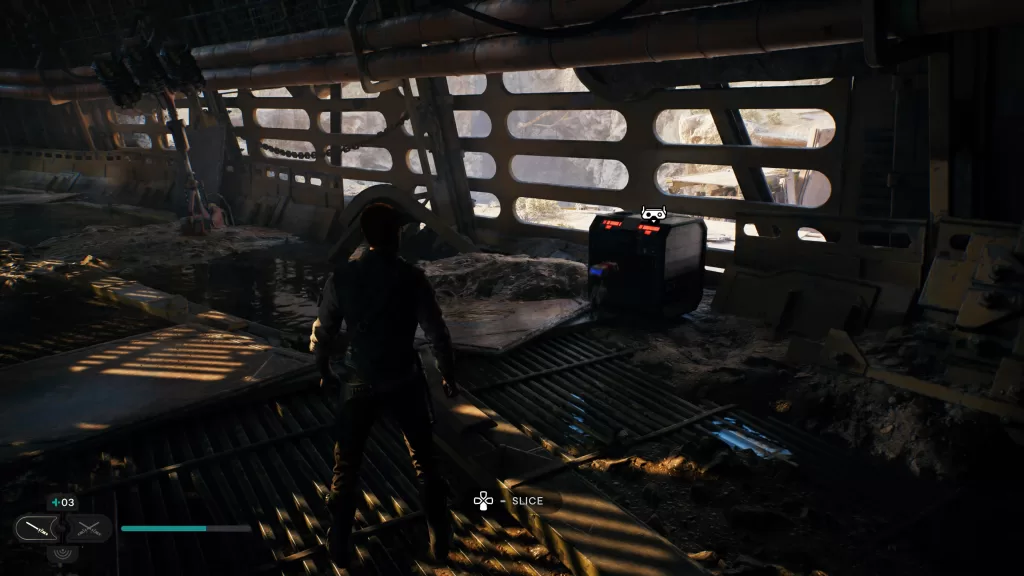
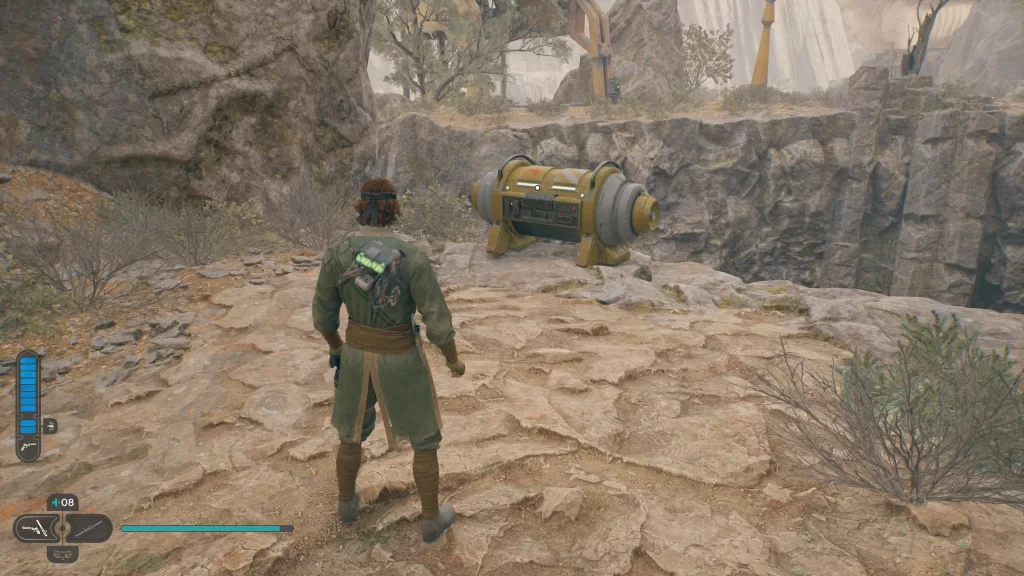
Essence – New Perk Slot
From the above collectible, drop down the ledge. Grab the orb on the pedestal and bring it to the mining device across the gap where the droids were. Place it in the device to turn on a laser. This will open a new area. Head to that area and follow the laser to find a device you can splice under it. Splicing this machine causes a Roller Mine to spawn. You’ll want to quickly jump up the ledge with it following you then use the Force to lift it up. Don’t throw it, just let it go. Guide it between the yellow crates. Use it to destroy the breakable wall. Head through the opening and stop just before the edge (don’t use climbable walls). Use Koboh Grinder ability to spray a path using the purple matter from the laser up the wall to destroy the matter on the climbable wall. You’ll now be able to use the two runnable walls to reach the newly opened climbable wall. Climb on up then follow the path to reach the outdoor balcony where you’ll find the essence.


In order to get the below collectibles, you’ll need to have progressed to the Forest Array and saved the giant bird.
FORCE TEAR

Travel to the Boiling Bluff Meditation Point. There will be a creature you can mount.
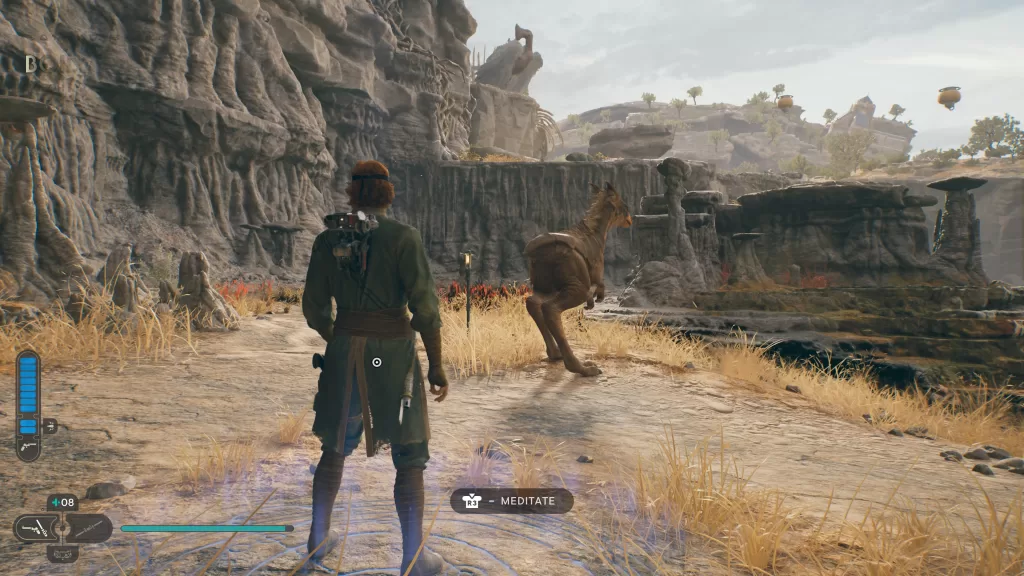
Hop on then use it to jump to the top of the ledge just past where it was at. If you look to the right, you’ll find a couple of floating grapple points with a device that spawns them. Grab one and toss it near the other two. Use it to reach the stone pillar in front of the giant bird.
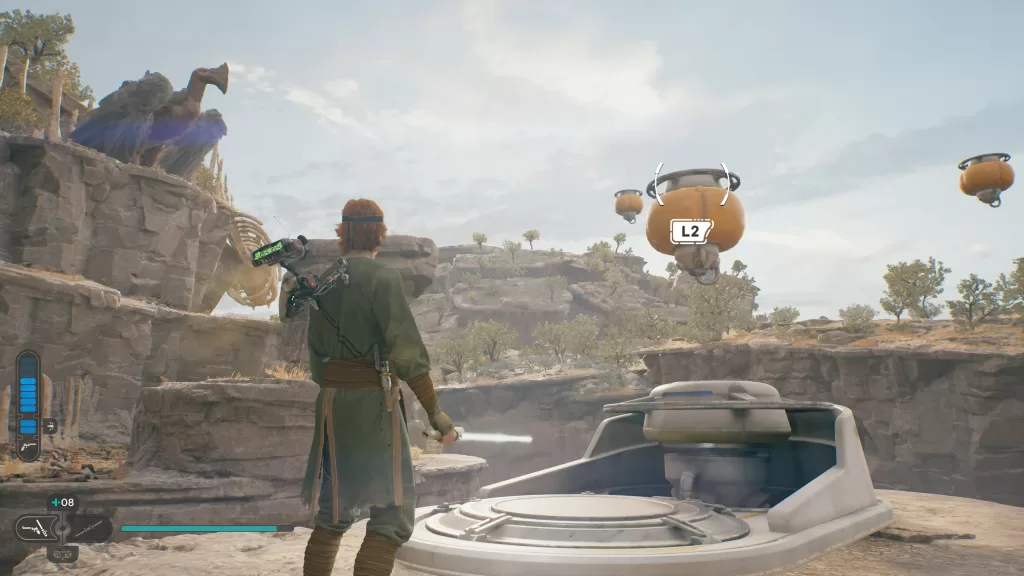
You should then be prompted with pushing a button to travel. Press it to be dropped off at a new location in the Derelict Dam. If you head forward towards the brick-looking wall, you’ll find it on the ground. This tear is quite challenging as it’s an obstacle course using your Force powers.
Seed Pods – Fire Pineapple: Dathomirian Red / Fire Pineapple x2
These 3 Seed Pods can all be found around the Force Tear.
Treasure – Priorite Shard
From the above collectible, drop down to the ledge below with the metal grate to find the droid and take it out.