Tiny Tinas Wonderlands Walkthroughs
Guides

Tiny Tina’s Wonderlands – The Ditcher

by MrsChappie in


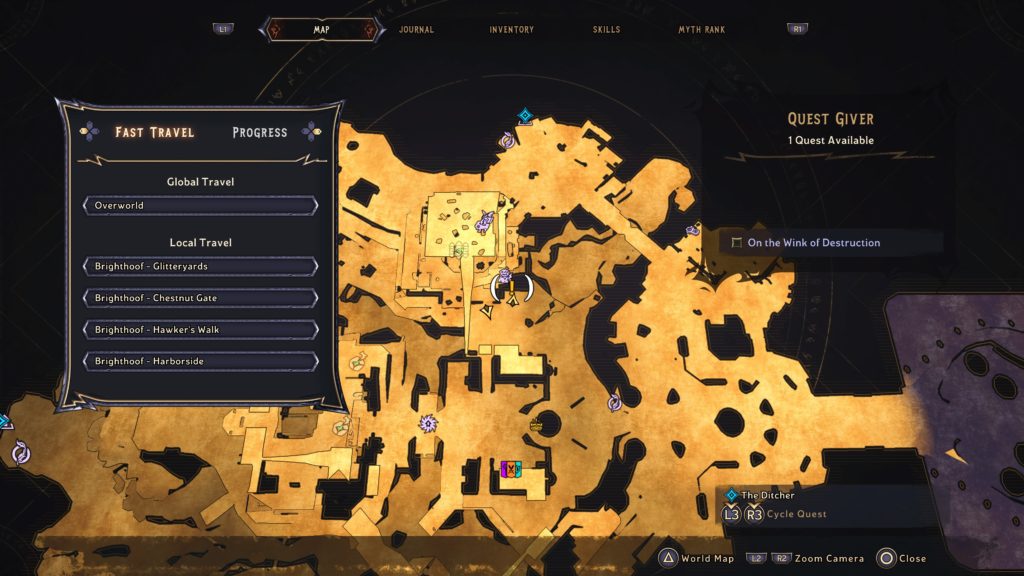
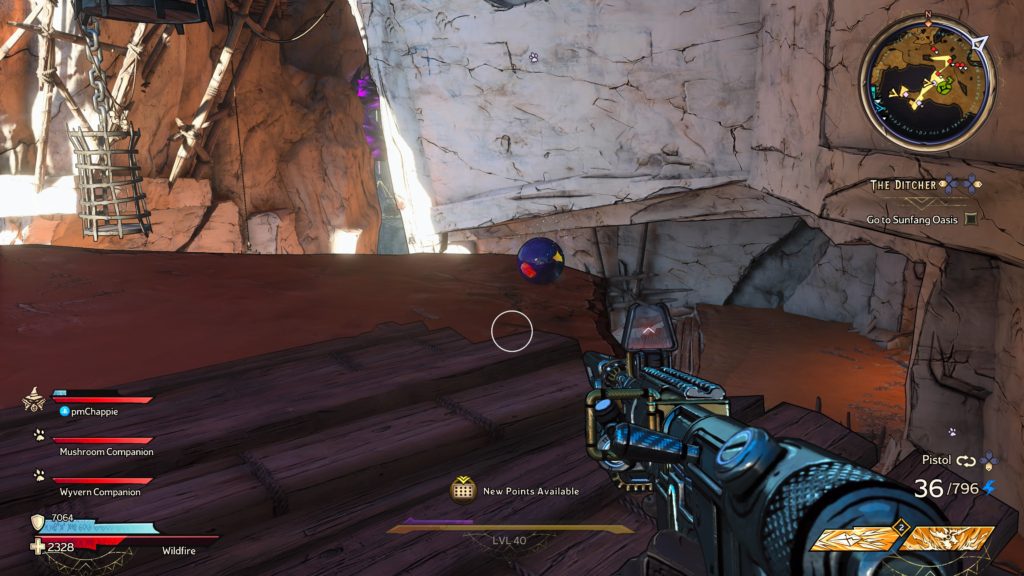
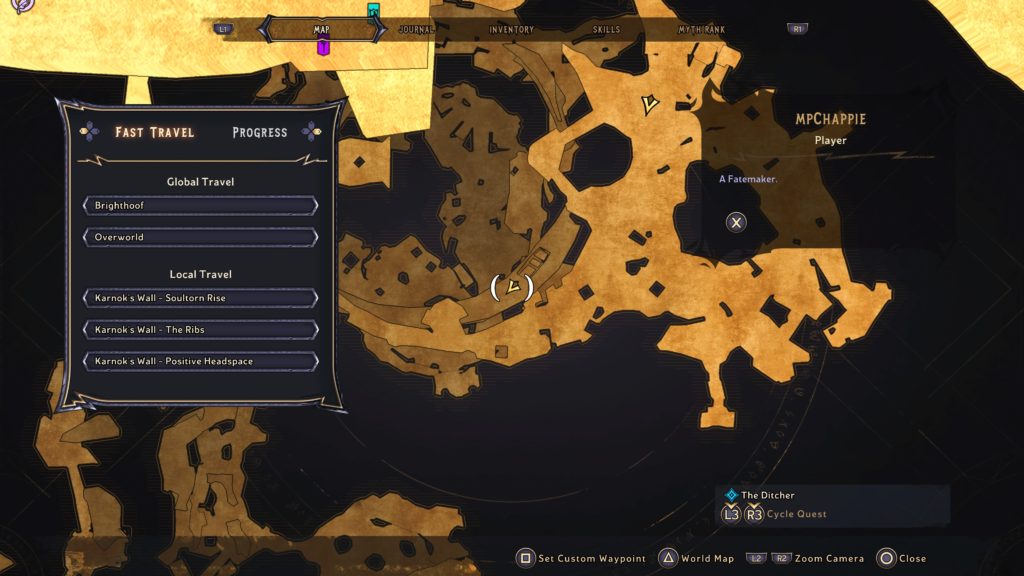
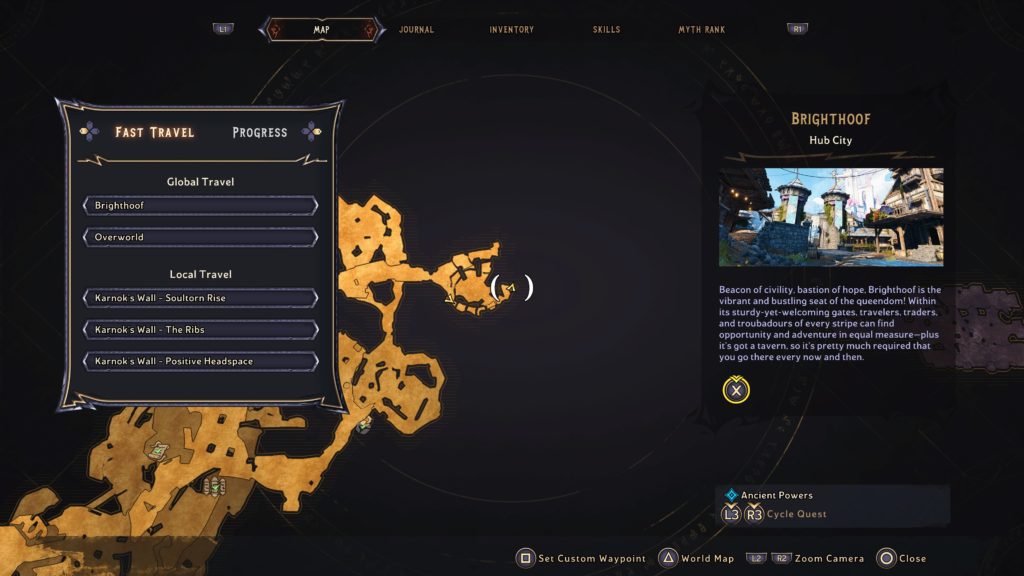
Below is a walkthrough for The Ditcher side quest in Tiny Tina’s Wonderlands. To obtain this quest, speak with Izzzy in Brighthoof.
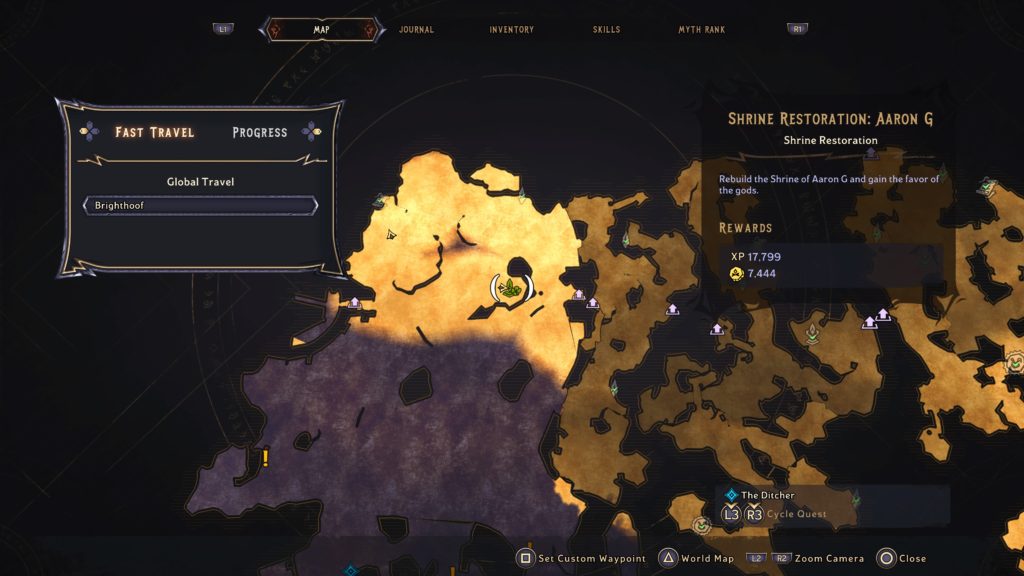
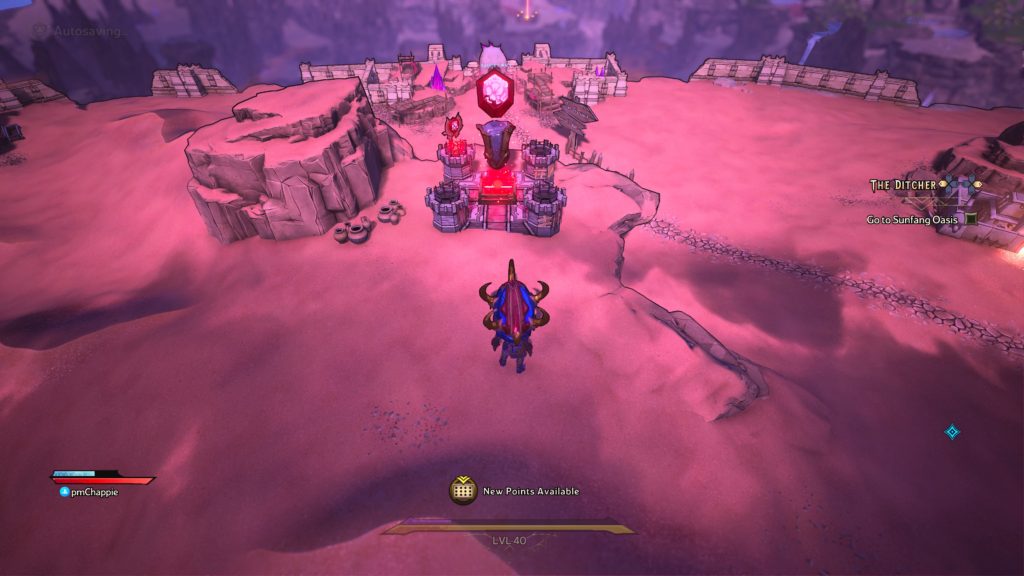
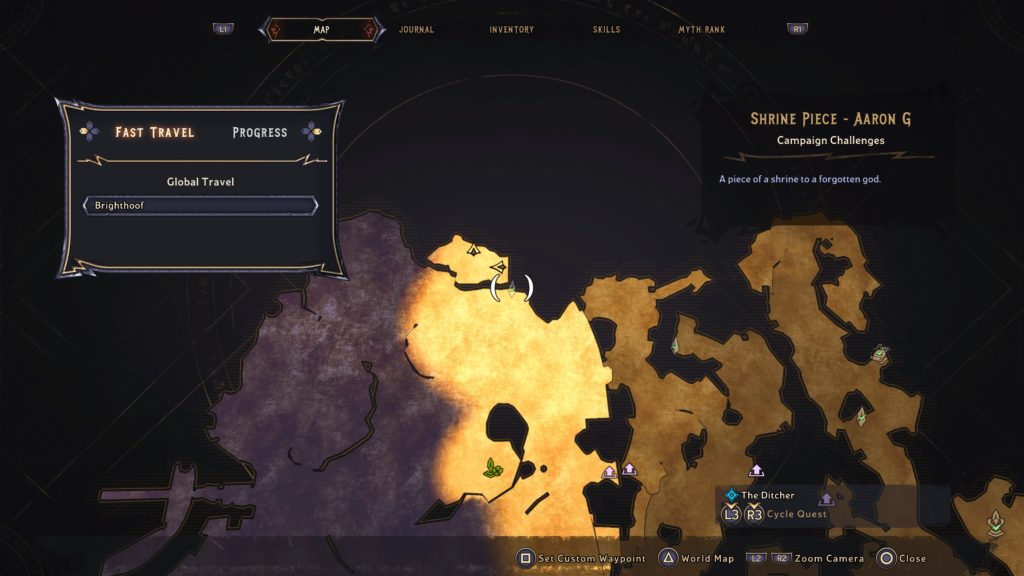
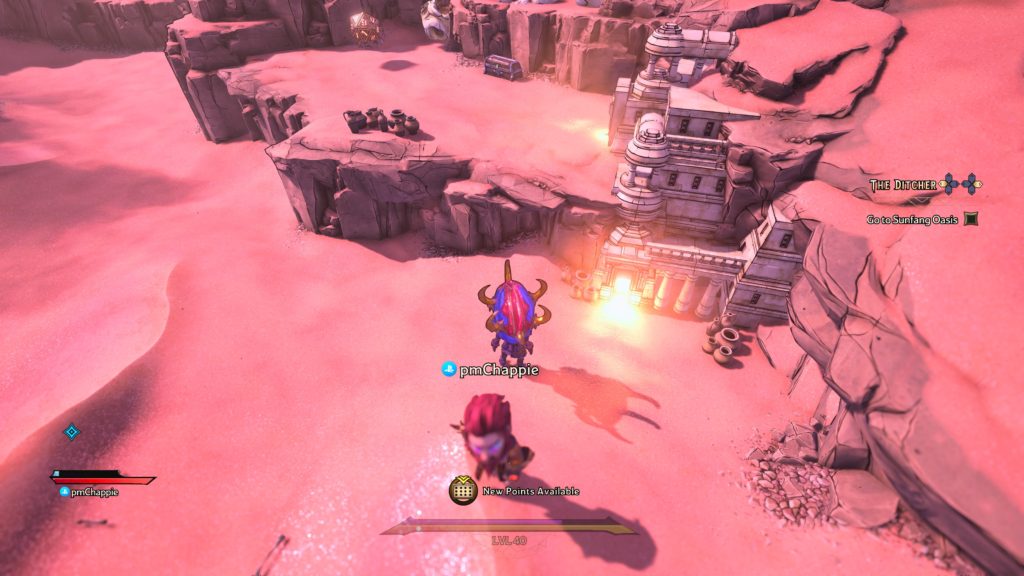
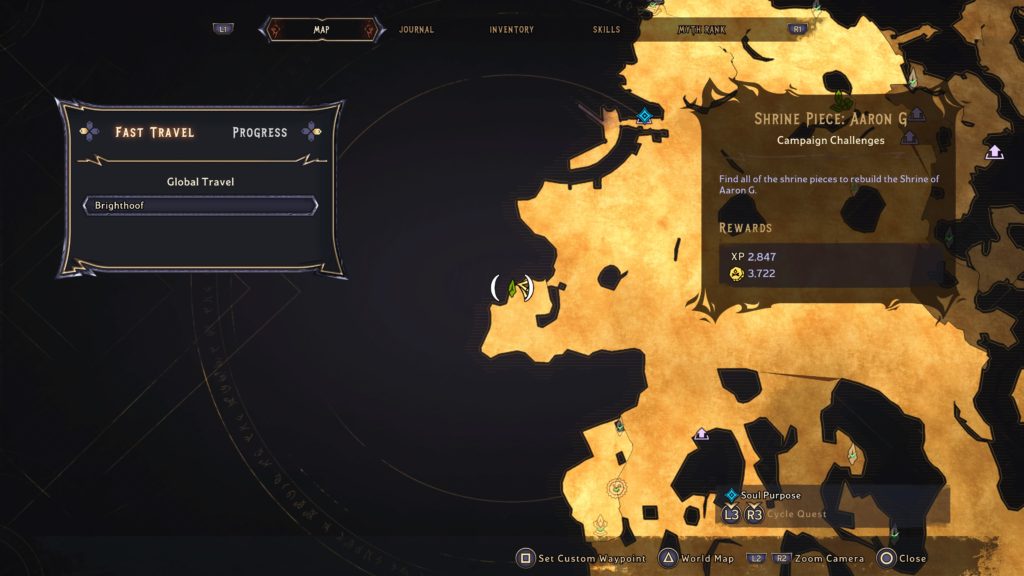
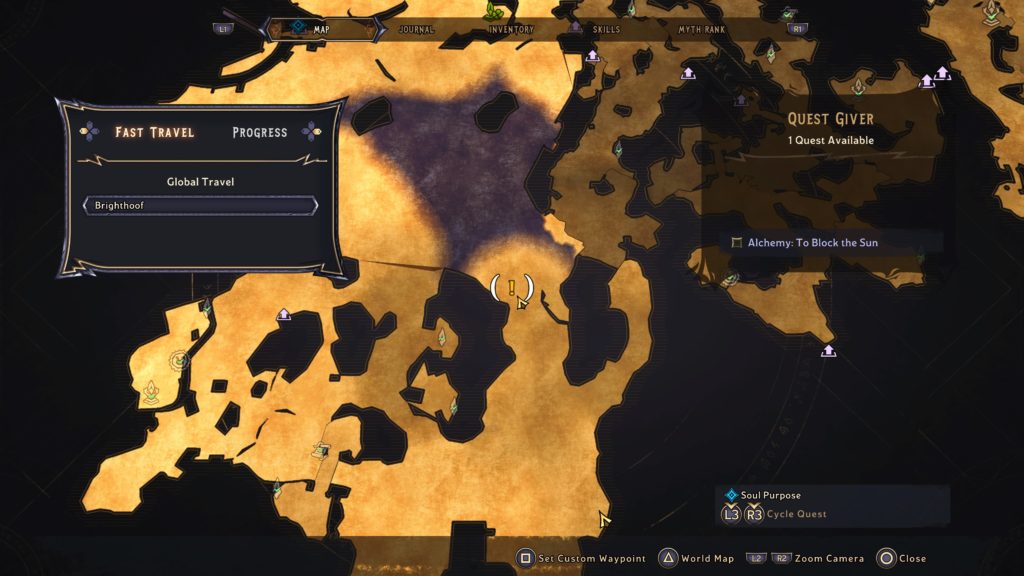
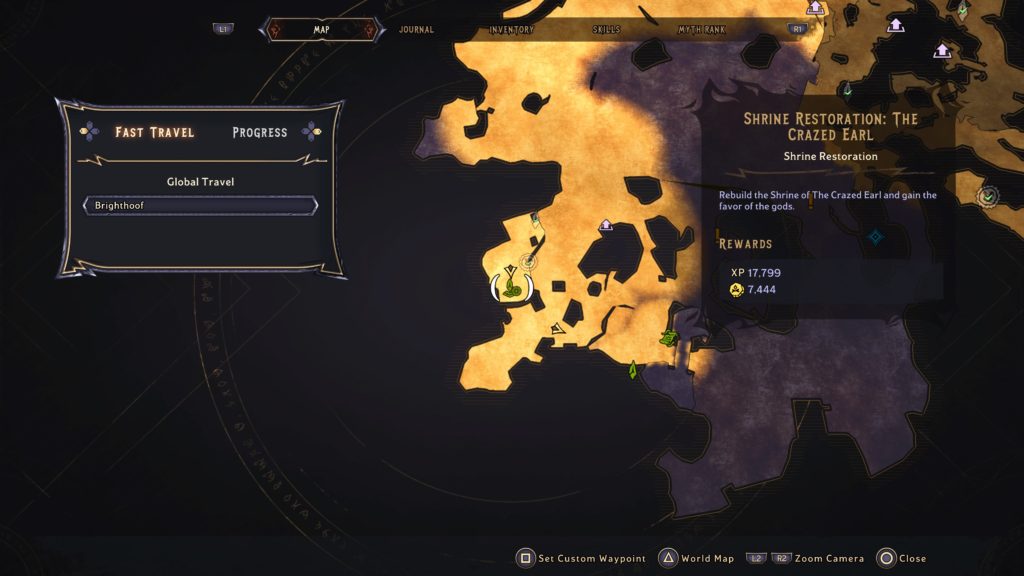
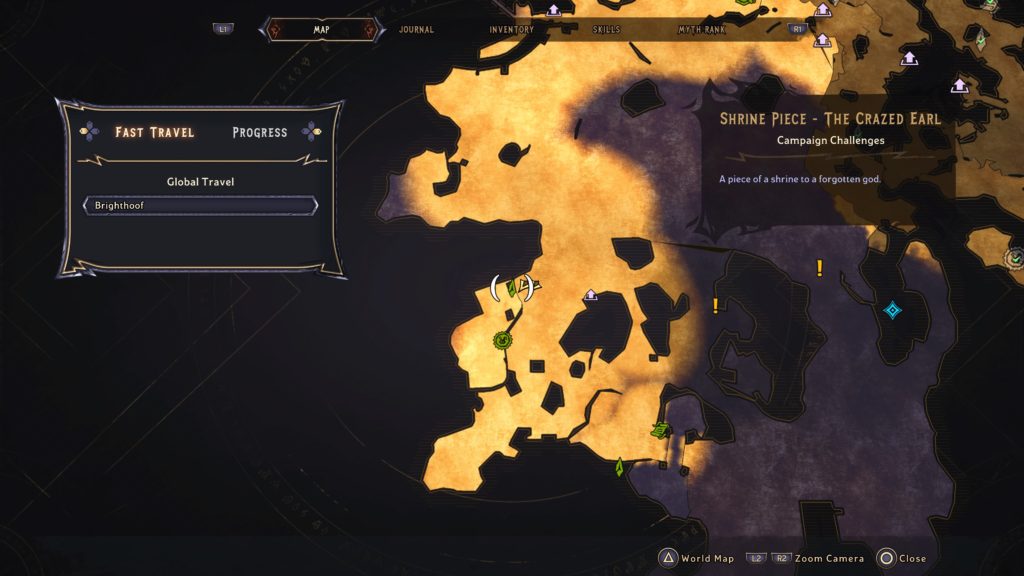
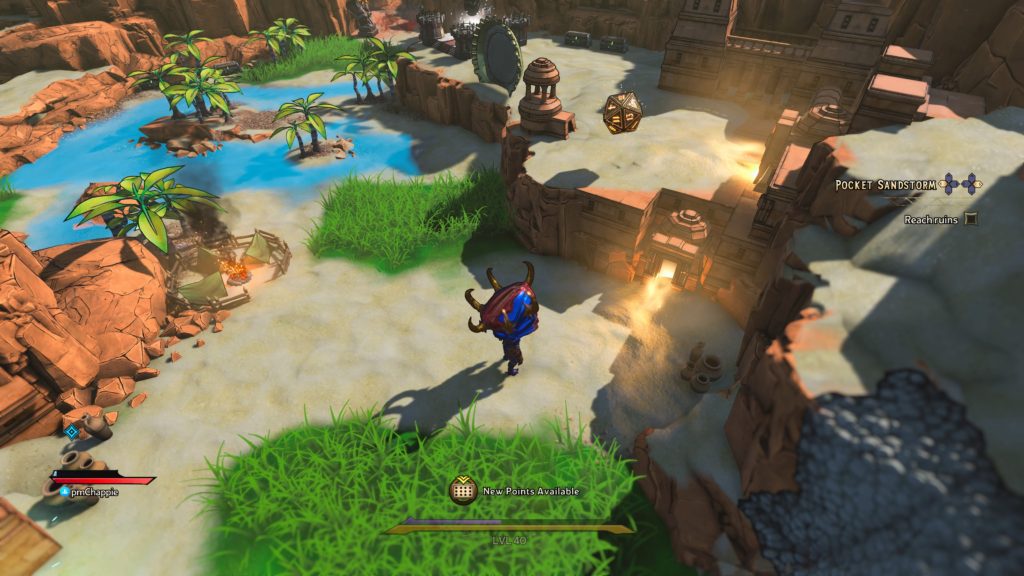
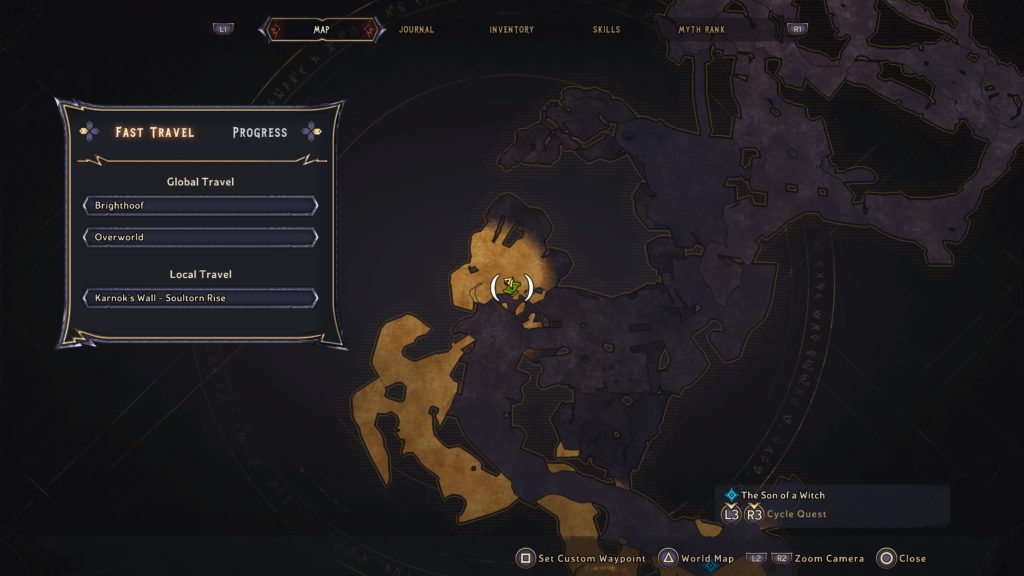
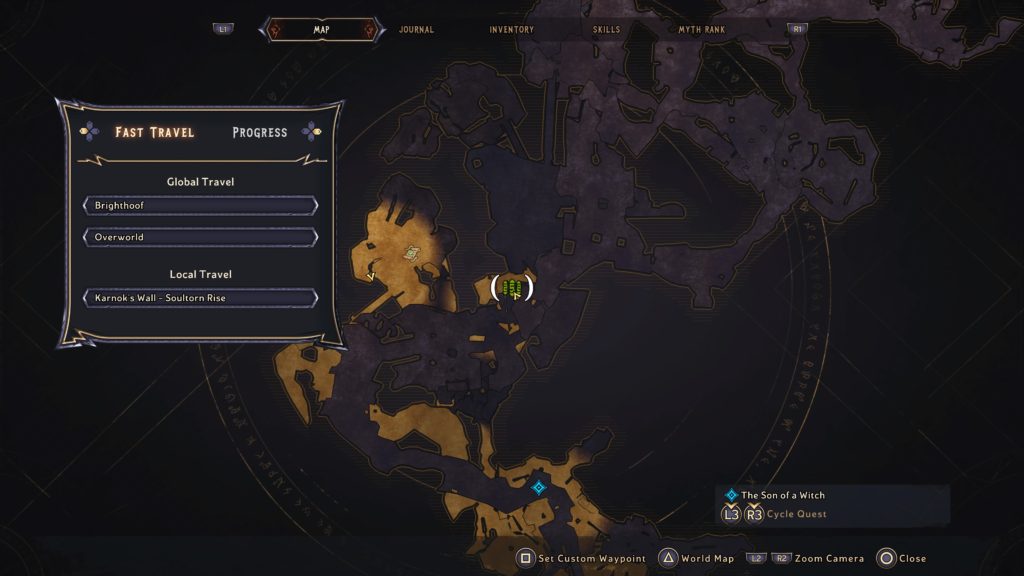
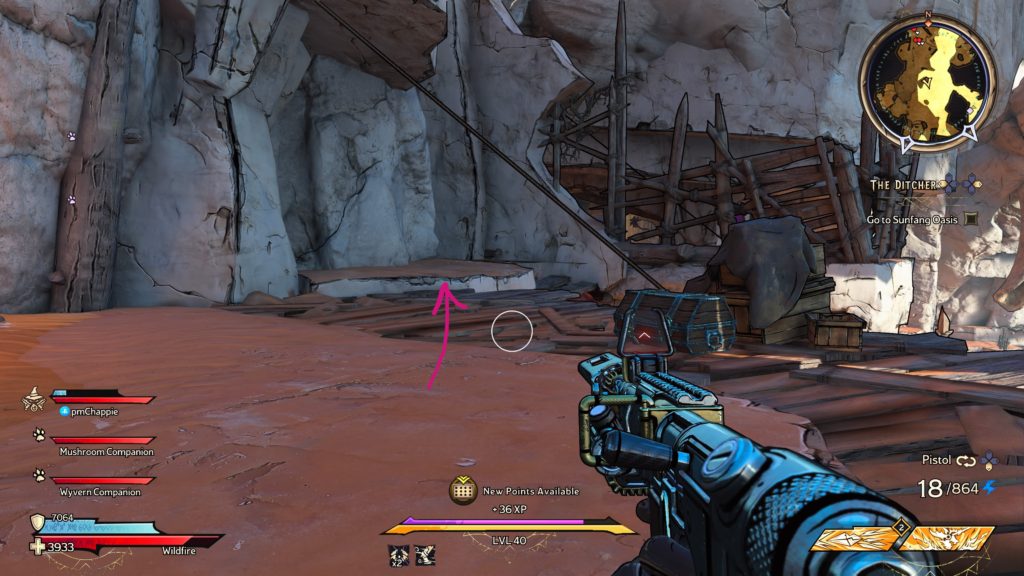
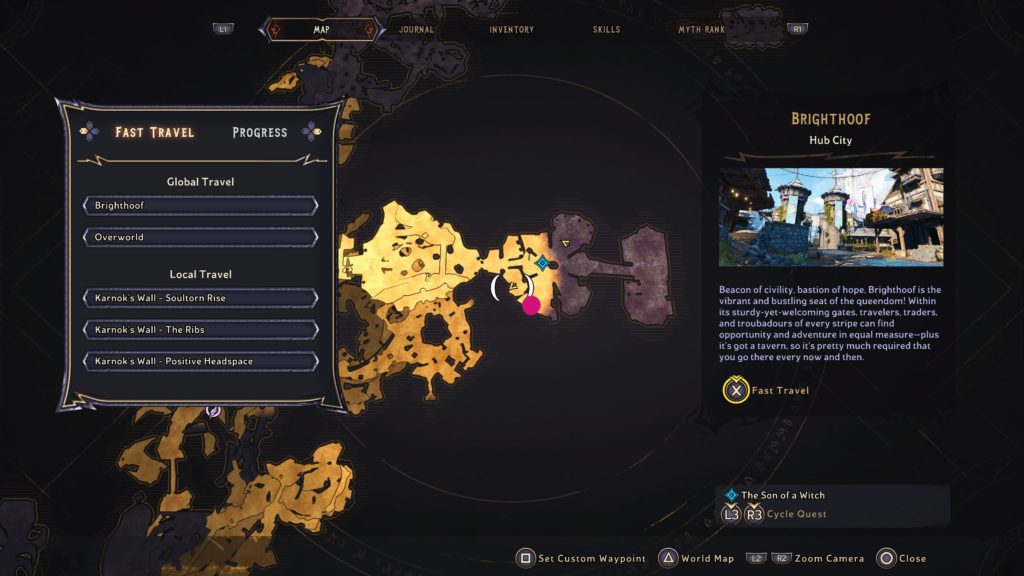
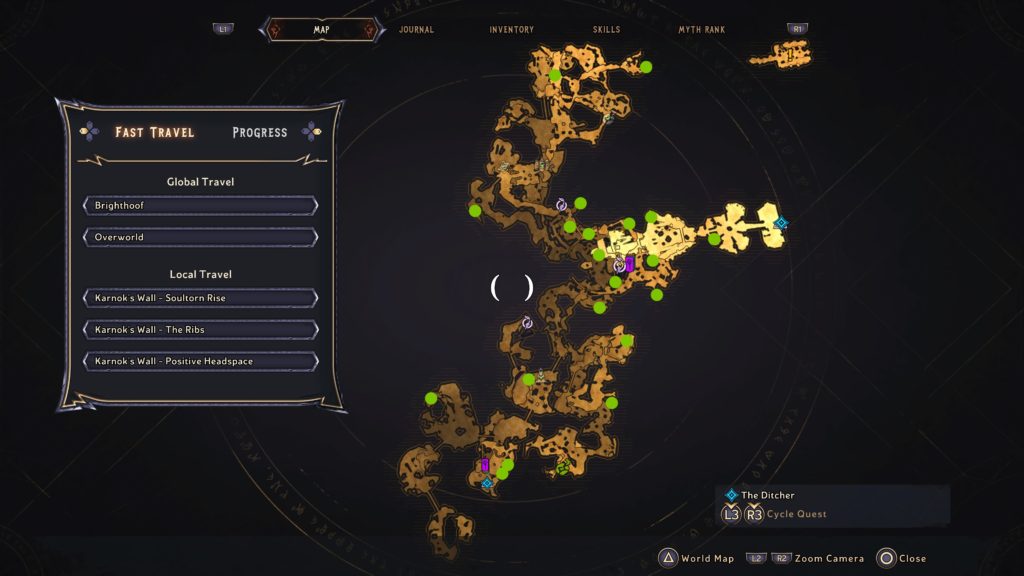
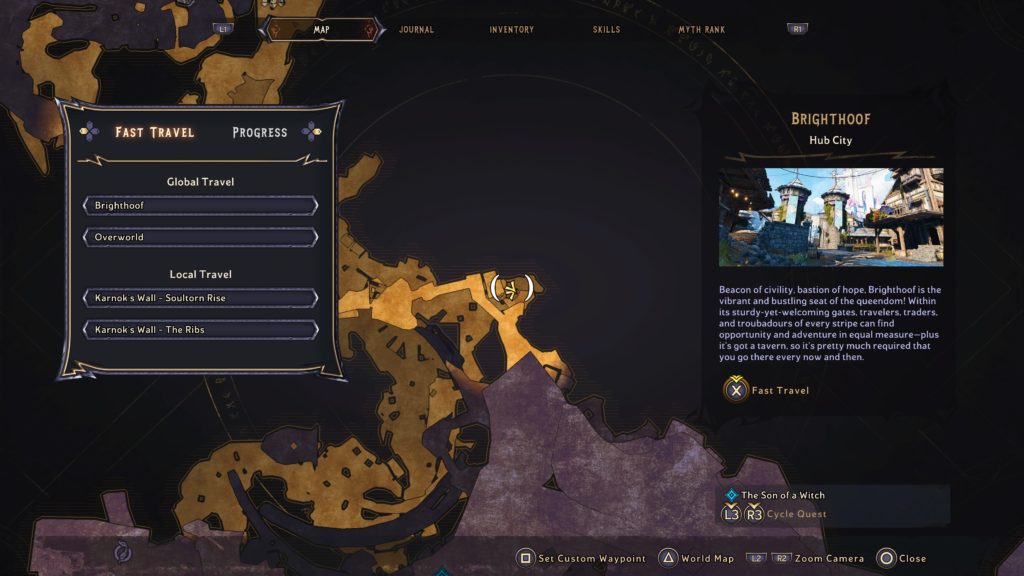
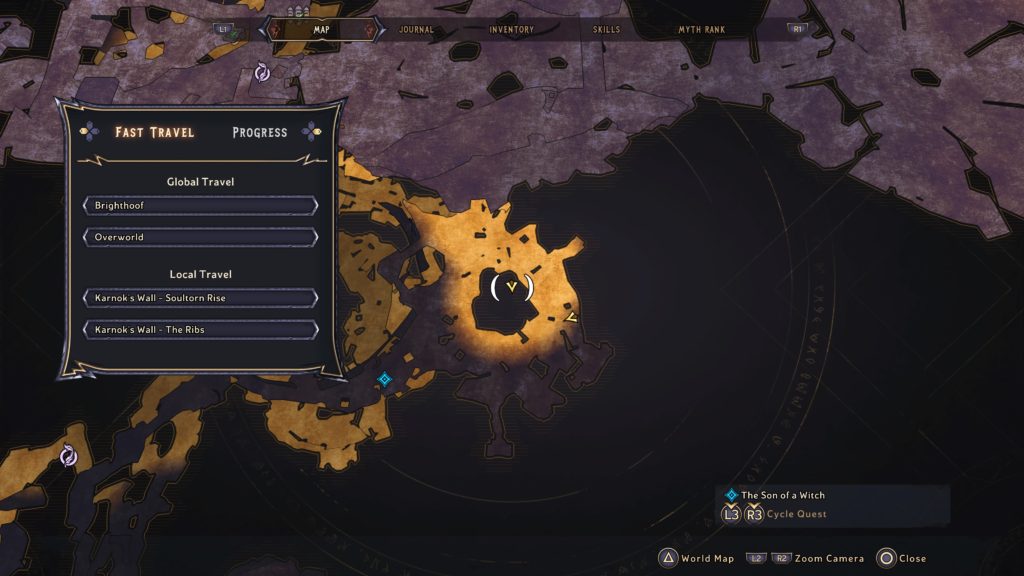
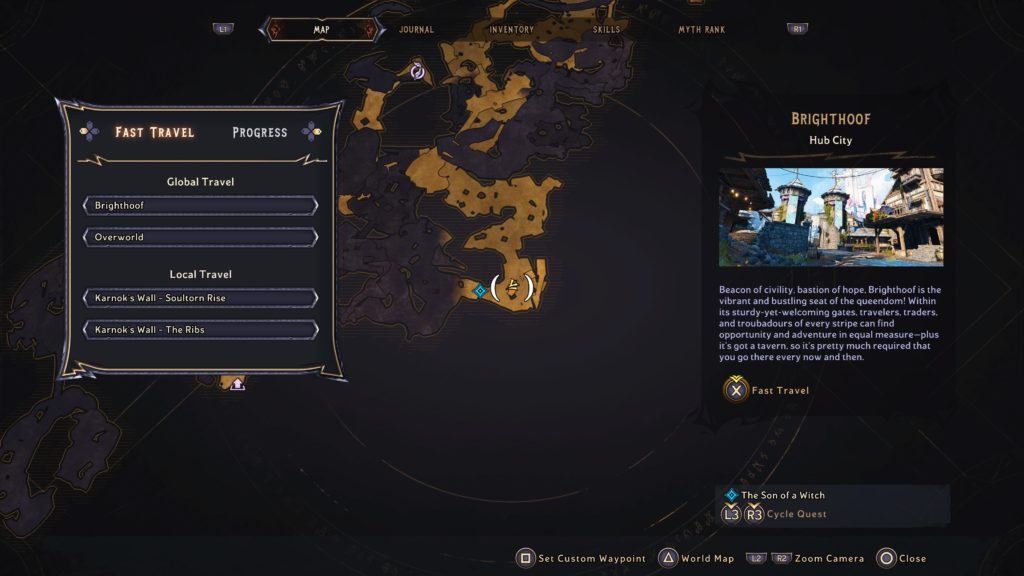
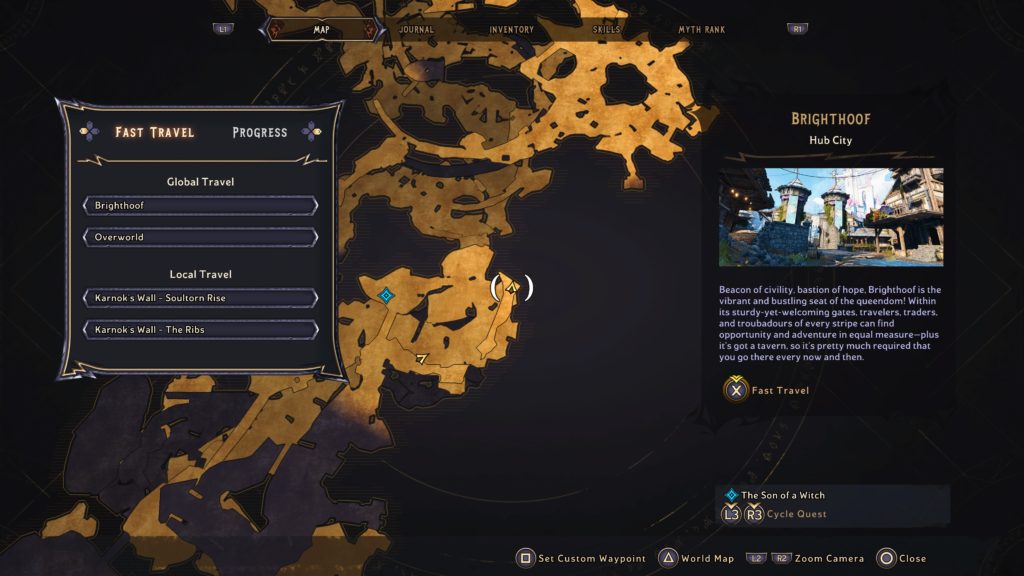
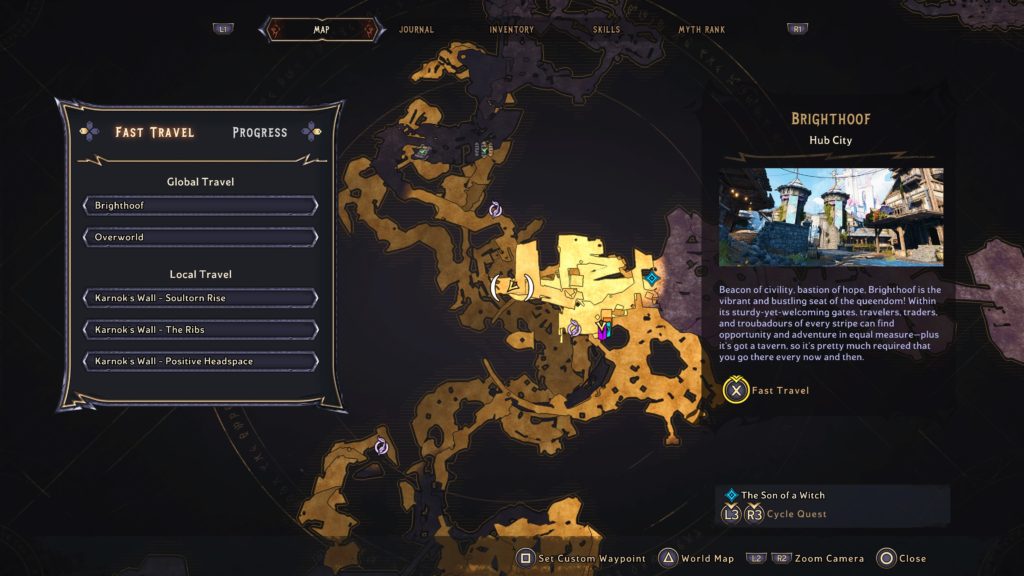
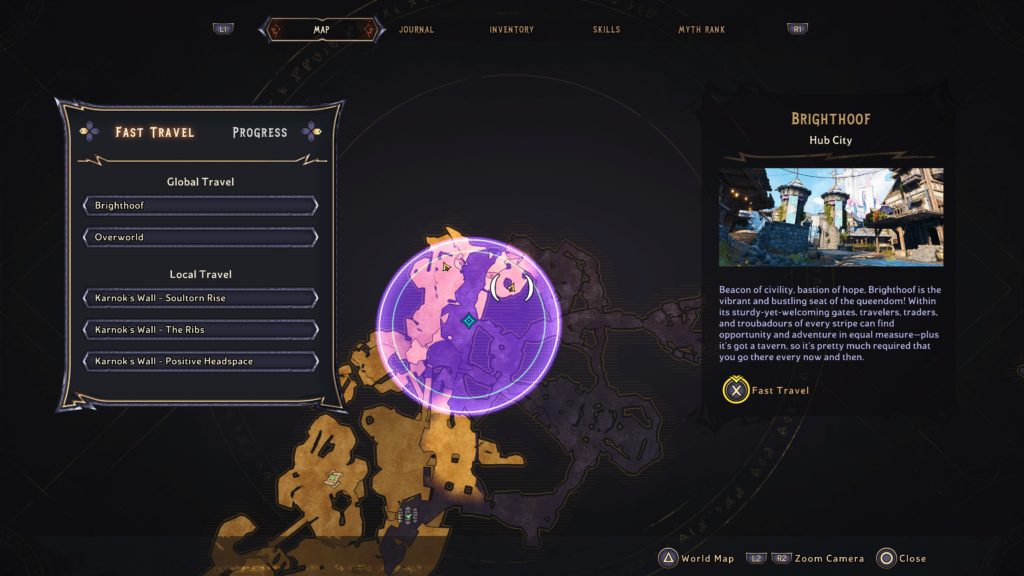
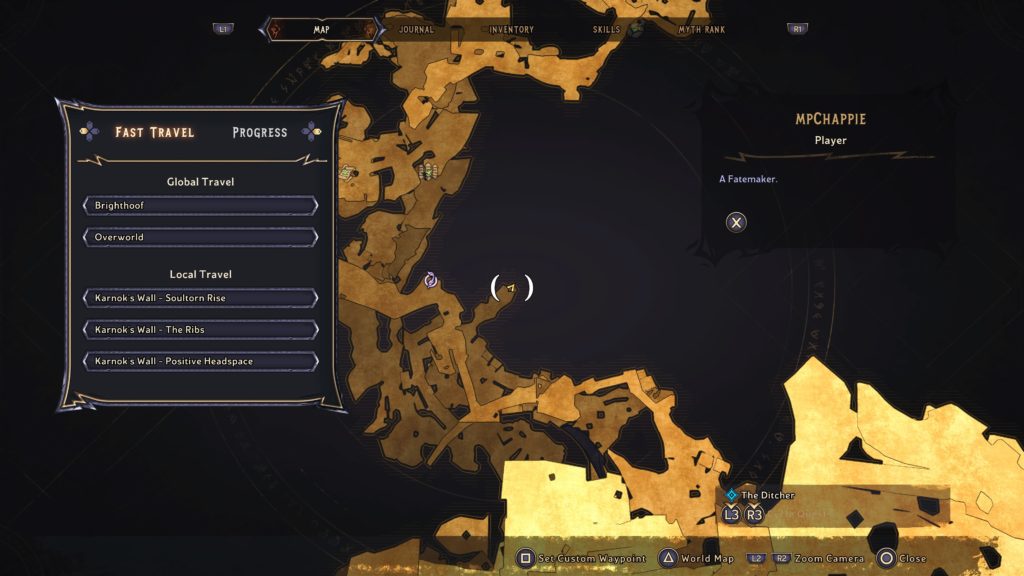


Go to Sunfang Oasis

Travel to Sunfang Oasis.
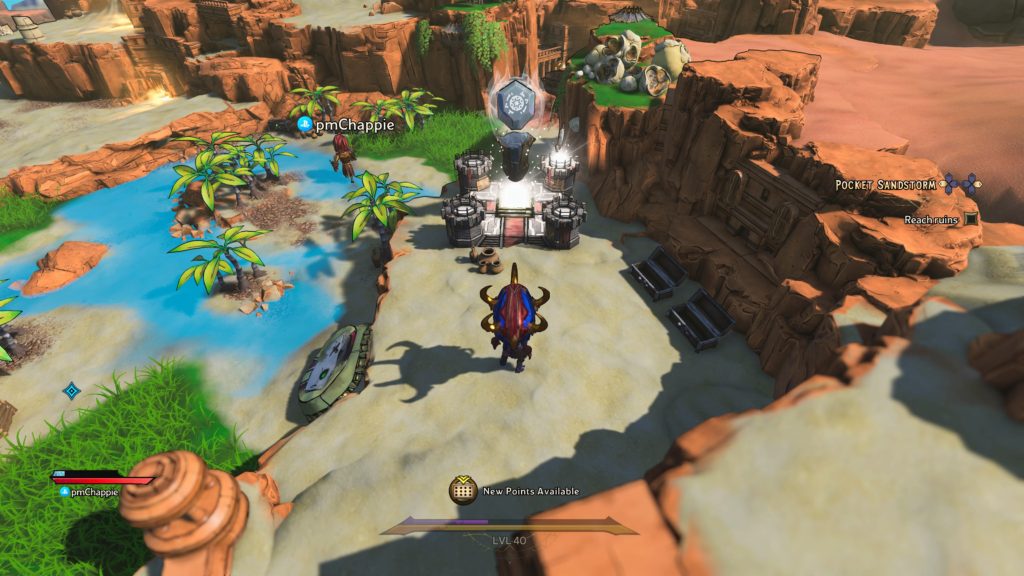
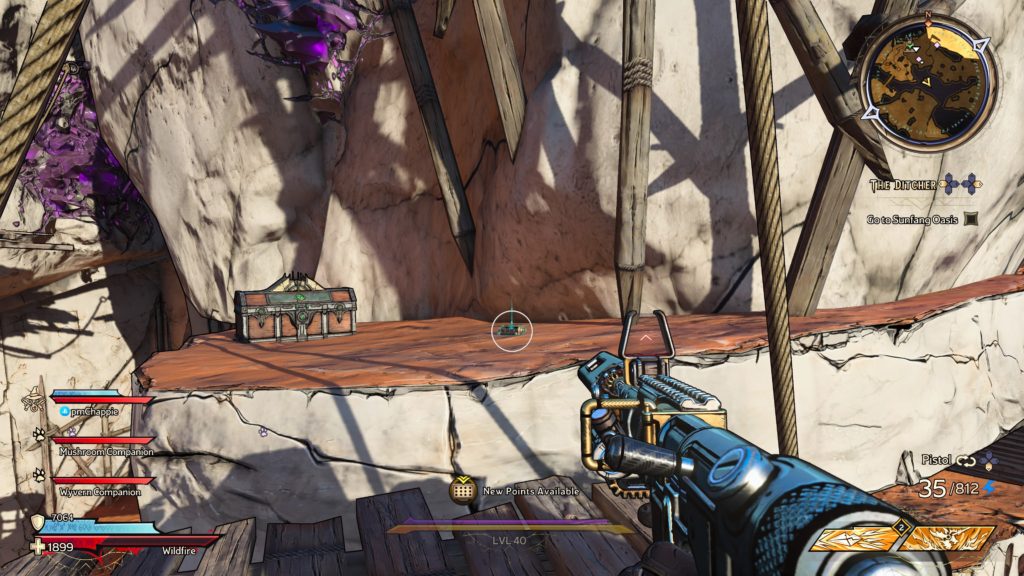
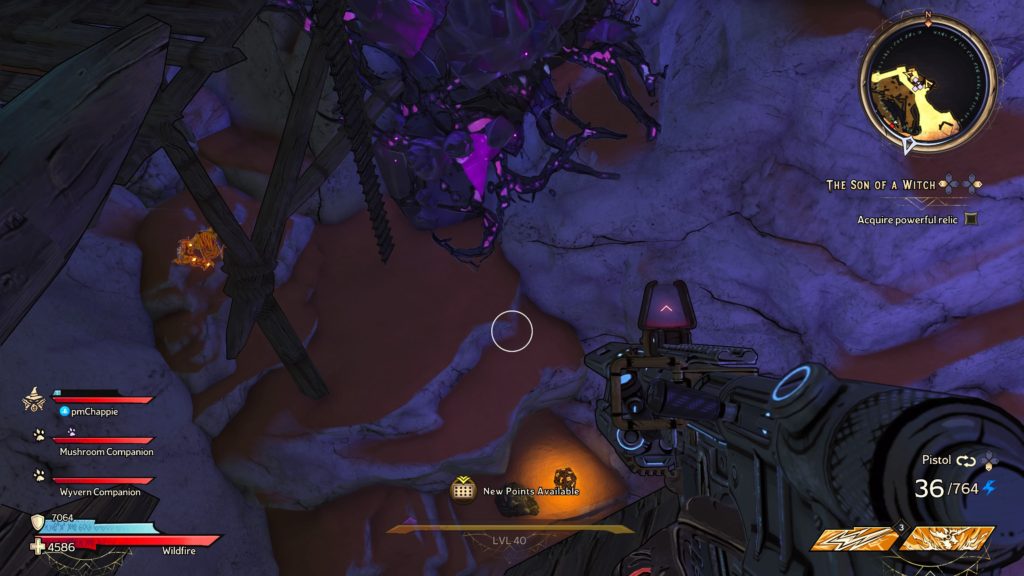
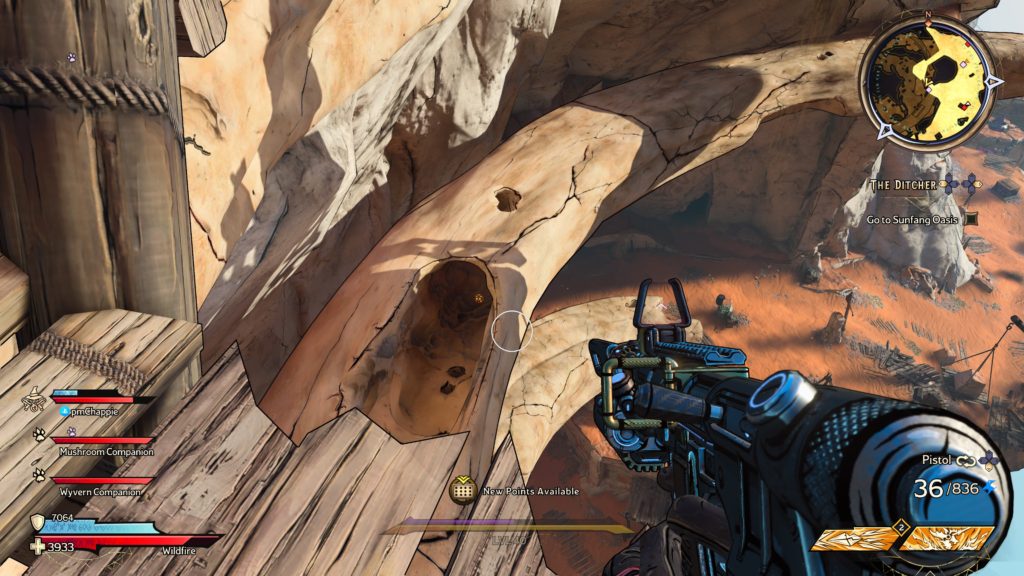
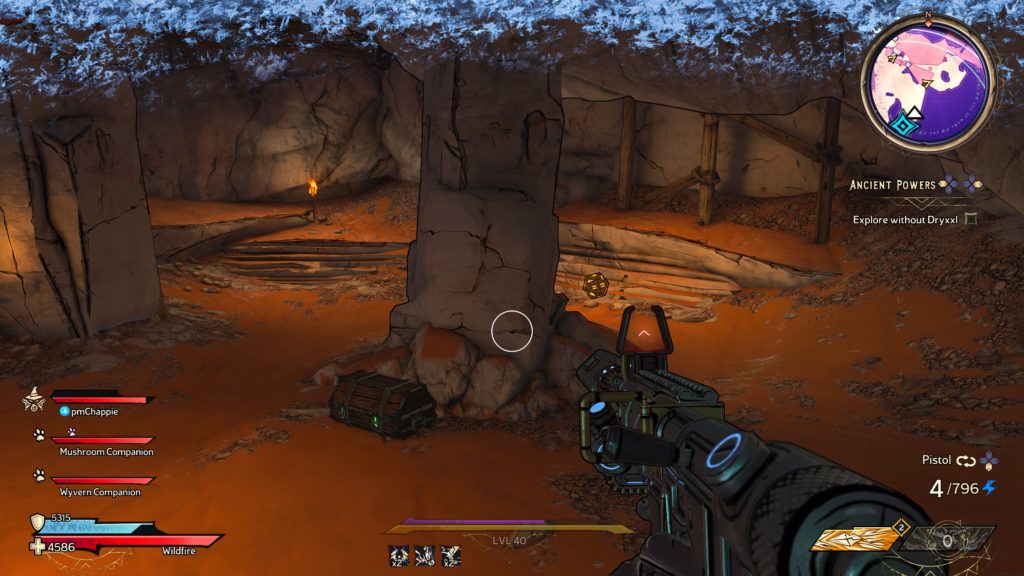
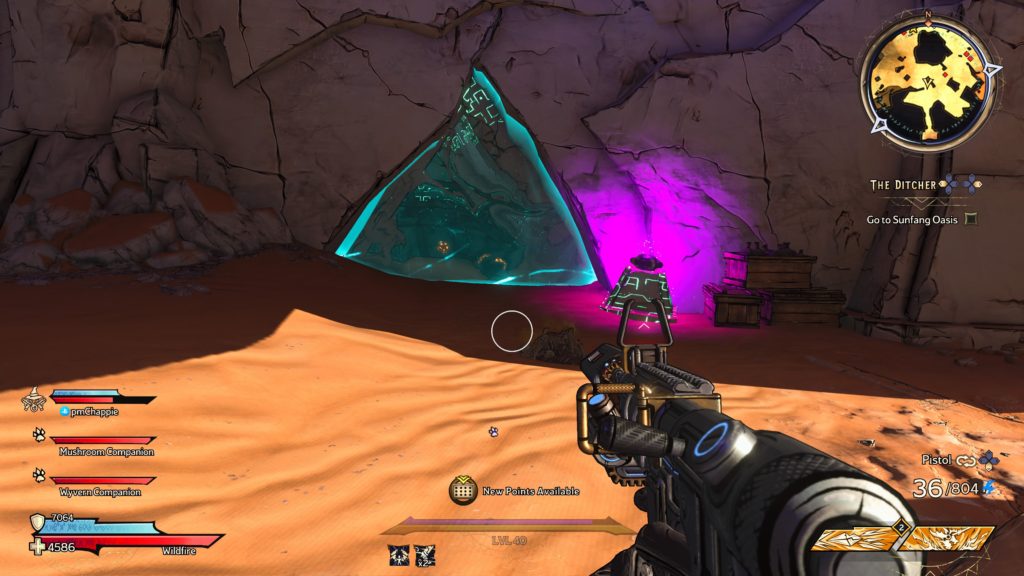
 

Open treasure chest

Despite the warnings, open the chest!


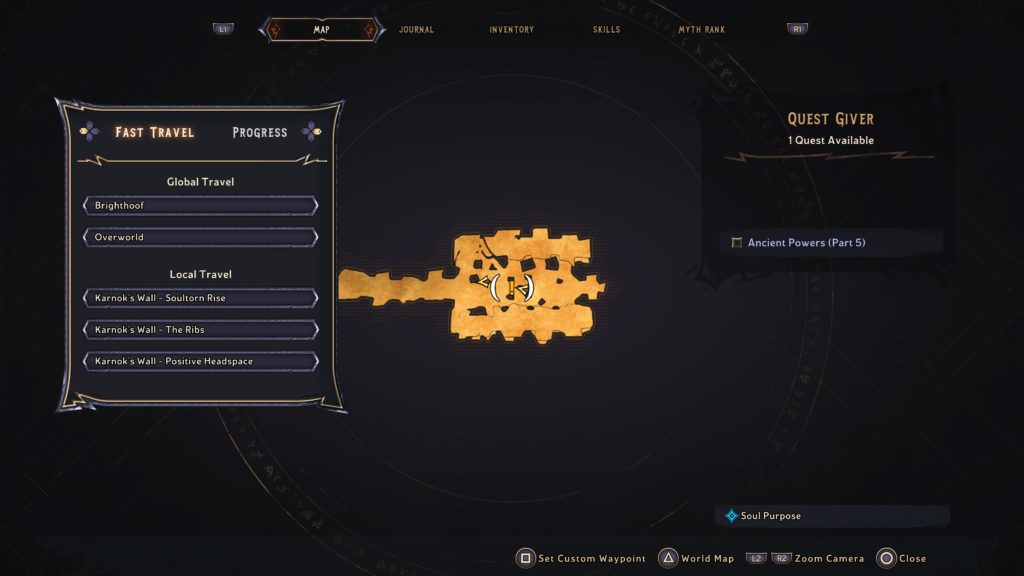
Talk to mysterious individual

Speak with Gerritt of Trivia (yes! best quest ever!) who shows up.
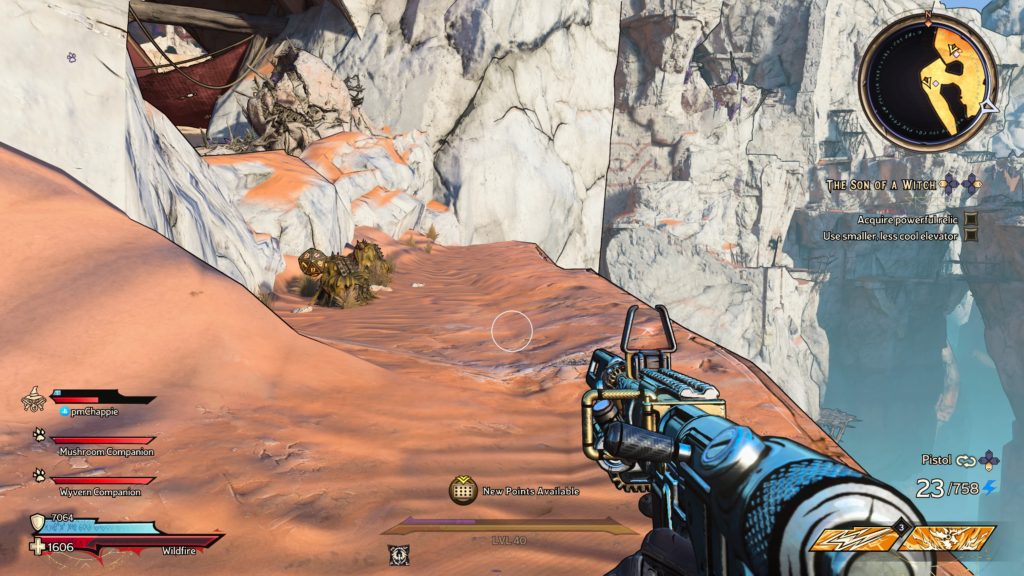
 

Kill irate Coiled

Defeat the enemies!


Talk to Gerritt

Speak with Geralt… I mean Gerritt.


Find throne room

Follow the objective to the throne room then clear out the enemies there.


Talk to Gerritt

Speak with him.


Free Salissa’s Form

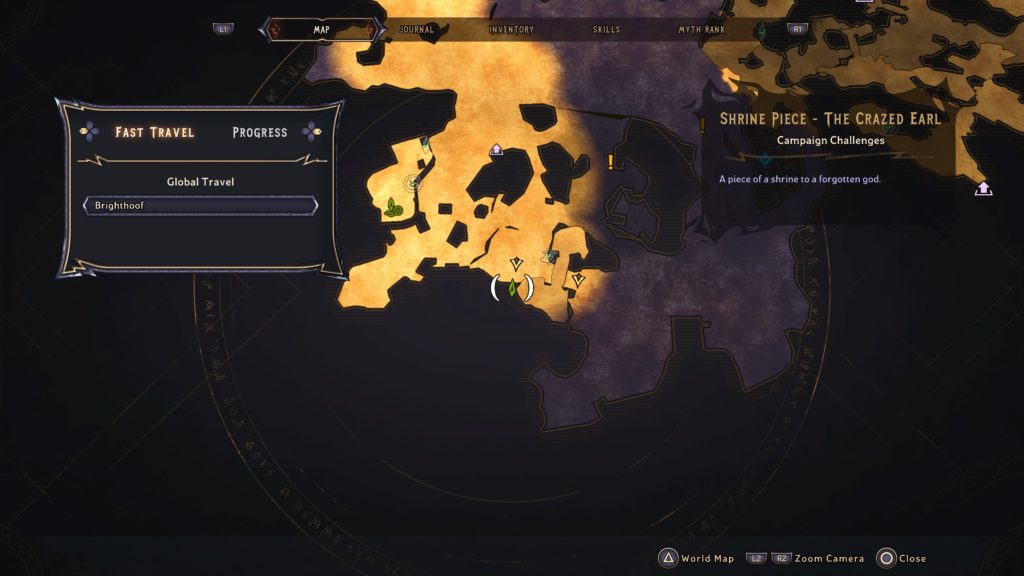
Gather 5 seawarg hearts from defeating the enemies in the objective’s area. Next, travel to the objective to find the Everfrost Icetomb at the southern tip of the map. Bury the hearts around the crystal where indicated. Next, you’ll have to kill the 3 Viziers and loot the items they drop. Travel to each objective to complete the tasks. When you’re finished, return to the Everfrost Icetomb. This time place the Coiled battle standards around the crystal. Afterwards, melee the ice.


Free Salissa’s Mind

Follow the objective to reach the Shrine of the Goddesses then speak with the Curator. Afterwards, follow here deeper into the shrine. When you’re ready, jump down the well in the middle of the room. Afterwards, make your way to the objectives to find the crystals. Once you’re done, head to the bottom of the room and go through the night sky portal. Next, place the crystals in front of their corresponding statues then talk to the Curator. You’ll then need to follow behind her. In the new area, defeat the enemies that spawn then keep following her.


Find labyrinth entrance

Follow the objective to the labyrinth.
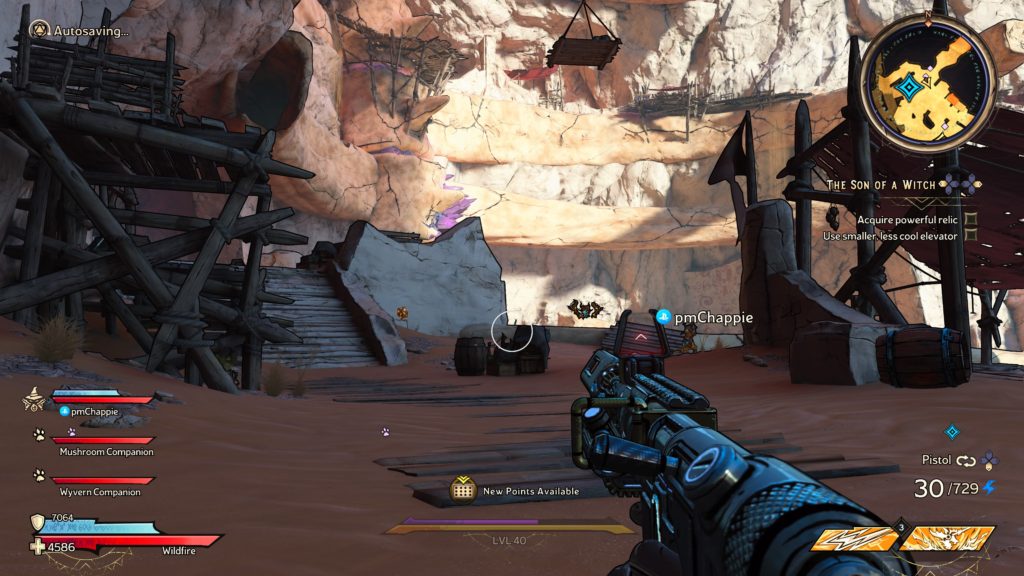
 

Find keystone

The keystone can be found behind the barrels next to the entrance. Once you find it, place it by the door.


Speak incantation

Speak the incantation to open the door.


Navigate labyrinth

Follow the path around and pull the lever near a door to open it. Continue through the next area. Eventually, drop down. When you do, defeat the enemy then retrieve the bident.


Return to temple

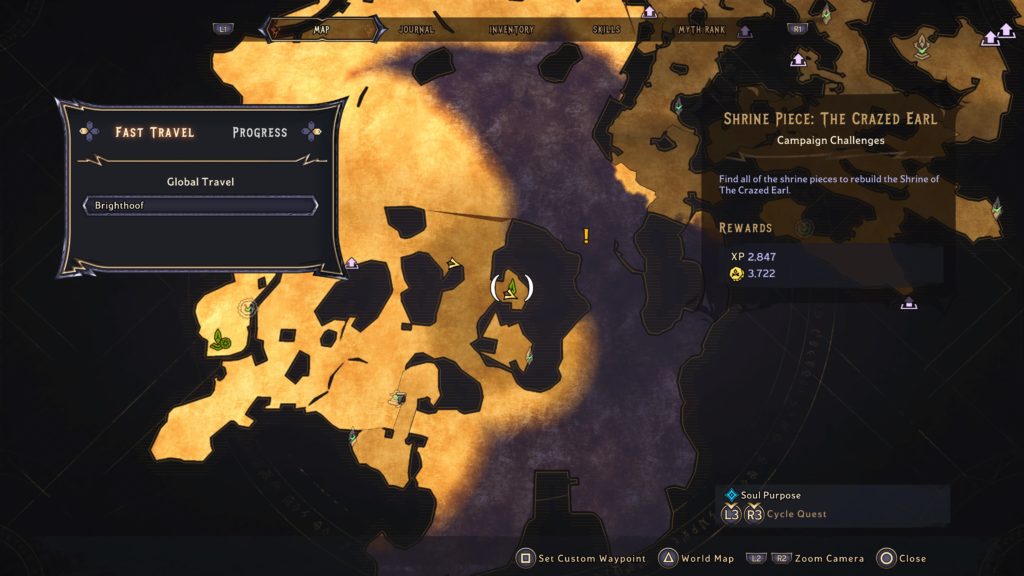
Head on back to the objective in the northern part of the map then jump into the geyser.


Place bident

Place the bident when you’re ready to begin the fight. Defeat Salissa!


Claim your destiny

Loot the item dropped by Salissa.


Celebrate in the throne room

Head through the portal to complete the quest.


Tiny Tinas Wonderlands Walkthroughs
Guides

Tiny Tina’s Wonderlands – On the Wink of Destruction

by MrsChappie in


Below is a walkthrough for the On the Wink of Destruction side quest in Tiny Tina’s Wonderlands. To obtain this quest interact with the poster on the side of Izzy’s Frizzies in Brighthoof.


Talk to Sully in Sunfang Oasis

Head to the objective on the northwestern side of the area to find an eyeball in a crumbly wall. Interact with it.


Close outflow channels

Flip the 2 switches on each side of the area to close the channels.


Kill mean cyclops bullies

Defeat the enemies that spawn.


Return to Sully

When you’re ready, head back to Sully then hold square to give him a tug.


Find Sully’s body

Head towards the objective to find the body. Don’t touch the water as you’ll die if you do! Thankfully the respawn point is just outside the room.


Flood the chamber

Head up the stairs and pull the lever.


Follow Sully

Follow him to the next room.


Lower water level

Pull the lever in the room to lower it.


Enter treasure room

Drop down to where the water was then clear out the enemies. Afterwards, open the door. Once inside, take the crown from the statue.


Get out!

Quickly get out of the room without touching the water as you’ll die! Upon exiting the ruins, defeat the enemies.


Give Sully the crown

Place the crown on Sully’s head to complete the quest.


Tiny Tinas Wonderlands Walkthroughs
Guides

Tiny Tina’s Wonderlands – Shrine of Aaron G

by MrsChappie in


Below is a walkthrough for the Shrine of Aaron G in Tiny Tina’s Wonderlands. You can find this shrine at the below location.

To complete this shrine, you’ll need to find all the shrine pieces.


Shrine Piece 1

Complete the encounter to receive the shrine piece as your prize.


Shrine Piece 2

Deactivate the barrier then retrieve the piece.


Shrine Piece 3

Complete the encounters to receive the shrine piece as your prize.


Shrine Piece 4

This dungeon is available after completing the Pocket Sandstorm side quest.


Tiny Tinas Wonderlands Walkthroughs
Guides

Tiny Tina’s Wonderlands – Alchemy: To Block the Sun

by MrsChappie in


Below is a walkthrough for the Alchemy: To Block the Sun side quest in Tiny Tina’s Wonderlands. To obtain this quest, speak with Orson in the Overworld.


Reach valley

Travel to the objective to the north to find a cyclops.


Kill cyclops

Bump into him to trigger a battle. Complete the encounter.


Pick up cactus

Retrieve the cactus where you found the cyclops.


Talk to Orson

Return to him and speak with him to complete the quest.


Tiny Tinas Wonderlands Walkthroughs
Guides

Tiny Tina’s Wonderlands – Shrine of The Crazed Earl

by MrsChappie in


Below is a walkthrough for the Shrine of The Crazed Earl in Tiny Tina’s Wonderlands. You can find this shrine at the below location.

To complete this shrine, you’ll need to find all the shrine pieces.


Shrine Piece 1

Complete the encounter to receive the shrine piece.


Shrine Piece 2

Complete the encounter to receive the shine piece.


Shrine Piece 3

Immediately after the above shrine piece, continue forward, using the air jet, to reach another dungeon. Complete this dungeon to receive the shrine piece.


Shrine Piece 4

To access this piece, complete the Eye Lost It side quest.


Tiny Tinas Wonderlands Walkthroughs
Guides

Tiny Tina’s Wonderlands – Eye Lost It

by MrsChappie in


Below is a walkthrough for the Eye Lost It side quest in Tiny Tina’s Wonderlands. To obtain this quest, speak with Dardanos in Overworld.


Search for the eye

Head south to the objective to trigger more dialog. Afterwards, follow the objective to a dungeon. Head inside and complete the encounter.


Reach cyclops lair

Head to the dungeon near where you accepted the quest. Complete the encounter then loot the eye from the chest that spawns at the end.


Talk to Dardanos

Speak with him to complete the quest.


Tiny Tinas Wonderlands Walkthroughs
Guides

Tiny Tina’s Wonderlands – Pocket Sandstorm

by MrsChappie in


Below is a walkthrough for the Pocket Sandstorm side quest in Tiny Tina’s Wonderlands. To obtain this quest, speak with Blatherskite in the Overworlds.


Reach ruins

Travel to the objective to find the dungeon then head inside and complete the encounters. Loot the Bag of Containment from the chest.


Talk to Blatherskite

Speak with him to complete the quest.


Tiny Tinas Wonderlands Walkthroughs
Guides

Tiny Tina’s Wonderlands – Karnok’s Wall Collectibles

by MrsChappie in


Below are the collectibles and campaign challenges found at Karnok’s Wall in Tiny Tina’s Wonderlands.

  • Ancient Obelisk: 1
  • Lost Marbles: 2
  • Lucky Dice: 20
  • Poetry Page: 1
  • Rune Switch: 1
  • Scrolls: 4


Ancient Obelisk

Ancient Obelisk 1

This obelisk can be found south of the Soultorn Rise fast travel point.


Lost Marbles

Lost Marble 1

This marble is reachable after completing the main story in this area. You’ll come here during the Ancient Powers side quest. Interact with the console to drop the barrier allowing you to access the marble.


Lost Marble 2

This marble can be found behind a barrier. You’ll be able to interact with the console to release the barrier after completing the main boss of this area.


Lucky Dice

For a detailed guide on the locations of these Lucky Dice at Karnok’s Wall, click here!


Poetry Page

Poetry Page 1

This page can be found along the western part of the area, northwest of the Soultorn Rise fast travel point. To reach it, cross a wooden bridge then look down under the bridge. There will be a floating platform. Shoot the crystal in the middle (might have to shoot the bottom of it) to cause it to move. Jump on the crystal platform then ride it to a nearby wooden platform. Follow the path to reach the page.


Rune Switch

Rune Switch 1

This rune switch can be found in the central part of the area.


Scrolls

History of Kwartz

This scroll can be found underneath the walkway southeast of The Ribs fast travel point.


Cinder

This scroll can be found on the side of a cliff during the Ancient Powers side quest.


Bitter and Happy

This scroll can be found just after the boss fight with Wastard.


Miner Dispute

To reach this scroll, take a crystal platform up then jumping to a suspended wooden platform. From here, you’ll reach the ledge containing this scroll.


Tiny Tinas Wonderlands Walkthroughs
Guides

Tiny Tina’s Wonderlands – Karnok’s Wall Lucky Dice

by MrsChappie in


There are 20 total Lucky Dice that can be found at Karnok’s Wall in Tiny Tina’s Wonderland. Below are the locations of these Lucky Dice. For a guide on all the collectibles in this area, click here!


Lucky Dice 1

This dice can be found on a wooden platform near the start of the area.


Lucky Dice 2

This dice can be found on a ledge next to stones glowing blue.


Lucky Dice 3

This dice can be found under the elevator. To reach it, you’ll have to crouch!


Lucky Dice 4

This dice can be found on a ledge along the western map’s edge.


Lucky Dice 5

This dice can be found near the elevator.


Lucky Dice 6

This dice can be found near the elevator next to a wall of purple crystals.


Lucky Dice 7

After riding the elevator up to The Ribs fast travel point, follow the path until you come to a mining area. Drop down the hole with a platform being suspended over it to find this dice at the bottom.


Lucky Dice 8

This dice can be found down the path from The Ribs fast travel point.


Lucky Dice 9

This dice can be found in front of a wall with symbols on it down the path from The Ribs fast travel point.


Lucky Dice 10

This dice can be found suspended in the air on a wooden platform. To reach it, you’ll have to follow the wooden walkway up, jumping as needed.


Lucky Dice 11

This dice can be found on an upper ledge overlooking an area where enemies spawn.


Lucky Dice 12

This dice can be found in a bone.


Lucky Dice 13

This dice can be found in the area above the vending machines. To reach it, take the ladder across from the vending machines up then follow the path until you reach the top.


Lucky Dice 14

This dice can be found in the area just past where you fought the boss.


Lucky Dice 15

This dice can be found on a rock containing a bunch of wyvern nests.


Lucky Dice 16

This dice is located behind a barrier that is lowered after completing the Spell to Pay side quest.


Lucky Dice 17

This dice can be found behind a wall that you can melee during the Ancient Powers side quest.


Lucky Dice 18

This dice can be found along bones in the northeastern corner of the area. You’ll come here during the Ancient Powers side quest.


Lucky Dice 19

This dice can be found behind a barrier at the base of the elevator. You’ll be able to interact with the console to release the barrier after completing the main boss of this area.


Lucky Dice 20

This dice can be found behind a barrier. You’ll be able to interact with the console to release the barrier after completing the main boss of this area.


Tiny Tinas Wonderlands Walkthroughs
Guides

Tiny Tina’s Wonderlands – Ancient Powers (Part 5)

by MrsChappie in


Below is a walkthrough for the Ancient Powers (Part 5) side quest in Tiny Tina’s Wonderlands. To obtain this quest, speak with Dryxxl after completing the Ancient Powers (Part 4) side quest.


Re-Summon Dread Lord

Speak with Dryxxl when you’re ready to begin the fight.


Sacrifice life essence

Yet again interact with the object in the middle of the room.


Talk to Dryxxl

Speak with him to complete the quest.