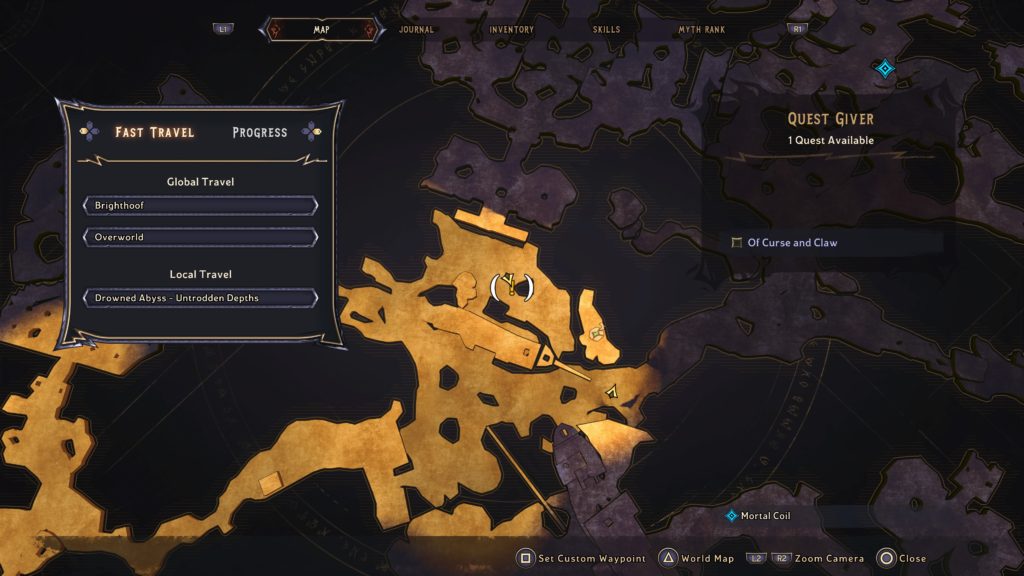
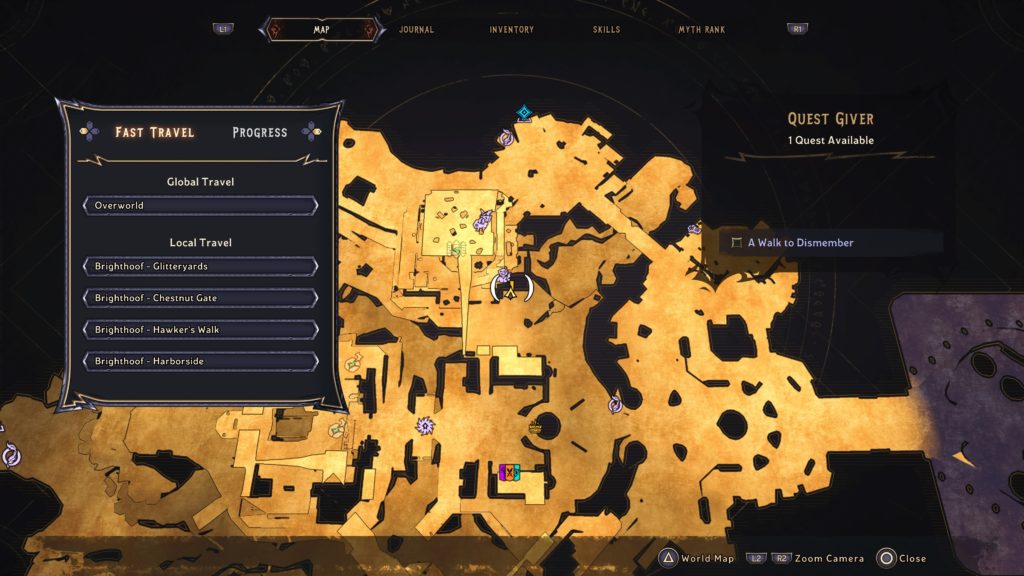
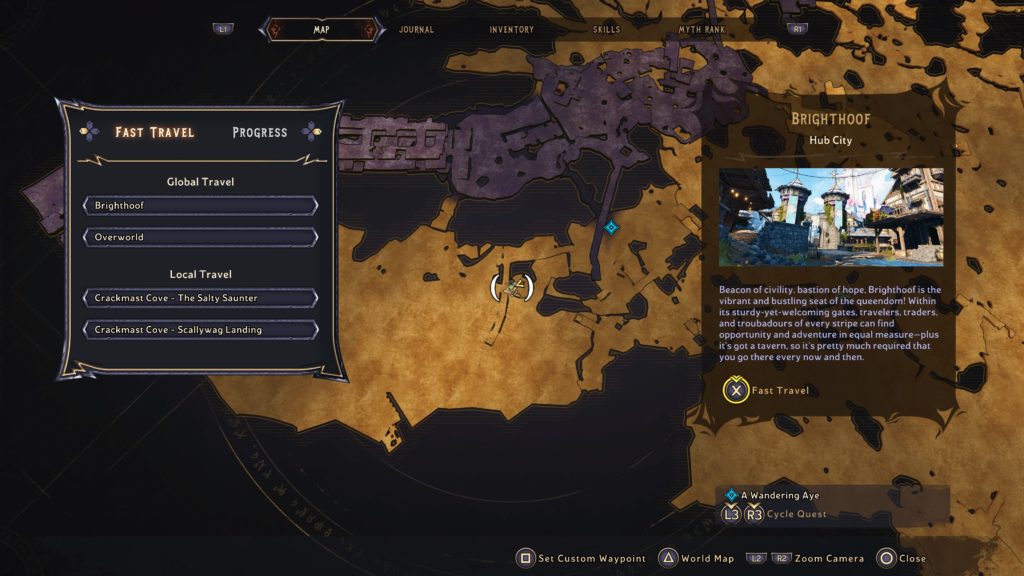
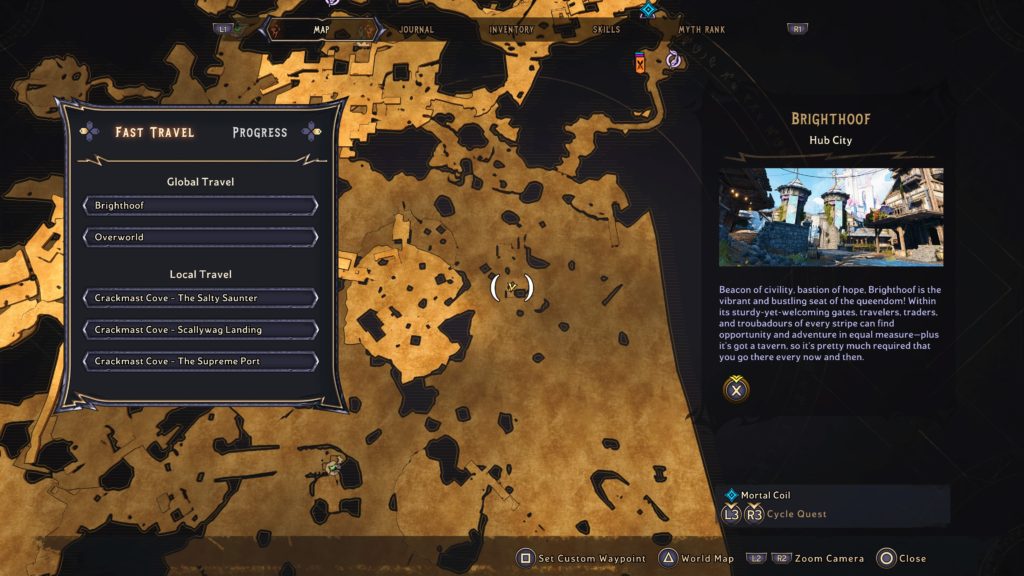
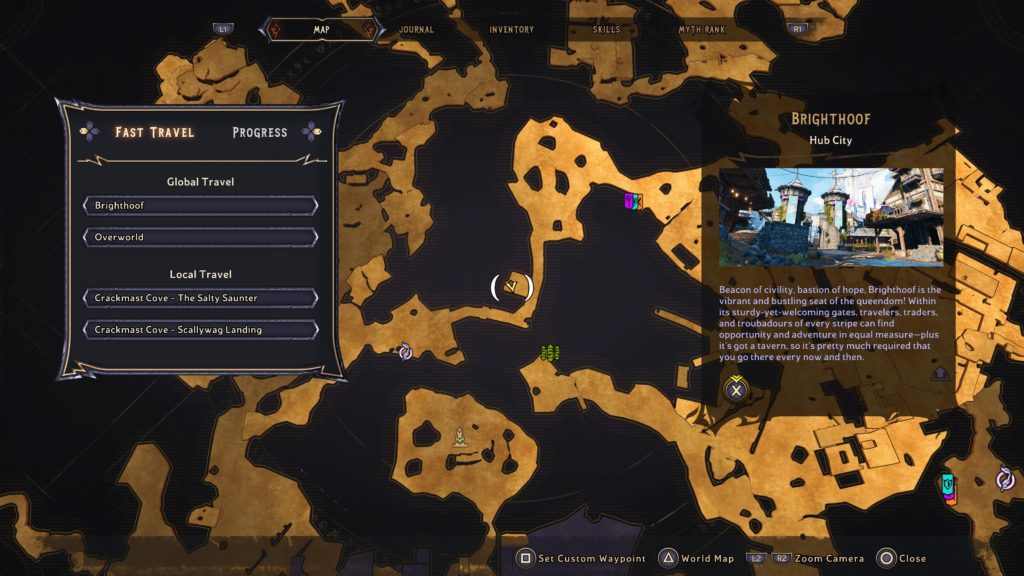
Below is a walkthrough for A Walk to Dismember side quest in Tiny Tina’s Wonderlands. To obtain this quest, interact with the board in Brighthoof.
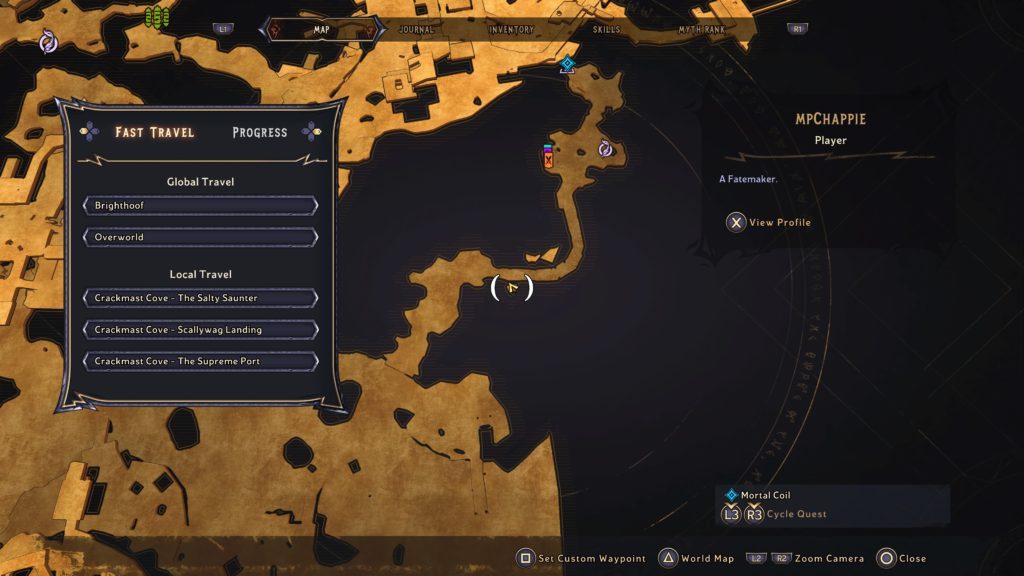
Meet frail old woman in Crackmast Cove
Travel to the objective in Crackmast Cove then speak with Auntie Anchor in the southern part of the area.
Grab the collar
Go behind the house and grab the collar from the anchor.
Bring the collar back
Return to Auntie Anchor to deliver the collar.
Put collar on Pookie
Place the collar on Pookie by interacting with it.
Pet Pookie
Again, interact with Pookie.
Walk Pookie
Follow behind him and defeat the enemies that attack. It’ll move forward a short ways then finally do its business.
Search poo for “present”
Take Pookie’s Poop.
Pick up Happy Buddy Ball
Pick up the ball.
Decide Happy Buddy Ball’s fate
For this one you can either end Happy Buddy Ball’s nightmare or feed Happy Buddy Ball to Pookie. It really does not matter. The quest just automatically moves forward to the next objective.
Take Pookie to the park
Head towards the next objective to bring Pookie to Crab Park.
Let Pookie play with his friends
Interact with Pookie to activate the collar. Pookie will get huge and attack the bullies. You can either sit back and watch the show or join in to make it go quicker.
Bring Pookie home
Return to Auntie Anchor.
Activate Pookie’s collar again
Interact with Pookie. He’ll attack you so fight back! When instructed, melee Pookie to get his collar off.
Collect Pookie’s collar
Pick up the collar then return it to the anchor to complete the quest.
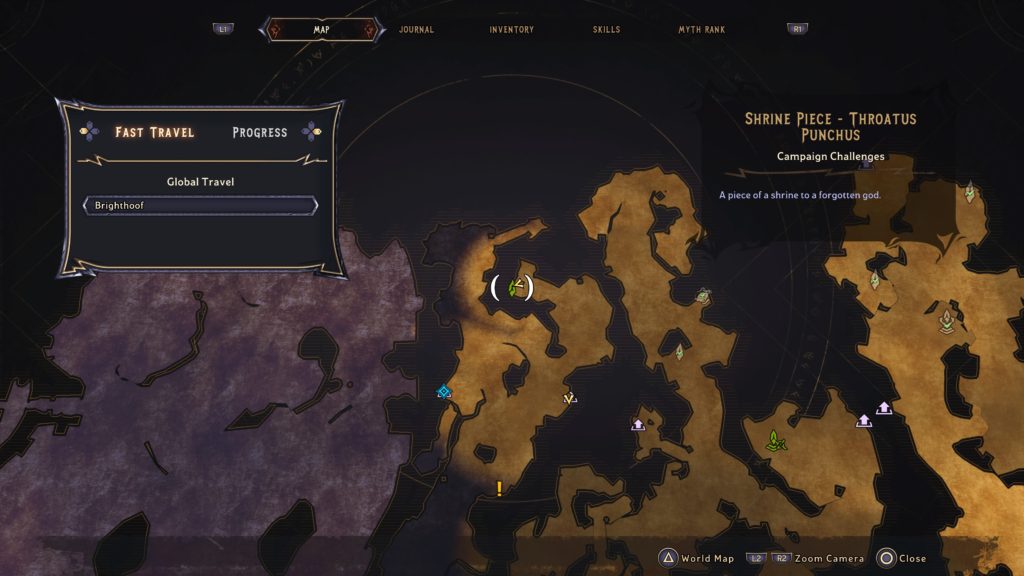
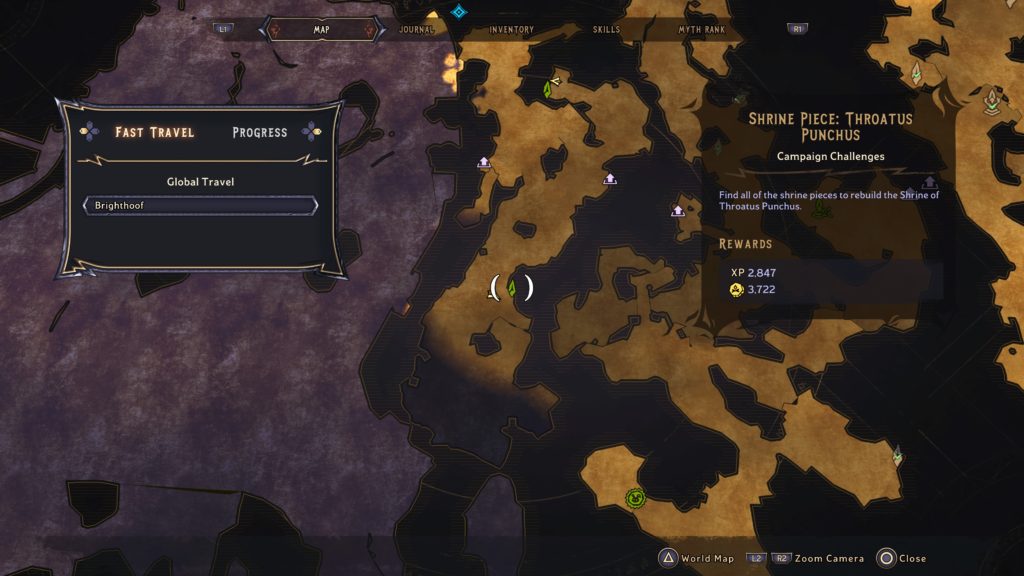
Below are the collectibles and campaign challenges found at Crackmast Cove in Tiny Tina’s Wonderlands.
Ancient Obelisk: 1
Lost Marbles: 2
Lucky Dice: 22
Poetry Pages: 2
Rune Switch: 1
Scrolls: 5
Ancient Obelisk
Ancient Obelisk 1
This obelisk can be found behind a waterfall west of the Crackmast Cove – The Salty Saunter fast travel point.
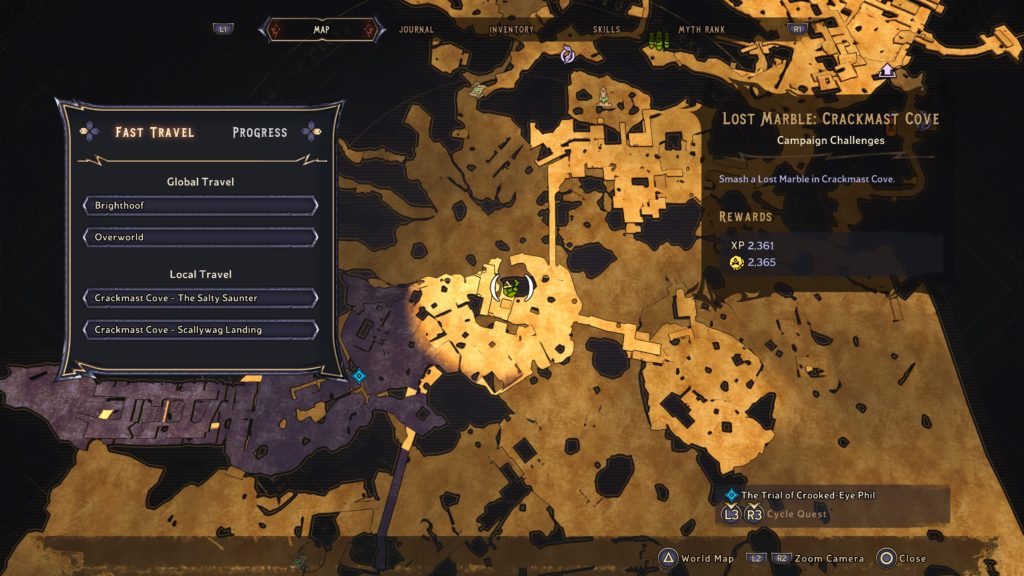
Lost Marbles
Lost Marble 1
This marble can be found in a wrecked ship in the south central part of the area.
Lost Marble 2
This marble can be found on a higher ledge on a tall rock. To reach it, take the ladder up.
Once at the top, head forward a short ways then look on your left for a lower platform. Jump to it as this platform contains the marble.
Lucky Dice
For a detailed guide on the location of these Lucky Dice, click here!
Poetry Pages
Poetry Page 1
This page can be found on a ledge down the path from a gate in a cavern.
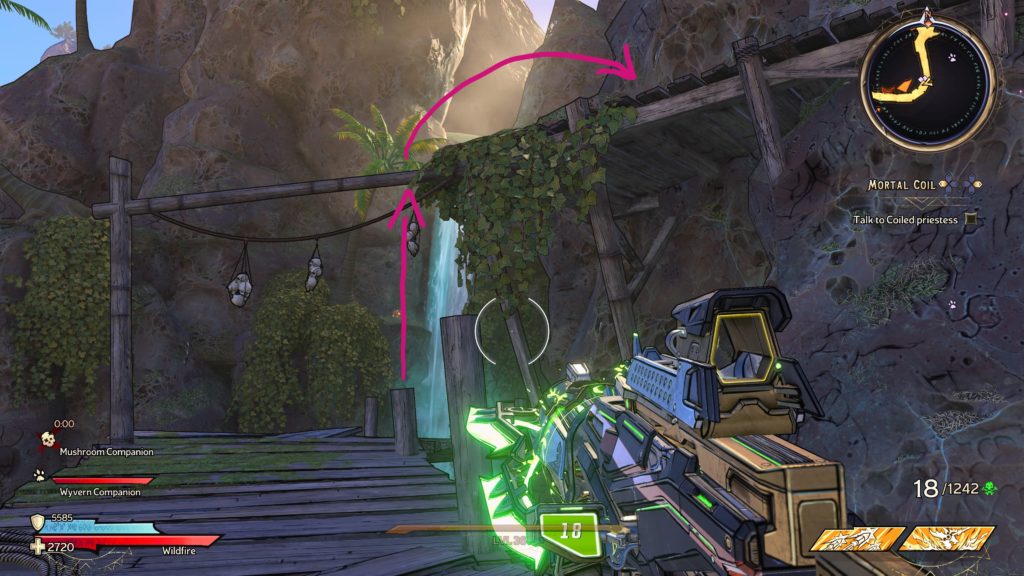
Poetry Page 2
This page can be found atop a piano on a circular platform, which is suspended in the air. To reach it, walk across the bridge then pass under the hanging shark.
Skirt the edge of the cliff then jump to the platform!
Rune Switch
Rune Switch 1
This Rune Switch can be found on the western side of the Scallywag Landing’s village. To reach it, head through town from the vending machines and just before the gate, look to your right to see a ship broken in two.
Take this path to the end to find the Rune Switch at the end.
Scrolls
A No-Twin Scenario
This scroll can be found next to a hammock south of the Crackmast Cove – The Salty Saunter fast travel point.
Misjudgment
This scroll can be found on the edge of a cliff behind a building.
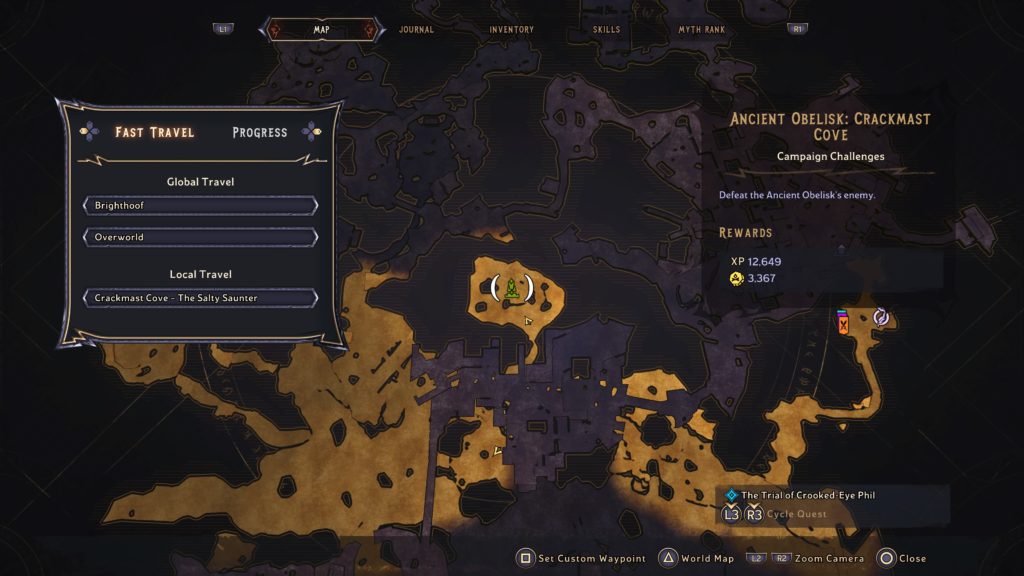
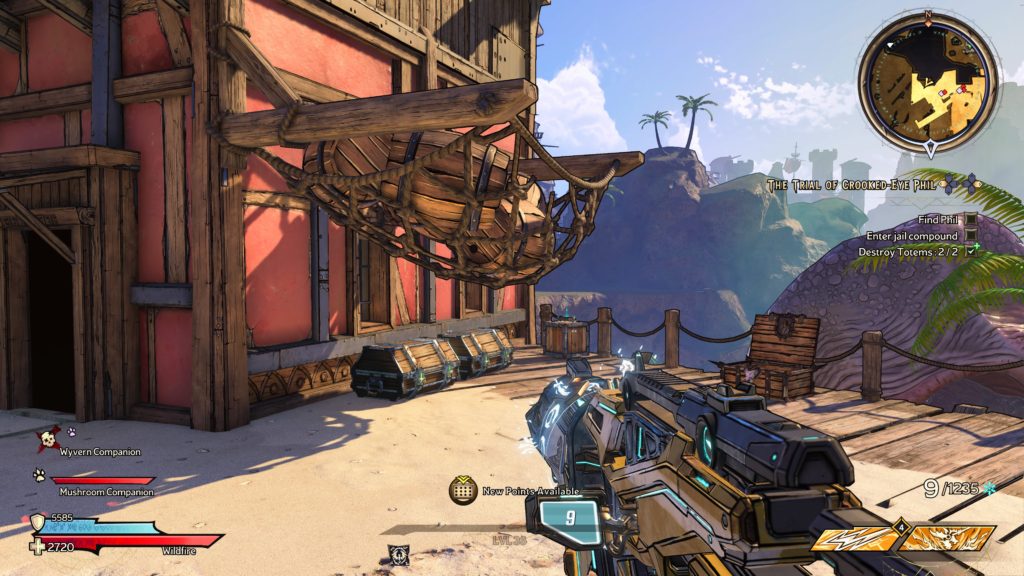
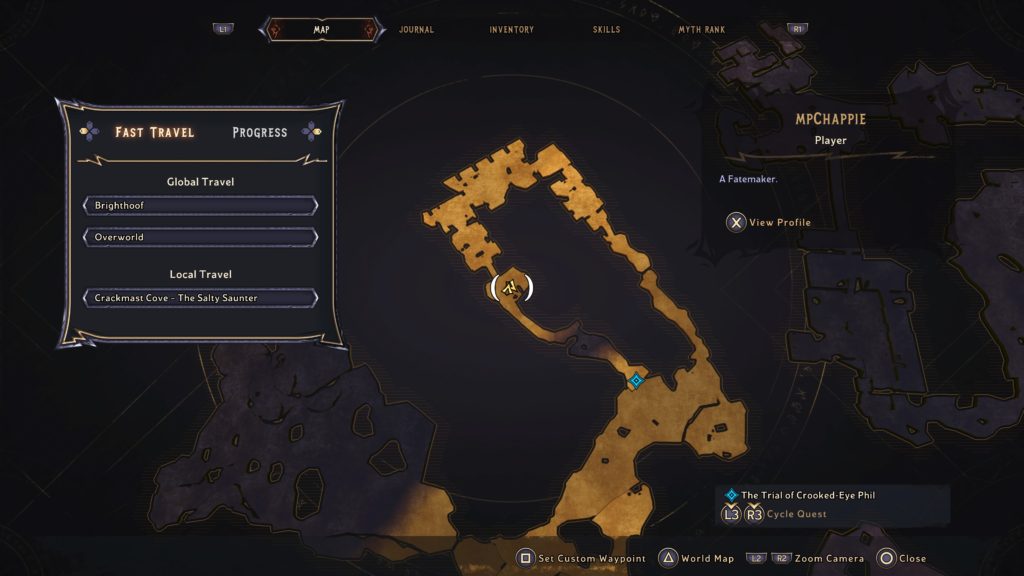
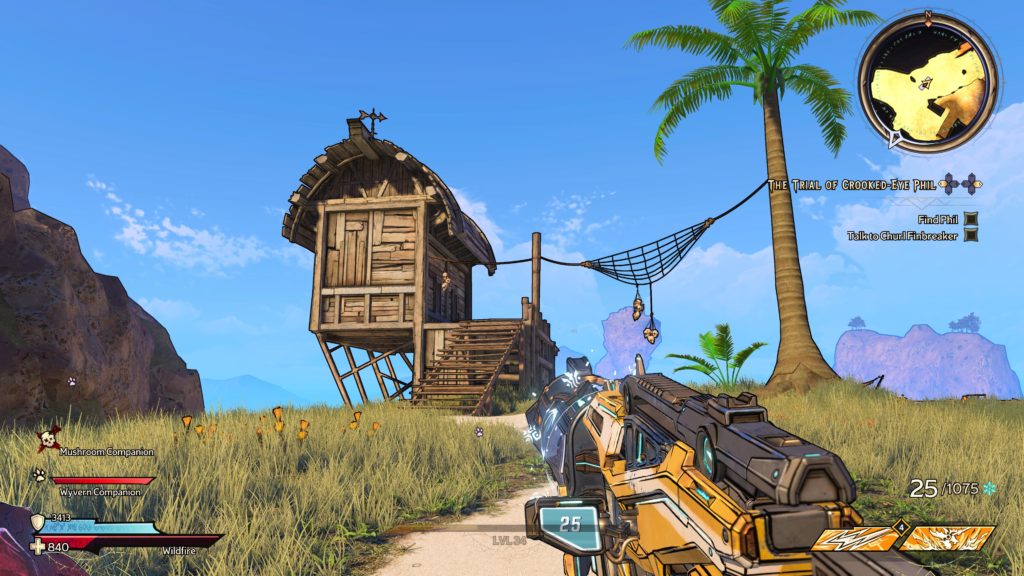
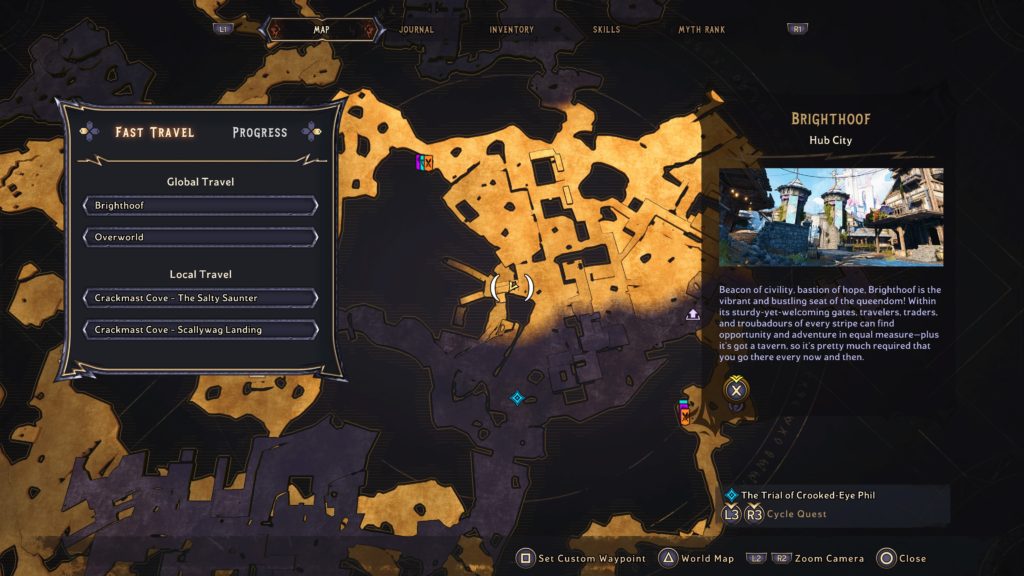
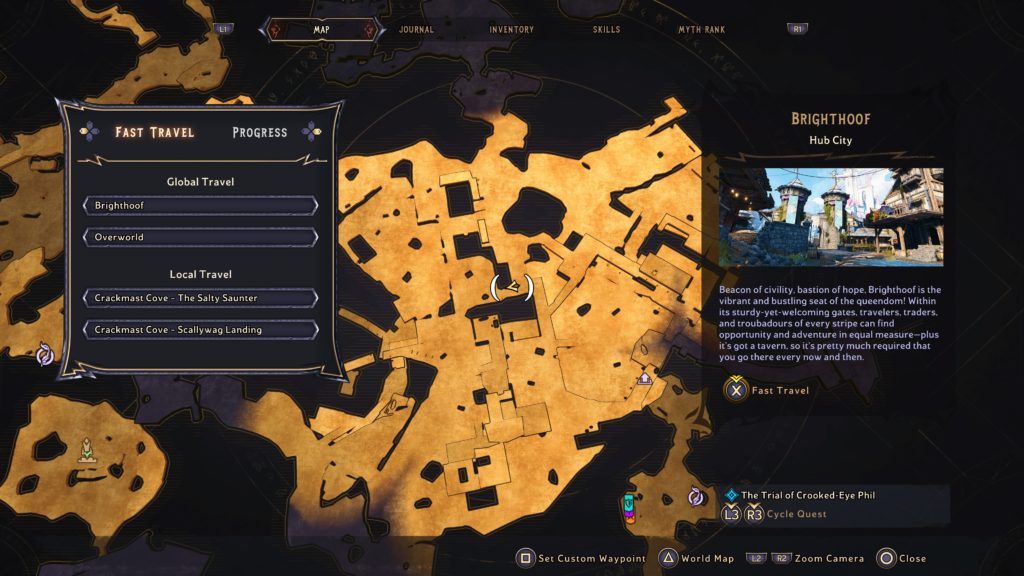
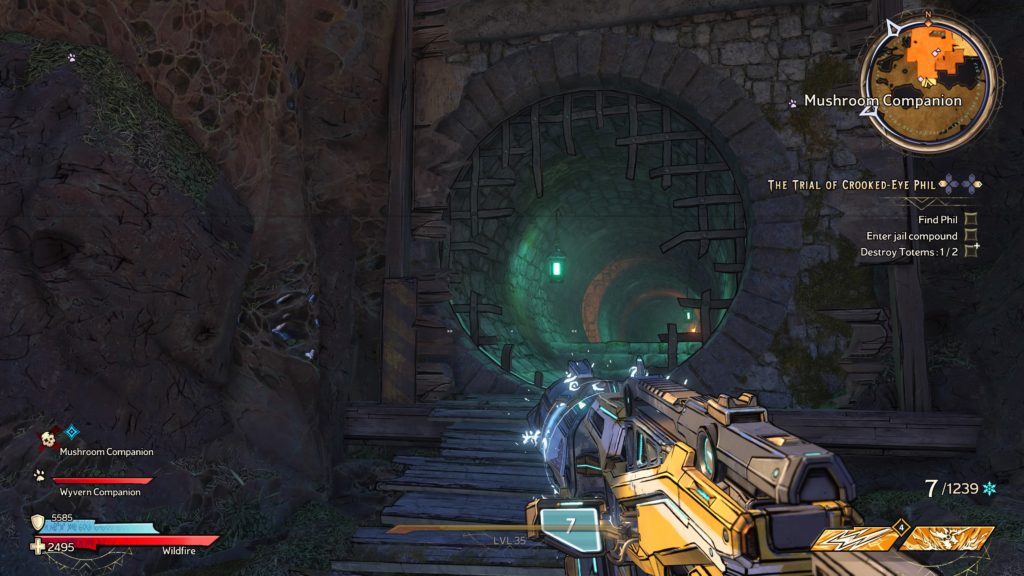
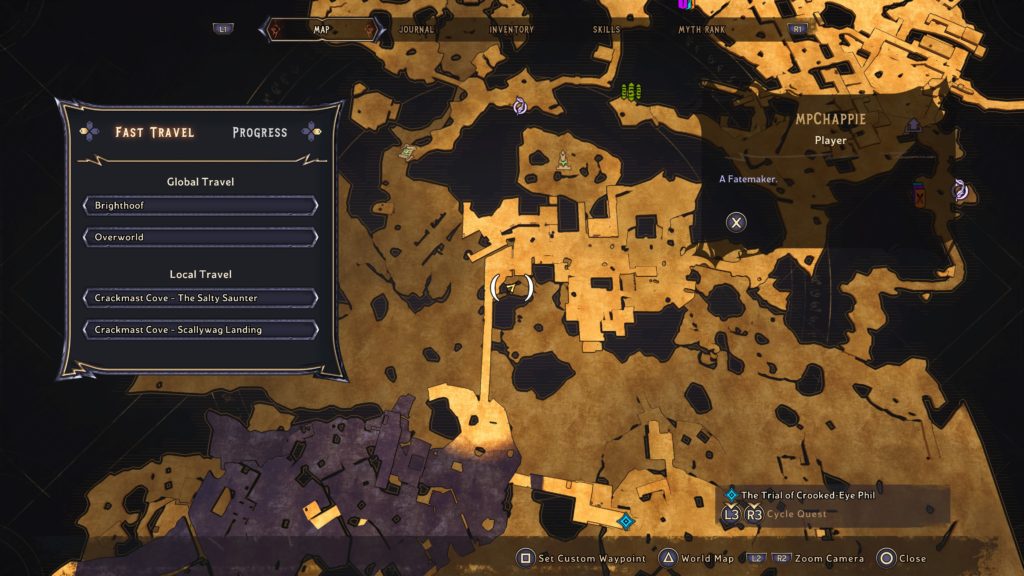
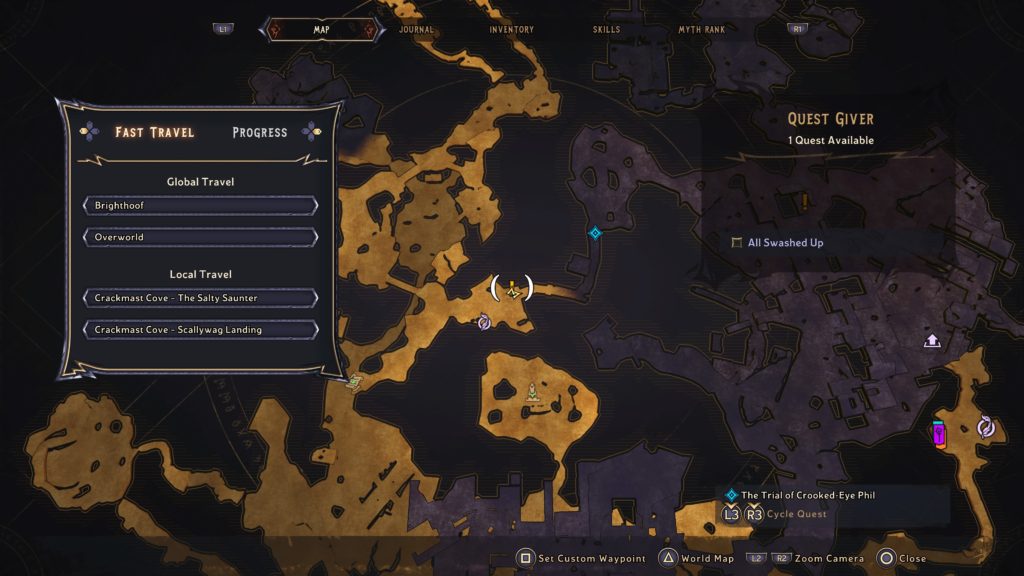
Below is a walkthrough for The Trial of Crooked-Eye Phil side quest in Tiny Tina’s Wonderlands. To obtain this quest, interact with the poster on the board at Brighthoof.
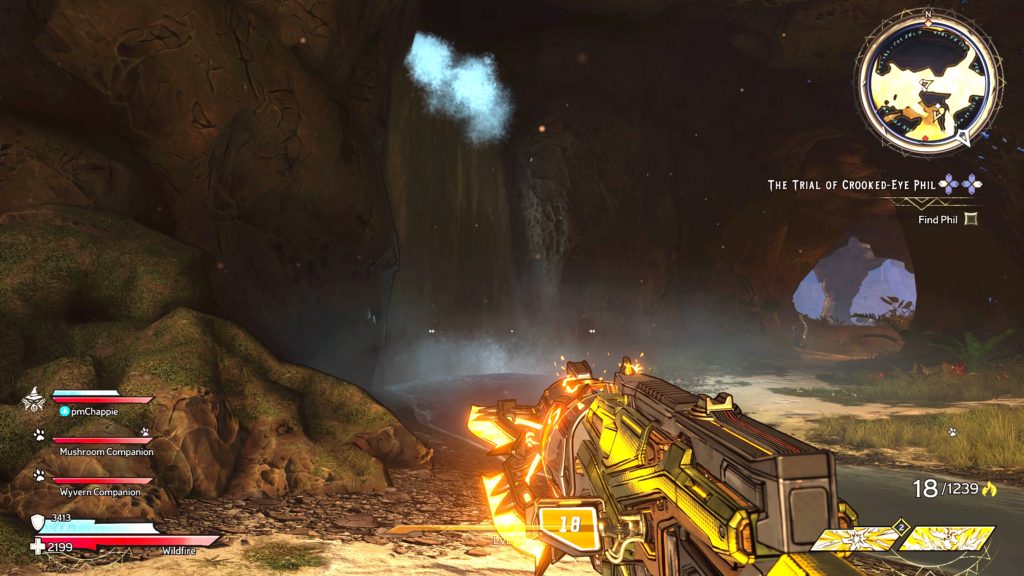
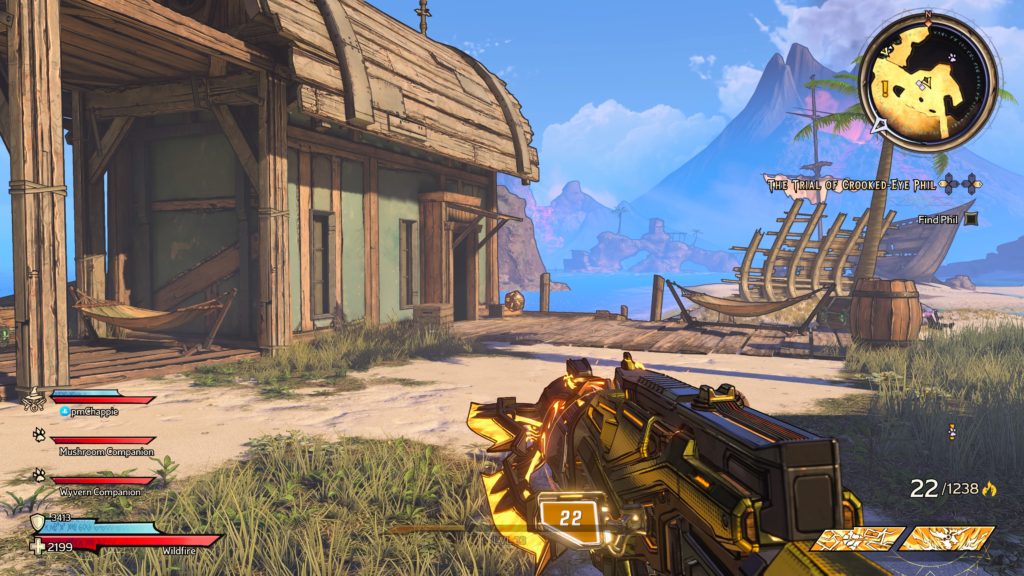
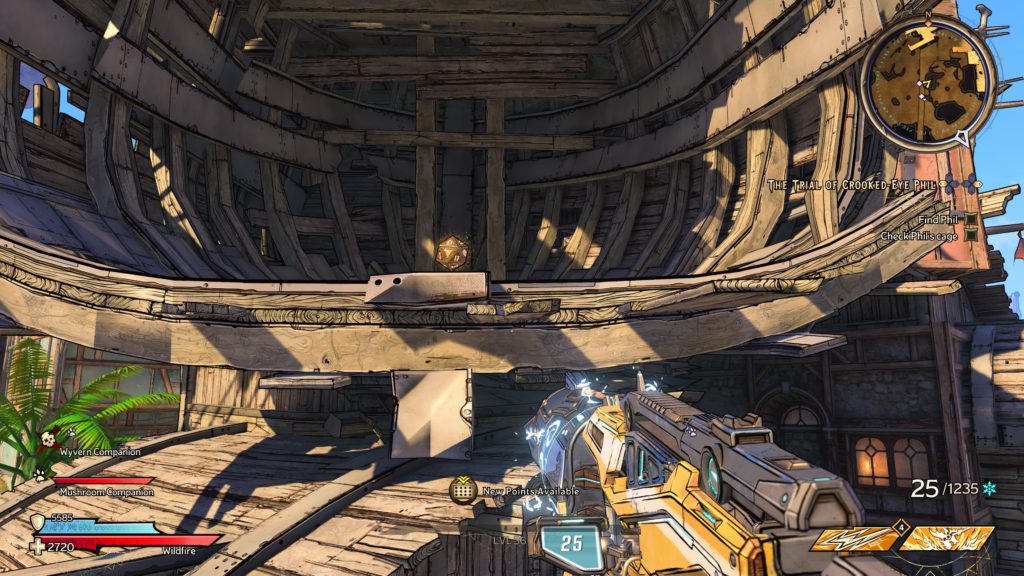
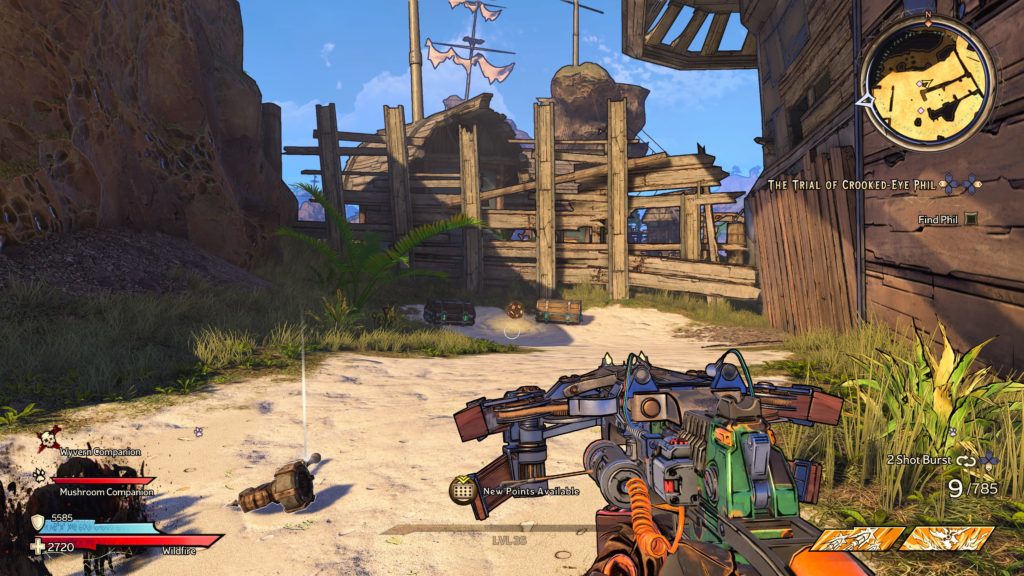
Find Crooked-Eye Phil in Crackmast Cove
Travel to the objective in Crackmast Cove to find Phil in a box.
Knock on box
Bang on the box.
Use lever to release Phil
Head behind the box to pull the lever next to the desk.
Kill cage guards
Defeat all the enemies!
Find directions to Phil’s cave
Travel north to find a scroll.
Find a local
Head northwest to the next objective to find a group of pirates.
Talk to Surle Finbreaker
Speak with the pirate wearing a pirate hat.
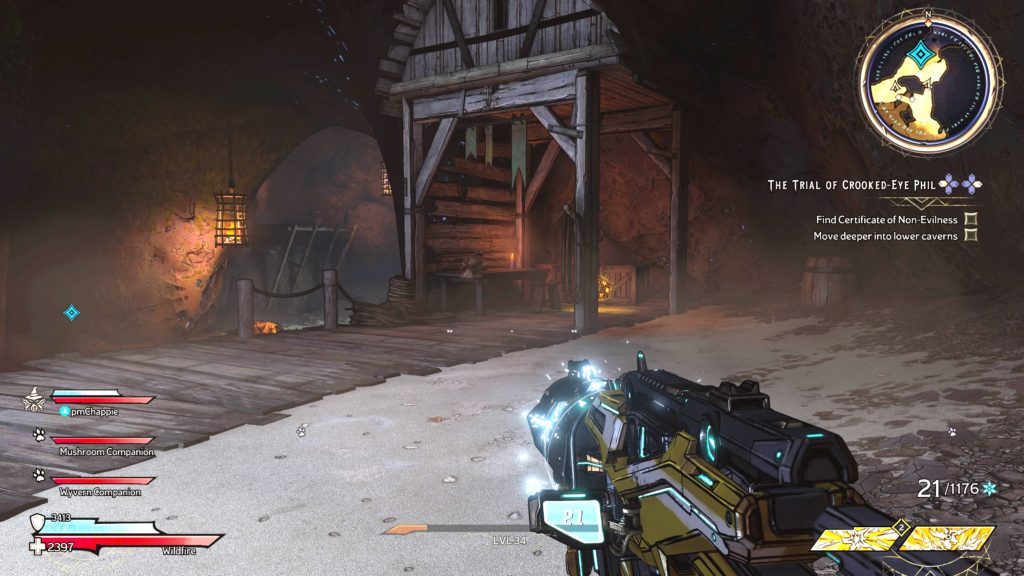
Enter lower caverns
Head north to find the cavern.
Solve the puzzle
To solve the puzzle, click the left lever one, the middle one once and the right the twice. Just line up the symbols with those above the gate in front of the levers.
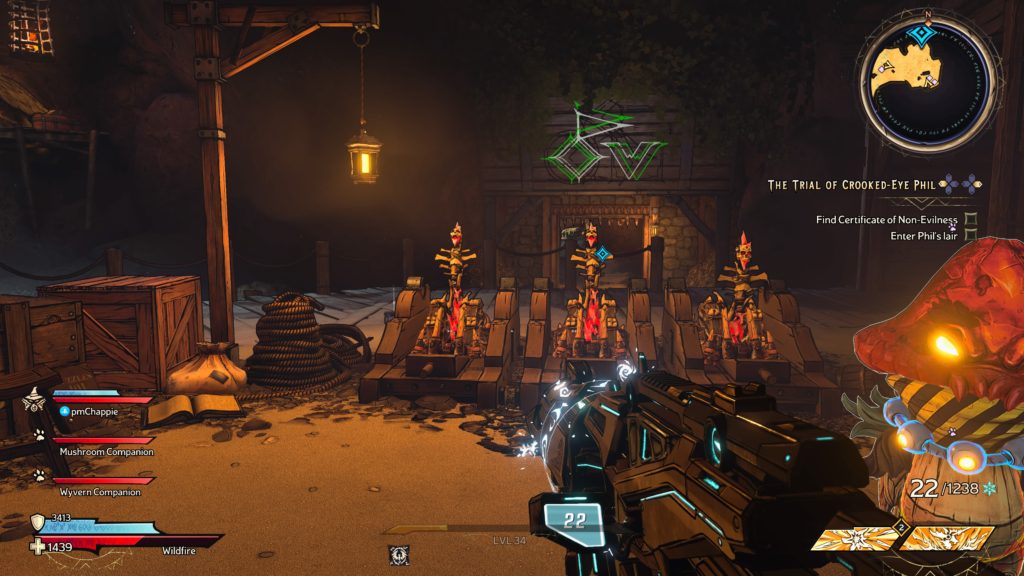
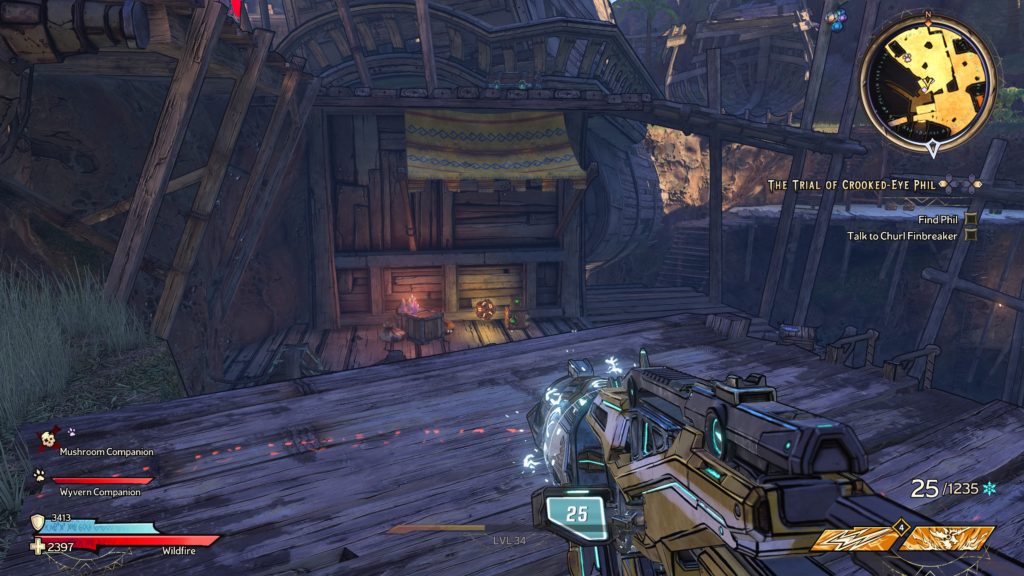
Enter Phil’s lair
Head through the newly opened gate and work your way forward. Pull the skull by the gate to open it. Head inside to reach the inner sanctum.
Find Certificate of Non-Evilness
Pull the skull above the chest then loot the chest.
Go to Scallywag Landing
Pull the skull next to the fireplace to find a shortcut then follow the objective to reach a gate. Approach it to trigger a quick dialog event with Surle Finbreaker. Head through the gate and proceed into Scallywag Landing until you approach the objective.
Melee 3 mysterious totems
Melee the totem in front of you then defeat the enemies that spawn. Afterwards, follow the objective to the next one!
Talk to Churl Finbreaker
With the totems destroyed, approach Churl Finbreaker at the objective to the south.
Find Phil
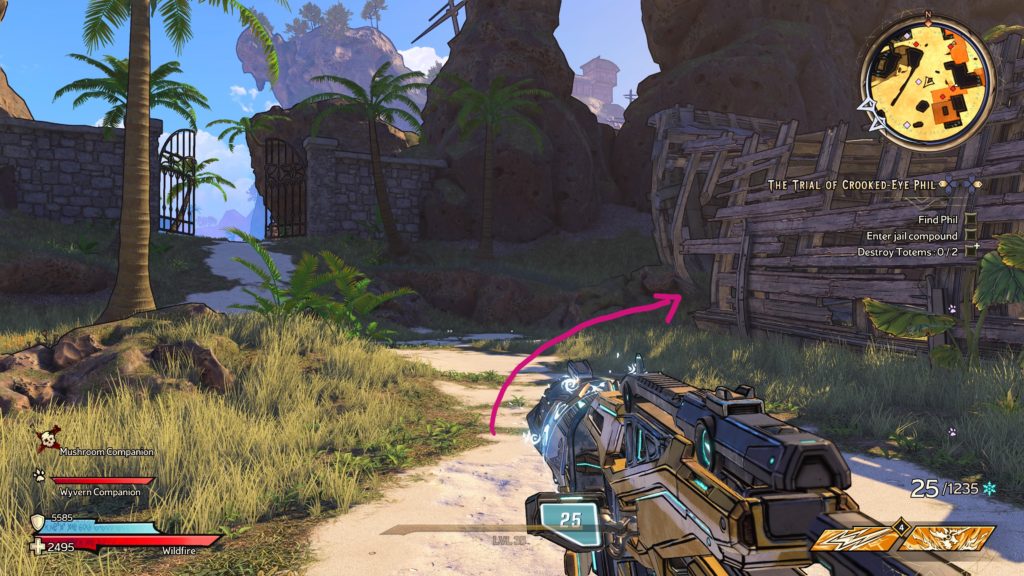
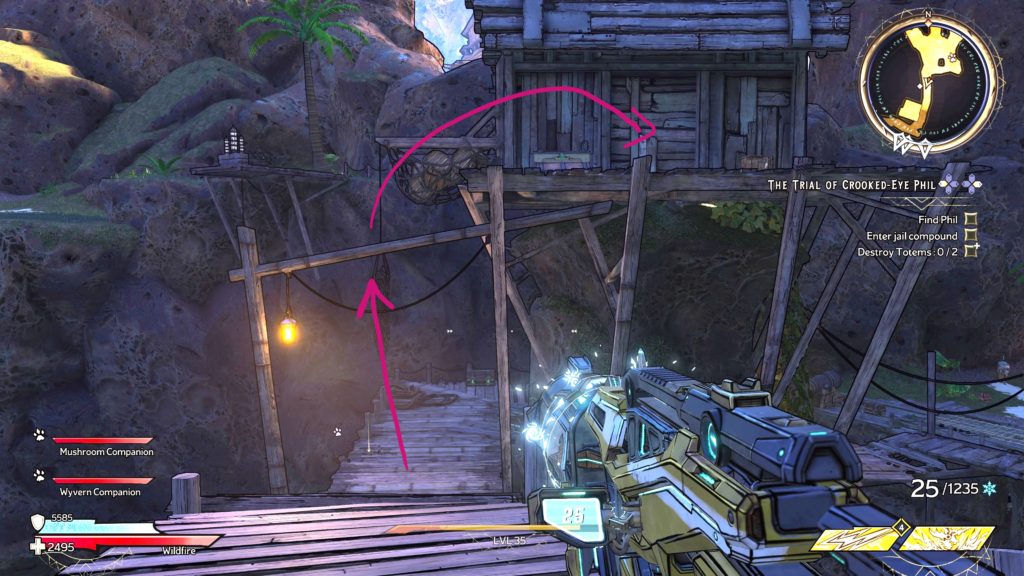
As you make your way to the jail compound, defeat the enemies standing in your way and follow the objectives to 2 Totems and destroy them! Check on Phil in the cage hanging in the air to learn that he is not there anymore.
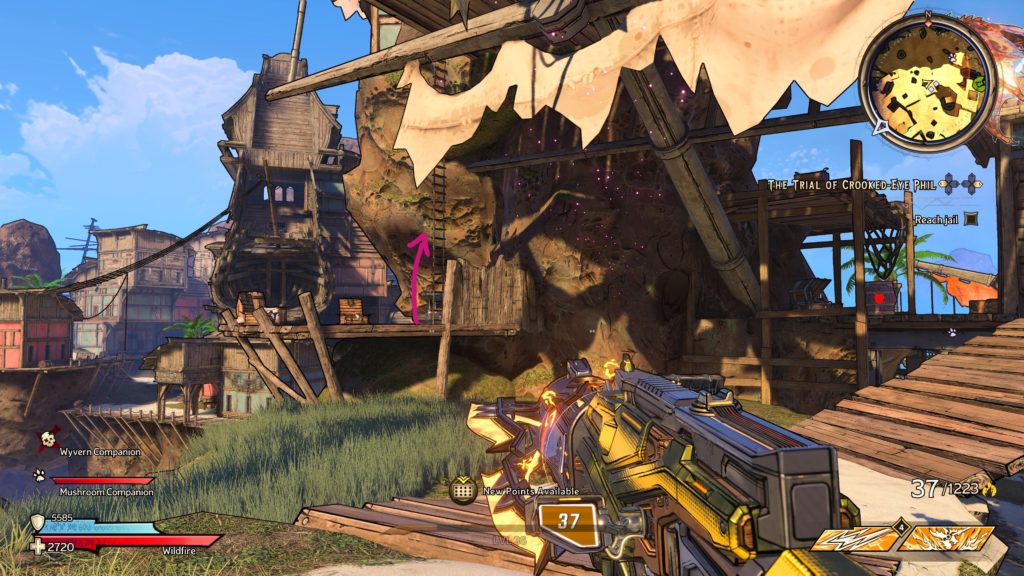
Reach jail
As you approach the objective, more enemies will spawn. Defeat them only to find the way forward is blocked.
Find another way in
Head to the left side of the structure and examine it. Afterwards, head to the cannon in the middle of the area and ignite it. The way forward will now be open so head on through!
Find Phil
Phil can be found in a cage on the upper level of the structure.
Go to pirate court
Head west towards the objective. You’ll pass some vending machines along the way.
Talk to Phil
Speak with Phil in the middle of this area.
Approach the stand
Step on up to the stand!
Present Certificate of Non-Evilness
Place the certificate on the stand.
Kill enemies
After the debate, you’ll be presented with additional objectives to shoot the judge in the leg and melee the totem. If you melee the totem, it’ll cause the shark creatures to spawn just like it’s always done. Defeat everything during your pirate brawl.
There are 22 total Lucky Dice that can be found at Crackmast Cove in Tiny Tina’s Wonderland. Below are the locations of these Lucky Dice. For a guide on all the collectibles in this area, click here!
Lucky Dice 1
This dice can be found at the very beginning of the area on the side of a cliff next to a waterfall. To reach it, head down from the vending machines to spot a wooden archway with skulls hanging down going over the walkway. Carefully climb up onto the peg of the walkway closest to the archway and cliff. Once on it, look directly at the hanging skulls closest to the cliff then jump.
From there jump onto the nearby ledge then jump to the next ledge. From there, you’ll be able to jump to the dice.
Lucky Dice 2
This dice can be found next to a shack just south of the Crackmast Cove – The Salty Saunter fast travel point.
Lucky Dice 3
This dice can be found on the roof of a building. To reach it, climb up the crates.
Lucky Dice 4
This dice can be found in the cavern just south of the Ancient Obelisk.
Lucky Dice 5
This dice can be found in a nook west of the Ancient Obelisk.
Lucky Dice 6
This dice can be found on the roof of a shack northwest of a lost marble. To reach it, jump to the roof from the building next to it.
Lucky Dice 7
This dice can be found in a small structure inside a cavern.
Lucky Dice 8
After finding the Certificate of Non-Evilness during The Trial of Crooked-Eye Phil side quest, pull the skull next to the fireplace to reveal this skull.
Lucky Dice 9
This lucky dice can be found on the upper deck of a house on stilts between the Crackmast Cove – Scallywag Landing fast travel point and the vending machines. To reach the dice, you’ll have to head north of the wooden arch passing over the walkway next to the house then run and jump to it. This is tricky and may take you several tries but it is possible!
Lucky Dice 10
This dice can be found in Scallywag Landing just northwest of the vending machines. It is located behind a tent.
Lucky Dice 11
This dice can be found on the deck of a small house atop a cliff overlooking the ocean at Scallywag Landing.
Lucky Dice 12
This dice can be found on a lower deck in Scallywag Landing.
Lucky Dice 13
This dice can be found behind some buildings in Scallywag Landing.
Lucky Dice 14
This dice can be found under a wooden bridge in the northeastern corner of the map. You’ll come here during the All Swashed Up side quest.
Lucky Dice 15
This dice can be found in the northeastern corner of the map. You’ll come here during the All Swashed Up side quest. To reach it, head into the room to the left of the door.
Jump up onto the wooden platform. Jump up once again then turn around and step up onto the crate. Jump to the higher platform to find the dice.
Lucky Dice 16
This dice can be found in a wrecked ship on the southeastern side of the area.
Lucky Dice 17
This dice can be found on a dock overlooking the bay on the southwestern side of the map.
Lucky Dice 18
This dice can be found in a little area off to the side of the room where LeChance was suspended in a cage over a pit. You’ll come here during A Wandering Aye side quest.
Lucky Dice 19
This dice can be found in a tunnel. To reach it, climb down the ladder to a wooden platform on the side of the cliff.
Melee the boards blocking the tunnel’s entrance.
Head through the tunnel, passing 2 beams of fire jetting from the wall to reach the dice at the end of the path near a grate.
Lucky Dice 20
This dice can be found in a broken ship on top of a building. To reach it, you’ll have to get a running jump from the wooden bridge to a ladder hanging off the side of a building.
Once on the roof, jump into the broken ship to find the dice.
Lucky Dice 21
This dice can be found next to Phil’s cage on the upper level of the building.
Lucky Dice 22
This dice can be found during The Trial of Crooked-Eye Phil side quest on the other side of the ship between 2 ammo crates. It’ll be the area right after you used the cannon to blow a hole in the wall.
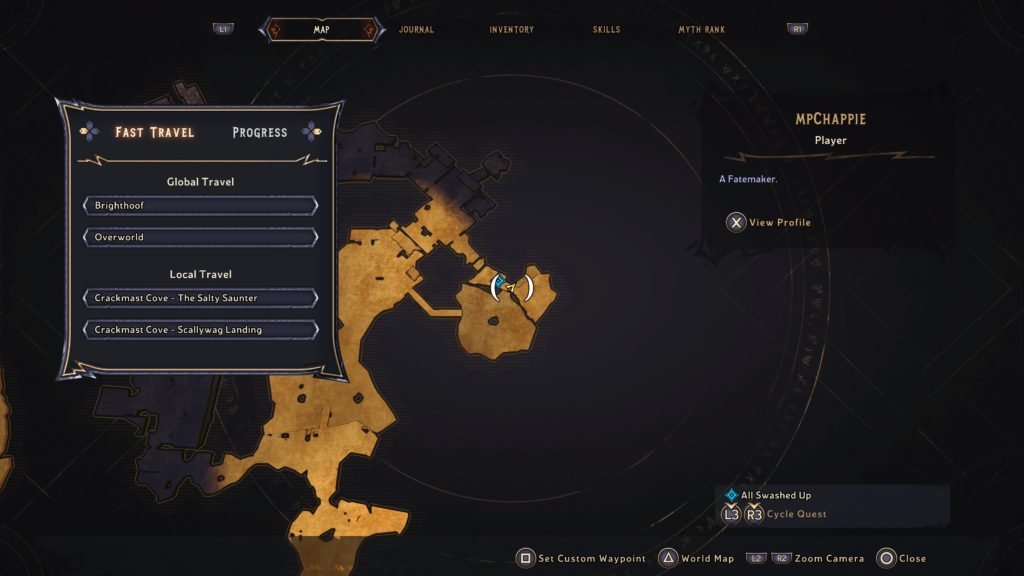
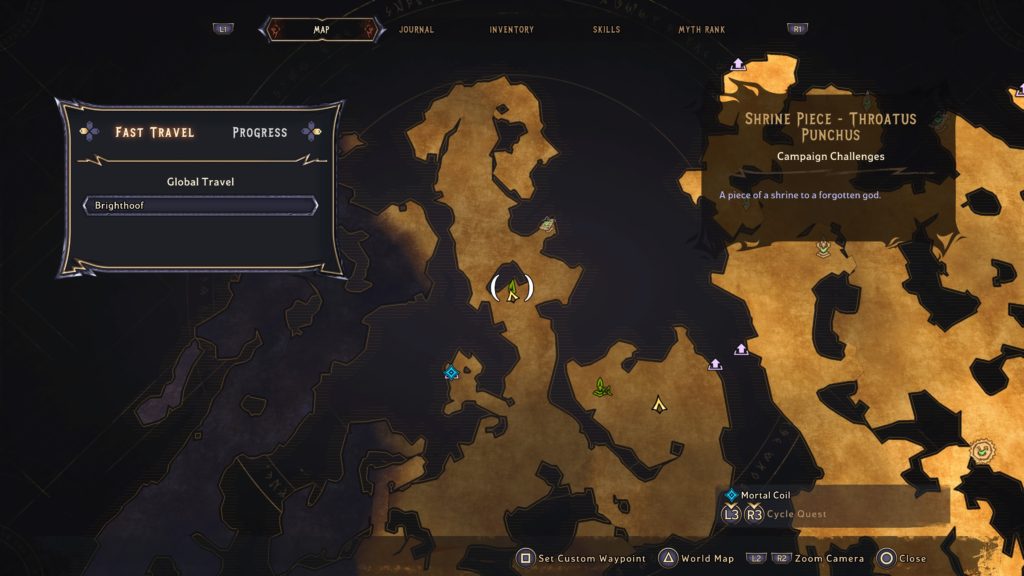
Below is a walkthrough for the All Swashed Up side quest in Tiny Tina’s Wonderlands. To obtain this quest, interact with the poster at Crackmast Cove – Scallywag Landing fast travel point.
Find Ghostly Ghost
Follow the objective behind the building to find a jar on a wooden crate. Interact with it to free the ghost then listen to him.
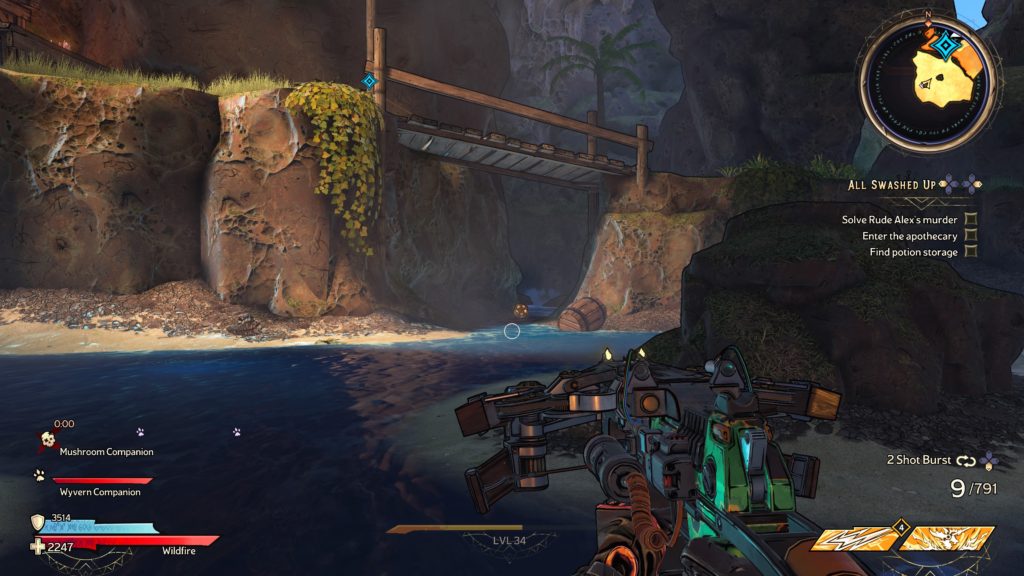
Enter the apothecary
Head north to the apothecary. When you approach, the way forward will be blocked and you’ll have to enter the correct sequence. To do this, shoot the red bombs in front of the cannons in the following order: right close, left far, right far, left close.
With the gate open, head on in then defeat the enemies. Pick up the Rude Alex’s Nose Ring that was dropped by an enemy. Keep proceeding forward then defeat the enemies that spawn near the door. You’ll have to find a potion next to open the door. This potion can be found on the wooden platform above the cannon to the right of the door.
Grab the potion then use it to melt the grate. Head inside the tunnel and drop down. Work your way through this area then melee the wooden boards blocking the way forward.
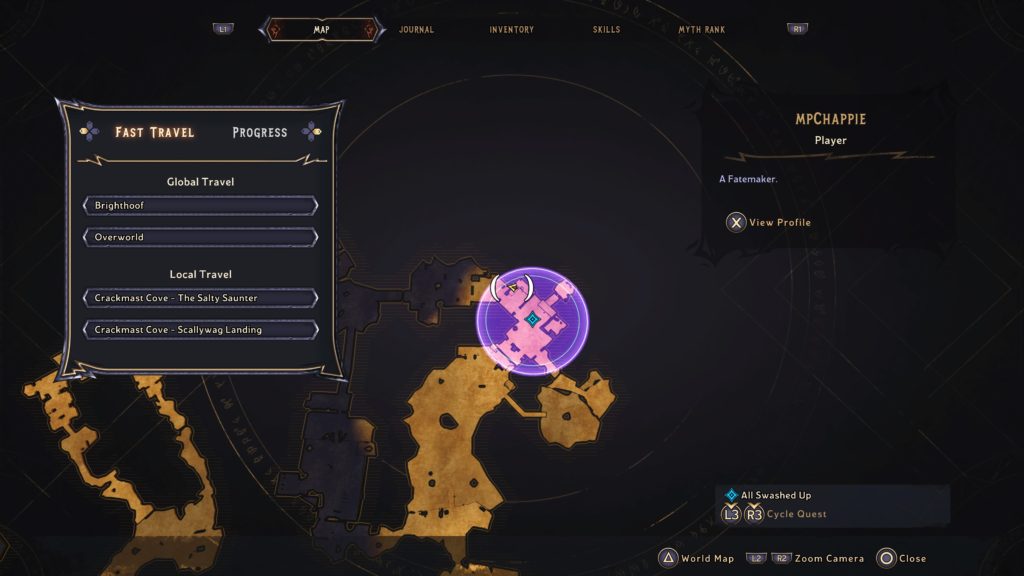
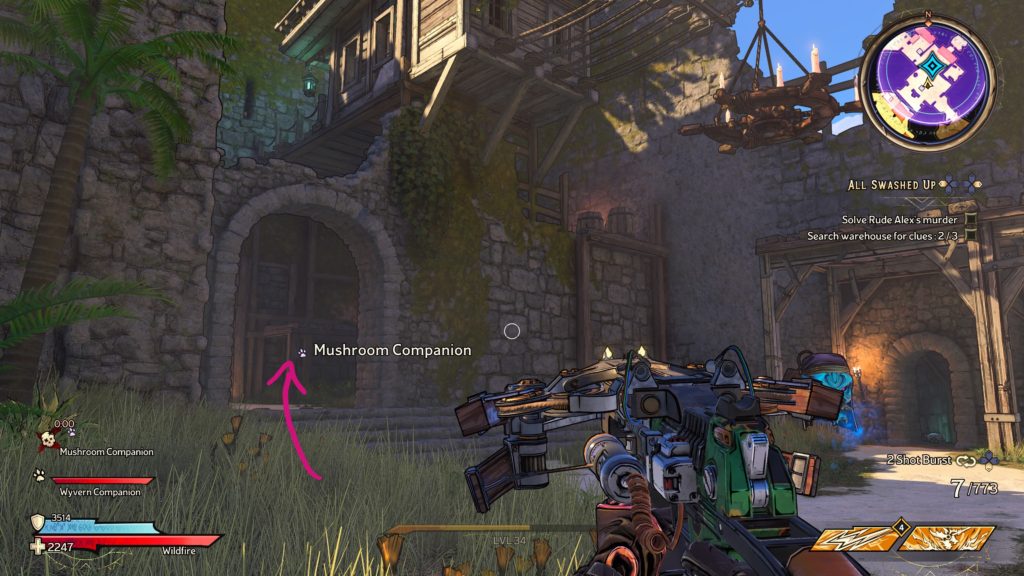
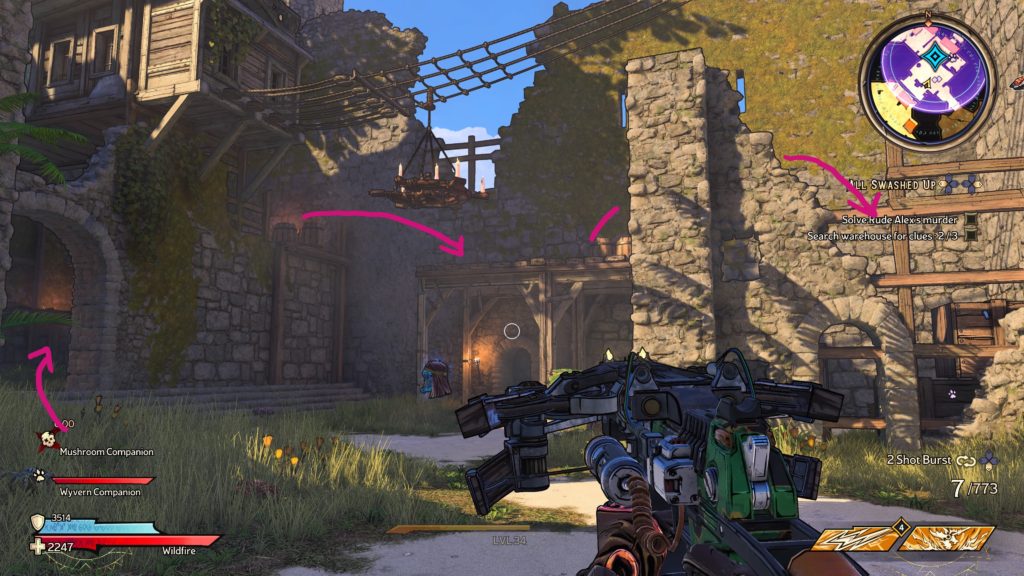
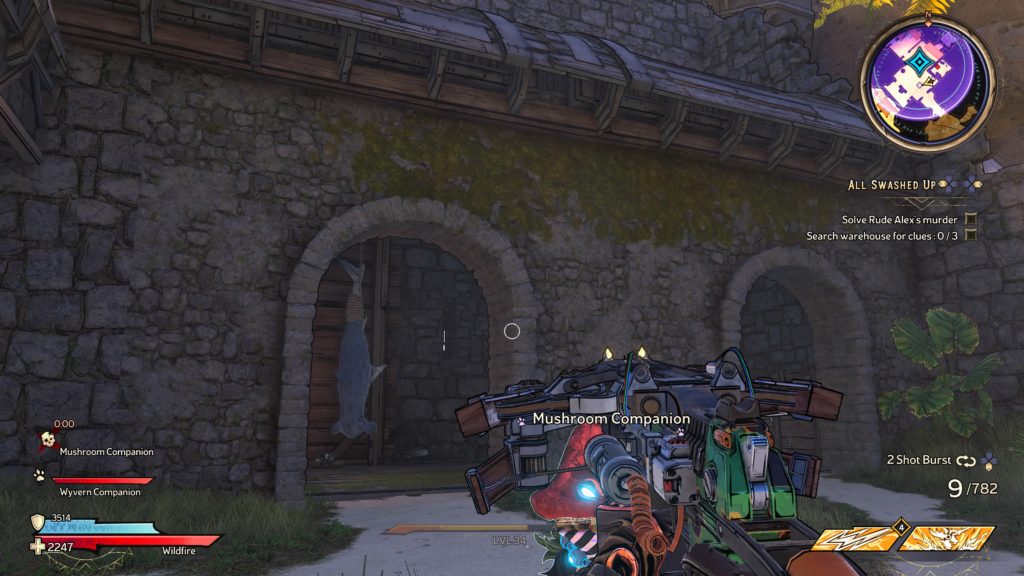
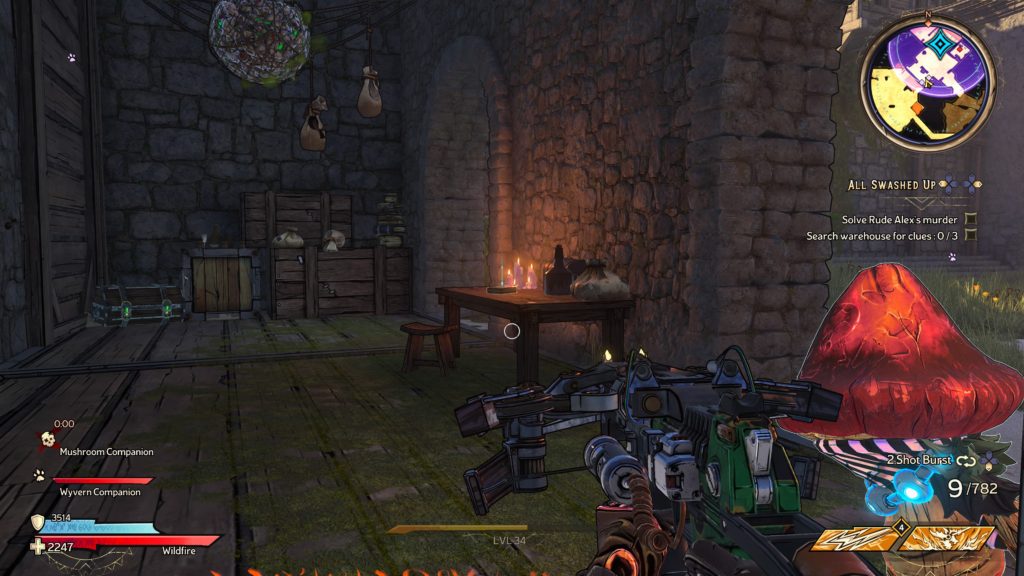
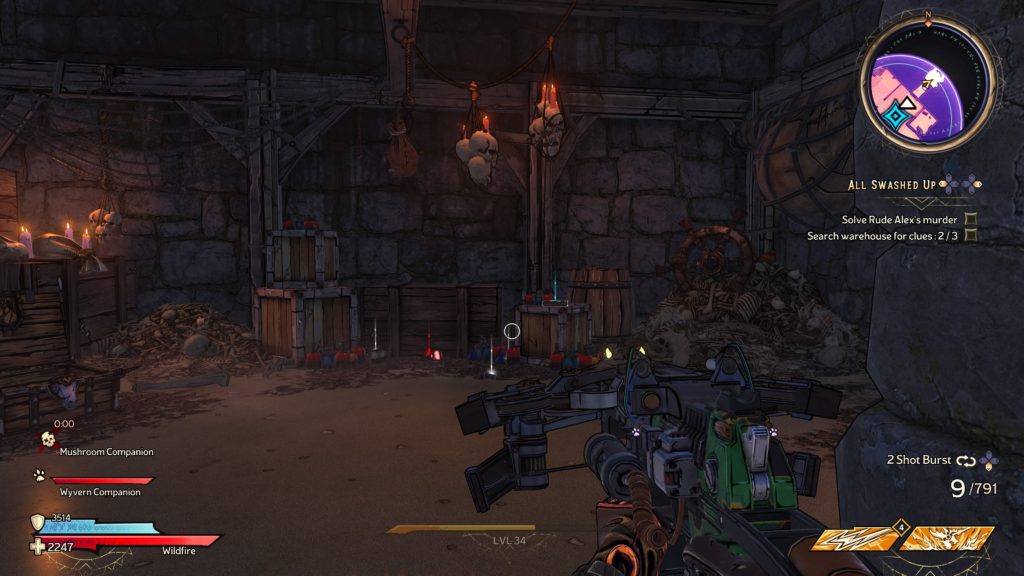
Search warehouse for 3 clues
Loot the “Health Potion” from a crate in a small room on the eastern side. To reach it, you’ll have to go through the room to the left of the door then jump up two wooden platforms. From there, jump across the way to the platform over the door. You’ll then be able to jump into this small room.
For the second clue, head to the room with the shark hanging from the ceiling and grab the Potions Cook Book from the table.
For the third clue, head down the stairs to find the Shipping Manifest on the crate in the tiny room down the stairs to the north of the search area.
Follow Alex
Follow Alex to a gate then open it. Head forward into the next area then defeat the enemies by the gate.
Take hat
Take the hat on the crate.
Find potion vat
Head through the doorway to find the next area where the green poison vat awaits.
Find something to jog Alex’s memory
Grab the skull with a hook sticking out of it on the wooden walkway near the vat.
Ignite heating element
Shoot the crystal marked by the objective underneath the vat. Afterwards, defeat the enemies that spawn.
Close steam release valve
Head up the boxes by the building to reach the pipe then pull the lever. Again, defeat the enemies that spawn.
Find Ingredient X
Examine the barrel under the overhang next to the building .
Place Ingredient X in vat
Toss the barrel in then melee it when prompted.
Find Captain Pirate, Pirate Captain
Head across the wooden bridge and enter the next area to find the pirate. Defeat him and his crew!
Talk to Alex
After defeating all the enemies, speak with Alex to complete the quest.
Below is a walkthrough for A Wandering Aye side quest in Tiny Tina’s Wonderlands. To obtain this quest, interact with the poster at Crackmast Cove – Scallywag Landing.
Catch up with your undead friend
You can find Bones Three-Wood on a dock overlooking the ghost ship. Speak with him.
Find someone who knows about Plot Armor
Head west to a lone shack.
Find a loud cannon to revive the Witch Doctor
Jump off the cliff to the firing range below where your alarm clock waits! Pull the lever Kronk! 😀 After firing the cannon, pull the lever again. This cannon also will not do. Wait for them to switch it out then fire it!
Speak with the Witch Doctor
Speak with the Witch Doctor near her hammock.
Meet Witch Doctor at Ravenous Caverns
Travel just west of the Crackmast Cove – Scallywag Landing fast travel point to find the Witch Doctor.
Take Hex Caster
Grab the Hex Caster from her.
Collect 4 cursed essence
Head straight across the bridge to find the camp and place the Hex Caster. Attack the pirates until they transform then kill them and loot the essence. You’ll have to do this until you have 4 essences. When you do, kill the remaining enemies.
Let’s see about those Coiled witches
Travel to the next objective to reach the closed gate.
Kill the Coiled
Proceed forward through the gate and defeat the enemies.
Approach Long Bronzed Gilbert
Approach the skeleton then defeat the waves of enemies that spawn from the ship near the beach.
Create curse
Interact with the cauldron where Long Bronzed Gilbert was standing before he ran off.
Take Curse of True Character
Pick up the skull from the ground.
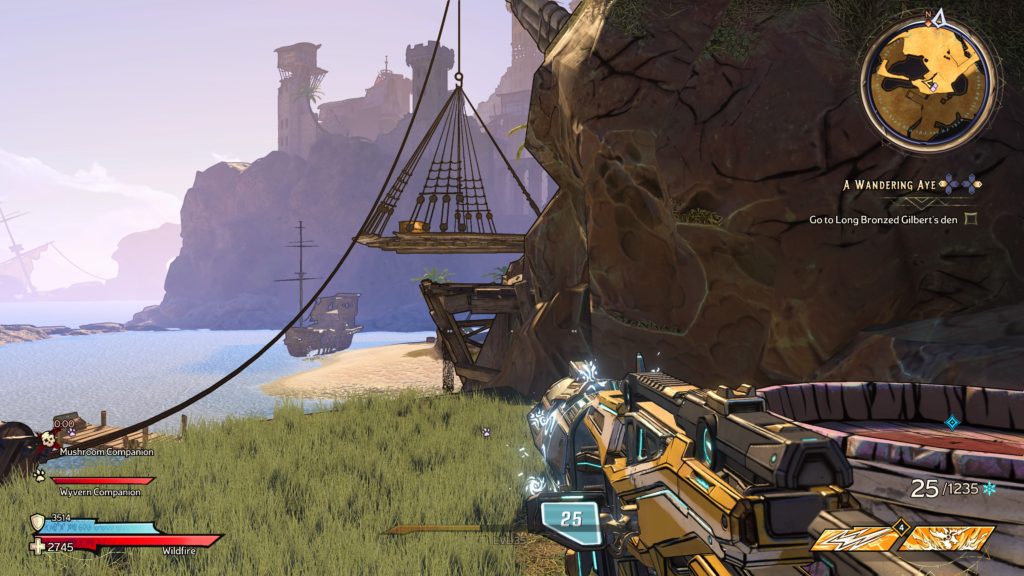
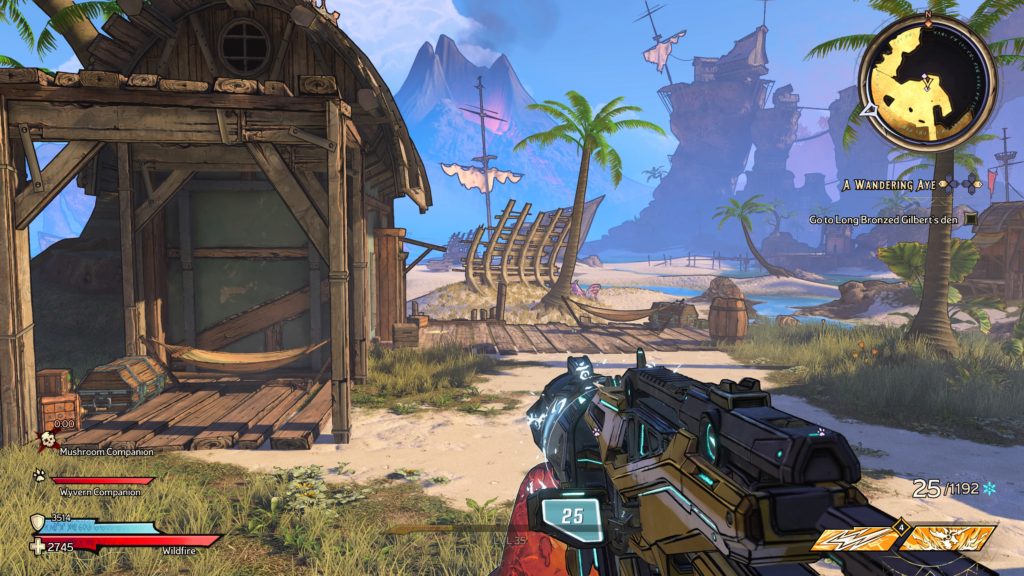
Go to Long Bronzed Gilber’s den
Jump into the portal to reach the den then make your way to the objective to reach a group of Super Badass Pirates.
Try the Hex Caster
Place the object where indicated then defeat the crabs.
Open the front gate
Pull the skull to open the gate.
Find LeChance
Head straight ahead to find LeChance suspended in a cage.
Kill Gilbert’s crew
Defeat all the enemies.
Check on LeChance
Make your way down to the pit to check on LeChance.
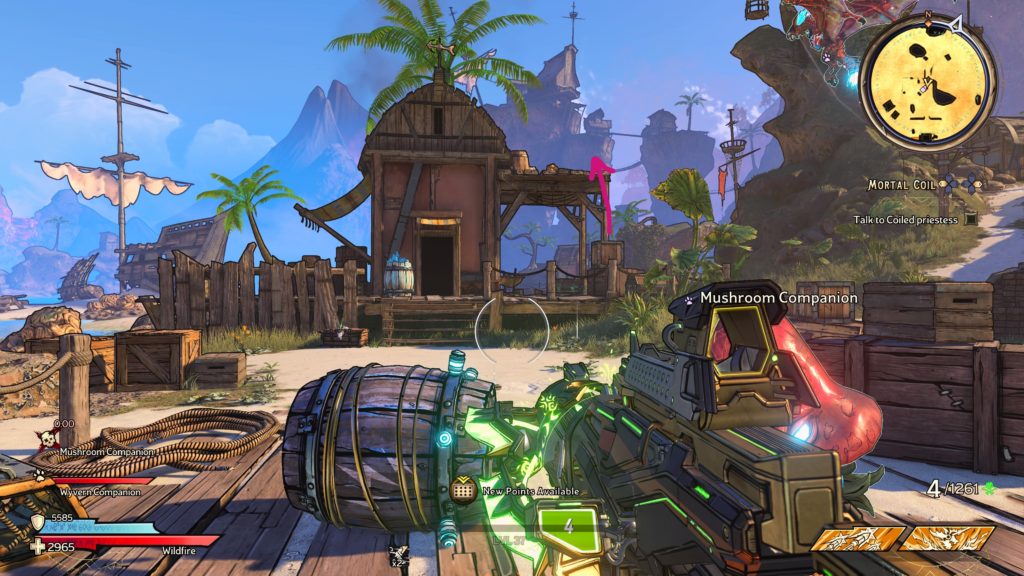
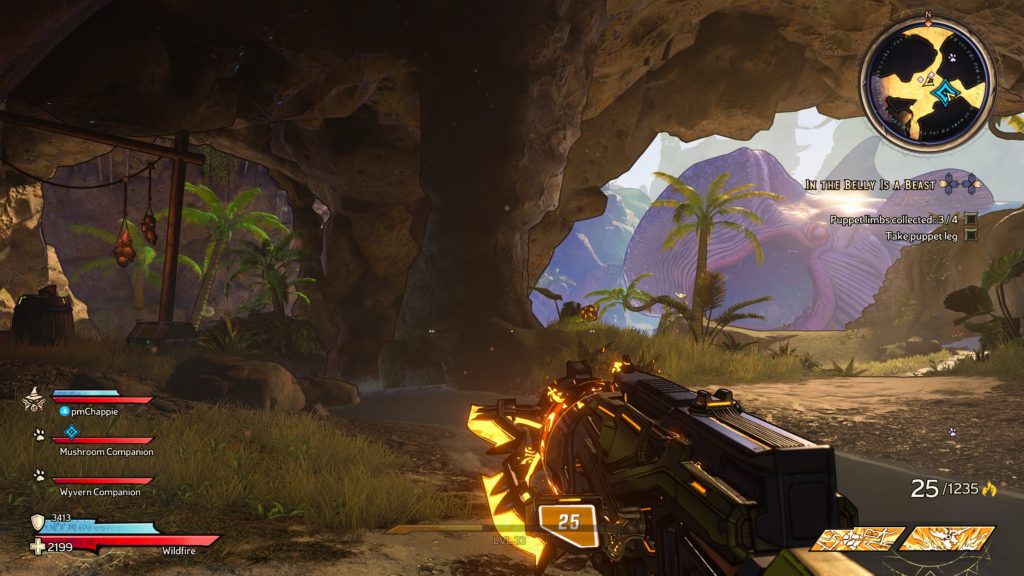
Below is a walkthrough for the In the Belly is a Beast side quest in Tiny Tina’s Wonderlands. To obtain this quest, speak with Otto in Crackmast Cove.
Collect 4 puppet limbs
Follow Otto a short way until he stops at a log. Kill the crabs then retrieve the Puppet Arm. Deliver the arm to Otto when he requests it. Follow him a short ways again until he stops by some strangers. Defeat Captain Hill and his crew then retrieve the leg and give it to Otto. Afterwards, follow Otto again. When he stops, retrieve the leg on the ground and give it to Otto. Follow Otto yet again. After his speech, defeat the crabs then grab the puppet torso and give it to Otto.
Enter Whale’s Belly
Head on in the whale’s mouth then defeat the crabs inside.
Find Otto
Approach Otto a short ways ahead. Listen to Viscetta.
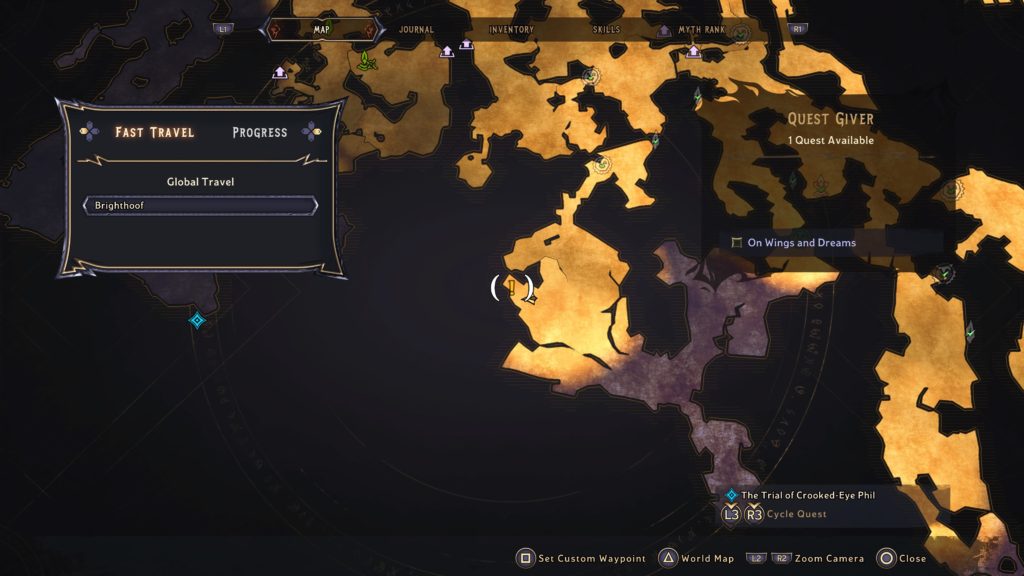
Below is a walkthrough for the On Wings and Dreams side quest in Tiny Tina’s Wonderlands. To obtain this quest, speak with Peretet in the Overworlds.
Reach dungeon
Follow the objective to the dungeon and enter it. You’ll have to complete 2 encounters then loot the Essence of Evil from the chest.
Talk to Peretet
Afterwards, enter the portal then return to Peretet and speak with him. Afterwards, the quest will complete
Search
This site uses cookies. By continuing to use this website, you are giving consent to cookies being used. For more information on cookies, view our Privacy Policy.OkPrivacy Policy